When you click on links to various merchants on this site and make a purchase, this can result in this site earning a commission. Affiliate programs and affiliations include, but are not limited to, the eBay Partner Network.
Great posts, Guys! Charlie's description and subsequent discourse with odonnell and Doug were quite revealing. The diagram that Charlie posted was enlightning as well. when I assembled the balance shafts, my hard copy of the WSM was right on the table next to the engine, during that time. I think that the front snout is OK, but the rear of the BS on both of them is where the binding point is. I ordered new bearing halves, the end caps and new o-rings for the rear of the BShafts yesterday. I still have yet to pull the lower and upper covers. No telling what is torn up and unusable back there. Taking the weekend off as well as part of this coming week.. while waiting on the parts to arrive. Thanks again for the info and diagrams, guys!
FWIW I had a � clicking � on my freshly built race engine last year... took bs belt off ran it .. noise went away..could kinda feel a tight spot when turning by hand.. replaced rear bs bearing ....all was well..
Yesterday, I had an opportunity to work on the car for a short while. I was able to get the nose section off the bottom balance shaft, and it was on there quite tightly. I had to use screwdrivers and a soft faced mallet to wedge it off. It looked OK as far as the bearing and seal went. The shaft was still tightly bound up at the rear..No metal flakes or scoring was observed. Today I will try to remove the rest of the bottom cover. Hopefully the front manifold will be loose enough for me to do this. It's already been loosened with about 1/4" of clearance, but still remains on the studs. I'll keep you posted as thing develop further.
The upper balance shaft is a bit more involved since the intake manifold and all of it's associated plumbing will have to be removed. New reference sensors will be installed . The top shaft can be easily turned with a wrench especially since I only have the retaining bolt to use to turn it, but tight spots still remain during the rotation..This is not something I'll hope to "wear in", and must be investigated further. Let no turn be unstoned...LOL!
But you're doing the right thing. It's better to suffer a little now than have that bearing seize and blow out the side of your block in a few hundred miles.
I got sidetracked today and didn't get a chance to work on the car. I'll let you know what they look like when I get them out. Thanks for the tips, Guys! I'll keep you posted with this saga. LOL!
This thread was timely for me as I�m just reassembling after a reseal with balance shaft bearings.
The upper went back together without issue, but when I did the lower, it was bound up after final torquing. When I removed the assemble, the bearing half shell on the block side was just a tiny bit out of alignment with the oil squirter relief. I�m doing this work on a lift with the engine still in, so it was easy to miss the alignment.
Reassembling with the shells aligned correctly, I tested turning the shaft at each torque stage. It�s back together without binding, so I�m assuming that was my issue. Hopefully it�s what is binding yours as well. Best of luck.
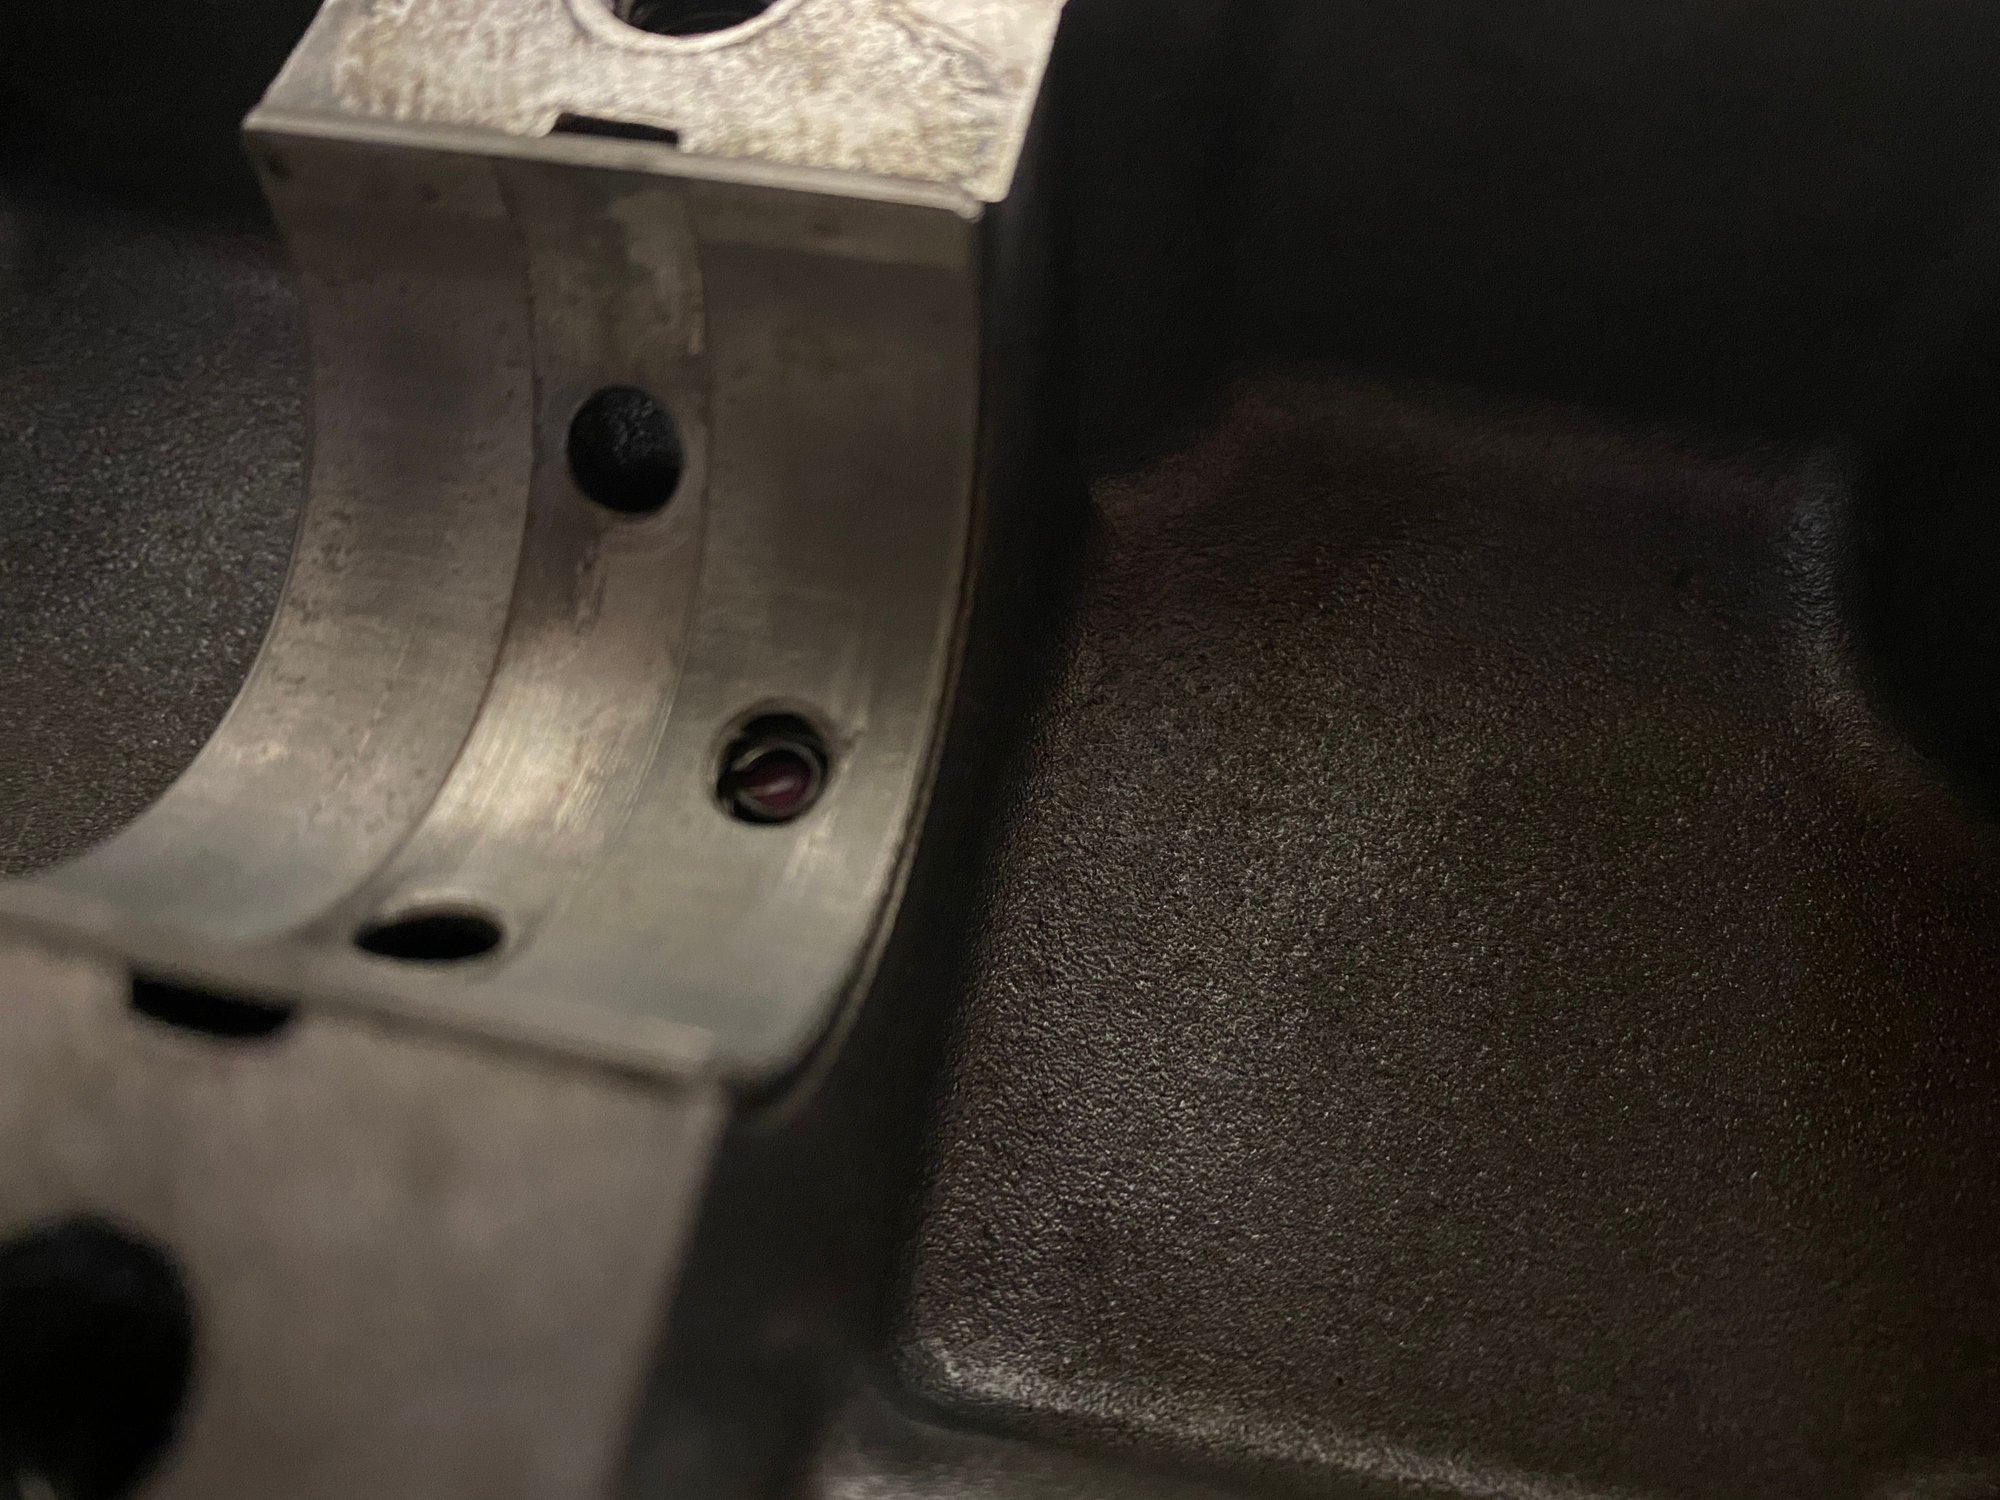
Yesterday, I was able to finally get a chance to work on the car. I was able to remove and extract the lower balance shaft cover and expose the bearing halves from the cover and the block. This job is not for the faint of heart. It requires the removal of the front manifold and working around it since trying to remove it from the car is a task all unto itself. The engine mount must be removed as well while supporting the engine on a jack. The two studs that protrude from the block that have nuts on the cover capture the balance shaft and prevent its removal until all is opened up. The bearing halves were lined up on the pins, but appear to have light scuffing and appear to have been "pinched" at the juncture of the bearing halves, with more scuffing and wear present about 1/2 inch into the bearing shell from the point where they meet. This engine has only been turned over by hand; and never fired (yet). Apparently, more and careful care must be exercised while fitting these covers. Trial turning by hand while torquing down the covers must also be a MUST. Too bad this isn't in the WSM..The bearing halves were on their pins, and the oil holes appeared to be in alignment, and there was oil on the bearings, but there is some offset with the bearings and the oil holes. Not much, but maybe just enough to partially obscure the hole in the block. It appears to be off about 1/16" inch or so. Refitting all this and re-torquing is going to be a nightmare, once the new bearing shells arrive. I wish I could post pics..Hope this helps someone else who is re-assembling their engine on a table or on the bench..thanks.
Trial turning by hand while torquing down the covers must also be a MUST.
Live and learn. I think you have to approach it similar to when torqueing down the crankshaft girdle. Test as you go. Although I think you started this thread by recalling that they were free when you initially installed the covers some time ago, so still a mystery as to what happened between now and then. And yes, that is a terrible job with the engine in the car. I hope you have a small clicker type torque wrench.
While I haven't yet torn into a Porsche motor, my experience on other engines is that the bearing and block oil holes aren't usually in perfect alignment. (The block holes will have been drilled with some long and skinny bits, which I imagine produces a bit of wander.)
Should the covers have the same number inside of them that the block has? There is a possibility that I got the covers mixed up, and or the balance shafts as well. Since I have removed the lower balance shaft, I will take it to my machinist buddy and check it with a dial indicator while on his lathe. That way I can check it for absolute truth..The balance shaft has a casting number on it that reads 207. That is the only # and marking that I can find on the shaft itself. I was under the impression that the shafts themselves were identical and could be replaced if necessary. I still have yet to dive into the intake manifold area. I would want to finish up the lower section prior to doing the upper one. One step at a time. Harvey F, can you suggest a small torque wrench brand that I could use? ESP since Craftsman is out of business? I don't think I would want to buy one from Snappy if I could avoid it. Using a 1/4 " drive with u joints and extensions isn't my idea of accurate. But it may well have to be. Thanks for the further comments, guys!
Last edited by Tiger03447; 04-04-2021 at 10:52 PM.

 03-28-2021, 01:25 PM