When you click on links to various merchants on this site and make a purchase, this can result in this site earning a commission. Affiliate programs and affiliations include, but are not limited to, the eBay Partner Network.
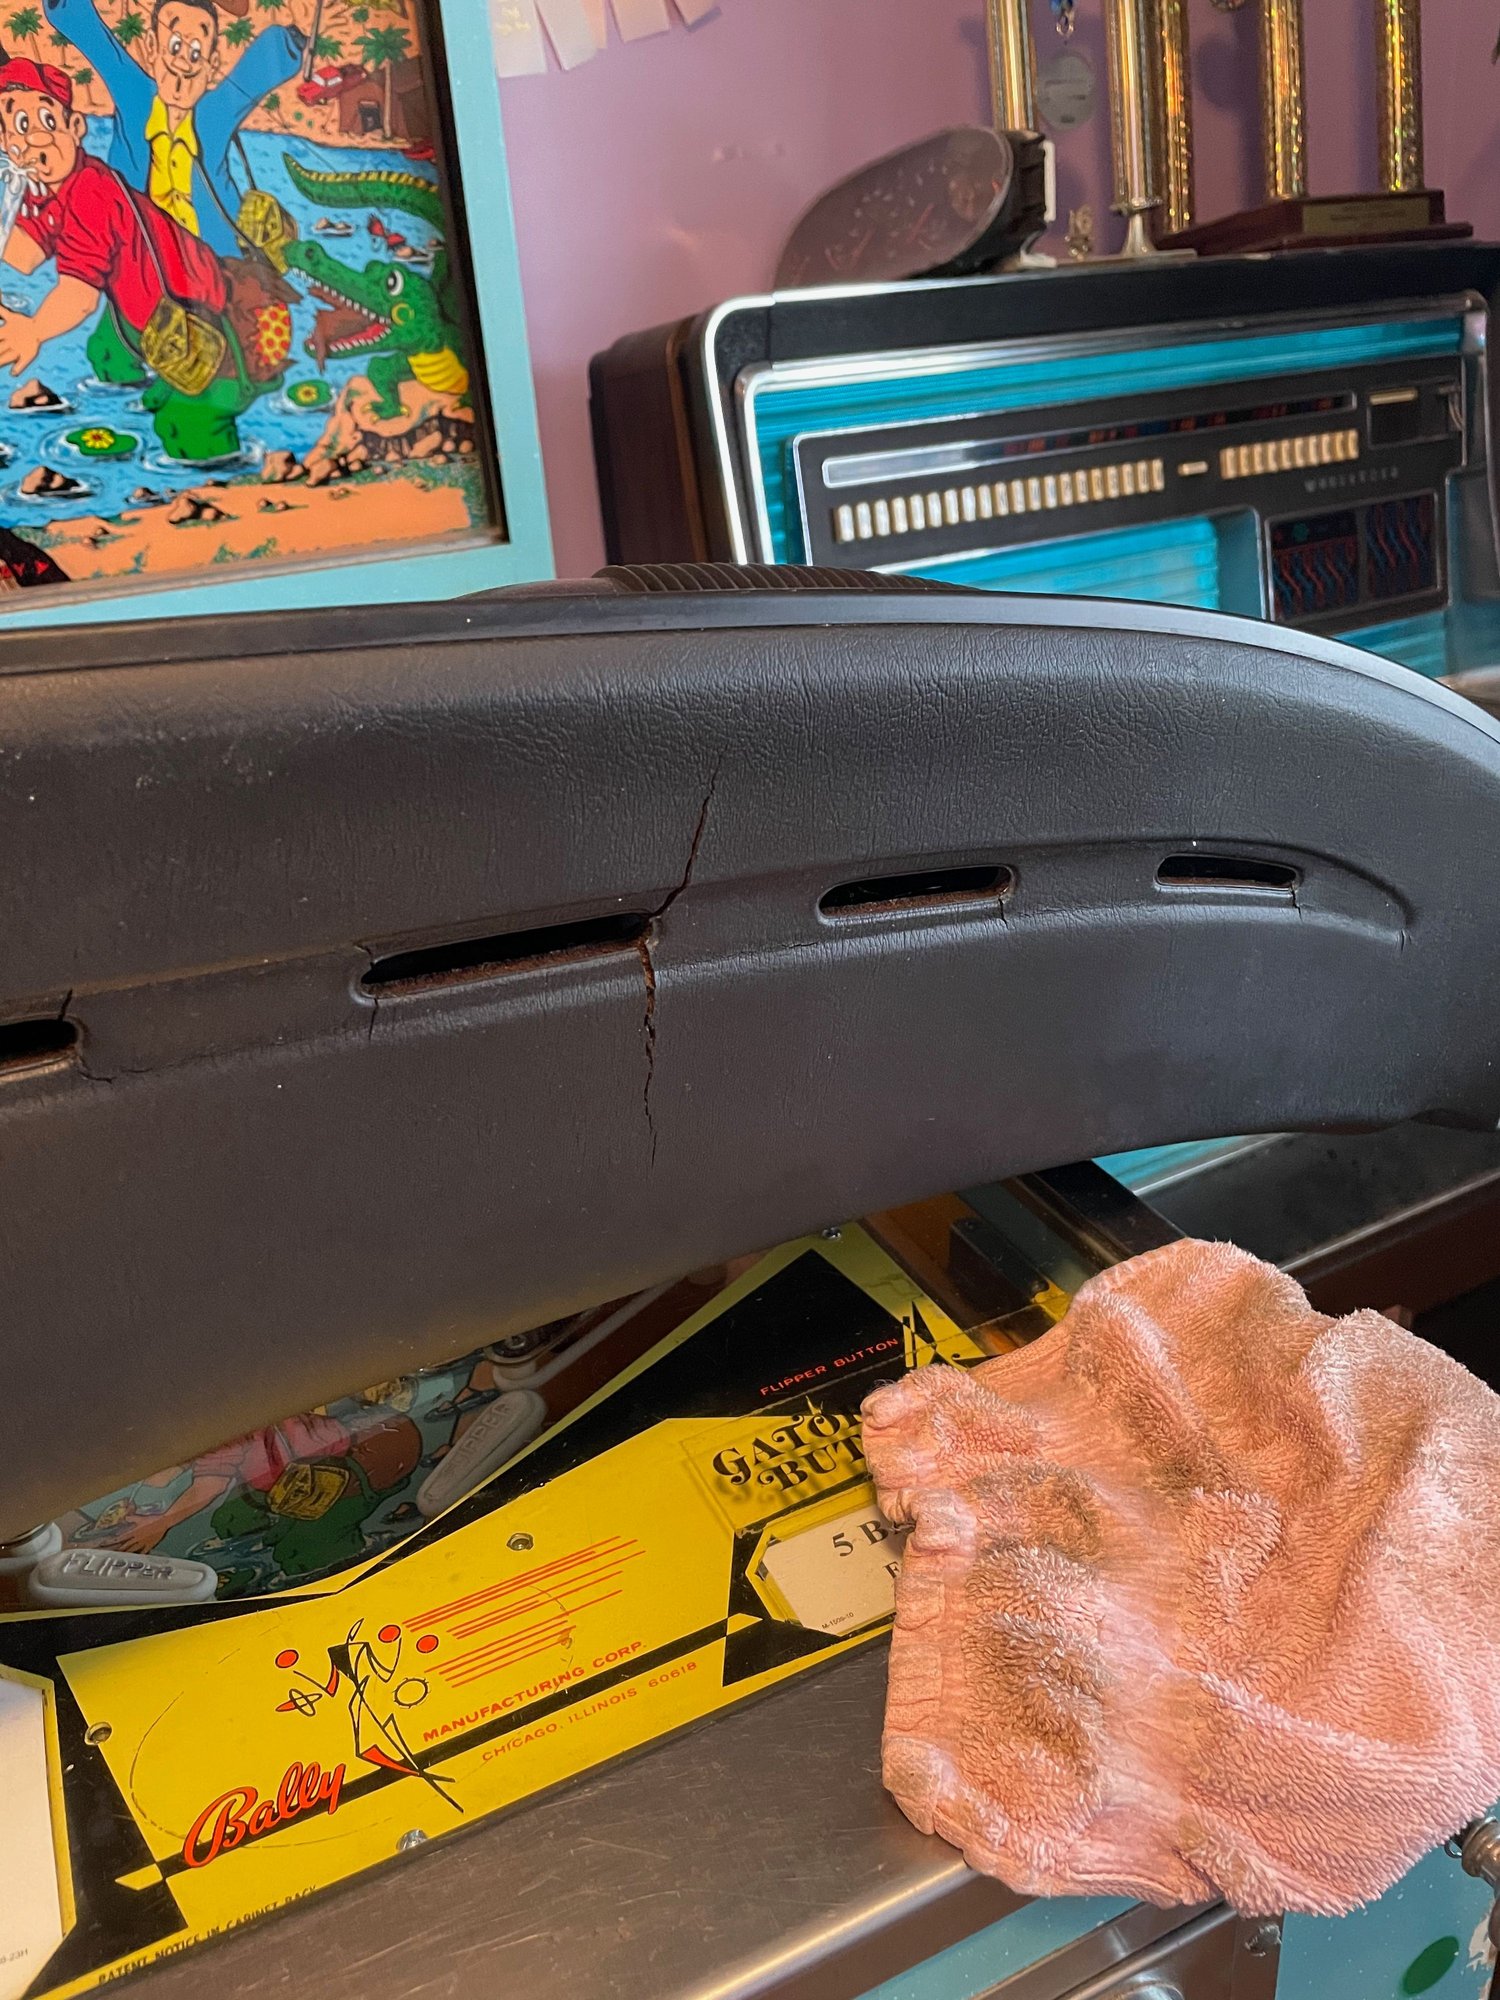
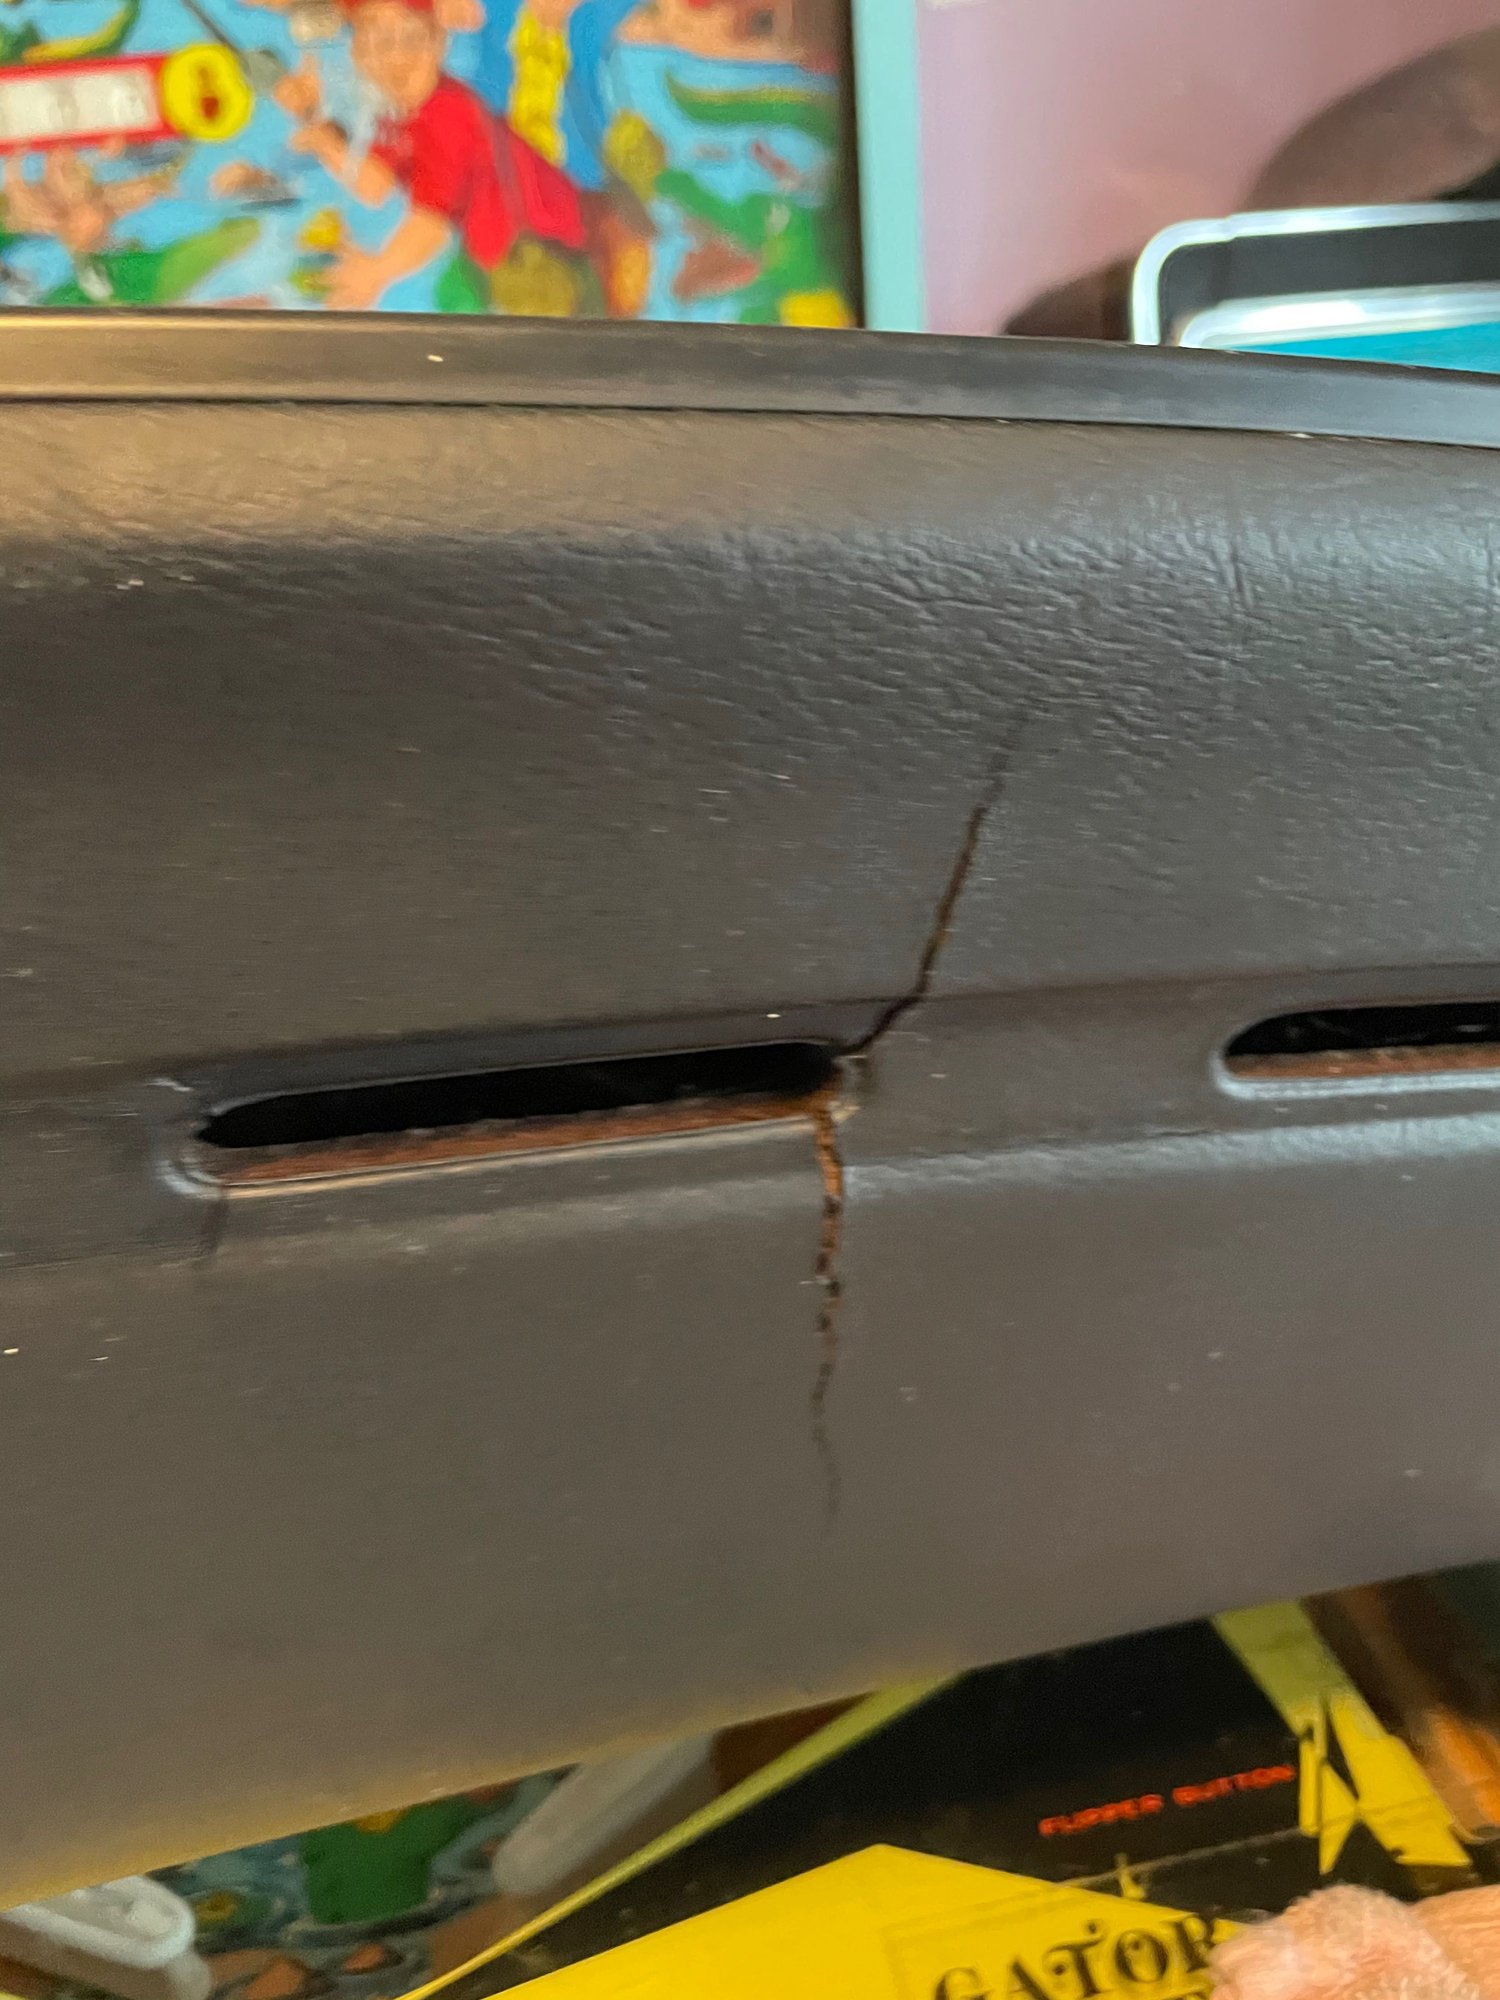
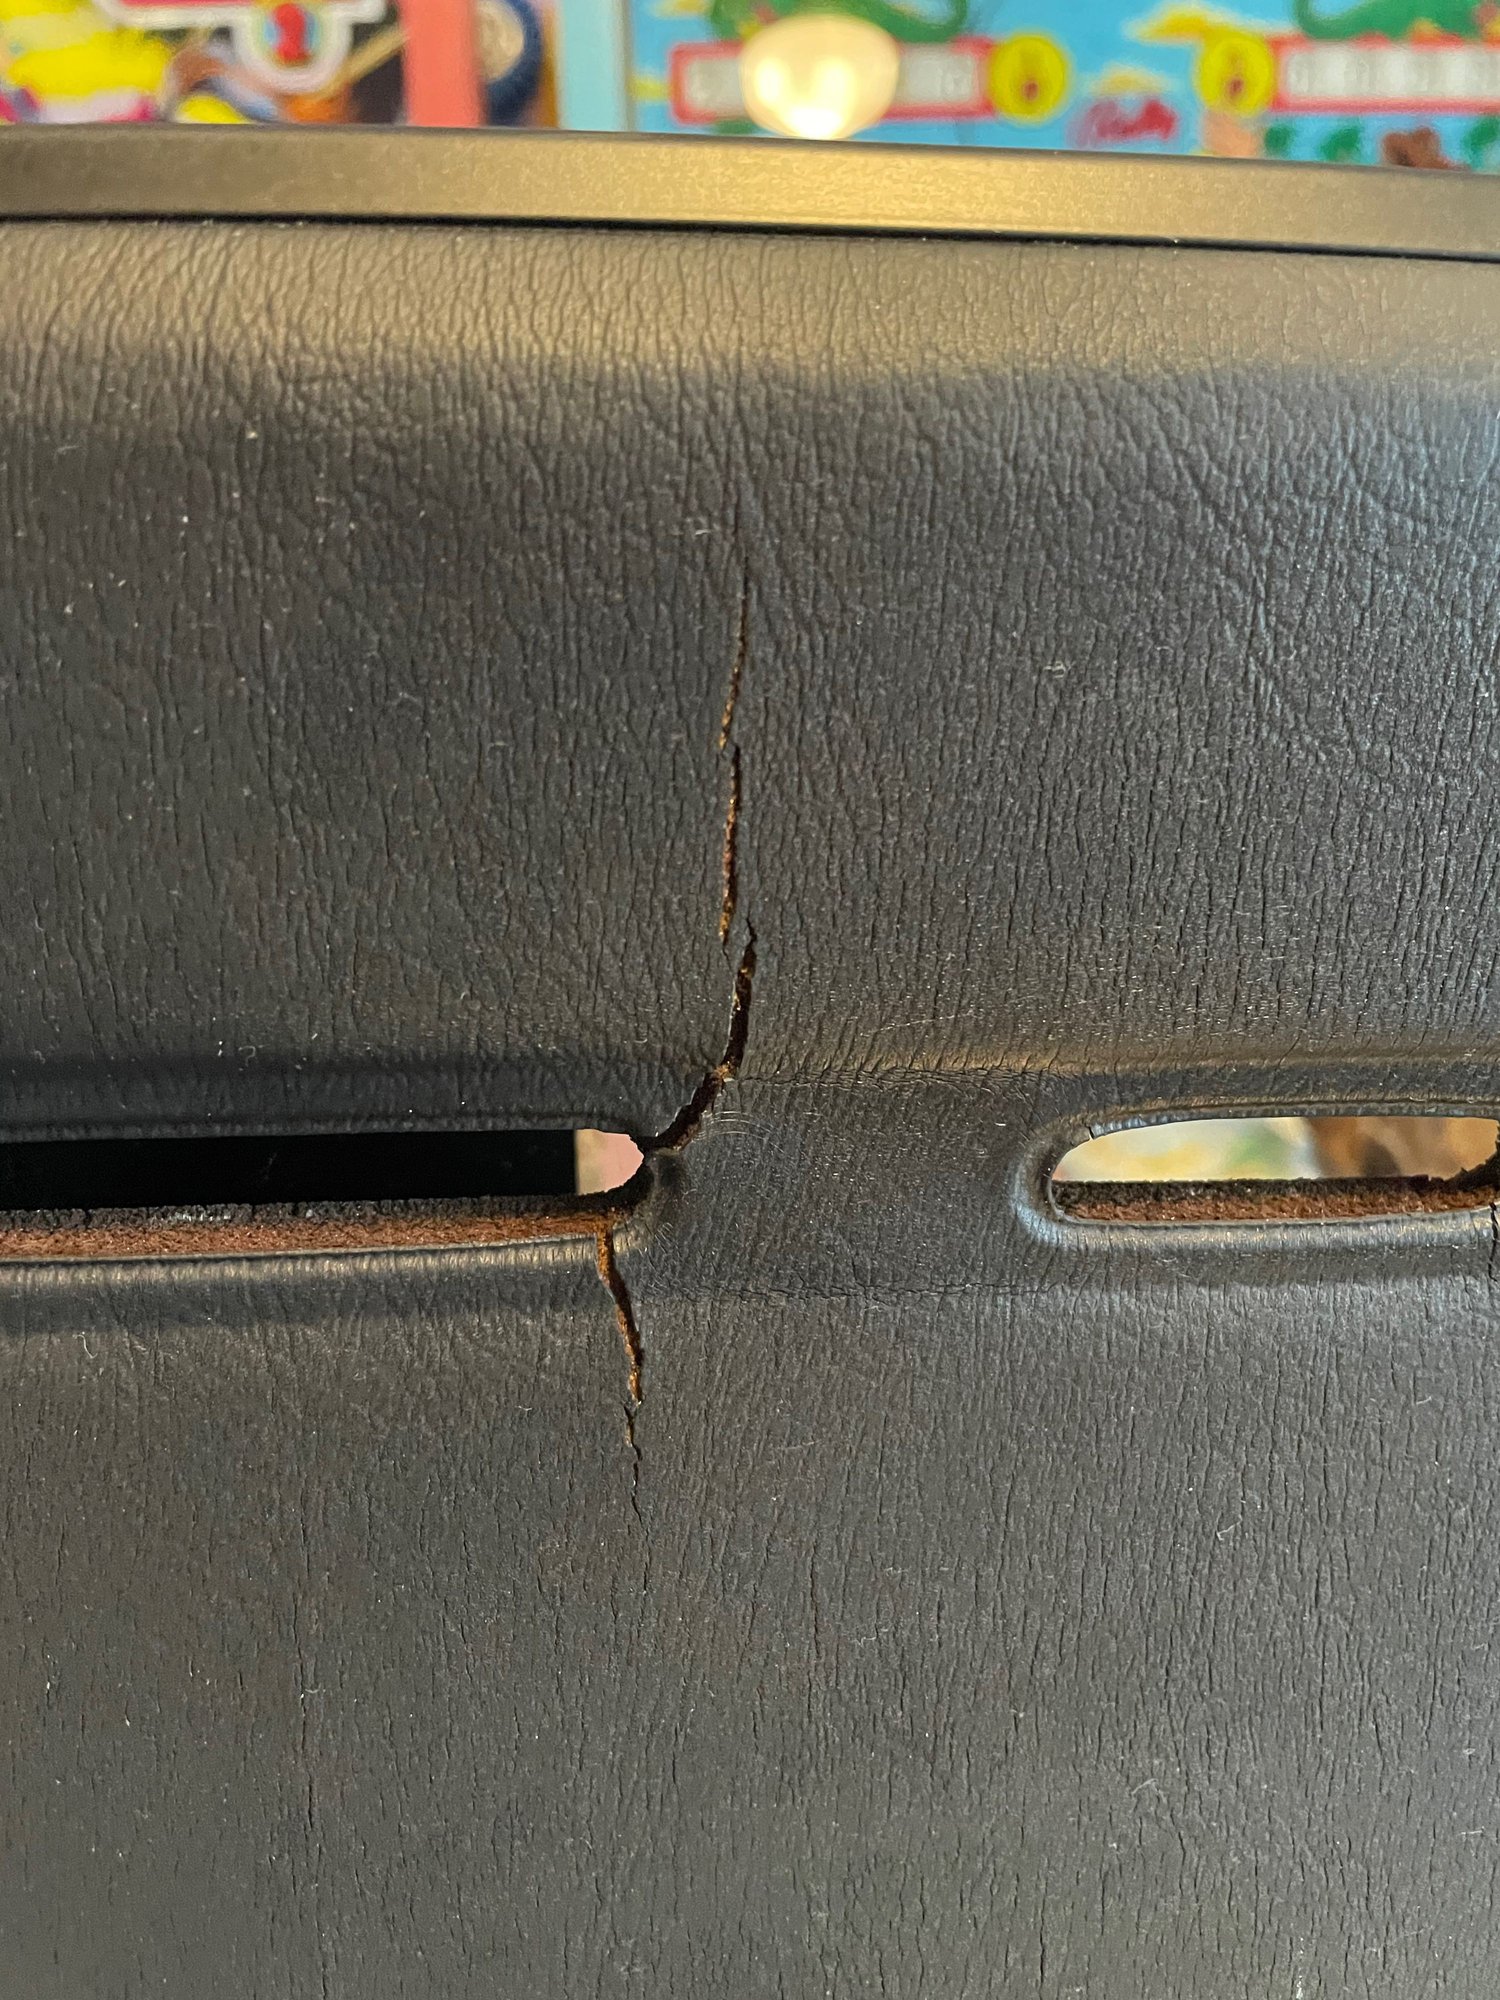
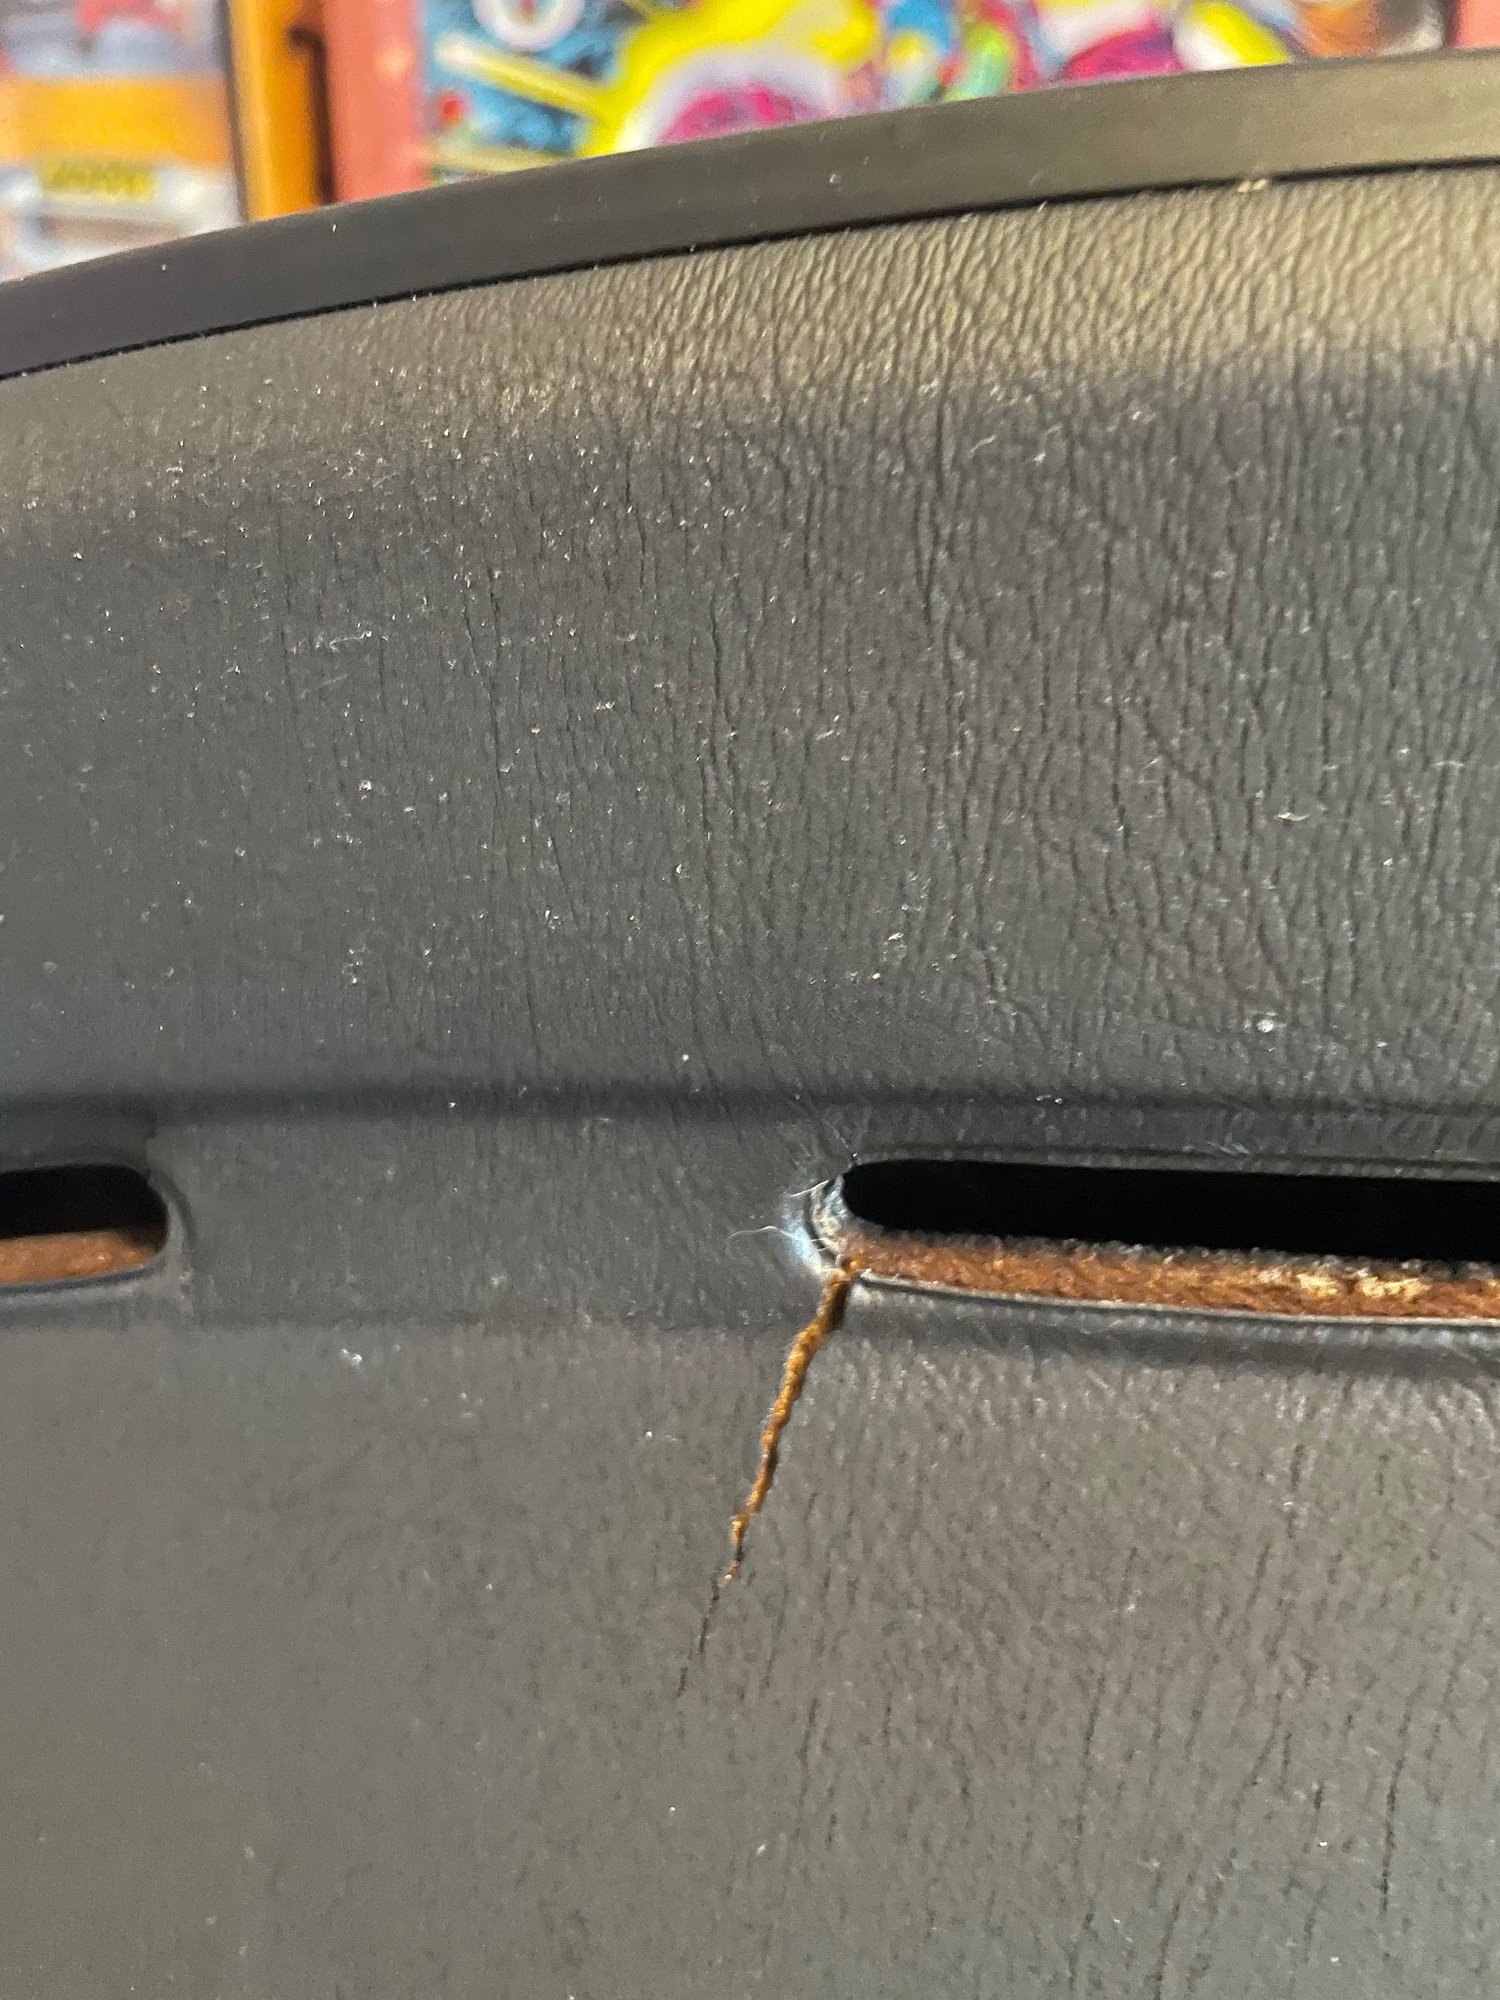
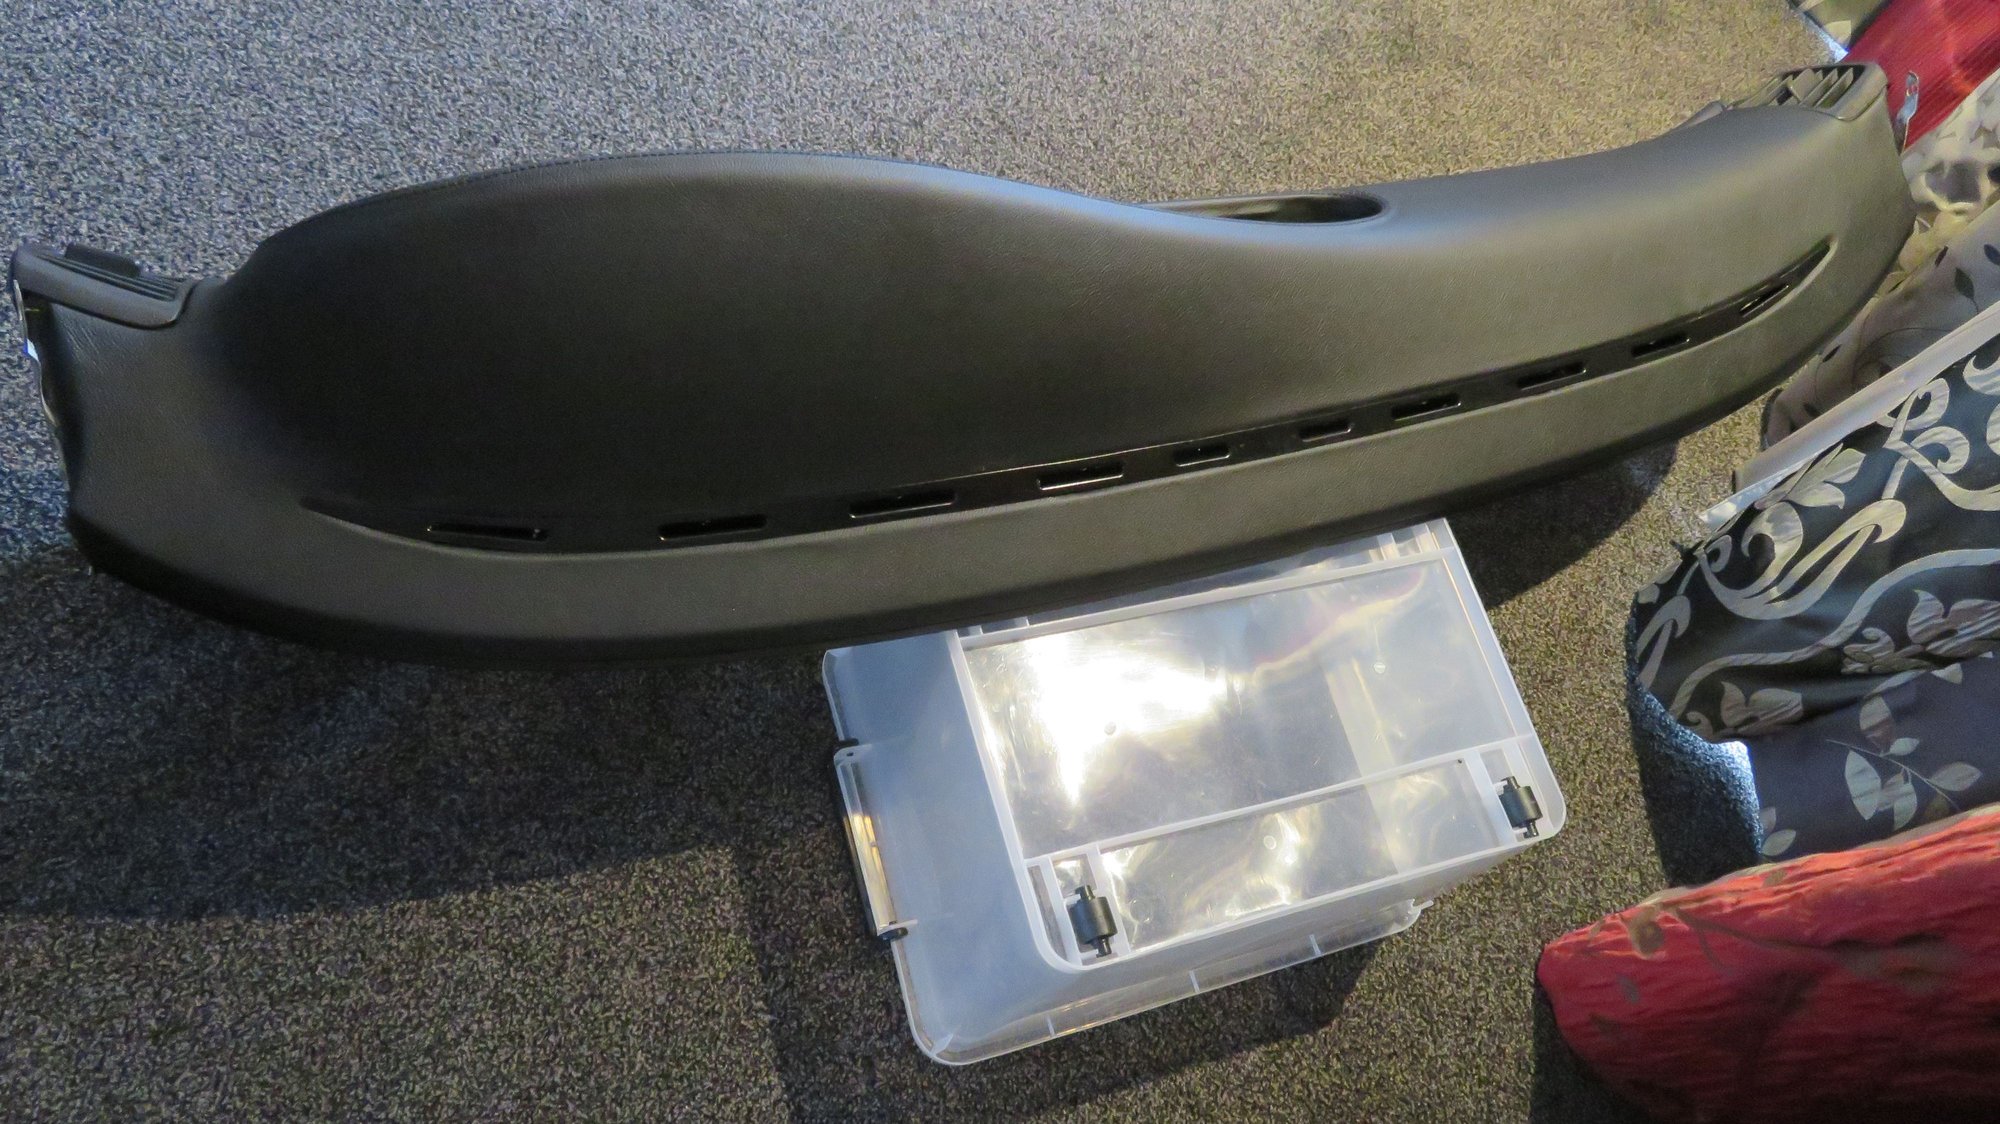
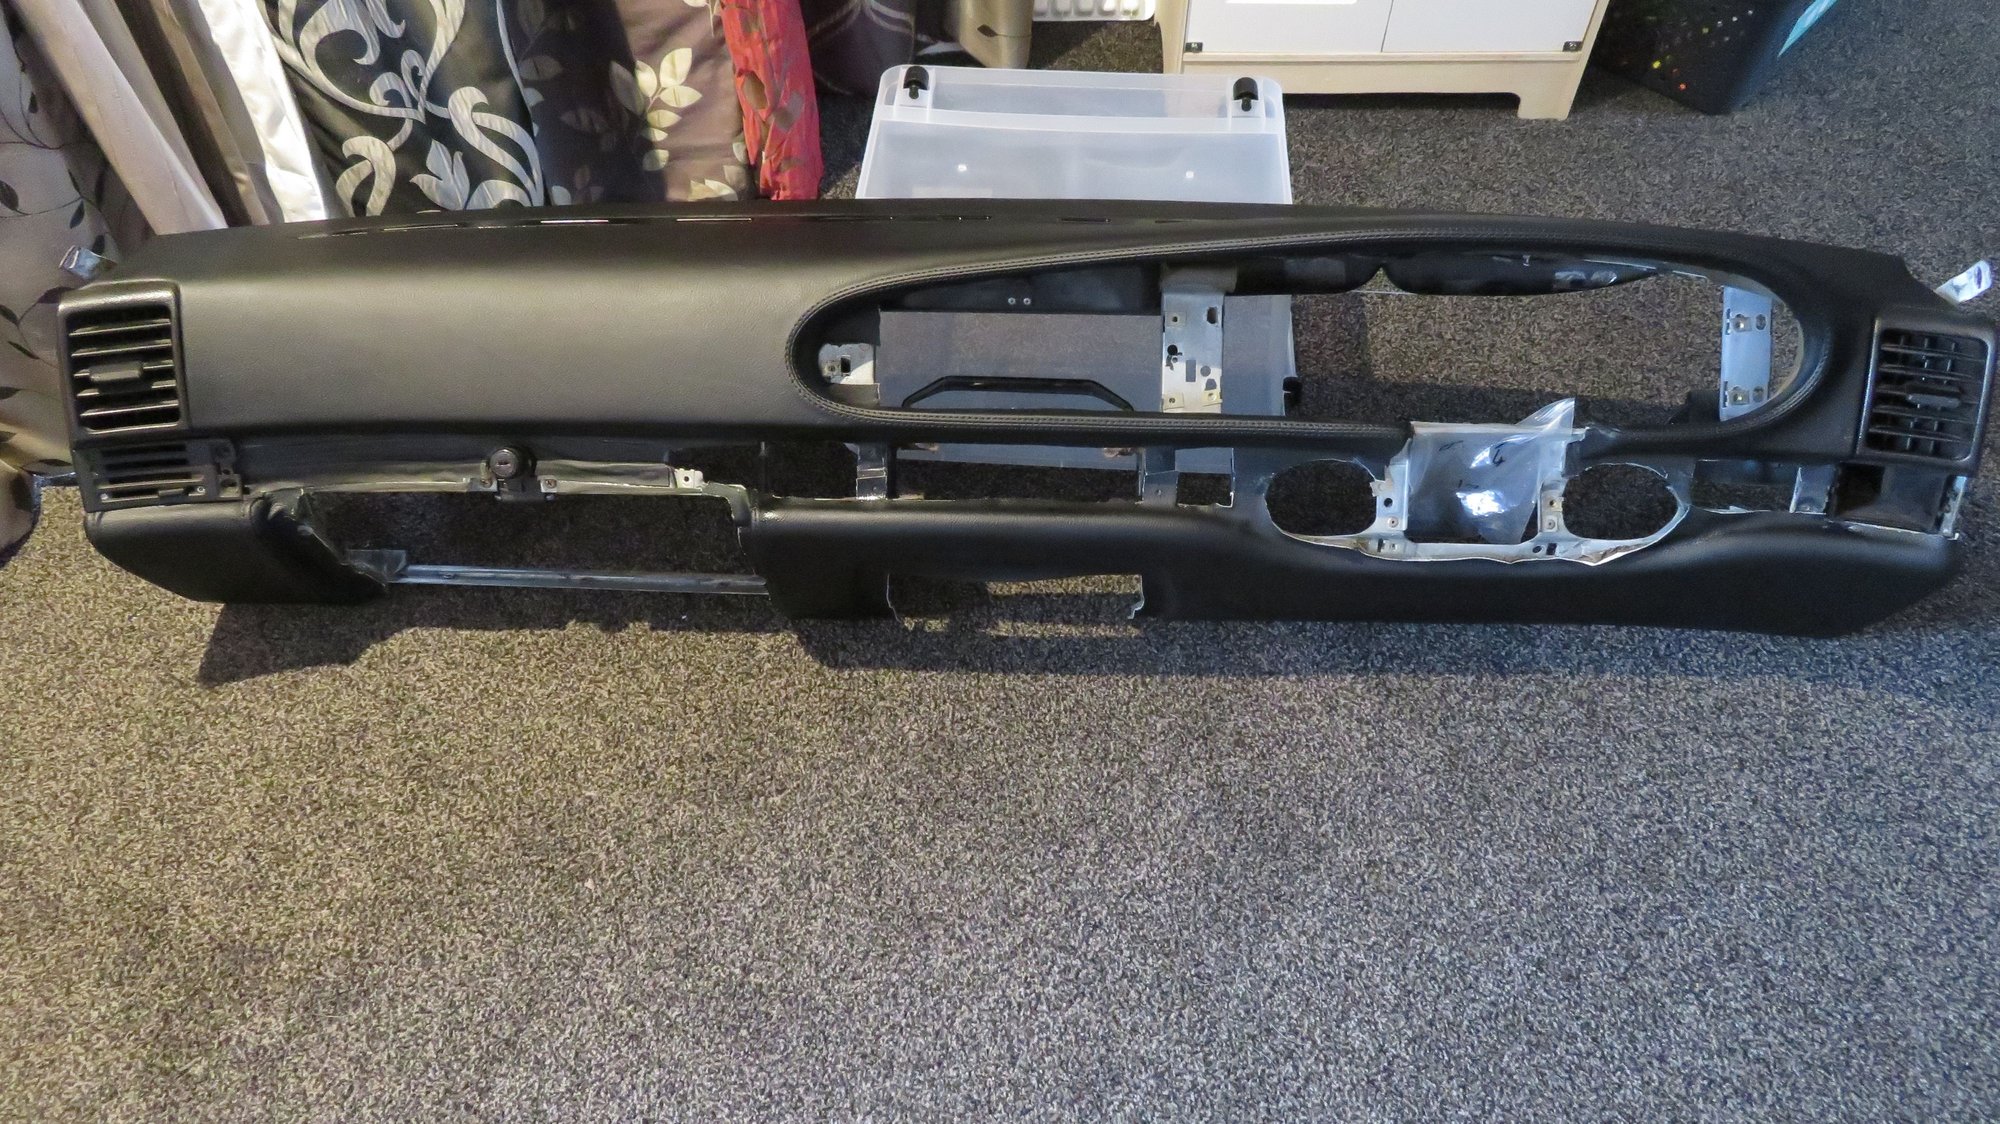
Working on the interior bits and pieces while waiting for the machine shop to do their magic. So here are a few dash pictures. The car is a lightly optioned 1986 Turbo. Black interior with Porsche script cloth seats (which I really like). The dash is really not in bad shape, but it is out of the car at present. Is there a way to "repair" the small cracks without a complete recover? I recovered my 928 dash and was not particularly happy,, and in this car I think the factory finish fits better with the lightly optioned theme.
Just Dashes are the only company I'm familiar with that can do a decent repair. Every kind of DIY repair I've heard of has not lasted and/or has looked terrible. The repairs to the cracks, crack themselves. I wish someone decent was reproducing these.
Classic 9 leather shop does a dash kit for these cars. That is what I have on my car and it looks fantastic. The problem with the dash in its current condition is that it will only continue to get worse and will damage the foam below it. If you happen to come to the Charlotte area, you are welcome to take a look at my dash.
I just had my dash recovered locally by a pro using a Classic 9 dash kit while I was working overseas and I collected it this morning. The dash was a good secondhand one I picked up with very fine cracks. The one in my car has cavernous cracks that started out similar to your ones. I thought about not recovering it but I don't think you can stop them once they start.
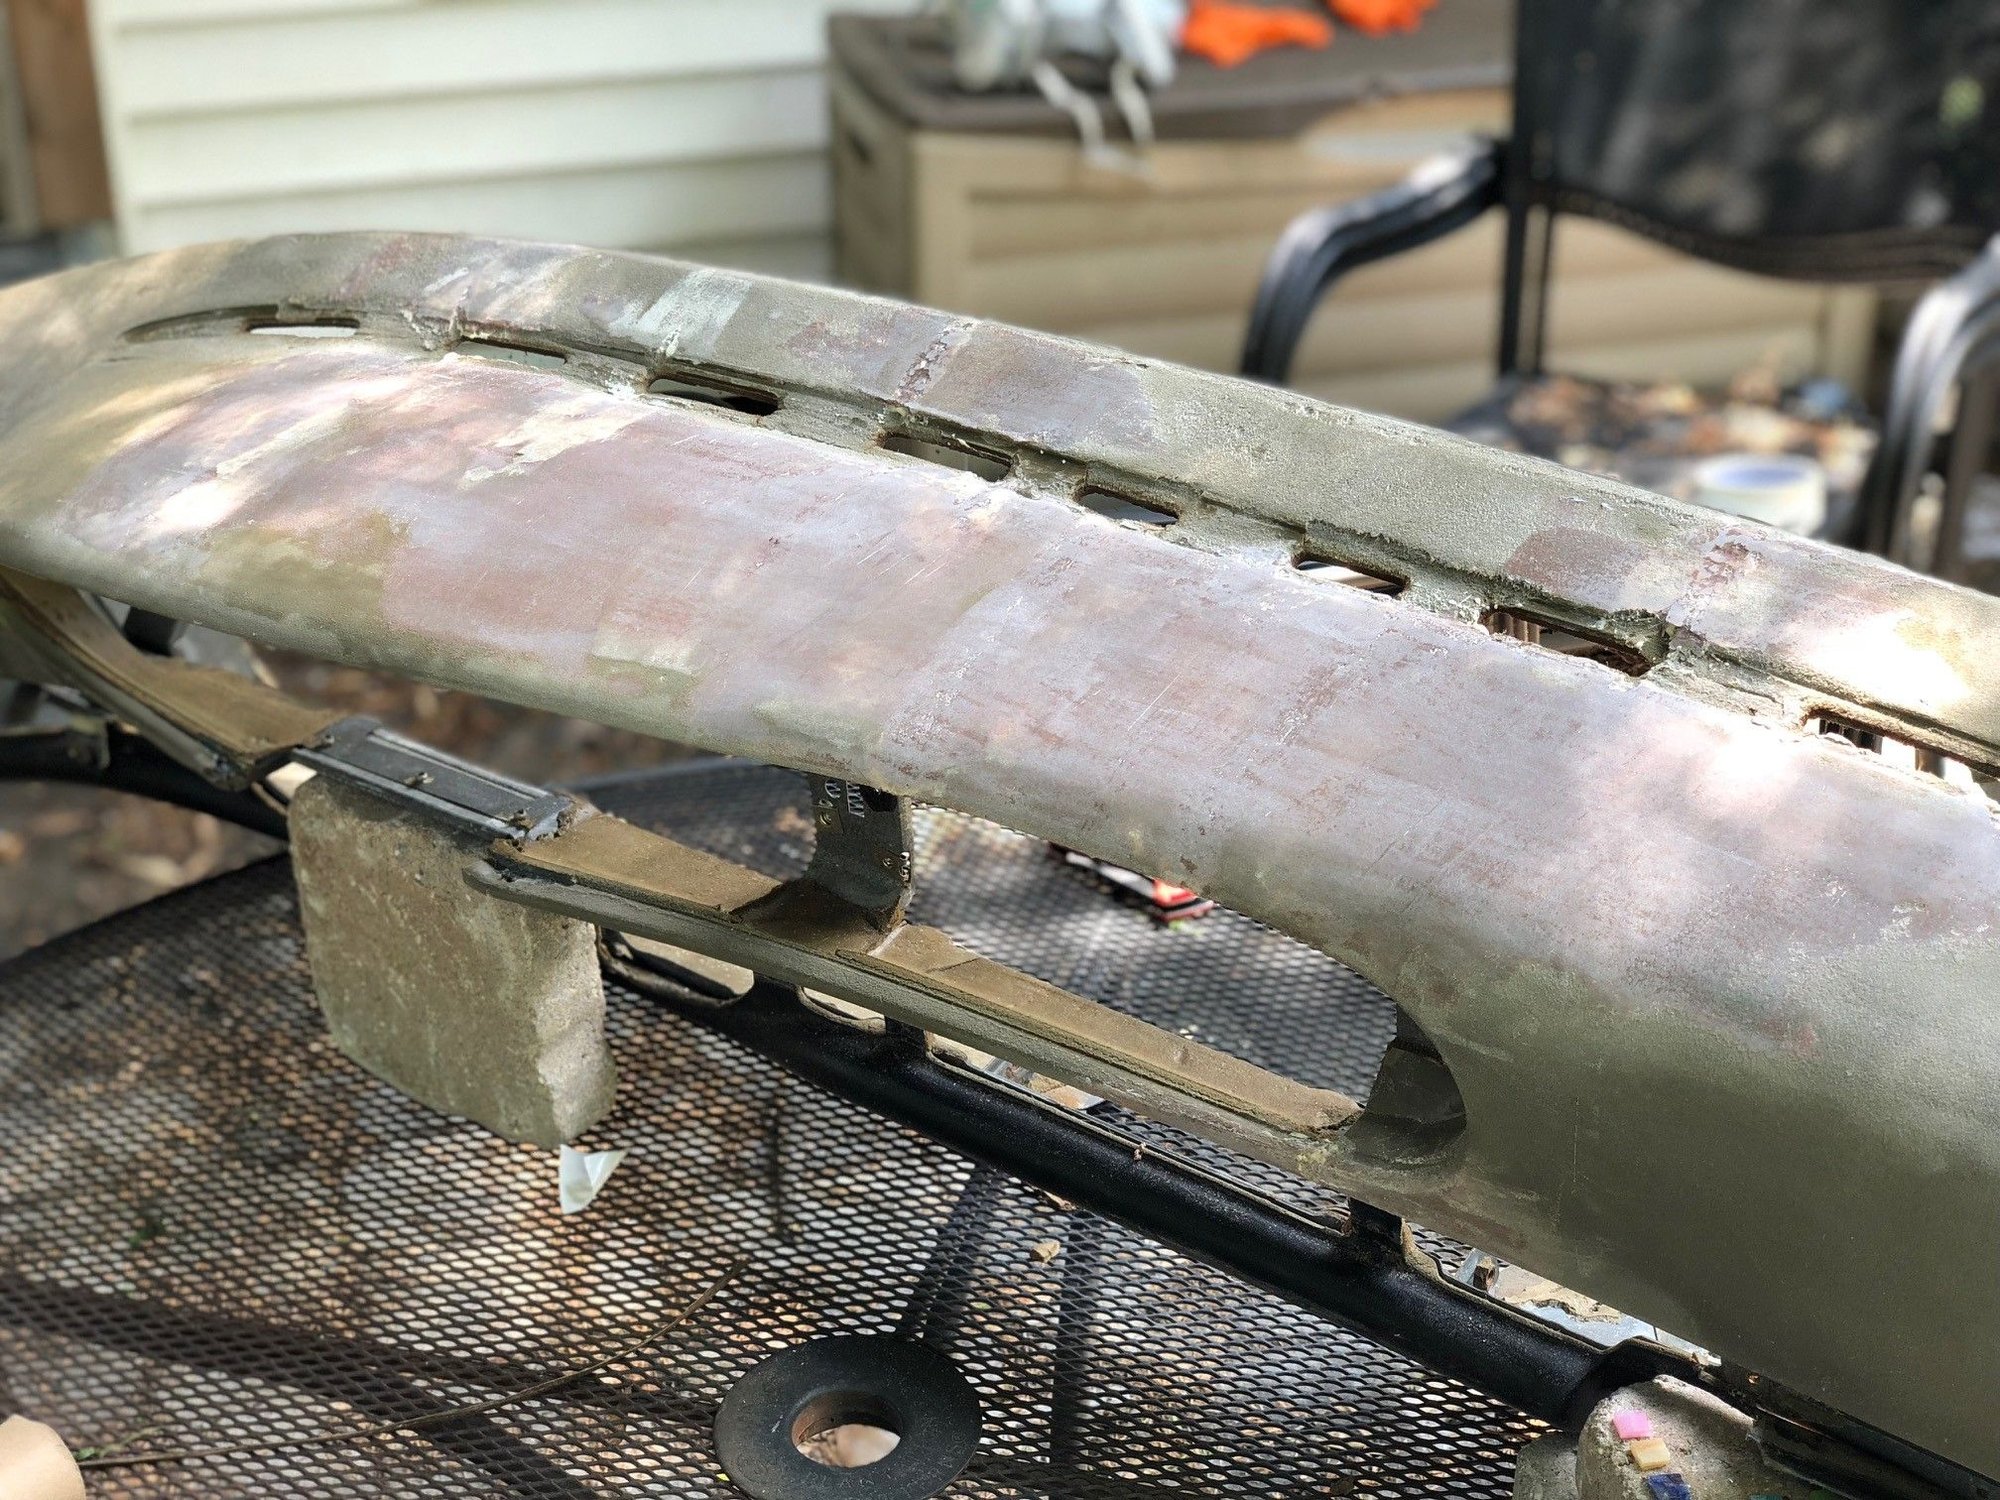
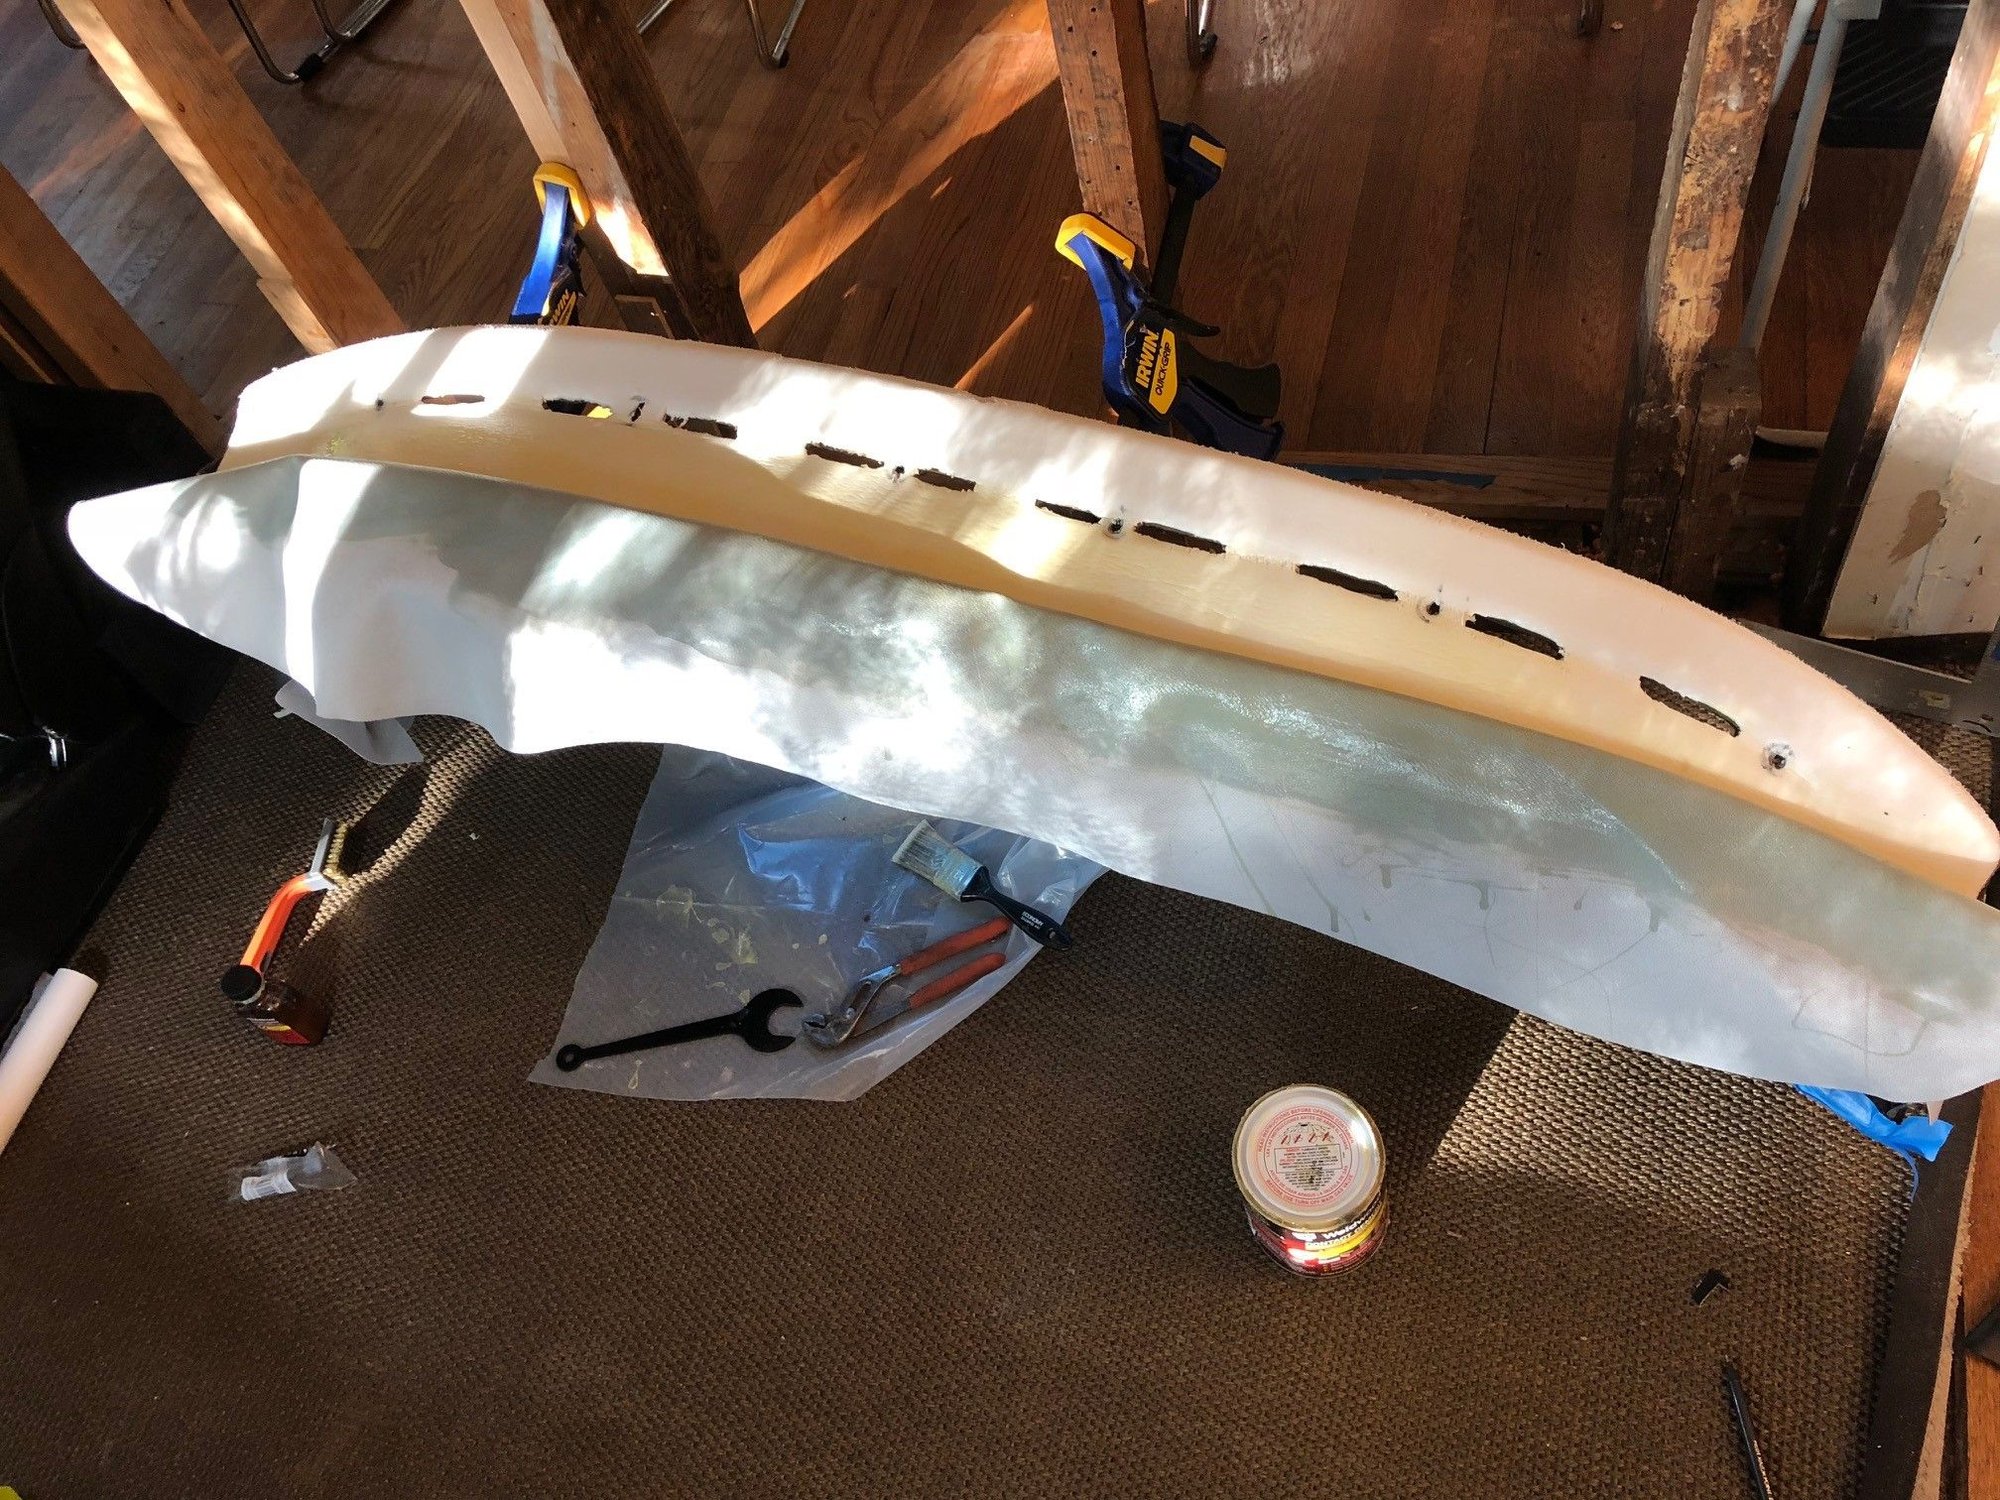
Doing it right isn�t just a recover. You�ll need remove the old cover and carve out and then repair the cracks in the foam underneath. Otherwise you may see the crack through the new cover. The Classic9 kit comes with a really thin layer of foam that goes on top of the original foam to smooth things out.
If you are comfortable with using contact cement... it�s a DIY project. Not an easy one, though. Go slow and attach a bit (a few inches) at a time.
As a bonus... taking the dash out lets you clean out all the AC/heater ducts. Without any sort of filter at the intakes... mine were pretty gross.
Last edited by Millermatic; 03-24-2021 at 09:05 AM.
Couldn't find pictures of "carving" the cracks in the old foam out... but here's one of sanding down the filler (can't remember exactly what I used. A flexible fiber-reinforced filler of some type). And one of contact-cementing the new cover on to the new foam overlay.
The end result looks exactly like J1NX3D's... but left-hand drive. If you search my other posts there are some images of the interior - along with DIY re-covered seats. The dash turned out better than the seats... which I attribute to Classic9's product. Would love to get them to redo the seats. Some year.
Last edited by Millermatic; 03-24-2021 at 11:20 AM.

 03-18-2021, 12:50 PM