When you click on links to various merchants on this site and make a purchase, this can result in this site earning a commission. Affiliate programs and affiliations include, but are not limited to, the eBay Partner Network.
Early offset since it is an 86.
Front: 17x8", Offset: ET 30mm, 235/45 Tire
Rear: 17x10", Offset: ET 31mm, 275/40 Tire
Thanks for the info. Mine is an 83 converted to 86 suspension. If you track the car, how's the balance with that setup? I was looking at 255 front tires on 9" wheels and 285 rears on 10", as I can find my preferred tire in those sizes. Do you think there's enough room for that much tire?
Thanks for the info. Mine is an 83 converted to 86 suspension. If you track the car, how's the balance with that setup? I was looking at 255 front tires on 9" wheels and 285 rears on 10", as I can find my preferred tire in those sizes. Do you think there's enough room for that much tire?
Craig
Never tracked it. 285s and even slightly bigger should fit no problem on the rear. Not sure on the front.
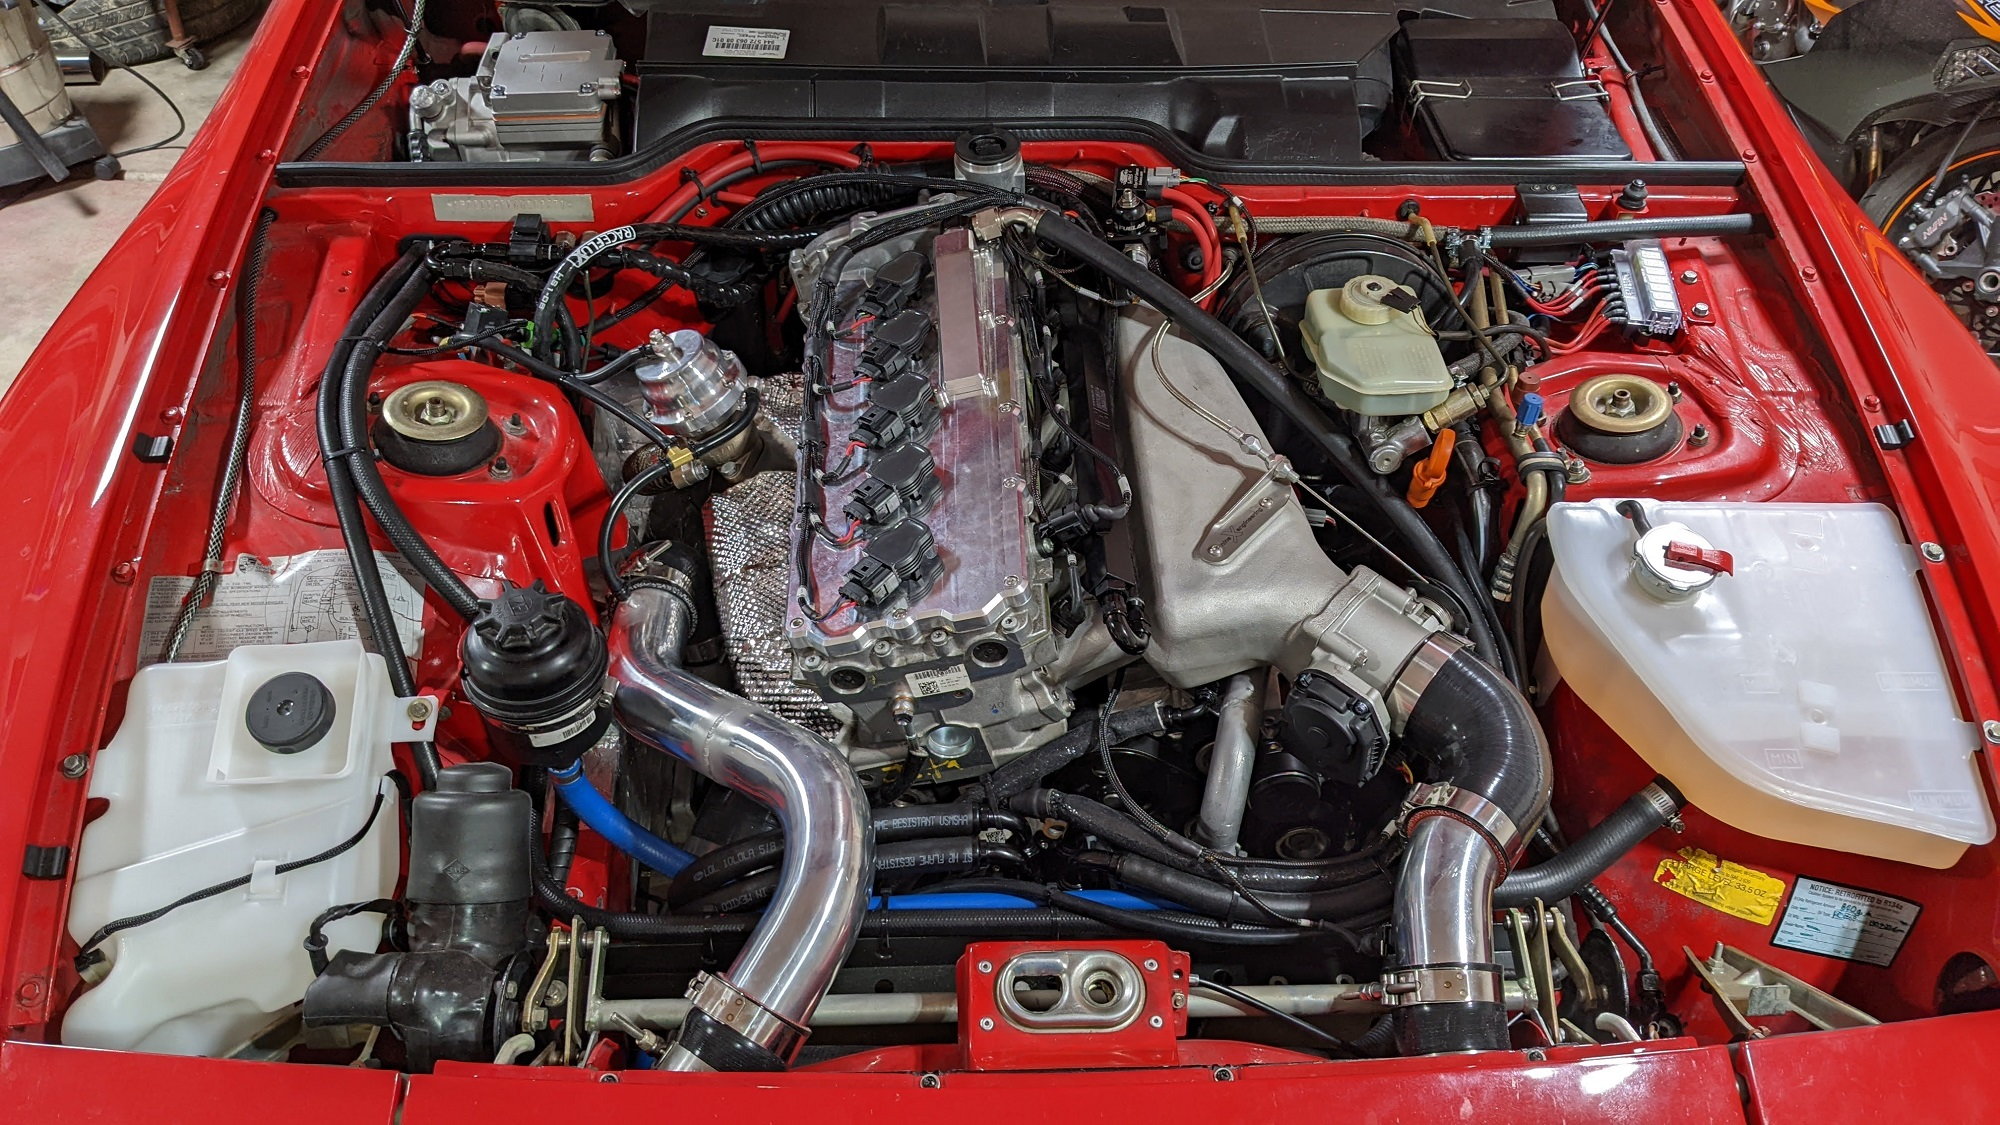
It's alive! Sorry in advance for the limited photos, I should have taken more during the build. I will post some videos soon.
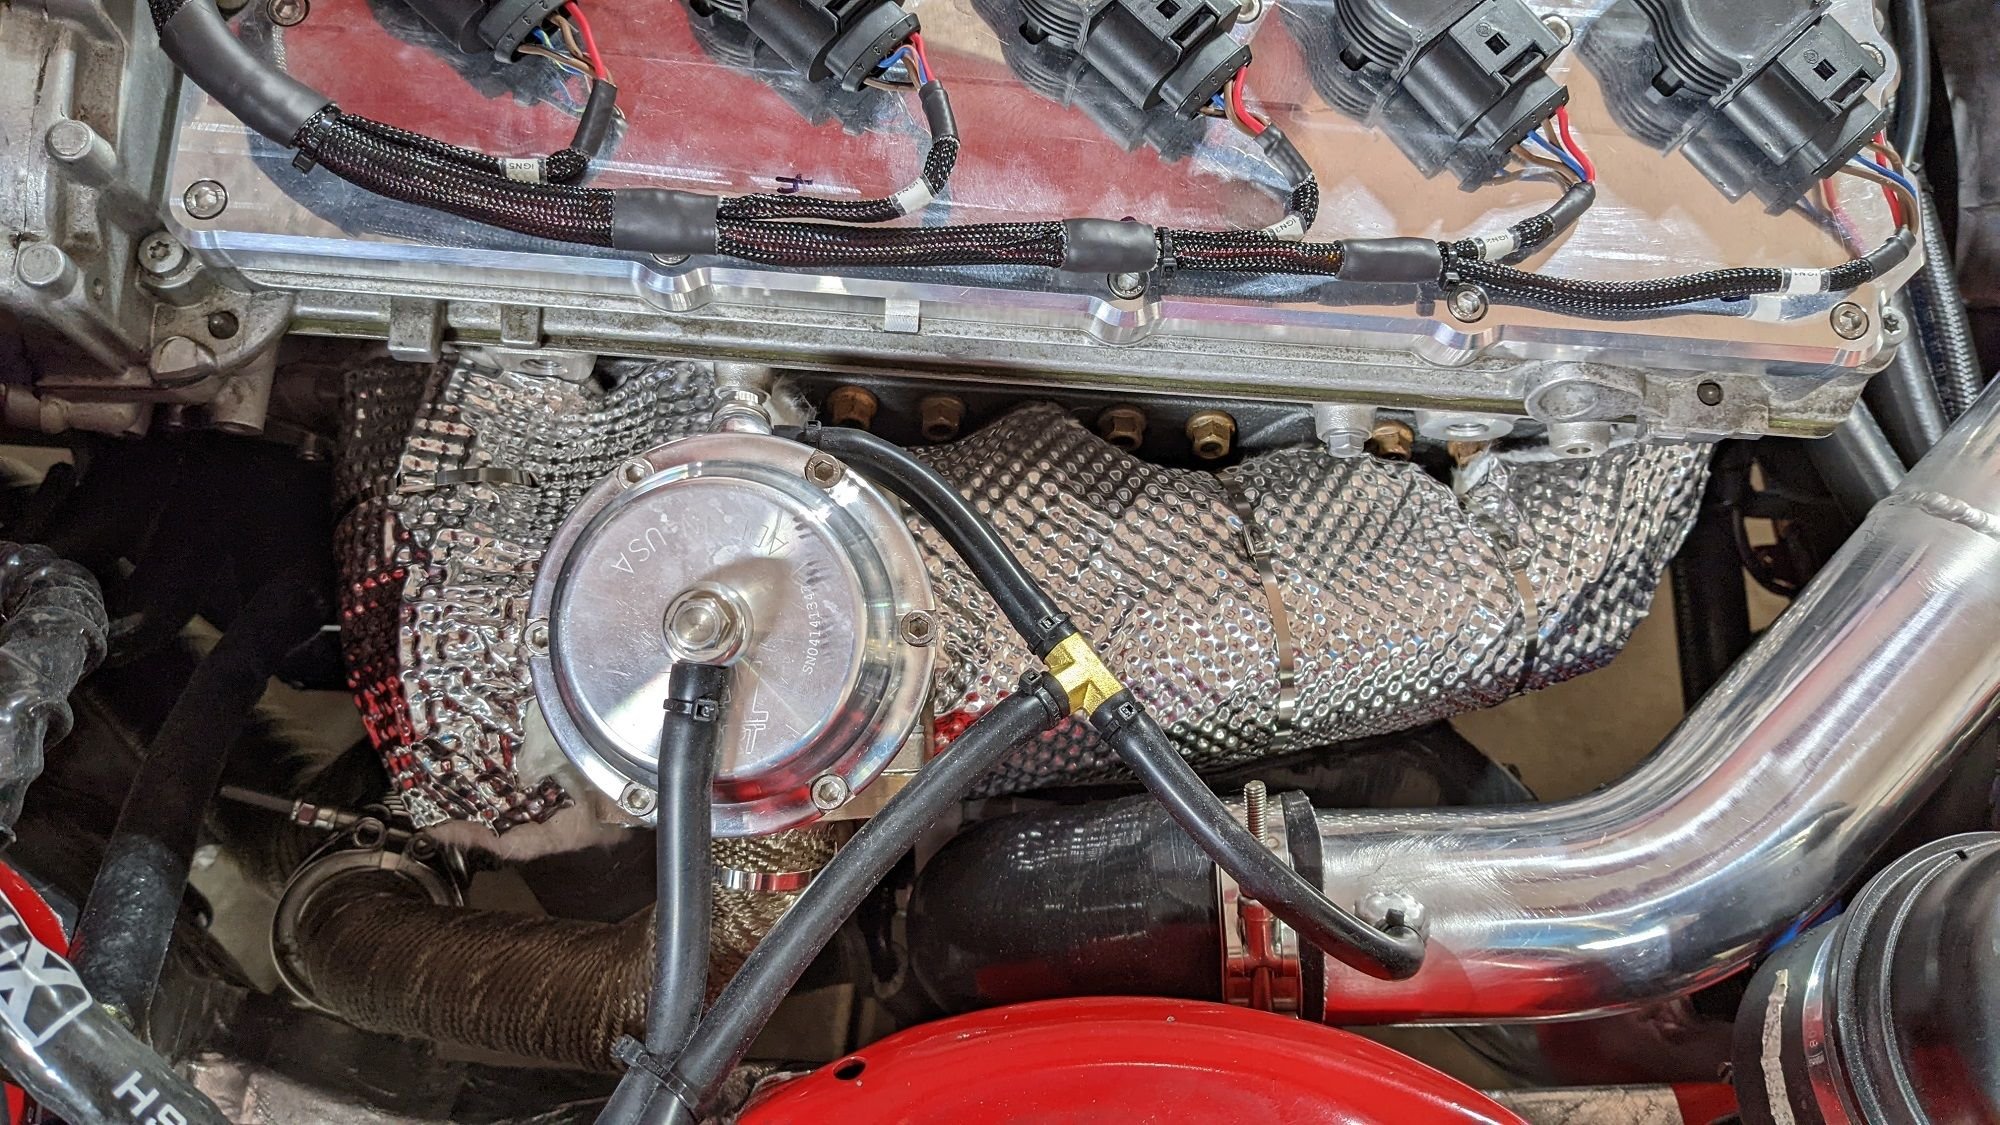
I want to keep heat out of the engine bay as much as possible. The manifold has a blanket, turbo has a blanket, and the down pipe is wrapped.
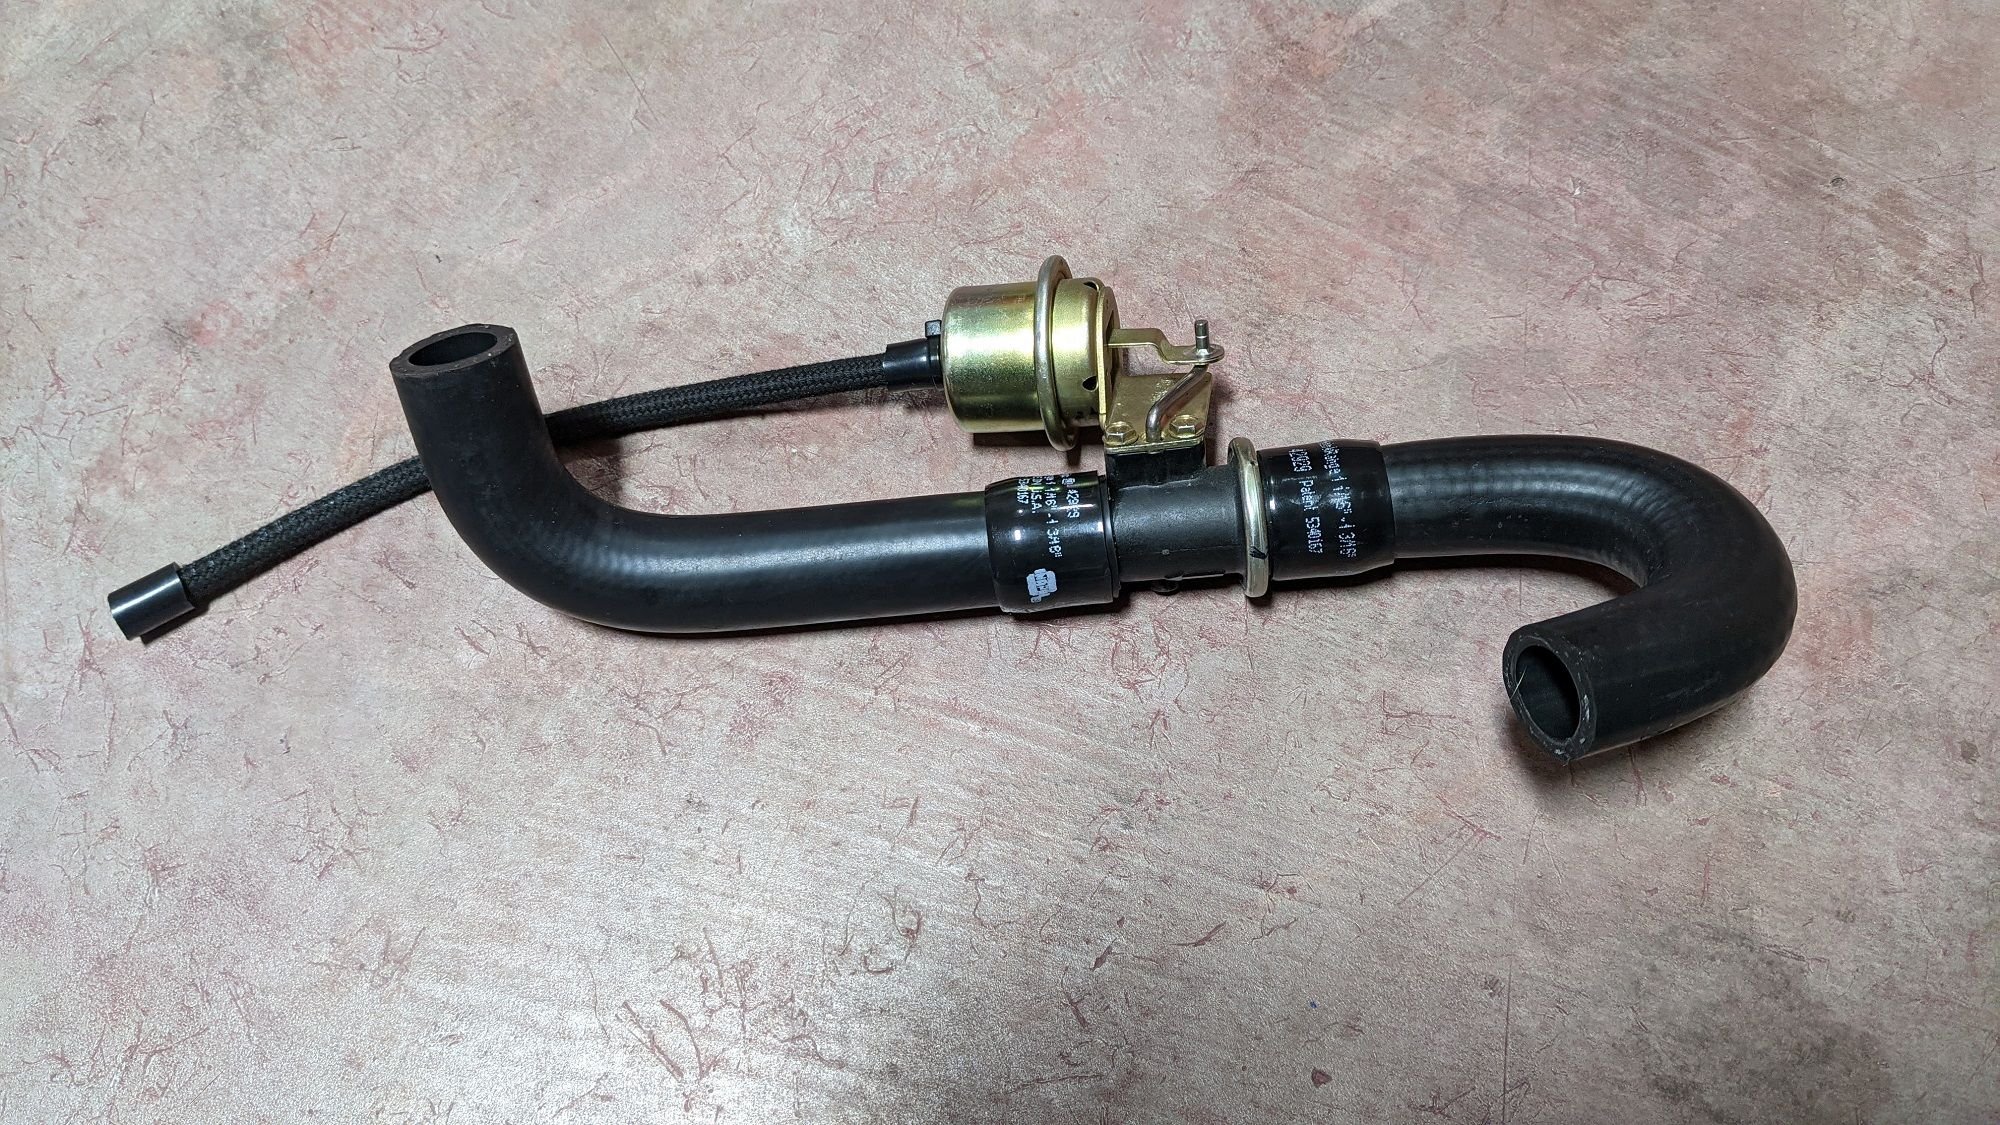
I ended up ditching the four port heater valve as it was extremely cheap feeling and the vacuum diaphragm leaked. The main reason Boost Brothers used a four port valve was to create a bypass loop for the water pump. In my case, the turbo coolant lines act as a bypass loop so it wasn't really needed in my opinion. This area is really tight too so less hoses helped a lot.
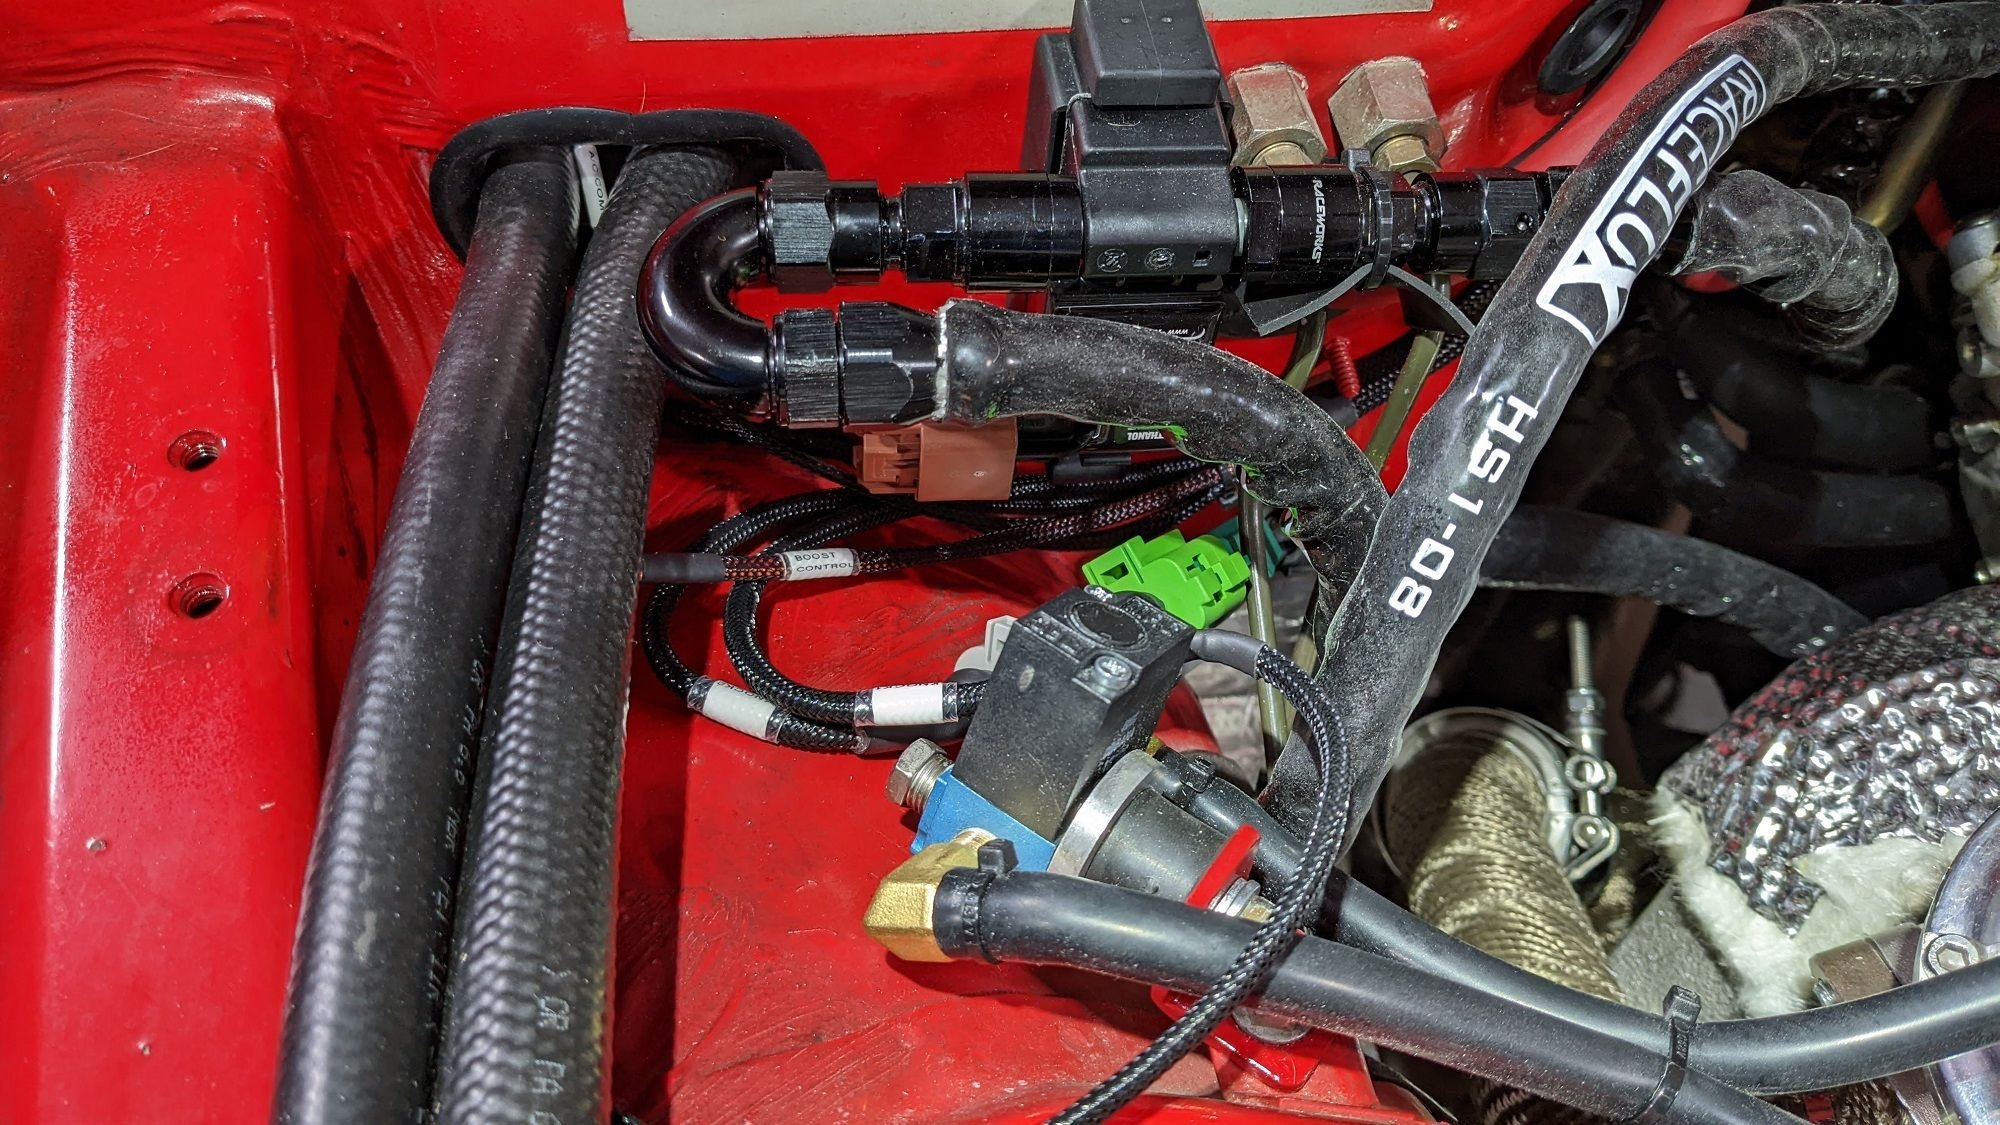
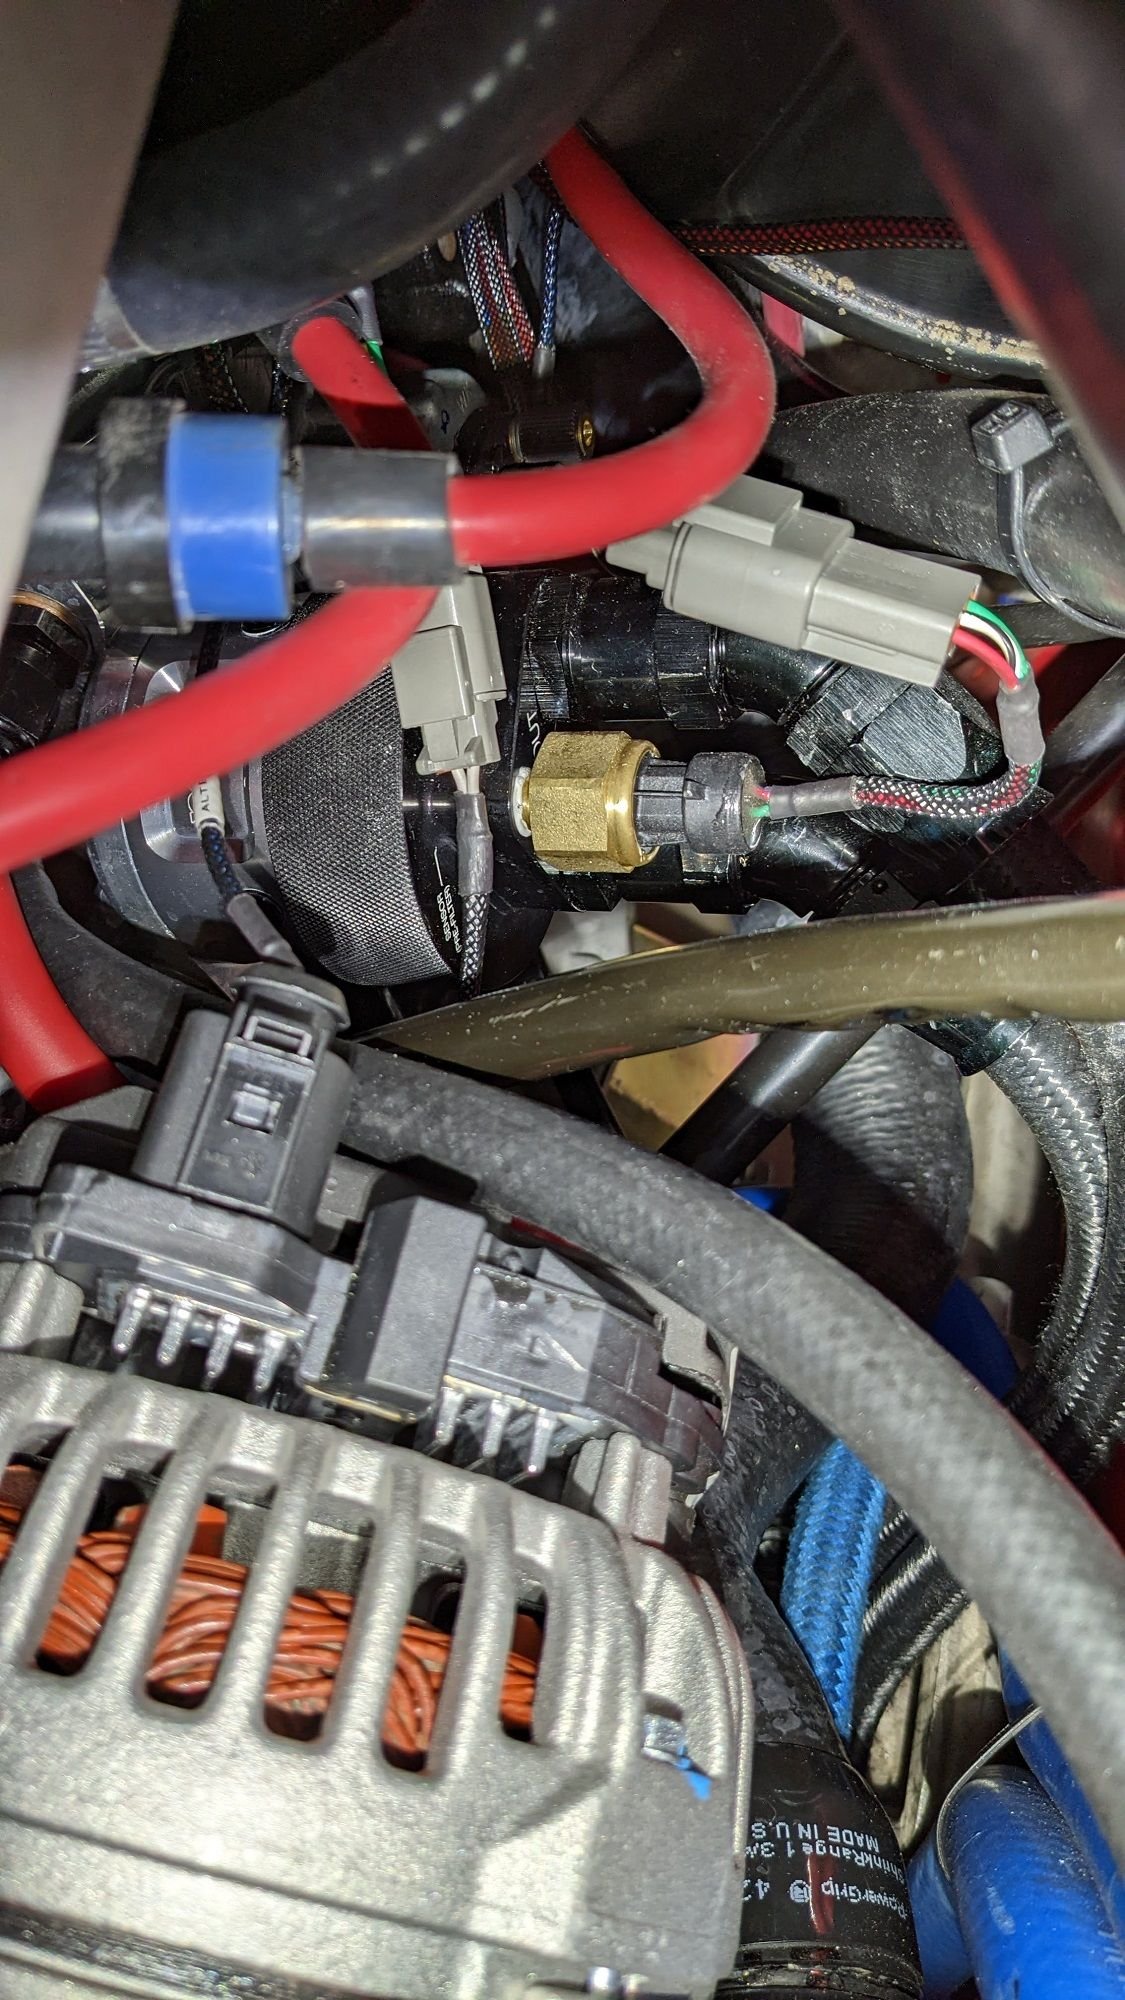
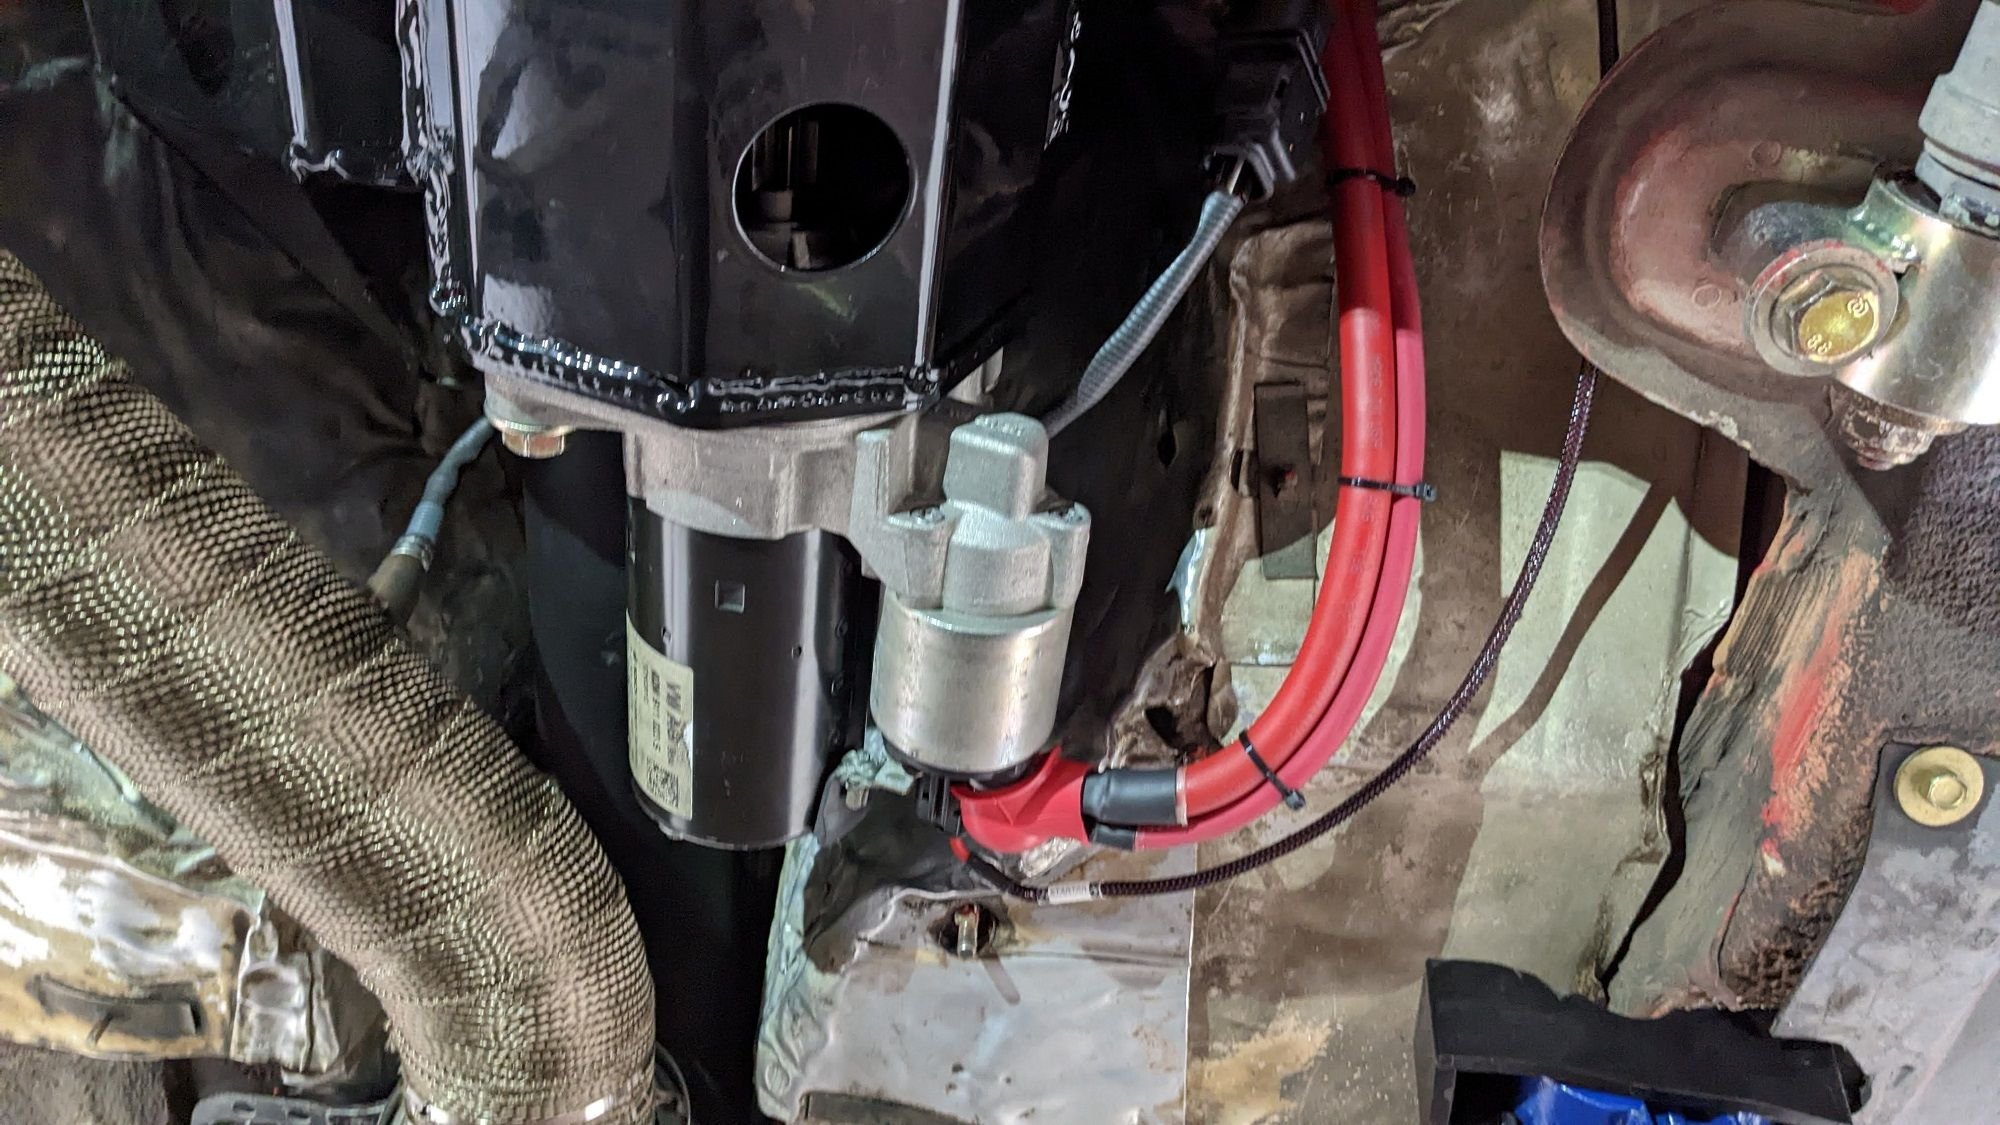
The boost control solenoid, flex fuel sensor, and connectors for the knock sensors. The A/C hoses punch through here too.
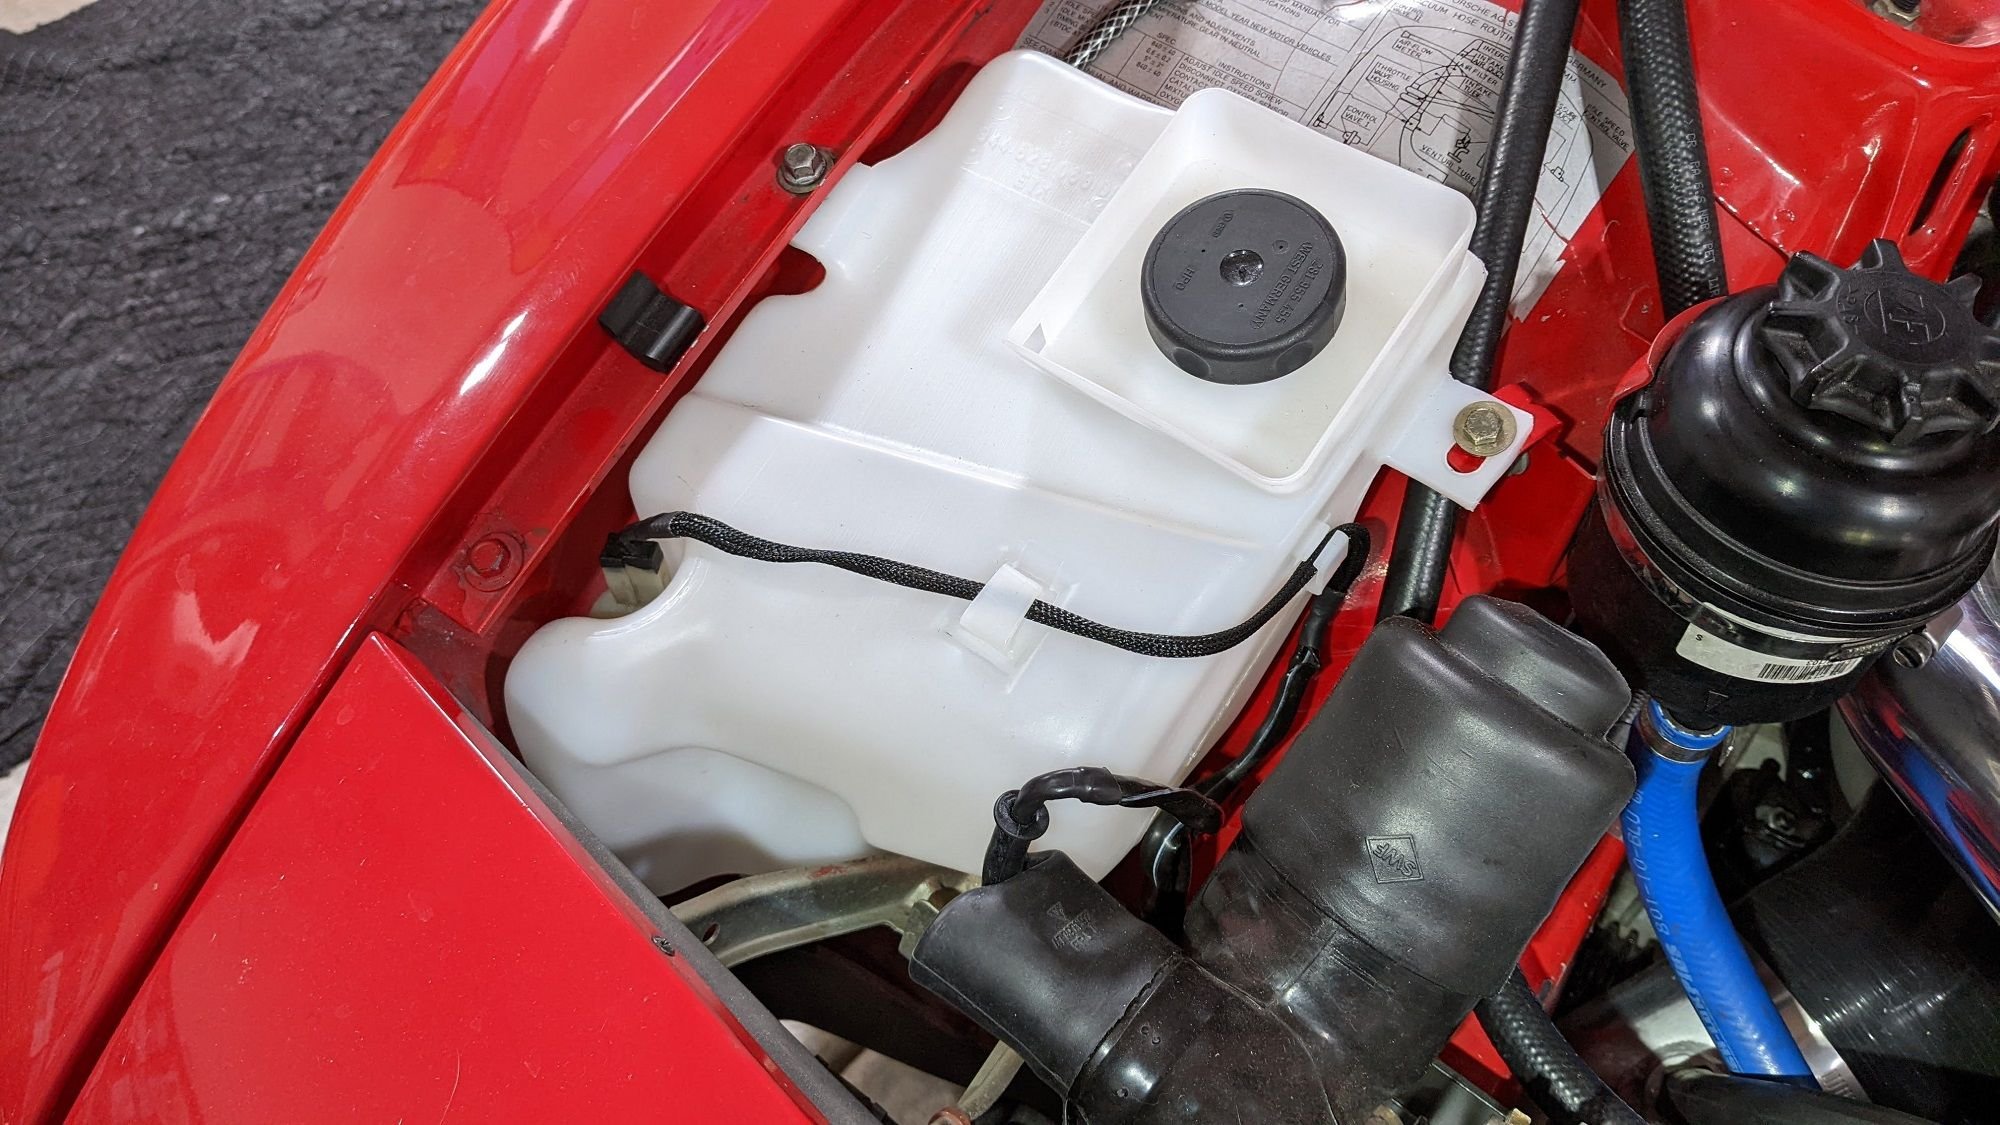
This is a windshield washer reservoir for cars optioned without the headlight washers. It is a lot more compact. Need to wash those bugs off somehow!
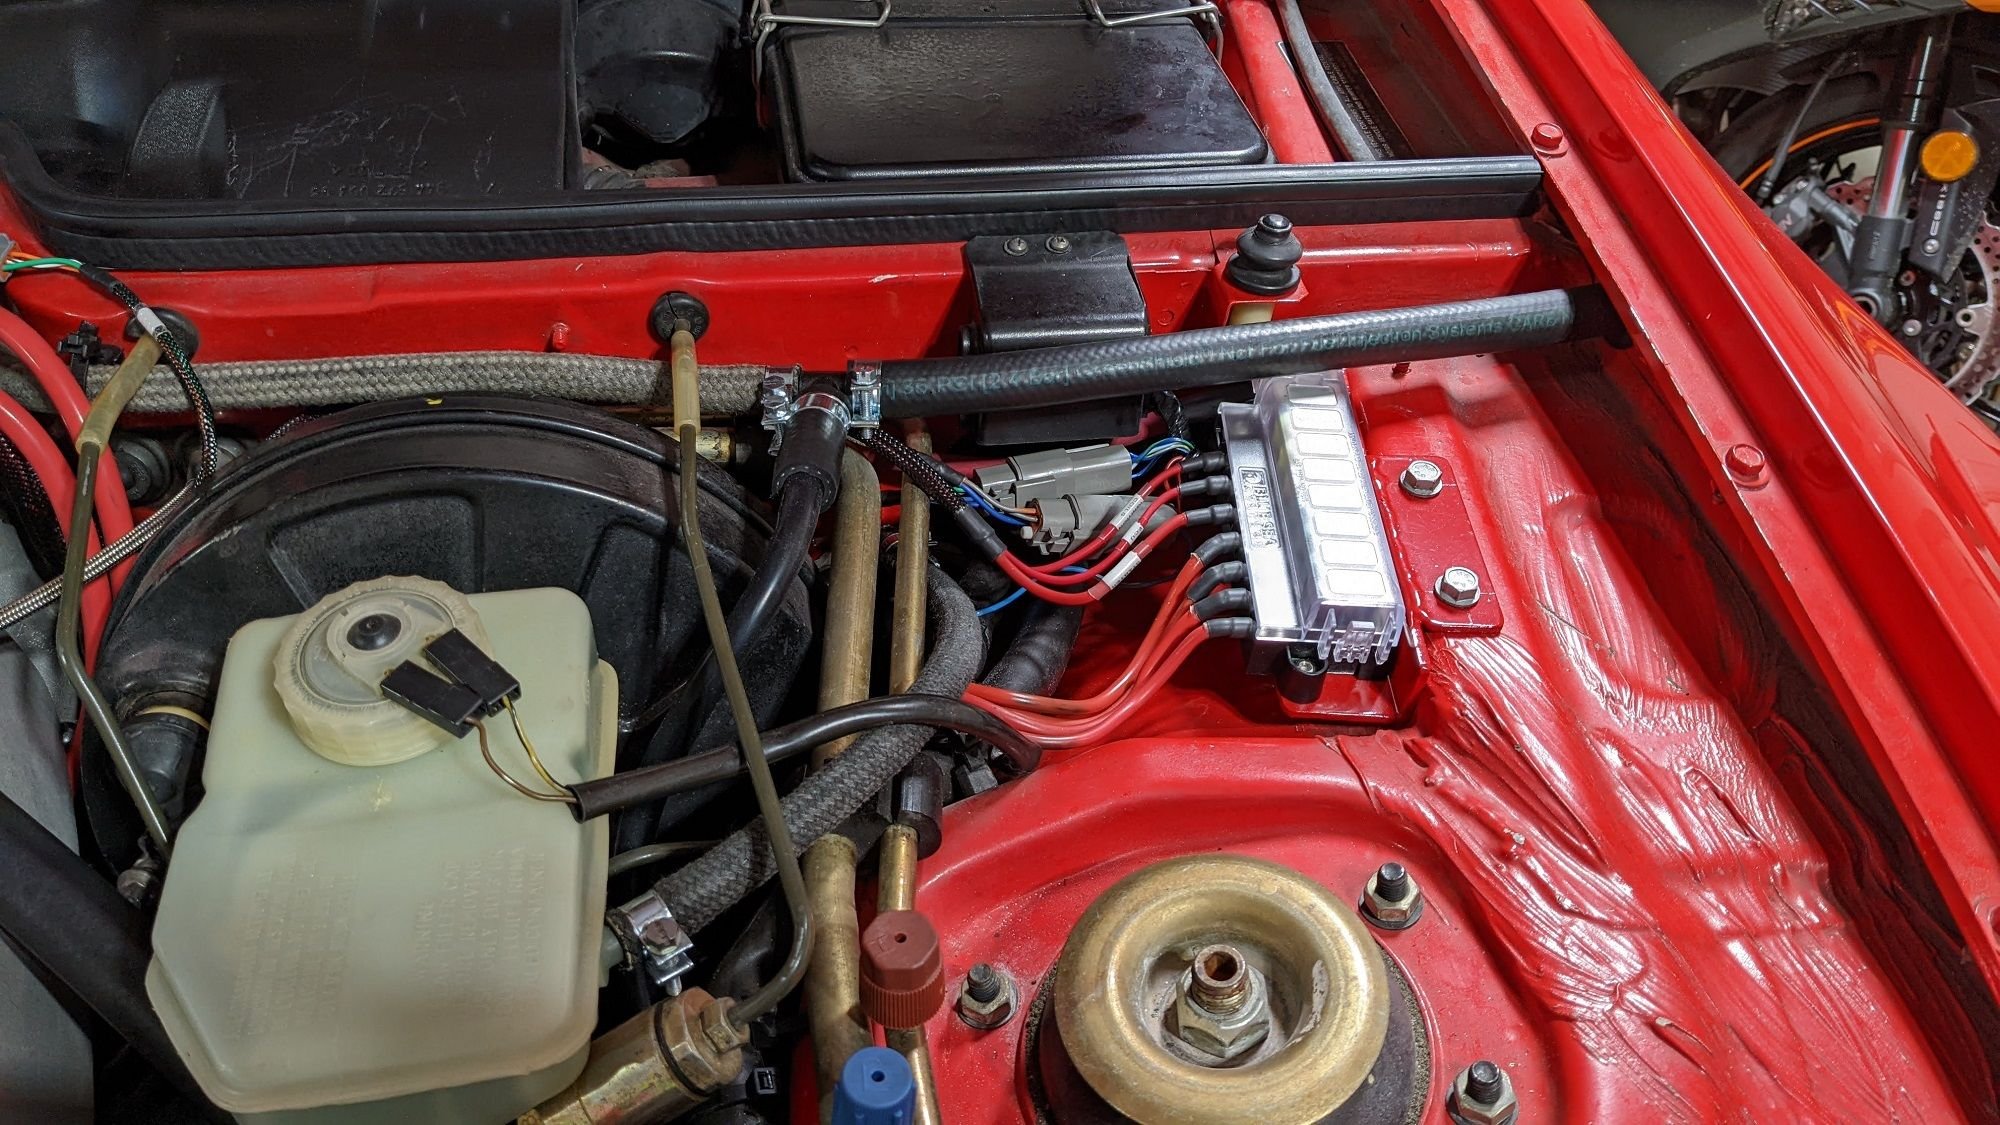
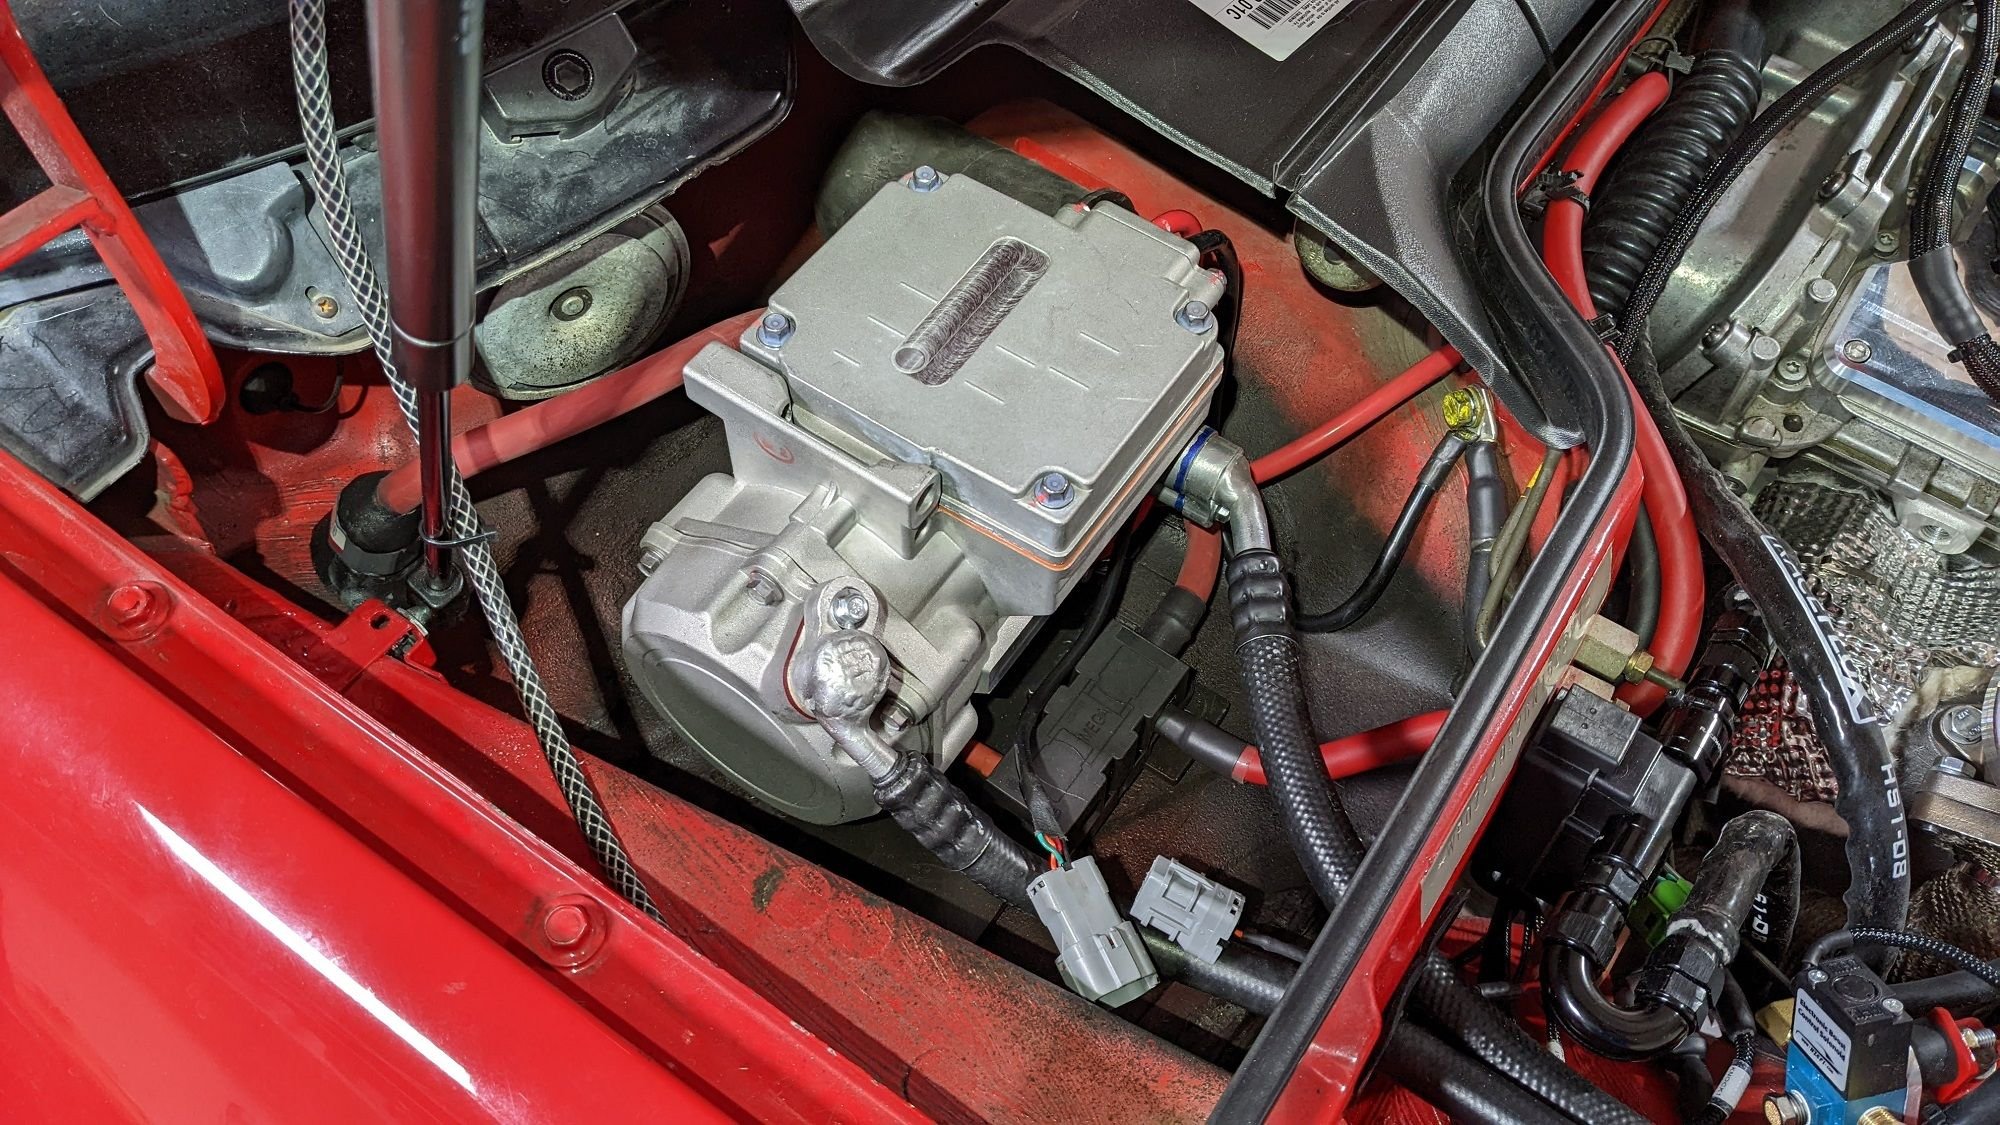
Since the battery was moved to the rear I elected to install a fuse block to keep things a little cleaner.
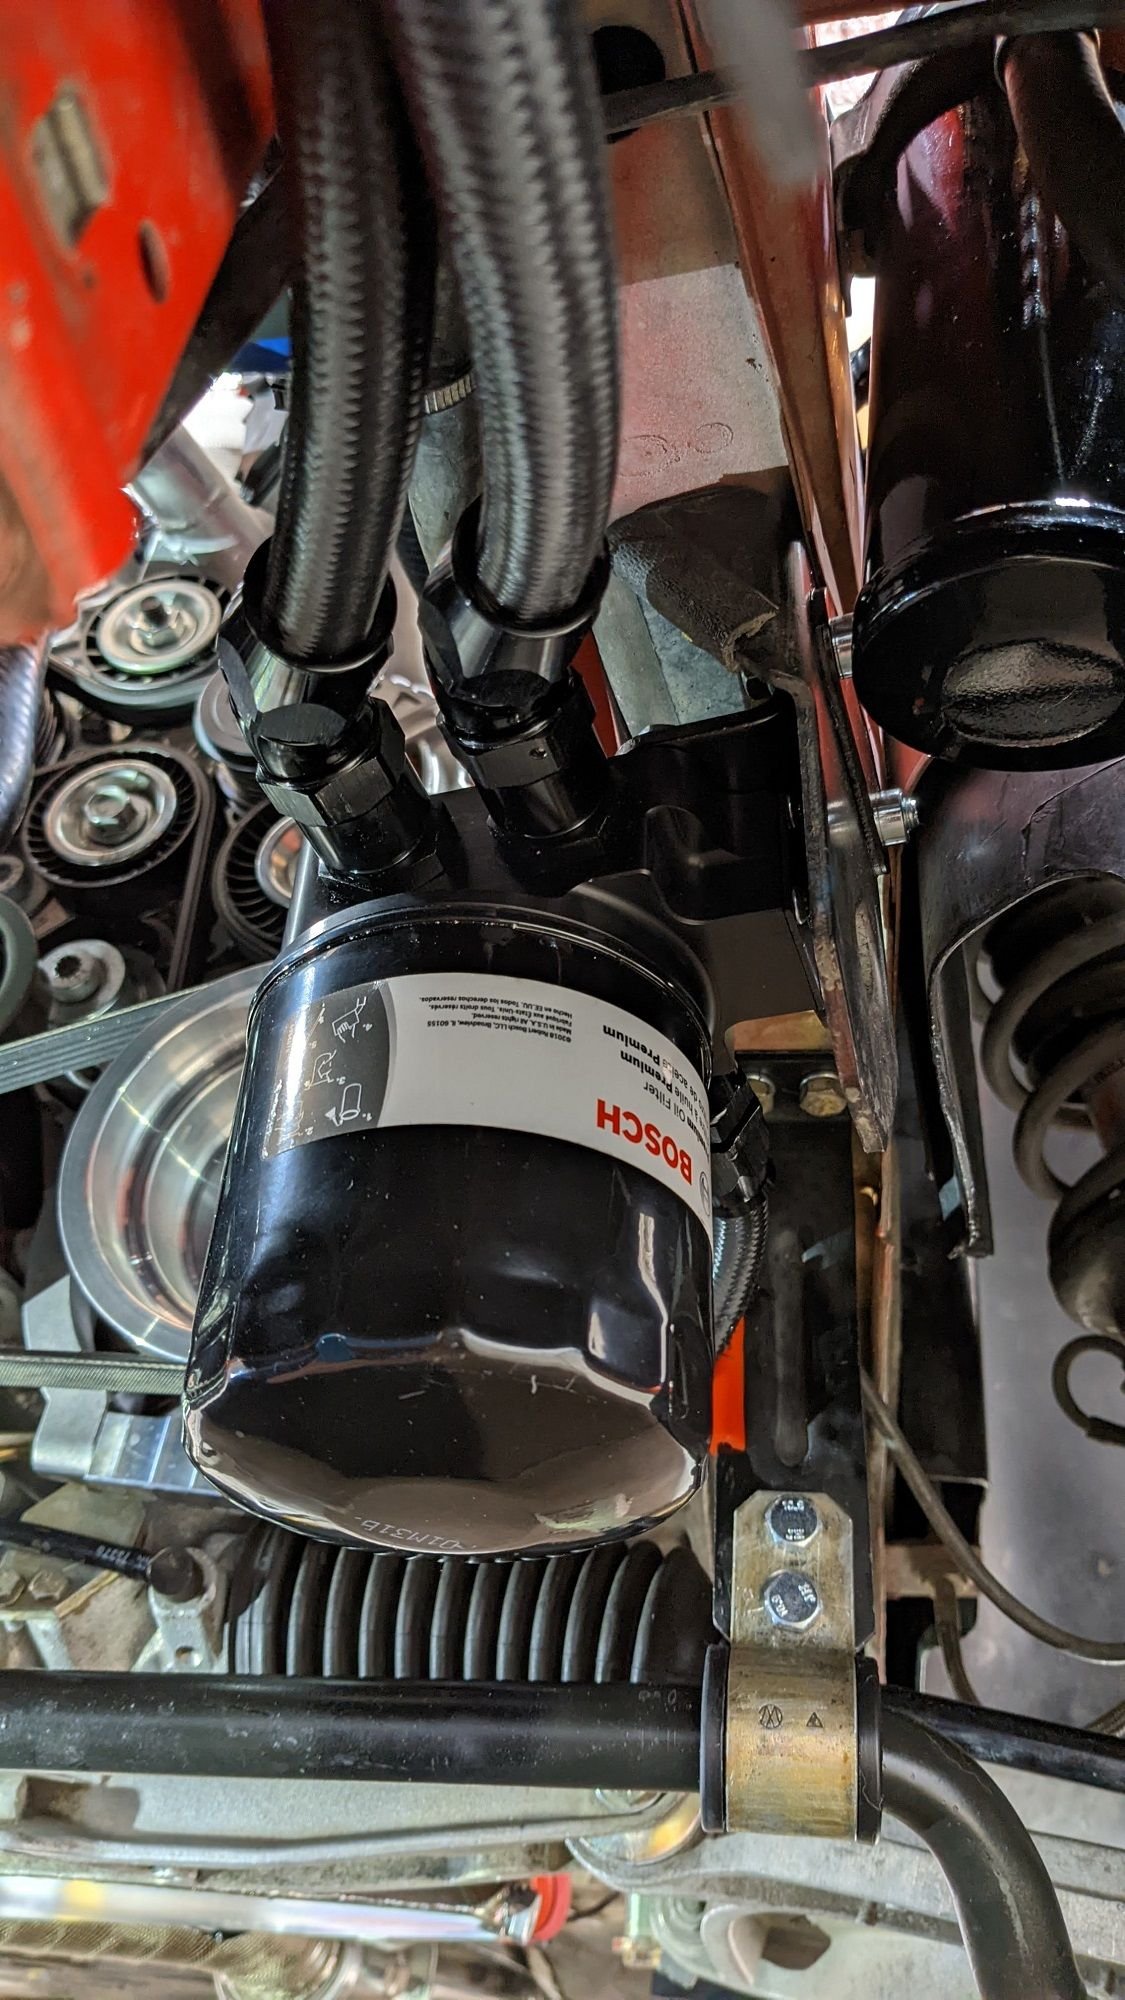
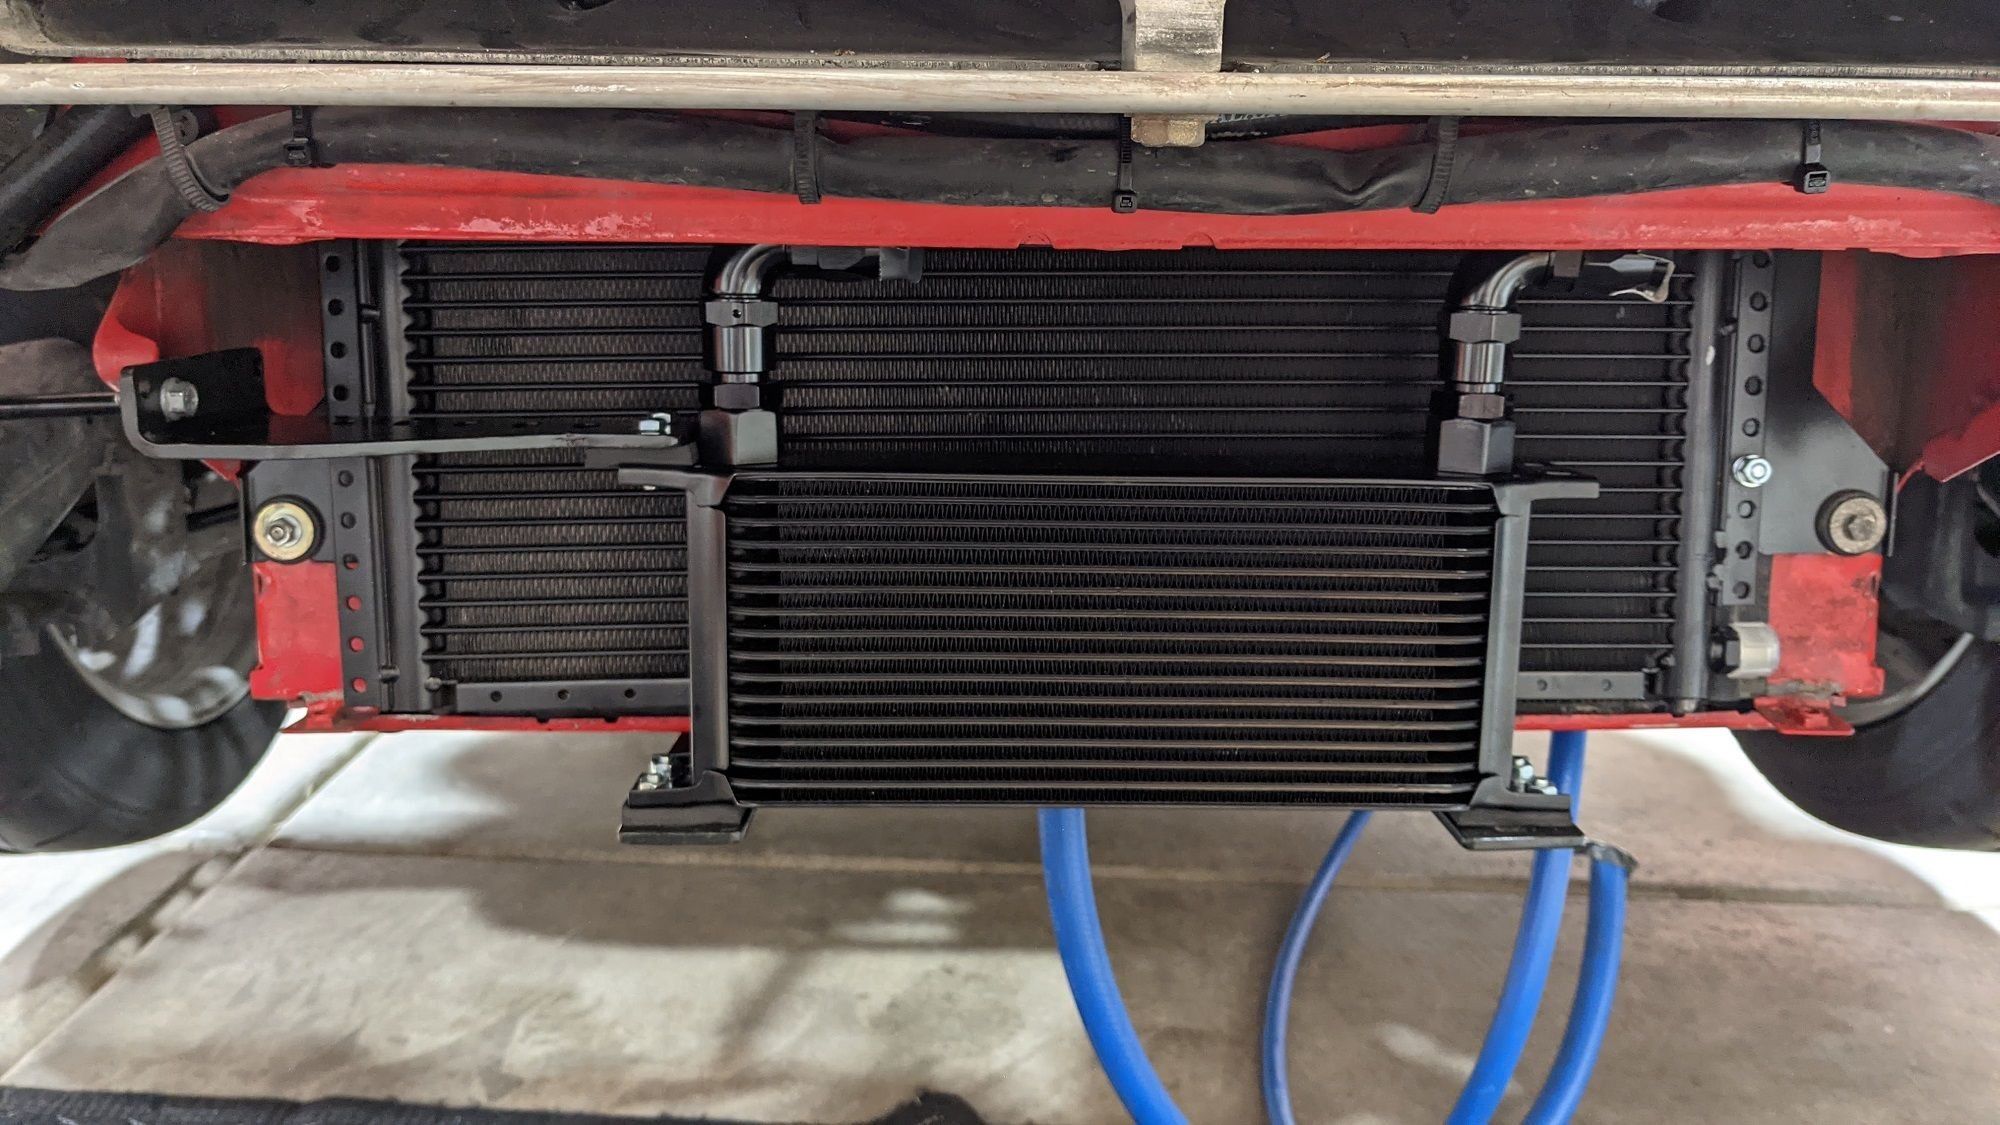
I am running an Improved Racing remote oil filter setup which is designed to feed an oil cooler as it has a built in thermostat. I had to install a Setrab oil filter spacer as the Improved Racing adapter hit the motor mount on the iABED oil block. A VDO 360-009 oil pressure sending unit in the iABED block is feeding the OEM oil pressure gauge. This is the same as the normal 944 one but has a 1/8 NPT thread. I drilled and tapped the larger -10 AN plug on the iABED block for an ECU oil temp sensor. Finally, the Improved Racing adapter has an ECU oil pressure sensor installed. The oil cooler is a Derale 16 row.
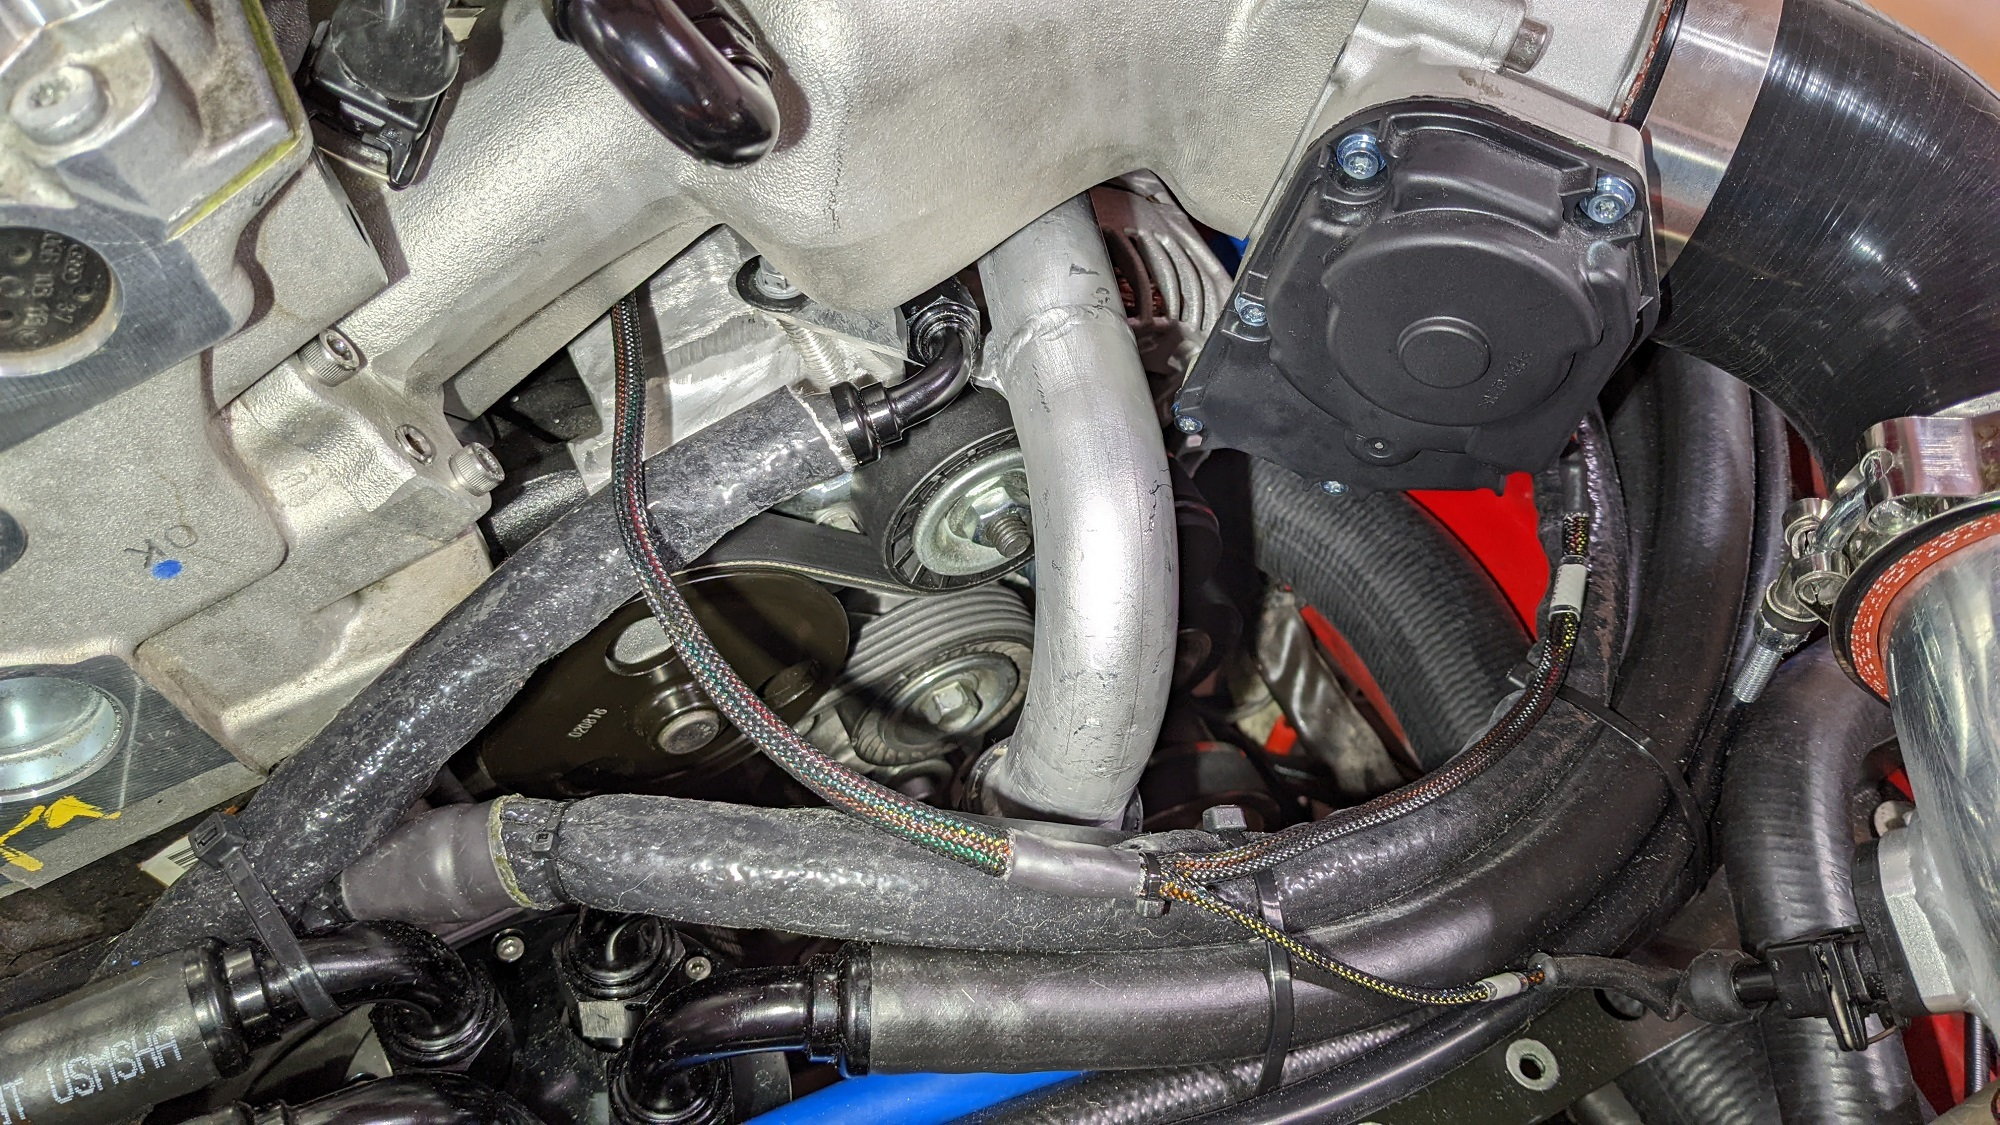
I didn't like having a radiator hose hanging over the rear belt and upper pulley so I extended the aluminum 1.8T thermostat flange.
I reused the small OEM 07K hard line that rotates into the top of the thermostat housing as my turbo coolant return. I just chopped the end off and welded on a -6 AN fitting. I bent the mounting tab down and drilled and tapped a bolt hole in the top of the chopped accessory bracket. The turbo coolant feed comes off the coolant port on the iABED oil block.
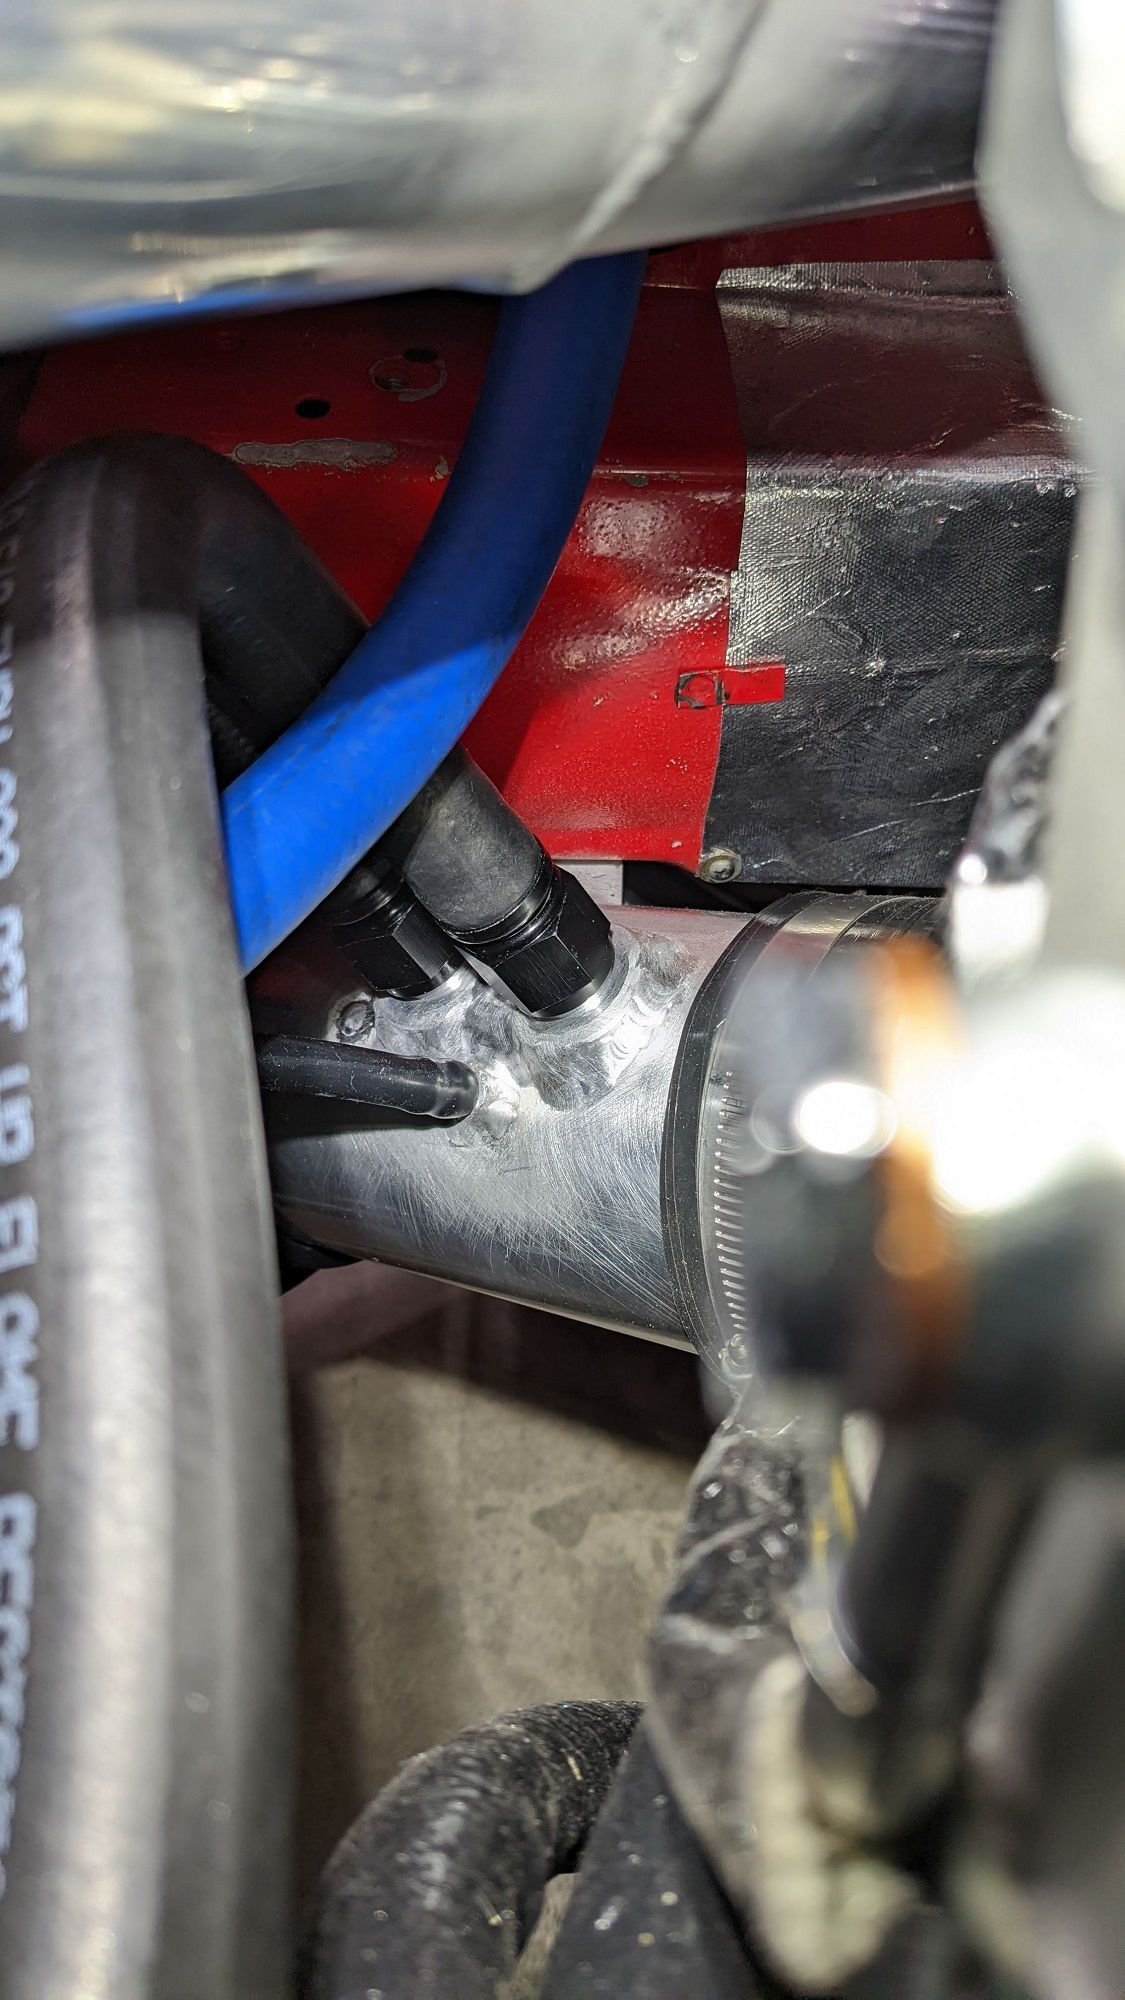
This is a big ol' recirculating Vibrant catch can. It is mounted off a piece of aluminum angle that goes across the two frame rails, like the 944 Turbo coolant pipe assembly. It provides a nice spot to route hoses across as well.
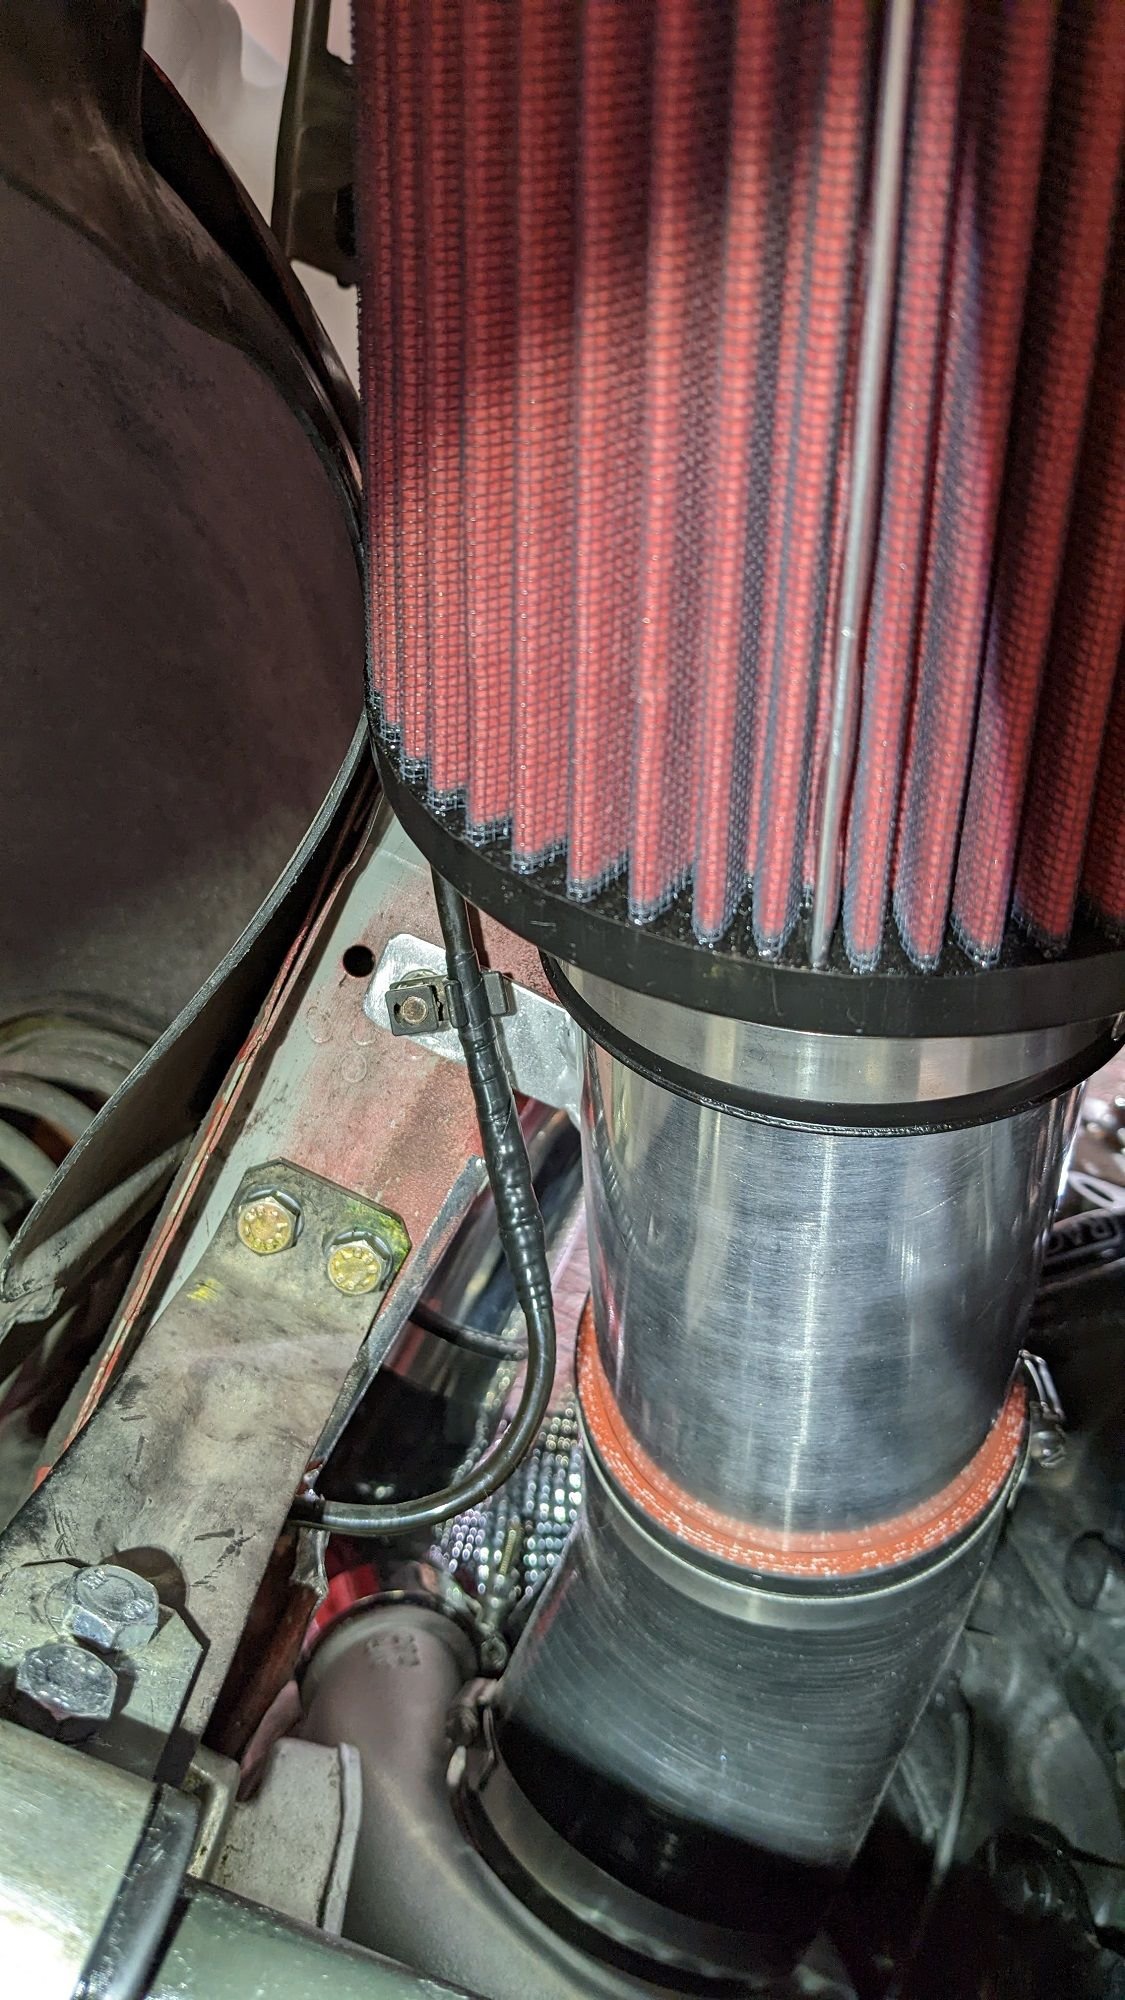
Turbo intake is pretty simple, just a 45 degree silicone coupler into a small straight section of aluminum pipe. It has a small mounting tab to hold it in place and keep additional weight off the turbo.
The two large lines are for the catch can and the small line goes to an evap solenoid. The Link ECU will open the solenoid under low load. A lot simpler than the vacuum based 944 stuff!
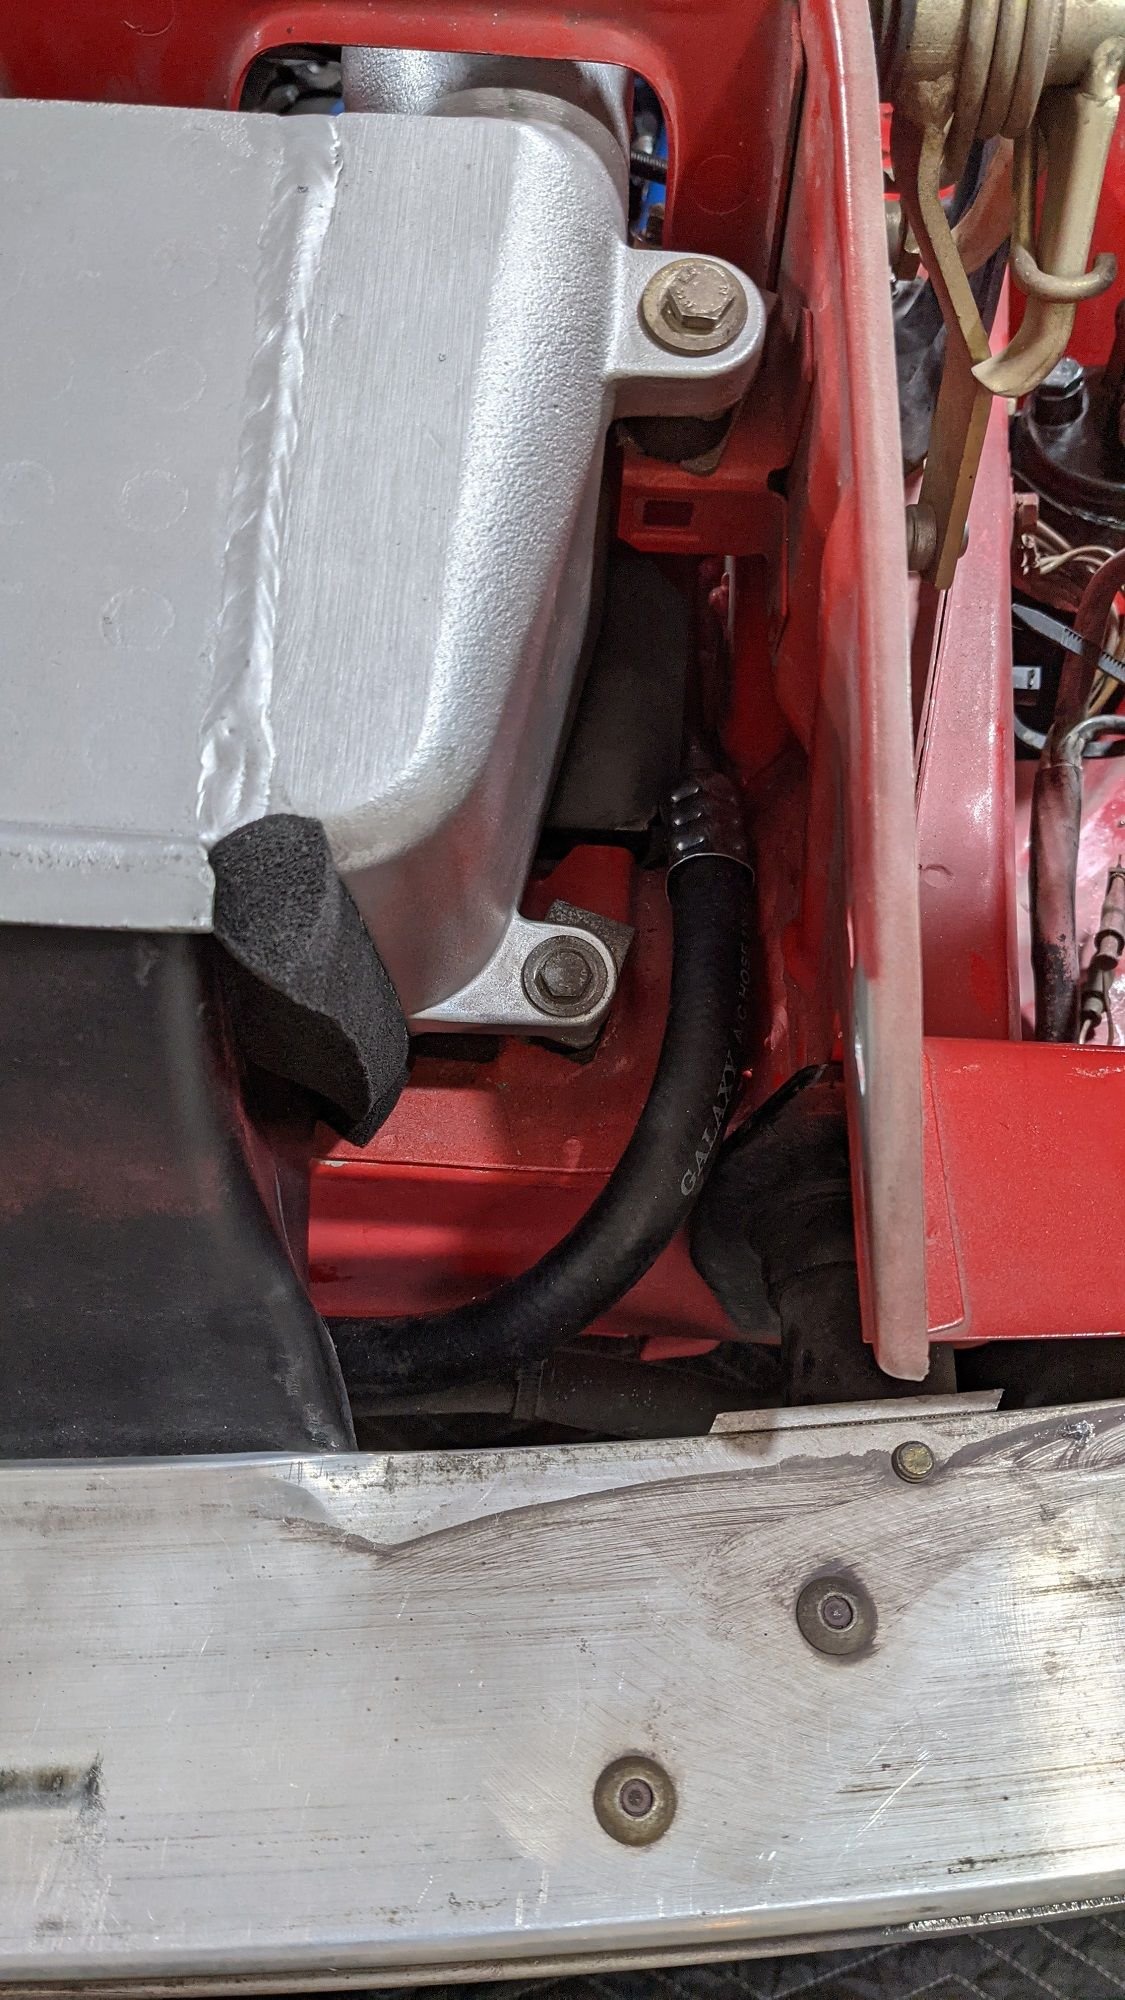
The electric A/C compressor is mounted on a custom bracket that mounts into the factory battery tray. I didn't want to drill holes here as this is where water drains. There is rubber isolators that screw into the custom battery bracket and then bolt onto the bracket that holds the compressor, this should hopefully keep it quiet. It is separately fused in case something happens internally with it, I don't want to be blowing the main battery fuse.
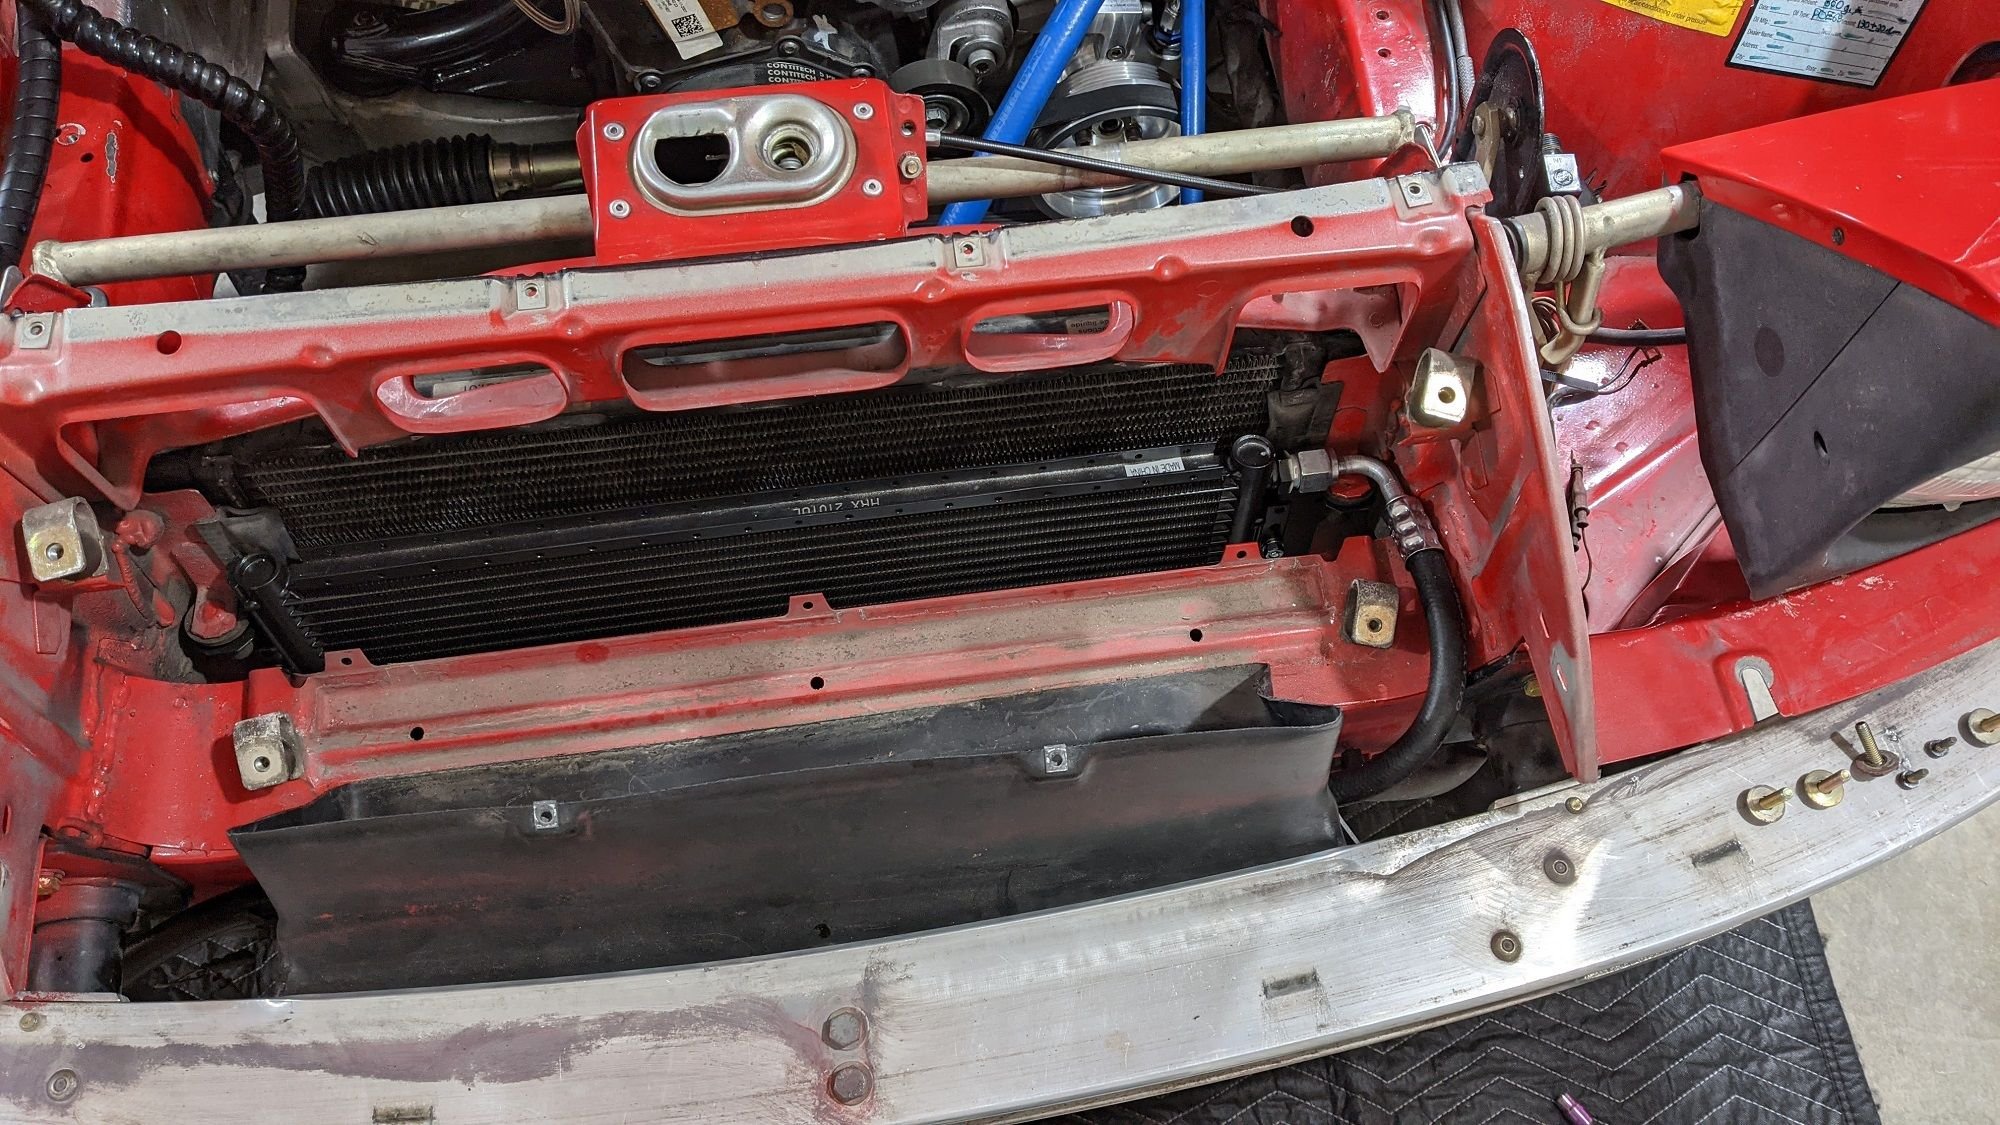
This is a new universal 21" x 12" parallel flow condenser. I chopped off the factory mounting brackets and adapted them. It is a tight fit! The top port had to be routed out the top as the upper rubber mounting tab is right in the way.
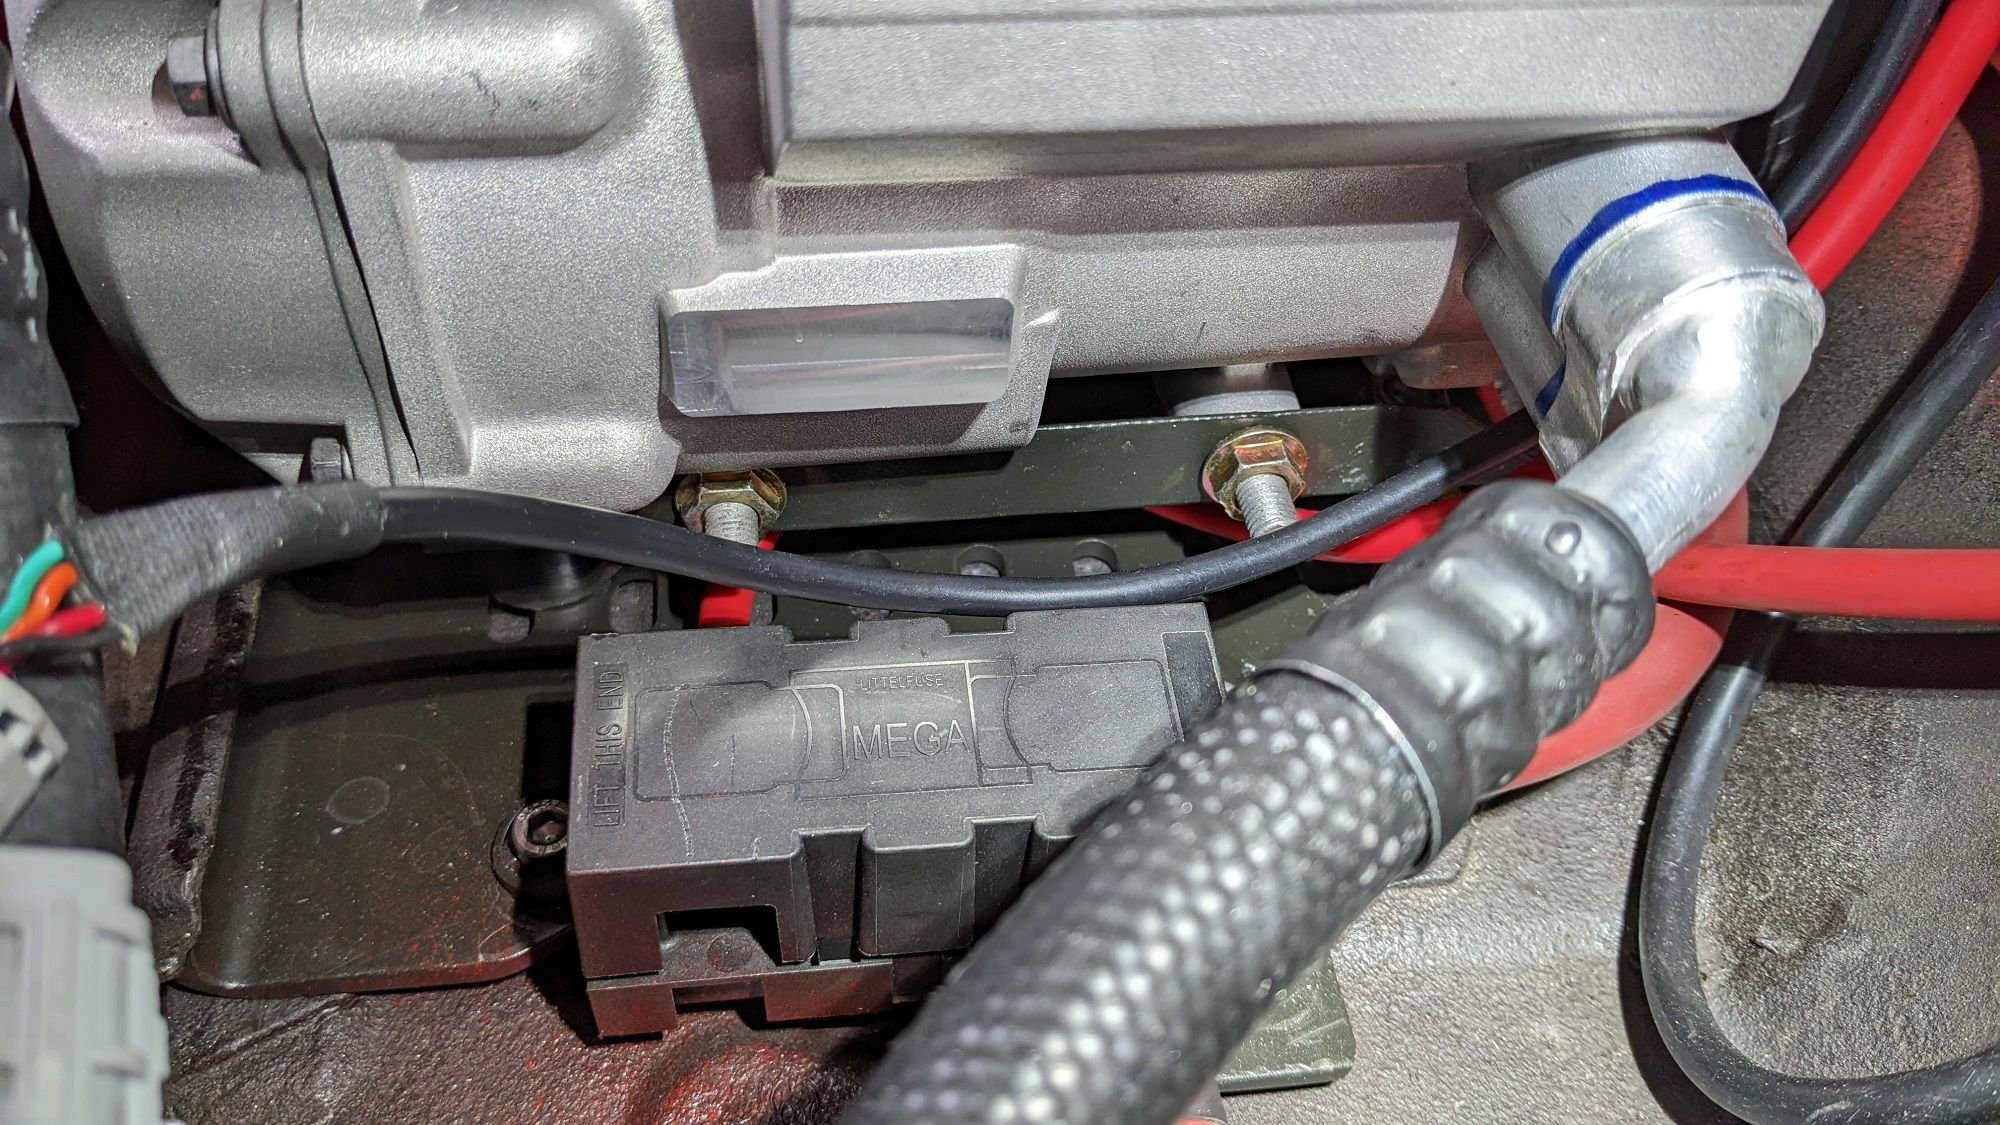
The battery was relocated into the spare tire tub with a custom mount. The small black box is the relay and fuse for the fuel pump. The cable is 1/0 AWG and ran up front to the stud on the A/C compressor fuse block. From there it is 2 AWG to the starter, 2 AWG starter to alternator, and 4 AWG starter to main fuse block.
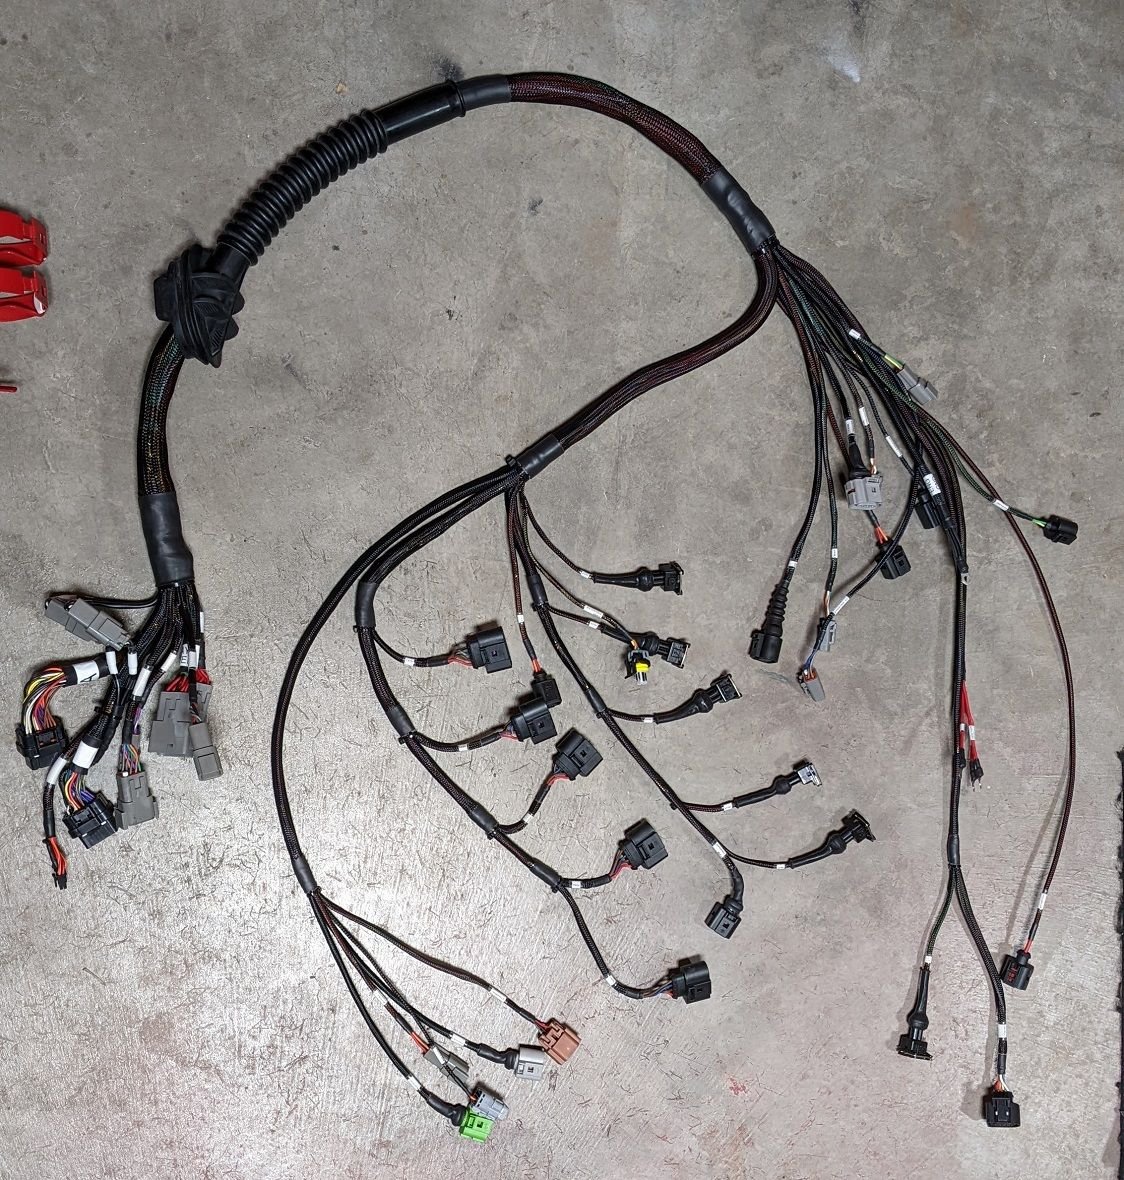
Finished engine harness.
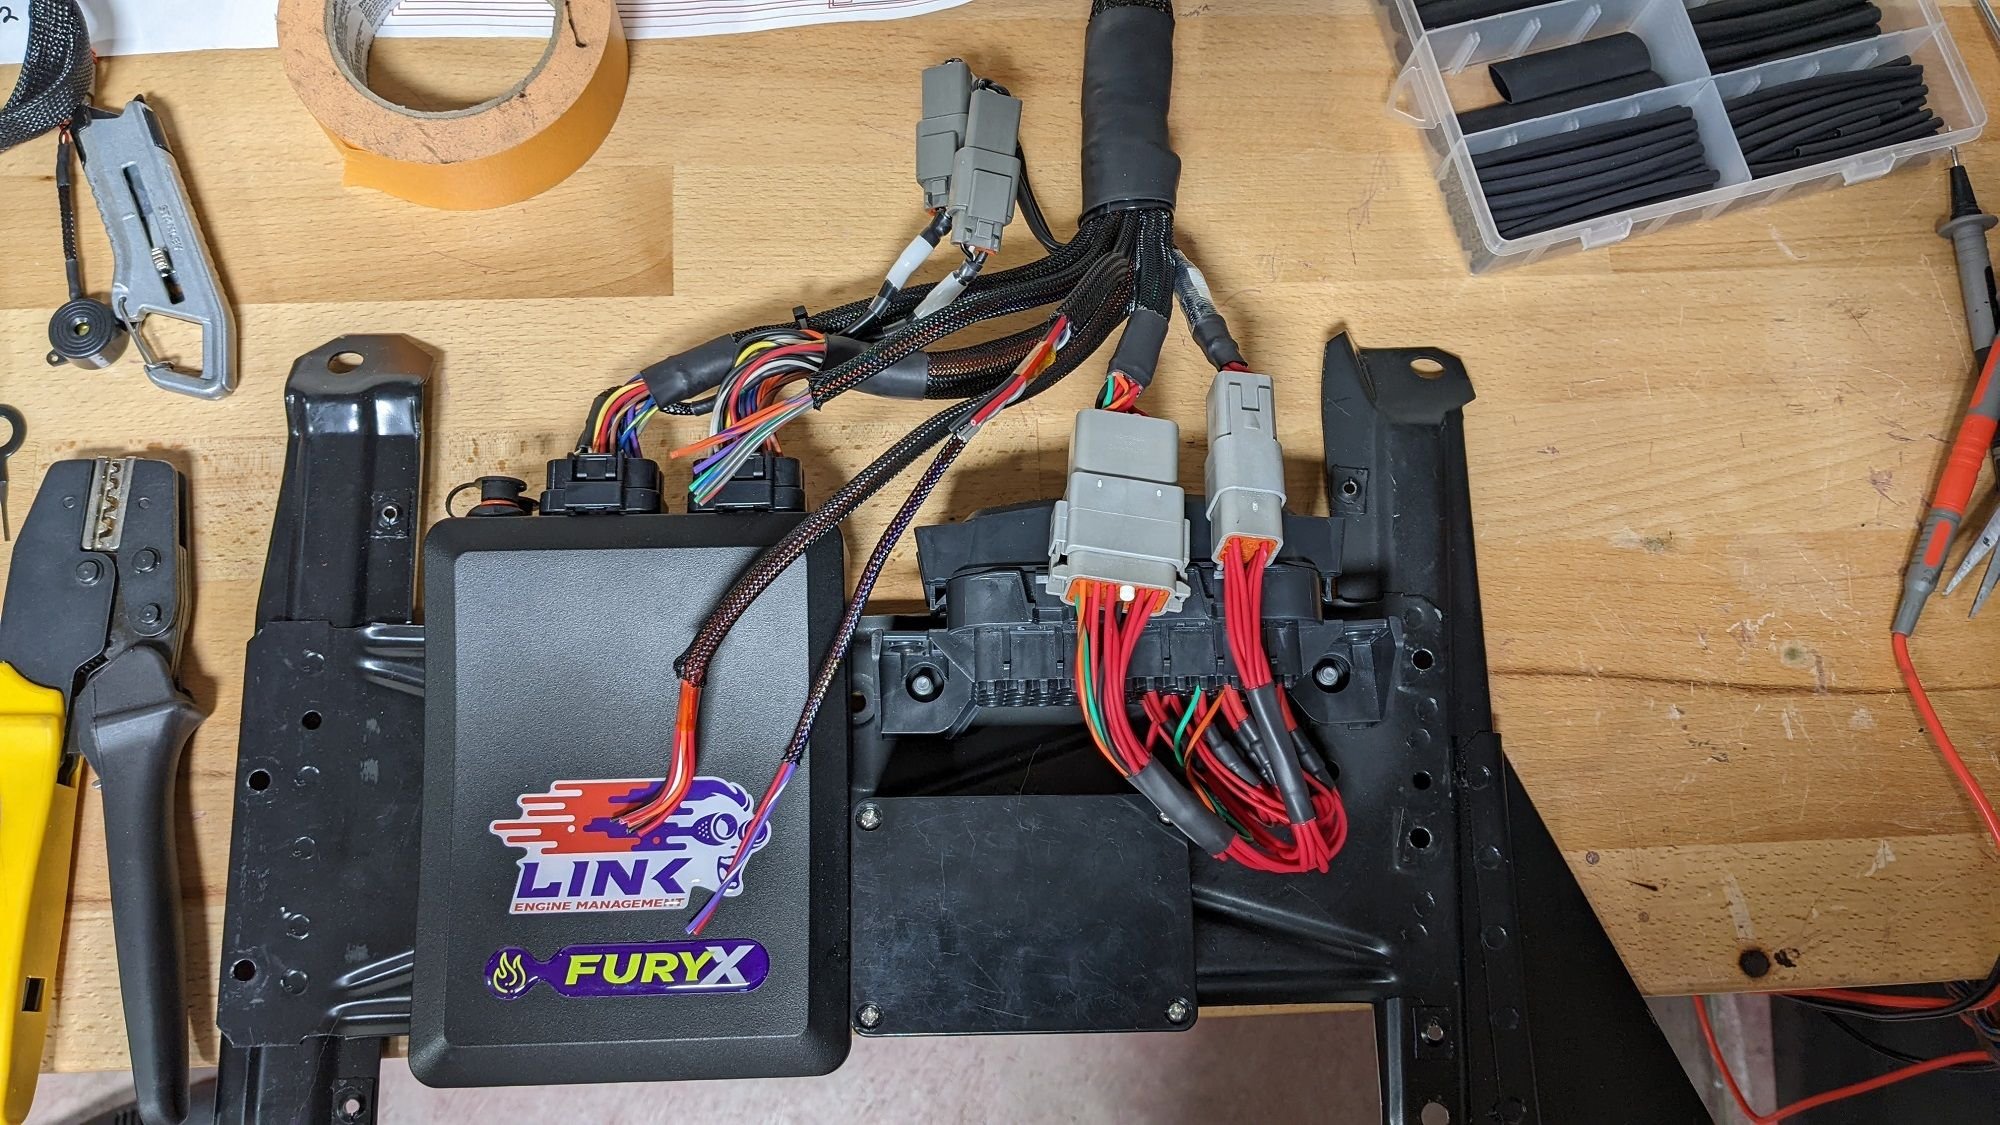
ECU, Idle Air Controller, and power distribution.
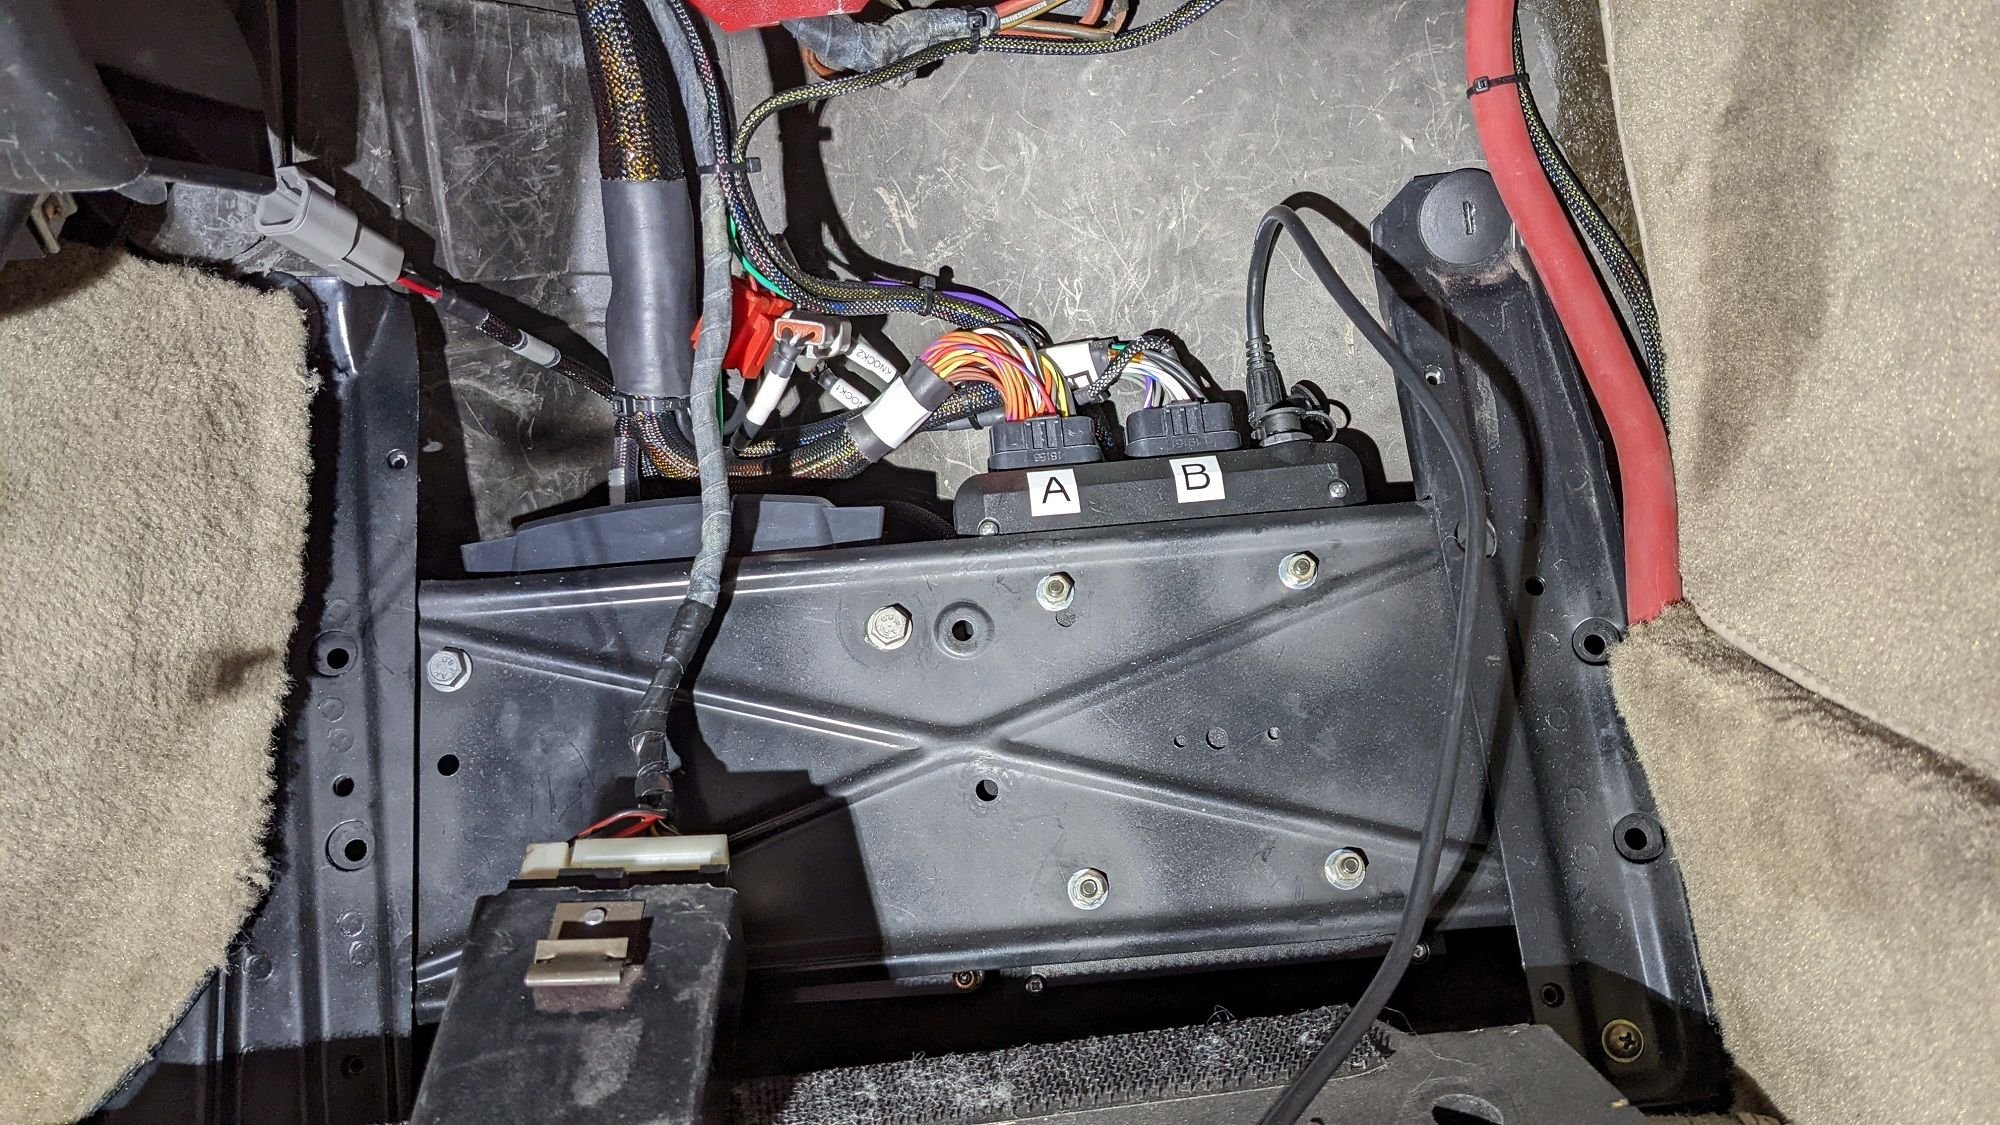
Ignore the alarm module, it is pulled off to fix the charred fan resistor wiring.... The floor board mounts up without issue. I ran the 1/0 battery cable inside the frame rail to keep it as safe as possible, it pops out of a rubber grommet behind the carpet.
Dude that is AMAZING! Please post a video of it running and revving! Where did you learn to do all this wiring and calibrating ect to get all the sensors properly working with the ecu? Also how did you setup your knock sensor?
Lots of thought and detail went into this, very impressive work!
I'm curious about a few things.
-How is your turbo cooling loop plumbed? I also want to avoid the 4-port heater valve while retaining heat control.
-I am running a Link ECU as well, +1 on the knock control setup.
-Do you have a source/part# of the AC condensor? Making a replacement 944 version work is looking expensive.
-Where did you source the exhaust manifold insulation from? I've been looking for an OEM looking kit like that with embossed stainless and DEI is the only one I've found so far.
How is the working room around the engine if you need to get to say the back of the alternator or something?
There's a lot of sausage in that wrapper !
Maybe there is more information out there now but when I was looking into doing this for my 968, I got really hung up on choosing and sourcing an exhaust manifold. What did you do for that? How did you handle the exhaust parts of the project?
Kudos on the install and custom bits; it's really inspiring stuff.
Dude that is AMAZING! Please post a video of it running and revving! Where did you learn to do all this wiring and calibrating ect to get all the sensors properly working with the ecu? Also how did you setup your knock sensor?
Most of the wiring advice I got from HP Academy(https://www.hpacademy.com). I will be going through their tuning courses as well, they have courses for general tuning, Link specific, and road tuning. I bought their VIP package which gives access to every course and future courses. A little pricey but I am very DIY so I find it worth it.
Setting up all the sensors is actually very easy, at least on the Link ECU it is. The temperature sensors all use a standard Bosch NTC calibration, you literally just select that on the sensor and you're done. I used Honeywell PX2 and PX3 pressure sensors and their datasheets list the details for calibration. Edit: Link has an awesome help file too, you can download their software for free and browse through it.
I have not setup anything for knock control yet. The plan isn't to use it as a tuning aid but for protection against bad gas or if something goes awry. I have a Link KnockBlock I will use for tuning.
Originally Posted by Cjar
Lots of thought and detail went into this, very impressive work!
I'm curious about a few things.
-How is your turbo cooling loop plumbed? I also want to avoid the 4-port heater valve while retaining heat control.
-I am running a Link ECU as well, +1 on the knock control setup.
-Do you have a source/part# of the AC condensor? Making a replacement 944 version work is looking expensive.
-Where did you source the exhaust manifold insulation from? I've been looking for an OEM looking kit like that with embossed stainless and DEI is the only one I've found so far.
+1 We need a video with sound!!!
-Craig
1. Coolant to the turbo is from the coolant port on the iABED oil block. The return is the small top port on the thermostat housing, it is the small metal hard line that twists in. Boost Brothers blocked this port off and used a tee on the heater return but if you look they both go to the same place.
Coolant to the heater core is from the 3/4" port on the rear flange through the heater control valve. The return is to the large hard line that goes to the thermostat housing, the one with a o-ring and clip. I cut the hard line to length and welded on a 5/8" barb, similar to how Boost Brothers did it. https://rennlist.com/forums/944-turb...l#post16688235
1' x 2' was plenty to do the manifold. It is similar to the DEI Form-A-Shield.
Originally Posted by V2Rocket
How is the working room around the engine if you need to get to say the back of the alternator or something?
There's a lot of sausage in that wrapper !
Not bad at all except for the back of the head, that is super tight but workable. I installed the engine with just the oil pan and everything else was installed with it in the car. You have to remove the intake to get the alternator out. Funny enough the used alternator I had installed ended up being a dud so I had to swap it. I just unbolted the intake and propped it up on top the head so I didn't have to disconnect the fuel lines. You can get to the back of the alternator without removing anything, in one of the pictures above you can see this, that is with the intake installed.
Originally Posted by Zirconocene
That is really impressive, pretty work.
Maybe there is more information out there now but when I was looking into doing this for my 968, I got really hung up on choosing and sourcing an exhaust manifold. What did you do for that? How did you handle the exhaust parts of the project?
Kudos on the install and custom bits; it's really inspiring stuff.
Cheers
I used a SPA Turbo manifold. I saw a post on Facebook recently about buying these directly from them but shipped from Brazil, apparently for $233 shipped. They said to email them at salesnc@spaturbousa.com or call 980-444-0650.
The rest of the exhaust, aside from my existing Fabspeed cat-back, was custom. I grabbed a TIG welder and went to town! I don't have a lot of experience and some of the welds show that but hey, it was fun learning. I used an Eastwood TIG 200 for everything including the aluminum stuff.
I'm also running a G4X Link ECU and used the Knock Block during my tuning and knock threshold calibration...invaluable tool!!
One item I'm curious about, (NOT a criticism by any means) is your choice on the throttle body. Why not just use an off the shelve DBW and have your idle control wrapped up in one as well as have the tunability with throttle mapping? I ask because I'm very intrigued with this swap myself. So I'm wondering if it's difficult to find a throttle body to mate up to that intake manifold, or if the VR6 unit you are using is just much cheaper, or simply it was easier to keep the oem throttle pedal/cable setup and not deal with fabbing up an electronic accel pedal in the car. The latter probably seems most likely but I'm just curious your decision process there. The sub controller for the idle control is very cool nonetheless..
You nailed it, it was easier to just retain the cable rather than fab a new pedal, at least in my mind. It was kind of an early decision that I just stuck with. I was originally planning to run a normal 2 wire idle control valve as I didn't know the VR6 throttle body had it built in. I thought it was kind of cool that it's hybrid, cable driven but DBW style idle control. Ultimately though DBW is superior and the way to go. A number of VW/Audi DBW throttle bodies bolt right up, not difficult to find at all. I believe the stock 07K DBW throttle body bolts up.
Here is some cell phone video with a bit of revs. This is a very rough tune. I'll get some better video once it's actually driving.
1. Coolant to the turbo is from the coolant port on the iABED oil block. The return is the small top port on the thermostat housing, it is the small metal hard line that twists in. Boost Brothers blocked this port off and used a tee on the heater return but if you look they both go to the same place.
Coolant to the heater core is from the 3/4" port on the rear flange through the heater control valve. The return is to the large hard line that goes to the thermostat housing, the one with a o-ring and clip. I cut the hard line to length and welded on a 5/8" barb, similar to how Boost Brothers did it. https://rennlist.com/forums/944-turb...l#post16688235
So it looks like I might end up having to add a dedicated bypass loop or 4-port heater control valve. The car starts to overheat with the heater off. I think the turbo cooling loop just isn't providing enough flow by itself around the thermostat.


 09-02-2021, 03:00 PM

 Might have to now!