When you click on links to various merchants on this site and make a purchase, this can result in this site earning a commission. Affiliate programs and affiliations include, but are not limited to, the eBay Partner Network.
This past weekend, I finished priming the roll bar and decided to stick to the stock on an interior color scheme. I purchased some metallic brown paint that matches the original vinyl and carpet. That will cover most of the interior. The rear seat area and on back will still get an RS carpet type of treatment. And the roll bar will be Pastel Beige (to match the exterior) with red padding, where needed.
I've abandoned my thoughts of modifying the stock dashboard and ordered a fiberglass unit from GT Racing. I'm thinking about covering it with a brown vinyl. Or maybe I'll paint it...
And since I'm not using the stock dashboard, I picked up a new 4" tach and fuel and coolant temp gauges to replace the stock units, plus some neat little indicator lights.
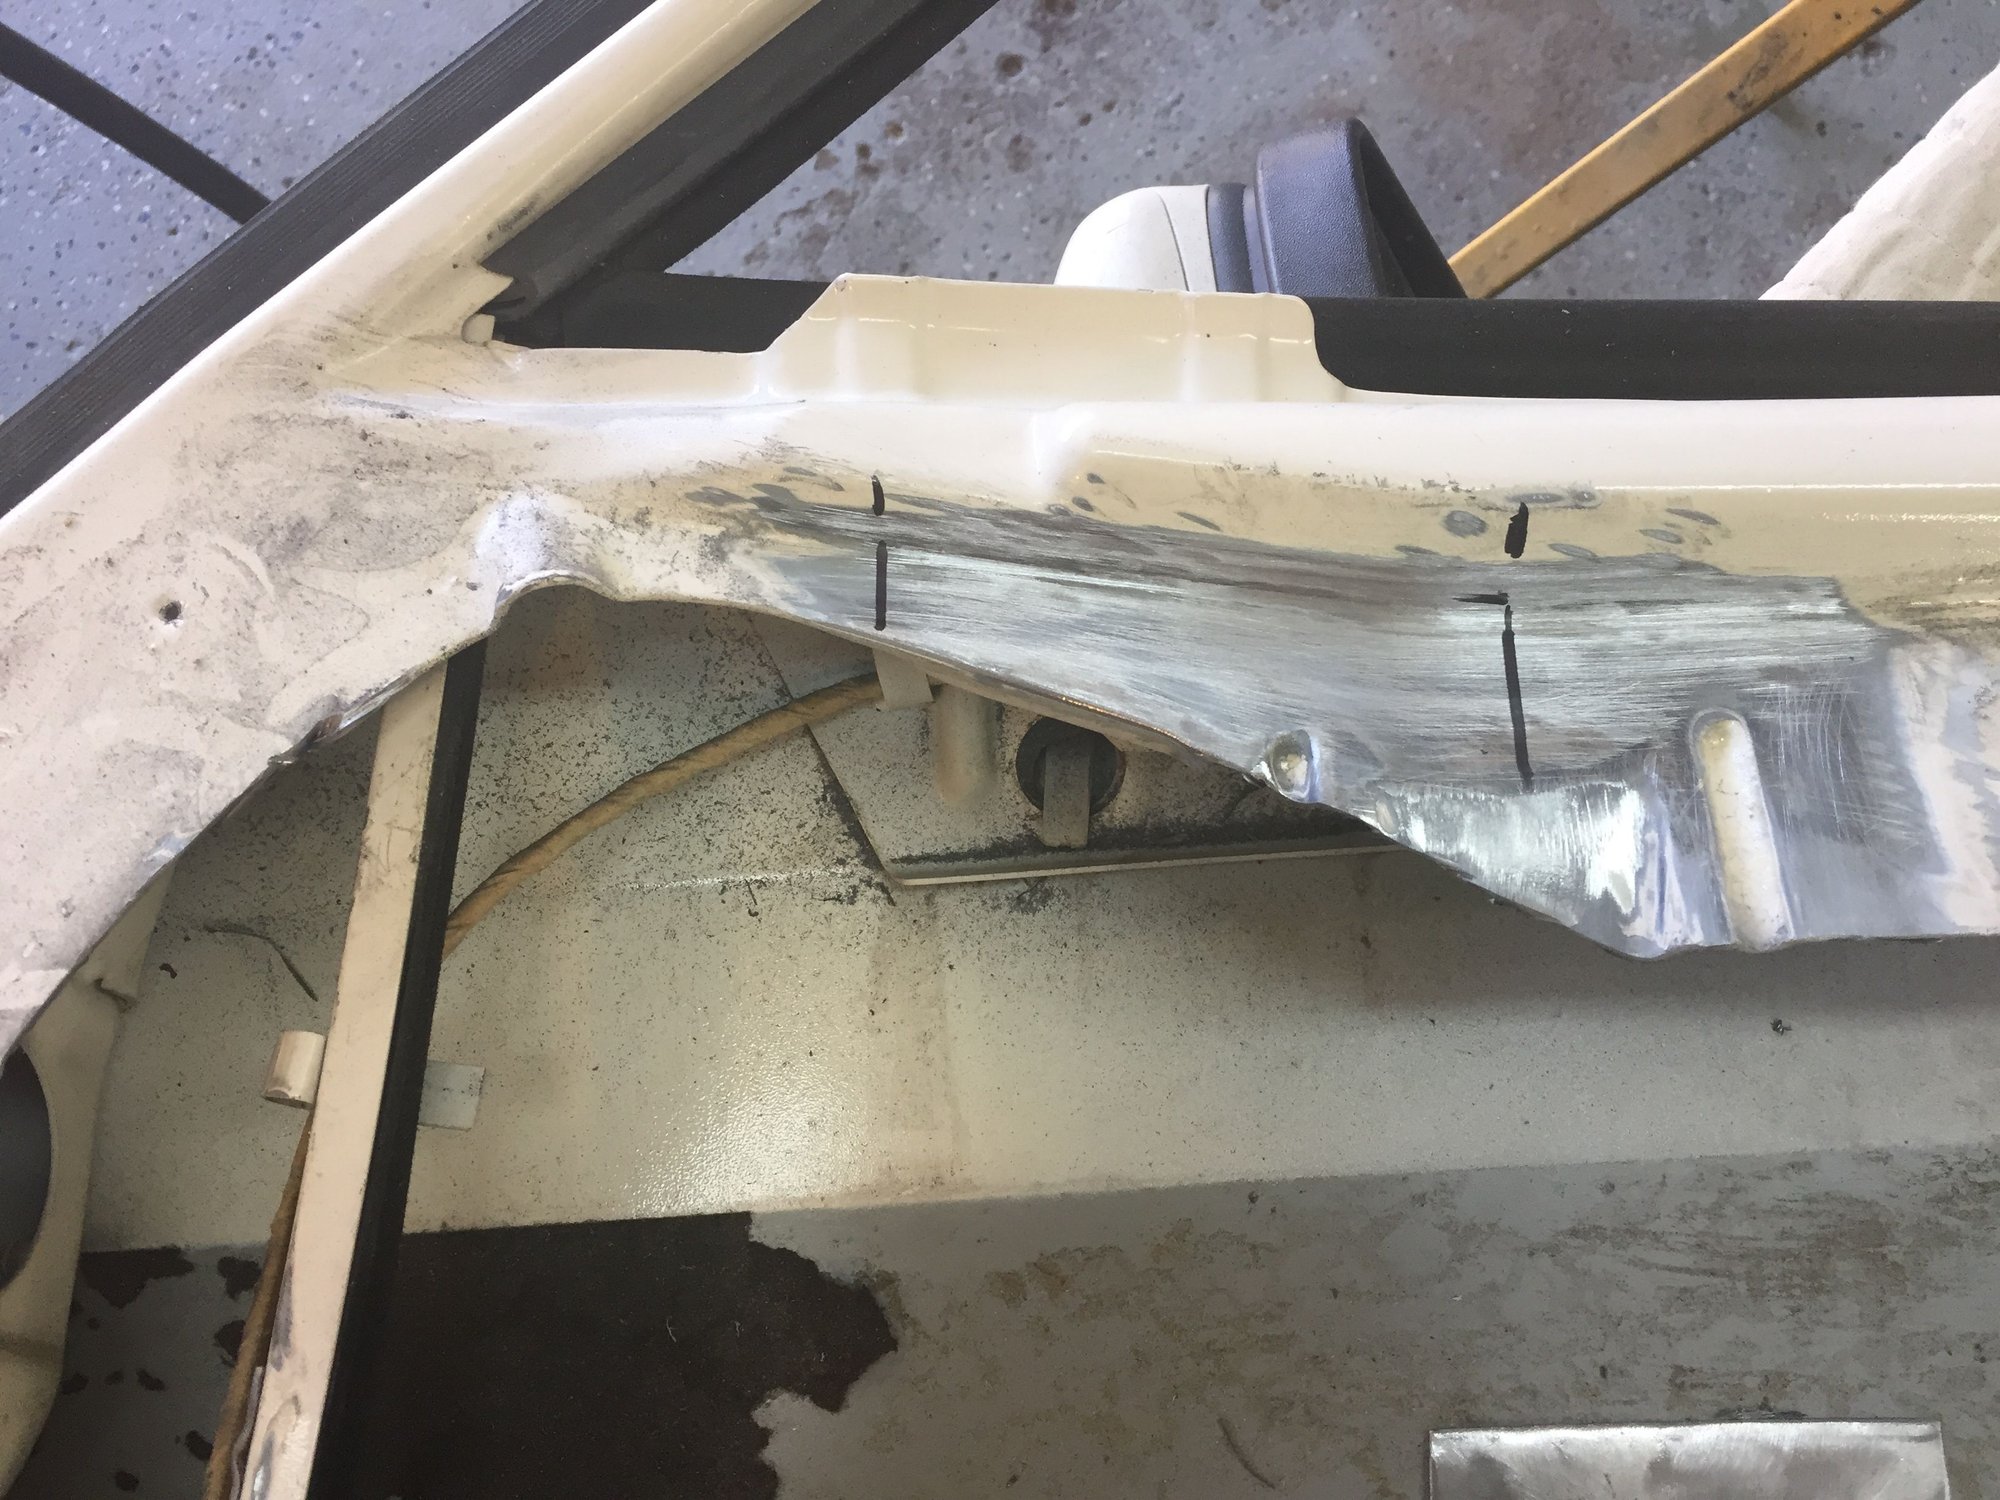
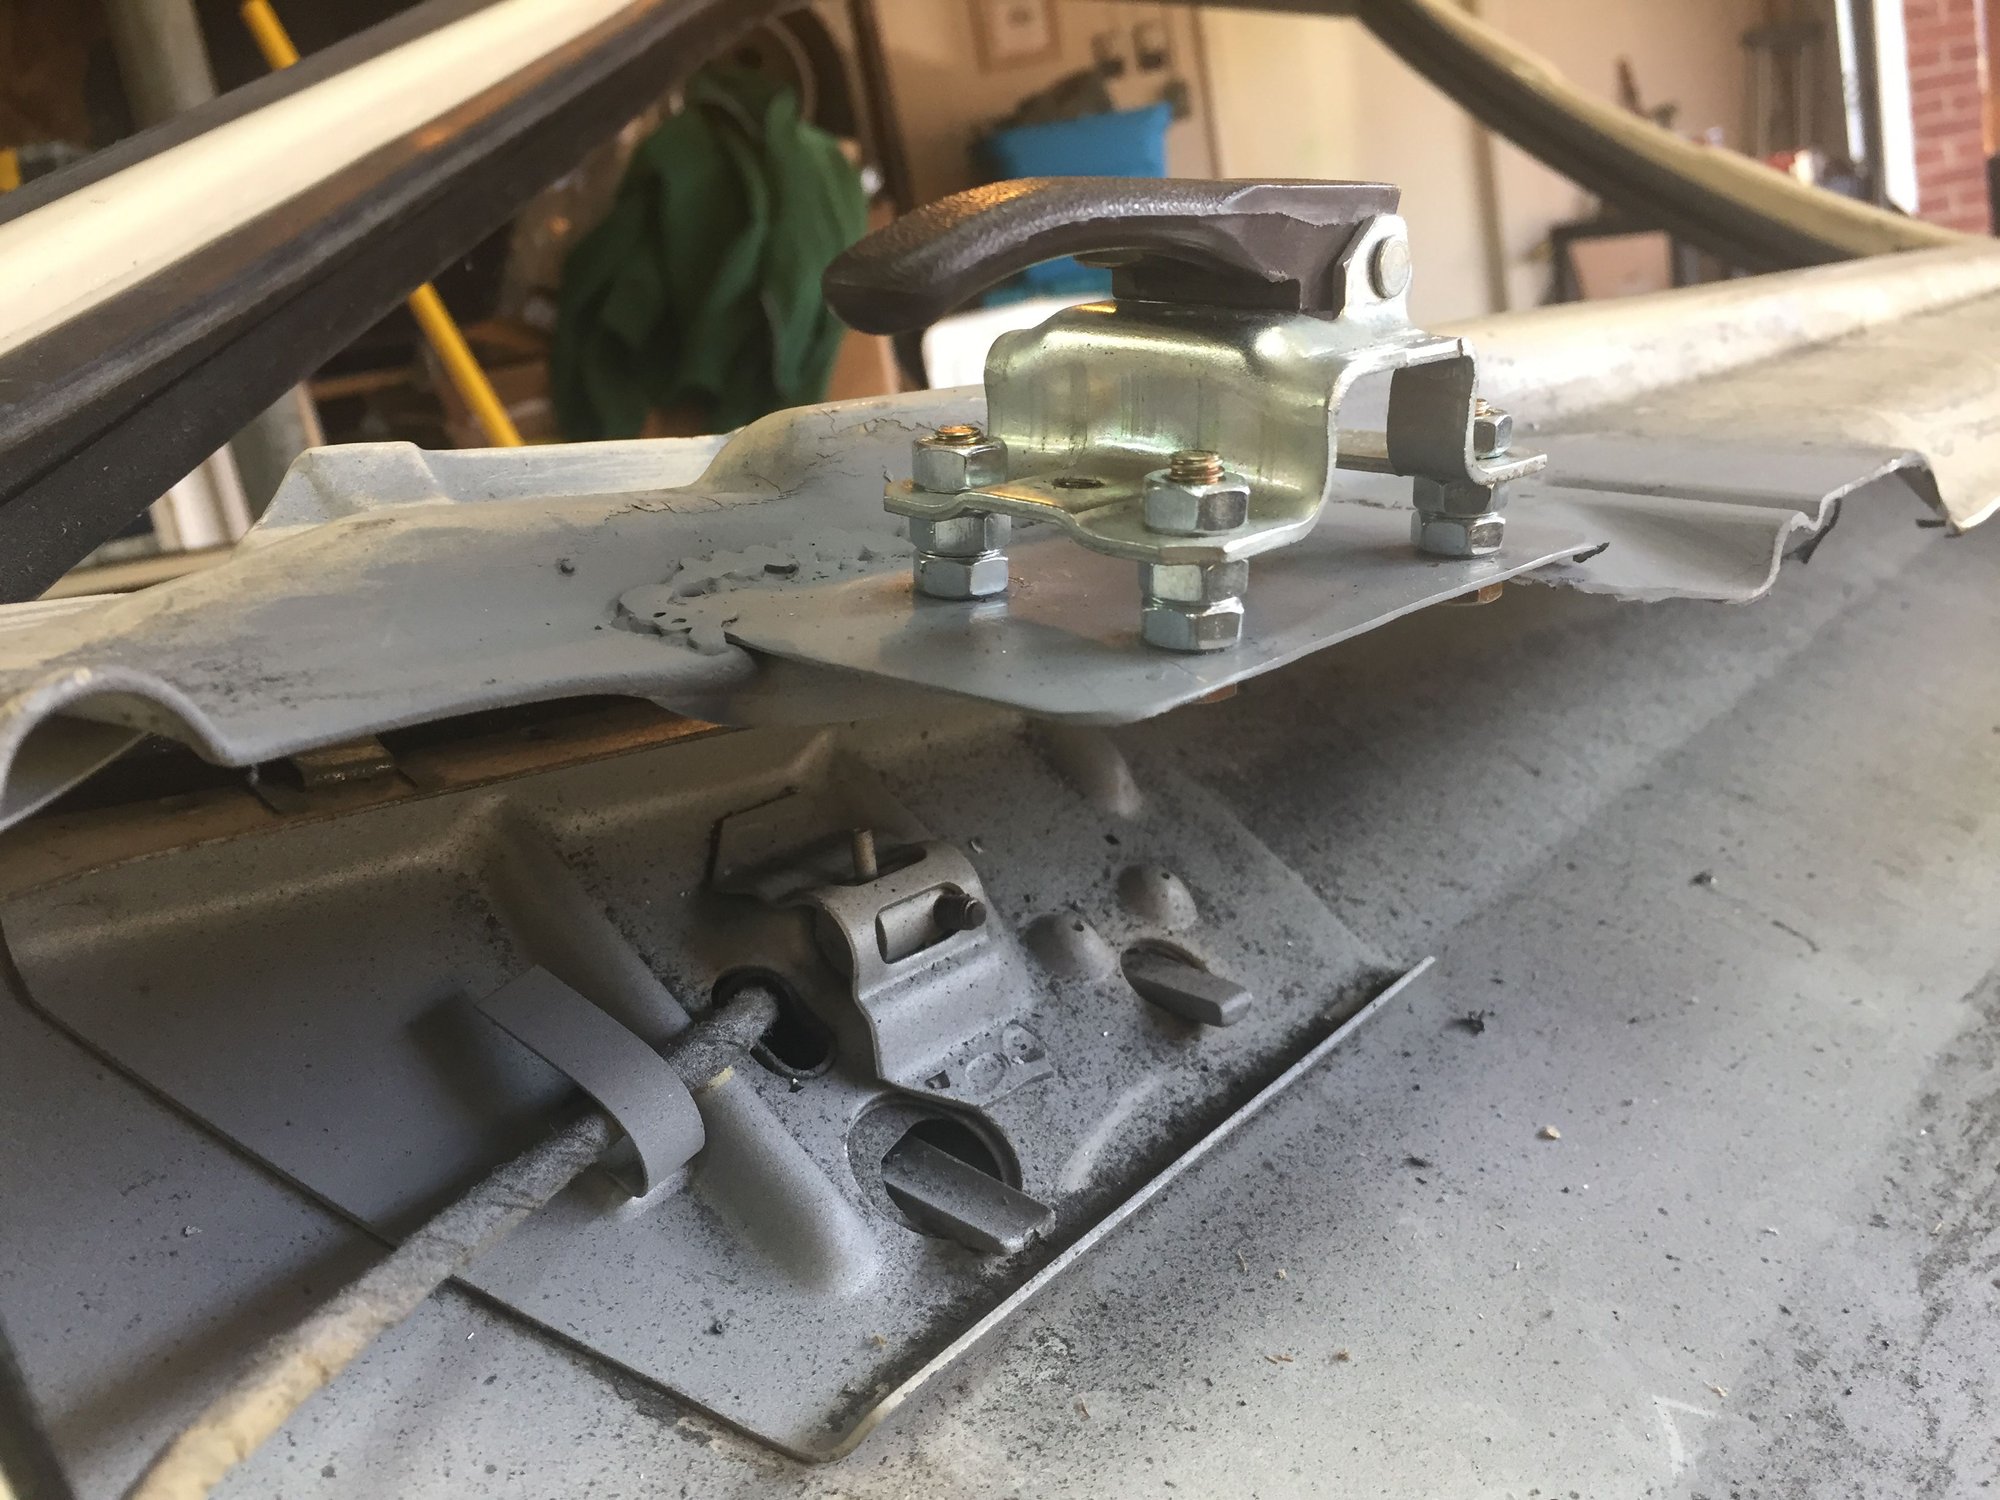
What I am most proud of, in this weekend's work, is the interior door handle. With the NASCAR bars, the doors had to be gutted and the door handle has to be relocated. I researched how others have addressed this problem. But I was not satisfied with anything I saw. So I did this:
Decided where I wanted it.
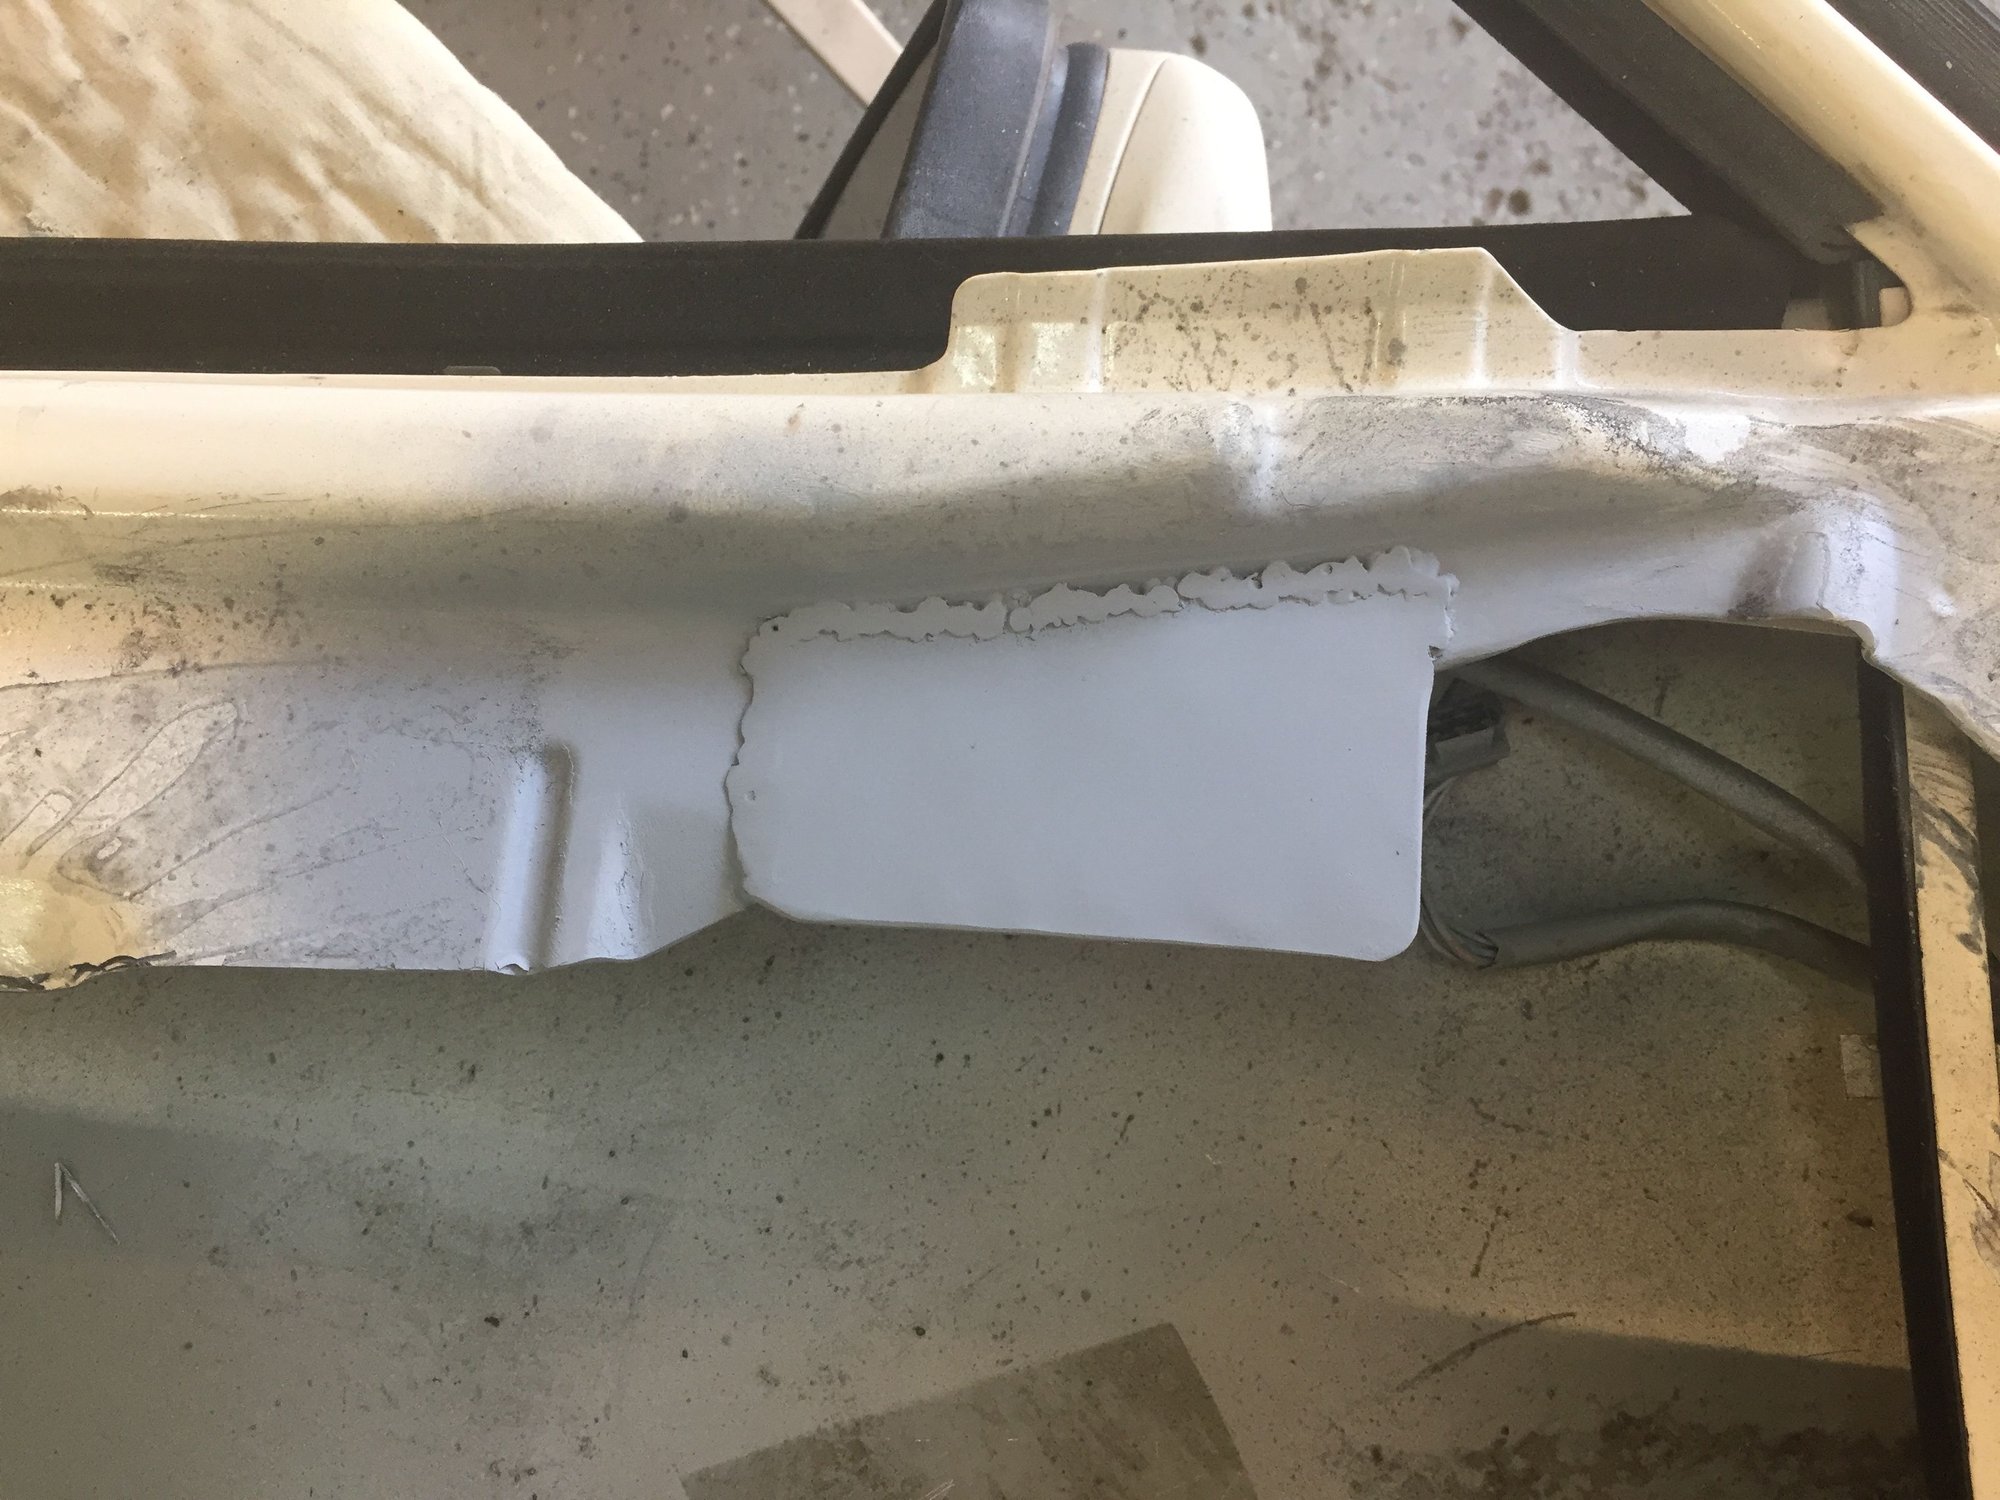
Welded in some 18ga steel (crappy welds, I know)
Measured, marked, measured again, drilled and mounted the handle
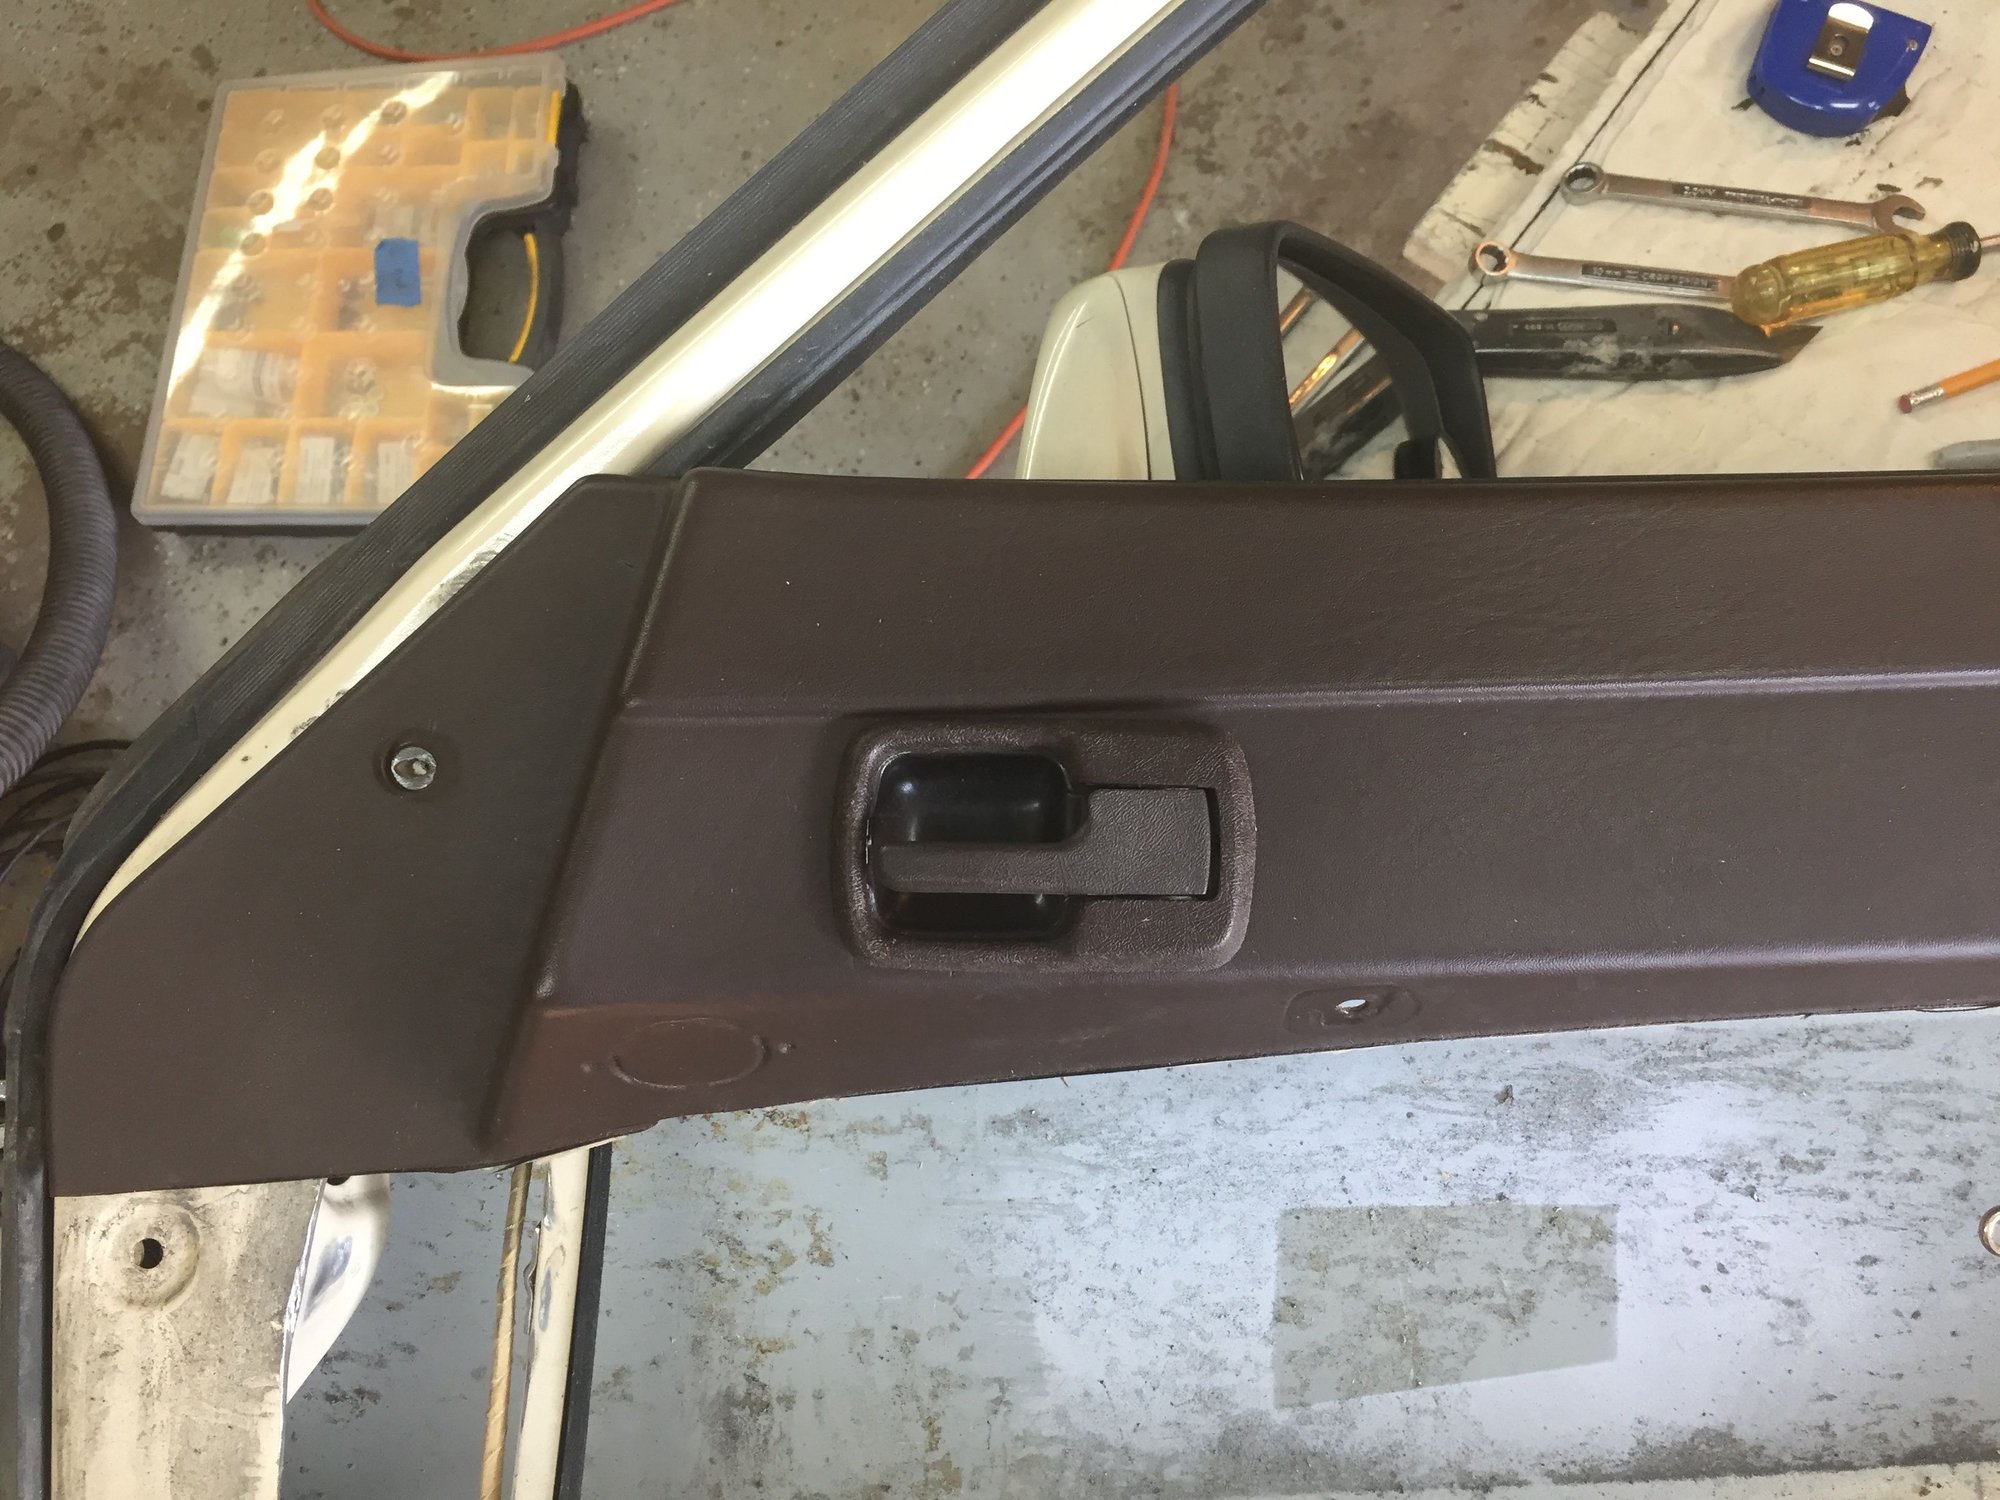
"Hey, Glenn! Why did you make it stand off so much?" 'Cause I wanted to do this...
By trimming the door panel where I did, I keep a stock-ish appearance to the top of the door and still clear the NASCAR bars. After I run a cable from the handle to the latch, it will be good looking and functional.
Thanks for the well wishes. She is an amazing lady, almost 96 and still going strong.
I bought the car specifically for the track. It was still street legal but already mostly prepared and had spent most of its life on the track. The rear interior had been stripped, suspension upgraded, a bolt in roll bar added and seats and harnesses. So I'm just taking it the rest of the way. I have had some "moments of pause" usually when I am about to do something that is pretty much irreversible, like cutting into the doors. I have to keep reminding myself that it will never go back to the way it was and that there are plenty more 944's out there if I want something more original.
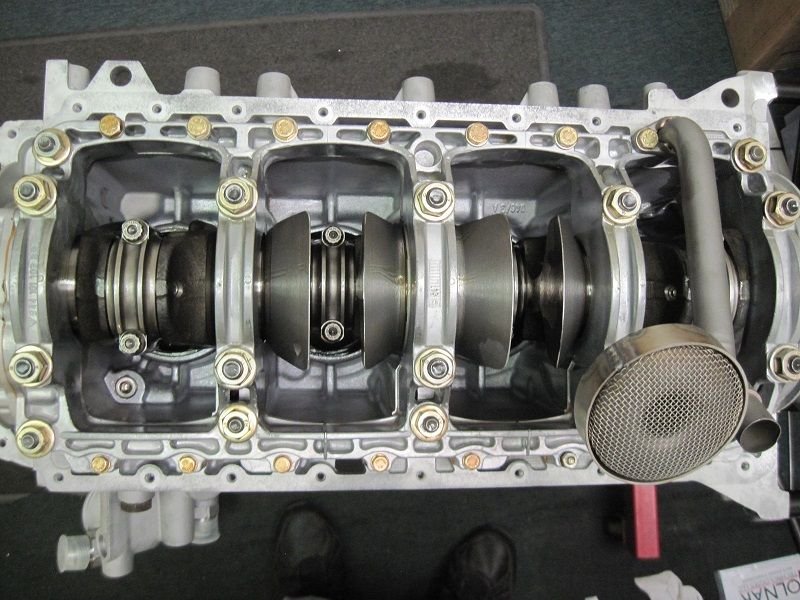
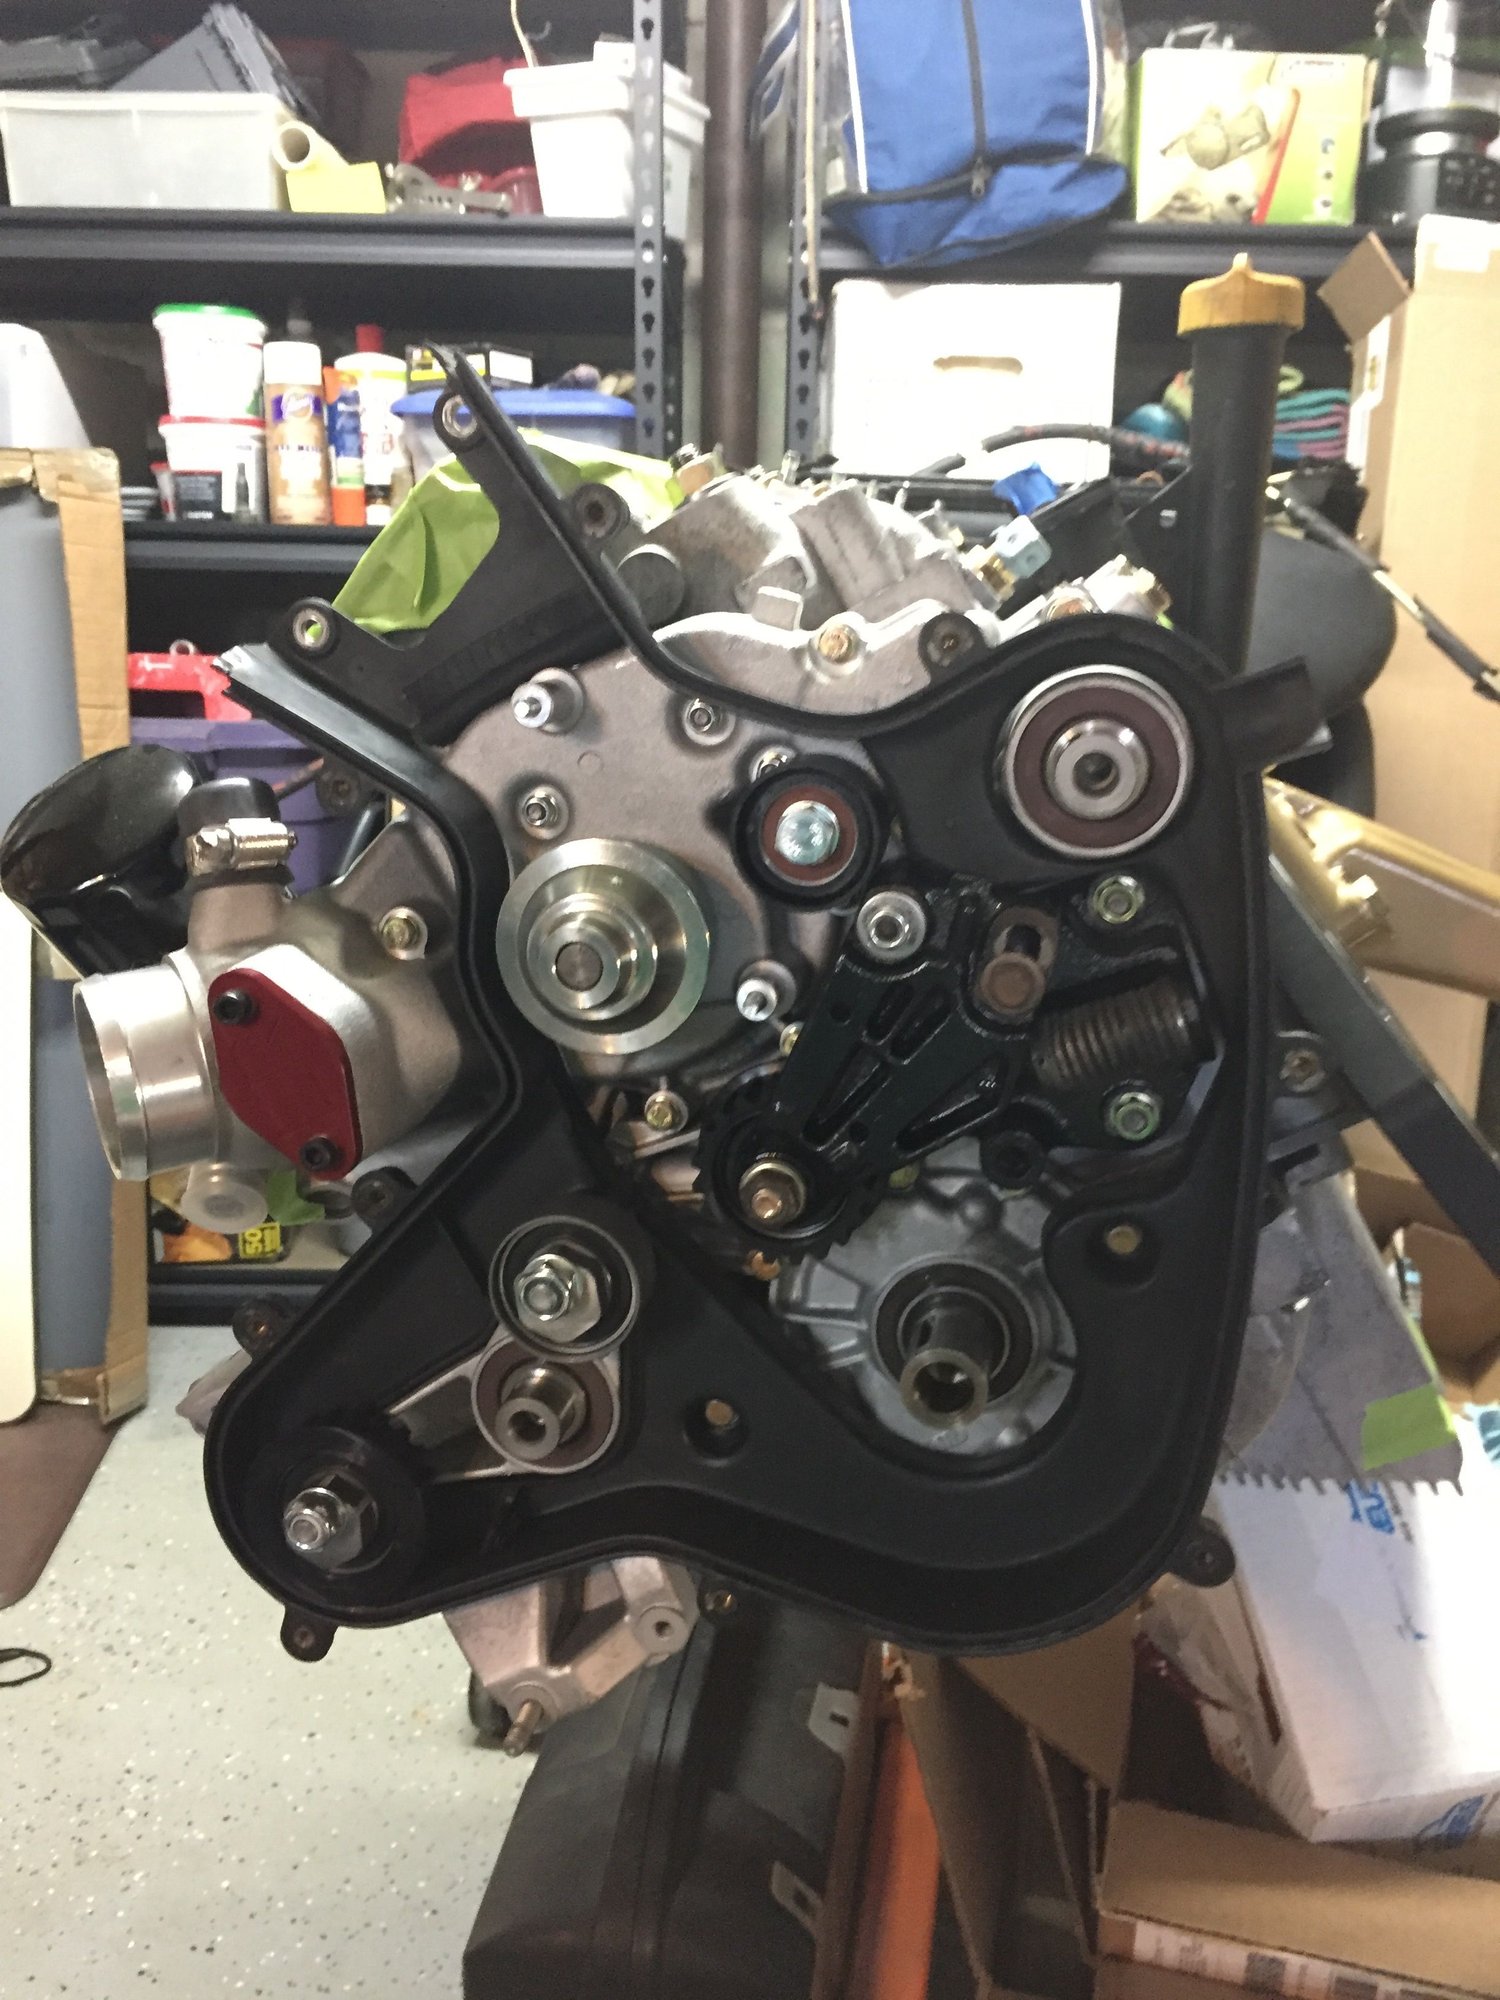
And here is a shot of the engine that Mike took while assembling it.
Finally had the time to assembly the lower half if the engine block. LR skimmed the block face, machined port openings between cylinders 1 and 2 and 3 and 4, bore passage to install piston skirt oil squirters and sent the block to Nikasil the cylinder walls back to spec Here she is. Tomorrow one piston and rod, cylinder head and camshaft tower, etc to blueprint the clearance of the piston with the valves
Very nice, Tom. Your engine will be done before mine. I'm still waiting for parts to come back from powder coating and plating.
I need to start painting the interior and cage. I just can't decide which to do first, the cage or interior. Anyone have a recommendation?
Also wondering if I should use a detail gun on the cage or regular gun with a narrow fan. Again, anyone have a recommendation?
Glenn
When we were building race cars, the roll cage and interior were painted as one. Check out the Forum ;Racing & Drivers Education, Post : Sebring 12hr RSR build,; the poster is
9114609048. Send George a PM on what spray gun and tip they used. He is building a car to replace the one he drive in the 1970's. I was crew chief fo Warren Agor Racing, #13 Chevy Monza, and Warren raced against George in the IMSA series.
The engine rebuild was halted because needed parts were delayed in shipment because of COVID-19. So, I left the shop in upstate NY and returned to Indy a day earilier. I took this photo at the PHILLY airport on. 3/20 at 12:05 pm walking to Gate F28
Stay safe.
Tom PHL Concourse 5 on 3/20 at 12:05 pm
Had to drive up to Kalamazoo, MI today to move my son out of the WMU dorms. The rest stops on the Ohio Turnpike were similarly empty. It's surreal.[/QUOTE]
Viewing the Interstate highways from the the airplane, saw 18 wheelers and very few 4 wheelers
Looks like the company that is plating some of my engine parts has shut down for the pandemic, like so many others. So, the completion of the engine is on hold. I've done what I can, belt rollers, engine mount arms, AOS, and some other little things.
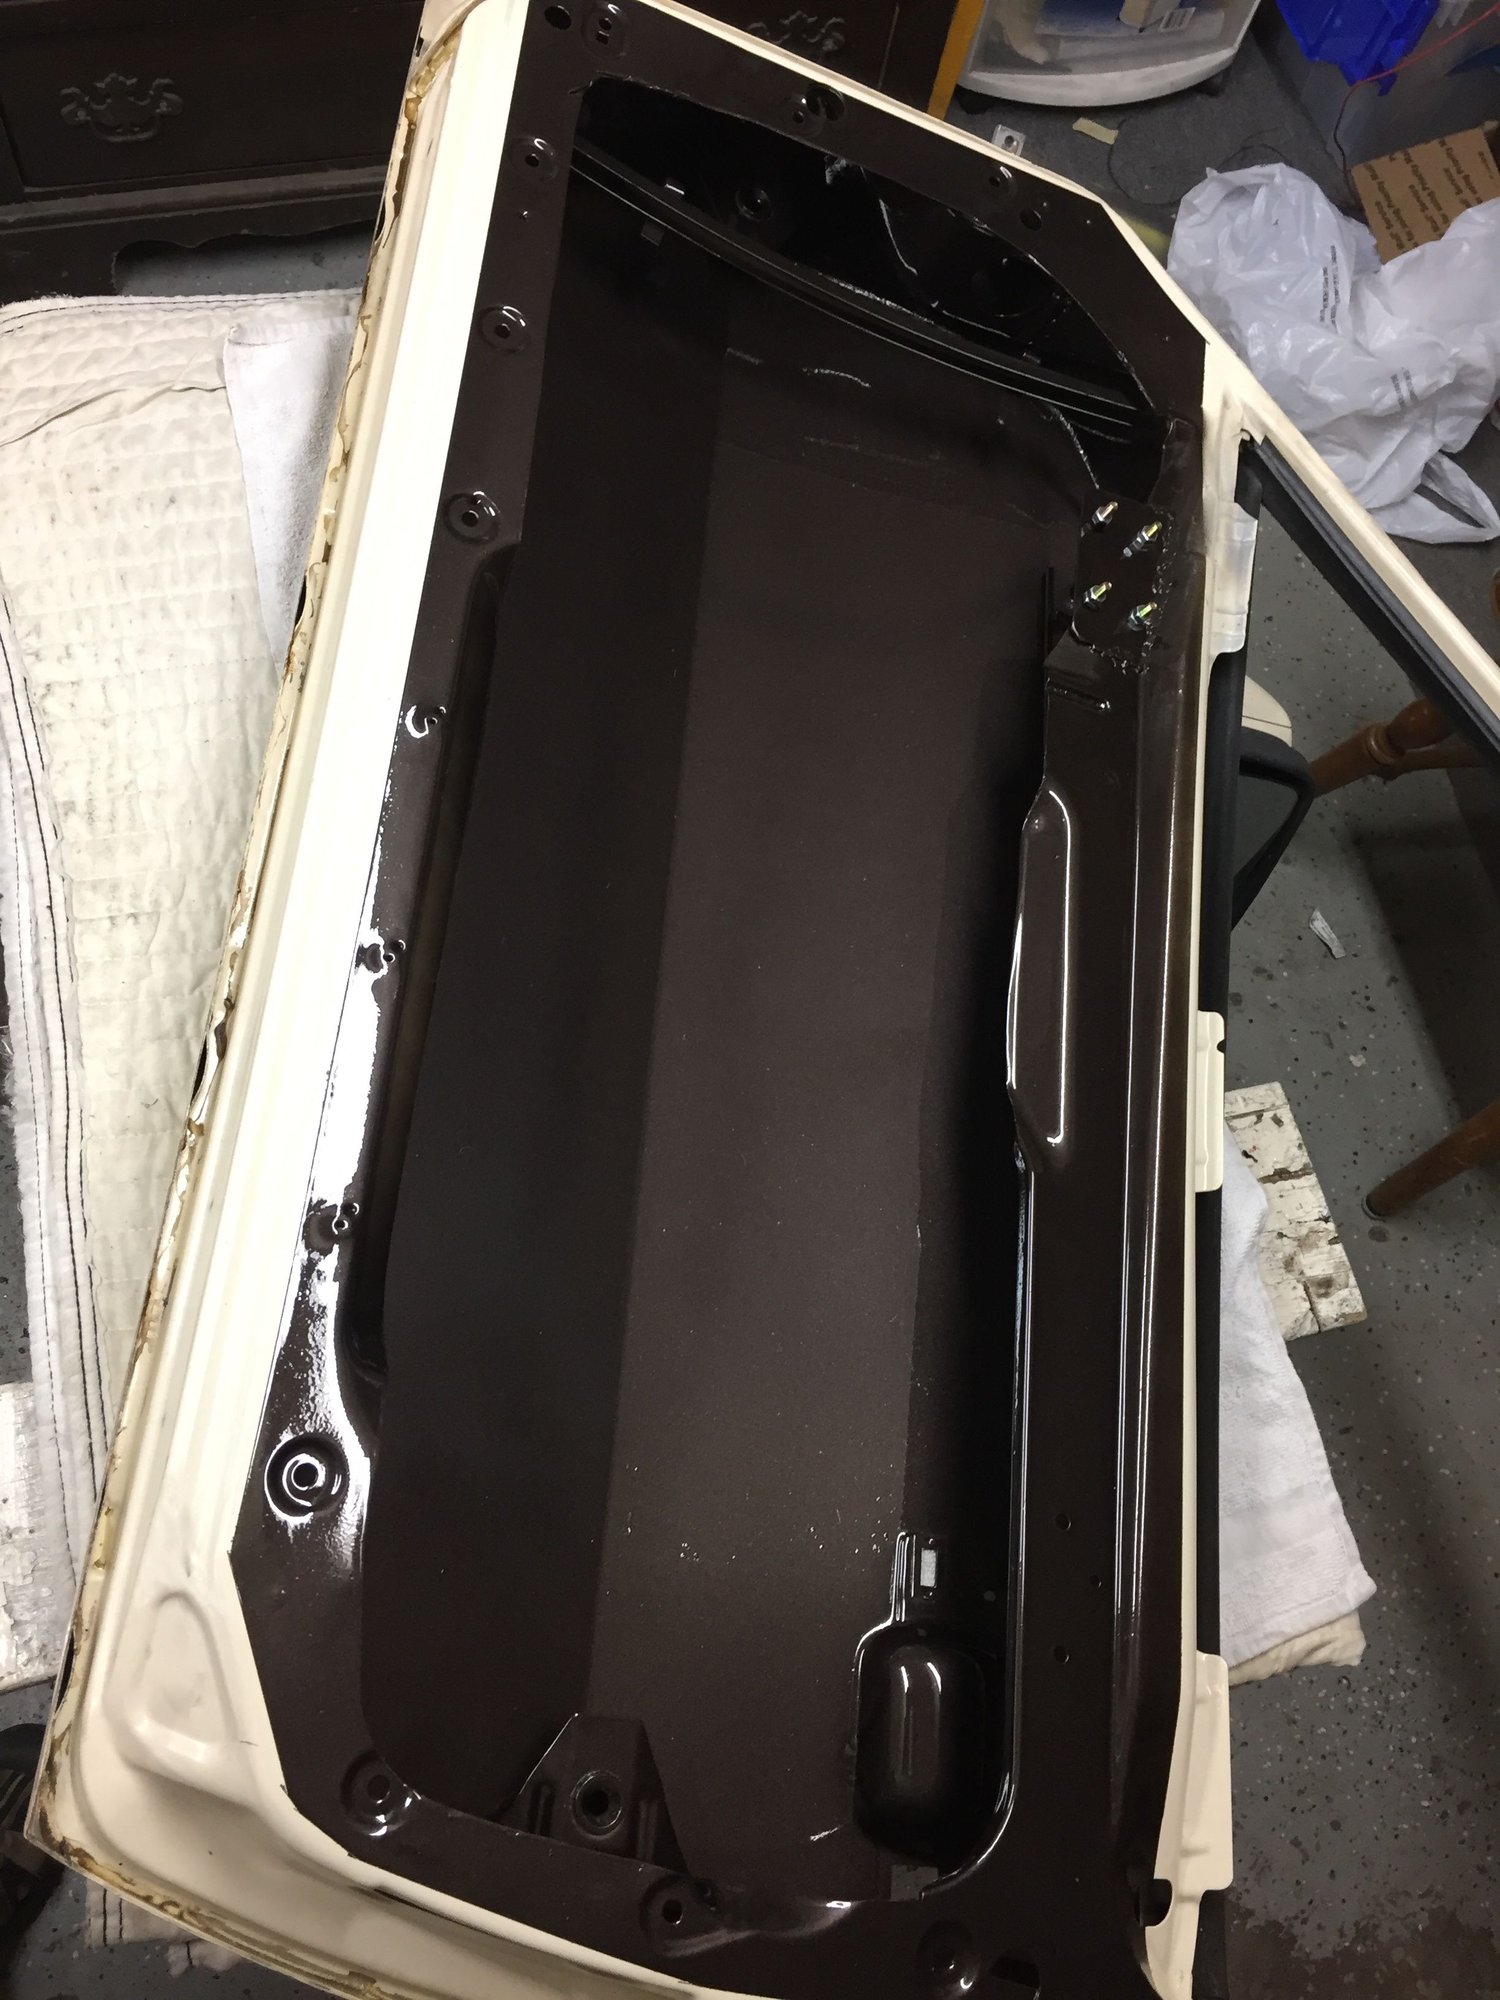
The weather hasn't been what I would like for painting, but today was warm and it wasn't raining. So I rigged a shelter from the wind in my driveway and shot the inside of the doors. I used the small detail gun and it worked very well.
I prepare the doors like I would for a street car and was spraying in less than ideal conditions but I am mostly satisfied with the results. There is one spot on the driver's door where I missed some residue from the silicone that had been used to glue the plastic barrier to the door. I'll have to sand and respray that.
I'm assuming 1 or more of my first planned events will be canceled. Which means I have more time than I originally thought.
Made some progress today. I got most of the interior painted. Still have some areas in the rear of the car to finish, ... once I can get more paint.
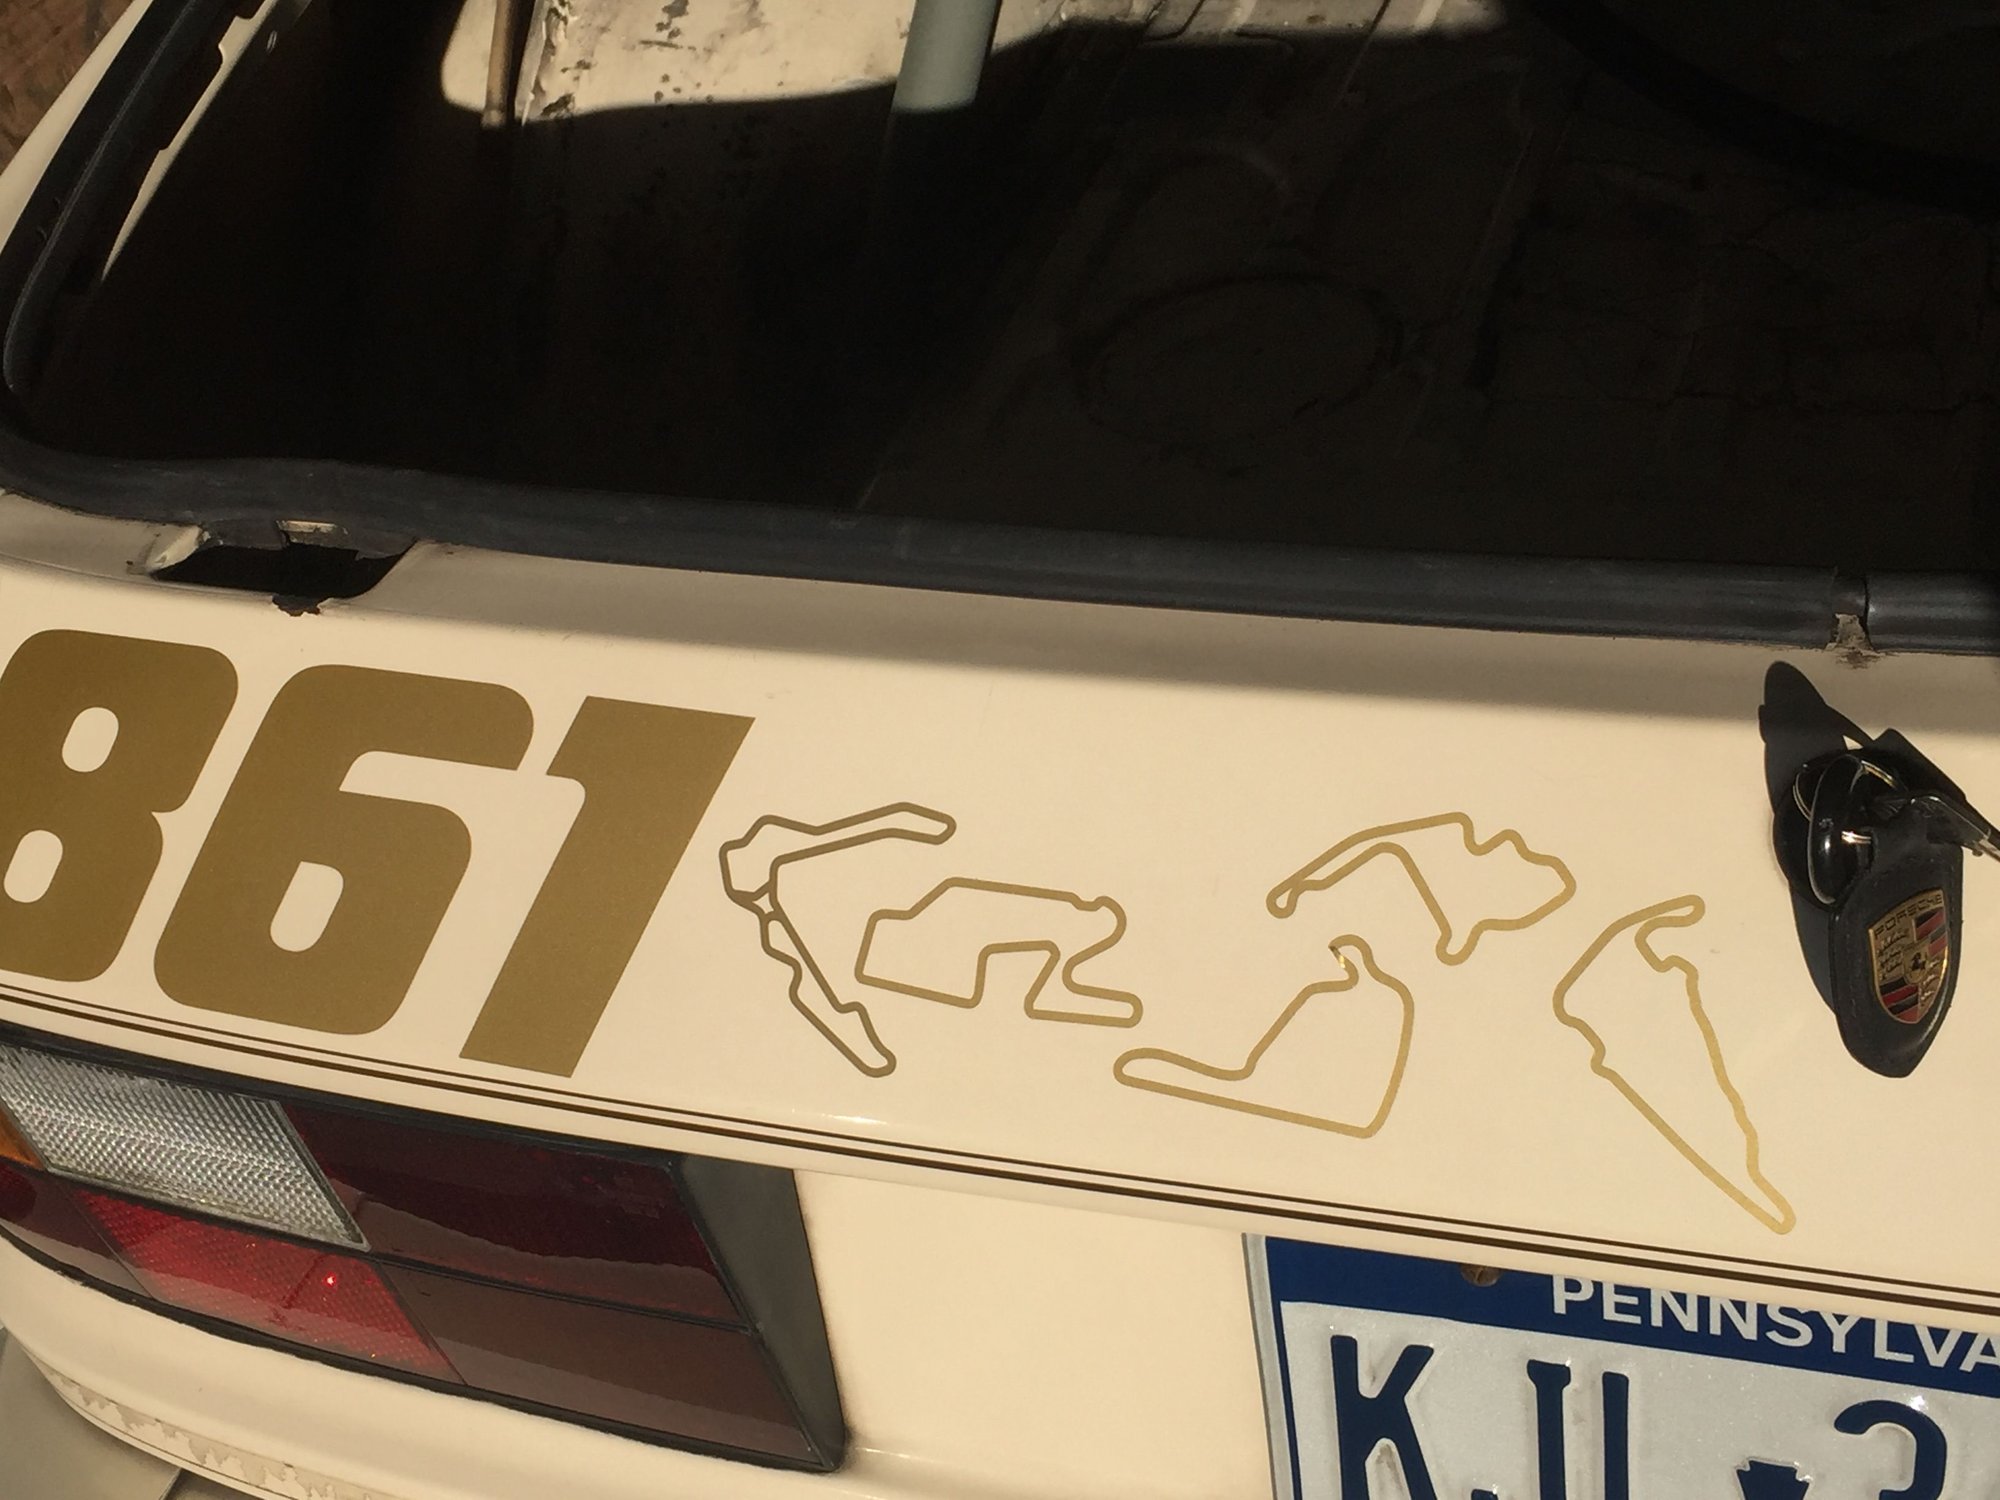
Then I knocked out a couple simple jobs. I replaced the black track decals with gold.
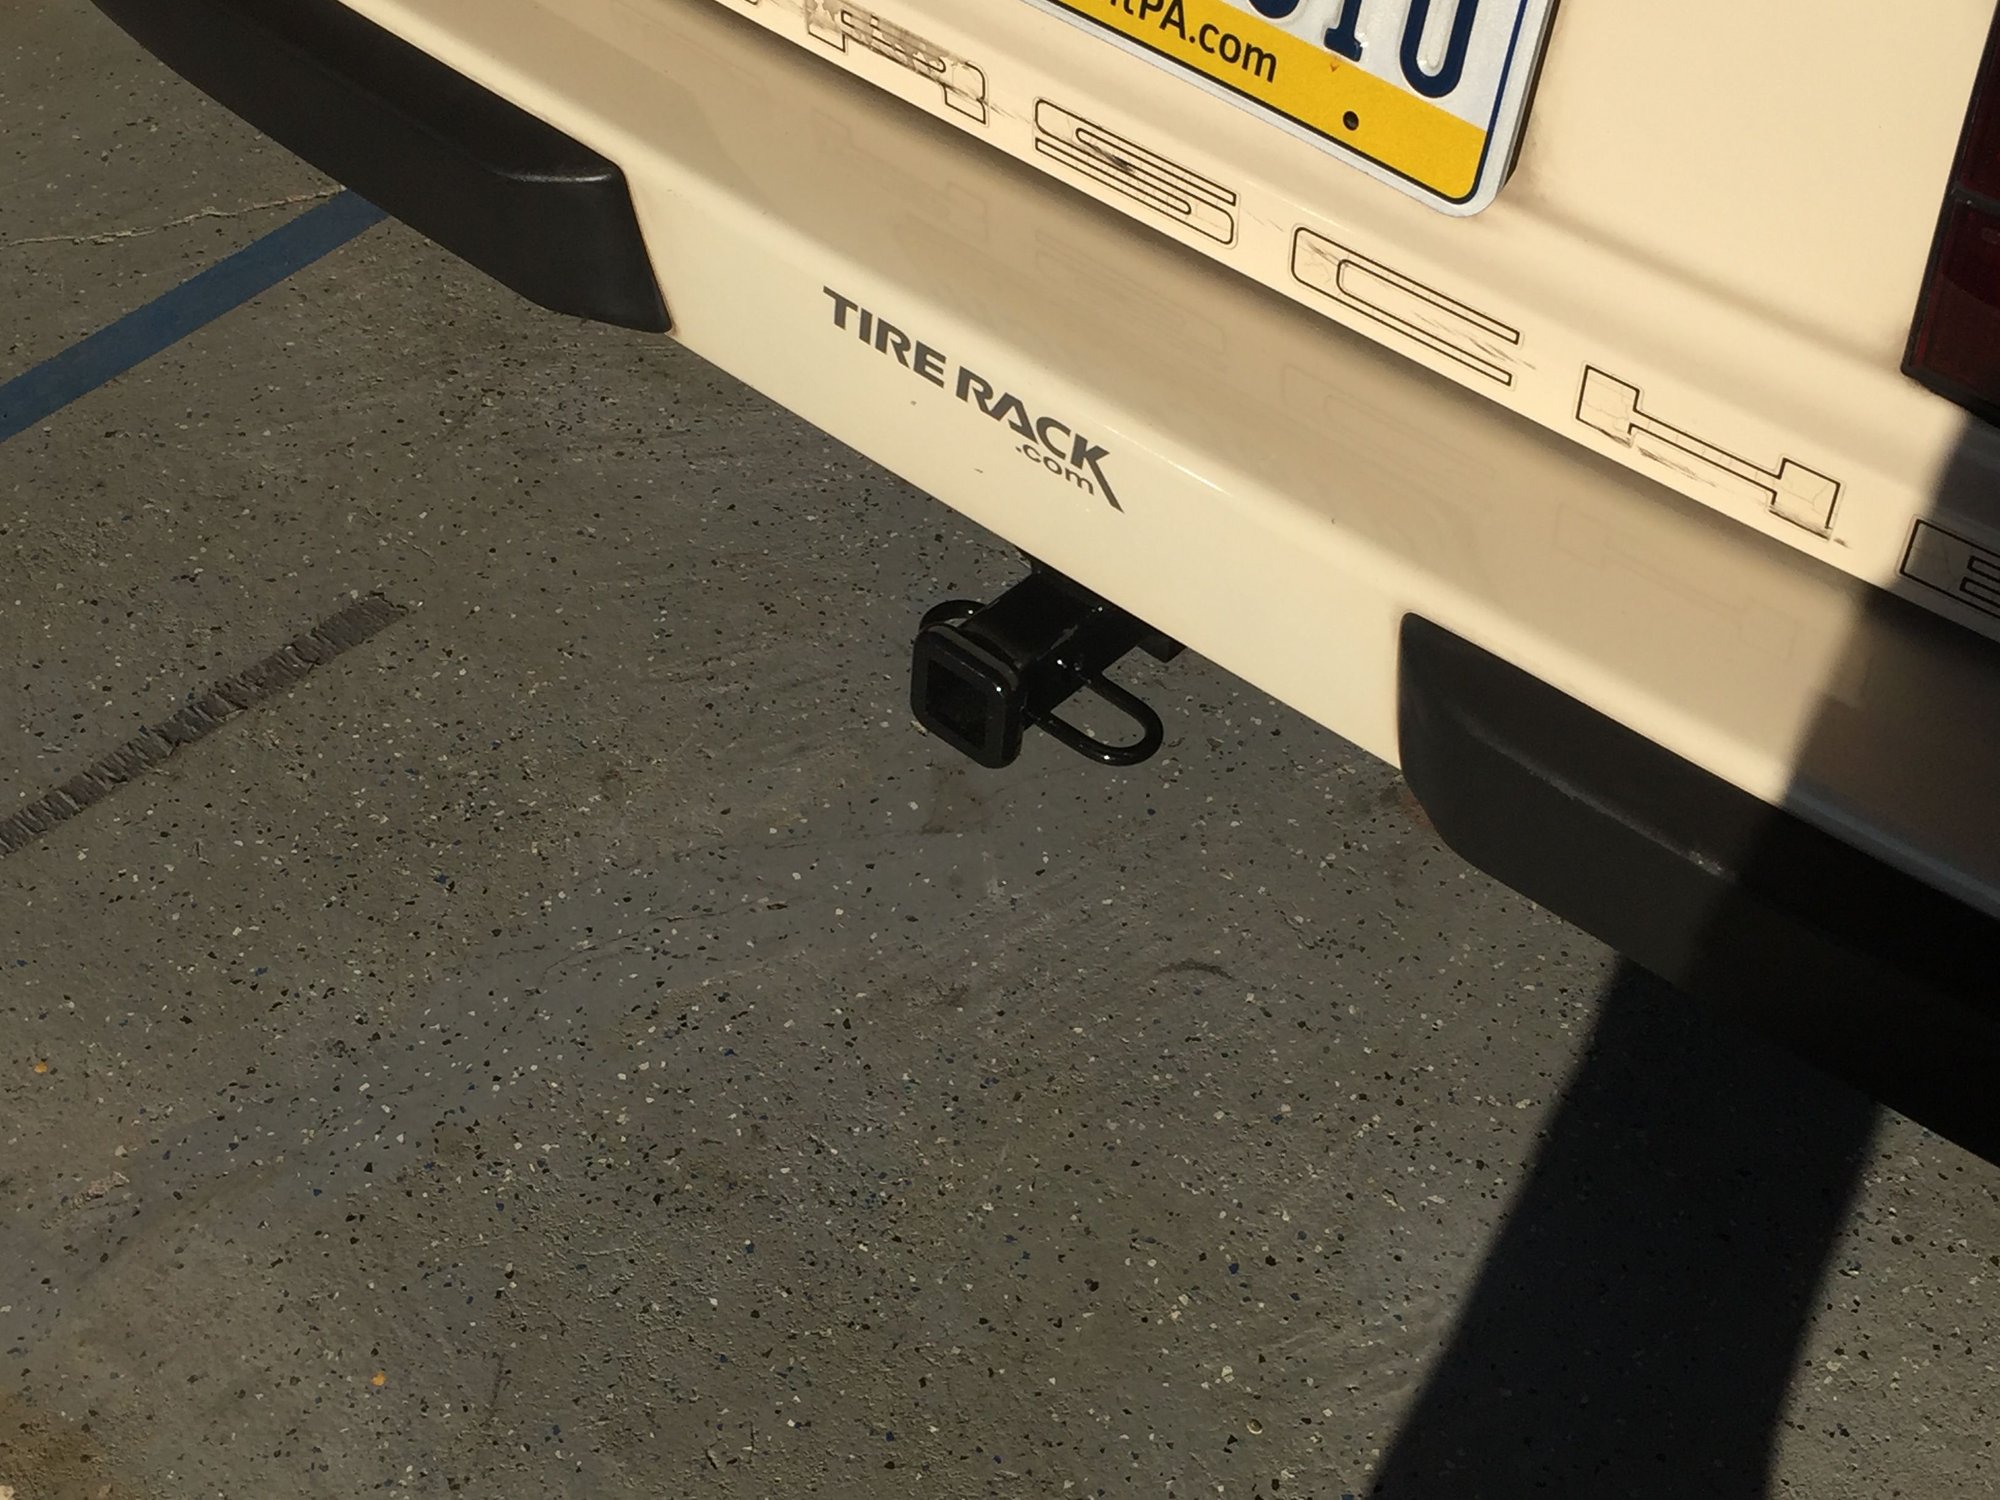
I hosed up Summit Point. Gonna have to spend a few bucks to get a replacement. Then I replaced my old ball hitch with a receiver hitch. Looks much nicer and I feel the mounting is more secure.
Next up is paint on the roll cage and my GT Racing Dashboard should arrive on Monday.
Dashboard time!
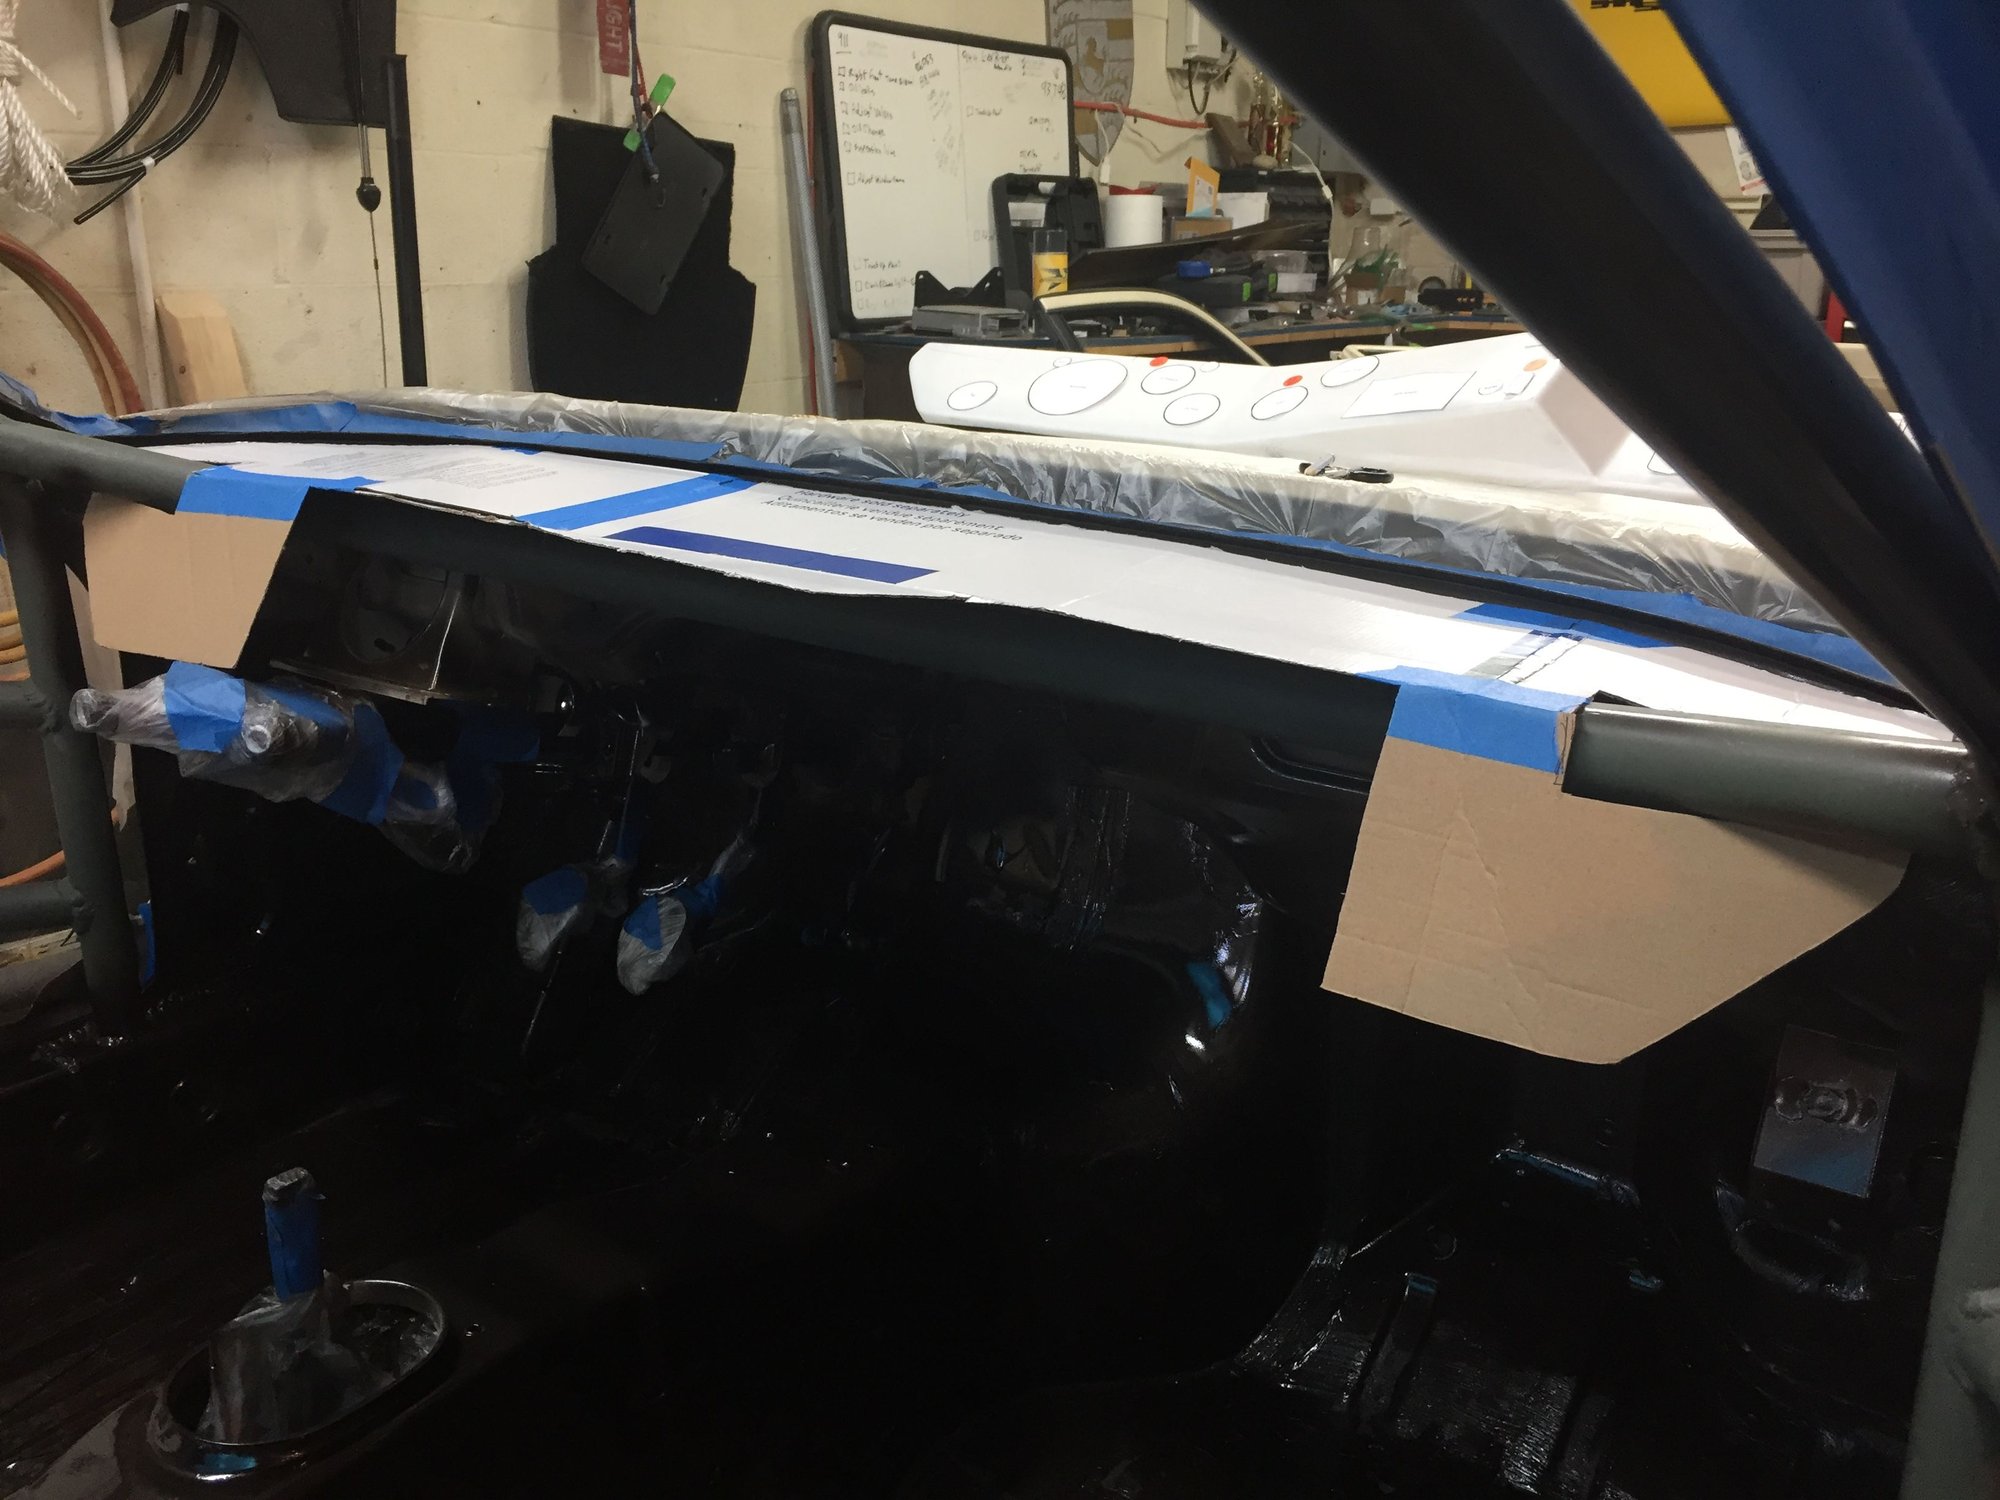
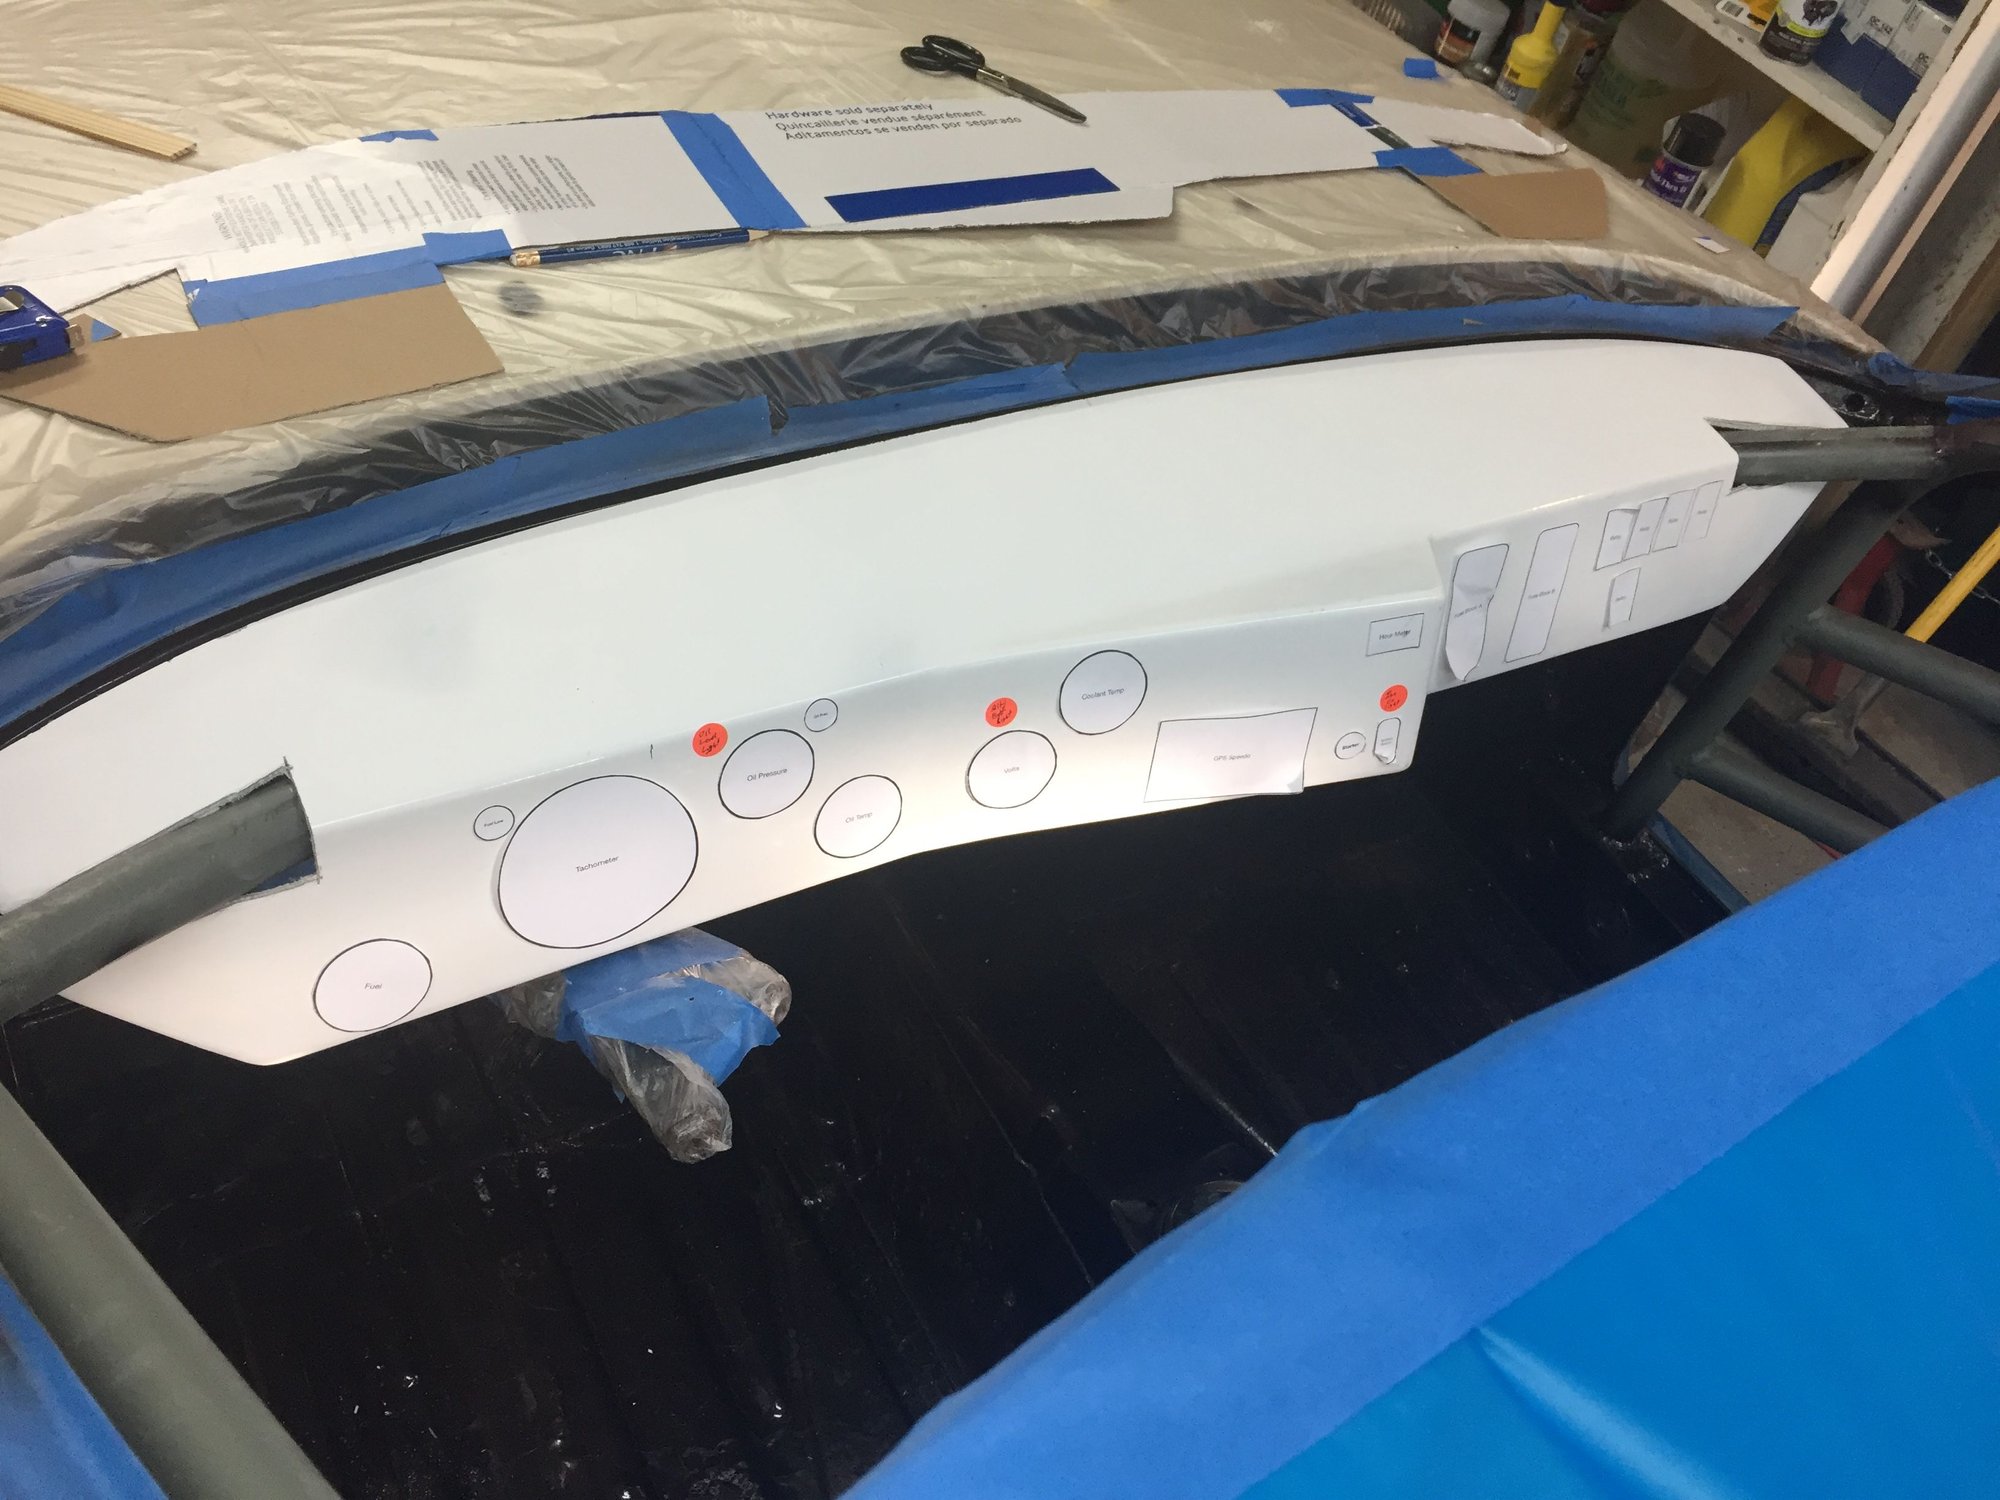
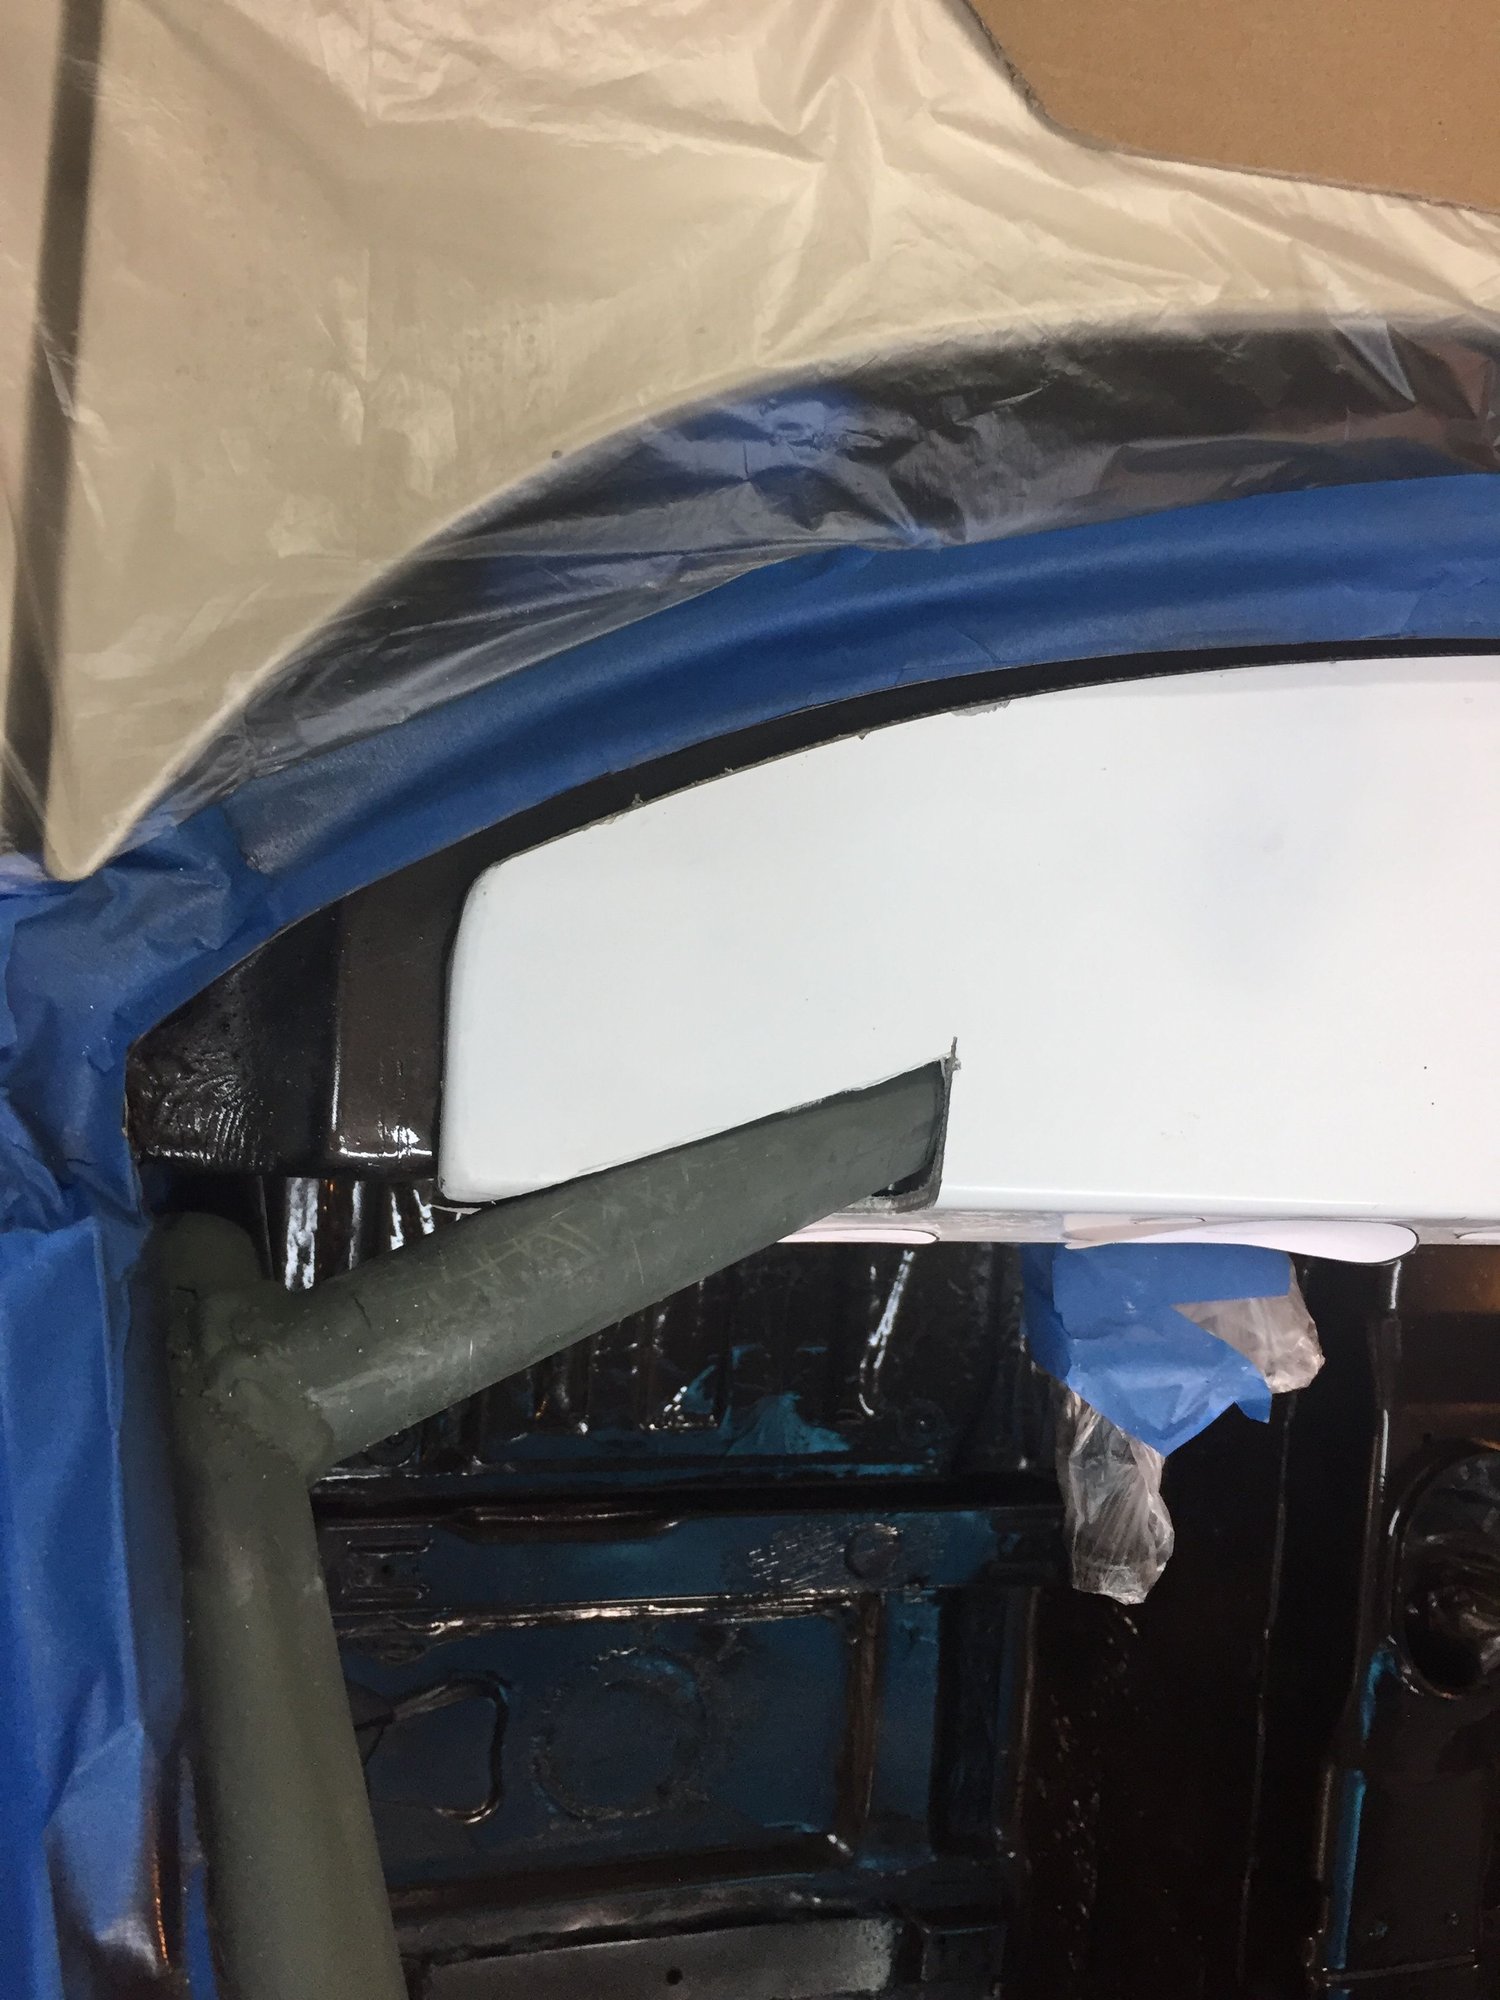
The GT Racing dash arrived yesterday around lunch time. I had made templates of the gauges, switches and lights several weeks ago. So while finishing my last conference calls for the day, I cut them out and taped them to the bare dash. Then last evening, I made a partial template of the dashboard to determine where it needed to be cut to fit where the dash bar connects to the front hoop of the cage.
Then I laid the template on the dash and marked the cuts.
After cutting and a few rounds of fitting and trimming I sat where I wanted it to.
There are a couple places where I should have made round cuts instead of straight cuts. But we learn by doing, so that is what I'll do next time. You may also notice that the dash is a couple inches short on each side. If I were building this car for someone else, I'd take the time to section and extend the dash as well as make the straight cuts round. But I can live with it as it is.
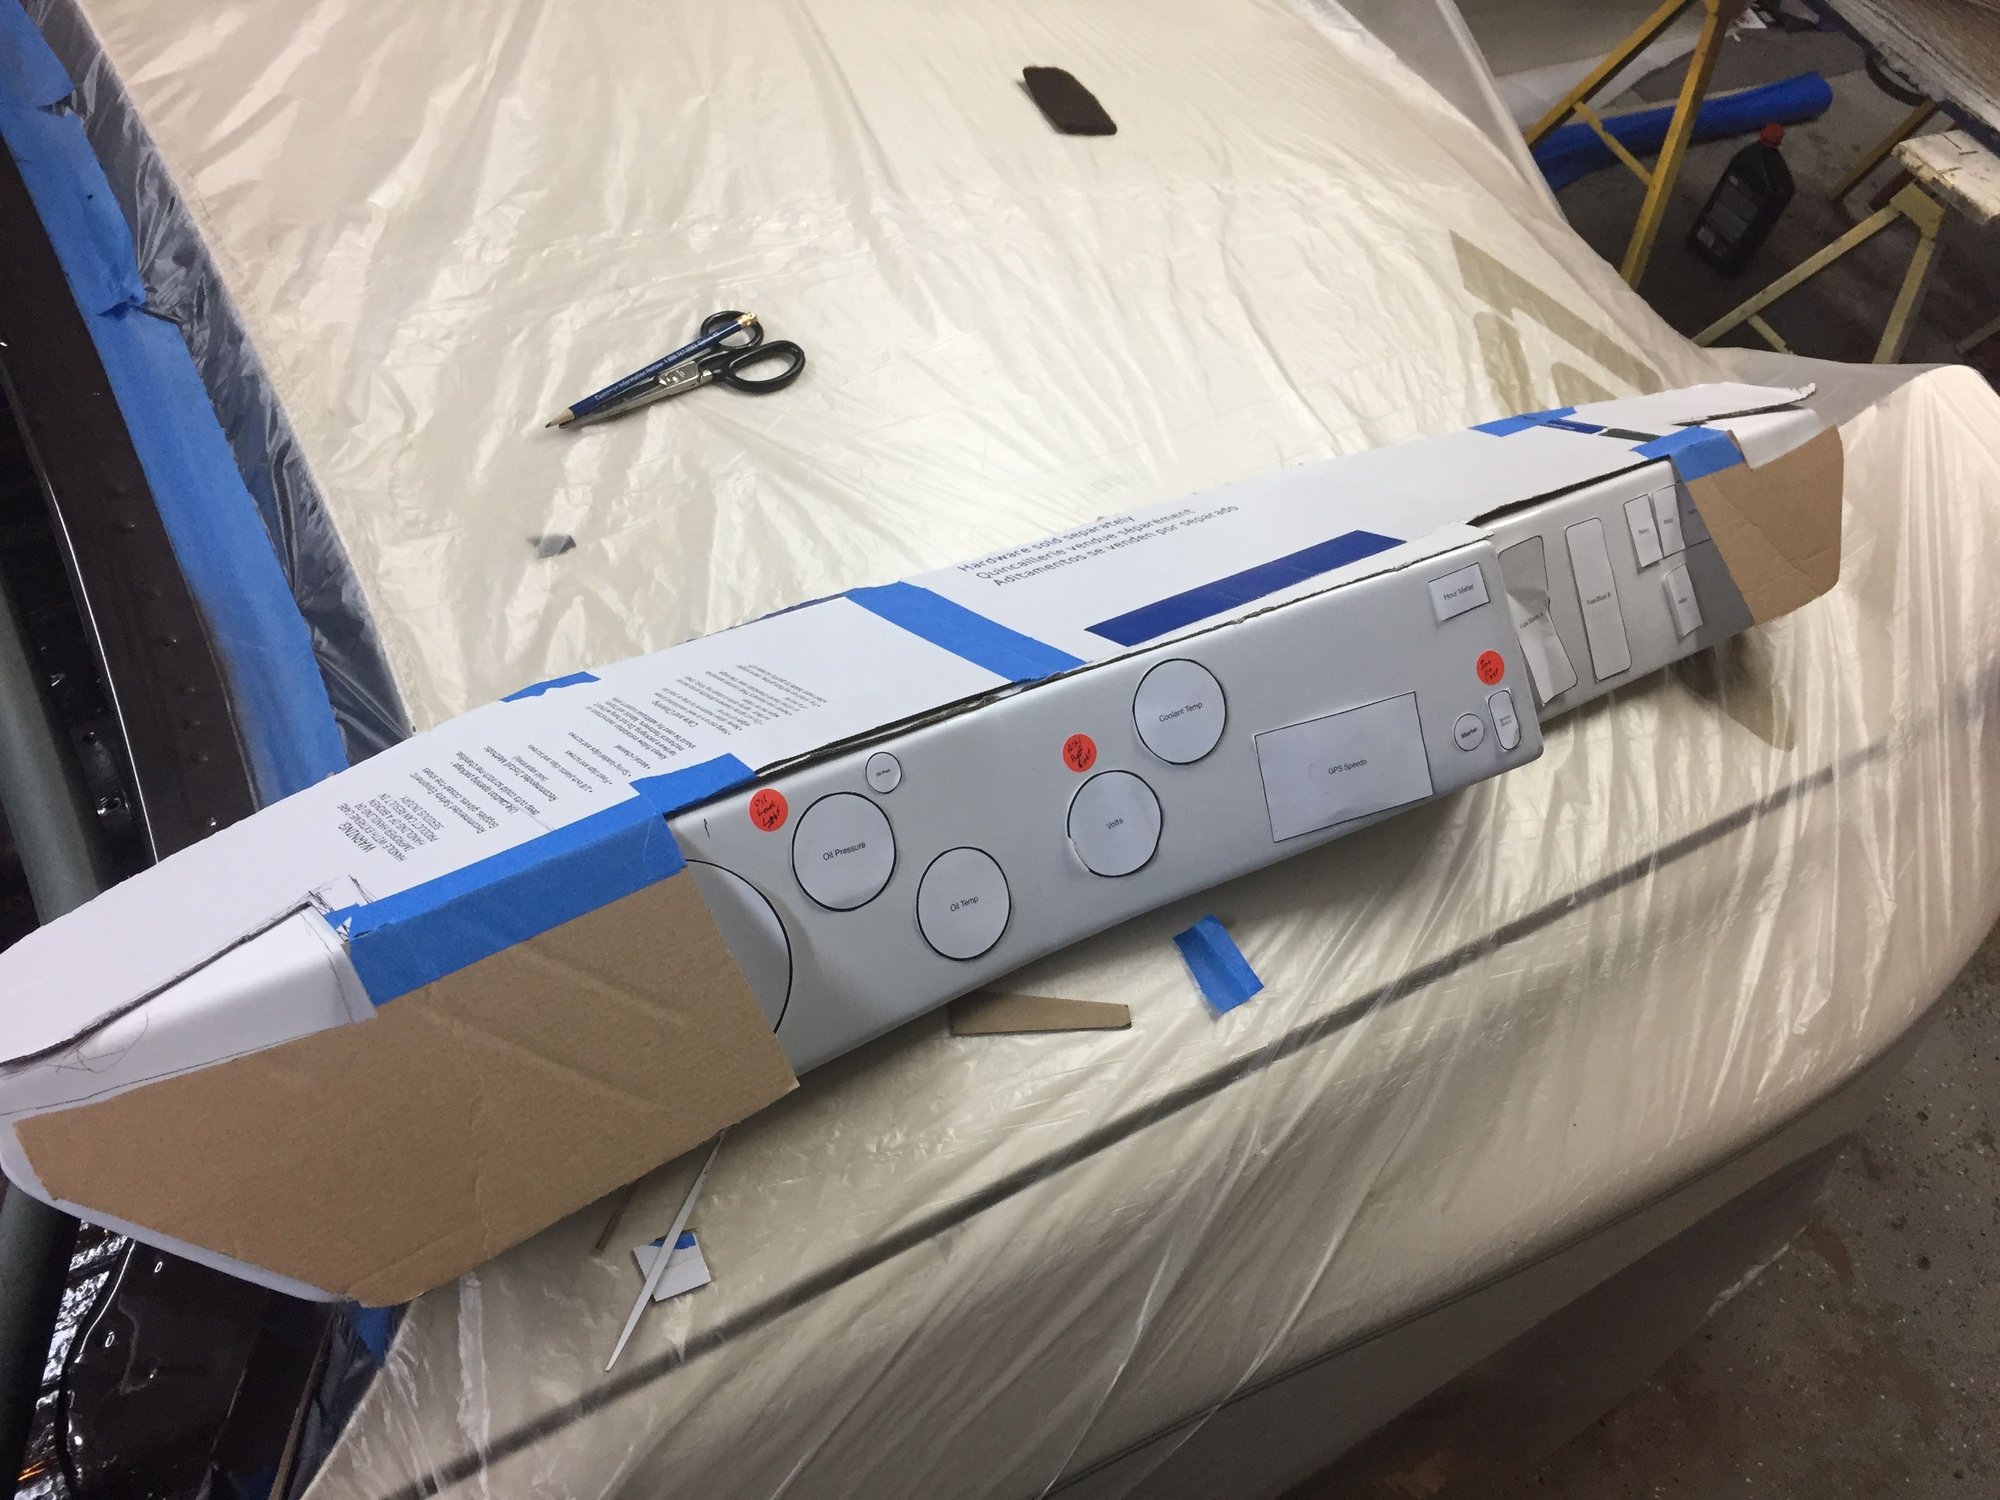
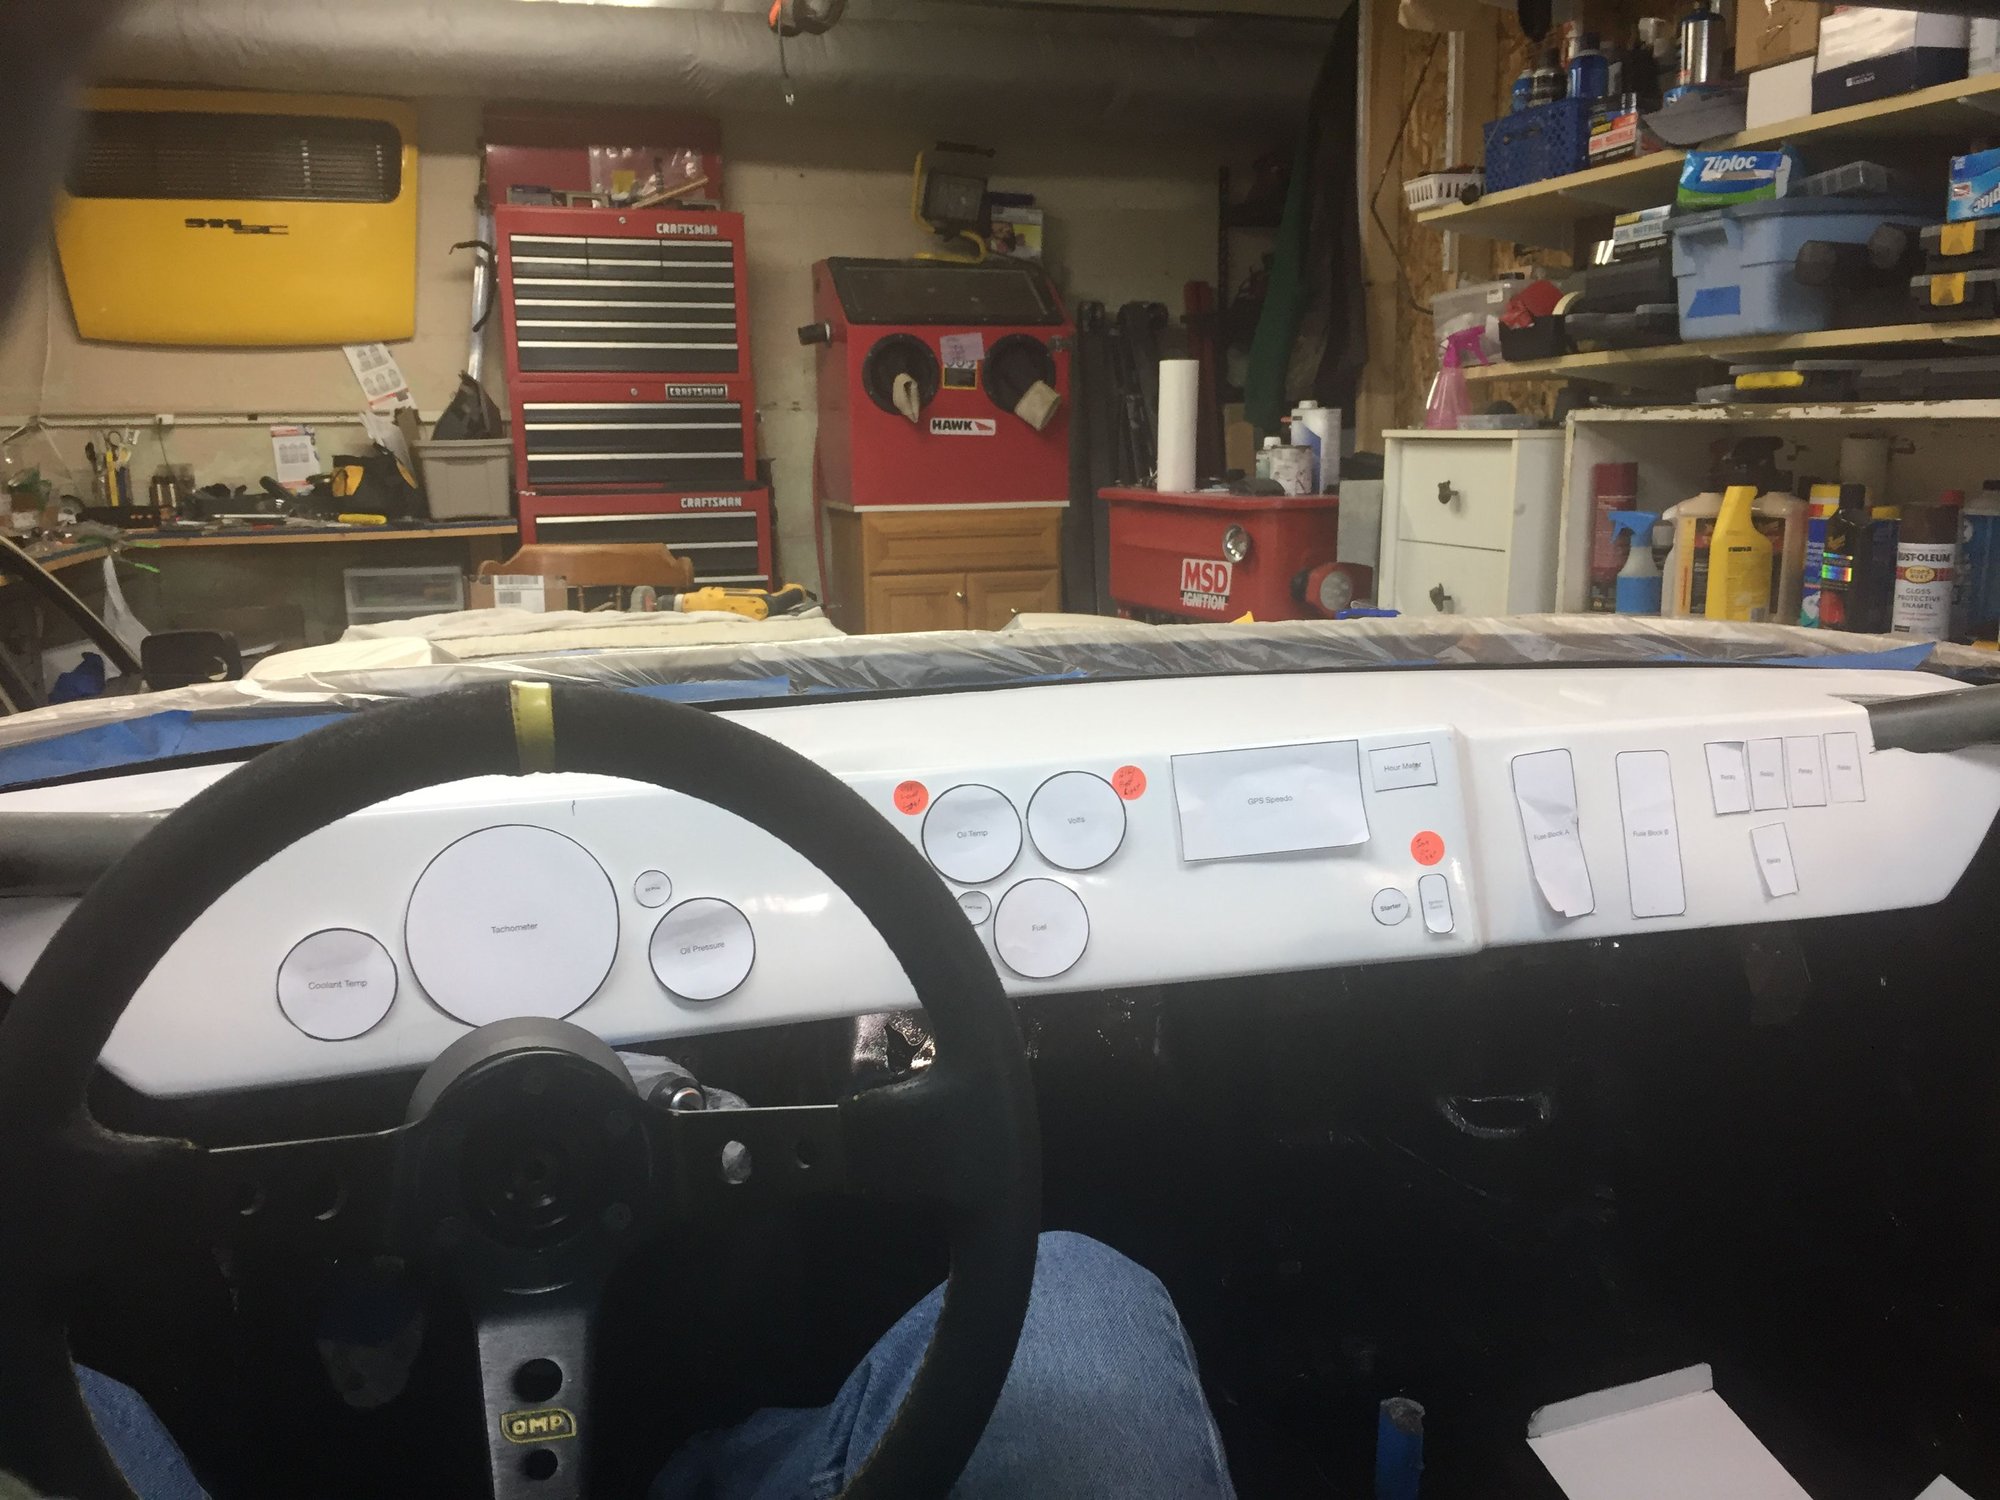
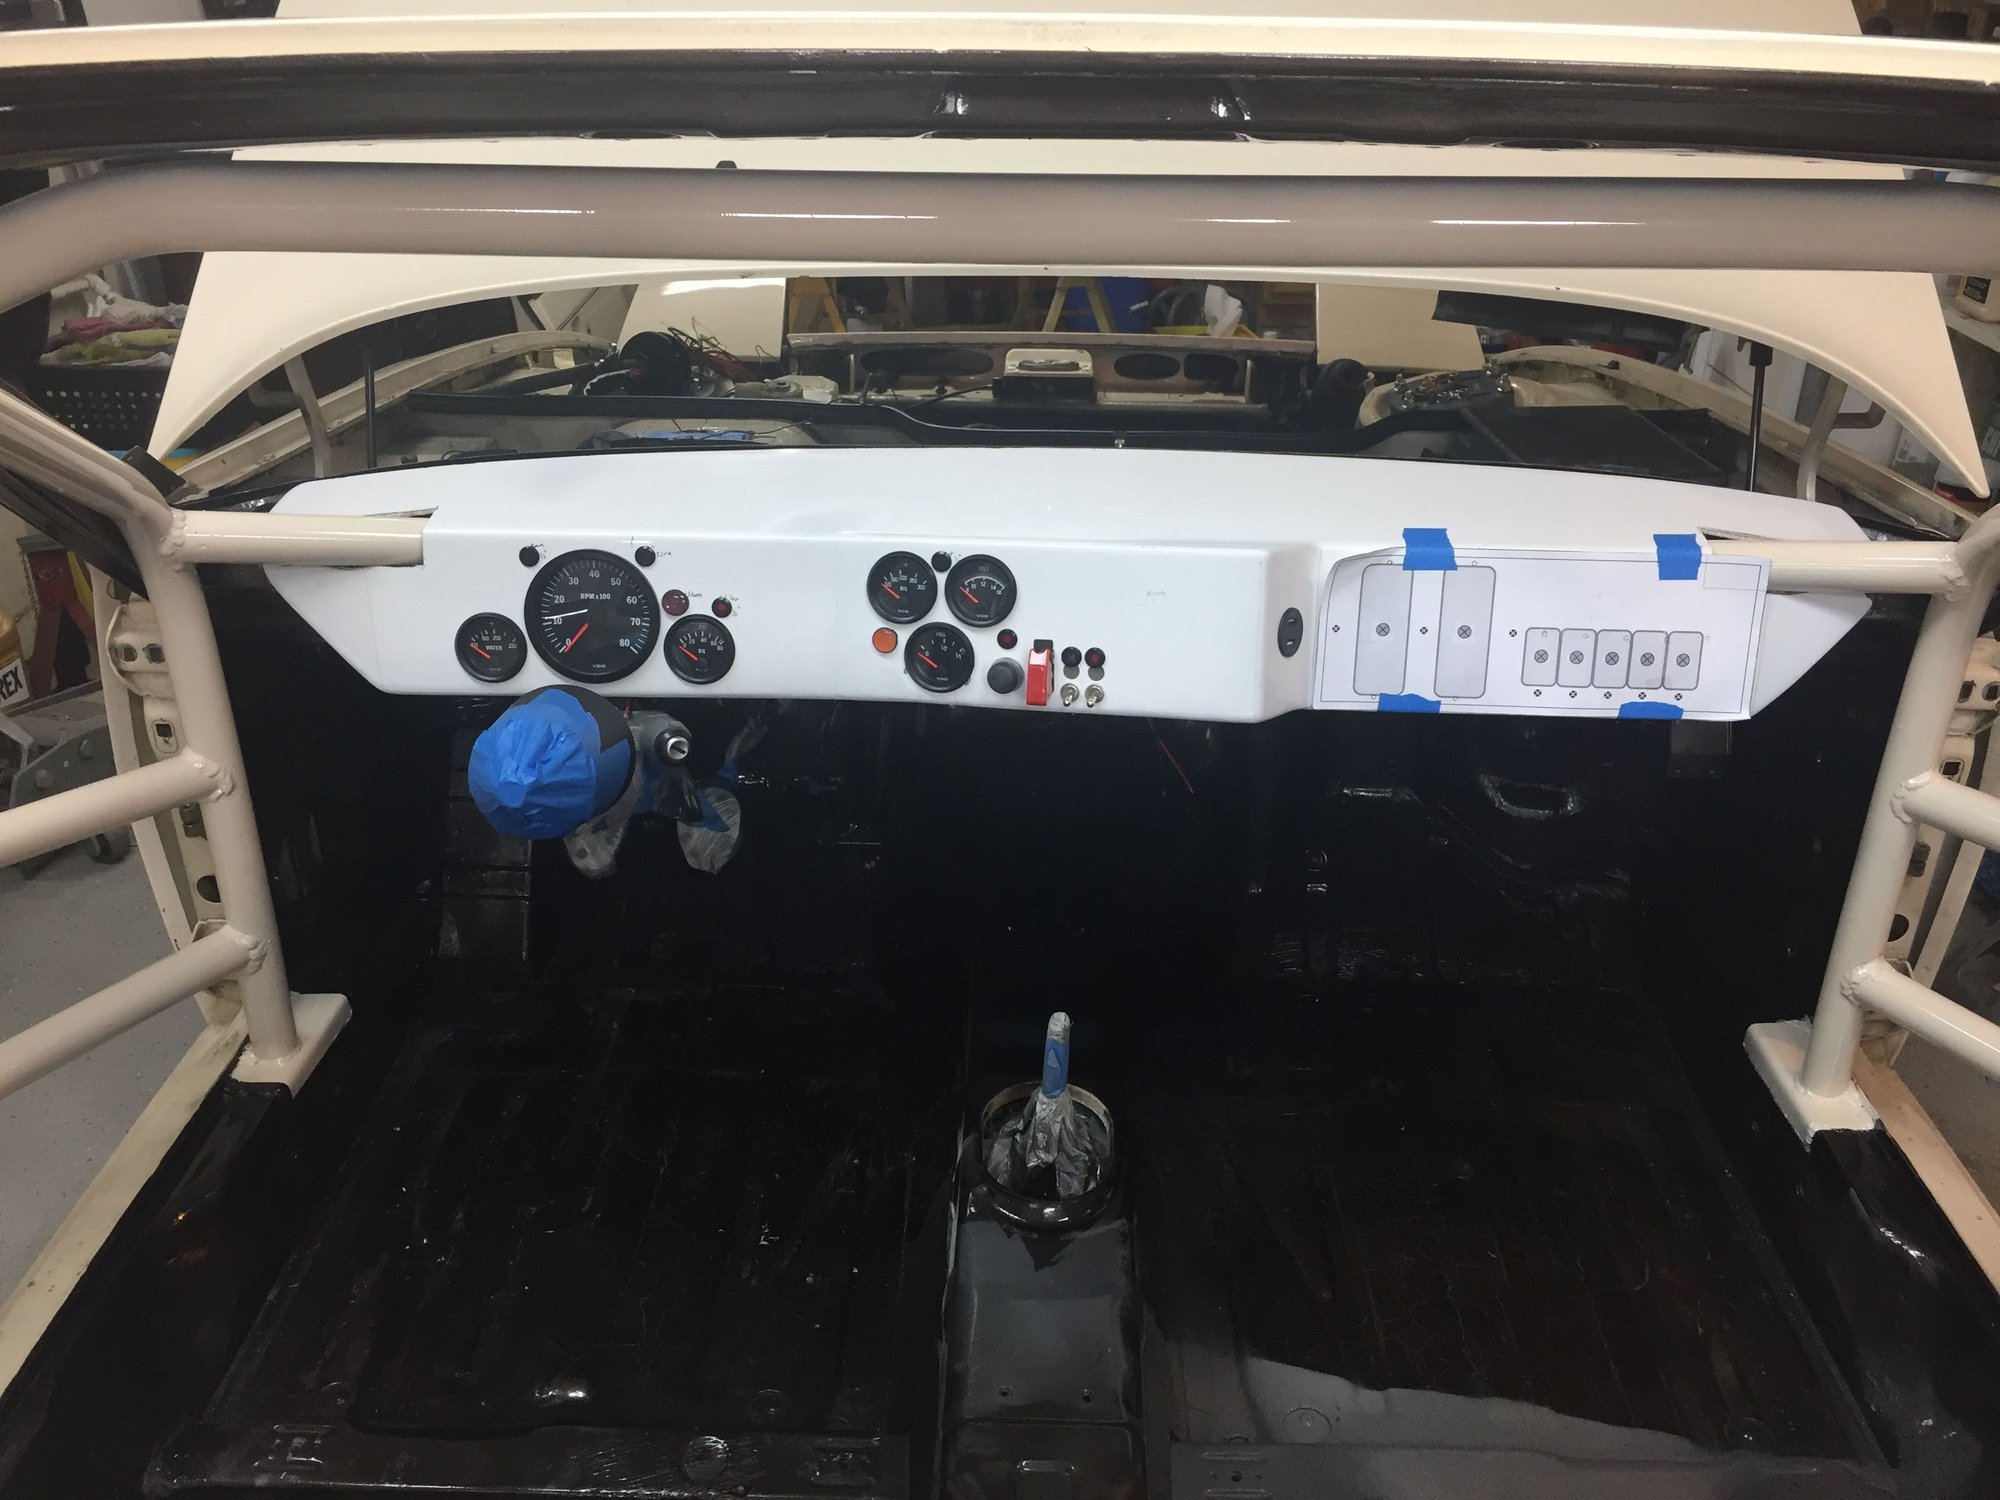
Today, I continued work on the dash. The seat and steering wheel had to go back in temporarily. Then, while sitting in the seat, I re positioned the paper gauges, lights, etc.
Pay no attention to the cluttered garage that is way too small for the work I do in it.
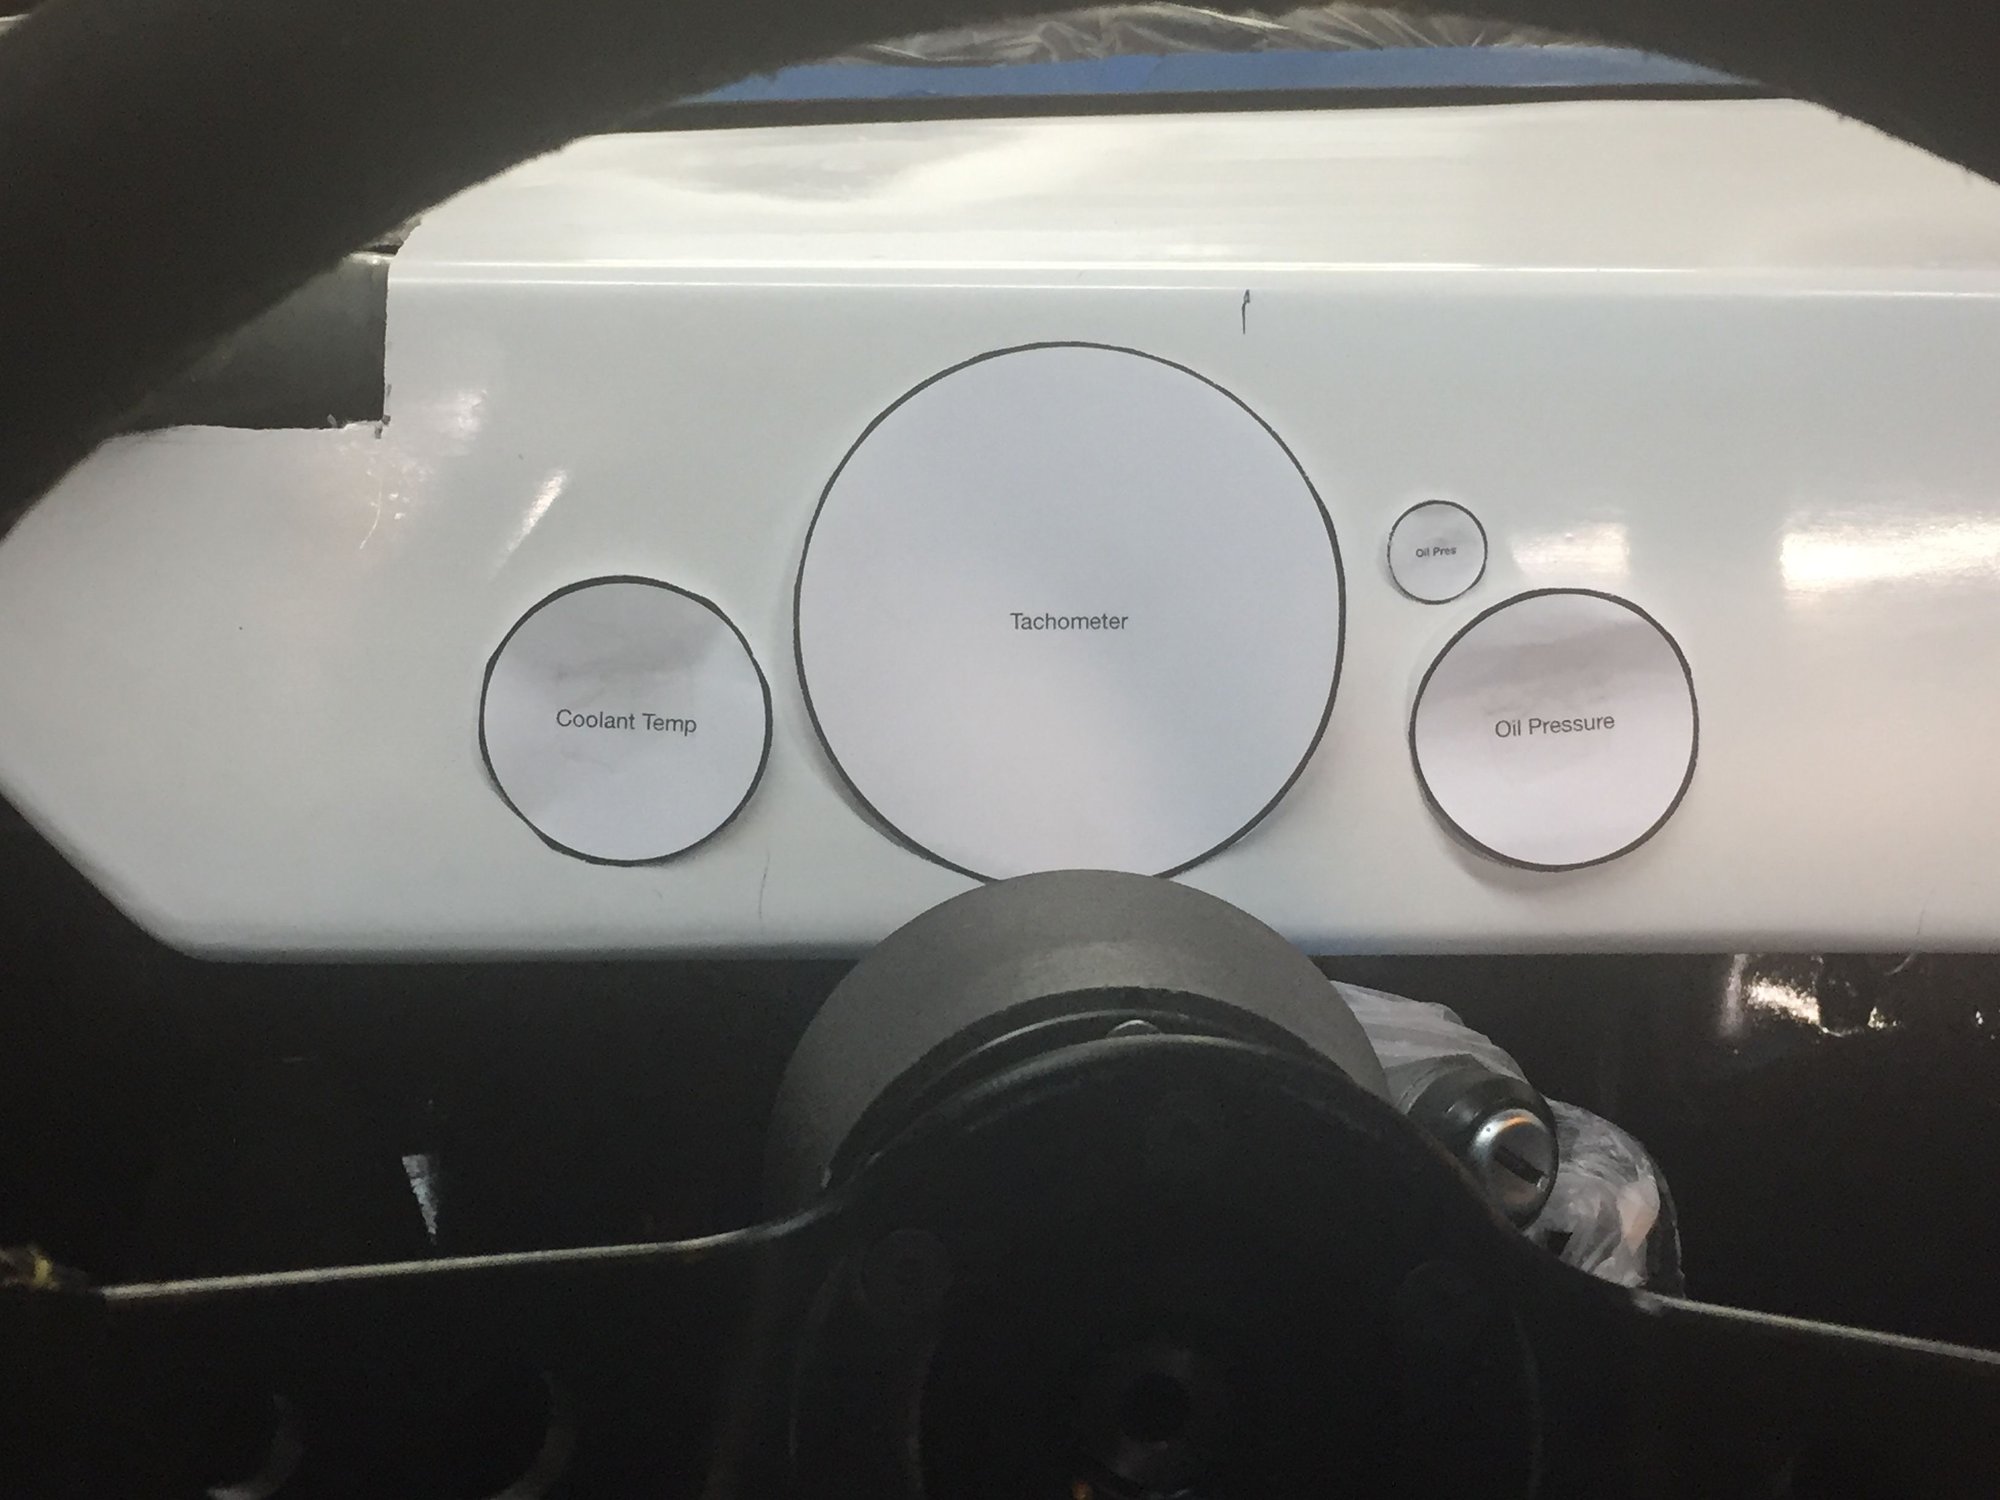
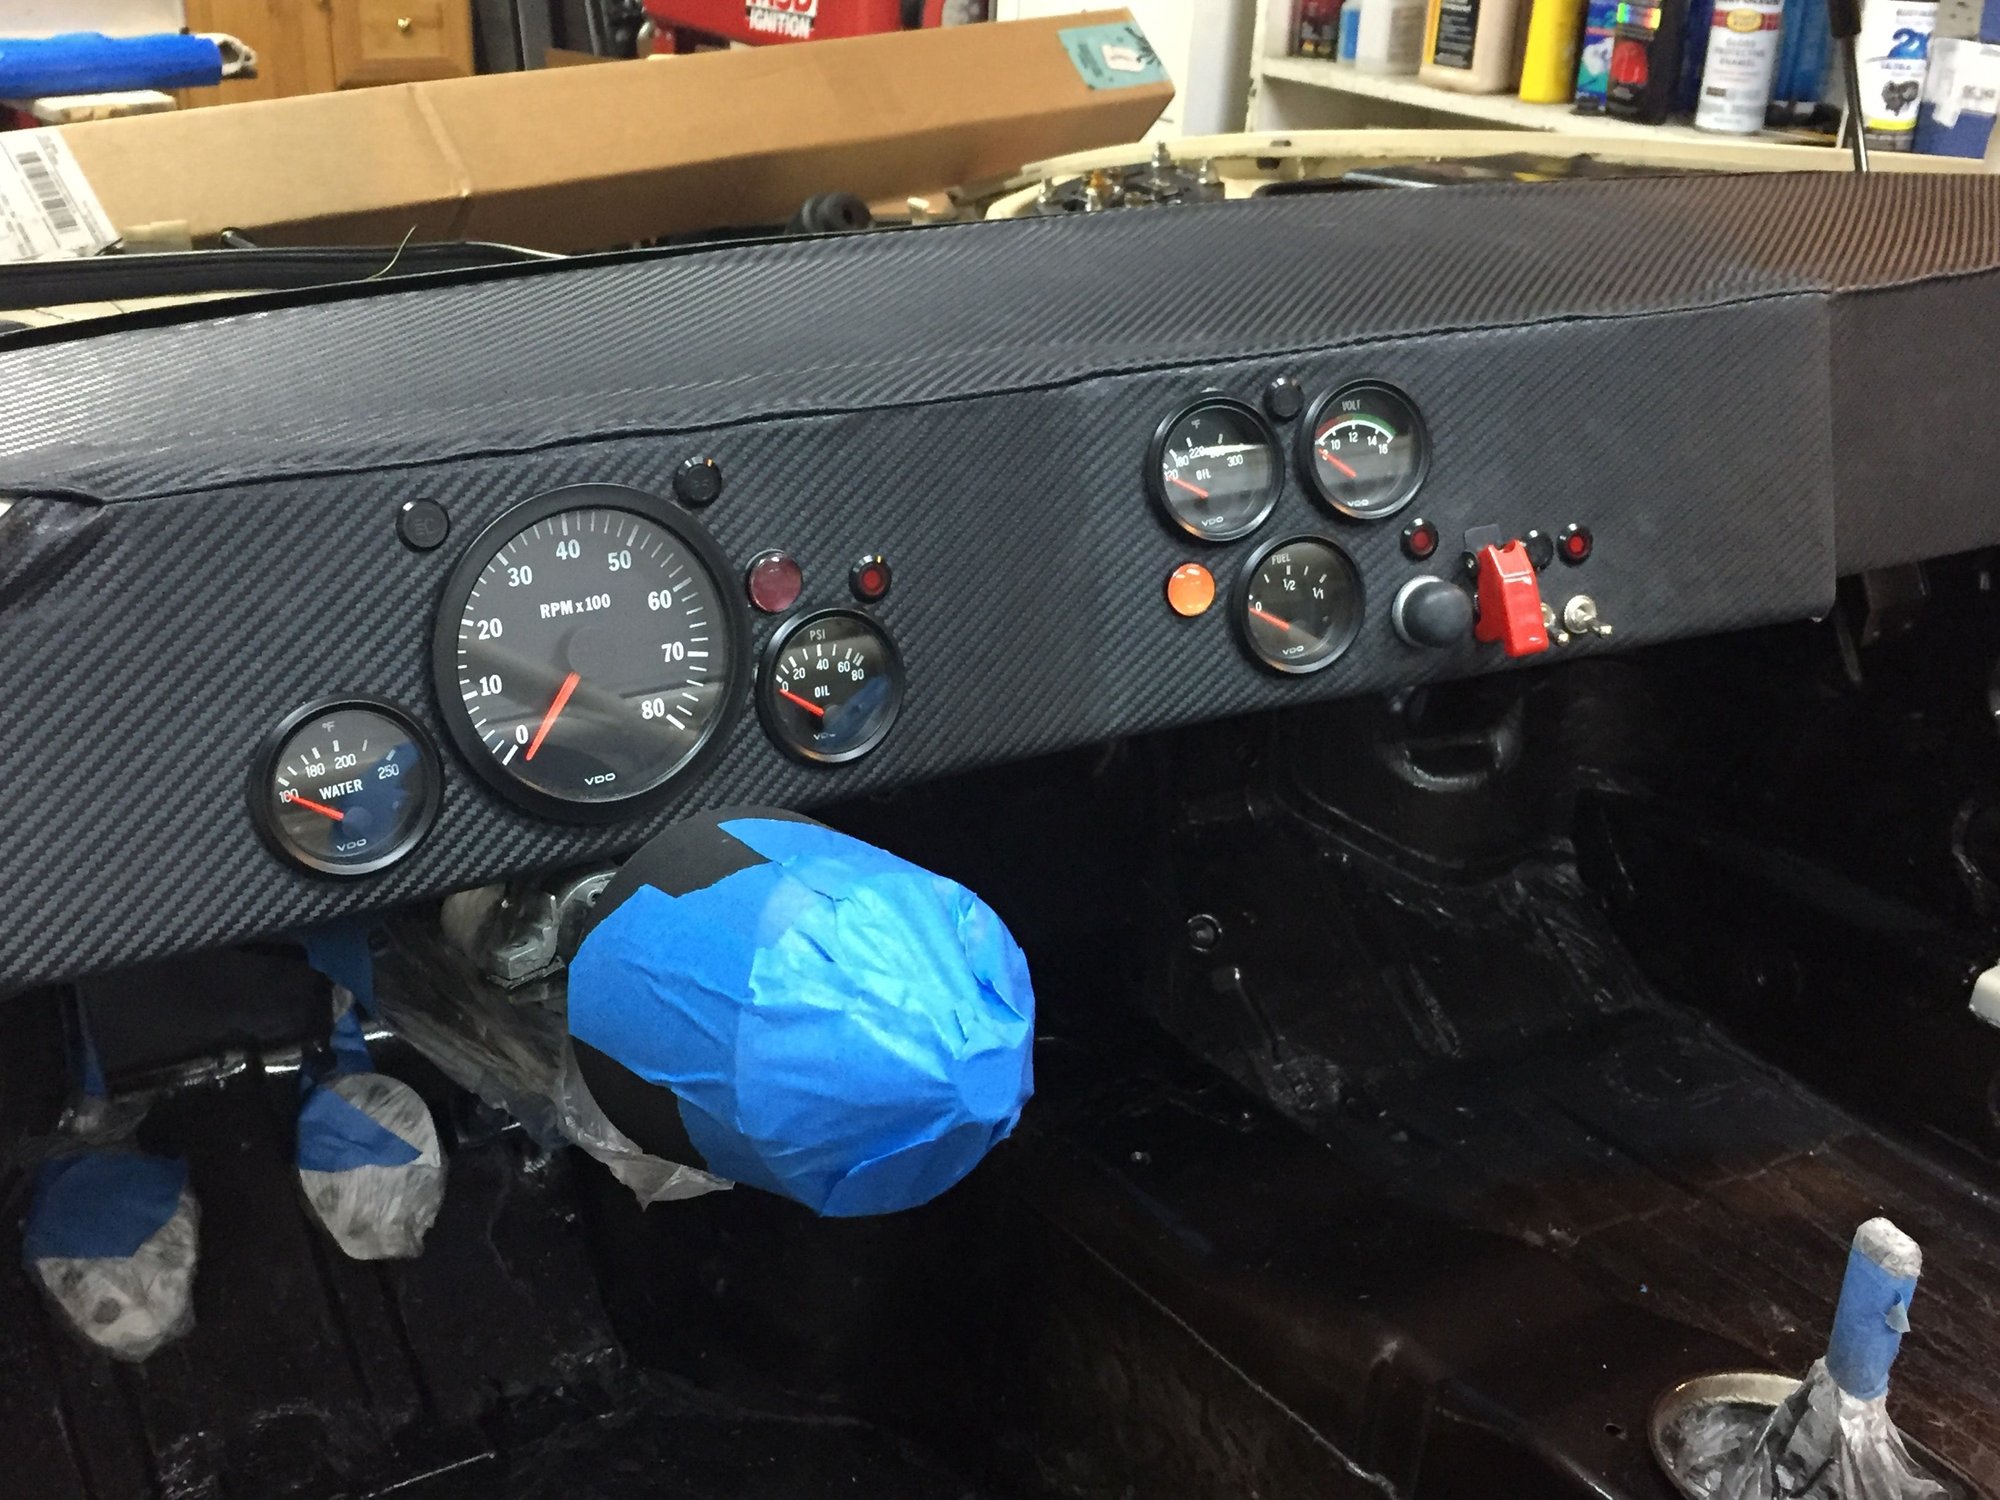
There are basically three sections to the dash, right in front of the driver, the angled section immediately to the right and a section in front of the instructor/passenger.
Directly in front of me I have the Tach, Coolant Temp and Oil Pressure gauges along with the low oil pressure light. A shift light will be mounted on top of the dash.
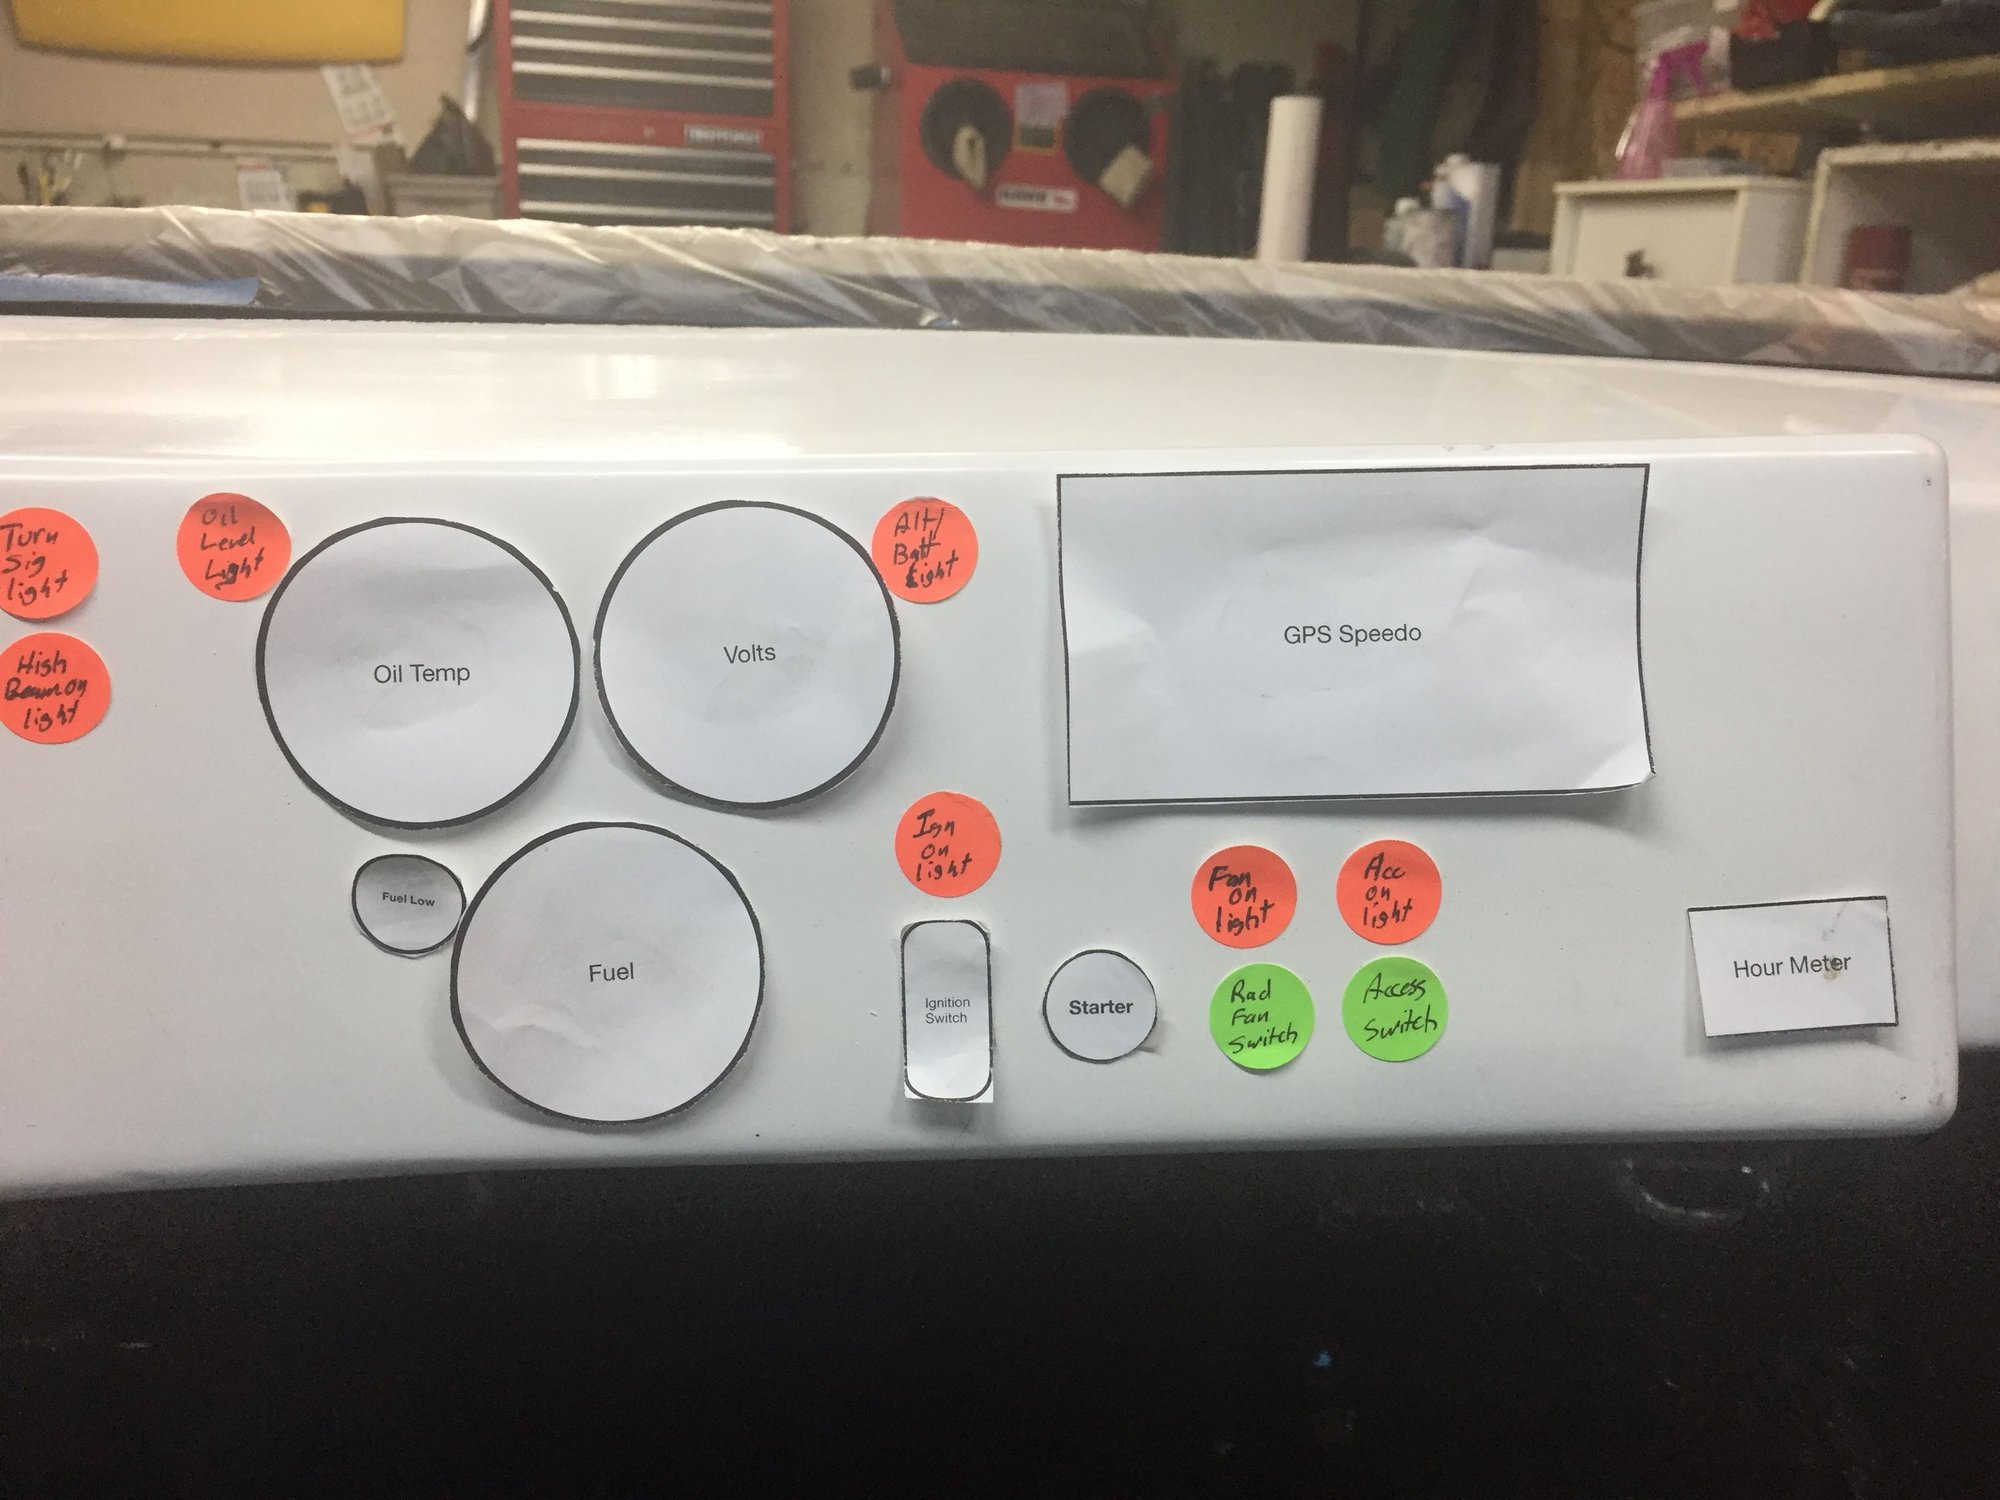
Just to the right, I'll have the Oil Temp, Volt and Fuel gauges with indicator lights for low fuel, low oil level and Alt/Battery close to the gauges they are associated with. To the left of the gauges will be lights for turn signals and high beams (remember, I am keeping it marginally street legal for now).
To the right of the gauges is a space that will be used interchangeably for a gps speedometer or iPad mini running Harry's Lap Timer. Beneath that space, from left to right, is a covered ignition power switch with indicator light above, the starter switch, a toggle switch for the radiator fans (with indicator above) and another toggle switch with indicator to control power to the "accessories" (USB ports for the iPad mini, camera and an external GPS receiver). Finally, to the right of the switches will be an engine hour meter. From here on out everything will be tracked in hours, not miles.
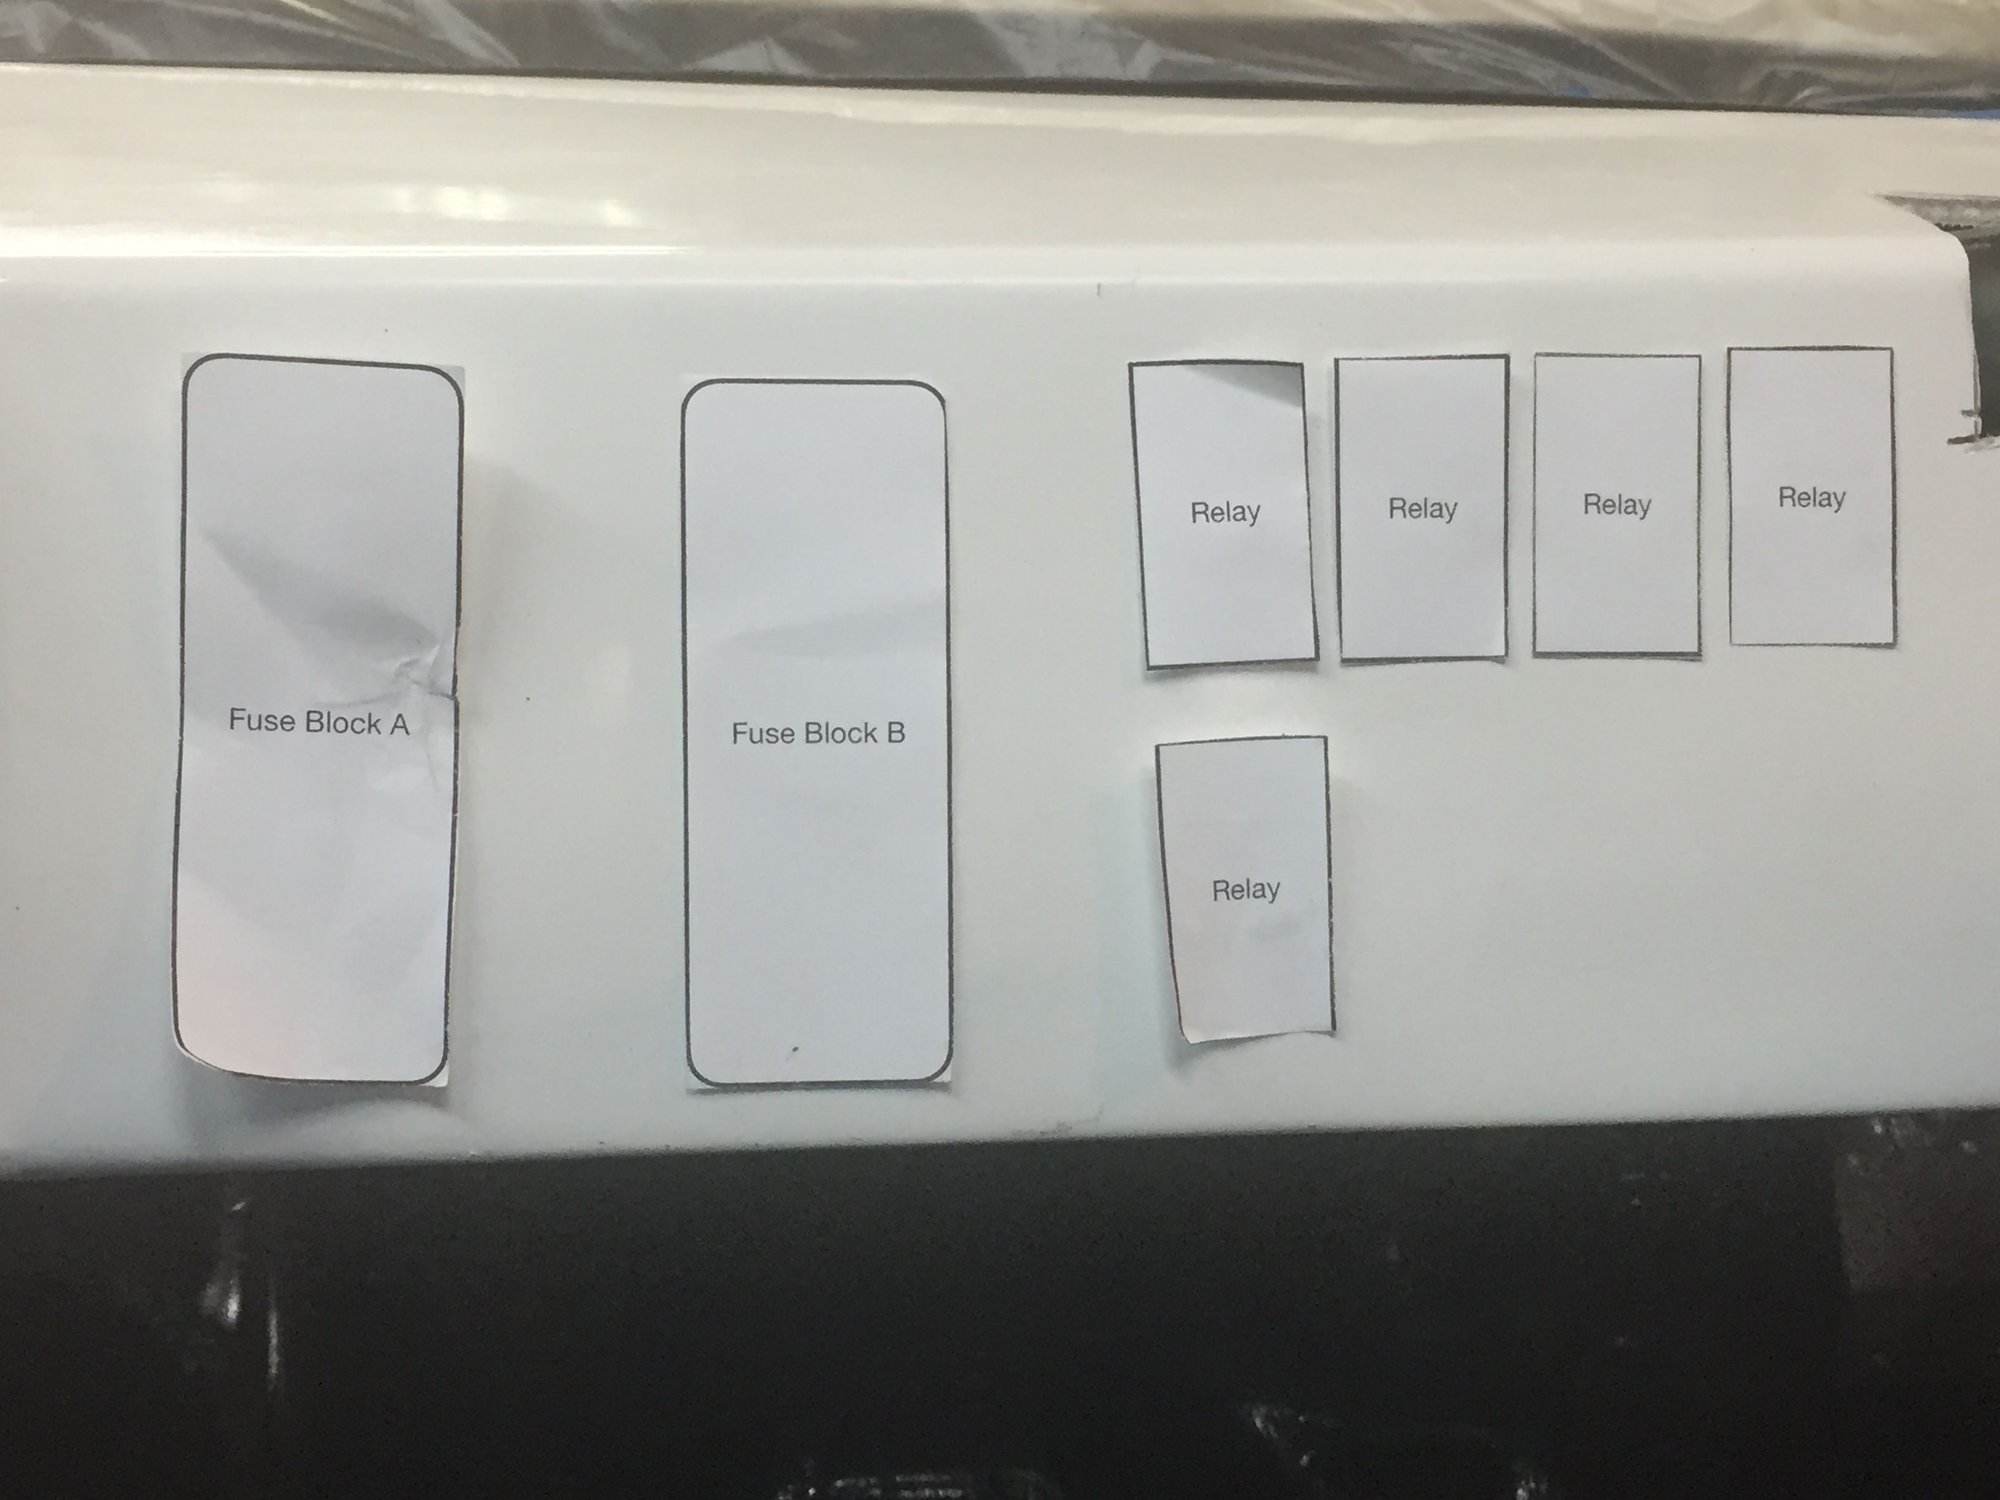
And at the far right of the dashboard will be the electrical distribution pieces, two 8-position fuse panels and 5 relays.
But wait, there's more!
To the left of the dashboard, I will mount a second kill switch with a pull cord accessible from the outside. And a small switch panel will be fabricated to mount on the center tunnel, to the rear of the shifter, that will hold switches for turn signal, headlight, hi/lo beam and windshield wipers.
I still have to decide if I will paint the dashboard or give it a thin upholstery with vinyl. The vinyl would be brown to match the rest of the interior. But if I paint it, I'm torn between making in match the exterior and cage (Pastel Beige) or go with the brown. Decisions, decisions. Anyone have thoughts either way?
Made a little more progress and learned a couple things in the process.
I loaded the dash with gauges, switches and lights. Then slipped it on for one last look to be sure I liked the layout.
Then all the gauges, switches and lights came back out and I put on my auto upholstery hat. 'Tis a hat that is new to me. This is where the learning came in.
I found some marine grade vinyl with a carbon fiber look. Figured I pull out the old portable sewing machine and stitch up a nice cover.
Things I learned:
Sewing a straight line looks easier than it is (even when you have a line to follow)
Sewing vinyl is not like sewing cloth
If you screw up, you can't just rip out the seam and try again (the needle holes are forever and serve nicely for tearing on the dotted line.
Even with the right needle, thread and settings, my machine just doesn't cut it.
French seams are for the skilled, not me. Recognizing my limitations, I gave up that idea quickly.
So after a lot of testing on scraps and starting over a couple times, I got a cover I could use.
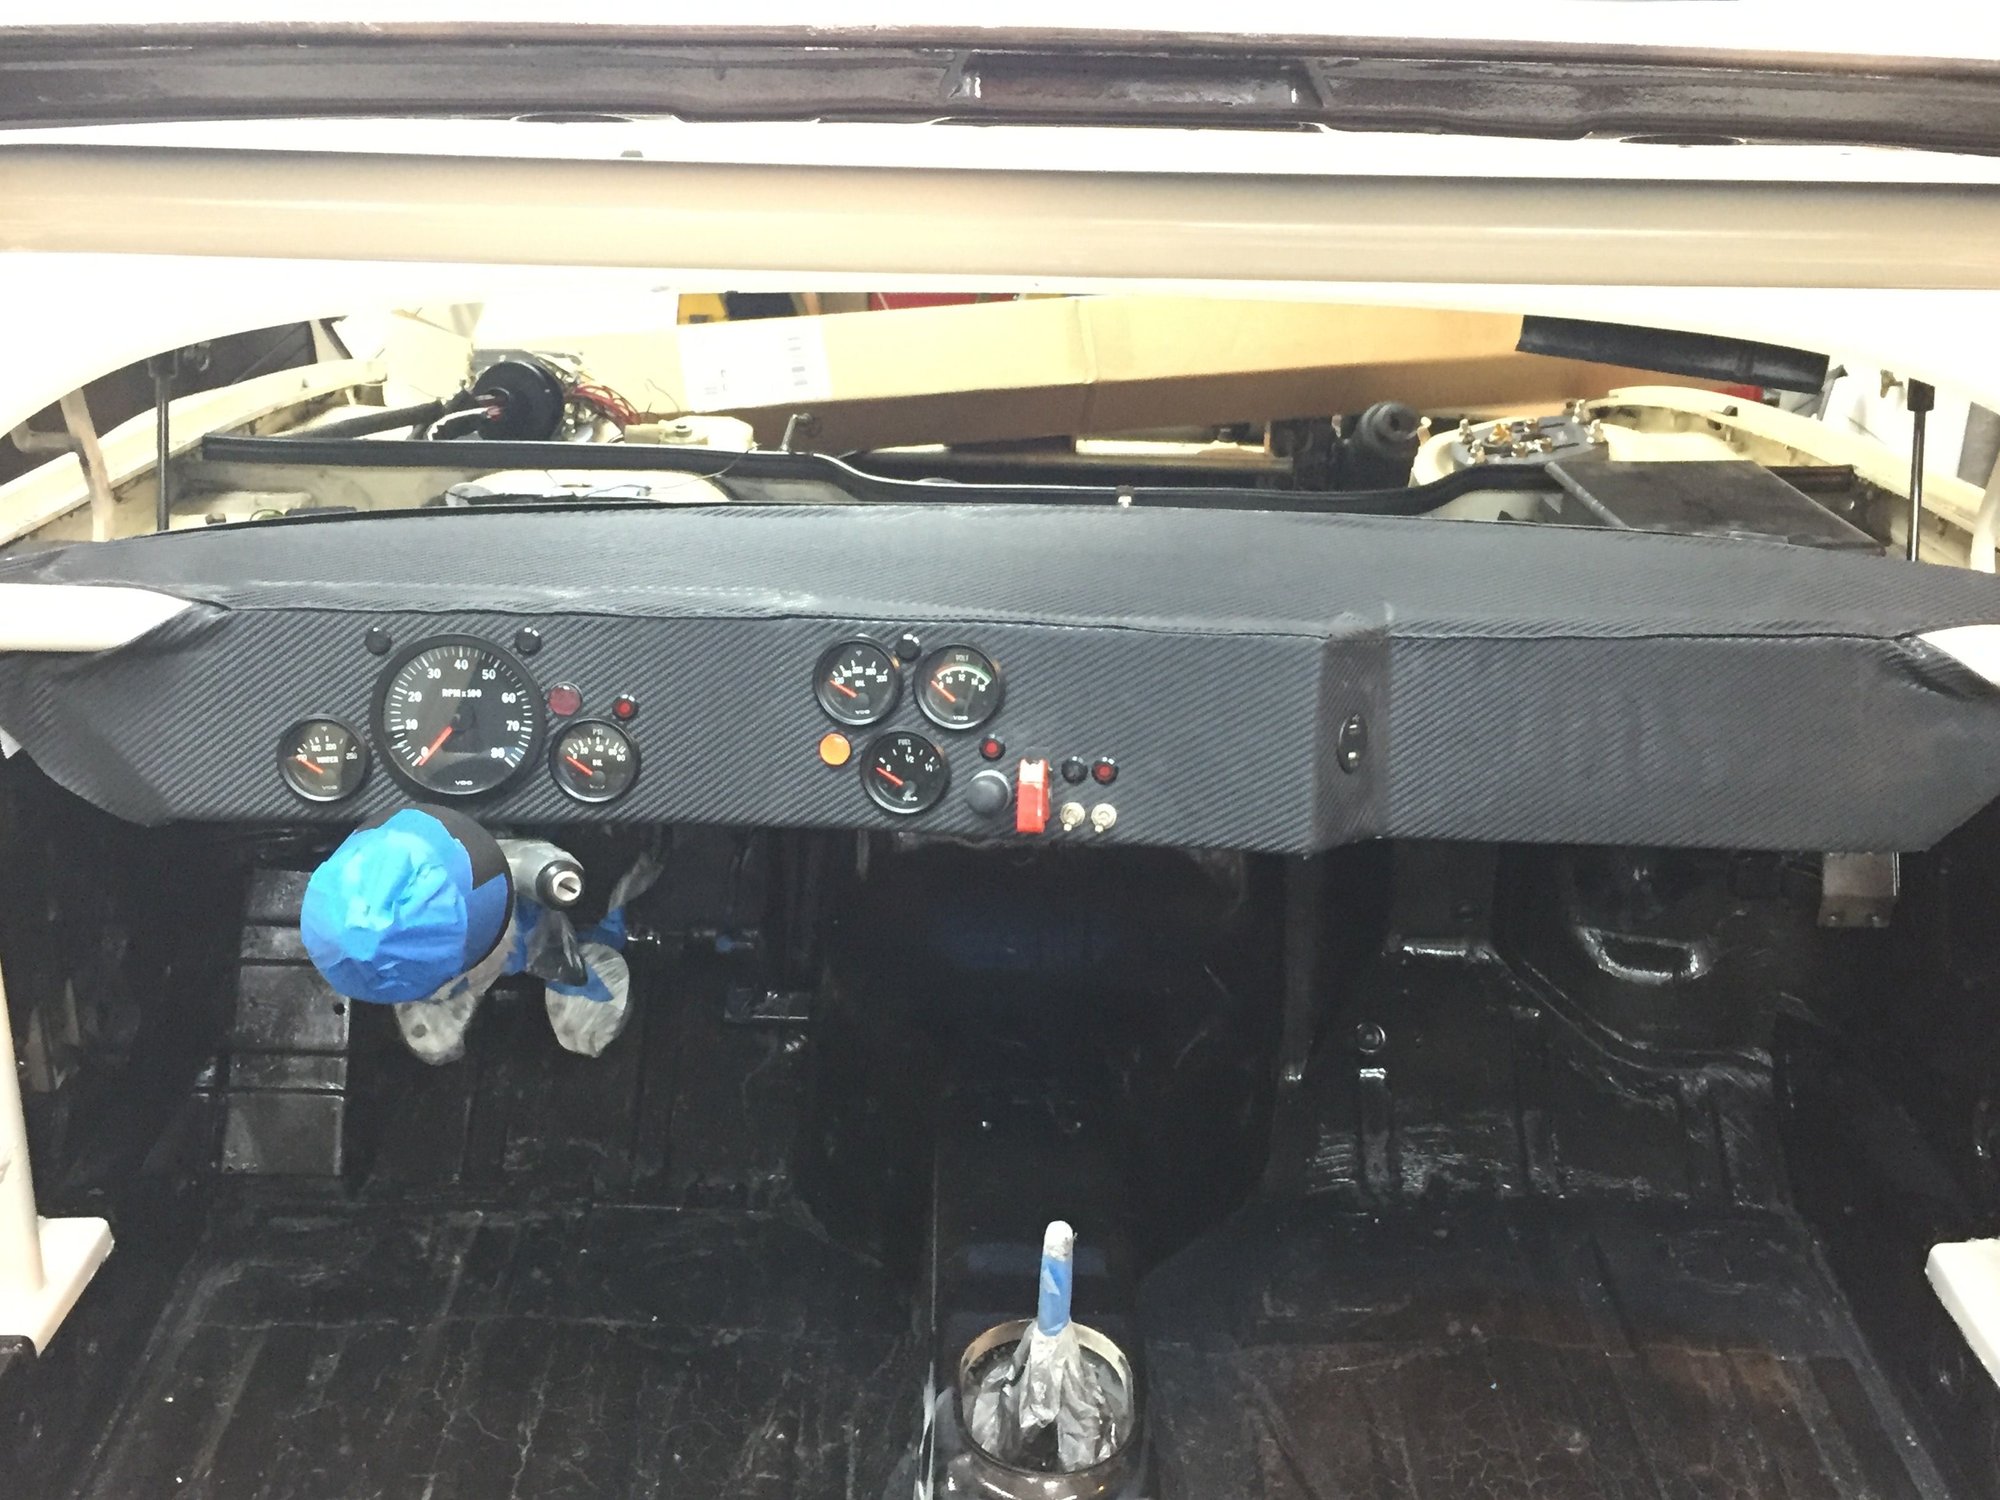
Carefully applying spray adhesive and working the cover into place one section at a time, I got it done.
Cut the holes in the vinyl, reinstall the gauges, switches and lights and Bam! a dash I can live with.
I still have a few details to clean up around the edges and where the cage comes through on each side. But I'm pretty satisfied with the results.
I'll hang on to the paper templates I made just in case.
Looks great, just a suggestion to consider is rotate the rpm meter so 6500 rpm is at TDC or 0 degrees, a statement it is a race car and easier to see your at max rpm
Looks great, just a suggestion to consider is rotate the rpm meter so 6500 rpm is at TDC or 0 degrees, a statement it is a race car and easier to see your at max rpm
Just a quick update to say no progress has been made. All of my time has been spent working on buying a new home (a foreclosure that needs updating) and preparing our home for sale.
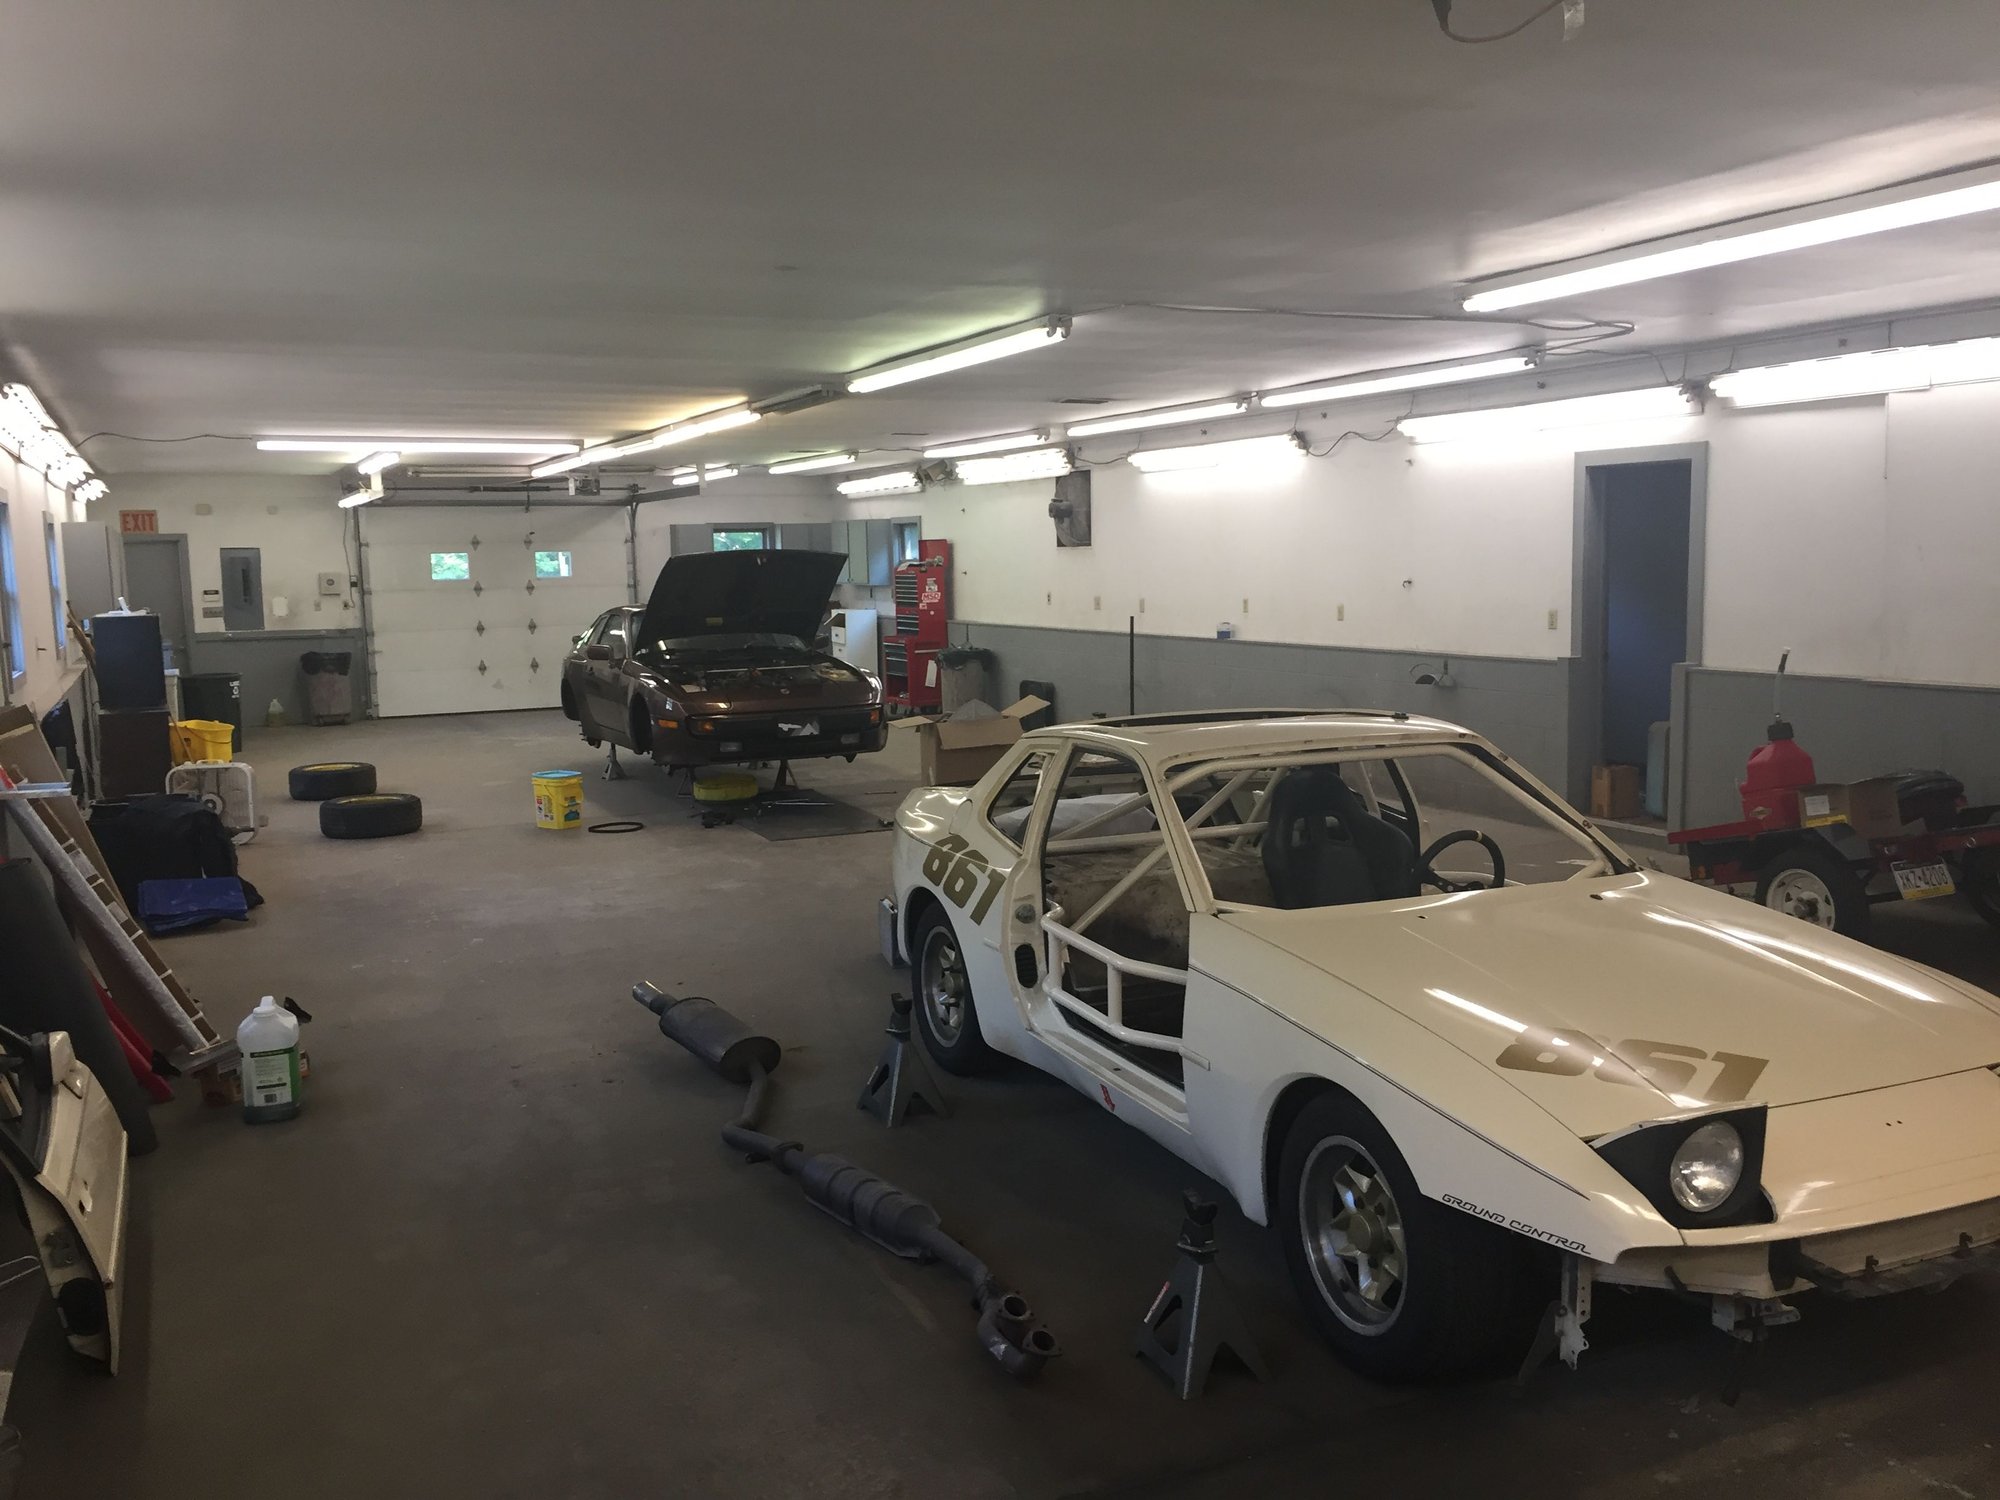
We have moved into the new house and the old house is under contract. Still have a lot of unpacking to do and many updates are being planned and started. It will be worth all the effort because the previous owners ran an auto sales and service business out of the garages. I now have enough garage space to hold close to 20 cars.
There are two garages, here is a shot of the second that I am calling "The Shop". My son's 944 behind the track car getting belt service and some other maintenance.
At some point, I'll record a video tour of all the garage space.

 03-09-2020 | 09:24 PM


")