When you click on links to various merchants on this site and make a purchase, this can result in this site earning a commission. Affiliate programs and affiliations include, but are not limited to, the eBay Partner Network.
Fixing all the 944S problems now that it's painted
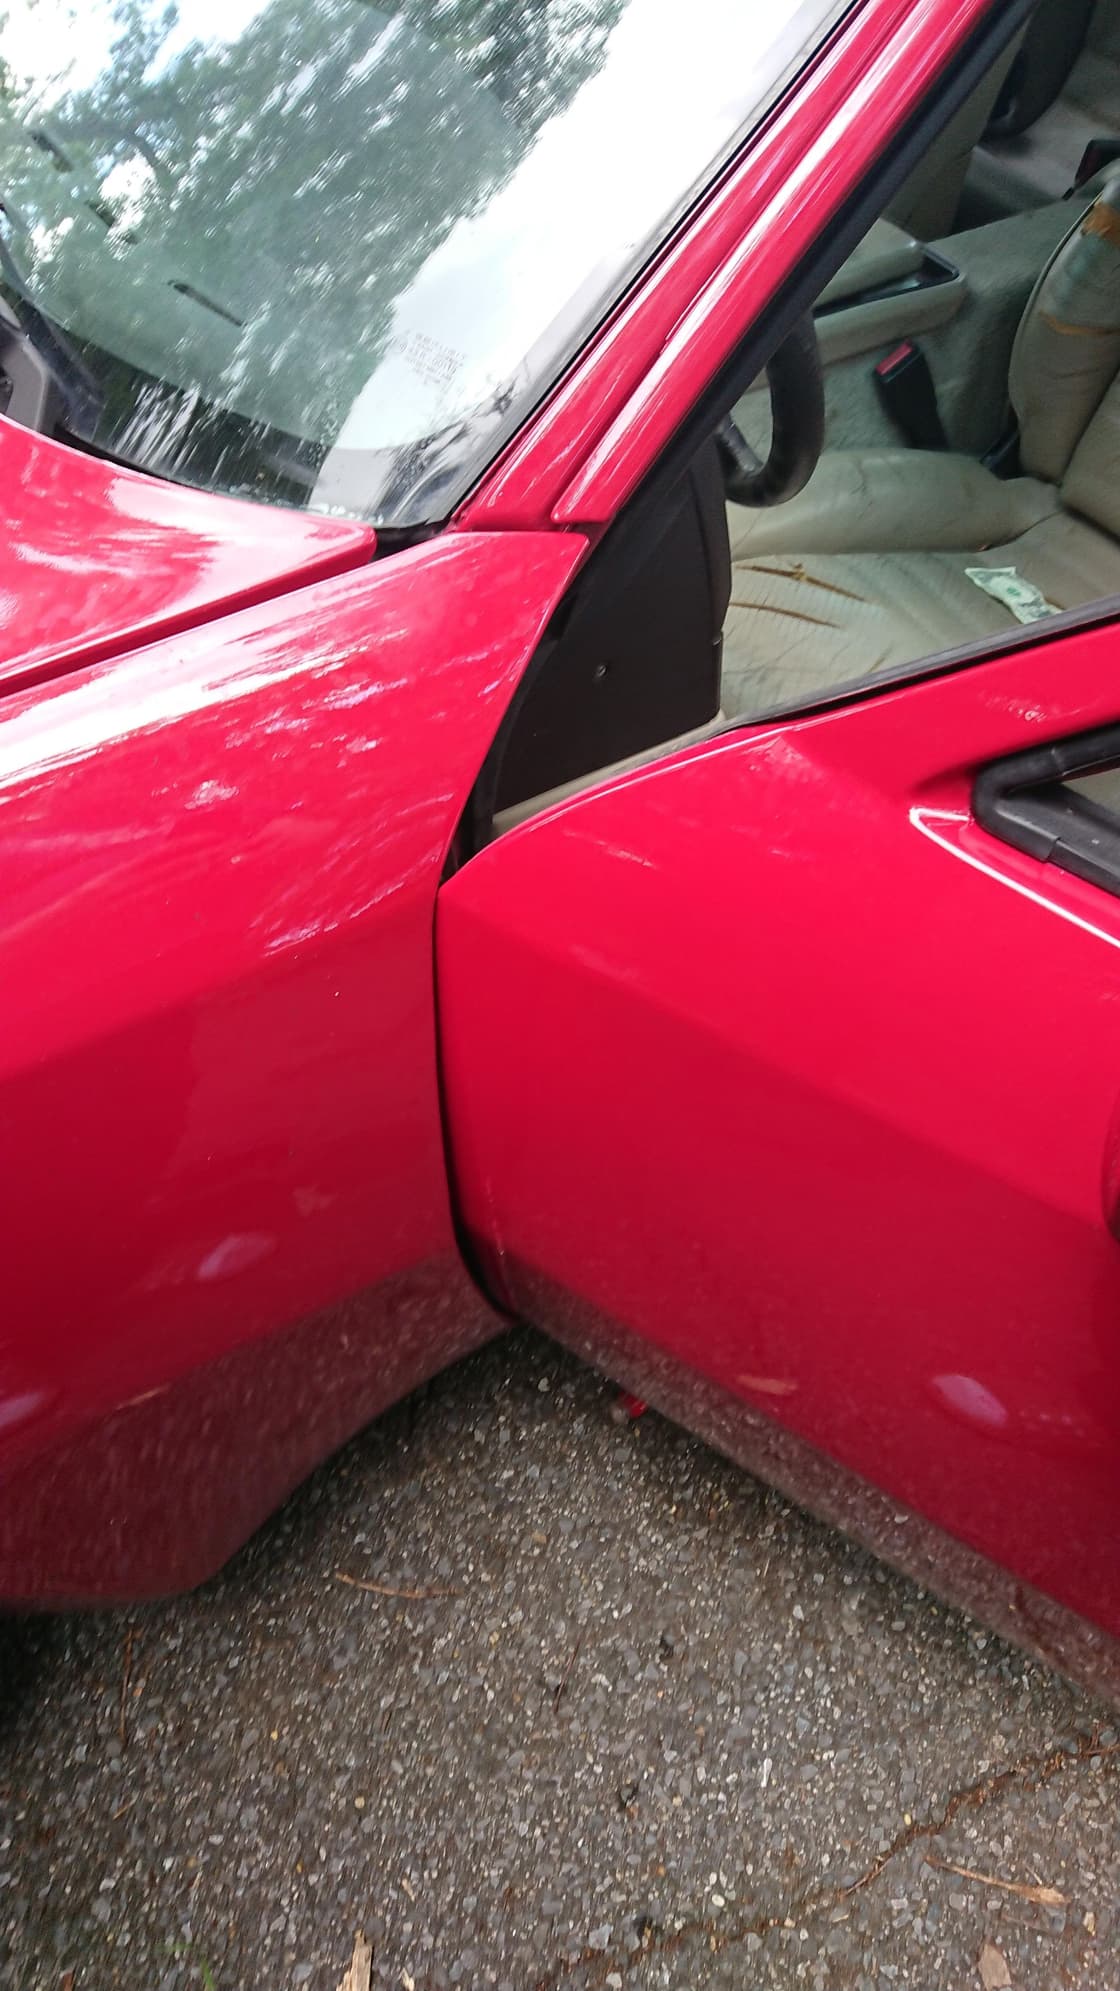
So now that my 87 944S is painted, beautiful, and a pleasure to behold, it's time to fix all the other stuff that's wrong. Nothing critical, the engine was running before I sent it off but just all the little things that need to be de-broken from 30_ years of ownership.
To document this I'll do a thread here with a list of all the problems, then specific posts describing the fix. Feel free to comment, discuss, etc I just didn't want to put a whole lot of threads up.
Current issues:
Return fuel line: Old. (Replaced the pressure line a few years ago)
First up was the brake pads: I replaced the front ones about a year ago and it was a tight fit on the driver's side. Since then they have been squeaking horribly and the brake pad light came on the dashboard. So today I pulled the wheels and checked.
Passenger wheel was ok and wear sensor read 0 ohms with infinite to frame. Good. Driver's side had one of the wear sensor wires *broken*, guess it snagged on something. Spliced in a new wire length while I order a new sensor and figured I would check the pads.
The inside pad came out fine but the outside pad was stuck in the frame. Finally got it out and it looked like dirt/corrosion/something was making the pad stick. Took a small file and cleaned out the gunk from the caliper, then tried the pad. Slips right back in; I'm guessing it's being stuck was causing a rattle and wear. Put everything together, no warning light and the front brakes work better.
On to the next thing. I think I'll tackle the passenger's window next.
Today's job is the passenger window. Been stuck for years, finally it's time to take out the regulator and see what's going on.
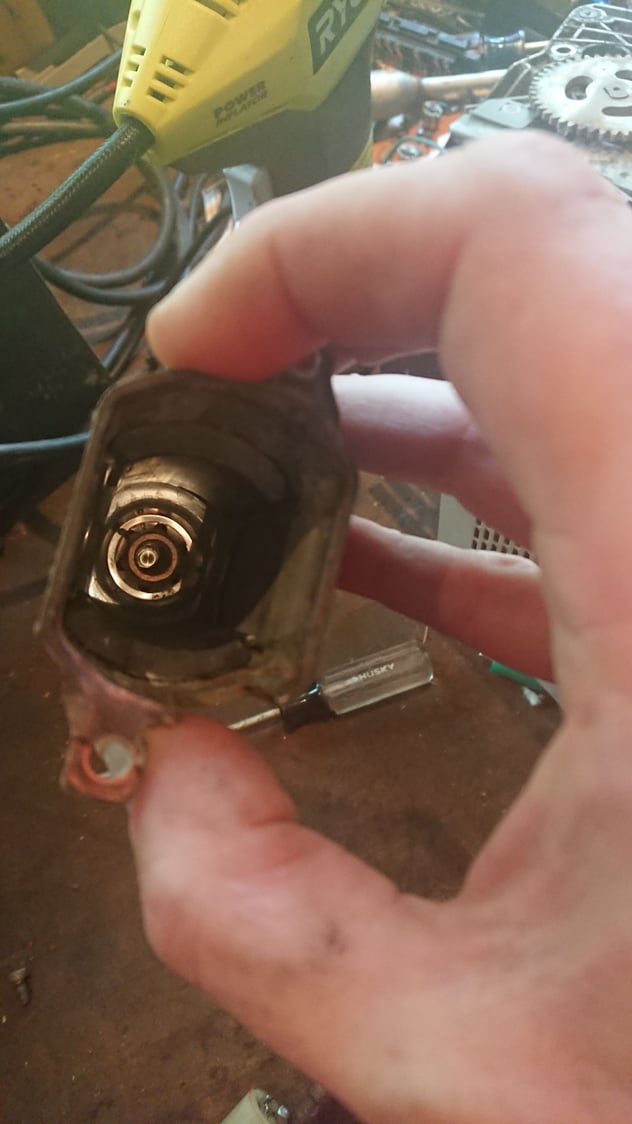
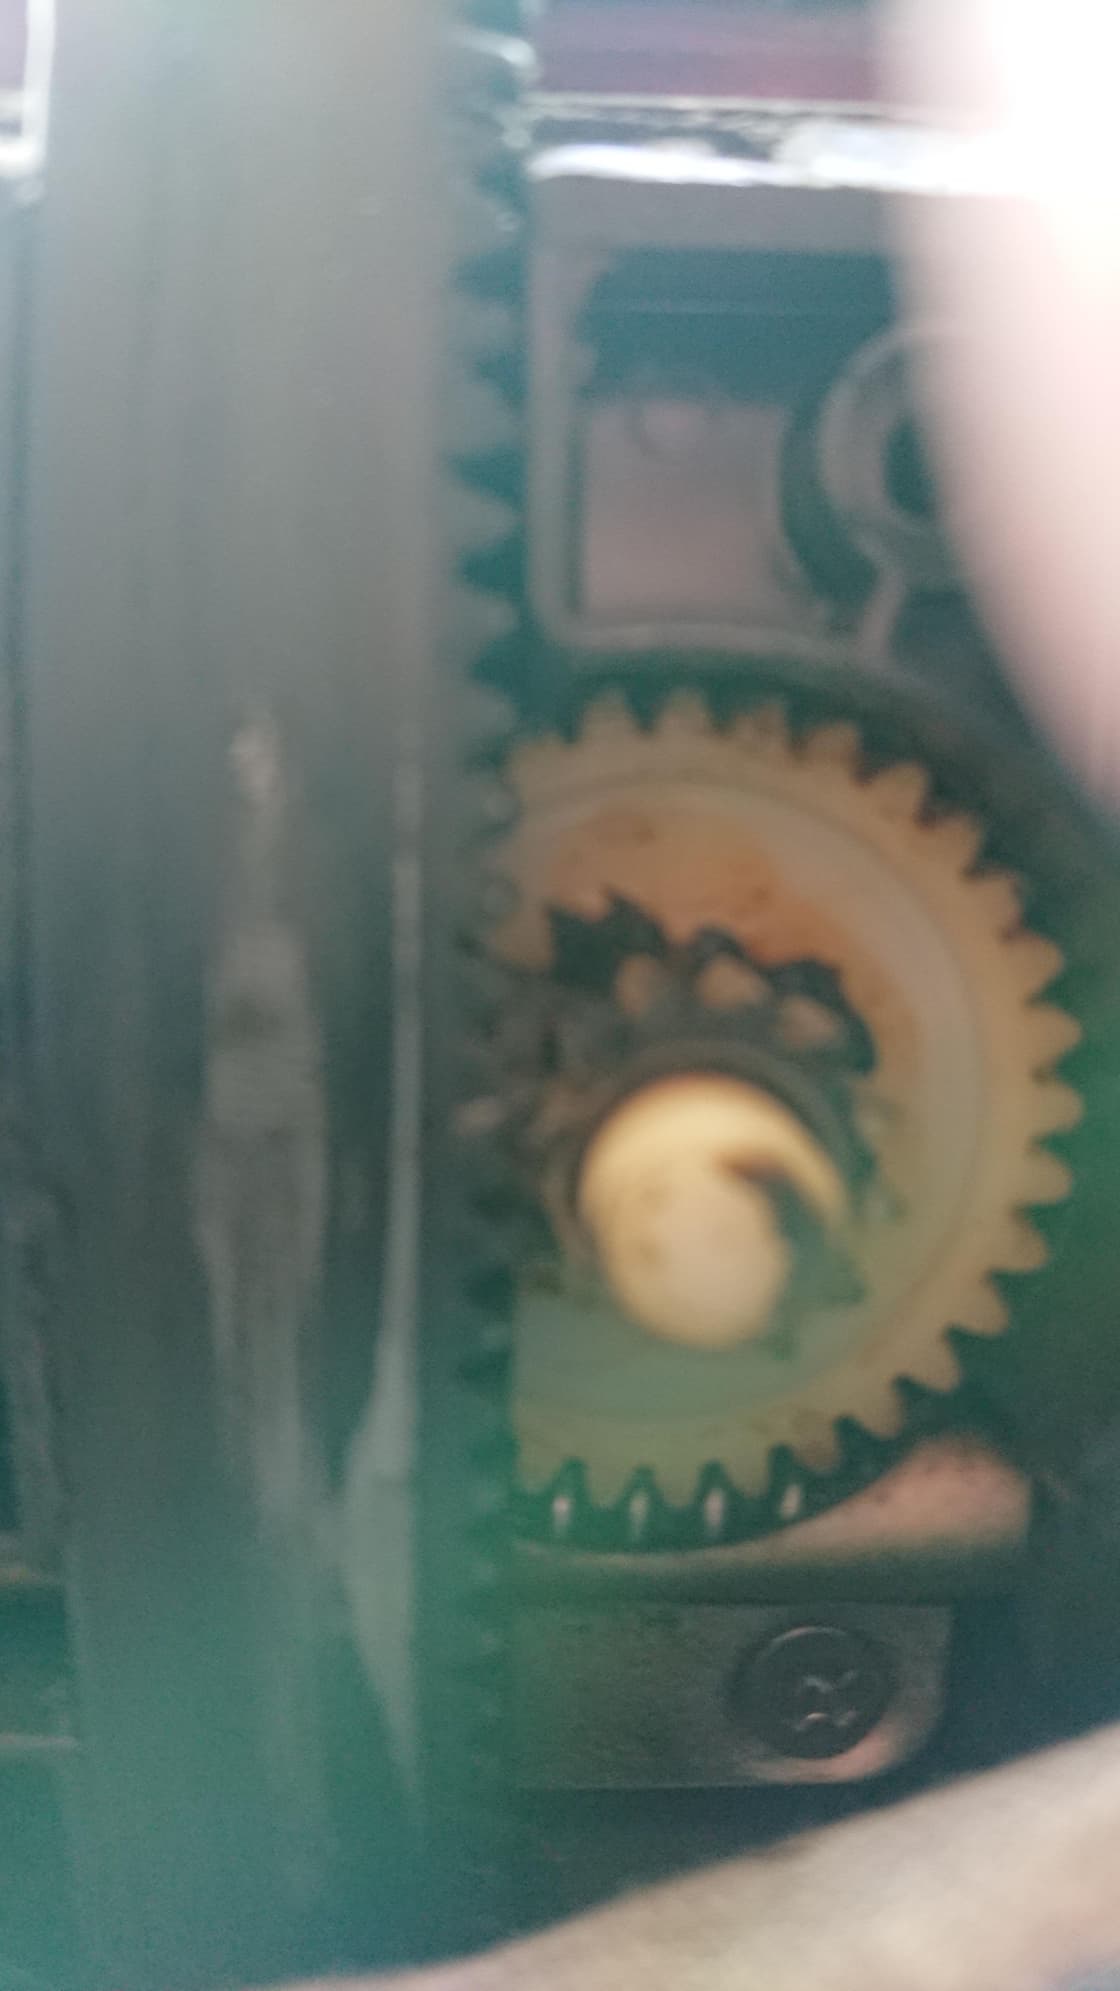
With the door panel off and the regulator removed I took apart the motor and checked it out.
This looks good. No bearing damage though could use grease down there. However the worm gear is badly crudded up, and the gear itself doesn't move.
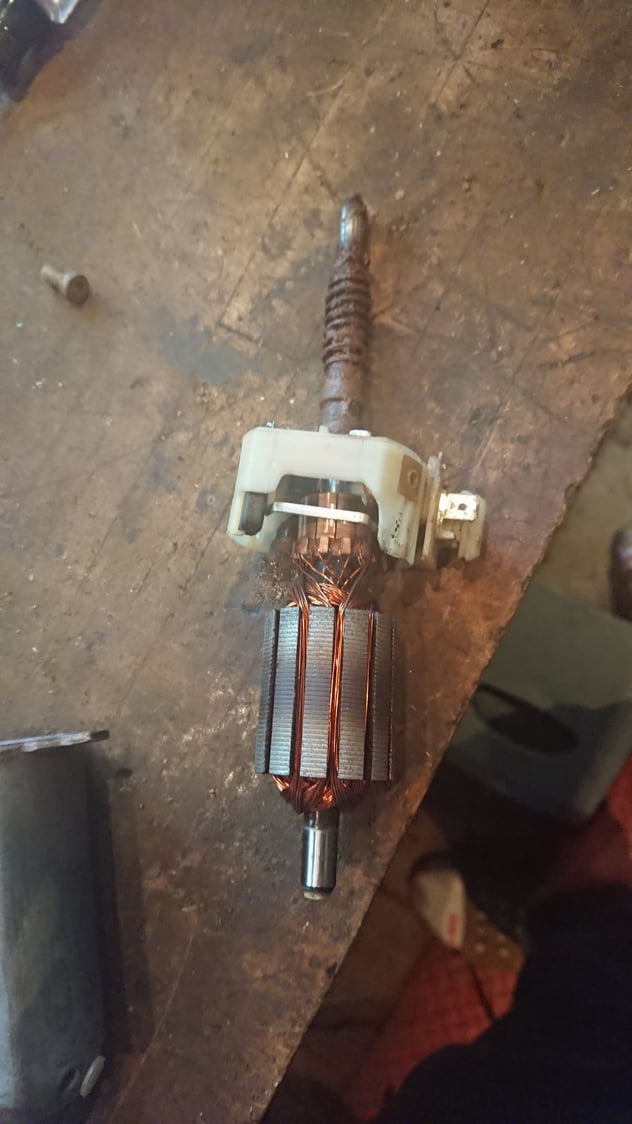
So time to clean everything up. Wire brush has taken care of the worm gear, and I am currently soaking the big gear in penetrating oil. Then will clean it out, grease everything up, and give it a try.
The armature and brushes are fine, so the only problem is clearing off the gunk. That should fix the window, then on to the next problem.
Update: Fixed. What a mess, the gear housing was totally crudded up so I had to knock off the back of it. It's held on by four plugs that are rivited, trying to pop it off with a hammer and screwdriver broke 3 of the 4 rivets. So I just drilled holes with a 1/8 bit, then put in 4 6*1/2 self tapping metal screws to hold the back on. Before that I cleaned up the gear, removed and replaced the bushing, and put two rubber washers on top of the bushing to keep it from moving around.
Installed, put some grease in the 3 channels, and the window works. Now to close up the door panel and call that one a day. I think I would have gotten a new motor and gear assembly if I didn't have the time to fix it but why not....
Last edited by Christopher Zach; 07-05-2019 at 02:43 PM.
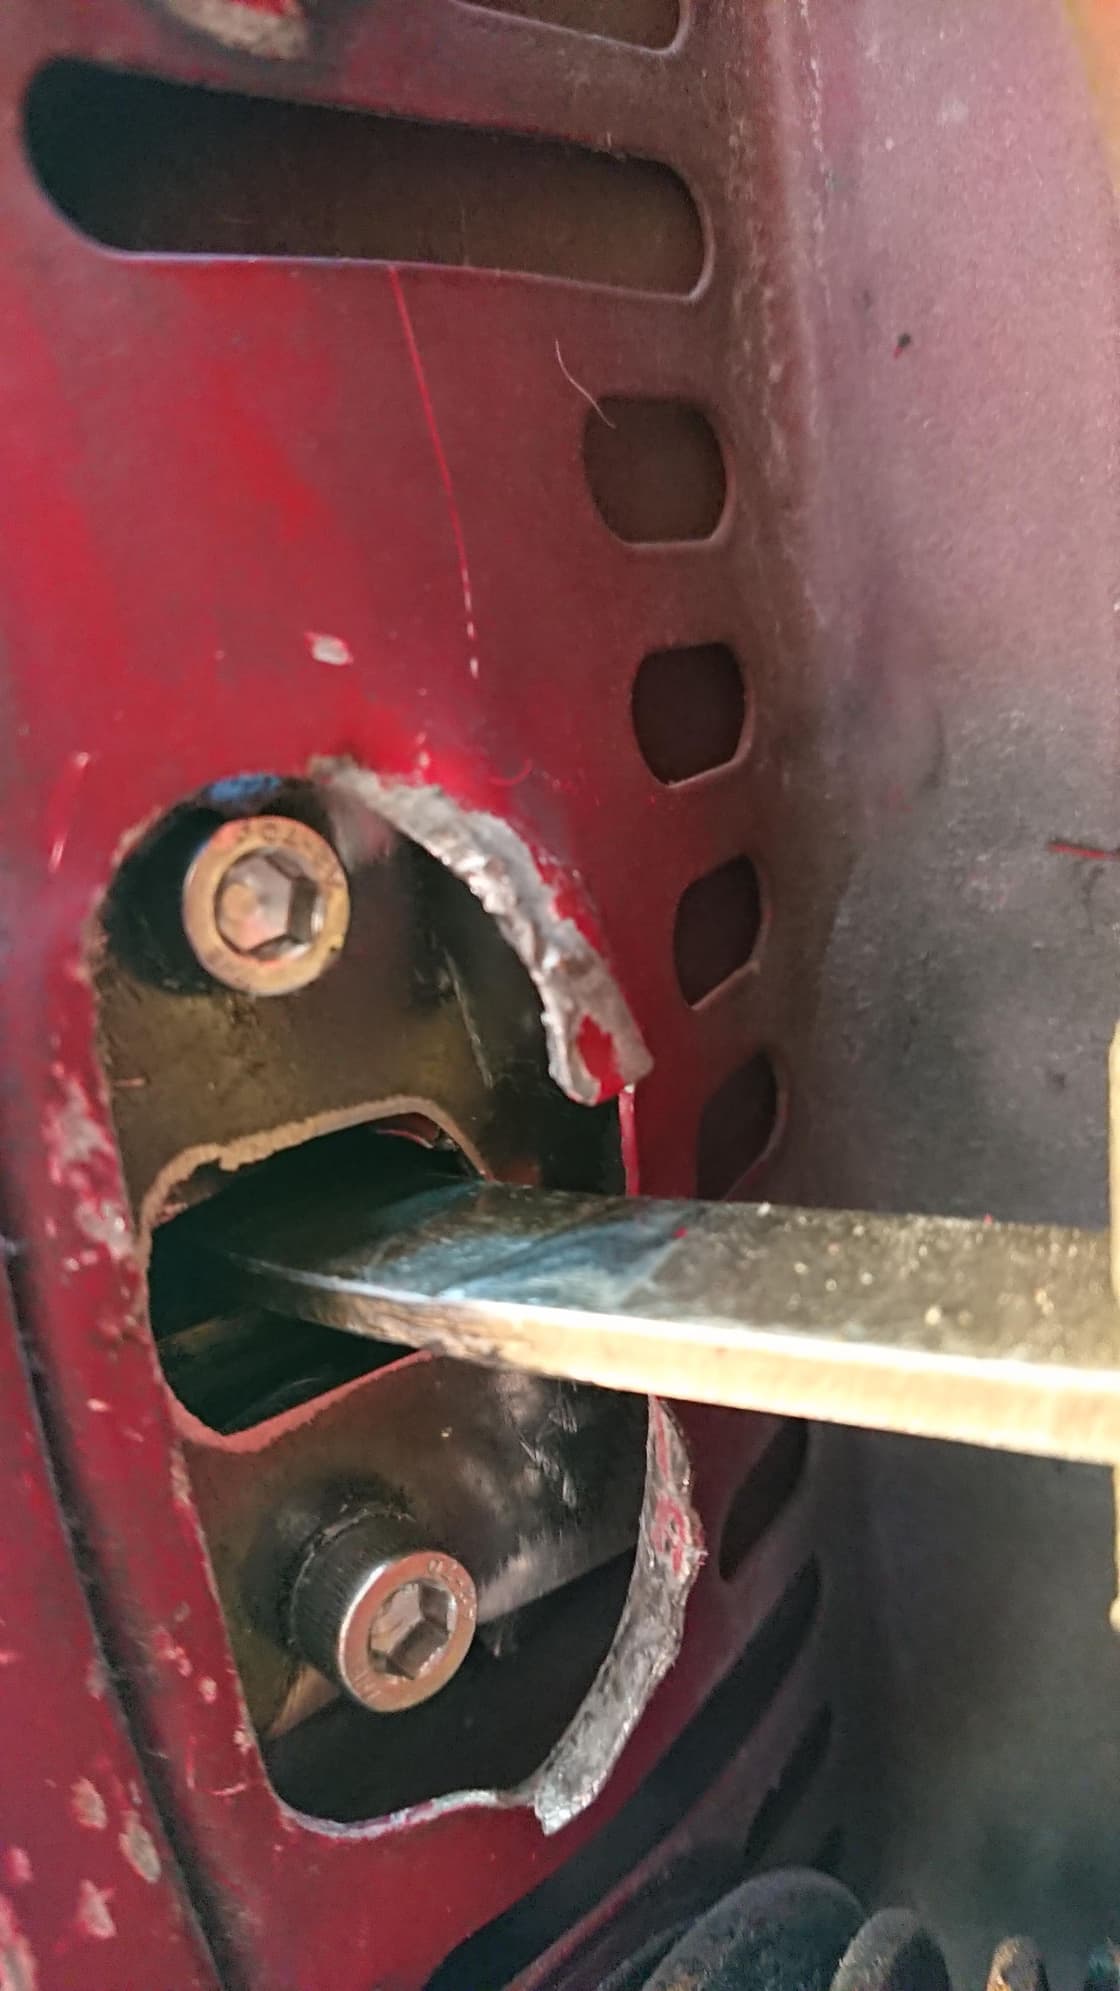
Next up door stay: Mine was ripped out due to the door hyperextending, and has been a mess ever since. With the new paint job and the bodywork to fix the door dents I know it's time to fix the stay before the door crumples again.
There's a gentleman out there who has/had a door stay repair kit. I ordered it from his website and the next day it was gone. However the parts just came in. Basically it's two cut pieces of metal that can sandwich in around the stay like a great big washer. I'm going to take a few pics this afternoon and try to install it, can't get any worse....
Edit: Ok I got the kit installed. It includes extra long bolts and yes you will need them. Basically even after pounding the wreckage mostly into a flat-ish shape the bolts just clear the two plates and into the stay. Then it's tighten the bolts which pulls the plates together and flattens the rest of the mess that was your door stay support.
Found it helpful to stop every time it got snug and whack away at the bolts with a punch and a hammer. This helps to flatten things without putting all the pressure on the large back plate, which could in theory bow inwards.Finally got it tight, hooked up the stay, closed the door, opened the door, closed it all the way, opened, snugged down the bolts again and it looks like I have a working stay again. I'm not going to try to yank the door beyond full open, but it is holding it without damaging the bodywork. So success.
Pictures in a day or so. Now it's off to work on the sunroof which is another level of mess....
Last edited by Christopher Zach; 07-06-2019 at 02:03 PM.
With the stay repaired it's time to move on to some smaller things. One of the sunroof gears was stripped, since this is an 87 model replacement is pretty easy. Ordered a set of gears, will swap next weekend. Likewise the front clamps on the sunroof were both broken, some time with a small drift and a watchmaker's hammer tapped out the shear pins so I could replace the plastic parts.
Next up: The AC. It's extremely annoying, the AC works however it vibrates loose the two bolts that hold the compressor in and eventually breaks the front bolt. I tried charging up the AC yesterday, took for a drive, fine, then on the second drive heard the alternator pully squealing. Which means the compressor front bolt has broken *again*.
I'm going to order a new compressor and remove the old one. It's my guess that one of the valves is stuck open or something creating an asymetry in the pumping action that breaks the bolts. Annoying. And yes, I do put the bolts in, set the tension, then tighten the bolts *after* setting the tension.
Another task: Replace the rear hatch seal. It was completely a mess, so I pulled it and replaced with a Urgo one. Only problem is the glass has come a bit loose at the passenger side hinge, so for the moment a piece of gaffer's tape is keeping the rear end water tight. Not sure if I can just put some adhesive under that spot or if I have to pull the glass and completely re-seal (which sounds like major pain....)
Awesome to hear the new stay pieces worked out! Was it a pain to install?
To be honest, no. The hardest part was using large screwdrivers, chisels, and a sledgehammer to bend back the bent metal into a reasonable shape. Theoretically you can weld it in but it seems to hold fine with just tight bolt pressure.
I need to use a sledgehammer to fix my Porsche more often.
Sunroof is all fixed. Took off the gears one at a time, first the passenger side, which was totally crunched. Got that aligned with the driver's side, then noted the driver's one was also starting to grumble so replaced it. Didn't look so hot.
Although I don't need to adjust the main micro-switches on the back, I do need to adjust the one that says the sunroof is ready to come off. It's crashing the two pins into the body without stopping, and that will wreck the gears soon enough. But at least I have a sunroof that goes up and down and should be snug on the car.
And the final package that came today was the passenger side door seal. I pulled off the old one, it would have wet muck on it after rains and the door sills would usually be quite wet, so I think this might be where the water has been coming in for the passenger front floorboards. The old seal was a mess, the new one is a much tighter fit. I like it so much I think I'll replace the driver's door seal as well just to do it.
That along with a new plastic cover for the alarm switch and the car is looking better and better. Next up will be the AC compressor and testing the main fans extensively.
Sunroof is all fixed. Took off the gears one at a time, first the passenger side, which was totally crunched. Got that aligned with the driver's side, then noted the driver's one was also starting to grumble so replaced it. Didn't look so hot.
Although I don't need to adjust the main micro-switches on the back, I do need to adjust the one that says the sunroof is ready to come off. It's crashing the two pins into the body without stopping, and that will wreck the gears soon enough. But at least I have a sunroof that goes up and down and should be snug on the car.
Man I need to do this as well... looking good bro!
 07-04-2019, 07:24 PM