When you click on links to various merchants on this site and make a purchase, this can result in this site earning a commission. Affiliate programs and affiliations include, but are not limited to, the eBay Partner Network.
Looks nice, but if you went to that much work to pull everything apart, why not just have a shop do a full color change spray?
Thanks for the comment. I can appreciate your thought process as I worked through that myself.
There are several reasons for doing it the way we are:
1. I was keen to do something we had not done before; I've paid plenty of body shops in the past
2. Vinyl requires less care than a paint job; which after son number 1, is something I value
3. I'm not convinced I want the car to be blue forever and when the car comes back to me in about 5 years, I'll have options
4. It is highly probable my son will get into a fender bender. Nothing $30 or $40 worth of vinyl and a body panel can't fix.
5. Similar to point 1, I wouldn't trade any "easier route" for the route I'm taking with my son as we're both enjoying the hell out of it.
Love the wrap job and the father son bonding time.
I'm sold on giving this a wrap job try. Looks like it's right up my alley and I have a few cars to mess with including an 83 944 and a 73 Alfa Romeo spider.
Keep positing your progress and maybe you can have your son follow you into the mountains next year!
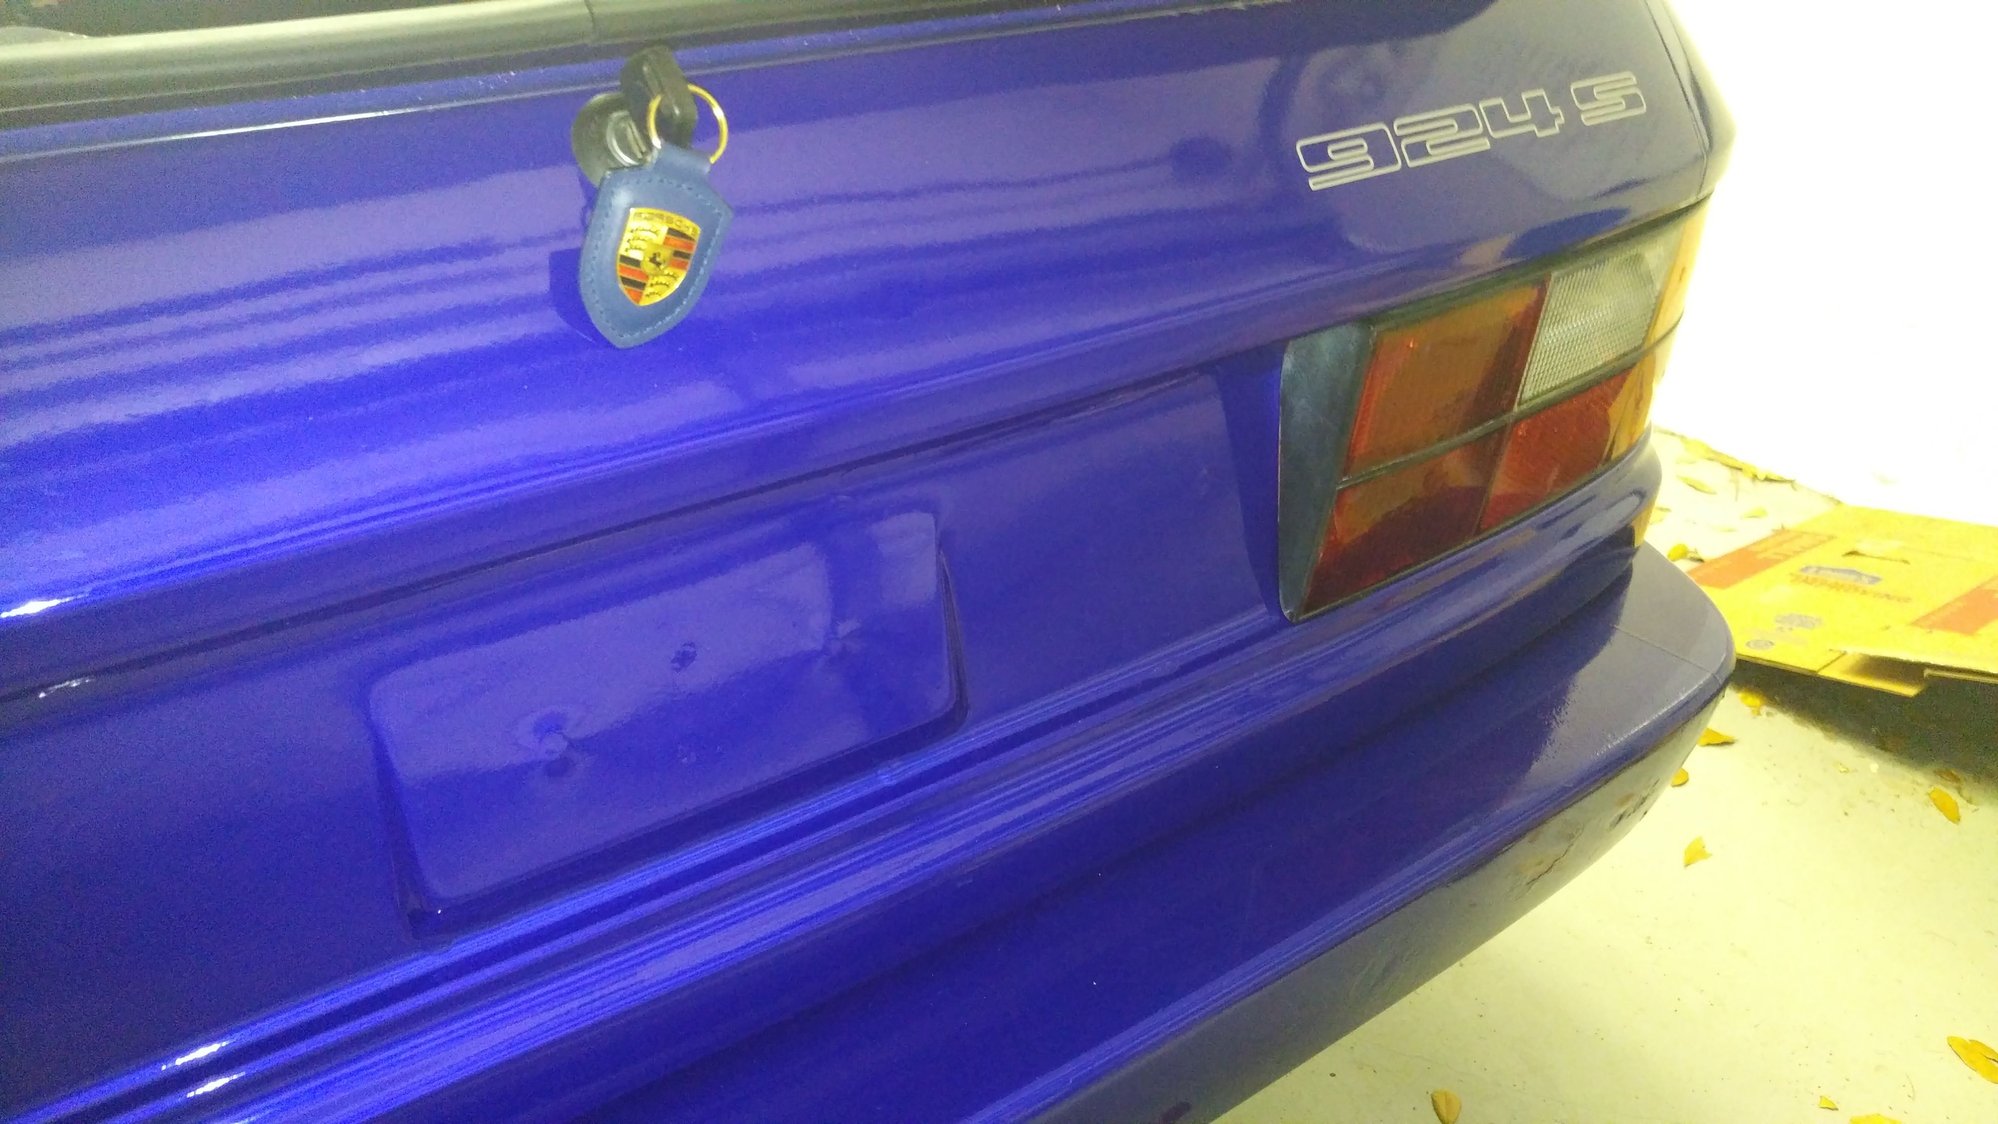
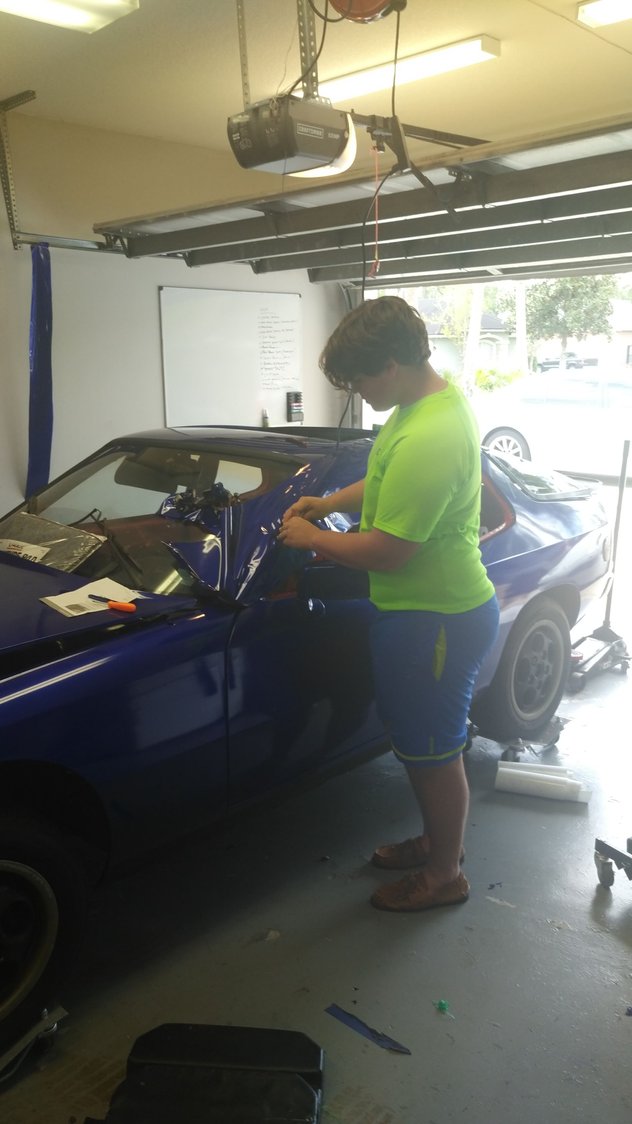
Been a little lax on posting. The wrapping is complete and the car is now sporting Porsche Script door handles, no more window tint and all new door/window/sunroof/hatch/rear taillight seals.
It has taken so long as my son plays HS Football and we ended up tackling (pun intended) the remainder of the exterior wrap and re-seal over his Spring Break. I'm super happy with how it came out. We'd probably get a B- grade from any vinyl pros but that's the beauty of vinyl, we'll just tackle things again if we like.
Here's a few pics....
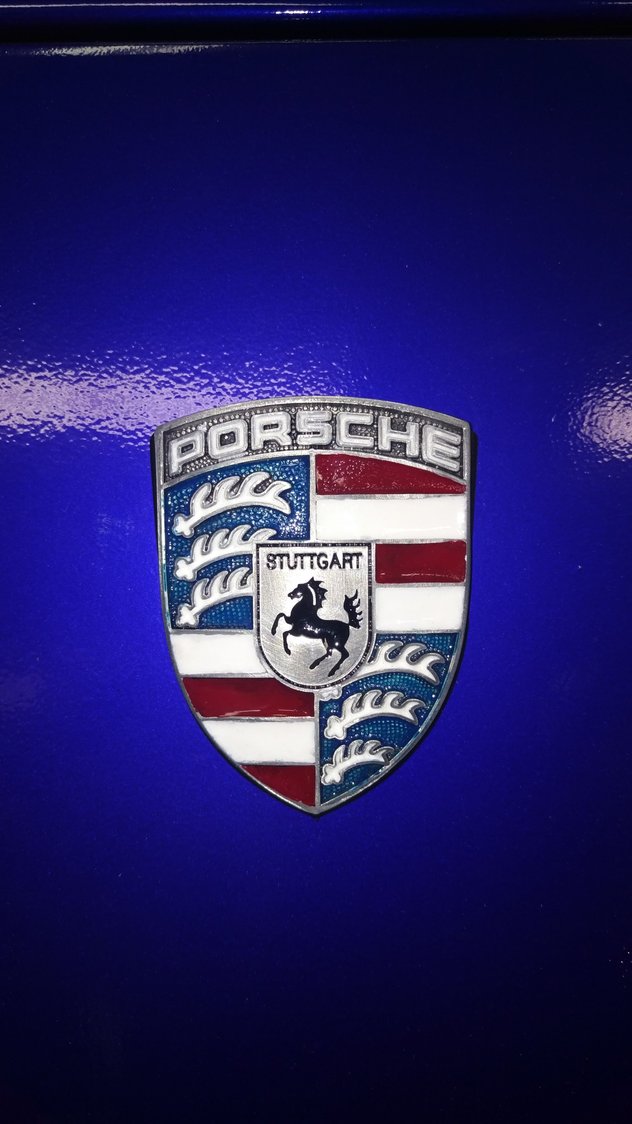
15 year old repainted an old hood badge we had lying around....
It has really been rewarding thus far and my kiddo has been involved every step of the way!
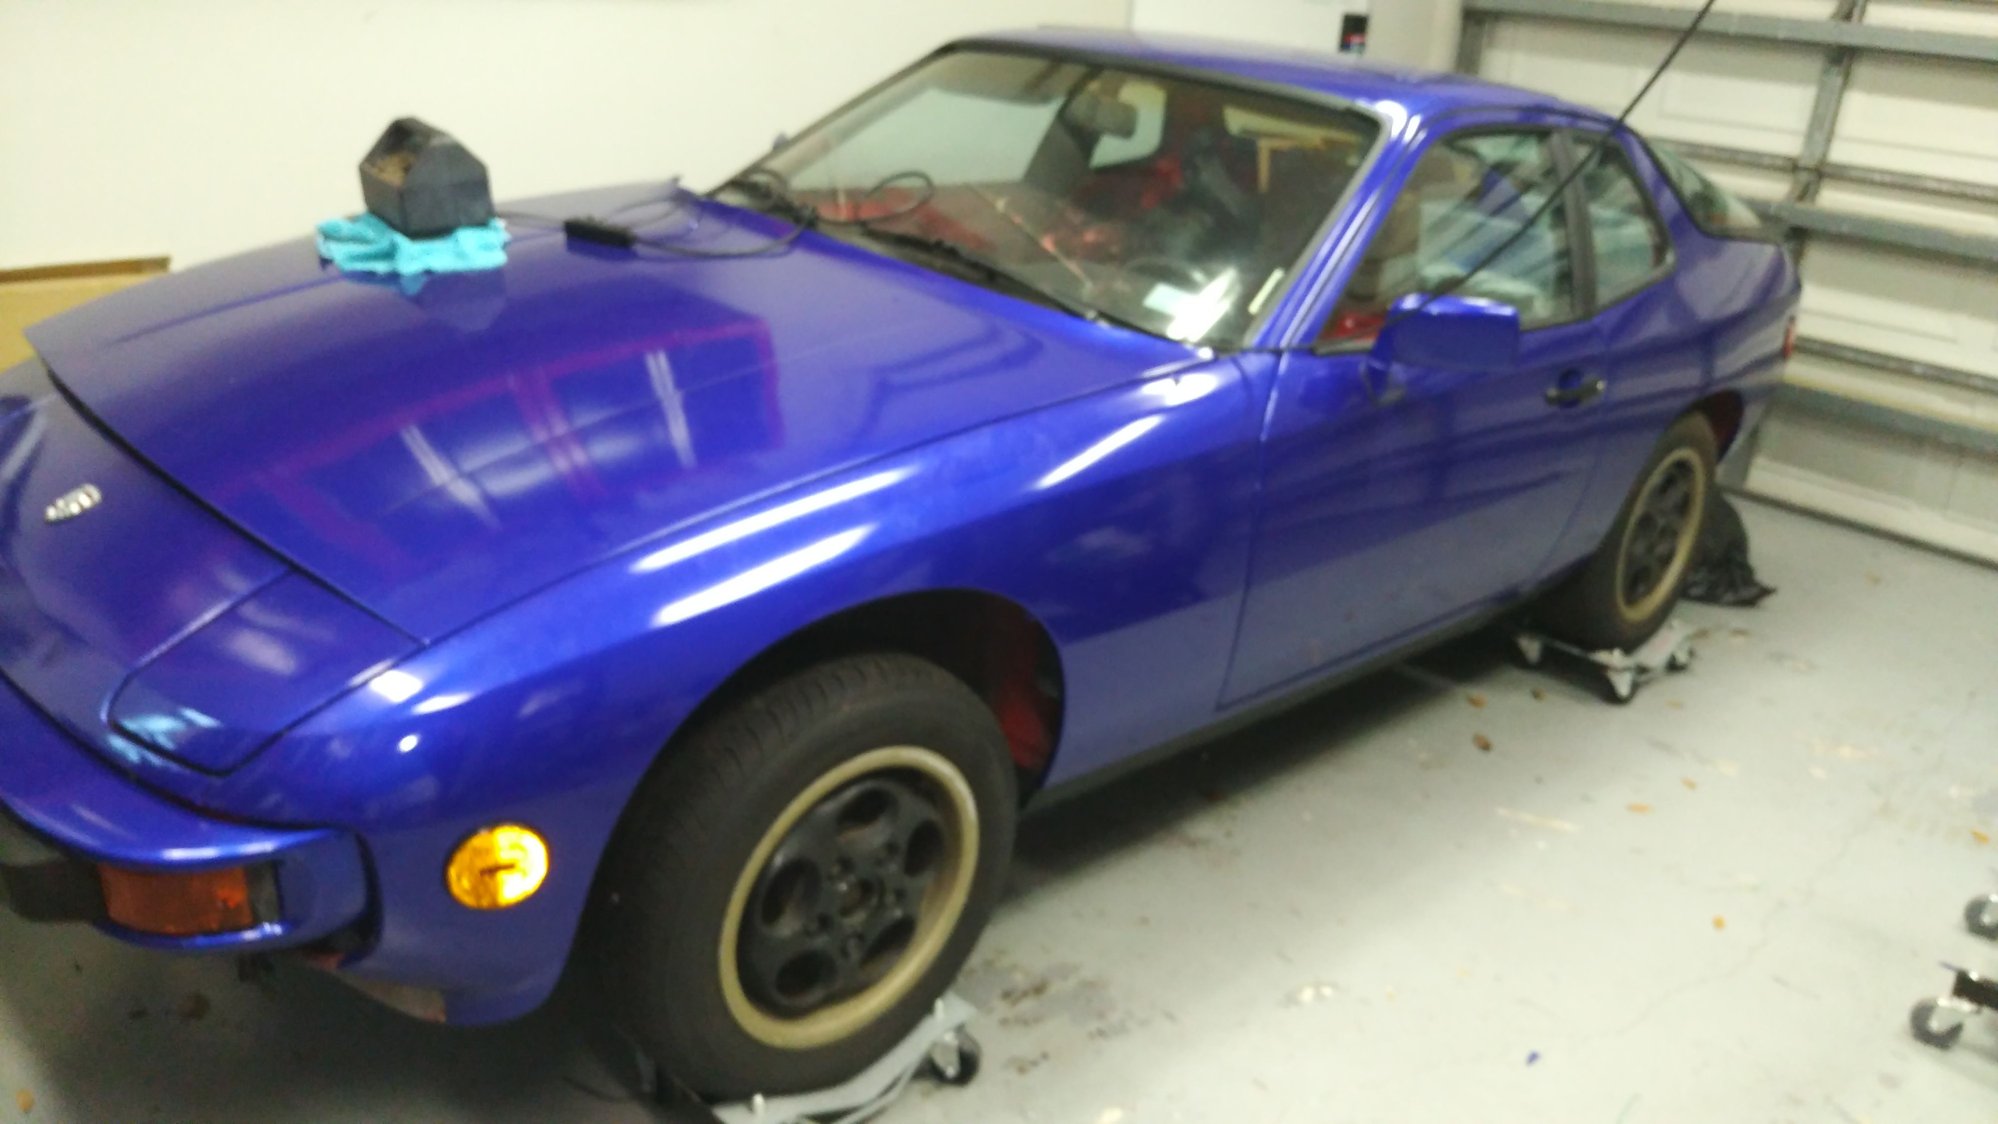
The car looks so much better (wish I had a clearer photo) with new seals, script door handles and no more tinted windows (at least for now)....
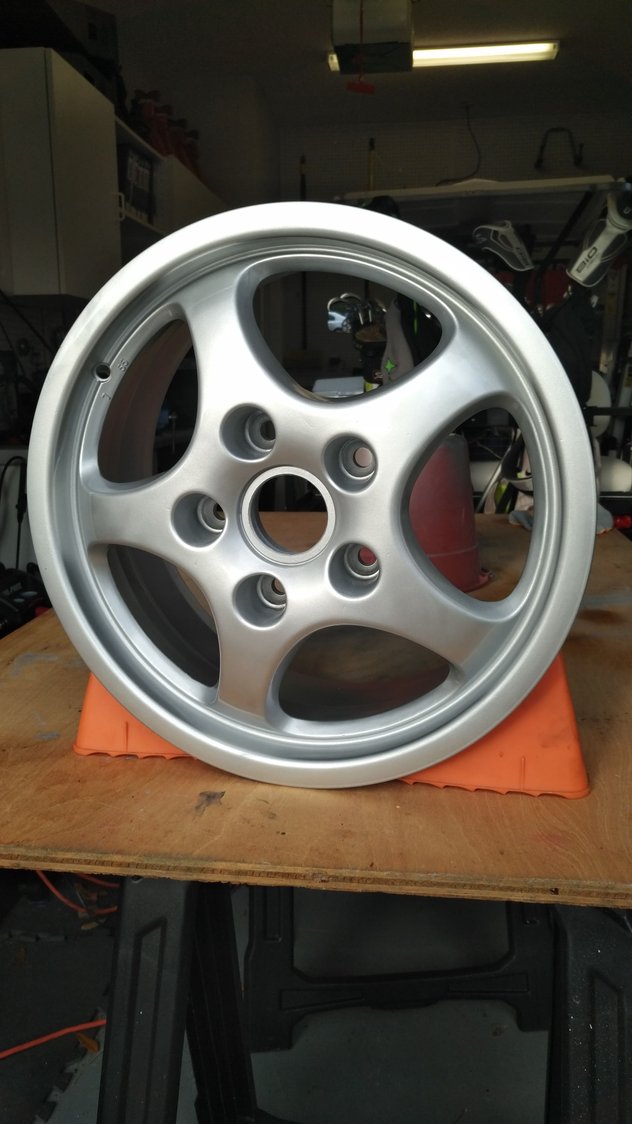
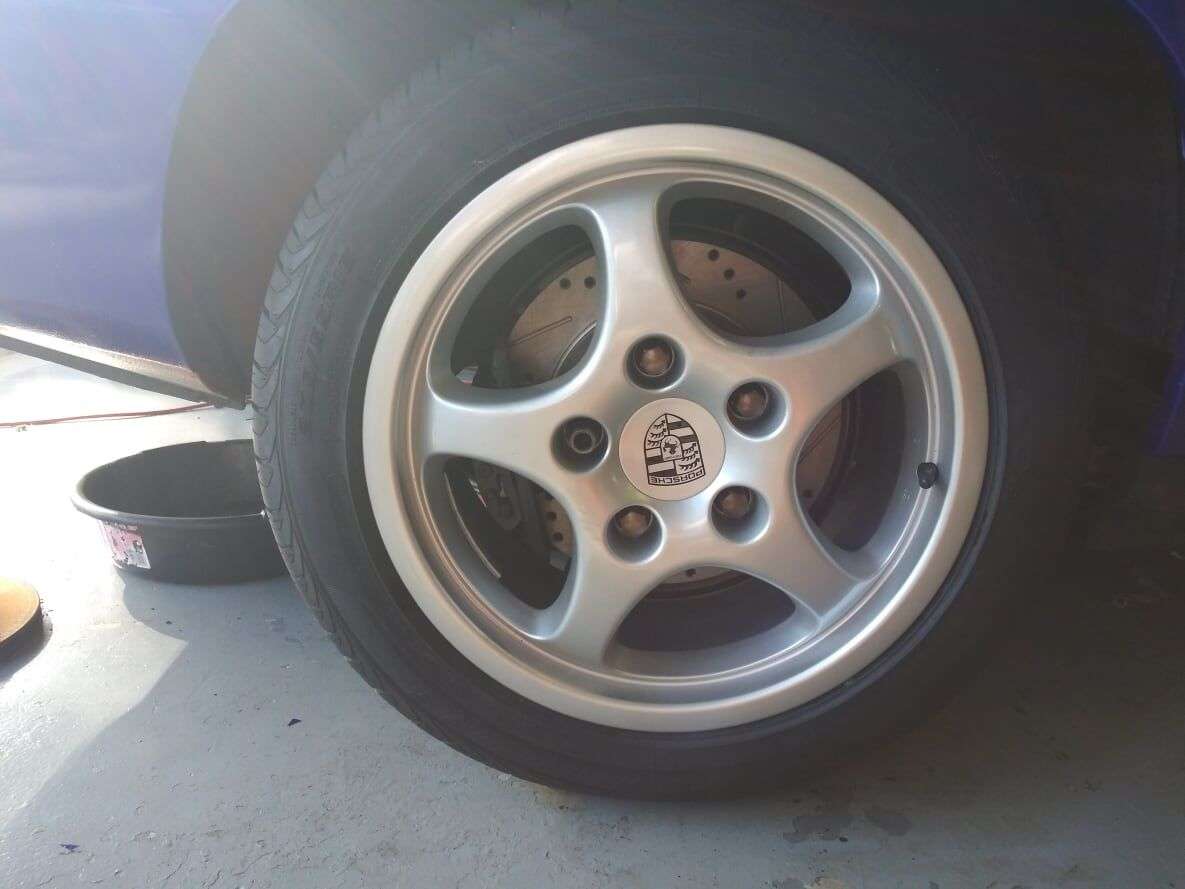
Next up are putting on the re-finished (by us with Wurth Wheel Paint) 968 16-inch wheels ...
... and we'll be going back into the car to address Noise Cancelling, Alarm installation, Addition of Power Door Locks and putting in the old-school Alpine Amplifiers from the era when this car would be in its prime.
I'll also begin tearing down the engine for a re-seal. My son may miss some of this due to Spring Football but he'll still have an active hand in nearly all of it!
Can i make a suggestion on the stereo front? buy a KLA industries sub box and stuff an 8" alpine type-r subwoofer in it, power it with a small amp (2-300w rms) and run it in the rear cubby. its life changing and mounts flush with the rear floor.
Clean and lube the door latches while its apart too.
Great video and good advice. I have multiple Sound Deadening materials which I'll write up when that is underway.
completely disassembled the door latches and flushed them out with brake cleaner then hit all moving parts with White Lithium Grease. I may look up that other grease you showed in your video.
My only issue is the door locks are a little finicky since moving the tumblers from old handles to Porsche Script handles. The driver's door works fairly well but the passenger tumbler has a mind of its own. I flushed both tumblers with Brake Cleaner to get all the deposits out and will likely find a graphite lubricant for the internals (since WD40 and the like will just cause a build up).
I also installed some aftermarket power door lock actuators which will tie to the alarm so keyed entry may not be a priority soon.
Porsche just had the cold grease in the locks, my new handle came with a new lock and its the same grease as the rest of the mech. Make sure the barrel is lubed with grease and it will work better.
Sorry for not posting for a while. Working on a car in a garage during Florida Summers doesn't really cut it for me.
With that said, we've made progress.
- Aftermarket Electric Door Locks have been added and an alarm installed
- Seats re-stitched where pulling apart.
- Freshly repainted 968 Wheels and new tires installed
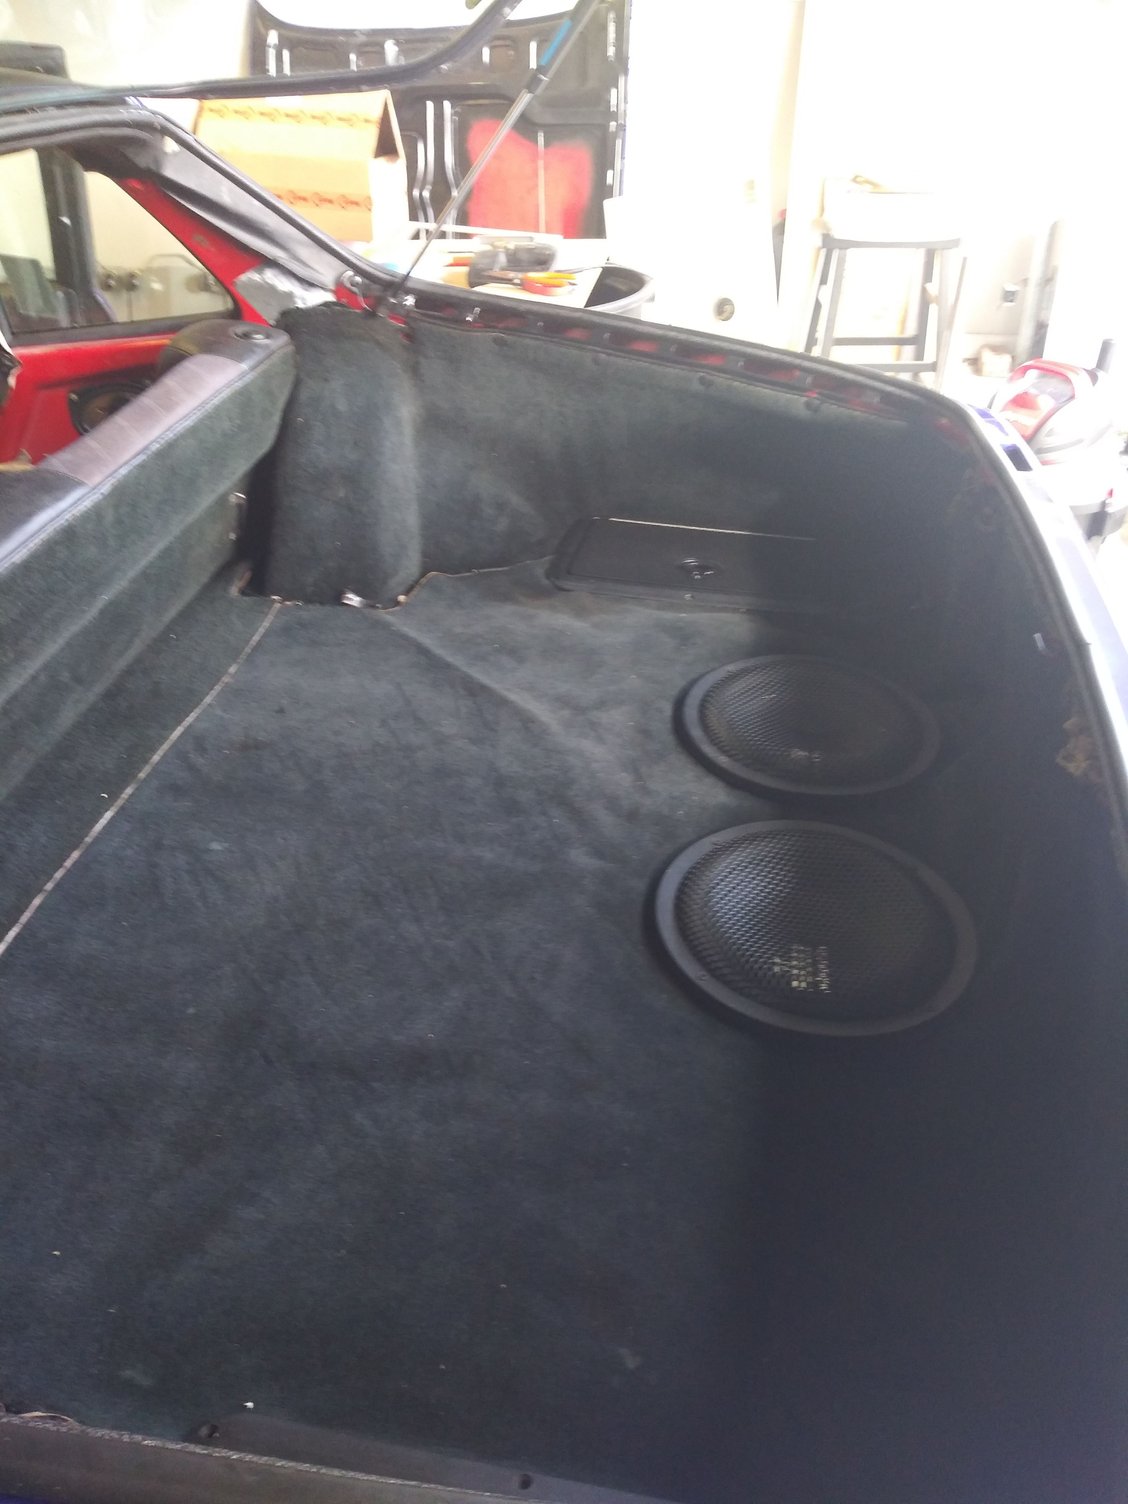
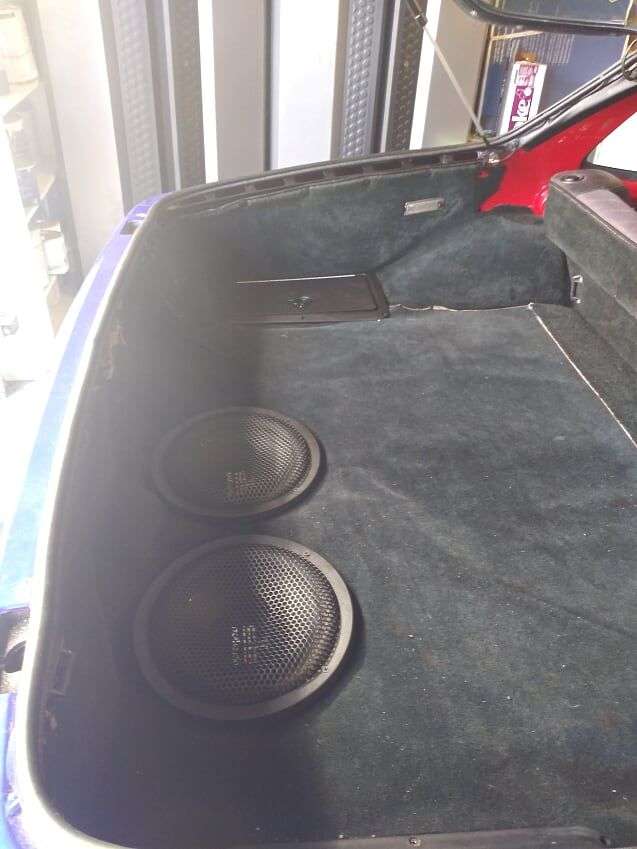
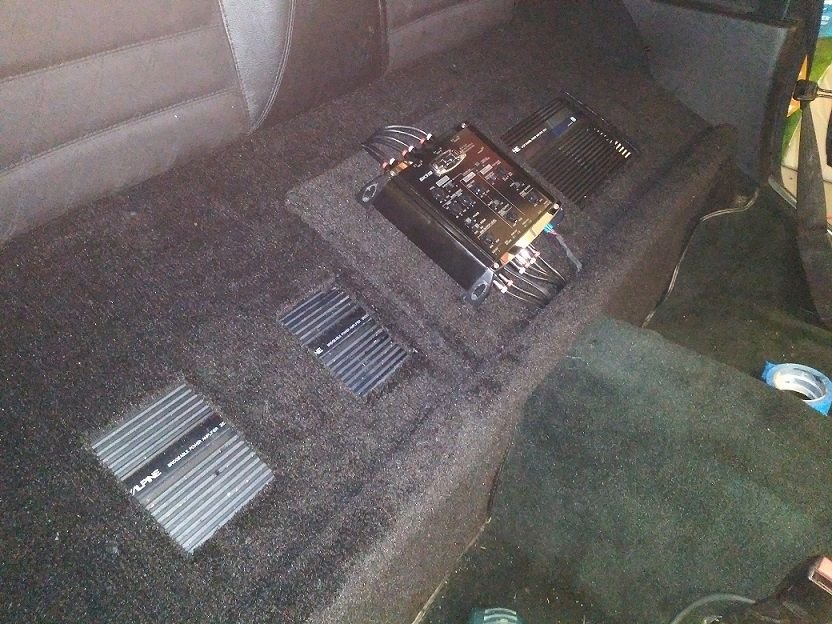
- Rear seat (lower) delete performed and stereo installed
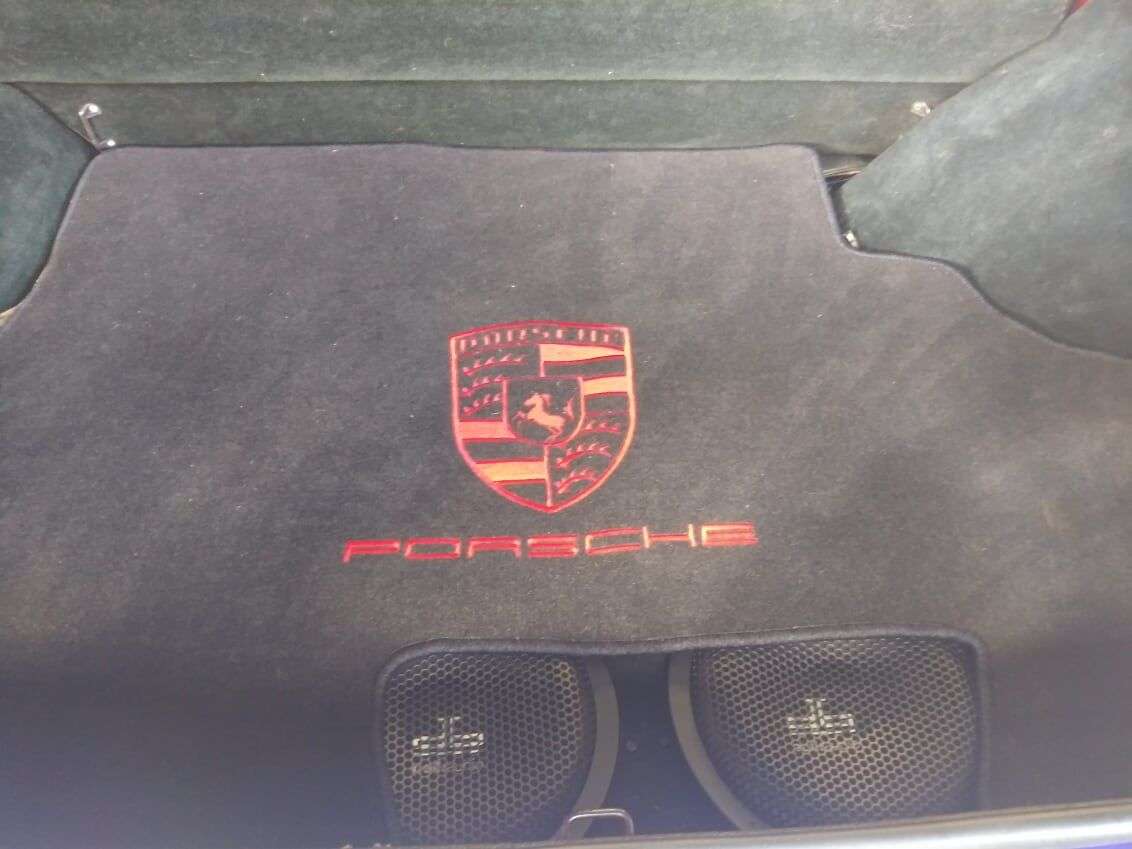
I'm currently waiting on a local to refinish the dash. I should have it next week (of course he's had it for a month and keeps promising next week!) When I get the dash, I'll get the black carpet to cover the lower rear seat delete.
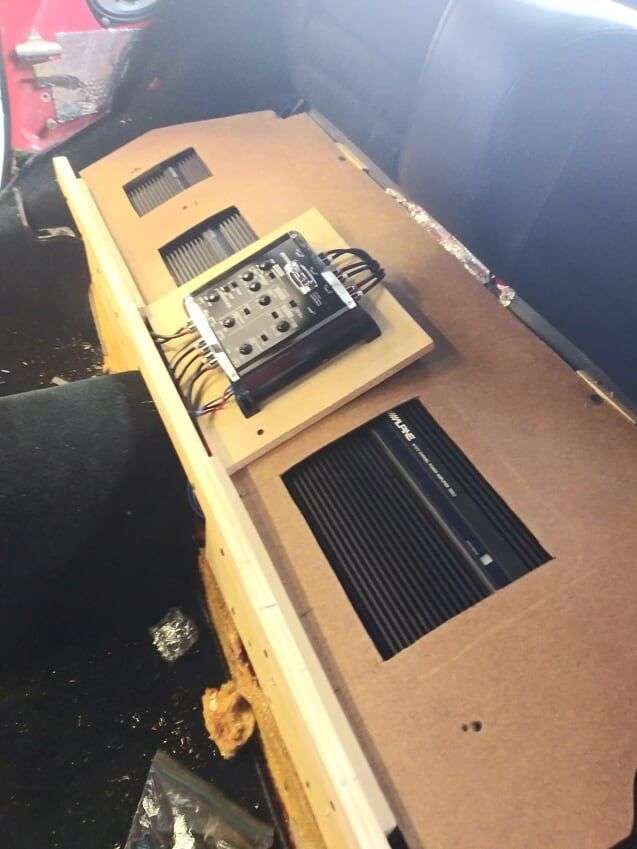
We are REAL happy with the old school Alpine Amps (2 3522S and 1 3553). Here's the breakdown of the stereo now....
Keep in mind this is a 15 year old's budget car build
DUAL XHD6430 with Bluetooth/USB/Aux input and Ipod/Iphone control
Sound Storm SX310 3-Way Crossover
Old School Amps ---- (Because I love them!)
Alpine 3553 Amplifier (35w x 4) - Front and Rear Speakers
Alpine 3522s Amplifier (30W x 2) - Center Dash Tweeters
Alpine 3522s Amplifier (100-125W X 1 into 2 Ohms) - Subwoofers
Speakers -
Alpine SXE-4625S - Front and Rear speakers (in factory locations) - perfect fit!
Rockford Fosgate - Prime R1T-S - 1-inch Tweeters - will be installed in center of dash
Polk Audio db1040 Subwoofers - Installed in former spare tire well - so far so good
Also - storage doors added to rear side compartments (see pictures)
DPI Marine DPF Black Flush Series Hatch Door, 9" x 15" O.D. (Gander Outdoors) - link
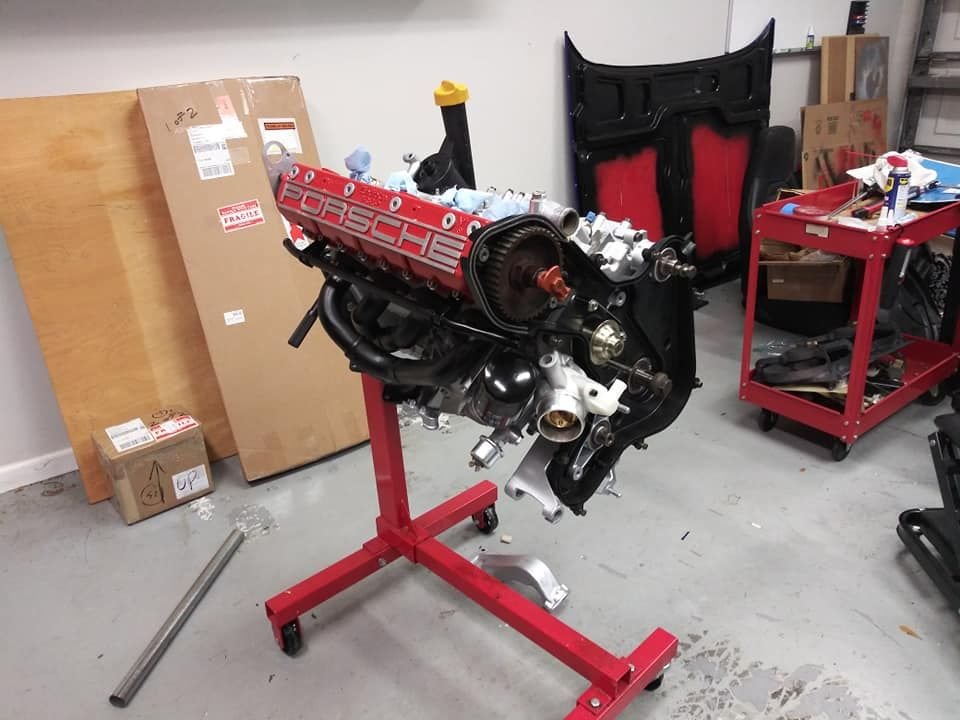
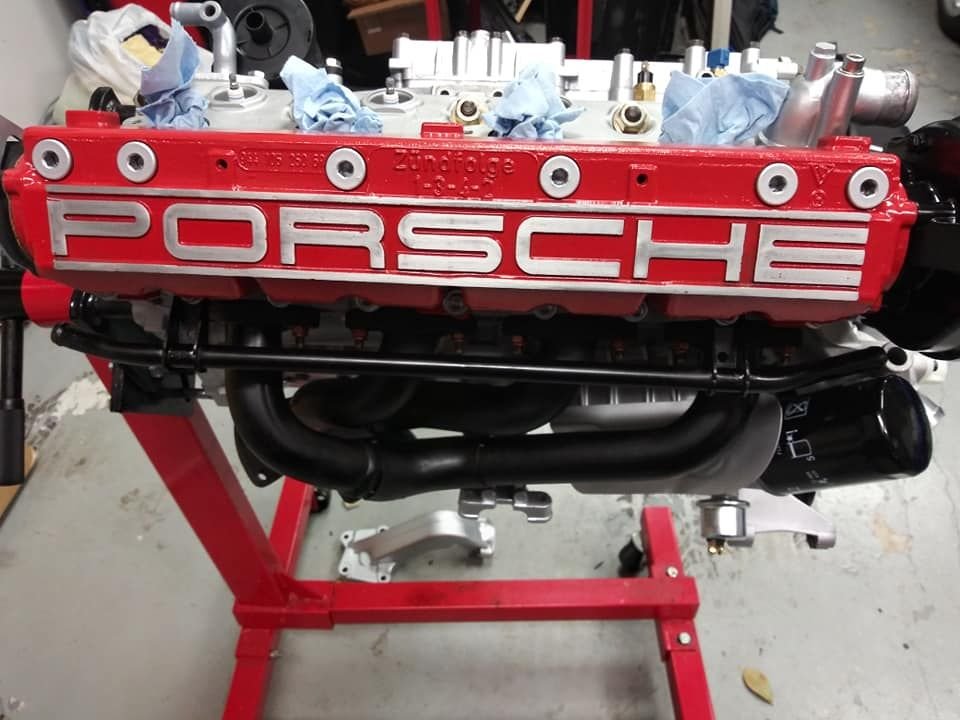
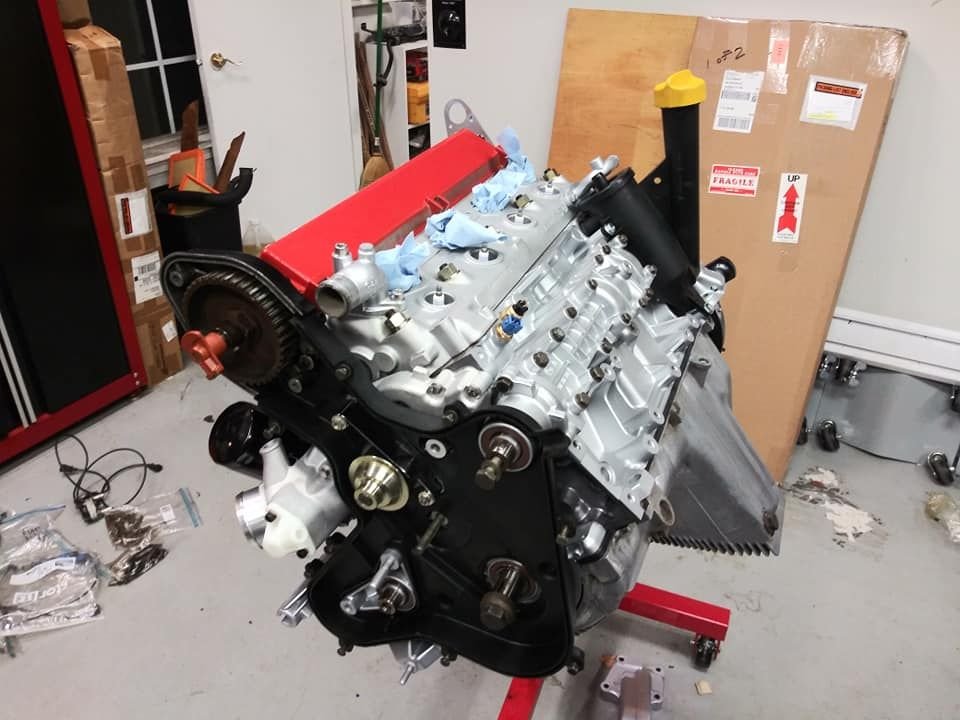
No pictoral updates but we're working on the car with a fury (engine assembly, firewall brace install, heater box replacement, AC lines replacement, Fuel line updates, etc...)
Our goal is to turn the key on December 31. I have taken off half of December and I have NO PLANS of disappointing my son!
However, since the engine is out of the car, in pieces waiting for a reseal and we have much ground to cover, keep us in your BEST thoughts my R/L Brothers and Sisters!
It's go time! Engine is nearing finishing and the car is wanting to be started.
Short To Do List....
- Finish engine including clutch install
- Replace Fuel Pressure Regulator, Damper, all Front/Rear Fuel Lines, Pump, Strainer, drain old gas and add new
- Re-install AC hard lines through firewall. Add new condenser (Parallel Flow DIY) and rebuilt compressor.
- Replace Heater Core (WYAIT) and Heater Core Lines
- Install Master Cylinder, Clutch Master and Slave
- Clean up Coolant Reservoir and Windshield Reservoir (bathe them in bleach, hydrogen peroxide and hair coloring )
- Install Engine
-Install dash


 11-29-2017, 09:34 AM


 )
)