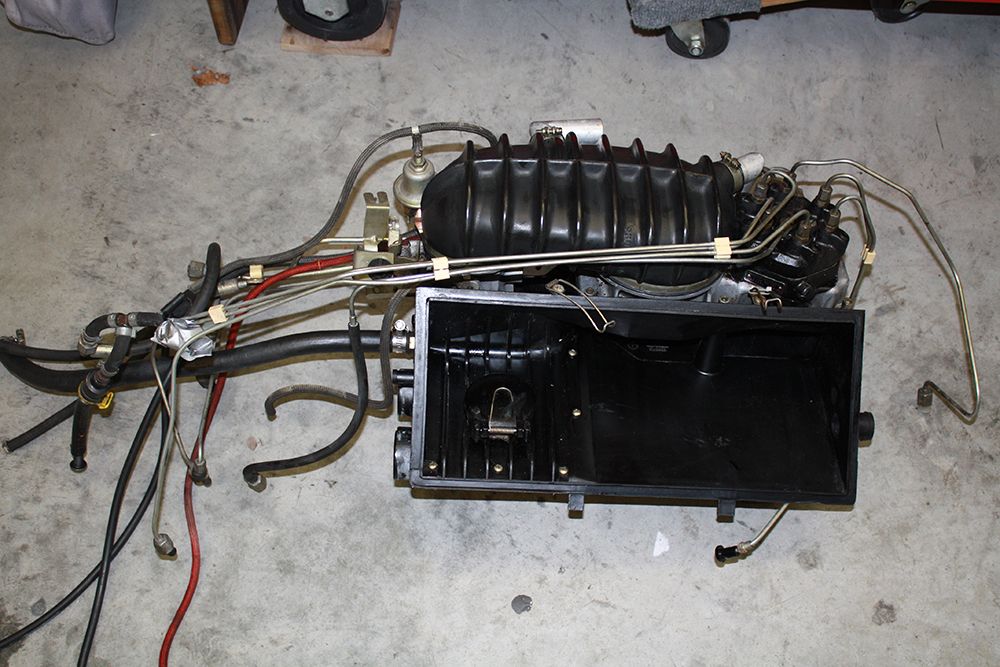
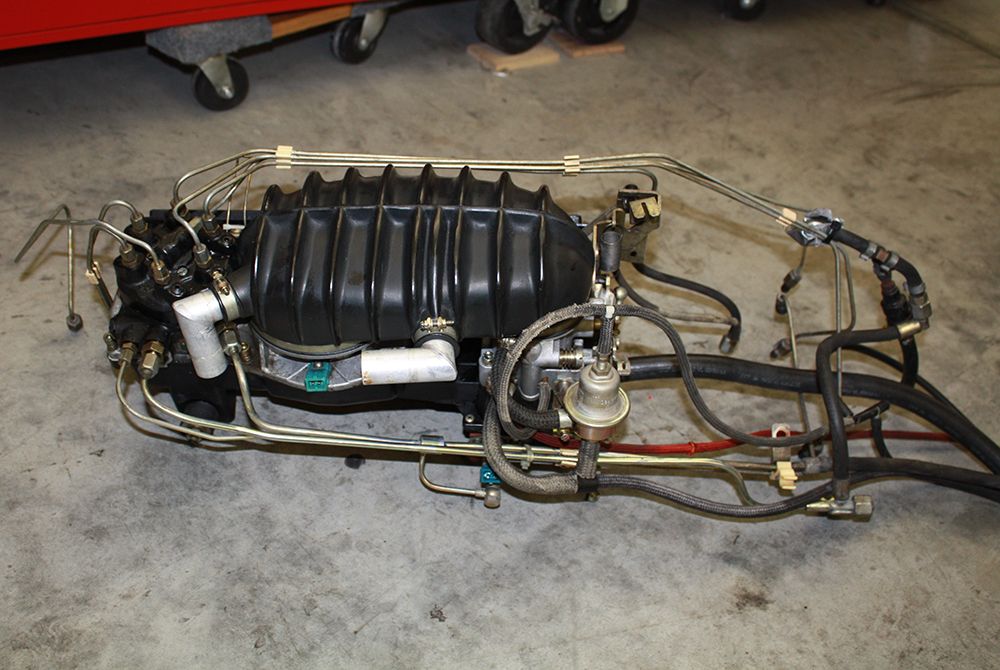
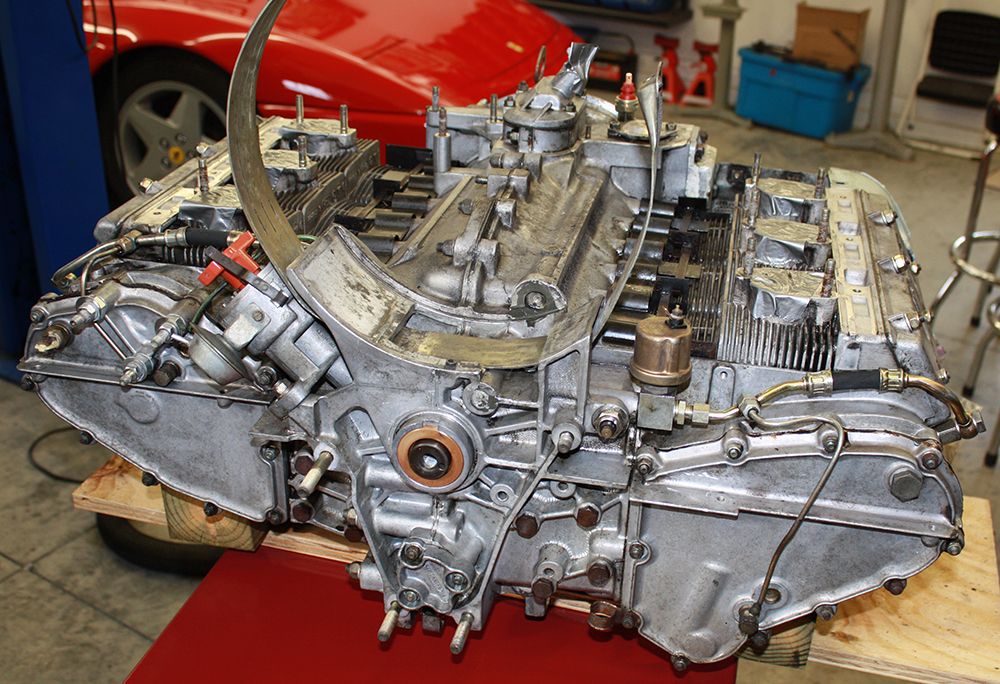
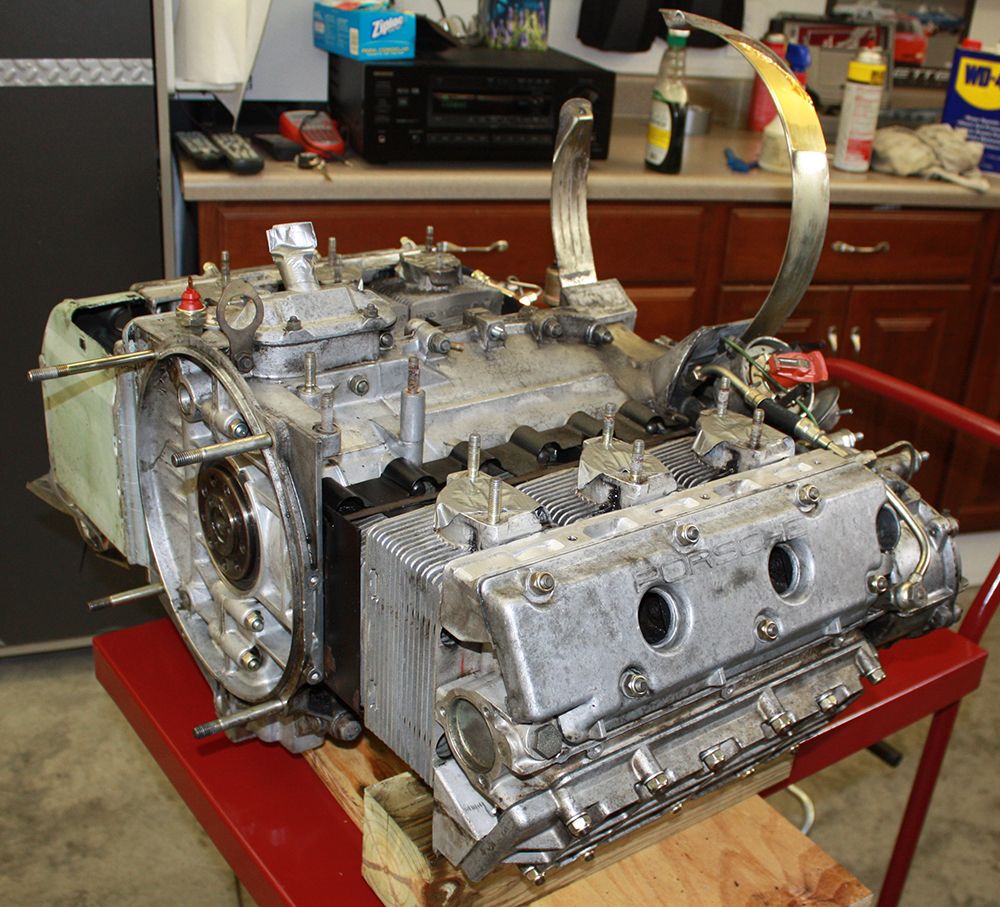
Projects on our (new to us) 1967 912-6
#121
Wow, your project is coming along great. Your completeness and attention to detail is just superb. This will be a rewarding car to own for many, many years. Great job!
Does my 3.2 car need the JB weld upgrade also? If so, just another thing on the ever-expanding list! Thanks for the info.
Does my 3.2 car need the JB weld upgrade also? If so, just another thing on the ever-expanding list! Thanks for the info.
#123
Goodness gracious! Would you just stop it already?!?! Mouth-watering work there, really excellent.
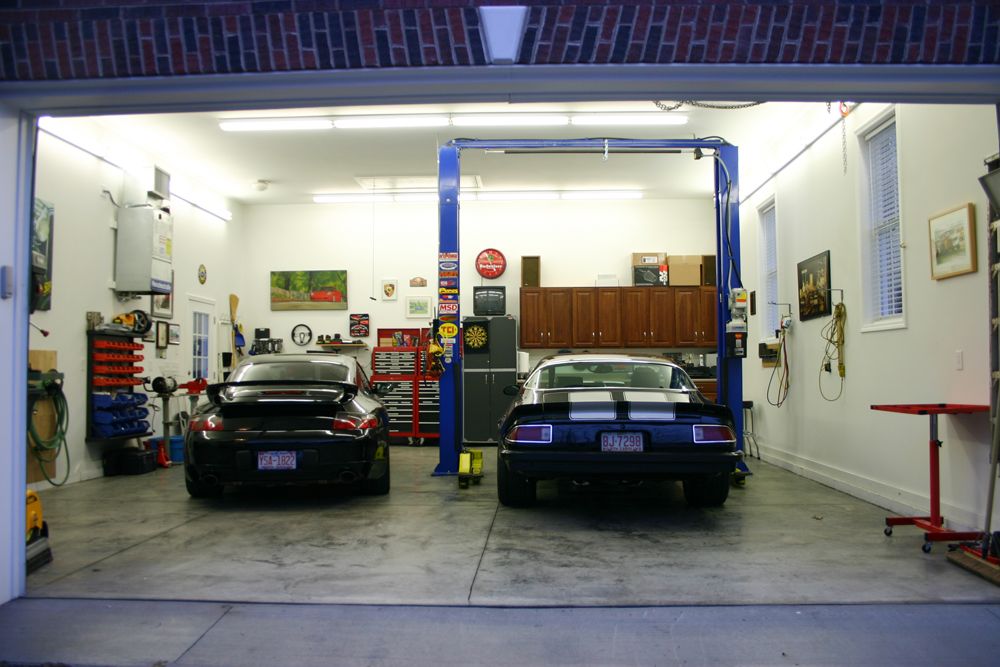
Nice looking work space too. (Is that the nose to a 348 poking out in one shot?)
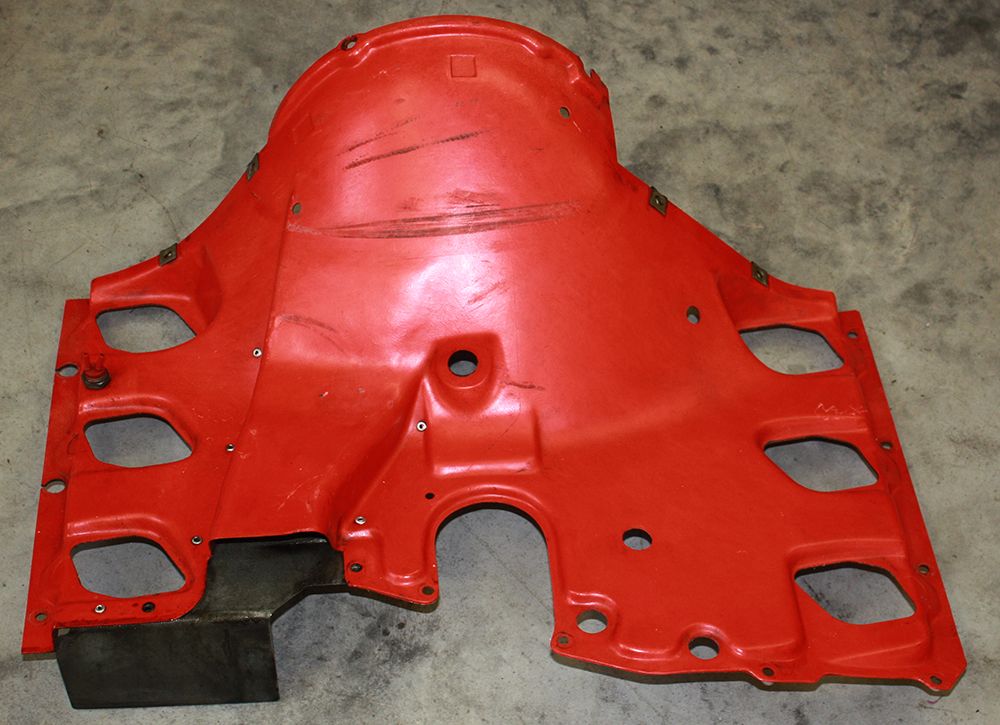
How are you going to do your fan shroud? Clean and dress with silicone product? Recoat? I've got boring old black on mine, so I now have shroud envy.
Nice looking work space too. (Is that the nose to a 348 poking out in one shot?)
How are you going to do your fan shroud? Clean and dress with silicone product? Recoat? I've got boring old black on mine, so I now have shroud envy.
#124
Goodness gracious! Would you just stop it already?!?! Mouth-watering work there, really excellent.
Nice looking work space too. (Is that the nose to a 348 poking out in one shot?)
How are you going to do your fan shroud? Clean and dress with silicone product? Recoat? I've got boring old black on mine, so I now have shroud envy.
Nice looking work space too. (Is that the nose to a 348 poking out in one shot?)
How are you going to do your fan shroud? Clean and dress with silicone product? Recoat? I've got boring old black on mine, so I now have shroud envy.
That is the 348. It has the choice seat to watch everything that is happening.
We bought this house six years ago with an attached good sized two car garage. However, I knew that would not work for me so the summer after we bought it I had a 25'6' x 30' garage built that attached to the house. My next door neighbor at that time was a contractor who had built both his house and mine. He did a great job of blending in the garage to the existing house.
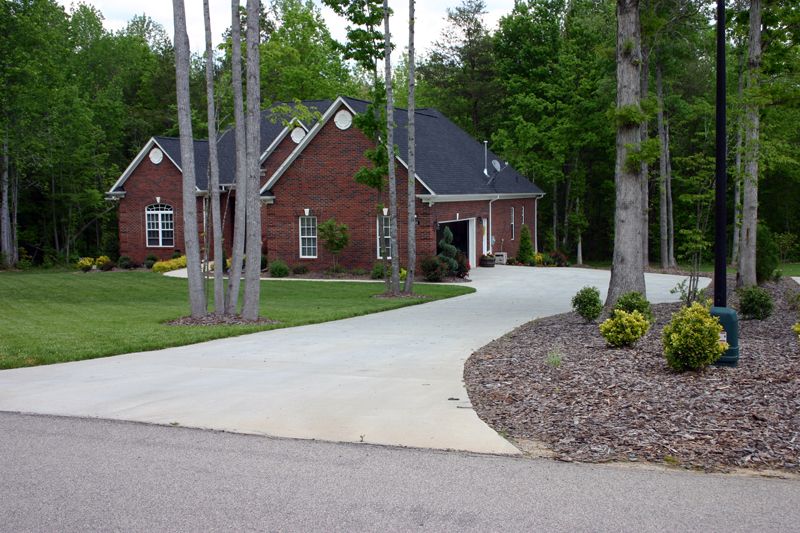
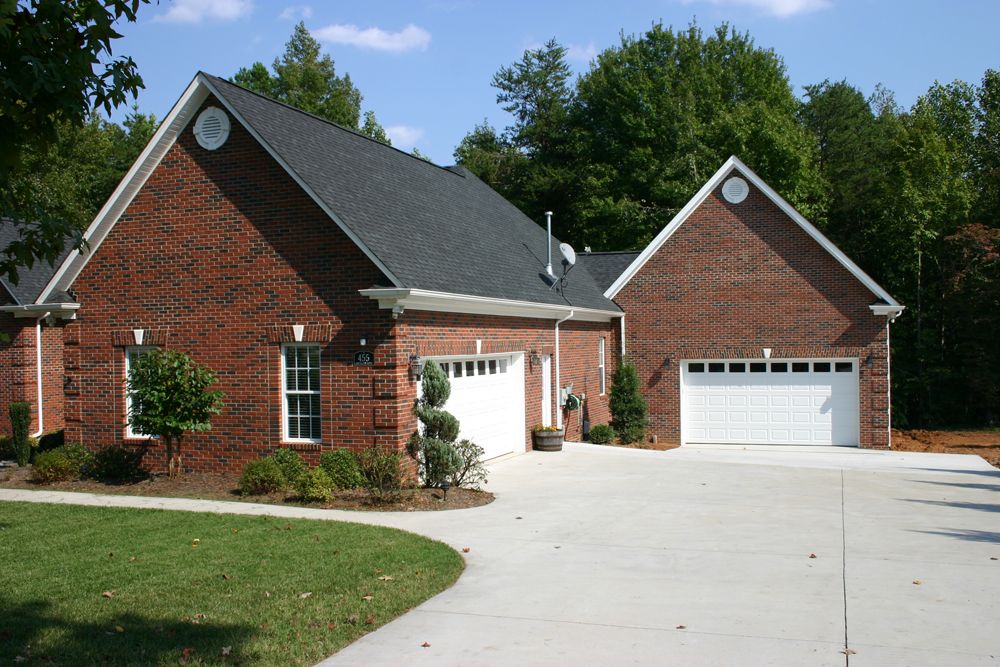
I knew I was going to put a lift in it so we built it with 12'4" ceilings and added extra concrete where the lift would be. I found the cabinets on the back wall on Craigslist for $300 for everything you see including the countertop. What a deal!! As you can see I have lots of lights. It lights up like a Wal-Mart!! Craigslist was the source for the red cabinets below for $150. They were hospital cabinets and are all solid wood. I spent a couple days painting them.
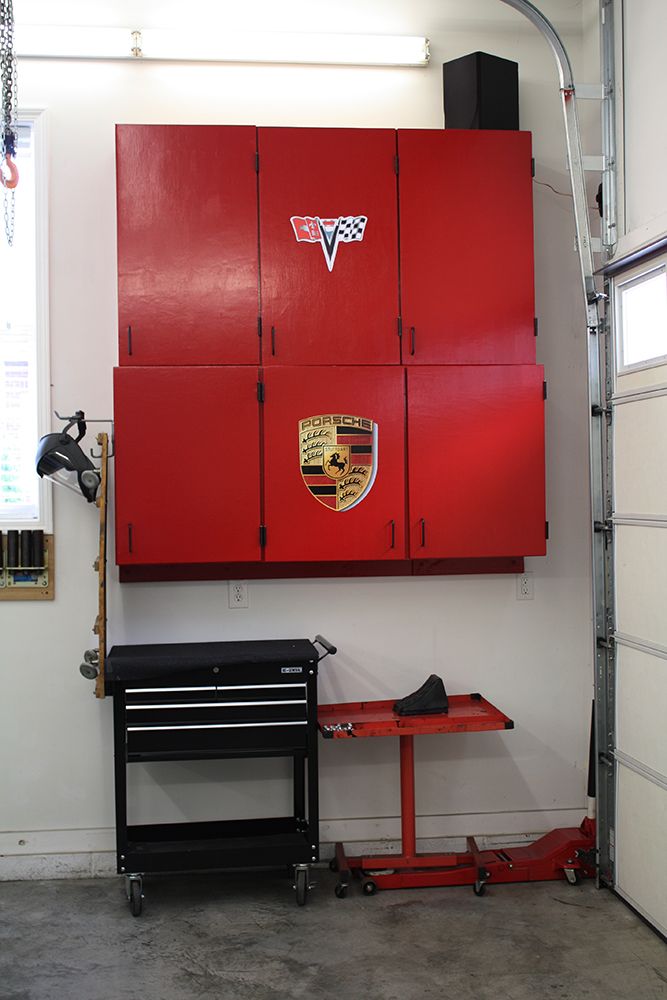
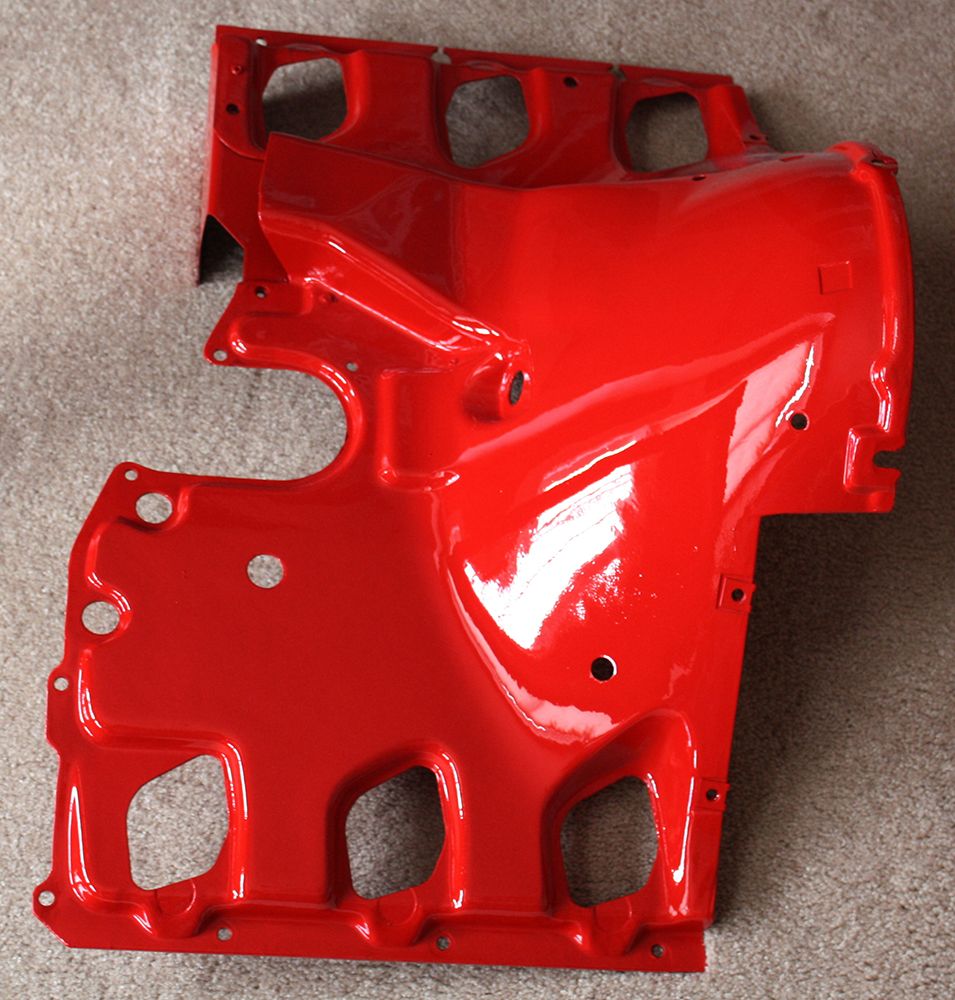
As for the shroud, I am leaning towards painting it red. The standard fiberglass will only clean up so well.
#125
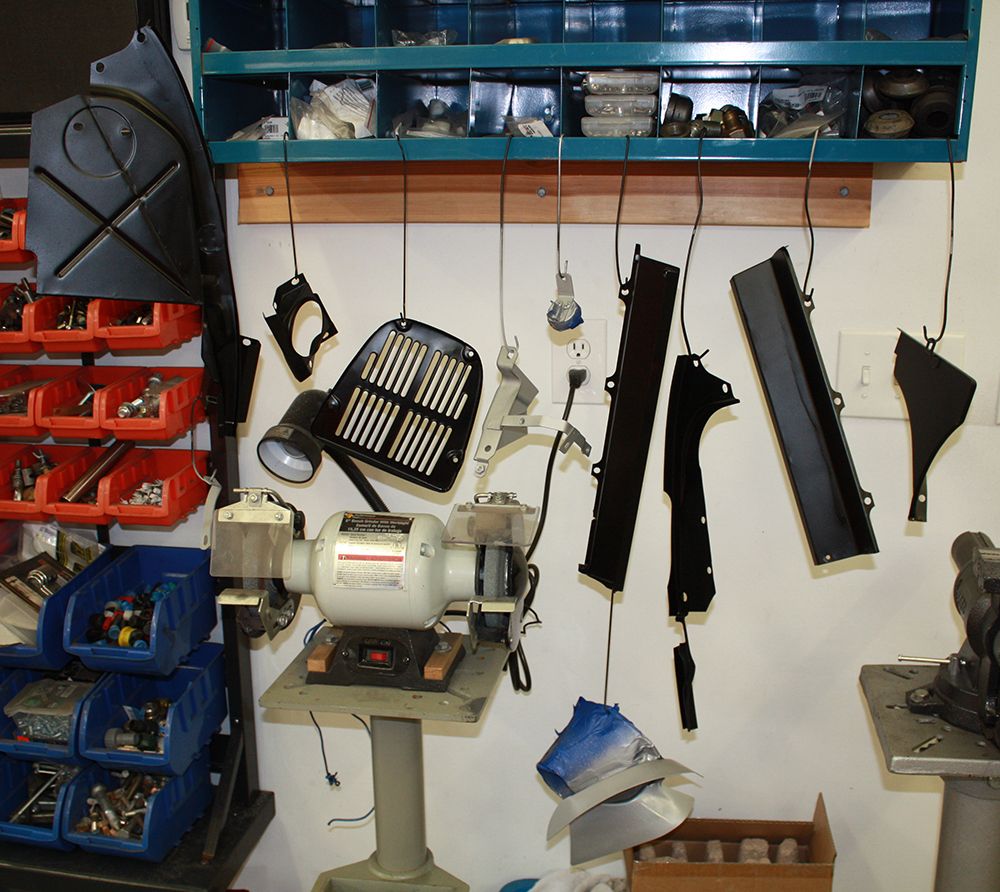
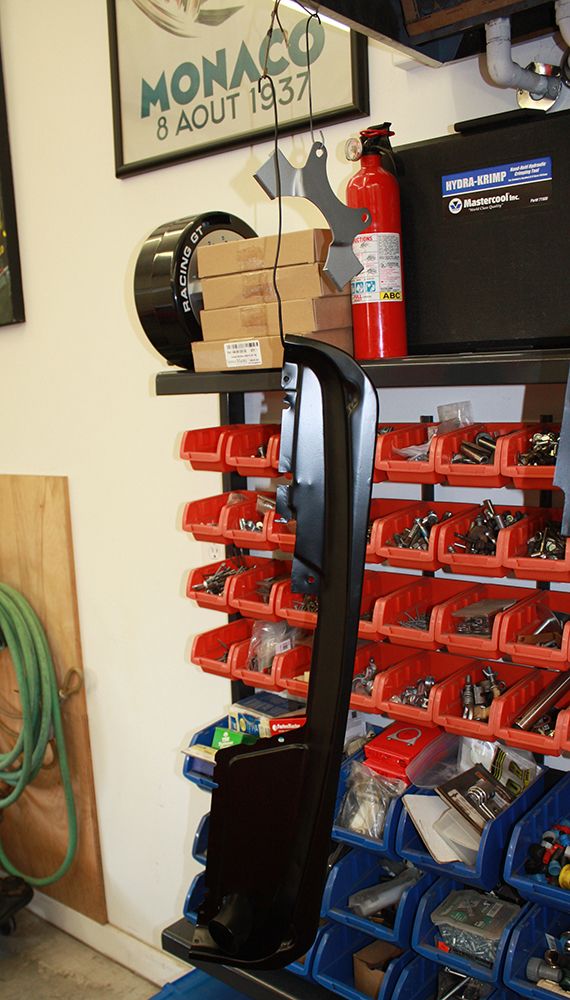
Because of the emission equipment, my rear tin had two holes in it for smog connections. Since I am removing all of the smog equipment, I wanted those holes filled. A couple days ago I took the tin to the paint guy who has painted some cars for me. While I was there, we were looking at some photos of cars he has painted that he has hanging on the wall. I mentioned that I should bring photos of the Corvette and Camaro that he had painted. He pulled three snapshots of some cars he used to own out of a drawer and wondered if I could enlarge and print them. I told him I could and would bring them back when I picked up the part. I bought some frames for $2.00 each at Family Dollar, mounted the photos and took them to him today. When I asked how much I owed him for his work, he said he would consider it an even trade for the photos. I was good with that!!!
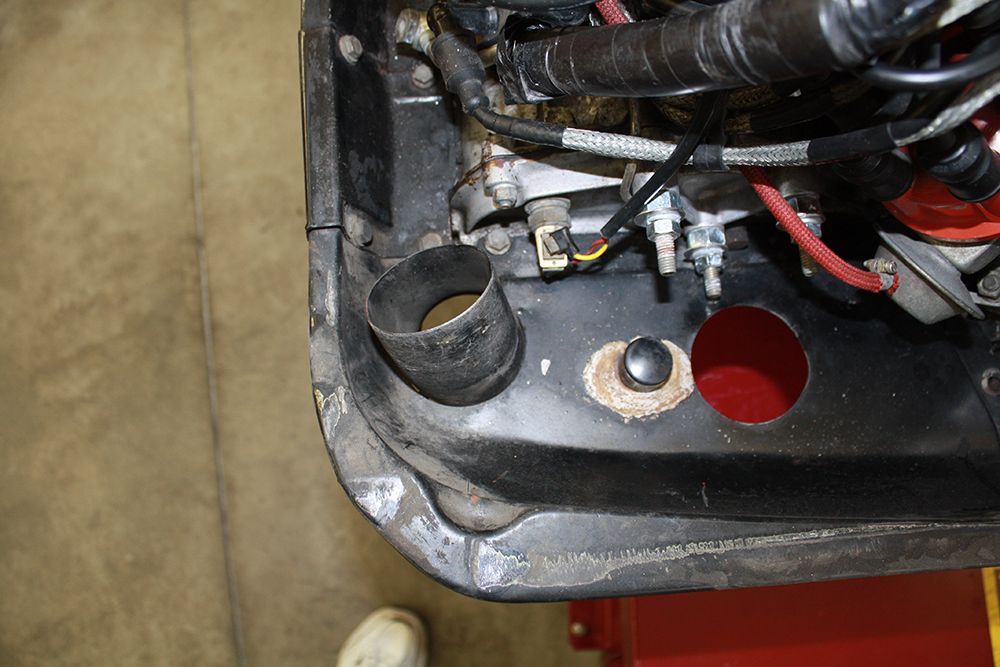
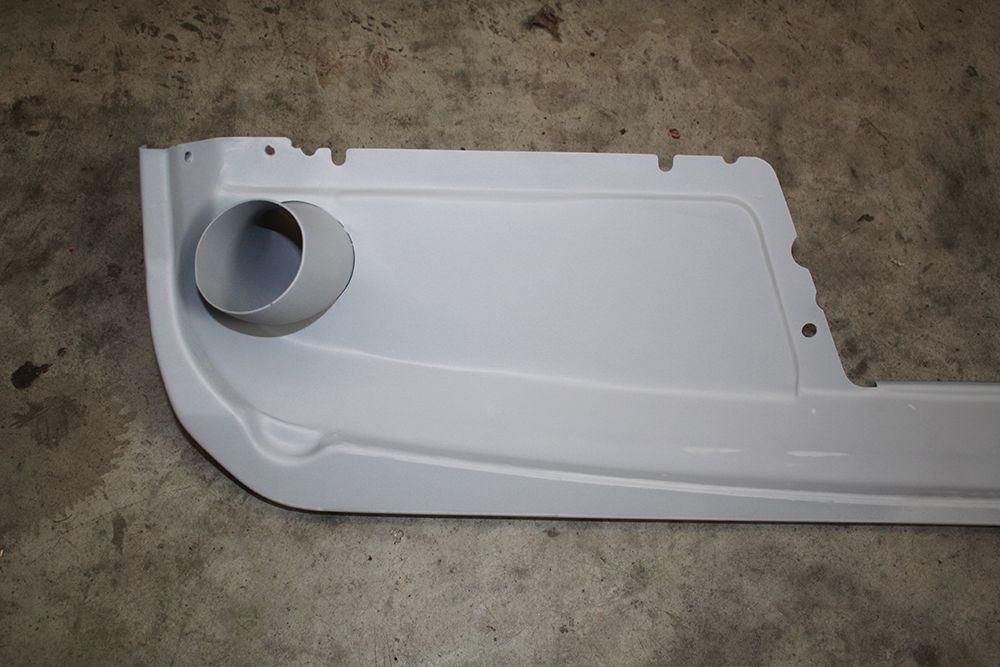
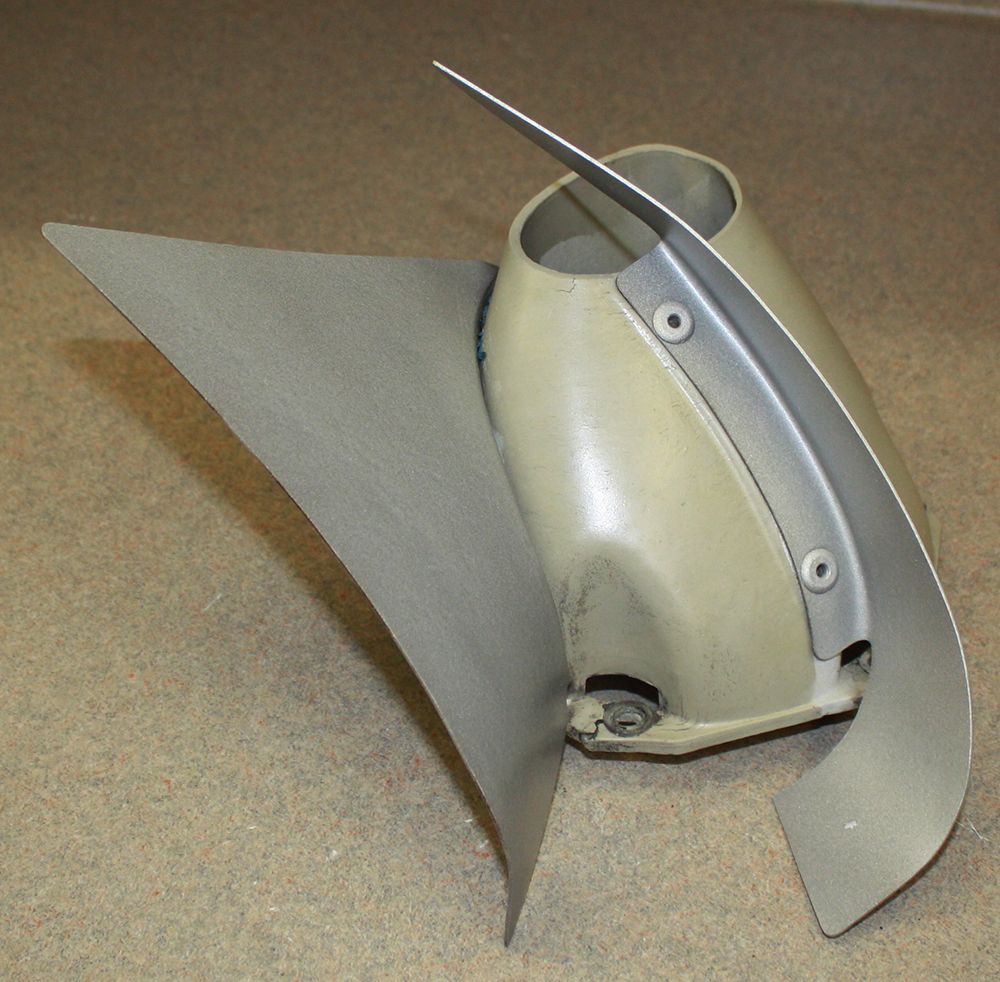
I then spent the rest of the afternoon painting parts. I masked off the vanes on the plastic part that mounts to the rear of the alternator and then painted them. Not sure why as no one will ever see it but I know the vanes are no longer rusty.
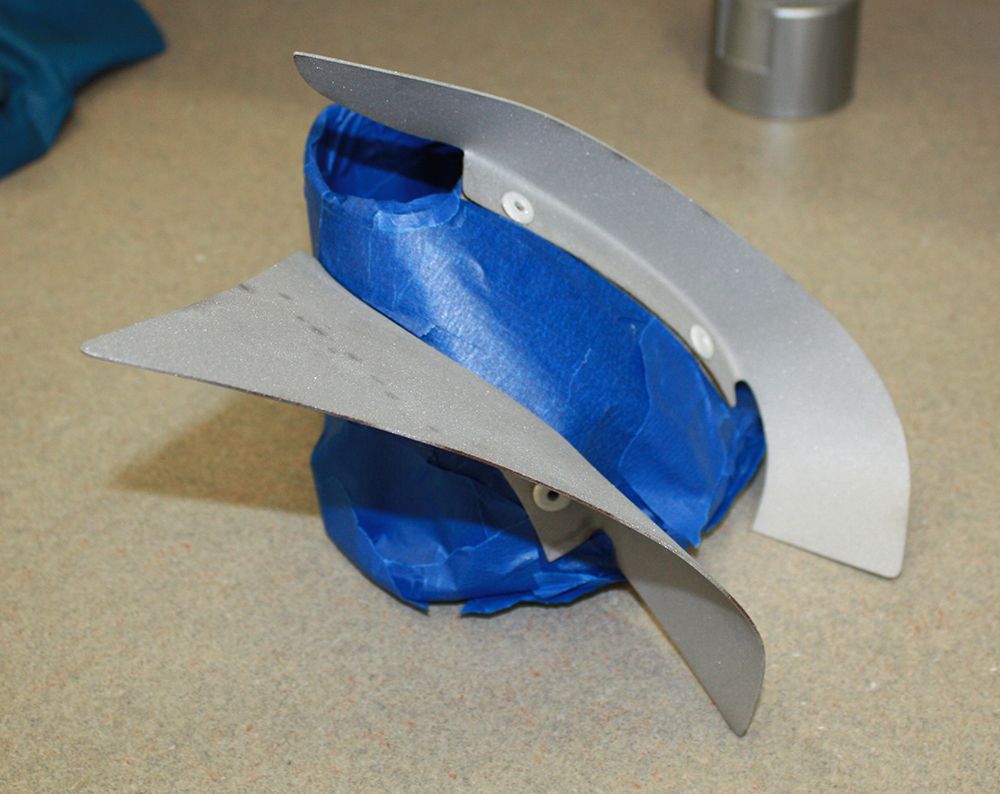
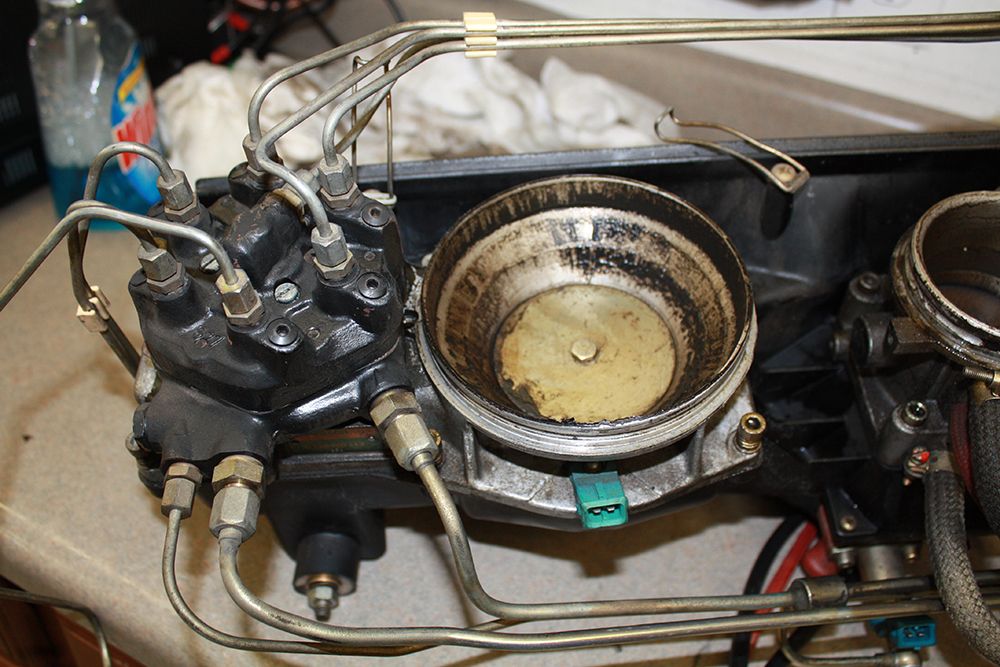
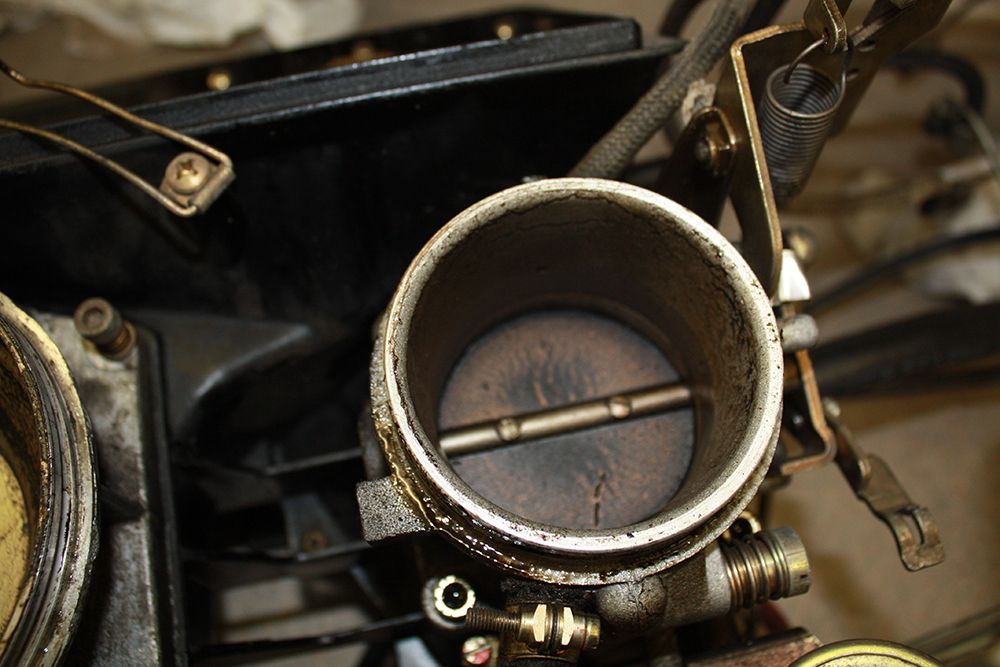
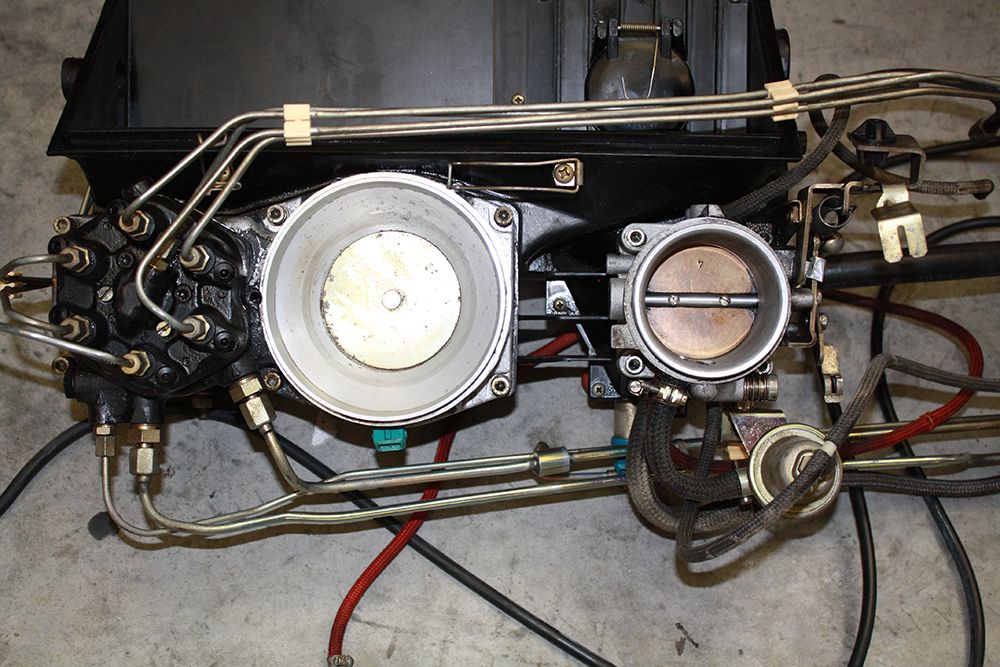
I also bead blasted the throttle plate.
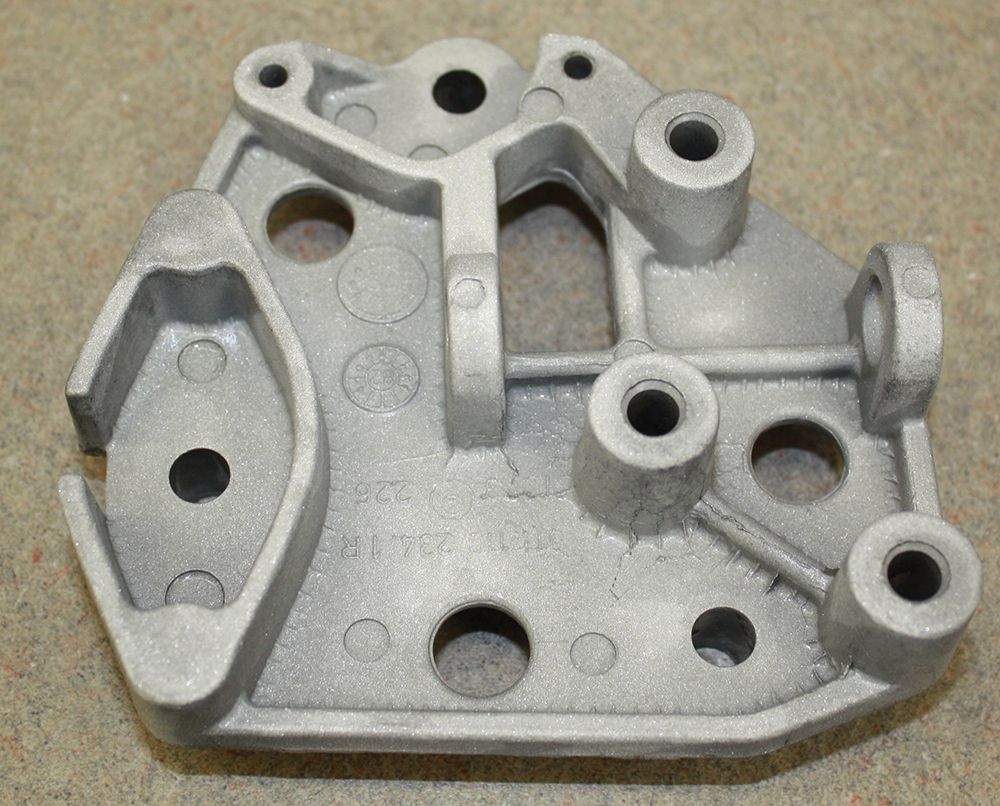


I then spent the rest of the afternoon painting parts. I masked off the vanes on the plastic part that mounts to the rear of the alternator and then painted them. Not sure why as no one will ever see it but I know the vanes are no longer rusty.


I also bead blasted the throttle plate.

#127
Yesterday I took off the valve covers and took them and the fan housing and fan to the powdercoater. He was very reasonable on the pricing so I bead blasted all of the tin I had painted and am having him powdercoat those pieces as well. He is charging me $100 for powdercoating everything.
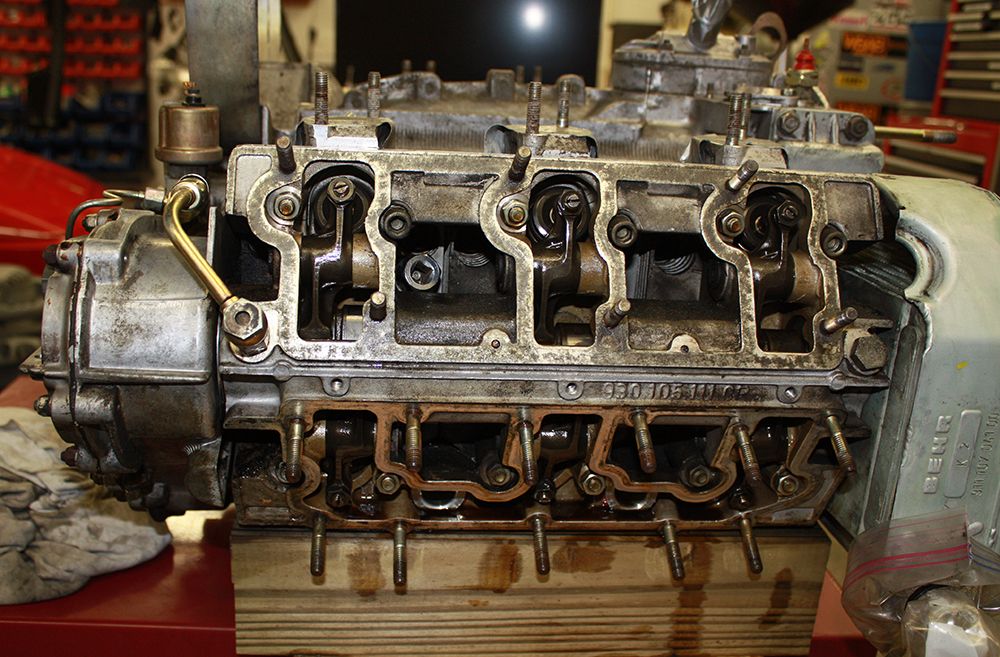
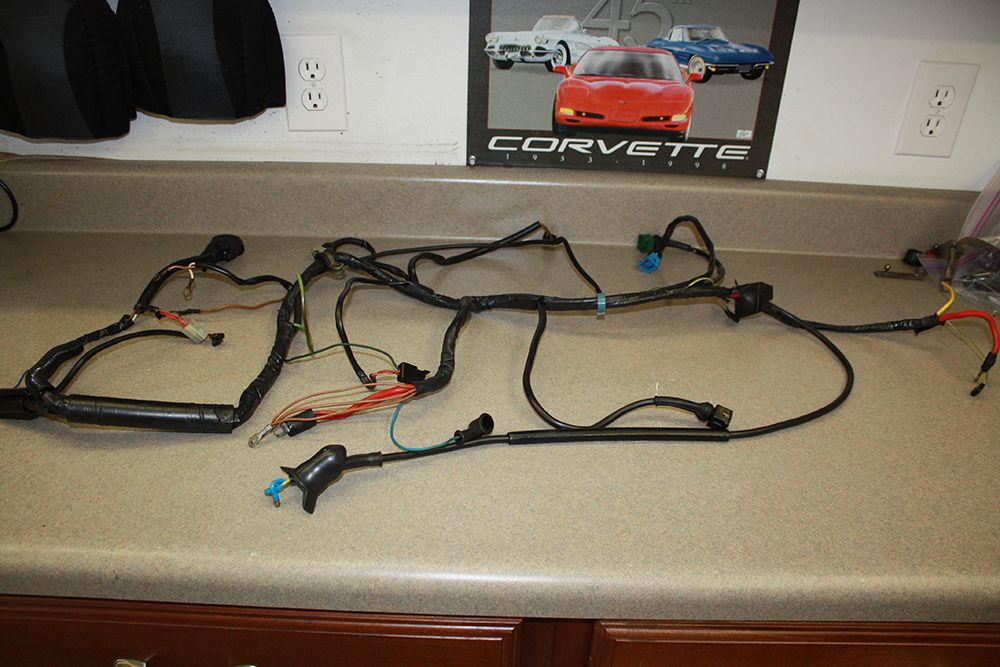
This morning I finished cleaning up the engine wiring harness. I also peeled off the masking tape in the alternator shroud.
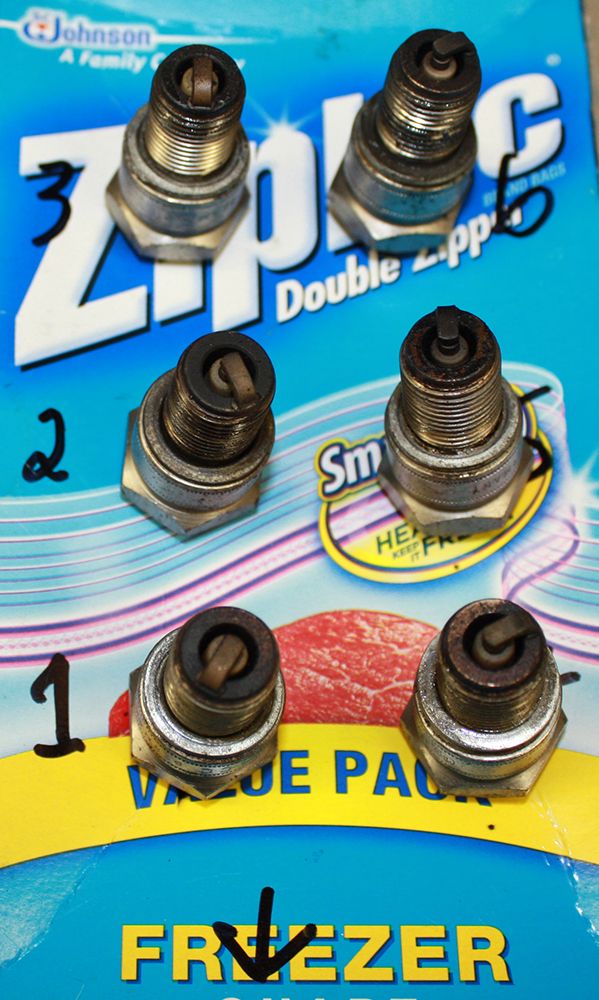
In anticipation of adjusting the valves, I removed the spark plugs. The plugs in cylinders two and six were loose resulting in oil on the threads.
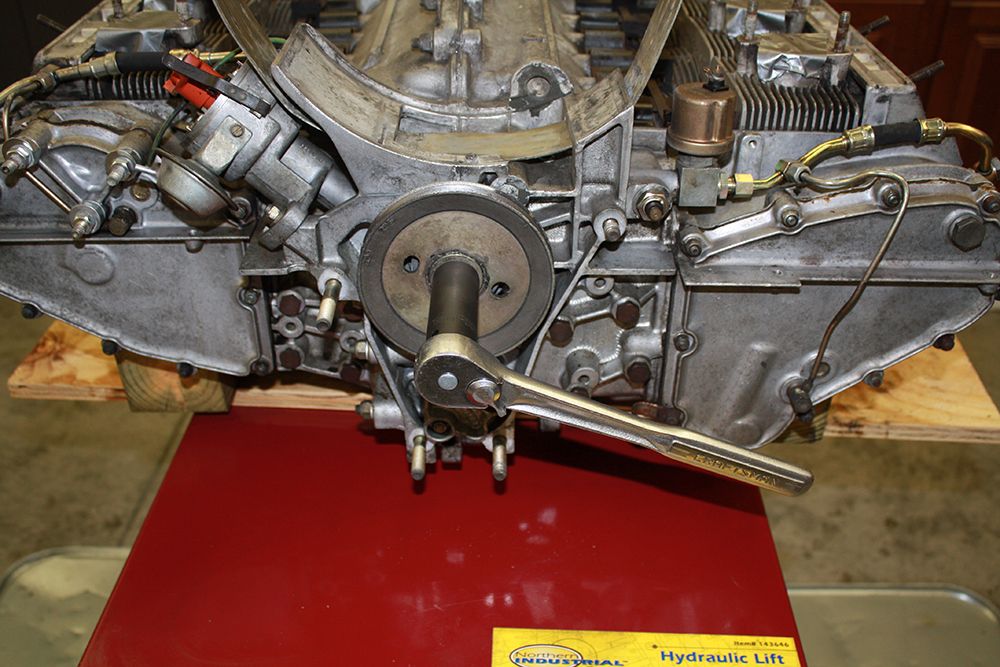
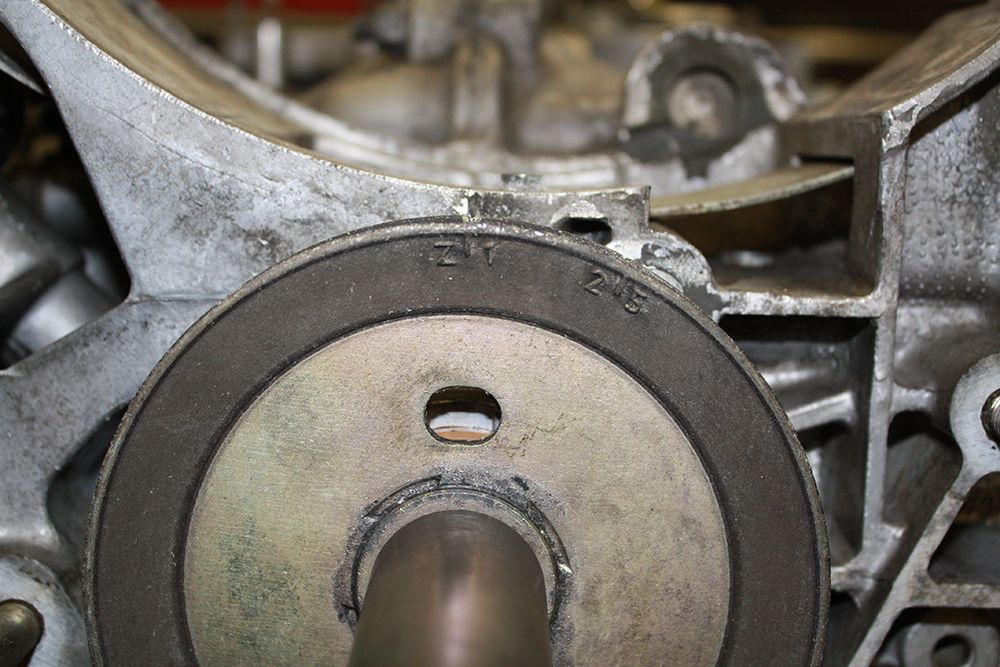
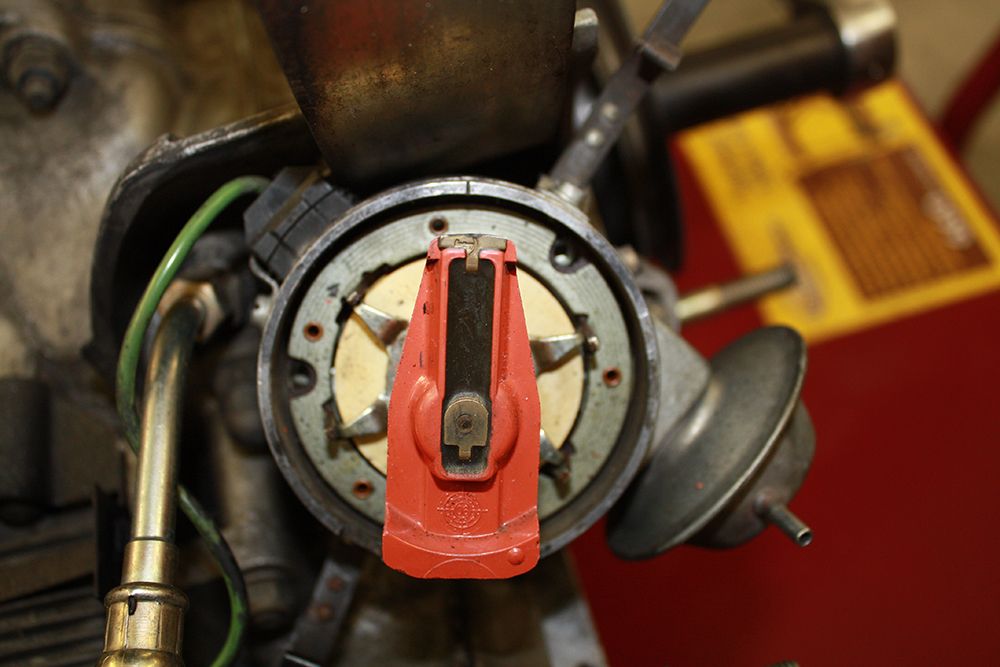
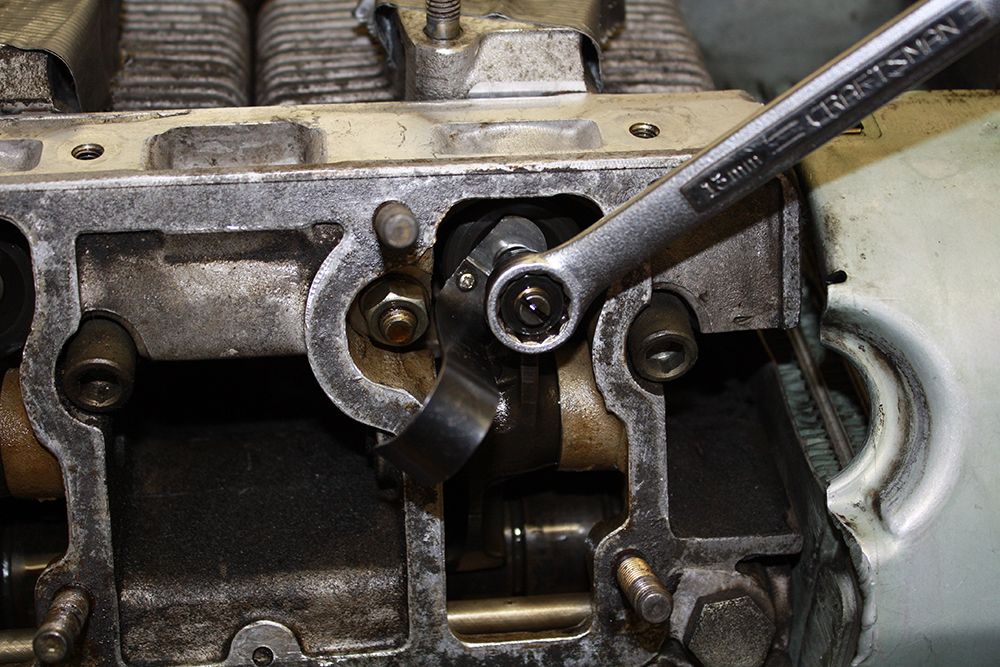
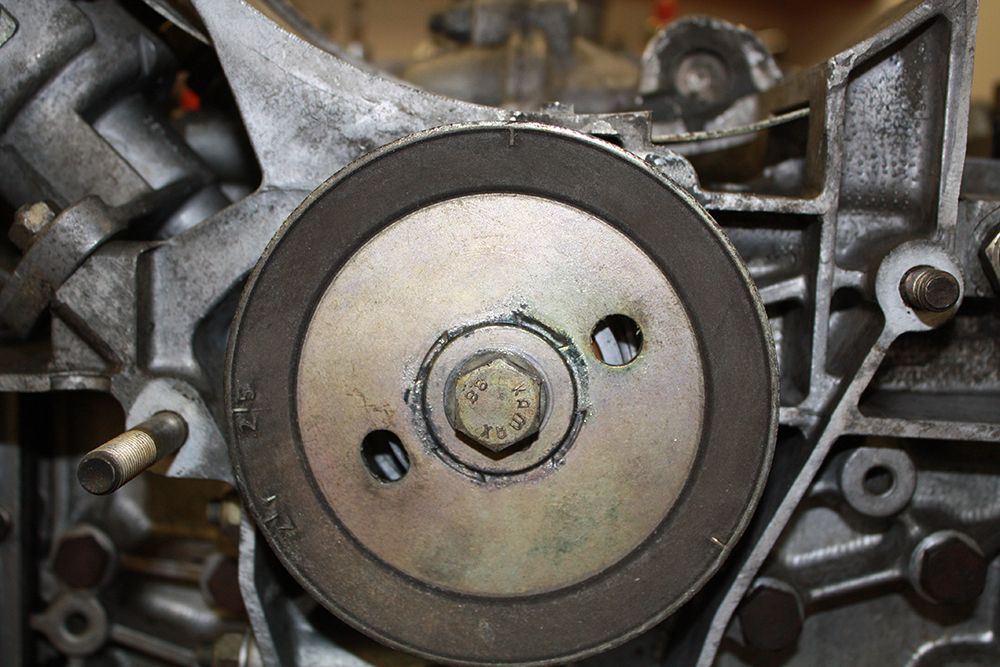
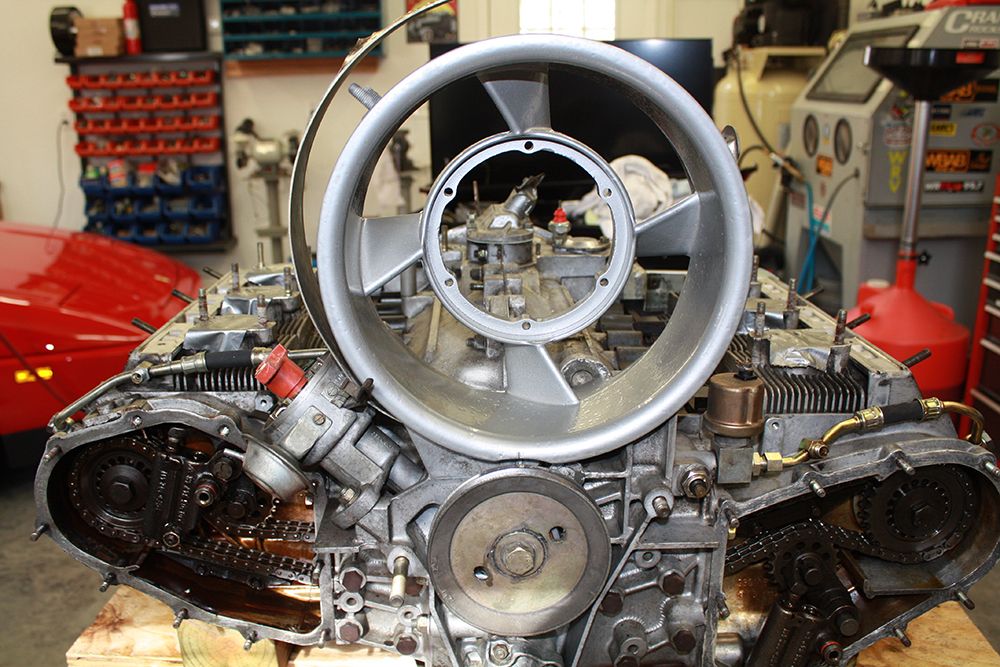
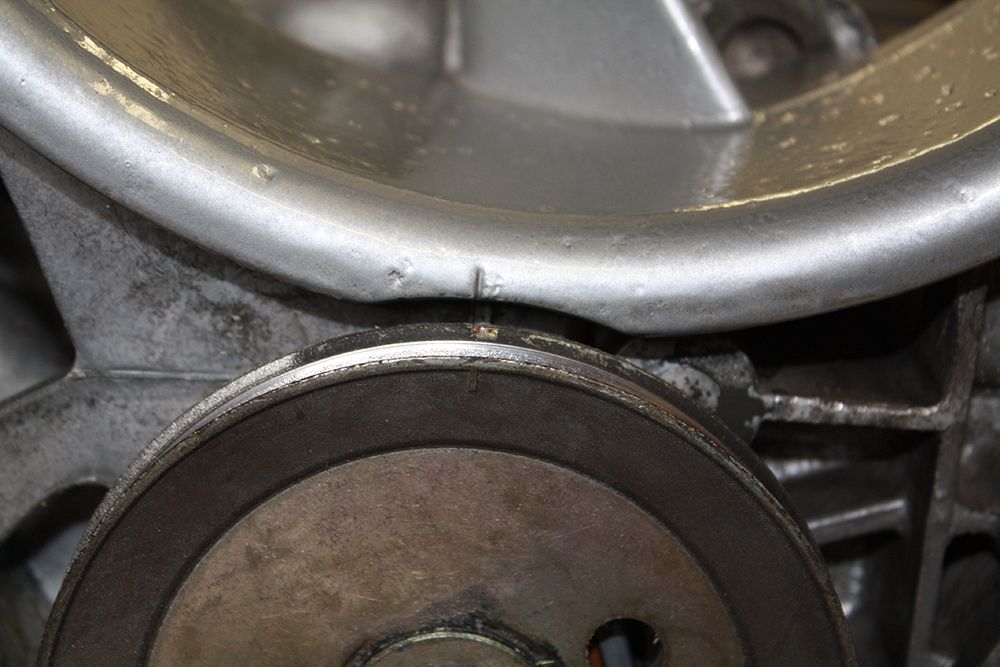
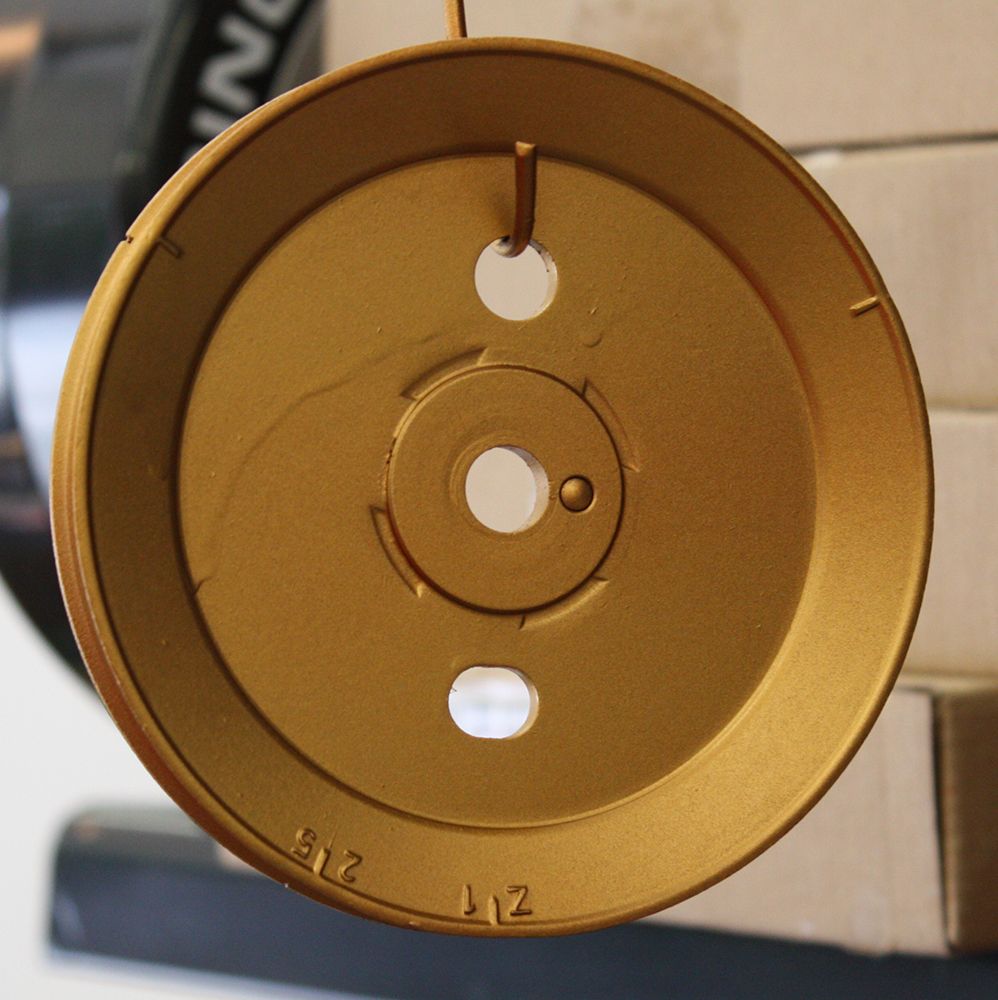
To adjust the valves I had to re-install the lower pulley. After turning it so the Z1 mark was on top and the rotor was pointing to the notch on the distributor housing, I knew I had cylinder #1 at top dead center. After I adjusted those valves I turned the pulley 120 degress to line up cylinder #2 and progressed my way around the engine. Cylinder #3 valves were the only ones I did not have to adjust. All of the remaining valves were tight. Since I did not have the fan shroud on the motor, I lined up the marks on the pulley with the center of the motor. Once I have the fan shroud back from the powdercoater, I will install it and double check my valve adjustments.

This morning I finished cleaning up the engine wiring harness. I also peeled off the masking tape in the alternator shroud.


In anticipation of adjusting the valves, I removed the spark plugs. The plugs in cylinders two and six were loose resulting in oil on the threads.

To adjust the valves I had to re-install the lower pulley. After turning it so the Z1 mark was on top and the rotor was pointing to the notch on the distributor housing, I knew I had cylinder #1 at top dead center. After I adjusted those valves I turned the pulley 120 degress to line up cylinder #2 and progressed my way around the engine. Cylinder #3 valves were the only ones I did not have to adjust. All of the remaining valves were tight. Since I did not have the fan shroud on the motor, I lined up the marks on the pulley with the center of the motor. Once I have the fan shroud back from the powdercoater, I will install it and double check my valve adjustments.


#129
The seals and gaskets arrived today. We are supposed to get a bunch of snow tomorrow and Thursday so I will probably be sealing the motor, assuming we don't have power outages.
#130
WHAT IS THIS STUFF???? Now I know why I moved south from Indiana.
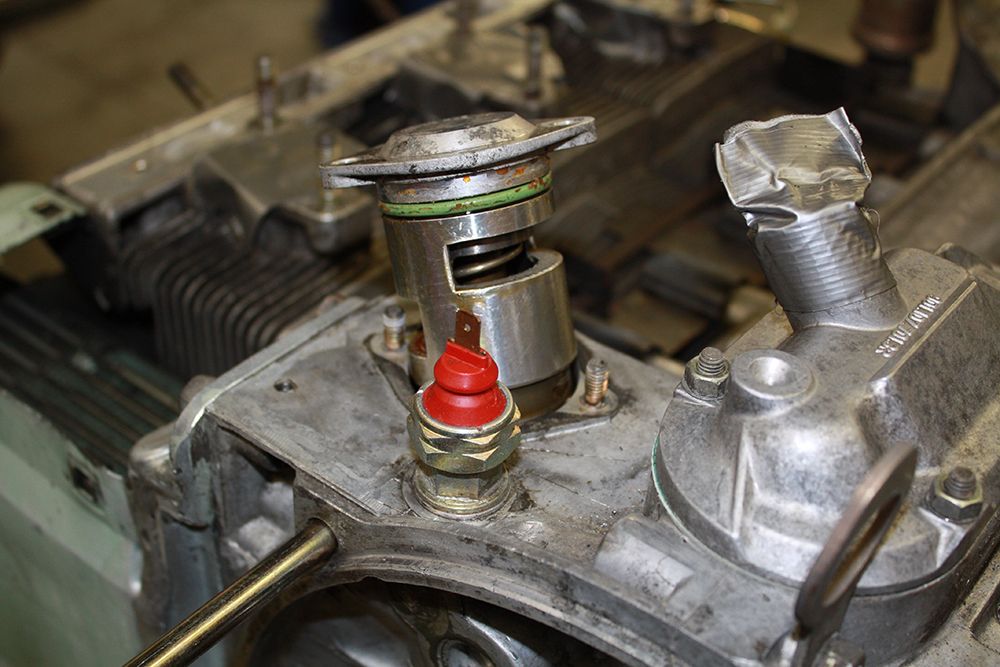
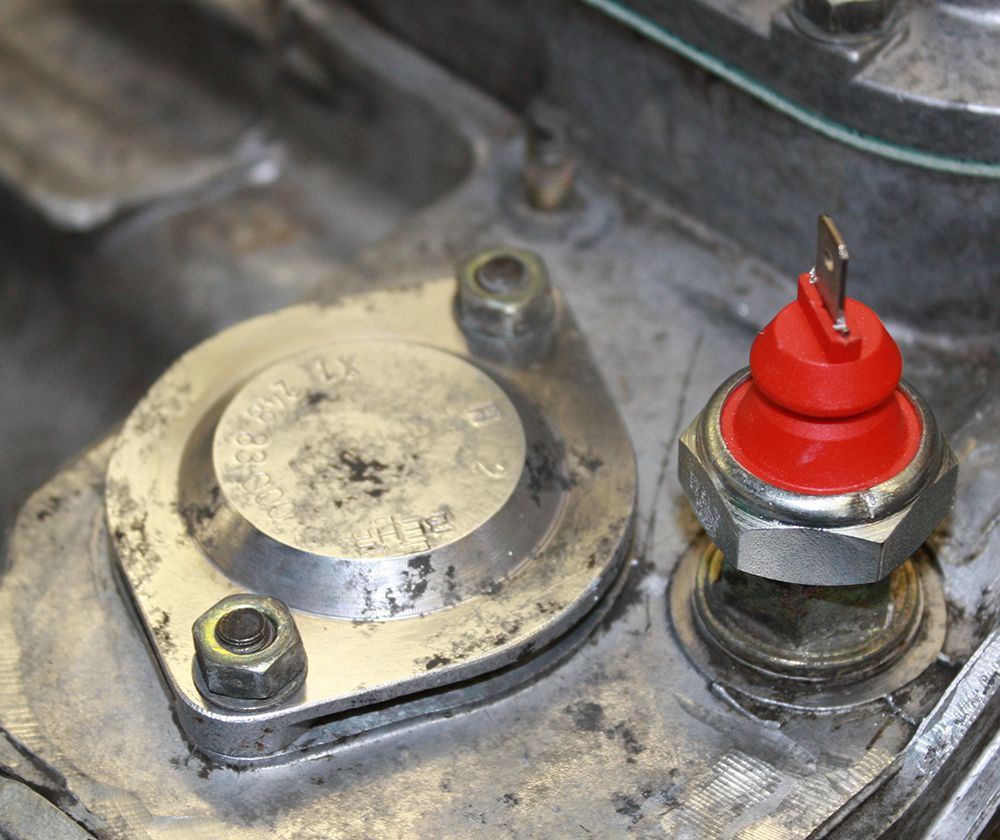
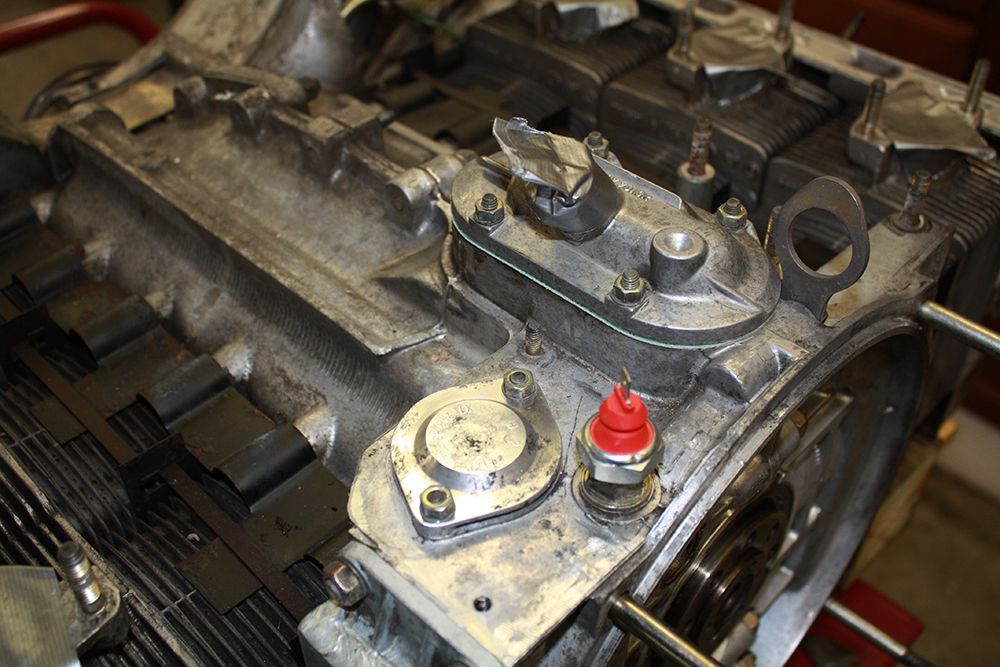
Today I attacked the "oily trinity". First up was removing oil breather cover and installing a new gasket. Next was pulling out the thermostat to replace the "o" ring. And then I replaced the low oil pressure sensor. You must use either teflon tape or teflon pipe dope on this switch to make sure it does not leak.
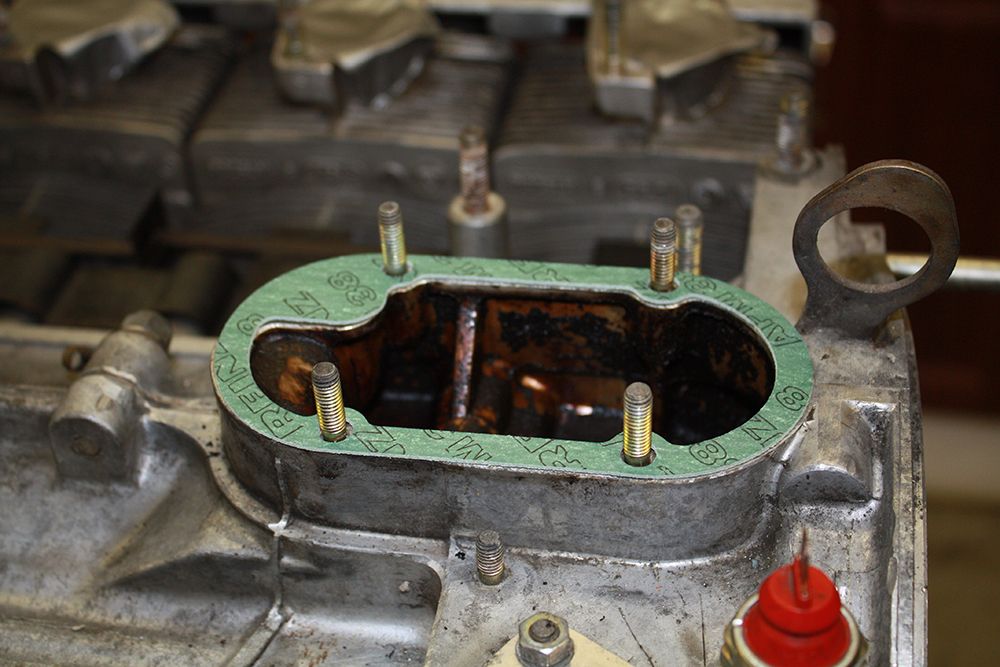
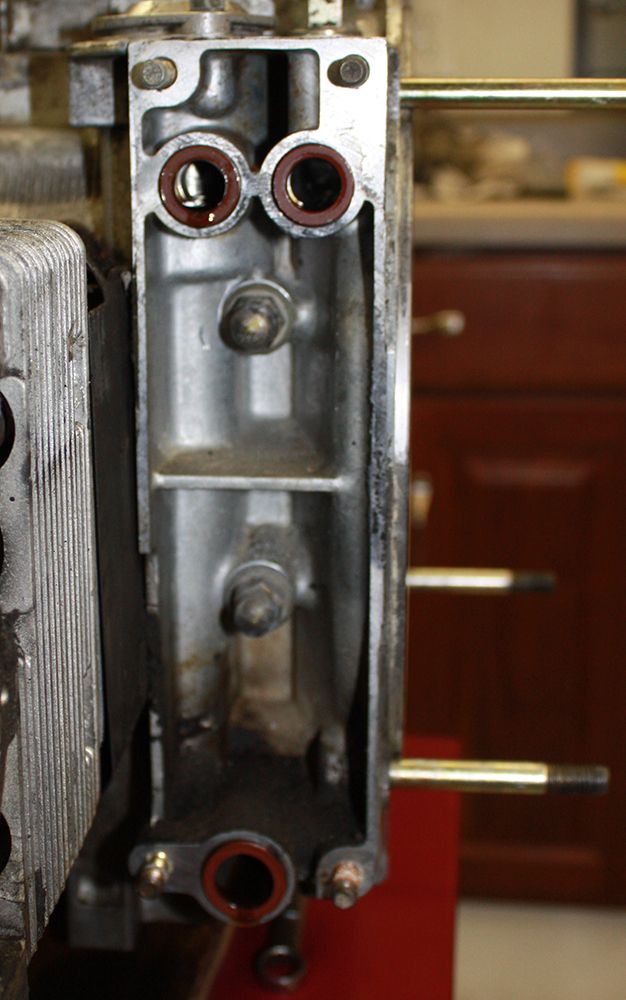
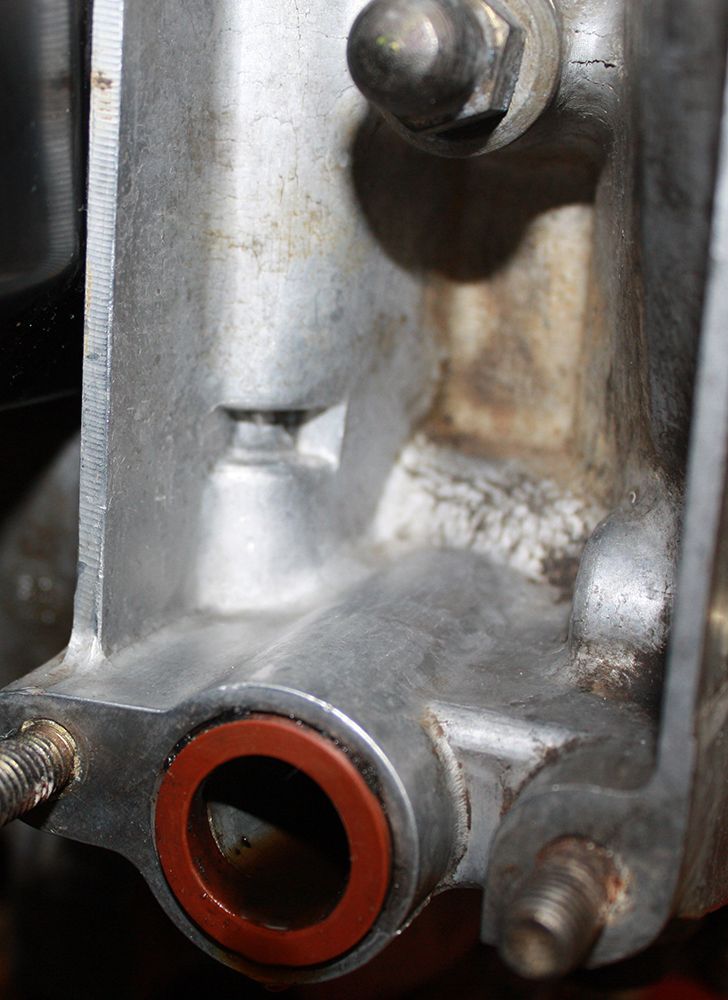
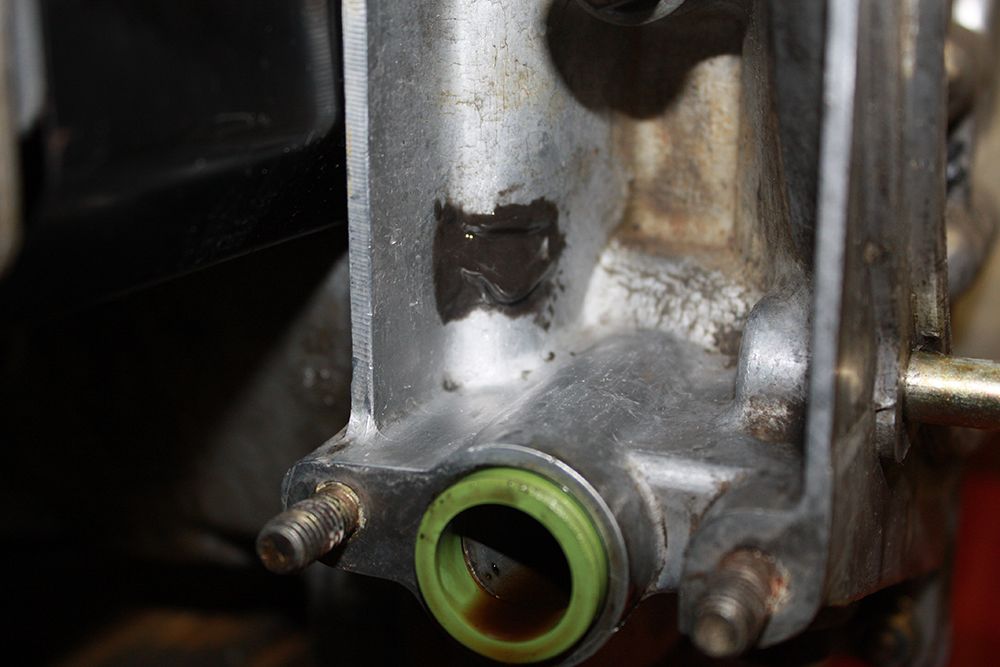
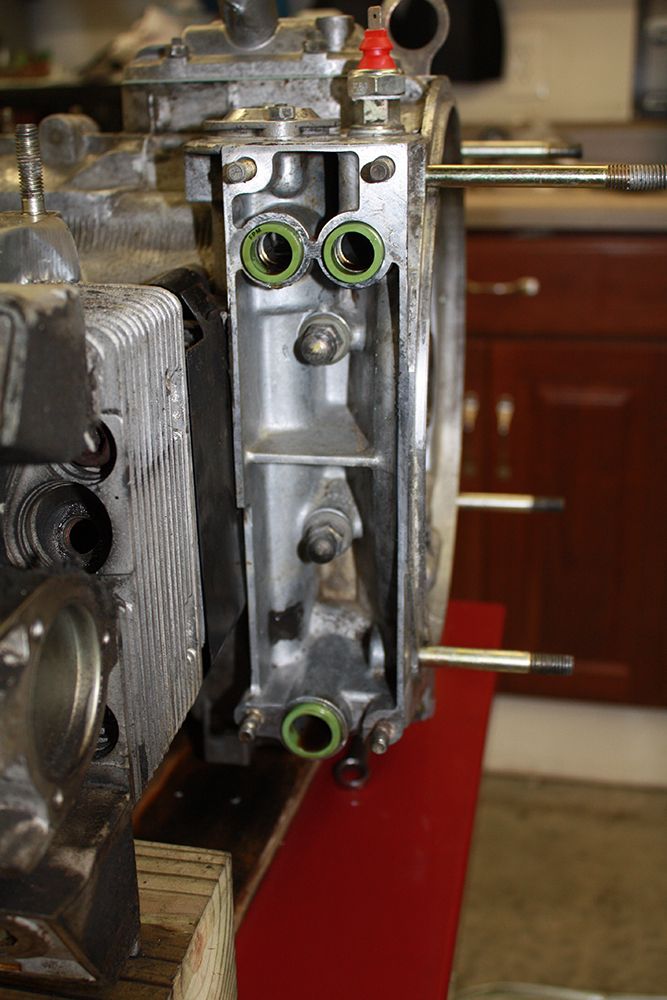
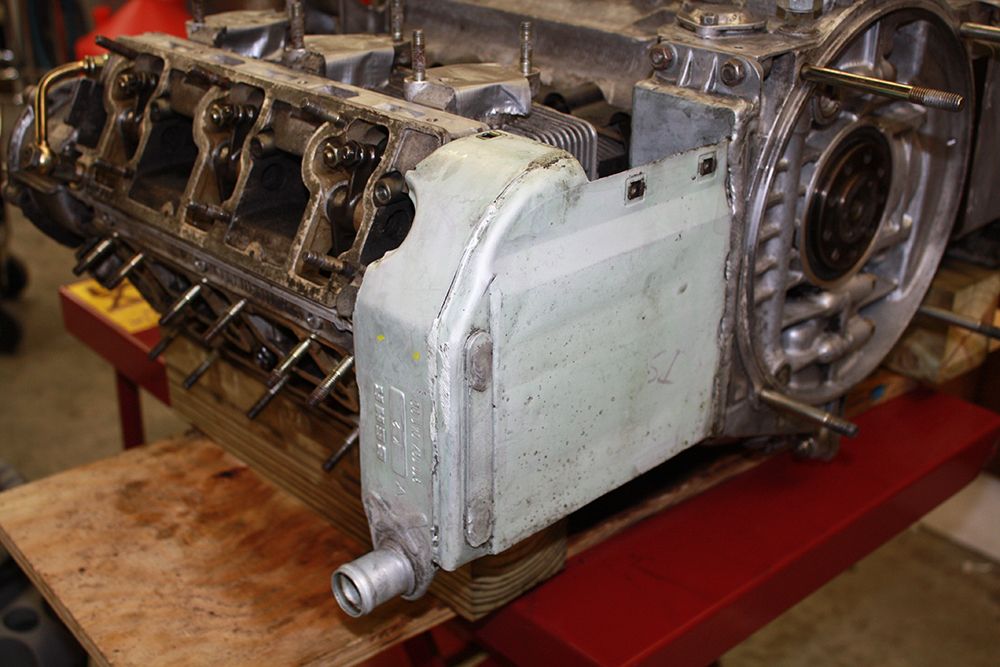
The oil cooler was the next victim. I removed it to install the three new seals. I was informed that there was a bulletin about a casting issue inside the oil cooler area. There is an indentation that is a potential leak source. It was damp inside this area on my motor. After cleaning this area thoroughly, I filled the notch with JB weld.

Today I attacked the "oily trinity". First up was removing oil breather cover and installing a new gasket. Next was pulling out the thermostat to replace the "o" ring. And then I replaced the low oil pressure sensor. You must use either teflon tape or teflon pipe dope on this switch to make sure it does not leak.


The oil cooler was the next victim. I removed it to install the three new seals. I was informed that there was a bulletin about a casting issue inside the oil cooler area. There is an indentation that is a potential leak source. It was damp inside this area on my motor. After cleaning this area thoroughly, I filled the notch with JB weld.


#131
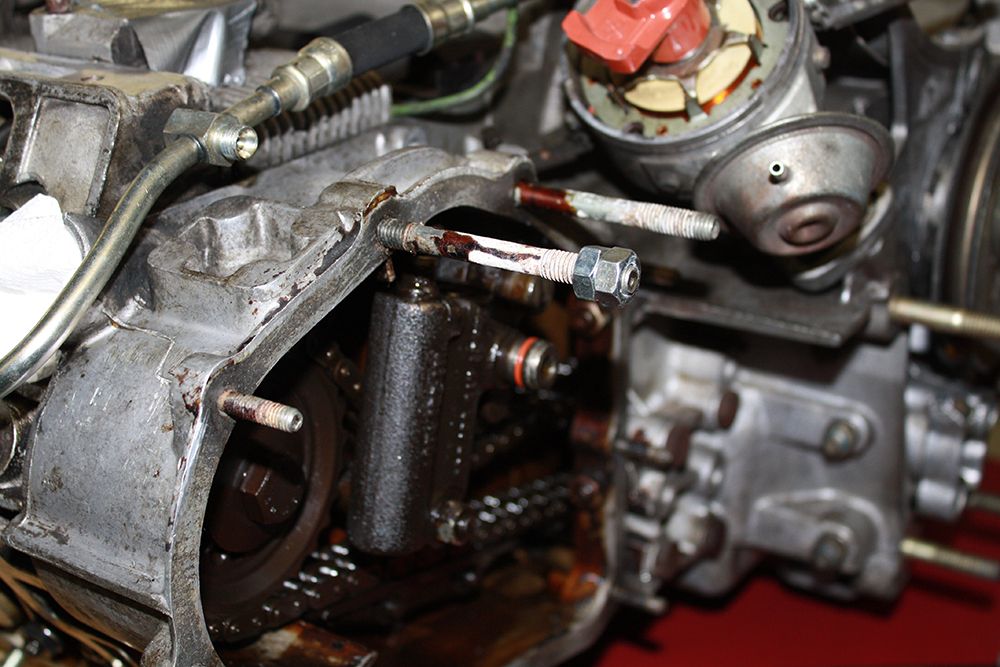
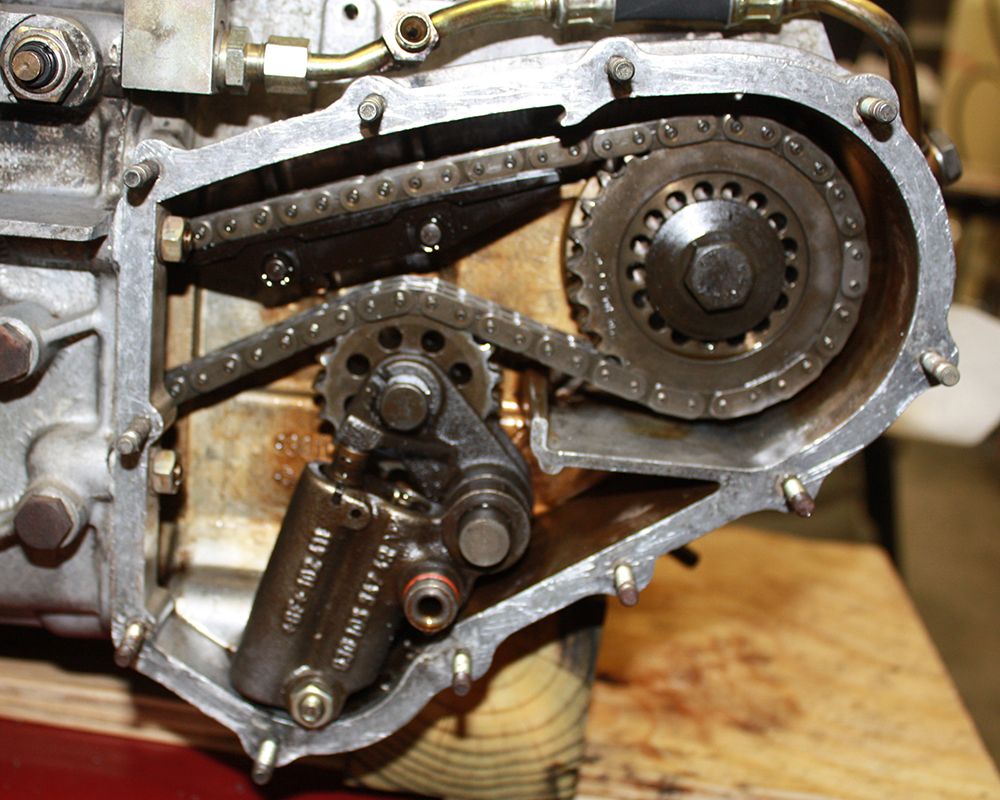
After lunch, I removed the left timing chain cover. First I had to remove the oil line for the chain tensioner. As you can see in the photo, there were three studs that were long. These studs had been used to mount the air pump. I double nutted them to remove each one. Once the snow abates, I will be heading to the hardware store to get some shorter studs.
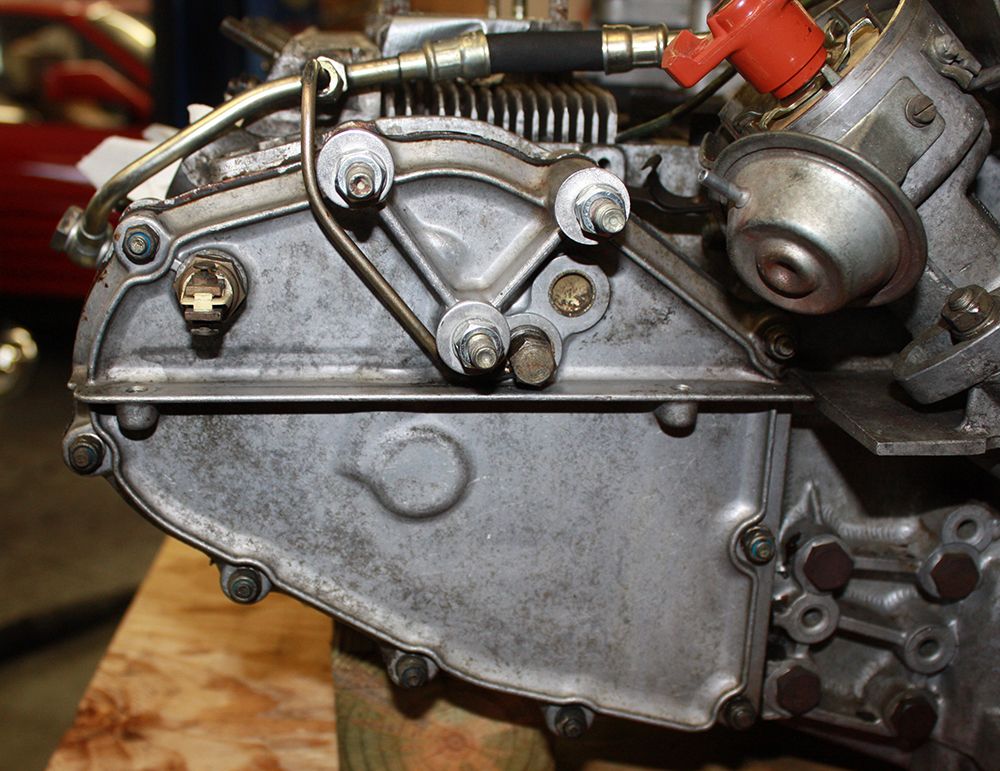
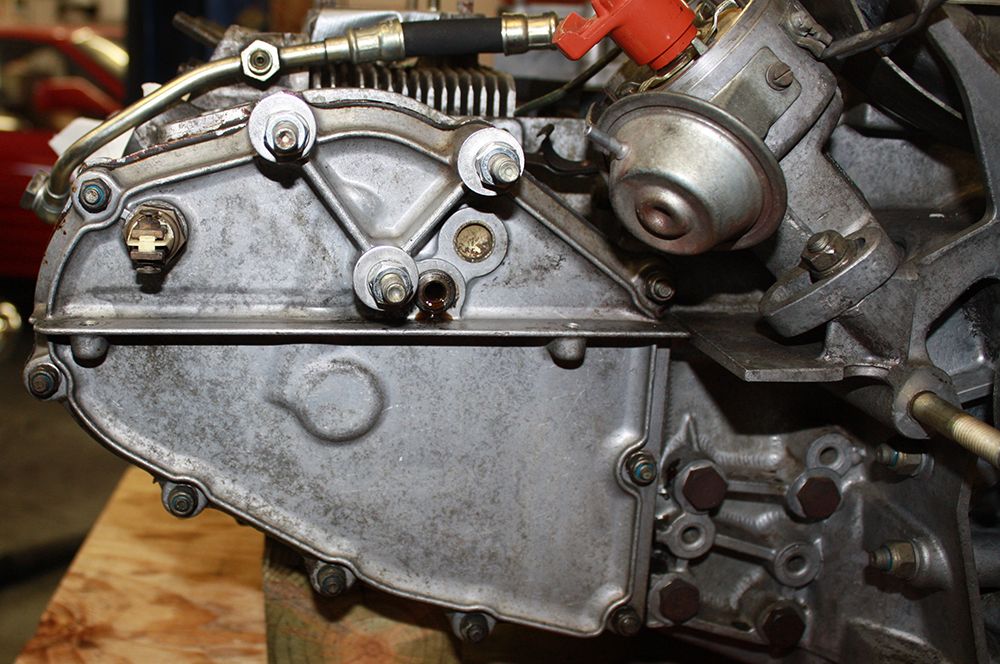
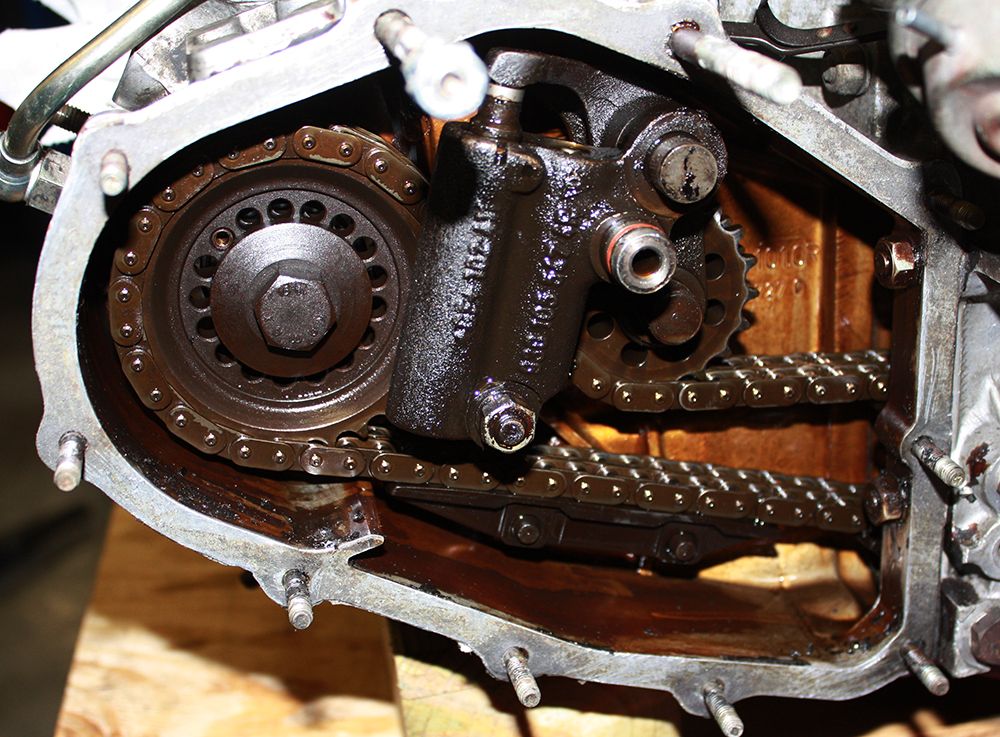
It took me awhile to clean off the old gasket. I also noticed there is an "o" ring on the chain tensioner that I had not ordered. So putting it all back together will have to wait.
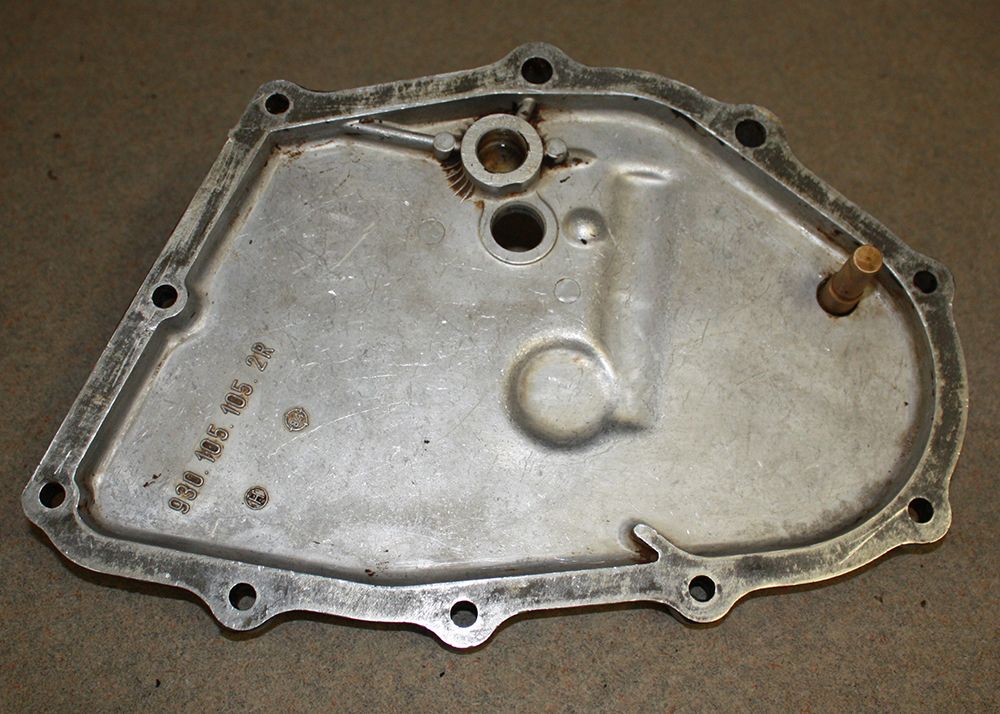
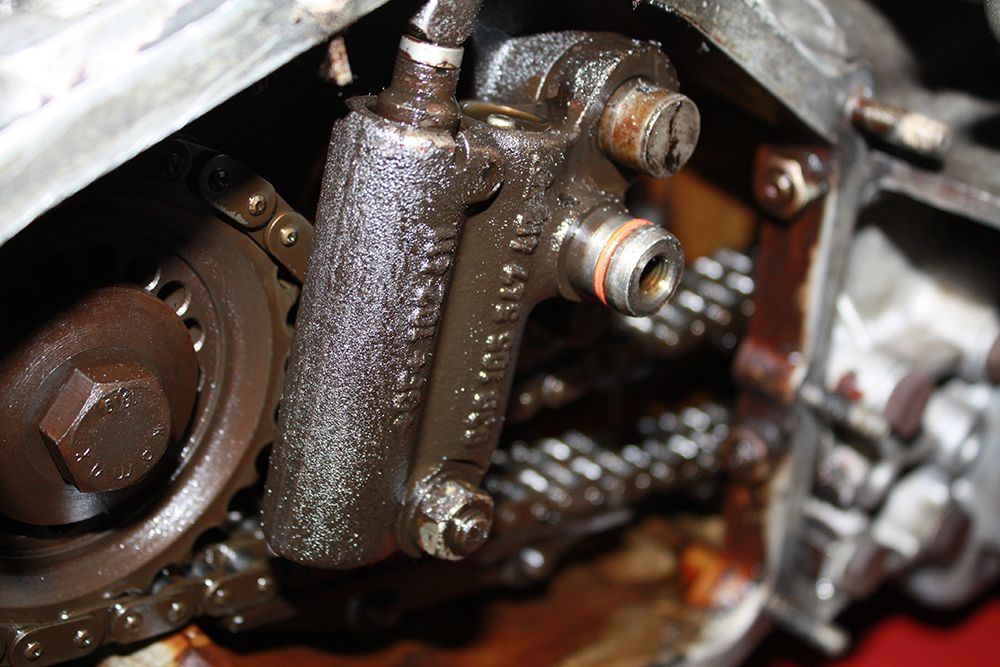


It took me awhile to clean off the old gasket. I also noticed there is an "o" ring on the chain tensioner that I had not ordered. So putting it all back together will have to wait.


#132
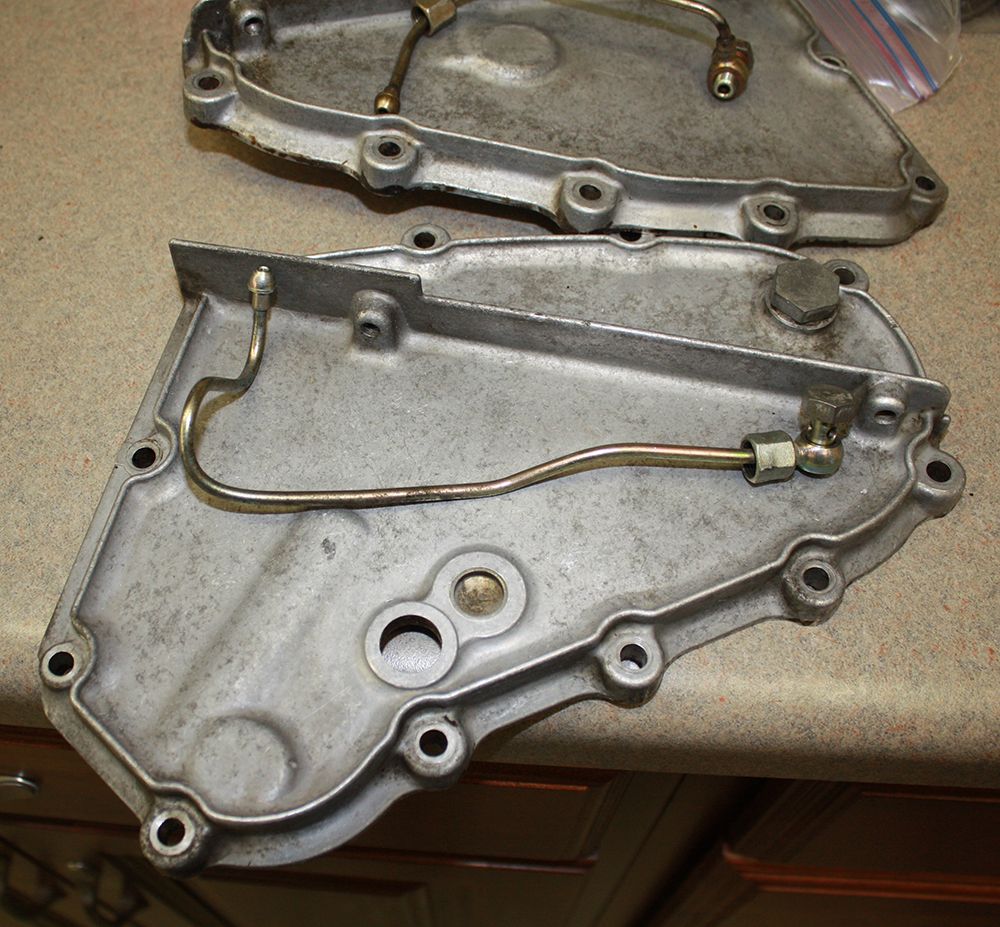
I removed and cleaned up the right side timing chain cover. This time the gasket was stuck to the case which made it harder to remove because of the studs.
I disassembled the heater blower fan so I could bead blast the housings and the fan impeller to prepare them for painting.
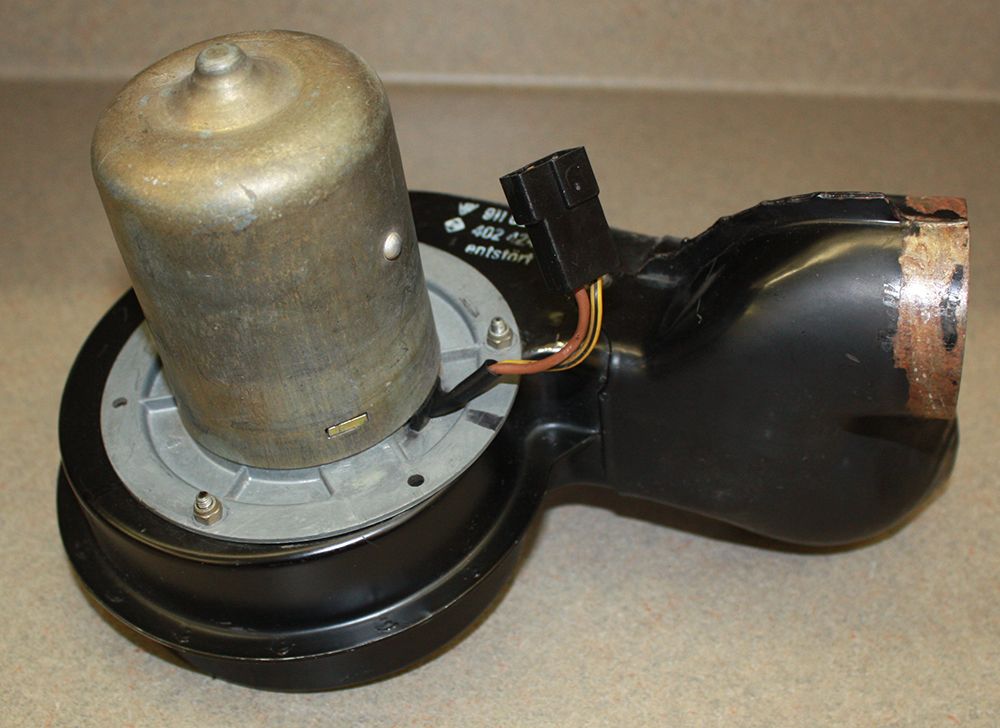
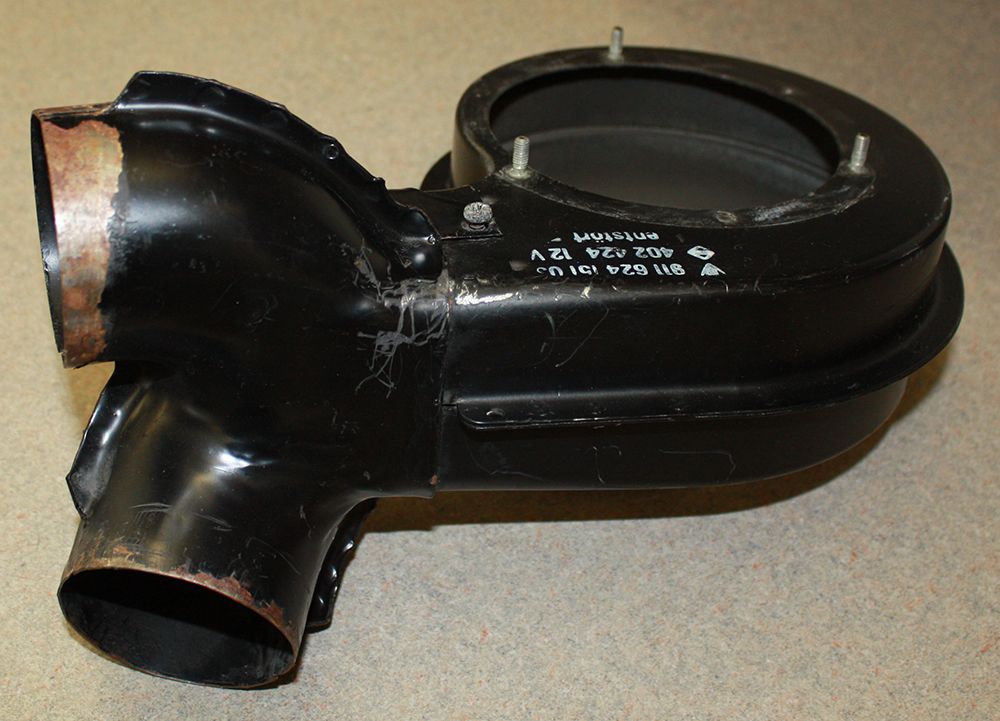
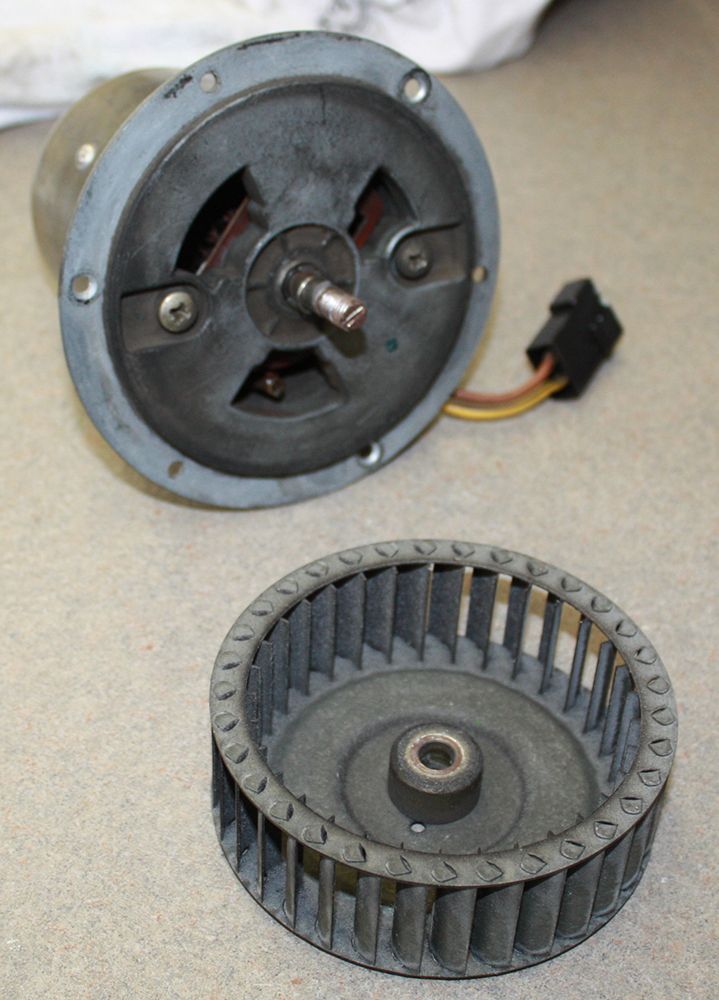
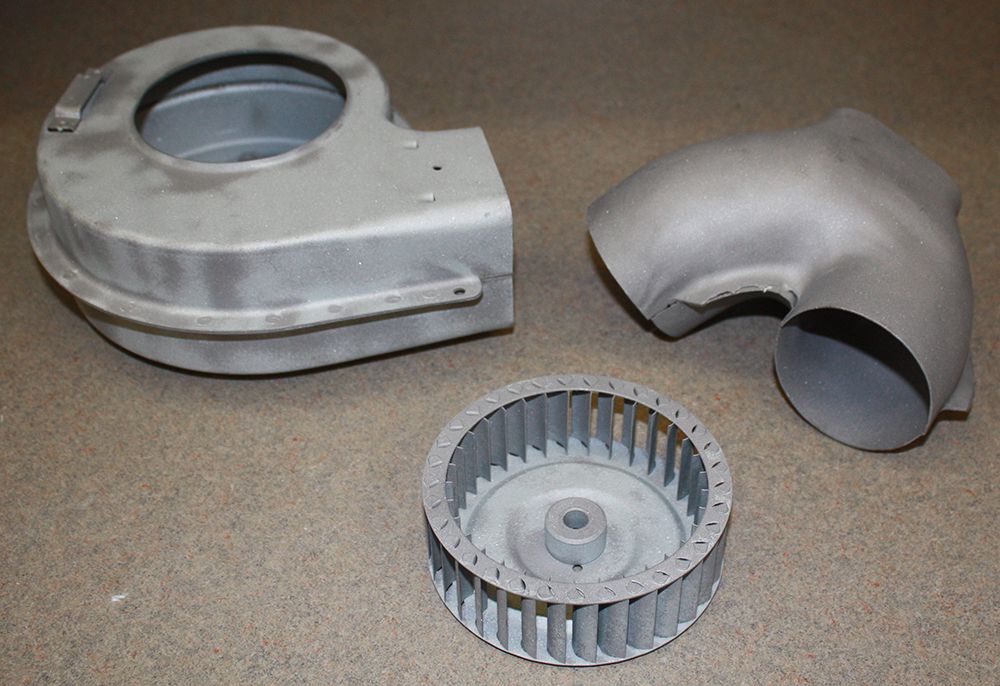


I disassembled the heater blower fan so I could bead blast the housings and the fan impeller to prepare them for painting.


Last edited by jerhofer; 02-13-2014 at 10:12 PM.
#133
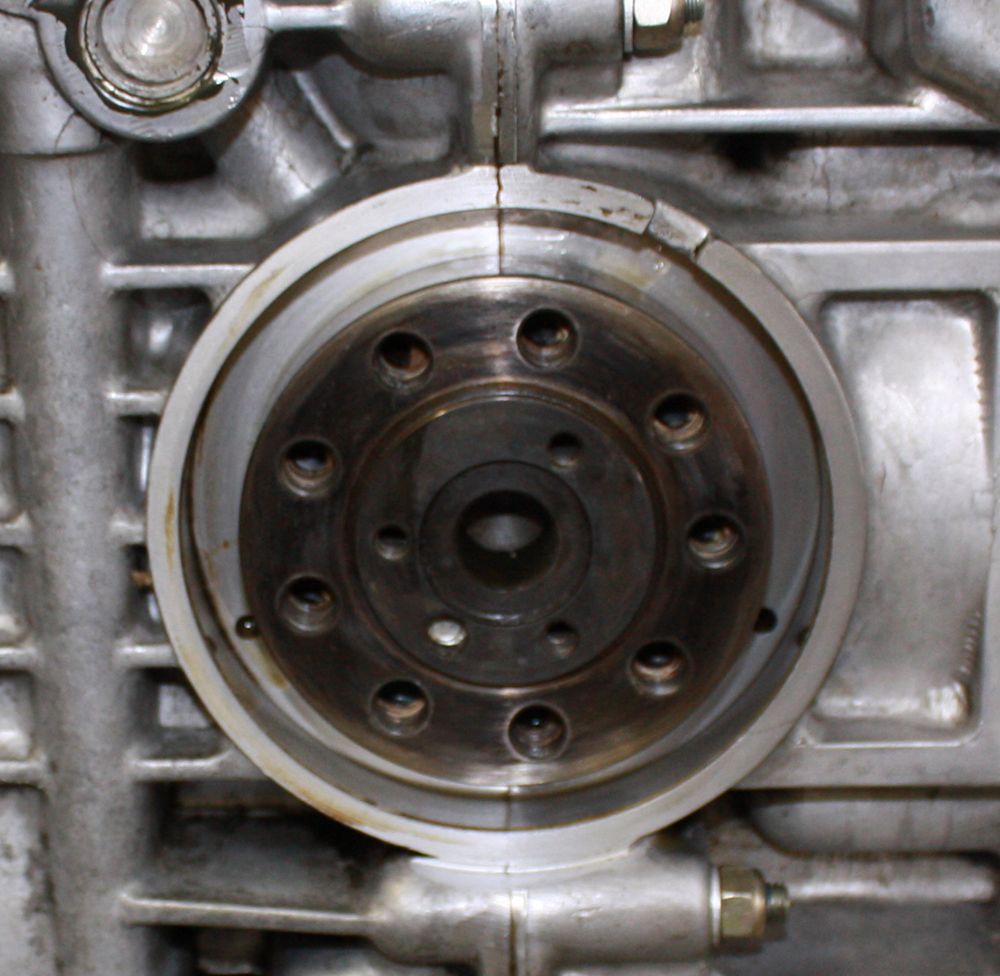
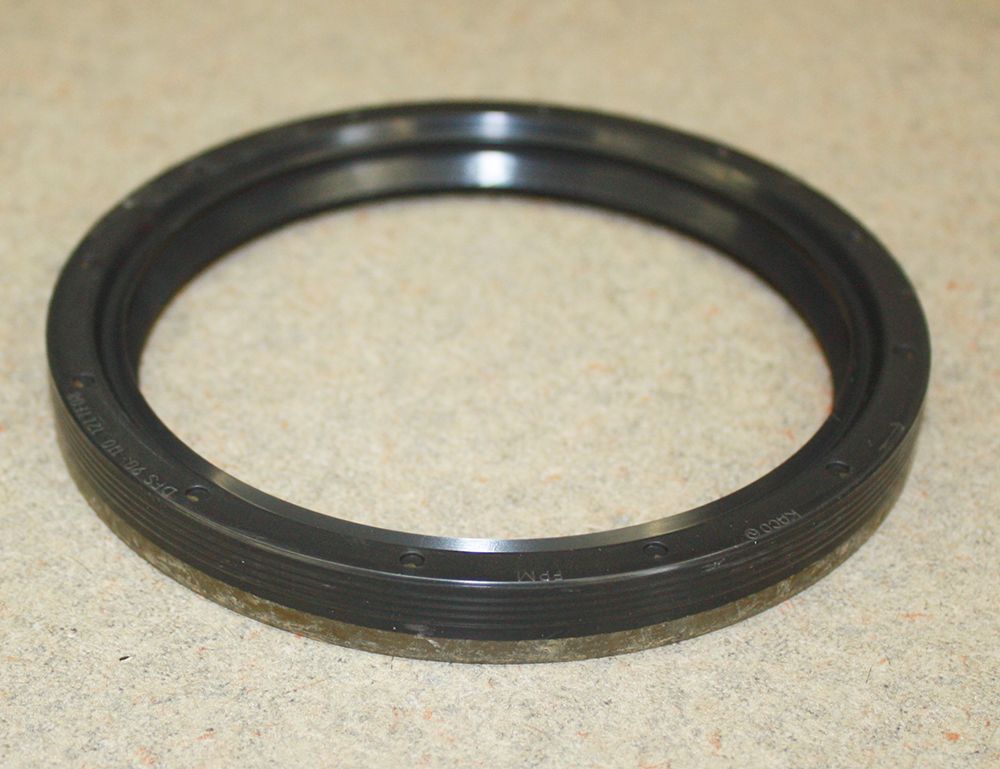
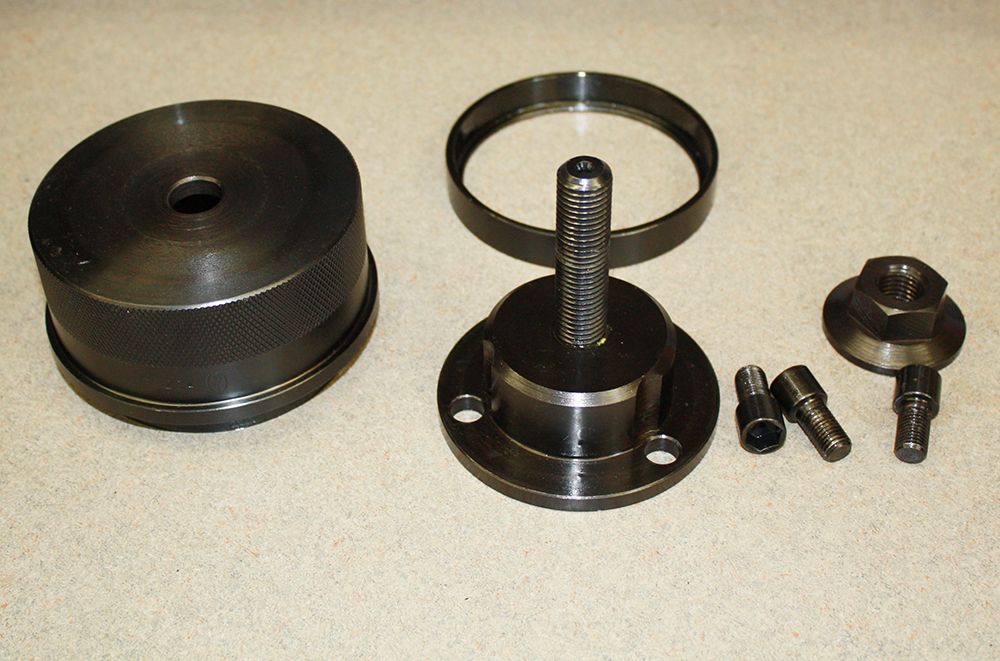
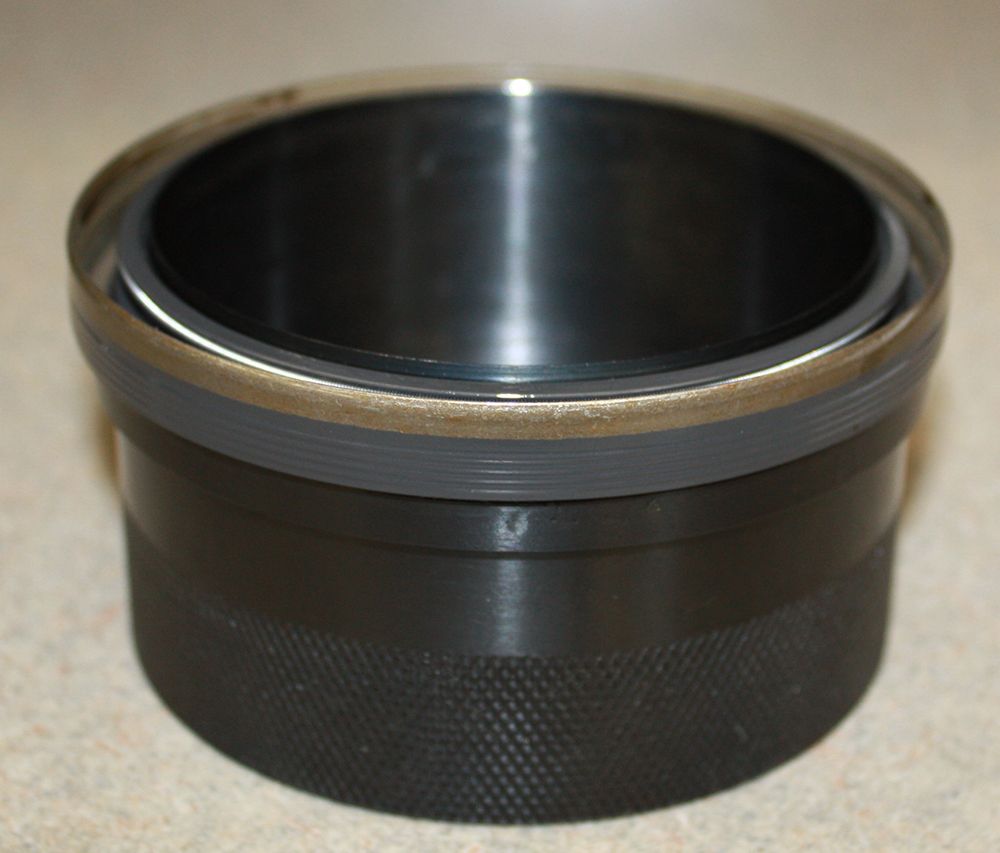
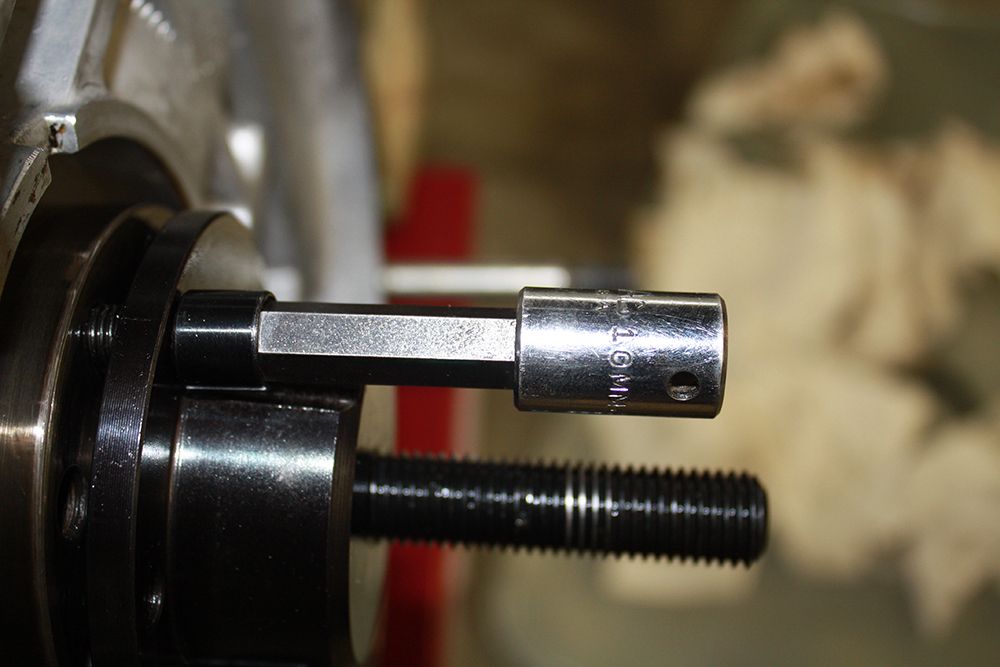
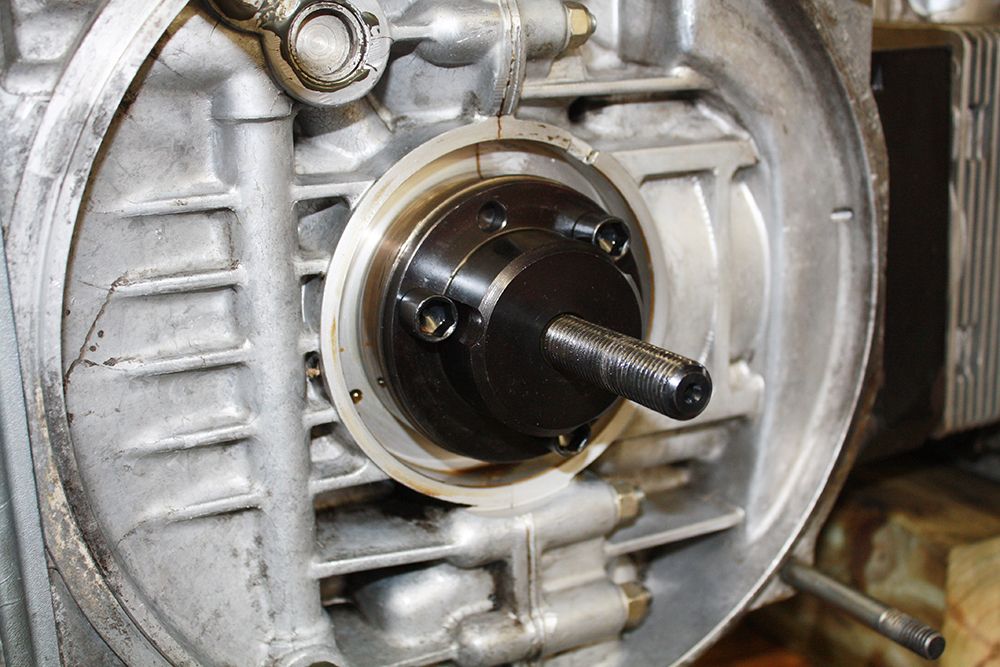
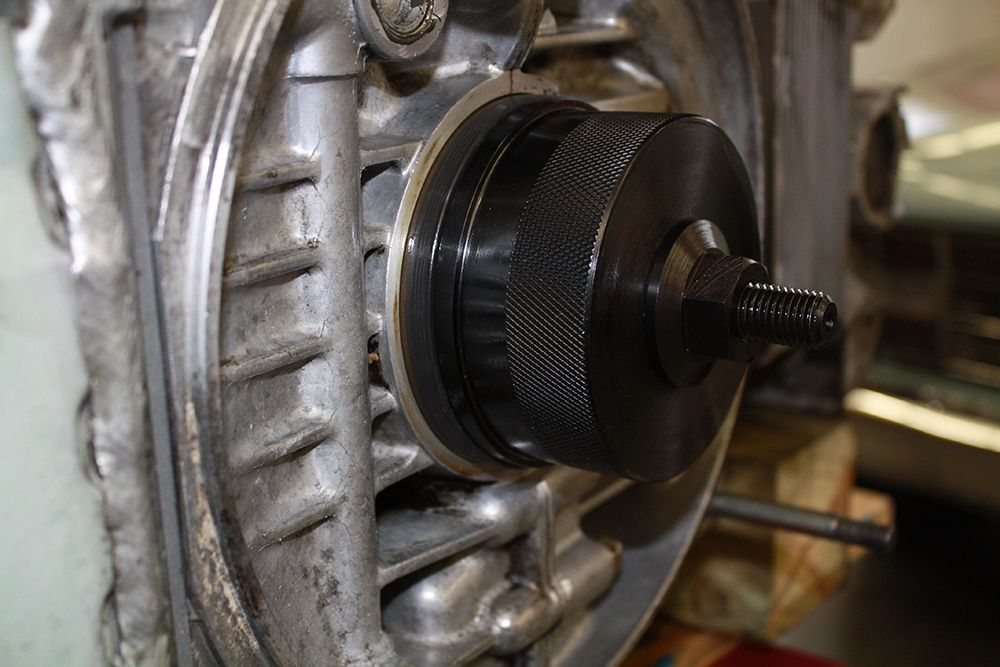
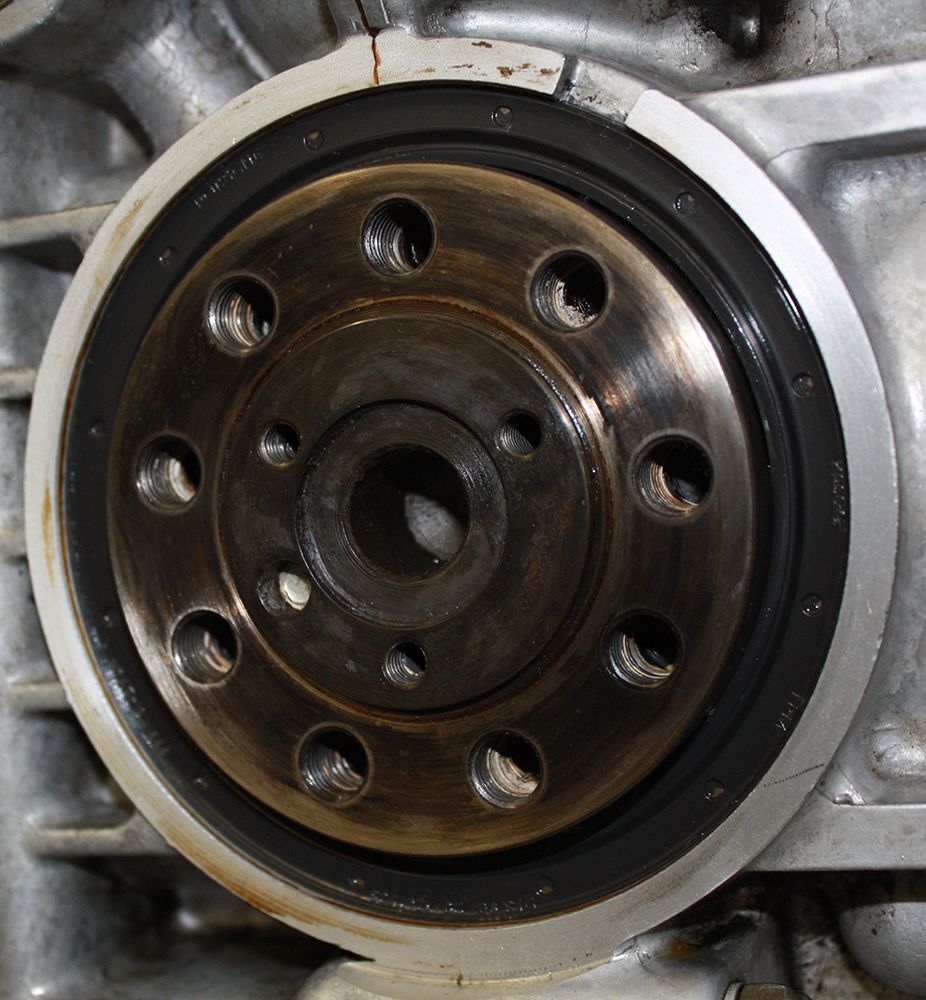
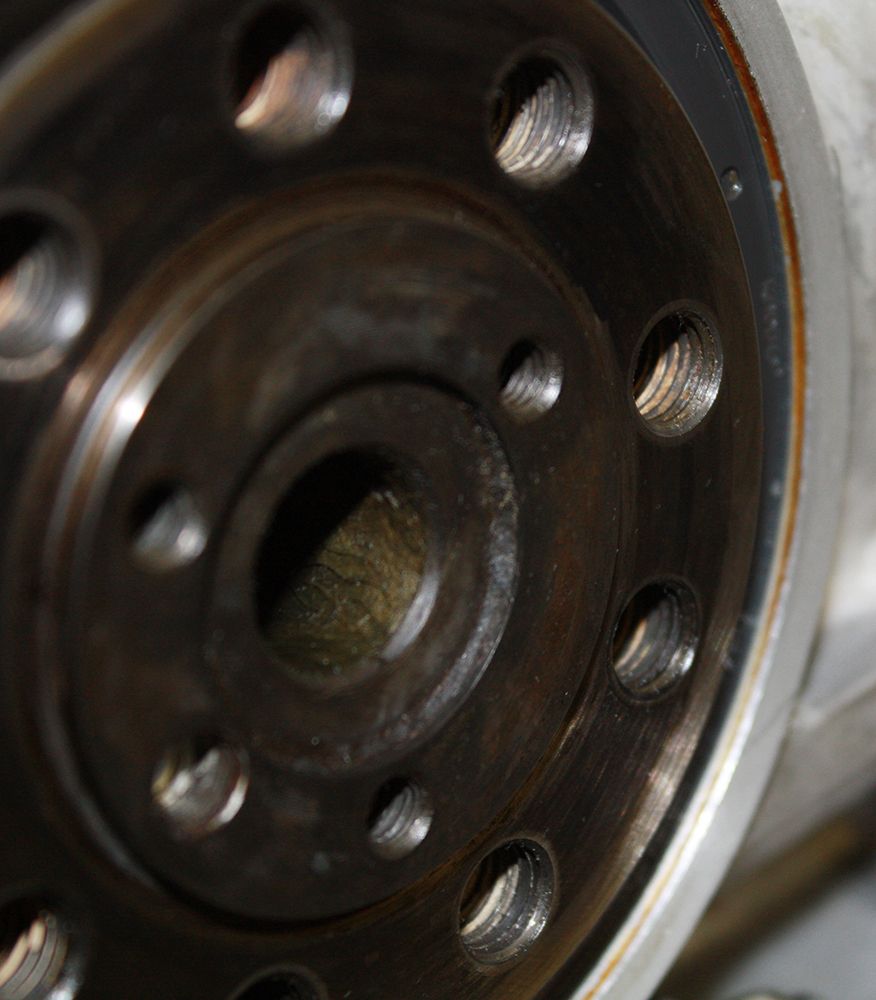
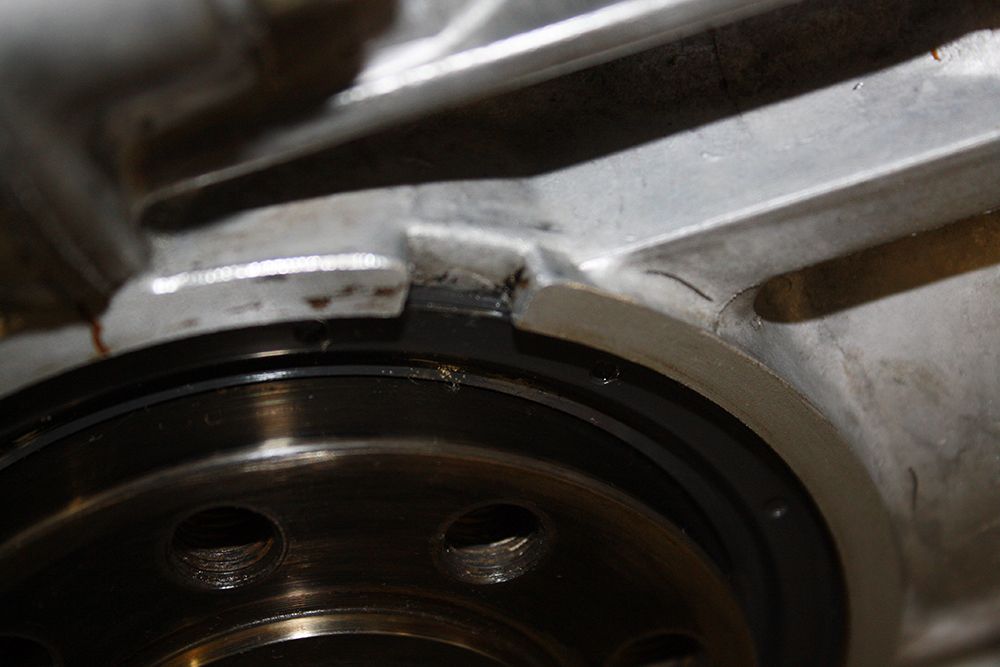
Now it was time to replace the rear main seal. The seal came out fairly easily once I had it started in the notch area. I purchased the PT 234 arbor tool specifically made to replace this seal. Once you disassemble the component parts, you place the oil coated seal on the large round piece. Then you attach the other part to the end of the crank using the supplied bolts. Next you slip the round part over the end of the bolt, pot the 27mm nut on. From this point it is simply a matter of tightening the nut which evenly pushes the seal into place.


#134
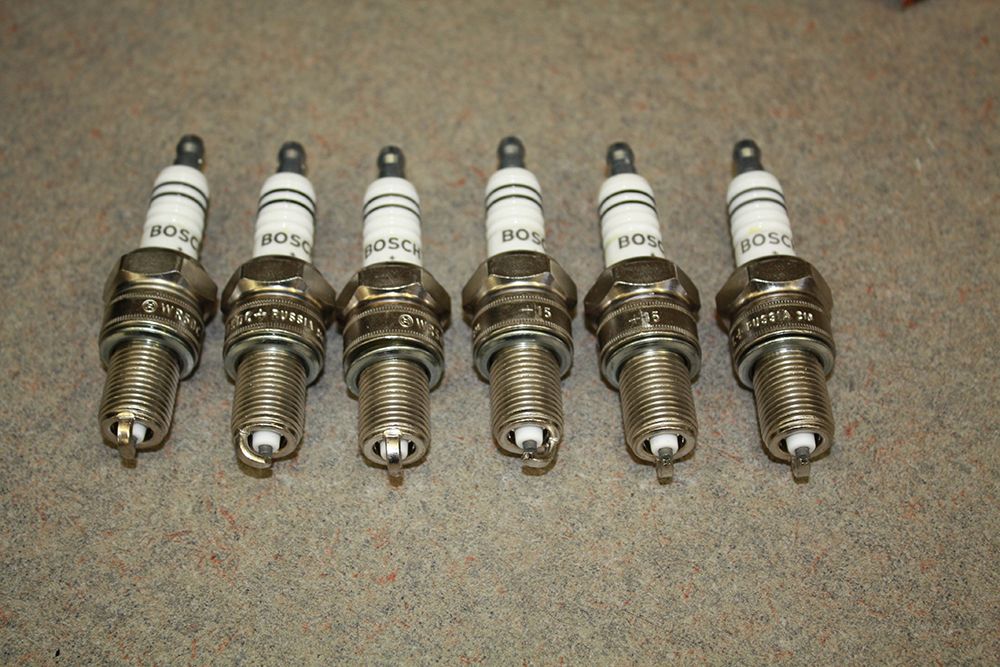
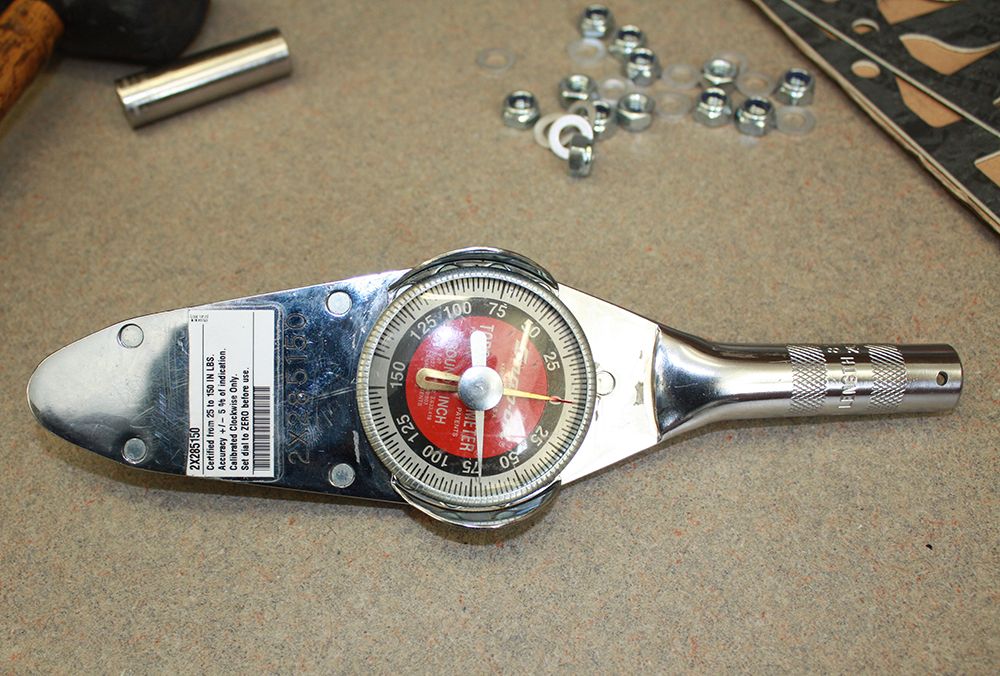
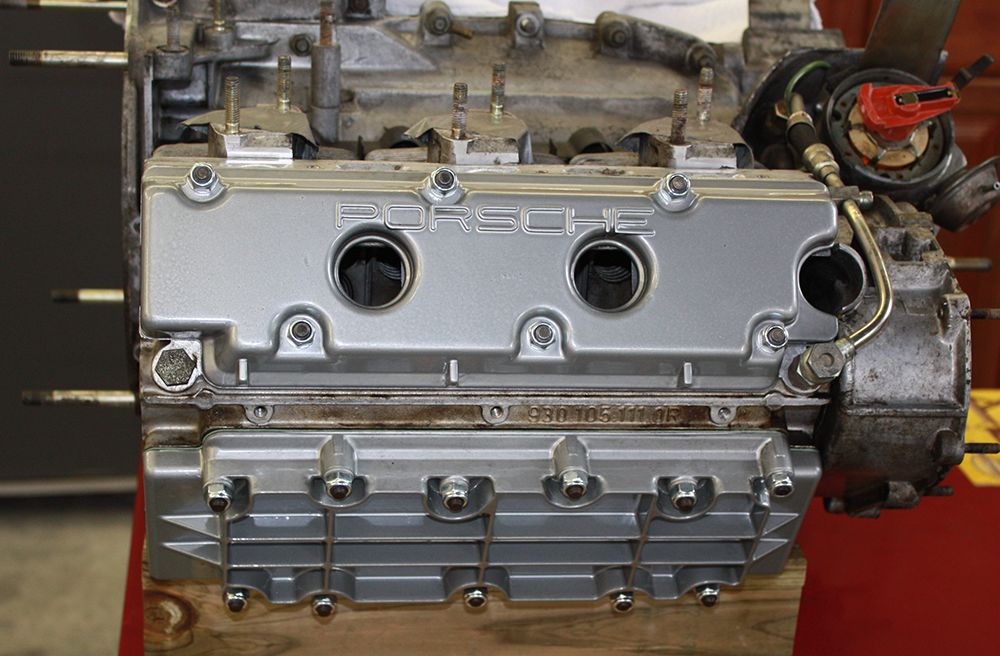
I traveled to the powder coater to pick up the parts he had finished and to drop off some more parts. I set the fan shroud in place and then double checked my valve clearance. I then installed the new spark plugs and the freshly powder coated valve covers. The valve cover nuts are to be torqued to 5.9 ft lbs. I broke out my smallest inch pound torque wrench and set it to the marker to 72 in lbs.
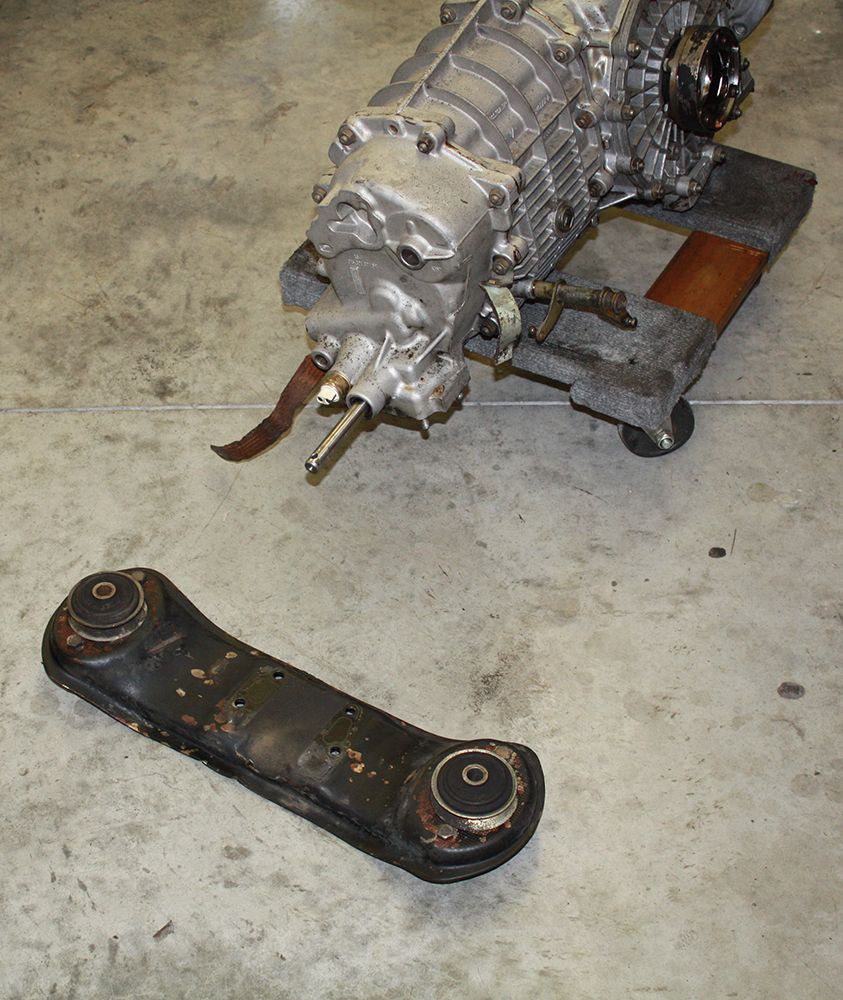
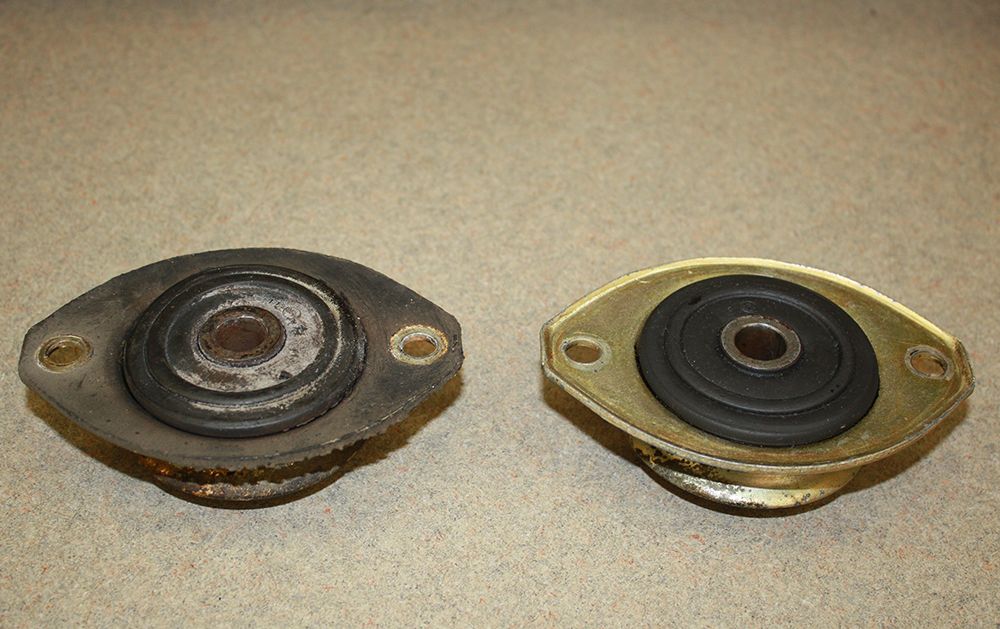
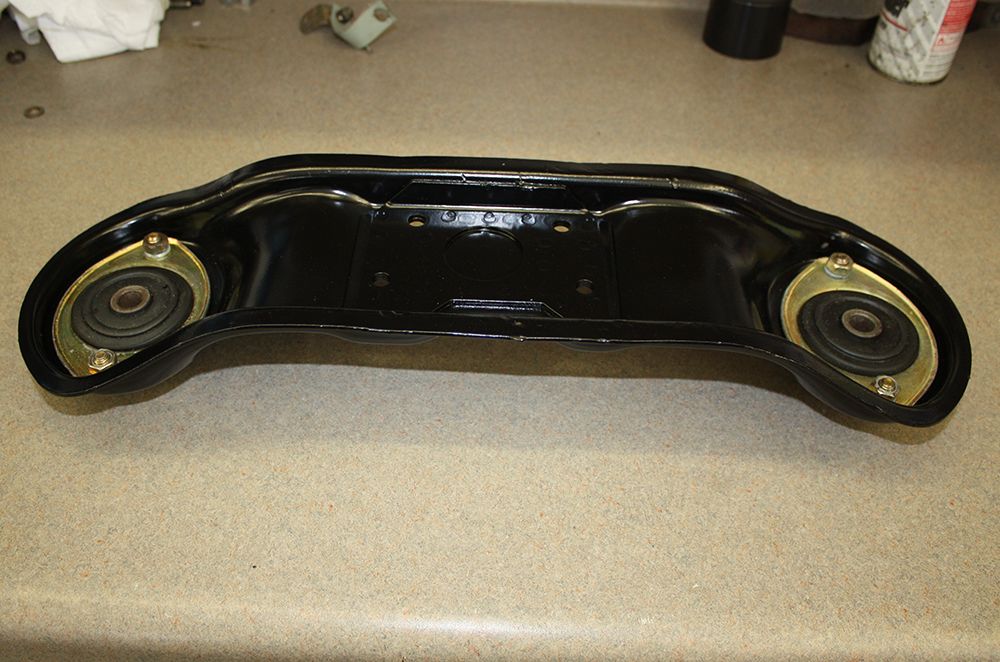
The transmission mount bar I had removed from the transmission is one of the parts I took to be powder coated. I cleaned up the transmission mounts as well.
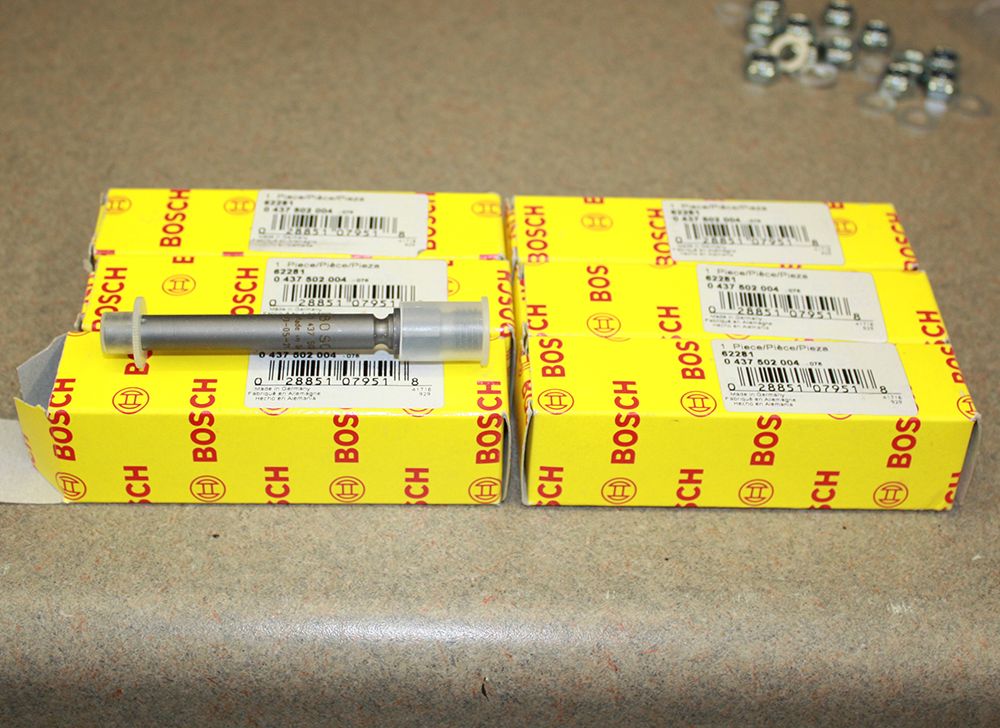
My new fuel injectors arrived today.
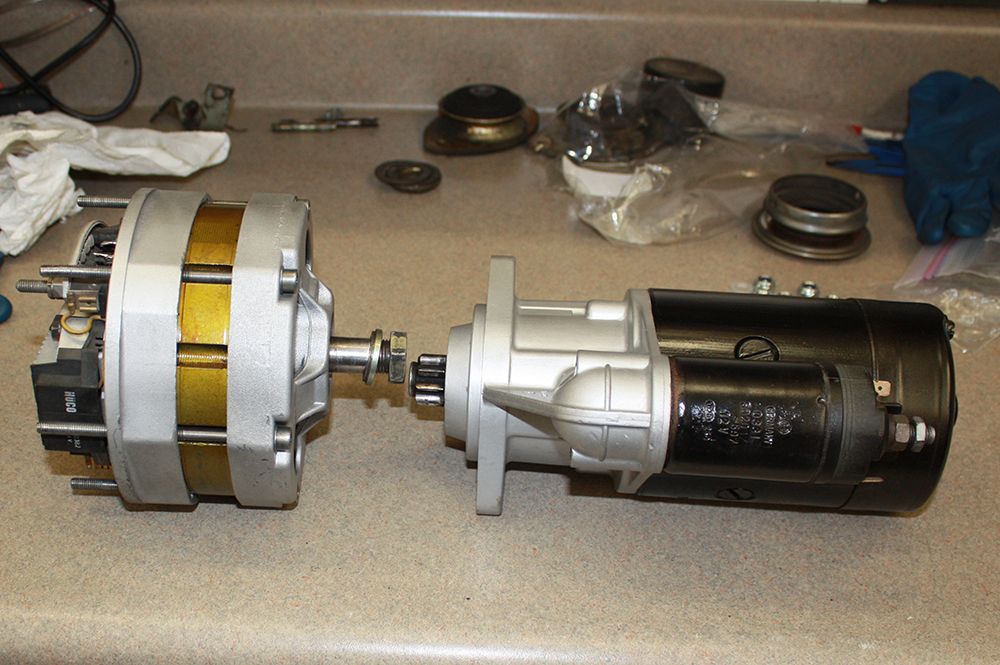
After removing the alternator and starter, I took them to our local automotive electrical shop to have them checked out. He rebuilt the alternator by installing new bearings and brushes. The only issue he found with the starter was that the gear bushing was dry so he applied lubricant. He also cleaned up both pieces and painted them for $67.20.


The transmission mount bar I had removed from the transmission is one of the parts I took to be powder coated. I cleaned up the transmission mounts as well.


My new fuel injectors arrived today.

After removing the alternator and starter, I took them to our local automotive electrical shop to have them checked out. He rebuilt the alternator by installing new bearings and brushes. The only issue he found with the starter was that the gear bushing was dry so he applied lubricant. He also cleaned up both pieces and painted them for $67.20.

#135
I picked up the fan shroud from the painter today.
The powder coater had my transmission mount finished. I re-installed the rubber mounts.
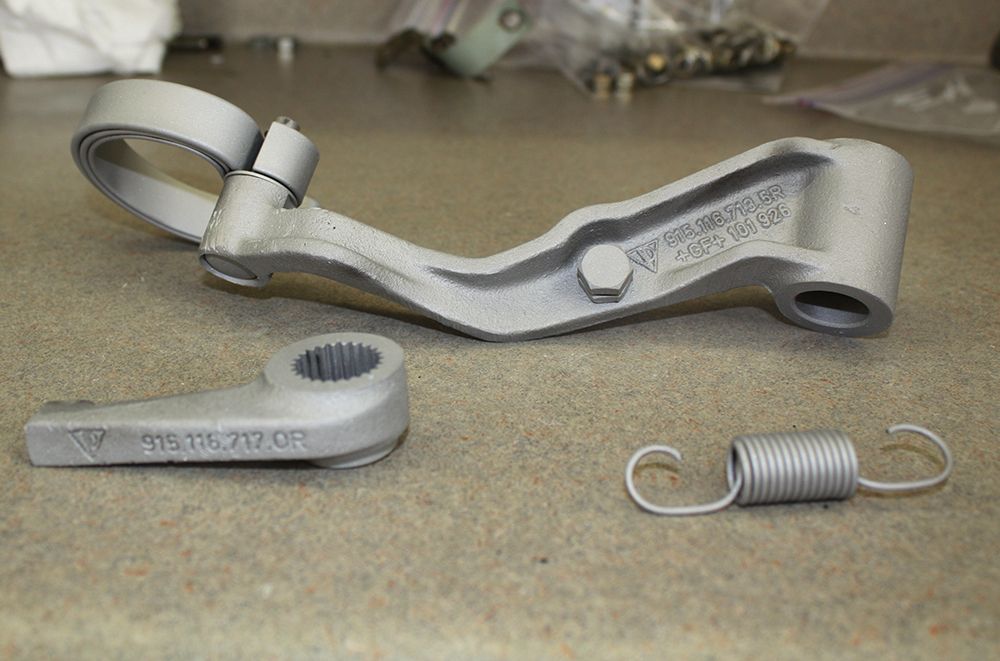
I bead blasted the clutch spring arm parts and then painted them.
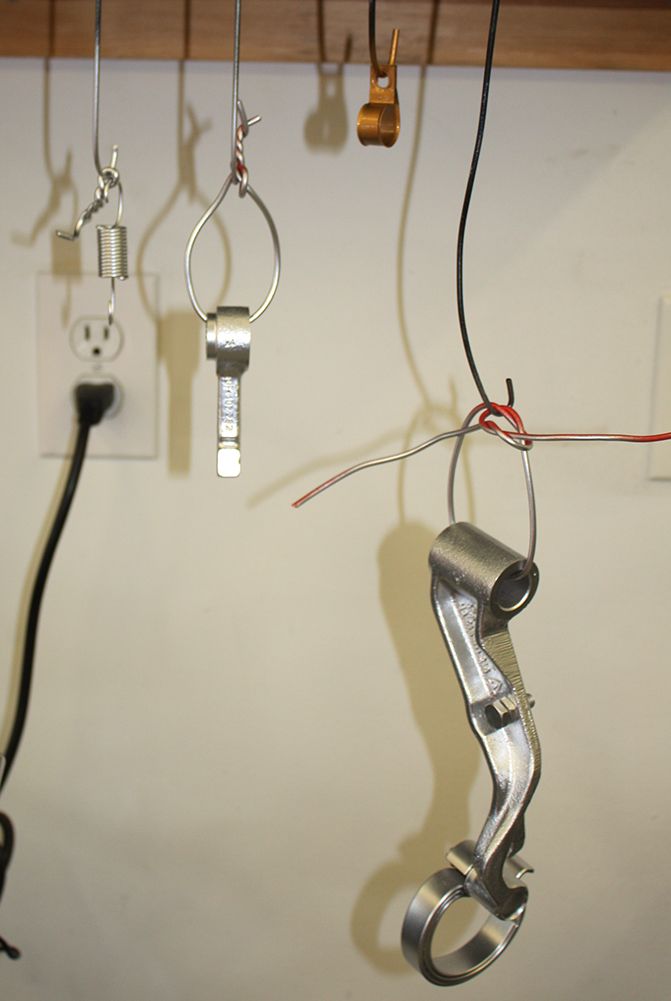
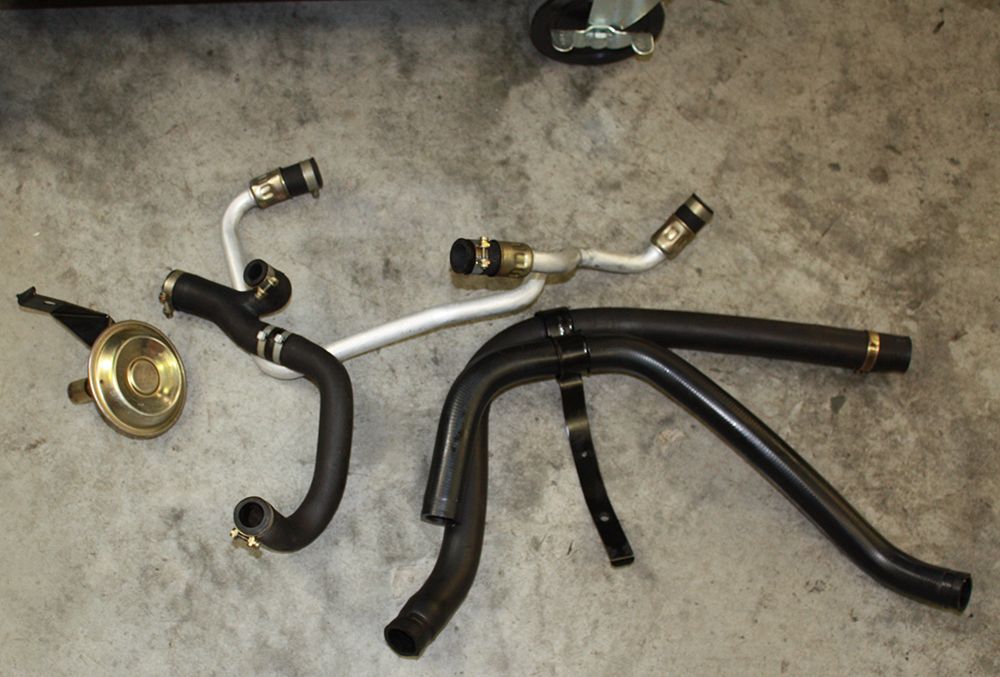
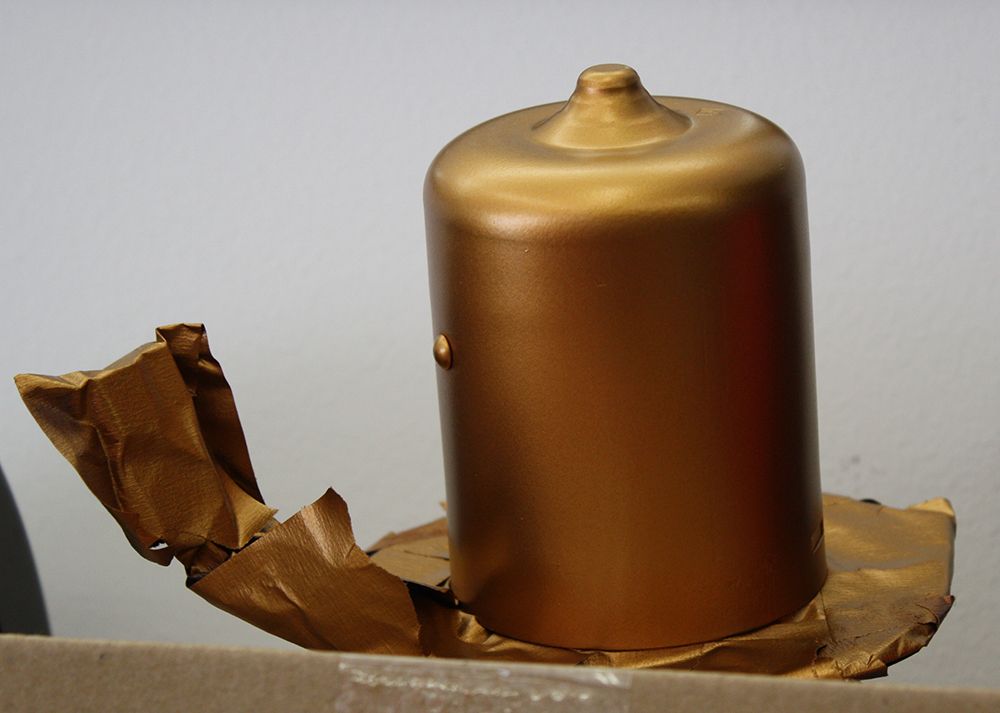
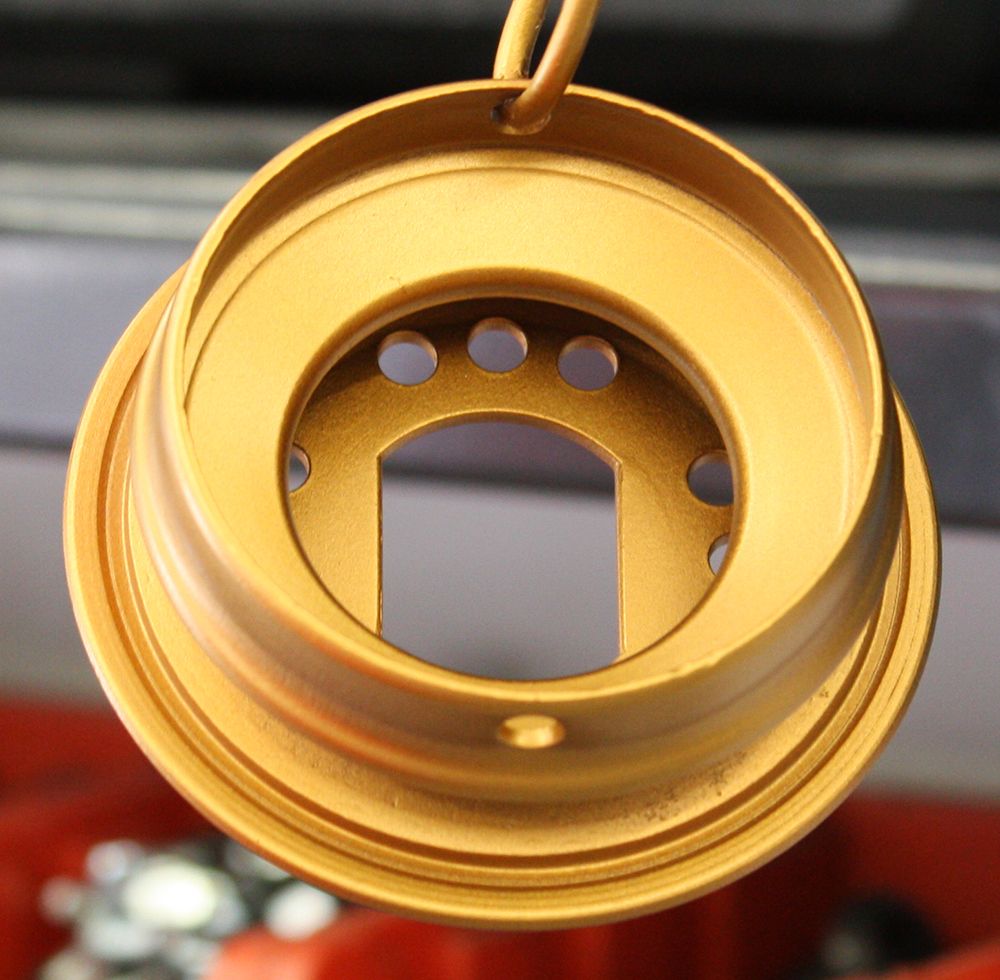
The gold anodizing was gone from some of the parts. I found a gold paint that I used to paint these parts.

The powder coater had my transmission mount finished. I re-installed the rubber mounts.

I bead blasted the clutch spring arm parts and then painted them.


The gold anodizing was gone from some of the parts. I found a gold paint that I used to paint these parts.


