Projects on our (new to us) 1967 912-6
#76
What an interesting thread. Love the pics of your 912. Very interesting!
You might inquire about copper grease or any type of high temp anti-seize paste to use on those injector plug bolts.
You might inquire about copper grease or any type of high temp anti-seize paste to use on those injector plug bolts.
#77
When I park the car after a long drive, I only get a couple drops on the floor. The SC motor was installed in this car 20 years ago. The exhaust appeared to be original to the SC motor. This is probably 20 years, or more, of accumulation. Based on the drops I see after driving it, I don't think I have a major leak. Nearly all of the air cooled cars I have owned have left similar droppings.
www.jerryforthofer.wordpress.com
Last edited by jerhofer; 01-28-2014 at 01:27 AM.
#78
Last edited by jerhofer; 01-28-2014 at 01:26 AM.
#80
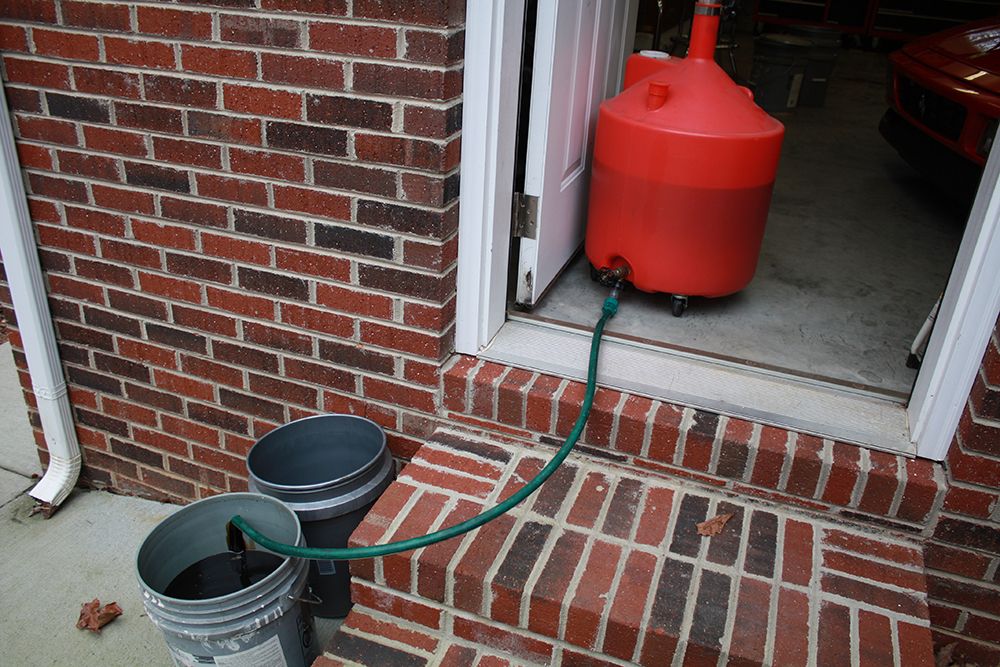
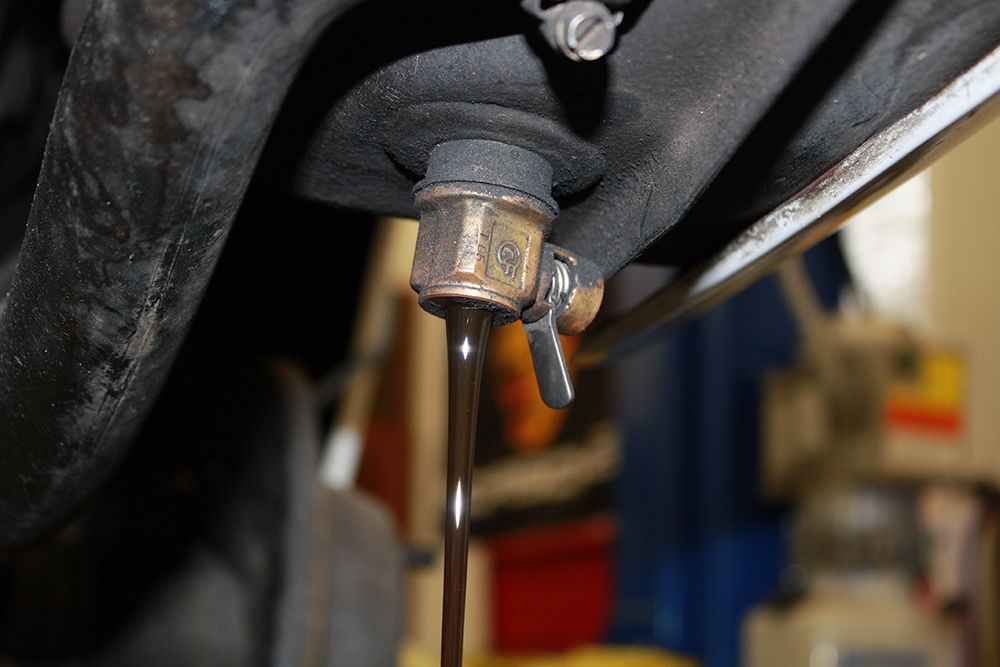
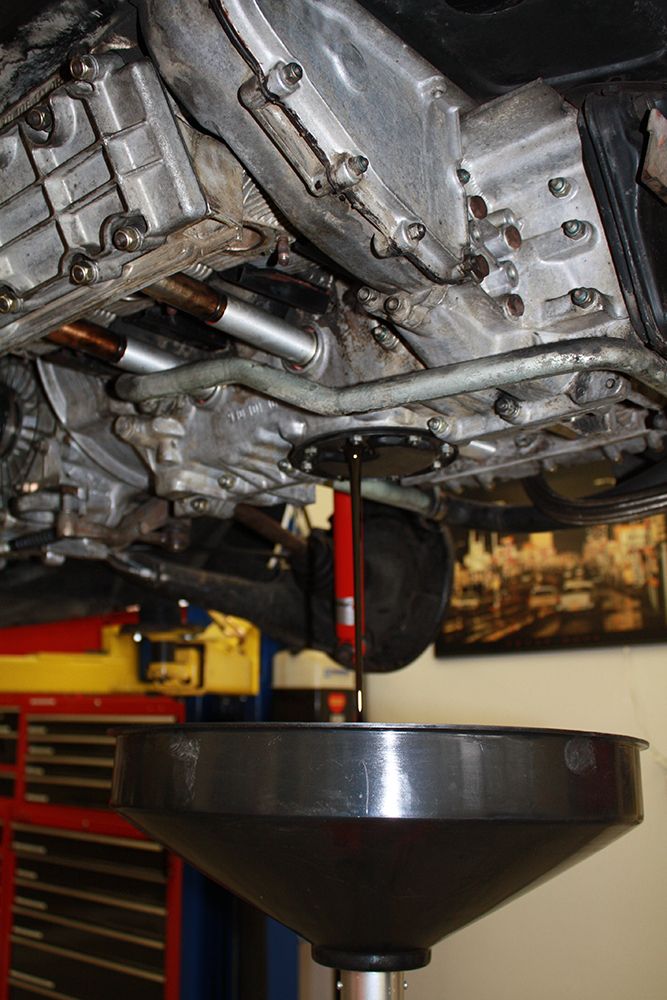
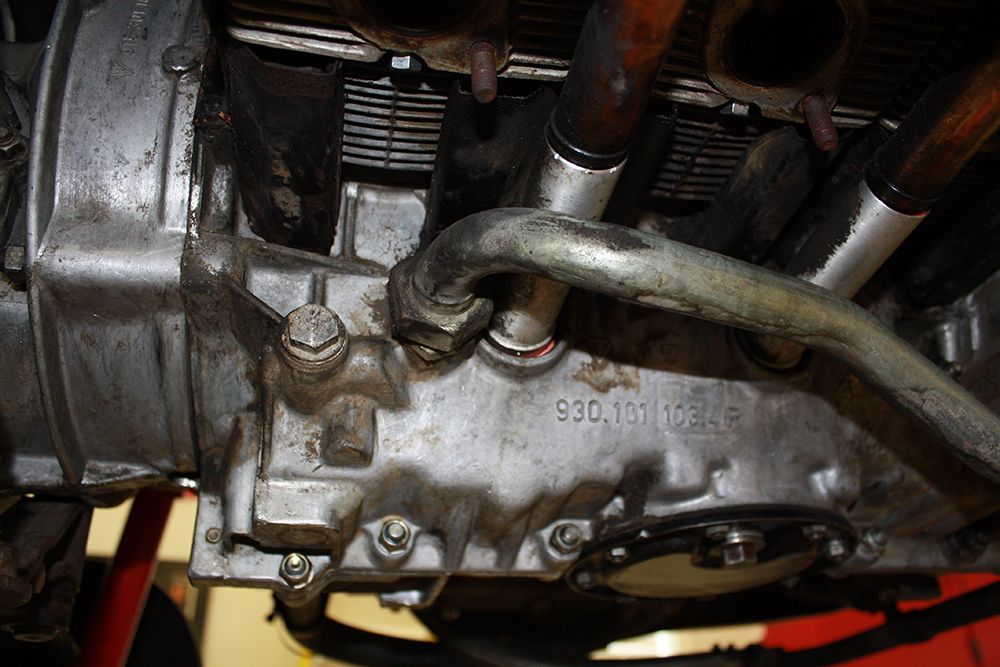
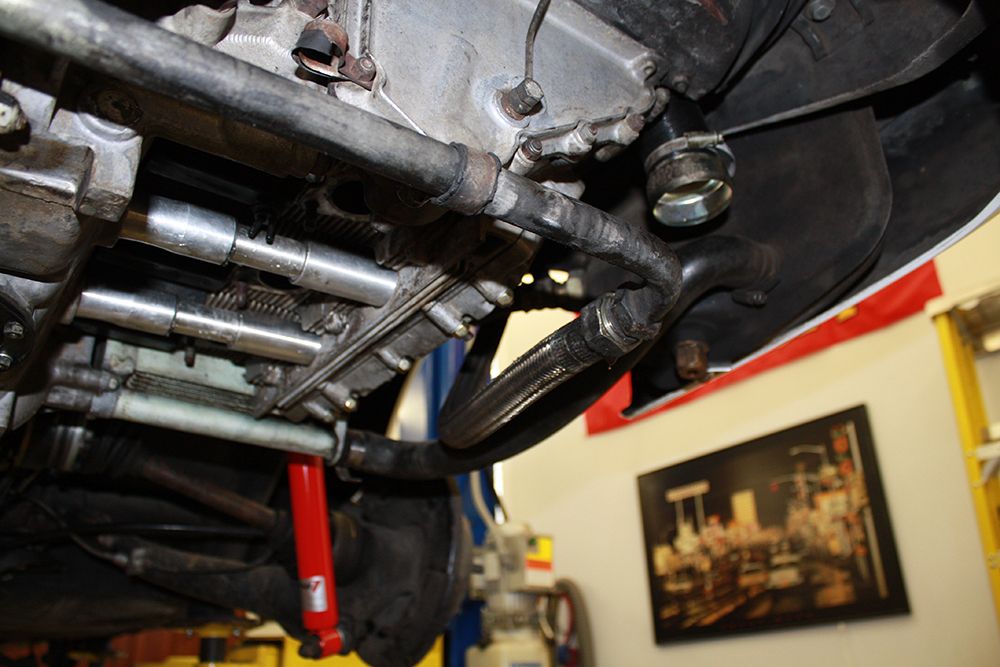
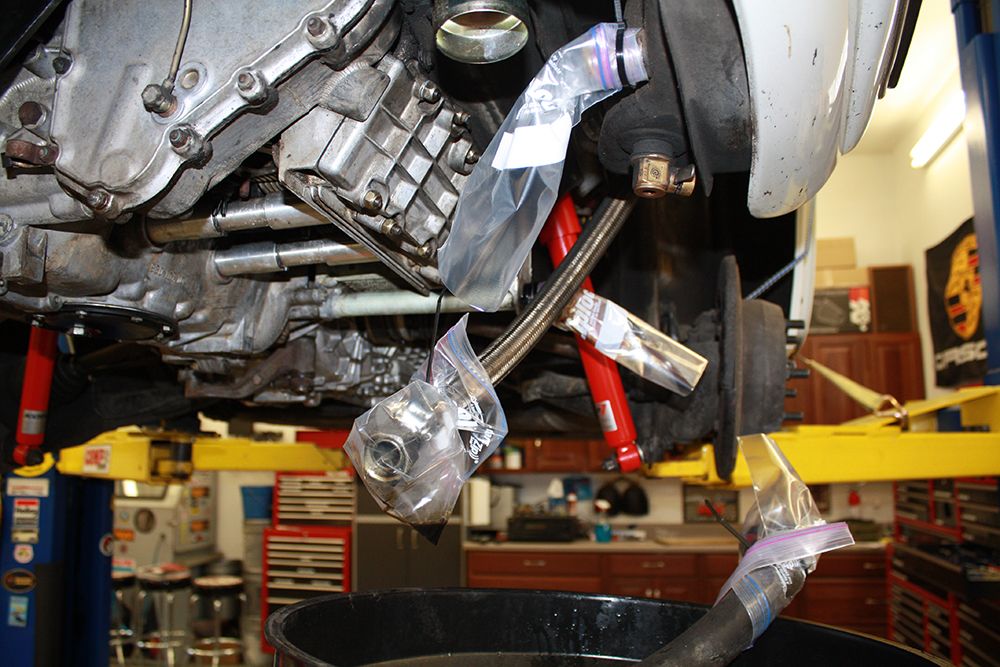
I worked on preparing the car to take out the motor. Before I could drain the oil, I had to transfer oil from my drainage tank to some 5 gallon buckets. I drained the tank first and then the sump. Since I am going to backdate the exhaust, I will have to change the oil lines. I removed the existing line and will install the new ones once I have the motor back in the car so I don't damage them while taking the motor out.
Next up was removing the half shafts.
[URL=http://s188.photobucket.com/user/jerhofer/media/1967%20Porsche%20912-6/1-28-14halfshafts4sm_zpsd5917485.jpg.html]


Next up was removing the half shafts.
[URL=http://s188.photobucket.com/user/jerhofer/media/1967%20Porsche%20912-6/1-28-14halfshafts4sm_zpsd5917485.jpg.html]
#81
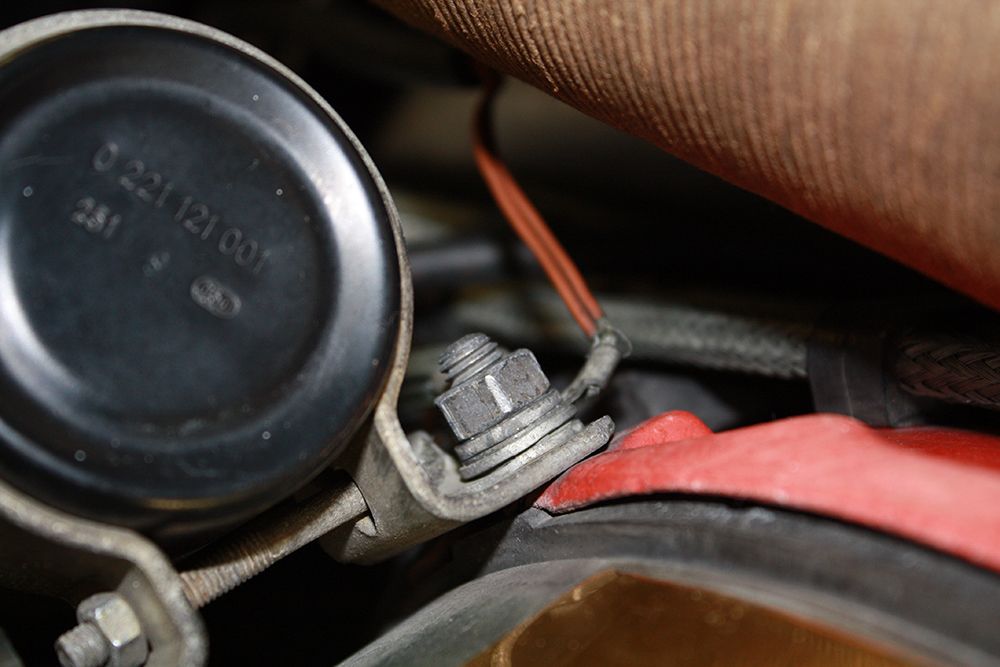
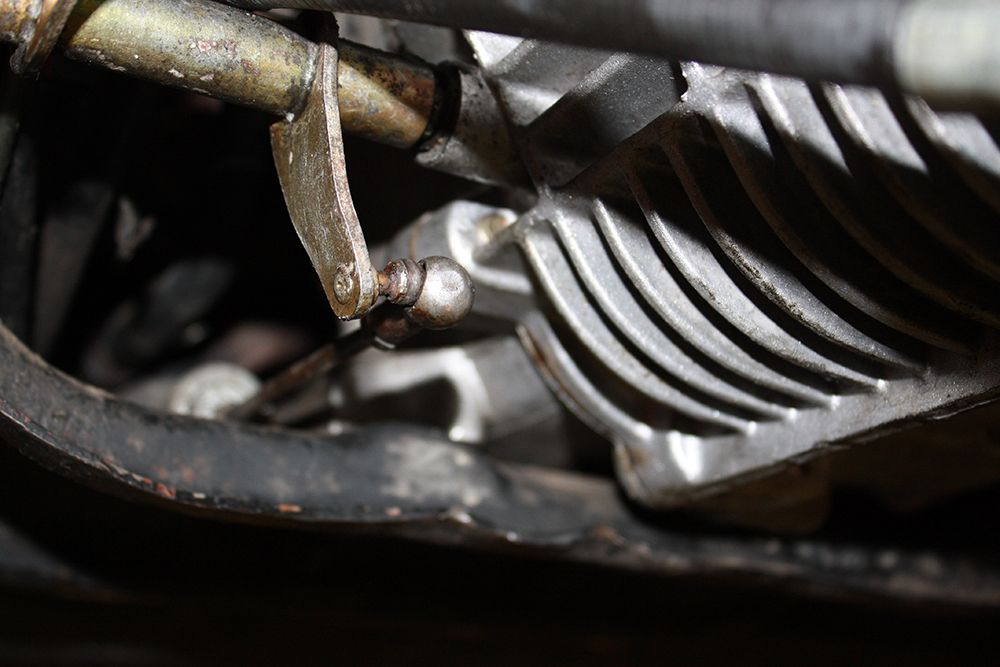
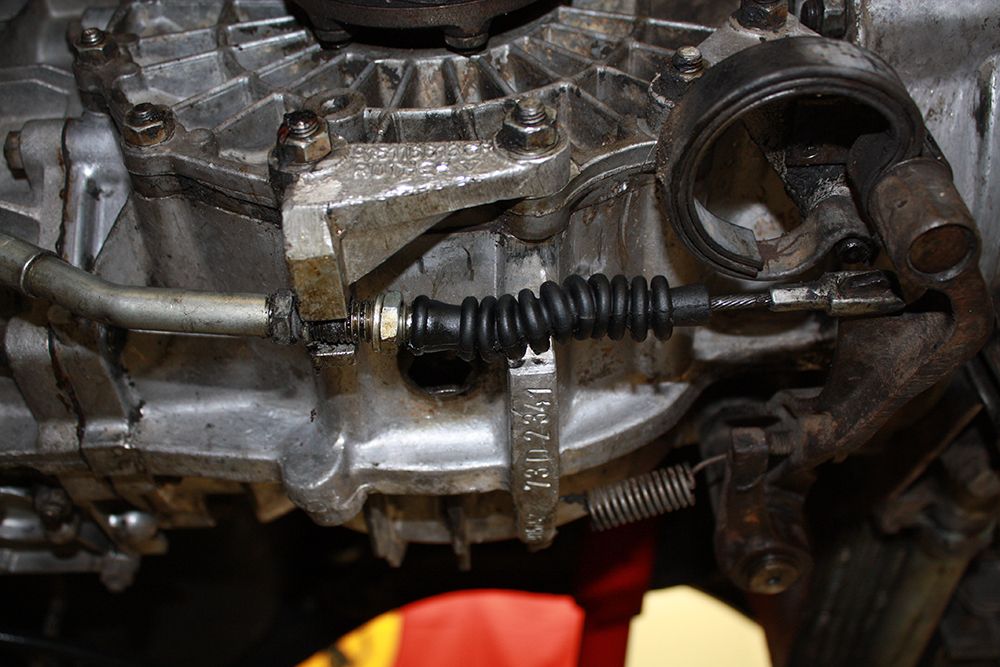
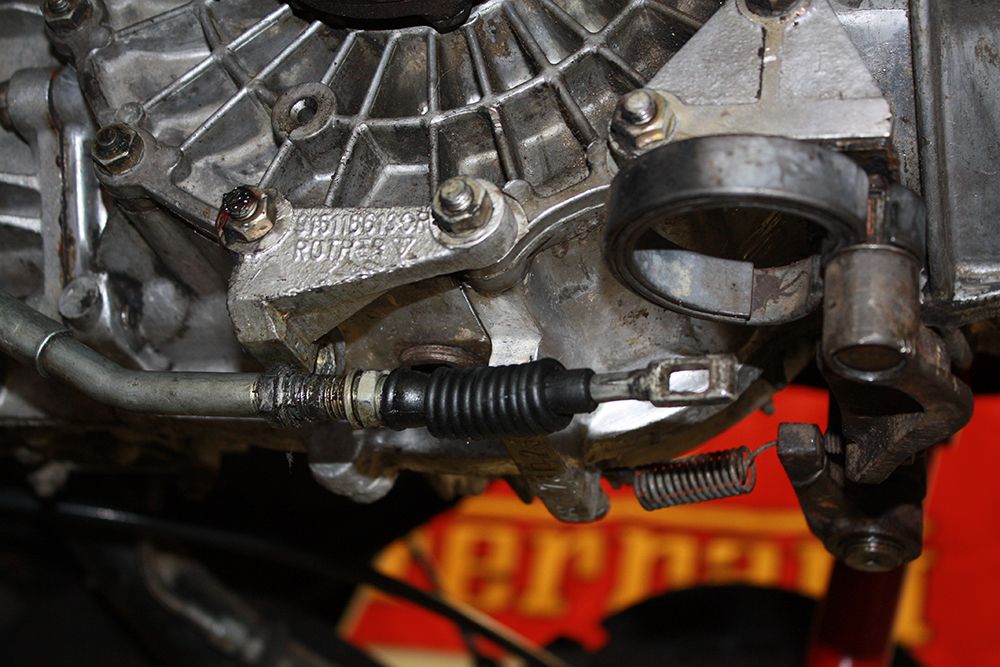
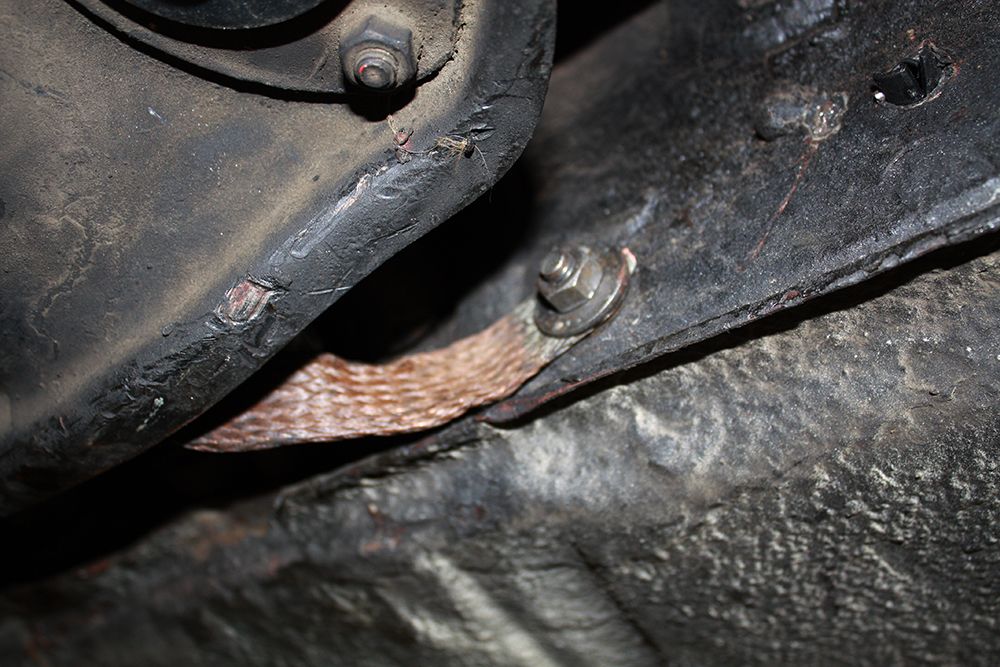
While under the car, I unhooked the accelerator and clutch cables and the ground strap.
Making sure the battery was disconnected, I removed the wires on the starter.
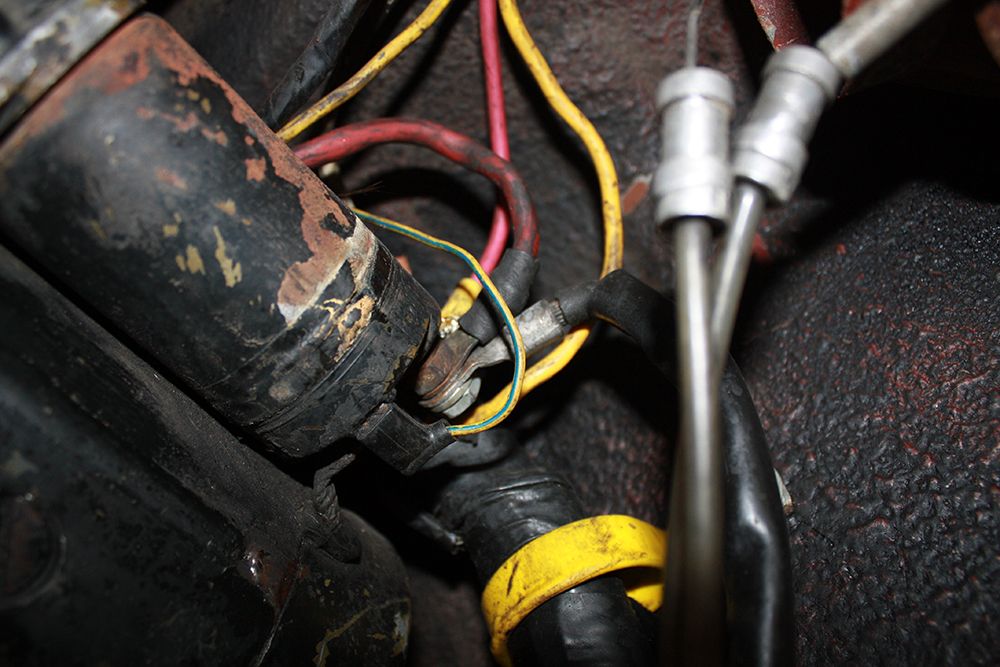
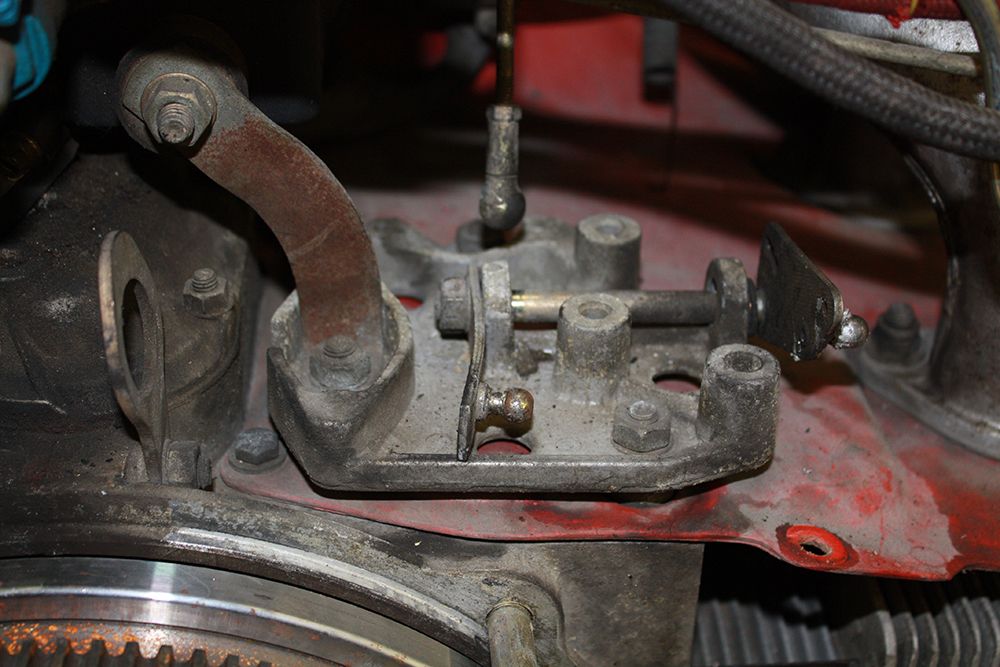
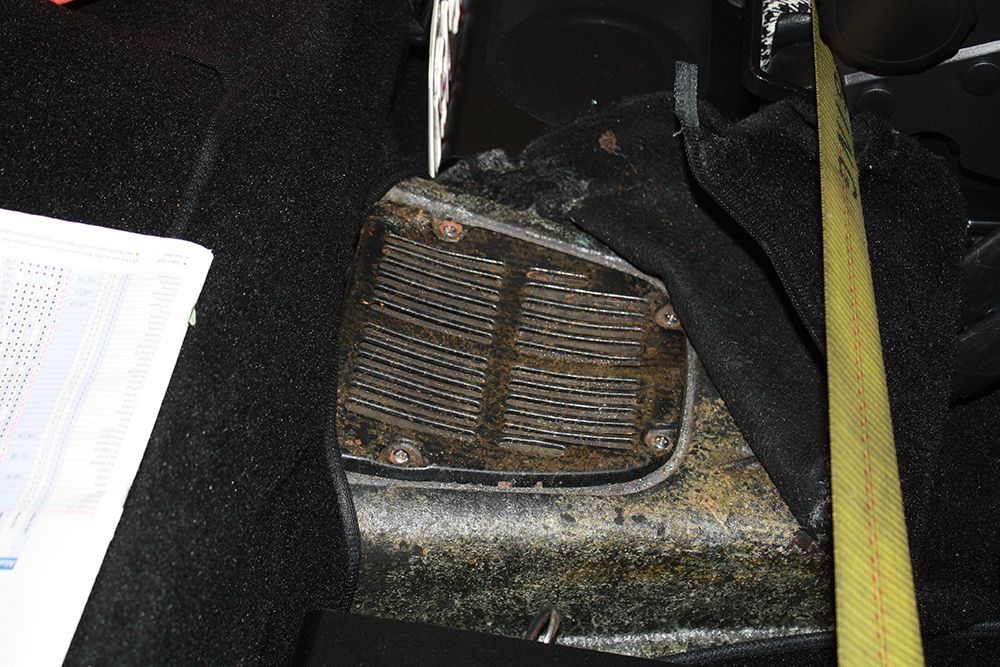
This part is mounted on the right side under the warm air vent and I do not know what it is. Any ideas?
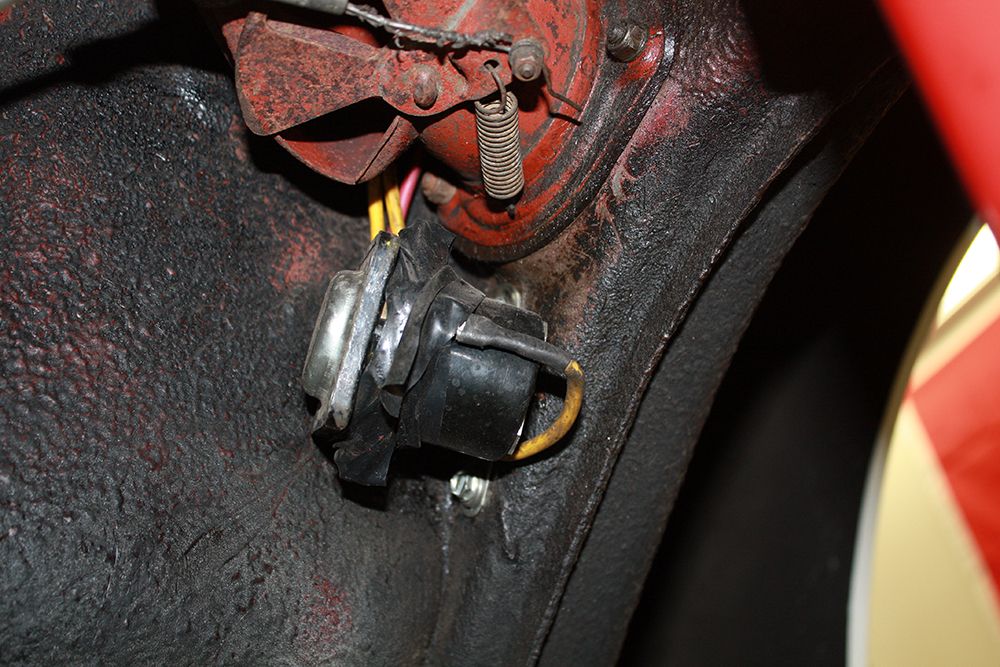
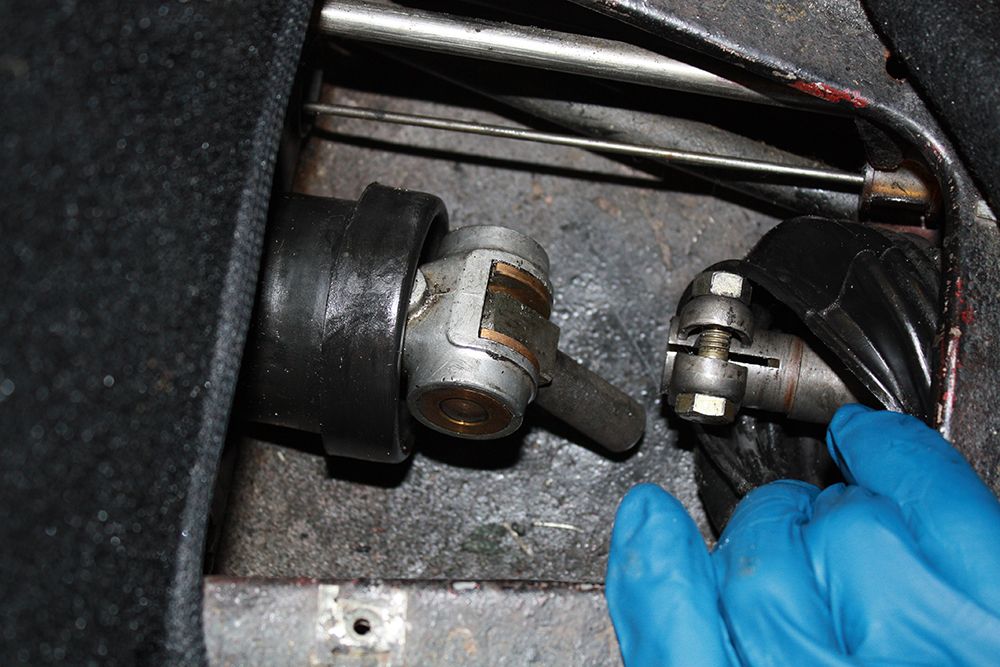
After pulling up the carpet and removing the access cover, I unhooked the shift rod.


Making sure the battery was disconnected, I removed the wires on the starter.

This part is mounted on the right side under the warm air vent and I do not know what it is. Any ideas?

After pulling up the carpet and removing the access cover, I unhooked the shift rod.


#82
#83
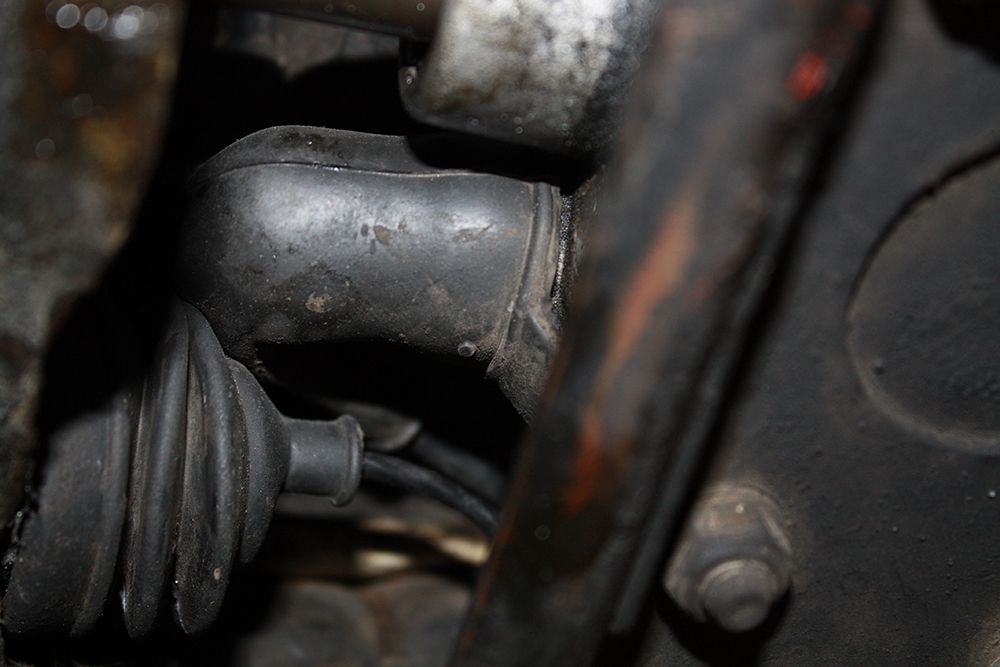
I worked on unhooking the remainder of items that I did not get done yesterday. One was to unplug the back up light switch which is located on the very end of the transmission.
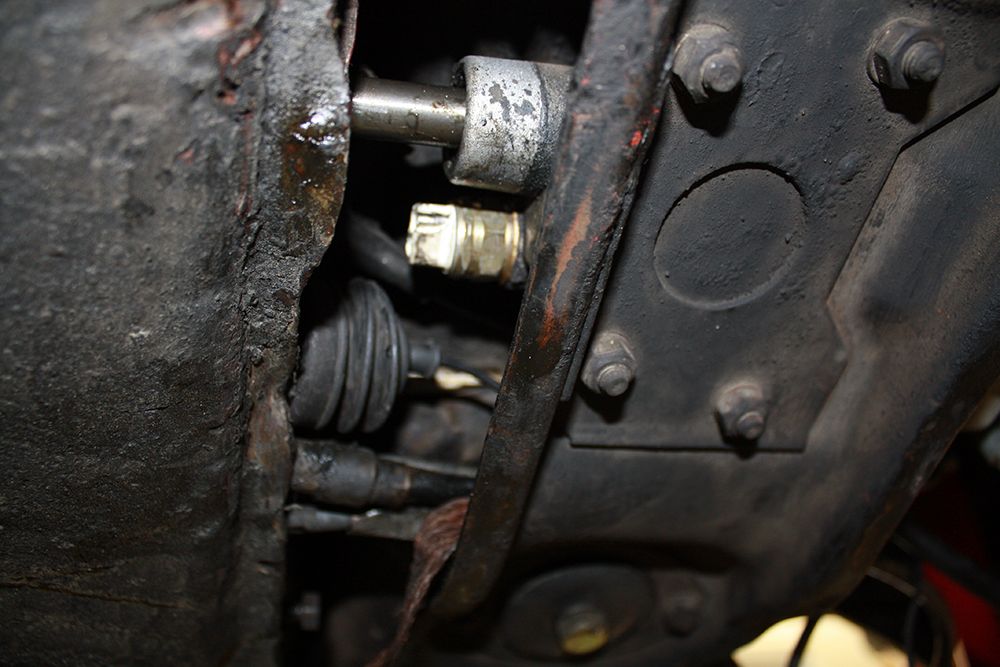
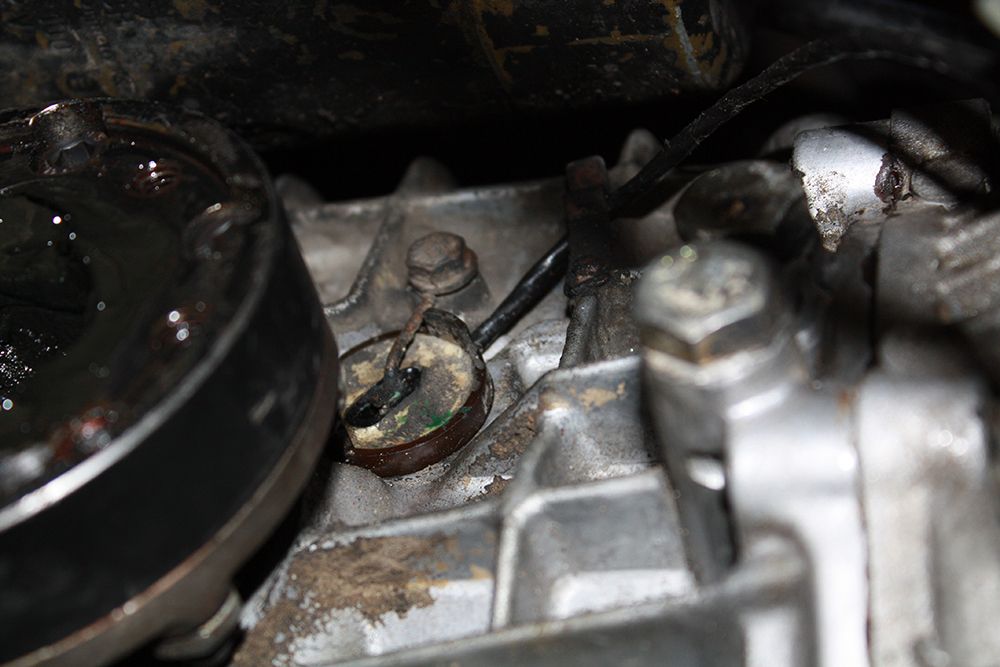
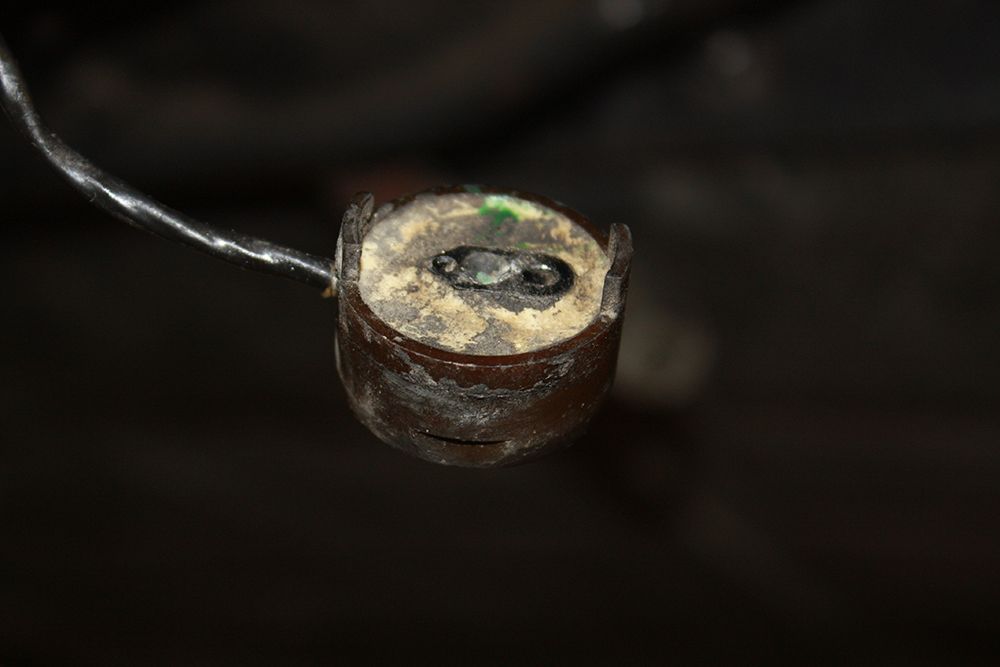
On the right side of the transmission is the speedometer sender.
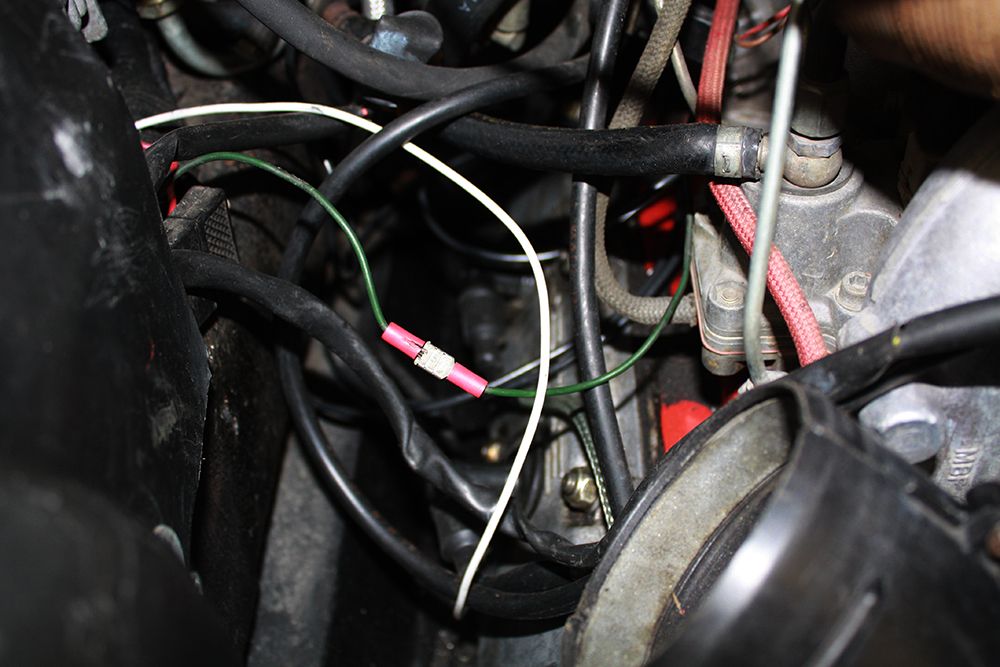
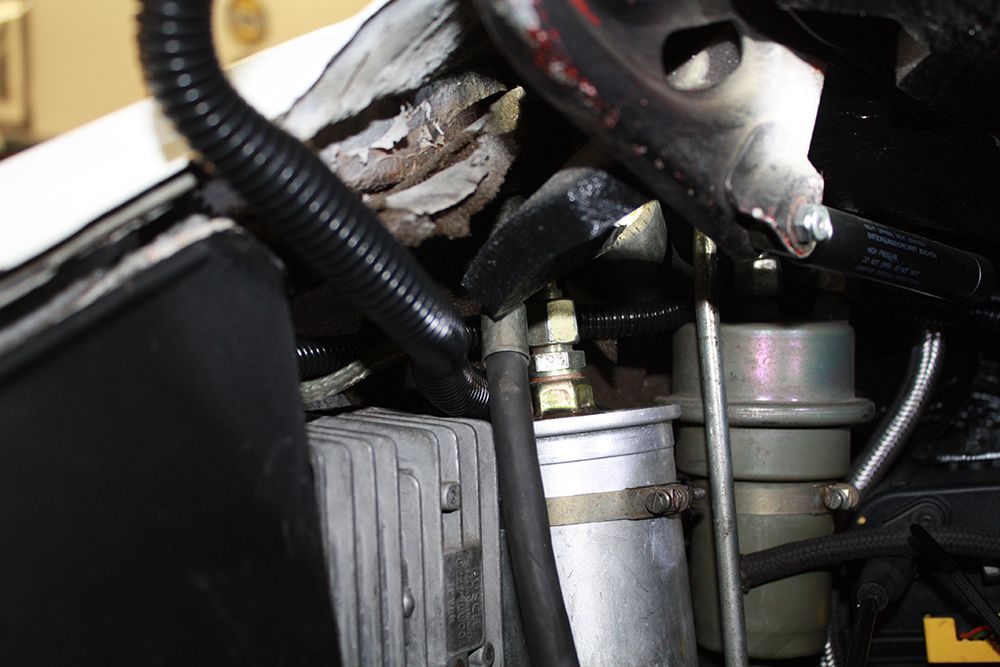
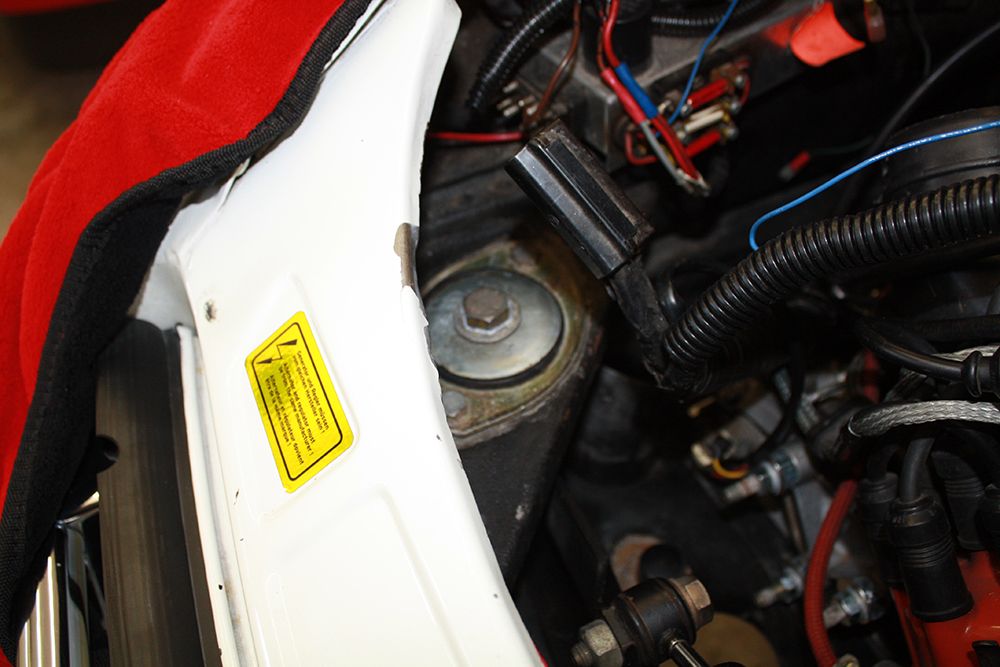
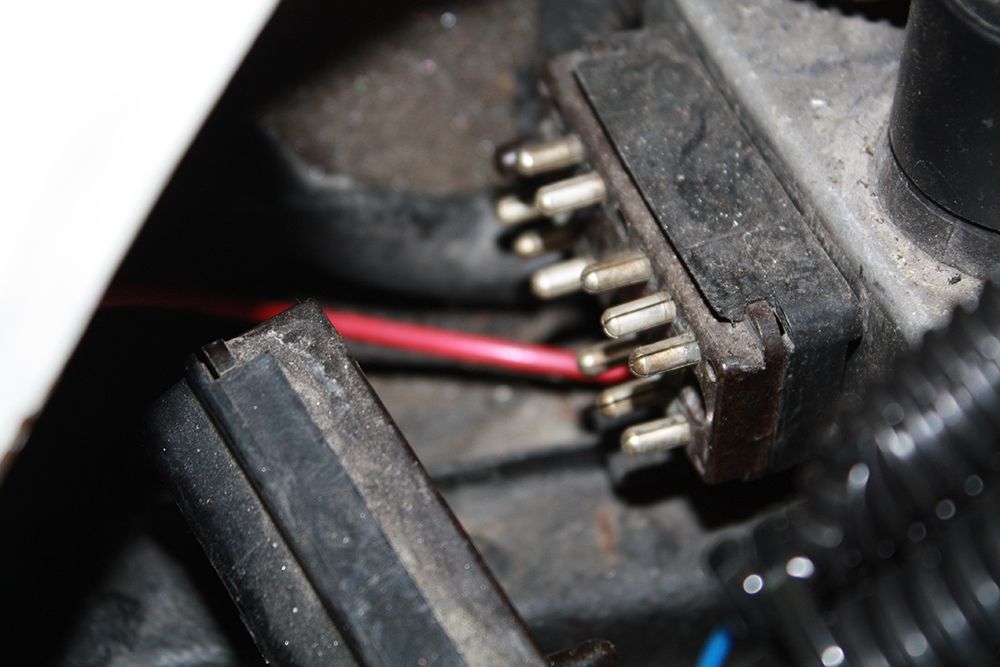
In the engine bay, the main wiring connector is located on the end of the fuse panel. The plug on the bottom of the CD ignition unit must also be unplugged as well as some other miscellaneous connectors.
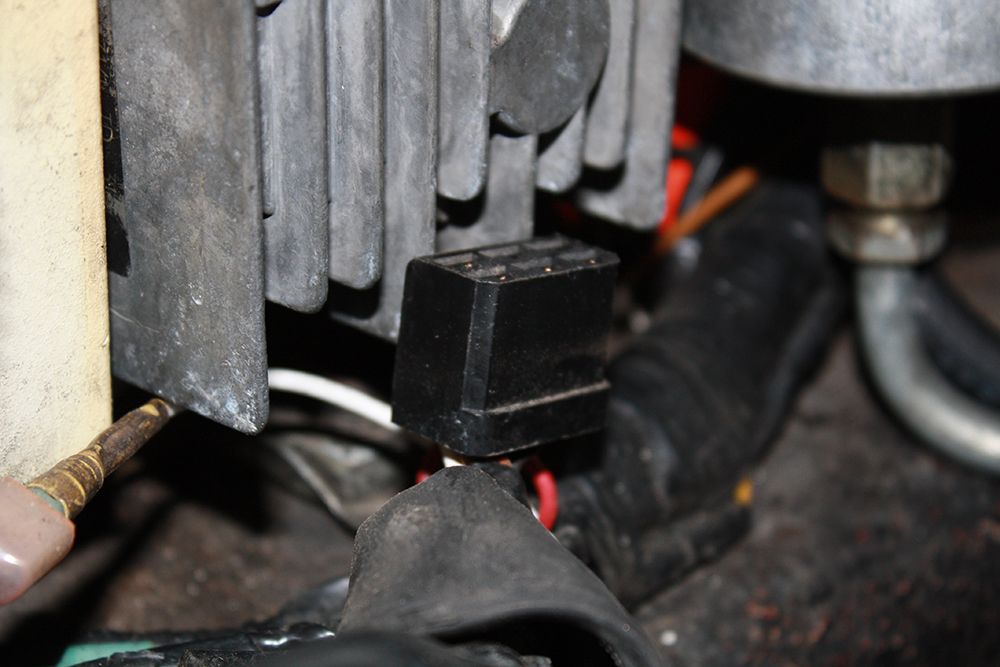
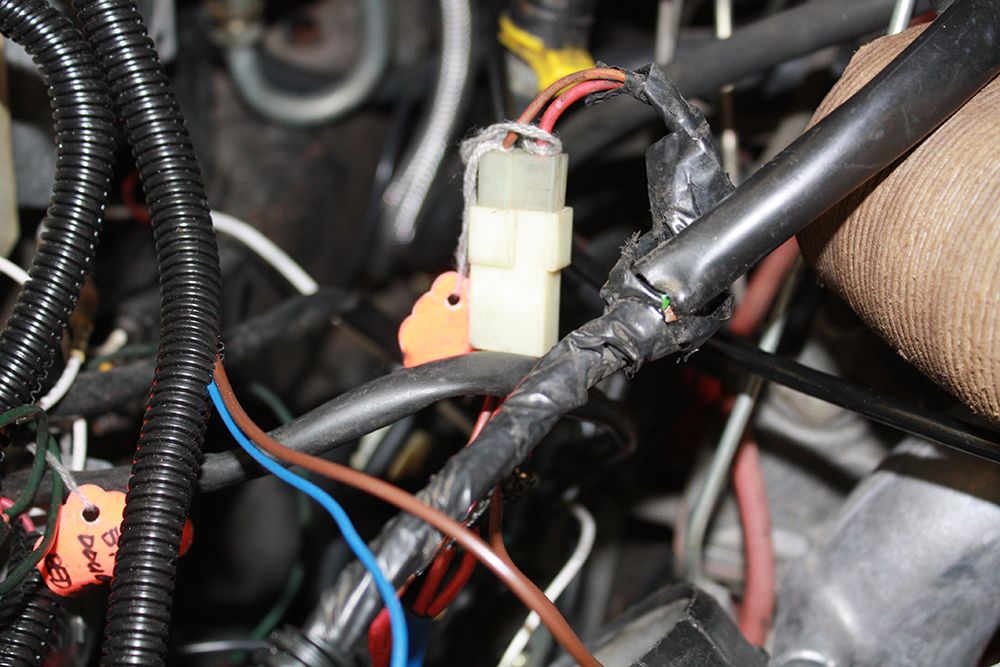
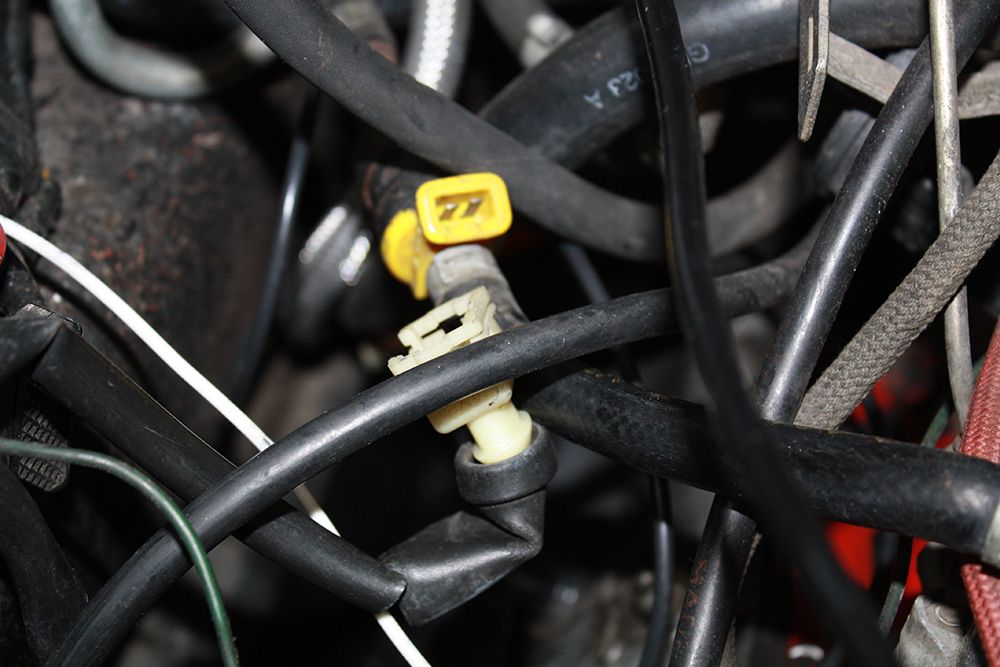
There is also a vacuum line on the left side towards the rear that I caught as I was lowering the motor.
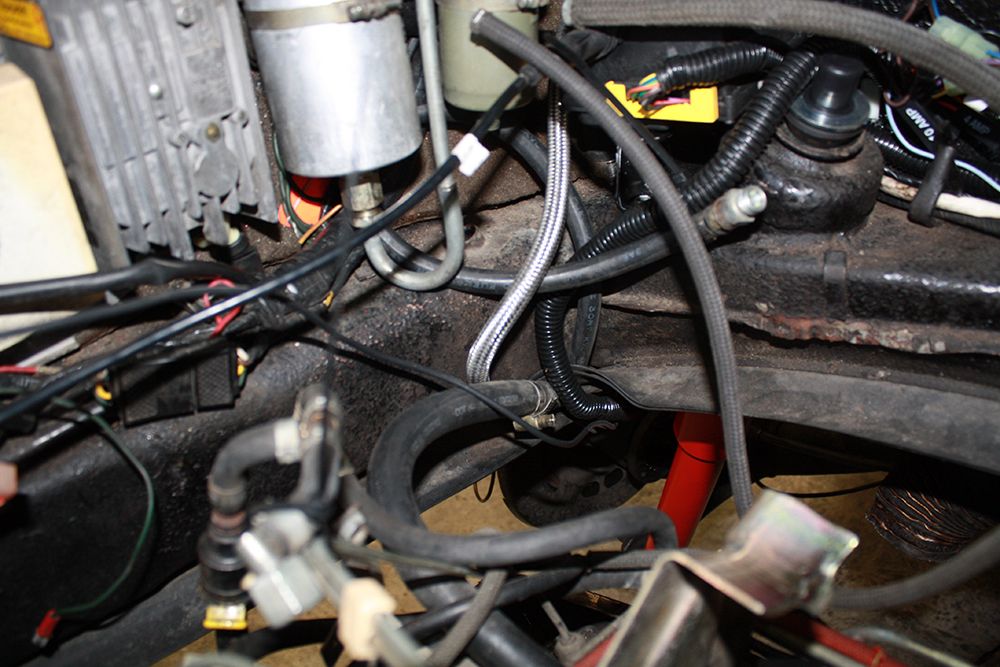


On the right side of the transmission is the speedometer sender.


In the engine bay, the main wiring connector is located on the end of the fuse panel. The plug on the bottom of the CD ignition unit must also be unplugged as well as some other miscellaneous connectors.


There is also a vacuum line on the left side towards the rear that I caught as I was lowering the motor.

#84
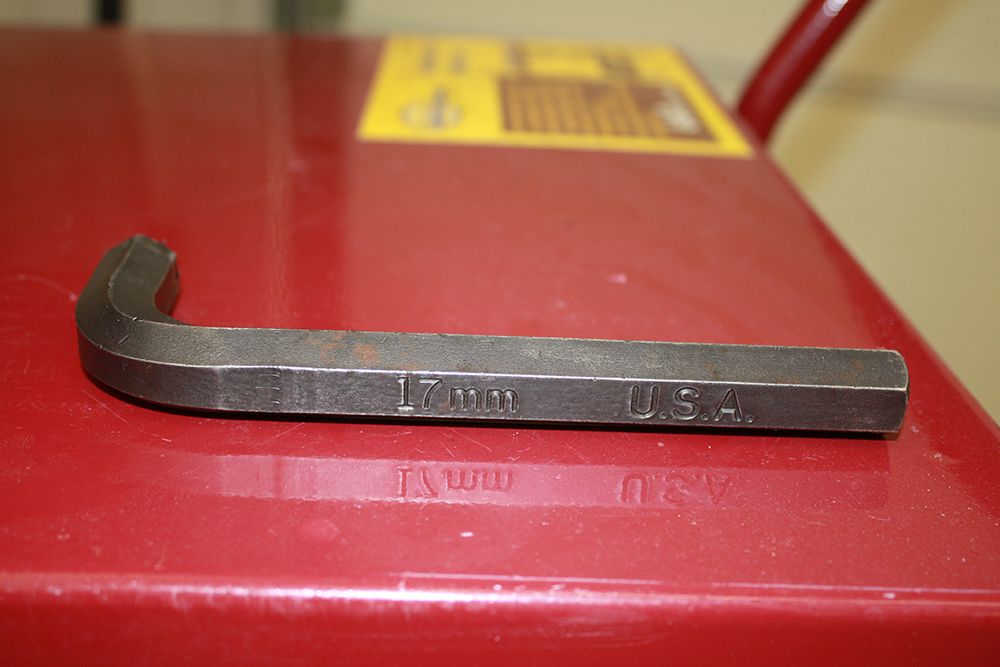
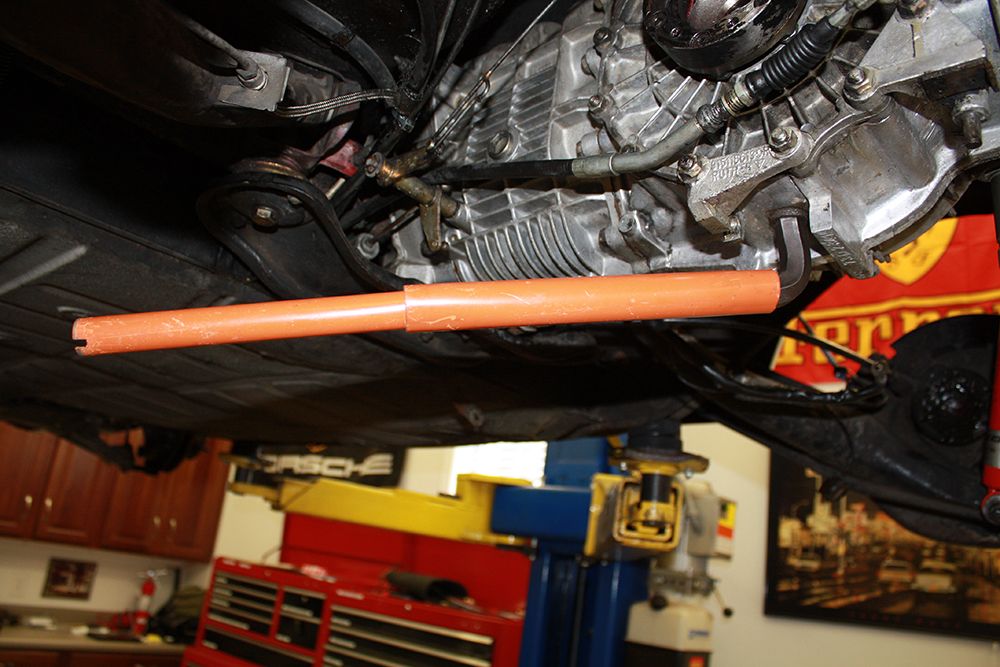
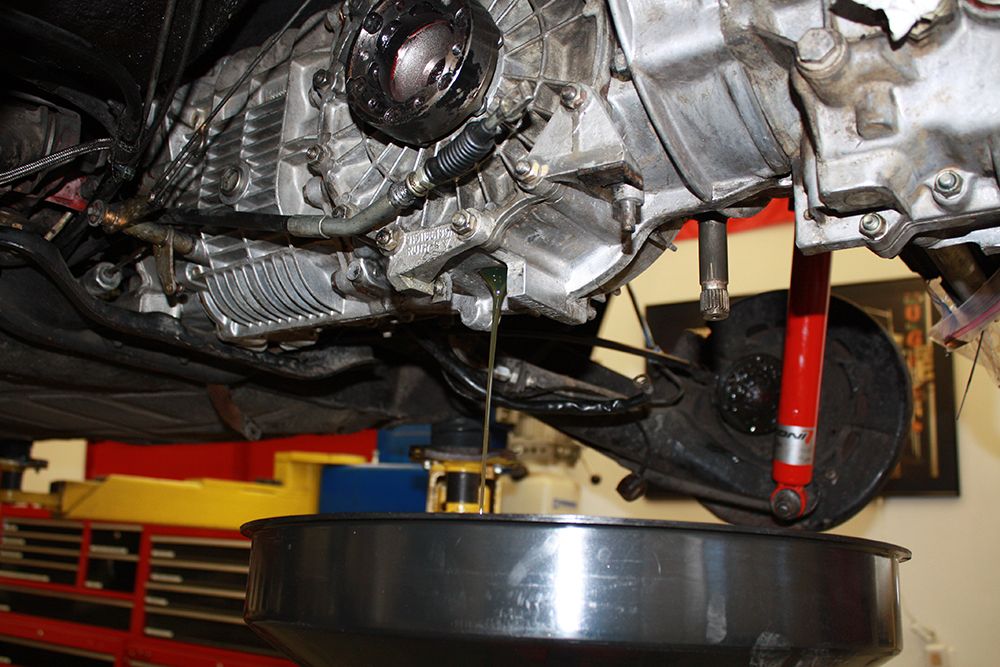
I had overlooked draining the transmission yesterday. My 17mm hex wrench is fairly short and I could not get enough leverage to remove the drain plug. One of my bottle jack handles did the trick.
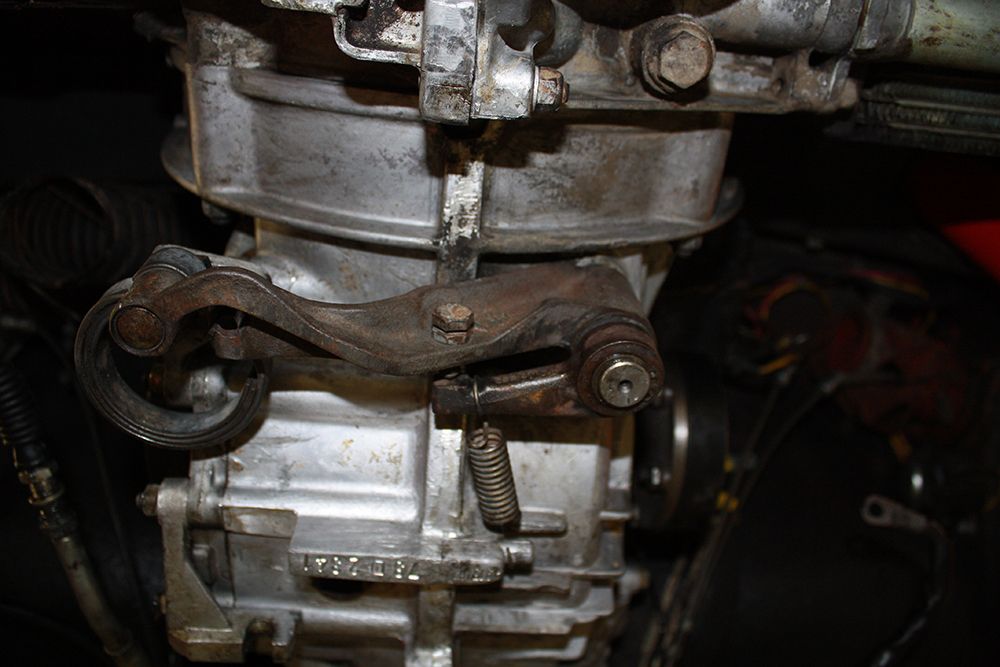
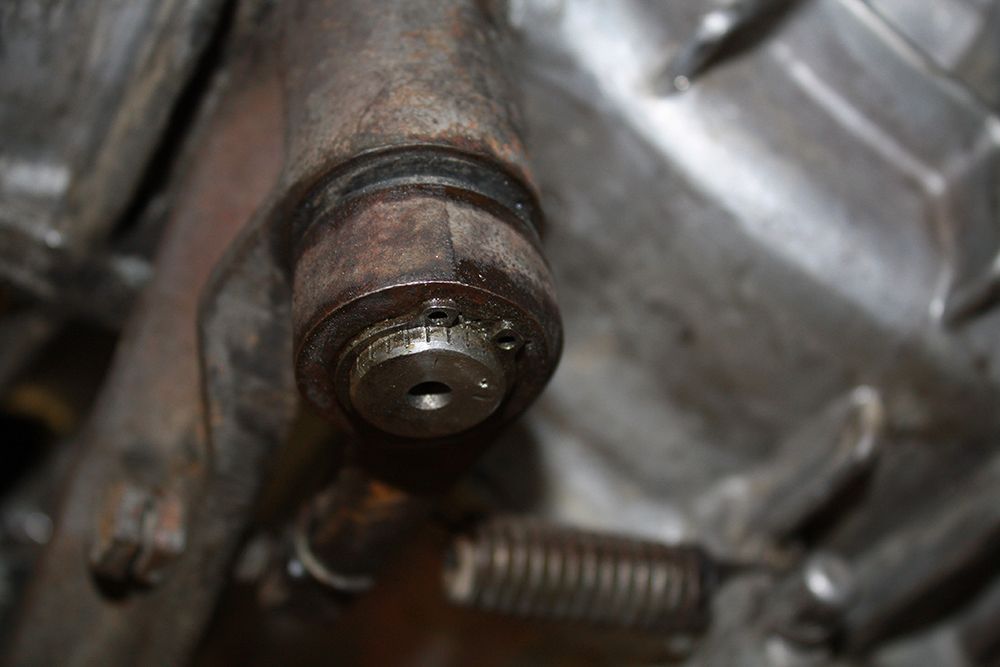
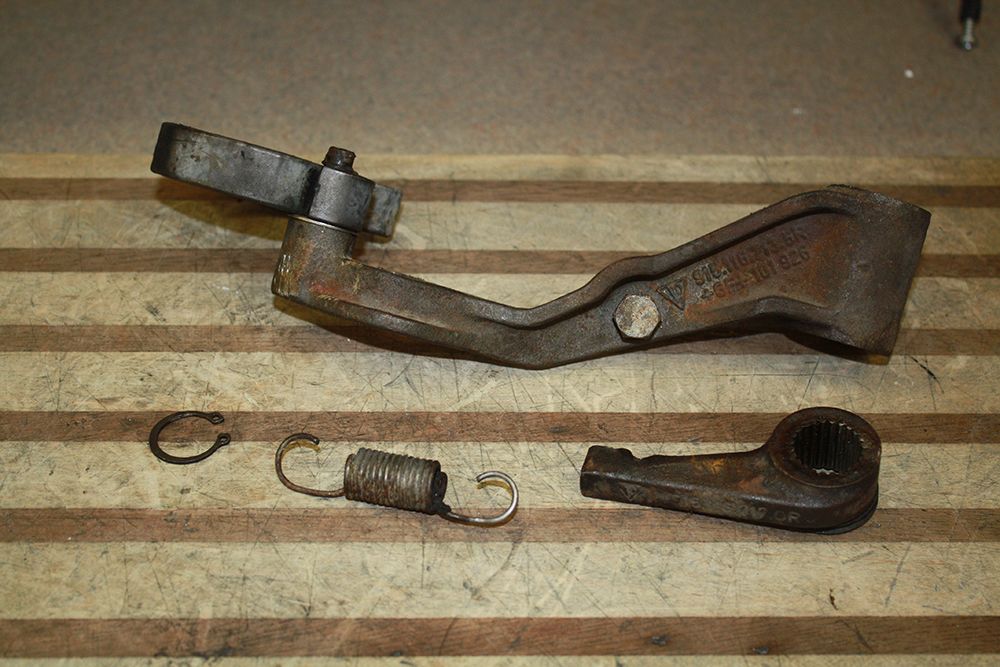
Since I was going to separate the transmission from the motor, I removed the clutch arm and helper spring. First a cir clip must be removed and then the small spring. arm and the spring then slide off the shaft with some energy being released by the helper spring.
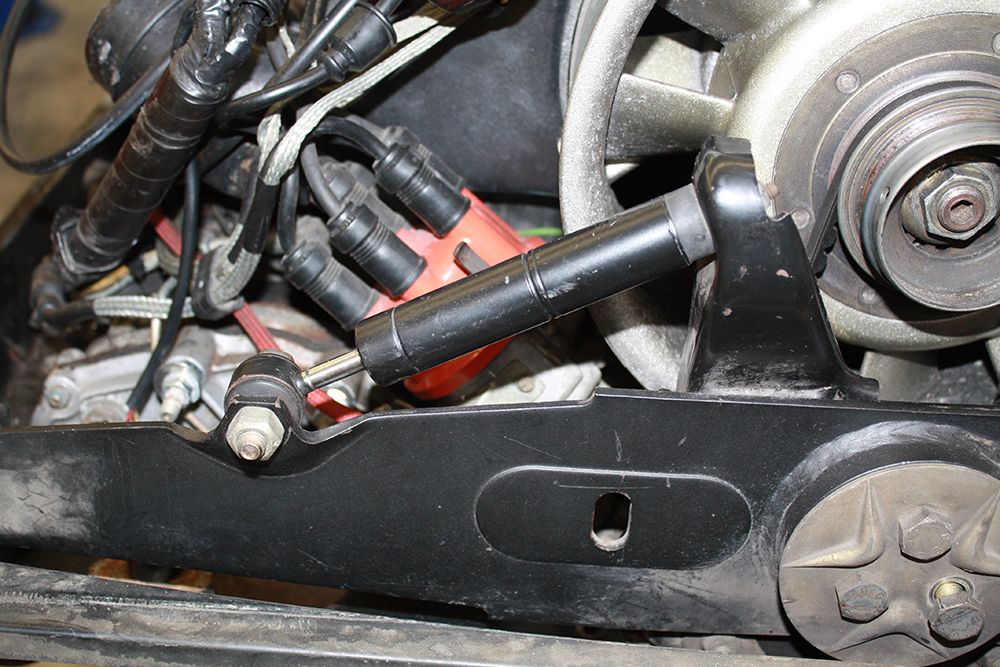
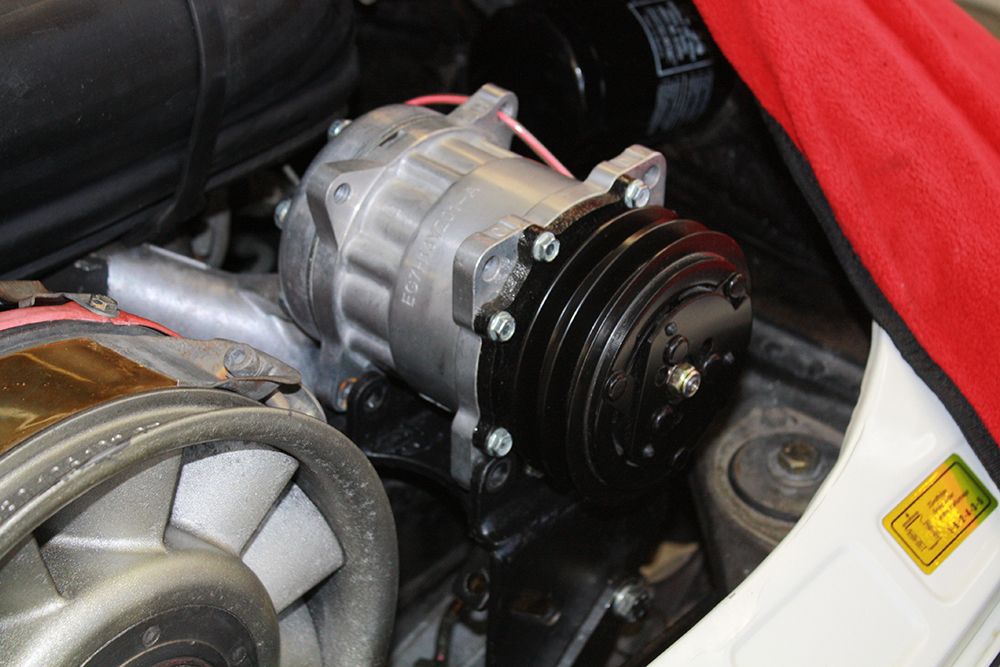
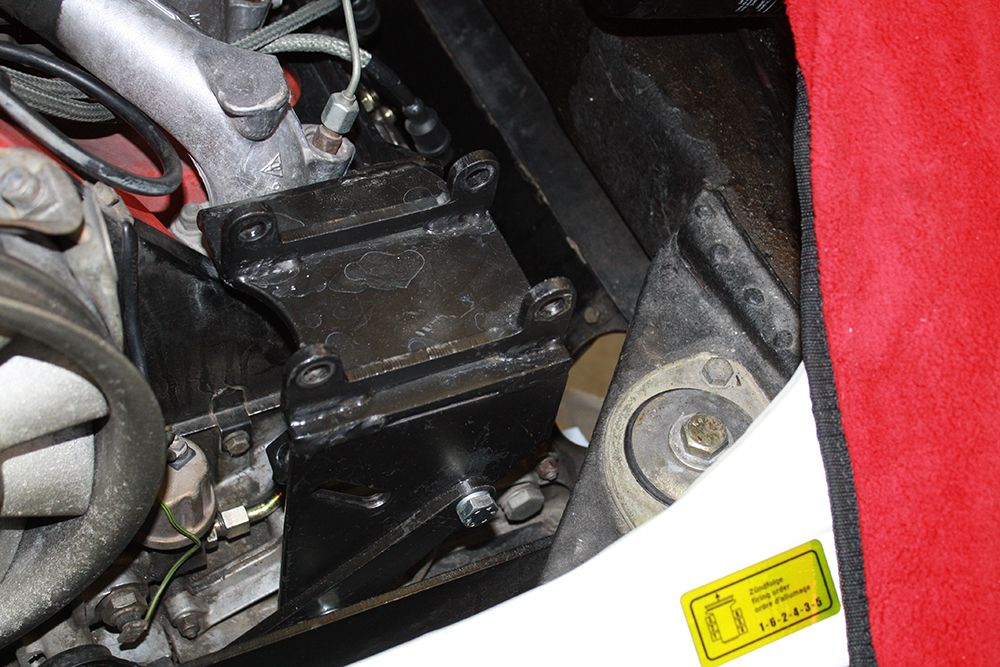
After taking a closer look, I realized I would have to remove the AC compressor as the pulley wheel would not clear. Since I had not completed the installation of the AC lines, it was simply a matter of unbolting it and lifting it off. If the lines had been hooked up, I would have placed a pad on the right rear fender and laid the compressor there with the lines attached.


Since I was going to separate the transmission from the motor, I removed the clutch arm and helper spring. First a cir clip must be removed and then the small spring. arm and the spring then slide off the shaft with some energy being released by the helper spring.


After taking a closer look, I realized I would have to remove the AC compressor as the pulley wheel would not clear. Since I had not completed the installation of the AC lines, it was simply a matter of unbolting it and lifting it off. If the lines had been hooked up, I would have placed a pad on the right rear fender and laid the compressor there with the lines attached.


#85
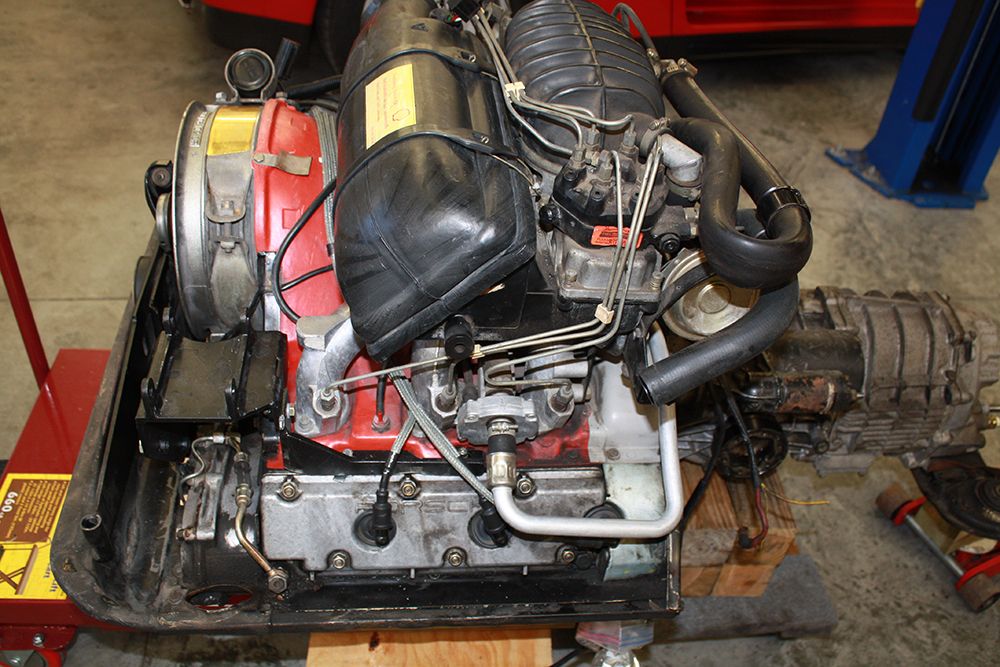
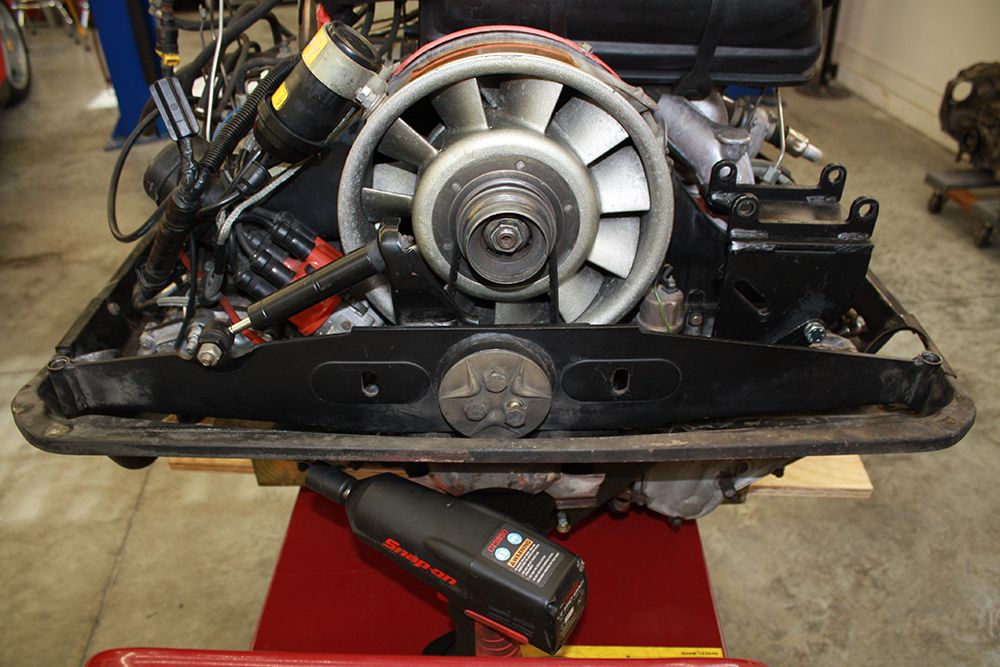
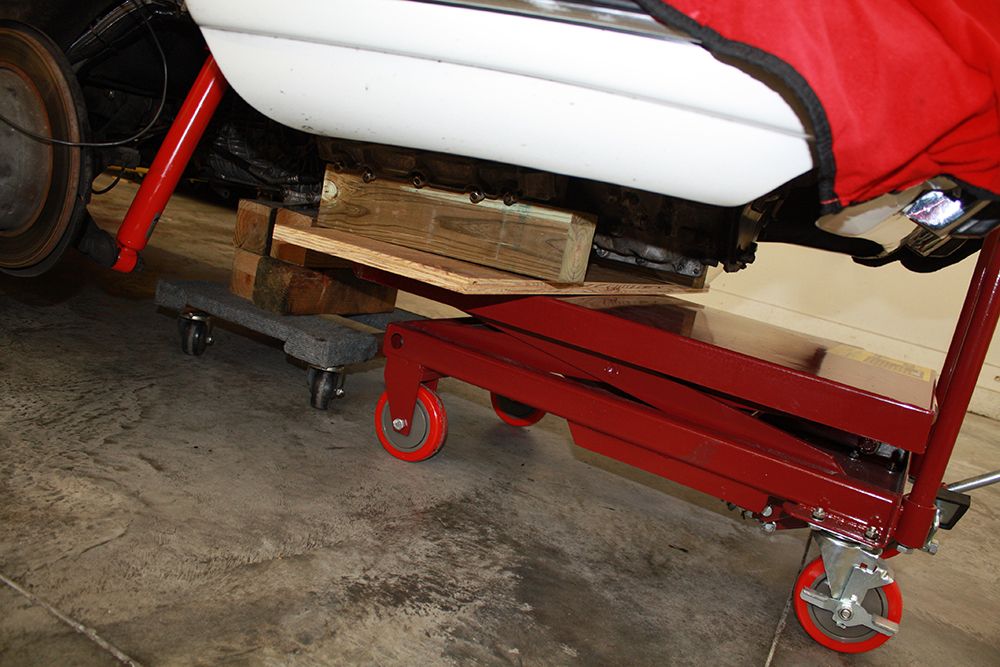
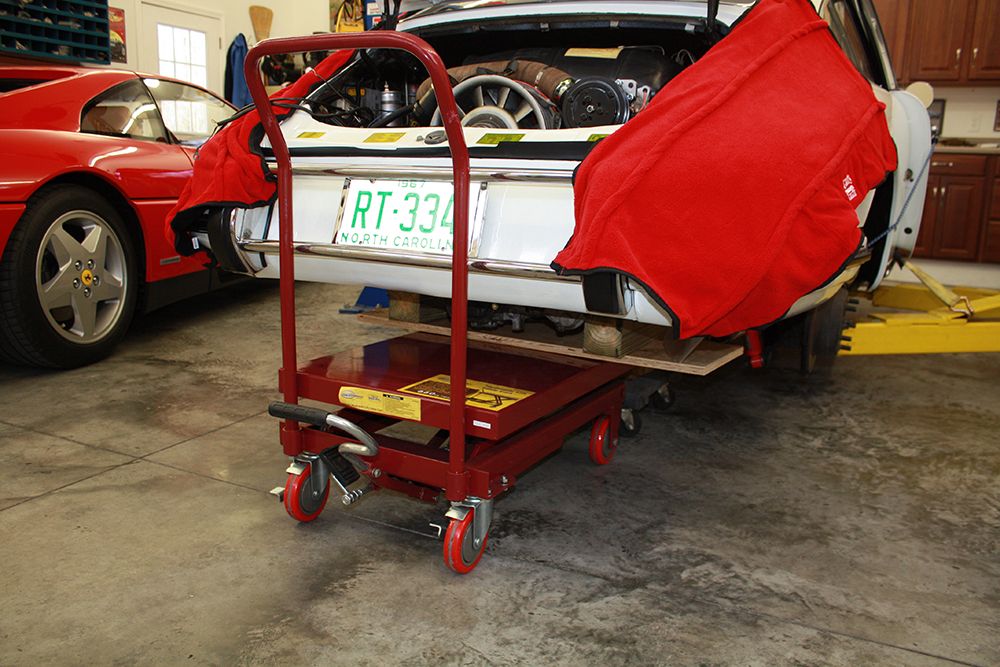
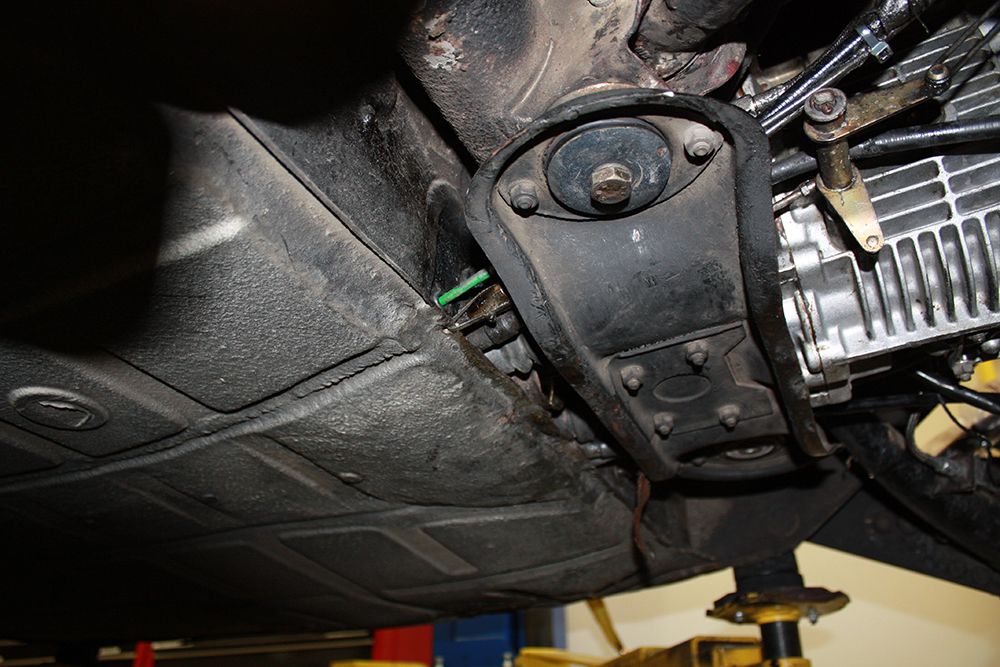
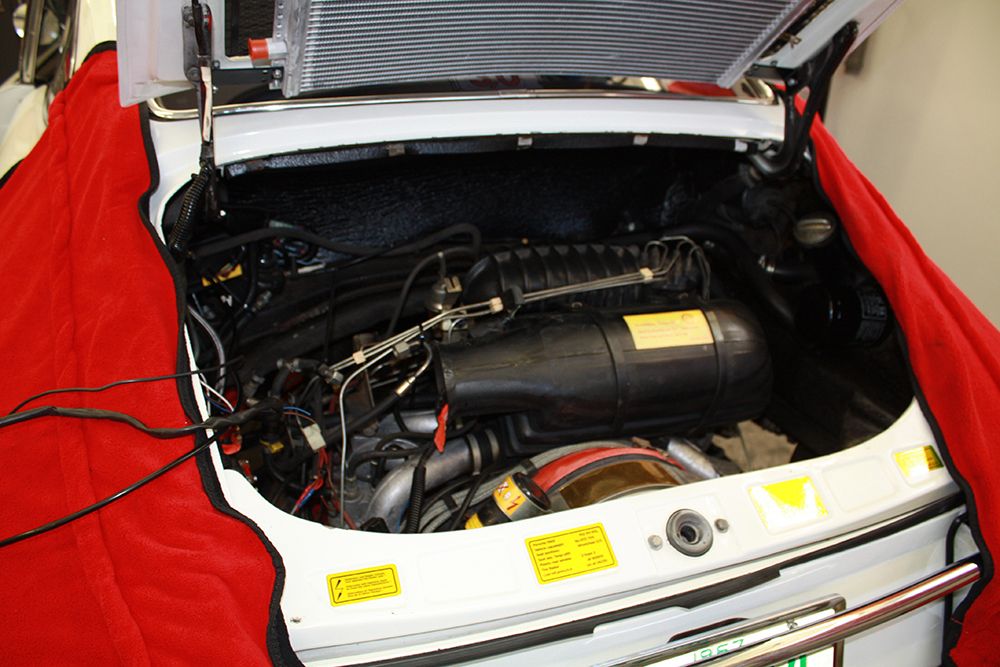
It was time to remove the motor. I placed my lift cart under the car pushing it as far forward as I could until the handle was nearly against the rear of the car. I placed a 3/4" piece of plywood cross-ways on top of the table to give me some extra width and then used a 4x4 on each side to rest on the bottom of the heads. To support the transmission, I used a furniture dolly with 4x4's stacked on it. I lowered the car so the engine and tranny were resting on the 4x4's. I then reached under the car to unbolt the transmission cross member. With that done, I could remove the two engine mounting bolts.
Once I had everything in place, I began to raise the car a little bit at a time. The big concern is the shifter shaft that protrudes into the tunnel. I needed to pull the motor back towards me once it was lowered enough so the shaft would not hang up on the tunnel. I had to place my floor jack on the transmission cross member and jack it up as I raised the car so the engine would be lower than the transmission. Once the engine mount cleared the rear frame member, I could pull the motor back enough so the shaft was clear. I still tentatively raised the car as I kept checking to make sure nothing was still attached or hanging up. Once everything was clear, I could safely raise the body away from the motor. And it was out!!!

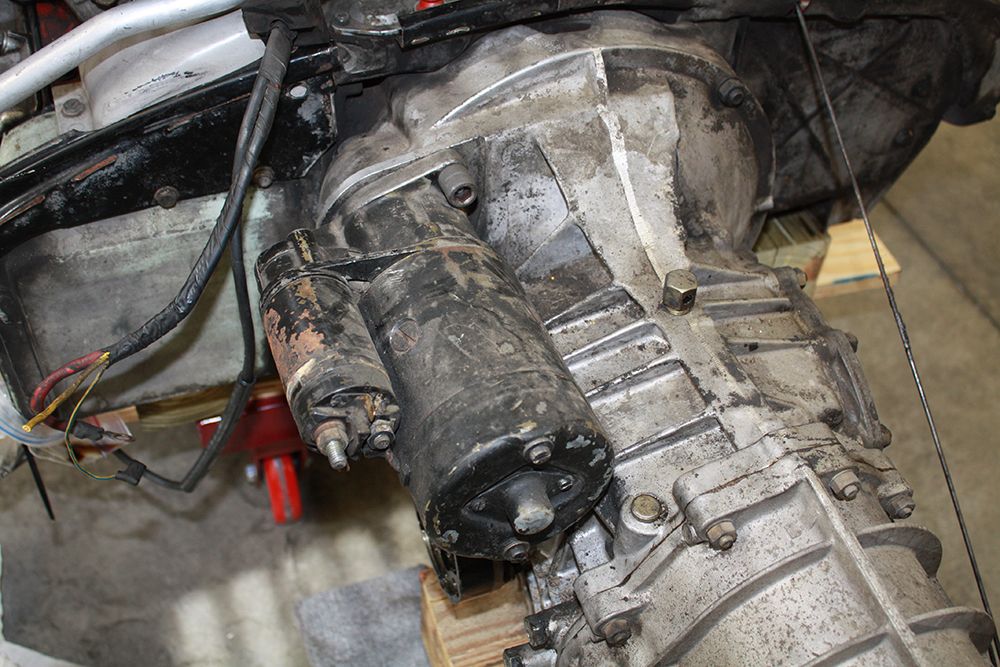
Next I removed the starter. I then separated the transmission from the motor.
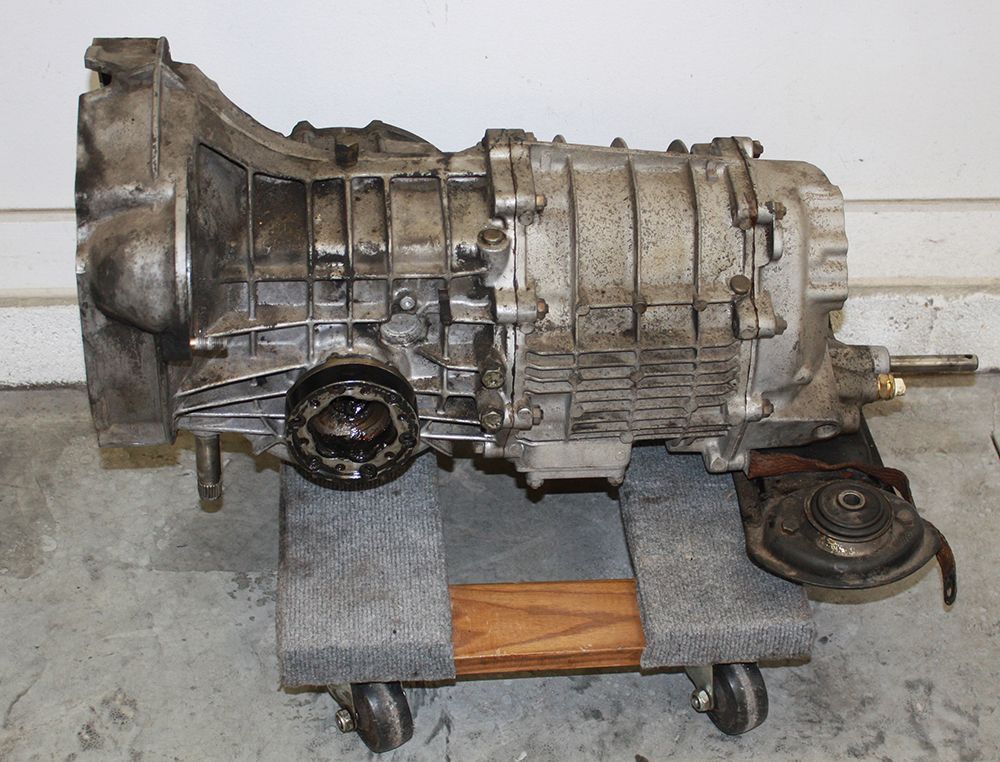
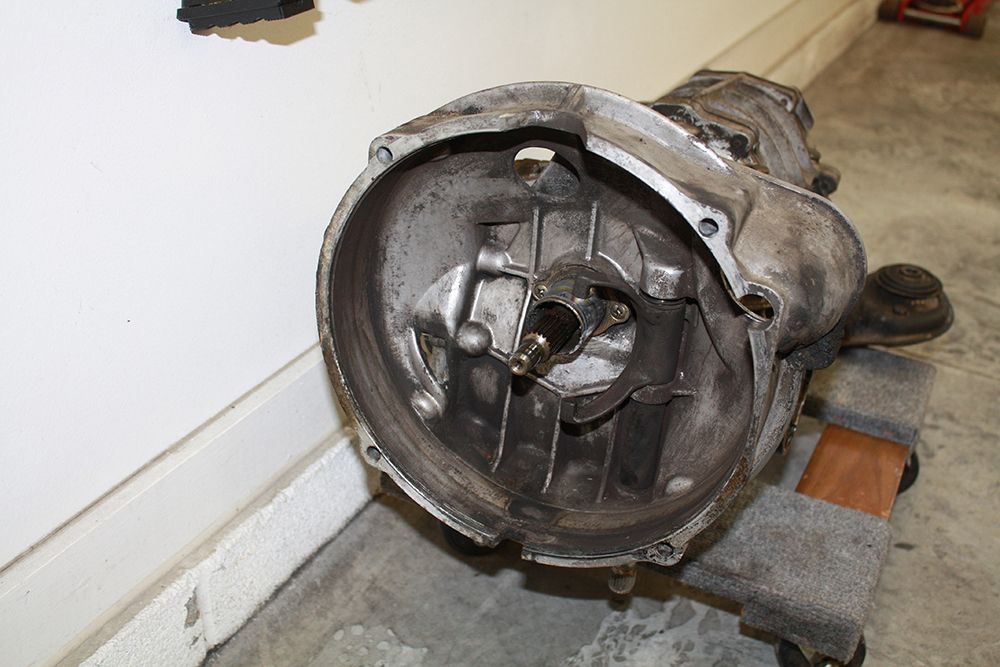
Once I had everything in place, I began to raise the car a little bit at a time. The big concern is the shifter shaft that protrudes into the tunnel. I needed to pull the motor back towards me once it was lowered enough so the shaft would not hang up on the tunnel. I had to place my floor jack on the transmission cross member and jack it up as I raised the car so the engine would be lower than the transmission. Once the engine mount cleared the rear frame member, I could pull the motor back enough so the shaft was clear. I still tentatively raised the car as I kept checking to make sure nothing was still attached or hanging up. Once everything was clear, I could safely raise the body away from the motor. And it was out!!!


Next I removed the starter. I then separated the transmission from the motor.


#86
#87
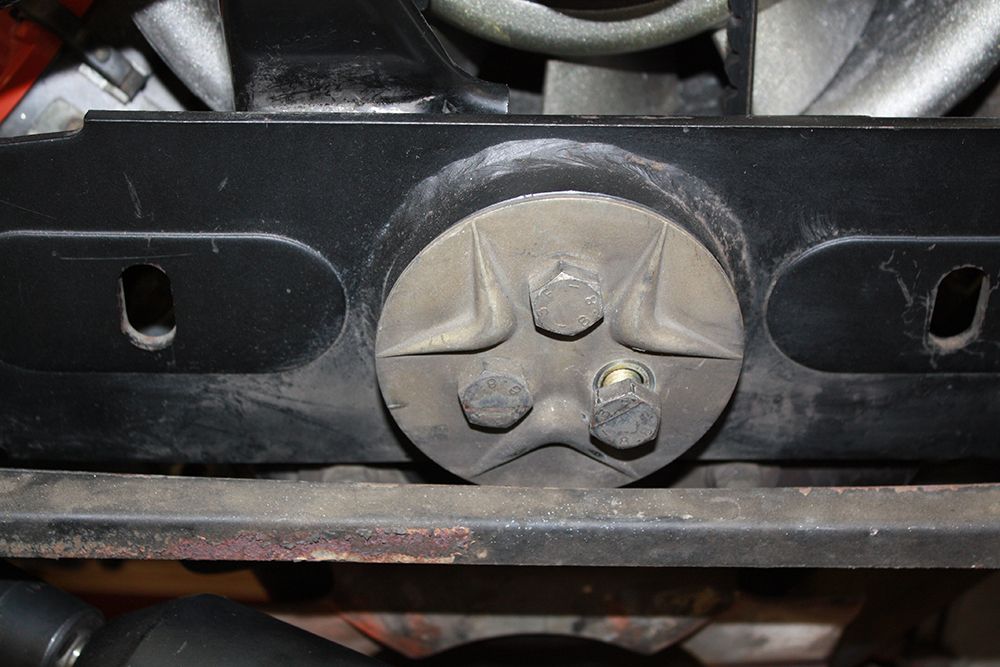
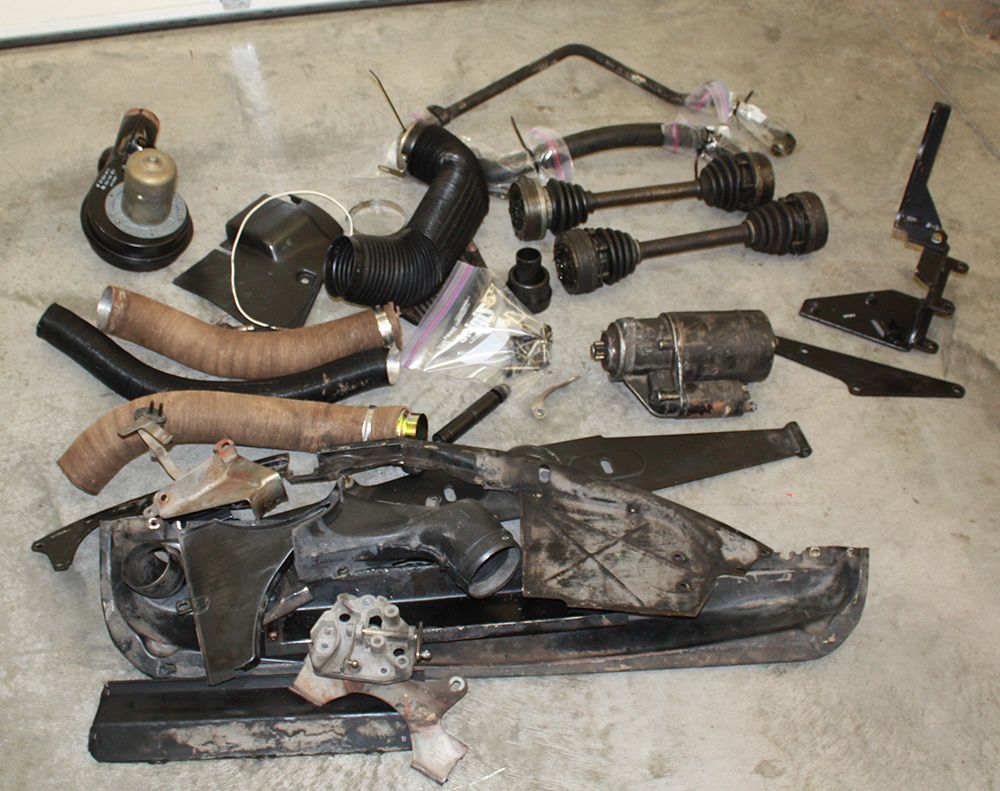
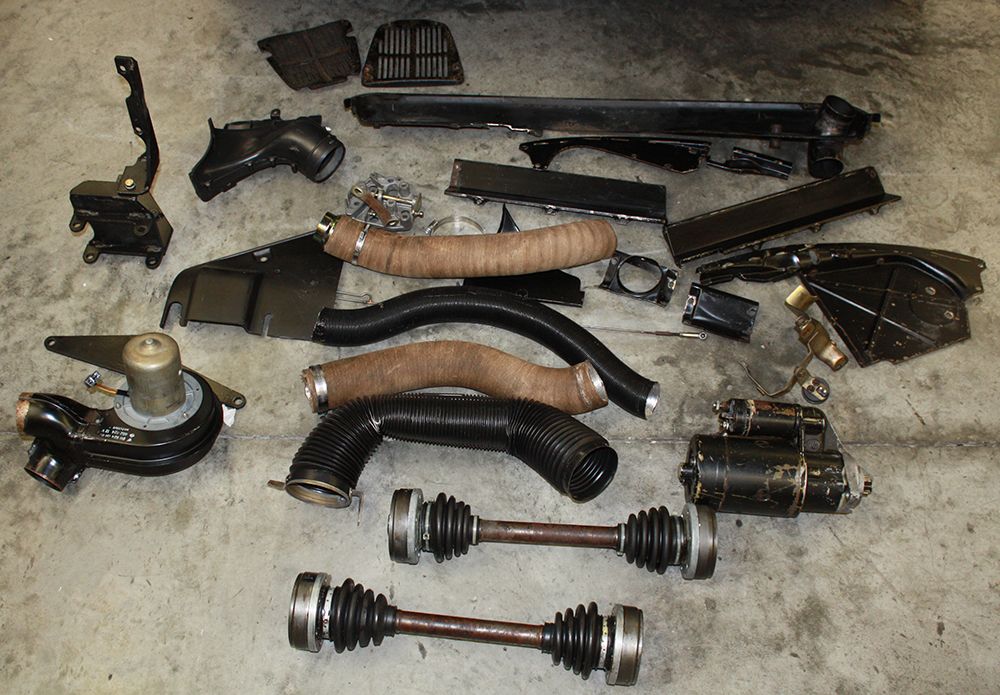
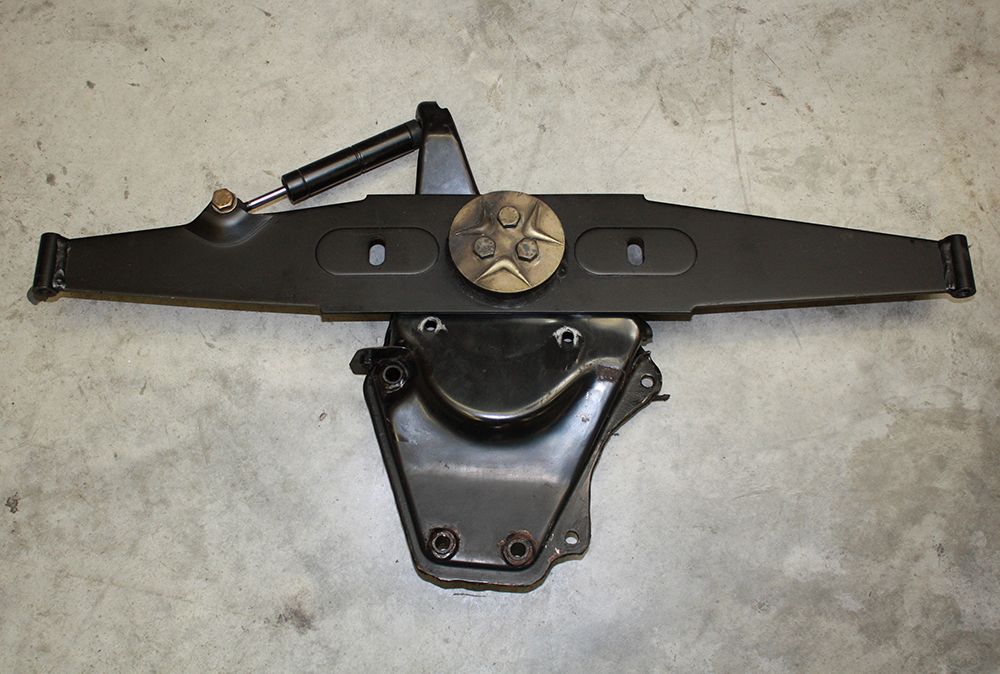
I spent about three hours cleaning up all of the pieces I removed yesterday. Many of these parts will find their way into my bead blaster but I needed to removed all the grime and grease first. One part that will not be bead blasted is the cabriolet engine mount. Once I have made certain the replacement I have will work, I will be selling it.


#88
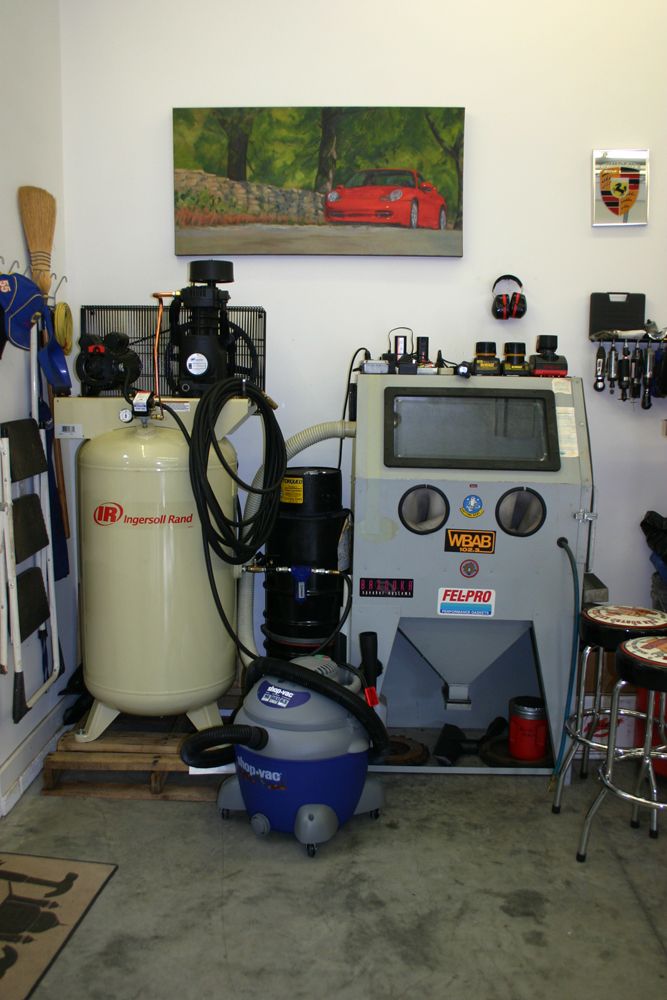
I've been following this fascinating thread. I wonder, can you post pics of the blaster setup? I'm thinking about getting one and setting it out back behind my new workshop when it's completed.
#89


