
dashboard replacement


 01-09-2010, 09:27 PM
#18
Advanced
Join Date: Jan 2010
Location: Calabogie, Ontario
Posts: 87
Likes: 0
Received 0 Likes
on
0 Posts
My 86 cab needs the dash recovered, but the color is dark blue (not all that common).
I was under the pression that I had to remove the windshield to remove the dash, so finding out that is not the case is great news. Is there a write up for the dash removal that covers 86 and later? The search did not yield any results.
Thank you!
I was under the pression that I had to remove the windshield to remove the dash, so finding out that is not the case is great news. Is there a write up for the dash removal that covers 86 and later? The search did not yield any results.
Thank you!
01-10-2010, 12:00 PM
#19
Three Wheelin'
My car is a 1978 that had a full tan leather interior including the dash (top, middle and bottom). My dash was a complete mess and so warped from 30 years of dry leather that it was not recoverable.
I found a vinyl dash for less than $400.00 at Hershey last year and made the decision to change the colour scheme of my car. I also found black seats for $300.00 in mint condition and replaced my 30 year old seats that had no bolsters left. So now the care has black seats, a black top dash and black door top caps (I dyed them with Leatherique last year). Then my middle dash (behind the gauges) and lower dash are still tan as are the door skins. Unfortunately, I do not have pictures of the final complete car and the car is in storage for the winter, so I will show you the process and upload the final pics when I take them in the spring.
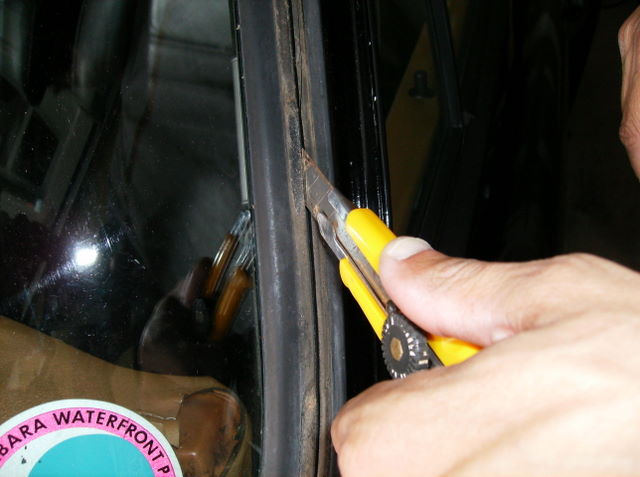
Here is the rubber gasket and window removal. Prior to this step, we removed the steel trim. Be careful when you remove yours as gthe dont sell them anymore. The trick is to take them out clowly and try not to bend them or they are tough to bend back and get back in.
Use an exacto knife to cut through the center of the gasket. You will need to take the wipers off to make access easier. When you put them back on, make sure you put them on so they swing in the correct direction or you will scratch up your paint. Don't ask me how I know this...lol
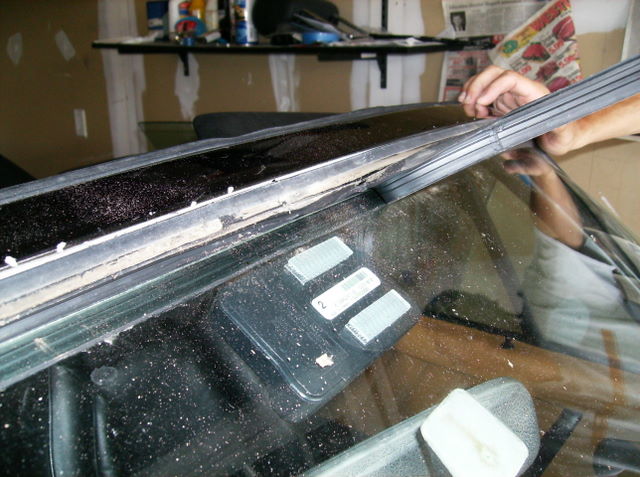
Then just peel it back.
It is not as hard as Robinson is making it look in the picture...lol
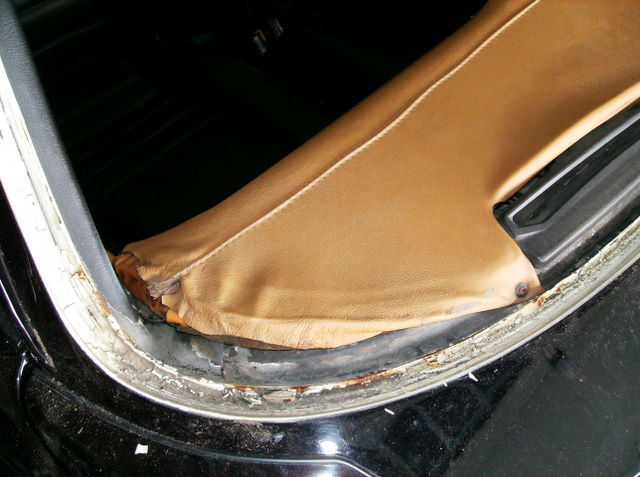
Then clean up the bits that are stuck on and the inside reim where the window was sitting. If there is any rust, it's a good time to remove it.
In thie next picture, you can seesome of the damage on the edge of the dash where the tan leather was pilling up. The reason the trim around the window is white is beacuse the care was repaqinted black without removing the window. All of that was cleaned up before the re-install.
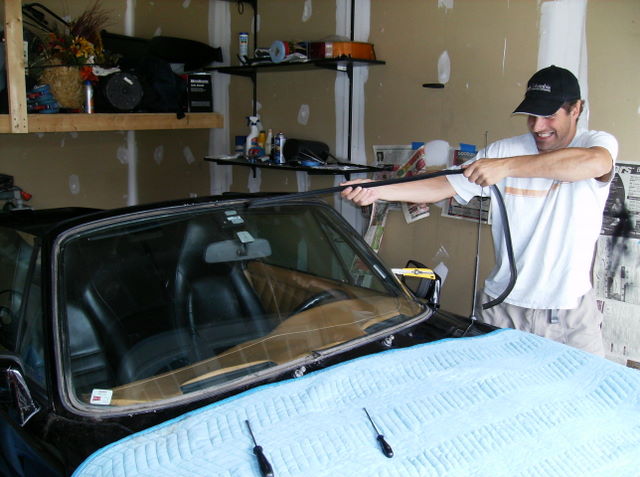
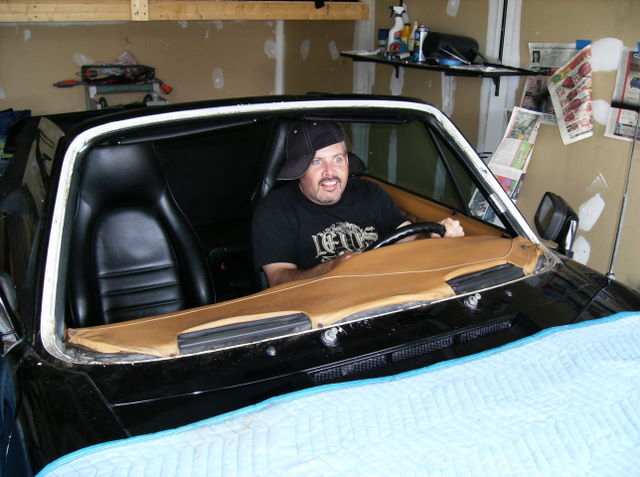
Here is my impersonation of myself driving with no windshield. As you can tell, I am a trained actor...lol
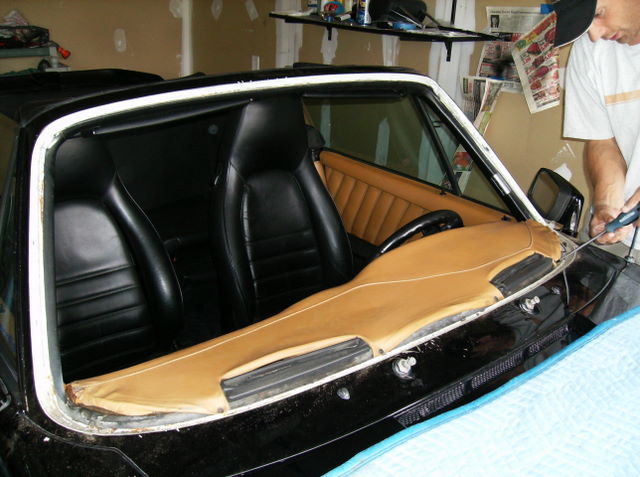
And finally, with a bit of work locating screws, the dash is out. I had screws in the frunk, on the edhe where the dash meets the window and behind the gauges.
The window came out and went back in without a problem. H=There was never a point in the project when I felt is was getting stressed even close enough to crack. FYI, neither one of us have ever removed and replaced a windshield. The entire project took a couple of hours.
I found a vinyl dash for less than $400.00 at Hershey last year and made the decision to change the colour scheme of my car. I also found black seats for $300.00 in mint condition and replaced my 30 year old seats that had no bolsters left. So now the care has black seats, a black top dash and black door top caps (I dyed them with Leatherique last year). Then my middle dash (behind the gauges) and lower dash are still tan as are the door skins. Unfortunately, I do not have pictures of the final complete car and the car is in storage for the winter, so I will show you the process and upload the final pics when I take them in the spring.
Here is the rubber gasket and window removal. Prior to this step, we removed the steel trim. Be careful when you remove yours as gthe dont sell them anymore. The trick is to take them out clowly and try not to bend them or they are tough to bend back and get back in.
Use an exacto knife to cut through the center of the gasket. You will need to take the wipers off to make access easier. When you put them back on, make sure you put them on so they swing in the correct direction or you will scratch up your paint. Don't ask me how I know this...lol
Then just peel it back.
It is not as hard as Robinson is making it look in the picture...lol
Then clean up the bits that are stuck on and the inside reim where the window was sitting. If there is any rust, it's a good time to remove it.
In thie next picture, you can seesome of the damage on the edge of the dash where the tan leather was pilling up. The reason the trim around the window is white is beacuse the care was repaqinted black without removing the window. All of that was cleaned up before the re-install.
Here is my impersonation of myself driving with no windshield. As you can tell, I am a trained actor...lol
And finally, with a bit of work locating screws, the dash is out. I had screws in the frunk, on the edhe where the dash meets the window and behind the gauges.
The window came out and went back in without a problem. H=There was never a point in the project when I felt is was getting stressed even close enough to crack. FYI, neither one of us have ever removed and replaced a windshield. The entire project took a couple of hours.
01-10-2010, 07:24 PM
#21
Three Wheelin'
01-11-2010, 12:25 AM
#22
Rennlist Member
Just checked Vertex, it looks like they have all of the moulding listed in their catalog. That is where I bought mine this last time as well as several years ago.
01-12-2010, 12:25 PM
#23
Advanced
Join Date: Oct 2008
Location: Fredericksburg, Texas
Posts: 75
Likes: 0
Received 0 Likes
on
0 Posts
I appears that from Newfie911 post there's a difference between the early cars dash mounting hardware... Wayne's 101 Project book shows the following: Does the "84" have the two studs shown in blue? My donor dash doesn't have them?
I thought there was a post on the Pelican Web site that showed the mounting points, but I can't find it now. What are the differences between the early and later cars?
Thanks,
I thought there was a post on the Pelican Web site that showed the mounting points, but I can't find it now. What are the differences between the early and later cars?
Thanks,