Value Of '71T
#31
Rennlist Member
Join Date: May 2008
Location: Somewhere in a galaxy far, far away....
Posts: 17,108
Likes: 0
Received 259 Likes
on
173 Posts
This looks to be a no stories car and is ready to roll with no apparent issues will be used to help us even more with "What To Do." https://bringatrailer.com/listing/1971-porsche-911t-17/
#32
Instructor
Thread Starter
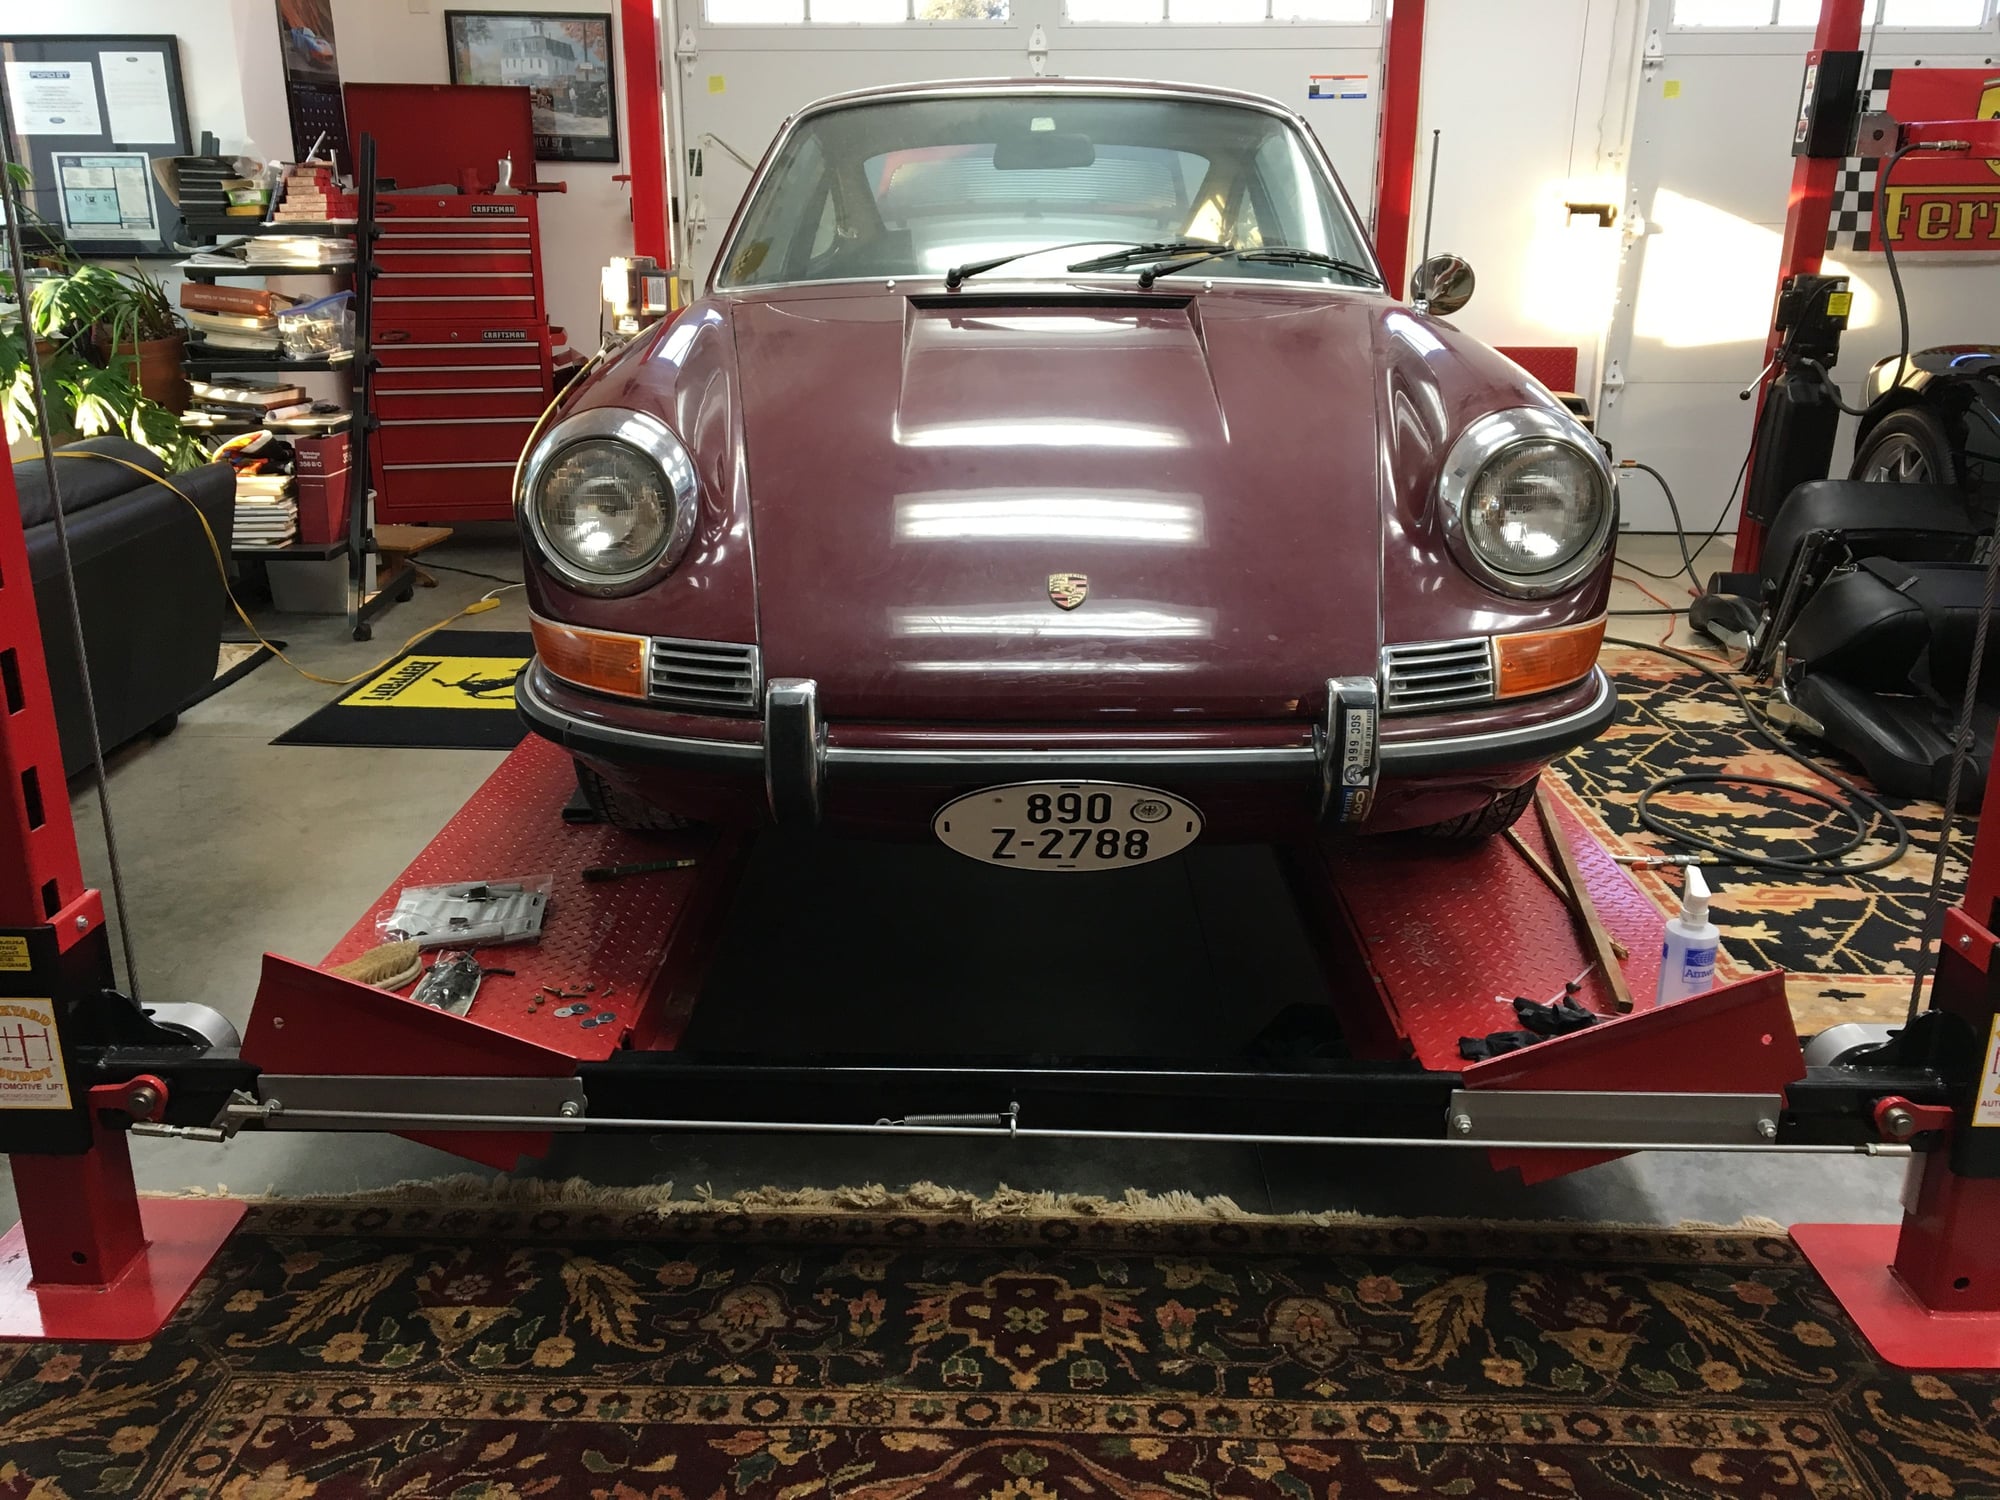
The numbers for this '71T Coupe. Have deciphered the vin, engine, transaxle, but not the date code on the transmission. Can someone please suggest to a site for the decoder ring?
VIN: 9111100732
Engine: 6115580 Type: 911/07
Transaxle: 7114096
Ratios: 911/01 = A-GA-0-V-ZA
Date Code: 901.301.101.OR This one has me stumped to find out how to decipher. Any help here is appreciated.
BTW, our first 911 car and looking forward to putting it back on the road after a 15 year sleep. So far, the car is in pretty decent shape and working hard to mitigate the stink.
Thanks!
#34
Instructor
Thread Starter
Thank you. Have every reason to believe this is a correct number matching car.
Some shots of the bonnet wildlife habitat.
Appreciate your response.
DJ.
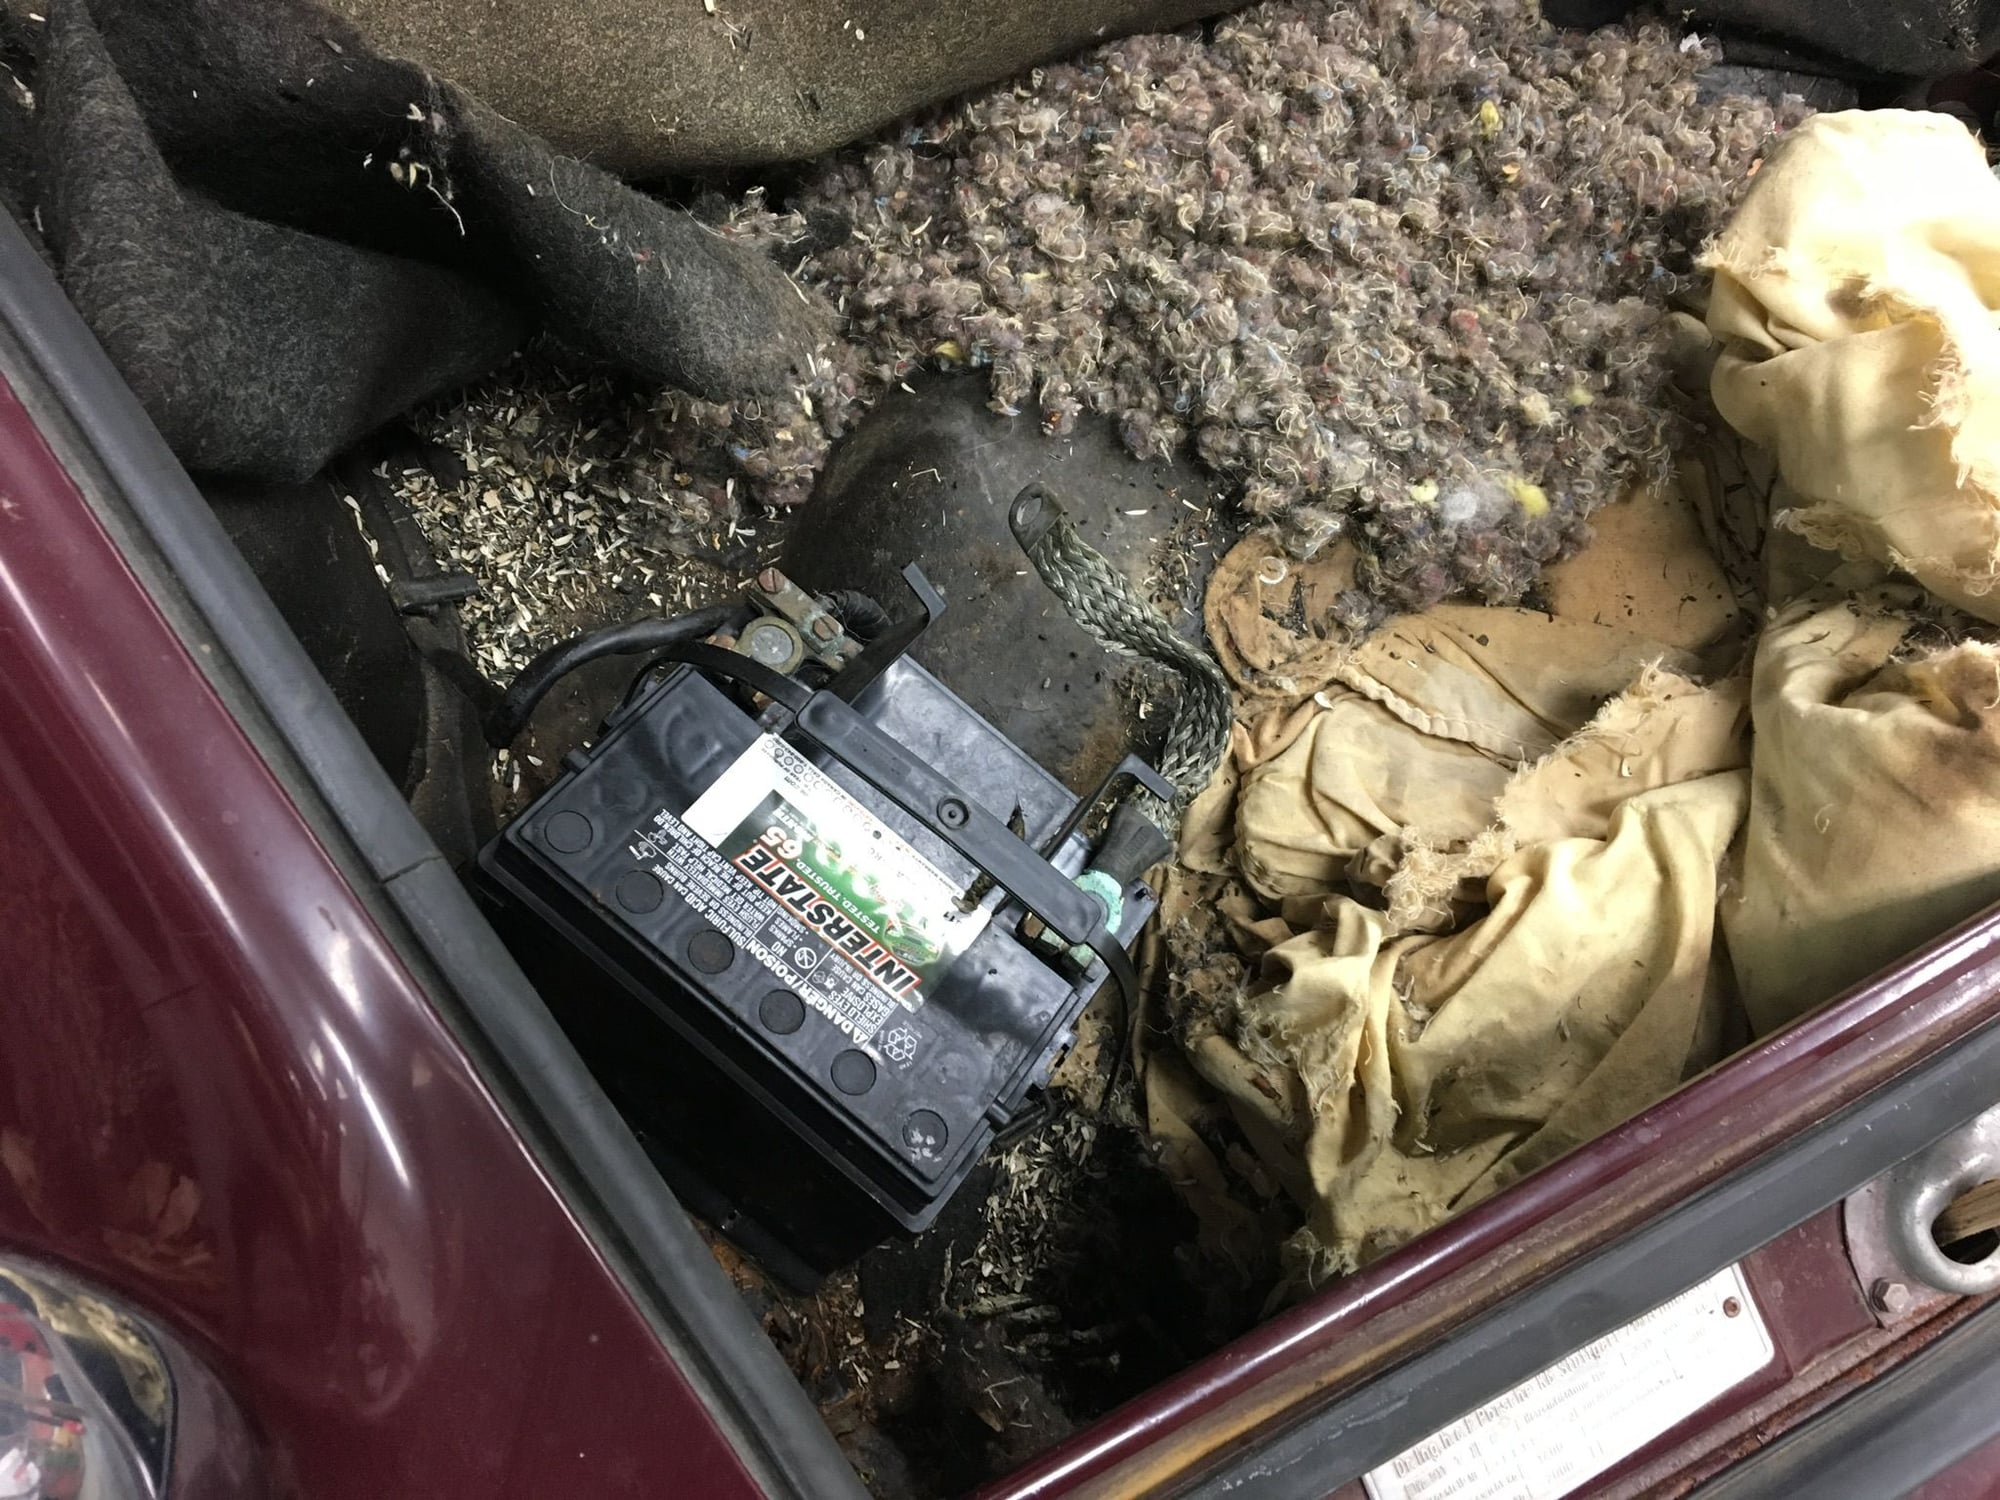
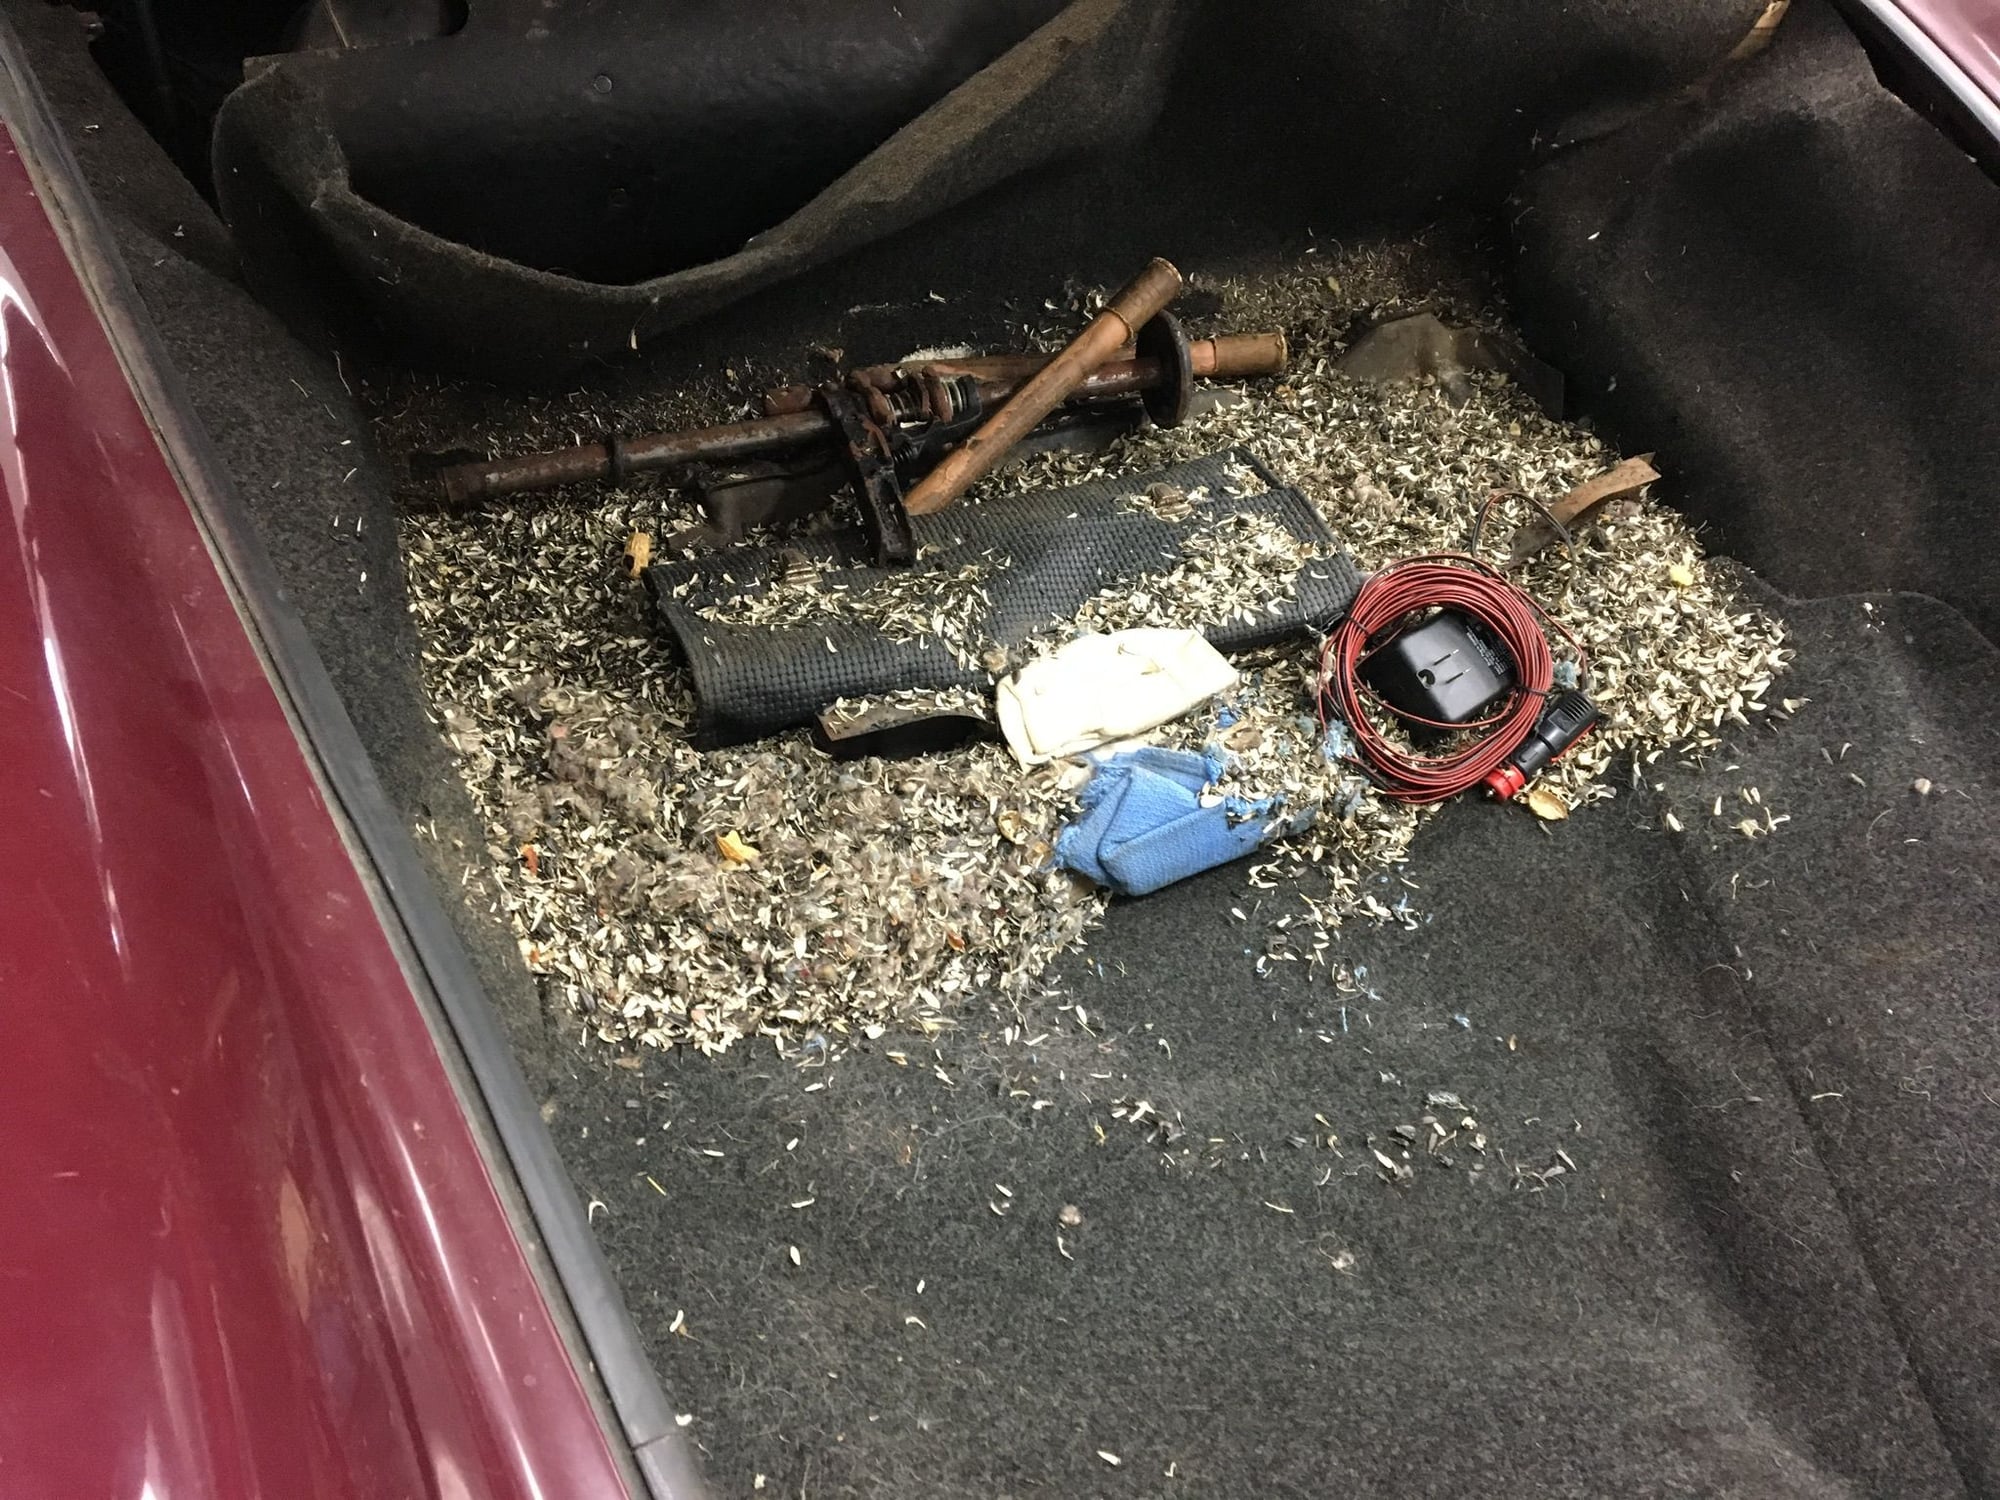
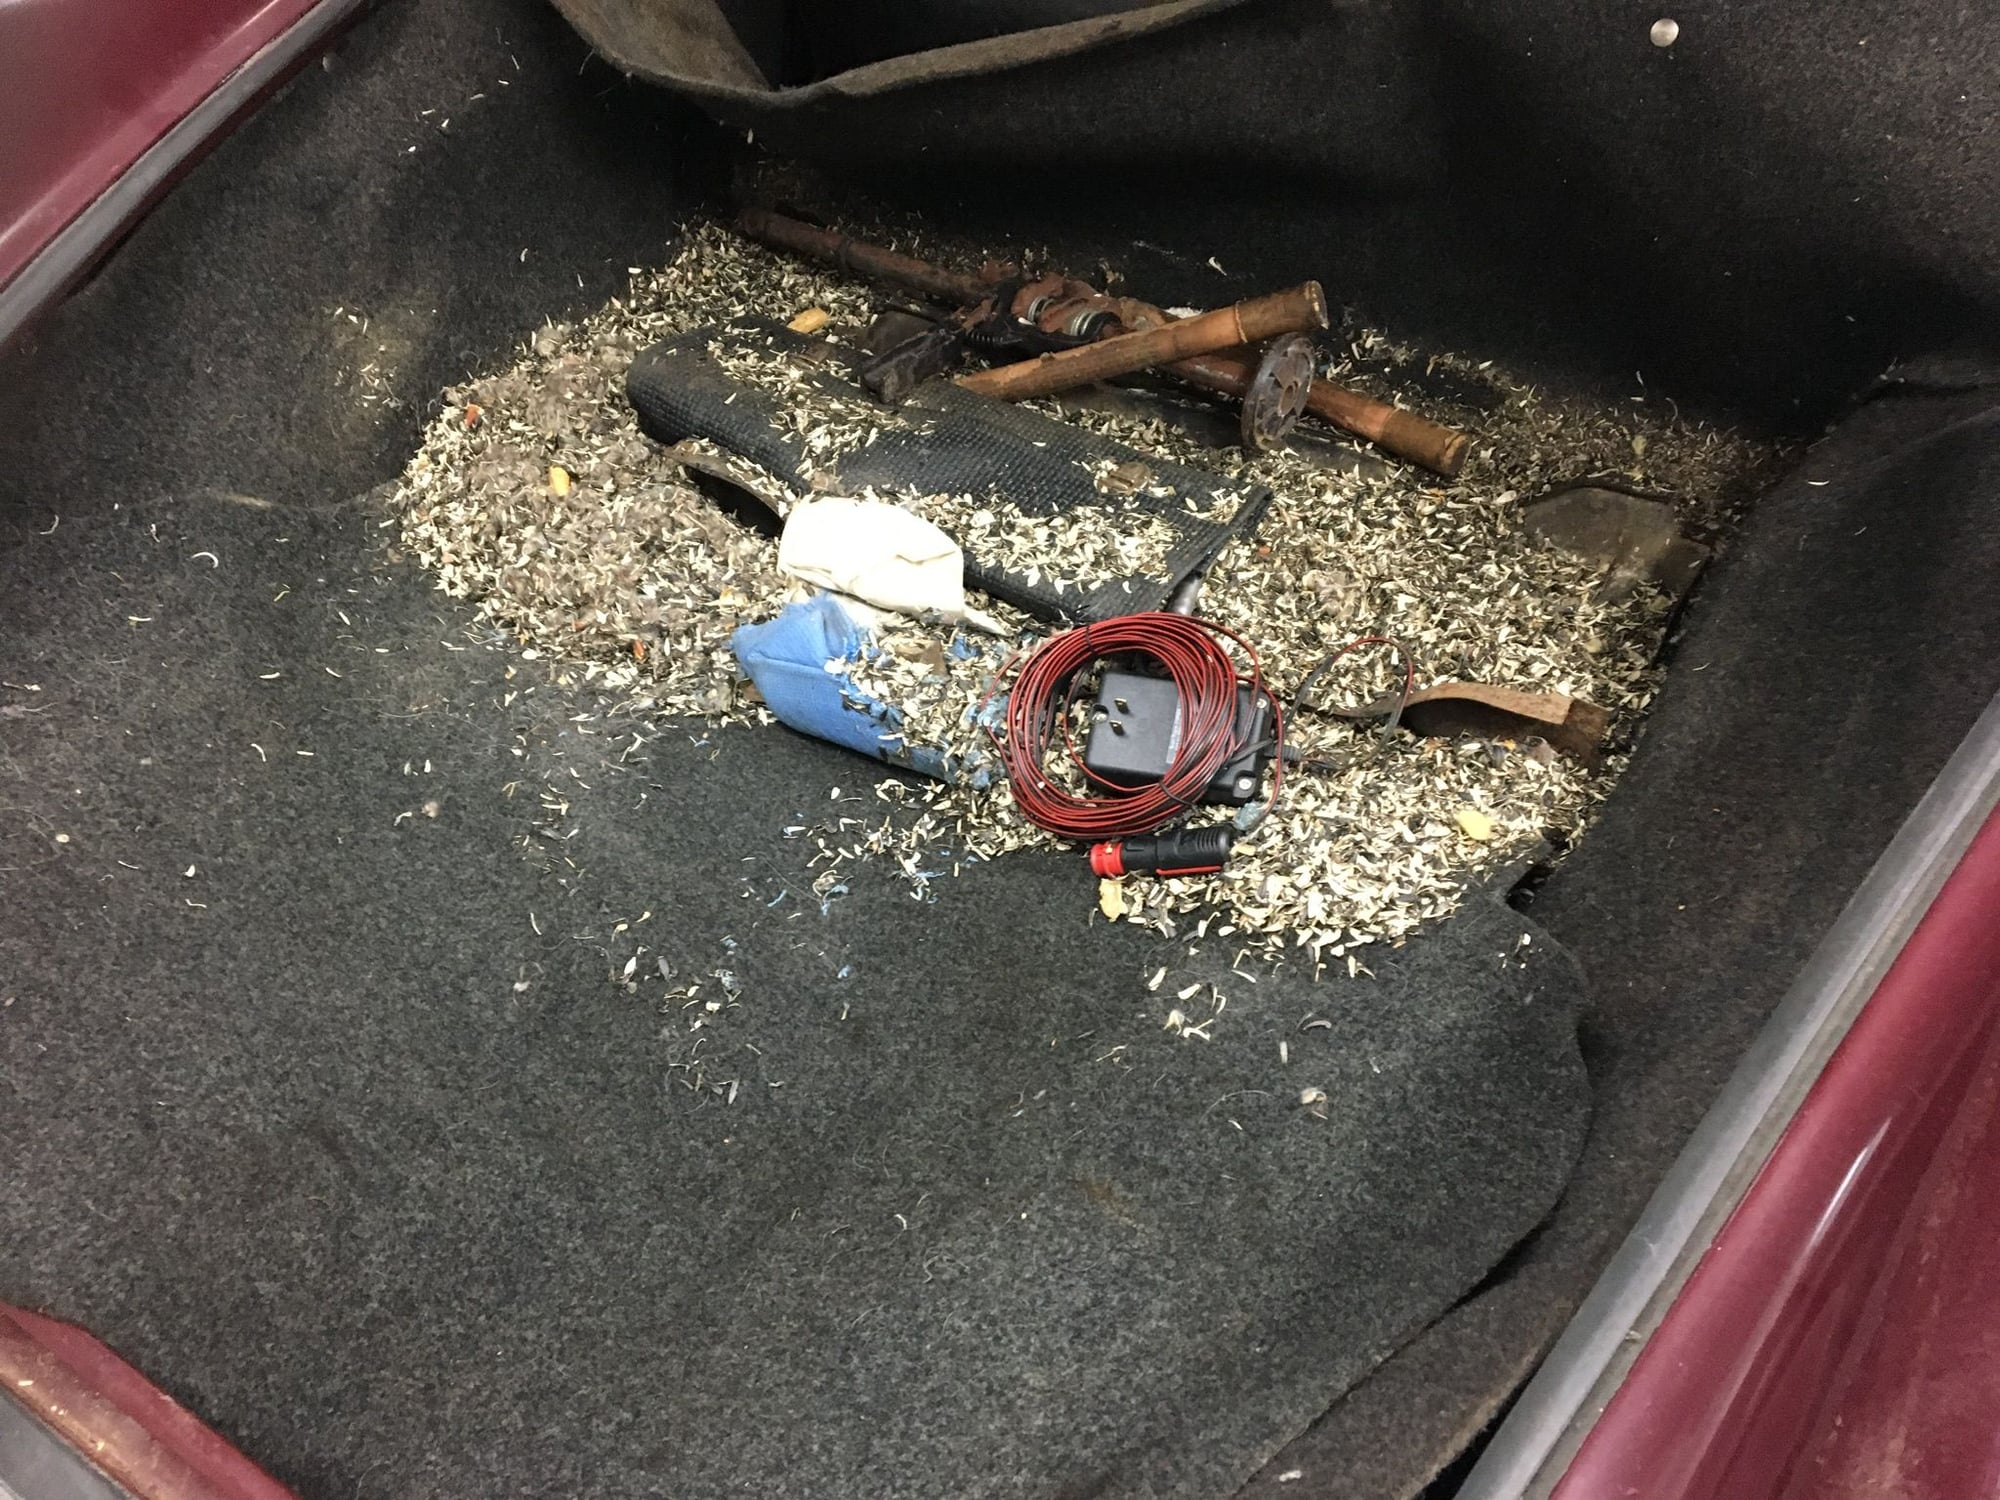
BTW, the only wires that were chewed by the rodents were the wires on the trickle charger. So very lucky.
Last edited by DanielJ; 02-22-2018 at 02:14 AM.
#35
Instructor
Thread Starter
Decided to pull the gas tank to clean all the exterior surface area in an attempt to get rid of the stink. There were numerous areas where rust developed under the coating on the tank. Spent many hours scraping and scrubbing with lacquer thinner, but, no joy in removing the rodent stink.. Further, on closer examination, finding that there is lots of rust in the tank and the fittings to the fuel pump:


All the crap scraped from the banjo fitting at the bottom of the tank. Actually, the banjo bolt was nearly completely clogged with rust.

Suppose the tank could be sent out for cleaning, but why take a chance. The cost effective re-pop tanks don’t seem to have a good reputation for fit, so went with the one from Porsche. On to the fuel pump to see if it is loaded with junk from the tank. Suggested by tcsracing, “there would be $5k spent to get fuel, spark, and the engine running, not driving, but running” and his comment is spot on. In fact if it can be held to $5k, to get to that point, it would be great but can tell you, we are well on our way.
More to follow and thanks for reading.
DJ


All the crap scraped from the banjo fitting at the bottom of the tank. Actually, the banjo bolt was nearly completely clogged with rust.

Suppose the tank could be sent out for cleaning, but why take a chance. The cost effective re-pop tanks don’t seem to have a good reputation for fit, so went with the one from Porsche. On to the fuel pump to see if it is loaded with junk from the tank. Suggested by tcsracing, “there would be $5k spent to get fuel, spark, and the engine running, not driving, but running” and his comment is spot on. In fact if it can be held to $5k, to get to that point, it would be great but can tell you, we are well on our way.
More to follow and thanks for reading.
DJ
Last edited by DanielJ; 02-24-2018 at 11:29 AM.
#36
Nordschleife Master
To be expected. Bag and tape up the fuse panel and pressure wash the frunk while the tank is out. You are gonna my to need some sheet metal long term so don’t worry too much about taking off some paint etc. mouse **** is heinous stuff.
#37
Instructor
Thread Starter
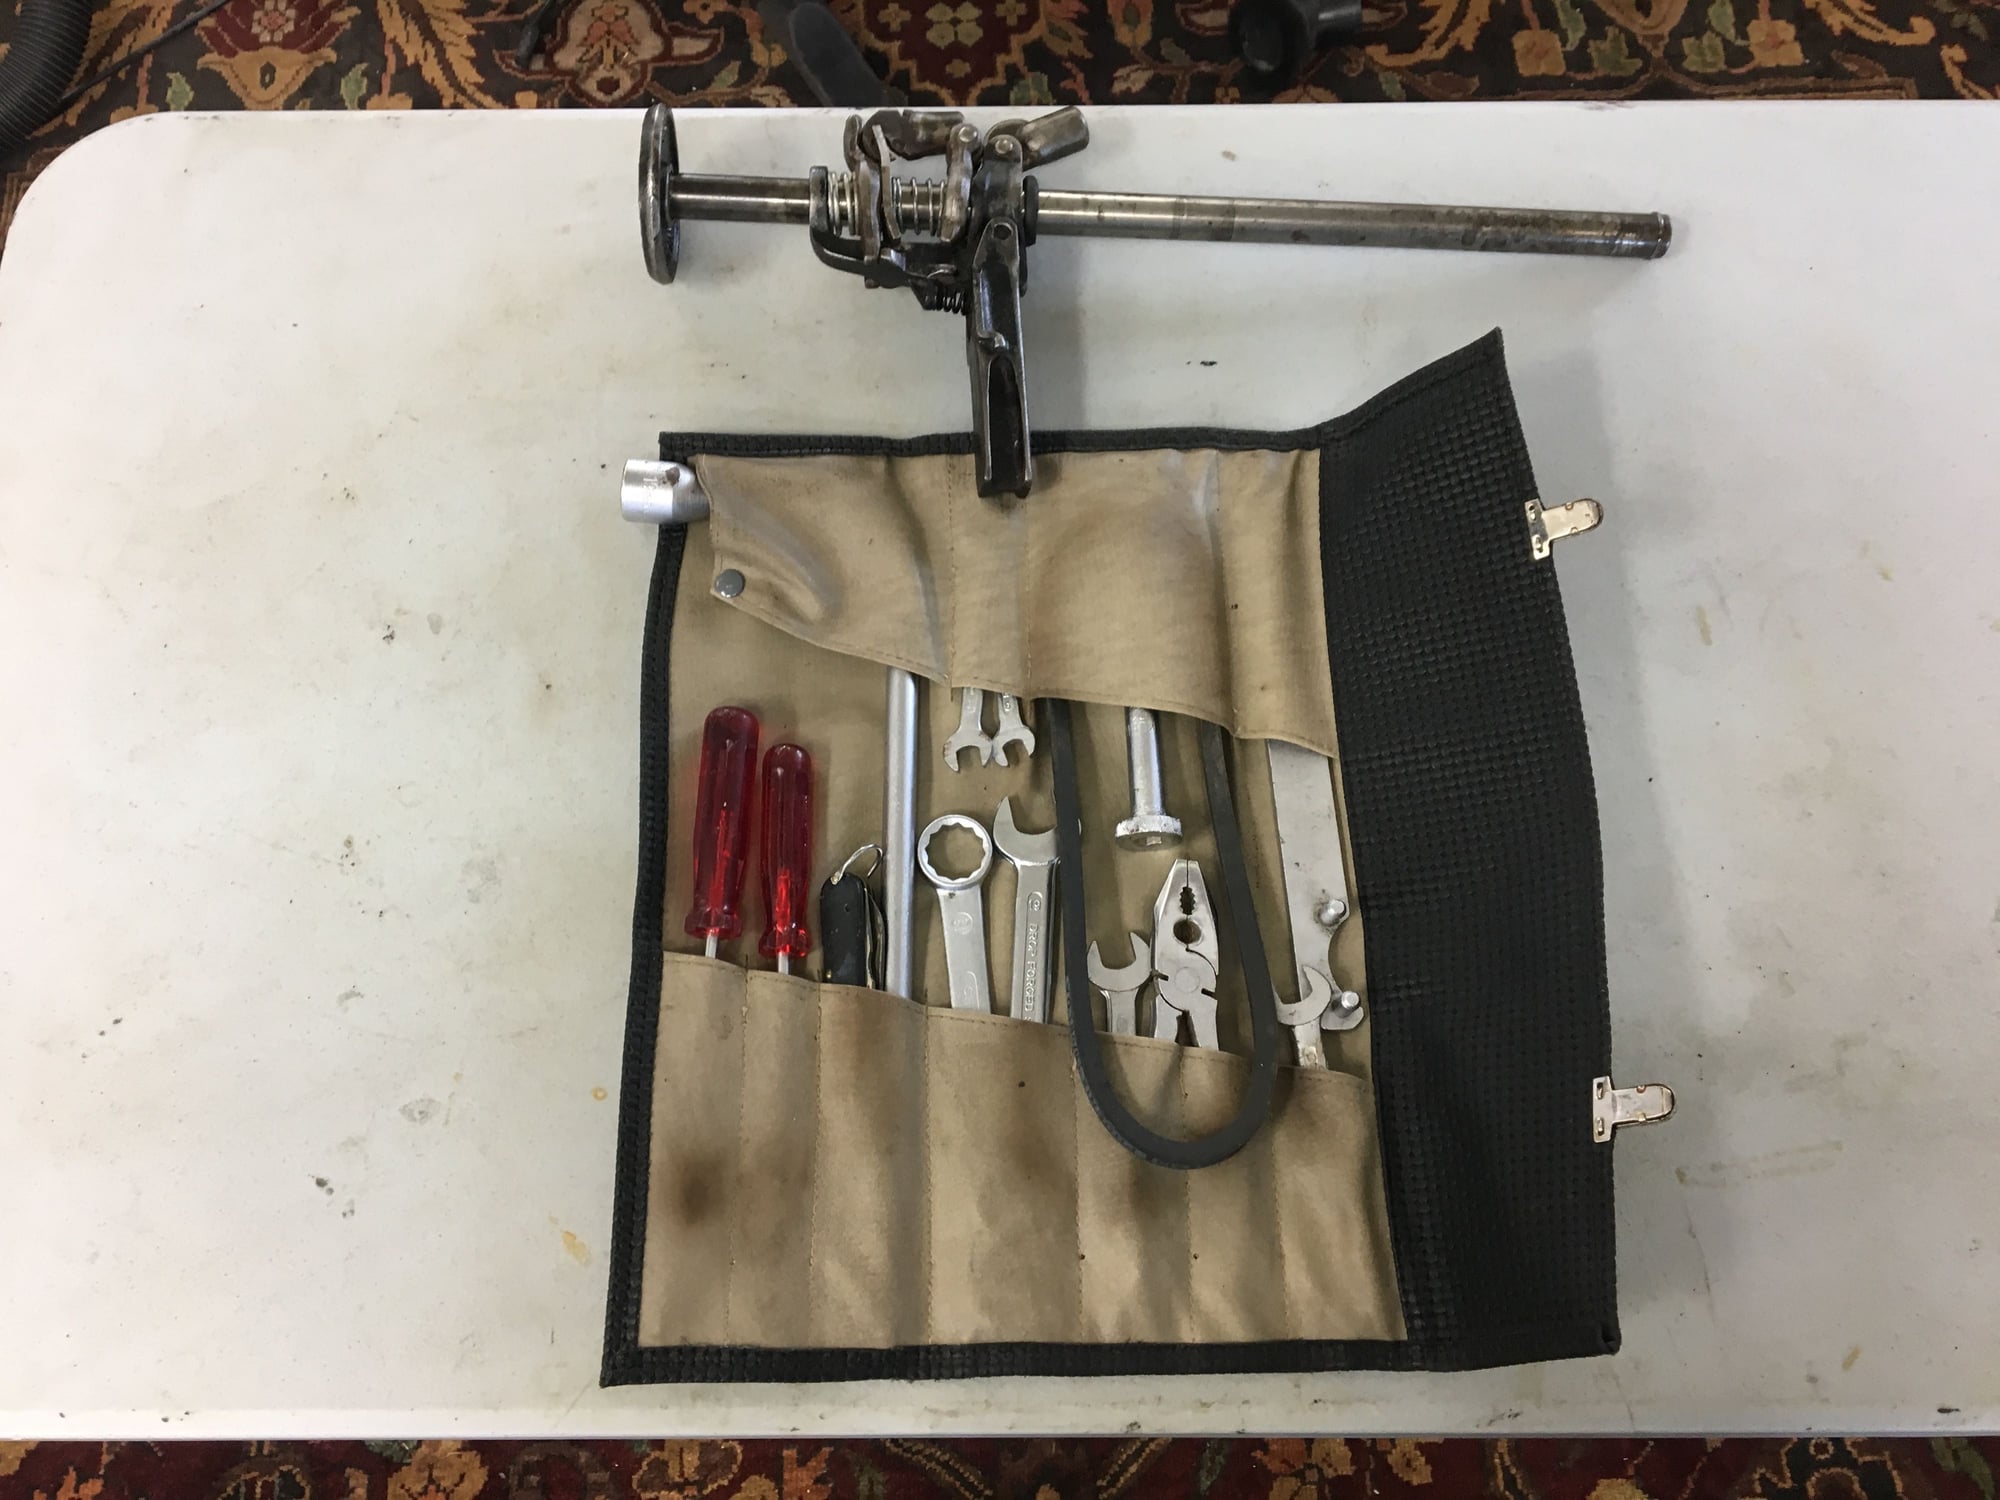
Tackling the trunk today. Took the tank to my storage area. Good to get it out of the shop.
The tool roll and jack. Looks like there is a missing allen key for the spark-plug wrench. No tire pressure gauge? Anything else missing?
Thanks for taking a look.
DJ
#38
re: pressure wash - hot water or steam (or "steam") will work wonders
wear a respirator and gloves when near an animal infestation site... lots of really nasty diseases are possible
I'm not familiar with the exact concoursy contents of that year tool kit - PCA judges will know for sure
- those screwdrivers do cost a fortune tho...
wear a respirator and gloves when near an animal infestation site... lots of really nasty diseases are possible
I'm not familiar with the exact concoursy contents of that year tool kit - PCA judges will know for sure
- those screwdrivers do cost a fortune tho...
#39
Instructor
Thread Starter
re: pressure wash - hot water or steam (or "steam") will work wonders
wear a respirator and gloves when near an animal infestation site... lots of really nasty diseases are possible
I'm not familiar with the exact concoursy contents of that year tool kit - PCA judges will know for sure
- those screwdrivers do cost a fortune tho...
wear a respirator and gloves when near an animal infestation site... lots of really nasty diseases are possible
I'm not familiar with the exact concoursy contents of that year tool kit - PCA judges will know for sure
- those screwdrivers do cost a fortune tho...
Today was productive with more time spent in the bonnet. Removed the heater fan and control valve assemblies and thank goodness, there was no rodent bedding material in these systems, just a lot of dust. Will clean those tomorrow.
Removed the sponge tank liner with a heat gun and removed all the glue and residual material with lacquer thinner:

Heater equipment removed:

Everything cleaned up and a marked improvement in “fragrance” in the bonnet:


All the best,
DJ
#40
gauges? - pop them out by pushing from the trunk and put a bag around them
good time to replace the emissions hoses - gasoline fume rated
also all fuel hoses - EtOH-gasoline mix rated & pressure rated for whatever is or will be on there.
good time to replace the emissions hoses - gasoline fume rated
also all fuel hoses - EtOH-gasoline mix rated & pressure rated for whatever is or will be on there.
#41
Instructor
Thread Starter
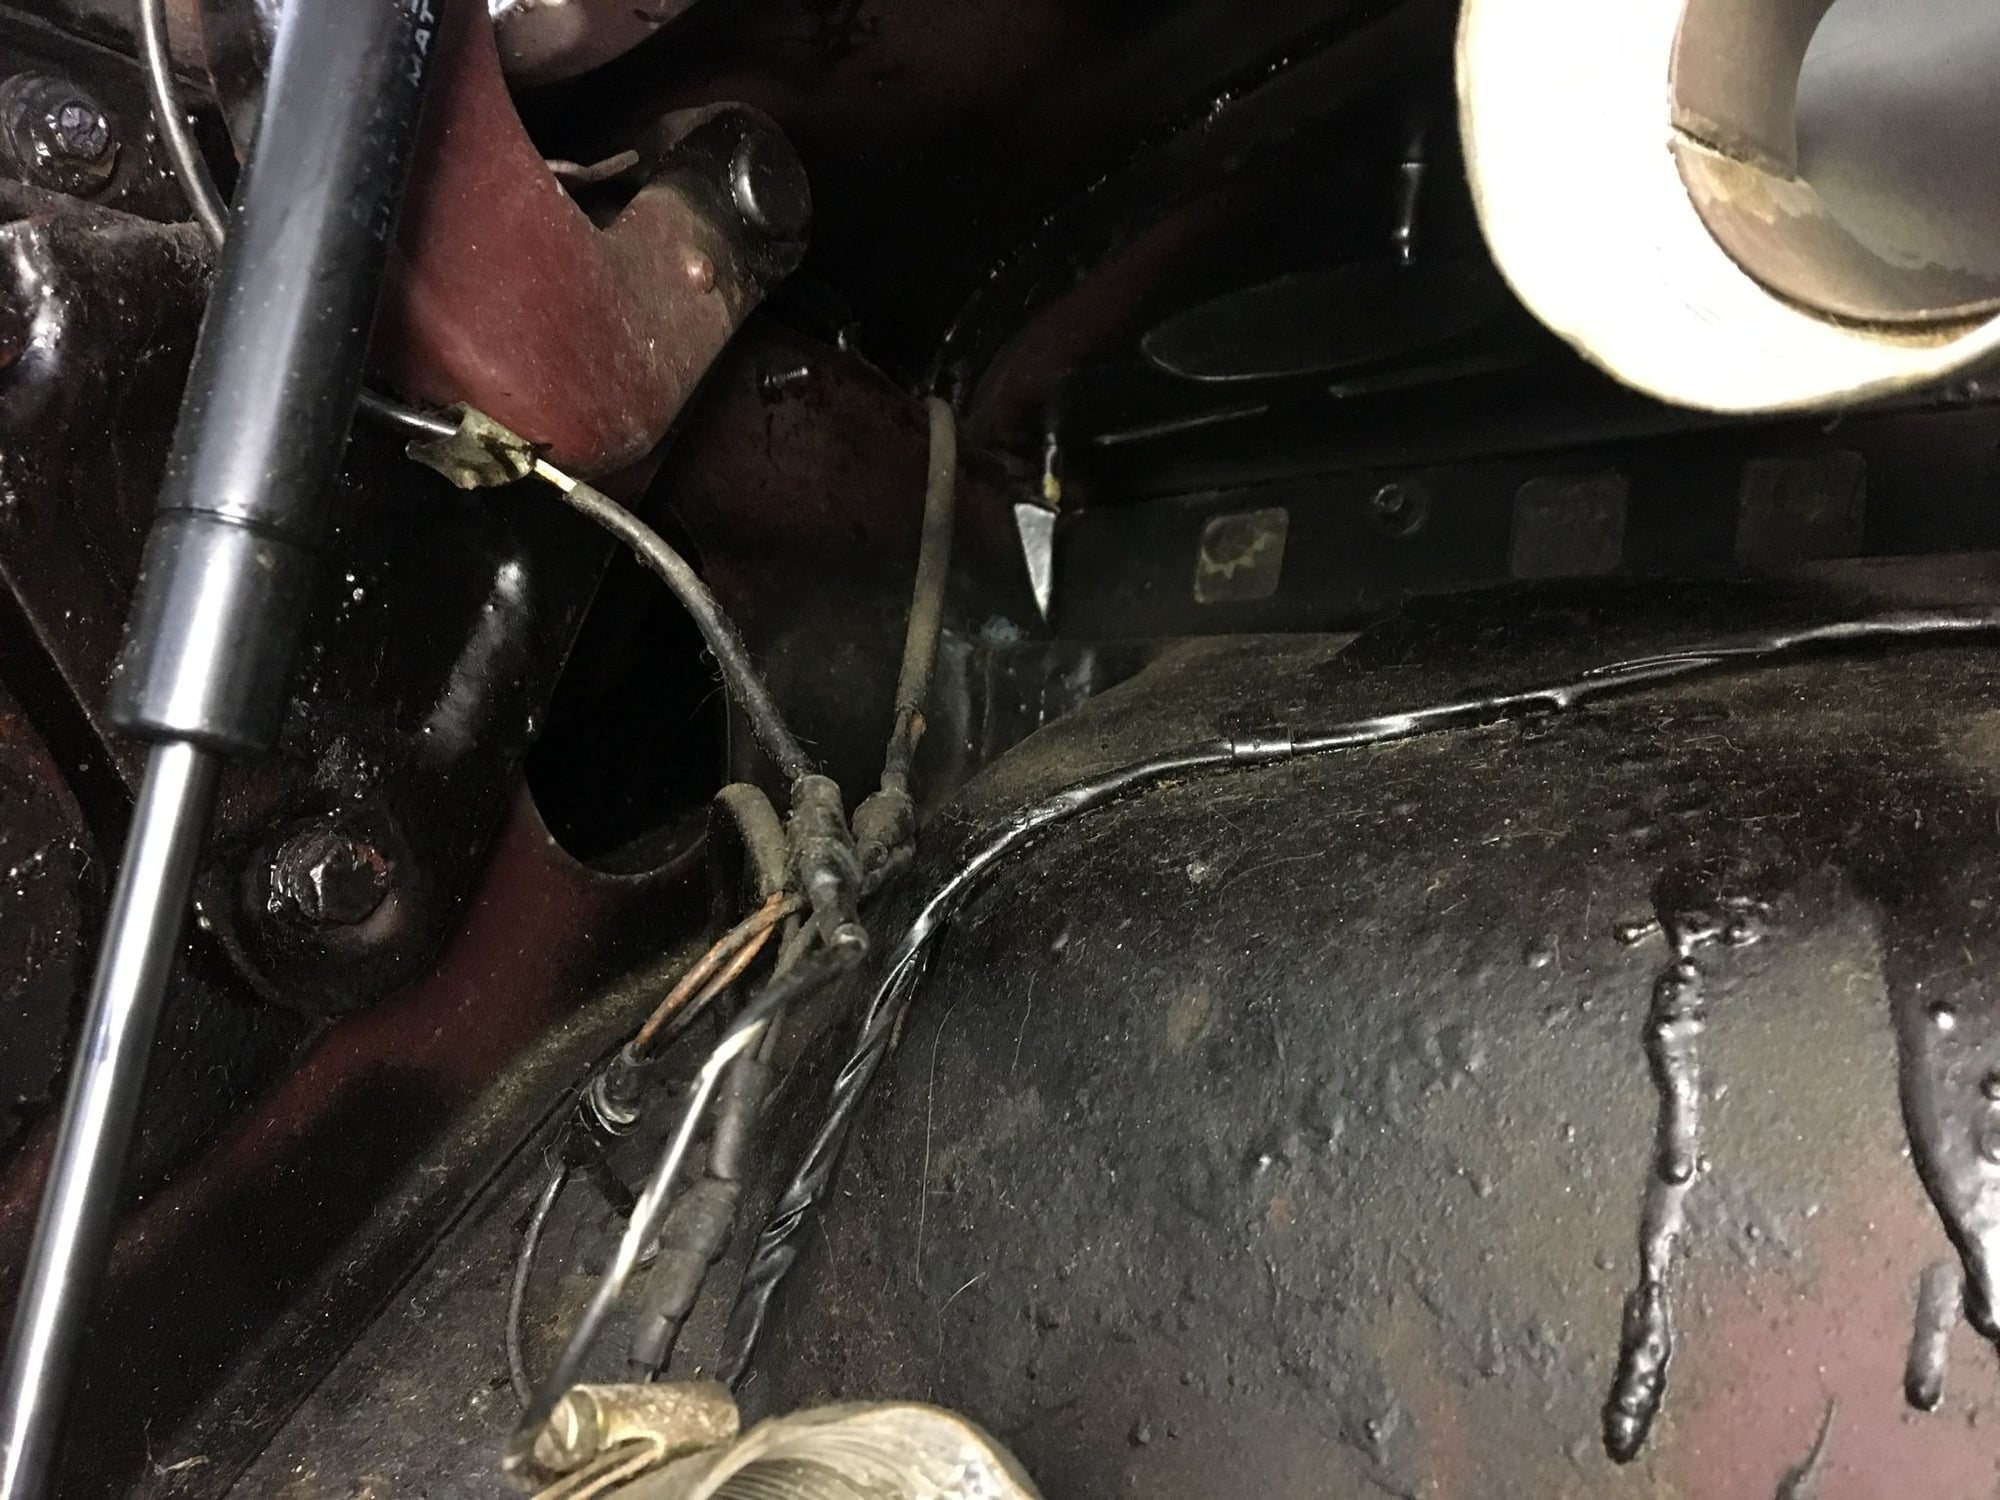
All the flexible fuel lines were replaced in 2013 so those should be good to go for another 20 years or so.
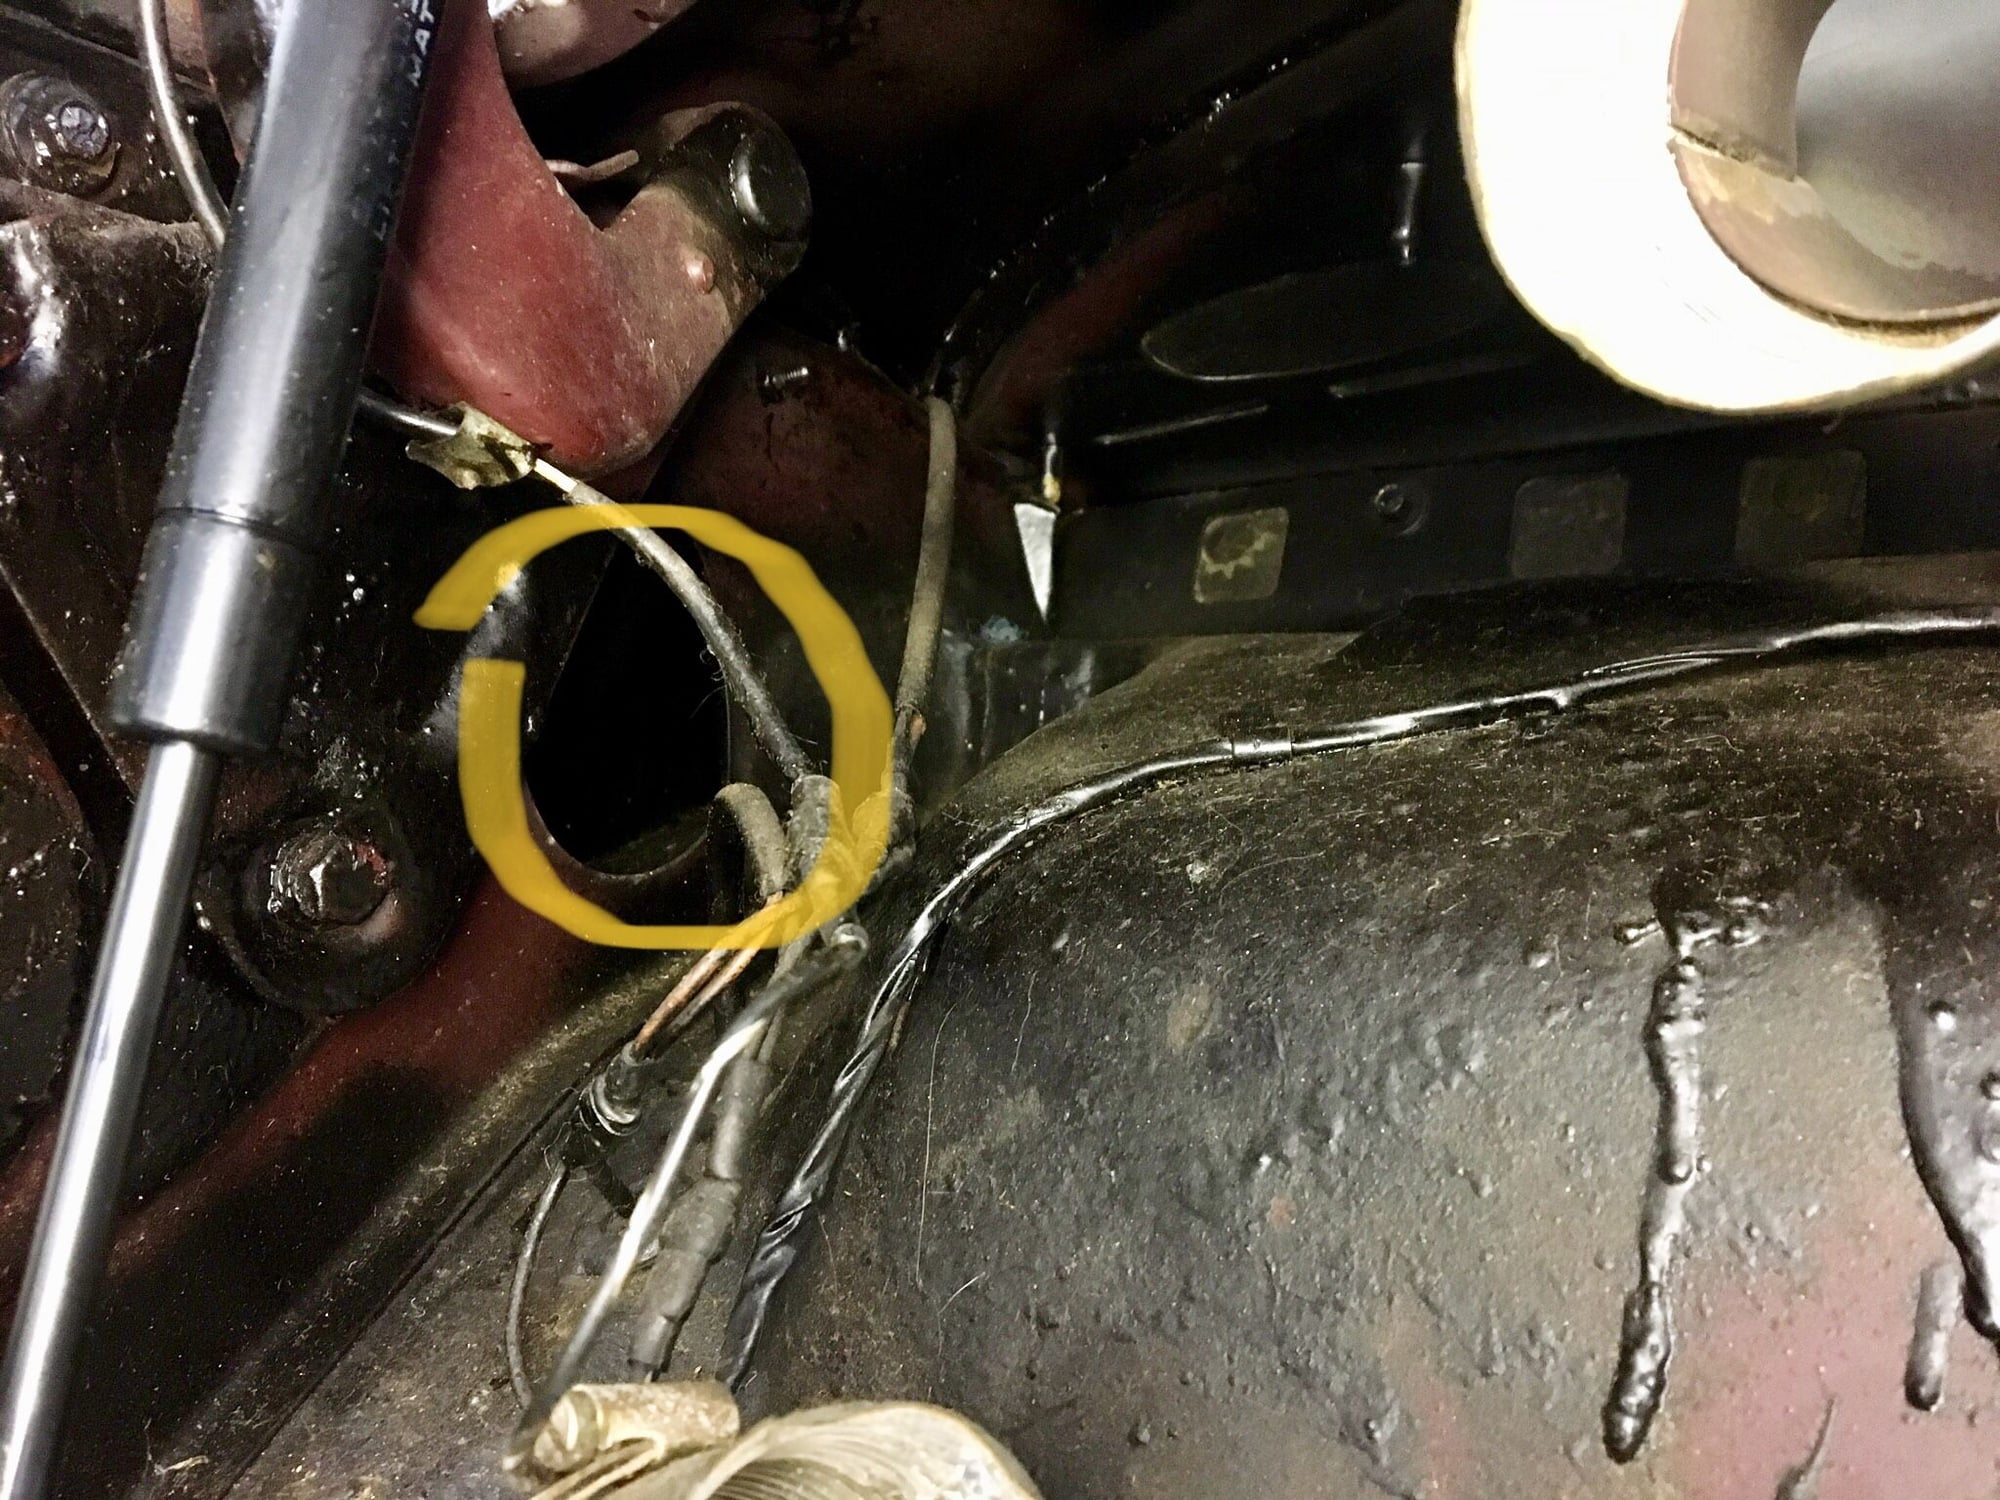
Noticed too there are large openings where the front fenders start, near the “A” pillar. Should these openings have some sort of plug in them?
Thanks again for your time here.
DJ
#43
Instructor
Thread Starter
#45
Instructor
Thread Starter
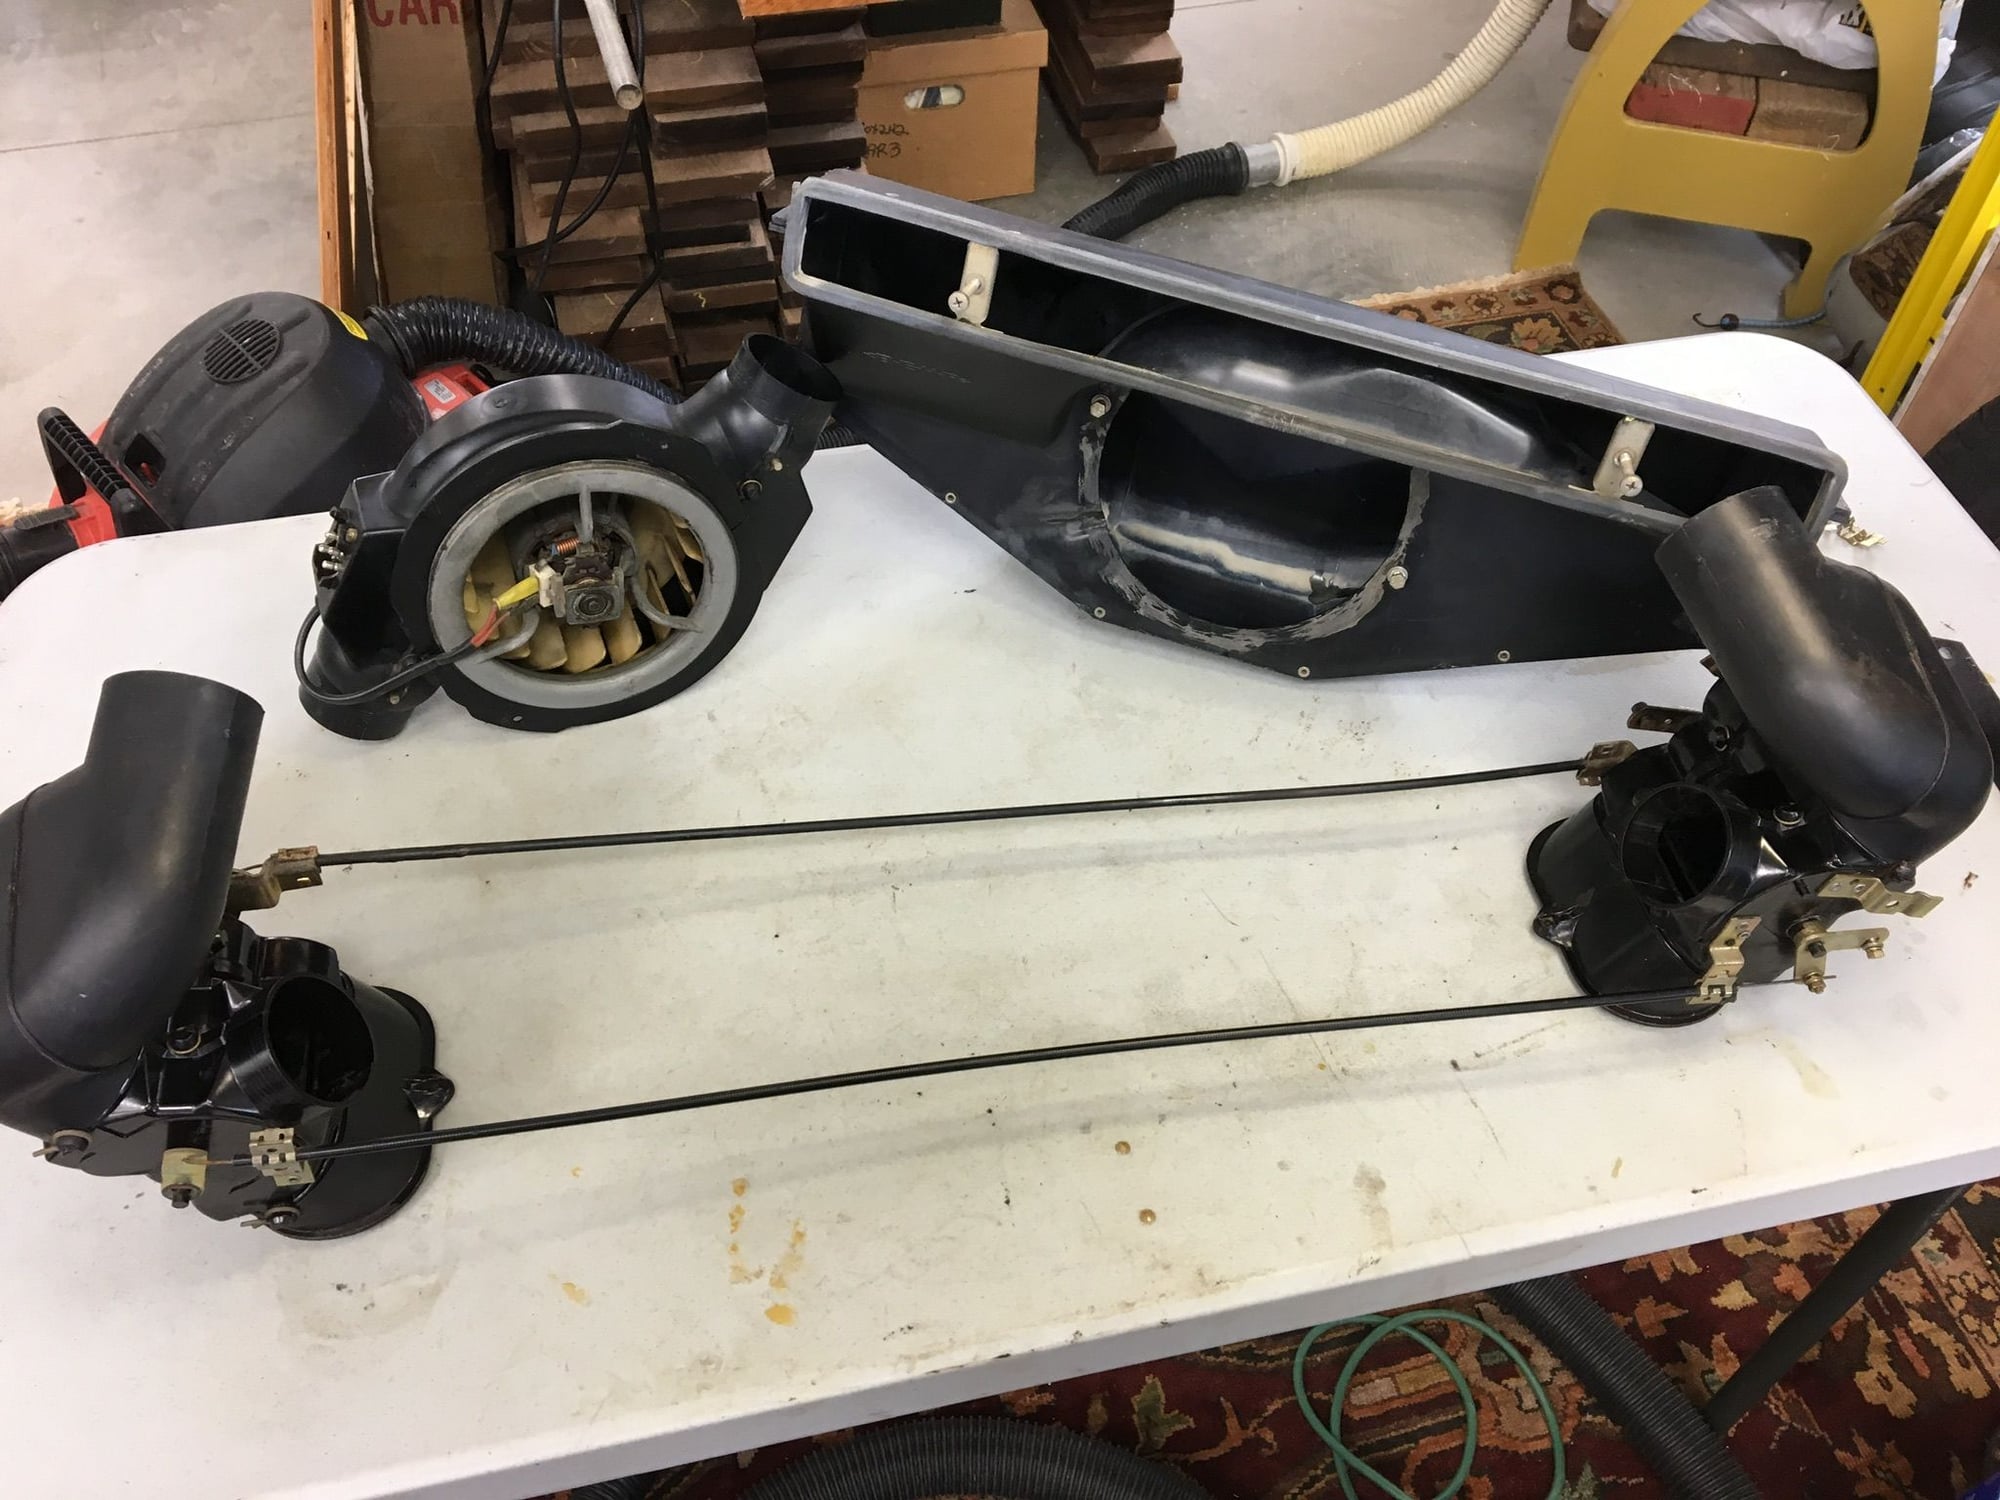
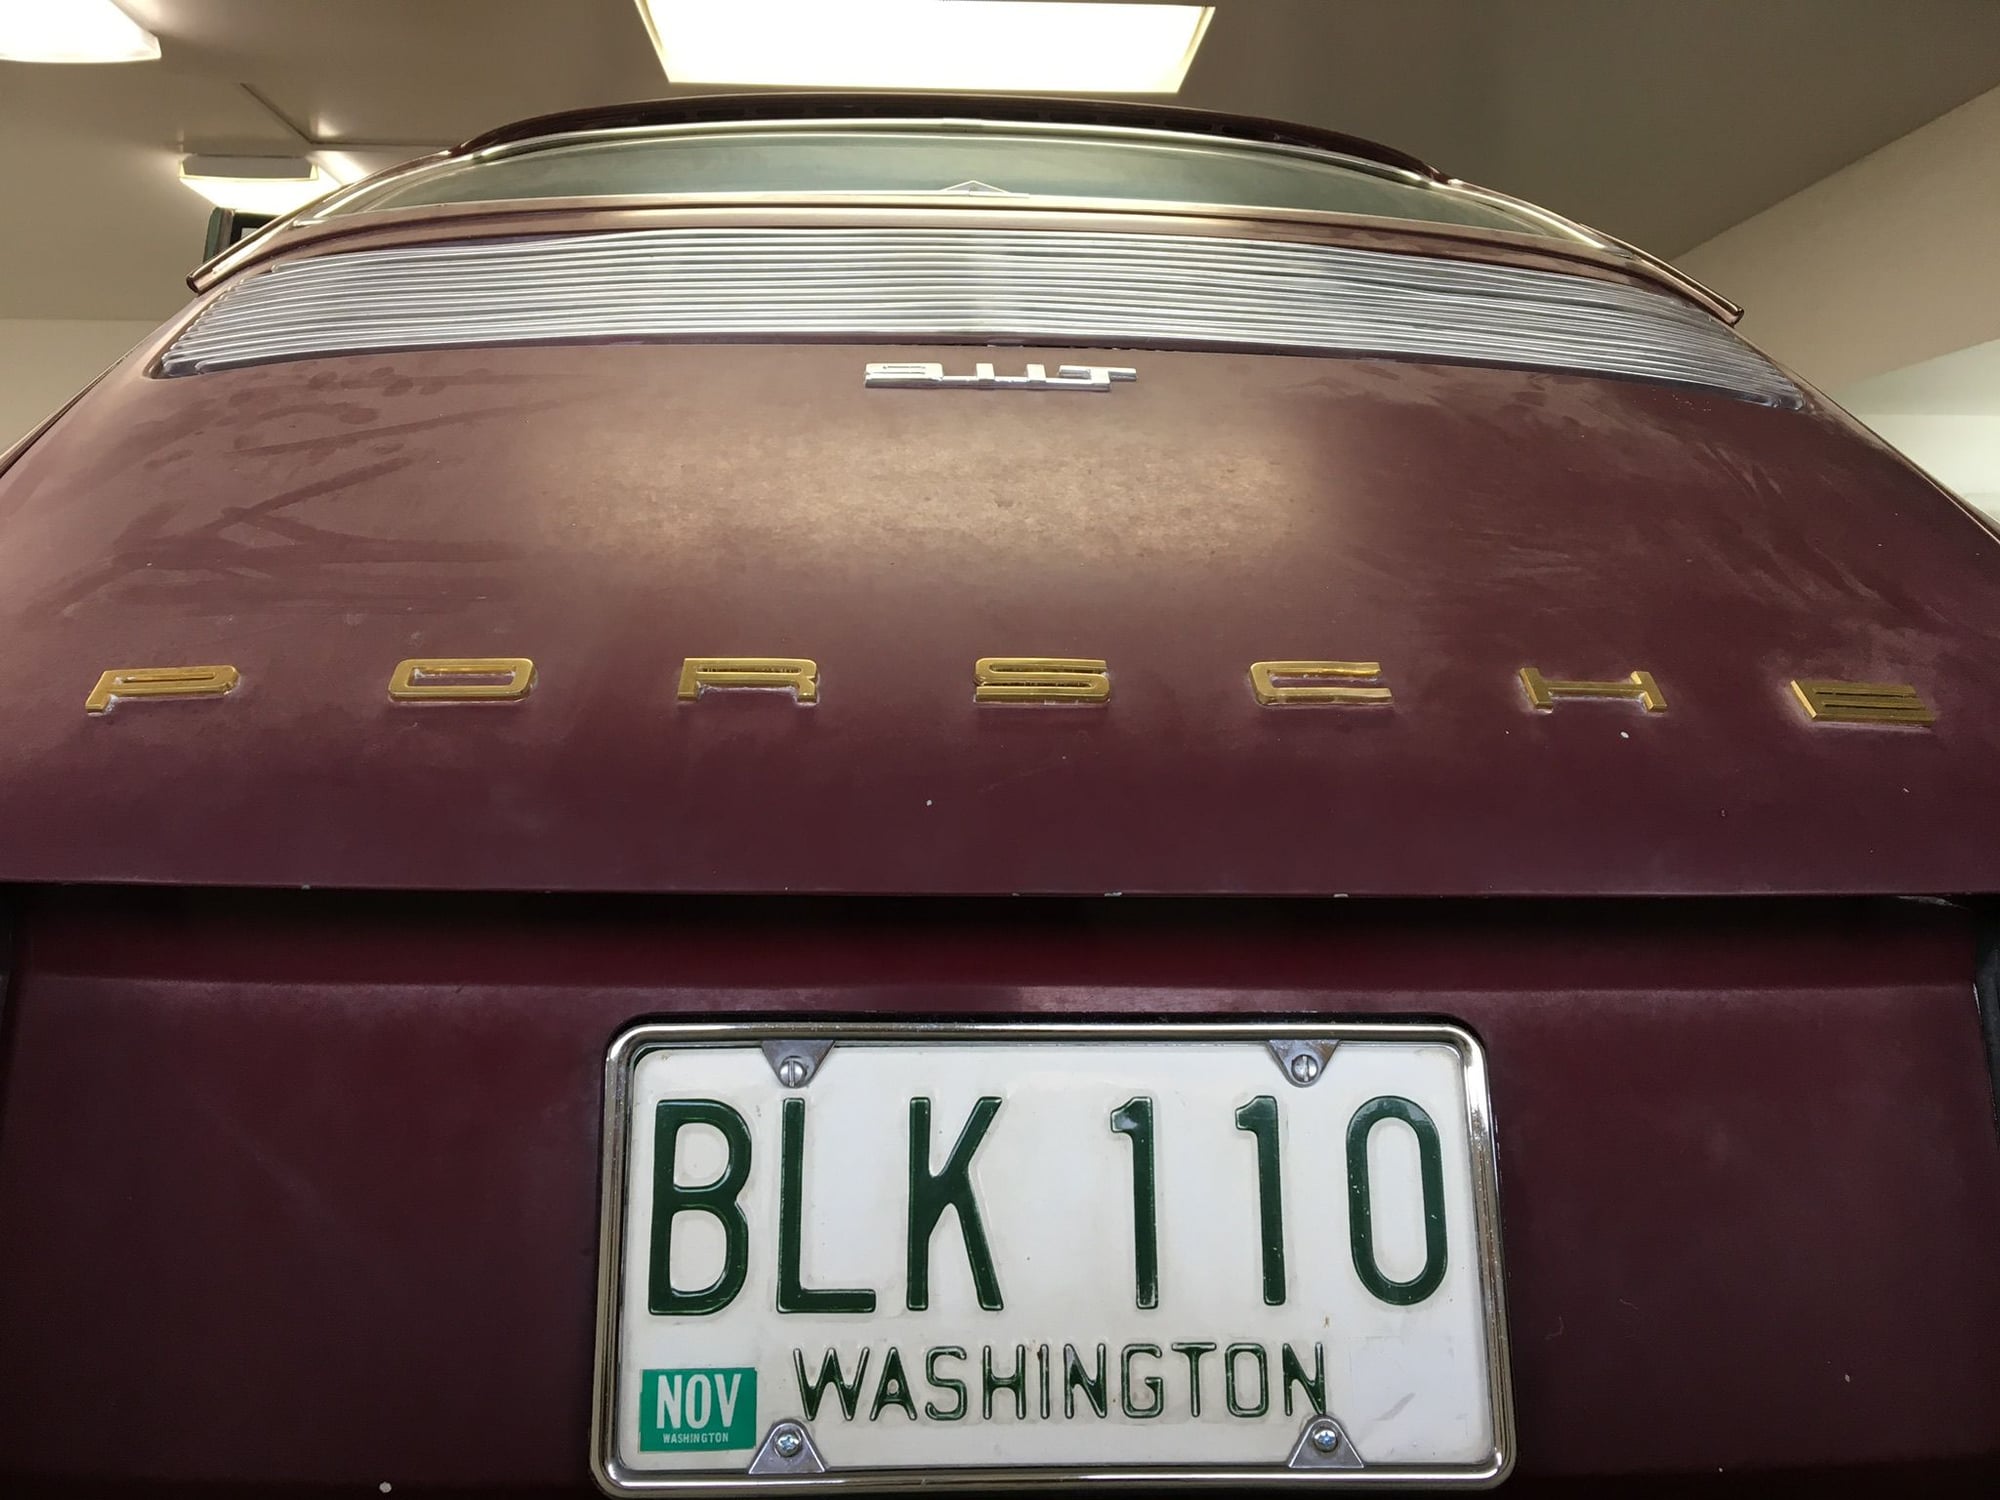
Cleaned the air handling parts and ran the big fresh air scoop in the dishwasher. Also added the period correct license plate. This one off my ‘62 Vette which was purchased by me in 1970.


