When you click on links to various merchants on this site and make a purchase, this can result in this site earning a commission. Affiliate programs and affiliations include, but are not limited to, the eBay Partner Network.
Anyone have any instructions or videos that shows the steps to put a 718 Boxster into roof service mode? Theres a few on Youtube but they are for 986 models and the one I found didnt show the steps.
Anyone have any instructions or videos that shows the steps to put a 718 Boxster into roof service mode? Theres a few on Youtube but they are for 986 models and the one I found didnt show the steps.
This is one of the better videos out there for the 718.
I have base audio so I did not need to do the speaker disconnect/remove "carpet" behind seat part.
Also - the strap you use to hold the roof in place may be attached in a different way. Depending on model year/region - maybe. Mine was not attached with velcro but some some rivets. (no big deal, just harder to get off)
Last edited by winter.zed; 05-25-2021 at 09:55 AM.
Thats a pretty good video, but I would have like to have seen the position of those tension cables and where they attach.
Could the top of interior carpet be lifted out partially to get at those bolts?
But not too difficult.
Mike
Actually the whole thing is not as difficult as people make it out to be. Honestly. I was a bit concerned at first because there seems to be "some mystery" to engine access to a Boxster.
Very few videos out there, etc.
If you do it once - you'll realize how straight-forward the whole thing is.
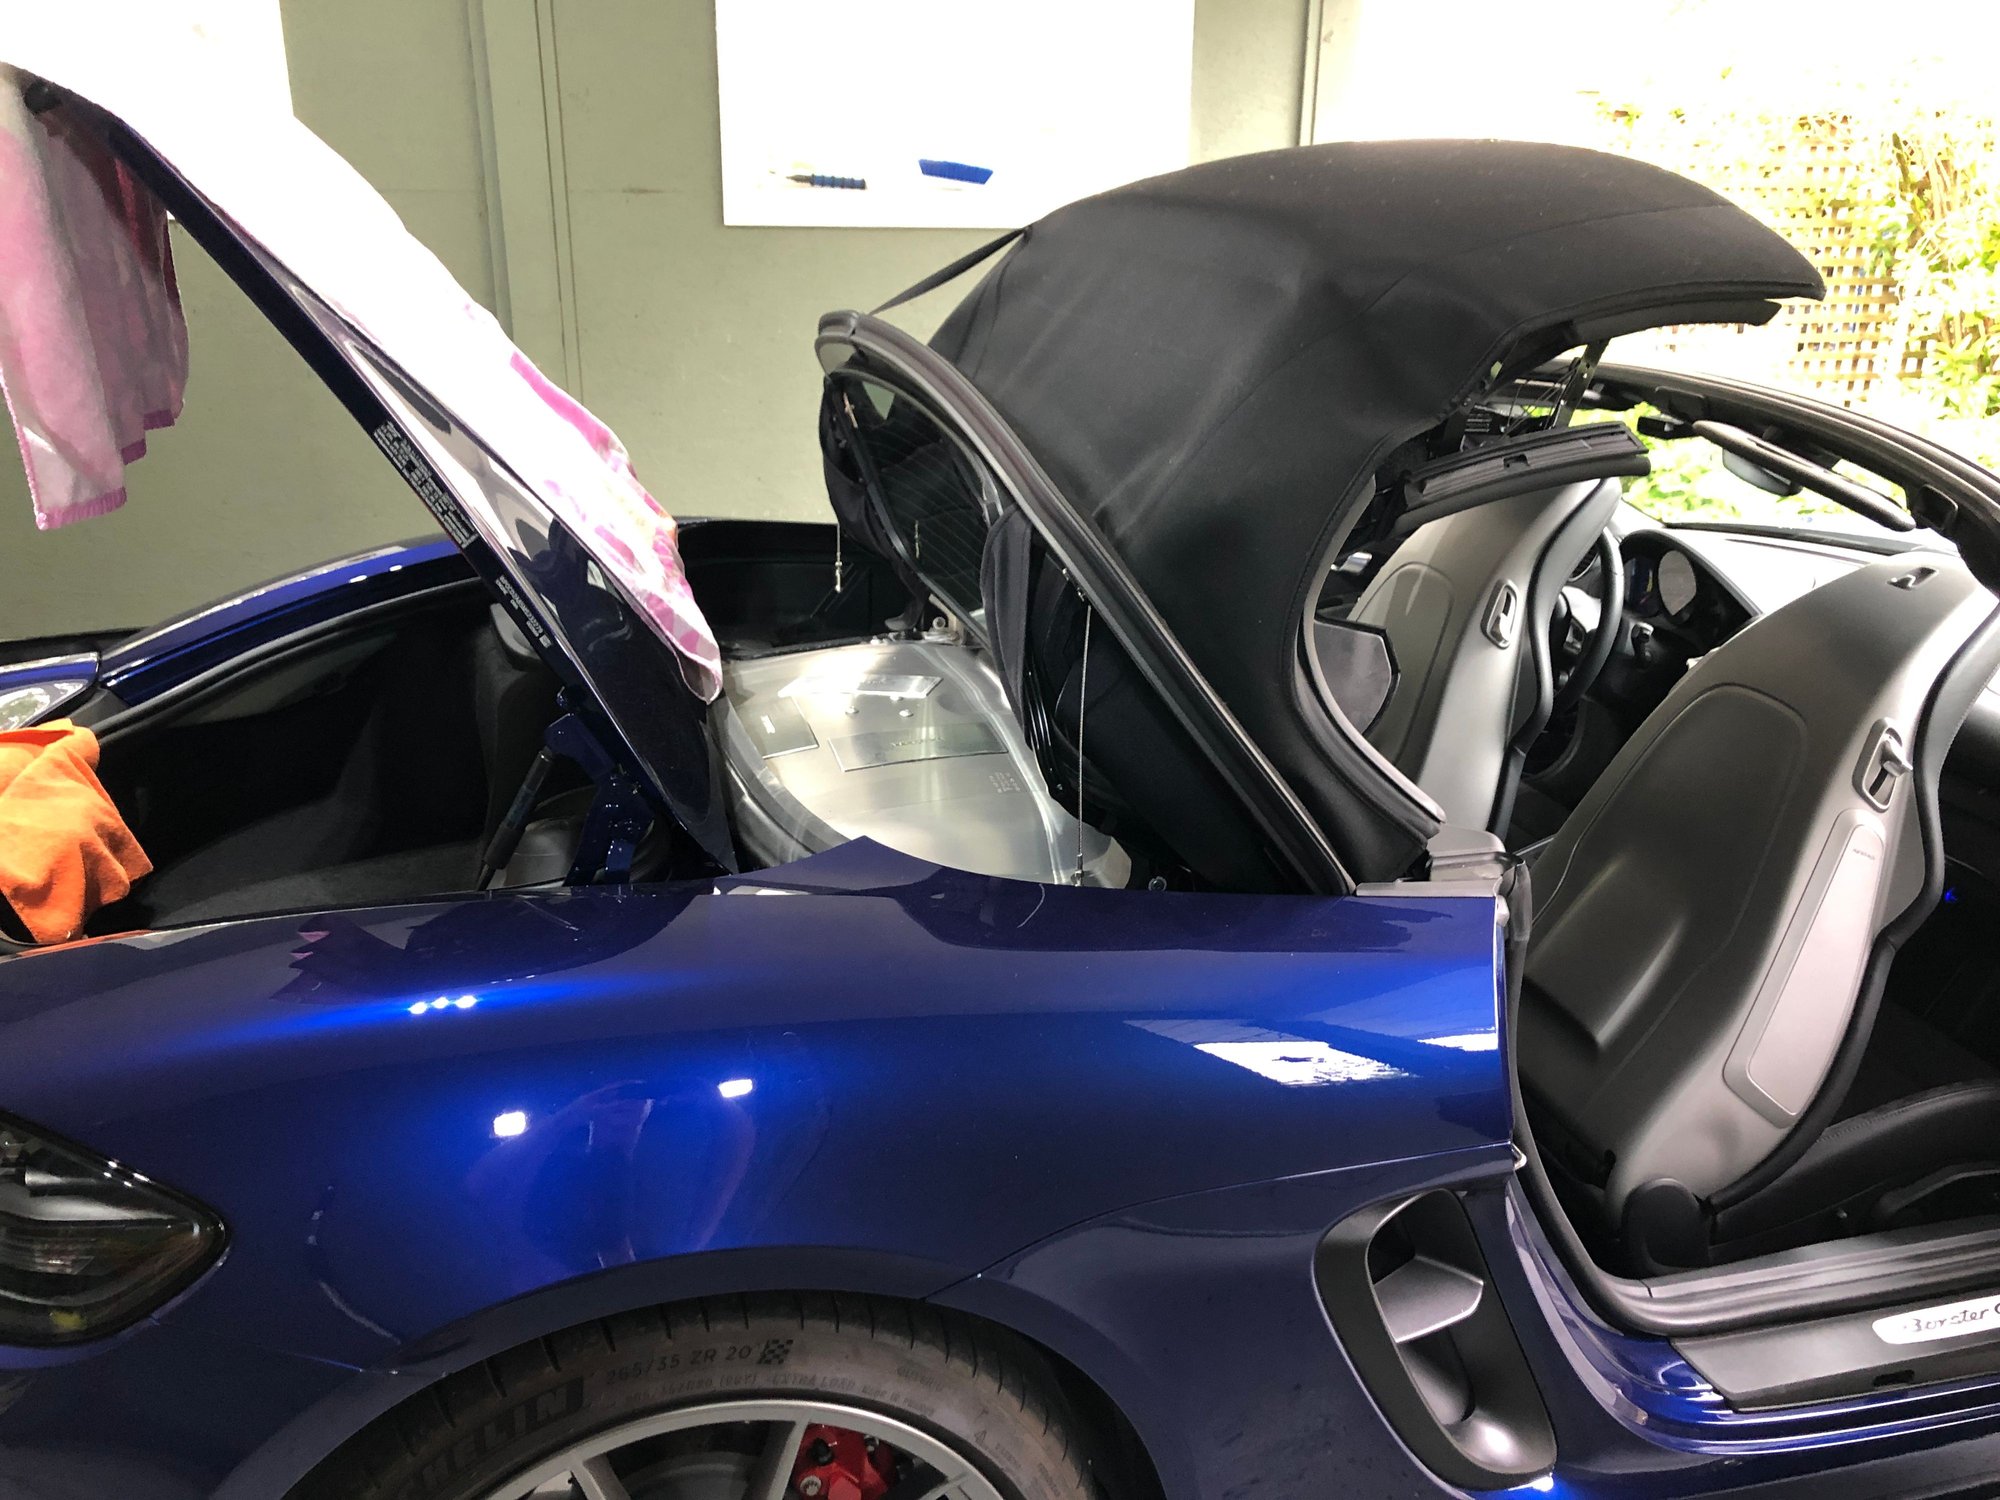
Just to get the roof in service position - all you need is to take out the center wind deflector and the two inserts from the rollbar loops (even that is optional - really).
Now that you know the shape of what you are looking for - just reach down there - and you'll find it very easily. Just "need some feel"
I'm an average size person with relatively good mobility so that helps. This is one of the few scenarios when being 6'5" is not an advantage.
The ball joint comes apart without much effort.
As for the bolts - they are the most annoying and time-consuming part due to their locations. Specially those closer to the front of the car. Again - not difficult. Just annoying a bit.
Here's an other good video. Focus on the visual part. It is very helpful.
^^^^
fwiw...
- use a little bit of soap to lubricate the underside of the rear deck gasket to make pulling the back side of the roof up and through a bit easier.
- its good idea to have a stubby T30 and a 1/4" drive ratchet to get the two front engine cover bolts.
- I used duct tape to protect some of the plastic bits that you have to maneuver the engine cover around to lift it out. (edges are sharp!)
- cover the deck lid & trunk area with a blanket for protection.
- I had to ask my wife (with skinnier arms) to help detach and re-attach the retention cable because it was difficult for me to reach far enough through the drivers side headrest.
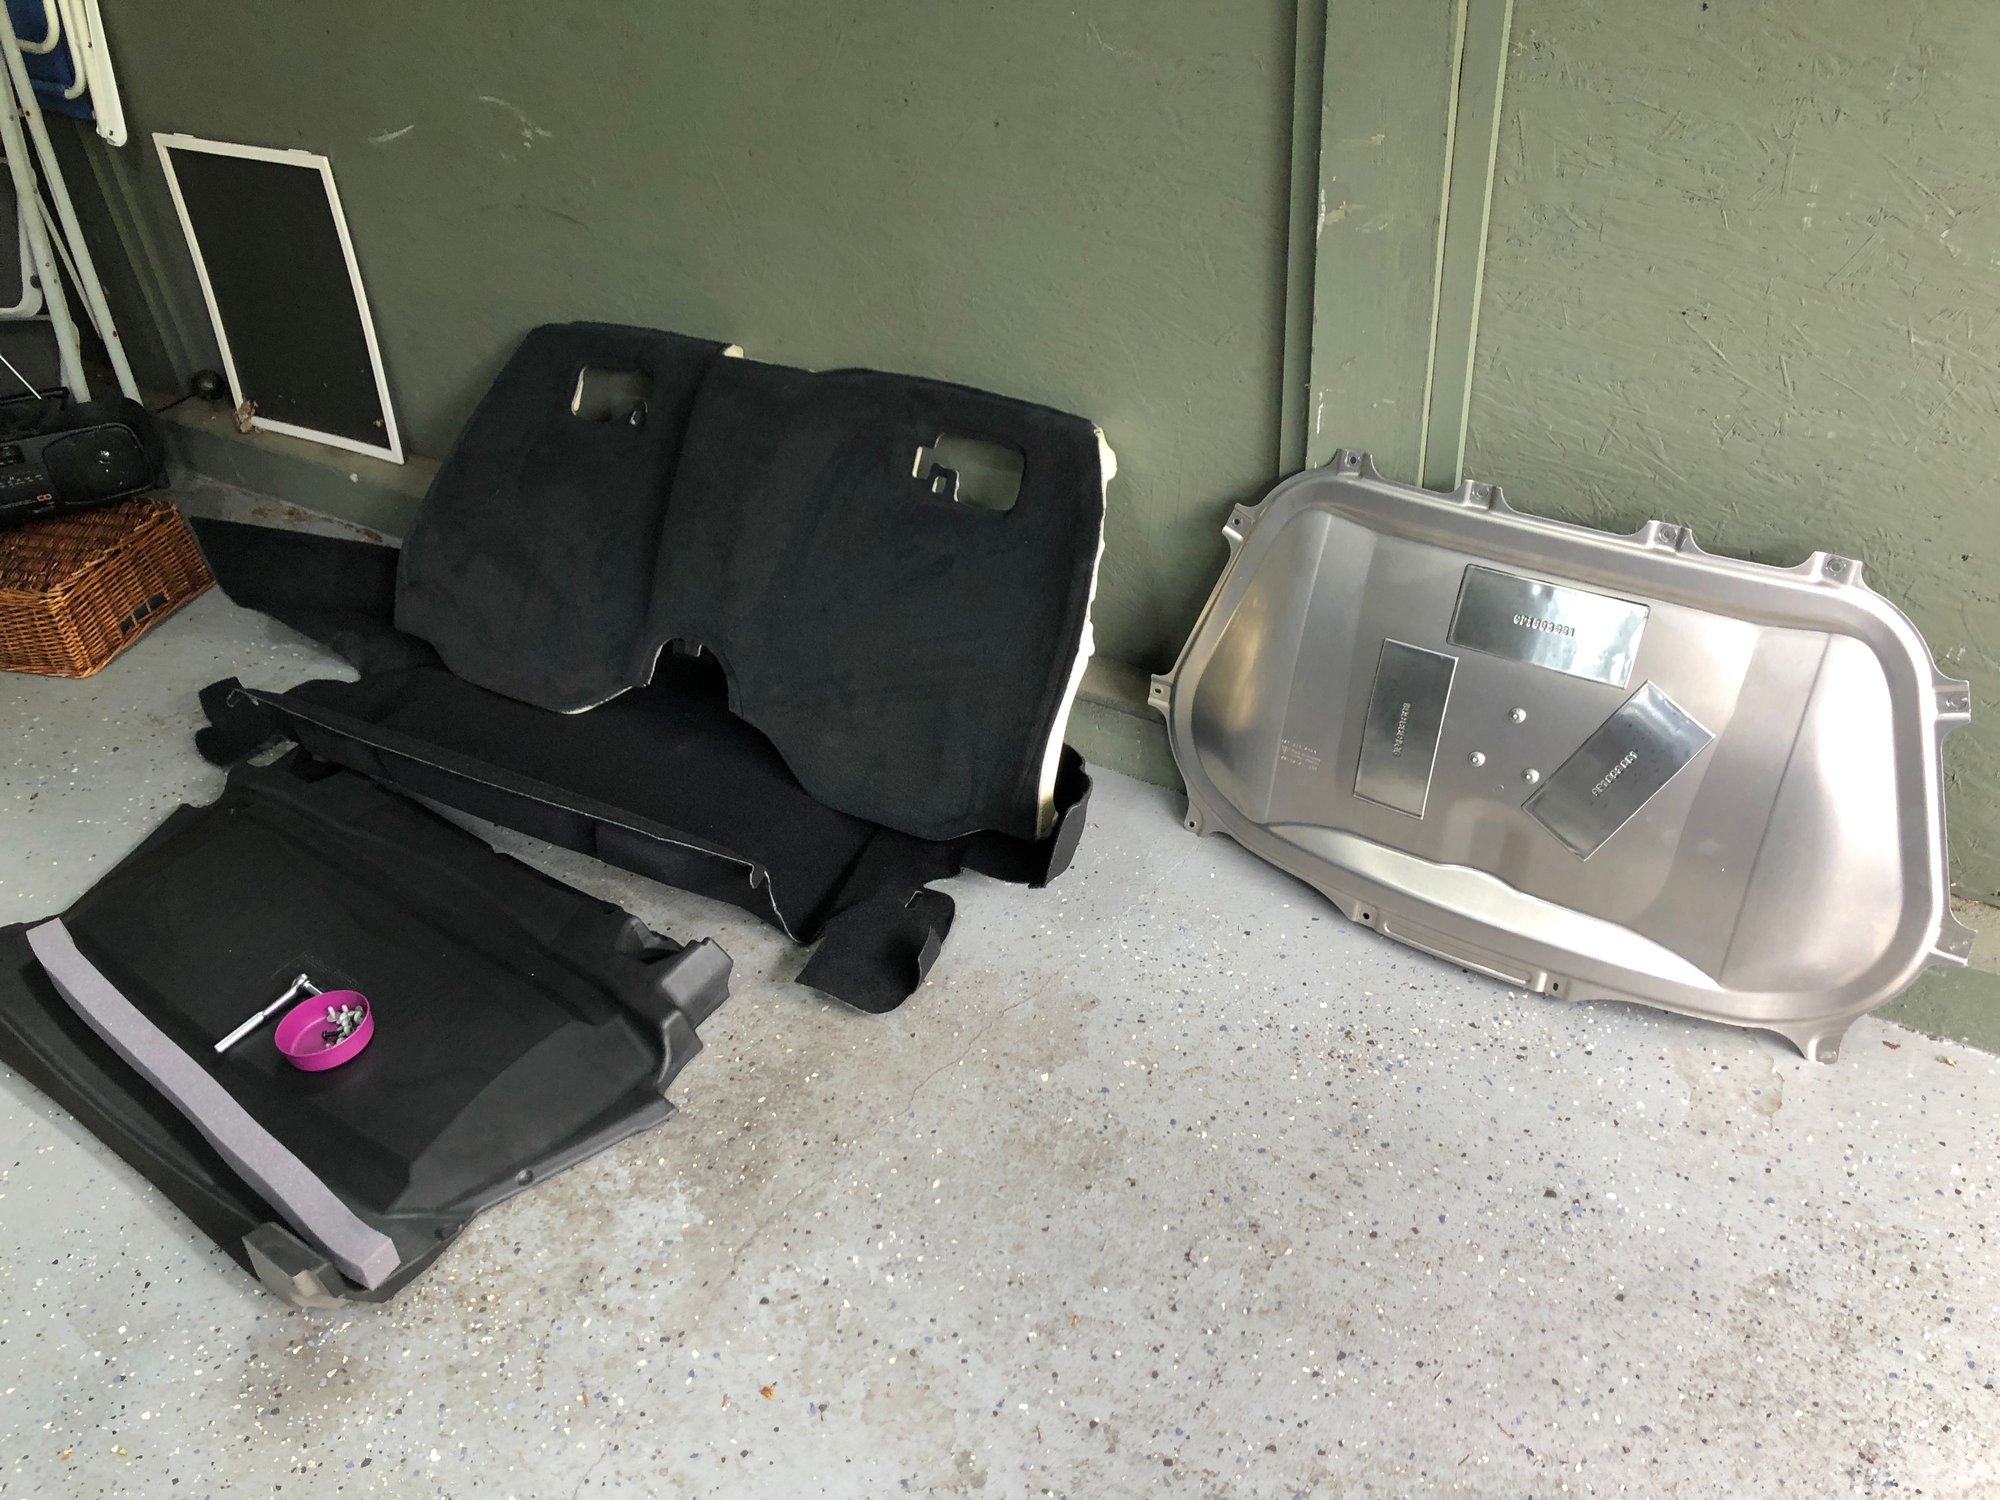
Thanks everyone for your links to those Videos. I thought I'd post a few pix here of my experience. I had a day when the wife was at work and it was crap weather, so it was ideal to devote a few hours to this.
Pulling the 2 tensioner ball type lines at the beginning is actually really easy. You dont pull them out directly, you pull them at an angle. Try it a few times and make sure you practise putting it back on again.
Getting the back window up and finding the strap takes a few tries but all of a sudden it makes sense and is quite straightforward. The strap was held by 2 plugs that you need to pull out so a flat head screwdriver and a bit of light pressure removes them. The strap isnt very long but I found I could hook it over the front left corner of the roof to hold the glass in place.
Pulling the carpet can be a pain, take your time and really try to remember where and how it fits when you have to put it back.
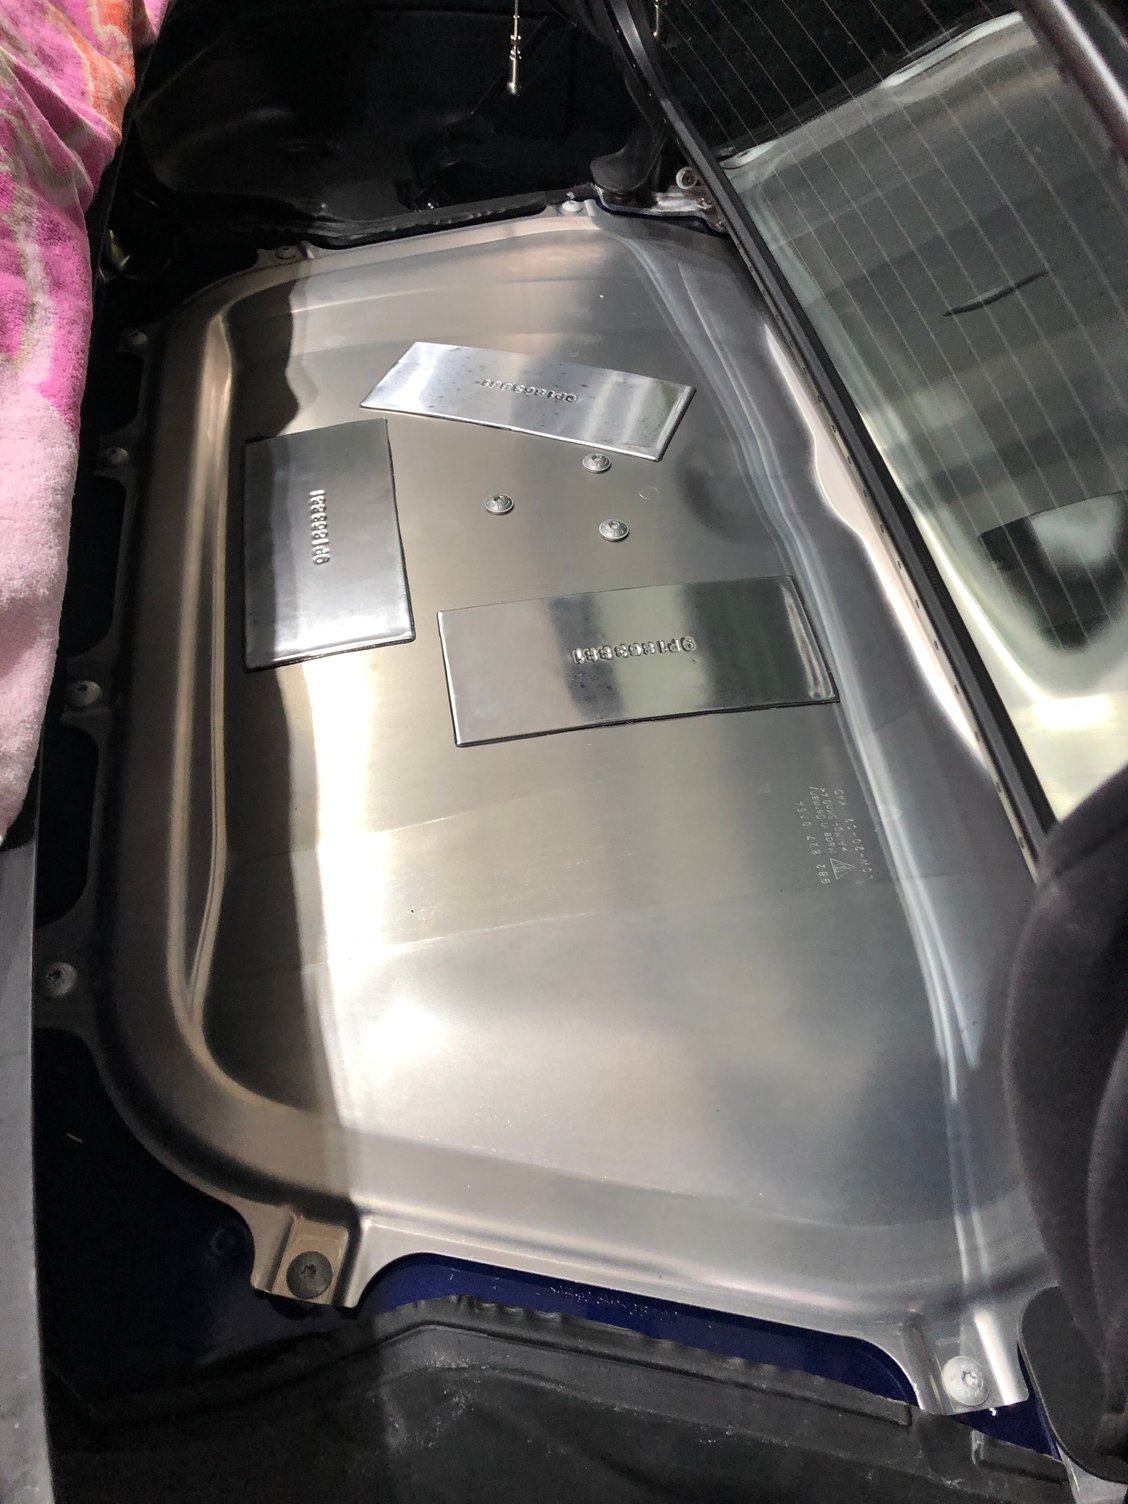
The sound insulation on top of the engine cover is very easy and with a bit of playing it pops right out.
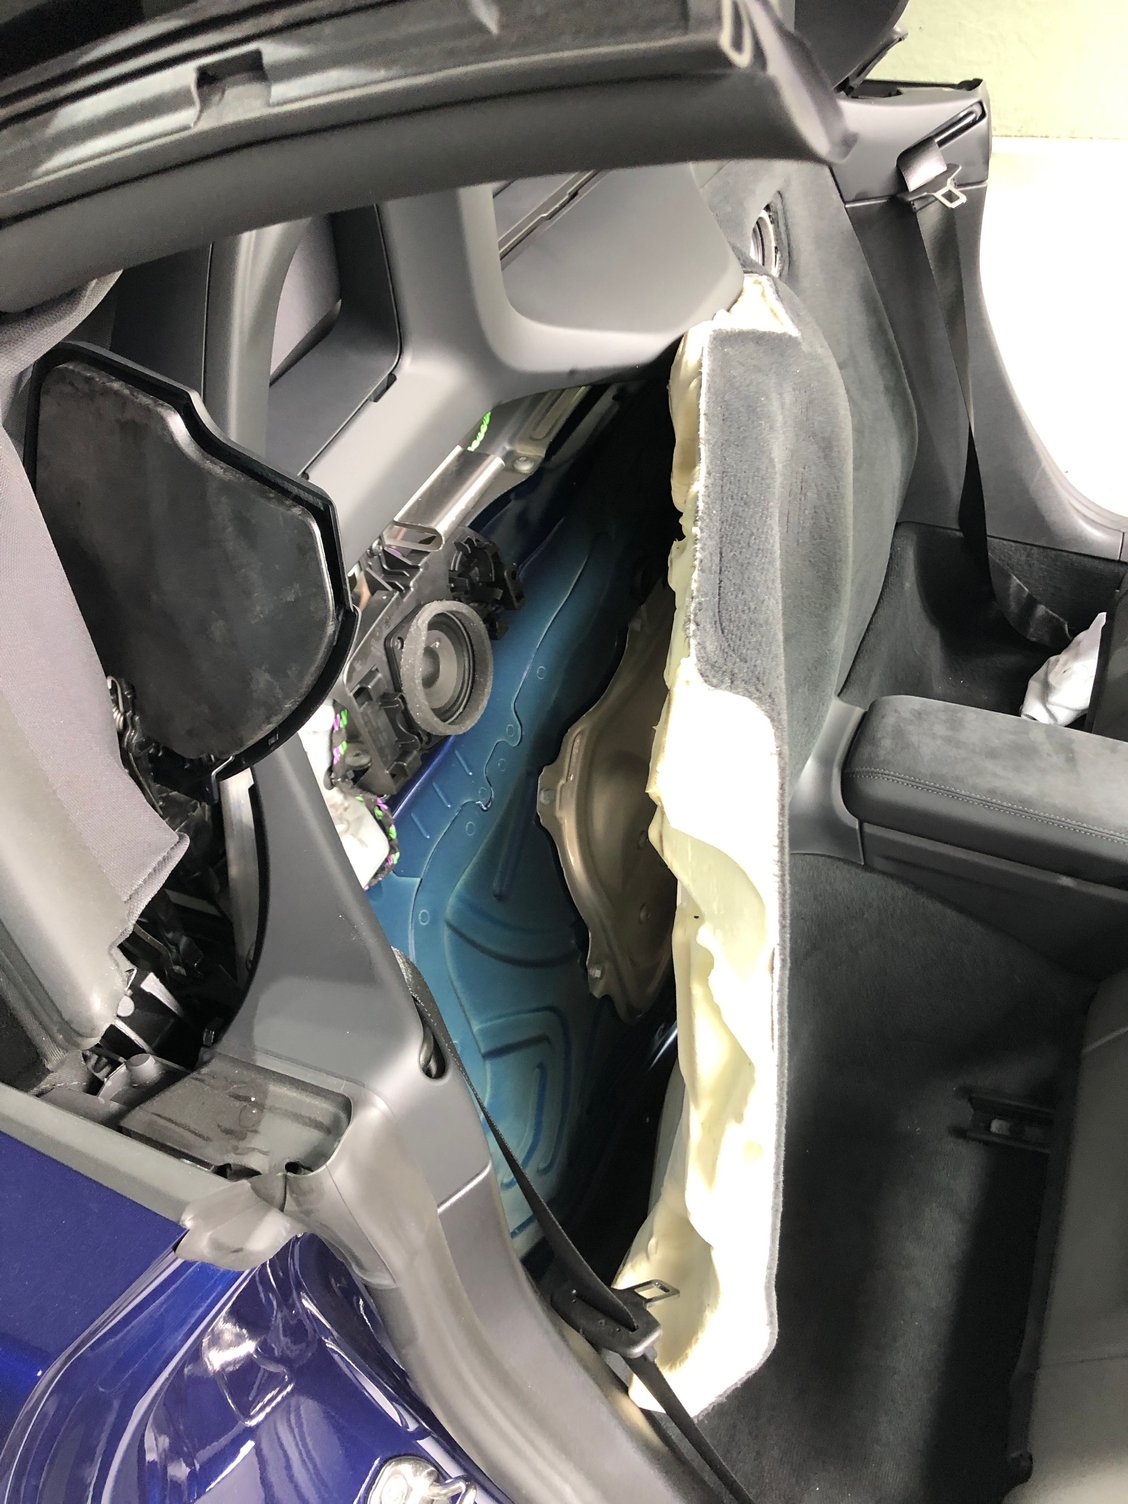
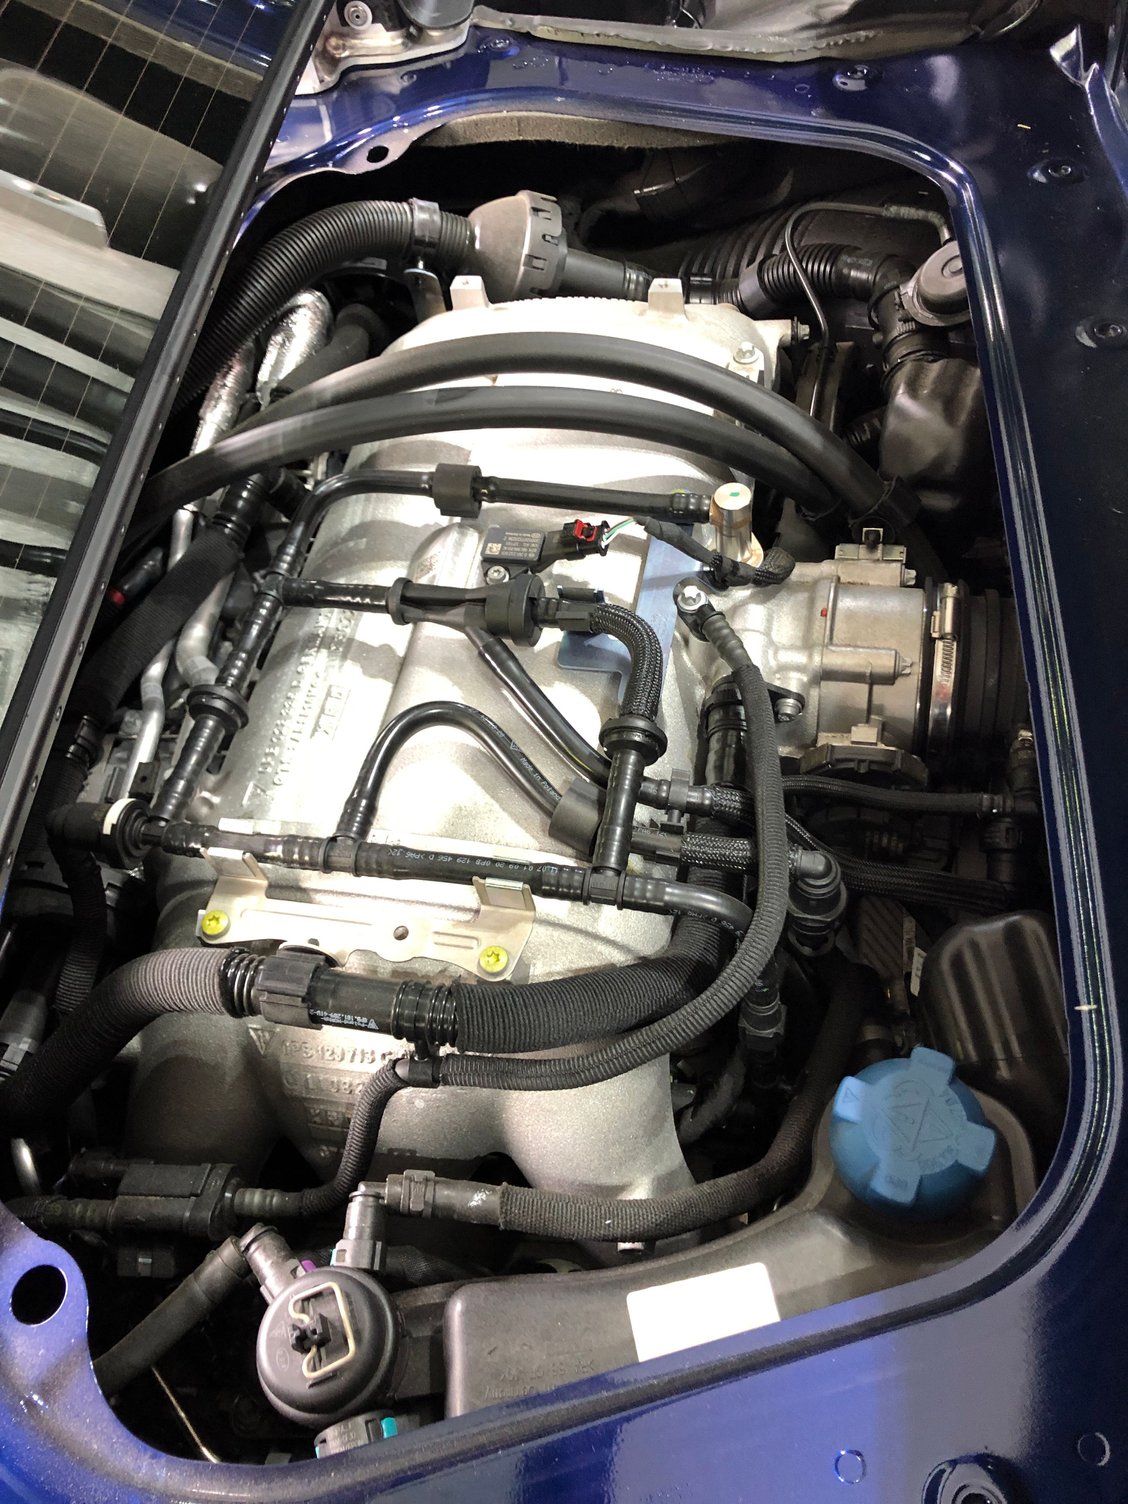
The engine cover itself is very easy, the only part I realised I had to do was pull the passenger compartment firewall carpet. I was hoping not to, but there are 4 torx screws there and the middle 2 are really really hard to get at. Popping the speaker covers is easy as is pulling the carpet. Be very careful around the speakers as they have hooks into the carpet. Taking the speakers out is very simple and you get great access to the front part of the engine cover.
The hardest part of the whole exercise was putting the carpets back. They are very stiff and have a pretty exact fit but I was able to get them back to within 95% of original. I'm not too fussed as I'll be pulling them again next month to install the cargraphics valve controller.
Heres some pix of the process. Its not as intimidating as you may think, but it definitely requires some focus and patience as well as a few hours.
Oh and make sure you turn off the ignition and the light switch and plug in your trickle charger!!!
yes, I watched that, he shows the end of the disconnected cable, but not the contact point or the angle of approach with your arm. LOL. I will look at mine. it's raining. so not much else to do. Lawn will be up to my knees by the time it's dry enough to mow.
yes, I watched that, he shows the end of the disconnected cable, but not the contact point or the angle of approach with your arm. LOL. I will look at mine. it's raining. so not much else to do. Lawn will be up to my knees by the time it's dry enough to mow.
Mike
When the roof is up its clearly visible through the back window. Take a flashlight and shine it through the window into the other side, you'll see the cable and the ball joint
old post I know, but I have a problem. I did this to install valve controller, and all going fine. After re-installing the engine bay carpet etc, moved roof to the 4" position no problem, reached install car to re-attach the two calbles, no problem
Now was roof won't move, it's stuck at the 4" position.


 05-24-2021, 04:27 PM