When you click on links to various merchants on this site and make a purchase, this can result in this site earning a commission. Affiliate programs and affiliations include, but are not limited to, the eBay Partner Network.
Step by step DIY with pics radiator ballast resistor replacement
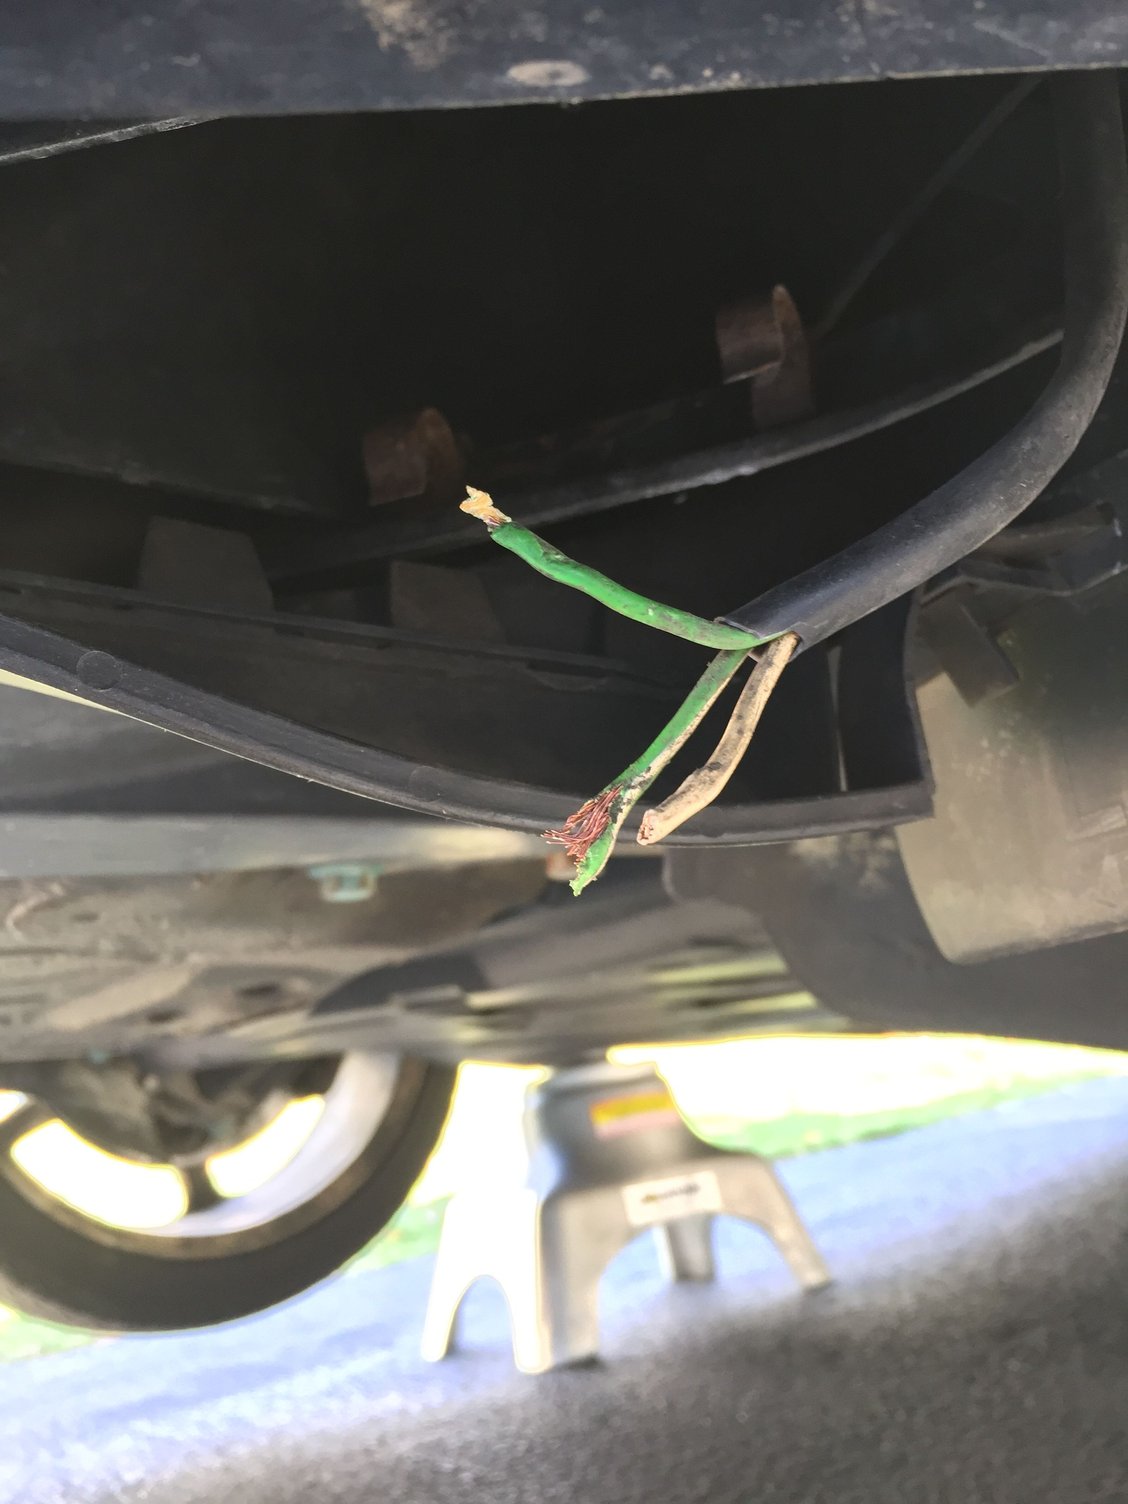
Heat is the enemy of any engine - and because there are no telltale signs in our cars to tell us of an inoperative stage 1 radiator fan
except by manually trying to activate them I surmise that it causes lots of problems down the road.
Without these Stage 1 fans, you are reliant on the Stage 2 fans which come on at a much higher temperature to cool down the engine and associated components.
BTW do you like your jack stands? Are they tall enough for underneath access? Debating buying a set.
Yes. Don't know how I worked on the car without them.
I know lots of people say they can jack up the car from the center member but I've never felt comfortable doing that and potentially messing up the engine mounts.
For me personally the benefits in terms of ease of jacking up the car, and having it securely stand on these things outweighed the initial cost of the Jackpoint jack stands. I only tackle really simple stuff on my car, but even so I've used them on winter tire changeovers, oil changes, and now this little project
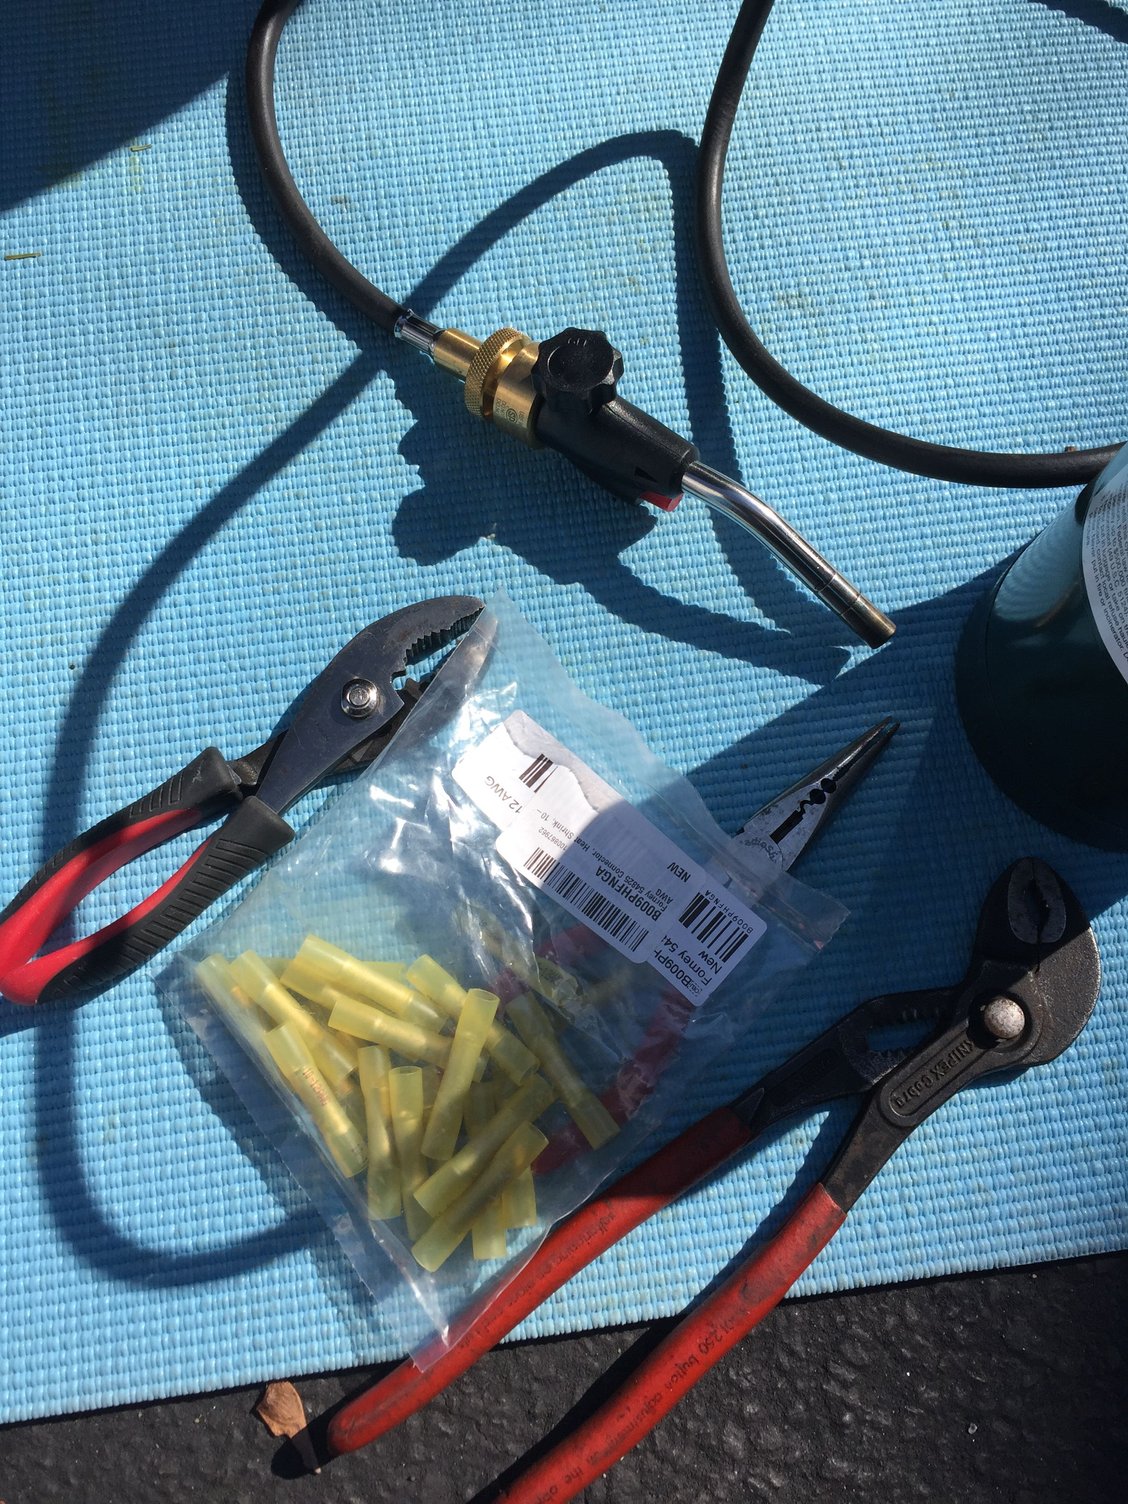
Micro torch works well...Soldering iron also Is there a way to test those resistors besides Durametric?
Hi, I'm not sure if there's a good way to test these other than Durametric or PTS-2
But man, that Durametric has paid for itself 20X over in the past 6 yrs....
I've used it to test leveling sensors for bixenons, reset the seat belt light, reset tiptronic adaptation, diagnose every single CEL accurately and avoided a lot of unnecessary trial/error parts replacement
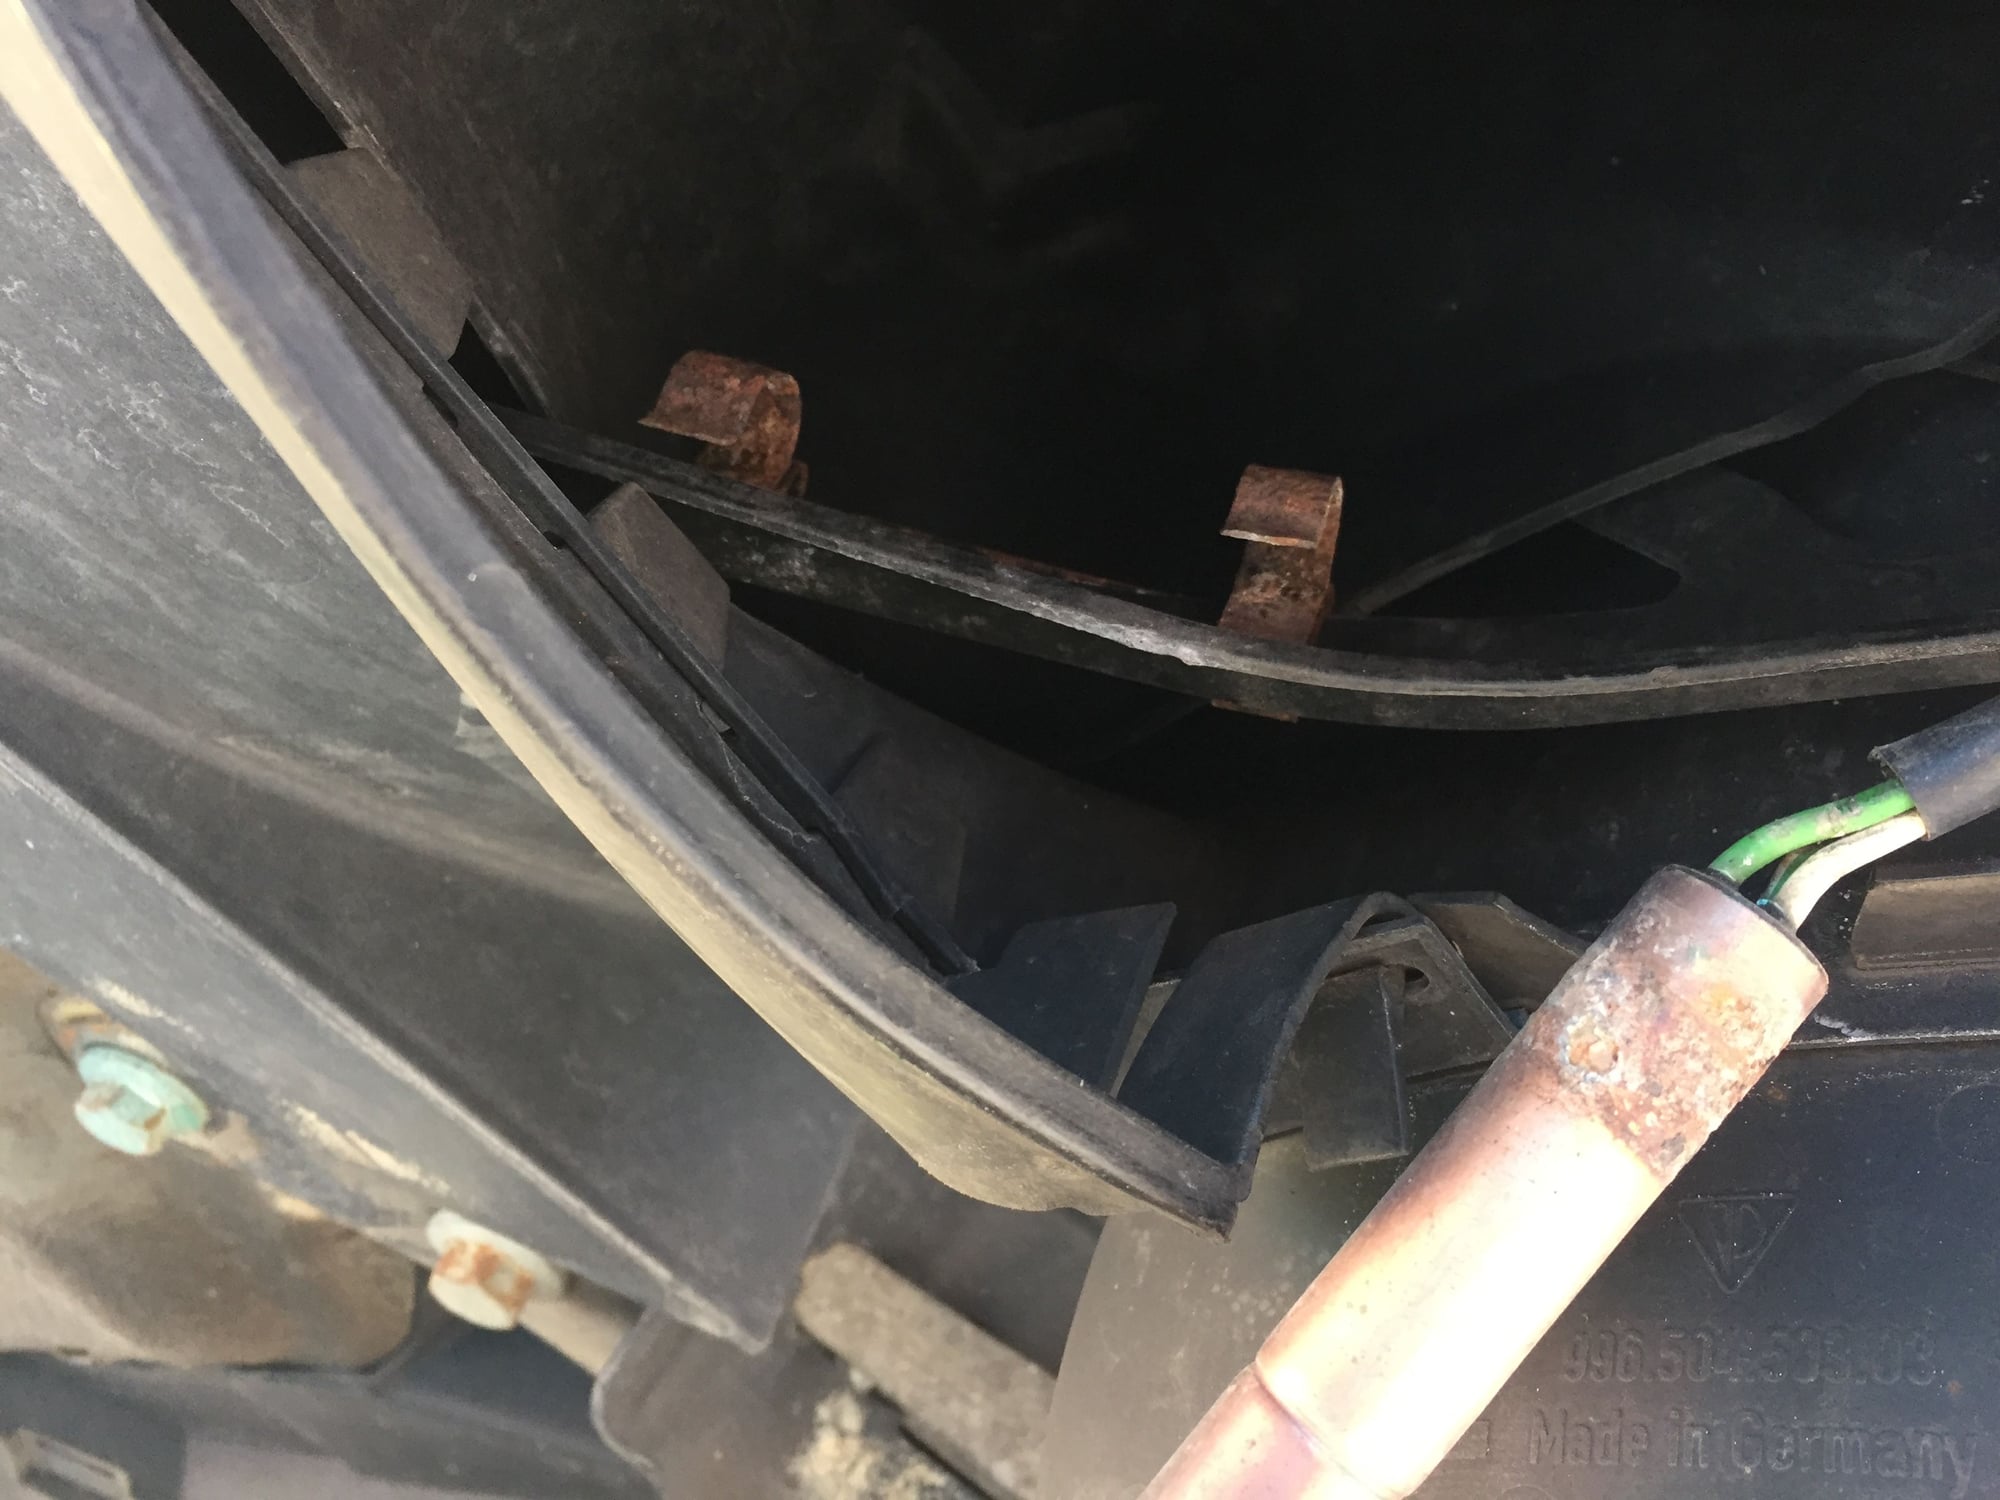
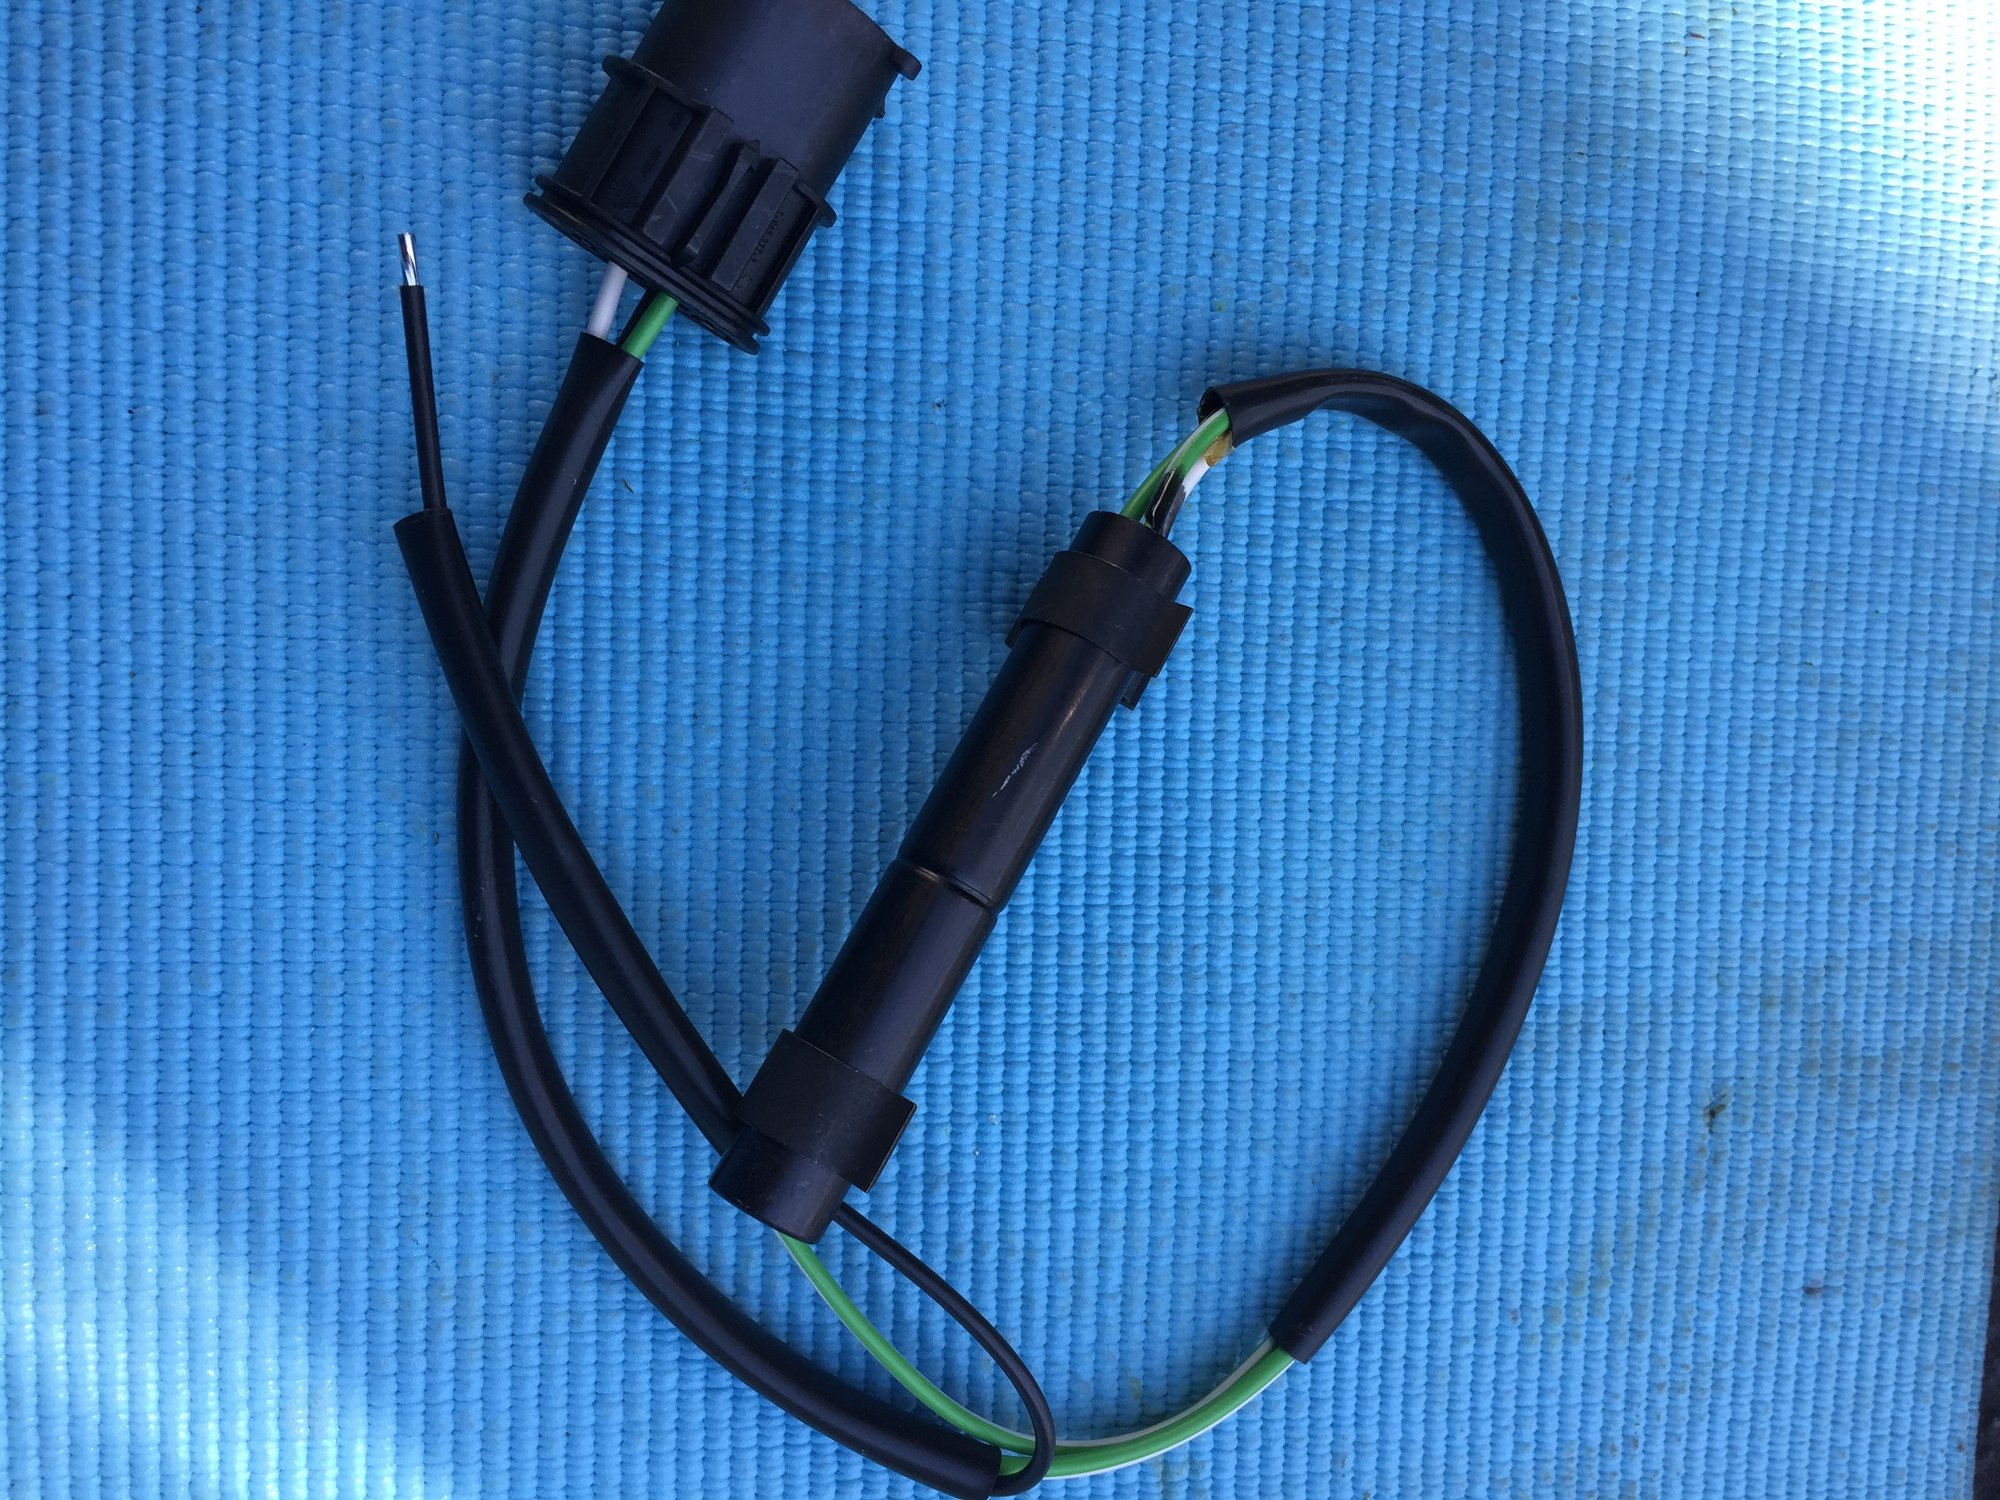
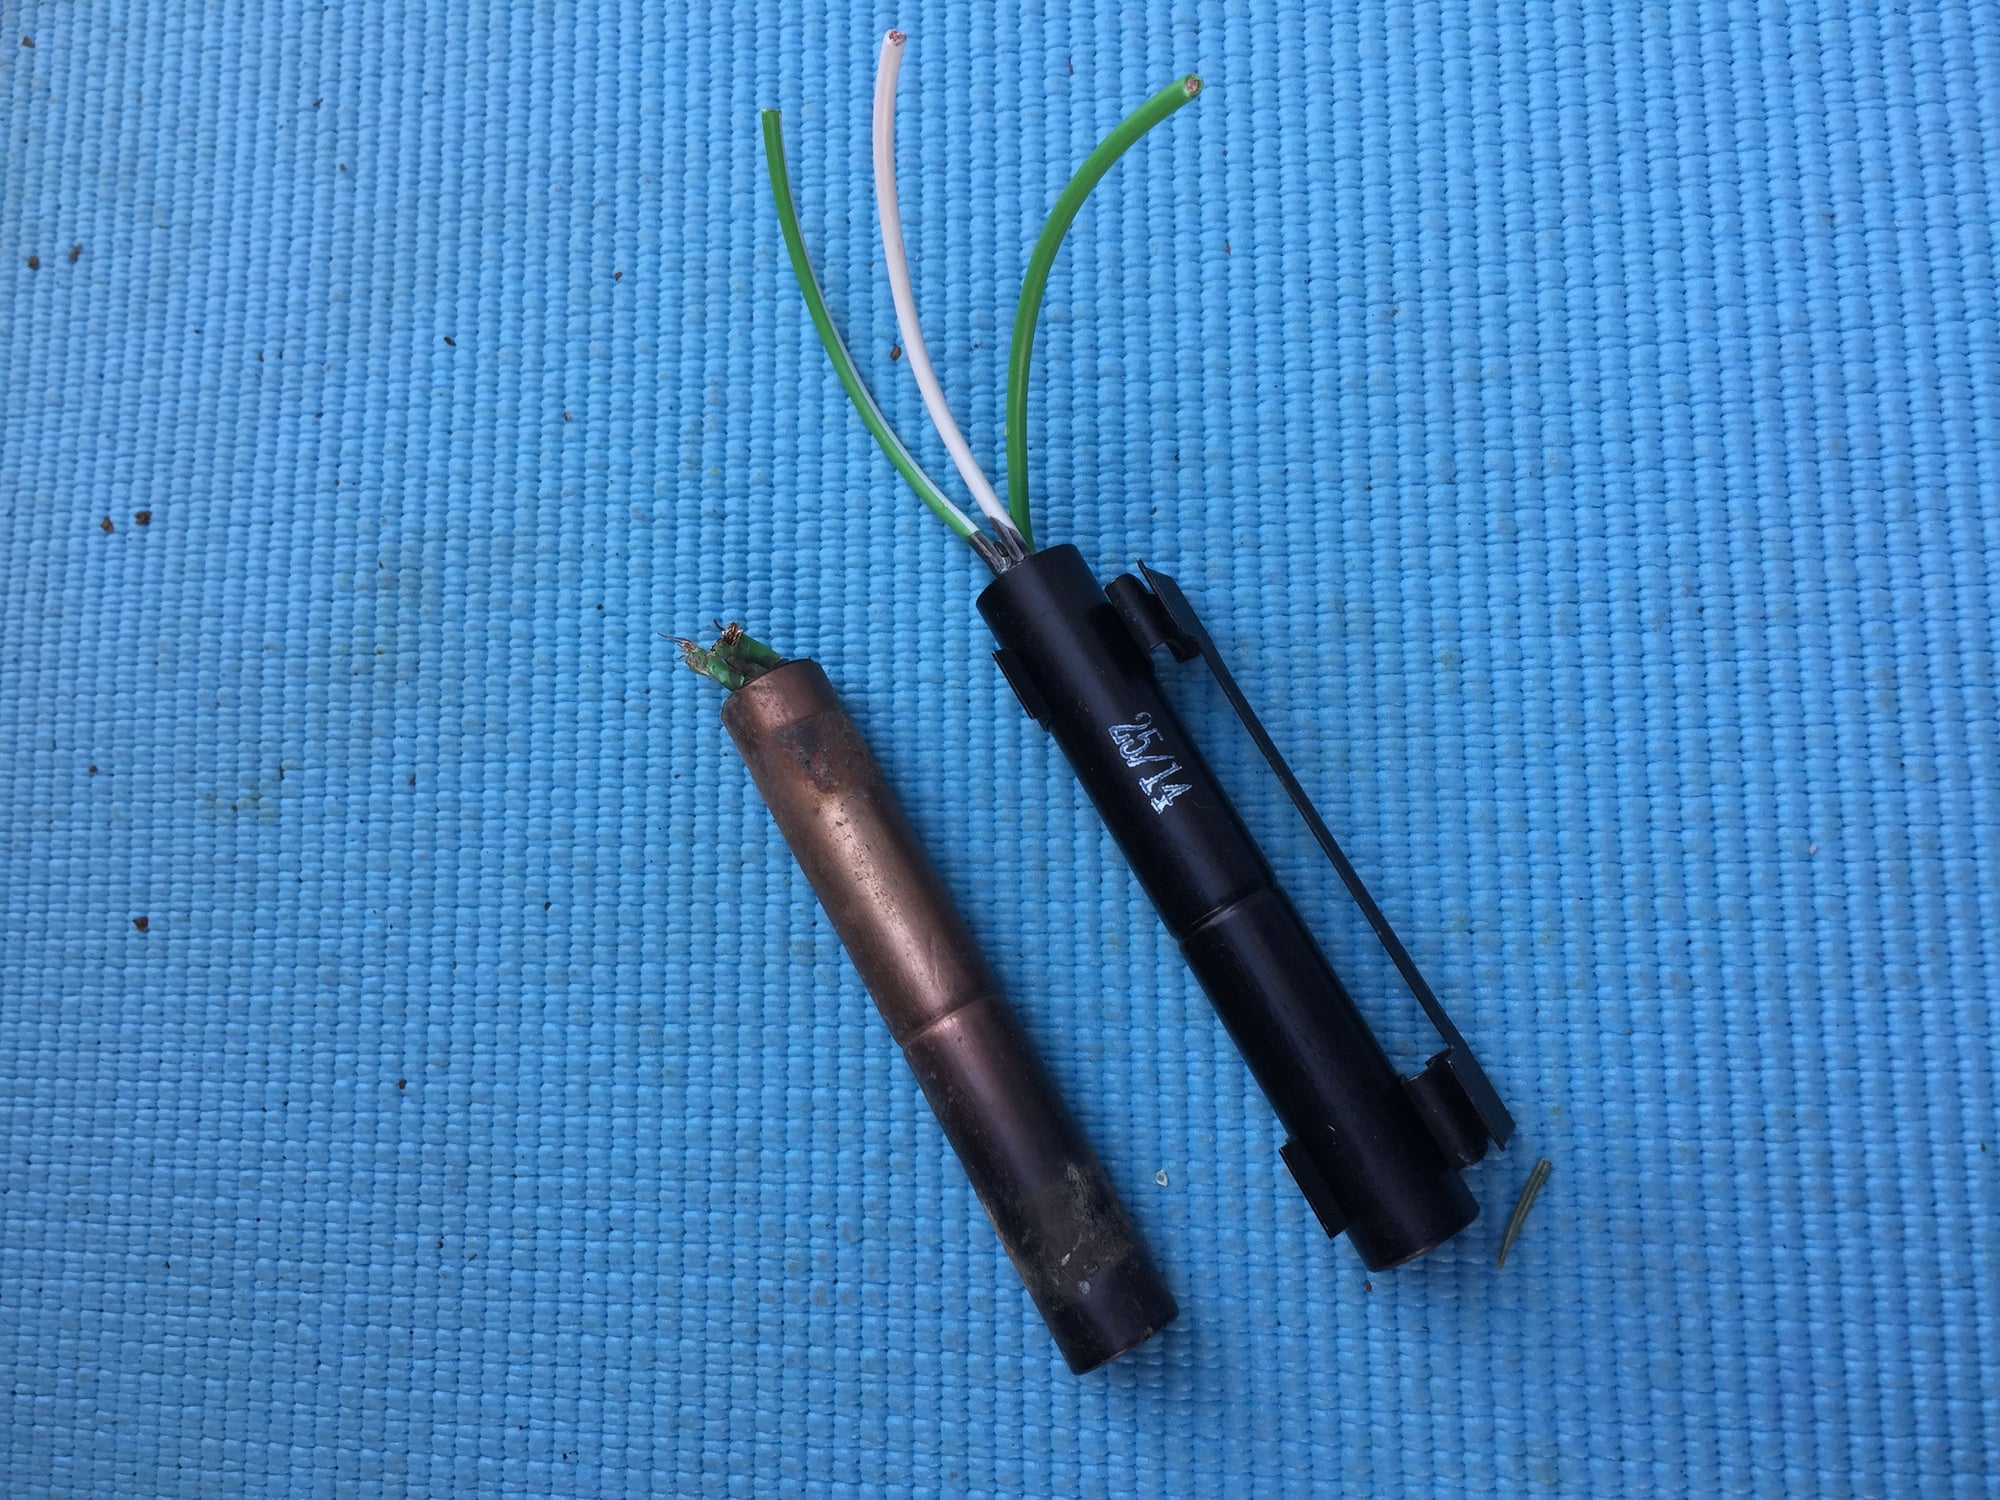
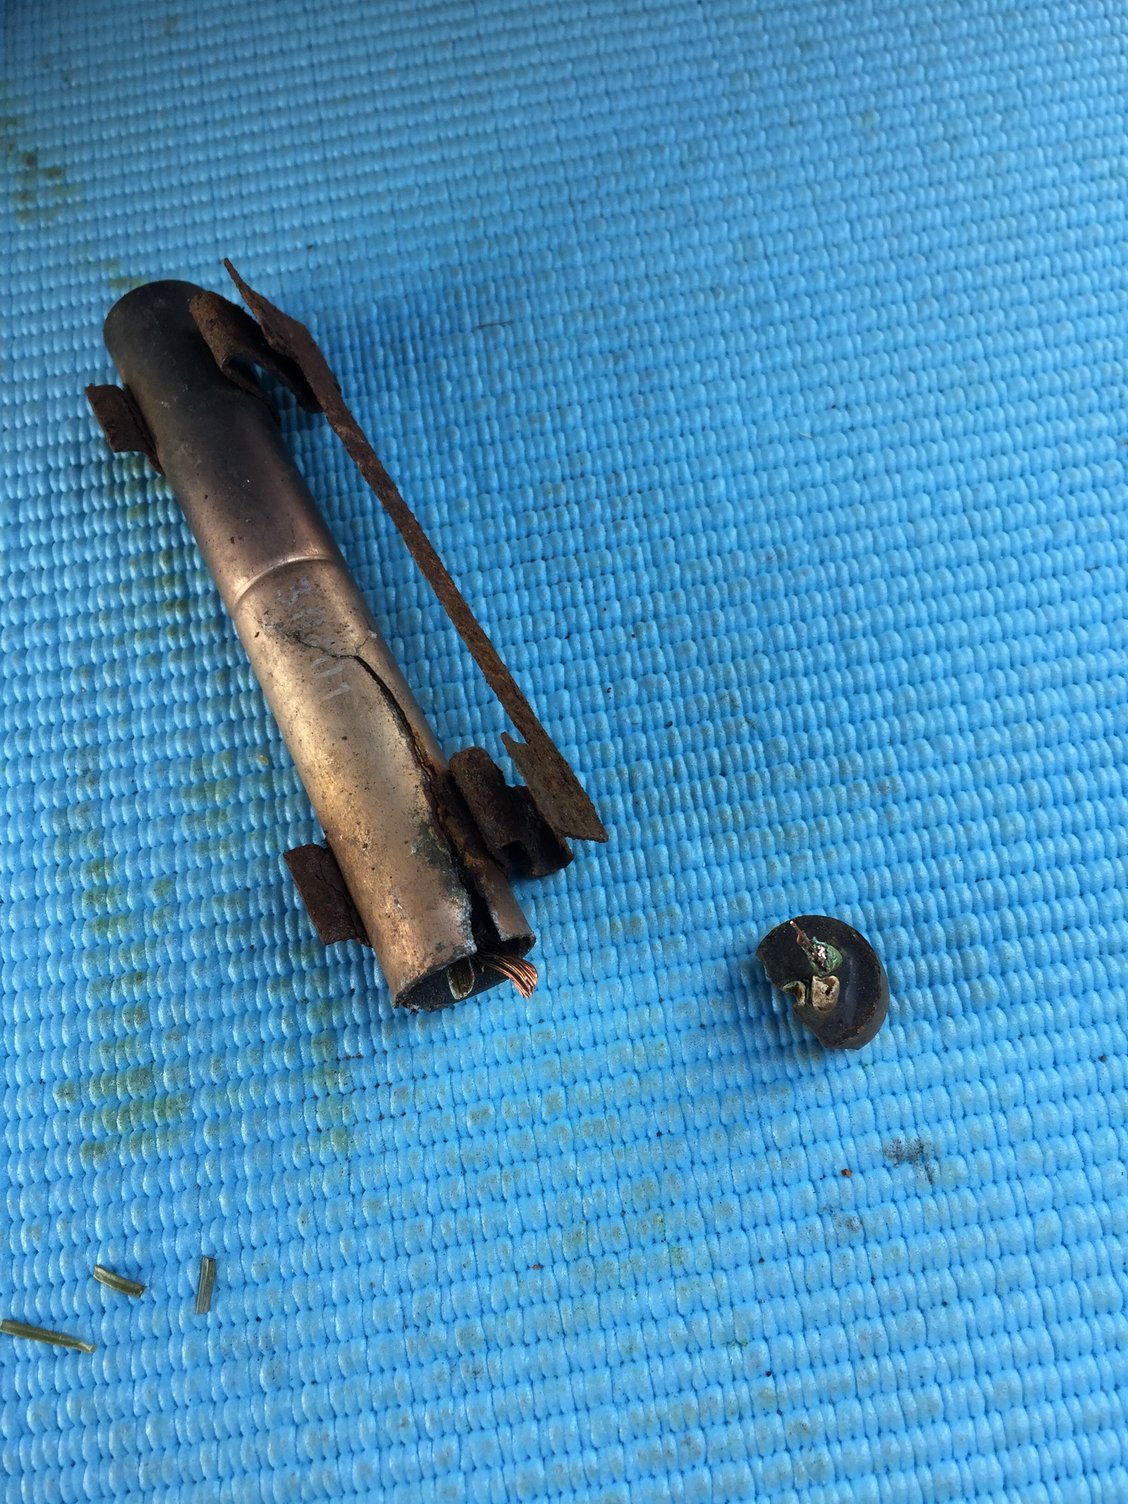
That resistor was really fried. That happens a lot because the resistors are down low and right in the front of the car so if you go through a deep puddle of water, the very hot resistor gets submerged and its toast.

 03-27-2016, 10:06 PM


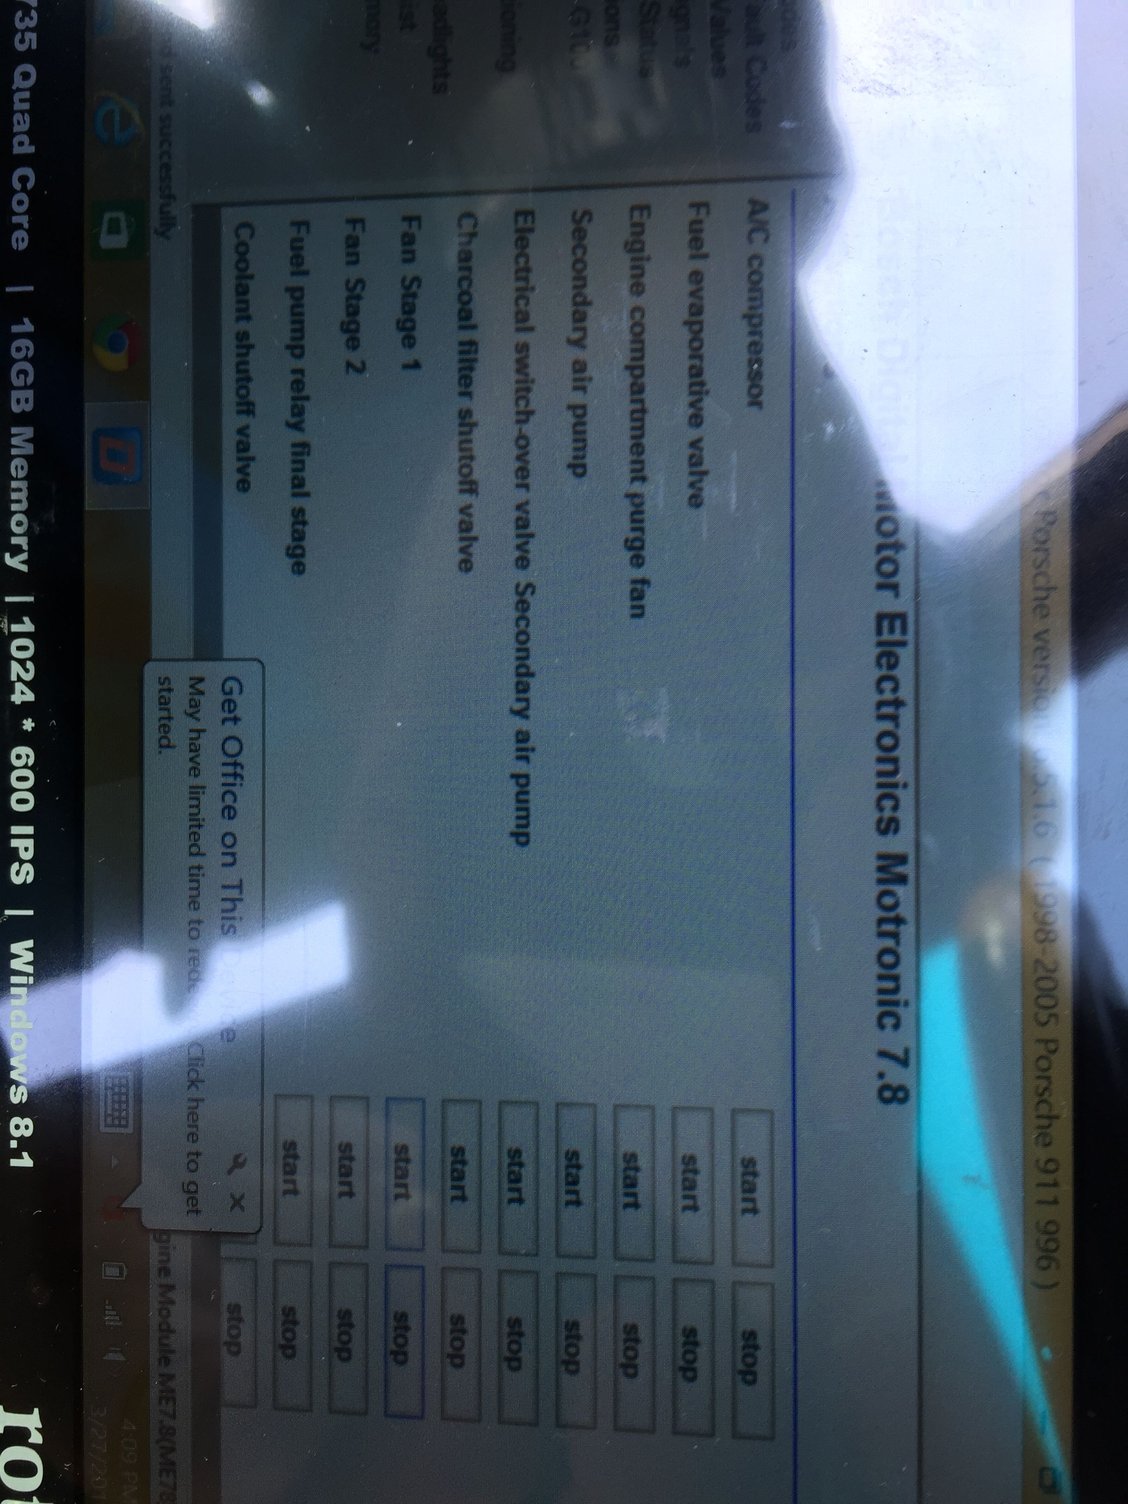


 Is there a way to test those resistors besides Durametric?

