Changing half shaft axle boots
#46
Rennlist Member
Thread Starter
Whoever did that needs a smack on the back of the head or so it would seem.
I am of the impression that pre-S4 models use gaskets and the S4 and GTS models use a push on cover to seal the tranny end of the shaft where it mates to the drive flange.
Presumably you have a pre-S4 [i.e. 86 or earlier] model?
I doubt that a bit of RTV in the mix would do any real harm but the best thing to do is test the assembled shaft to see if you can feel any rotation of the joint- anything detectable means the joint is basically shot.
Rgds
Fred
#47
Racer
Join Date: Oct 2014
Location: Columbia, Missouri
Posts: 402
Likes: 0
Received 0 Likes
on
0 Posts
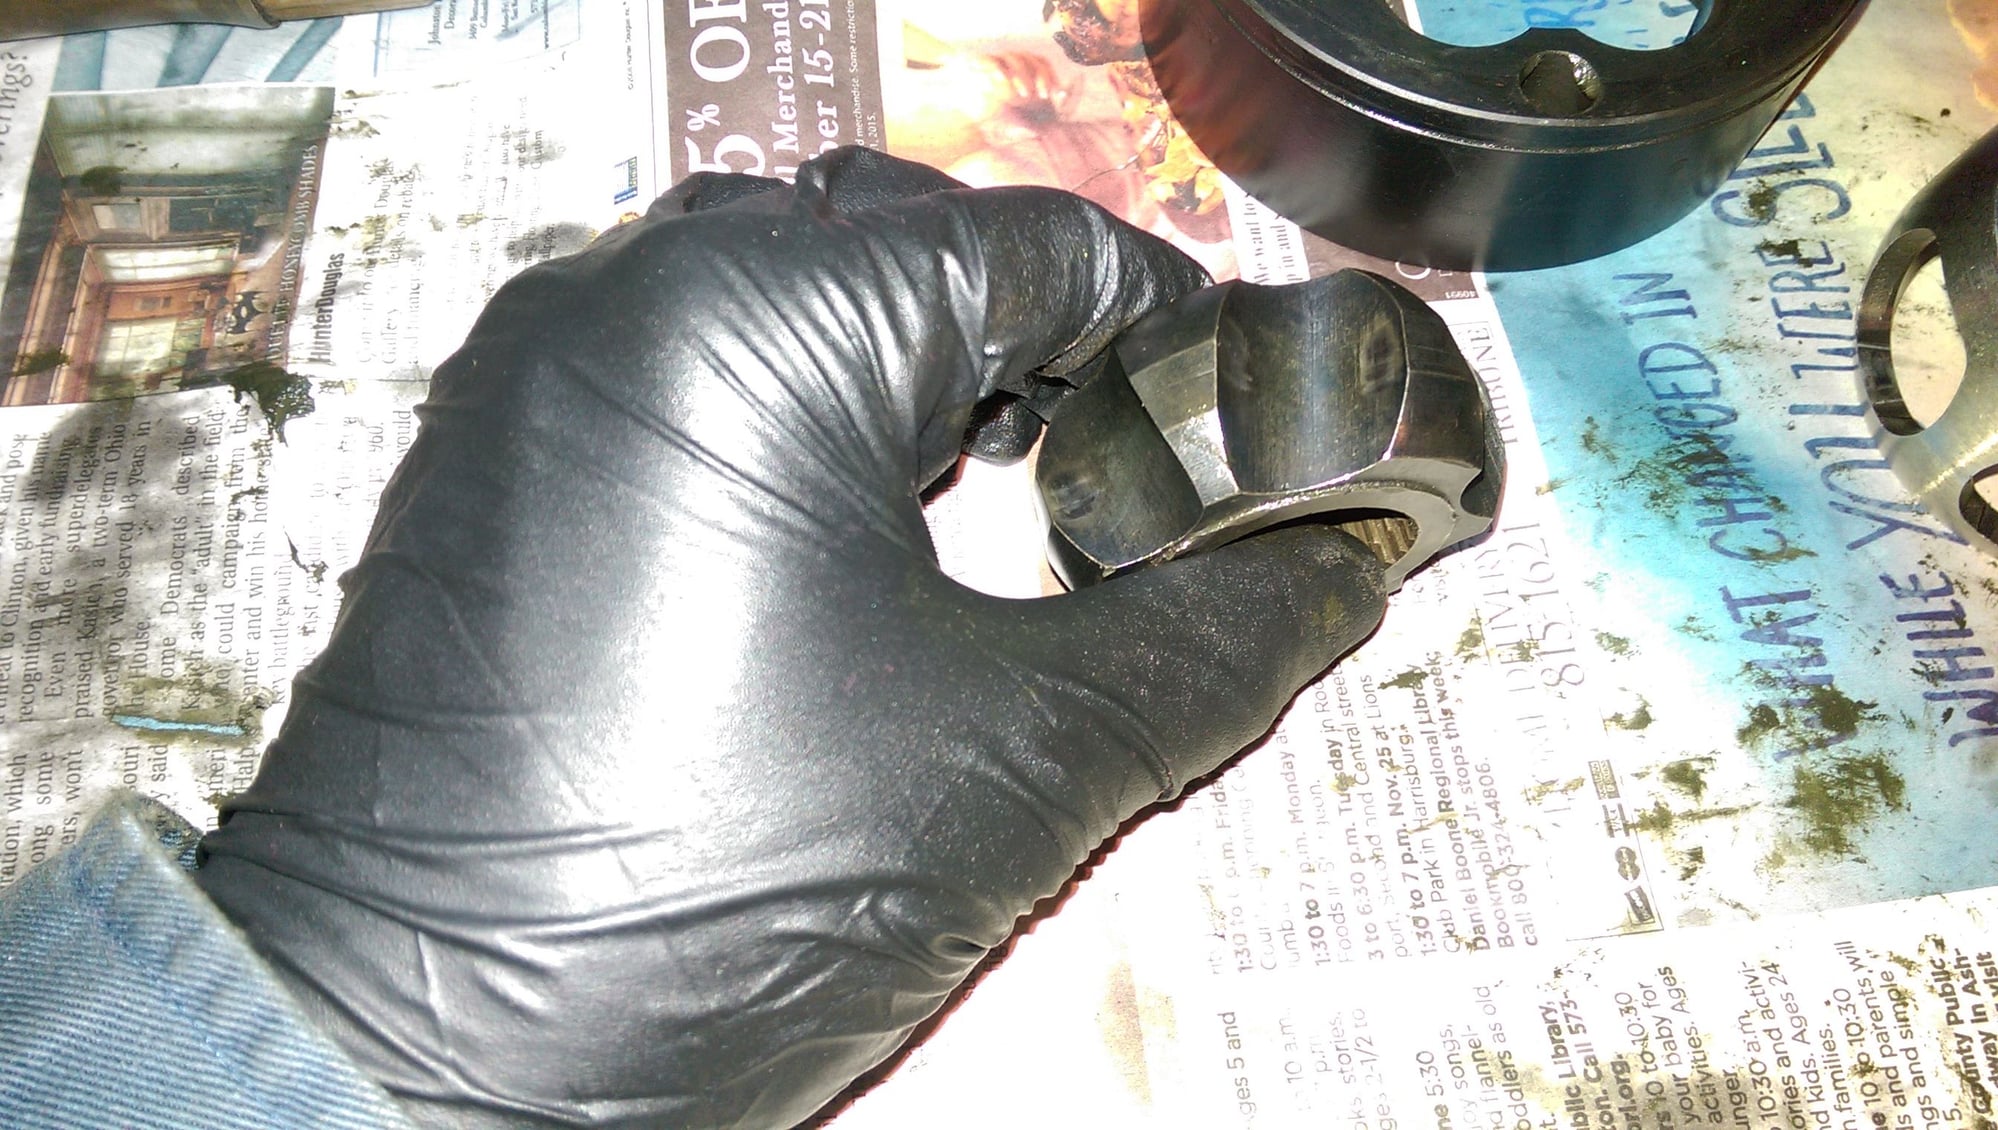
Thanks Fred. I cleaned up the grease and detected no abnormal wear. The joints are reassembled, but not greased. No play that I can find. Now I need to clean the other axle.
Sorry to highjack your thread. You can have it back now.
Sorry to highjack your thread. You can have it back now.
#48
Rennlist Member
Thread Starter
Fred--
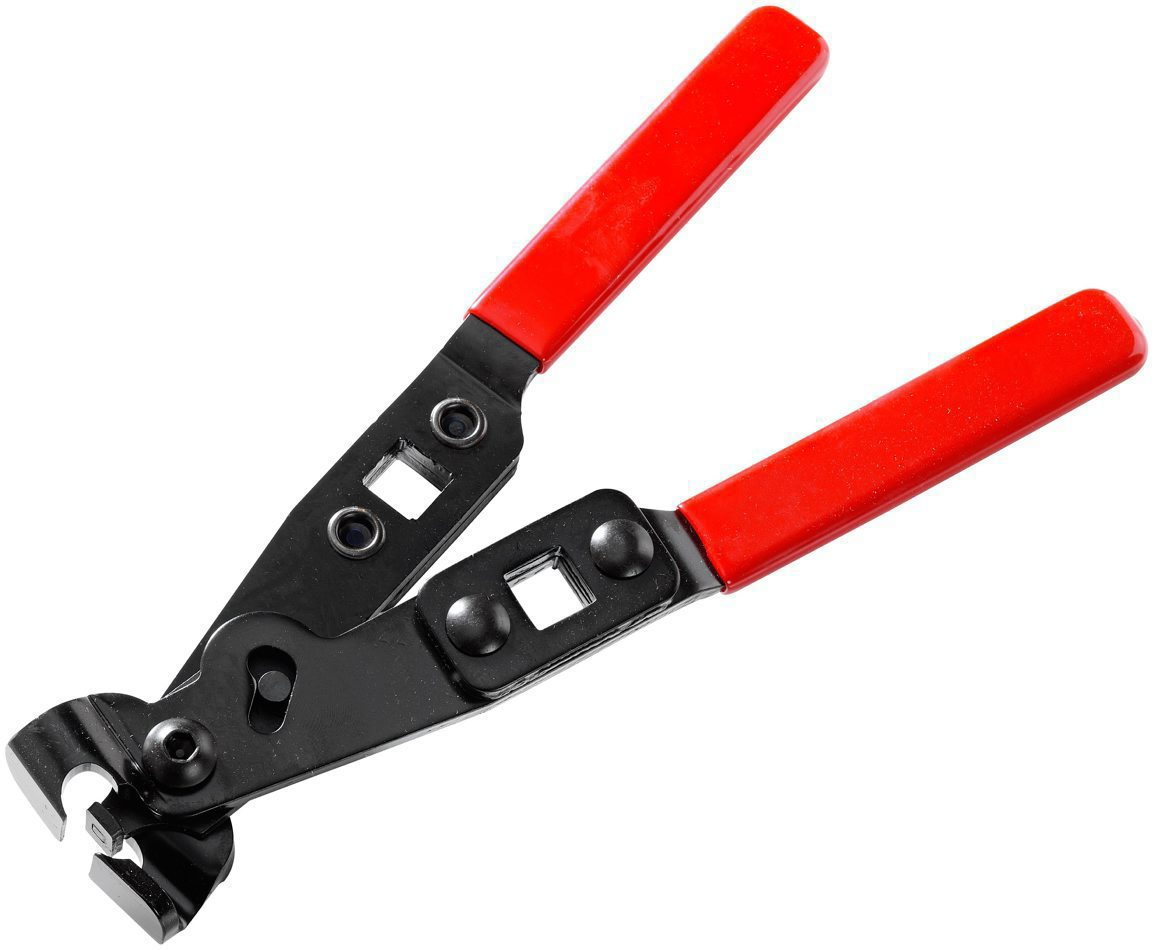
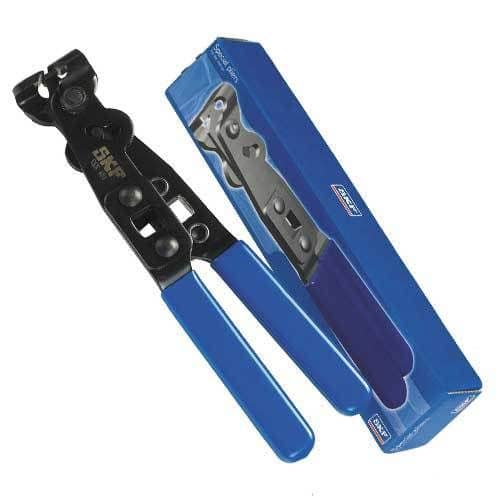
There is of course a special tool, similar to your 'carpenter's pincers', but it includes a fancy little pad that keeps the middle clamped section from bending up as you squeeze it from the edges. If you decide to use the tool you have (and many have somewhat successfully), make sure it's a sacrificial tool, and plan to dull the sharp cutting edges so you don't accidentally cut off that clamped section.
In the US anyway, these tools are available for 'free-rent' at locap parts stores.
No free tool rental here or any tool rental for that matter and as I can tell no tool available to purchase period in any shop. Found the requisite item in Amazon but two weeks to get here- durrgh. Took a look on Youtube and found some folks using the kind of tool I have so figured what the heck and if I screwed up then I can get some more clamps in the same time as the tool so gave it a go with what I have. Think it went OK- just tightened it in small steps taking a look for any signs of damage until i got it to where i thought it was good to go.
The grease filling went reasonably well. better to do the stub axle end first. Mounted the axle on my workbench with the jaws holding the shaft and the stub end beneath. Filled the cup with grease, stuck a plug in the transaxle end of the shaft and connected my Mityvac to the stub axle end and pulled a vacuum- it sucked the grease in just nicely and several cycles of this both packs of grease were in. It was a bit of a sod the get the boot over the flange [on both of them] but got there in the end.
Getting the bearing on the other end of the shaft was a doodle- secured the shaft vertically in my workmate- supported the lower end of the shaft from underneath to help support and drifted the bearing into place using a 32mm socket- was surprised how easy it went back on- not sloppy but not difficult or brutal either.
So the shafts are now ready to install tomorrow [hopefully]. So pics below including my breaker bars on the stub axle nut.
Rgds
Fred
#49
Rennlist Member
its a mess and a disaster... just buy the set complete with the axles and boots already installed. i did it once and it was a pain and i ended up not having the clamps on correctly (not able to tighten them with the right clamp tigthening tool) the came loose, grease everywhere. a disaster! for the $100 bucks you save, its not worth it to do it yourself. I think anyway!
since you already are knee deep in it.. how are you tightening the final boot clamps...
best of luck!
since you already are knee deep in it.. how are you tightening the final boot clamps...
best of luck!
1. Wrong boots suplied (happened to me 2 x)
2. no sealant used between boot and flange
There are at least 2 different styles of boots (WSM 4 repairgroup 42 page 23 shows).
My car has the bolted axle shaft with flat flanges but others have the welded axle shaft with flanges with the ridge. If the axlle shaft flange has the ridge, your boot also must have the ridge.
The WSM specifies to use 3M Scotch seal 750 between boot and flange. This elastic sealant effectively glues the boot to the flange and it will be harder to come loose by itself. I overlooked that one so perhaps I need to redo that part now I still can (one axle out fo boot change, one in with new boots).
I wonder if the boot has any chance of staying on the flange without the sealant? This sealant was not available at my oarts shop but there are other brands with the same performance.
#50
Rennlist Member
Thread Starter
Ad,
Obviously you have the earlier version so cannot comment on what does or does not work. All I can say is that nothing was used on my boots to seal them to the flange so I have not attempted to use anything in the rebuild [rightly or wrongly]. I cannot see why there would be a need given the ridge design and the tightness of the clamping band. Similarly nothing in the boot repair kit to seal with. Whether your model varies remains to be seen.
Regards
Fred
#51
Rennlist Member
Thread Starter
Before I replace the shafts just wondered if there is any school of thought as to whether they should be replaced on the side they came from [planned] or whether there is any benefit in rotating them to distribute any wear pattern- thoughts?
Regards
Fred
Regards
Fred
#52
Rennlist Member
Thread Starter
Hijack? I thought it was an interesting and relevant contribution.
These things are to share experiences- the good, the bad and the ugly. I started this thread in the hope that as I went along someone like Dr Bob would stop me from goofing up - keep me on the straight and narrow as it were!
Looking good so far.
Regards
Fred
These things are to share experiences- the good, the bad and the ugly. I started this thread in the hope that as I went along someone like Dr Bob would stop me from goofing up - keep me on the straight and narrow as it were!
Looking good so far.
Regards
Fred
#53
Rennlist Member
When I did my '88 I tried to get a consensus from the list and went with switching them. Worked out fine, but then I don't know but what not switching them wouldn't have worked out just as well. I had about 100,000 miles at the time.
#54
Rennlist Member
Thread Starter
Thanks for the input. my thinking is that there will be a leading edge as it were so reversing them may help a bit. Like yours mine have now done 100k miles and seem to be in very good shape.
Rgds
Fred
#55
Racer
Join Date: Oct 2014
Location: Columbia, Missouri
Posts: 402
Likes: 0
Received 0 Likes
on
0 Posts

#56
Shameful Thread Killer
Rennlist Member
Rennlist Member
Time for a bit of history, from the guy who over-analyzes everything.
The joint we work with was originally designed by a guy named Rzeppa. It is, a Rzeppa joint, that goes by the more common name of CV joint. Think similar to a 'Xerox' means to copy a paper electronically.
https://en.wikipedia.org/wiki/Consta...#Rzeppa_joints
Rzeppa designed the joint in the early 20s. One of the first cars to use the joint was the front wheel drive Cord L-29.
https://upload.wikimedia.org/wikiped..._Cord_L-29.jpg
You can see a smidge of the silver axle and joint on the car in this pic. The joint was also used on the later Cord front wheel drive 810 and 812 with a Lycoming supercharged V8 driving the front wheels.
I've some history with the Cord, having had one in the past, and rebuilding the old Rzeppa joints then reversing them when going back in the car to keep the wear even. It was a mess and took days to get right. The machining of the Rzeppa joint actually led to the first application of a CNC mill, where the 'CNC' method was a group of mechanical templates which could be set into the table of the mill for the machine to follow as the machinist manually rotated the table. The troughs cut in the center hub has to be very smooth, and curved in three dimensions. A serious accomplishment back in the early 20s, which is relatively simple today.
So, now you know where it came from and where it was used. Another use of the Rzeppa joint was in an early design of articulating prop used on a helicopter/rotorcraft with torque driven through a vertical shaft where the headpiece could swivel to move the aircraft in all directions. It didn't pan out well.

#57
Shameful Thread Killer
Rennlist Member
Rennlist Member
My edit didn't take.
http://www.offroadvehicle.ru/AZBUCAR...ent%201935.jpg
This is the original Rzeppa joint found in the Cord, and a few other uses. Note the plug in Fig 2 far left. that is the lube channel. Every 5000 miles the plug was removed, and a zerk fitting was screwed in, then a half pound of grease was shoved into the axle. The small articulating pin after the spring would distribute the grease to the hubs and the *****. It was all kept contained by a leather boot with silk string on the seam which would then be cleaned, and sewn back together.
#58
Shameful Thread Killer
Rennlist Member
Rennlist Member
One more post to really drive the stake into the heart of this thread.
http://hooniverse.com/wp-content/upl...ENGINE-SC1.jpg
Shows the engine trans assembly for the supercharged Cord 812. The front of the car would be to the right of this image. How do we know this? Look at where the rad fan is, and its orientation. Now, down below and to the fore of the bellhousing is the inner Rzeppa joint painted silver. Note on the side of the housing, at approx the 1 o'clock position you will see a small fitting. This is the inner lube fitting as it has no outer axle access because it's drive by the spider set inside the diff.
Fascinating, but a real bear to work on and setup right so it doesn't leak.
#59
Rennlist Member
Thread Starter
Well finally got round to installing the drive shafts today. To my utter surprise it went without a hitch [so far]. I used some copper slip in the stub axle splines and was able to push the stub axle in without any need for external persuasion.
For the driver side [left hand looking forwards] it was relatively easy because of plenty of open space. The other side less so but I went the Dr Bob route with long extensions. of course by the time I got round to it it was dark but still not too difficult. I found a slot between the various obstructions and rotated the stub to get line of site, then put the box into P and handbrake on. Went round the bolt circle in three stages, first with hand tight/a bit of pinch, 40 ft lbs and the 60 ft lbs. I would recommend keeping a check register of what you have done after each step - ask me why?
I changed the shaft locations to the other side for wear evening out - not that there were any signs of significant wear.
All I have to do now is the final torque up of the stub axle bolts once the car is back on the deck. A very messy job but worth the experience I would say.
Regards
Fred


