When you click on links to various merchants on this site and make a purchase, this can result in this site earning a commission. Affiliate programs and affiliations include, but are not limited to, the eBay Partner Network.
I have a plan for the paint.
Getting an education on equipment and techniques, while I am waiting on the paint to arrive.
I'm sure most of you guys know that he is a great guy already, but Matt is shipping me his own equipment to use on this project. That is a most awesome gesture.
On a side bar, I was not able to locate the famous Dow 111 product. I found something I hope would be the equivalent, CRC 3-36, to rejuvenate the old quarter glass seals.
It seemed to do a good job, below is the comparison with untreated seal on top.
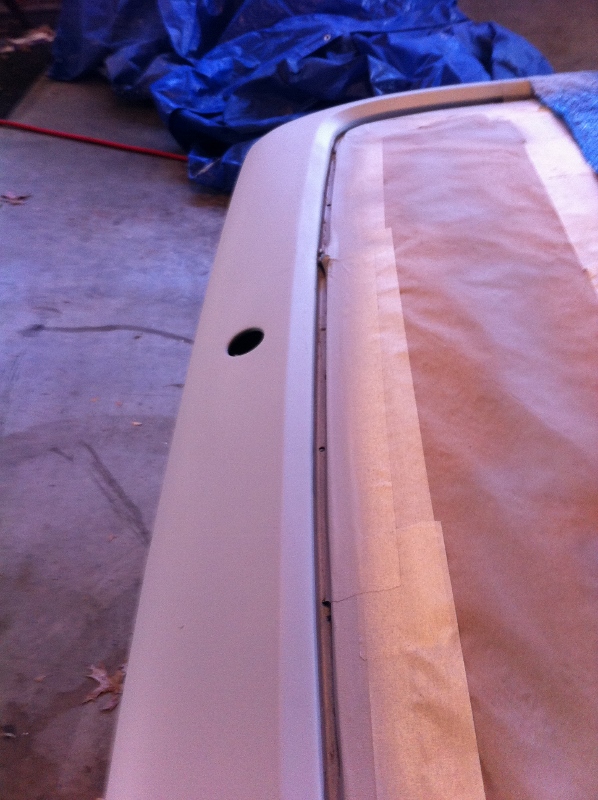
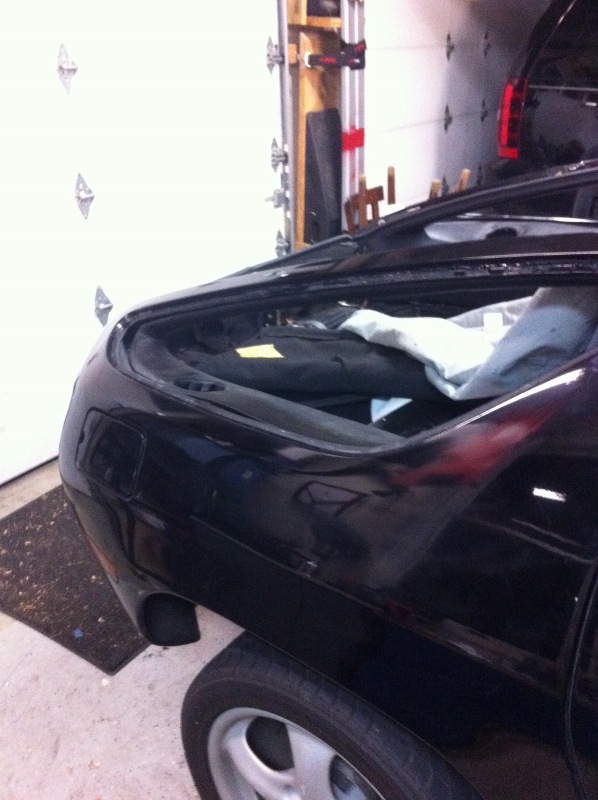
It is going okay, I have another day of sanding and a few more coats.
I need to blend into existing paint on the quarters.
I'm pleased with the paint, Express Paint did a great job, spot on match.
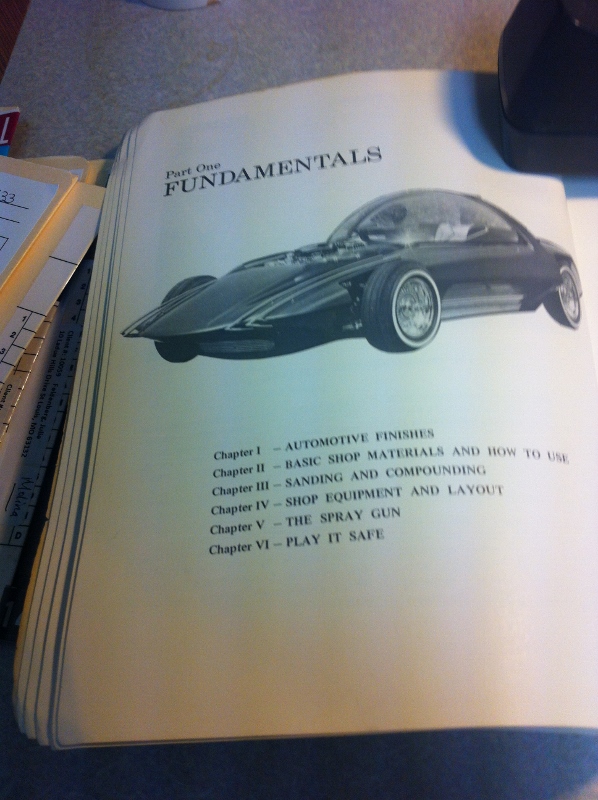
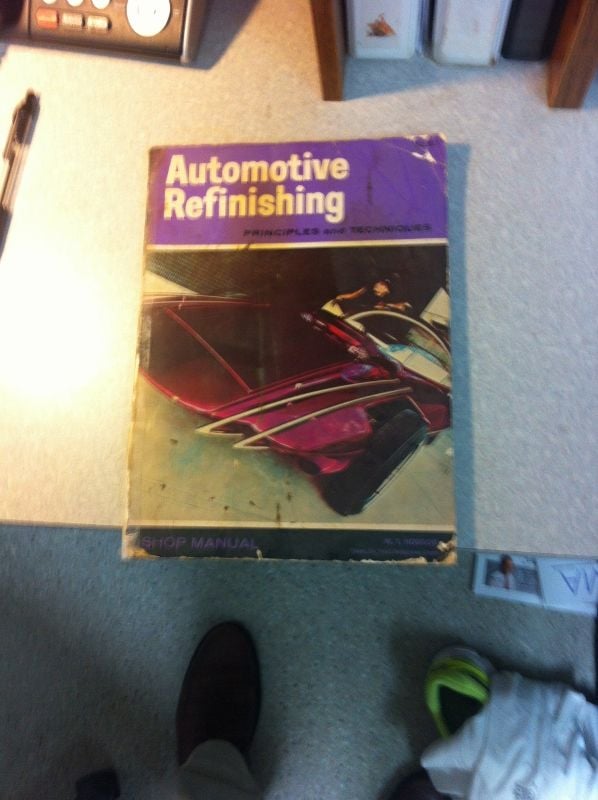
There is a old shop manual I used from 1971, absolute gold for a guy learning bodywork.
I may take the shark in a different direction, what do you guys think:
I've always said Veterinarians make the best automotive painters.
What blending agent or additive was recommended?
I would cautiously spray the rear quarters from up over the taillights and put down multiple LIGHT coats..
just go forward with the spraying enough to cover your bodywork and down just a little beyond the inside of the tail light recesses (stopping at middle) let cure, buff by hand and see if that works.
That way most of the rear quarter is still original paint and you are tested less.
Let it cure and use very light compound to see how it looks once the over spray is removed. This is what makes blending tricky. Tape off your rear wheels. Worst case you pay a pro to fix it..
You just have to get the blend line below your sight line toward the rear middle lens and out of normal site reflection on the sides..as you go forward it will not be as easy and the blend line may be easily detected in certain light because of the rear end shape of the 928. Under florescent light it will look worse than out in the world though.
If the blend is very noticeable after curing and light compounding / polishing (by hand or slow buffer speed) you will need to paint the rear quarters completely and blend into the doors.
A Pro would most definitely paint the entire rear quarters up to the roof edge removing the roof trim first and blend about a third to half way into the doors to do this job. I'm not sure you would want to try this yet though.
So if it doesn't work just doing the minimum amount of blending that ^ is what will need doing to hide the work on your 928 rear end.
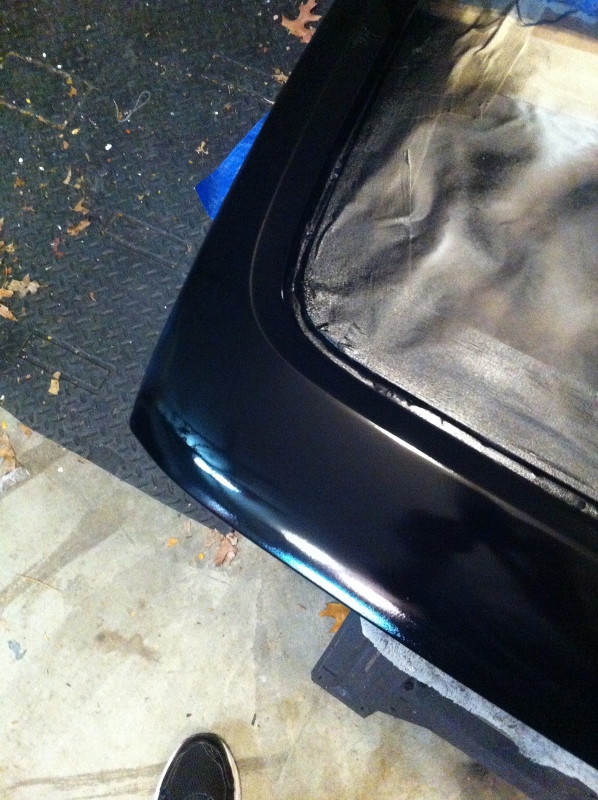
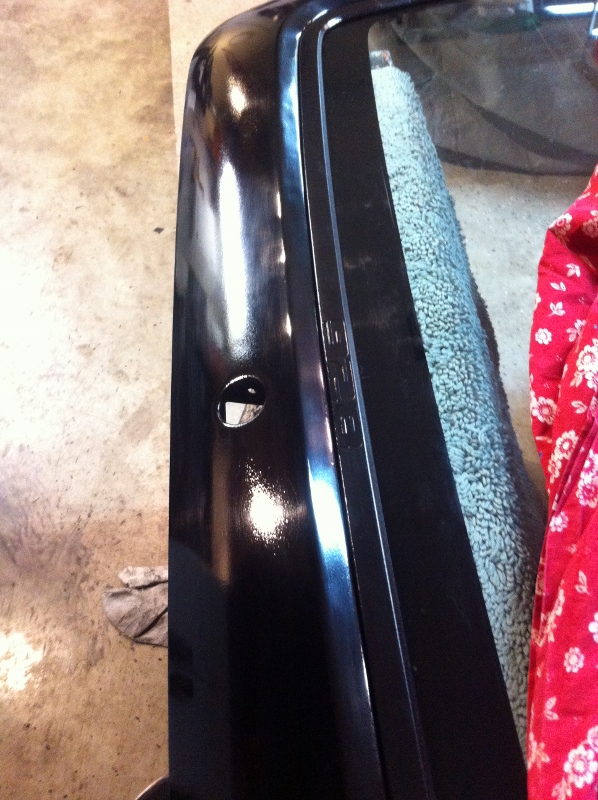
The blend went ok after all.
After some wet sand and compound buffing, I can't discern any blend lines under the shop lights.
The trim and clips were used off the 85 for the hatch.
Dave, I am seriously impressed with your intelligence and skill set.
The quarters look great, (that smear on the passenger side will buff off race fans). That is normal as you cannot tape of a hard edge when blending. The over spray must be buffed off.
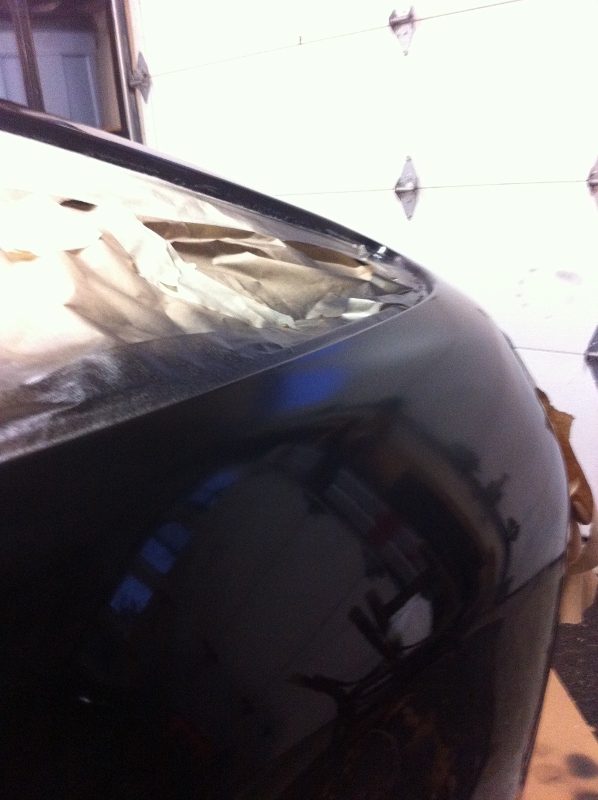
But the orange peel (texture) on the hatch may be too deep to sand, compound and buff out. The air pressure was low and the gun didnt atomize the paint well enough. It could also have been that you needed a little more reducer to thin a bit more or the paint gun tip size was too big-check the paint can for tip size suggestion. It also could be a combo of the 3.
I would sand it real well and shoot paint right over it again. You don't have to re primer if it is scuffed well, start with wet sanding at 320 and go to 400. after dry wipe with xylene and always remember to use a tack cloth before shooting paint.
Anyway, look closely at a new car with original paint, the slight modeling of the paint looks more like tiny regualr waves..this is what you want and even completely flat like older Porsches like your paint was. Flat is where it's at but very hard to do with a smaller air compressor.
Look at a new Beemer, their pain isn't that great and is something to 'shoot' for in terms of surface.
Our 928 and other older Porsches have the best paint jobs out there.
There is a old shop manual I used from 1971, absolute gold for a guy learning bodywork.
I may take the shark in a different direction, what do you guys think: Attachment 894099
Dave, can you post a photo of the front cover, and if it has such, an ISBN?
I will try to use an ultra-cut compond tonight on the hatch after I wet sand.
See if I can get a better result.
The trim is textured on purpose, but I agree the hatch is gonna need more work.
Pivotal life moment now that you paint automobiles.
Your retirement can be spent in the garage with the Grand kids restoring classics.
I'm very impressed you had the guts to try this on a car as nice as yours.
if the hatch needs to be re sprayed you should sand with 320 grit and re sealer-primer but just a thin coat and paint again.
Many just re spray paint over freshly cured and scuffed paint but If you do you don't have the adhesion and may get a few craters in areas.. so best to re seal.
Why not install lexan and lose 25 lbs?? Hatch glass is exactly 25, lexan next to nothing.
The way i did it there is no need for the center support struts, i am removing mine as they aren't needed.
I used 3M strip caulk to seal the lexan and drilled and riveted through the center line of the trim. it actually looks really nice and a subtle race inspired detail imo. I then put a drop of black paint onthe rivet heads.
25 lbs is nothing to sneeze at way up high back there.
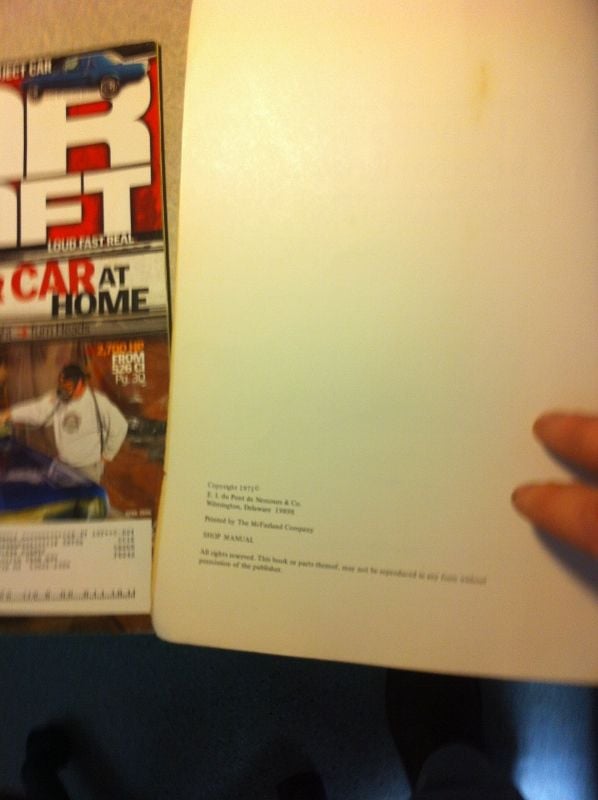
Hey Hilton here is the cover pic on that manual.
I could not find an ISBN anywhere.
How do you like purple?
I attempted to buff the hatch out again last night.
The peel was just too much to feel good about.
So I spent most of the night painting, and did a total re-do.
I know, my wife things I'm quite insane.
Looks much better now, I'm going to buff it tonight.
I'm not going to clean and detail it until after Dadddio and I put the quarter glass back in. I'm guessing we will both be covered in Vasoline by the time we are done.
Cool thanks - I've been looking for a shop manual on painting/prep and it strikes me that older ones will be more applicable to the kind of tools I have in my garage or can get my hands on.
Dave it's tough in the cold as you get more texture due to it. I am sure you're using the correct fast reducer.
One thing to do is keep the paint near a heat source or in the house near one until just before mixing. I even keep the spray gun inside. The cold (50F) is tough.
Re installing quarter glass with Daddio:
Use the thick silicon spray that pro glass installers use for gaskets not Vasoline.
A side benefit is you won't feel creepy in the garage together while lubing up the gaskets with Vasoline.
Use a small 3/16" braided rope and have Daddio apply pressure as you pull the seal around the flange. Hand tools are also required but these are easy and can even be done alone.
Yo Matt,
good idea, I will go look for that product.
If it goes down with vasoline, however, my plan if Dadddio starts to feel uncomfortable, will be to tell him that this is all very normal.
I will stroke his hair, and tell him nobody likes a tattle-tale.

 12-03-2014, 08:07 PM