When you click on links to various merchants on this site and make a purchase, this can result in this site earning a commission. Affiliate programs and affiliations include, but are not limited to, the eBay Partner Network.
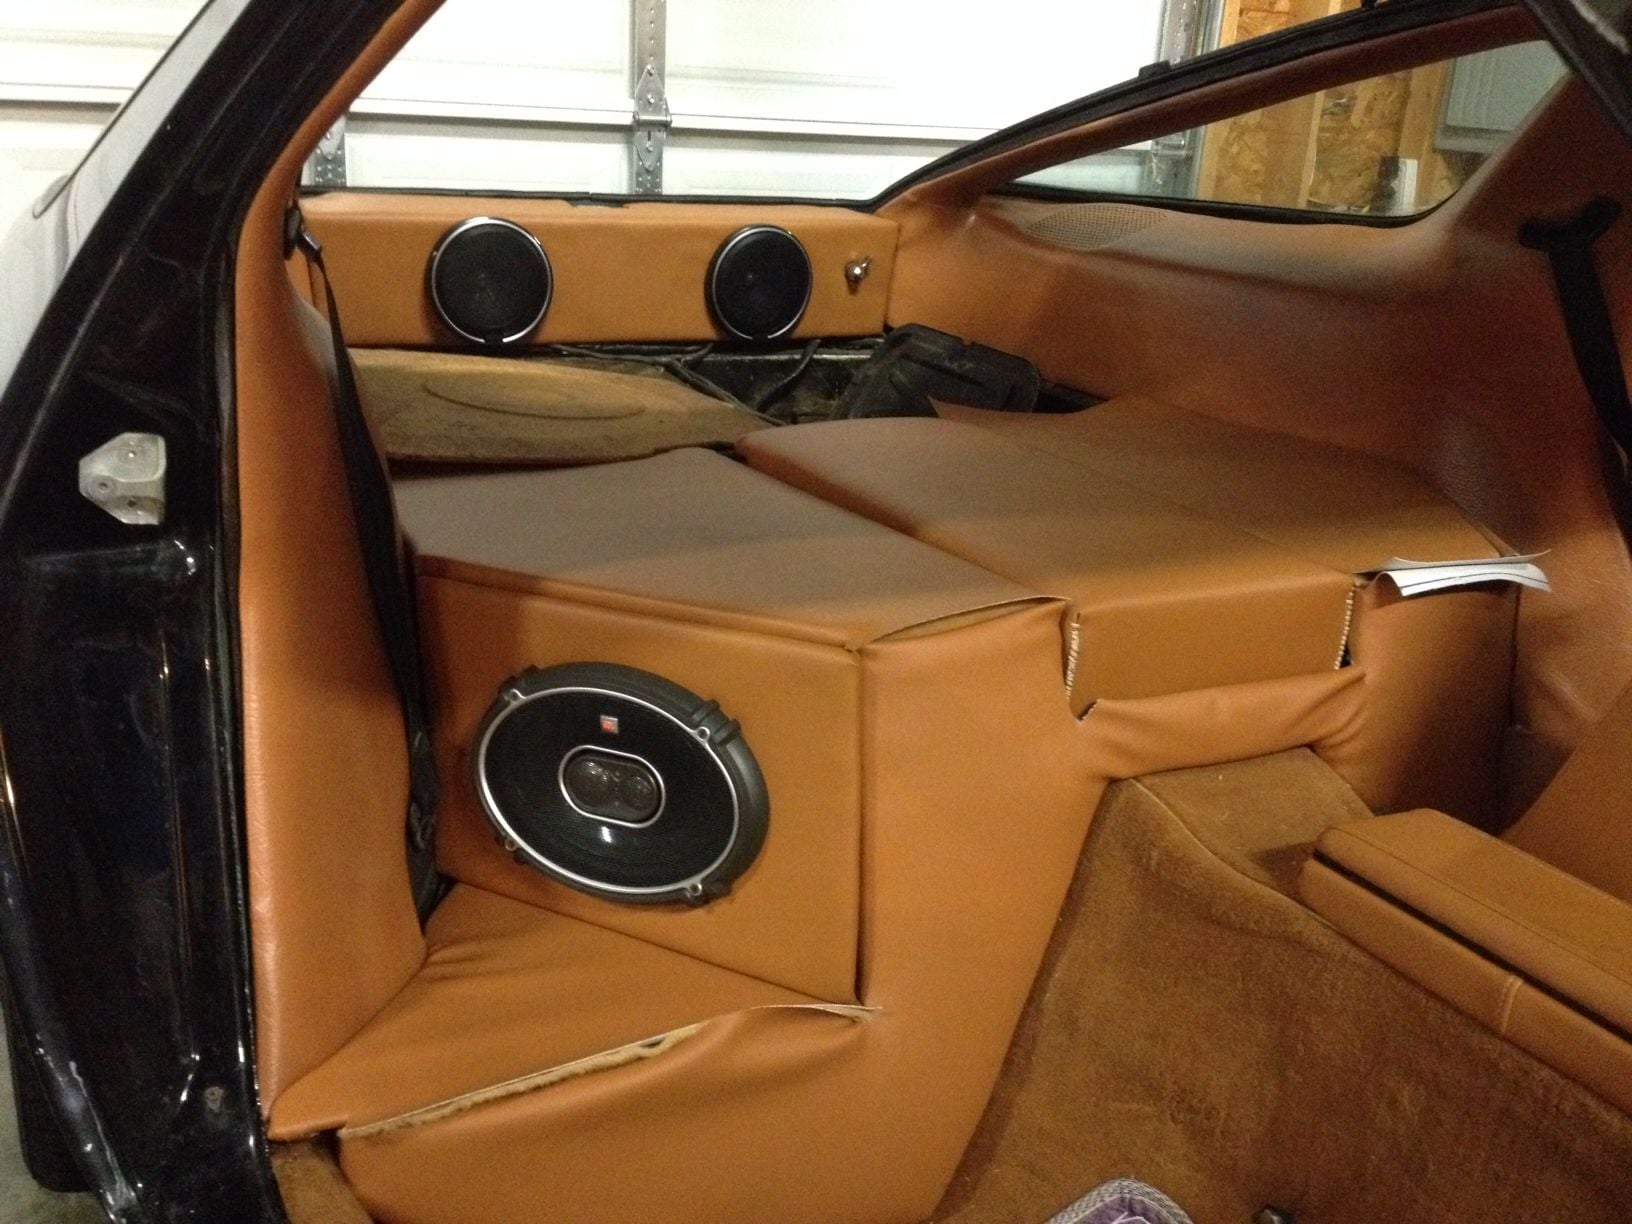
Just a sneek peek at the simple design of the rear. The panels are just set in place to make sure they fit. The loose vinyl will be trimmed back and stitched together to connect the front vertical cover with the horizontal pcs. Hopefully this will tighten everything up for a cleaner look.
If you want to "hide" the hand stitching try machine sewing 2 pieces of vinyl together. Then cut the 2 exposed sides to 1" width. The sew each edge with a 1/2" hem. You could glue this OVER the hand stitching and it will give it a machine sewn look.
Looking a lot better. You and your wife will enjoy this car !
Thanks for the tip (again). I have been on the prowl for an old lady in the neighborhood that might do some sewing for me , lol.
I have moved on. I spent 9 hours Saturday working on the interior. I did open up a couple of more seams to be sewn together, rather than two finished pcs against each other. It was a huge pain in the rear but the back half of the car is done. I have one more wire to run to the stereo head from the battery (via the amp) for constant power. This will bypass the ground cutoff switch. All the wires are hidden and it looks like a car again. I ended up using the left over cork dye and a q tip to color the stitches.........one....by...one. I know to the discerning eye they are not as nice as the items that have been professionally recovered, BUT, with the stitches and the vinyl material being the same color they virtually disappear. I have tons of pics that will be uploaded when the project is complete.
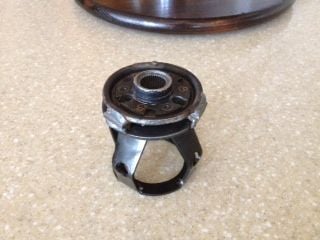
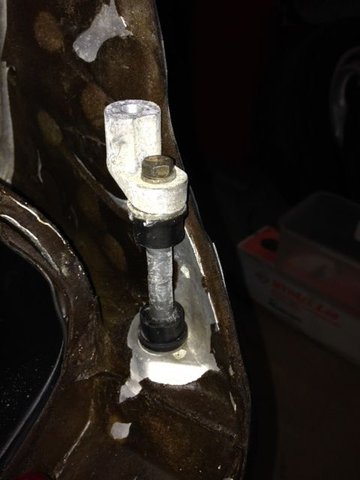
I ran into a snag on the hub for the new steering wheel. I took the hub and an old steering wheel to a local welder and asked him to fix it for me. Two days later he calls with a $140 estimate.?.?.? So it looks like I will be doing most of the cutting and grinding and then have someone (else) tack it together for me.
The pod and the dash look absolutely fantastic and I could not have done any of this without your help, your advice and your friendship.
The only thing holding me up now is the console. Since I spent an entire "Family Day" working on the car Saturday, it has been harder to sneak down to the basement for an hour here or there to wrap things up.
Thanks again for your help and your interest.
PICS COMING SOON !!!!!
Last edited by medipedicman; 08-22-2014 at 09:40 AM.
I made it down to finish wiring the stereo tonight. It took a bit to dial in the amp and play around with all of the different settings. Very clear and crisp sound. No sub-woofer but if anything I need to add a couple of tweeters in the A pilars for just the right sound (to me). The stereo is very cool. It has two USB ports on the back. I will send one to the armrest for use with the ipod and send the other to the passenger shelf for phone charging. It has blue tooth and a mic for hands free phone use. It is pretty cool putting this type of technology in a car made in 1979.
I hope to install the console by Friday. Everything is hooked up just need to clean things up a bit.
Slight delay. I went to put the hub on and realized my pod is not installed correctly. I was so excited to see it installed that I failed to realize that I am missing the small adapter on the right underside of the pod that the super long screw goes into.
It is in pcs again and I have the bat signal out for the small pc that I am missing. Hope to have it next week.
Big thanks to Ron B (airtechvac) for helping a brother out.
I will continue to work on the console and will (hopefully) finish up once this part arrives from Ron.
The only real work left on the interior will be finishing the glove box. The local man that recovered my console (almost two years ago) suggested that I wait until the new dash was installed and reshape to lip top to remove the sag before recovering. I may try to do this myself. I have a couple backups in case I destroy the original one in the process. Then remove the door armrests and dye to match. While I have the door panels removed I may as well swap out the locks with the ones that 928 International re-keyed for me to match the ignition key.
Spent some time putting the console back in. Spent more time looking for bolts than actually installing. Having everything apart for two years tested my memory.
I am not real happy with the color contrast between black and cork. I may look at using something else in place of the ashtray and use something different for the spacer between the window switches. I am glad it is together and everything is working properly but I will probably work on the appearance over time.

 08-12-2014, 03:05 PM


 , lol.
 Again
Again