When you click on links to various merchants on this site and make a purchase, this can result in this site earning a commission. Affiliate programs and affiliations include, but are not limited to, the eBay Partner Network.
Ok, finally got a few hours to spend on this. Crank bolt is off - got it with a longer breaker bar and a friend bracing things. Pulled off the drive pulleys no problem with the puller.
Problem is, the woodruff key on the snout of the crank refuses to budge. Heat, blows, etc... doesn't want to come off. I removed the front engine studs which allowed me to remove the crank with the oil pump still on it, but I want to get that sucker off somehow.
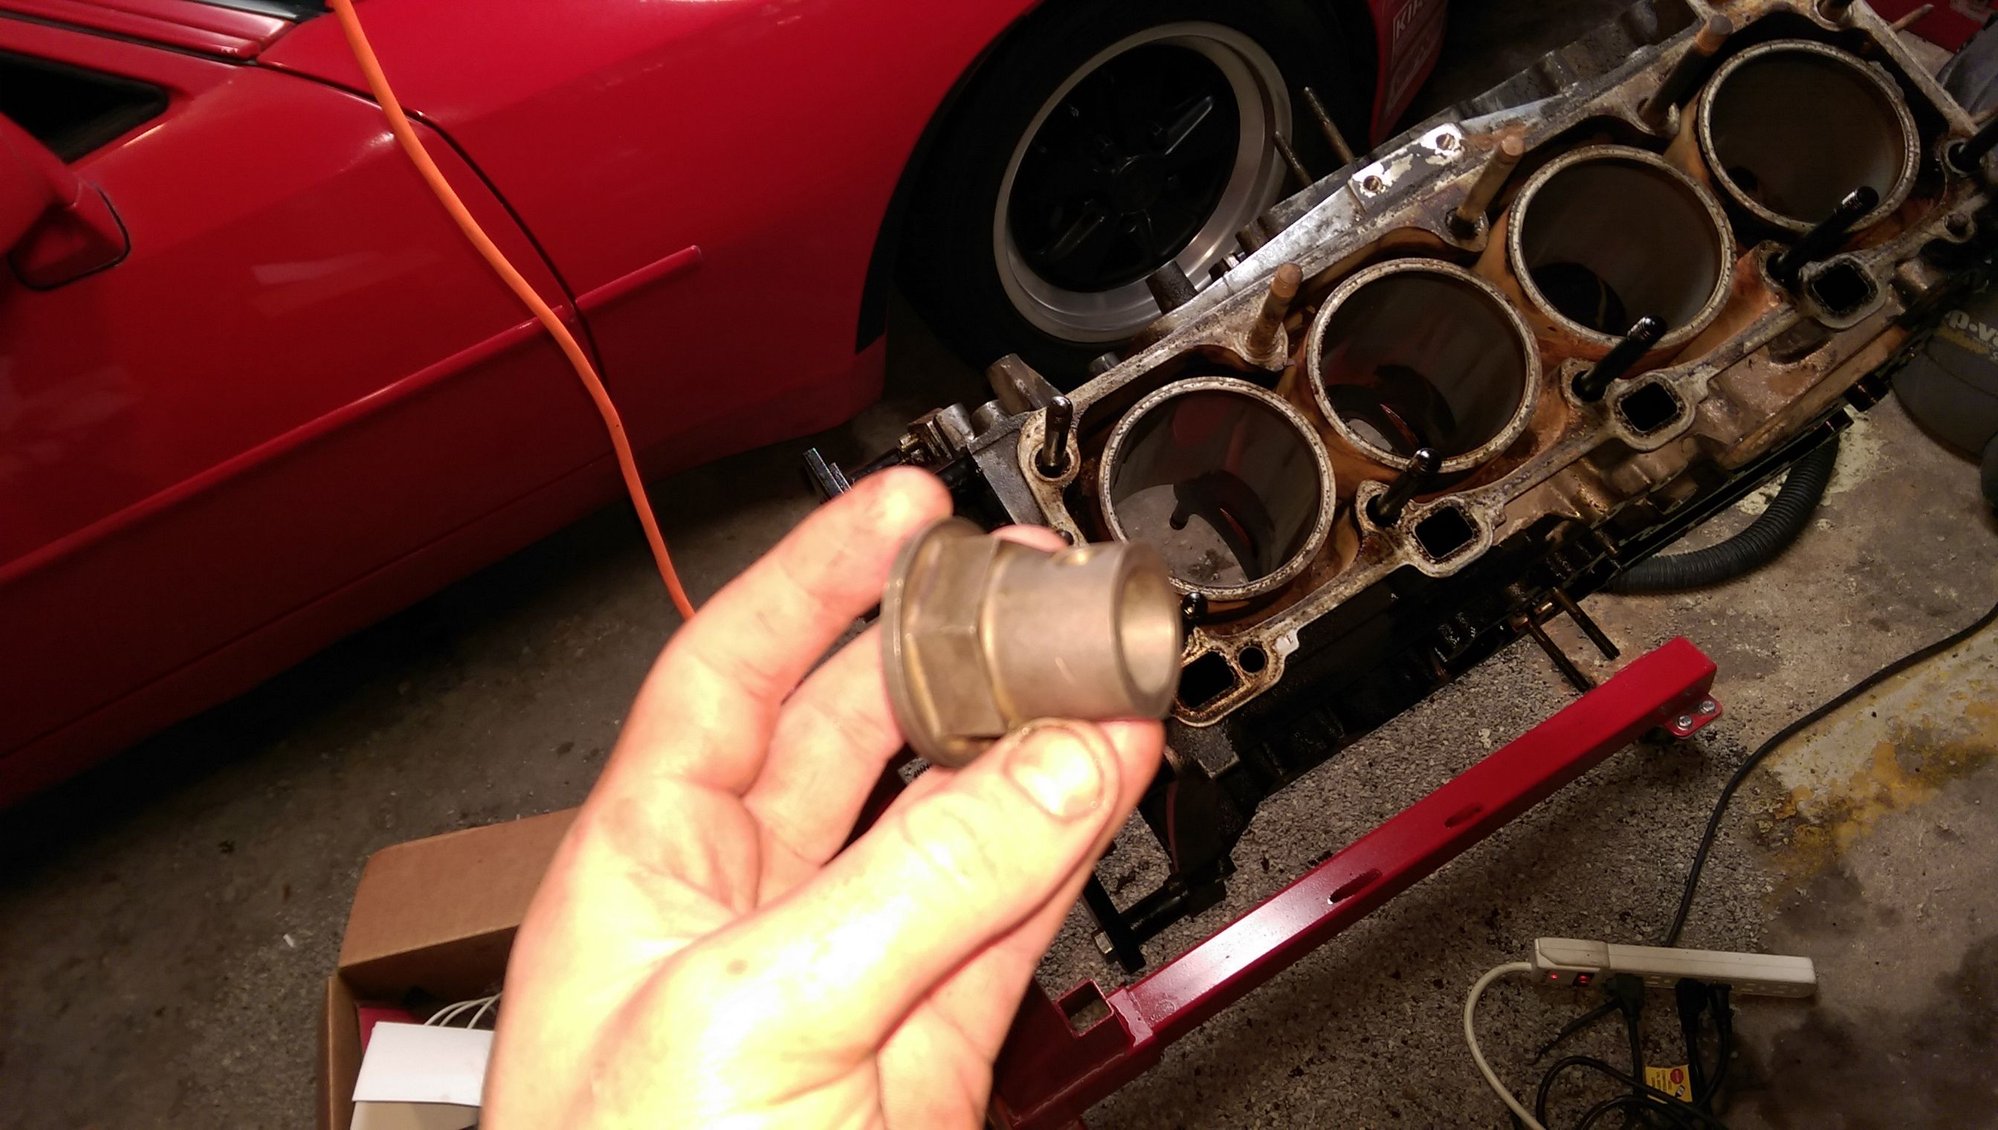
Block is completely bare and about to head to a machine shop for cleaning, along with the head for a rebuild. Just got to find a good one in Houston.
Got mine off today too! But I haven't pulled the pulley yet. I had to get inventive, so headed to Lowes, picked up a 24" black steel 3/4" pipe. Threw that on my breaker bar, making it about a 40" breaker bar. Nut came RIGHT off, easy as pie! LOL (That was after about throwing my back out trying to get it off with just the breaker bar alone)
That's weird about they key... Could someone have welded it or JB Welded it? JB should break with that much force however...... Dunno, that's weird. Hope I don't run into issues too!
Probably just rusted in place and seized to the crank snout. Dang things can be cantankerous. Let the Machine shop boys have a go at it...Probably have it out in no time. You might try a penetrating oil called freeze-off. Might do some good. Been questionable in my experience, or perhaps a chunk of dry ice on the key might shrink it enough to get some PB down in there. Just spitballing..
We were actually talking about heading to the store for some dry ice... oh well, it's off the block. I figure worst case scenario, I bring it to the machine shop. I'll hit it with some penetrating fluid for sure.
951Dreams: it's just set in there tight, nobody welded it, in fact I'm almost positive it's original and never been removed.
My wonderful, self-professed junk yard dog, po apparently couldn't be bothered to locate a $0.99 key, so he drilled 2 holes in the keyway, stuck in some roll pins and filled the rest with JB Weld. I can't even tell you how many hours I spent with my Dremel and some small picks clearing and reshaping the keyway.
^ wow, that sounds miserable. Glad you made it right. For mine, I think I'm gonna leave it and let the machine shop tackle it. No dice for me thus far.
Did a stupid and decided to pull the head studs after seeing new ones were $8 each and mine have surface corrosion on the intake side. fml...stripped the thread on the 2nd one while double-nutting it. Irwin extractors and a propane torch to the rescue. I'll be leaving the rest in, **** that.
Besides that, been cleaning like a madman. Nothing painted, just clean metal. White vinegar to dissolve corrosion on steel parts and Fabuloso on the aluminum ones. All the rollers, cogs, and pulleys look almost new. Preview:
Today's progress...keep on cleaning. Block and oil pan/girdle are in the back of the 4Runner to go to the machine shop tomorrow. Made a simple distributorless cam gear cover with a little bondo...picture looks bad but it looks good in person.
Also wire wheeled the exhaust headers and painted them in high heat paint just because.
Edit: am on my phone and can't delete images apparently, ignore repeat image of the cam retainer lol
Think I'm going to paint my manifolds too. Did you use the hi-temp primer? Or just it it with the paint after using the wheel on it? Did you get the 2000 degree stuff and do the whole bake it like 1,000 times process?
Wonder if this will also act as a bit of thermal coating?
I didn't prime, I just rattle canned some basic header paint from Autozone... I thought about getting a real thermal coating, but I'd rather spend the money elsewhere. This was mainly to seal the headers against the environment and clean up the look of the engine bay. If it keeps ambient engine bay temps down whatsoever, that'll be nice but not critical. My ignition coils sit 9" away from them, but I haven't had a problem in 8 months of driving with standard headers.
I haven't had much time to work on this project in the last week... but I loaded up the block and oil pan into the 4runner and they're going to the machine shop for cleaning after work.
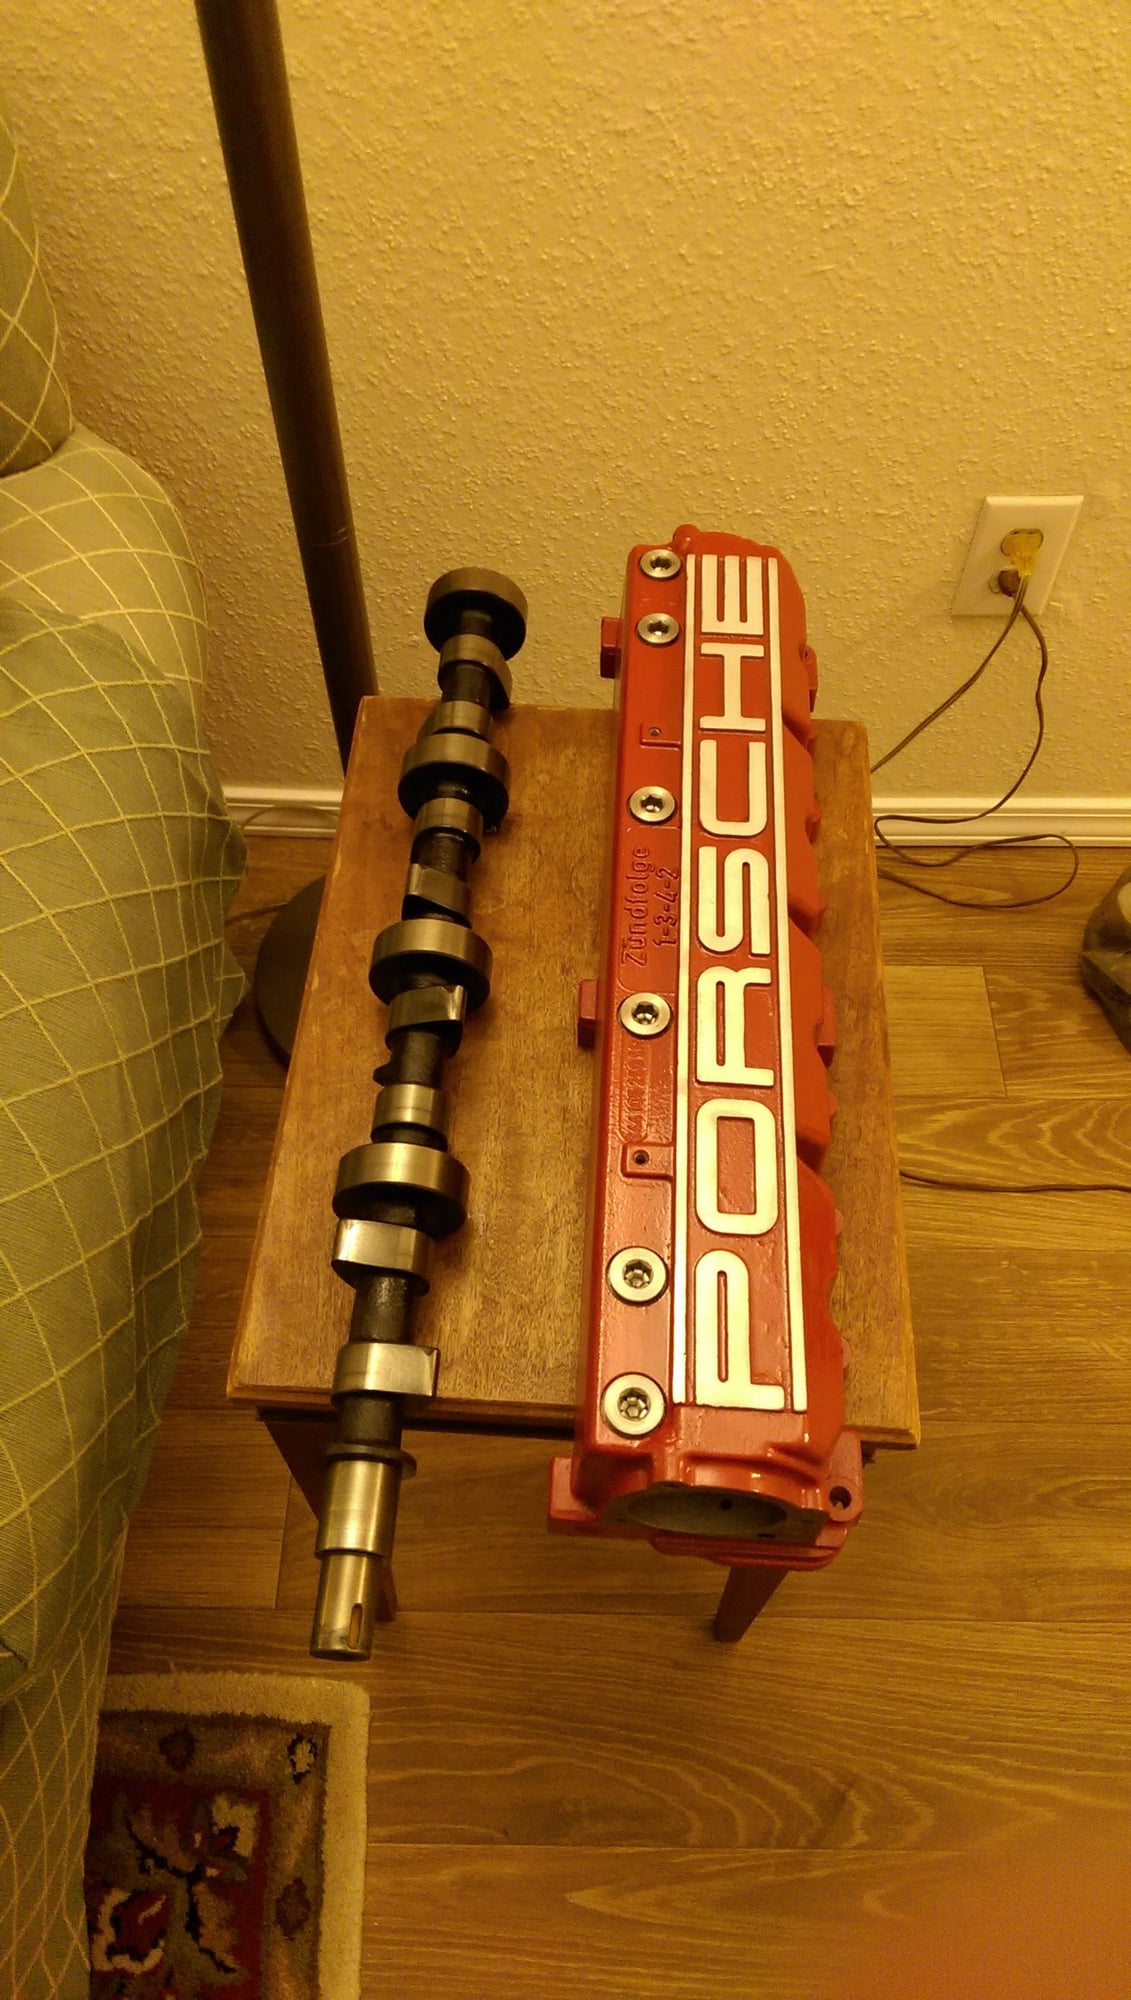
Drank some beer and whipped this up tonight. There was a mess-up with the paint near the "P"..some of the material from sanding adhered to the paint, which wasn't as dry as I thought...looks fine when not in direct light.
I thought about it, but for $12 in materials, no complaints here Next time I'll just wait more than 1 hr before sanding. It took 3 mins to knock off the paint with some 80 grit followed by 220 on my DA sander, no biggie. I also did a clear coat, mostly because the 6x plugs are mild steel and I wanted to protect them.

 02-20-2016, 07:47 PM


 Next time I'll just wait more than 1 hr before sanding. It took 3 mins to knock off the paint with some 80 grit followed by 220 on my DA sander, no biggie. I also did a clear coat, mostly because the 6x plugs are mild steel and I wanted to protect them.