My (re)build thread. [944/2]
 09-17-2013, 05:35 PM
#46
Advanced
Thread Starter

Join Date: Apr 2013
Posts: 69
Likes: 0
Received 0 Likes
on
0 Posts
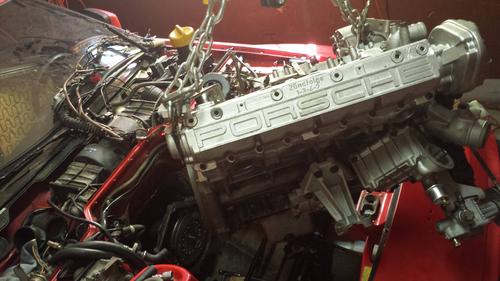
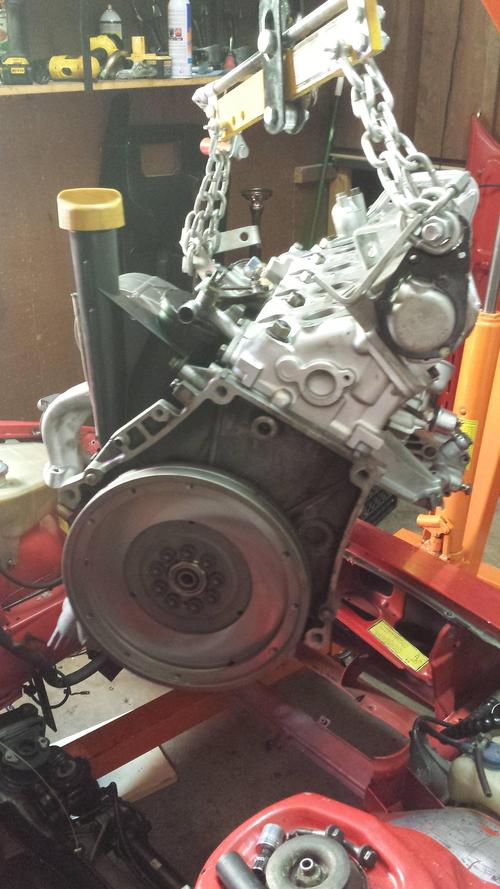
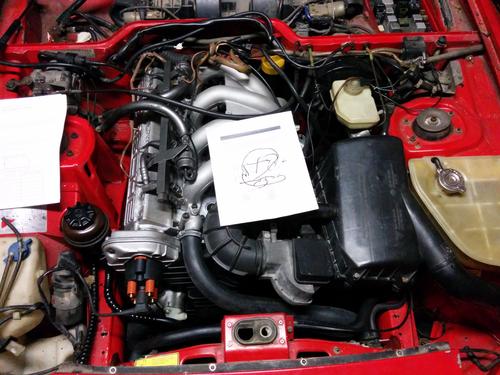
Made some progress! This motor seems larger than when i took it out. It's tight quarters in there. I tried lots of different angles.
(No..)
(No . . )
(No...)
.... Shoehorn?
Each time (3 in total) I got pretty close, but could never get everything to line up and seat nicely. I got down to about a half an inch of gap in this area on my best attempt.
So, I figure the best way to put it back in .. is the way I took it out.

Good thing I got that nice clutch alignment tool.
I ended up having to take down the cross member, control arms, etc to get things moving in the right direction.
And she's finally seated!
 \
\

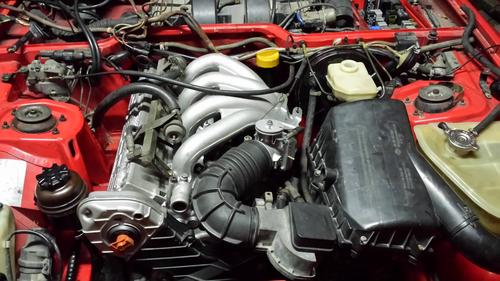
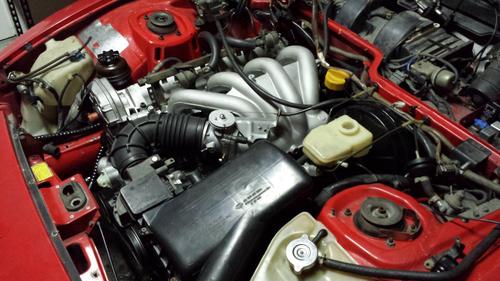
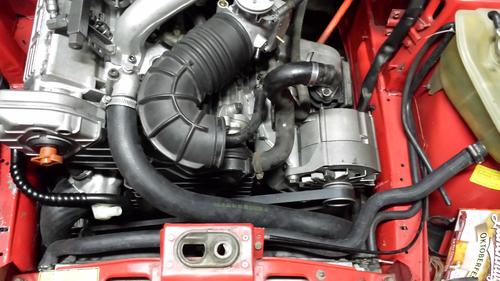
Nice and shiny! In retrosect, I could've waited to put the manifolds on. But so pretty.
Pics for clicks.

What a job. I ended up with a busted eyebrow (jack handle) a scarred back (underside of shelf) and a ponytail that adsorbed six times its weight in grime.

(If you see me around, say Hi!)
Next day - with the big stuff out of the way, I continued on at an easier pace. Connecting up the larger vacuum stuff. Idle stabilizer valve, AOS, Air-box, various.
Soon I get to look more closely at the electricals.
(No..)
(No . . )
(No...)
.... Shoehorn?
Each time (3 in total) I got pretty close, but could never get everything to line up and seat nicely. I got down to about a half an inch of gap in this area on my best attempt.
So, I figure the best way to put it back in .. is the way I took it out.
Good thing I got that nice clutch alignment tool.
I ended up having to take down the cross member, control arms, etc to get things moving in the right direction.
And she's finally seated!
\Nice and shiny! In retrosect, I could've waited to put the manifolds on. But so pretty.
Pics for clicks.
What a job. I ended up with a busted eyebrow (jack handle) a scarred back (underside of shelf) and a ponytail that adsorbed six times its weight in grime.
(If you see me around, say Hi!)
Next day - with the big stuff out of the way, I continued on at an easier pace. Connecting up the larger vacuum stuff. Idle stabilizer valve, AOS, Air-box, various.
Soon I get to look more closely at the electricals.
 11-04-2013, 03:32 PM
#49
Advanced
Thread Starter
Join Date: Apr 2013
Posts: 69
Likes: 0
Received 0 Likes
on
0 Posts
Thanks for the bump  Here's a mini-update.
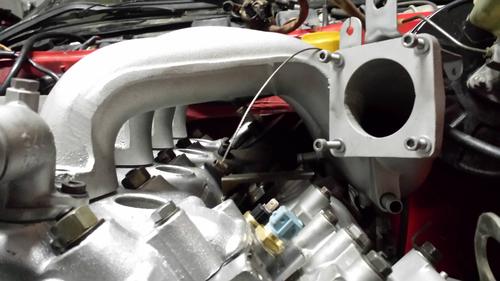
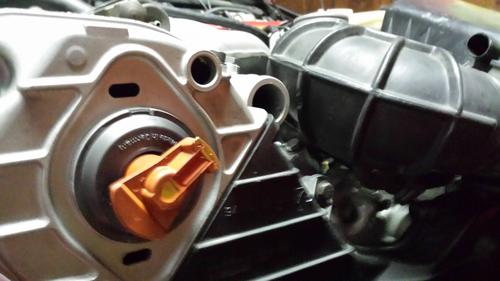
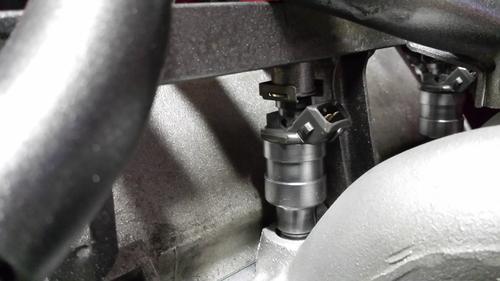
Injectors came back from rebuild, looking pretty nice:
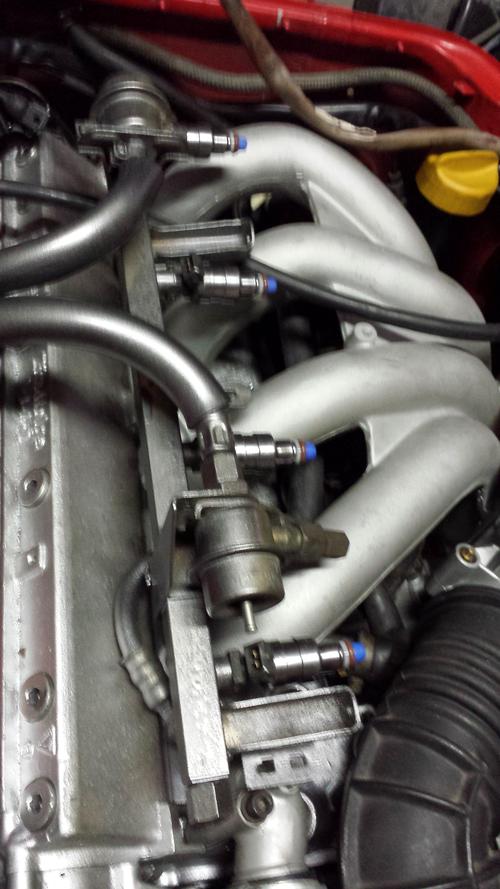
Got those snugged into place
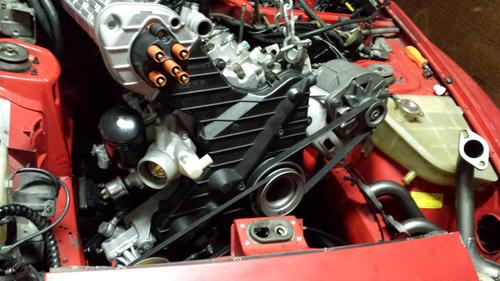
Did a little plumbing
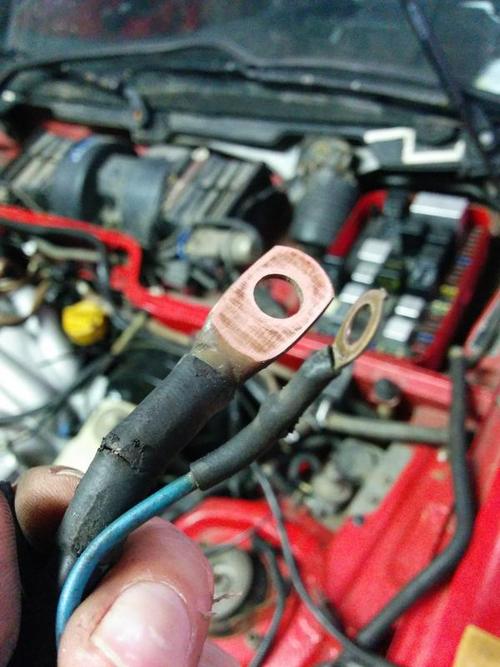
and now i'm facing an electrical nightmare. I should've run some of this before putting the intake manifold back on, I'll probably hafta remove it.
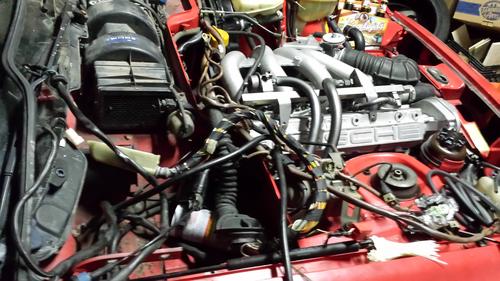
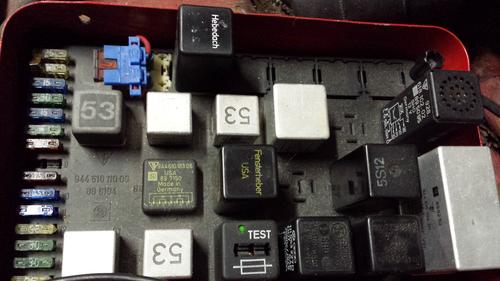
Bonus points .. tell me what you see:
Here's a mini-update.Injectors came back from rebuild, looking pretty nice:
Got those snugged into place
Did a little plumbing
and now i'm facing an electrical nightmare. I should've run some of this before putting the intake manifold back on, I'll probably hafta remove it.
Bonus points .. tell me what you see:
 06-03-2014, 12:45 PM
#54
Advanced
Thread Starter
Join Date: Apr 2013
Posts: 69
Likes: 0
Received 0 Likes
on
0 Posts
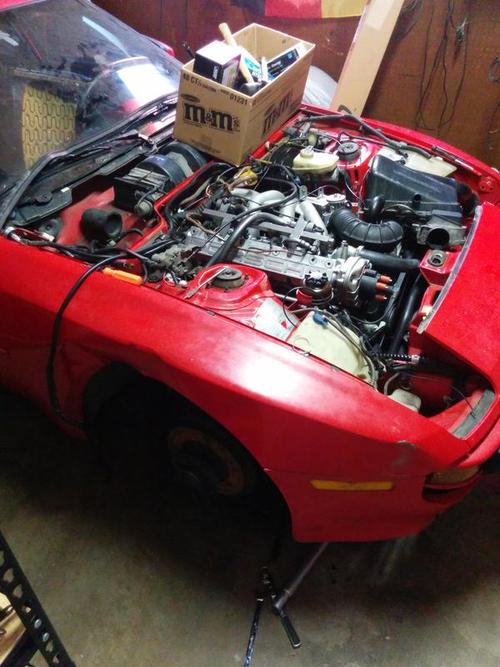
Back into the garage a little bit.
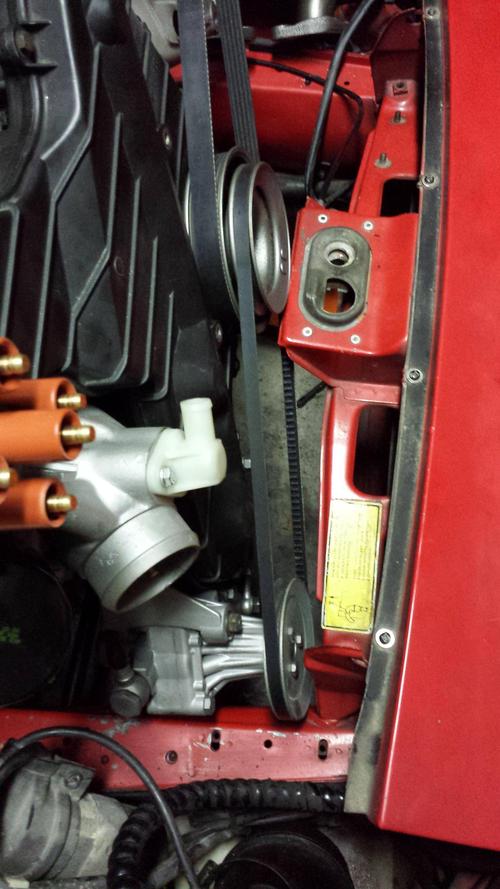
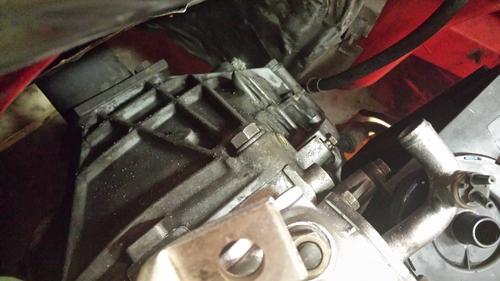
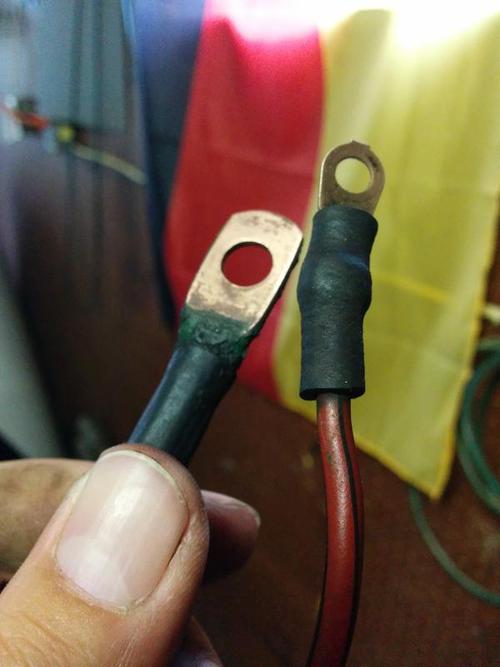
It's electric! Alternator side:
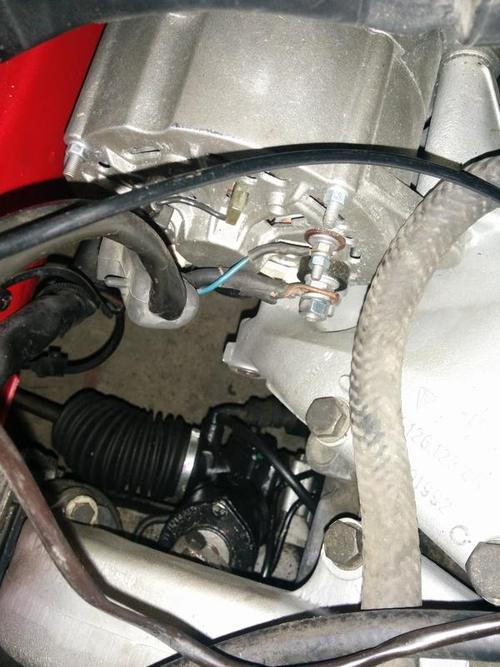
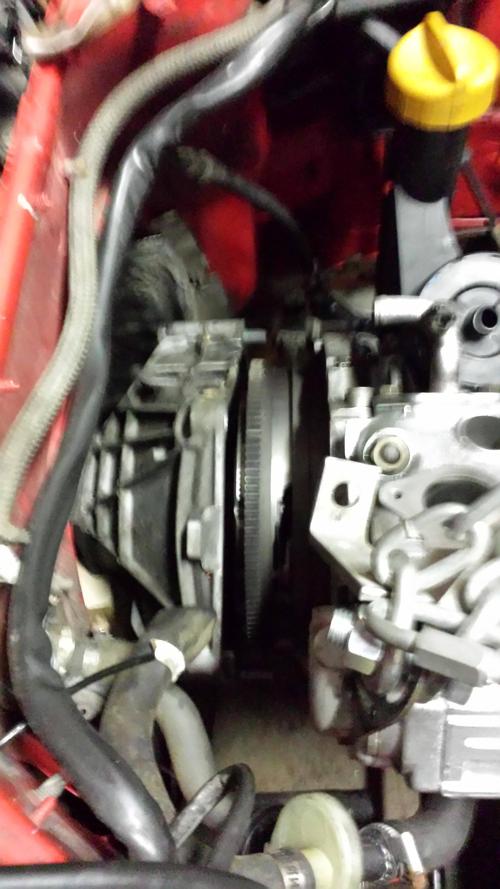
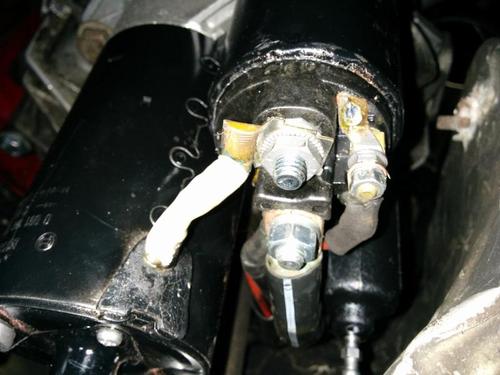
Starter side:
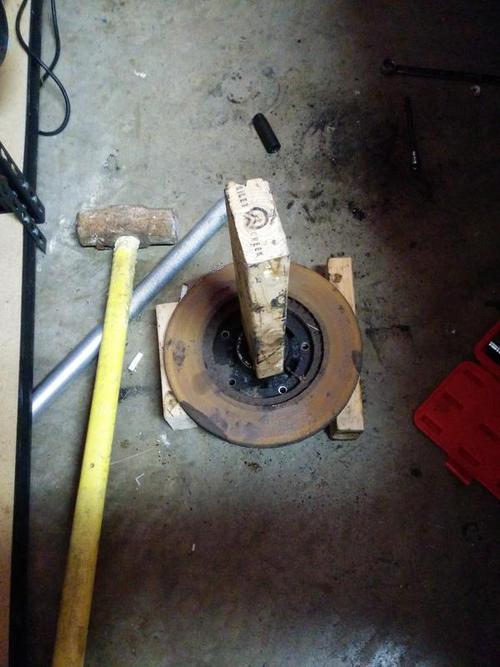
Now then .. Calipers, Rotors, Brake lines, wheel bearings.
Bits!
Took the dust sheilds off too, will have those blasted / painted.
Porsche™ Special Tool #944-2x4-20lb
 06-16-2014, 11:22 AM
#57
Advanced
Thread Starter
Join Date: Apr 2013
Posts: 69
Likes: 0
Received 0 Likes
on
0 Posts
Now that it'll start and run a little, I've got tons more to do.
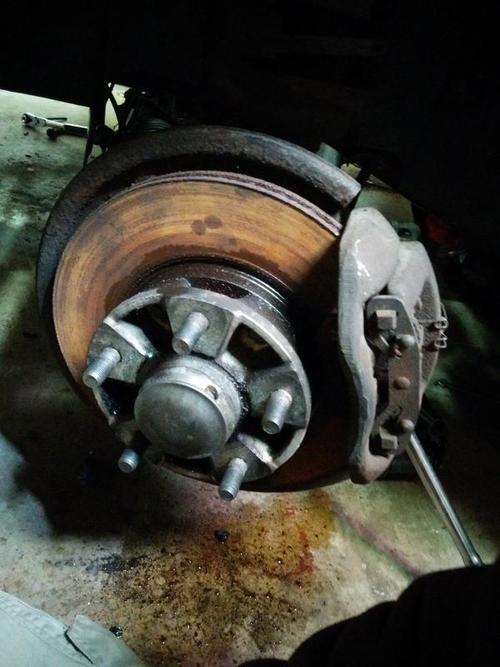
Last stop, I removed the front brakes and hubs to tidy them up. Those are now here:
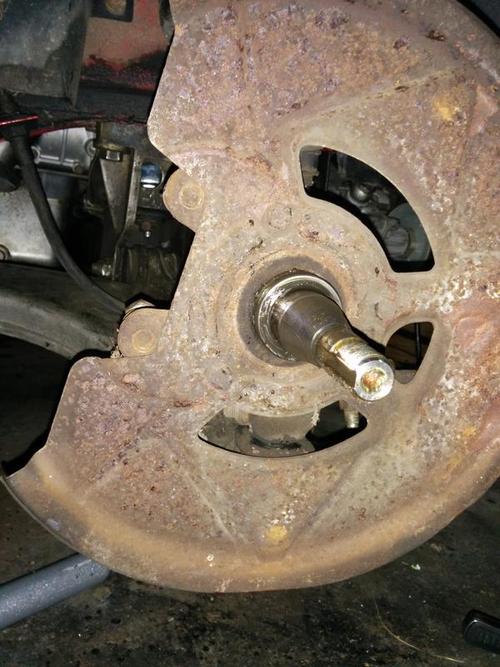
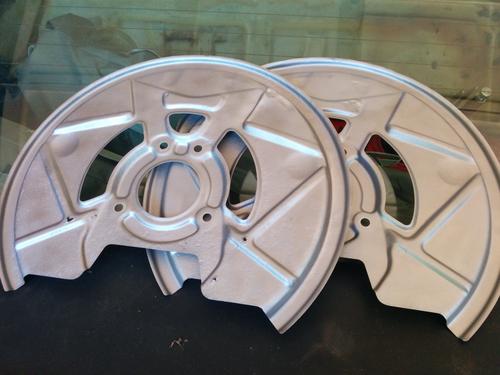
Dust sheilds:
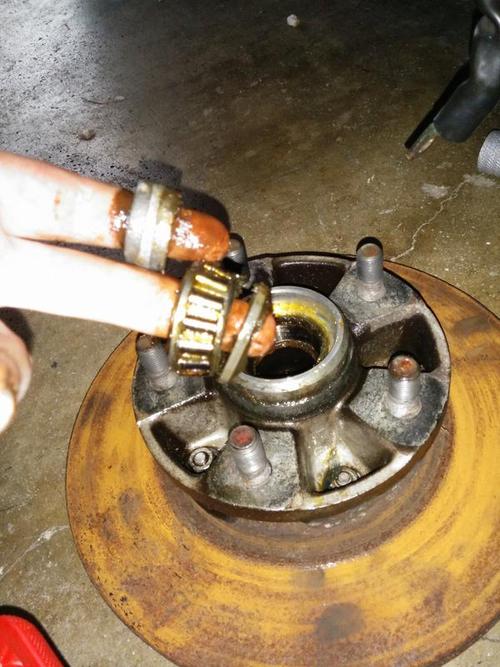
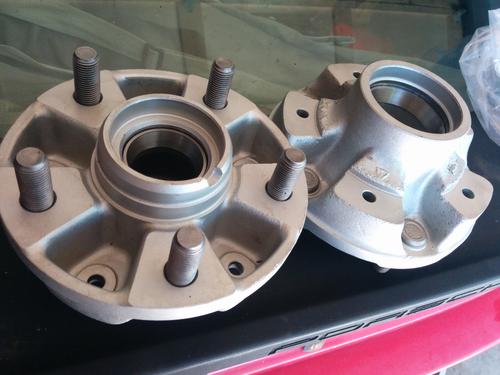
Hubs:
Races:
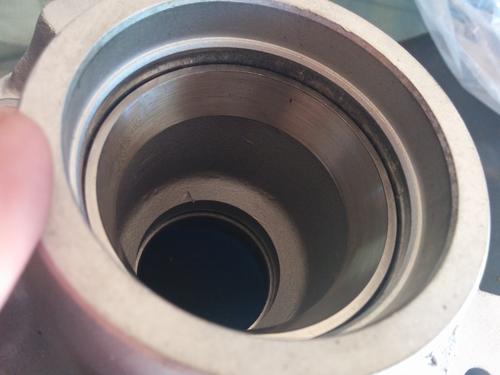
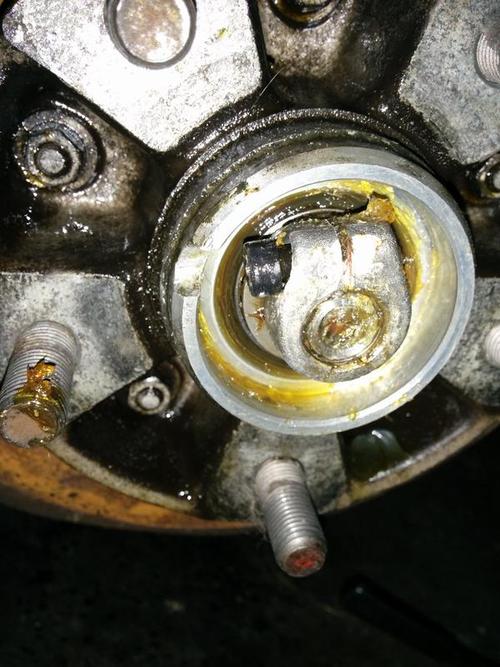
Piston and pot were pretty funky:
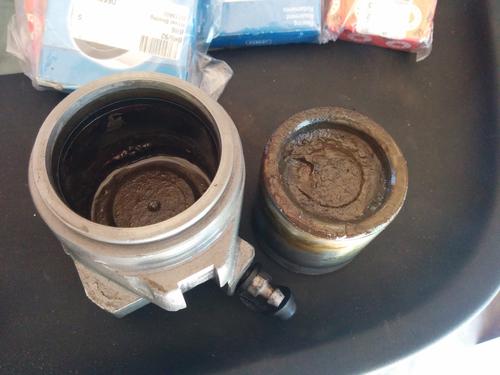
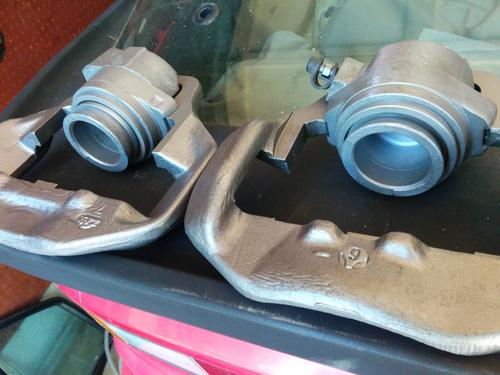
And what's old is new:
Last stop, I removed the front brakes and hubs to tidy them up. Those are now here:
Dust sheilds:
Hubs:
Races:
Piston and pot were pretty funky:
And what's old is new:
06-16-2014, 11:25 AM
#58
Advanced
Thread Starter
Join Date: Apr 2013
Posts: 69
Likes: 0
Received 0 Likes
on
0 Posts
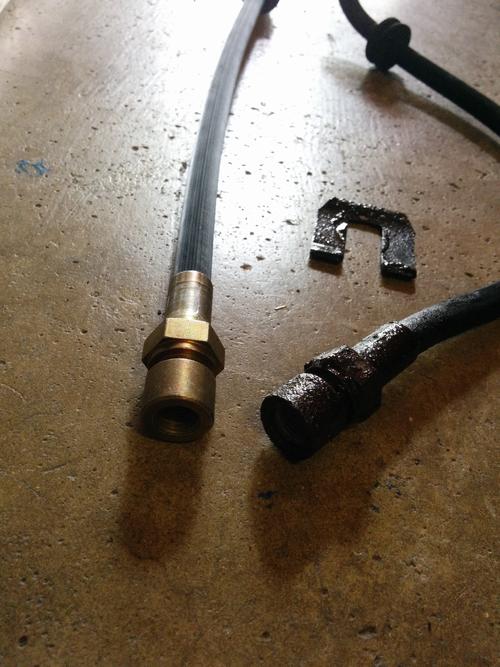
I've got some leaks to chase - power steering fluid from the rack, and coolant from the large hose exiting the water pump. The car will start and run/rev, but die at idle. It's open-headered at the moment.
I see the oil pressure gauge peg at 5 bar while it runs .. I'm not sure if that's what I'm supposed to see, but I caught a post suggesting I swap the leads at the sensor, so I'll try that.
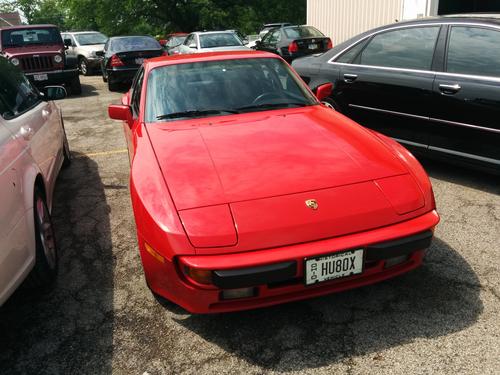
I saw this example, which keeps me motivated:
I see the oil pressure gauge peg at 5 bar while it runs .. I'm not sure if that's what I'm supposed to see, but I caught a post suggesting I swap the leads at the sensor, so I'll try that.
I saw this example, which keeps me motivated:
Last edited by cybe; 06-16-2014 at 12:17 PM.
07-15-2014, 03:55 PM
#60
Advanced
Thread Starter
Join Date: Apr 2013
Posts: 69
Likes: 0
Received 0 Likes
on
0 Posts
I feel like some photos are missing from this thread, so I'll paste 'em here. I might've forgotten to post them.
This is my key I kept the junkyard 944 on the windshield. Heritage and all that.
This is the nasty gas that was in the tank.
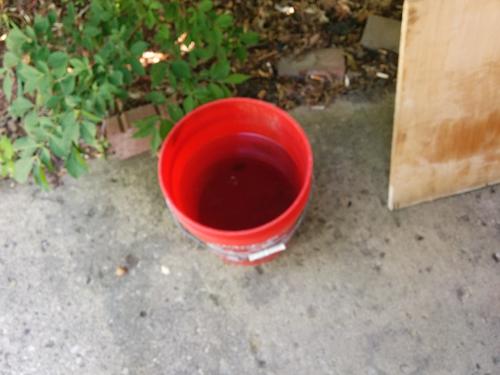
Fuel door key pictured:
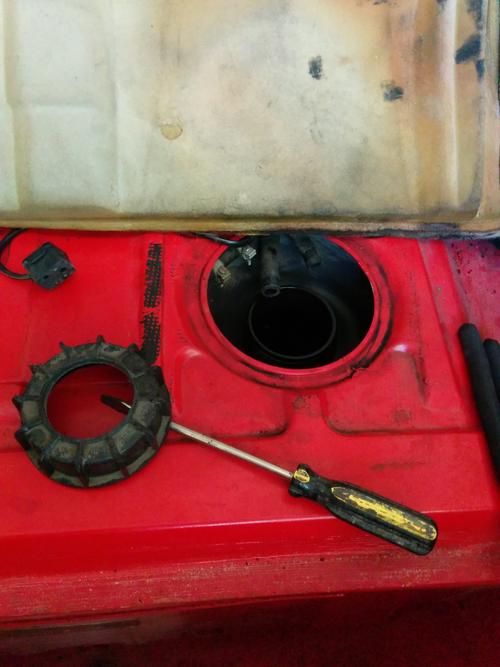
Doing vac stuff:
Gross.
I took some time to address leaks at the power steering pump (I forgot a crush washer) and water pump (worm clamp wasn't on straight) so now I'm try as a bone.
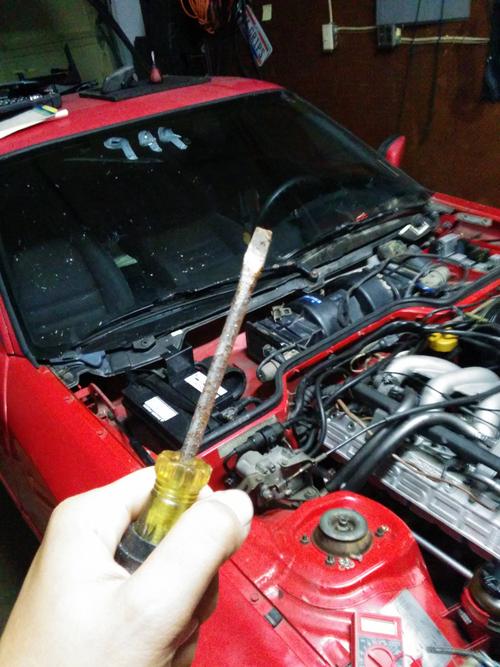
It was time to bleed the power steering, but alas -- this car doesn't have a key. So I called around to find a locksmith who might be able to fabricate one. I got two "No thanks," one "That'll be $275 because of the 'rarity'" and one "Sure man, I love those - hundred bucks. Does it run?"
So I'll meet that guy tomorrow and have a key made - finally I'll be able to unlock the column and re-assemble the ignition components. I've been using a flathead screwdriver in the switch that we've removed from the back of the key cylinder.
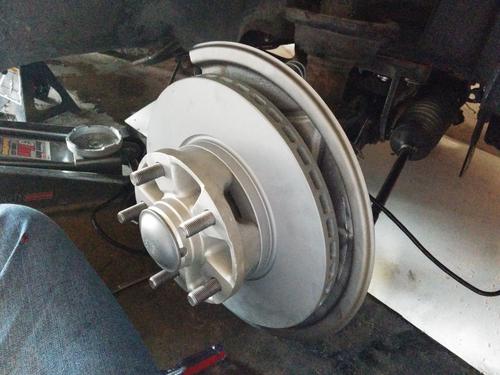
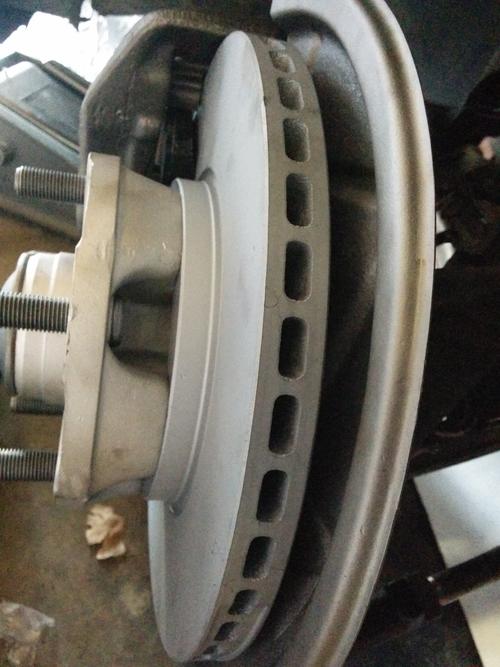
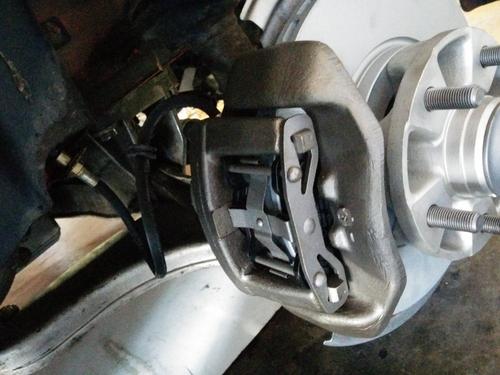
Oh, right - brakes.
Now we're talkin'. I do like it tidy.
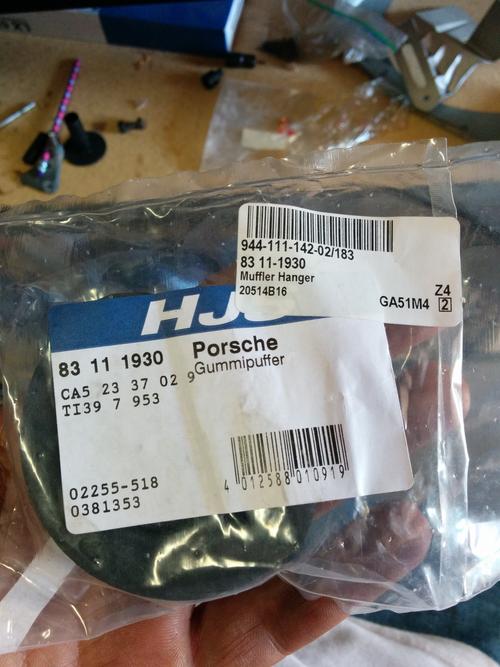
Next, a little work on the Gummipuffer.
This is my key
I kept the junkyard 944 on the windshield. Heritage and all that.This is the nasty gas that was in the tank.
Fuel door key pictured:
Doing vac stuff:
Gross.
I took some time to address leaks at the power steering pump (I forgot a crush washer) and water pump (worm clamp wasn't on straight) so now I'm try as a bone.
It was time to bleed the power steering, but alas -- this car doesn't have a key. So I called around to find a locksmith who might be able to fabricate one. I got two "No thanks," one "That'll be $275 because of the 'rarity'" and one "Sure man, I love those - hundred bucks. Does it run?"
So I'll meet that guy tomorrow and have a key made - finally I'll be able to unlock the column and re-assemble the ignition components. I've been using a flathead screwdriver in the switch that we've removed from the back of the key cylinder.
Oh, right - brakes.
Now we're talkin'. I do like it tidy.
Next, a little work on the Gummipuffer.
Last edited by cybe; 07-15-2014 at 04:18 PM.