My 1967 912 Build Thread
 02-23-2014, 10:57 PM
#166
Professor of Pending Projects
Rennlist Member
Rennlist Member
Thread Starter
 02-23-2014, 11:01 PM
#167
Professor of Pending Projects
Rennlist Member
Rennlist Member
Thread Starter
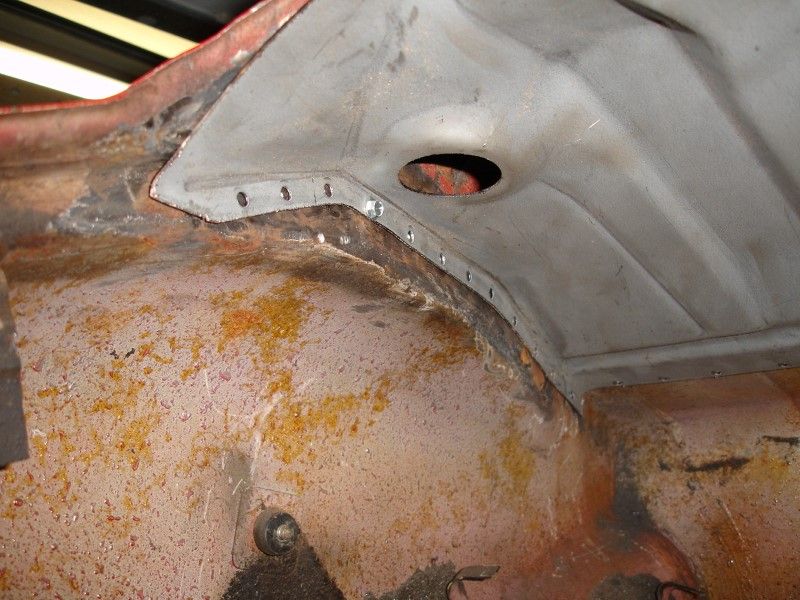
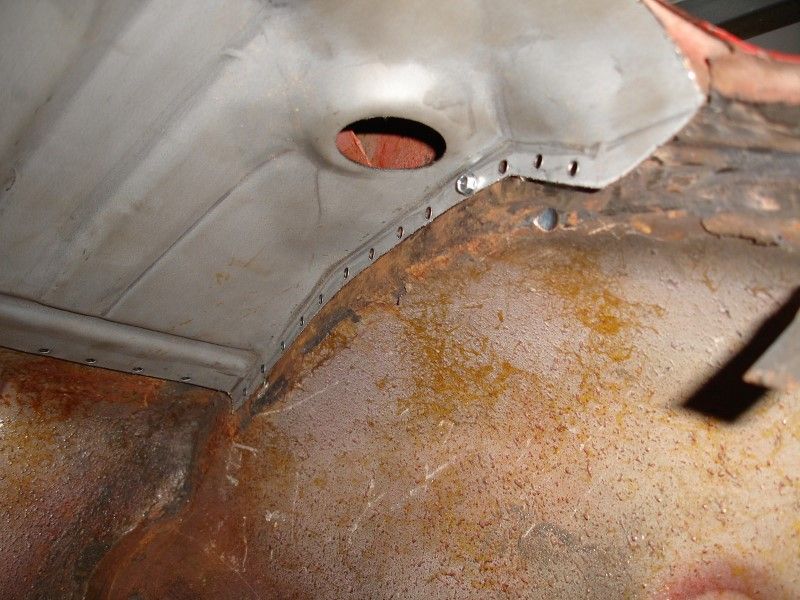
Well... it is presented...aligned, and held in place with some self-tap screws... I need to fix all the metal around before welding it in place... but wanted to take a few photos.
All that I can say is that I have much better appreciation for people that work the metal in these or any cars... took me the whole day to remove and fit this shelf.
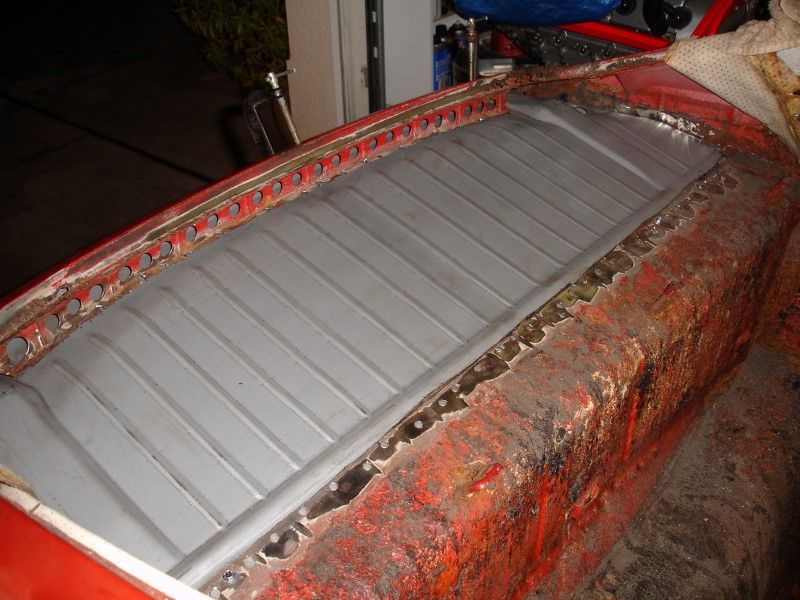
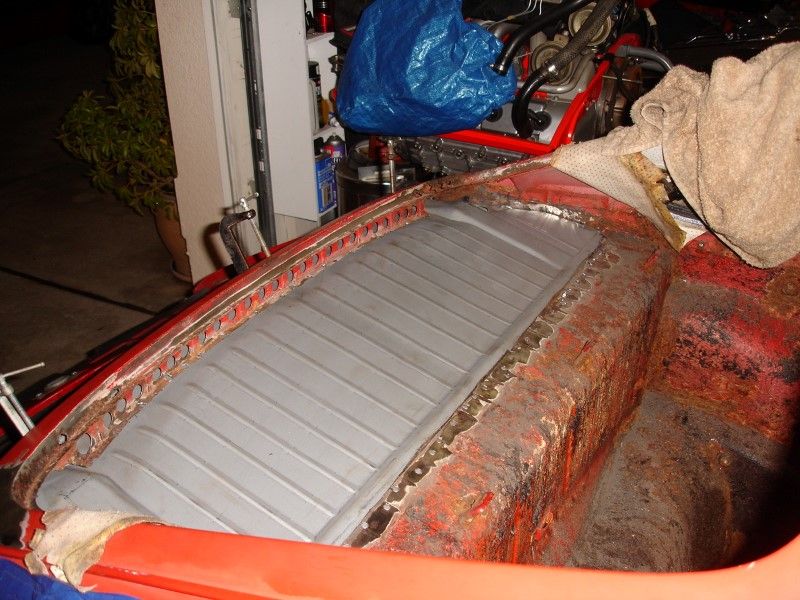
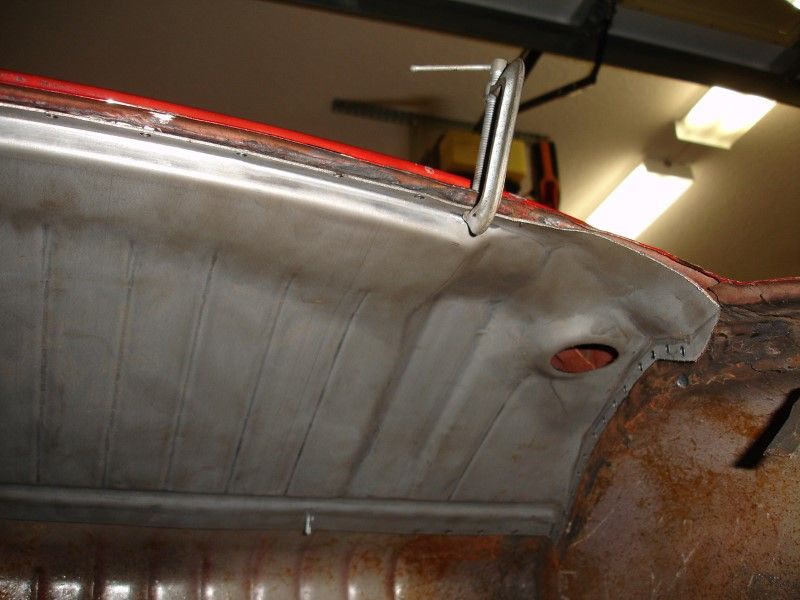
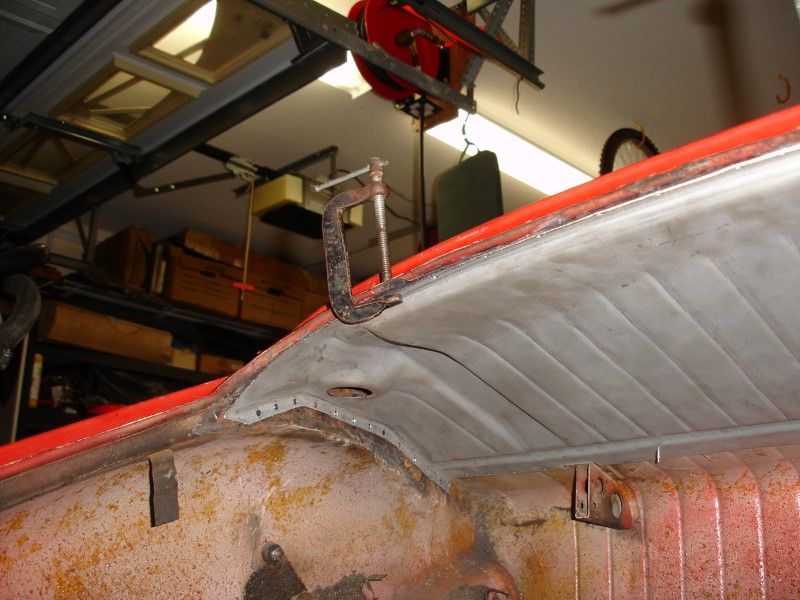
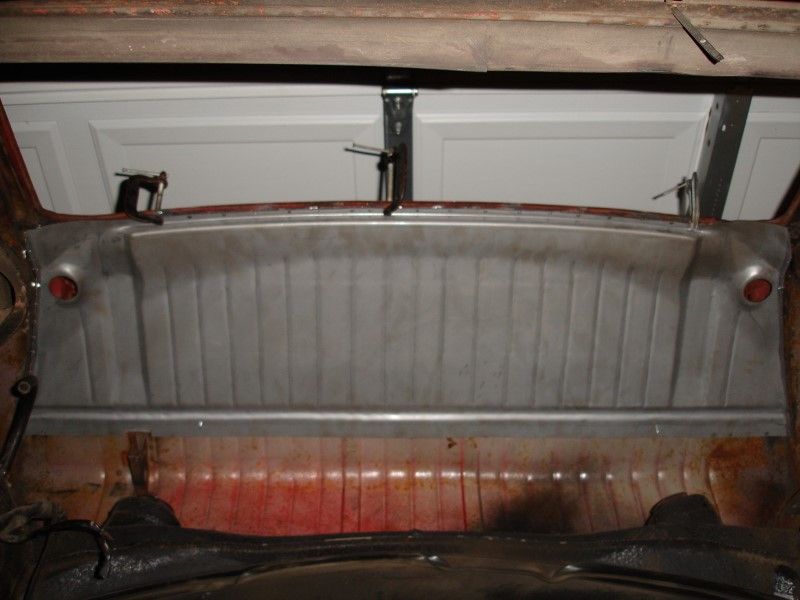
I made holes from when it is time to weld in place... yeah, the next guy is going to have to suffer what I did to get this out again...lol
All that I can say is that I have much better appreciation for people that work the metal in these or any cars... took me the whole day to remove and fit this shelf.
I made holes from when it is time to weld in place... yeah, the next guy is going to have to suffer what I did to get this out again...lol
02-24-2014, 10:44 AM
#168
Instructor
Wachuko, sorry off topic backdating question, but still relevant to the work you're doing.
1. Can I re-position long hood's latch so it will fit onto a short hood latch panel?
2. My car is 3.2, so can I fit long hood narrow rear bumper to 3.2 flare rear fender?
TIA, btw it's amazing the pace you are working on this car.
1. Can I re-position long hood's latch so it will fit onto a short hood latch panel?
2. My car is 3.2, so can I fit long hood narrow rear bumper to 3.2 flare rear fender?
TIA, btw it's amazing the pace you are working on this car.
02-24-2014, 10:55 AM
#169
Professor of Pending Projects
Rennlist Member
Rennlist Member
Thread Starter
 That would be one hard to reach latch.
I remember reading of a company that did something similar... they used a short hood with a fiberglass extension to make it a long hood and they did some modification to the latch to allow you to reach for opening... let me see if I can find the link....
02-24-2014, 11:18 AM
#170
Professor of Pending Projects
Rennlist Member
Rennlist Member
Thread Starter
Here you go:
http://forums.pelicanparts.com/porsc...ml#post4014796
Ok, here's an "after" shot, finally...
The front end is mostly fitted except the rear edges of the bumper, I will wait for the final tightening of the fenders to drill the perfect holes there...You can see some hardware in the horn grilles holding the bumper up and lined up. Those will be hidden by the bumper seal... I love the old-look. I may leave it like that and not paint it... (kidding)
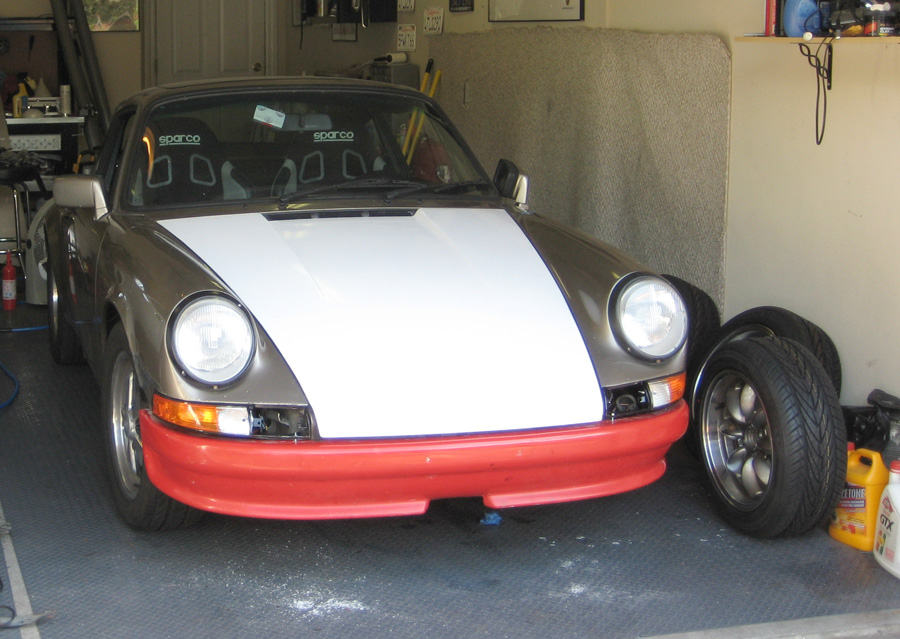

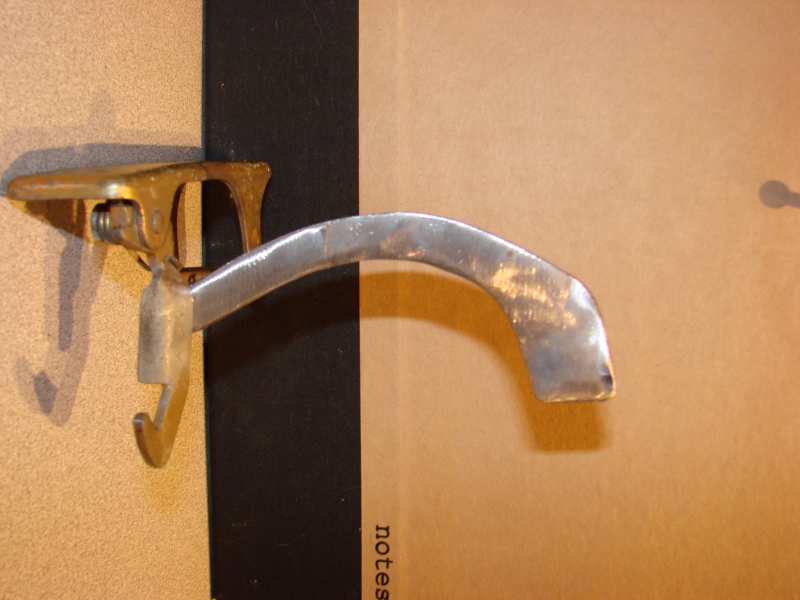
And Bryan welded a tab to the hood latch so that I can still reach it (SC front end + long hood = fingers too short)
The front end is mostly fitted except the rear edges of the bumper, I will wait for the final tightening of the fenders to drill the perfect holes there...You can see some hardware in the horn grilles holding the bumper up and lined up. Those will be hidden by the bumper seal... I love the old-look. I may leave it like that and not paint it... (kidding)
And Bryan welded a tab to the hood latch so that I can still reach it (SC front end + long hood = fingers too short)
We finally got a working solution for the $%#$%$# hood release - remember it's an SC with a longhood so your hand cannot reach the release as easily as before with a shorter hood, unless you are have the hands of an elf, a concert pianist, or a girl ;-) (or you are as incredibly skinny like Bryan - didn't want to stick you with the previous 3 choices buddy)

It's genius, I tell you ! ;-) I should get this registered... Big market.... ;-)
The effing Aero mirrors are also on, and I kinda like them... They are a lot easier to mount than to assemble, I'll give you that ! I had pictures but they are awful as the flash make the car 2 toned (more than usual anyway), so it will wait till I take her out for a spin !
Big surprise: The flag mirrors are incredibly HEAVY ! I'm surprised they don't ripple the door skin, damn !!! I'll have to weight those separately, but there is a better thread for weights ;-)
Talking about that other thread for a second ("pulled 500 lbs of my car?") , I find it amazing that the car raised itself quite that much by doing just what was done. I pulled the same amount of weight of my SC, give or take 20 lbs, and my car is pretty much where it started ride height wise, the front may be a tad higher, but not much... ???? Does one of us have bad shocks or torsion bars ?
http://forums.pelicanparts.com/porsc...ml#post4014796
02-24-2014, 04:24 PM
#171
Lifetime Rennlist
Member
Longhood conversion: You know that will work but... If you just remove the short hood cross piece & weld in the long hood piece you actually do it like the factory did. That is probably the way I (and probably Jaime) would do it. He removes metal & welds new in without issue! 
02-24-2014, 06:27 PM
#172
Professor of Pending Projects
Rennlist Member
Rennlist Member
Thread Starter
Longhood conversion: You know that will work but... If you just remove the short hood cross piece & weld in the long hood piece you actually do it like the factory did. That is probably the way I (and probably Jaime) would do it. He removes metal & welds new in without issue!

Everything is available to do it right... save on the hood or the front light buckets if you want... but doing that front piece would be really the way to go... imho of course...
02-24-2014, 06:41 PM
#173
Professor of Pending Projects
Rennlist Member
Rennlist Member
Thread Starter
What's in the mail today? What's in the mail today!!??
New, from Porsche, 1967 user manual!!
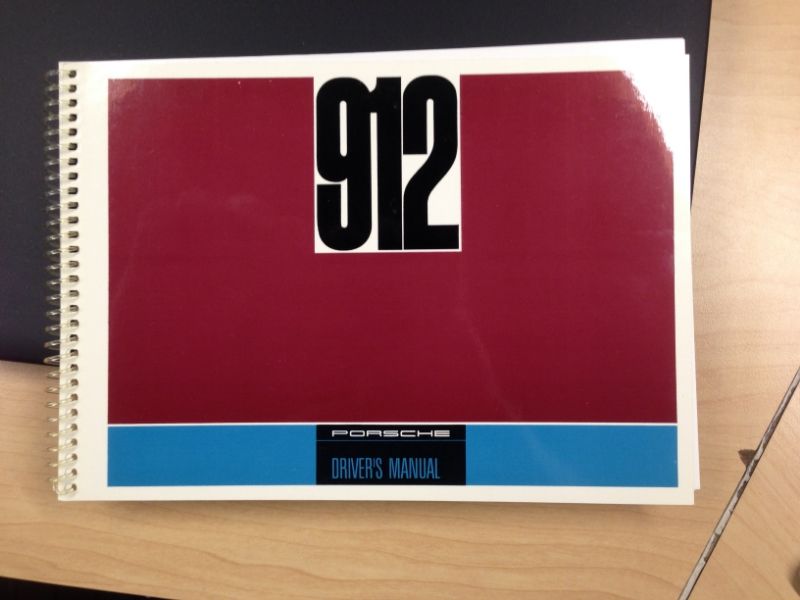
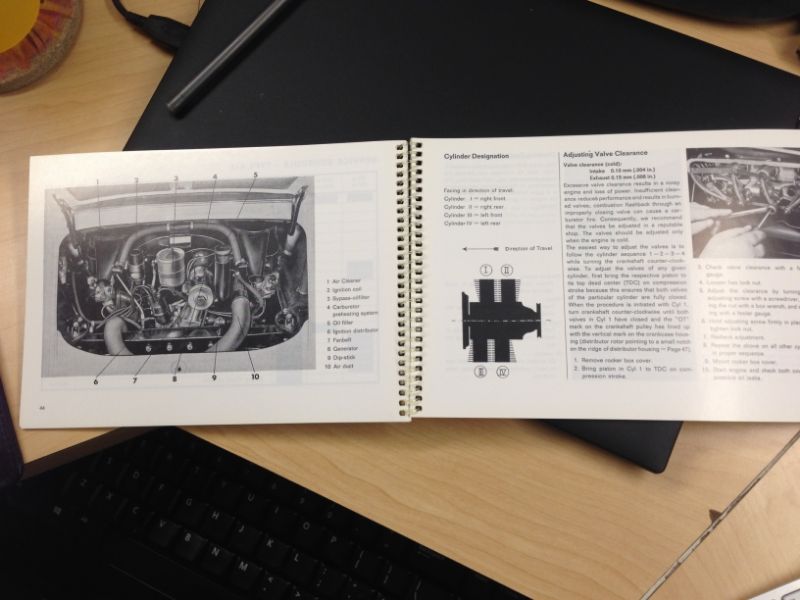
I know, I know, it is silly... but I wanted one for the car...
New, from Porsche, 1967 user manual!!
I know, I know, it is silly... but I wanted one for the car...
02-25-2014, 06:43 AM
#175
Former Vendor

Join Date: Feb 2004
Posts: 2,139
Likes: 0
Received 0 Likes
on
0 Posts
Jaime,
Great thread! Really appreciate your time spent on documenting your work along the way for the rest of us.
Are you going to cold galvanize or other wise treat the old and new sheet metal that will be hidden before welding everything up? Just wondering how you will protect those areas.
Have fun,
Great thread! Really appreciate your time spent on documenting your work along the way for the rest of us.
Are you going to cold galvanize or other wise treat the old and new sheet metal that will be hidden before welding everything up? Just wondering how you will protect those areas.
Have fun,
02-25-2014, 07:22 AM
#176
Professor of Pending Projects
Rennlist Member
Rennlist Member
Thread Starter
Jaime,
Great thread! Really appreciate your time spent on documenting your work along the way for the rest of us.
Are you going to cold galvanize or other wise treat the old and new sheet metal that will be hidden before welding everything up? Just wondering how you will protect those areas.
Have fun,
Great thread! Really appreciate your time spent on documenting your work along the way for the rest of us.
Are you going to cold galvanize or other wise treat the old and new sheet metal that will be hidden before welding everything up? Just wondering how you will protect those areas.
Have fun,
I have been watching videos on the process and have learned a lot. Having said that, if you see anything that I am doing wrong or could do better, please, please chime in. I am learning as I go...
Had no idea there was weldeable paint. So I went ahead and order some. At this moment the part is held in place by self tap screws. Waiting for the weld through copper primer to arrive. So the plan is to paint with the copper primer the areas to weld, seam sealer in all seams, and coat with Por-15 after all is in place. I want to protect against rust as much as I possibly can...

Last edited by Wachuko; 02-25-2014 at 07:58 AM.
02-26-2014, 07:56 AM
#177
Professor of Pending Projects
Rennlist Member
Rennlist Member
Thread Starter
A few more tools and parts came in yesterday...
Seal installer for the flywheel side, pressure relief plug remover, a few copper seals...
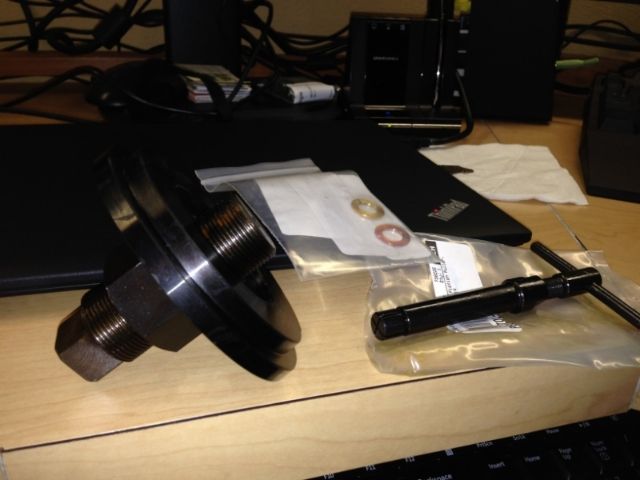
Seal installer for the flywheel side, pressure relief plug remover, a few copper seals...
 02-26-2014, 09:31 PM
#179
Professor of Pending Projects
Rennlist Member
Rennlist Member
Thread Starter
Not much progess, but baby steps...
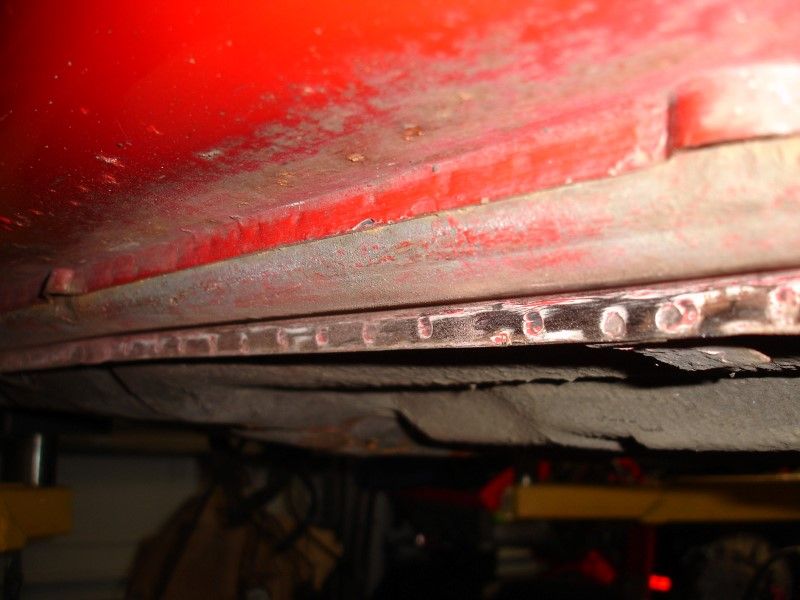
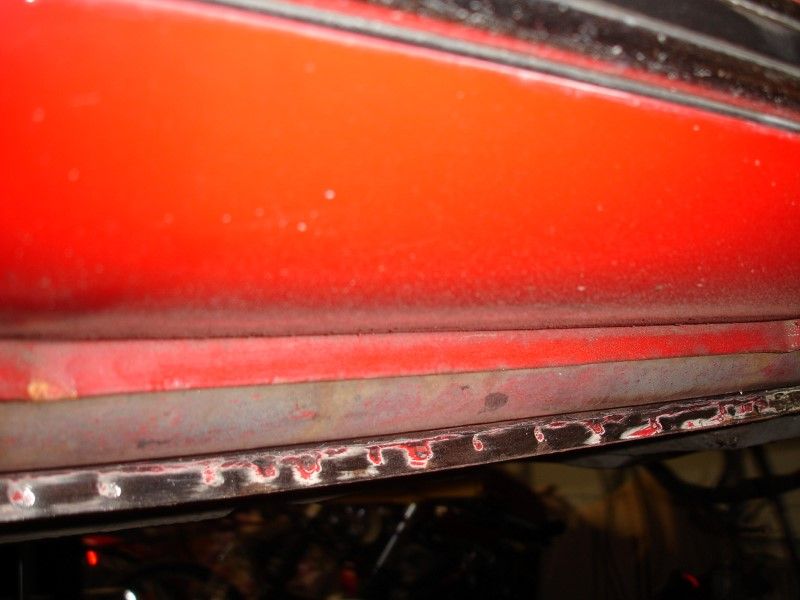
Cleaned the area to see where the spot welds are. Drilled the center ones... at least those in the front half floor pan. Rear pan was replaced previously and I can't find spot welds. Looks like it was welded differently so I will have to use the cutting wheel on that one...
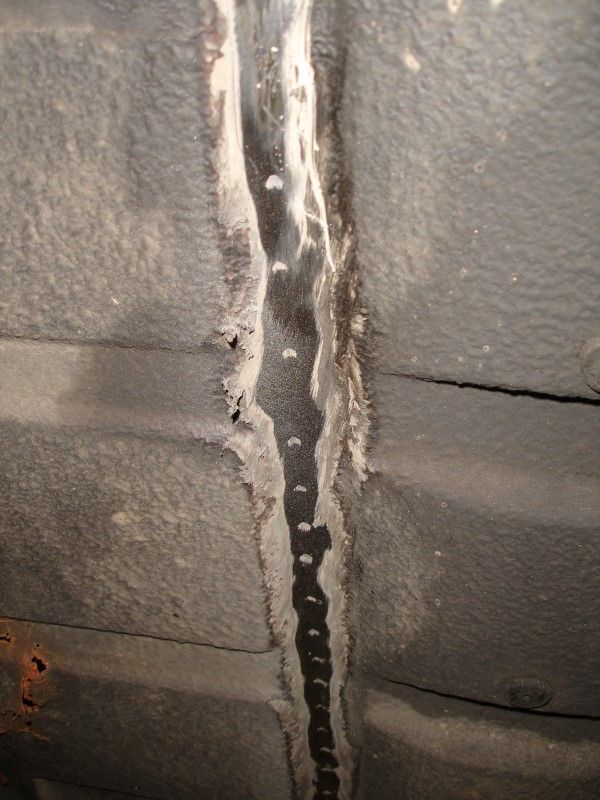
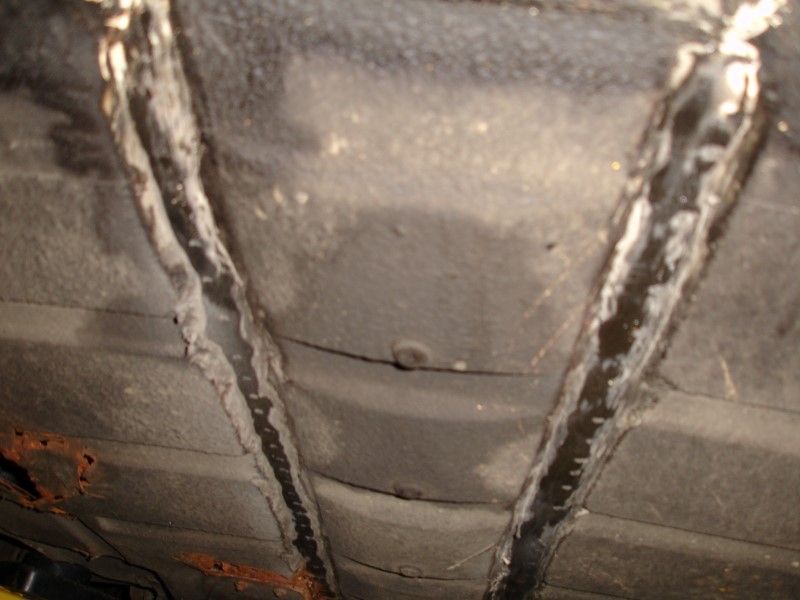
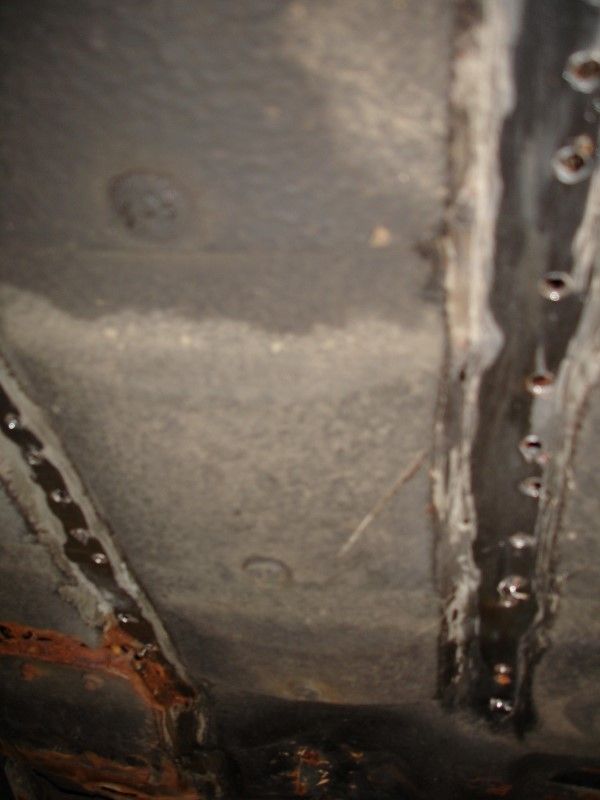

Front section of the center is now loose...
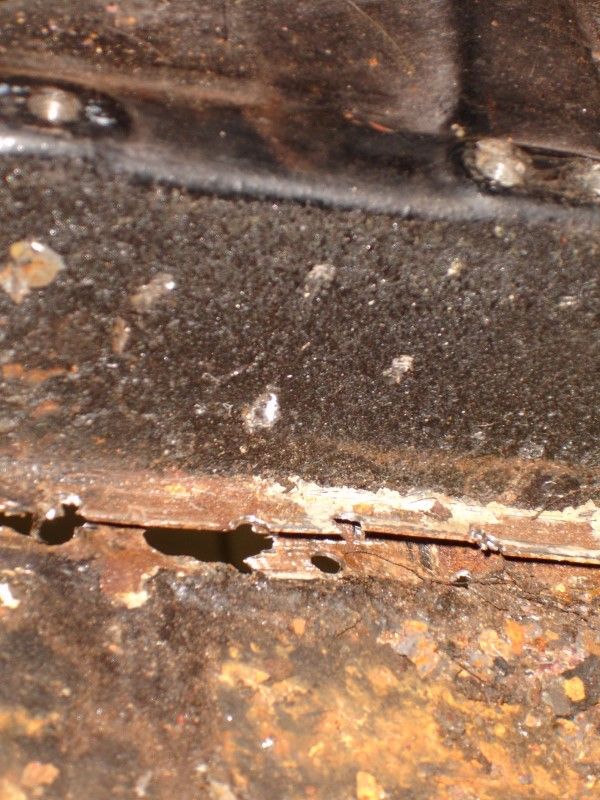
Side cleaned to know where the welds are... I will drill those out tomorrow night...
Cleaned the area to see where the spot welds are. Drilled the center ones... at least those in the front half floor pan. Rear pan was replaced previously and I can't find spot welds. Looks like it was welded differently so I will have to use the cutting wheel on that one...
Front section of the center is now loose...
Side cleaned to know where the welds are... I will drill those out tomorrow night...
02-28-2014, 08:05 AM
#180
Professor of Pending Projects
Rennlist Member
Rennlist Member
Thread Starter
The weld through spray got here yesterday. Looks like I will be able to finish the rear window frame and parcel shelf this weekend.
