When you click on links to various merchants on this site and make a purchase, this can result in this site earning a commission. Affiliate programs and affiliations include, but are not limited to, the eBay Partner Network.
you gave me some advice about 4-5 years ago when I was painting my BMW racecar. I now have another racecar project, and a 78 911SC daily driver project.
awesome work on your 911.
Yup, that would be me...
Very nice to see you back in the P-car fold! It's some sort of incurable disease I guess. Look forward to seeing where you go with the SC!
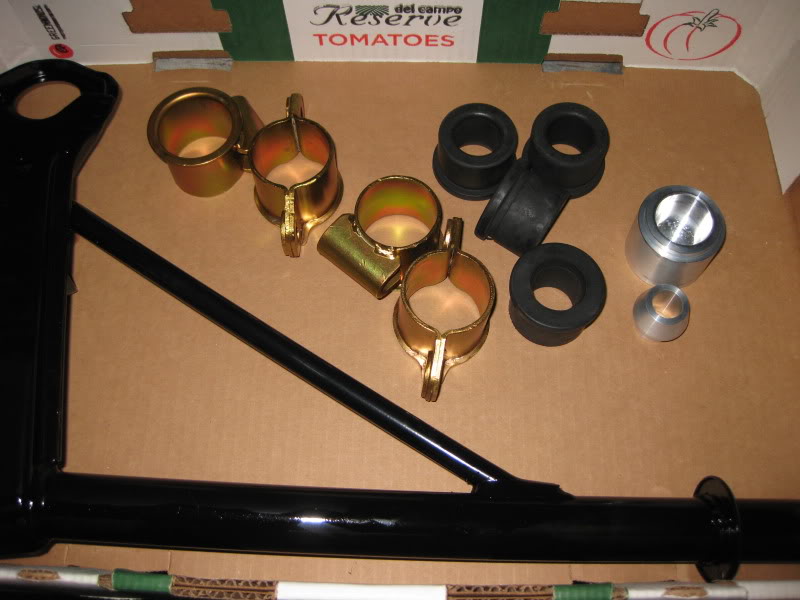
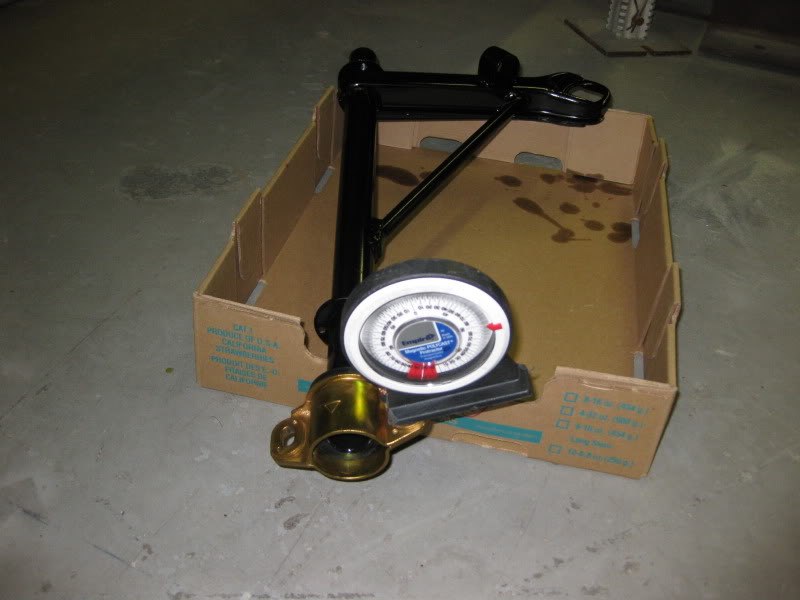
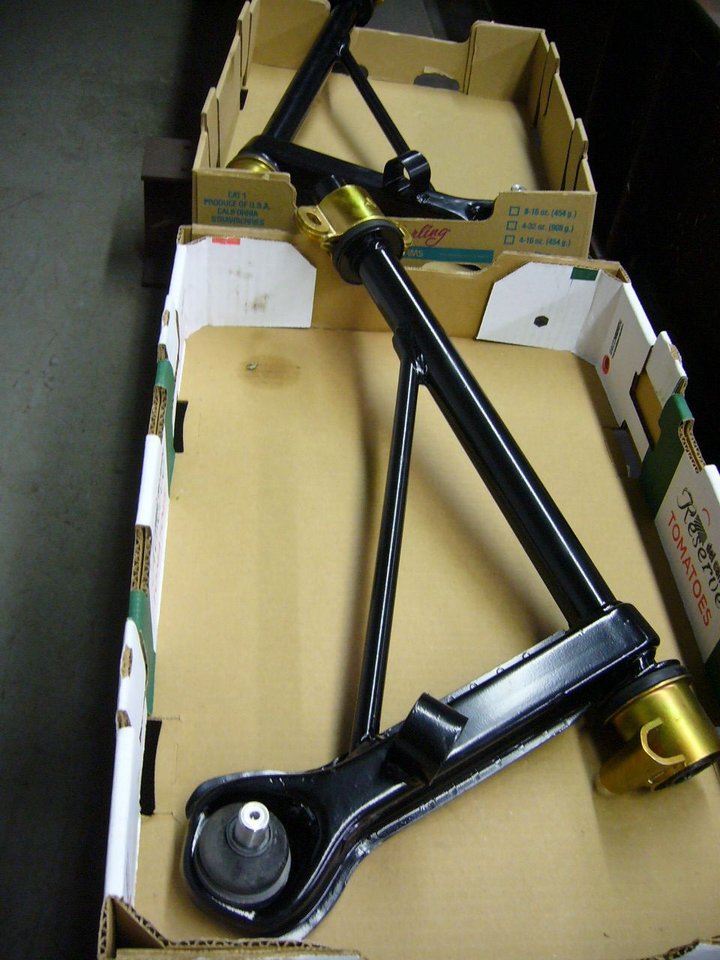
I�ve installed the new bushings in the freshly powder-coated control arms. I used the Elephant Racing rubber bushings. I believe they are the best option for a �street� set up. Unlike other replacement rubber bushings, these ones need a lot of force to install as the rubber must be compressed. They are touted as being OEM in size and stiffness. Other rubber bushings apparently require less force to install, and are thus less stiff.
As a result, ER sells the bushings with a couple of aluminum tools that help you install the bushings. Here is everything ready to go:
The first step is easy: Simply push the bushings into the carriers. Using a bit of liquid soap, they go in quite easily by hand.
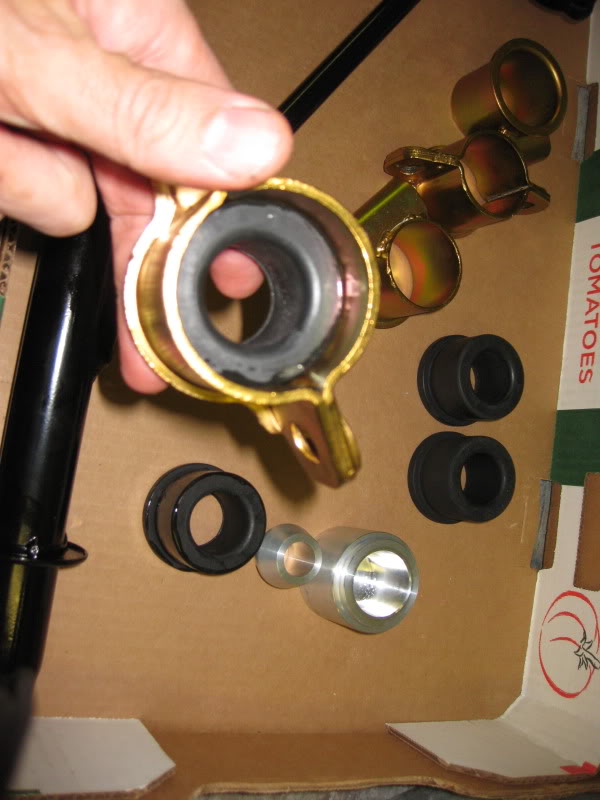
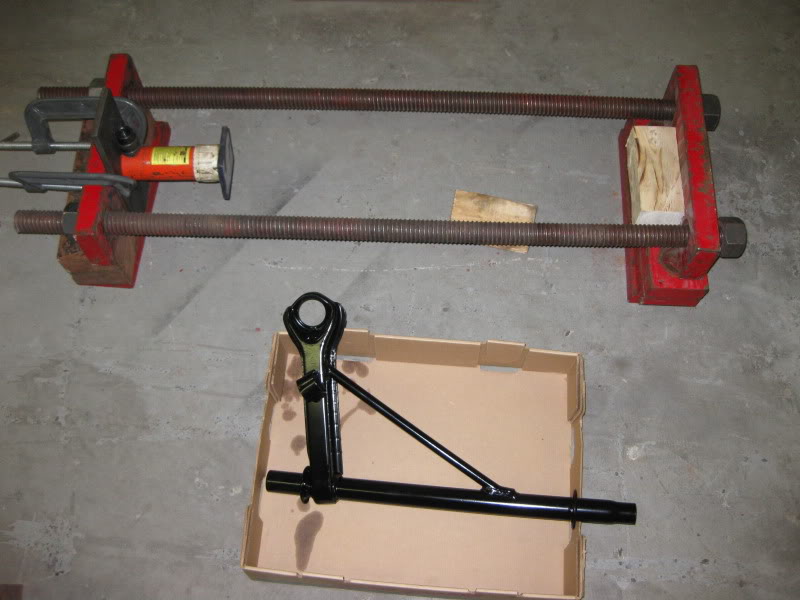
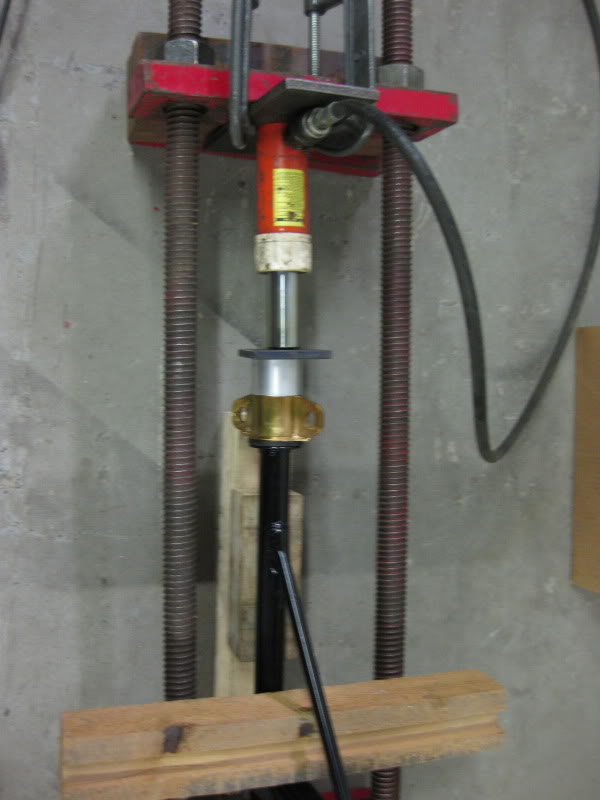
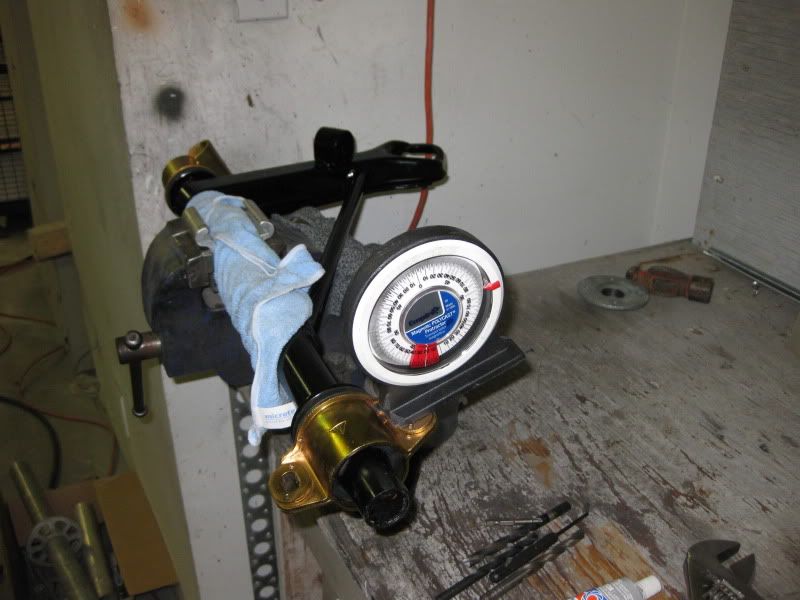
Next up is pressing the bushing & carrier assemblies onto the arms themselves. This is where you need the install tools, and some method of pressing them on. There is no way on God�s green earth that I could press these on by hand. The instructions suggest a long screw clamp, but I decided to use. a small hydraulic cylinder and some material at work to rig up a �press�.
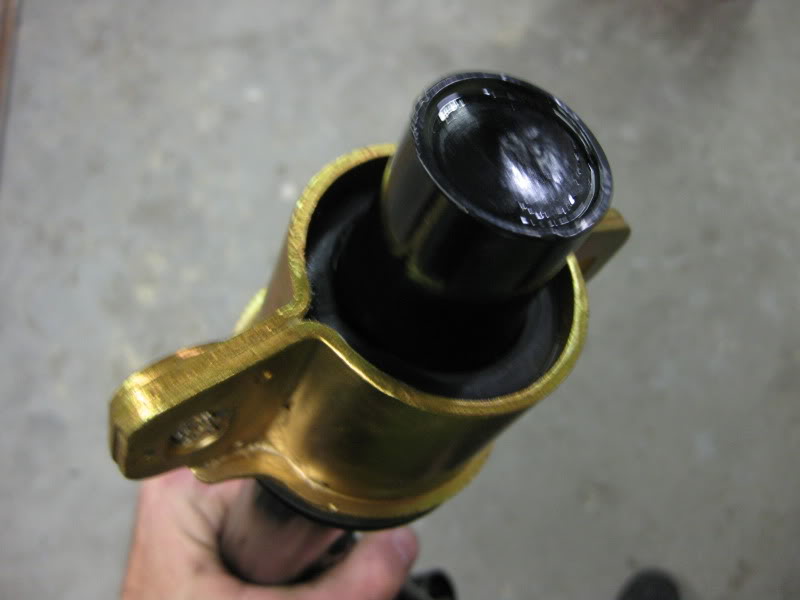
The only part in this operation you need to really watch is getting everything orientated correctly, particularly the rear bushing carriers as they are handed. I took the time to start the bushings on at close to the correct angle. This was not really necessary as I discovered the indexing procedure was quite easy.
One can see how much closed the rubber portion is to the end of the carrier, due to the compression:
Indexing was a breeze. Basically the flat portion of the control arm is set to be horizontal and then the front carriers are tweaked to a 20 degree angle and rears to 14, using a long screwdriver.
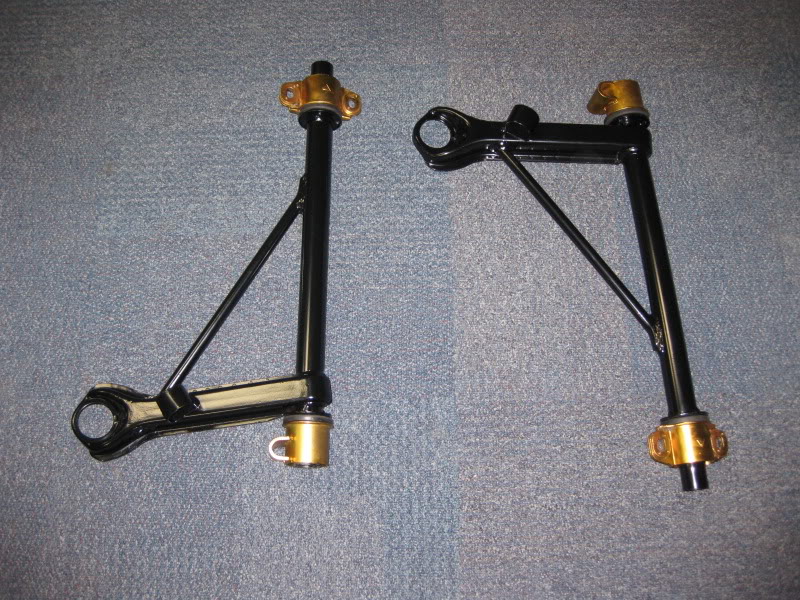
All cleaned up and ready for ball joints:
One of my next tasks will be trying to make a ball joint nut tool as I am too cheap to buy one!
ER makes good stuff. If I may, the poly-bronze version is also suitable for the street, and the installation could not be simpler.
Hello Ed,
You are right, the polybronze is certainly streetable and will be more precise (assuming a good installation).
What I meant to say (but obviously did not say well) was that I went with the rubber because it is zero-maintenance and is impervious to dirt and moisture.
I think I know what I�m going to do for making a ball joint nut tool, but I will need some time with a lathe to make it happen first.
In the meantime, I have tried to keep �doing stuff�
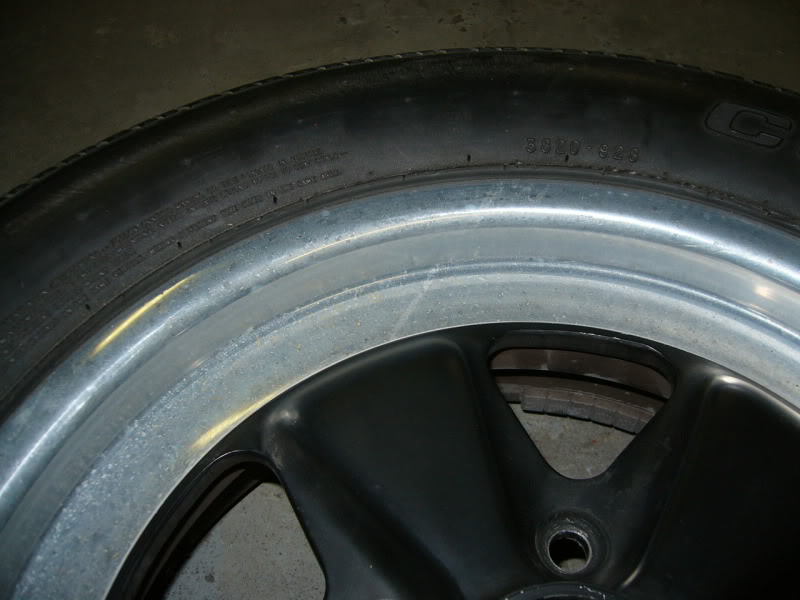
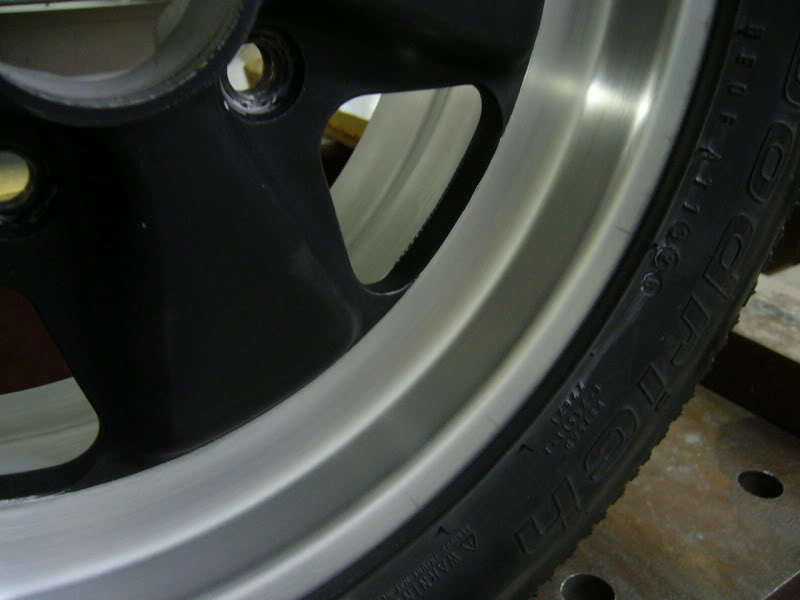
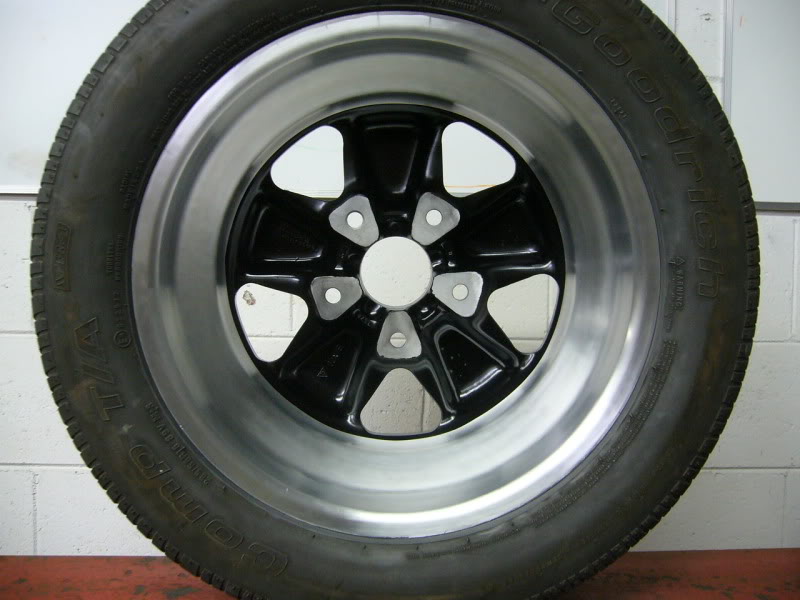
One of the things I have been messing with is the wheels. The original Fuchs are in so-so condition The clear anodized rims were pretty cloudy and spotty, likely due to various harsh cleaners in the past:
The backside of the wheels is the usual mess of 25 years of brake dust rarely cleaned (hence, baked on�).:
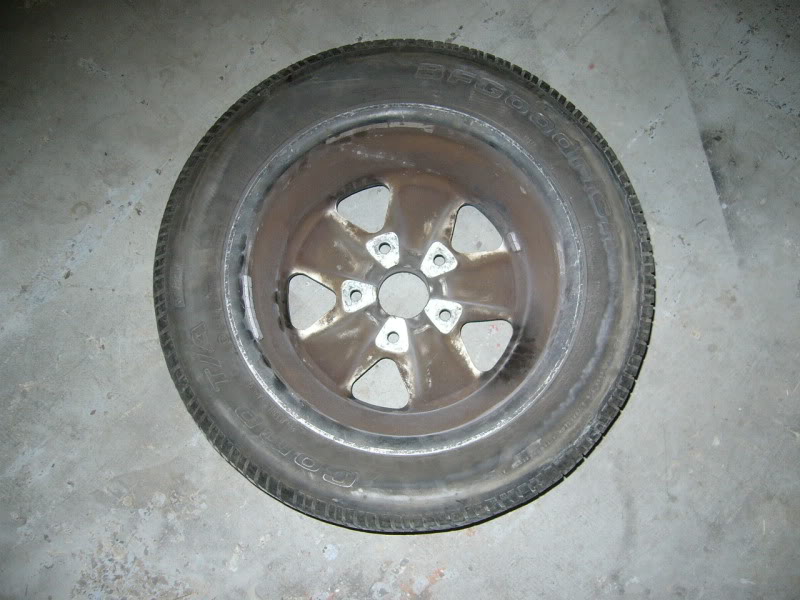
While trying to remove the brake dust residue, I went through the black paint in places and thought: �Hey, I�ll just remove all the black paint!�
Dumb idea.
No, really, DUMB IDEA.
I used a wire wheel on a die grinder and as I was stripping away the paint, I realized I was also doing a number on the anodizing. Perhaps aircraft stripper would remove the paint without touching the anodizing. Anyway, don�t be an idiot like me� It is proving to be much more work and I should have just left the backside of wheel alone and instead worked on the visible side only.
This is what the wheel looked like after the mechanical stripping. Do you ever get that feeling midway through a job that you have gone down a road you should never have considered?
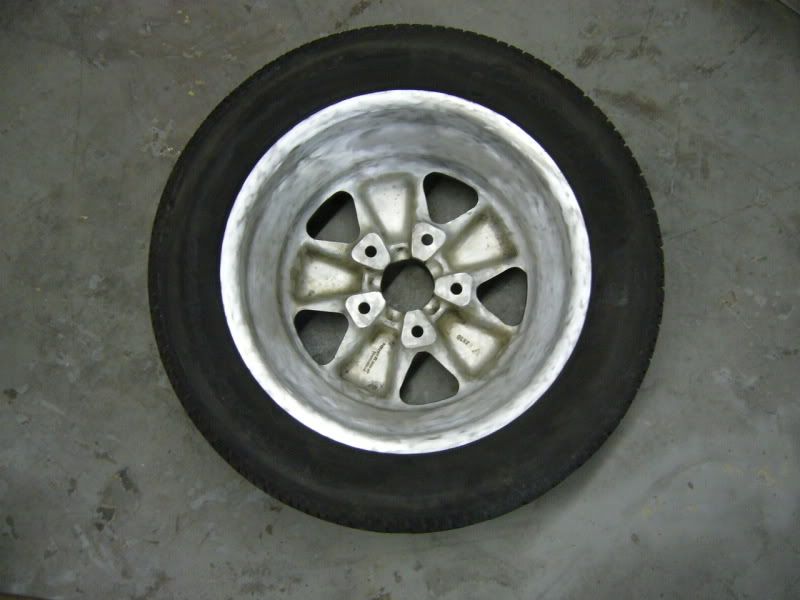
After sanding through progressive grits to P600, I then finished off with a green scotchbrite pad to get this brushed finish:
As it is not anodized, I will have to regularly protect it with wax. I do tend to clean the backsides of my wheels often, so it is not really that big of a deal for me. Also, the �finish� is easy to touch up� OK, OK, I am trying to make myself feel better�
Going to the front of the wheel, I again used a scotchbrite pad, this time on the rim. This was an idea that I picked up on Pelican Forums. It is not as good as a high-dollar refinish from one of the well-known gurus, but it is OK for my purposes. I like the �semi-gloss� look of the rim.
Next, I will be painting the wheel centers. I will stay with tried and true semi-gloss black. The old tires will be replaced before the wheels go back on the car, but that will be one of the last things I do.
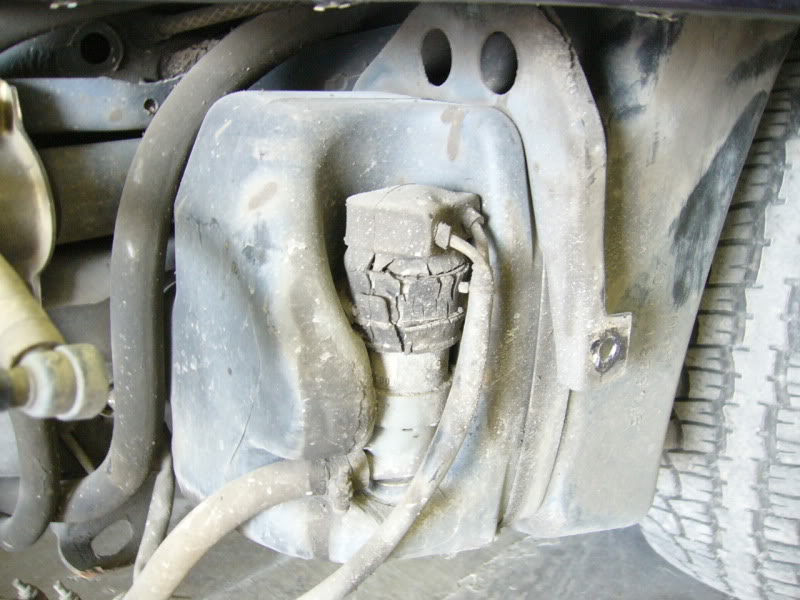
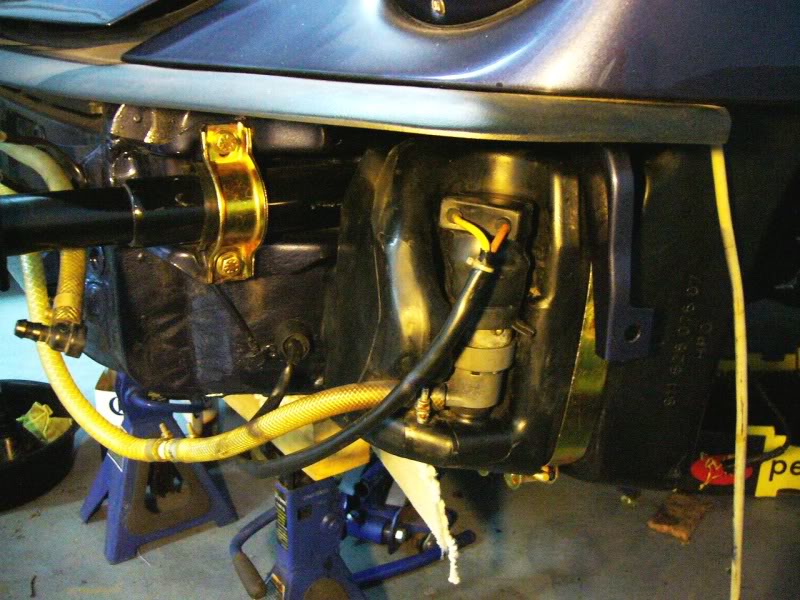
I�m also putting together the front end still. I just put in the washer tank and fuel overflow chamber. Here is an interesting �before and after� comparison of this hidden area:
The wheels are creeping along. I finally have one done, and the other three are “in process”. I still am “mad” at myself for getting into stripping the backside. I don’t think I have enhanced the wheels at all, and as such, it has been a poor choice.
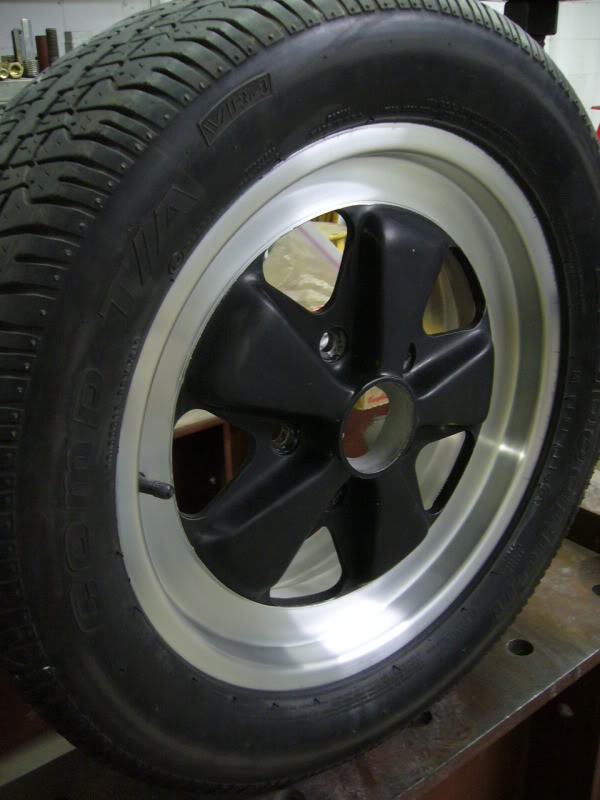
However, it is not a total disaster as the first one turned out nice-enough looking.
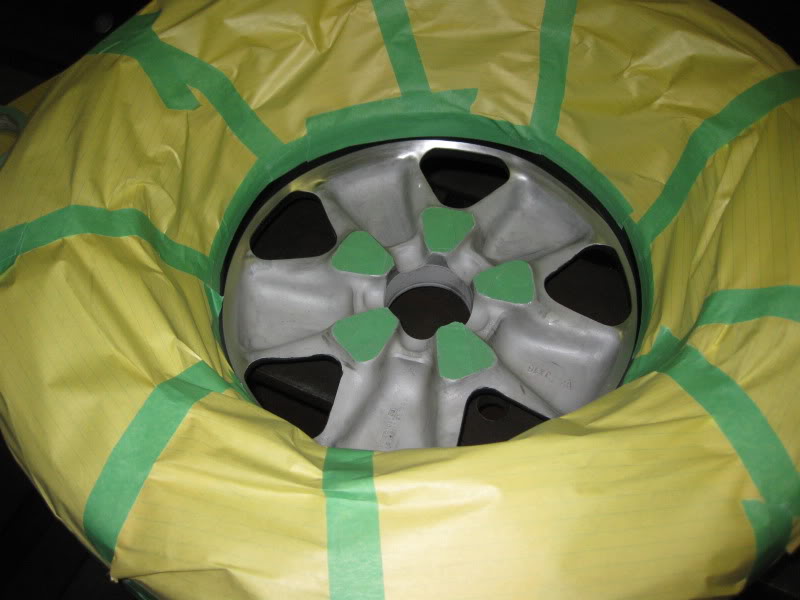
After all the sanding and scotchbrite-ing was done, the next step was to paint the centers. I decided to partially paint the backsides. This is what I settled on for masking. The “wet” edge of the masking is done with electrical tape, for a smooth finish:
This is the masking for the top. I had already applied one coat of paint, but was not happy with it, so I re-scuffed and was just about to try again when this picture was taken. The washers in place at the lug nut locations were simply to prevent paint from building up on the contact surface (which can interfere with getting the proper torque).
I used a semi-gloss black and the results are actually pretty “stock” looking, I think. Not concours for sure, but acceptable for a “nice” driver (whatever that actually means).
Here is the backside “look”:
If I had it all to do again, I would have taken a different approach, but I can live with it.
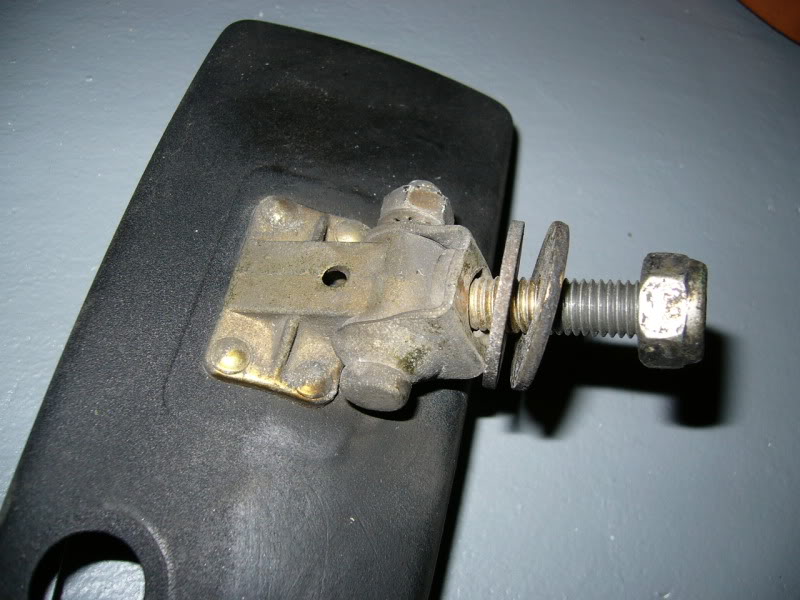
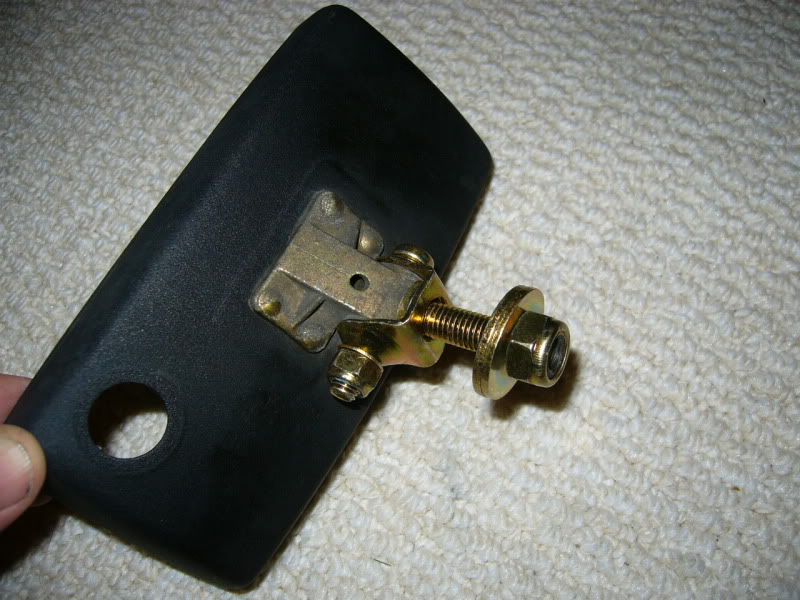
Here is more pointless detailing. The fog light mounting before:
And after:
???
Don't ask me... I really can't explain this. I bet I am going to get the car back together, drive it a bit, and then sell it for a loss just because!
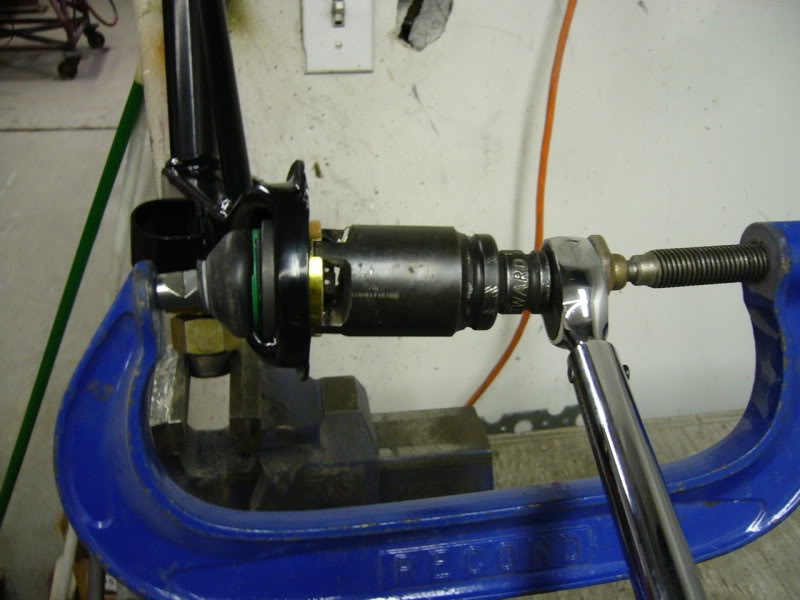
My first idea for a ball joint nut didn�t pan out, so I hacked up an old impact socket that was just the right diameter. I figured if I ever needed that socket size (and I never have thus far) replacing it would be cheaper than the special tool. Although it is a shameful piece of �meatball machining� I actually ended up with a very good fit to the nut due to careful filing:
Normally people torque these nuts in situ using a floor jack to keep the socket engaged to the nut. In my case, I have access to a large, good quality torque wrench now, but I likely will not have it when the front end is assembled. Thus, I torqued the nuts with the aid of a large clamp. There is very little tension on the clamp, just enough to keep the nut engaged. With this set up, and the monster Gray torque wrench, I was able to get the requisite 184 ft-lbs.
Now the control arms are pretty much ready, I just need the sway bar bushings though�
This was a nice break from the purgatory of wheel sanding.


 11-14-2010, 01:17 AM