Porsche 997: How to Replace Oxygen Sensors
Your Porsche 997 needs to know how much oxygen it has to work with, and to do that it needs oxygen (O2) sensors. Learn how to replace those puppies and then see how she runs.
This article applies to the Porsche 997 (2005-2012).
Engine performance is all about a magical mixture known as Air:Fuel Ratio or AFR. The Porsche 997's engine control unit, or ECU, wants to manage AFR for maximum performance across the power band, and in order to do that it relies on a number of sensors to give accurate readings. If the oxygen sensors are failing, then the car could be running rough, using more gas than usual, or possibly even belching noxious fumes into the atmosphere it wouldn't otherwise belch. Let's replace those O2 sensors and see if it clears things up. This job might also clear up a check engine lamp (CEL) condition you may have been seeing on your 997.

Materials Needed
- 22mm open end wrench or (optional) specialized O2 sensor wrench
- Gloves
- Flat head screwdriver
Note that a lot of people will tell you that it's okay to use a 7/8 wrench in place of a 22mm. Those people probably also wear their pants a little too big, because the wrenches aren't the same size. They're close, perhaps, but not the same. Use a 22mm, or better yet, spring for a specialized O2 sensor wrench to ease the process of getting yours unscrewed (around $100 for the special tool).
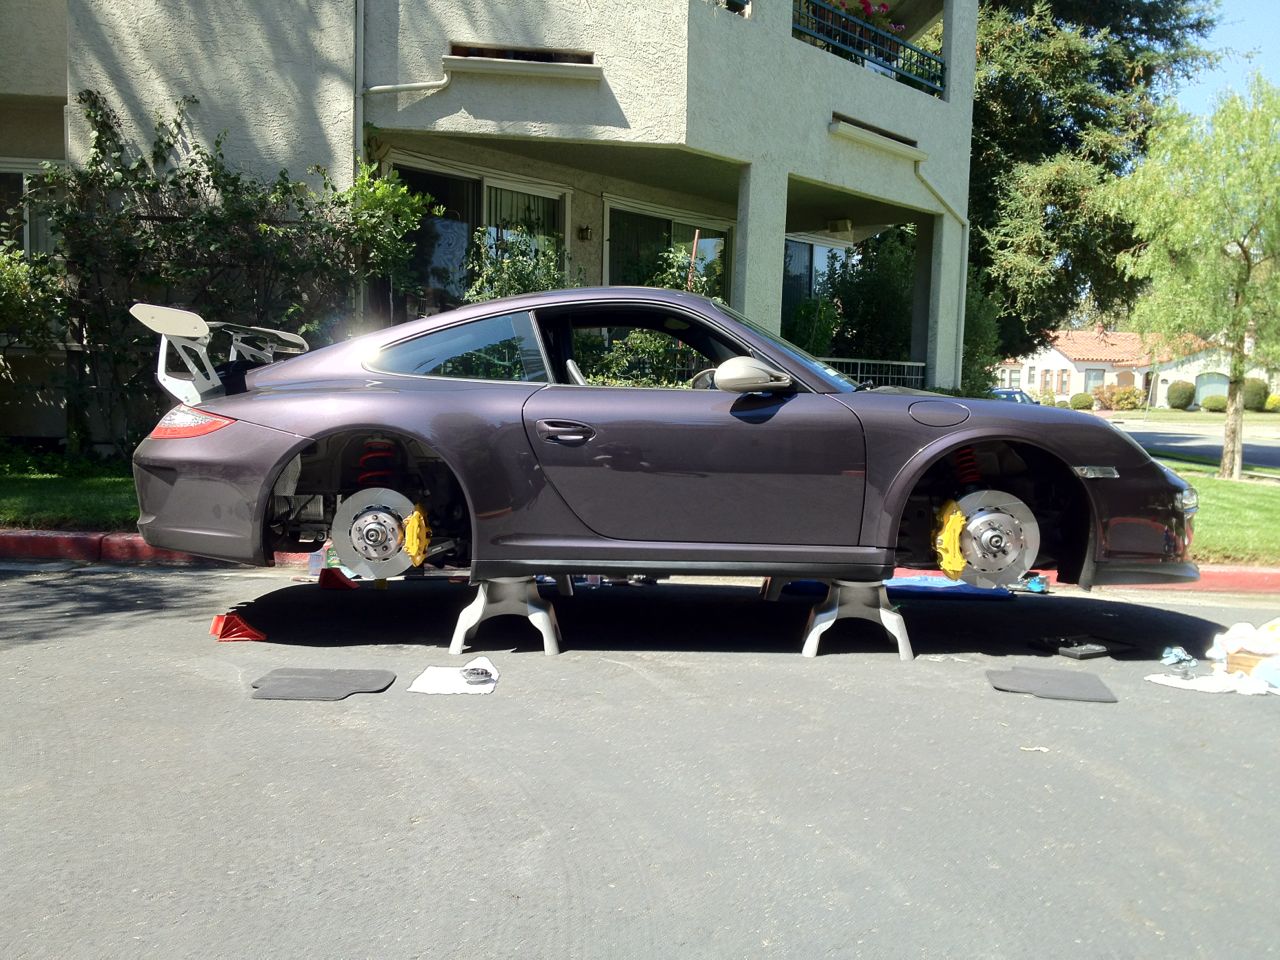
Step 1 – Safely put your car on jack stands
You need to get under your car, so safely put it in the air with room to wiggle around underneath. Make sure you do this safely. Take your time and lessen the risk of damaging your car or yourself.
(Related Article: Porsche 997: How to Jack Up Your Car - Rennlist.com)
Step 2 – Smash your rear bumper off with a sledgehammer
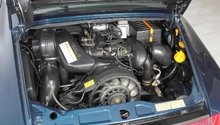
Just kidding, don't do that. You might find, though, that you have greater access to the O2 sensors if you do one or a combination of the following: removing rear bumper (properly and without a sledgehammer), removing the heat shield, removing or repositioning the air box, repositioning catalytic converters, or repositioning the engine. Use your own discretion and be realistic about whether you have proper tools and experience to move things around.
(Related Article: Porsche 997: How to Remove Rear Bumper - Rennlist.com)
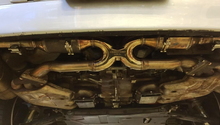
Step 3 – Replace each sensor one at a time
Use your 22mm wrench to unscrew one sensor from the exhaust, then replace it with a new sensor. They have colored leads to indicate whether they're meant to go upstream or downstream of the catalytic converter, so pay attention. When screwing the new sensors in, ensure that they have some heat-resistant anti-seize paste on them, and tighten them snug. They're supposed to be 40 ft-lbs., but without a slotted socket it'll be tough to use your torque wrench, even if you had room to use it, which you won't have.
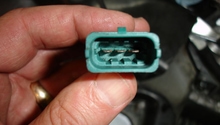
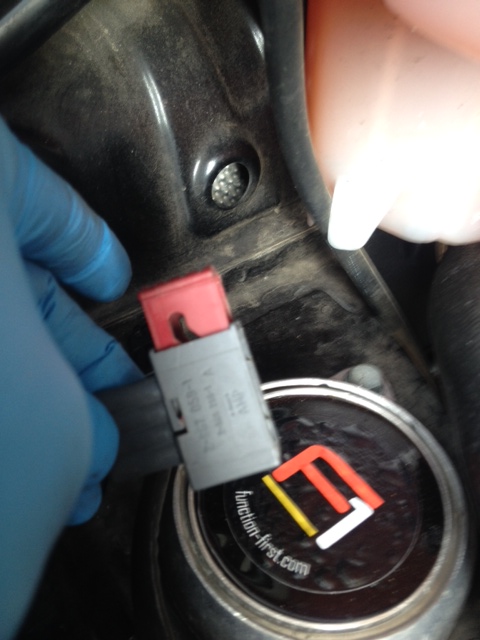
You'll need your flat head screwdriver to carefully release the red tab from the electrical clips so that the plug can come out.
There is a red tab on the side of the plug, so carefully pull them free of the clips that hold them to the body, then release the red clips with your screwdriver, being careful not to stab yourself in the hand.
Pro Tip
Sometimes, sensors can get stuck very firmly thanks to something called galvanic corrosion. They should have been treated with heat-resistant anti-seize compound, but if not, they could be stuck very firmly indeed. In this case you may require an exhaust shop's help. An oxy-acetylene torch may be required to warm the area around the sensor, causing the metal to stretch, making removal a bit easier.
Step 4 – Reassembly
- Refit the bumper cover, heatshielding, or any additional components removed for sensor access.
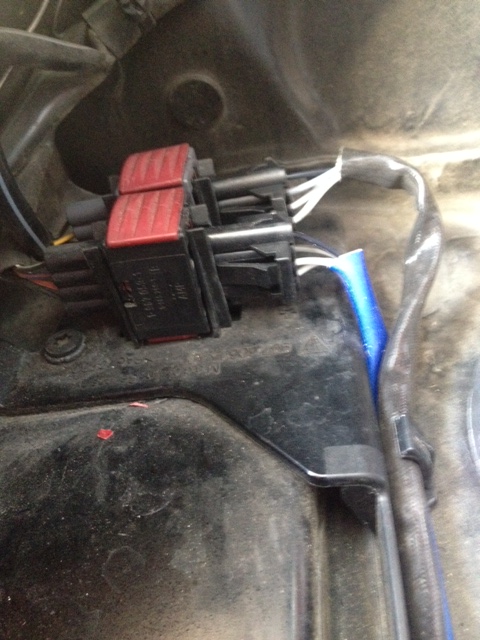
- Make sure that the extended sensor wiring is clipped back in place.
- Then carefully put your 997 back on the ground, cross your fingers, and start her up.
The vehicle may have a fluctuating idle at first, as the computer recalibrates to account for the new sensor. Once the idle has stabilized, carefully drive the car around the block and listen for any unusual noises that could indicate a faulty install (usually, exhaust piping rubbing something). If everything checks out, then you are done.
Related Discussions and Site
- O2 Sensor Replacement - Rennlist.com
- CEL O2 Sensor - Rennlist.com
- O2 Sensor Replacement Question - Rennlist.com
- Replacing Your O2 Sensors - Pelicanparts.com