Porsche 997: How to Install Car Stereo
Set up your dream stereo system by following the instructions in this article.
This article applies to the Porsche 997 (2005-2012).
While the Porsche 997's factory stereo is sufficient for most drivers, it is not enough to satisfy true audio lovers. When it comes to aftermarket stereo equipment there are plenty of options. Just investing in a couple of upgraded speakers will get you improved sound quality. This article walks through a full stereo system upgrade. Even if you're not doing a full upgrade, you can use the tips in this guide to your advantage.

Materials Needed
- Head unit
- Amplifier
- Subwoofers
- Speakers
- Tweeters
- 3-way crossover
- Ratchet w/ socket set
- Torx screwdriver
- Flat head screwdriver
- Allen wrench
- Soft pry tools
- Speaker wire
- Electrical tape
- Wire cutters
Note
Before you begin, disconnect the car battery; the 997's electrical system can be fussy and does not suffer fools. Unplug the battery and avoid blowing up your DME!
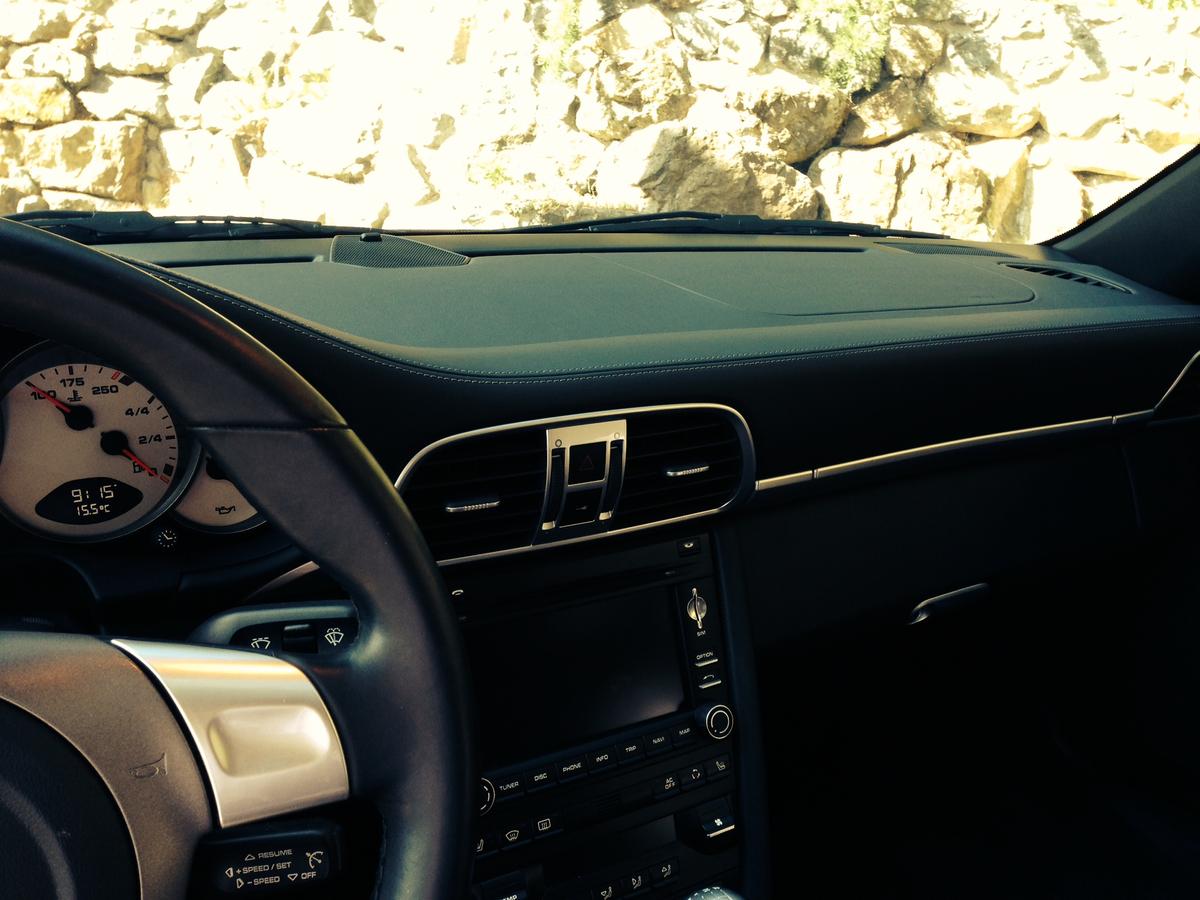
Step 1 – Remove factory head unit
Remove the side panels around the head unit and remove the set screw on the right side. Untwist the Allen bolt then slide the old head unit out. Unplug everything that's connected to it.

Step 2 – Install door speakers
Pry the door panel away from the door. Using plastic trim removal tools here is very useful in not breaking the clips that secure the door card to the door. Be careful not break any of the electrical connectors, especially the side airbag connector. Unbolt and remove the door speaker. Remove the wiring for the old speaker. Then, install your new speaker to the door. Route your new speaker wires towards the factory amp in the front luggage compartment.

Figure 2. Remove door panel. 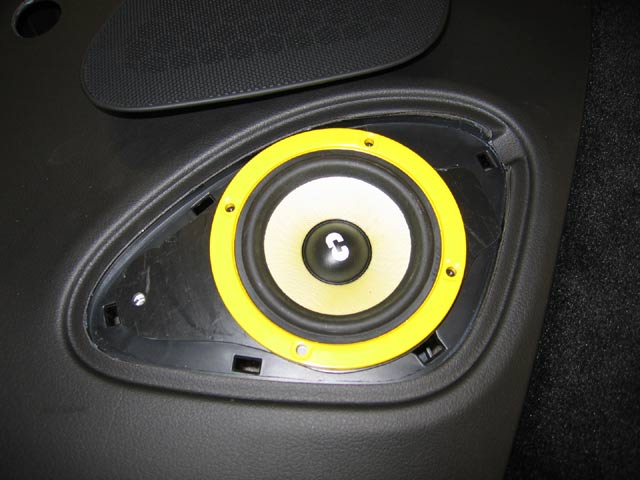
Figure 3. Install door speakers.
Step 3 – Install dash speakers
Pry off the speaker grills on the dashboard. Remove the speakers by prying out the retaining clips. Again, use your plastic trim removal tools, not a screwdriver or anything else that could damage the interior. Disconnect and remove the wiring. Install your new speakers. For the two side speakers it's recommended you install tweeters to produce high frequency noises.
Step 4 – Install subwoofers
Small subwoofer speakers can be installed to the door panel, but larger subwoofers come in an enclosure. It's common to put large subwoofers under the seats or in the back of the car, but since you likely (and should) have an engine back there, mounting your sub in the trunk is common practice. Once you have them installed, route the wiring to the front of the car.

Step 5 – Install crossover
Mount the crossover in the front luggage compartment. Connect your speakers, tweeters, and subwoofers to the crossover in the appropriate filters; i.e. subwoofers should be plugged into the low-range filter while tweeters should be plugged into the high-range filter.

Step 6 – Install amplifier
Unplug and remove the factory amp. Secure your new amplifier so it will not move. Connect the power cables, cables for the crossover, and cables for the head unit.

Pro Tip
Make sure that the amplifier carries the same wattage as your speakers.
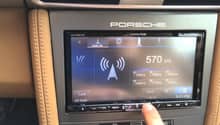
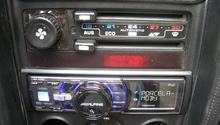
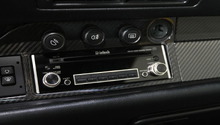
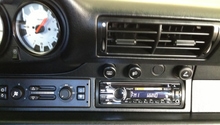
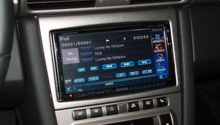
Step 7 – Install new head unit
Plug in the connectors for the head unit and slide it into the head unit housing. Install the appropriately fitting dash kit. Return the side panels. When everything is connected, test the setup and tweak the head unit, amplifier, and crossover until the system works to your liking.

Related Discussions
- Stereo Install Pics 997 - Rennlist.com
- Stereo Replacement for 2007 911 (w/ Bose) - Rennlist.com
- How to Remove/Replace a Porsche PCM Radio DelreyCustoms - Rennlist.com