Porsche 993: How to Replace Reverse Light Switch
A faulty reverse light switch prevents you from telling other drivers that you're reversing. Without this safety feature in place, your risk of getting into an accident increases. There's no need to take in your car to have a mechanic resolve the issue. You can easily do it yourself in less than 30 minutes.
This article applies to the Porsche 993 (1993-1998).
Reverse lights are one of the most important safety features on your car. When one isn't working, you may not even know it unless someone tells you or if you fail a safety inspection. A faulty reverse light switch can cause one or both reverse lights to stop working. Replacing this switch is easy, even for a novice DIY'er. Before you begin this project, consider replacing the fuse for your reverse light switch and also the bulbs. These are fairly simple fixes and will take you far less time than replacing the reverse light switch. You can access the bulbs from inside the rear of your trunk. The fuse is in the fuse box, and there should be a diagram inside your owner's manual. You may even have an extra fuse in there, eliminating the need to buy a new one.

Materials Needed
- New back-up switch
- Jacks and/or ramps
- 19mm box-end wrench
- Flathead screwdriver
- Cement blocks (optional)
- Needle-nose pliers
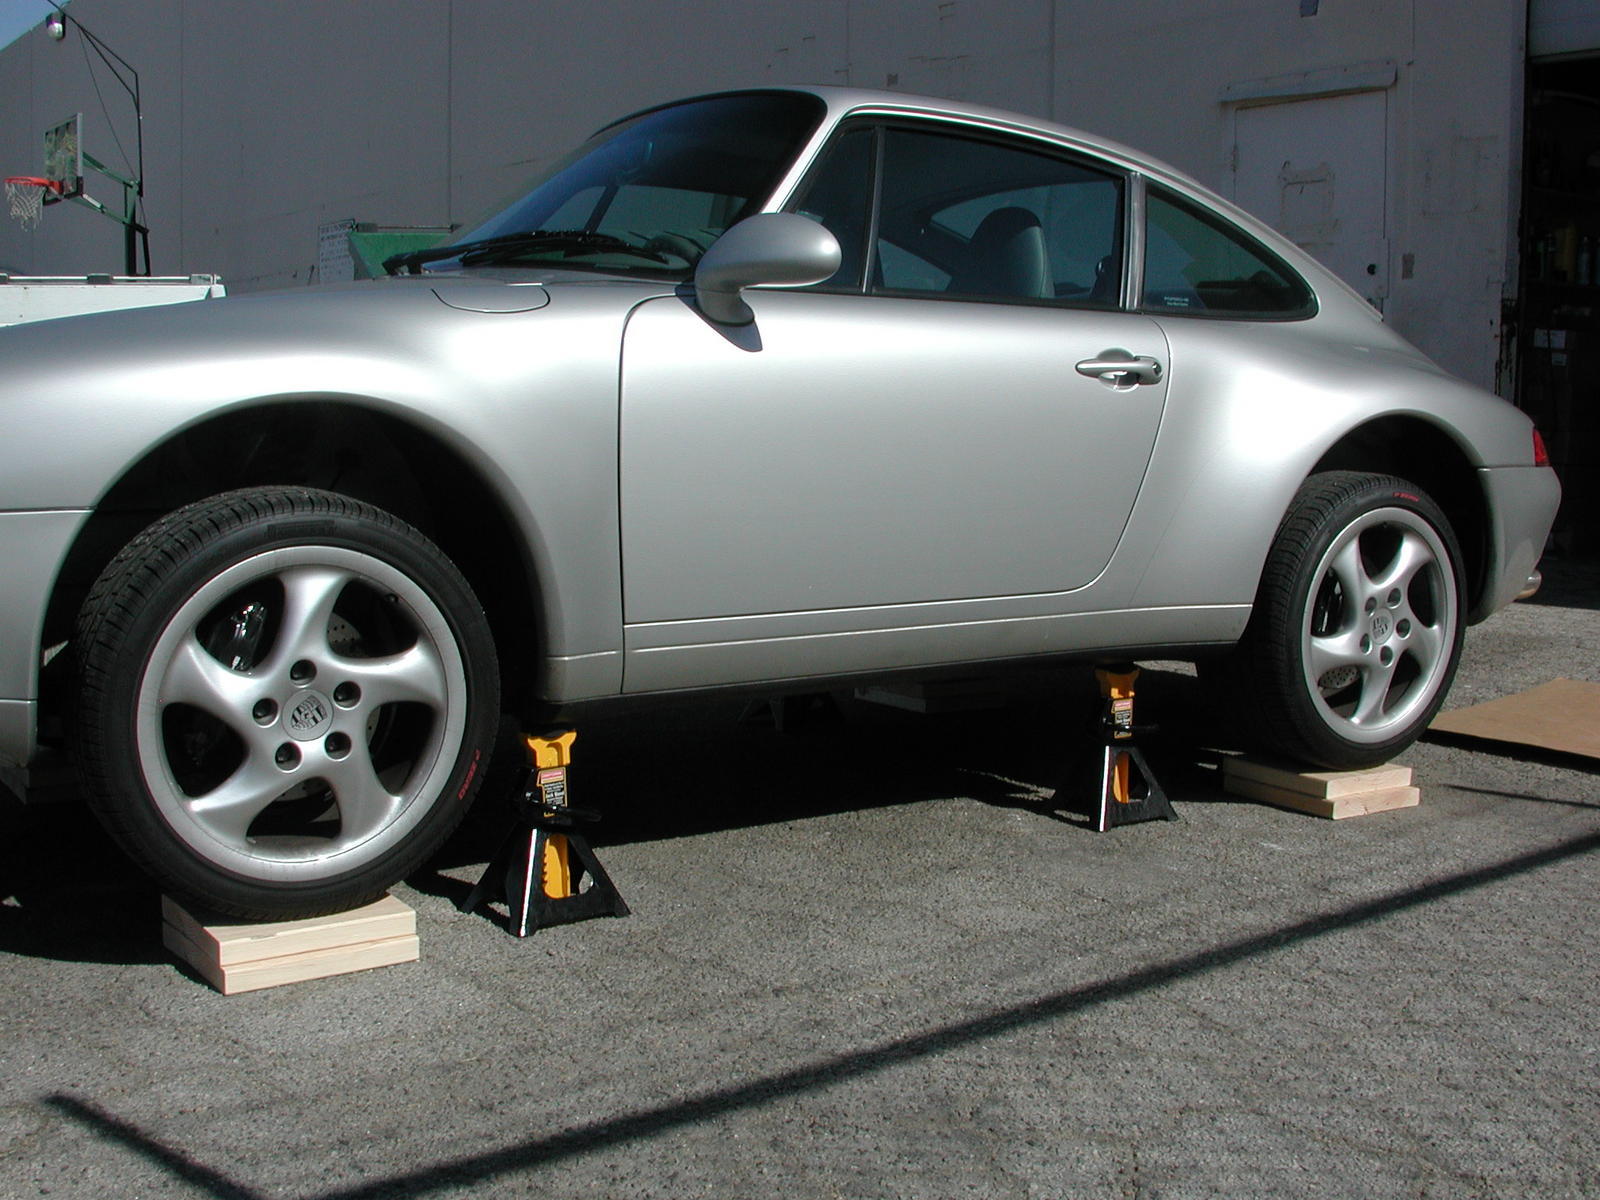
Step 1 – Prepare to replace reverse light switch
Jack up the rear of your car. Consider using ramps to lift your car. Place cement blocks behind any wheel on the ground, to help prevent the car from rolling backward. Engage your emergency brake.
(Related Article: Porsche 993: How to Jack Up Your Car - Rennlist.com)
Step 2 – Locate reverse light switch
Crawl under you car and locate the reverse switch on the passenger side of the transmission. This switch is mounted about halfway up the transmission case. It is the only sensor connection on that side of the transmission case, and it points directly out toward the passenger door.

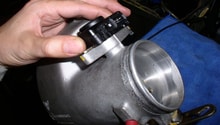
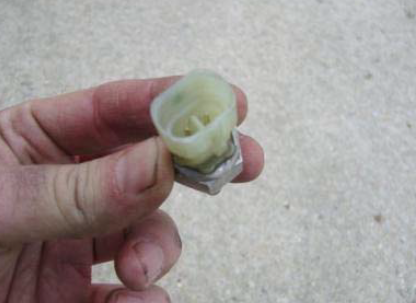
Step 3 – Remove connector and its housing
Use a flat head screwdriver to pry up the connector’s rubber retainer. Then, remove the connector. You can pull it out using a pair of needle-nose pliers.
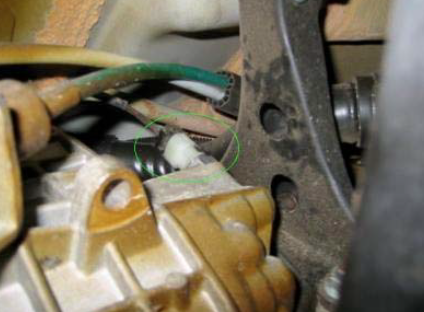
Figure 3. Locate reverse switch housing and connector. 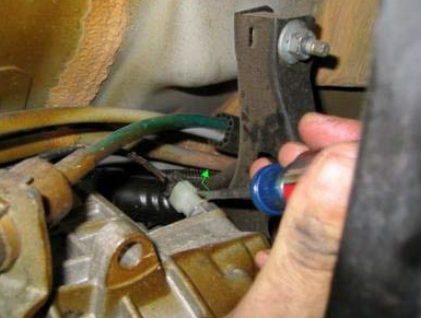
Figure 4. Use flat head screwdriver to pry up housing. 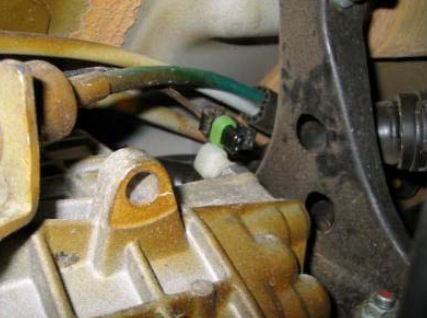
Figure 5. Remove connector.
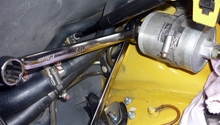
Step 4 – Remove reverse light switch
Unscrew the reverse light switch using a 19mm box-end wrench. Once you loosen it, you should be able to remove it with your fingers.
Step 5 – Install new reverse light switch
Replace reverse light switch and tighten. Using your fingers to get it started, and then tighten the rest of the way with the 19mm box-end wrench. The switch body should be aligned with the axis of the hole.
Step 6 – Re-install connector and its housing
Replace plug and rubber retainer. Be sure to push it all the way into place. You should hear the retainer click into place.
Step 7 – Test reverse light switch
Lower car and test your reverse light switch. It should now work.
Related Discussions
- Replacing Reverse Light or Backup Light Switch - Rennlist.com
- Reverse Light Problem - Rennlist.com
- 1995 993 Backup Lights Don't Work - Rennlist.com