When you click on links to various merchants on this site and make a purchase, this can result in this site earning a commission. Affiliate programs and affiliations include, but are not limited to, the eBay Partner Network.
DIY Caliper Repaint for your 997: The good, bad and ugly
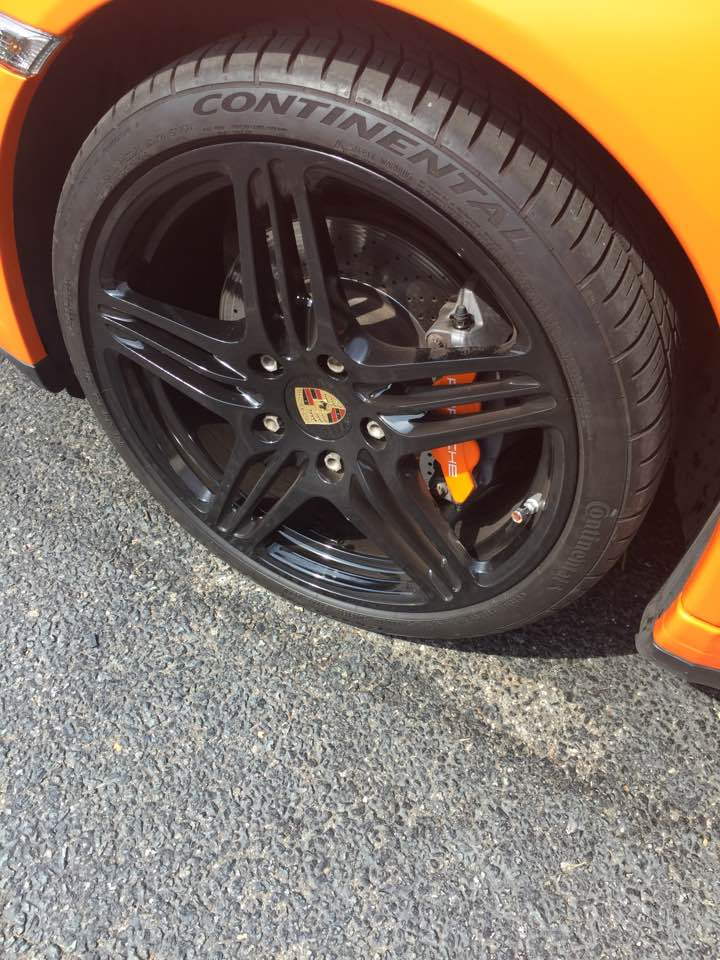
Last weekend I tackled repainting the calipers on my 997.1. When I did my suspension job last month I got up and personal with the brakes and made a note to tackle them next. They had faded from 10 years of wheel cleaner and looked like crap.
Overall the results were great but they could have been excellent if I had more experience. There were some painful lessons learned along the way so I wanted to share.
This isn�t a fast project and anything that requires repeating the same steps 4 times becomes a chore. I read people did this project in 4hrs. No way. If you can jack only one side of the car at a time (like me), budget 3 days including overnight dry times. Mine took 4hrs day 1 for the first side, 3hrs day 2 for the other, and 1hr day 3 for stencils and wheel install.
Note: painting 1 wheel at a time will make the project take 5x longer. Painting only 2 at a time will make the project take 3x longer. The fastest approach is to get all 4 wheels off and paint in one continuous cycle.
Materials I Used:
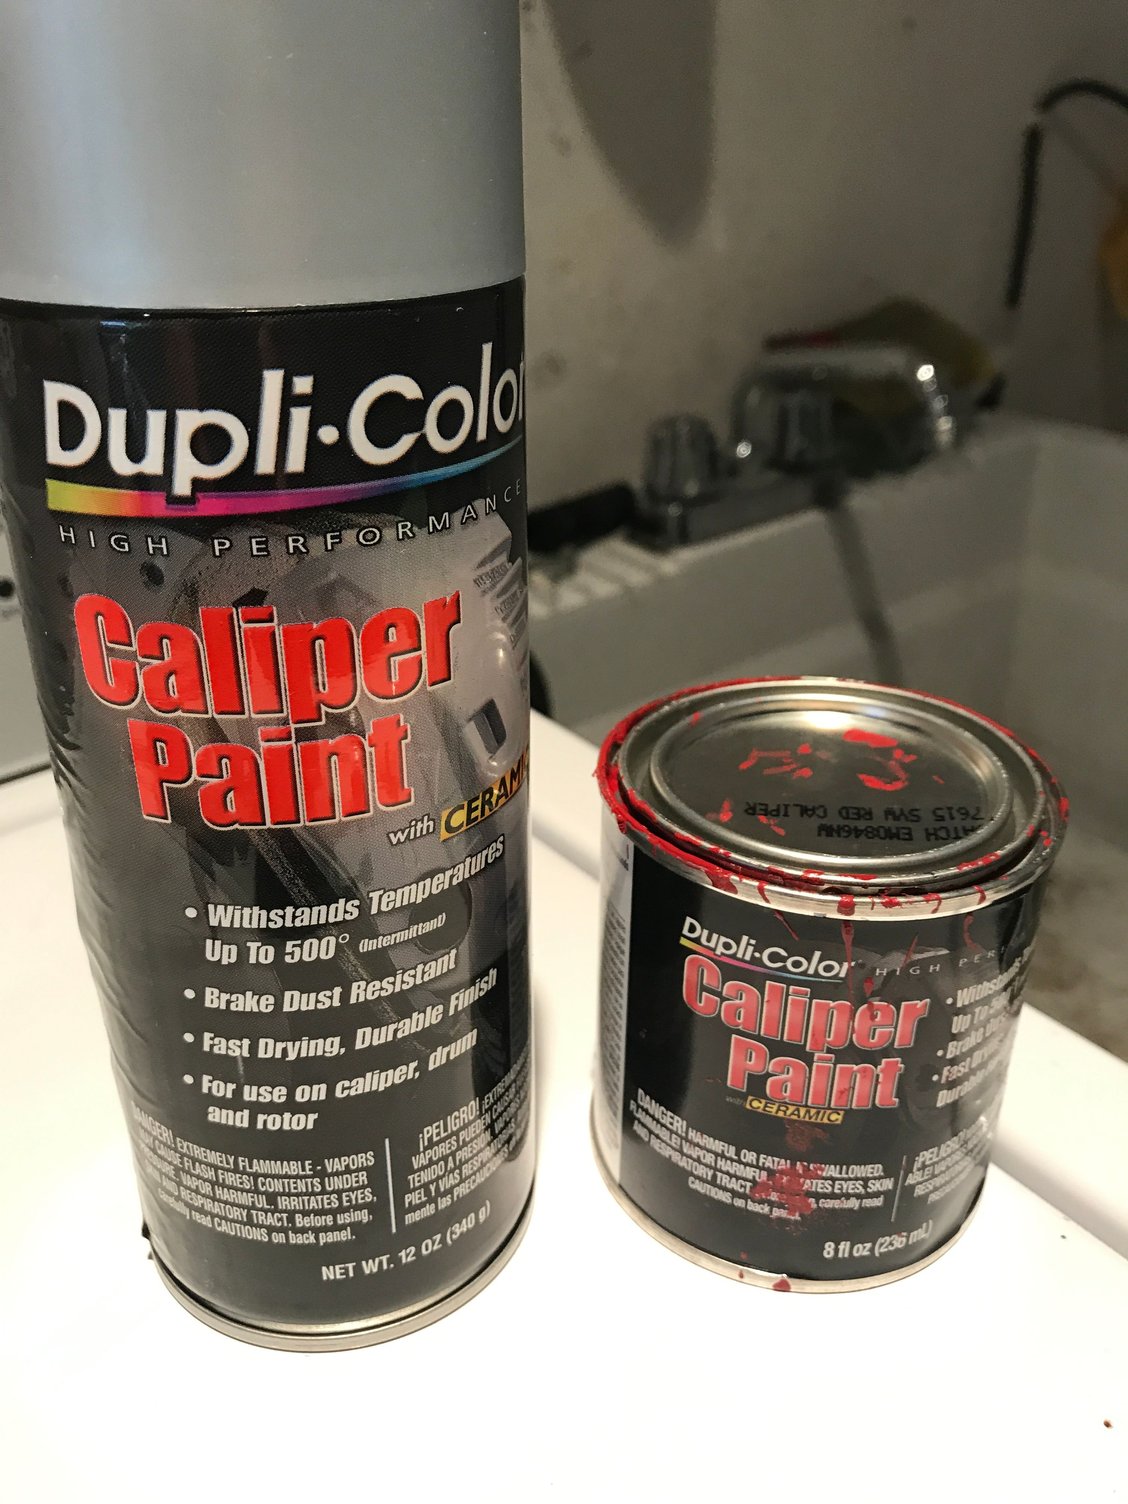
Dupli-color high temp enamel caliper paint kit. You can buy the kit at most major automotive stores for ~$25. It includes one can of brush on paint, one crappy paint brush, and 2 cans of brake cleaner.
1 can Dupli-color high temp enamel clear coat.
3x good quality .5" art brushes.
Metal brushes. I tried rotary brush attachments for my drill but found the hand brush to work the best.
Simple Green for the initial pass at cleaning the calipers before I used brake cleaner.
Rubber gloves. I changed mine after every coat of paint.
Brush on vs Rattle Cans
I chose a brush on kit. Your options are Dupli-color or G2, which is 2x the price of the DP kit. I read good things about the G2 caliper kit. The key difference is the G2 kit has a hardener and you only have 3-4 hrs once activated. That would have required I use 2 kits because I can only jack one side of the car at a time.
In hindsight, the cure time of the Dupli-color kit is its biggest weakness so G2 would have likely given me better results. The plus of the DP kit is its price and that you have plenty left over for touch ups in the future.
I also explored using rattle cans. Some people have said they give a much better result�others say brush on paint is the only way to go.
I decided against rattle cans as I didn't want to remove the brake lines and felt it would be impossible to spray them while dangling in the wheel well.
Methods
You have a few different ways to tackle the project.
1. Paint the calipers while still on the rotors. This seems pretty jenky. Its a Porsche, do it right.
2. Remove the calipers but leave the brake lines connected. This is the option I chose. I don't have room in my garage to get all 4 wheels off to remove the brake lines.
The advantage of this approach is you can manipulate the caliper to paint all the way around it. The disadvantage is you don't have much room to work and need to prop the calipers on buckets or boxes in the wheel well. You need to be very, very careful not to stress the brake lines. It took lots of practice to figure out how to hold the caliper while painting it and how to lay it down while drying without screwing up a wet edge. This was the hardest part of the project.
3. The full monty. Remove the calipers and brake lines. This will likely give you the best results and make painting far simpler, and faster. You just have the added time of bleeding the brakes.
4. Powder coat them. I talked to a few shops and not many people will do this job.
Step 1 - Prep: 2-3hrs
1. Get the wheels off and calipers removed. Prop them up on a bucket or box so they dont hang.
2. Give the caliper a good first wash with Simple Green or similar.
3. Next take a wire brush and brake cleaner and brush every surface of the caliper. Clean it good, even if it feels futile at times.
4. As a final step take paper towels and go over the calipers until you can no longer see any remaining dust. Its virtually impossible to get them perfectly clean but do you best. This will take some time. Some people recommended using a Dremel or wire brush on a drill. I tried using a drill brush but it was too abrasive to the surface so I went back to the hand brush.
Note: If you leave any brake dust it will immediately dissolve into the paint when you put the first coat down and leave dark streaks that dont adhere well. Around the bleed valves is where this happened to me.
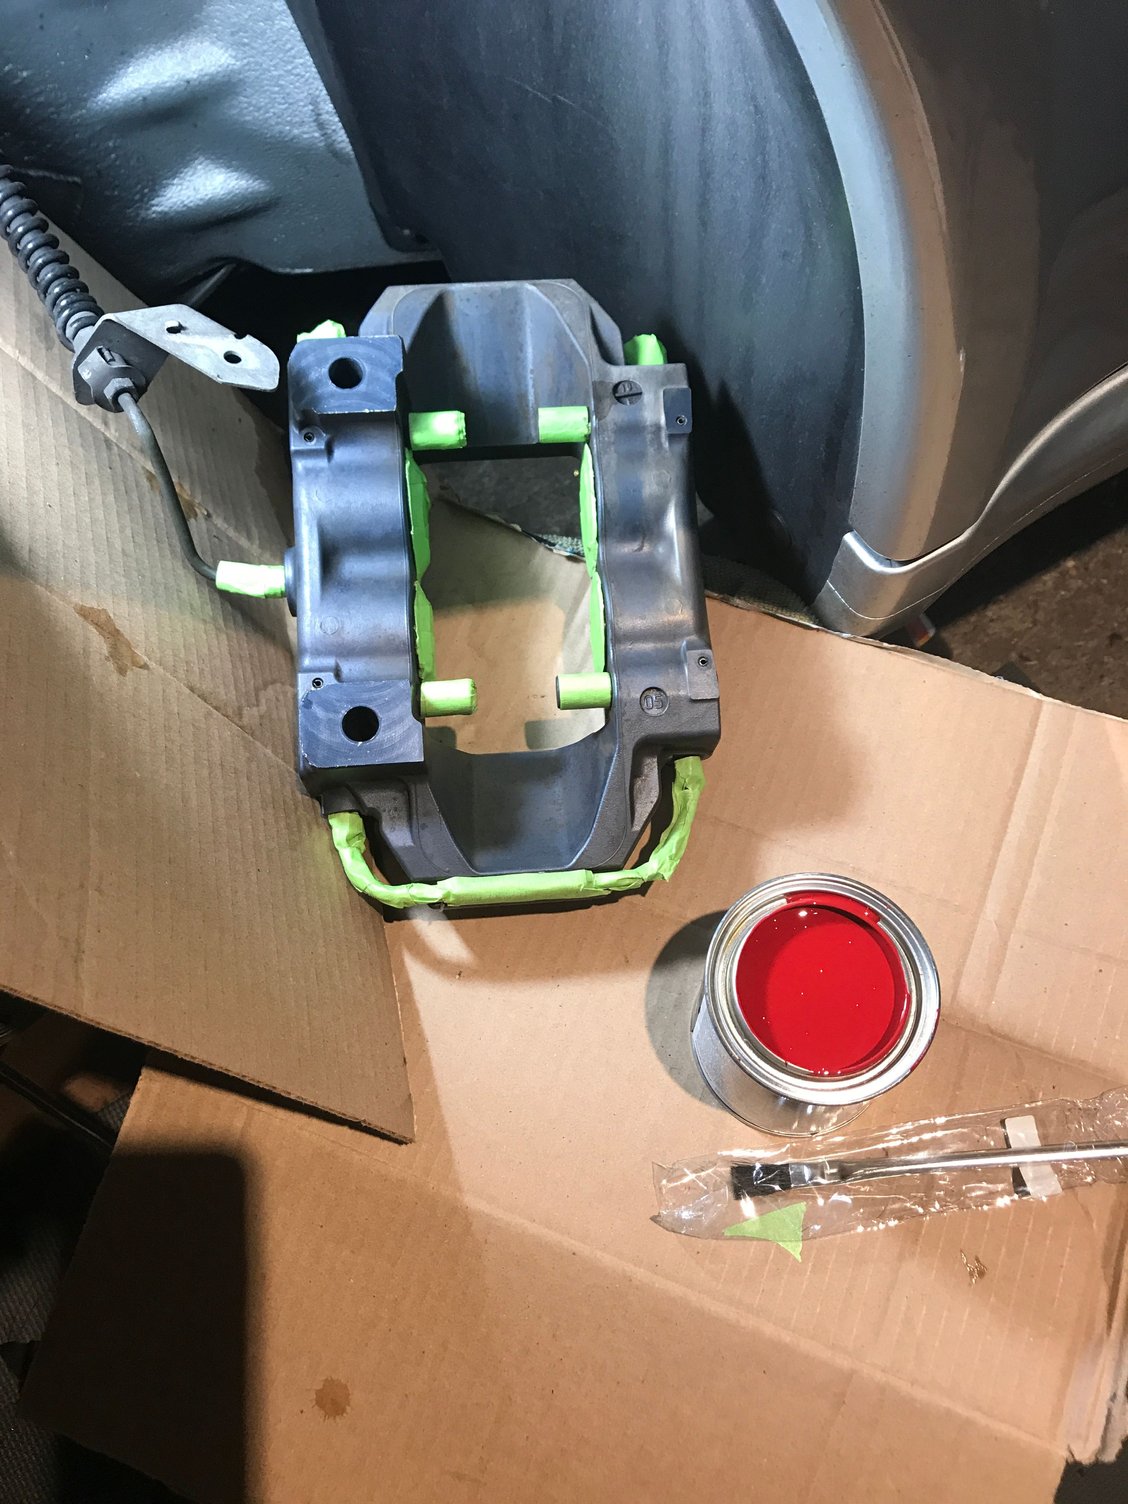
Step 2 - Taping: 30-45 minutes
1. Once you are ready, tape off the calipers. I taped around the rubber bleeders, the brake lines, the hard lines that wrap around the bottom of the caliper, the pistons and mounting brackets on the rear. Taping around the pistons takes the longest. I just taped across the pistons and then went around each with a razor blade to cut a circle.
Make sure you don�t get any paint in the bolt holes, the brake pad pin holes, or on the back of the mounting plate.
I saw some people painted the hard lines that wrap around the bottom of the caliper. By doing that you will paint yourself into a corner and have no surface to rest the caliper on while drying.
Note: If I were doing the project again I would skip taping around the pistons and not paint the underside of the caliper. You can�t see it anyway and it would take less time and give you something to hold while painting. If you go this route just tape off a straight line above the pistons so the interior lip of the caliper is painted, but not the inside surface around the rotor.
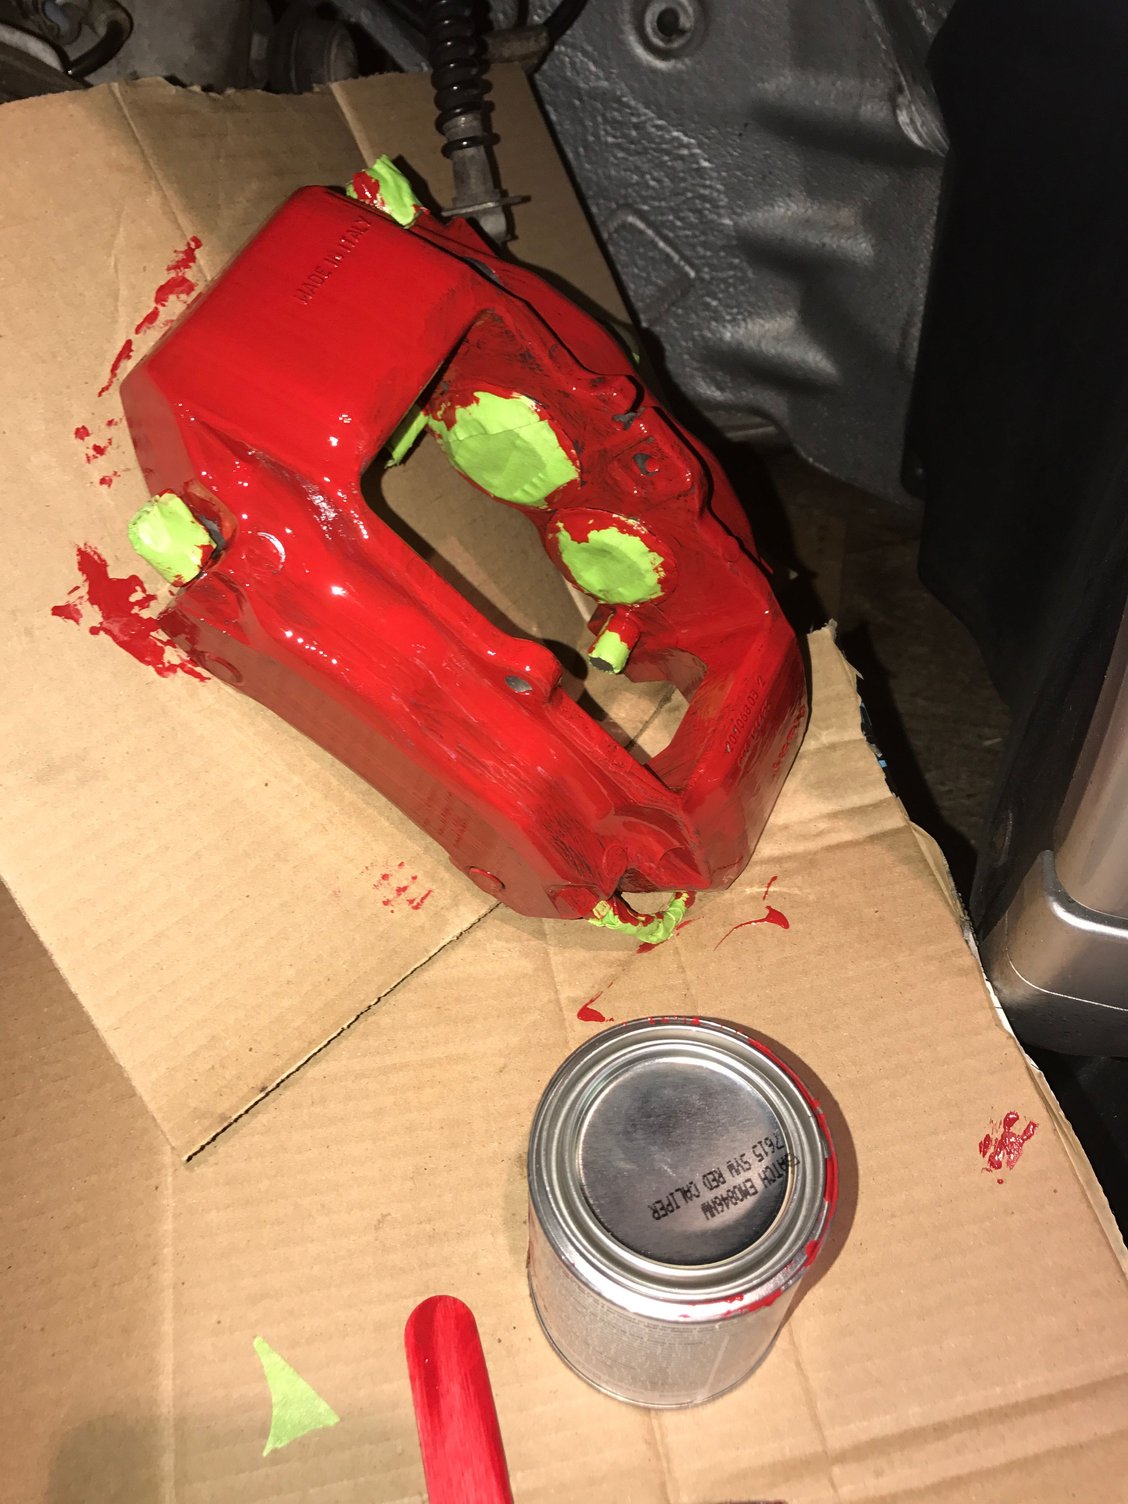
Step 3 - Painting: 3-4hrs
1. Now settlle in and start painting your first coat. The first coat is the slowest (and scariest). It felt like the first coat took me 20-25 minutes per caliper but by the final coat that was down to 5-7 minutes.
Paint a VERY light coat. Don�t worry about streaks or brush marks. Your next coat will go on faster and better if you put light coats down.
I eventually found holding the caliper in one hand and painting with the other was easier and faster than trying to paint one side and flip it over.
Note: Its self leveling paint so as it cures it will level out and eliminate brush marks. Don�t worry about making it perfect or you will load up too much paint.
2. I waited 20-30 minutes (a beer or two) between each coat. You will have more down time if you are only doing 2 wheels at a time. If doing all 4 you can likely going in a continuous cycle.
3. Your second coat is where you really want to try to get good coverage on any spots you missed.
If your brush is pulling the first coat up at all, stop and let it tack up more. If this does happen, don�t worry about the spots that are rough. They will level out in later coats.
Be careful around the corners, bleed valves and the circular dimples on the face of the caliper so you don�t load up too much paint. This will cause the majority of your imperfections as it dries.
4. Rinse and repeat two more times until you have 4 coats down. Be REALLY careful how you prop the caliper up while its drying so you don�t screw up an edge. I had a couple painful experiences with this in my first coats.
I found the best method was putting one piece of cardboard against the rotor, another on the bucket, and a third on the inside of the wheel well. When drying I would prop up the caliper at a 45 degree angle so the bottom hard lines I had taped off were resting on the bucket and the backside mounting plate was resting against the rotor.
5. When you are done with your last coat take the masking tape off before you let them dry over night. You will have a cleaner edge.
Step 4 - Beware of the cure time: 24-48hrs (Dupli-color specific)
This was the biggest thing I screwed up. The DP directions say they are dry to the touch after 3-4 hrs and can be driven in 24hrs. No way!
I let mine dry over night and the next morning they were dry to the touch but still �soft�. I found out the hard way when I had indentations and finger prints where I had picked up the caliper. I touched up those spots and let them sit for another 12 hrs.
The Disaster
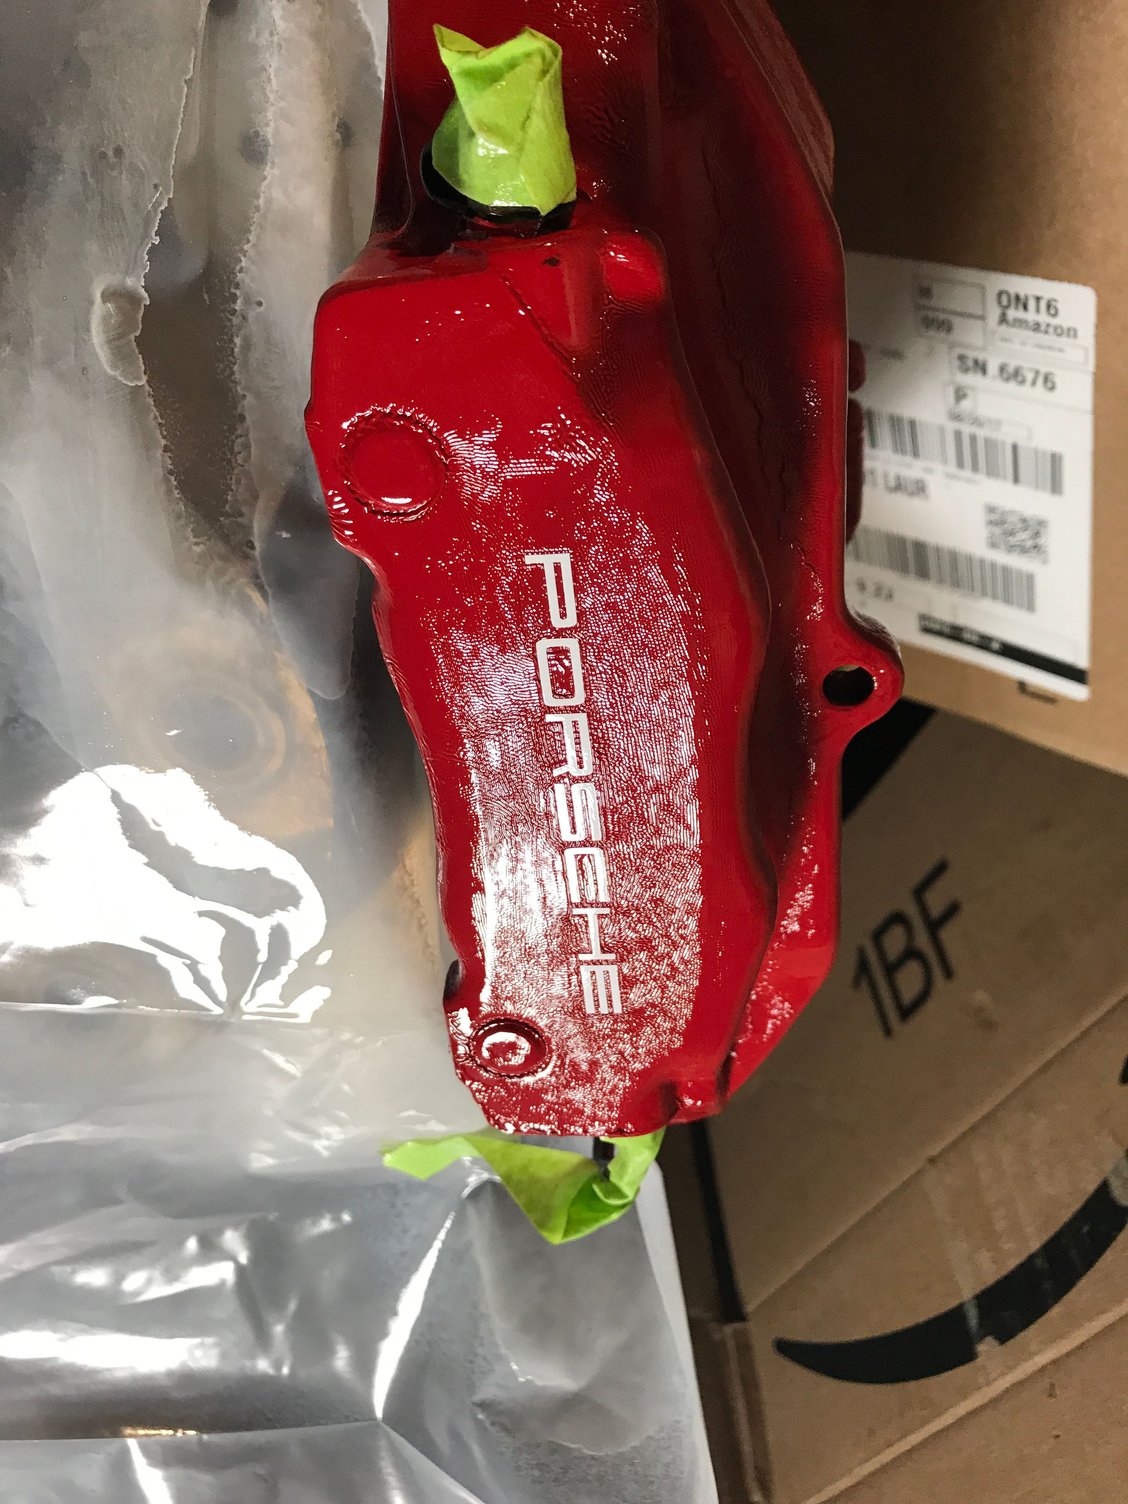
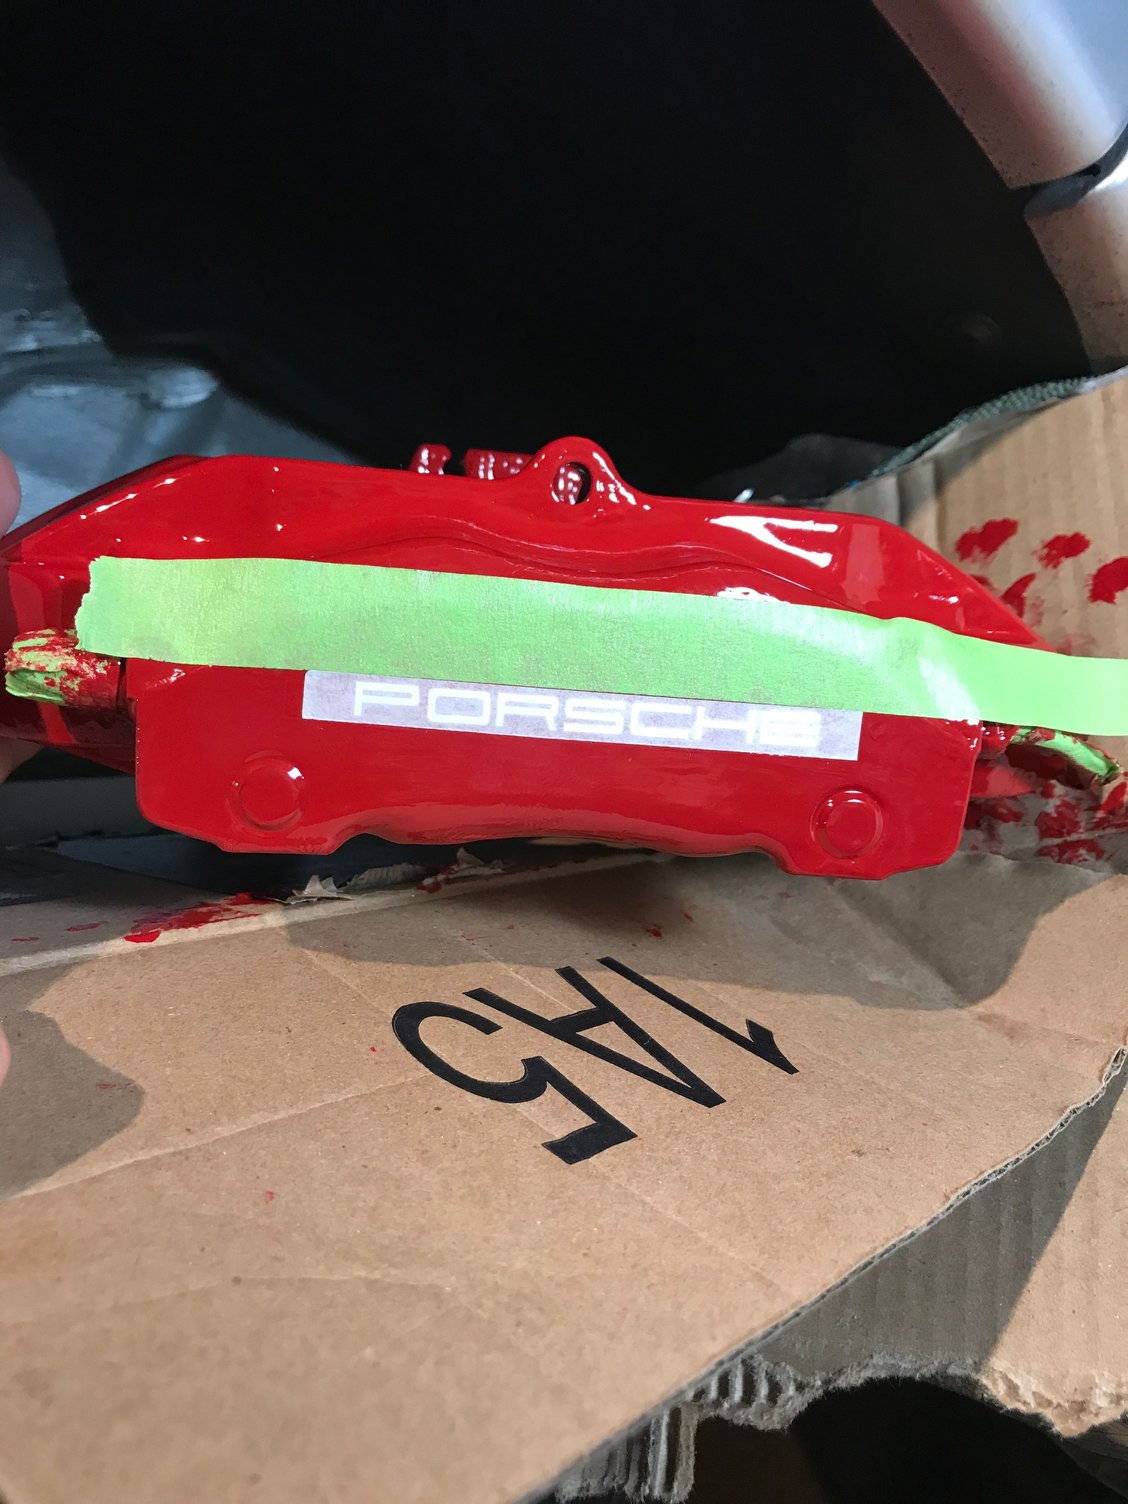
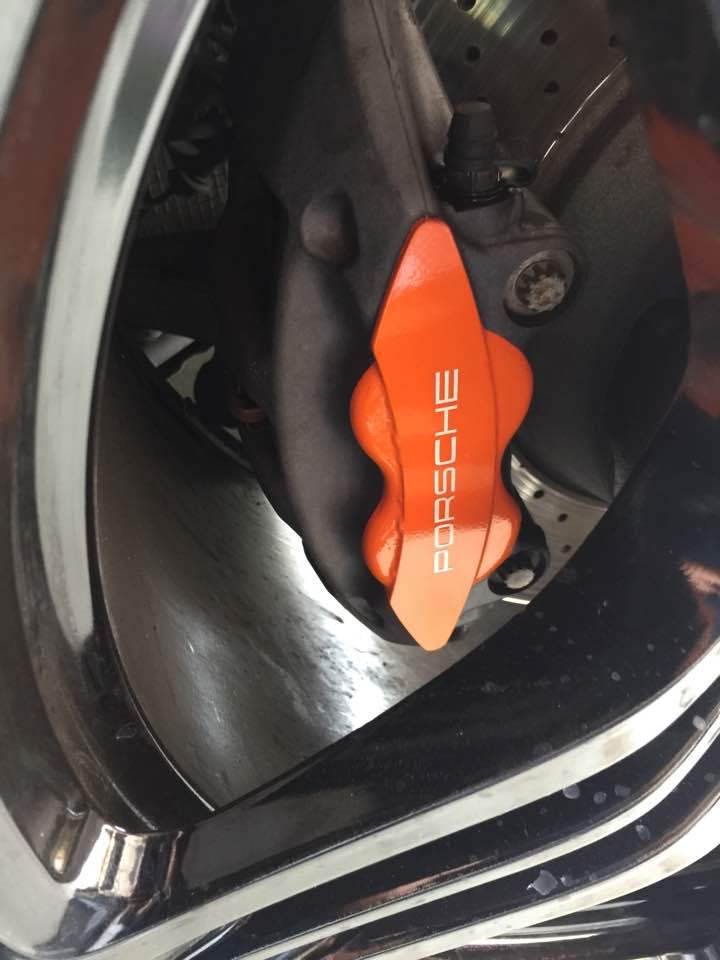
After 36hrs of drying I put the stencils on and shot a single coat of DP high temp clear over the face of the first caliper. I then watched in horror as the underlying paint immediately started to shrivel and orange peel. I thought I was screwed. (My best guess is as the clear was setting it started pulling up the still soft paint underneath).
Luckily the paint started to lay back down as the clear dried. I was able to hit it with a hair dryer to get it the last mile. Its still noticeable if you look hard but not enough where I had to sand down and repaint.
I called DP customer service and they said �yea that could happen with high humidity before the paint fully cured�. They said their paint needs heat to fully cure. They recommended a toaster oven or taking the car out for a 20min drive to heat the brakes. They did not recommend using a heat gun.
Step 5 - Baking the brakes
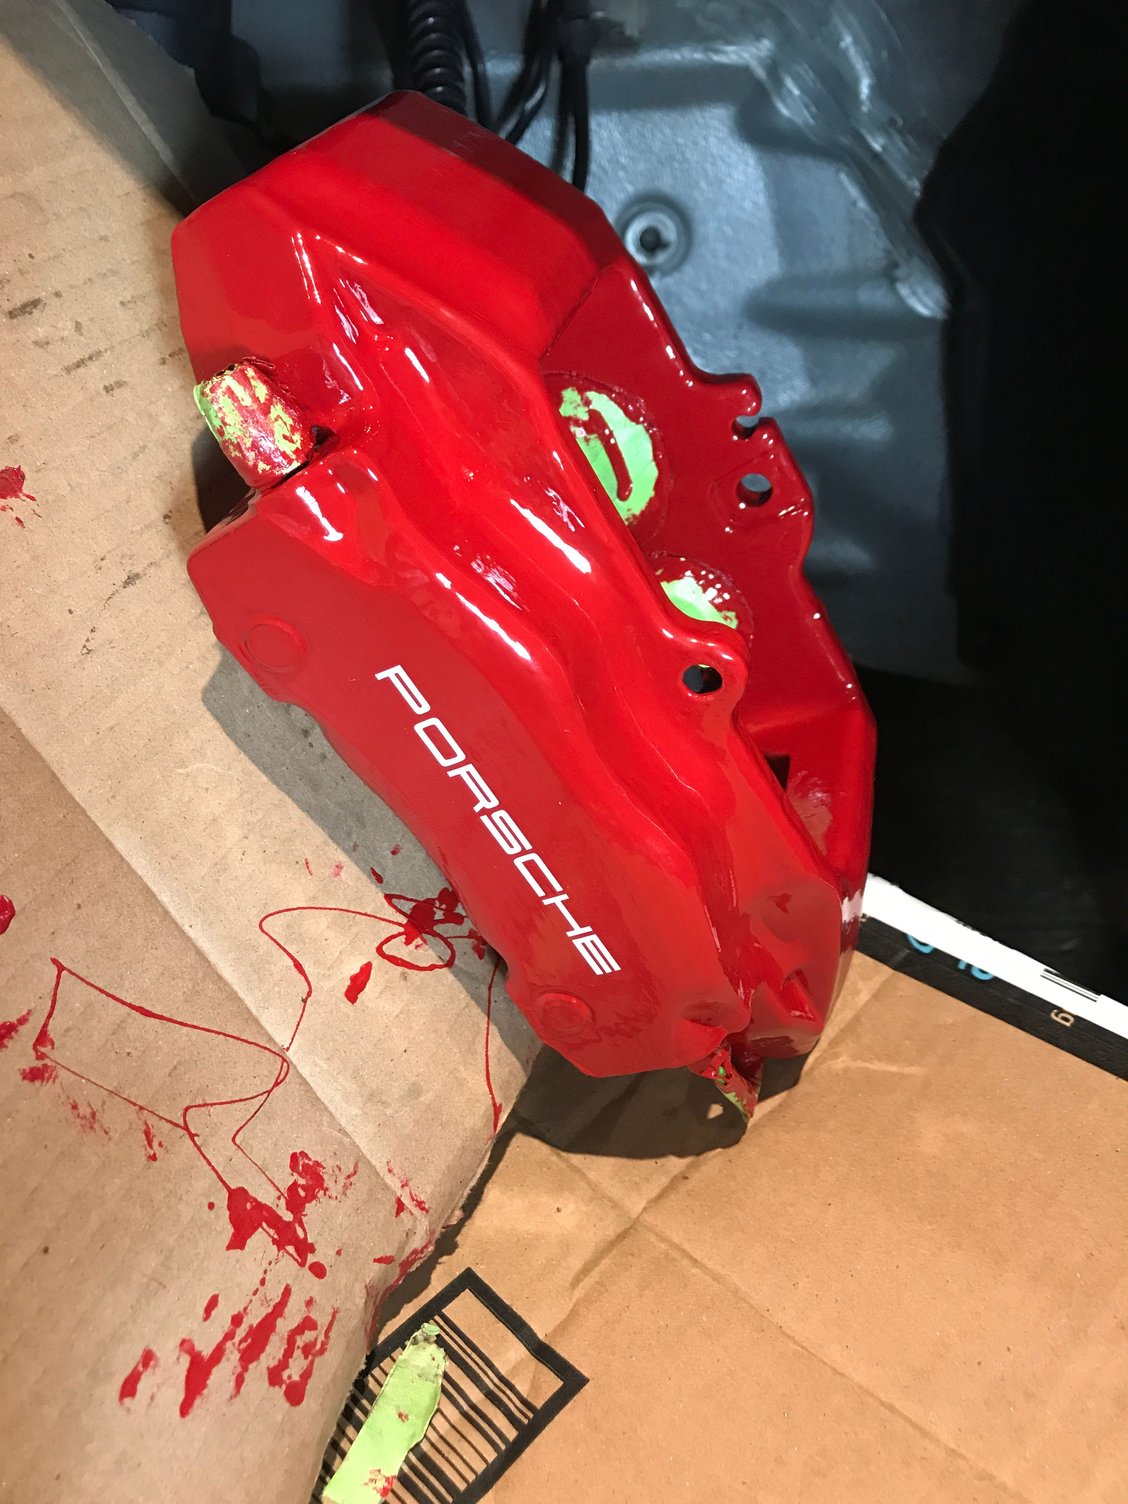
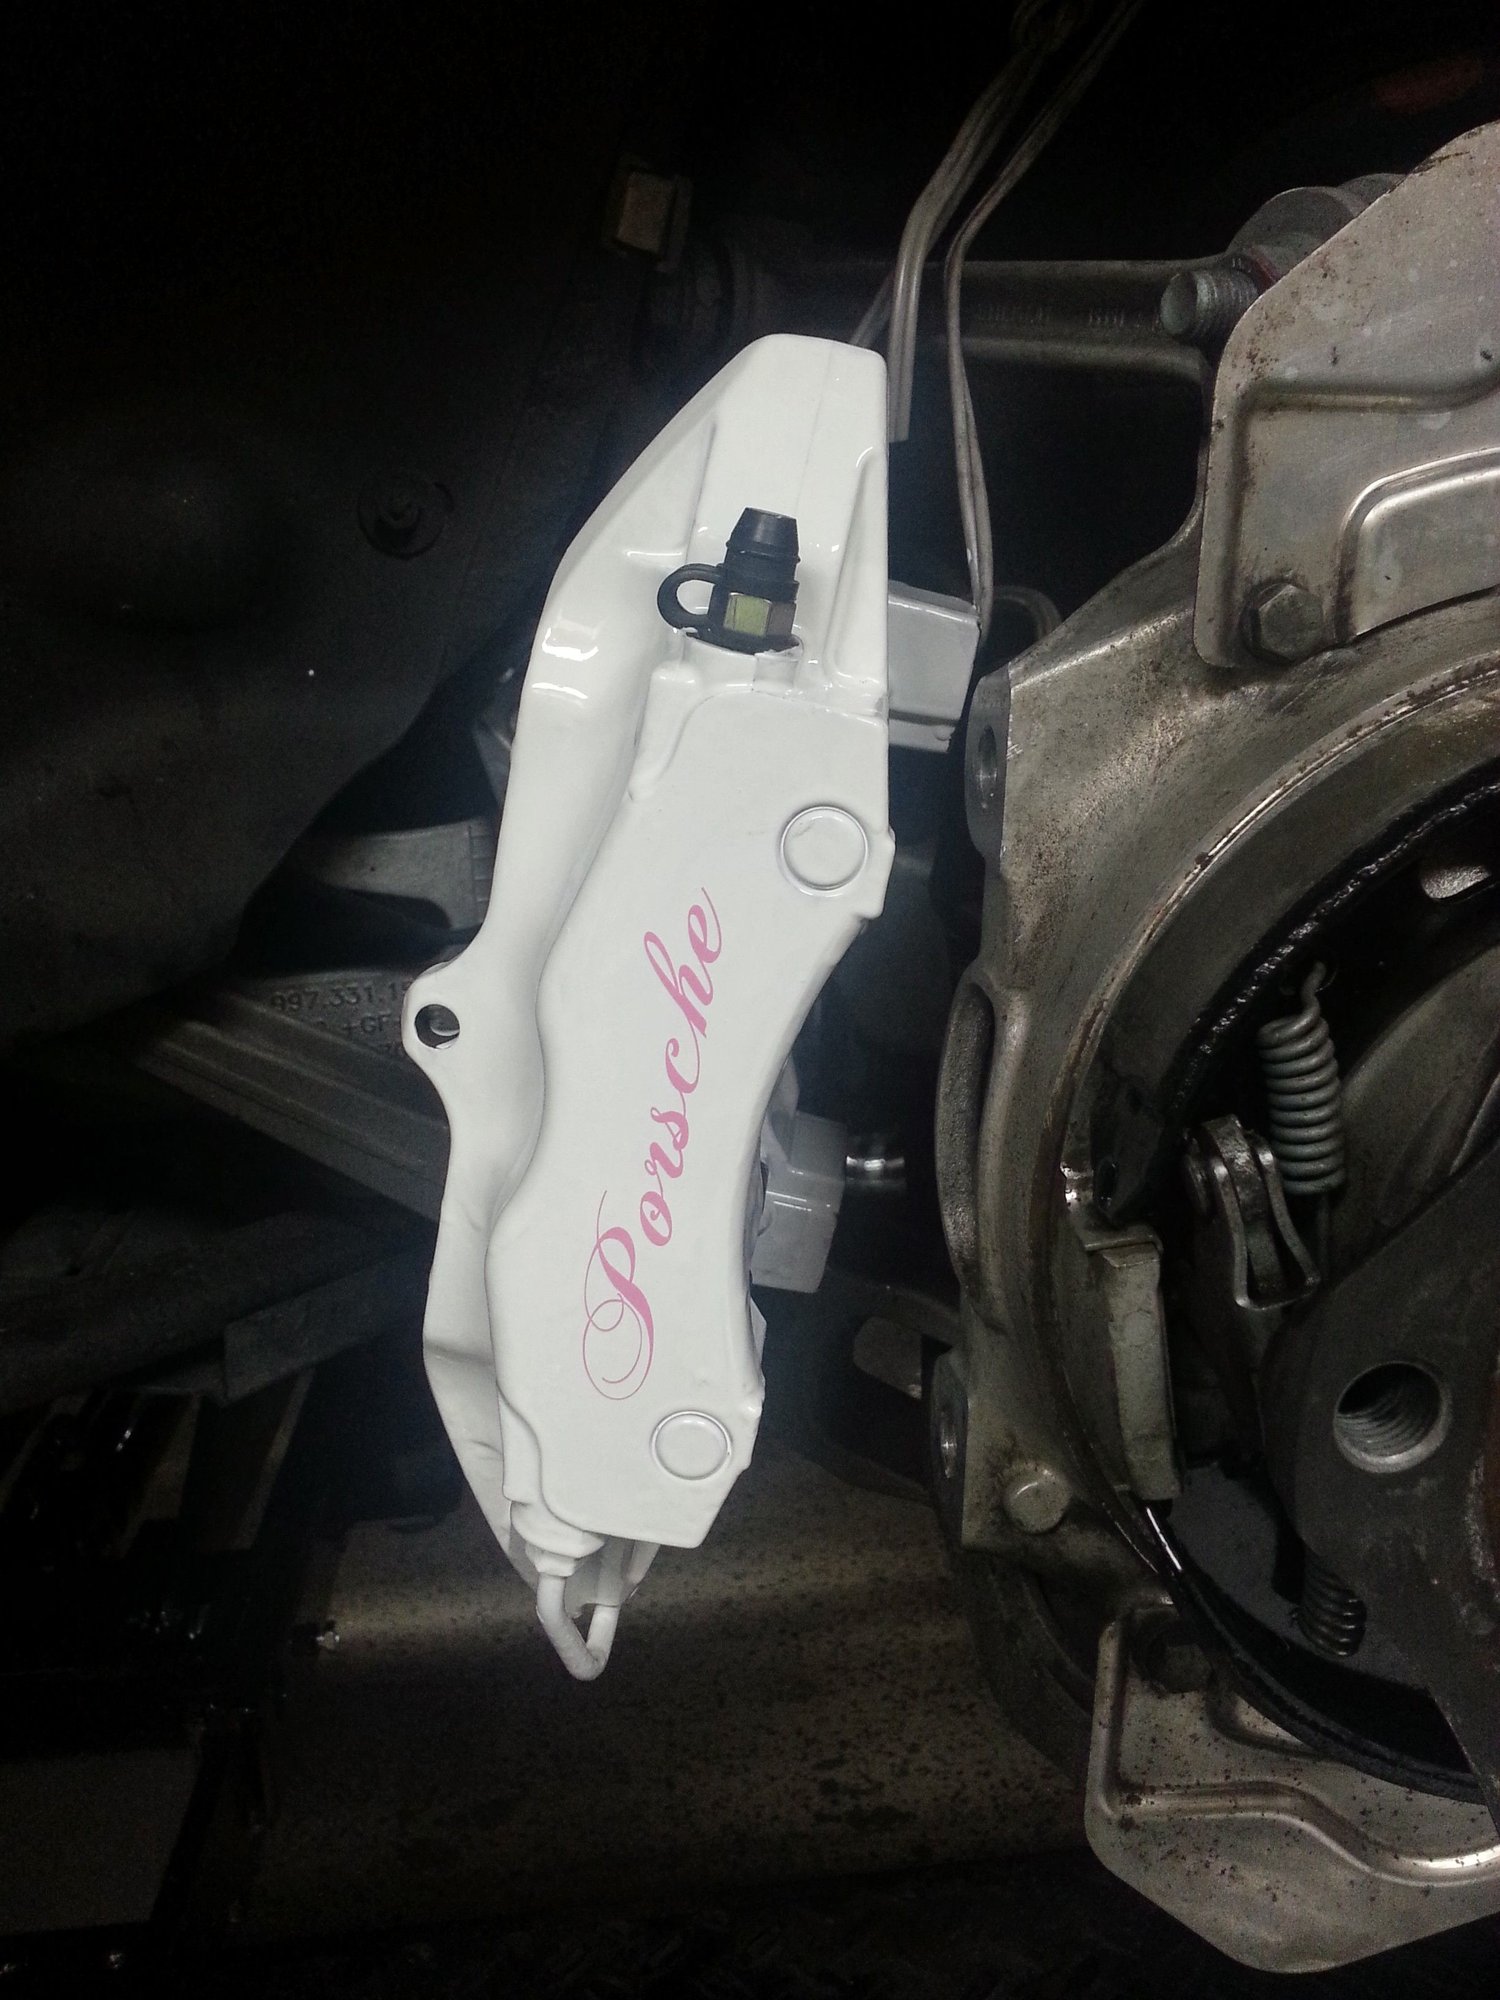
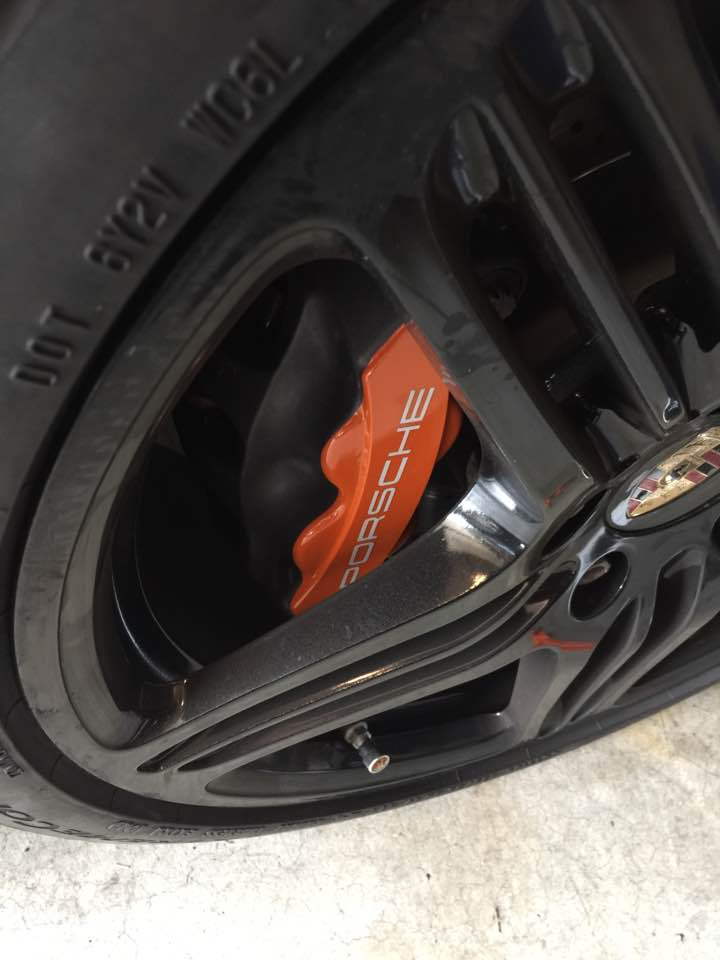
After the discussion with DP customer service I took the car for a drive. I was fully expecting to come home and see a mess but to my surprise the brakes look mostly fine. There where only two areas where the paint had contracted and left some creasing. The first was around the round dimples on the face of the caliper. The paint pools in the gap. The second was in the �O� of the Porsche decal. I guess the paint contracted differently with the decal on it�so I would NOT recommend putting the decals on until you have baked the brakes and let them sit for a few days.
As mentioned wait a few days to let the brakes fully cure before you put these on.
Step 7 - High temp clear coat (over the decals)
Based on my experience I would wait maybe a week after you paint the calipers to do this. DP said to scuff up the paint a little before you put the clear on. Its not required unless you are putting decals on and want to protect them.
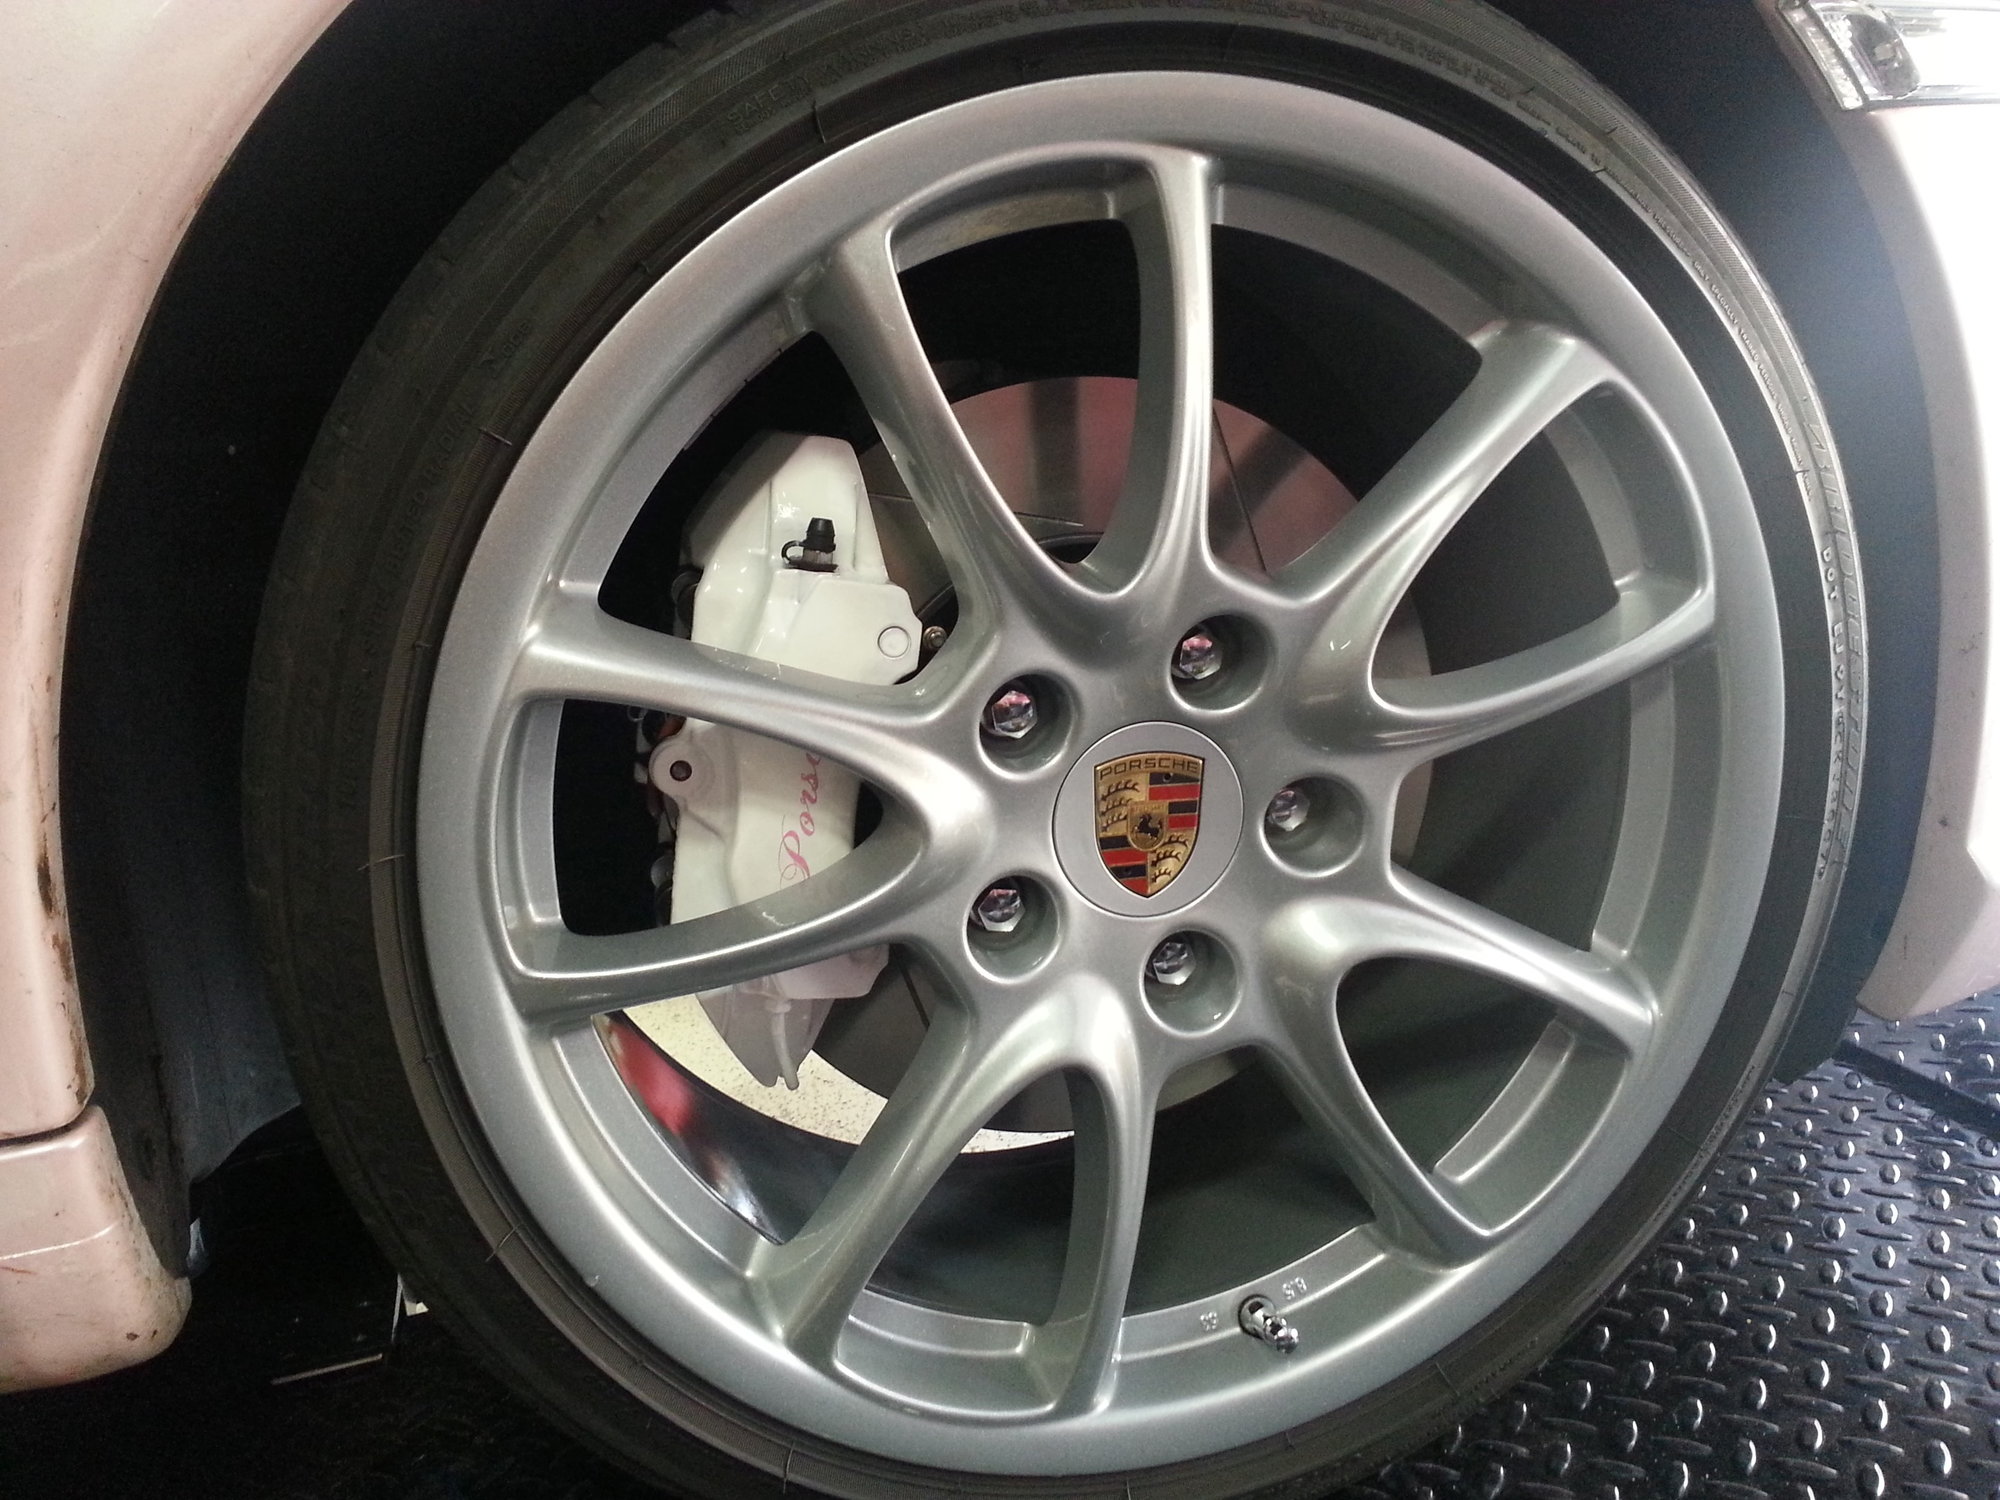
Nice write up! You should have sprayed them, the brush lines in the last pic would drive me crazy. I realize it would be hard to see with the wheel in but still...
I've used the G2 2-part kits on 4 cars in the past and it works great. It being a 2-part hi-temp epoxy with hardener makes it cure, rather than dry, it's super durable, and I've never had to repaint a single caliper that I've done this way. I did my 90 Saab Turbo around 1997 and my father is still driving that car and the paint is holding up just fine (200,000 miles now). Did my pickup in 2011 (155,000 miles now). Did my 914 in 2001 (maybe 15,000 miles ago). My wife did her 997 in 2013 (96,000 miles now).
It's the cleaning, prep, and masking that takes so long, but if done correctly with the G2 kit, the results look smooth and are very durable.
Just a quick update on this thread after ~1month. My recommendation would be NOT to use Duplicolor caliper paint. Its really crap. The cure time is absurdly long and its not remotely durable without a high temp clear coat over it - despite Duplicolor not recommending you use a clear coat over it.
I waited a week or two to put the clear coat on 3 of the calipers (due to the problem I had on the first caliper). In that period I washed the car twice and used Armor All Wheel Cleaner. I already saw a couple faded spots where the wheel cleaner hit the caliper, and some brake dust seemed to absorb into part of the paint. I also hit one caliper with a little caliper cleaner and it immediately took the finish right off...
Luckily I was able to sand them down to remove all the blemishes. I put a couple coats of clear on them which looks great and have had no further durability issues.
So conclusion is: they still came out great despite a number of near disasters using Duplicolor. Go with G2 if you are going to brush on.
Nice write up! You should have sprayed them, the brush lines in the last pic would drive me crazy. I realize it would be hard to see with the wheel in but still...
Ps @Phily911, while I agree I should have sprayed them, there are actually no brush lines. If you are referring to the picture below, those aren't brush lines, that was the near disaster that happened after putting clear coat on first caliper before the paint fully cured (despite waiting 36hrs). It caused the underlying paint to orange peel. Luckily I was able to fix it. One of many reasons not to use Duplicolor.
I commend you for the effort that you put into working on your calipers and I think they came out very nicely. I was afraid to run into the issues you did and sent mine out.
I commend you for the effort that you put into working on your calipers and I think they came out very nicely. I was afraid to run into the issues you did and sent mine out.
Very nice....I almost painted mine red until I decided to wrap the car orange and didn't feel like red went with it. I ended up doing my own thing and wrapping the faces in a 3M high temperature vinyl wrap. Here's some pictures.

 09-13-2017, 10:31 PM