When you click on links to various merchants on this site and make a purchase, this can result in this site earning a commission. Affiliate programs and affiliations include, but are not limited to, the eBay Partner Network.
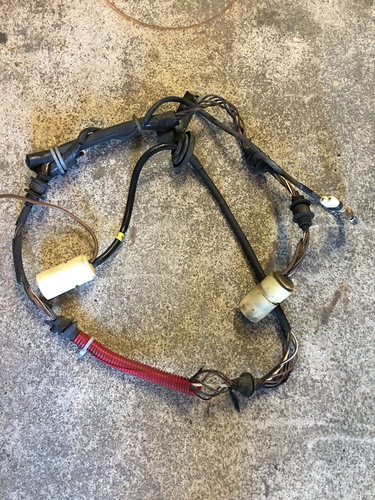
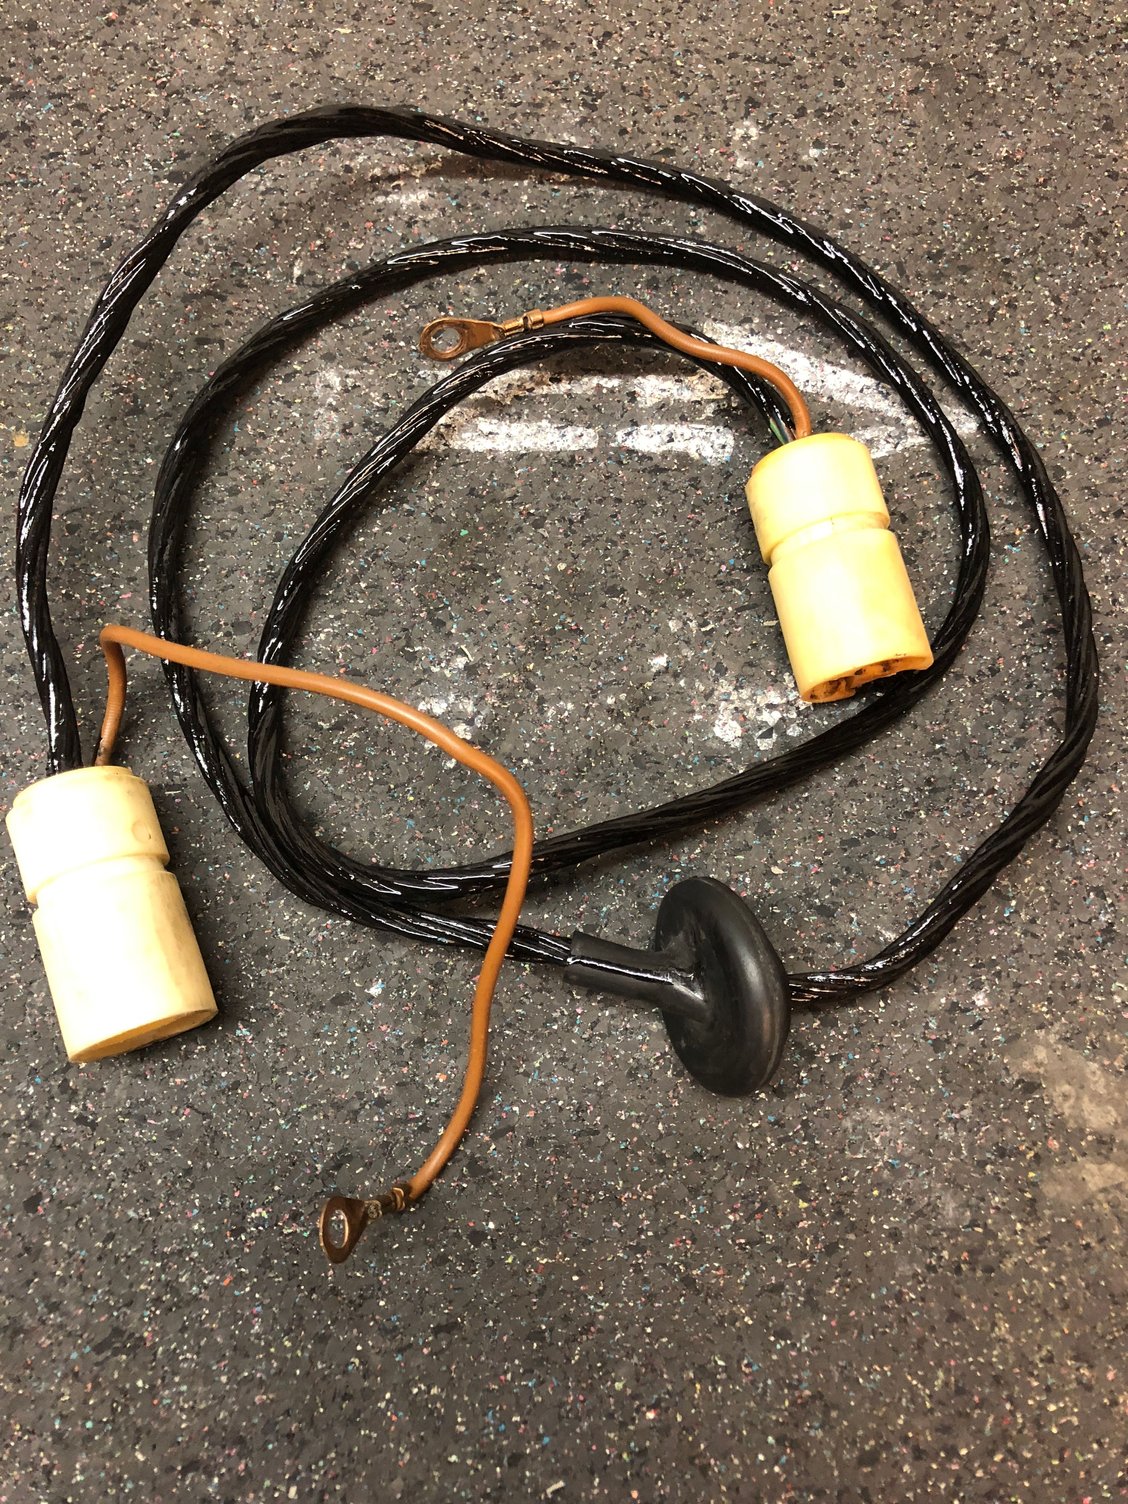
I purchased a couple poor condition ABS harness to do some experimenting on refurbishing the disintegrated rubber coating and respective rubber mounting.
I had previously re-wrapped the rear harness on my S4 using the self vulcanizing tape method which seems to be a decent temporary repair. However, most of the mounting grommets and bushings are also deteriorating and do not hold the harness as securely as I would like. Also, when re-tisting the loom I ended up shortening the length enough were some of the grommets did not match up the holder anymore. Lastly, the wrap doesn't look very professional, I suppose if I practiced about 5 more times it would be a significant improvement.
Here are some before and after pictures of the harnesses in my car. It looks good from 5 feet but not so much up close. I think I can do better.
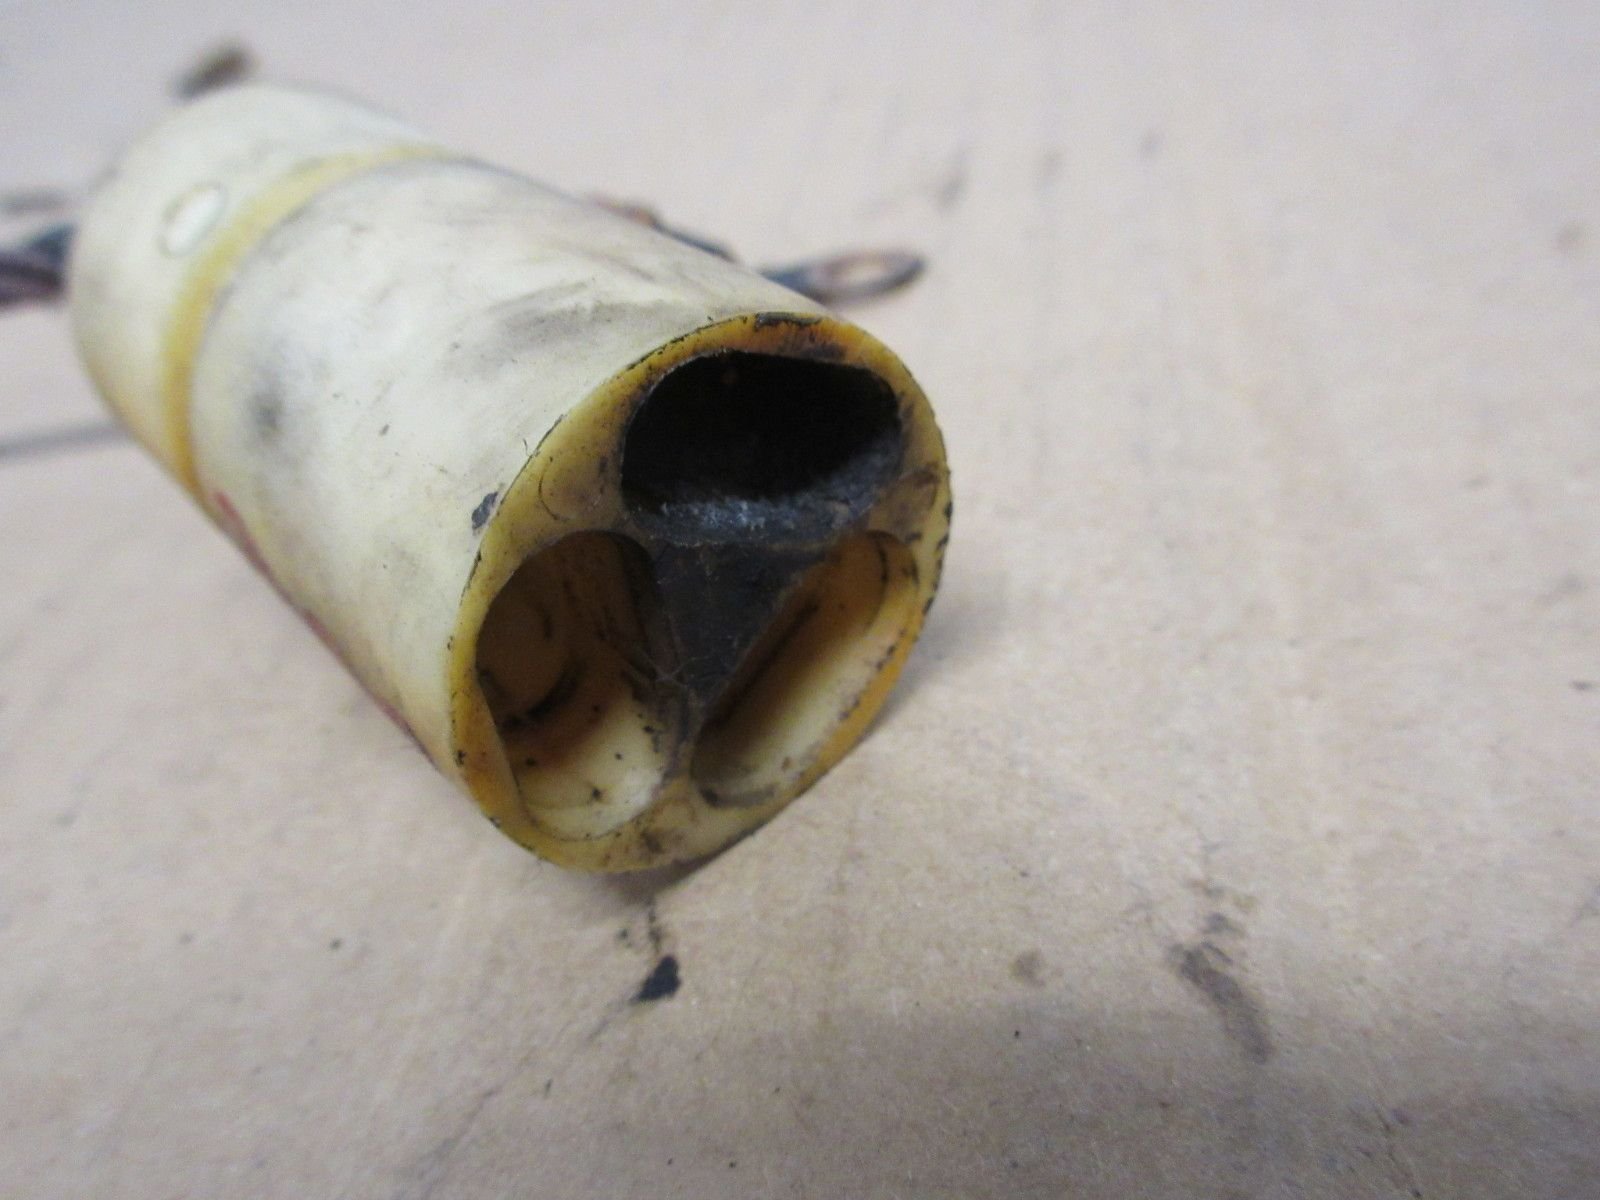
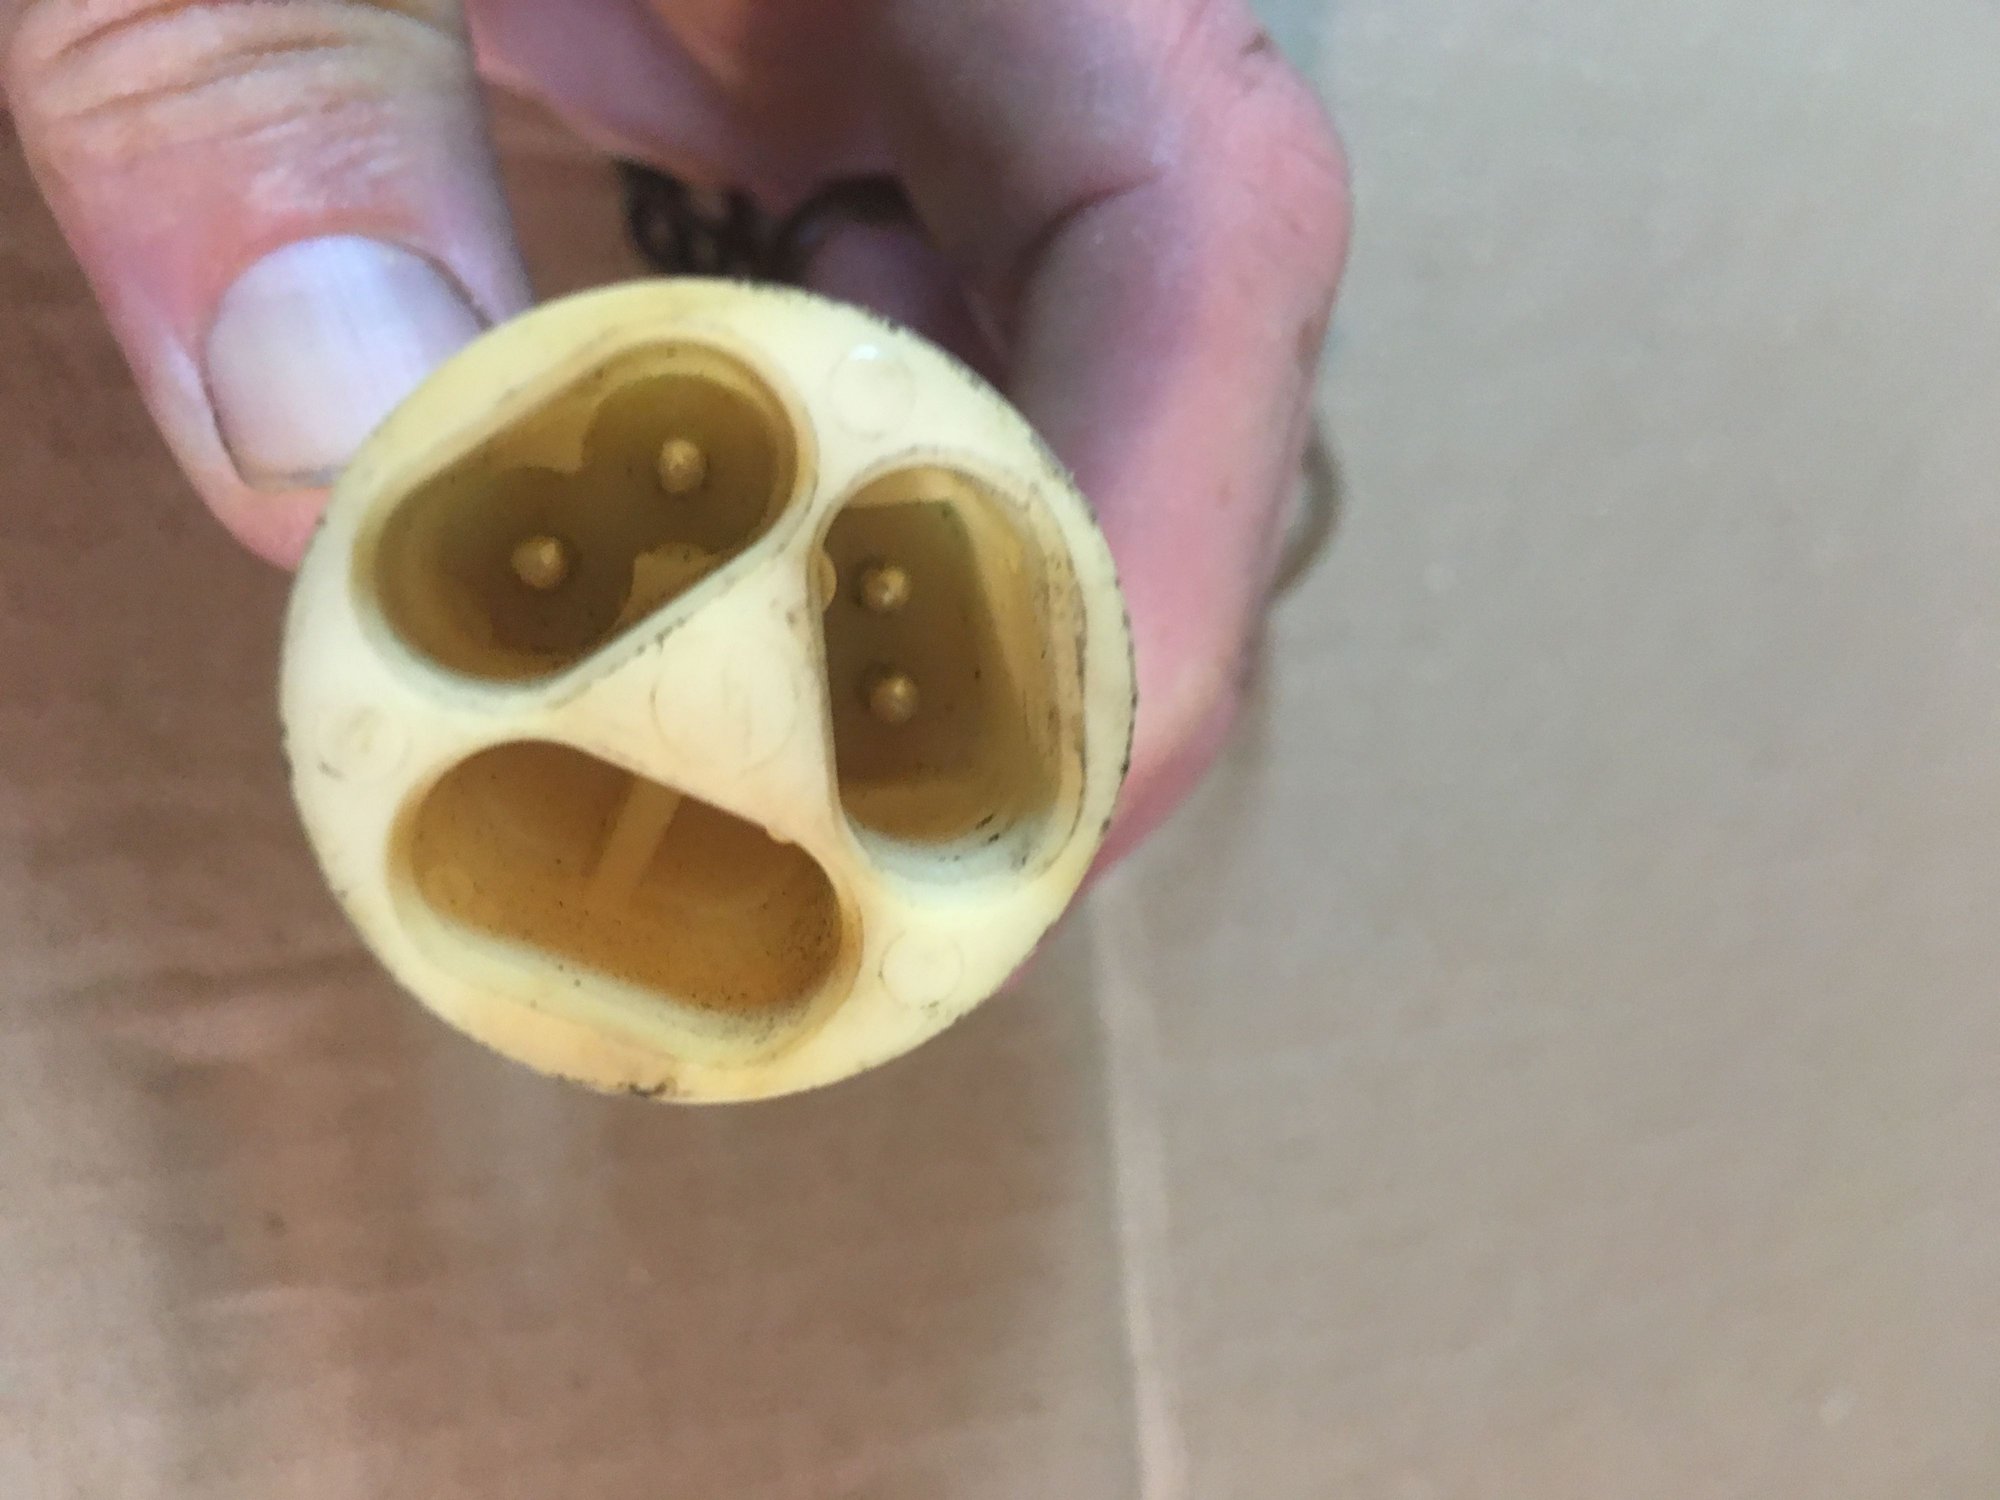
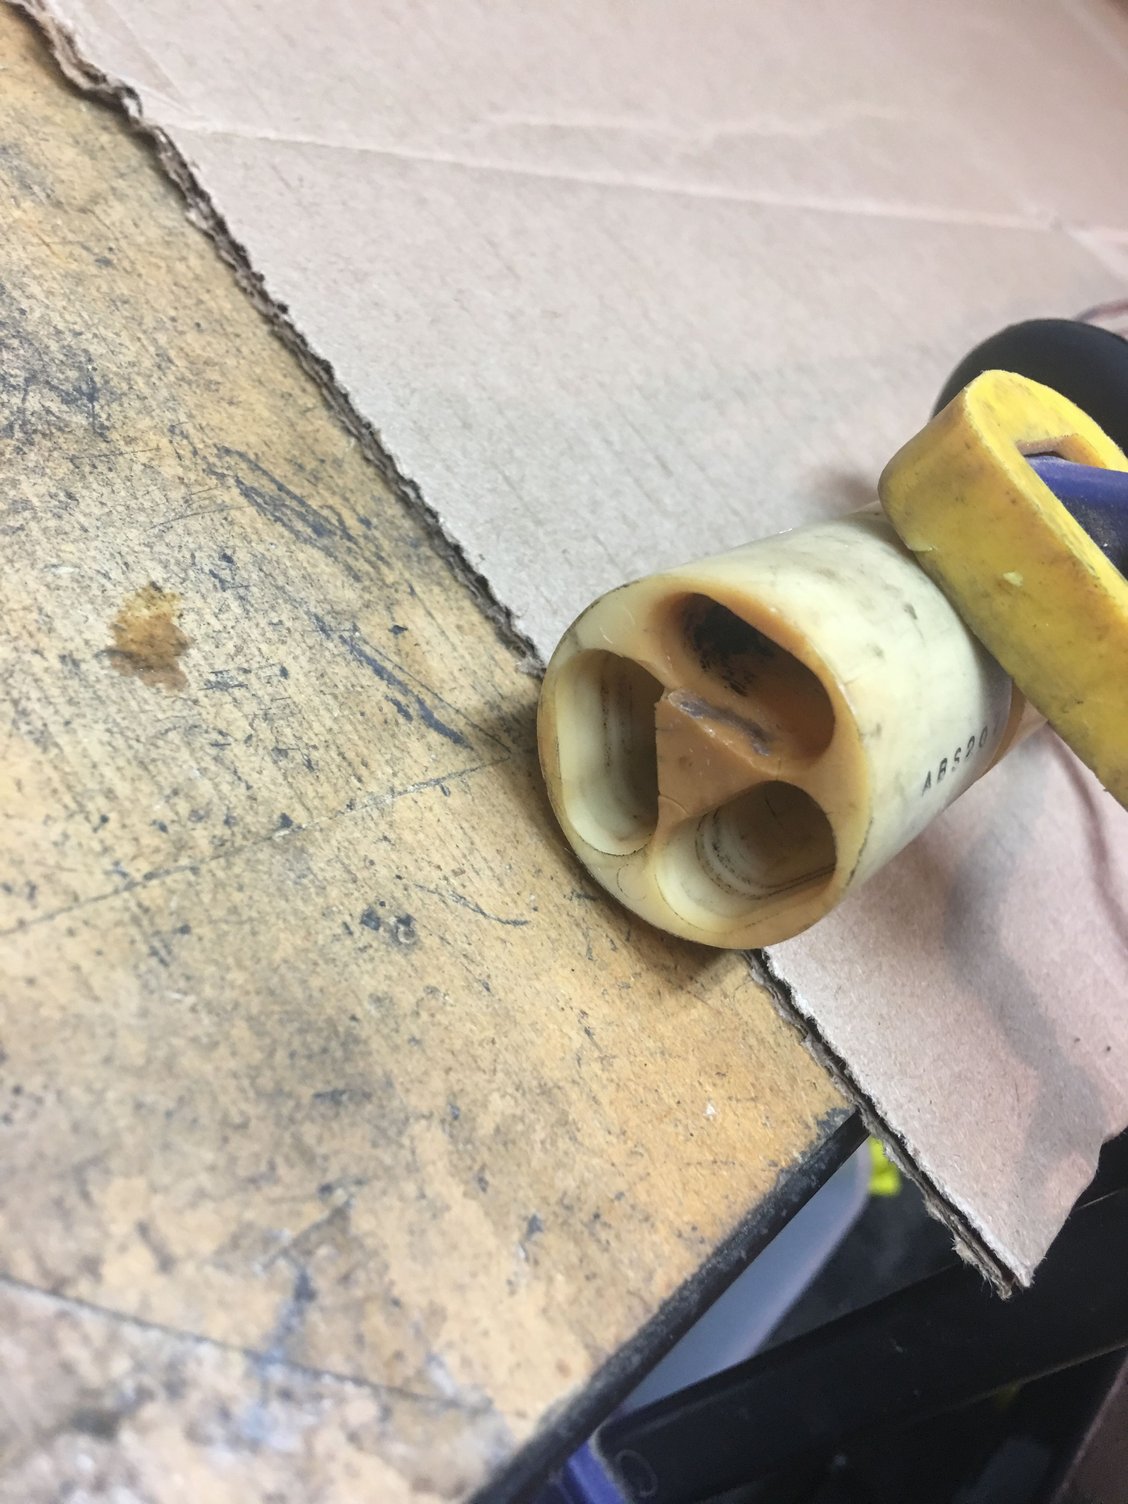
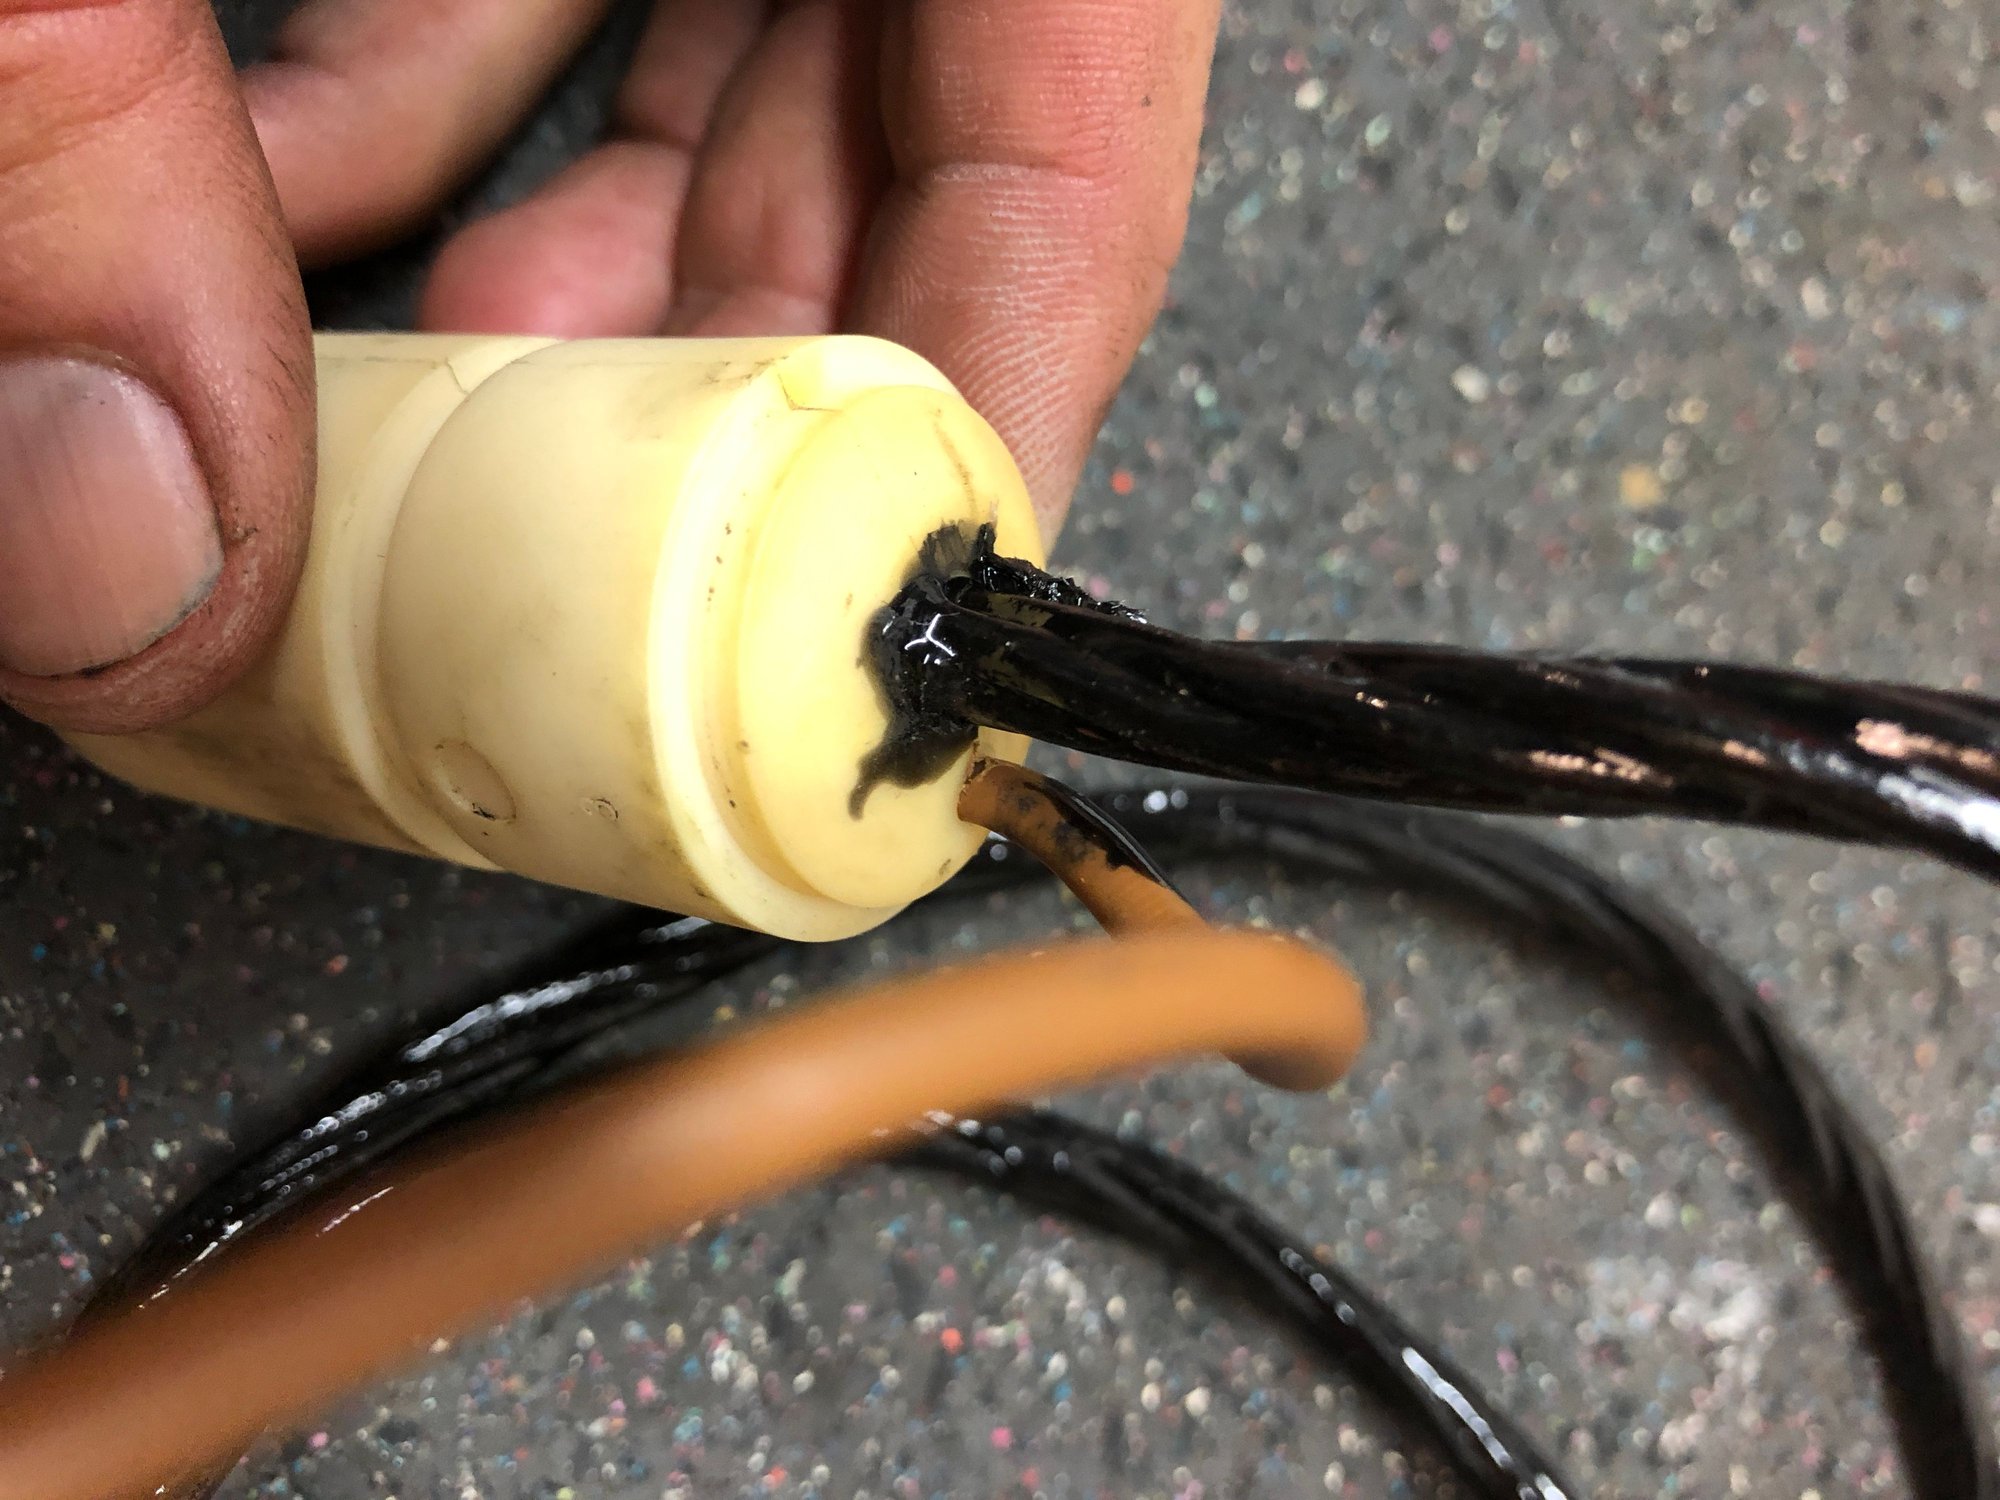
These harness are expensive ranging from $160-$250 each, but more importantly they are mostly no longer available so rebuilding and repairing has become a more relevant option. If you are looking for spare connectors, the large round white connectors which become brittle with age and heat, they are shared among several Porsche models: 944/968, 964. There may be more.
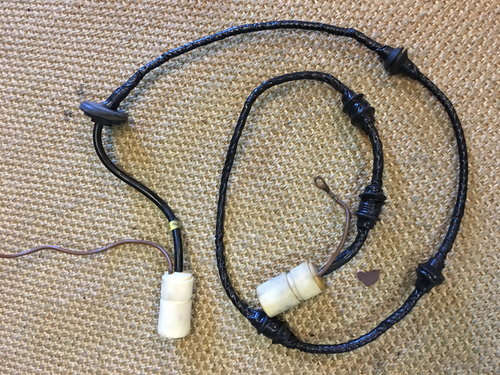
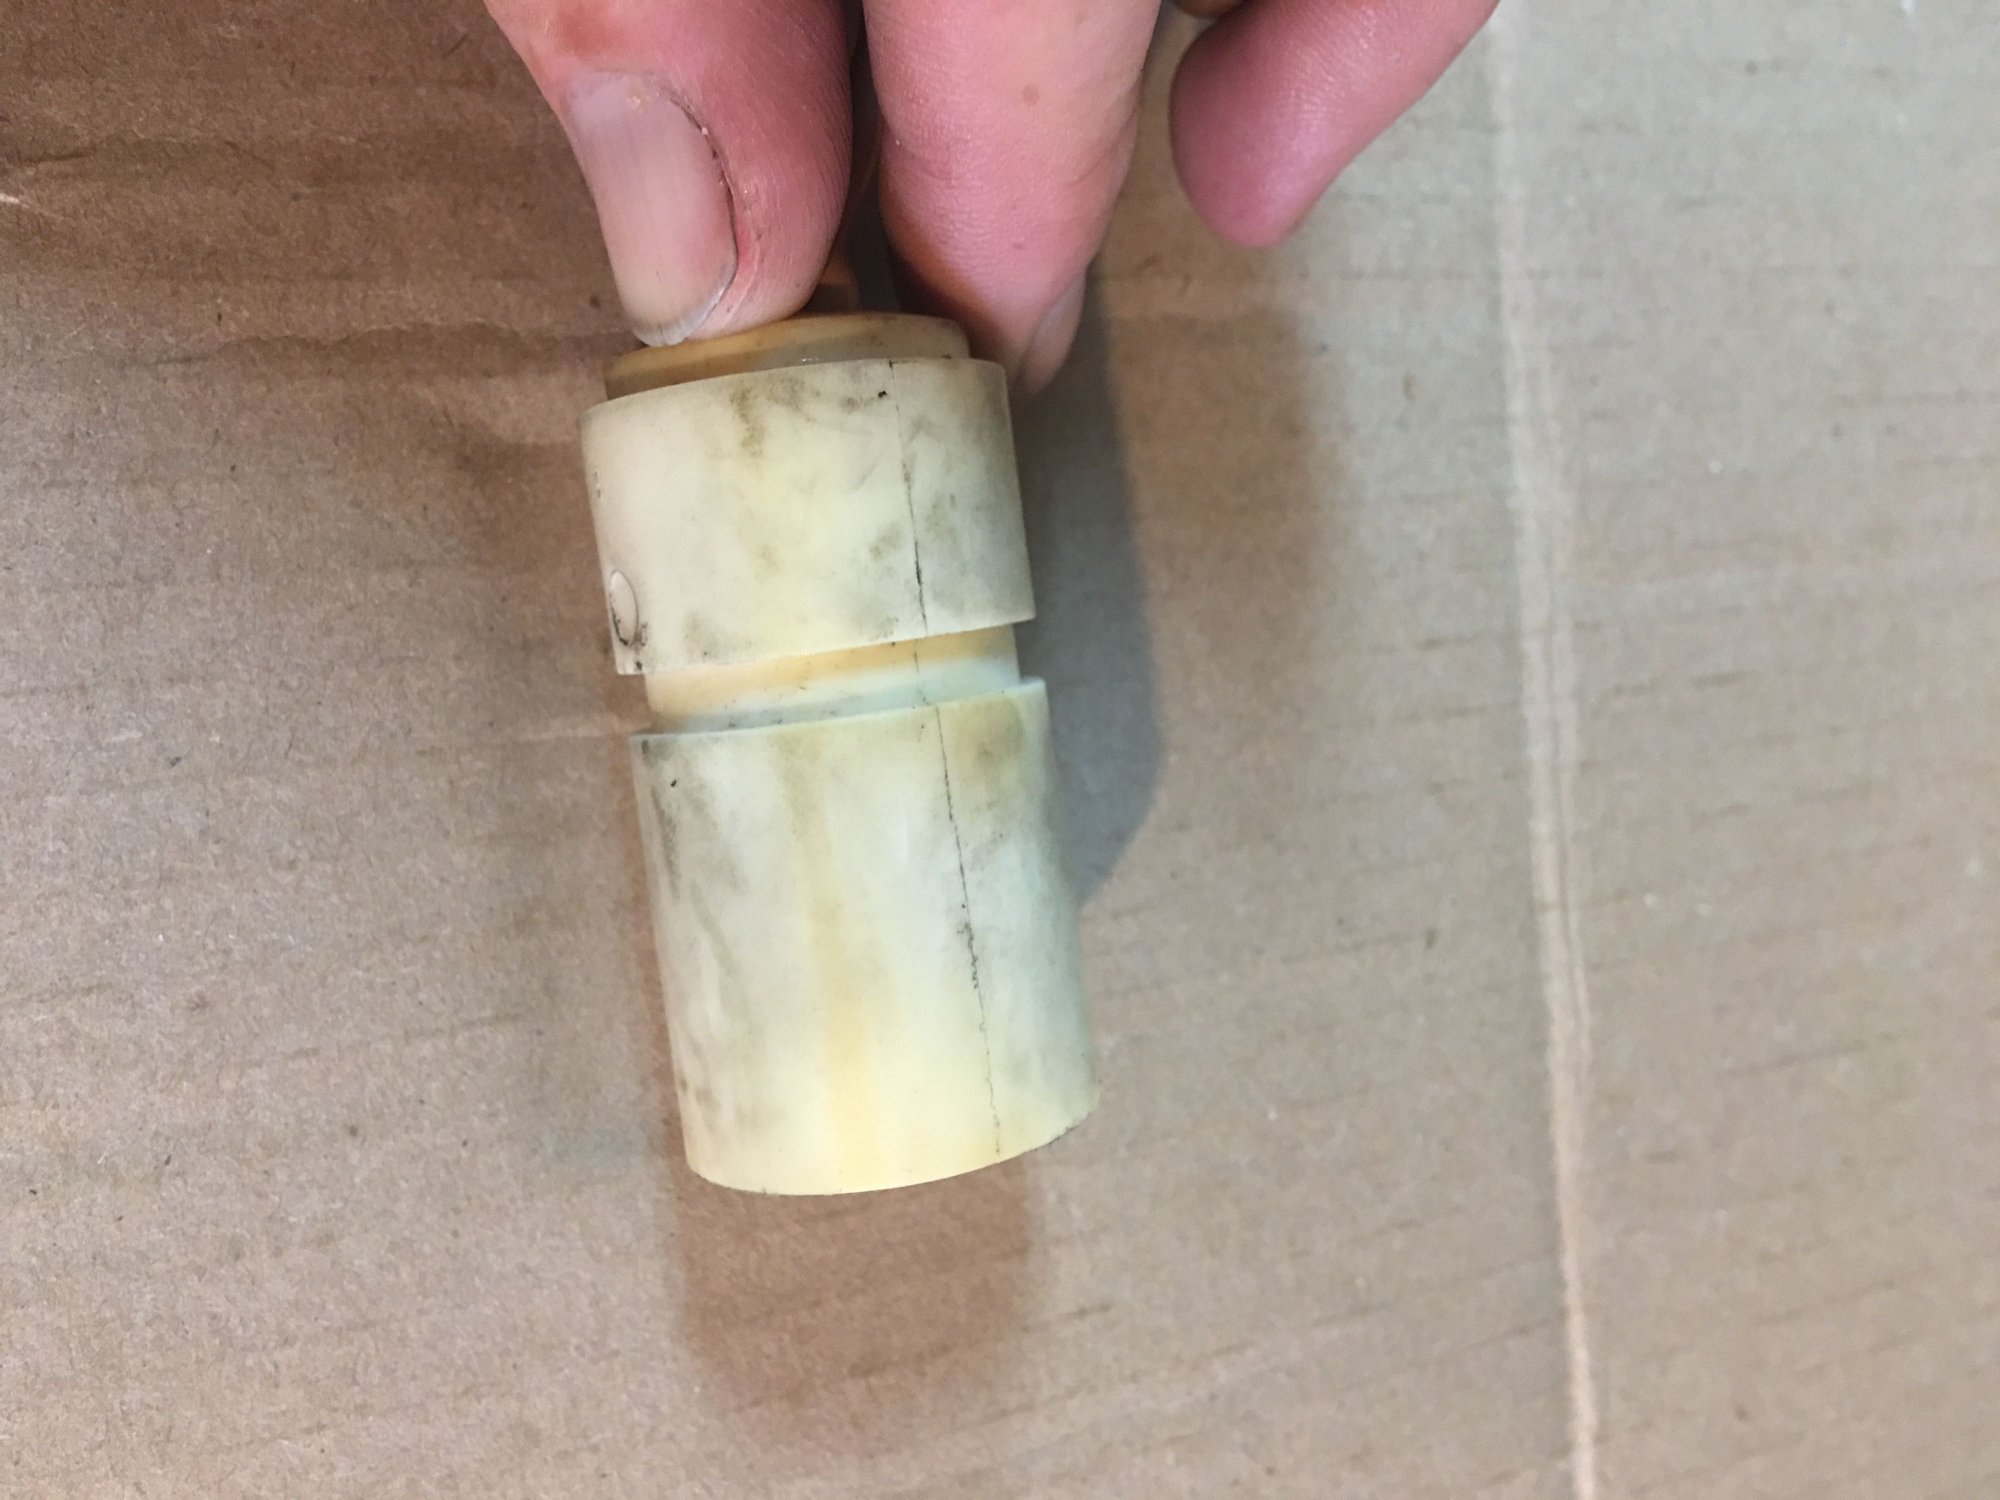
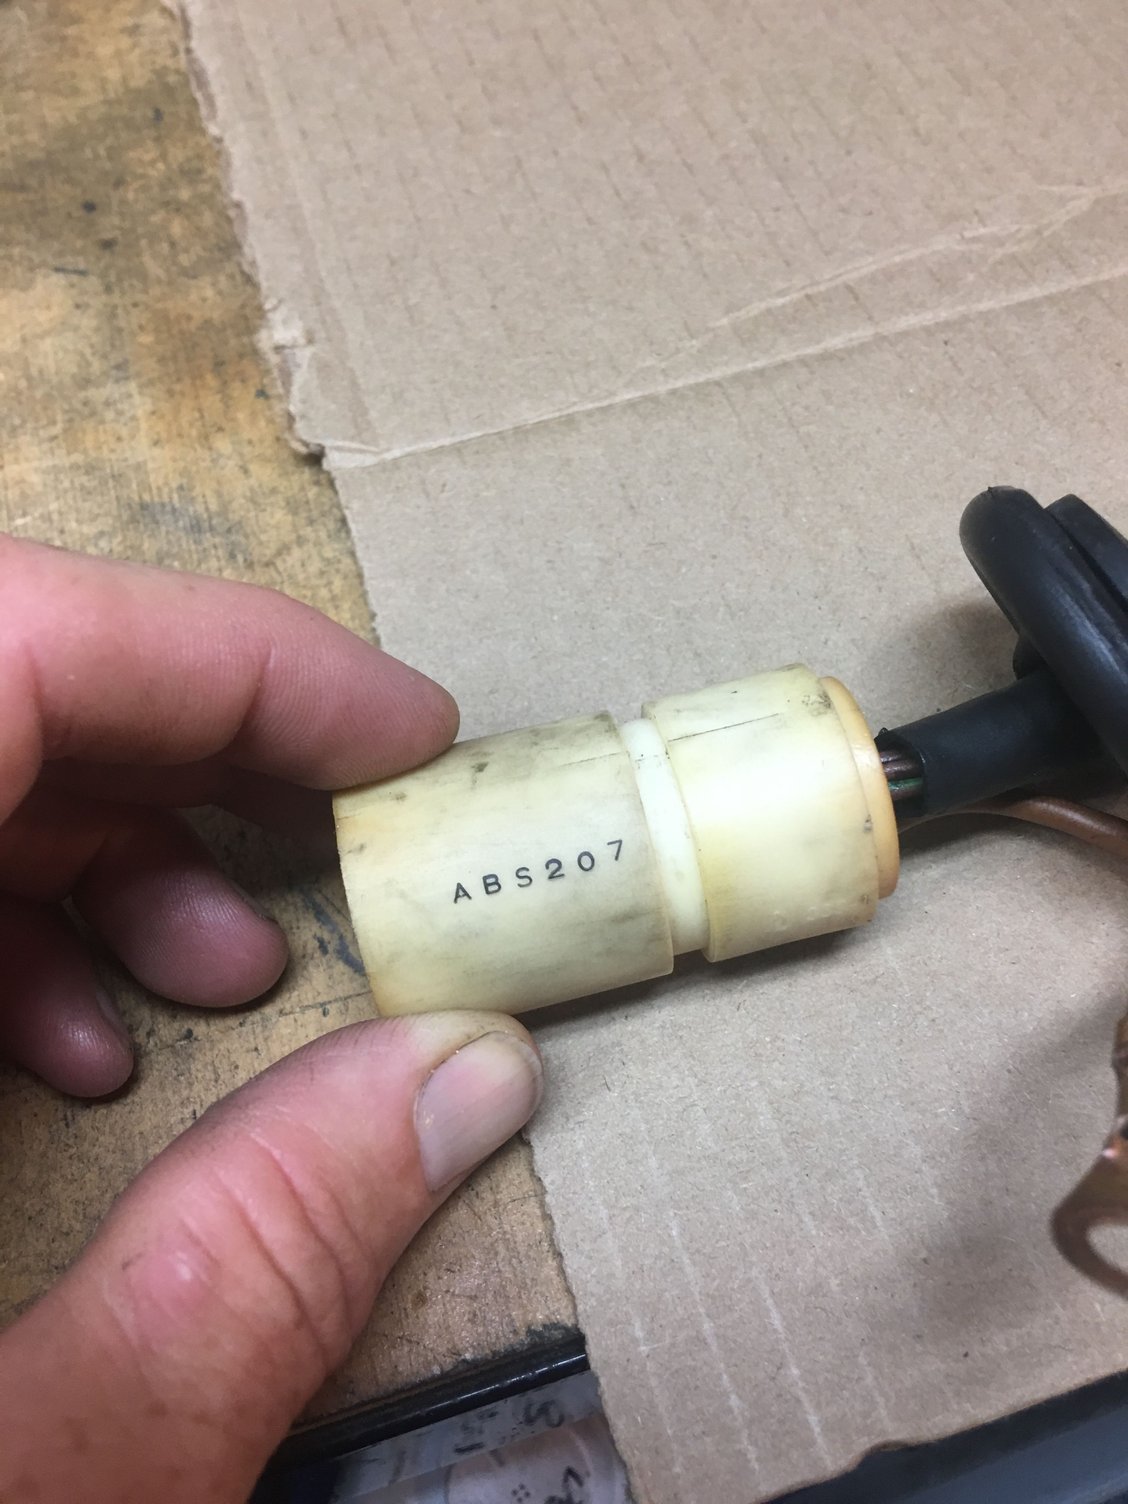
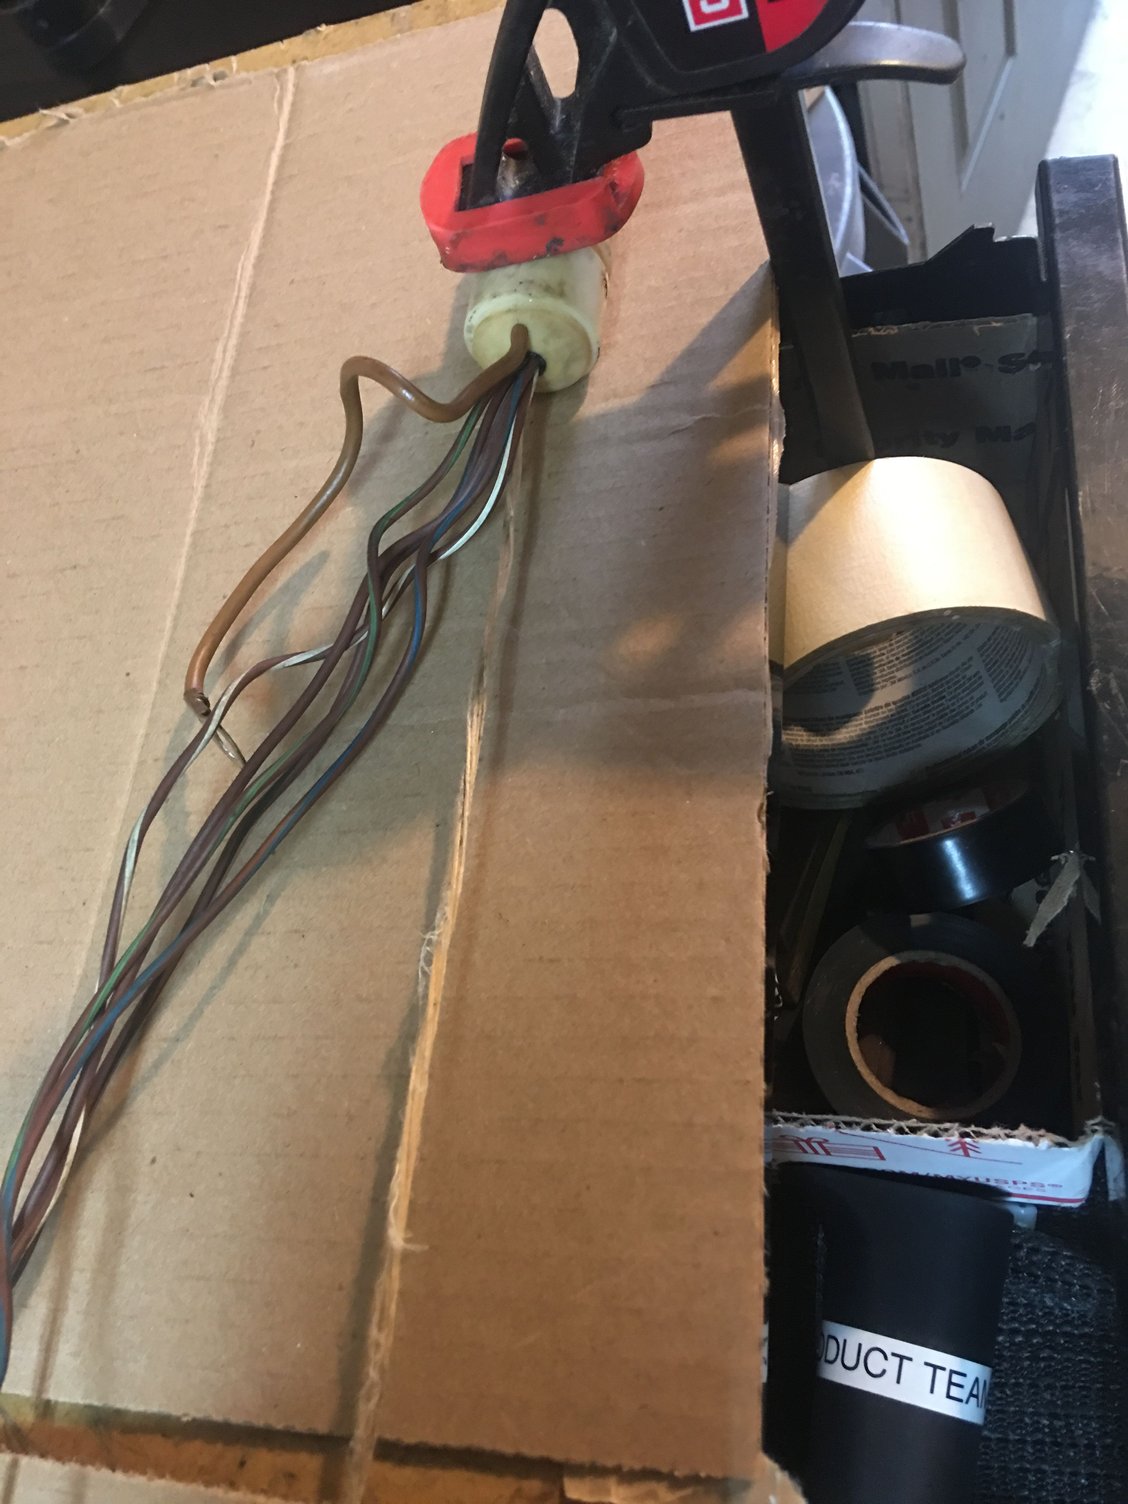
Here are the spare harnesses I am starting with. I want to re-sheeth them and replace the rubber grommets. I understand re-sheething them may require cutting/soldering, but there may be other options. I inspected the wires and the insulation looks to be in very good condition - now cracks. One of the connectors has a chip on the unused socket. I think they will make good candidates.
I am starting this thread to share my progress with you all but to also solicit your help in the work and sourcing the necessary coverings and grommets. I want to make sure they are durable enough for the respective automotive environments (heat, abrasions, debris, etc). So your suggestions along the way are appreciated.
The fist step is to get these harnesses properly cleaned. Any good suggestions on what I should used on the connectors and wires? Is soap and water with a little degreaser okay or should I use a more aggressive solvent like acetone. What are your thoughts on cleaning these up?
Dawn liquid dish soap in an ultra sonic cleaner will/should clean them up.
I haven't tried it but have done other similar parts, compressed air dry and use Deoxit and then something to protect contacts like WD-40
I think your "after" looks great. You wrapped it very consistently. I did the same with the self-vulcanizing tape. The tape really needs tension on it to initiate the vulcanizing. The end of the tape (last wrap) doesn't have the consistent tension on it, so it tends to peel away. To remedy this one can wrap with a good electrical tape. I used fat zip ties. Appearance wasn't as important to me as was quality of the repair. I think a lot of people would be really happy to have your "after" if their "before" looks like that ^
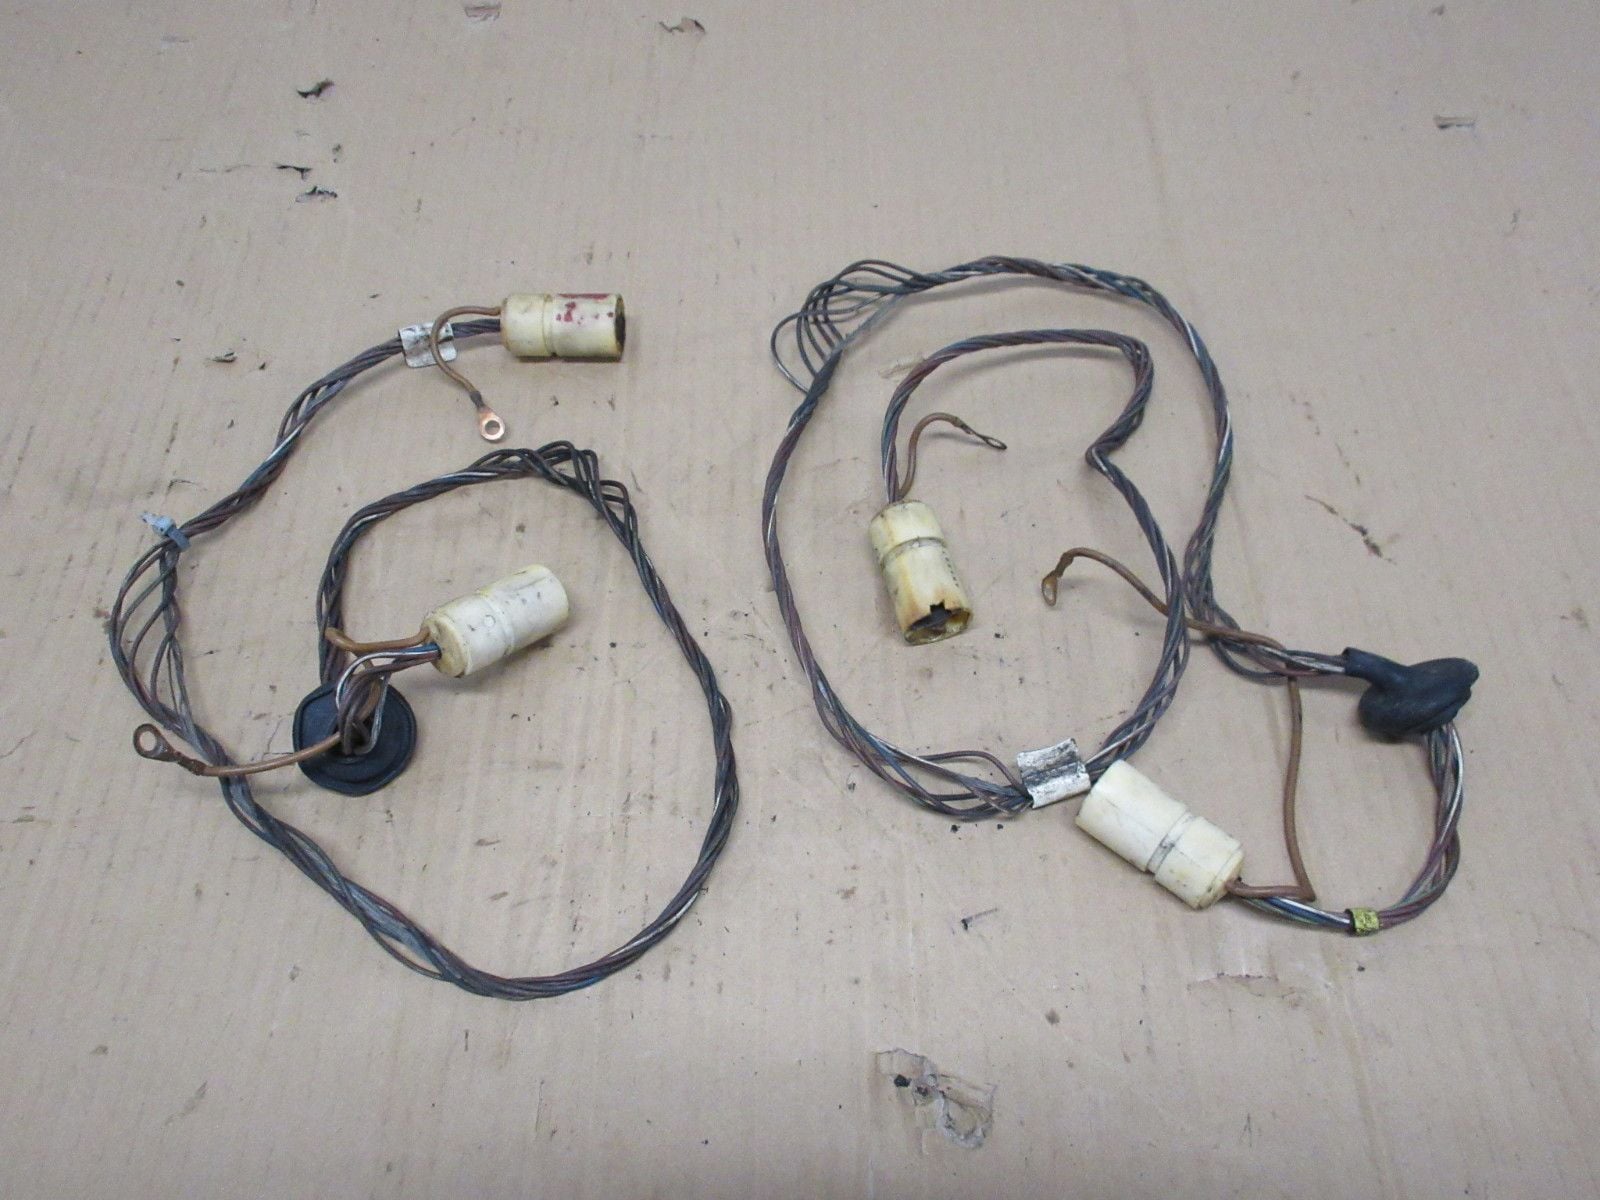
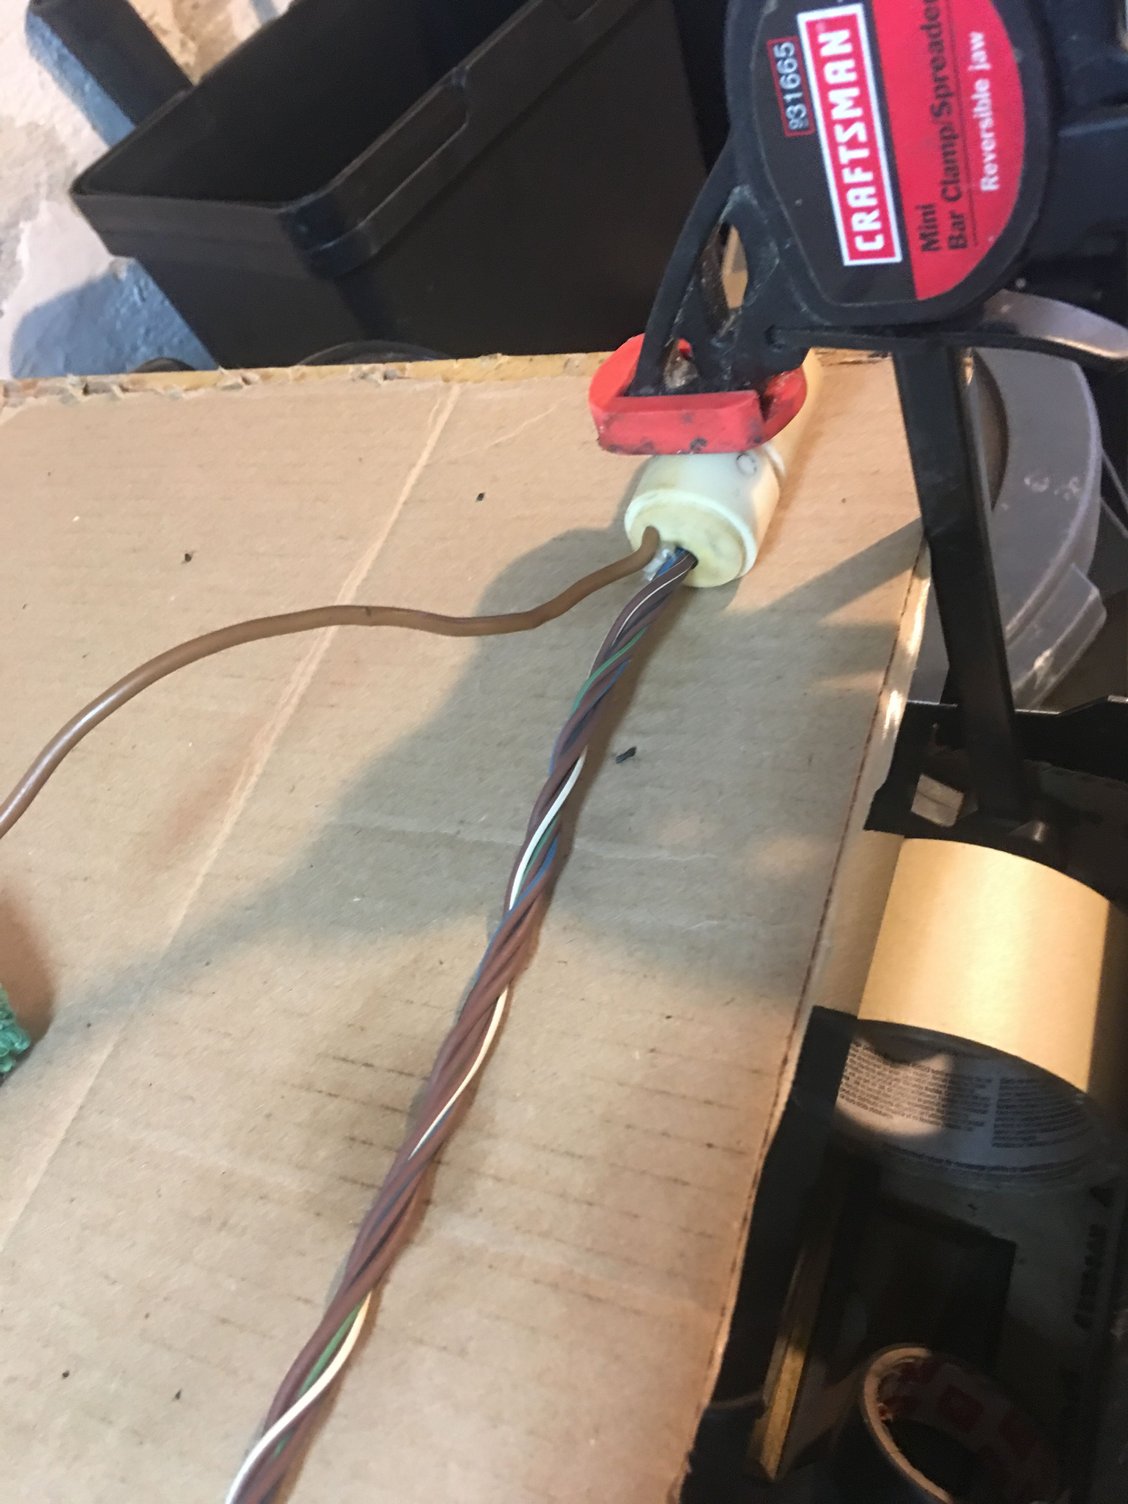
the harnesses cleaned up pretty well with some Home Depot degrees and hot water. I used a stiff bristle brush and scrub everything really well until the water was clean and this is how they look
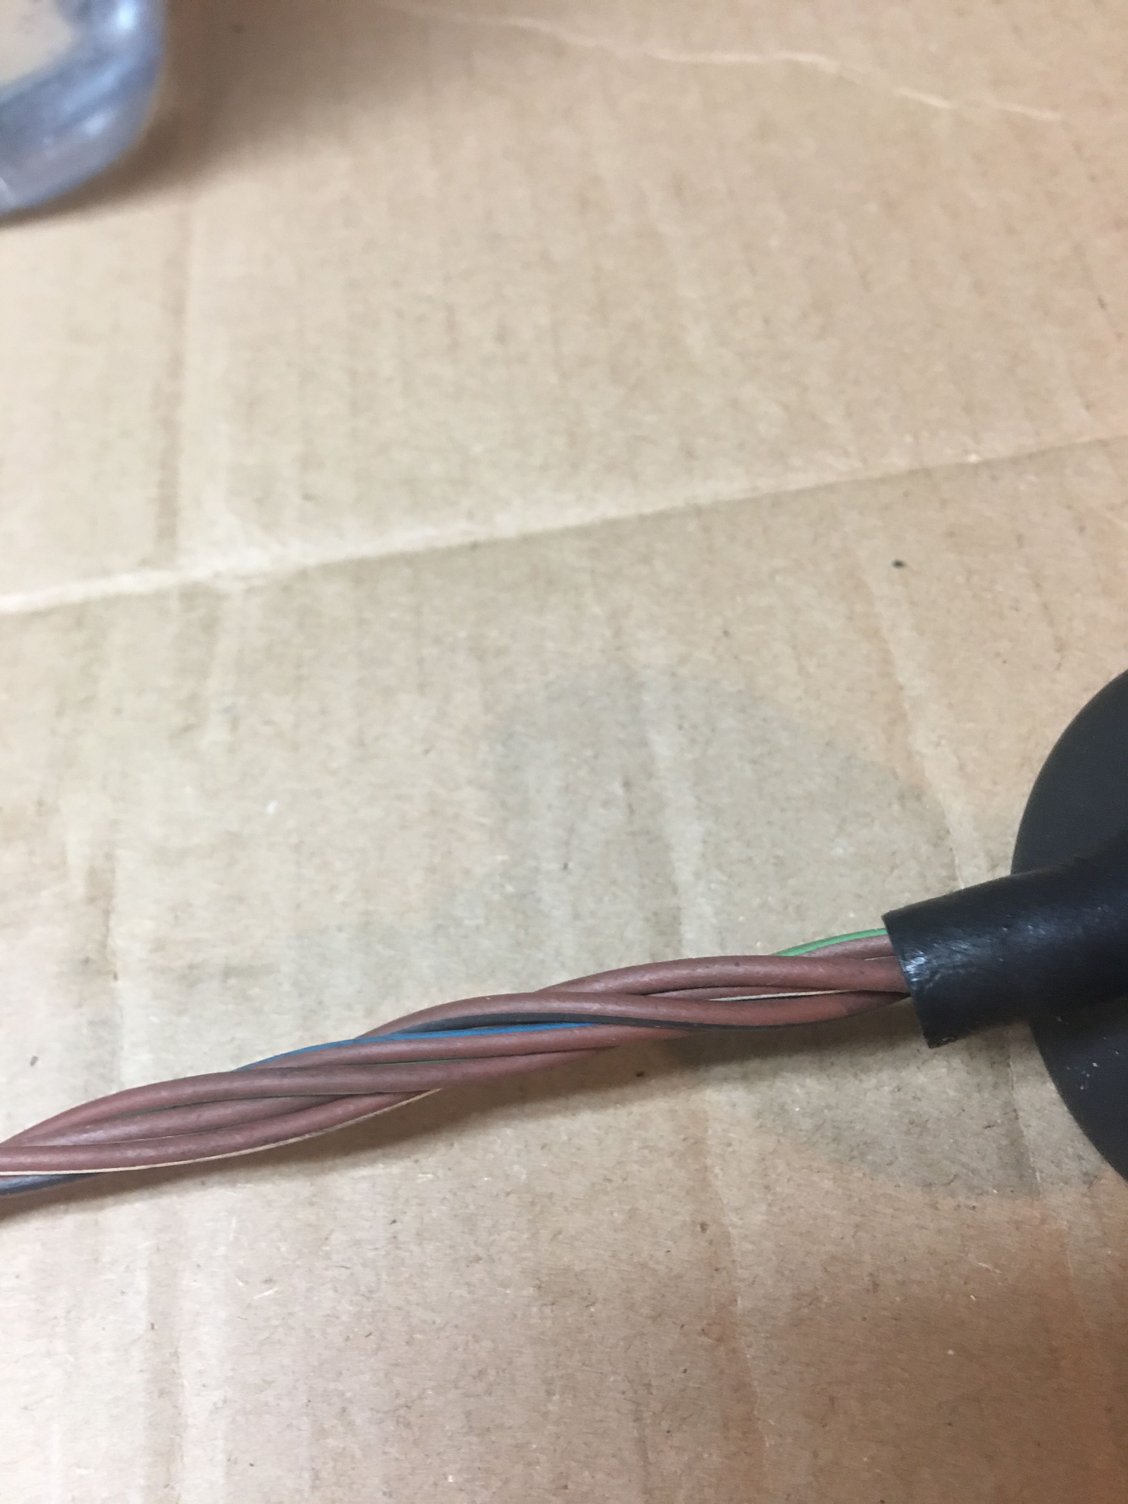
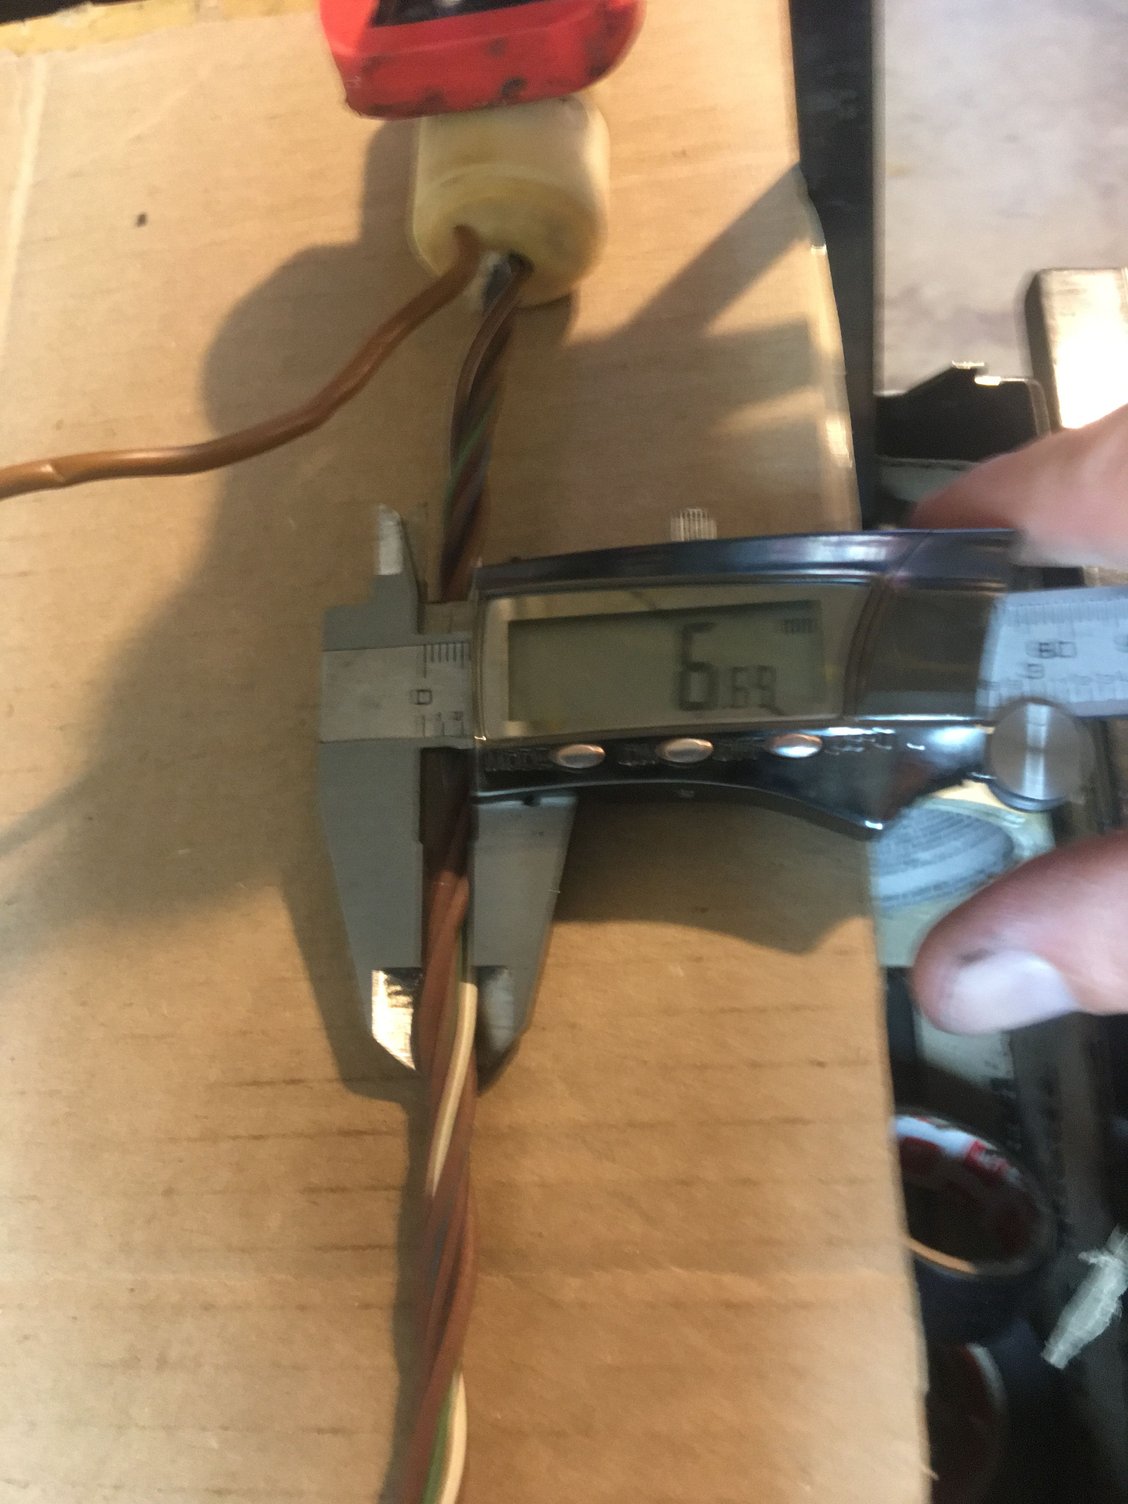
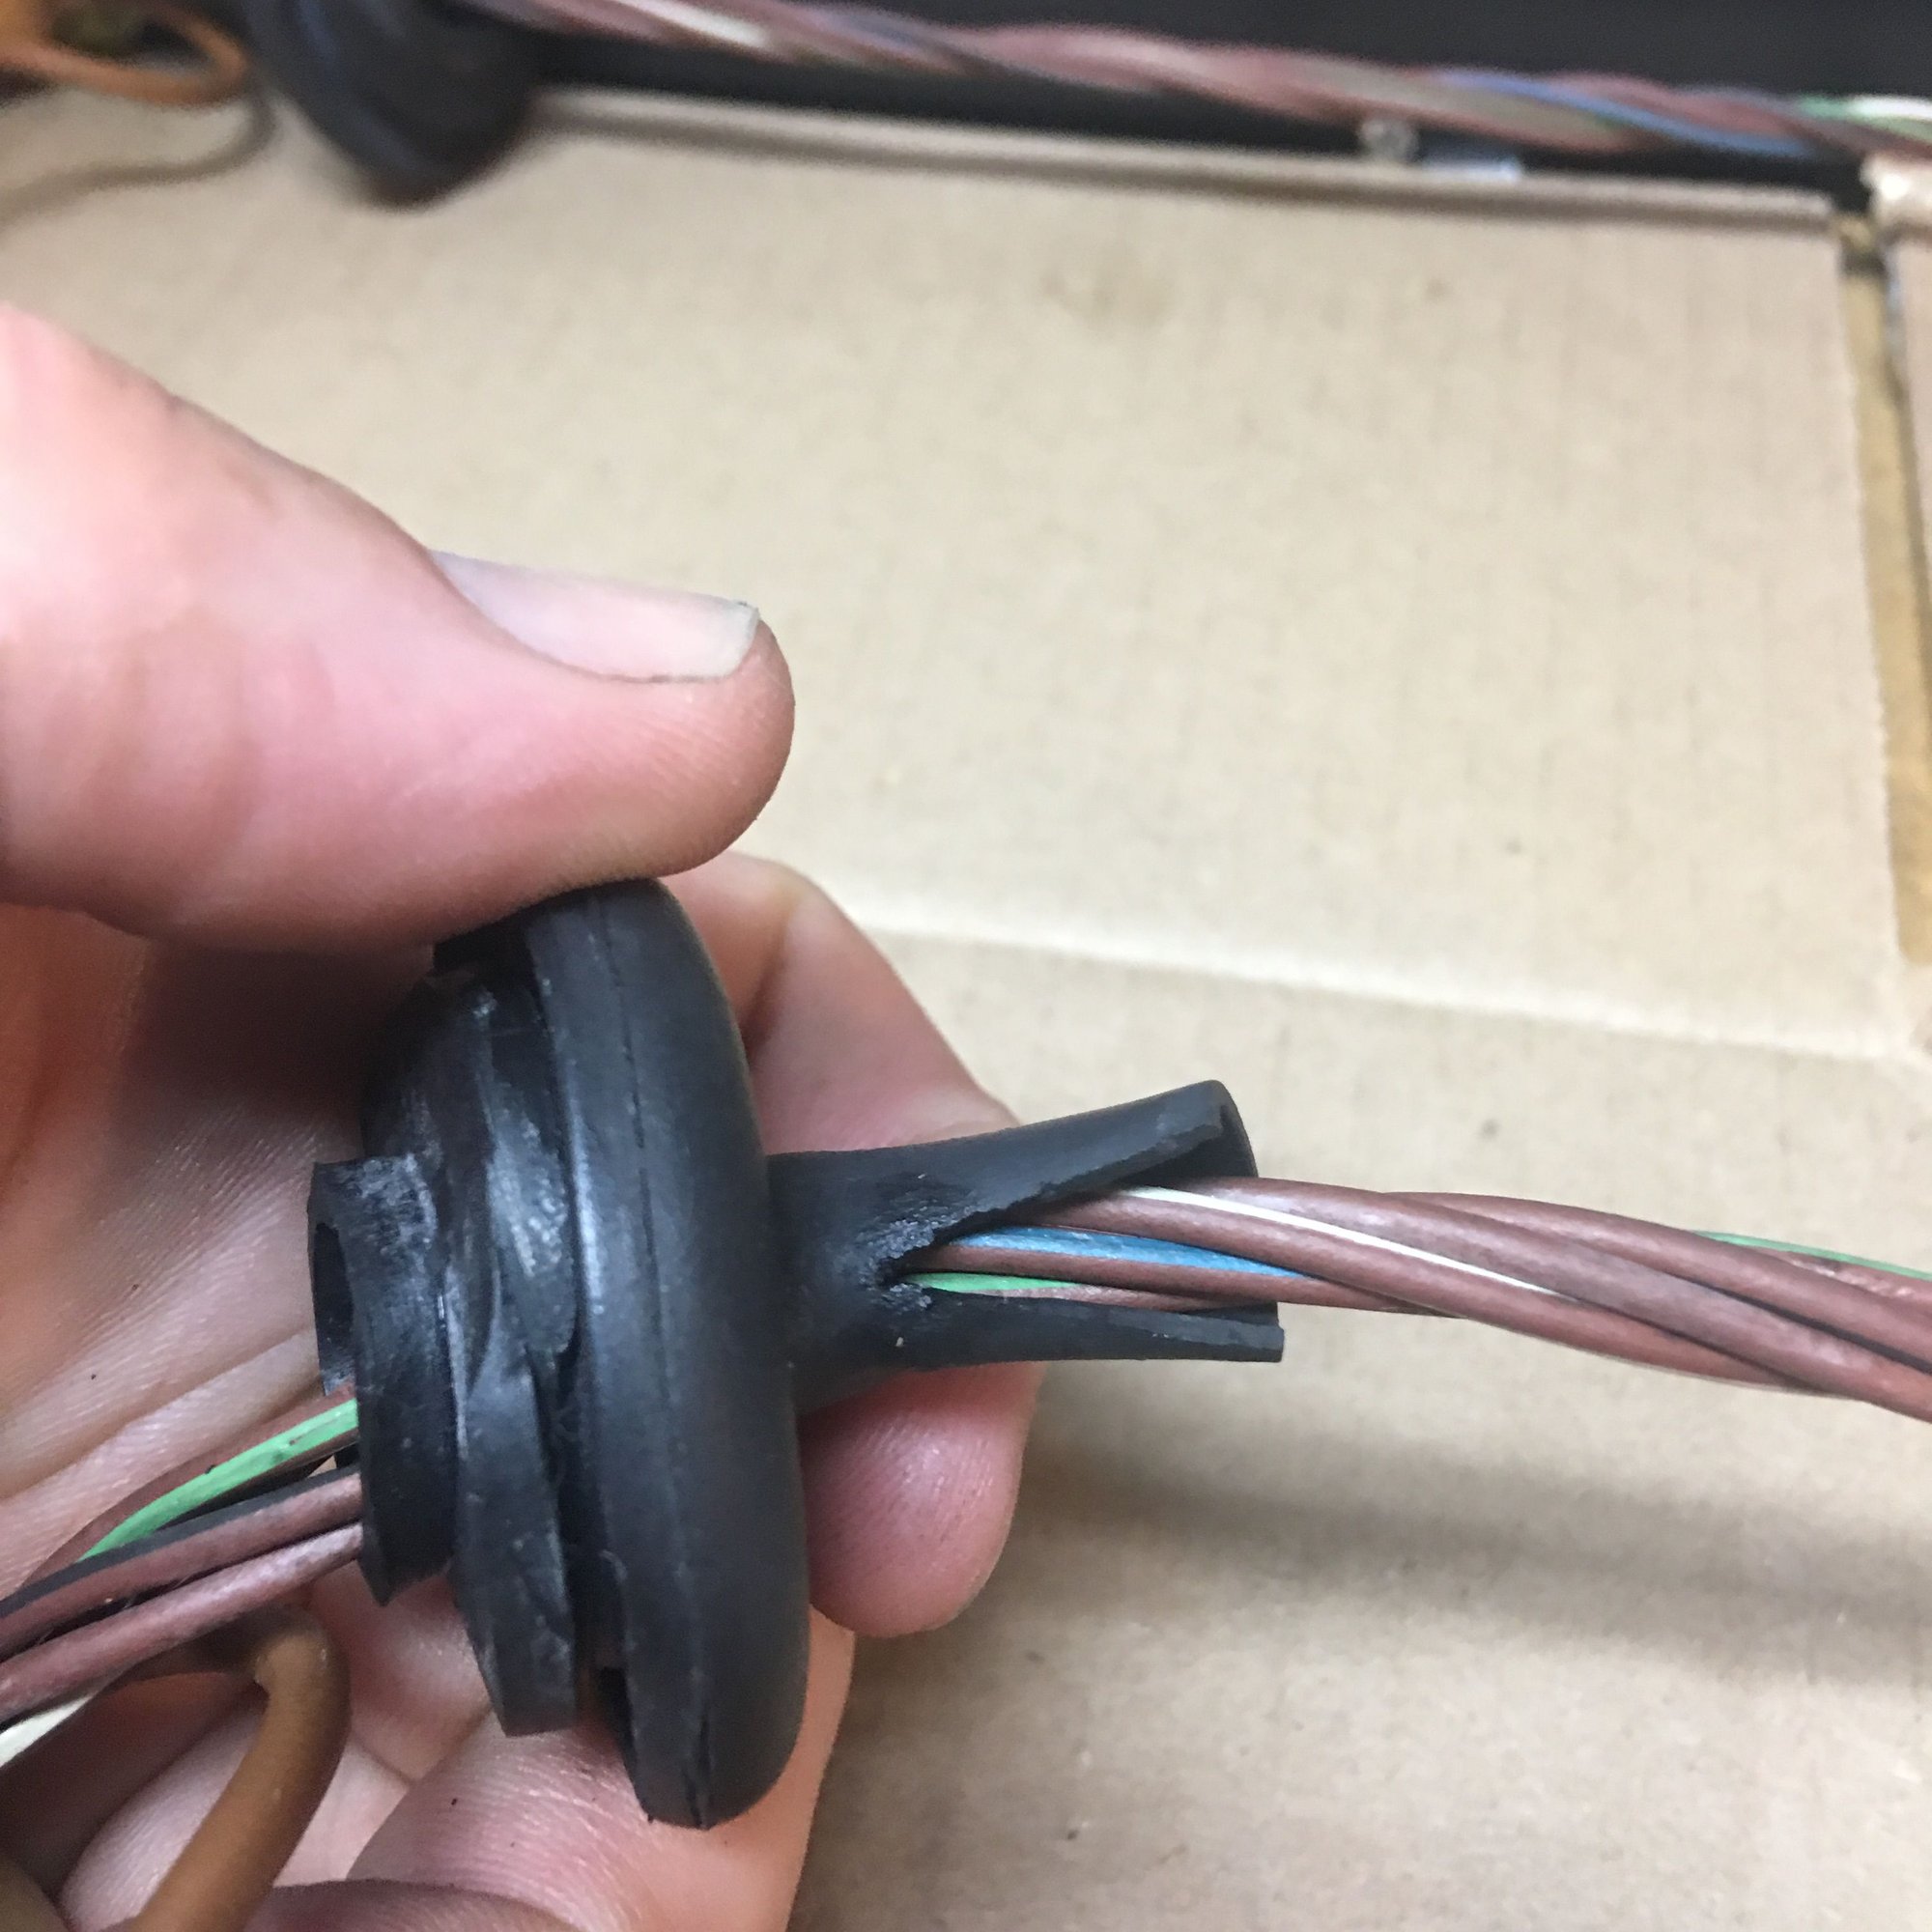
I separated the wires from the center string While rewinding the harness the string broke on both so I cut it out. It was probably used to add pull strength to the harness rather than relying on the connections The diameter of the wound harness is about 6.5mm. This measurement will be useful in determining the sheathing size. If I use heat shrink I need something to go smaller than this diameter and if I use a loose sheathing I need something larger
OK now that I have the harness is cleaned and measured I need to find sources for sheathing as well as for the grommets that fit to the chassis.
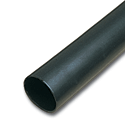
The diameter of the harness is about 6 1/2 mm. My options for sheathing include heavy duty heat resistant heat shrink available from Granger. They have two types one with it adhsieve coating and the other with a non-adhesive coating on the inside.
other options include using a loose sheathing of some sort. Here is where your help is needed: if you have recommendations on how to sheath this harness please post them. I'm curious to see what ideas you can come up with.
Search for "heat shrink" they also have lots of grommets but not booted types. If you get the right ID and do some extra under-layers below the heat shrink wrap layers to make it very rounded there I think you would get a very good seal - you can even glue it in place with "vulcanizing" sealant maybe. They used to do heat shrink junction pieces - but I don't see them now... maybe I'm missing it - with those you can make an excellently sealed and very professional looking loom.
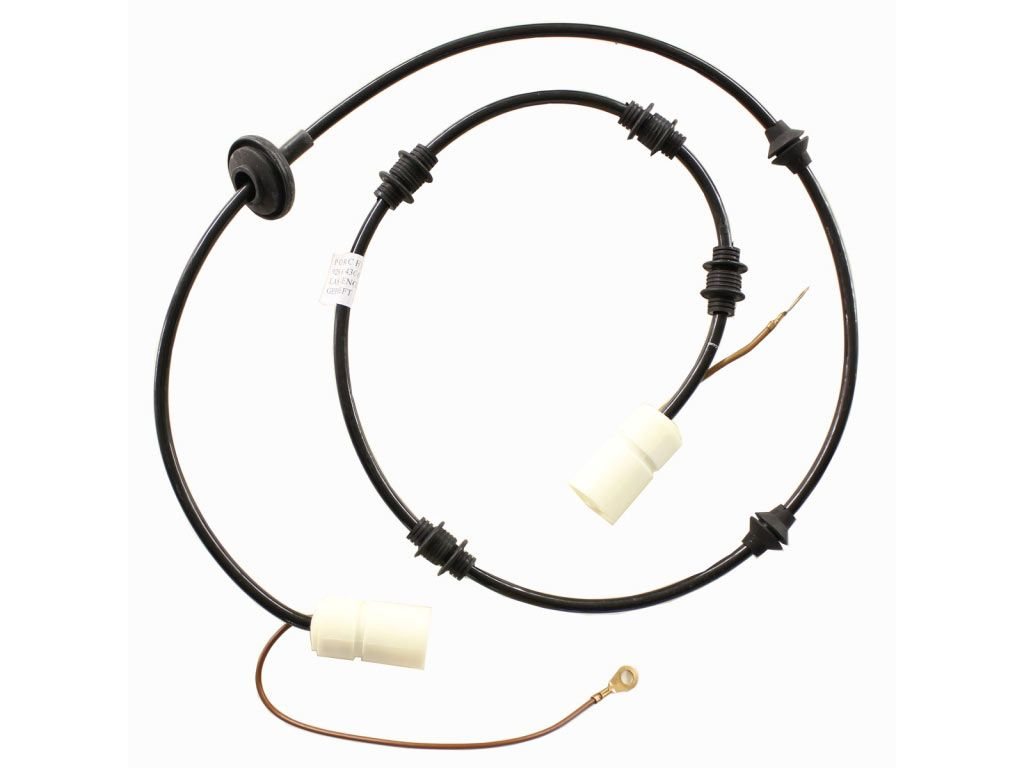
For reference, here is what a new harness looks like:
Alan. Thanks for the reminder for Waytek, I used to use them to restore my old Audi Turbo Quattro coupes. It's been so long, I forgot about them. I was also searching DigiKey and Grainger. All three seem to be good resources for heat shrink and rubber grommets.
As for heat shrink as sheathing, I think it will be the best and tightest fit. It's just a matter of finding the correct size and appropriate use for under the car near the exhaust. From the options available, using a medium to heavy wall heat shrink tubing will have the appropriate properties. All have heat resistance of 200+ degrees and are fuel/solvent and abrasion resistant. Most of the brands specifically state appropriate for use in automotive applications. I am leaning towards purchasing this model.
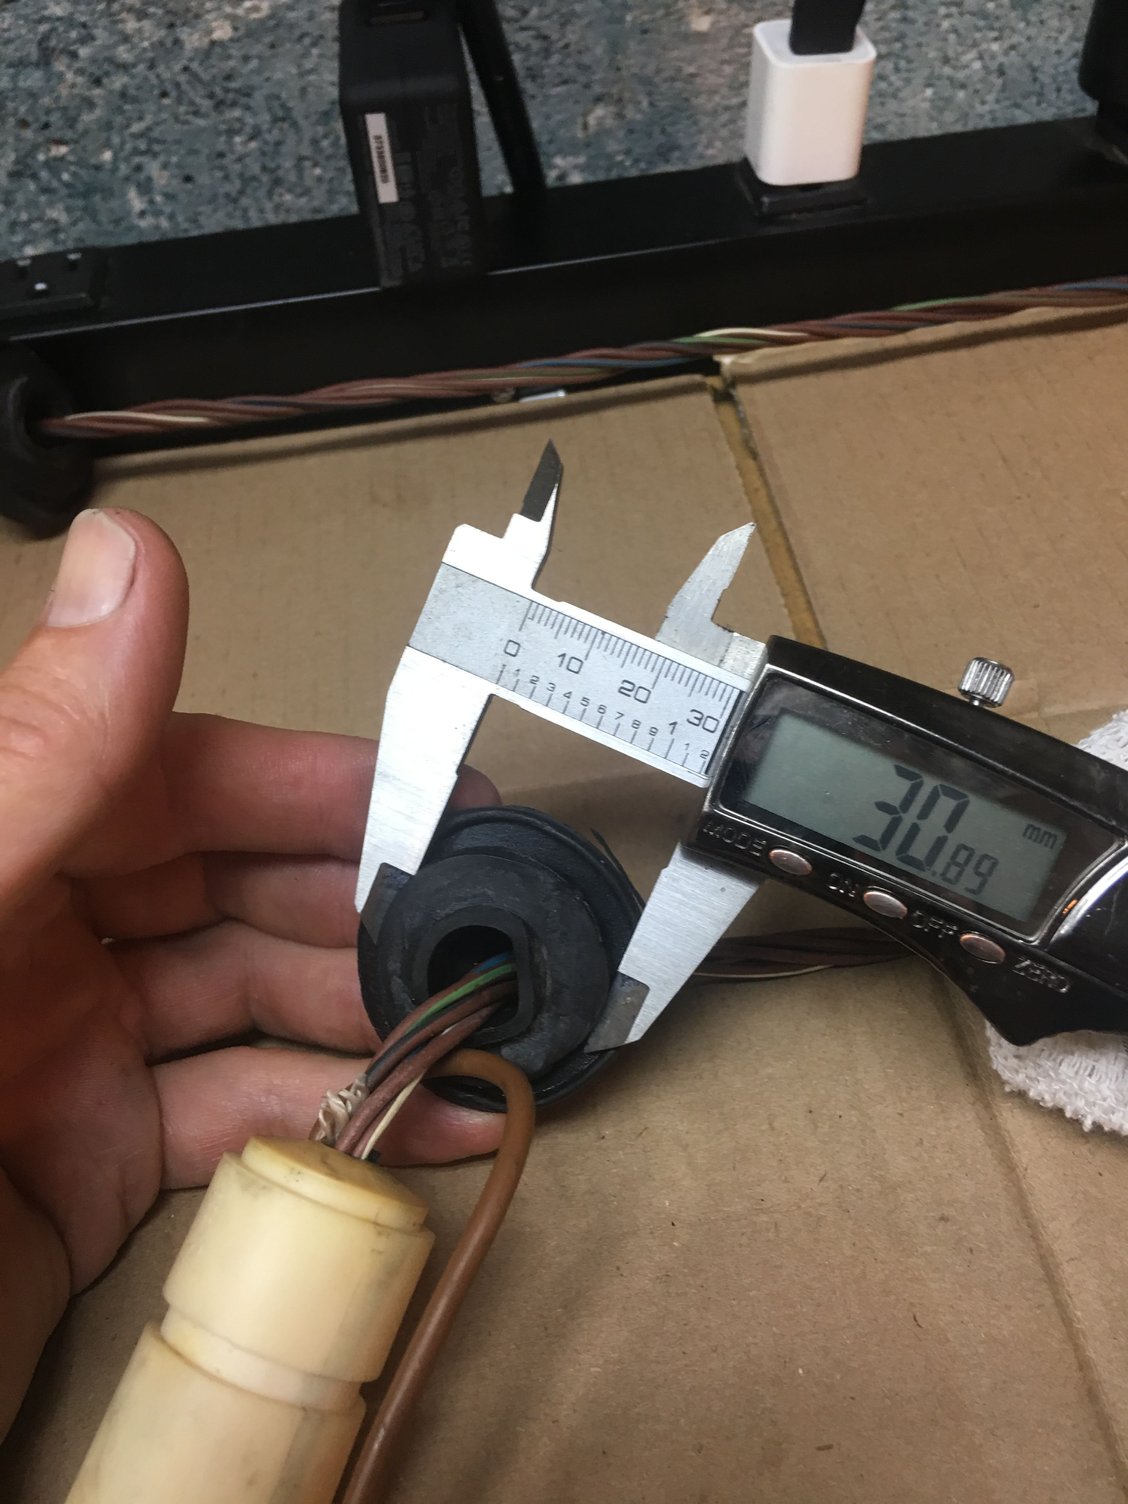
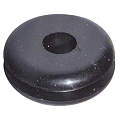
As for grommets, each harness has a panel grommet for sealing the hole in the chassis, and two thin "channel" grommets and three wide "channel" style grommets.
The large panel grommet uses a 30mm panel opening and has a tube to help prevent water penetration. I found a good match on Summit Racing's site:
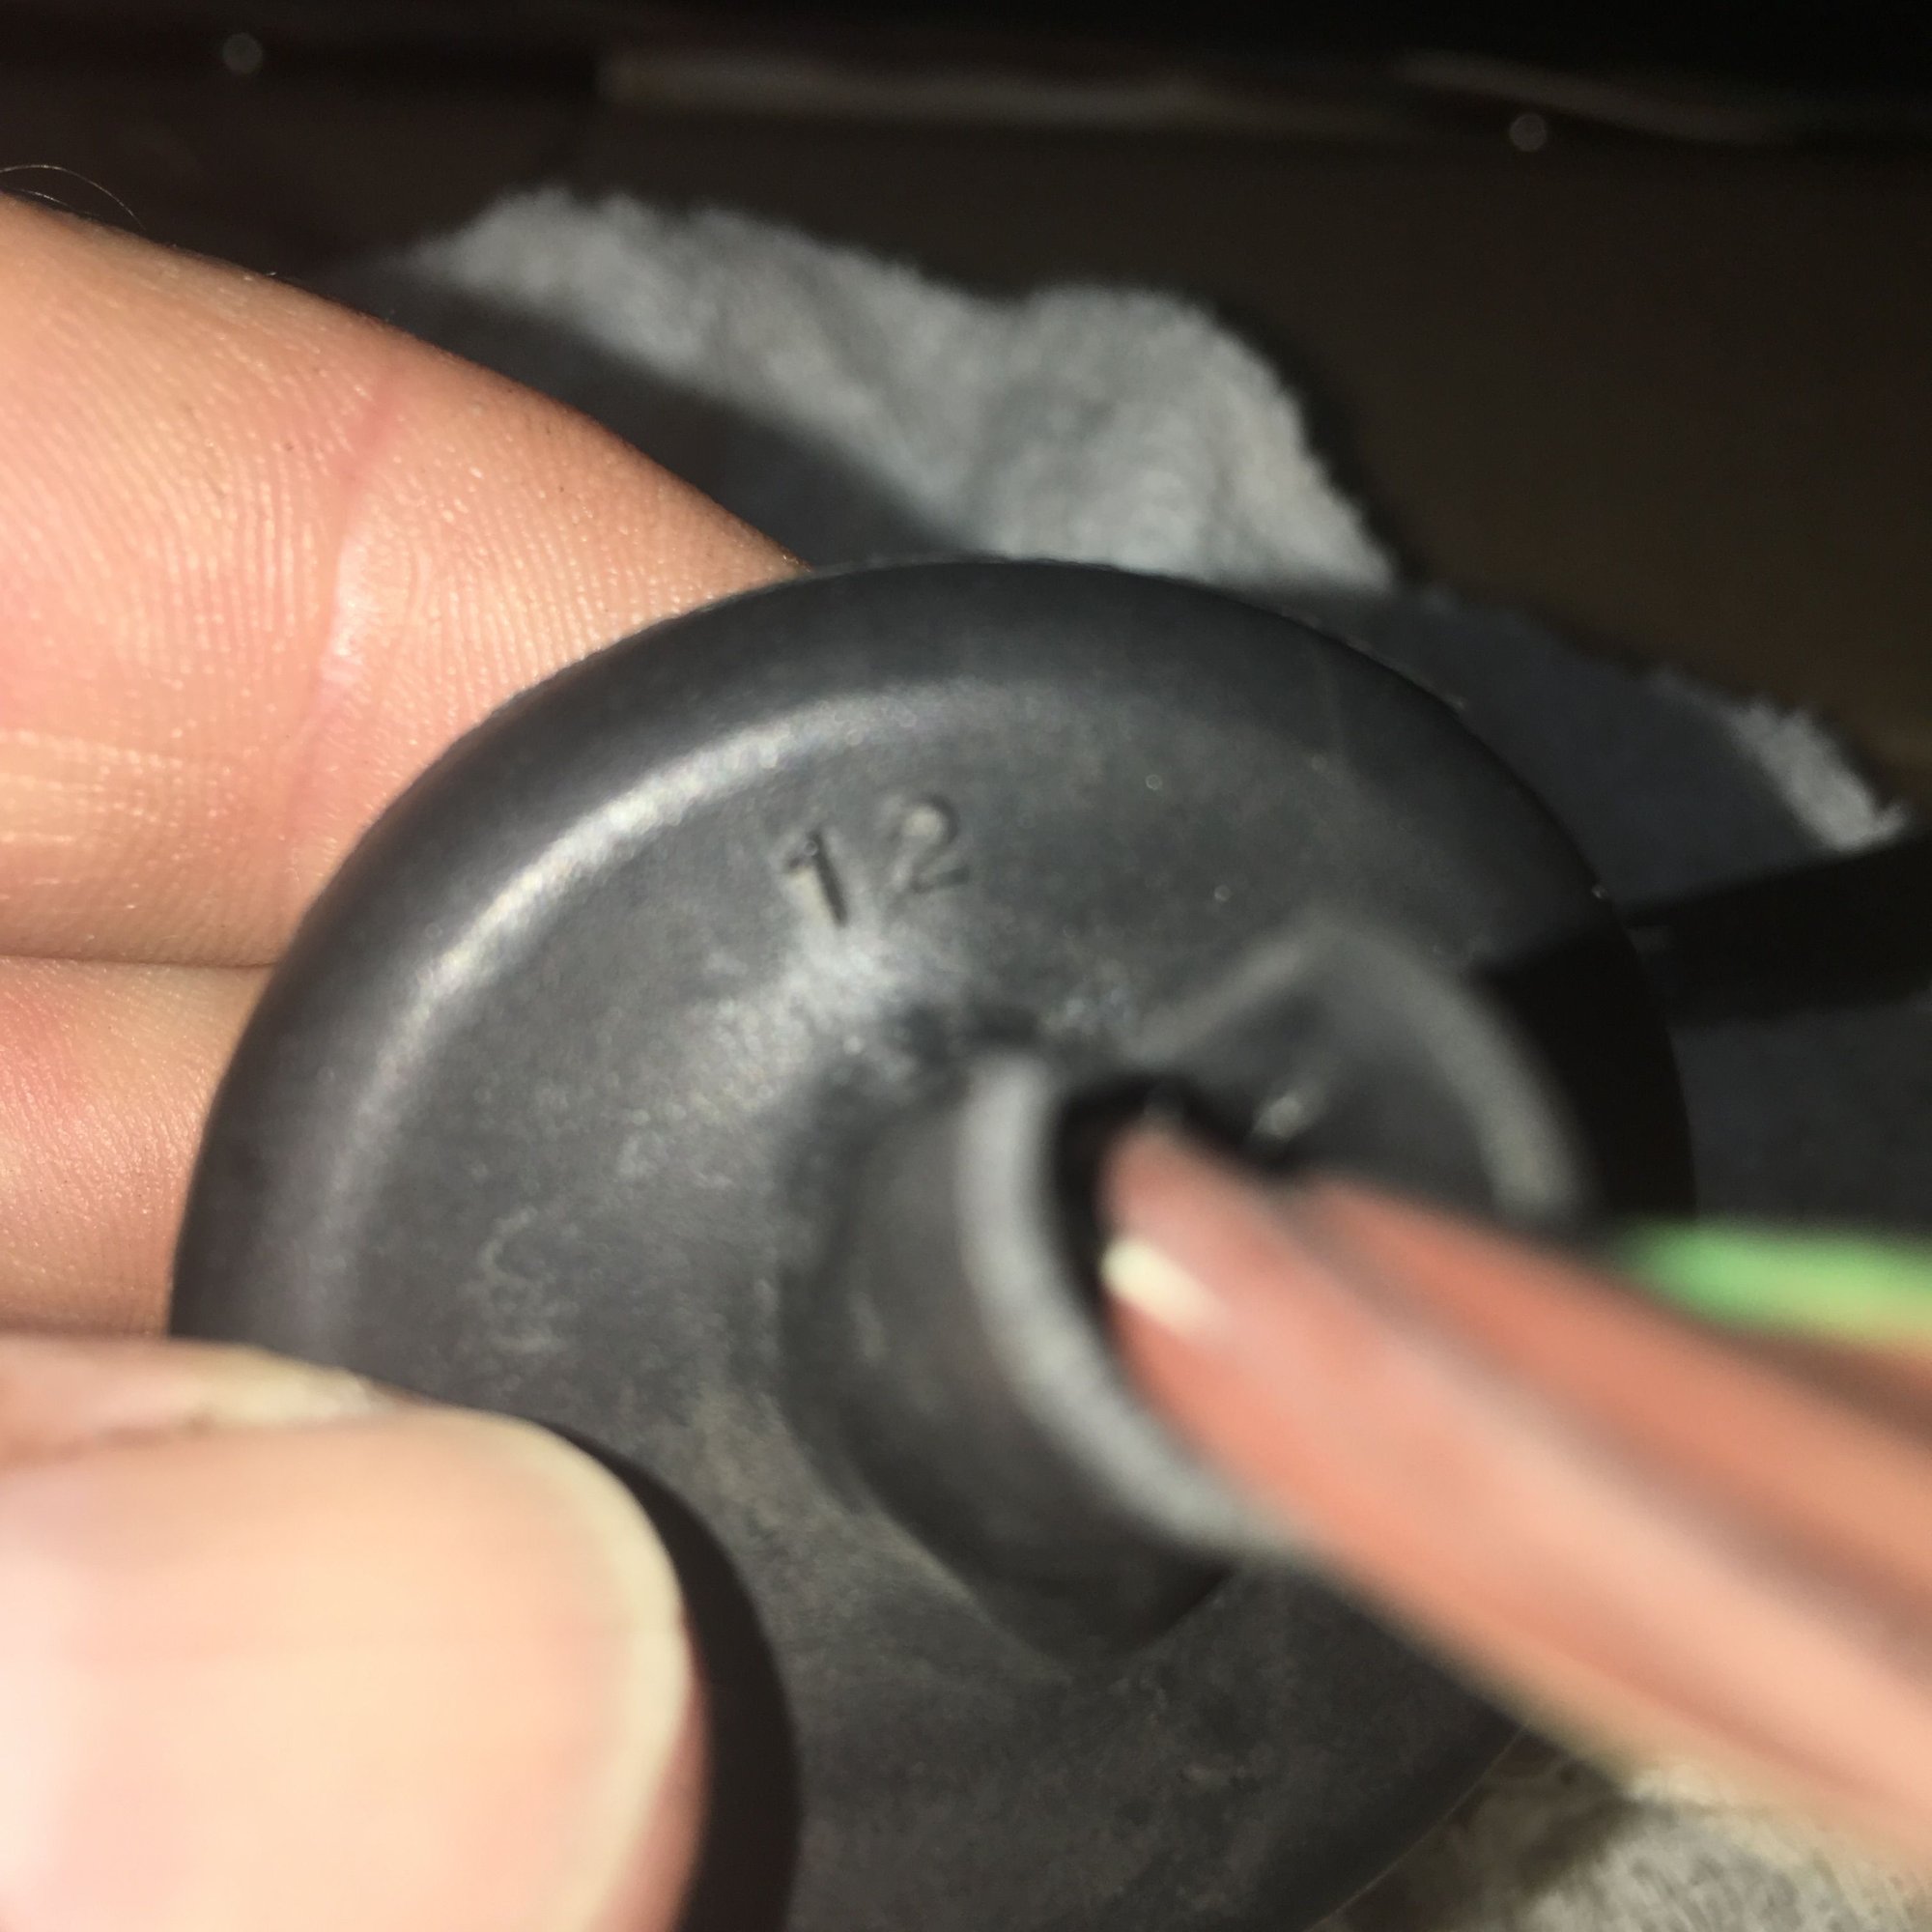
The thin channel grommets are pretty commonly available. The panel cutout diameter is 14.4mm. Since most grommets in the us are non-metric, 1/2" seems to be a good place to start, although, I will order a few different sizes. https://www.grainger.com/category/ru...one%2Bgrommets
Although this grommet on Summit may be a better solution and more similar to the OE function
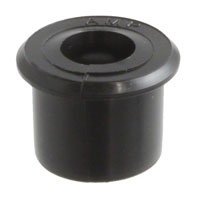
The wide channel grommets are being more difficult to find. I can find these single shouldered units: Link
Any thoughts on finding a double shouldered bushing? This is where I am hoping Sean may chime in and give some commentary on harness accessories.
Last edited by Michael Benno; 08-08-2017 at 11:25 AM.
Are those originals a single piece or 2 parts pushed together? They look like 2 parts.
You could use 2 single shouldered parts (with wider flanges) and connect (butt) them together with a section of internal adhesive 3:1 double layer heat shrink, not quite the exact same shape but functional?
I haven’t made much progress on this lately other than source some heavy duty heat shrink that is heat and chemical resistant. I’m holding off on grommets and bushings until I know the outer diameter. I was also holding off on cutting the harness because I’d really prefer a solution that didn’t do that.
Additionally, I was seeing some posts from roger regarding replacements in the works. That kinda took some wind out of my sails.
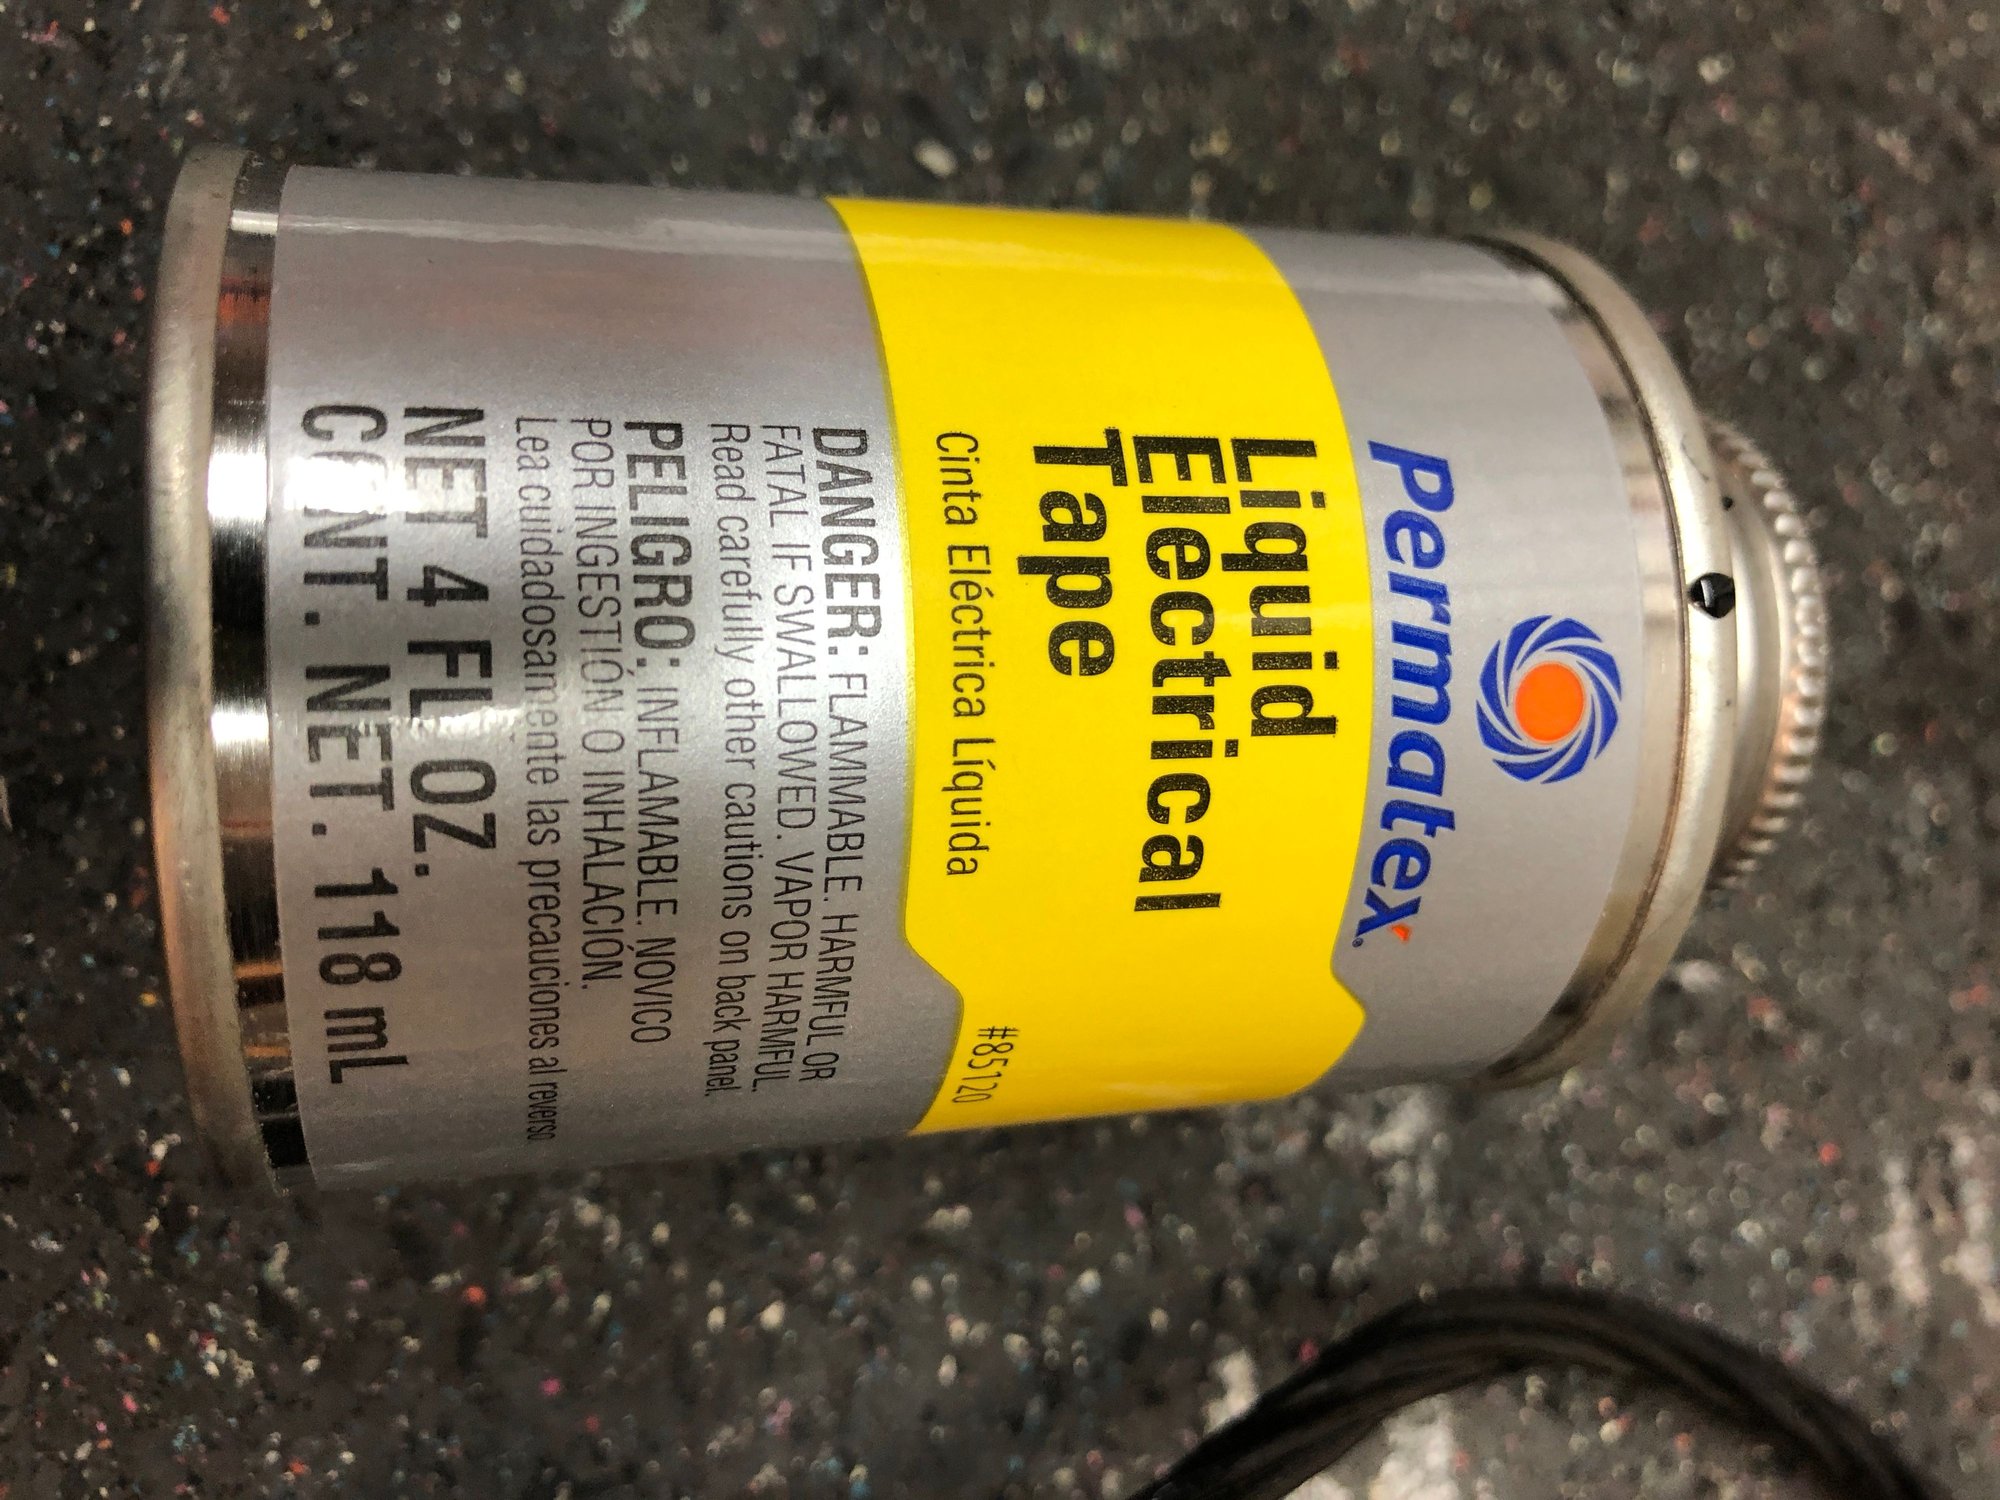
Inspiration struck yesterday when I saw an informertial about paint on waterproofing. Something about watching a guy in a canvas boat waterproofed with paint on goo got me thinking... and I had a can of liquid elecetrixal tape in my stock so I decided to give it a try.
I used half a can of liquid tape on this harness and the coating is fairly thin but it’s holding the wires together and it is very flexible. My thoughts are now it could be dipped in a plasty dip or some other coding that would be thicker
what at do you all think? What recommendations do you have?
Last edited by Michael Benno; 10-01-2017 at 12:47 AM.
Very nice thread. One of the plastic things in the front of my 86.5 car literally disintegrated as I tried to unplug the connectors, for the other three I had to crimp wires for a temporary fix. Now I have the new grommets from the 928 guy (a $300 bag of grommets. Oil) and one new harness for the front, will be fixing all of that later this month.
Very nice thread. One of the plastic things in the front of my 86.5 car literally disintegrated as I tried to unplug the connectors, for the other three I had to crimp wires for a temporary fix. Now I have the new grommets from the 928 guy (a $300 bag of grommets. Oil) and one new harness for the front, will be fixing all of that later this month.
Hello group. Need help with the plug junction for ABS and Brake Sensor Plug. Mine has deteriorated on all four corners. My car won't pass smog because of all the warning lights on the dash. I have patched all of the wiring before to pass smog, but now they are just falling apart and throwing warning lights on the dash. I wanted to replace the whole junction by using modern weather proof connectors. I know I have to modify the plugs going into the junction plug, but that's no big deal. I just need help for the wiring to make it work. I do know that the junction plug has a ground pigtail. When I did an continuity test on the ABS side, I can see that that one of the wire going into the ABS sensor is also grounded. Any help with the a wiring diagram is much appreciated. Thanks in advance.

 08-06-2017, 01:34 PM