When you click on links to various merchants on this site and make a purchase, this can result in this site earning a commission. Affiliate programs and affiliations include, but are not limited to, the eBay Partner Network.
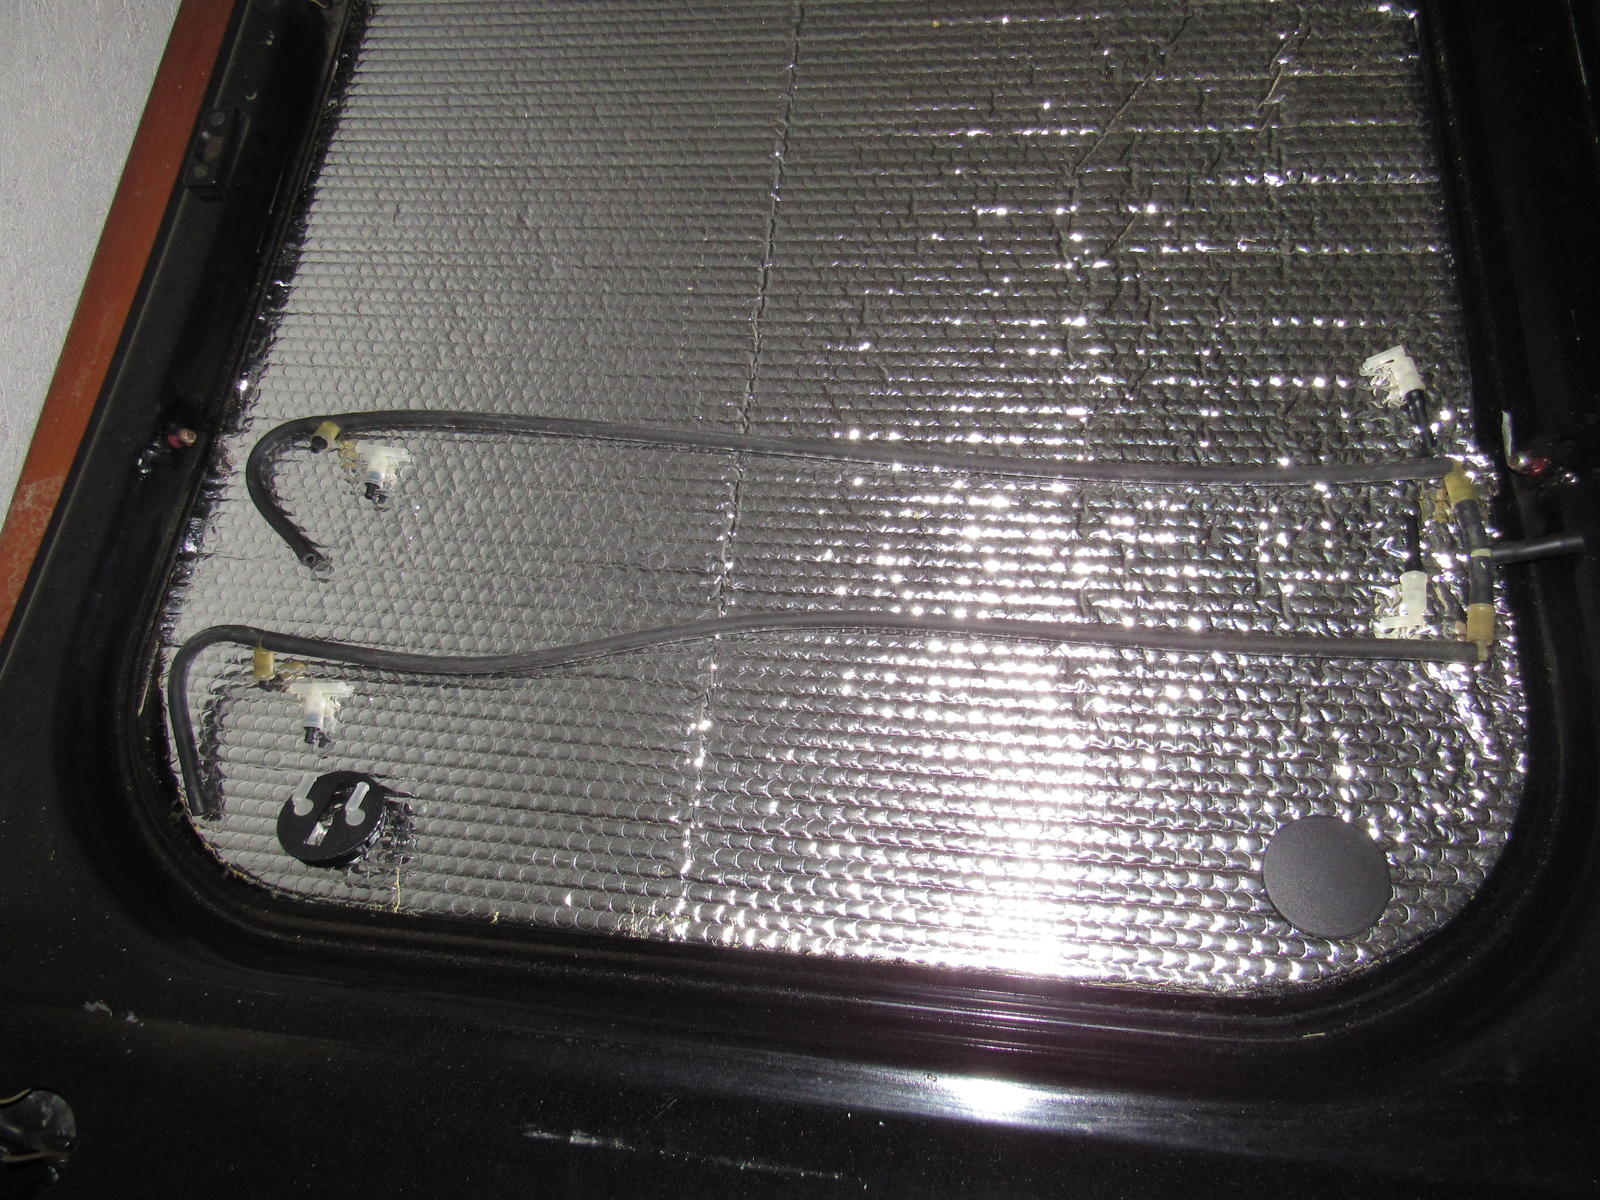
I got some more parts for the weekend and replaced the one way valves for the windshield washers in the hood.
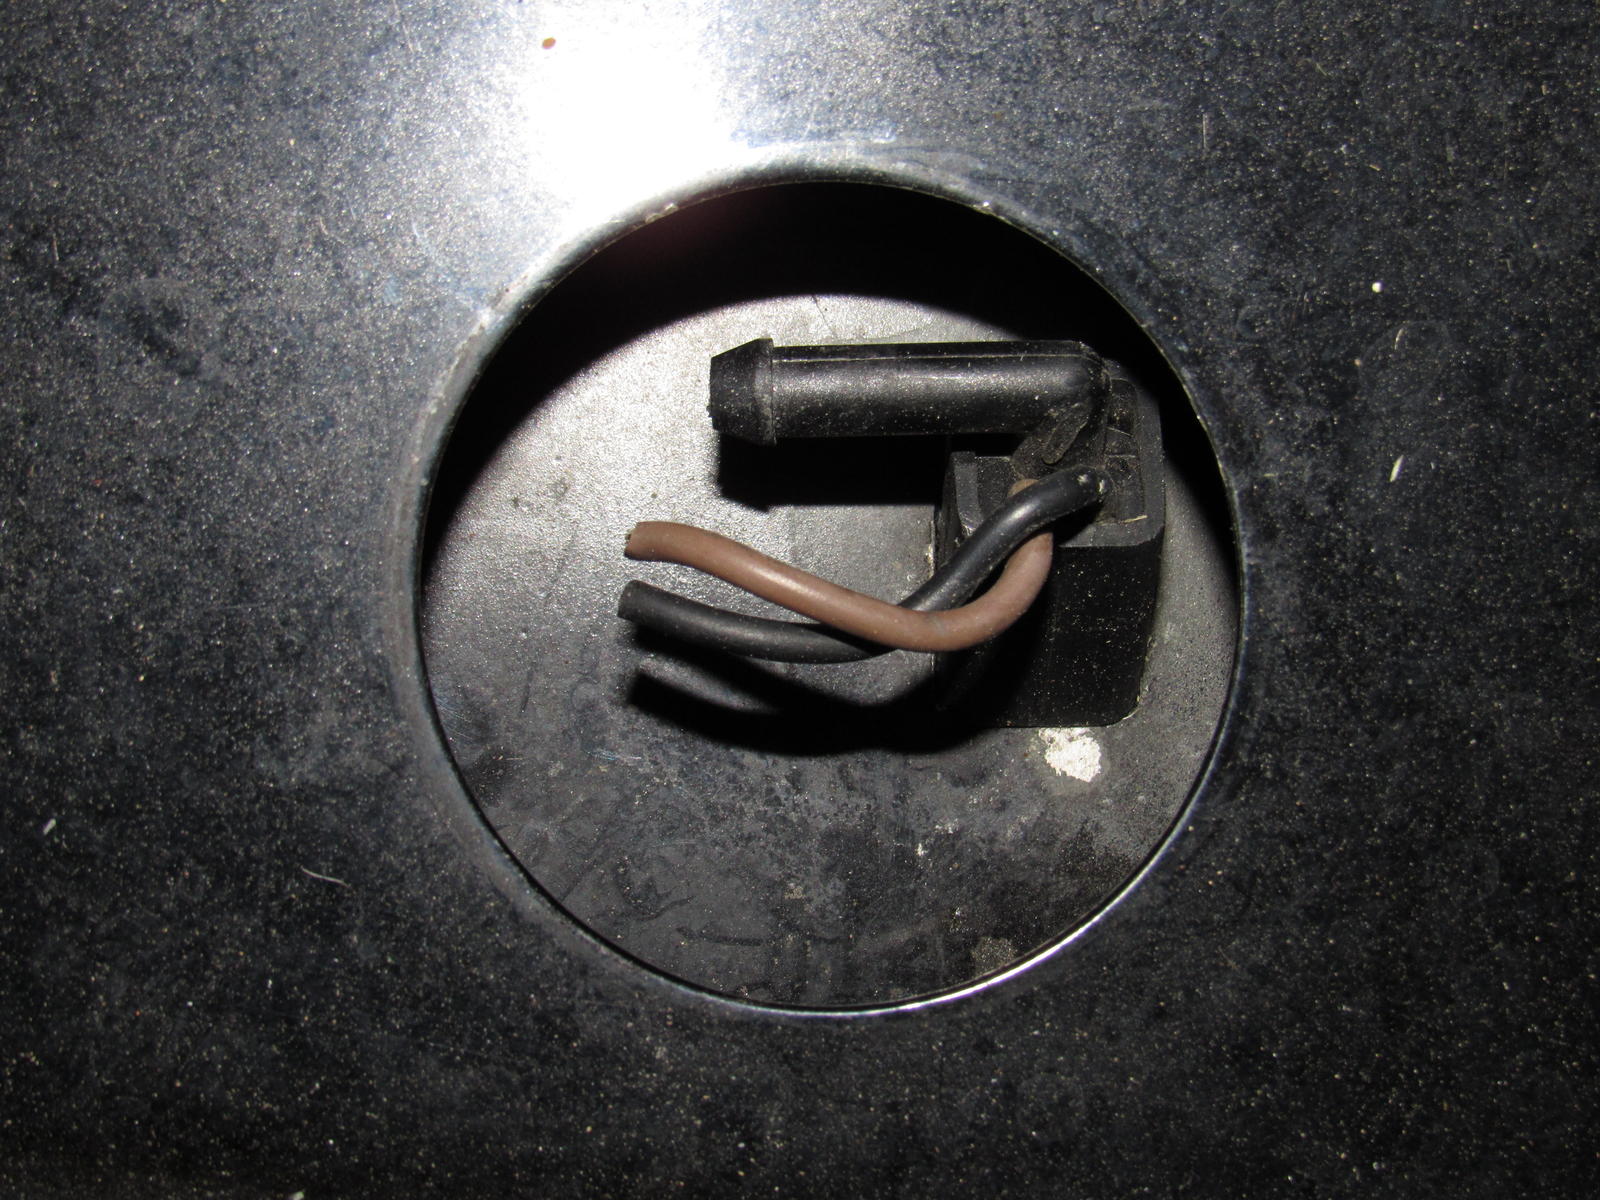
The nozzles are heated but there is no wiring whatsoever on the car.
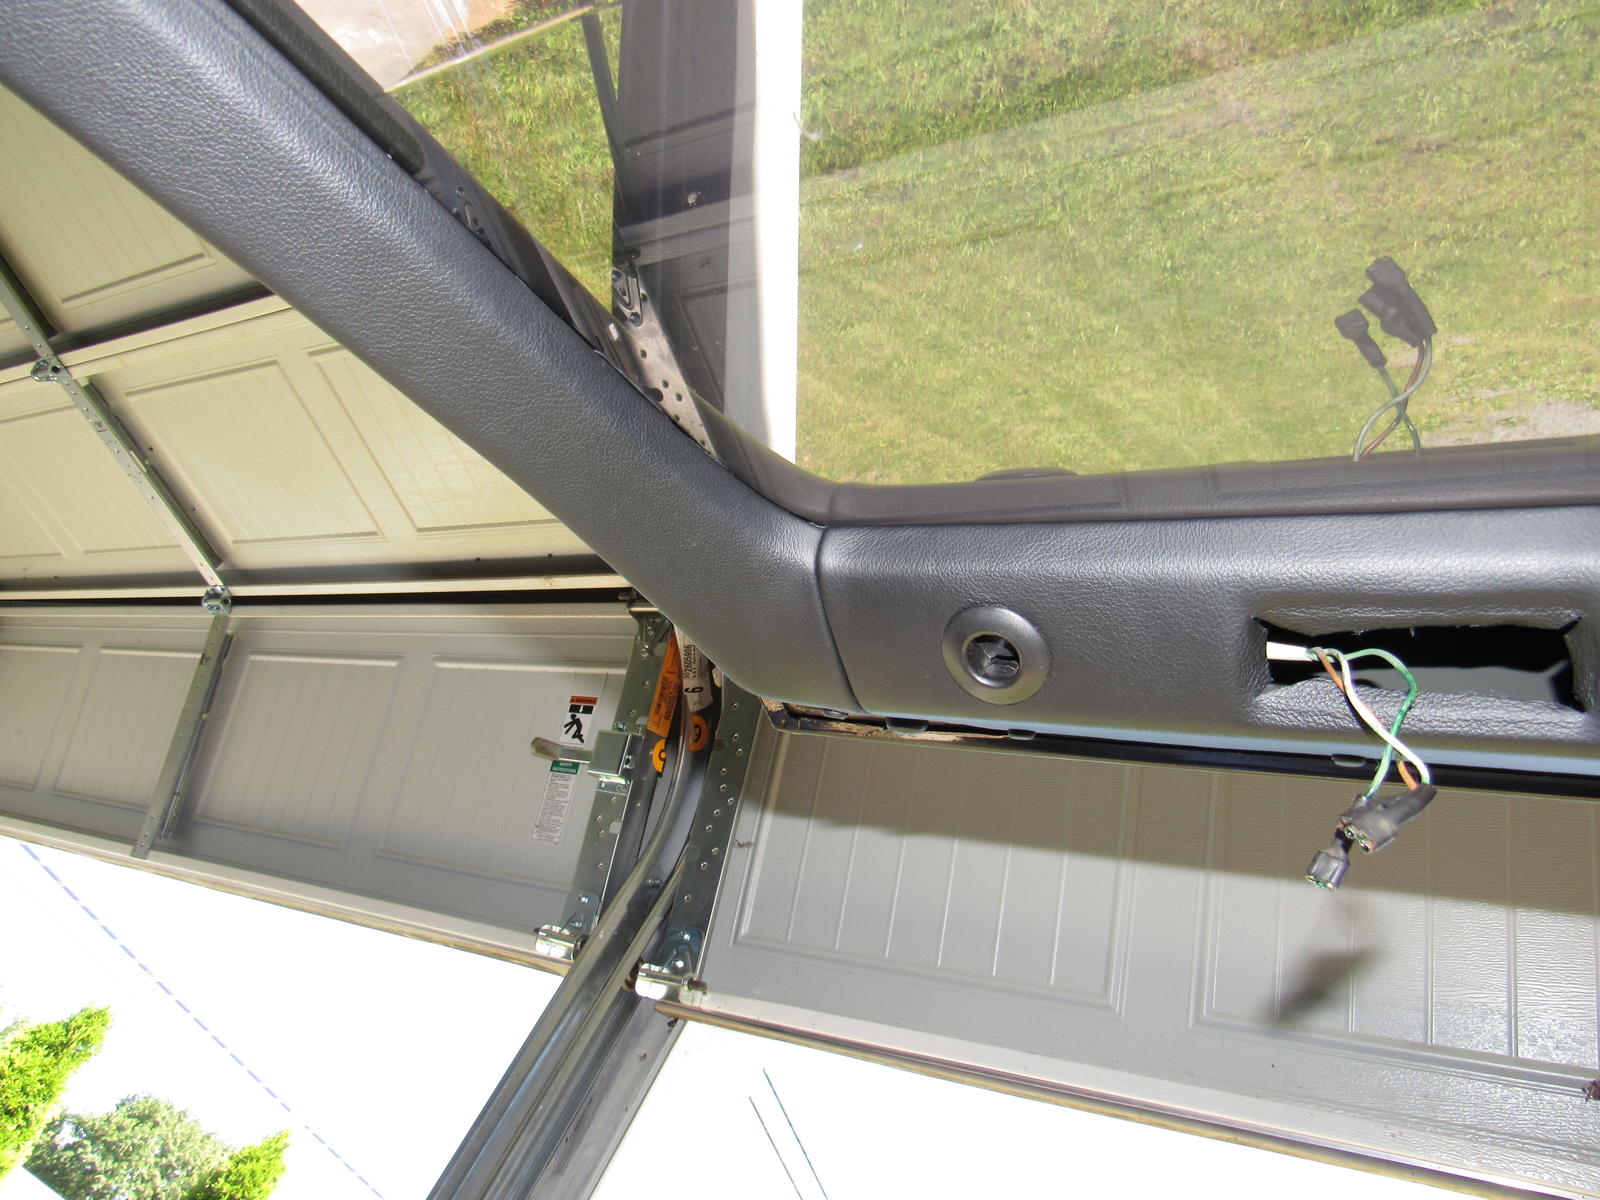
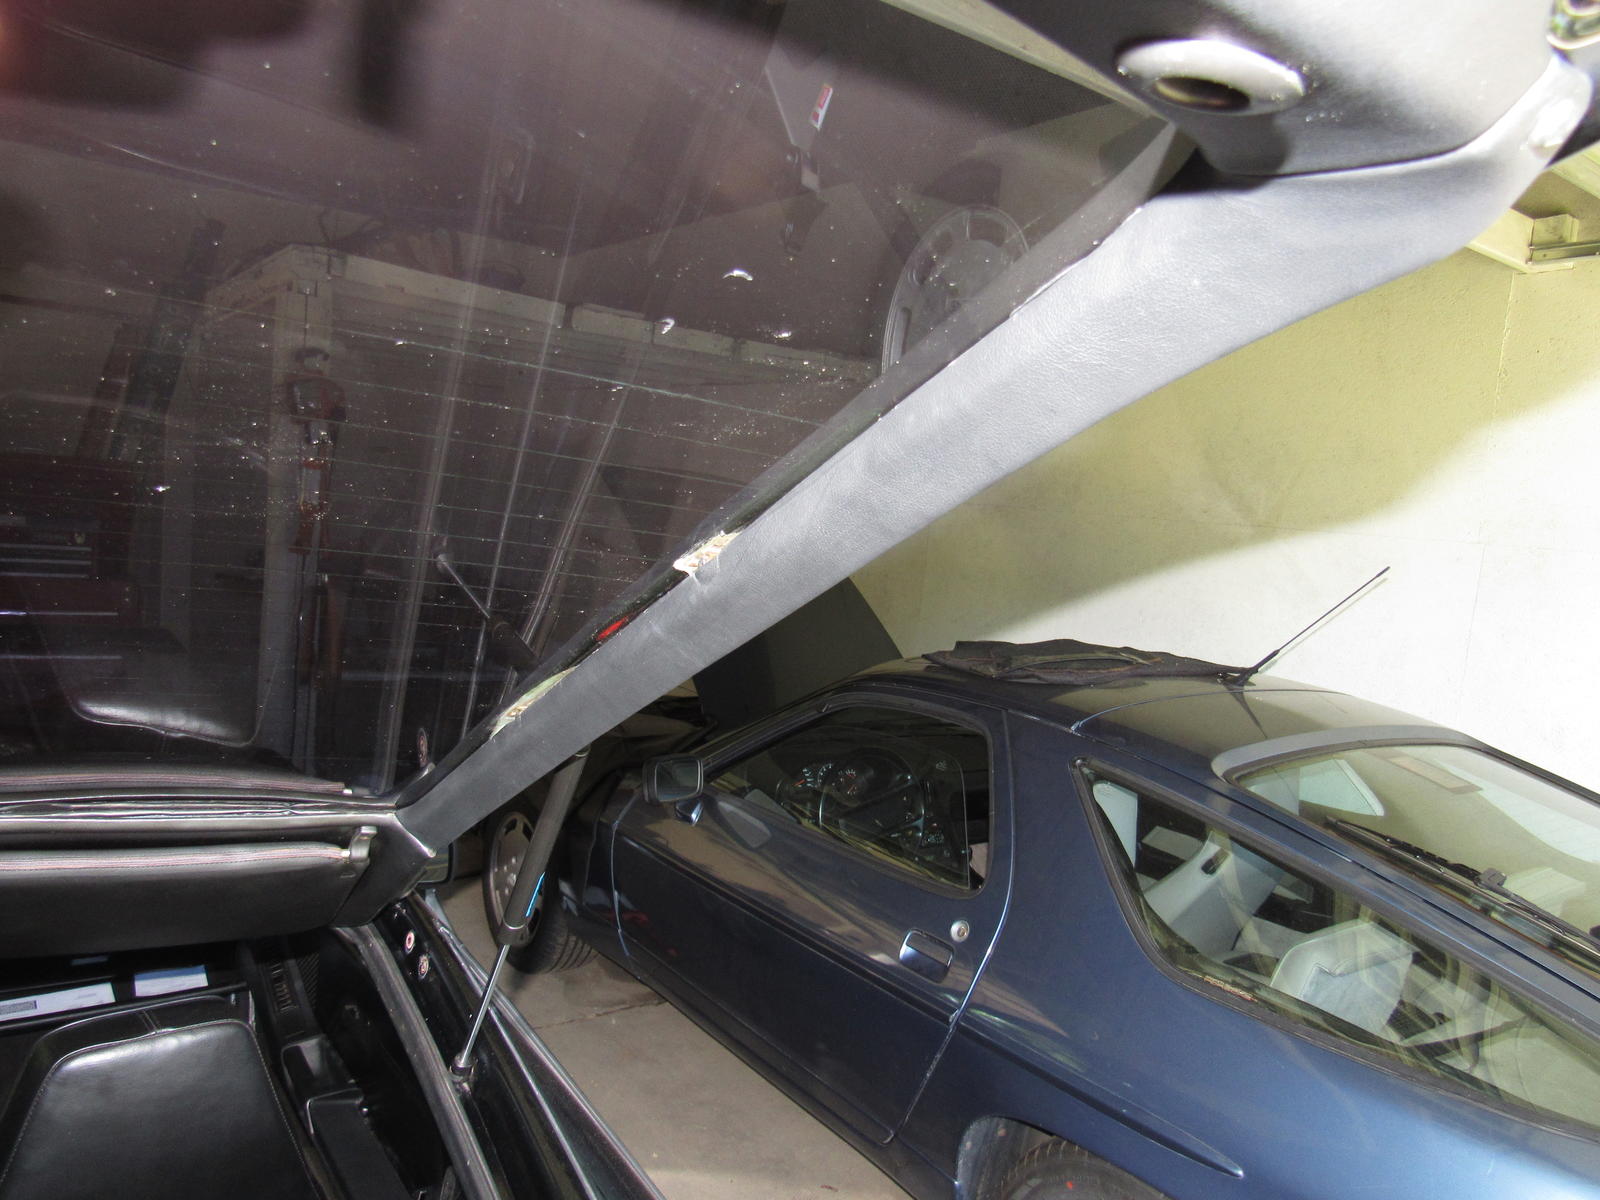
I installed a new upper window gasket. Getting the part of it into the outside trim was tough. Once I figured out a method using a pick to tuck it into the channel it went pretty well until the back trim piece near the lock ****. That took about an hour alone. The cutout for the window triangle is off by nearly 20mm I could drill a new hole for the screw but I will leave it alone, it is held tight enough that it could not fall out.
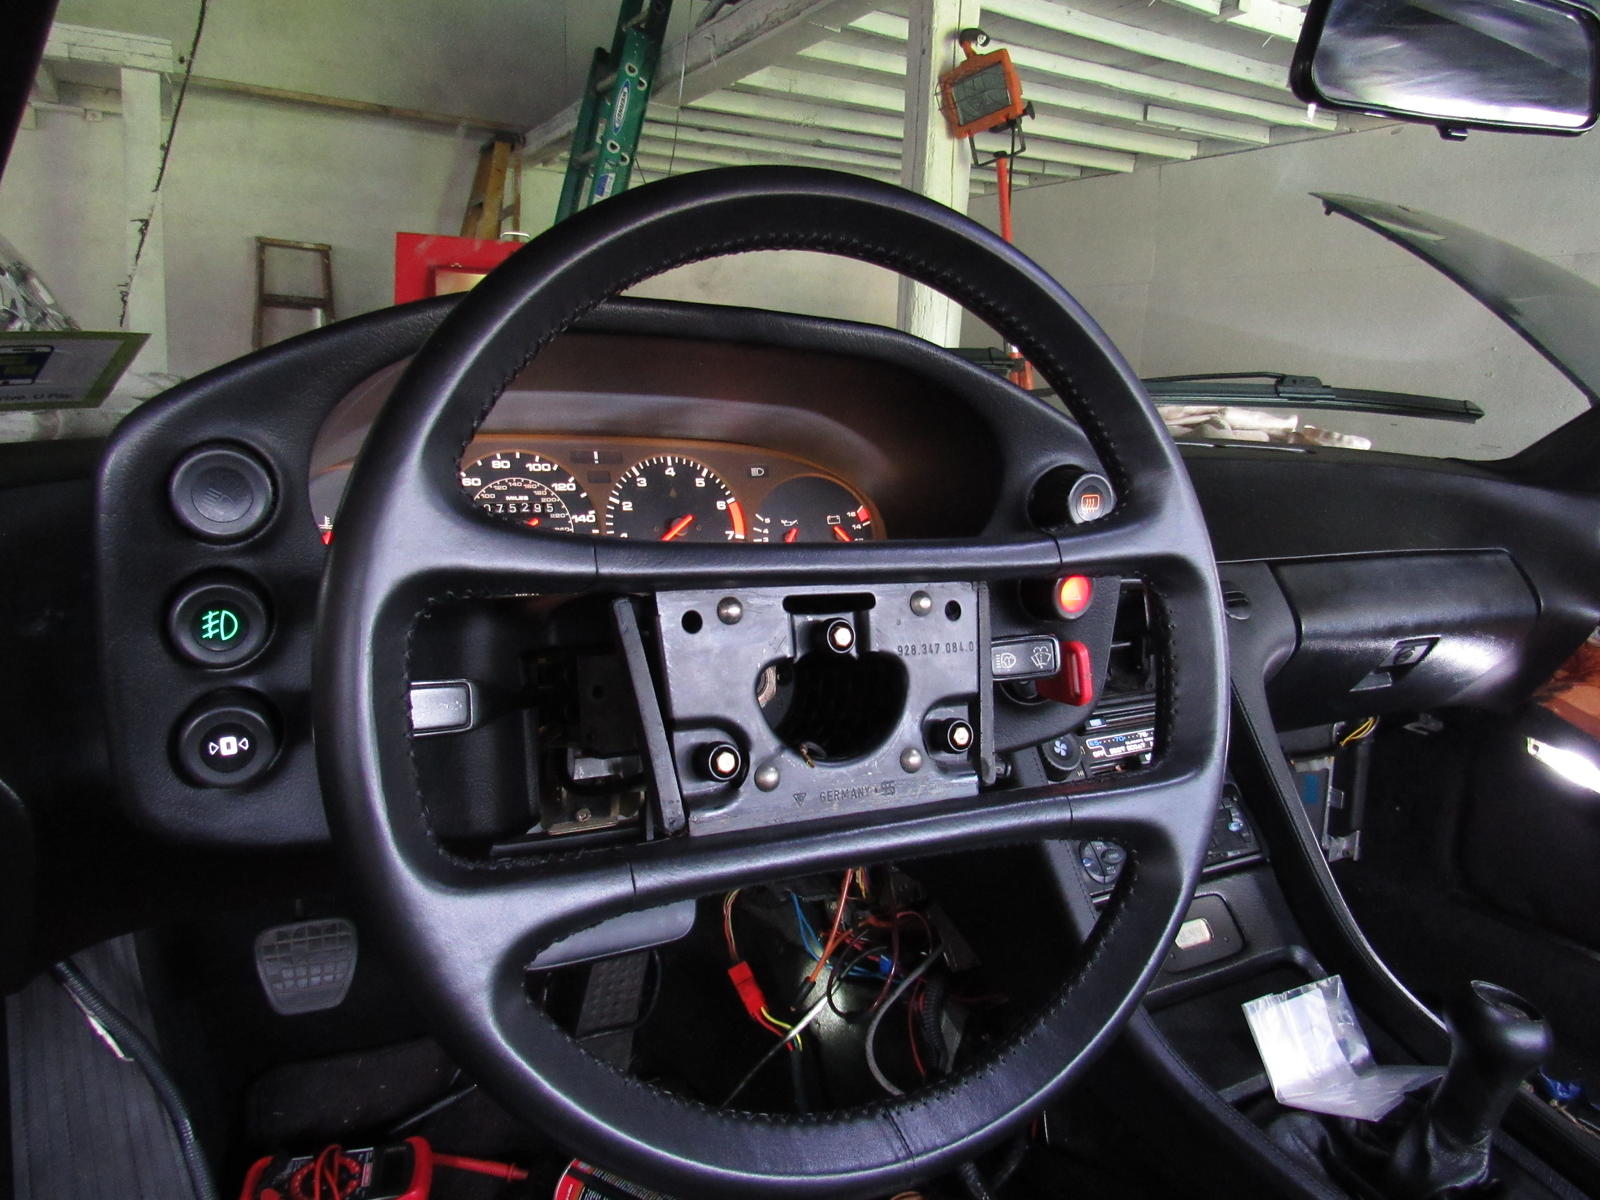
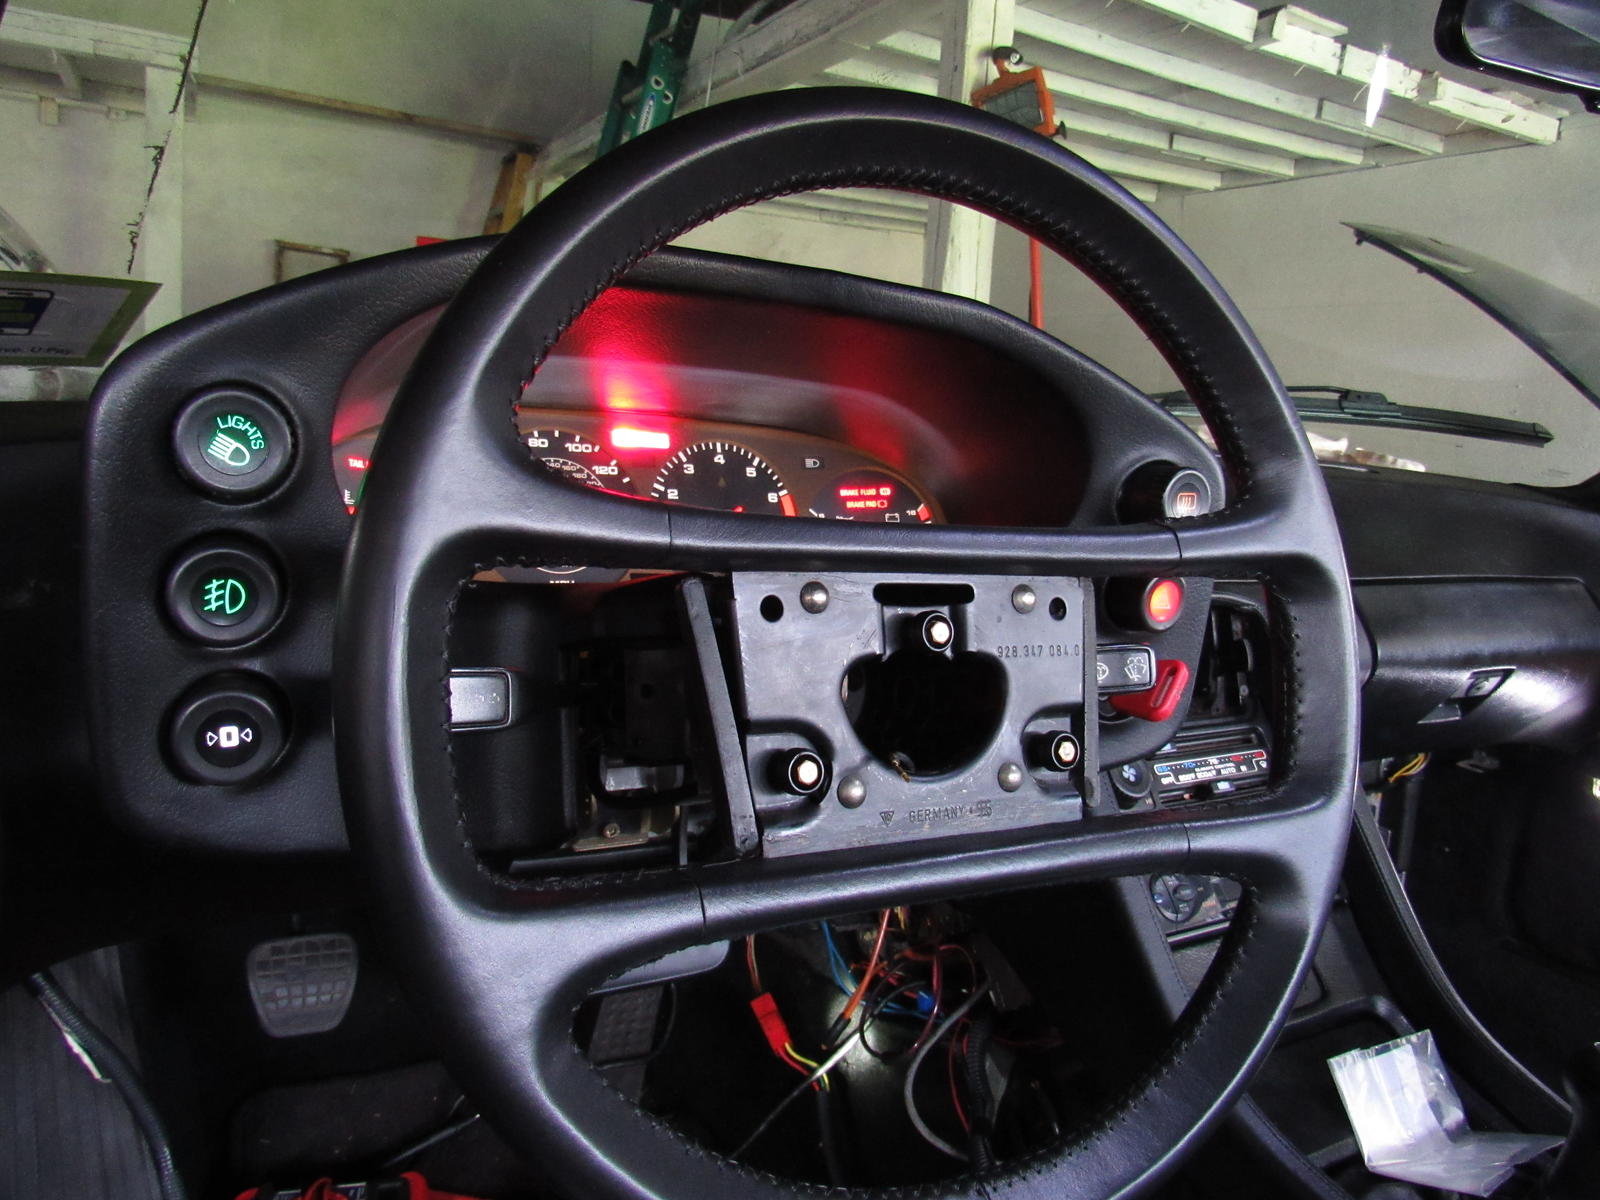
I soldered in resistors for the fog lamp, trip reset, hazard, and defrost pod switches, tested them, and bolted the pod in place.
Now my left side switches do not illuminate but the hazard and defrost on the right work fine. All switches function properly, just no lights on the left and I cannot understand why.
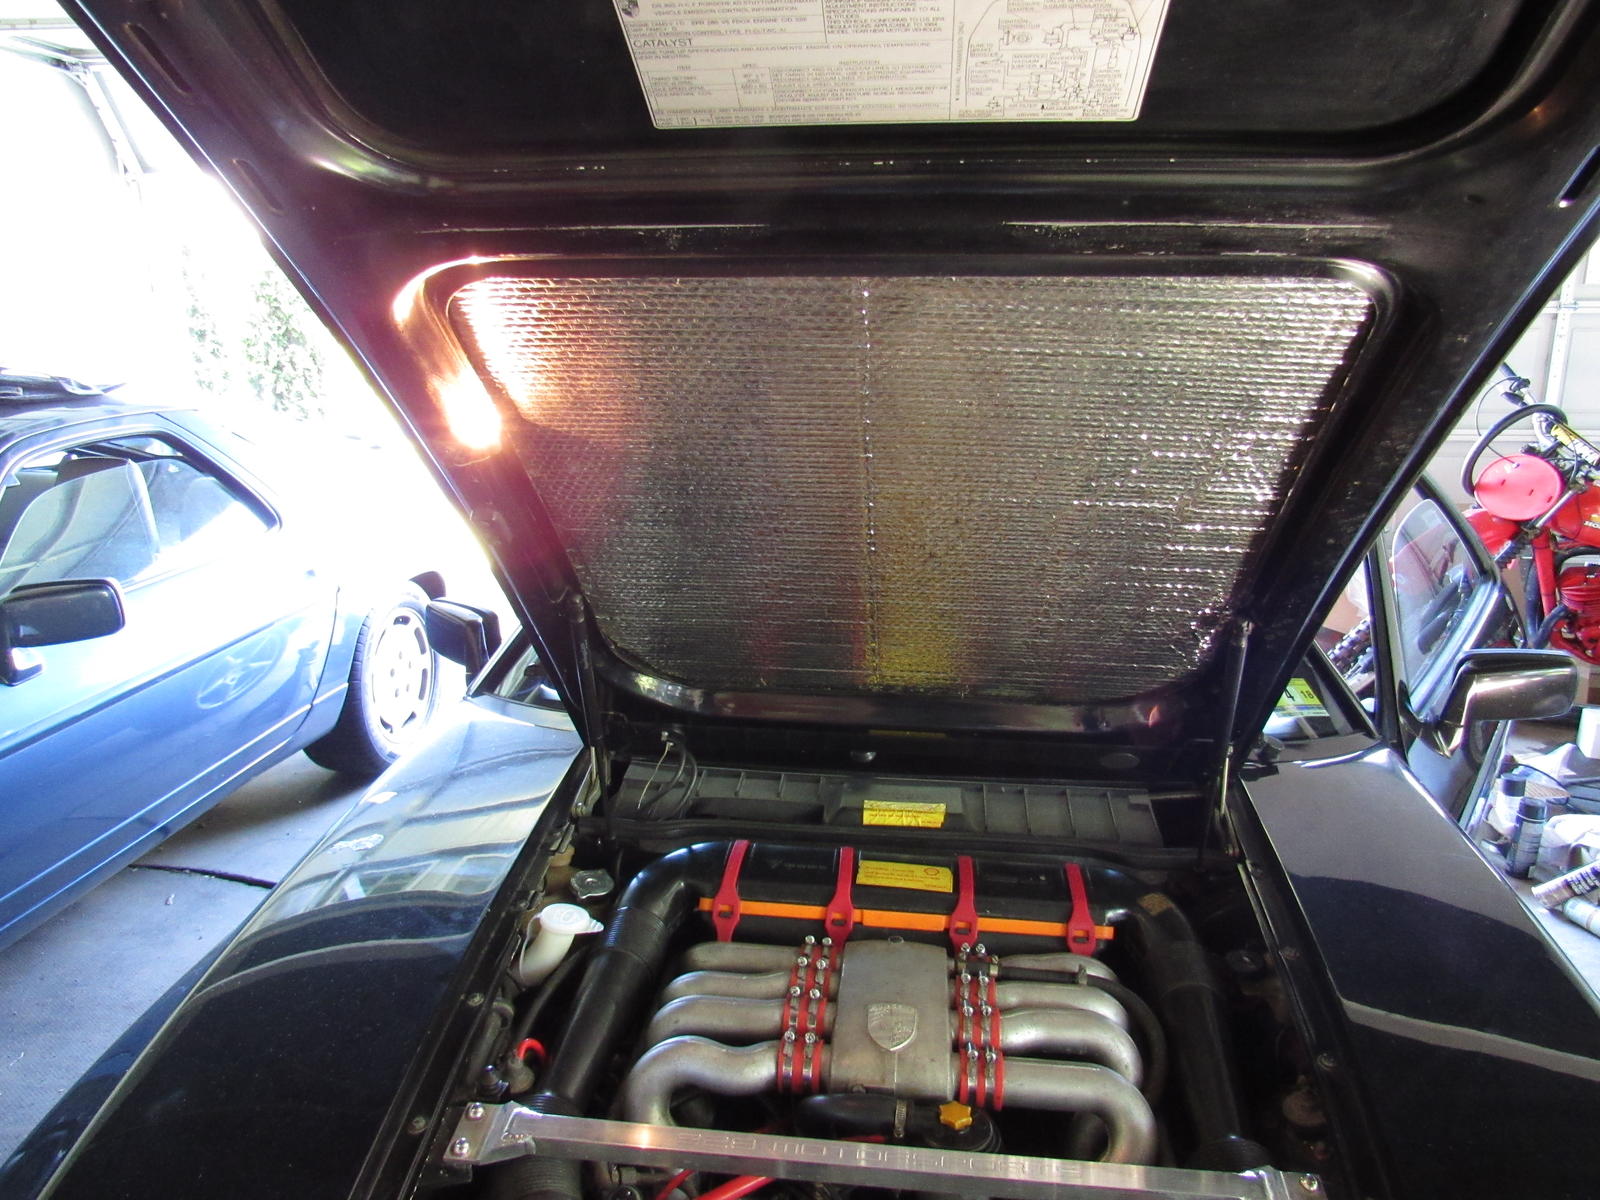
I reinstalled the hood and found it to be misaligned even though I removed it with the hinges. I guess there is still some play in the mounts.
My AC air valve does not work and I found my door handle hinge is cracked. The door opens fine but it must be why I cannot lock it.
I had to take the instrument pod apart again to investigate why the left switches would not light up and found nothing but the trip reset bulb had fallen out, the fog lamp bulb was not making good contact, and the headlamp bulb does not behave as expected. With ignition off and parking lamps on, all switches light up except the headlamp. With ignition on, the headlamp switch lights up as it should and with parking lamps activated the rest light up as well. In practical terms this is no problem but it had thrown a wrench in my testing.
Ignition off, parking lamps on:
Ignition on, parking lamps on:
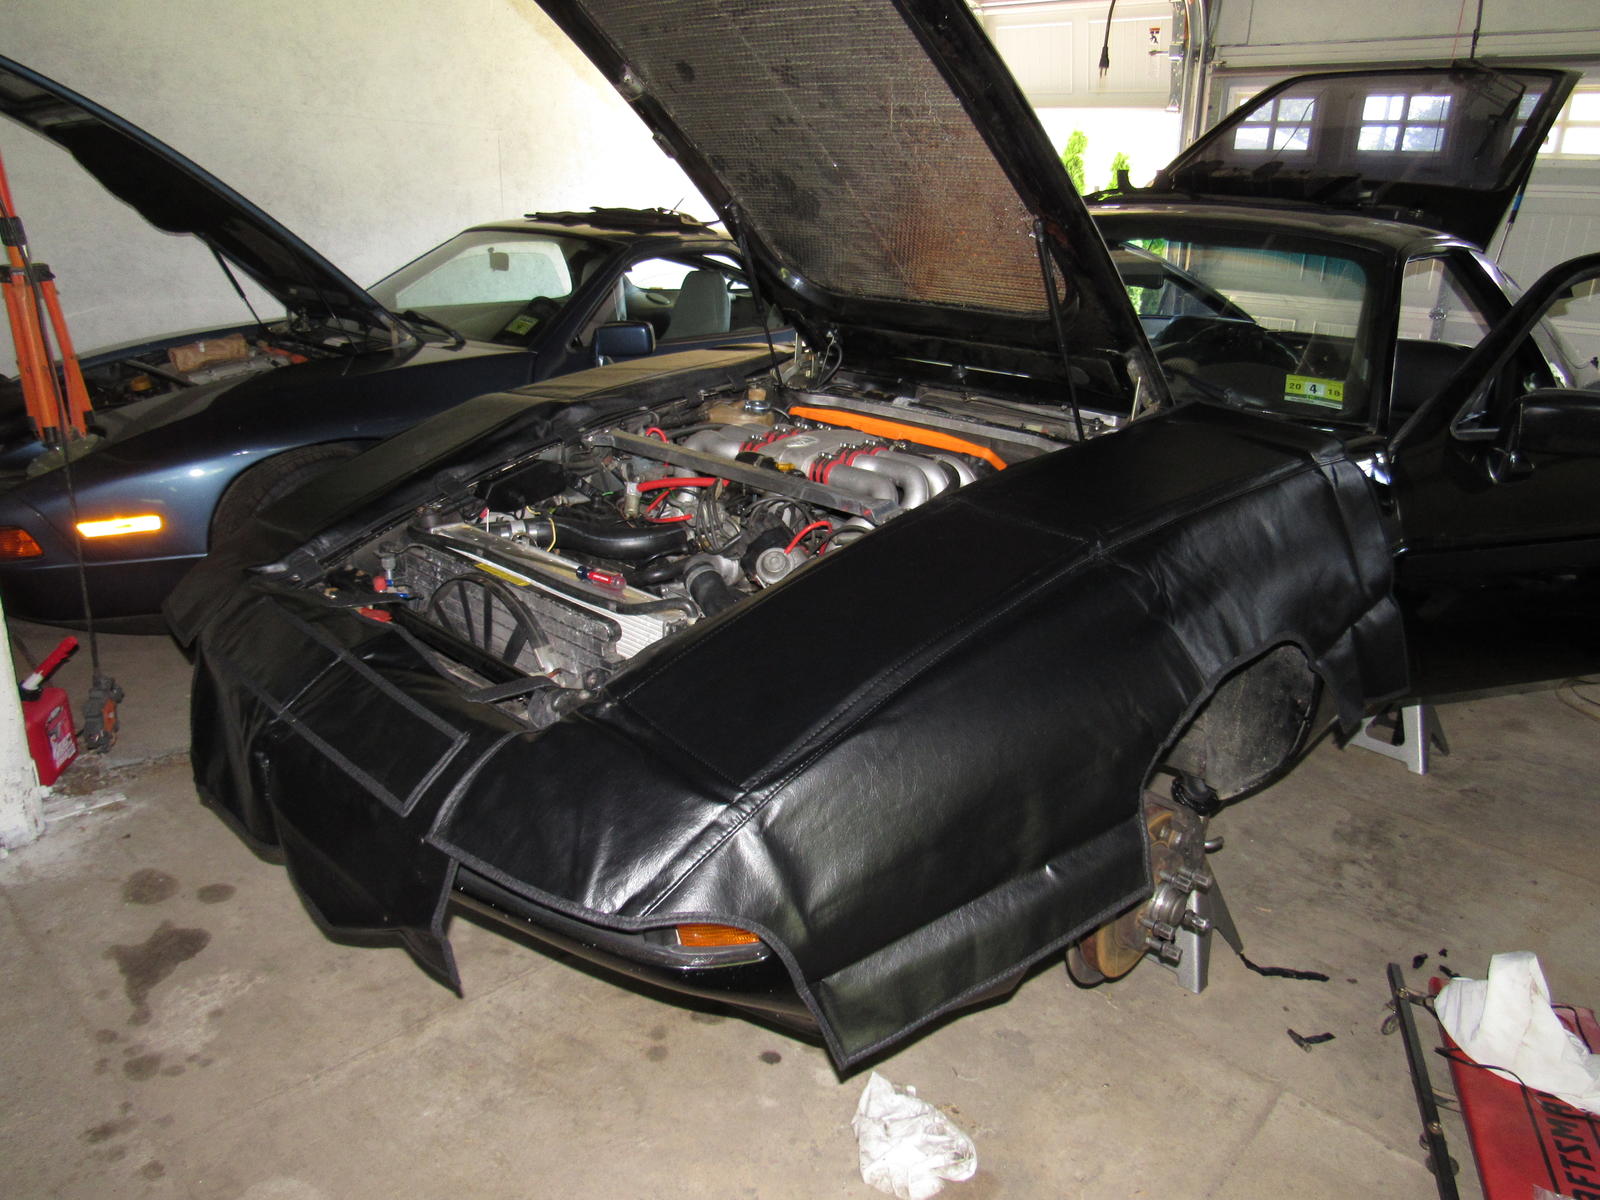
So everything is working fine now. When I bought the '89 it came with what the owner thought was a car bra from the first owner, turns out it is a really nice three piece set of service covers. Ironic that I put it on the last day of having the car on stands after seven months.
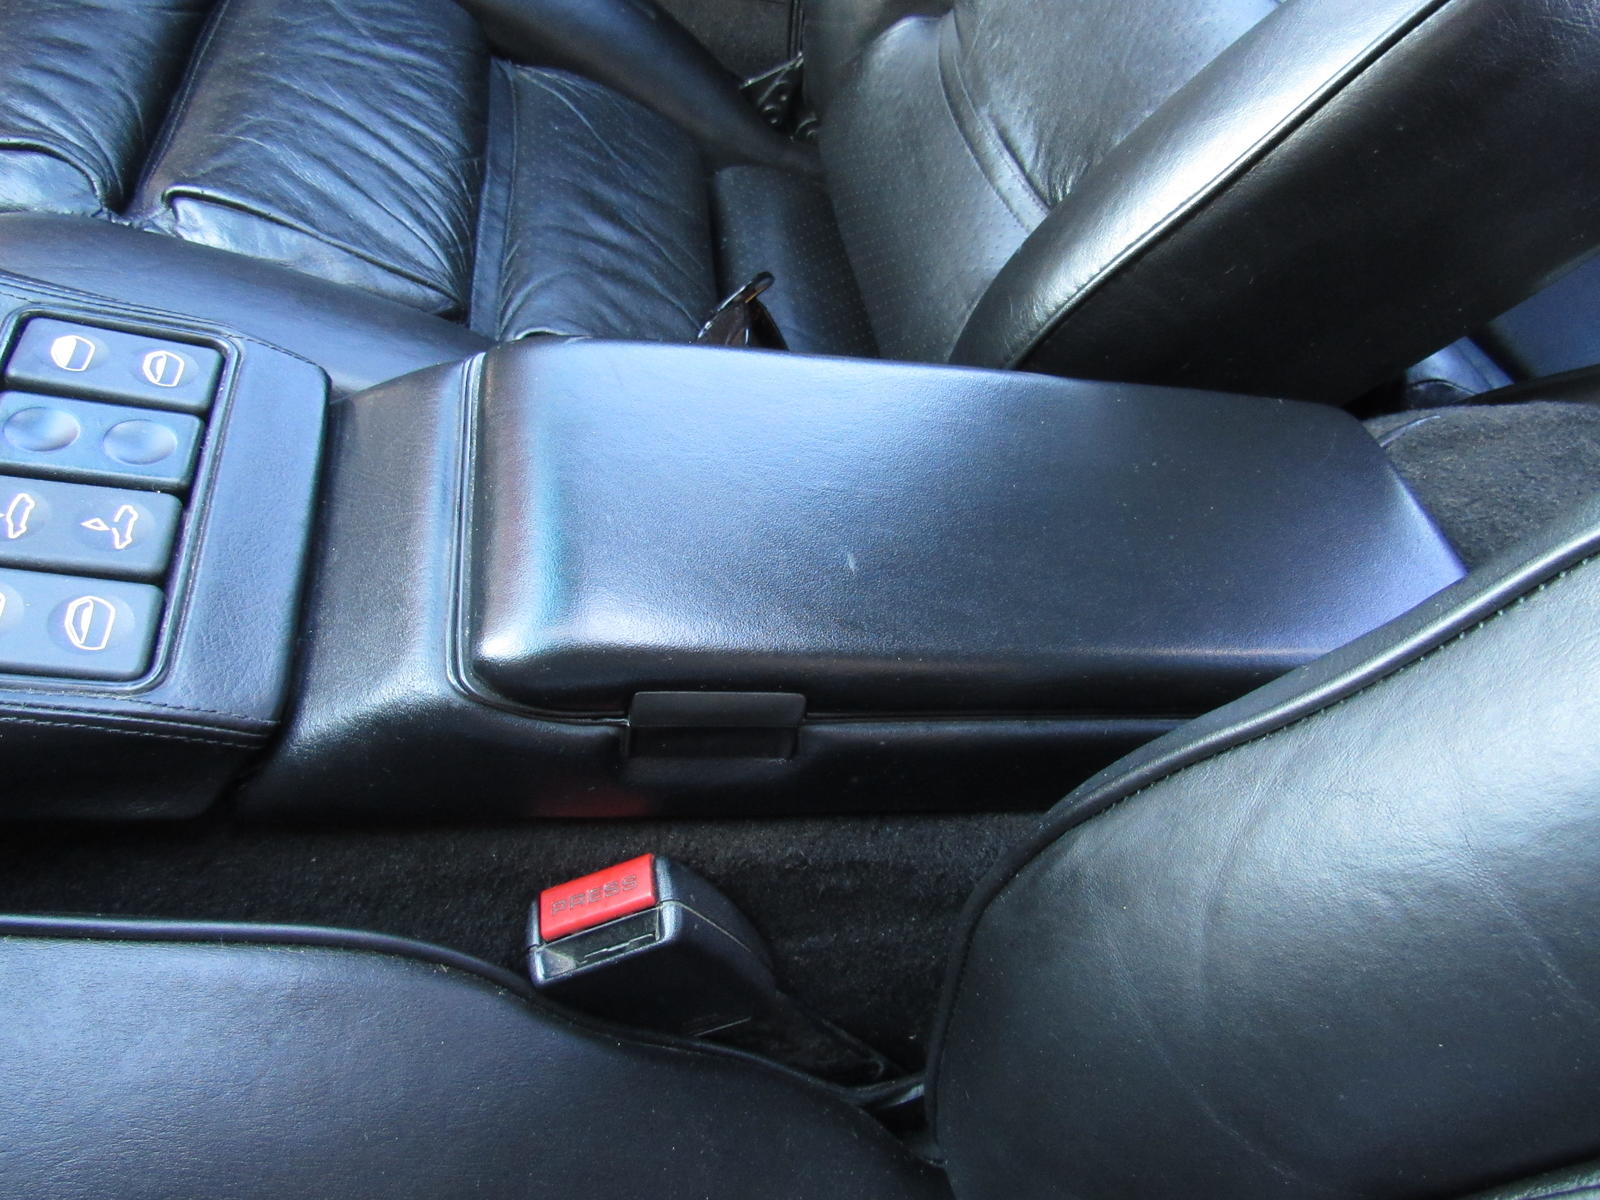
I kept hearing cars on the road running over a piece of steel so I went to get it to prevent a flat tire. It was a square sheet of steel. I pounded it flat, cut a small piece of it and used it to repair the broken rear tab of my center console.
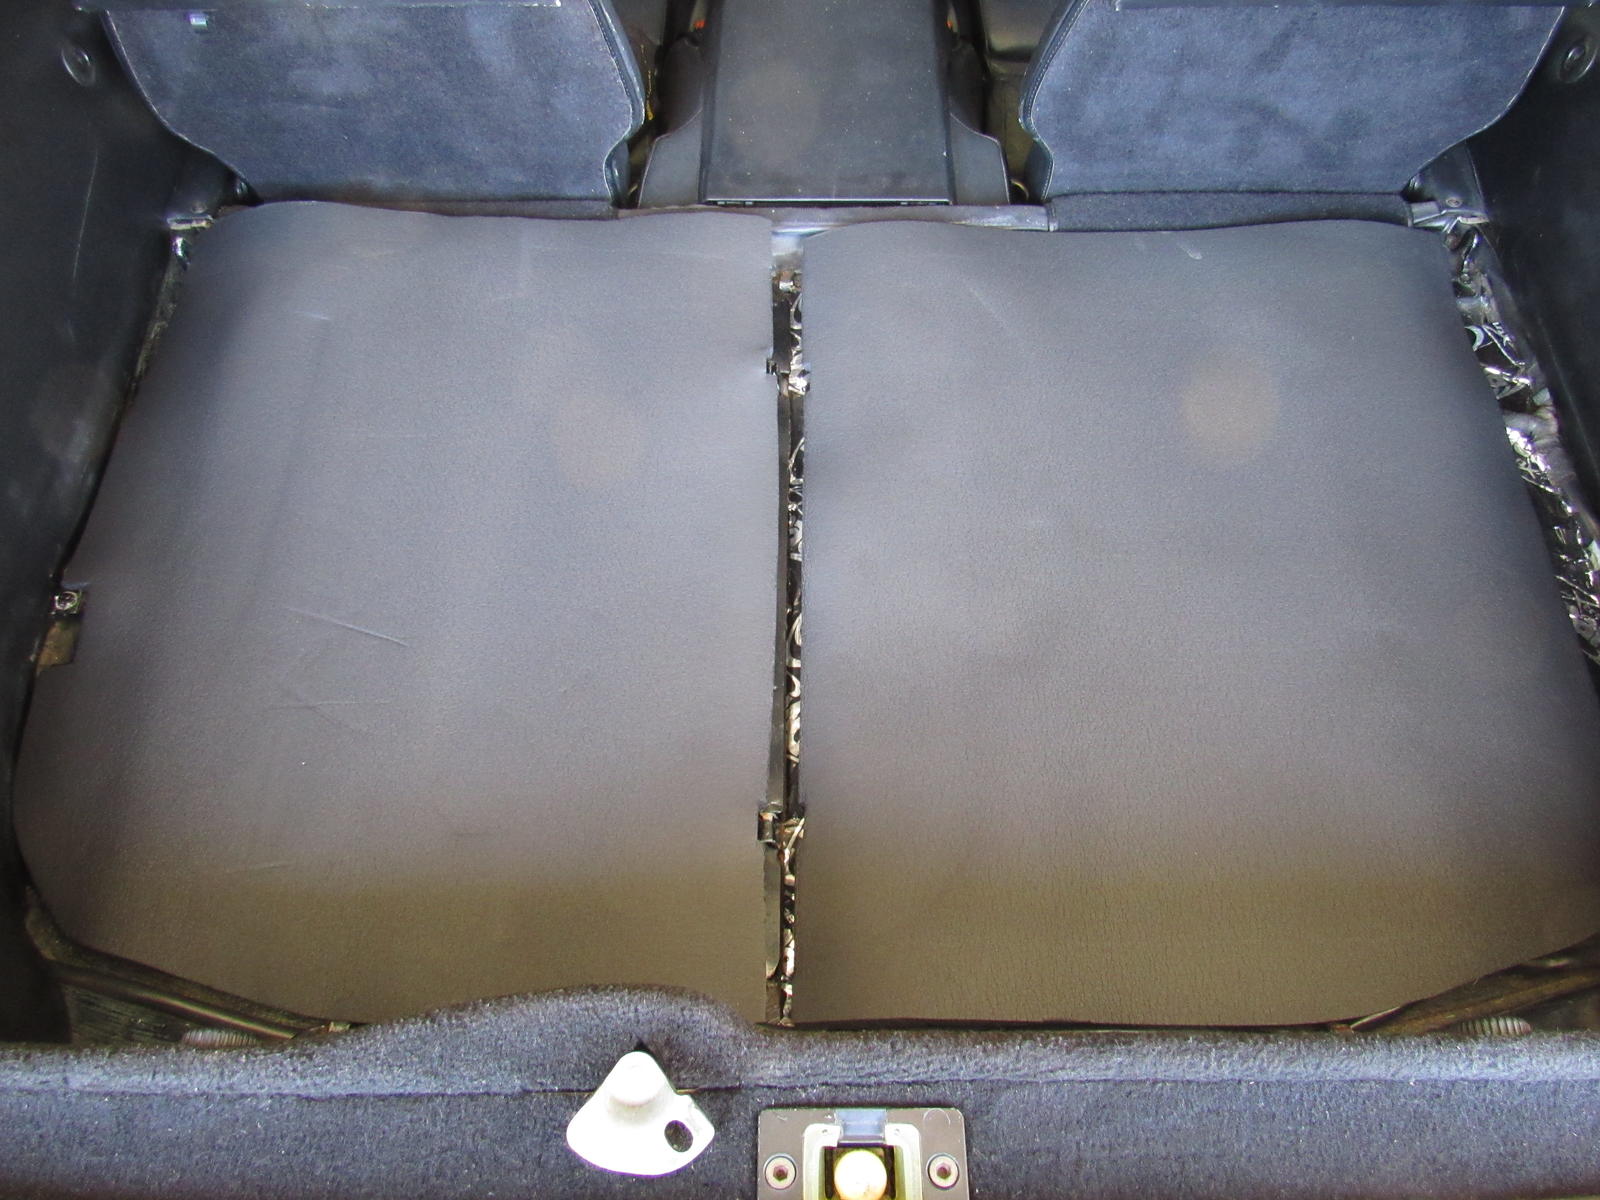
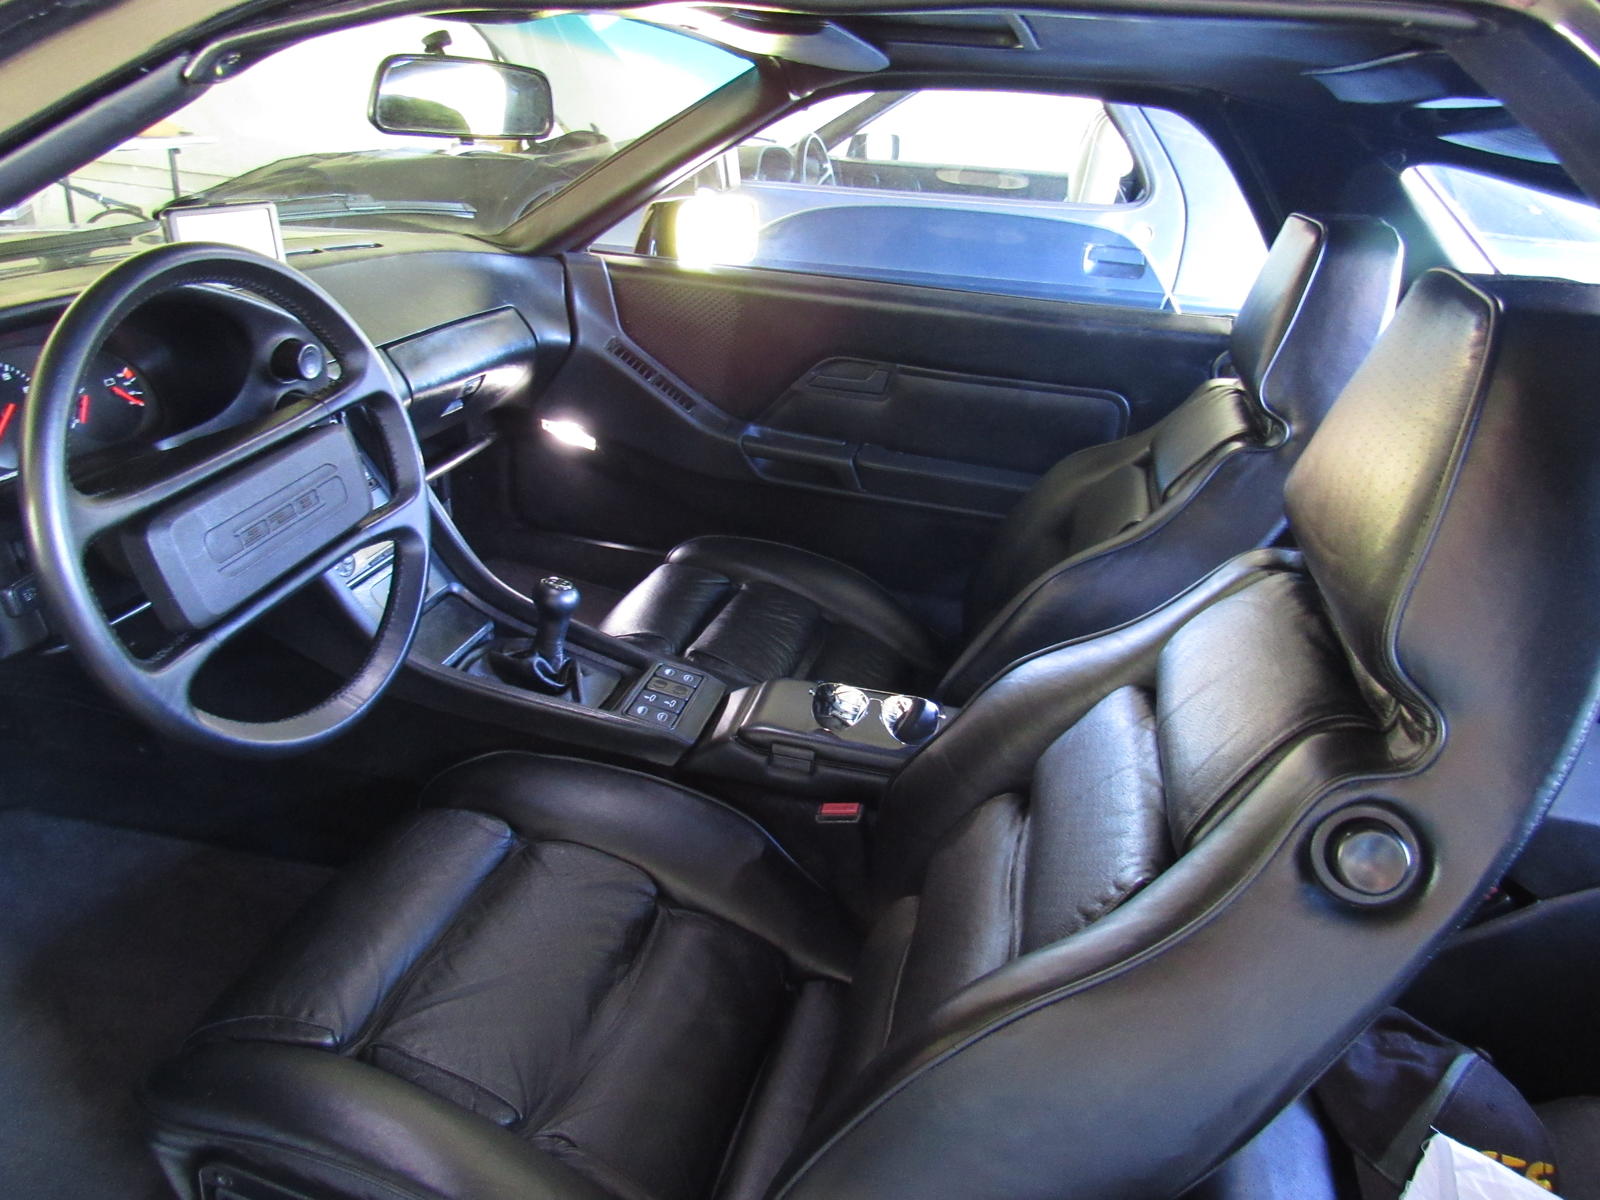
I bolted the seats in on Saturday, those inner rear bolts are HARD to get started into the inserts. It was late in the evening but I was at a point where I could reinstall the splash shields and wheels, drop the car to the ground and finally take it for a ride. It was 2230 by the time I was done and went for about 25 miles. The car ran beautifully. I tested the air conditioning and... nothing. The compressor did not cycle on. Oh well. It was pleasurable enough with the now working sunroof open looking at the stars.
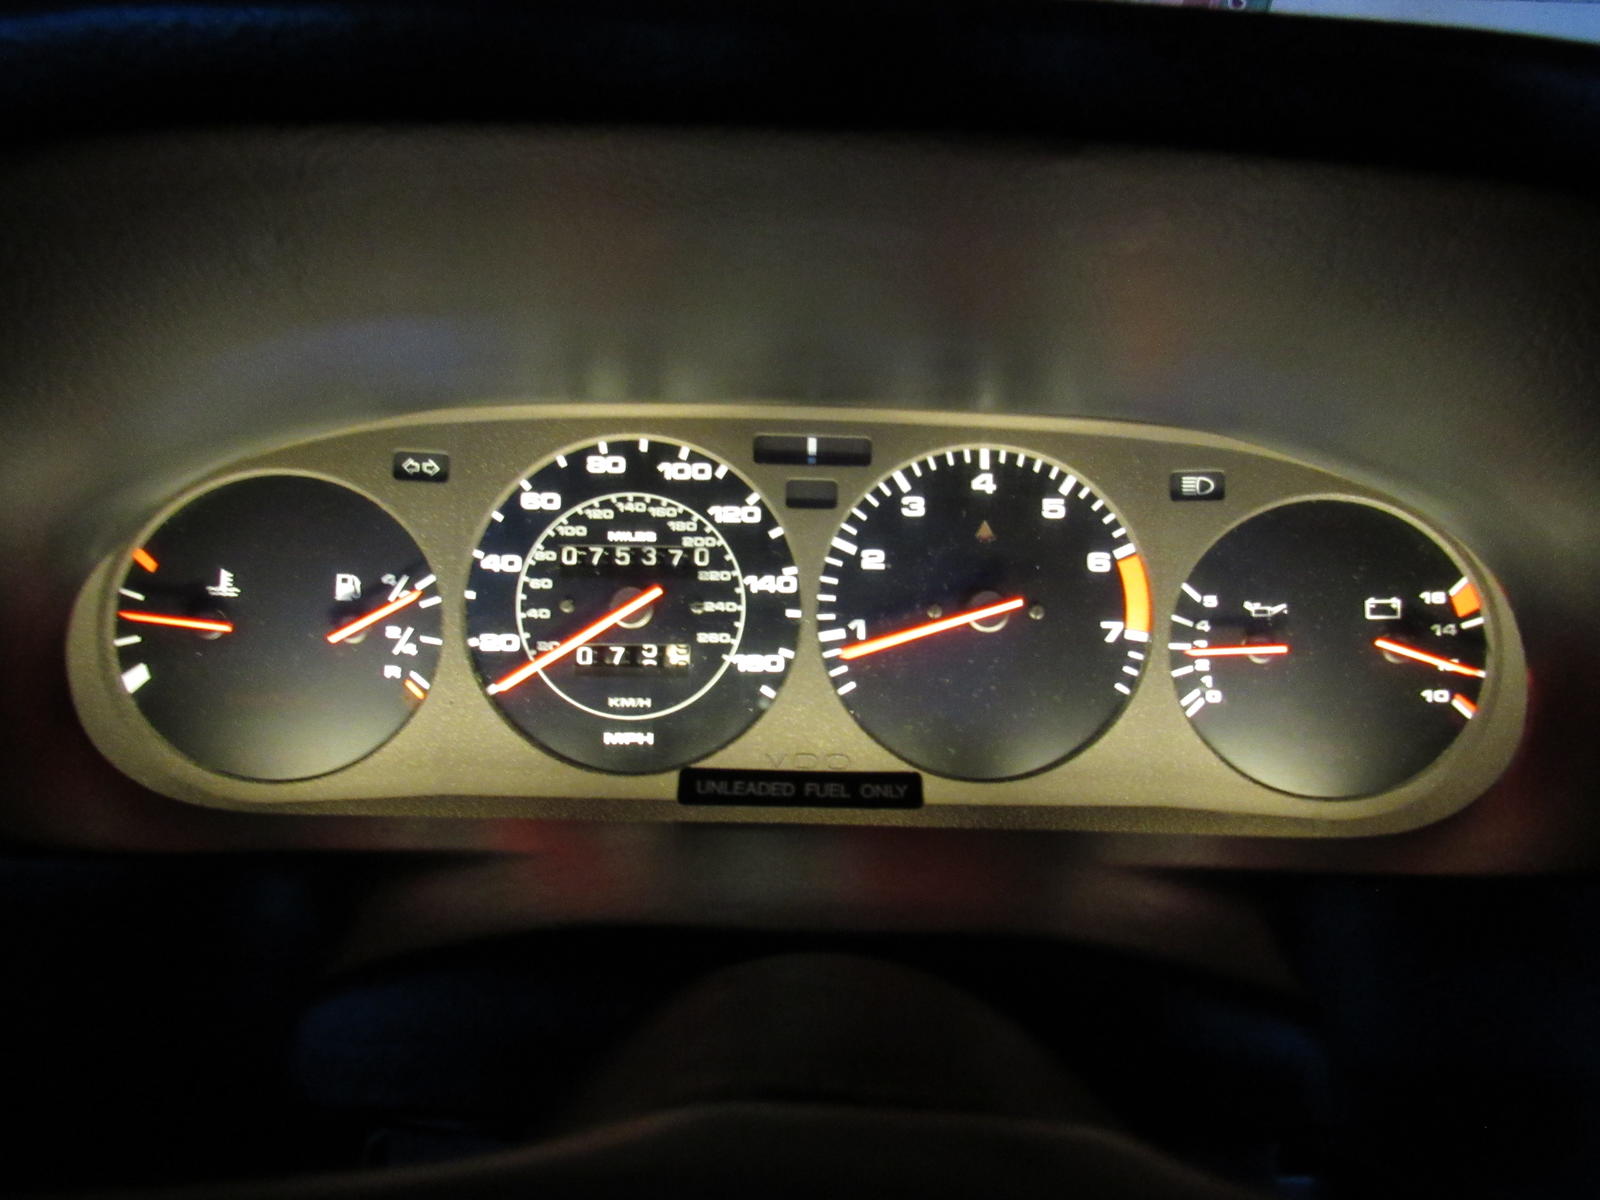
Illuminated instrument cluster
This morning I checked out the AC. The first thing I did was touch the connections at the low pressure switch and the compressor cycled on The connections were cleaned before and tight so I don't know why it was sensitive. I tightened the spade connector a little more and sprayed more DeOxit. It is working now but I've not tested the AC performance yet.
I installed a new right side front splash guard with new foam and rubber guard that was missing but in my night ride it was pushed back in contact with the tire. This has been a persistent problem on the left side as well. I think I fixed it by sandwiching the splash guard in front of the bottom plastic. Sorry no photos of this but it seems to have worked.
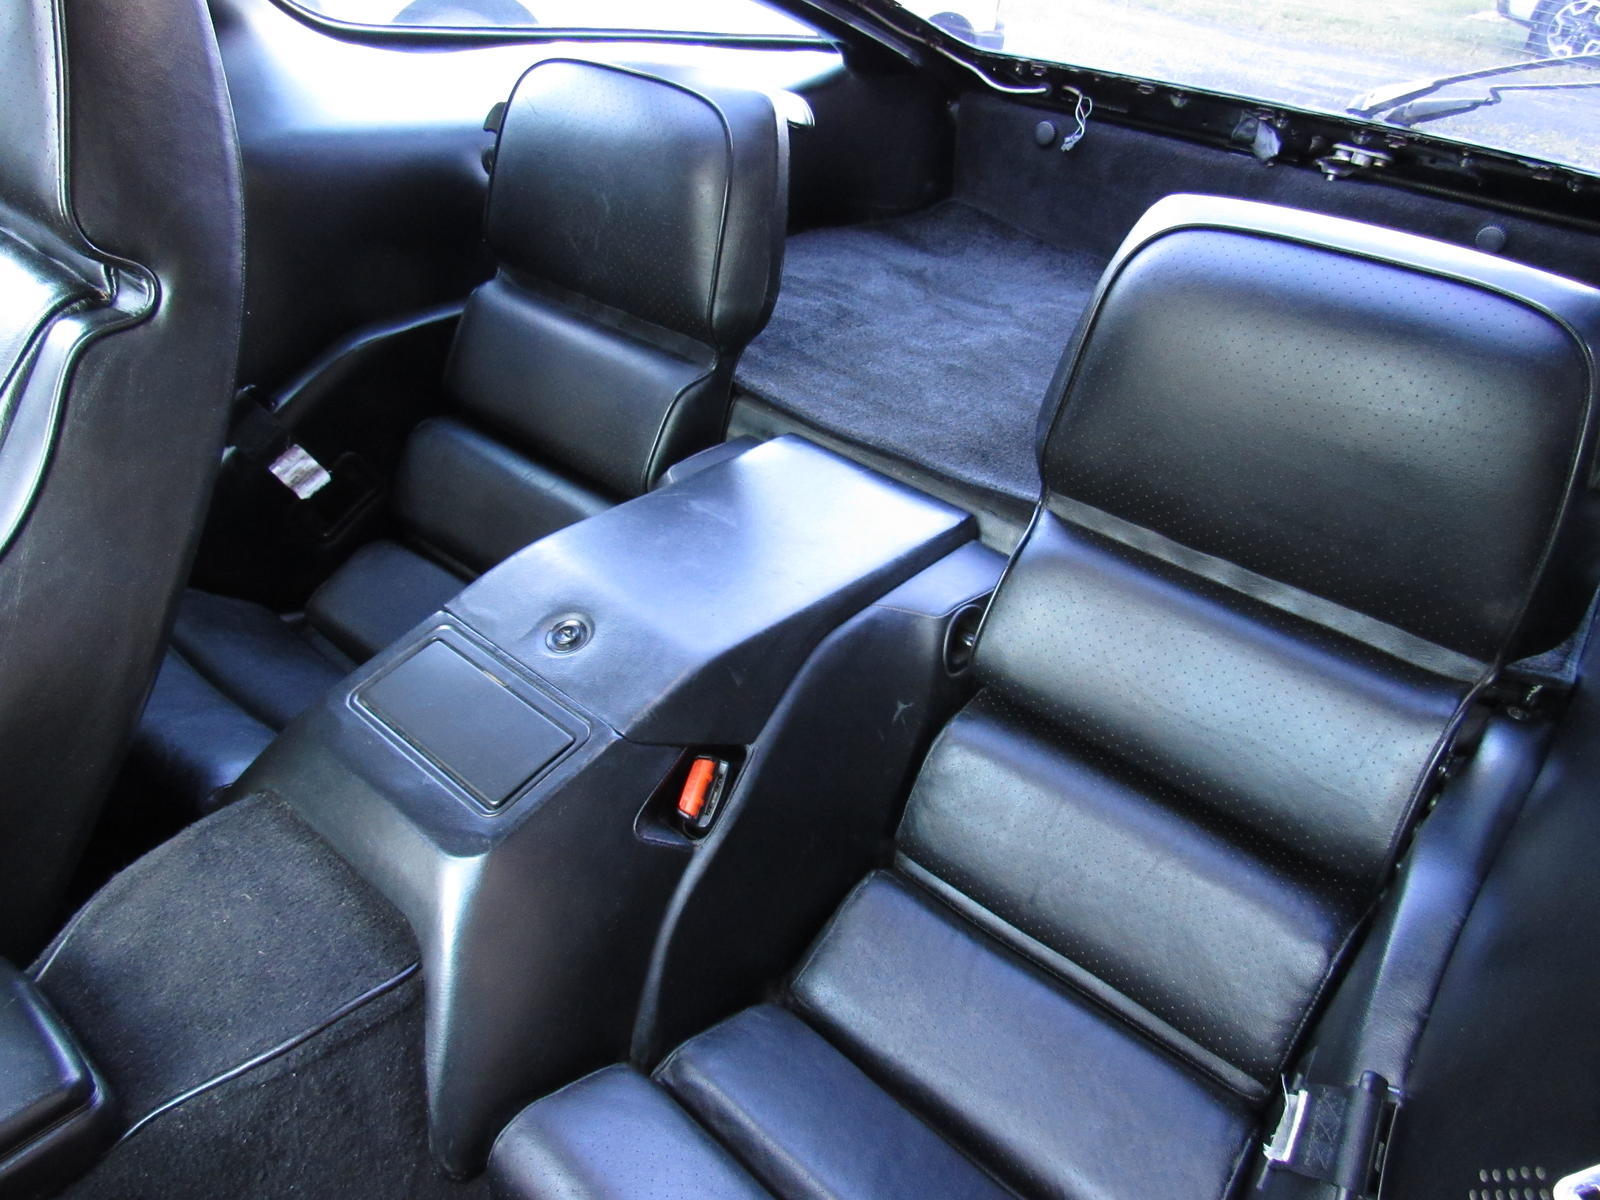
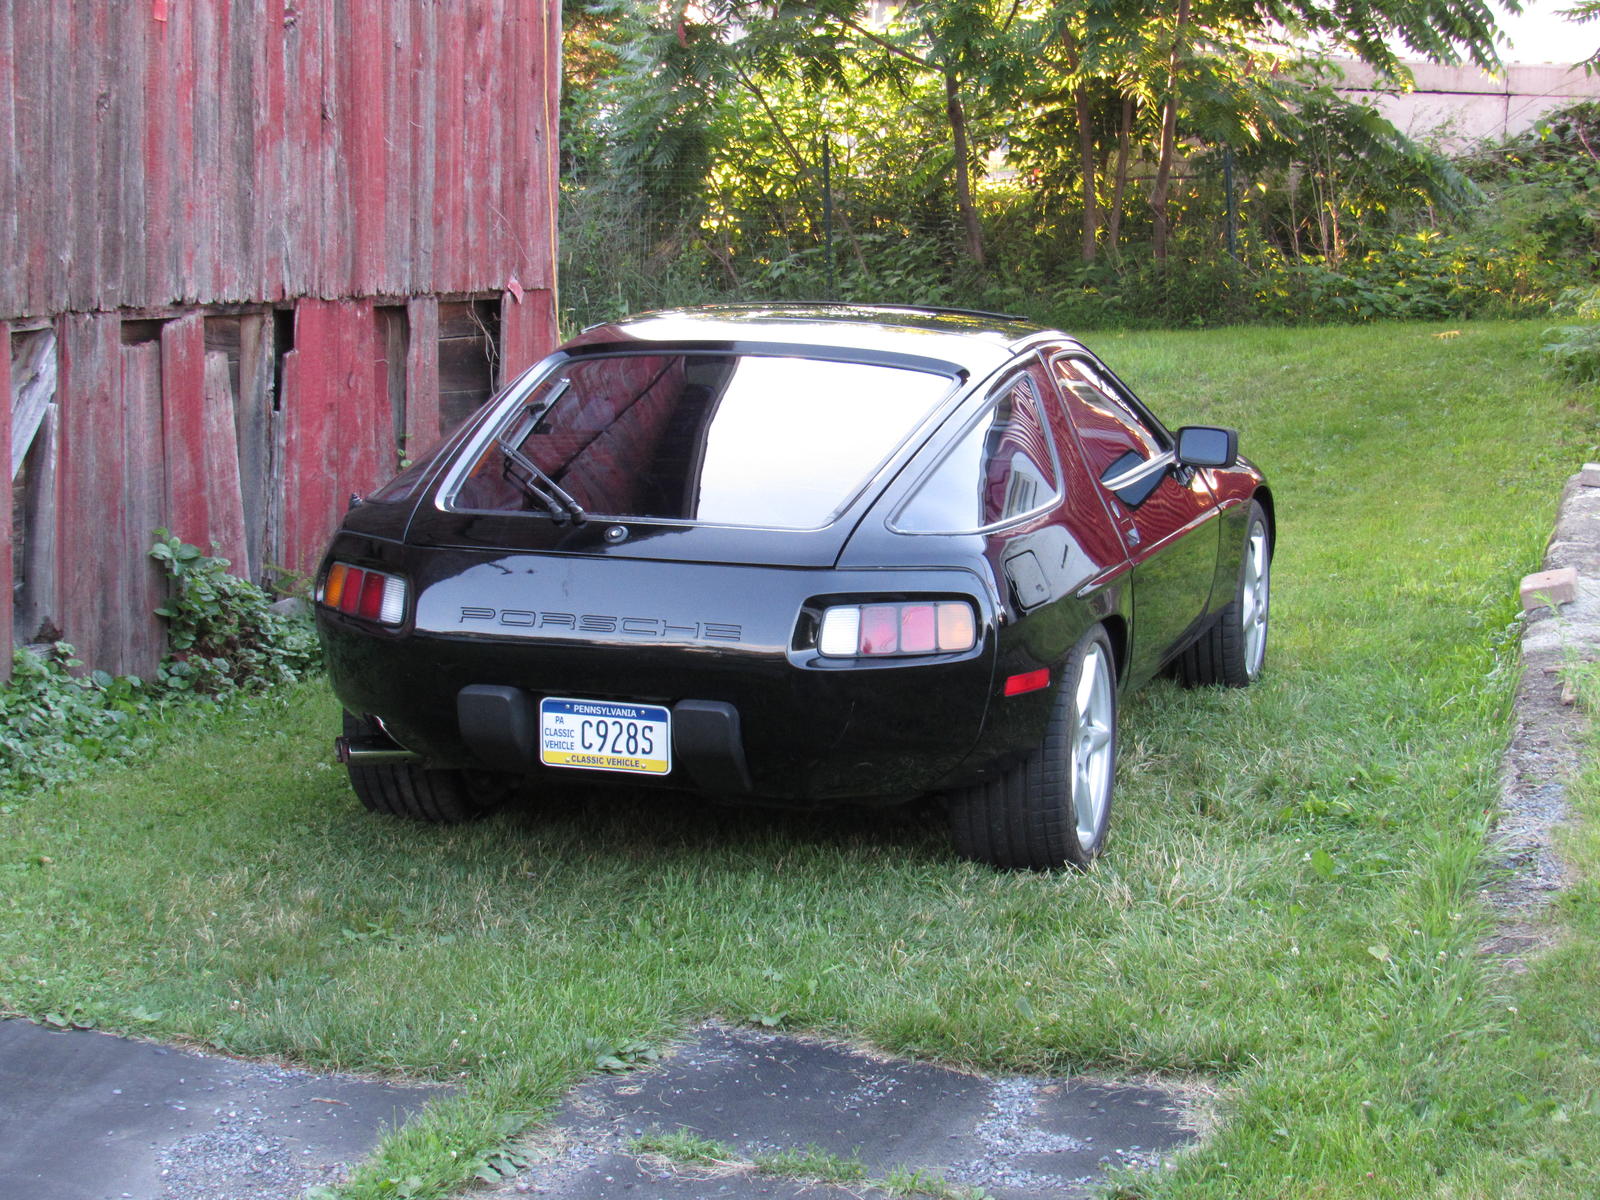
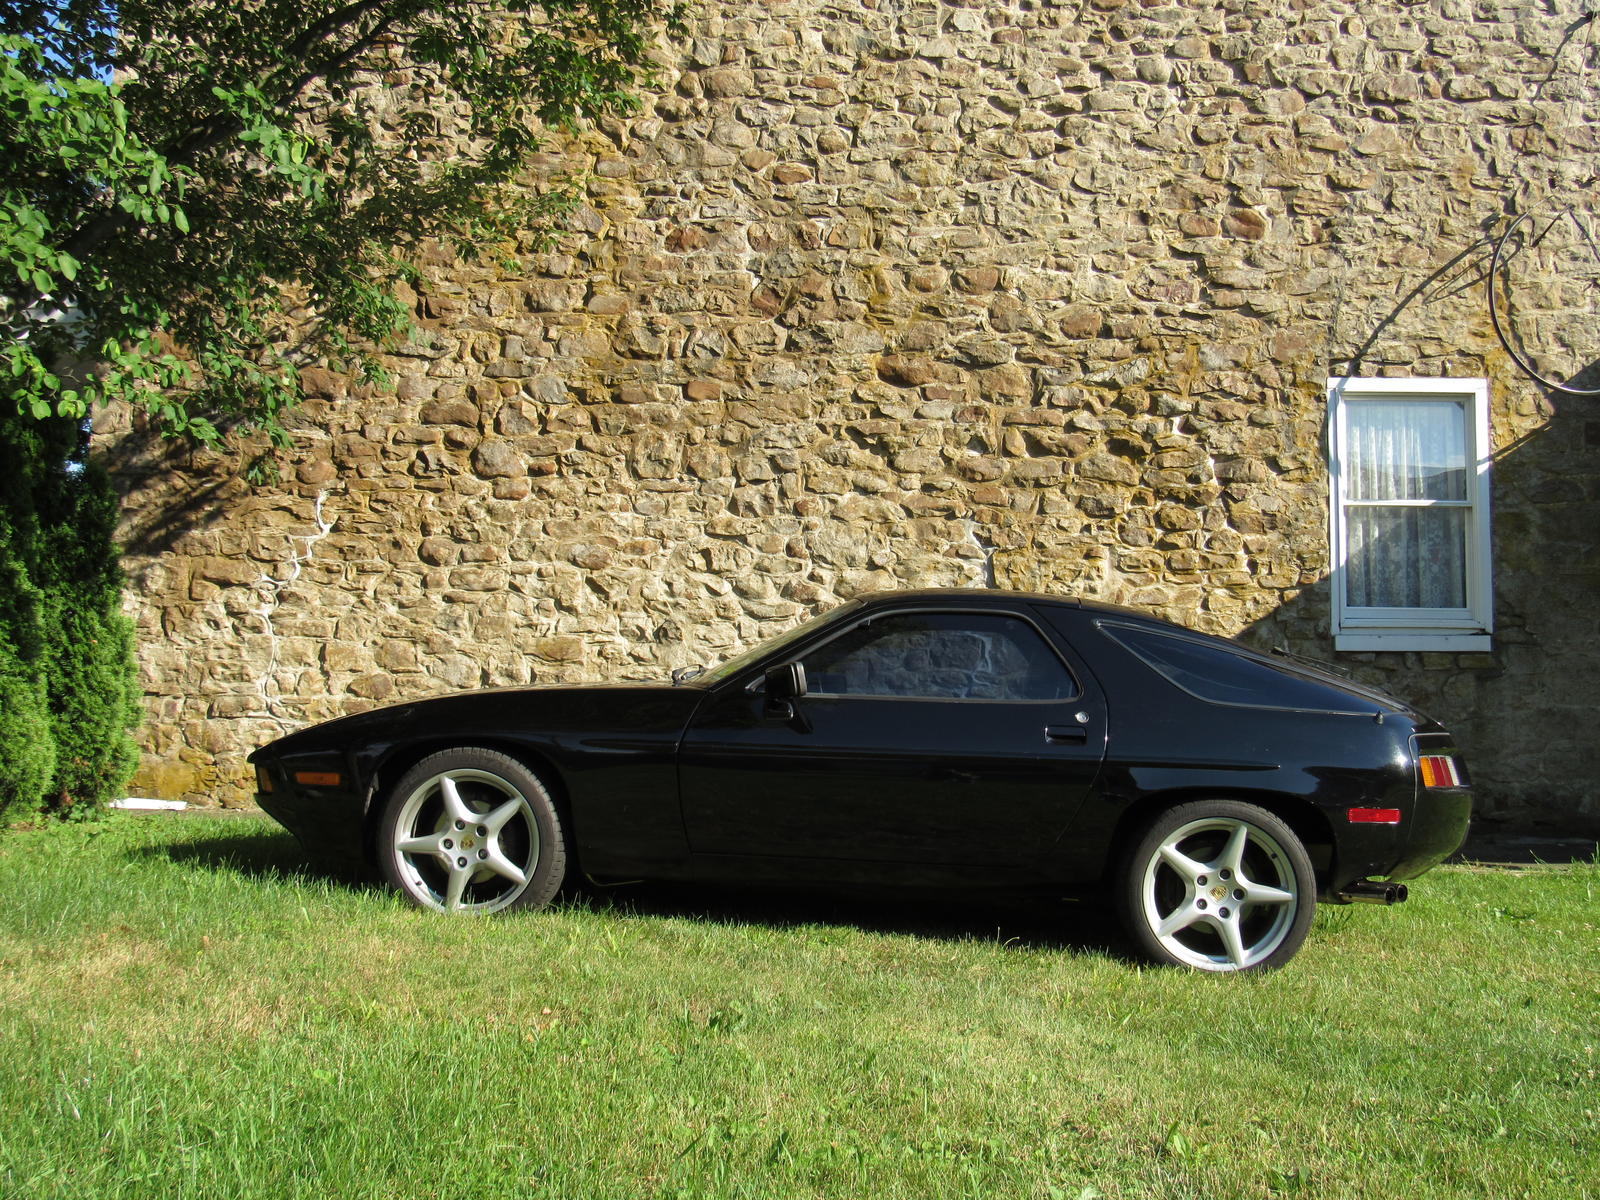
My car was immobilized in my barn for so long that it turned into a barn find. I gave it a good wash, filled the tank, and drove about fifty miles. When I got back I applied conditioner to the leather and it is really thirsty, I will keep doing this weekly if possible. Interior is looking great. Just waiting for the armrests and hatch trims from Rob Budd.
Picked up a good condition center armrest some time ago to replace my peeled back leather one.
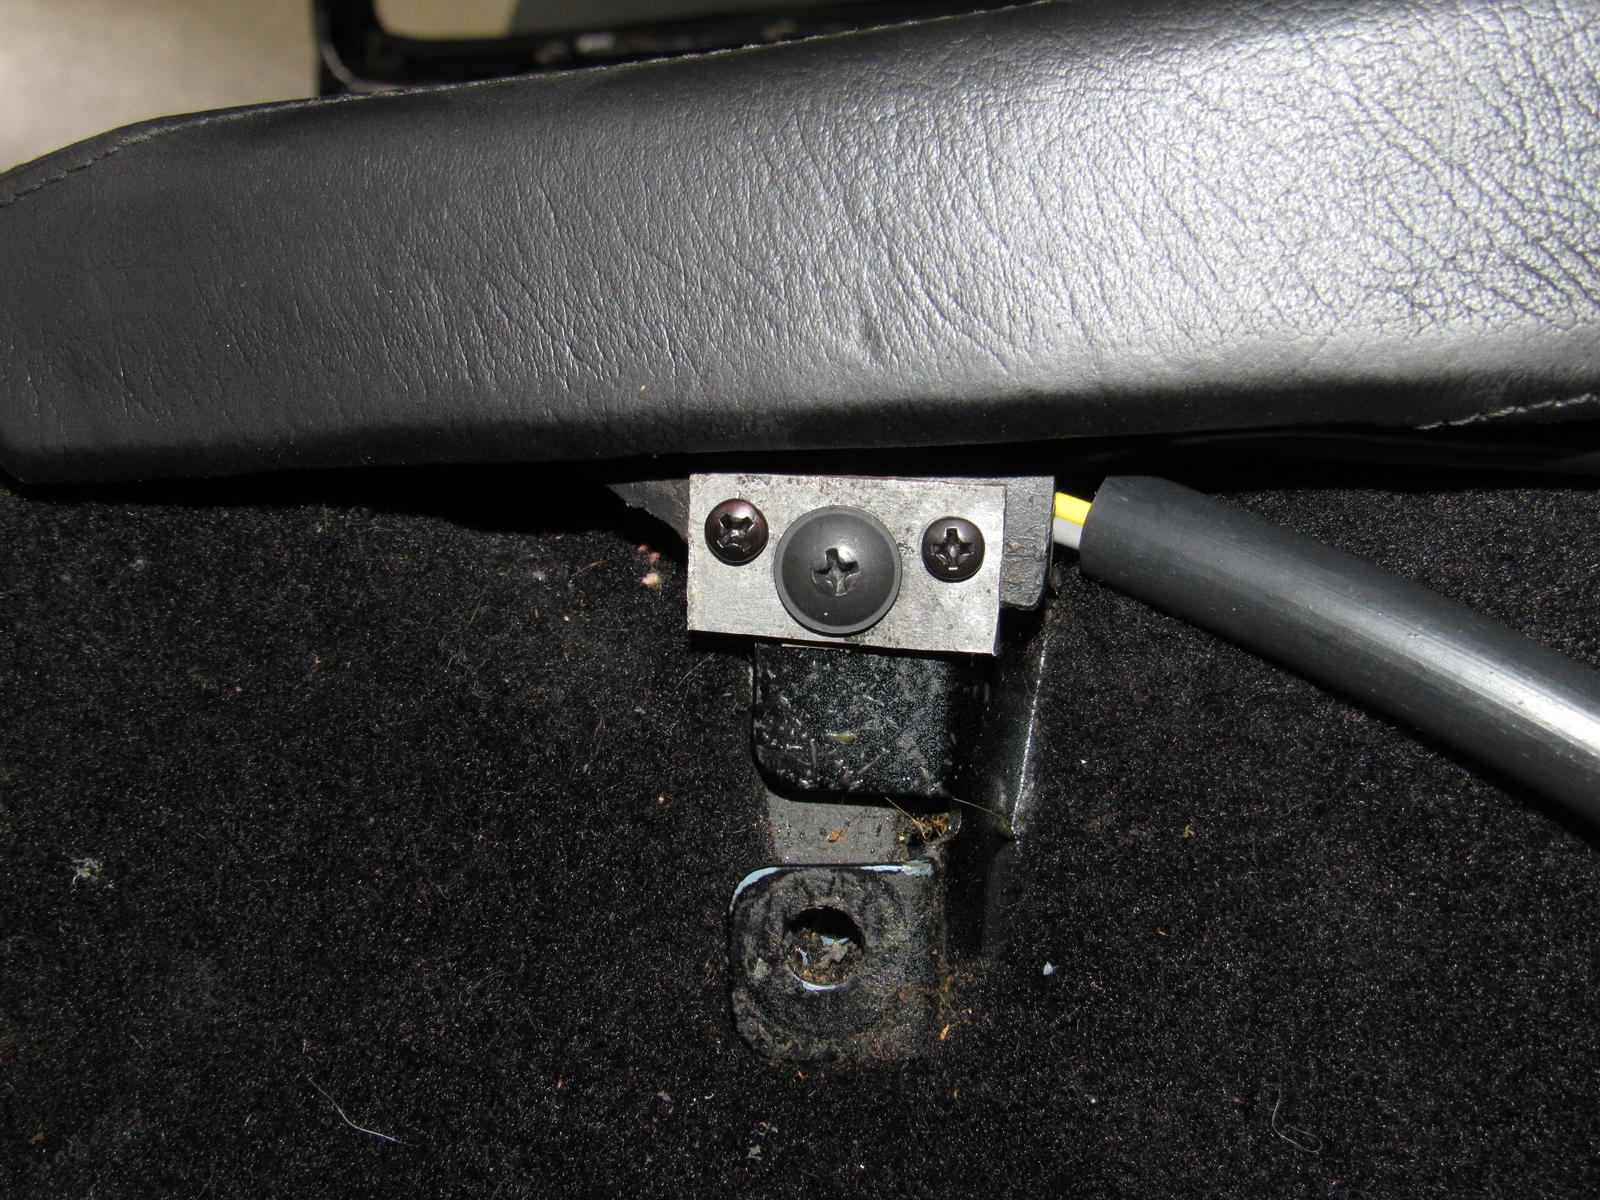
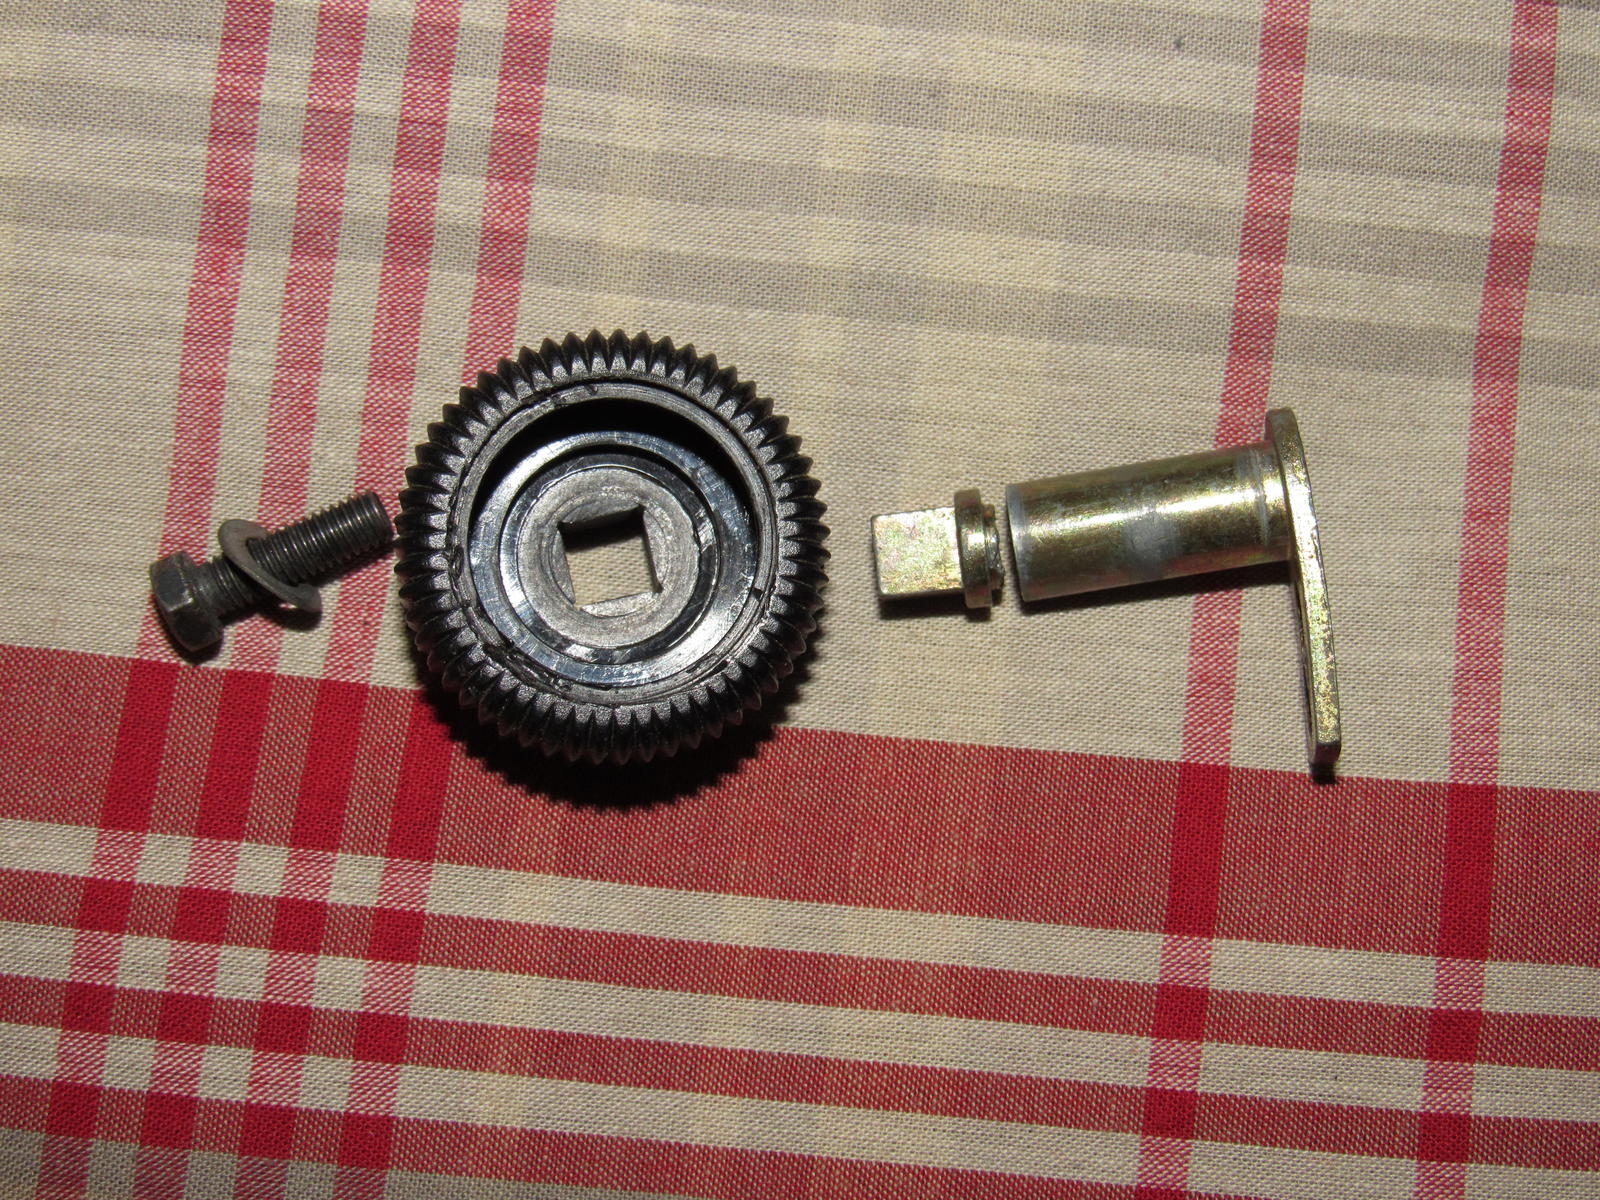
I noticed I was missing the metal piece that the interior locking **** screws into. I found it in a coffee can given to me by the PO of misc stuff but is broken. My locks are jammed so surely it was twisted off forcefully. Does anyone have one laying around? I know I can buy the whole assembly but I just need this metal part.
To my surprise the LED turn signal indicator shines brightly, really happy about that. Windshield washers still do not work though. Things seem to fail or repair themselves for no good reason with these cars.
That is a wrap for this weekend. The car runs better than ever. I must have repaired some intake leaks by replacing the large O'ring at the AFM, tightening one loose hose clamp at the spider leg, and installing a missing gasket at the oil filler.
So my AC problem was not the connectors but the terminal on the low pressure switch itself breaks contact internally just by touching it. This is the only part I did not replace - serves me right I guess
I have jumpered it out for now.
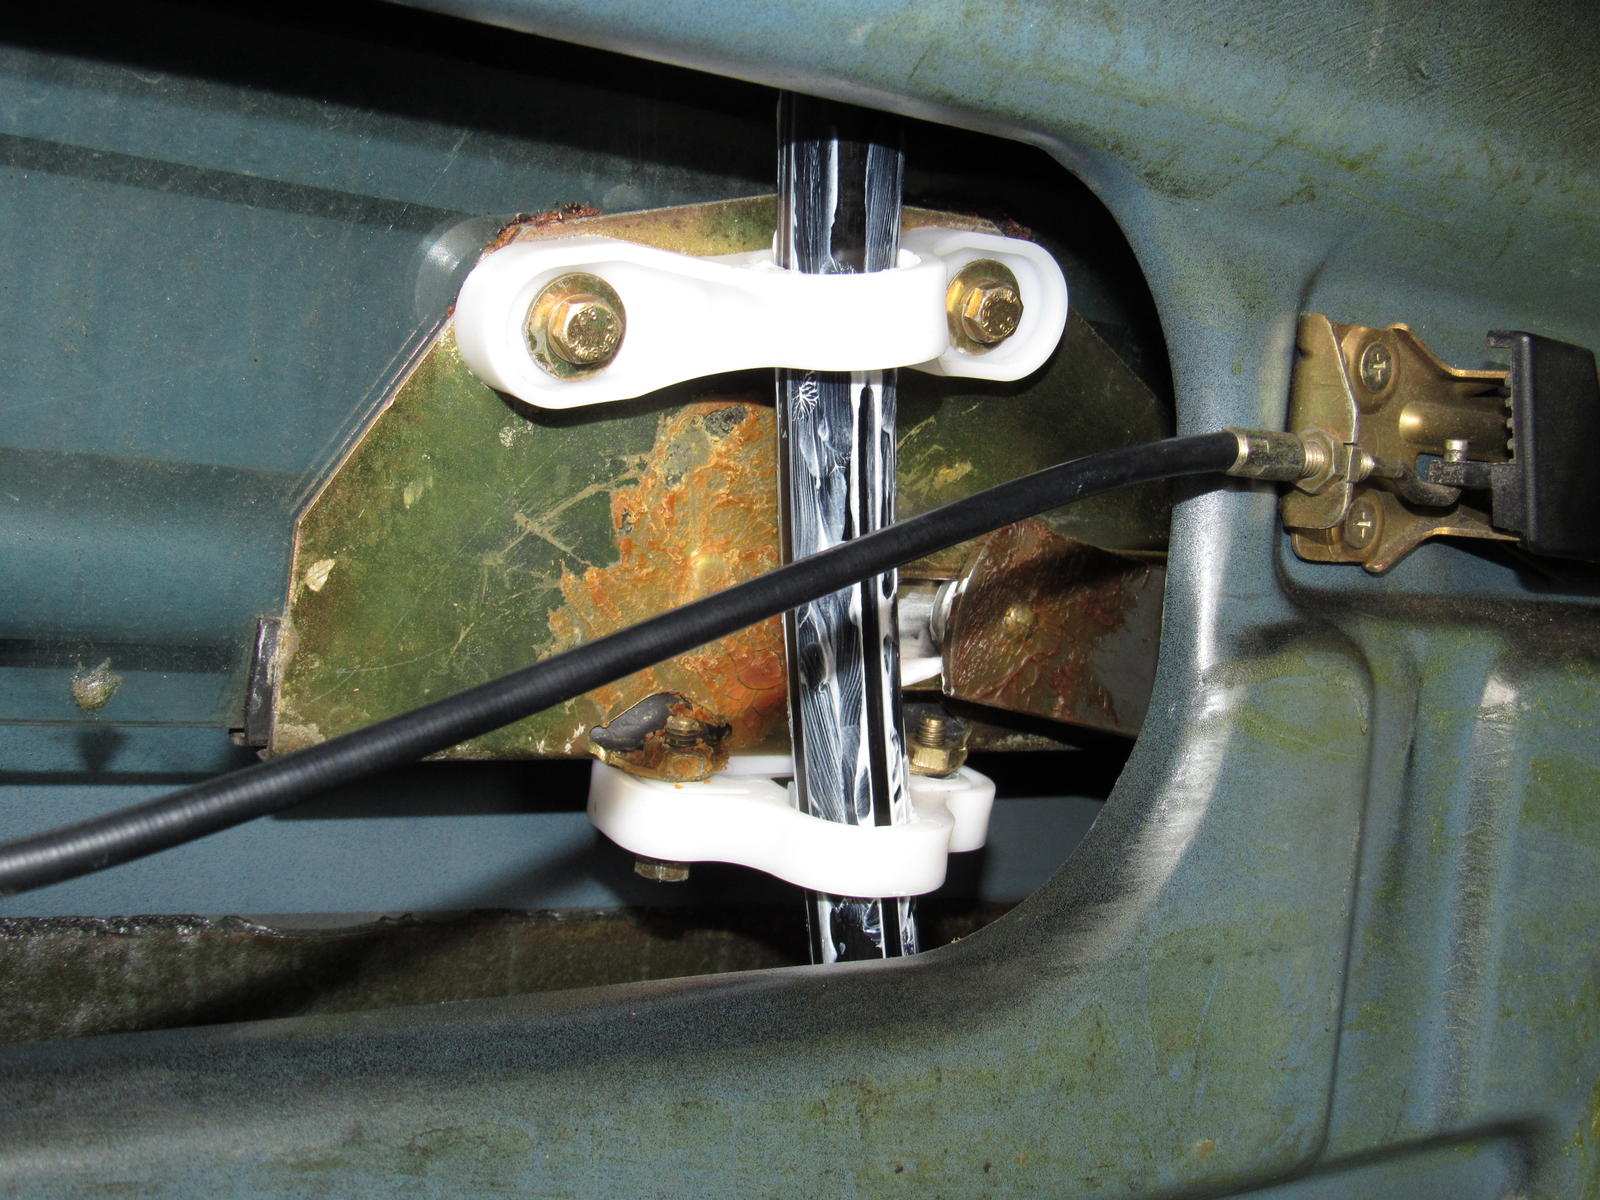
I replaced the left door window bushings, this was a nice easy little job and the window is nice and snug now. When operating the window up and down I noticed the window motor was loose in its mounting and tightened it up.
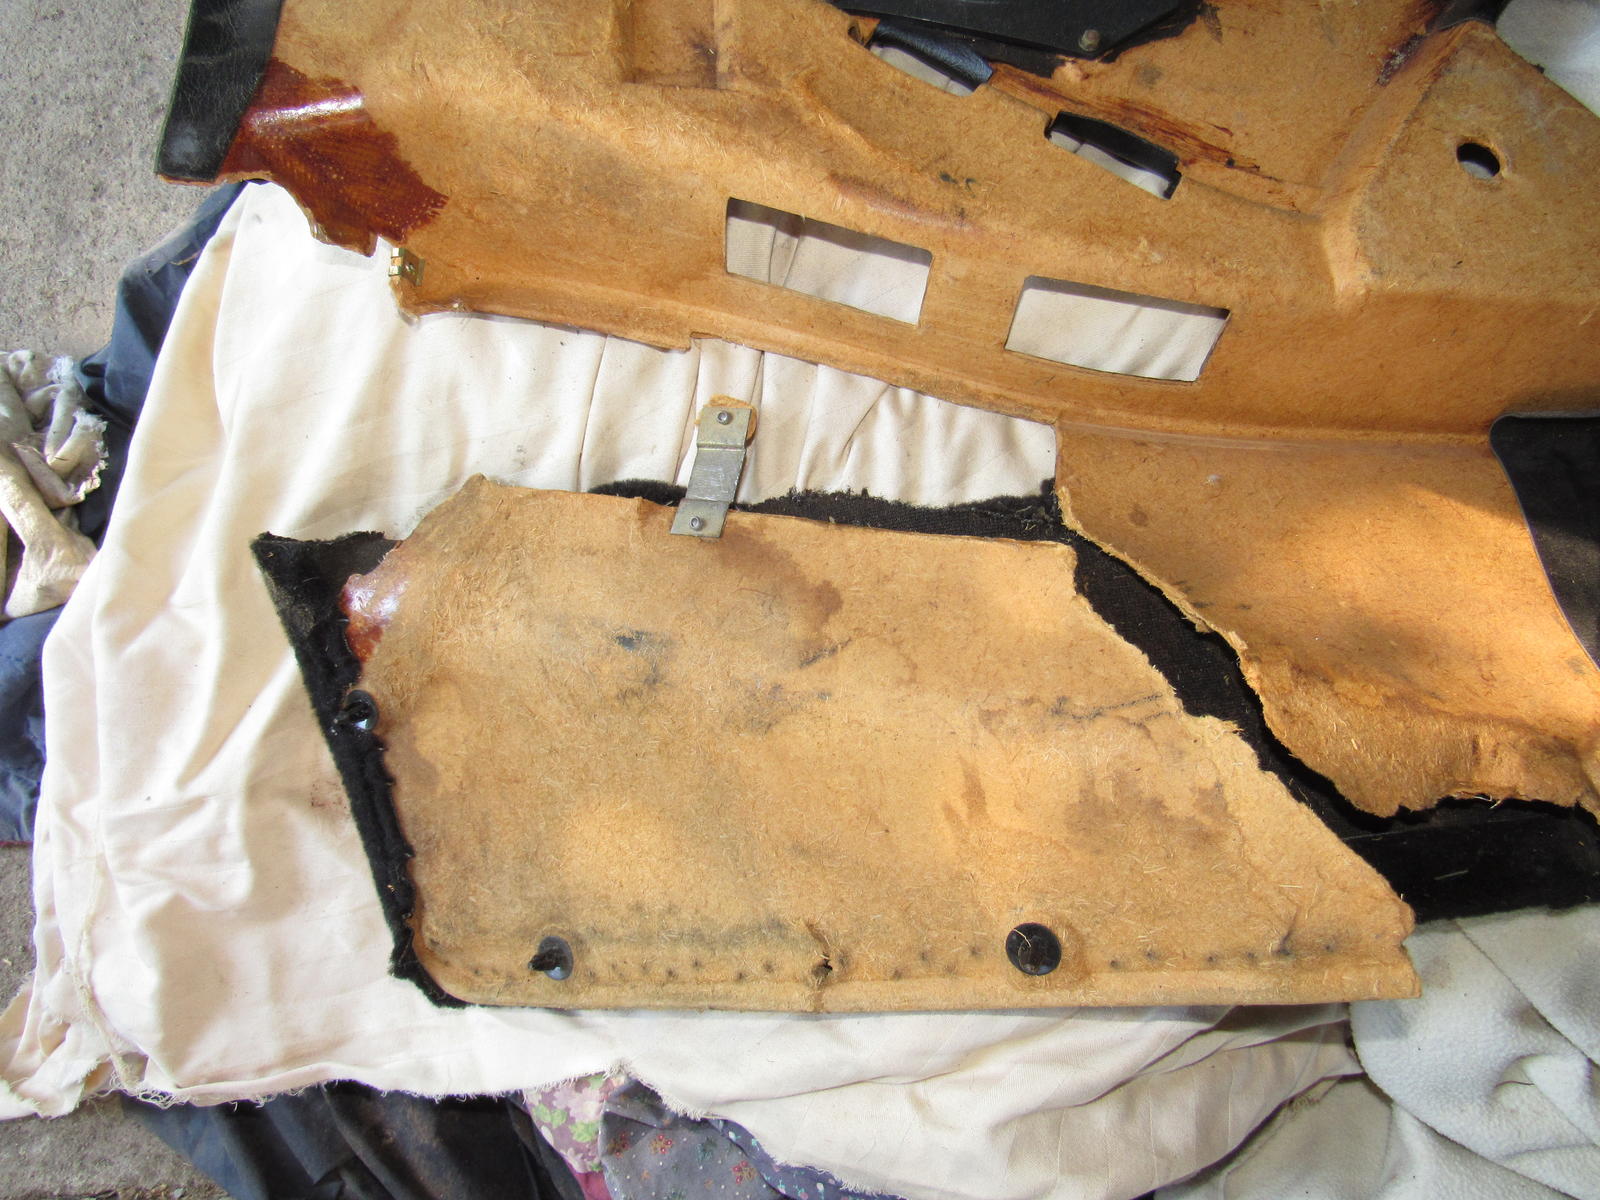
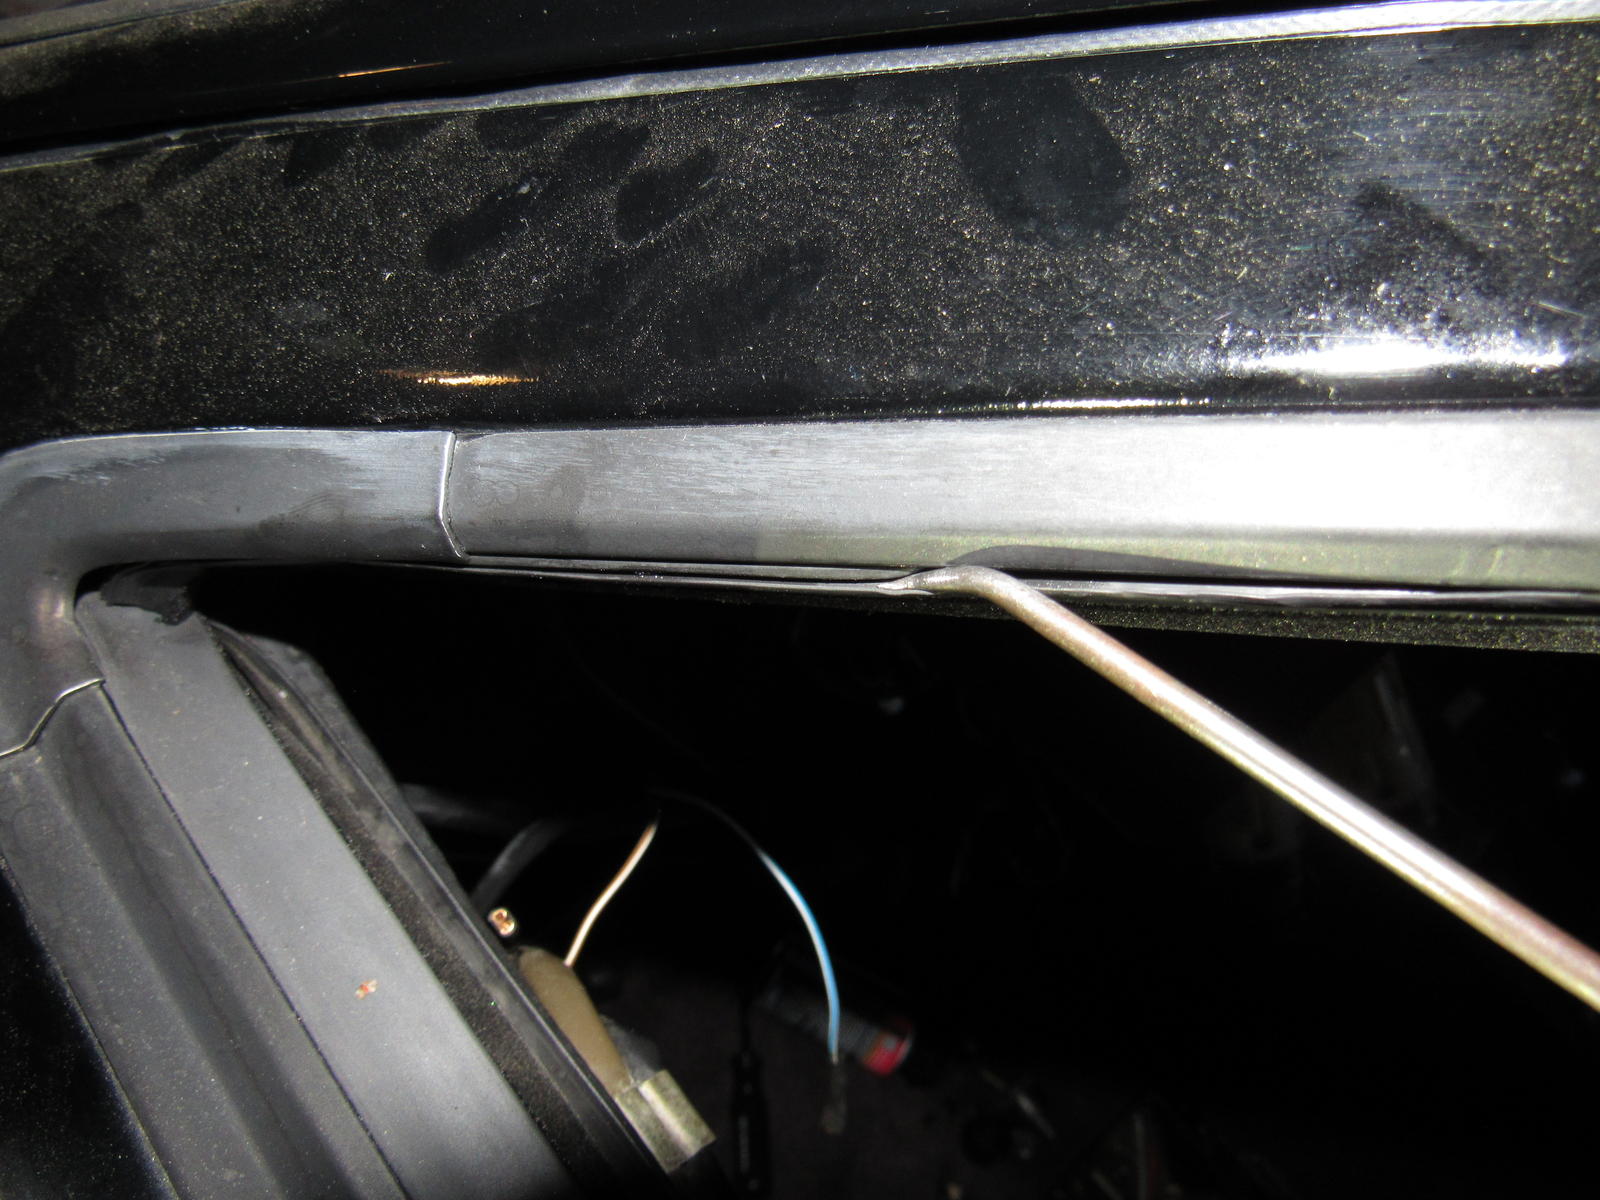
I had to repair about five of the seven mounting clips on the inside upper window trim that had broken off during removal and reinstalled that piece.
JB weld; good as new, if not better.
I installed an LED dimmer from Ed Scherer for the instrument lighting that works really nicely.
Other than that I reinstalled the belly pan, front grill, side trims of the center console, and the center vent which is an exceedingly tight fit for some reason.
I finally got a chance to test the AC performance and I am quite delighted. Vent temps got down to 40 F. The only problem was after about thirty minutes of driving the engine wanted to stall out when pushing the clutch in to come to a stop and it did a few times. I turned up the idle screw I think a full three turns and it runs much better. RPMs at idle are about 900 and with AC on maybe 750. I ordered a used AC air valve as a remedy and should get it this week.
Alex, you have come a long way with your 928 since we were all pulled over on the way to Frenzy last year to try and figure out what was the problem with your car. Very impressed with all your progress!
Looking forward to seeing you and your "reborn" 928 at PVGP.
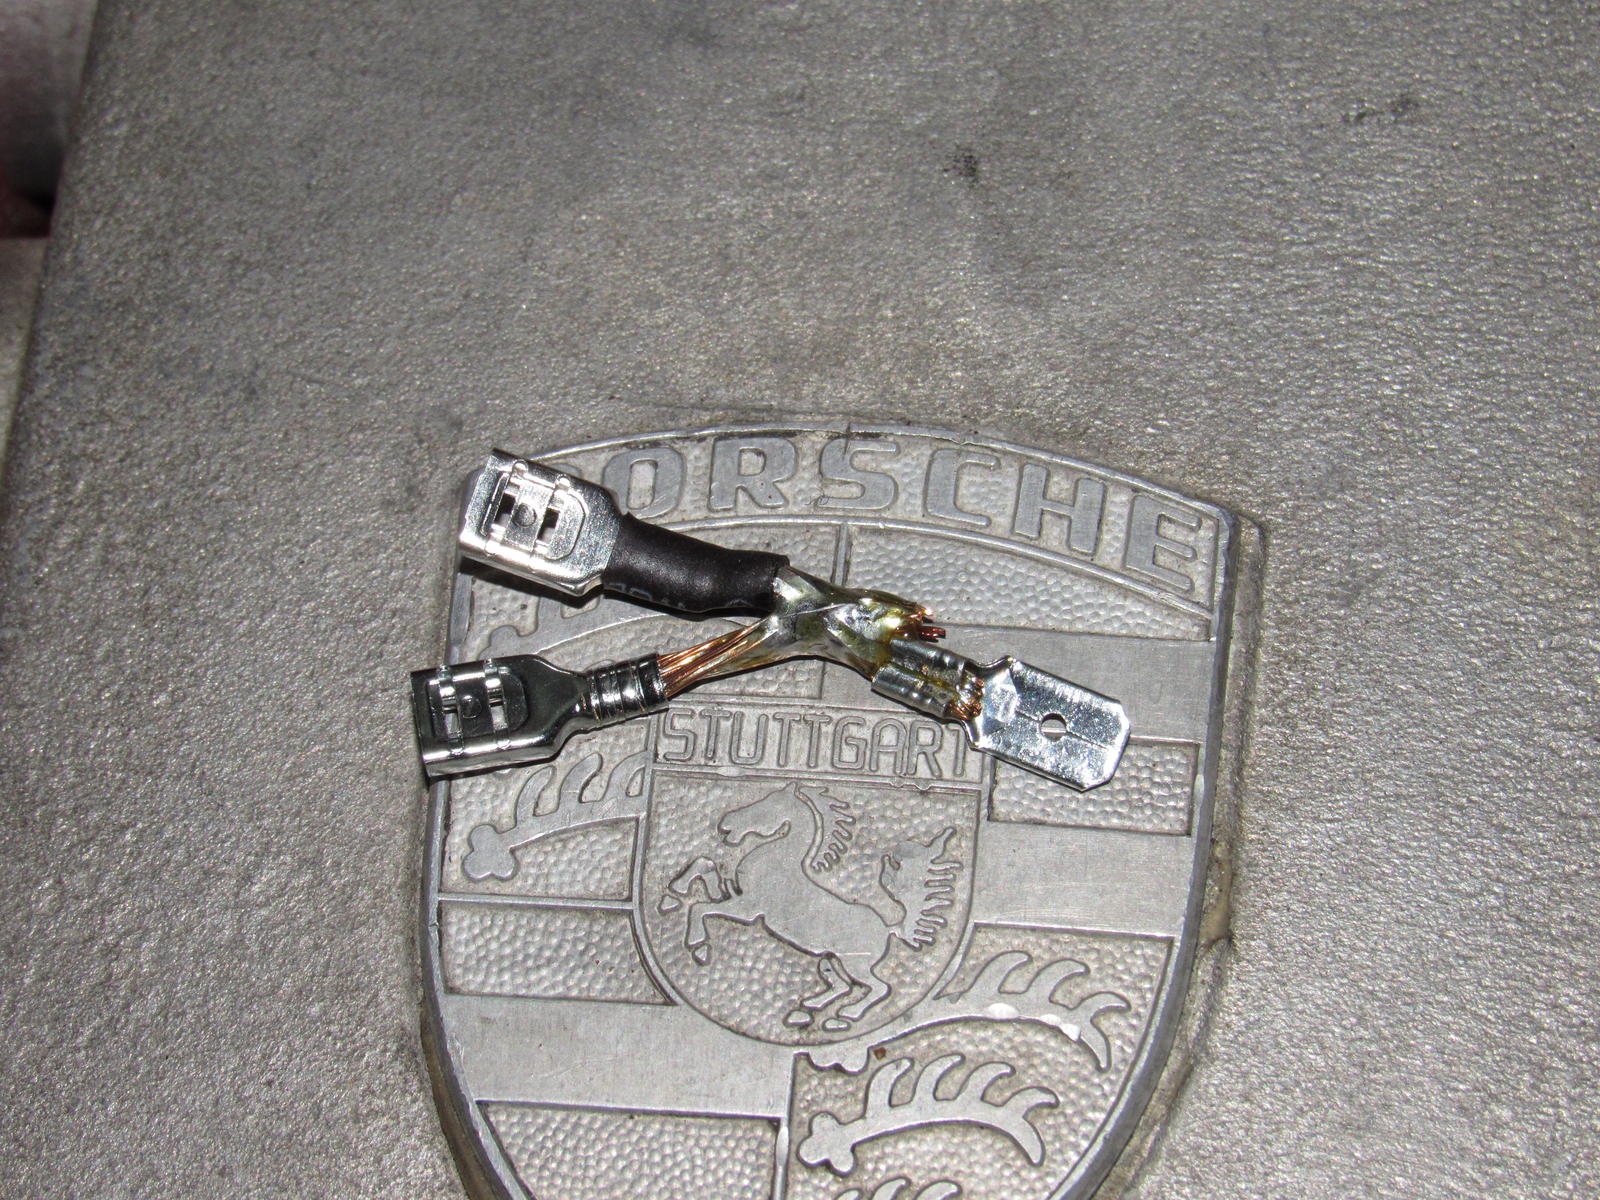
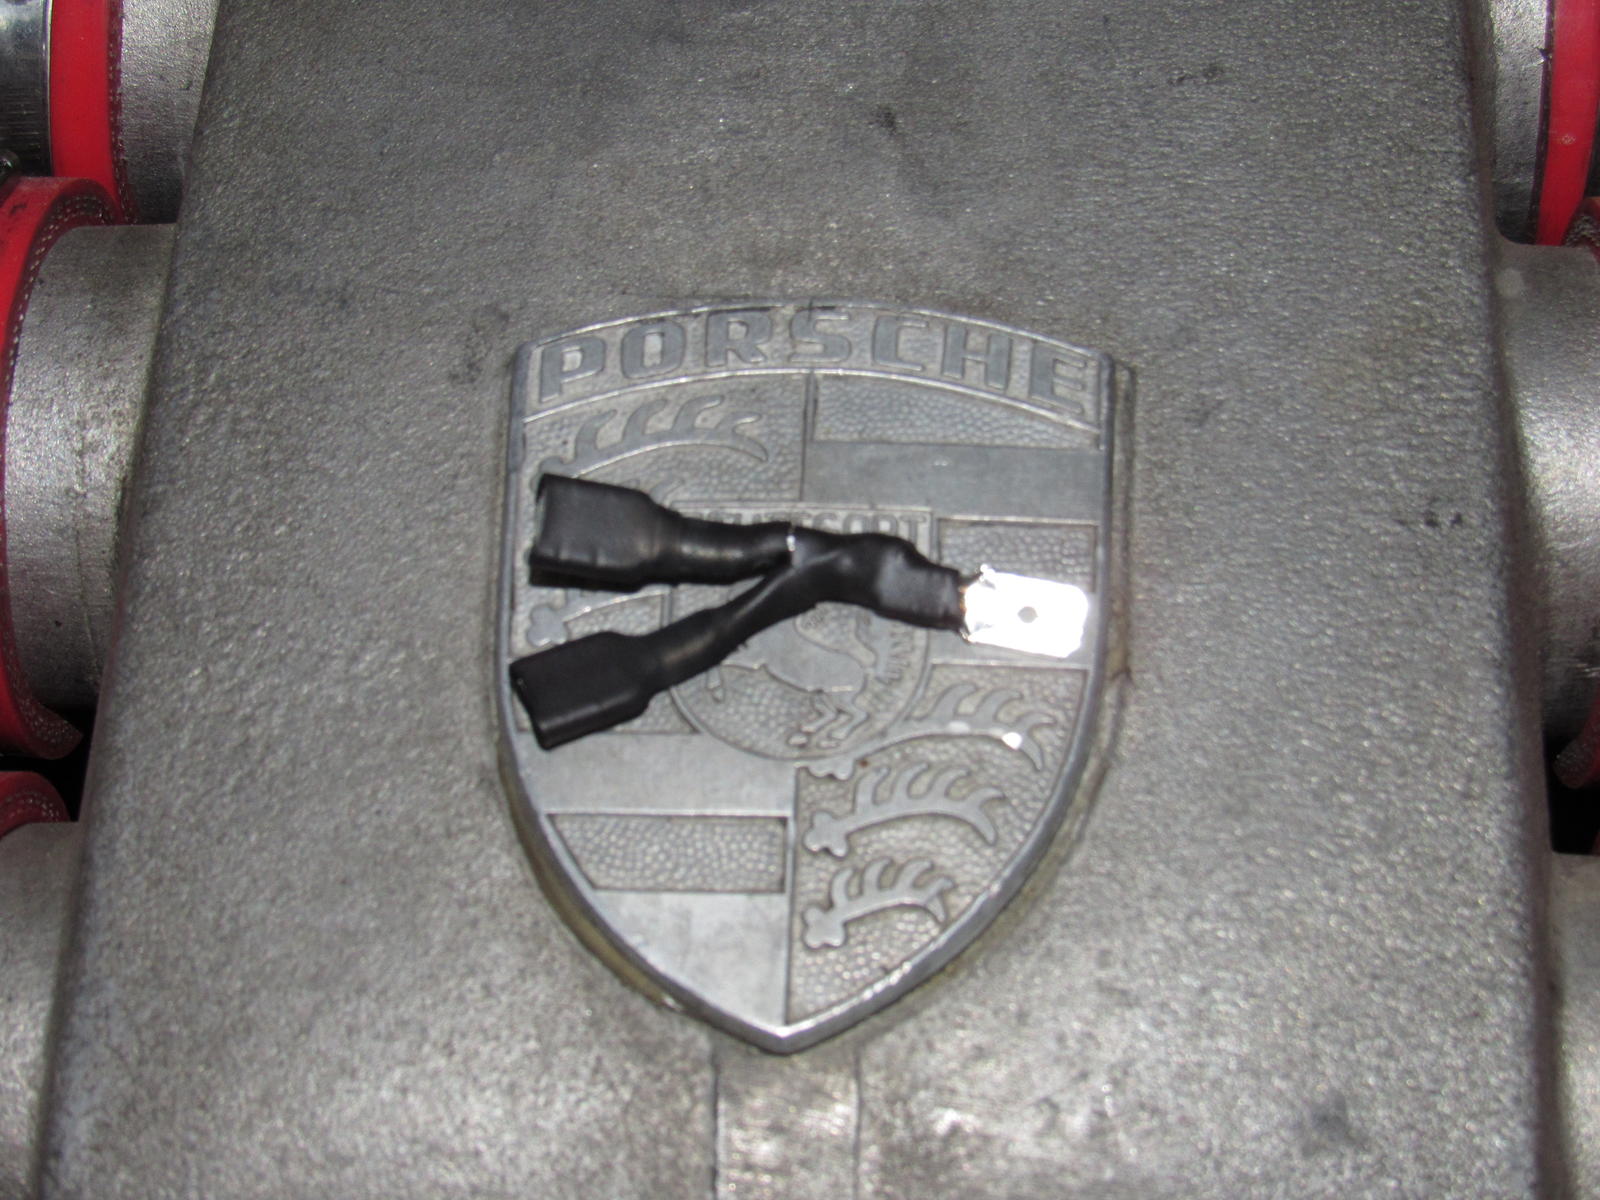
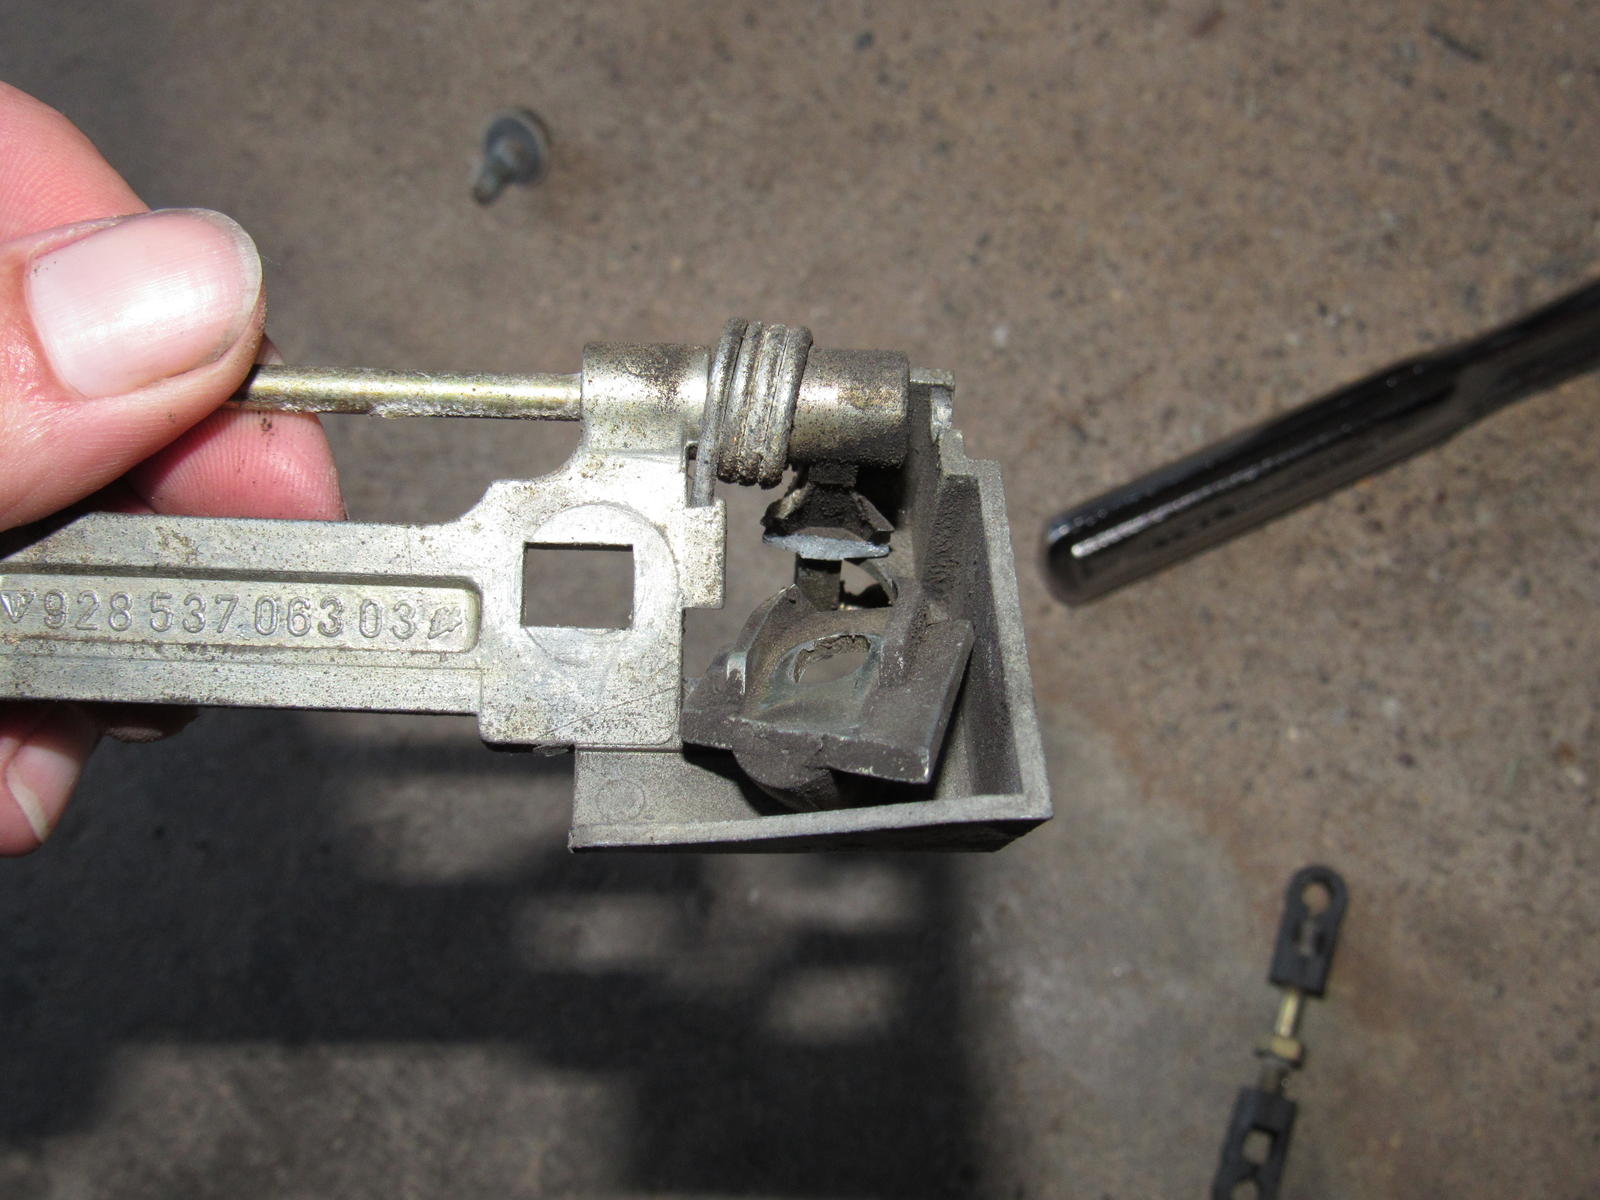
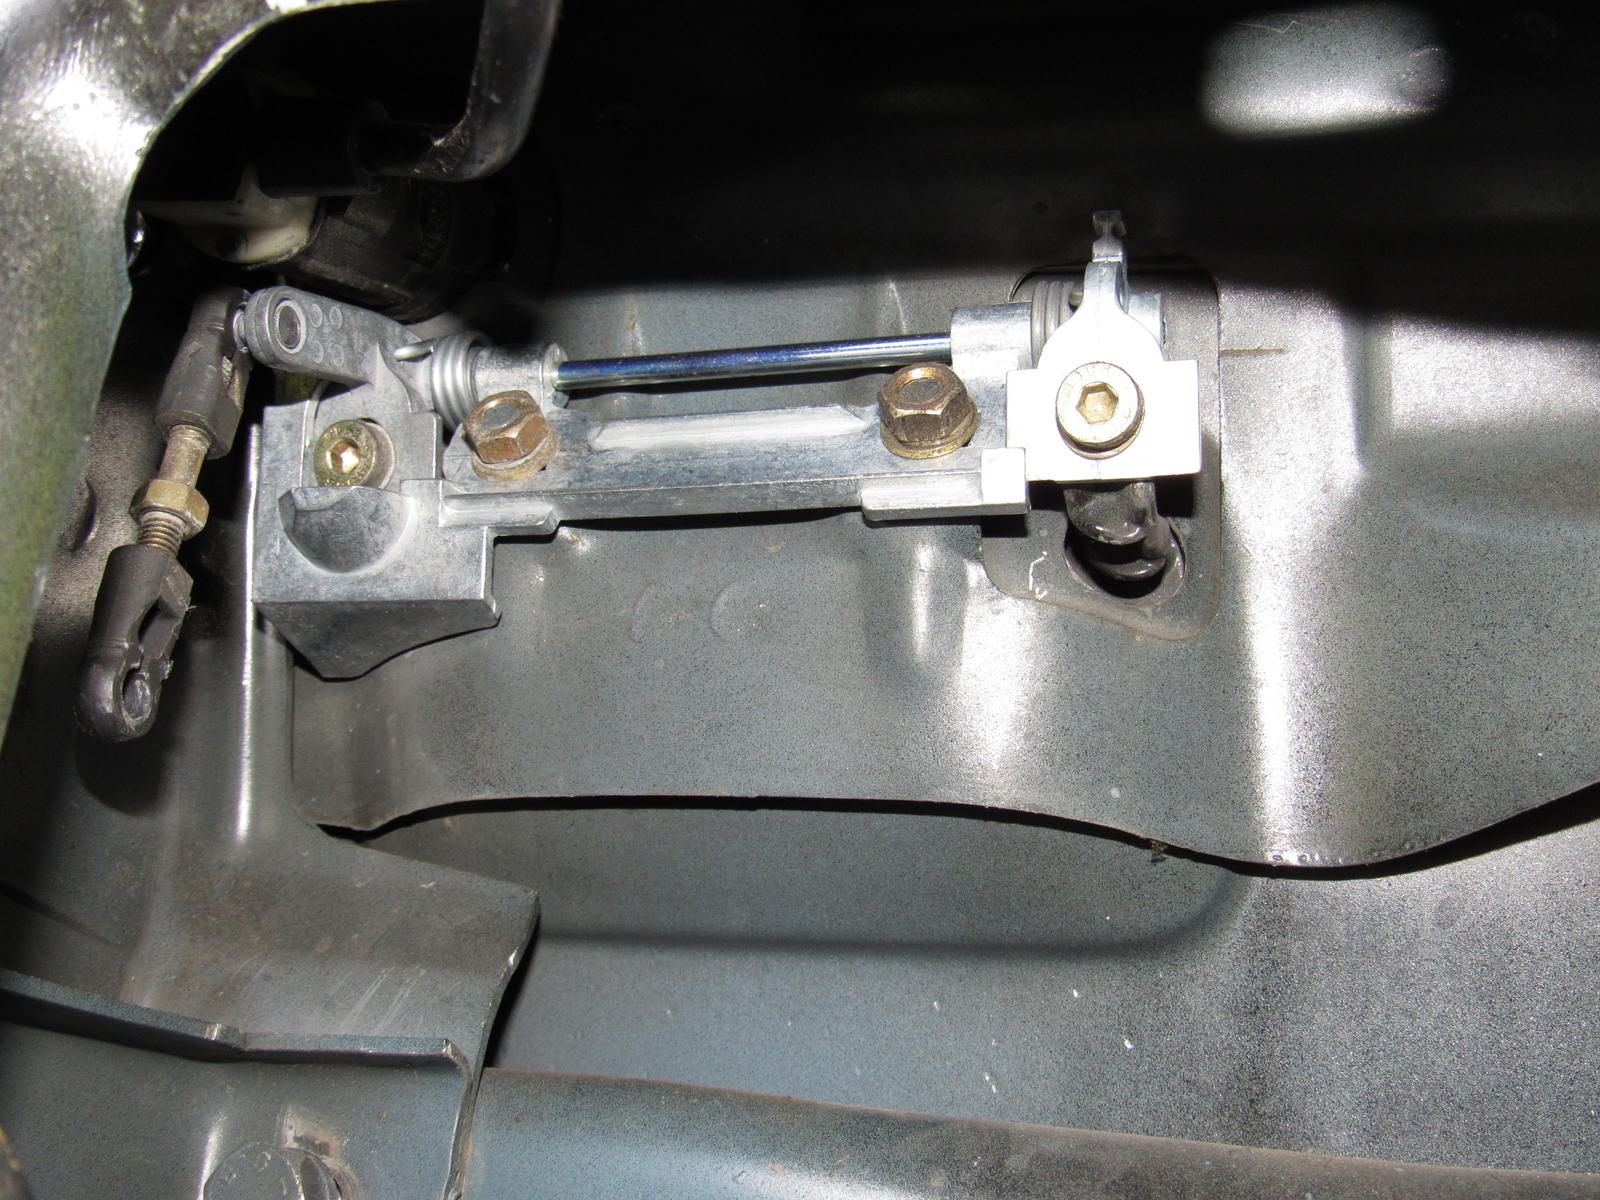
My AC air valve does work after all, but it seems to pull quite a bit a current to actuate. My jumper wires were too small to actuate the valve but by touching the terminal direct to the jump post and using a thicker wire to ground it does work and actually draws a small arc.
I made a wire up from one of the terminals to the cam tower ground. Then I made a three way connector between the wire from the engine harness, wire to the AC compressor and the third goes to a wire to the air valve.
I used 14 gauge wire and with the compressor disconnected the valve works and boosts the idle around 300 rpm but with the compressor connected, the valve only gets about 8.5v - not enough to actuate. All connections are clean and tight.
A conclusion on the above post: the AC compressor draws down the voltage to such a level (8.5v) that the air valve solenoid will not operate. Coincidently I was going through a box of stuff from the PO and found a new or never used harness but it is much thinner wire so that would not help.
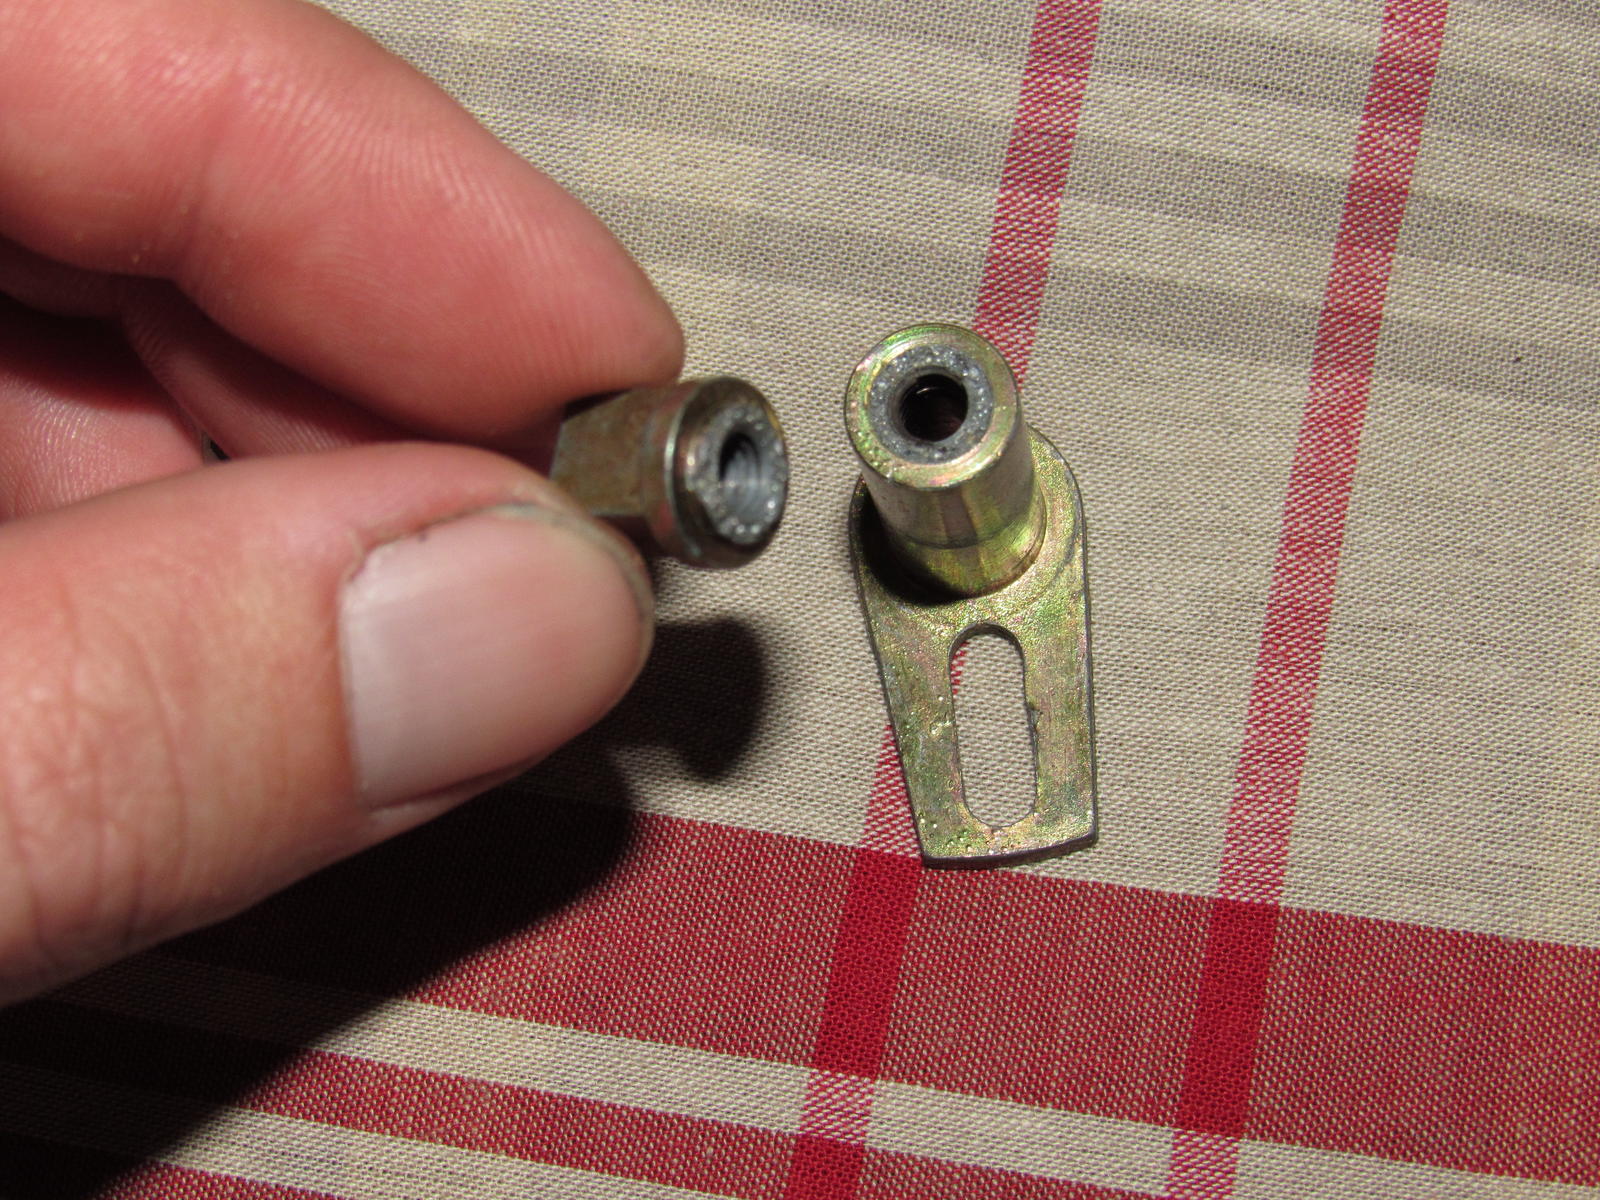
I was able to replace the broken left door handle hinge. I have read all of the horrors dealing with the security plate but I found this to be a refreshingly simple job. I also removed the entire lock mechanisms to clean and get a better understanding of how it all operates.
Classic broken handle hinge:
New:
I learned a thing or two. The locks WILL NOT operate with the door open. Now I cannot remember how I was messing with the locks thinking they were jammed, maybe the door was open? I needed to get in there anyway to replace the hinge and **** lever which was broken so it was no wasted effort at all.
When reinstalling the mechanisms it is important to have the striker in the closed position, as if the door was closed, or it will jam everything up. I never had a problem opening the door before but it is buttery smooth now and so is the lock. I went to the right side and sure enough the lock works with the door closed, not jammed at all, just another 928 oddity.
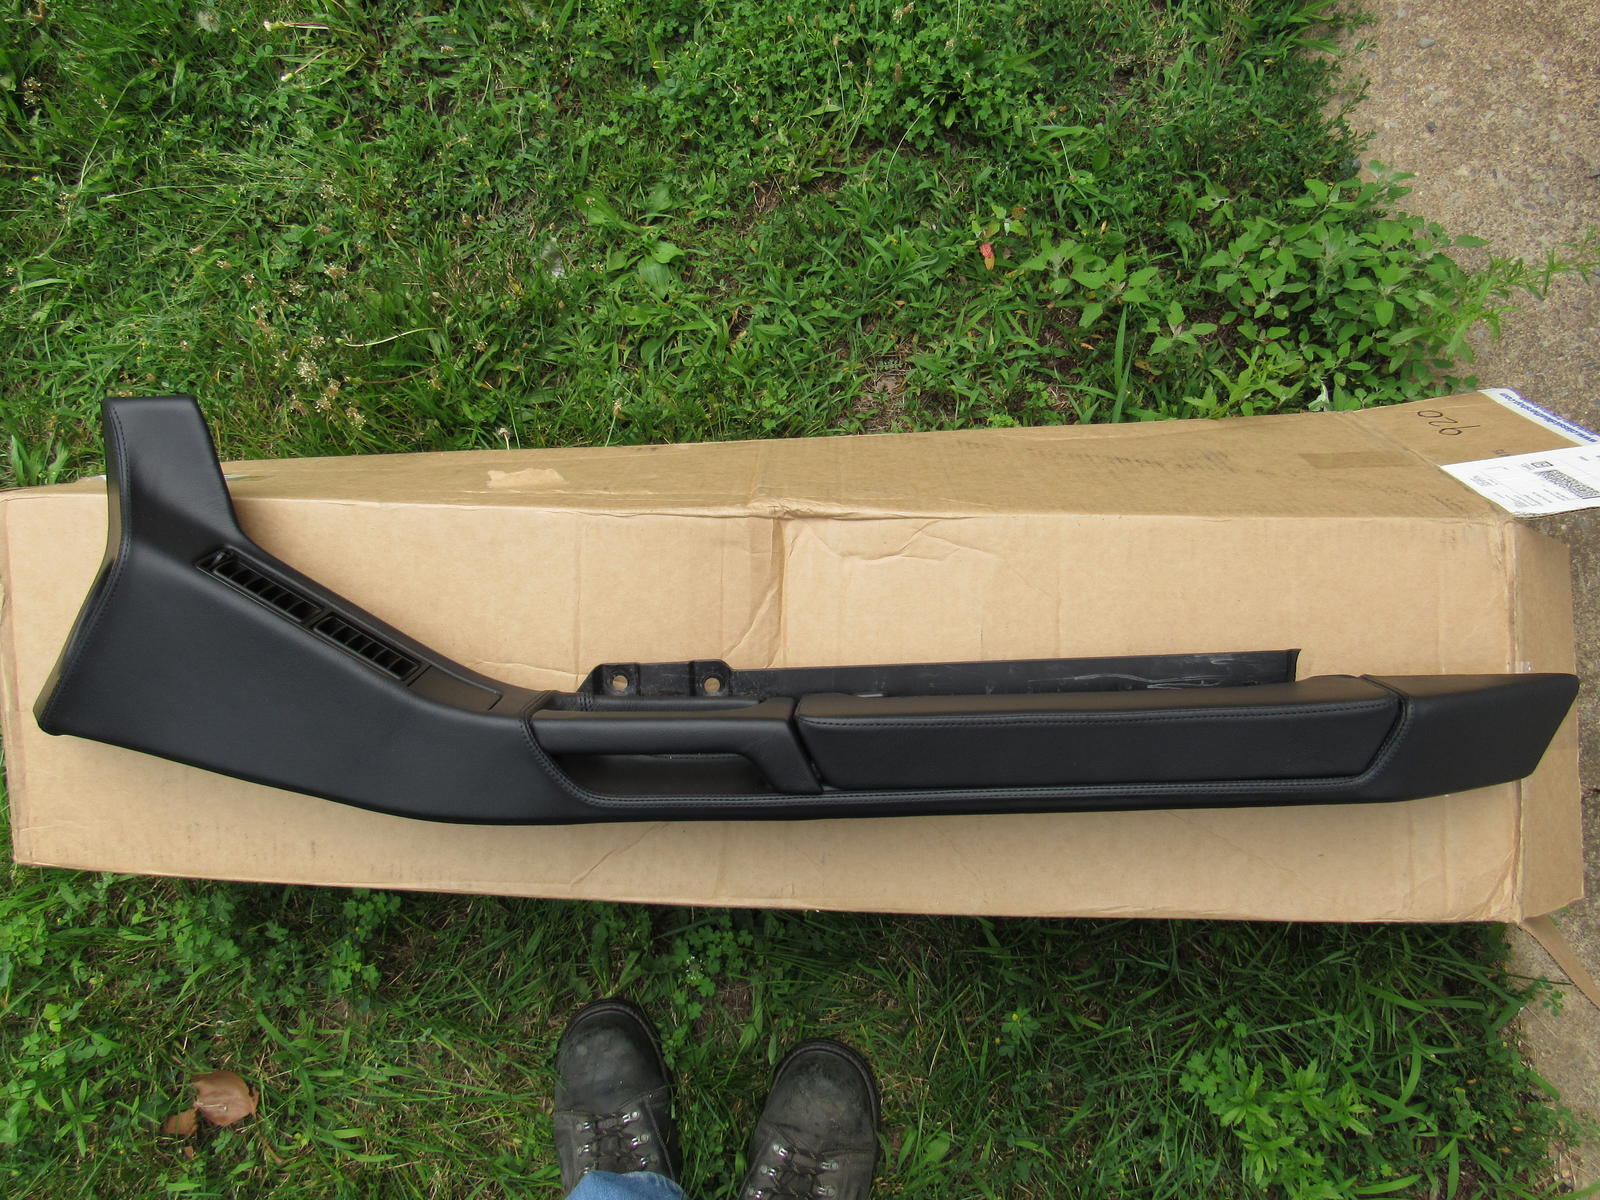
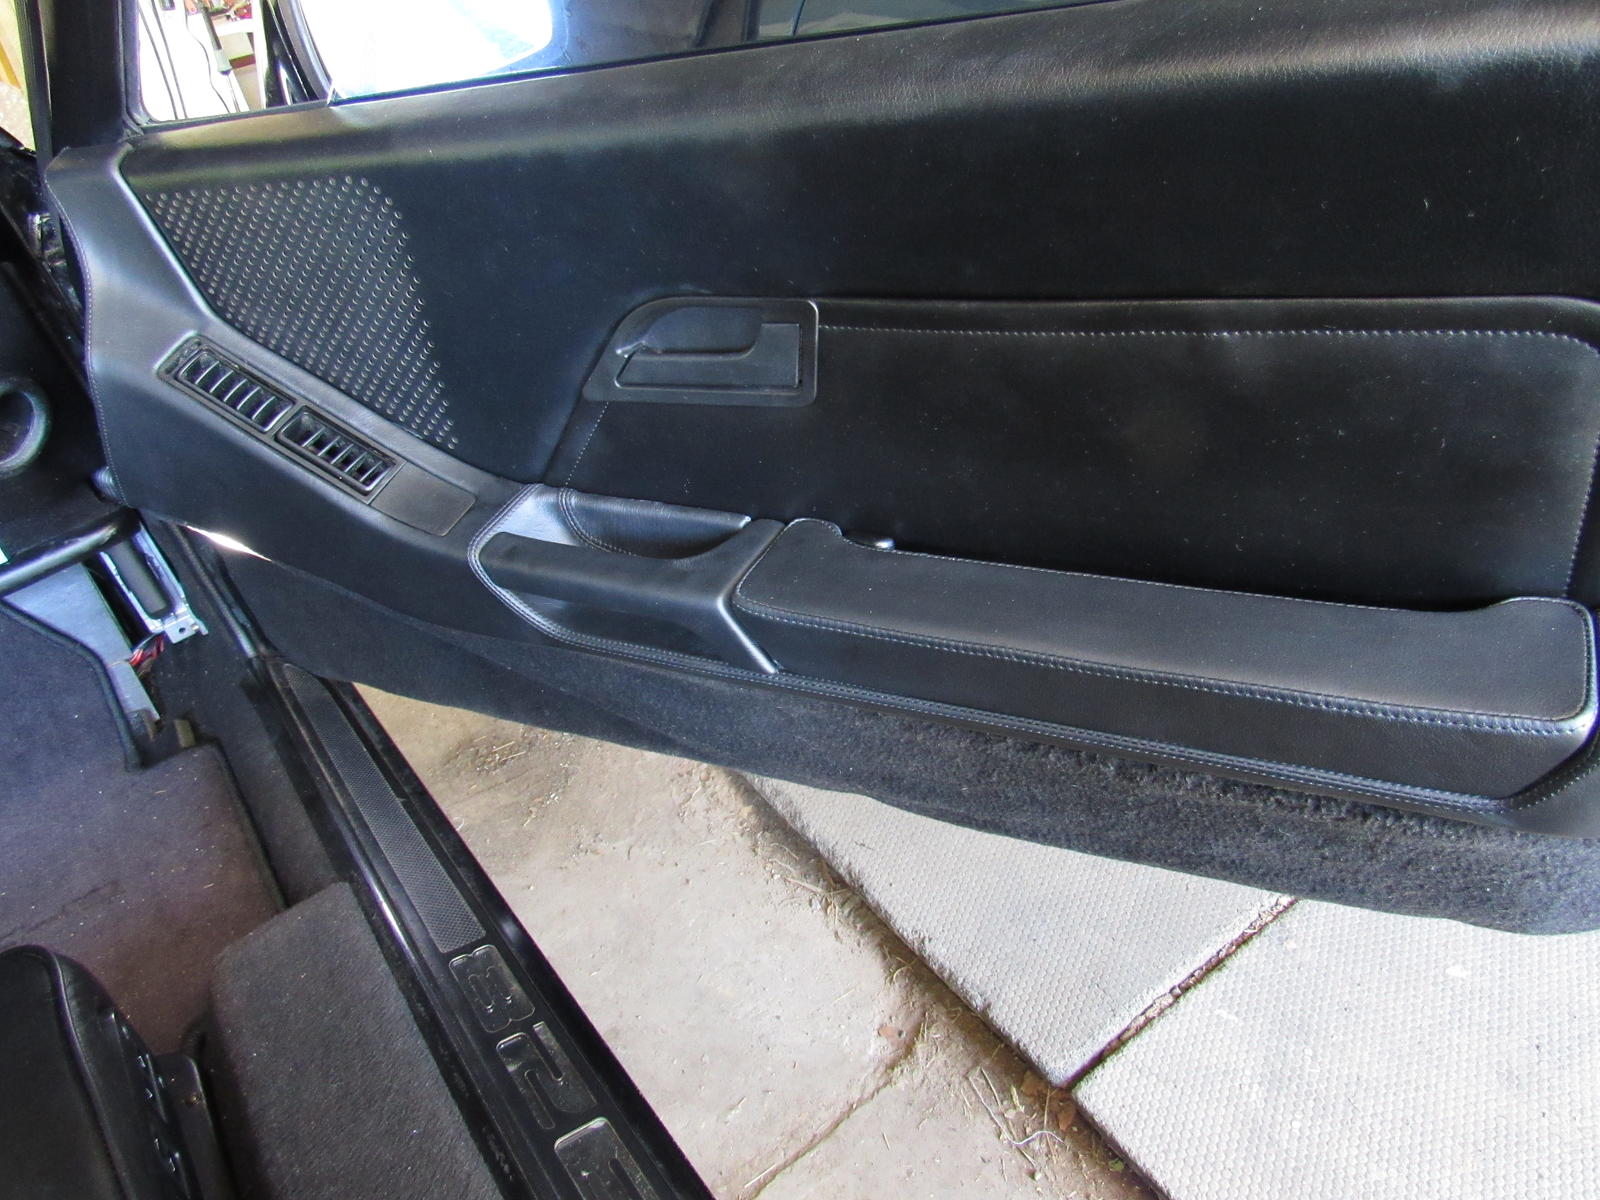
I received my armrests and hatch trims from Rob Budd and they are fantastic. Really top shelf work.
I had metal armrest reinforcements from the PO and installed those. I forgot to take a photo but there is one bolt that should not be installed because it blocks the center panel from sliding forward into place.
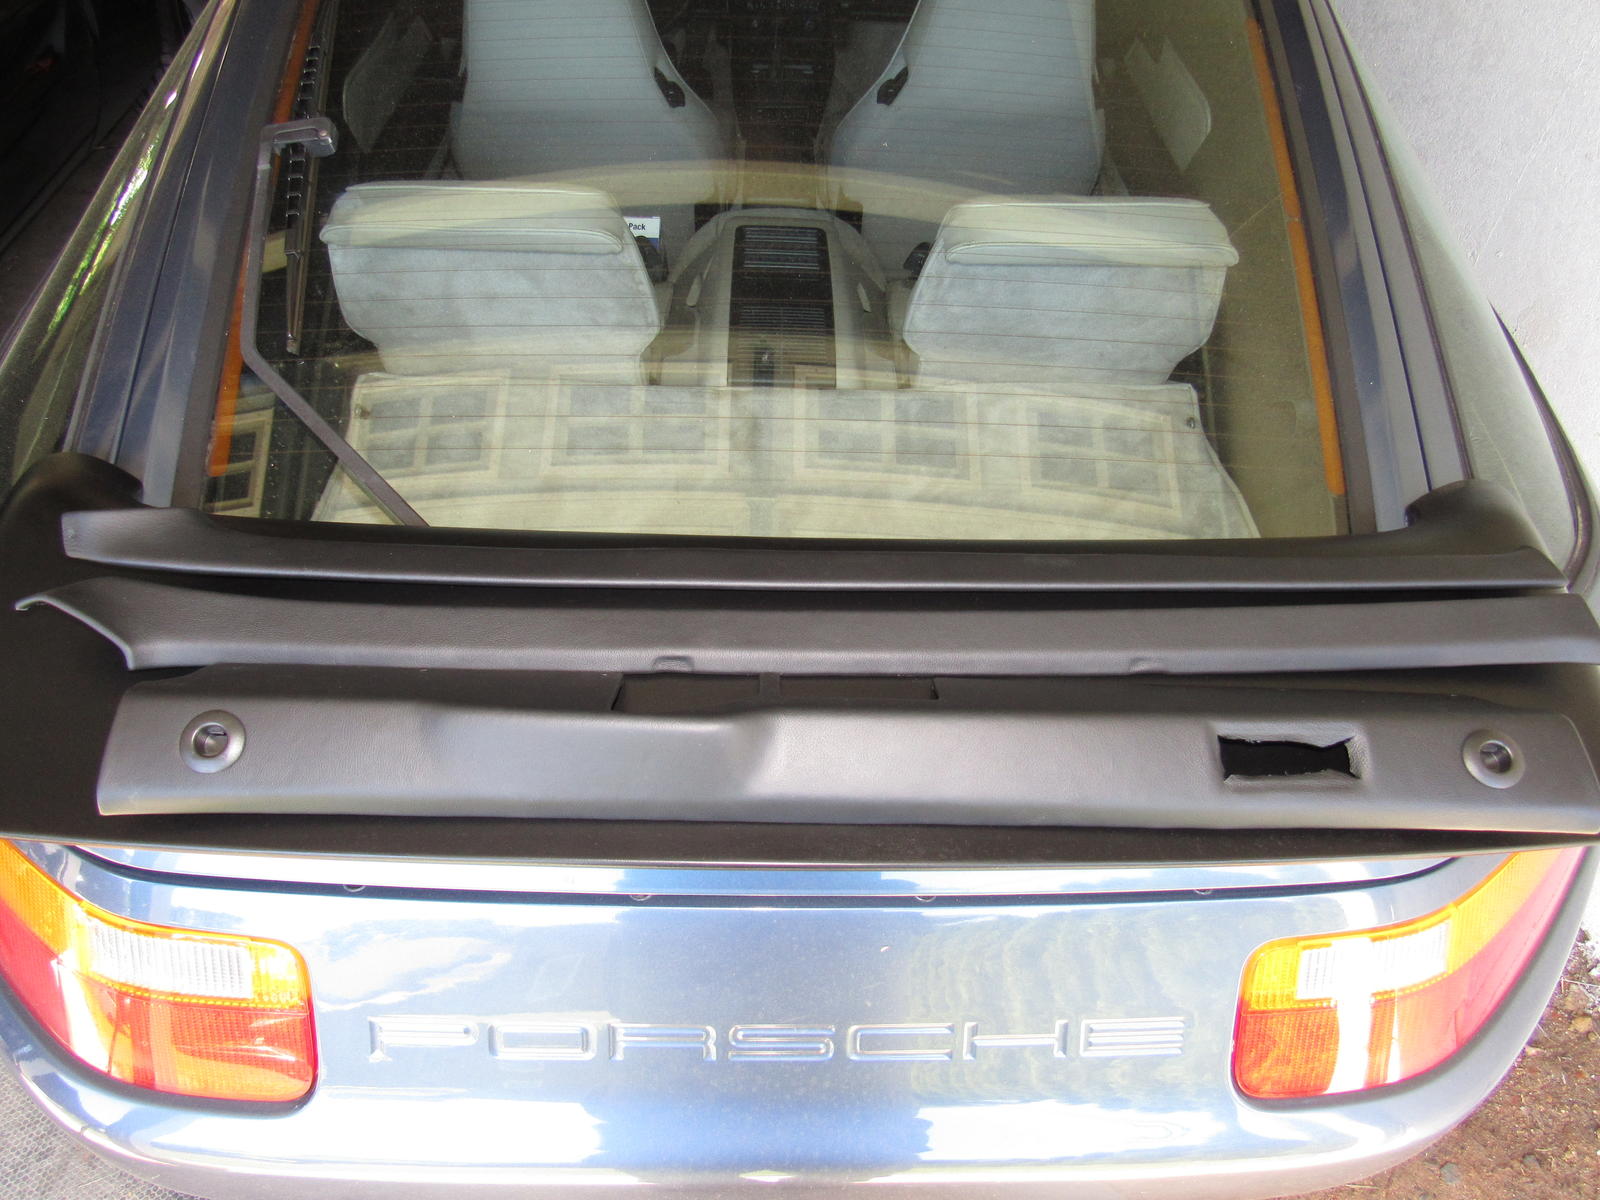
I installed the hatch trims:
I also got floor insulation pads which were all missing except the front right.
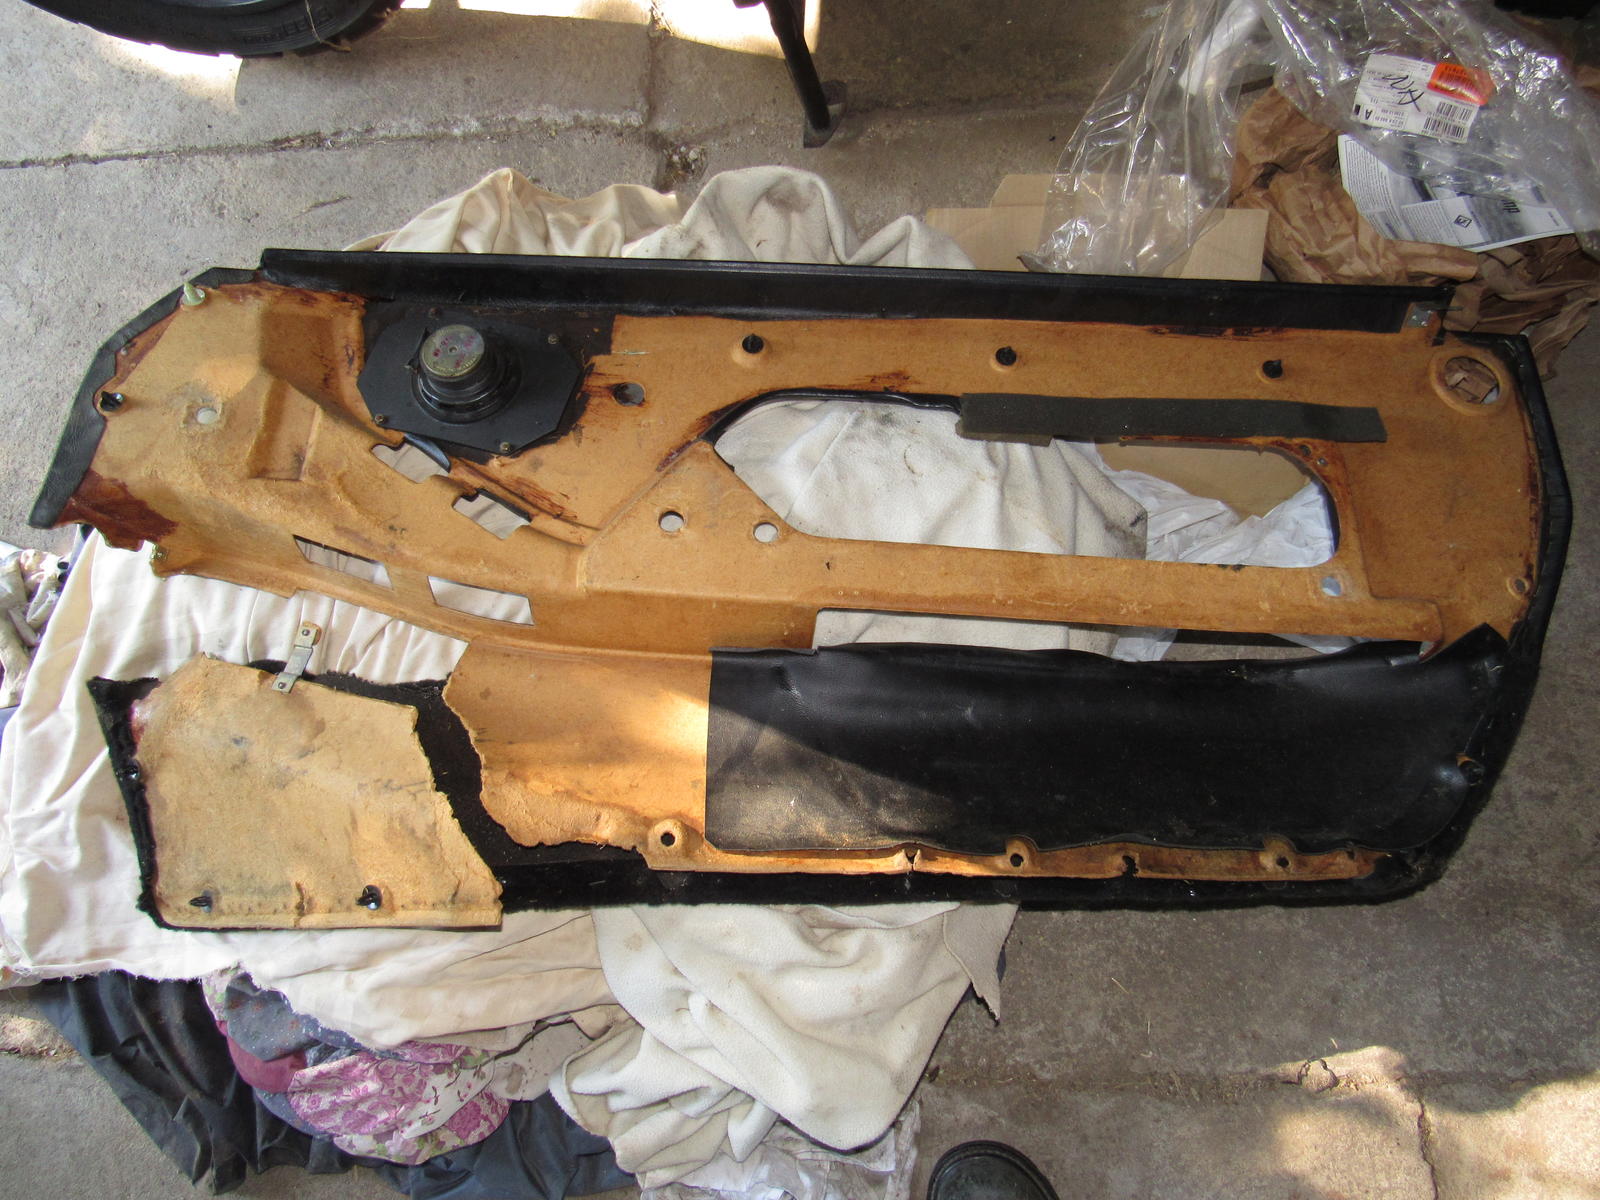
I wanted to repair and reinstall the left door card which was already removed when I bought the car but that will take quite some work. I have installed my nice armrest for now.
When I had the hood off I also repaired the wiring for the under hood lamp and removed the socket from a broken bulb out of the fixture. I plugged in a 10w I had spare from doing the LED conversion and behold, it works!
Hi Alex,
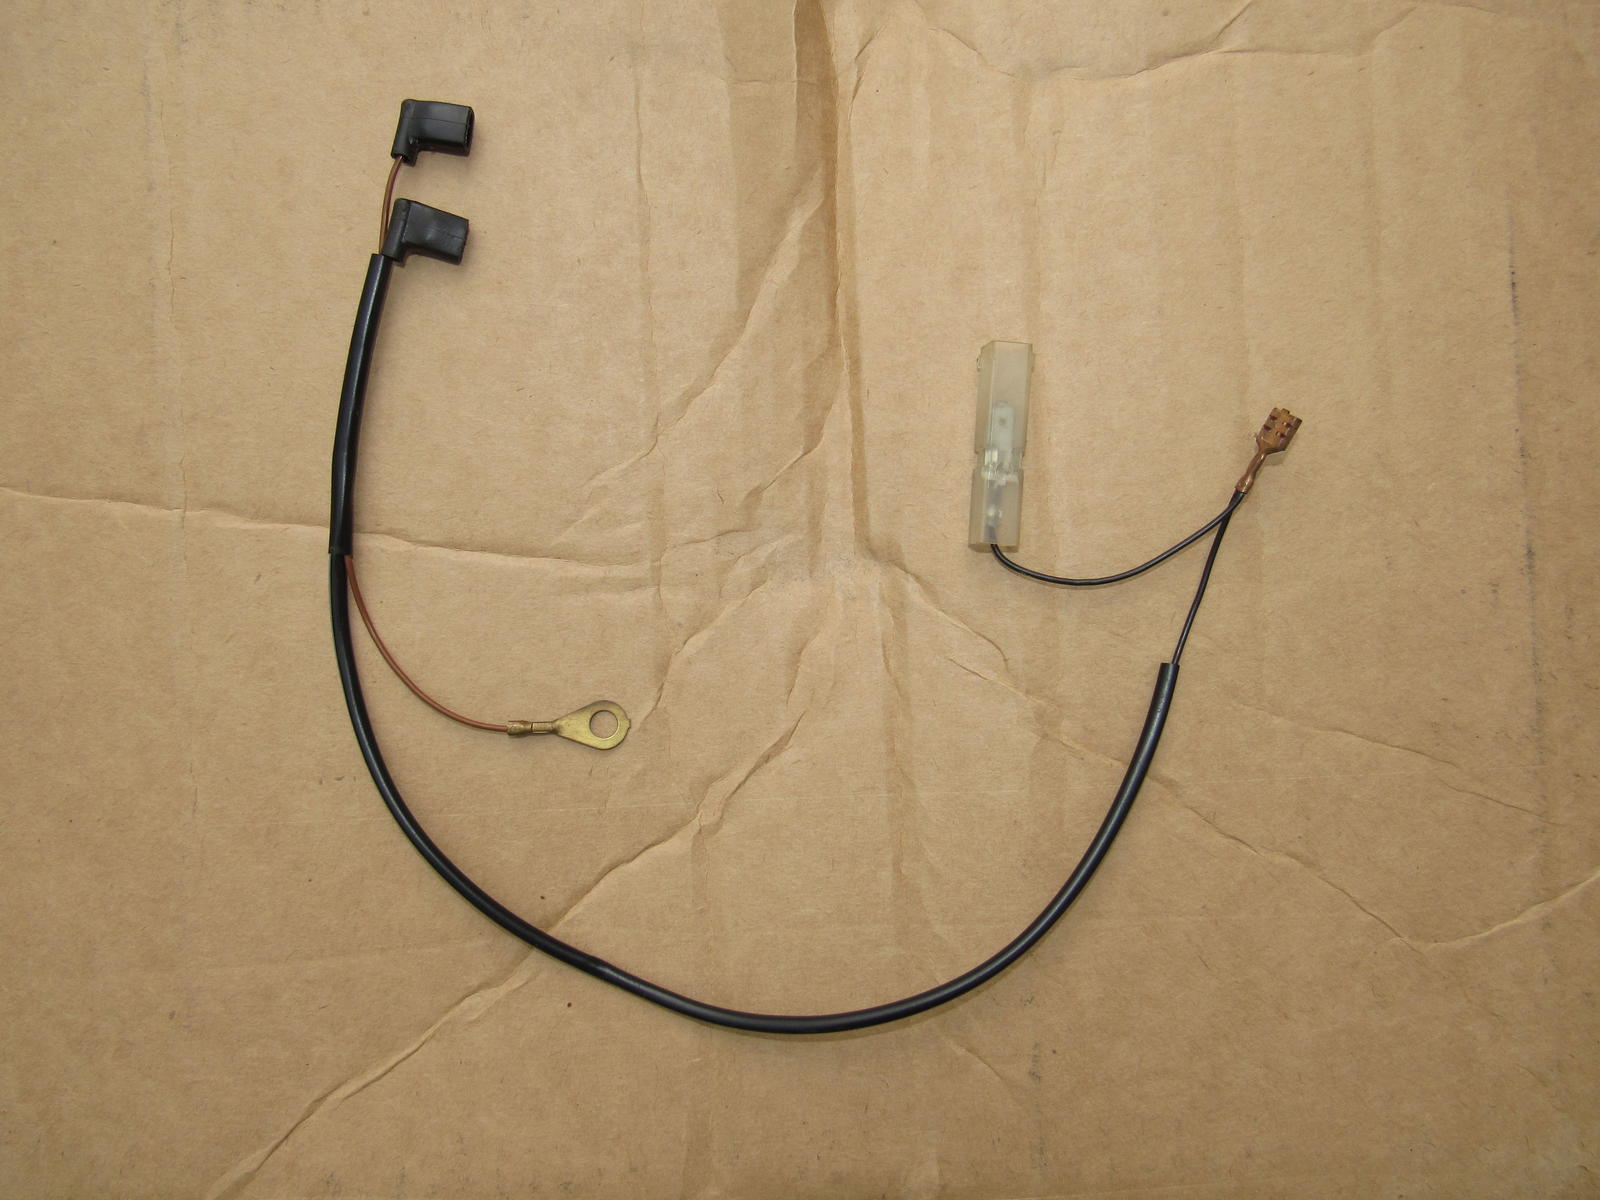
I think that small harness is for the AC RPM increase solenoid, normally mounted to the cross brace. It looks like it has been eliminated on your car. I also removed mine without any horrible events.
Good luck,
Dave
Car looks great, you've got "your" barn find looking the best.
Door lock story hit home, just had the passenger door panel off my 78...and was M/F'n the lock for not working after installation...then I remembered to close the latching mechanism. Can only pretend it will never happen again, but we all know better.
Alex, you have come a long way with your 928 since we were all pulled over on the way to Frenzy last year to try and figure out what was the problem with your car. Very impressed with all your progress!
Looking forward to seeing you and your "reborn" 928 at PVGP.
Thank you, I am hoping for a bit more reliability this time
Originally Posted by j.kenzie@sbcglobal.net
Hi Alex,
I think that small harness is for the AC RPM increase solenoid, normally mounted to the cross brace. It looks like it has been eliminated on your car. I also removed mine without any horrible events.
Good luck,
Dave
Yes that is exactly what I am describing but I do have it and it functions but not when the AC compressor is on because it pulls the voltage down too much. I had tried to get another solenoid but 928 Intl. is out of them. Maybe I can swap it with someone at the PVGP to see if it works or not. I feel that it is drawing too much current for what it is, it actually pulls an arc similar to what a window motor would do.
It is actually critically important for my car. With the idle set correctly it drops too low with AC running that the engine stalls out when letting off the gas to come to a stop. I have it at a compromise for now, a bit too high idle with AC off so that it maintains about 700rpms with AC on.
Originally Posted by The Deputy
Oh, the old 826 model...lol.
Car looks great, you've got "your" barn find looking the best.
Door lock story hit home, just had the passenger door panel off my 78...and was M/F'n the lock for not working after installation...then I remembered to close the latching mechanism. Can only pretend it will never happen again, but we all know better.
Keep up the great work.
Brian.
Thanks, definitely one of those moments a light bulb goes off in your brain. Not that I have been able to drive it much being up on jackstands since November, but I had been leaving the car unlocked for fear of being locked out.
The 826 models were built on Friday afternoons before a holiday weekend

 06-19-2017, 11:04 PM
 I could drill a new hole for the screw but I will leave it alone, it is held tight enough that it could not fall out.
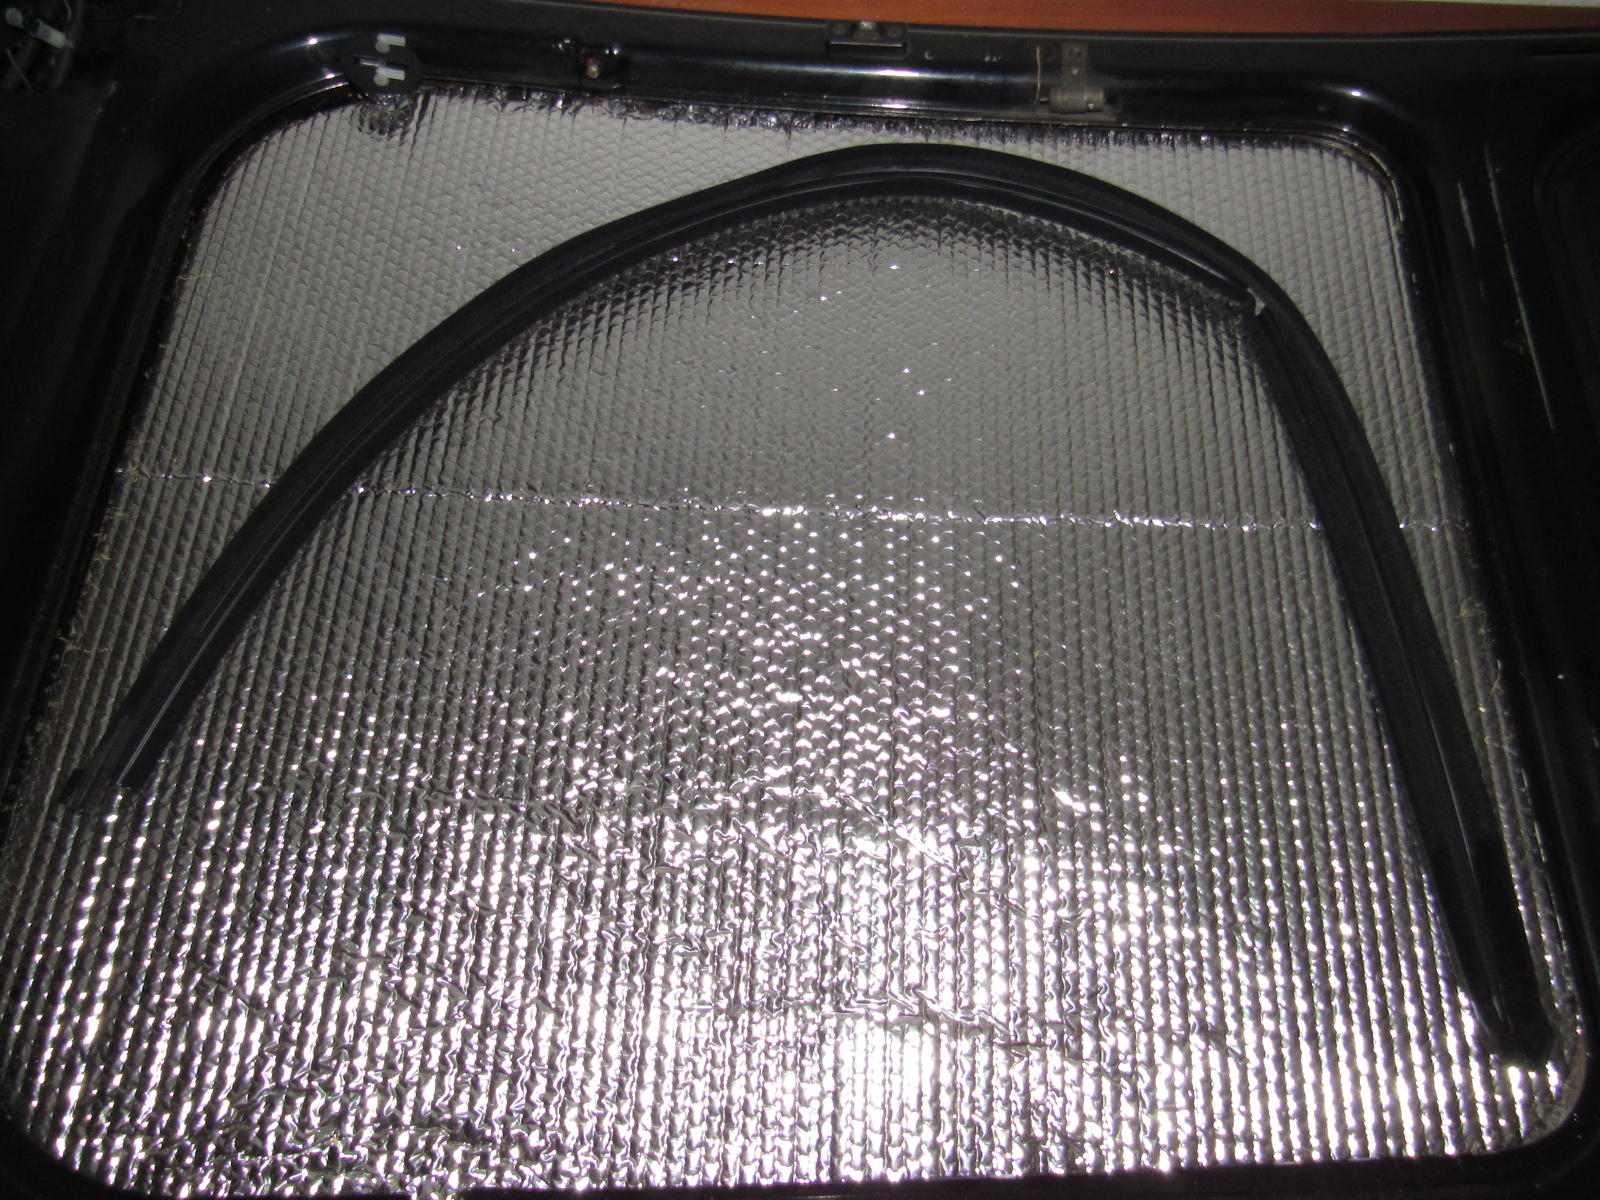

 The connections were cleaned before and tight so I don't know why it was sensitive. I tightened the spade connector a little more and sprayed more DeOxit. It is working now but I've not tested the AC performance yet.
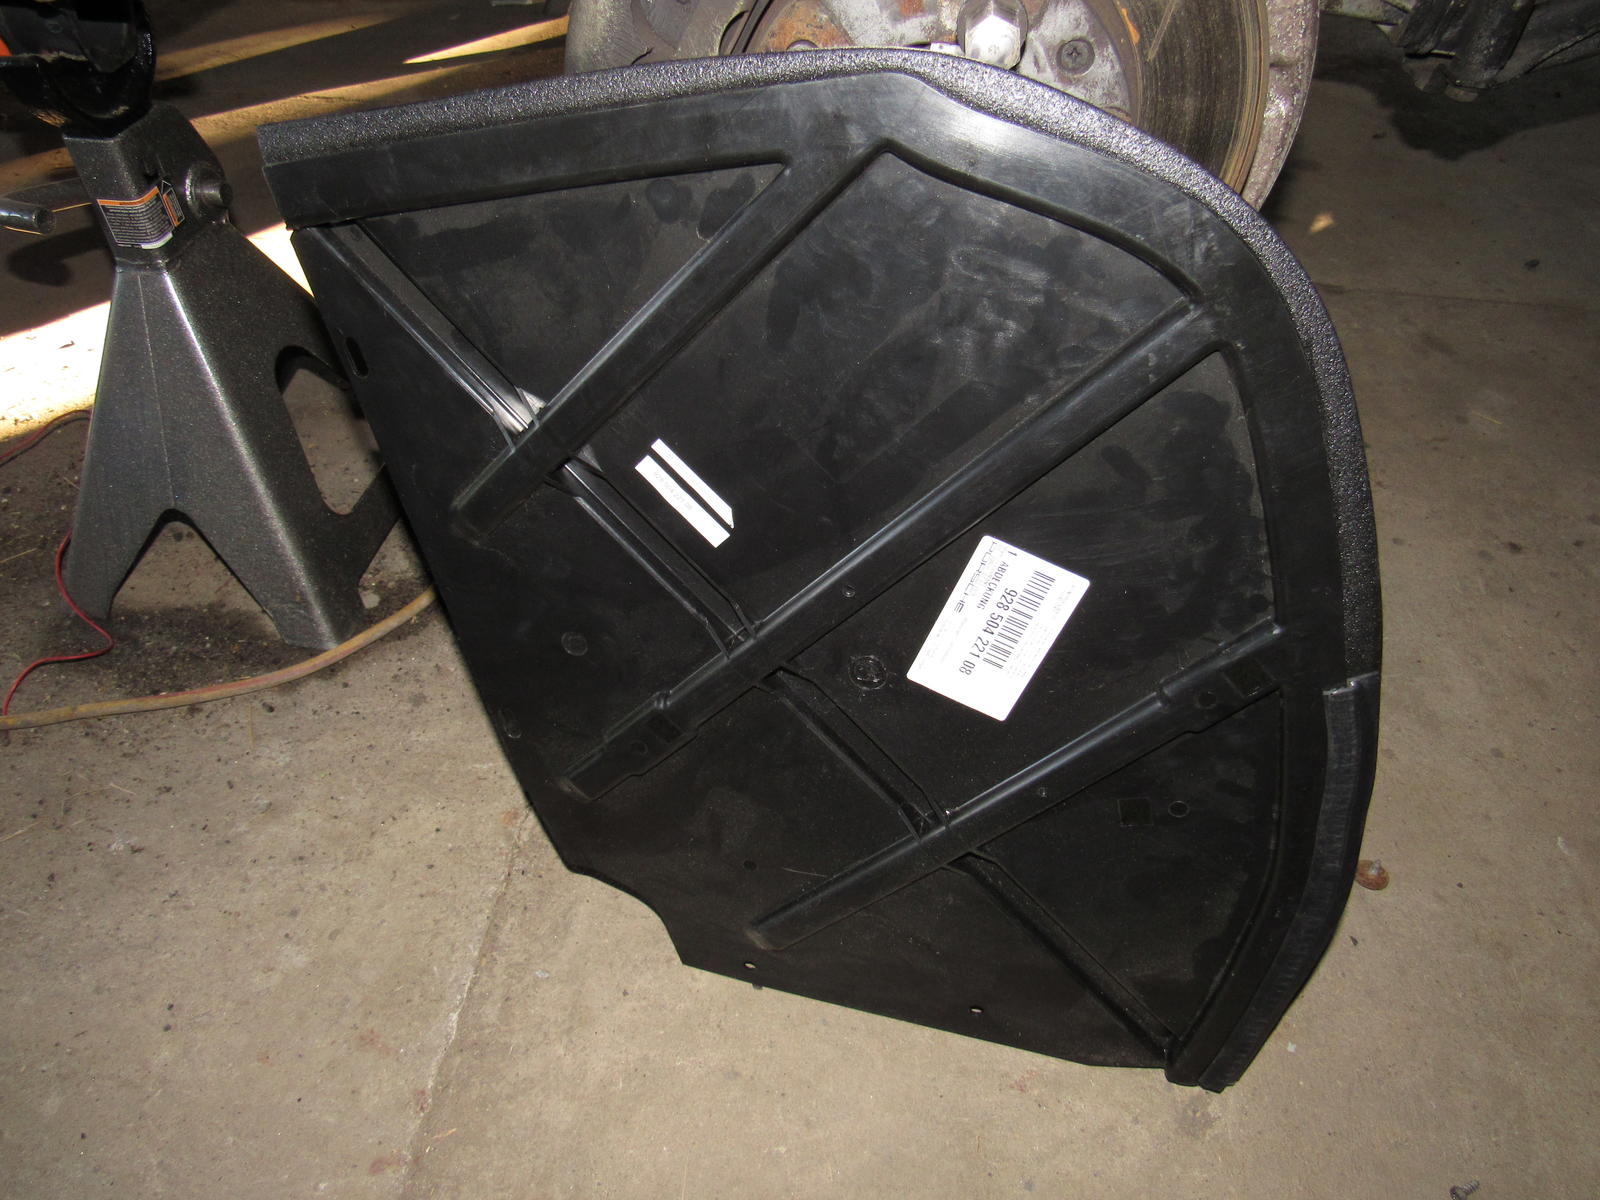


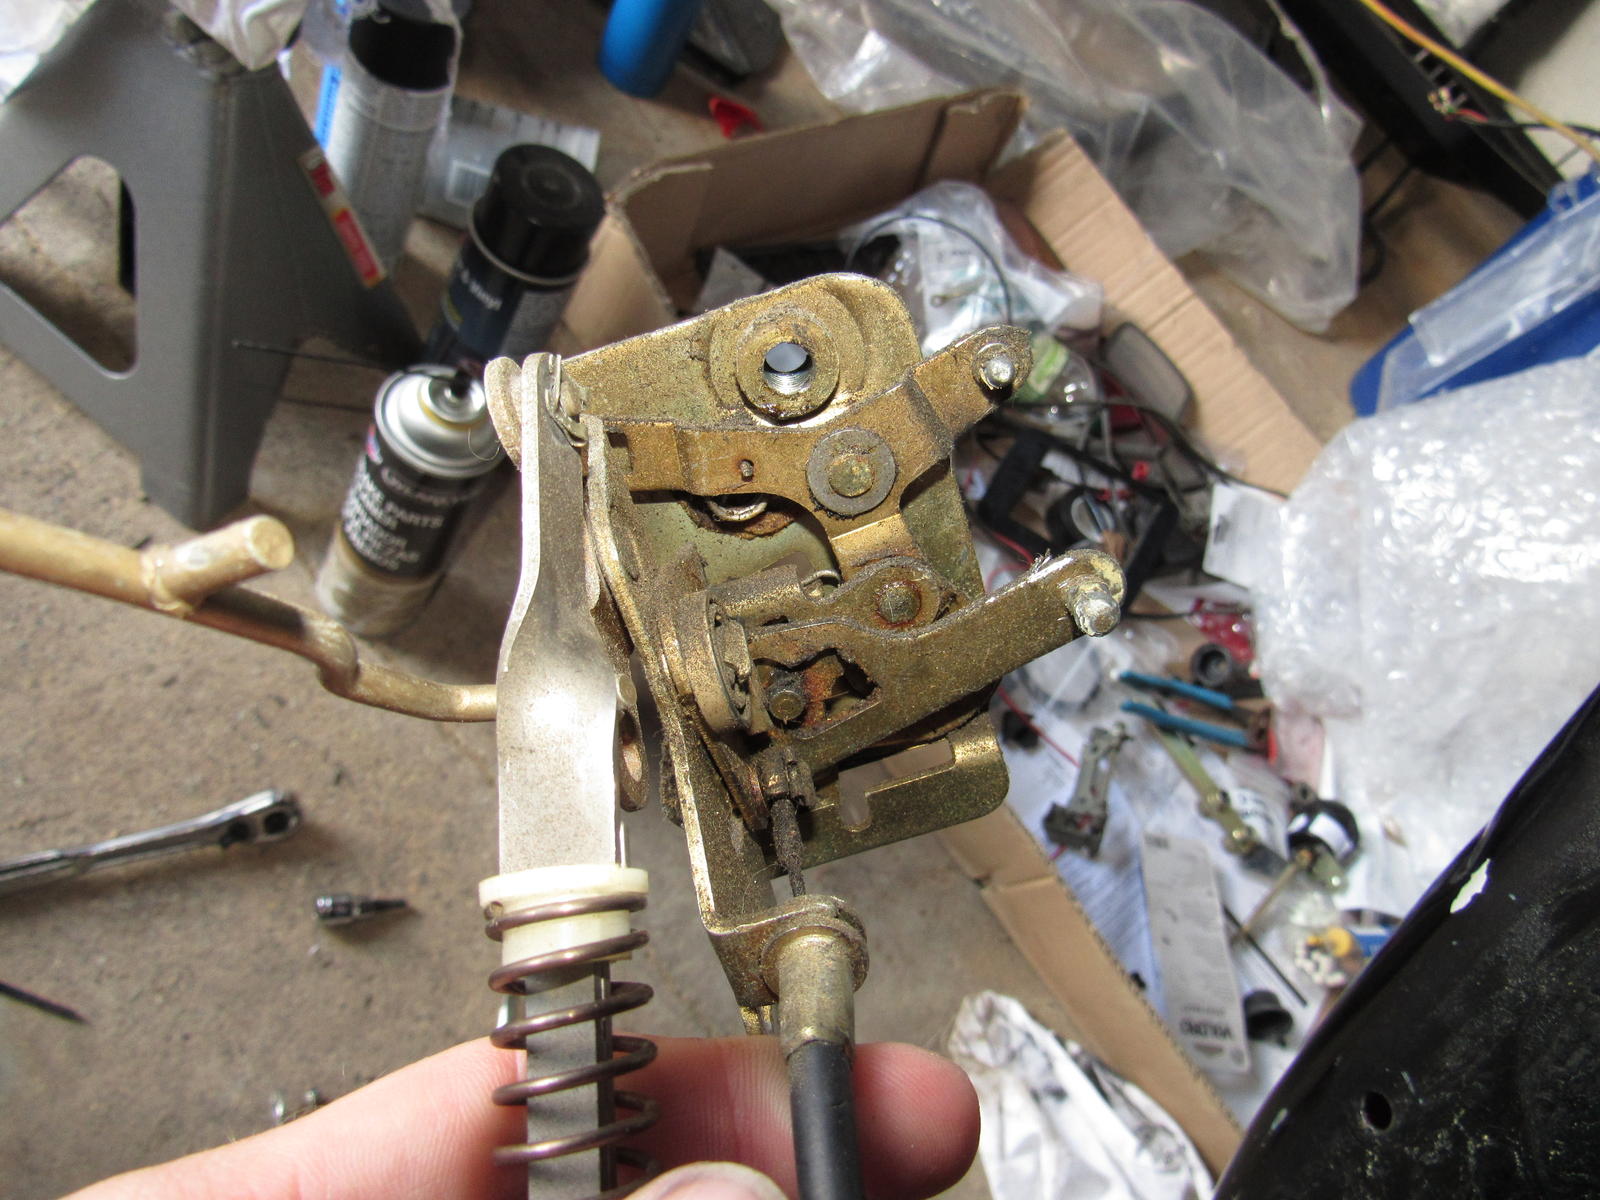
 I needed to get in there anyway to replace the hinge and **** lever which was broken so it was no wasted effort at all.