When you click on links to various merchants on this site and make a purchase, this can result in this site earning a commission. Affiliate programs and affiliations include, but are not limited to, the eBay Partner Network.
Brian, can you briefly explain how you cleaned this please, how did you avoid "blasting" the whole engine in water?
What degreaser did you use and how did you apply it?
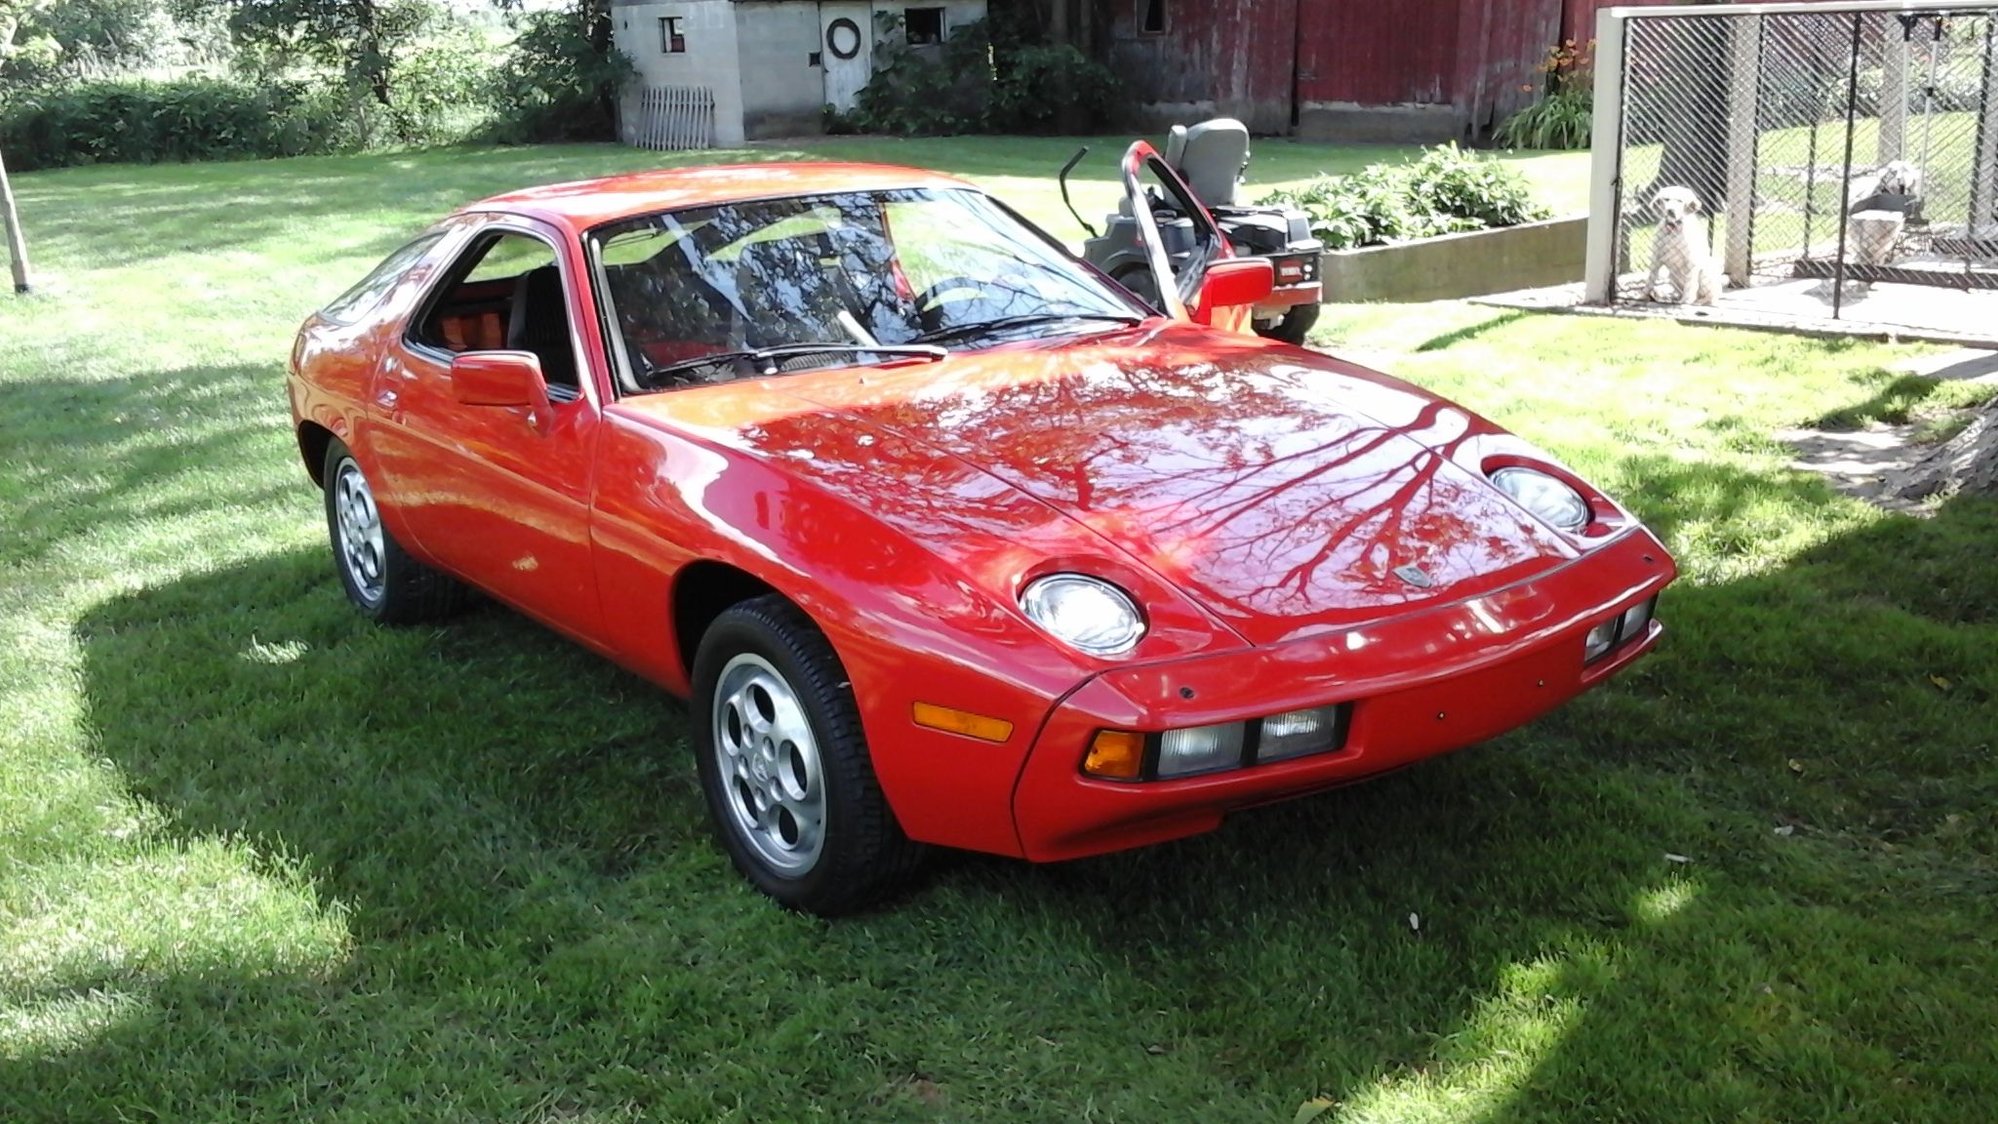
I am going to do this to my "Red" in spring (winter here at the moment).
TIA Kiwi
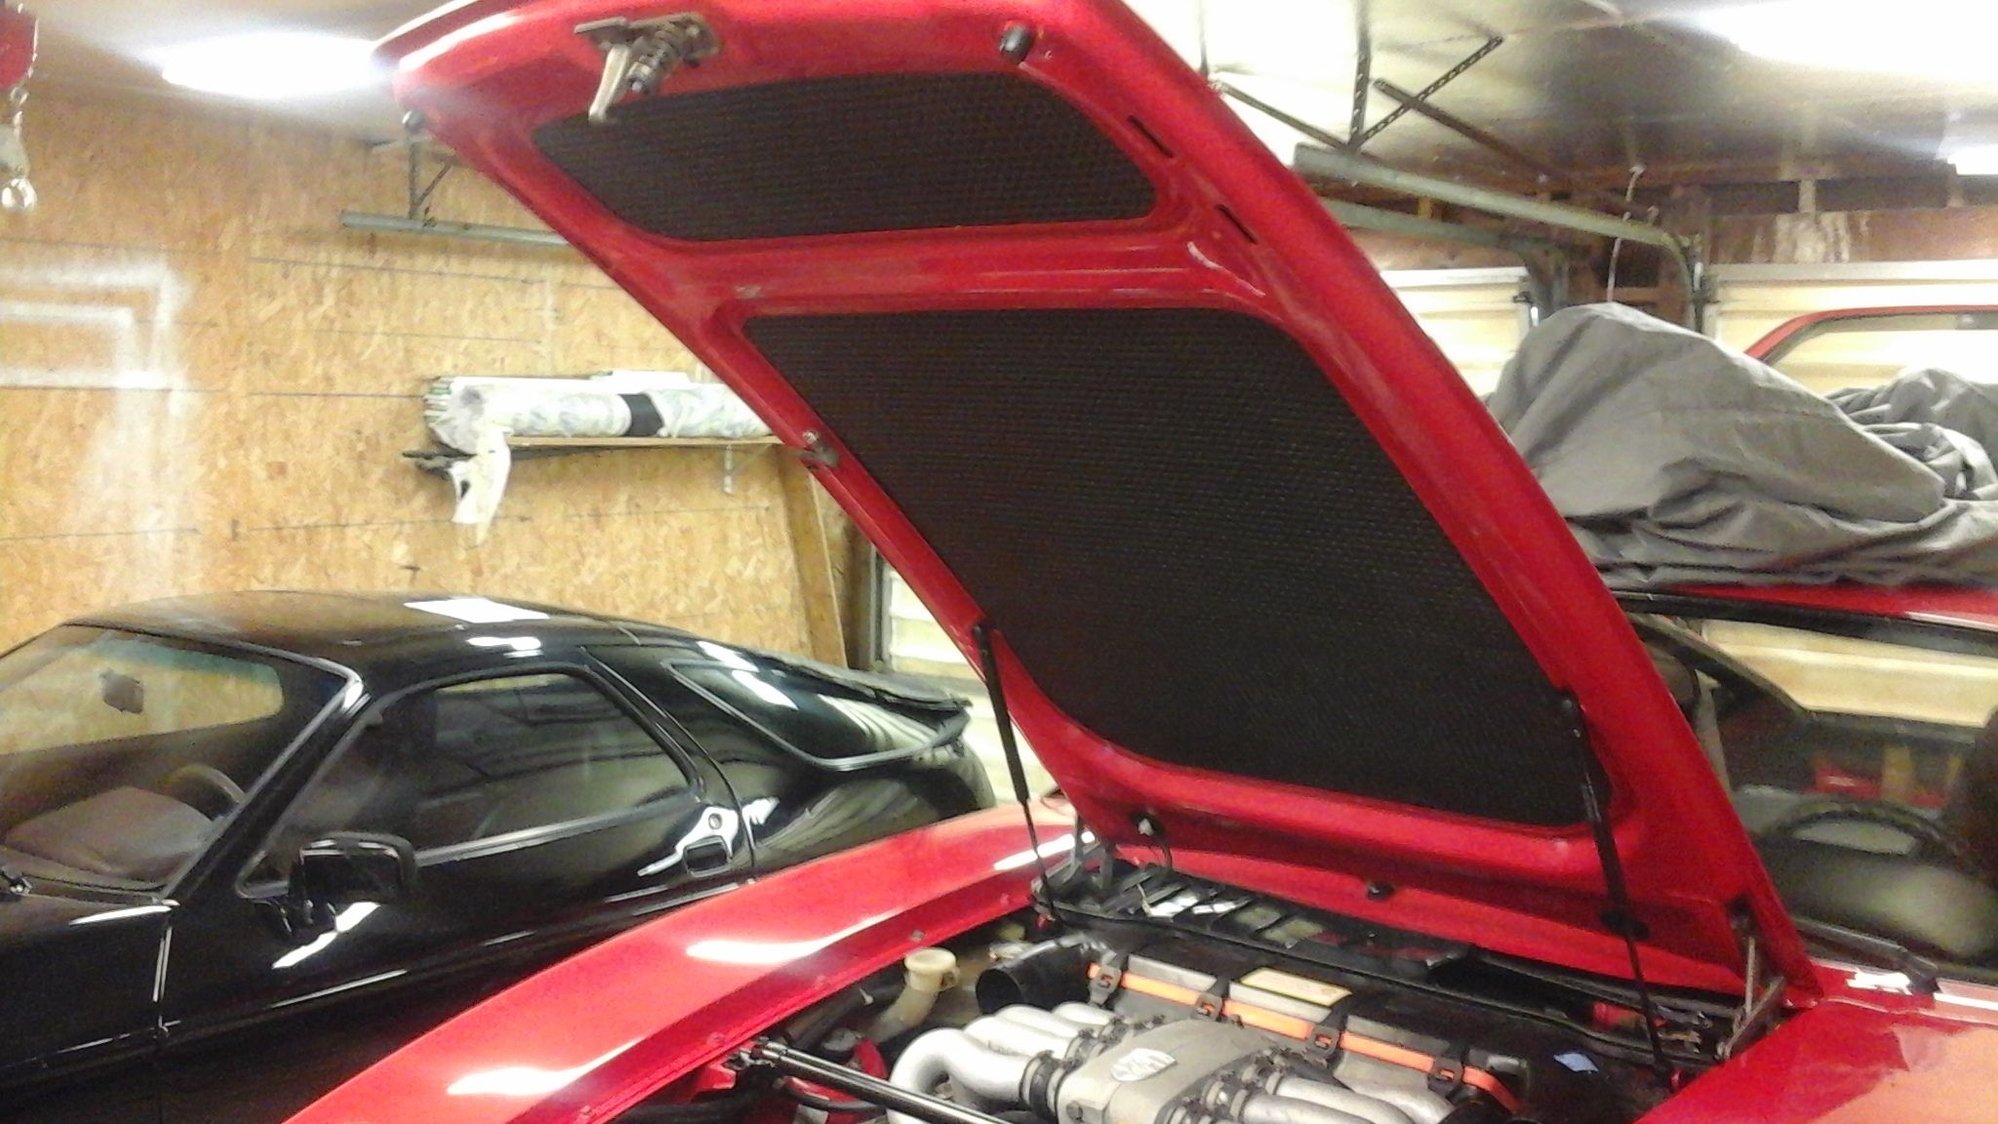
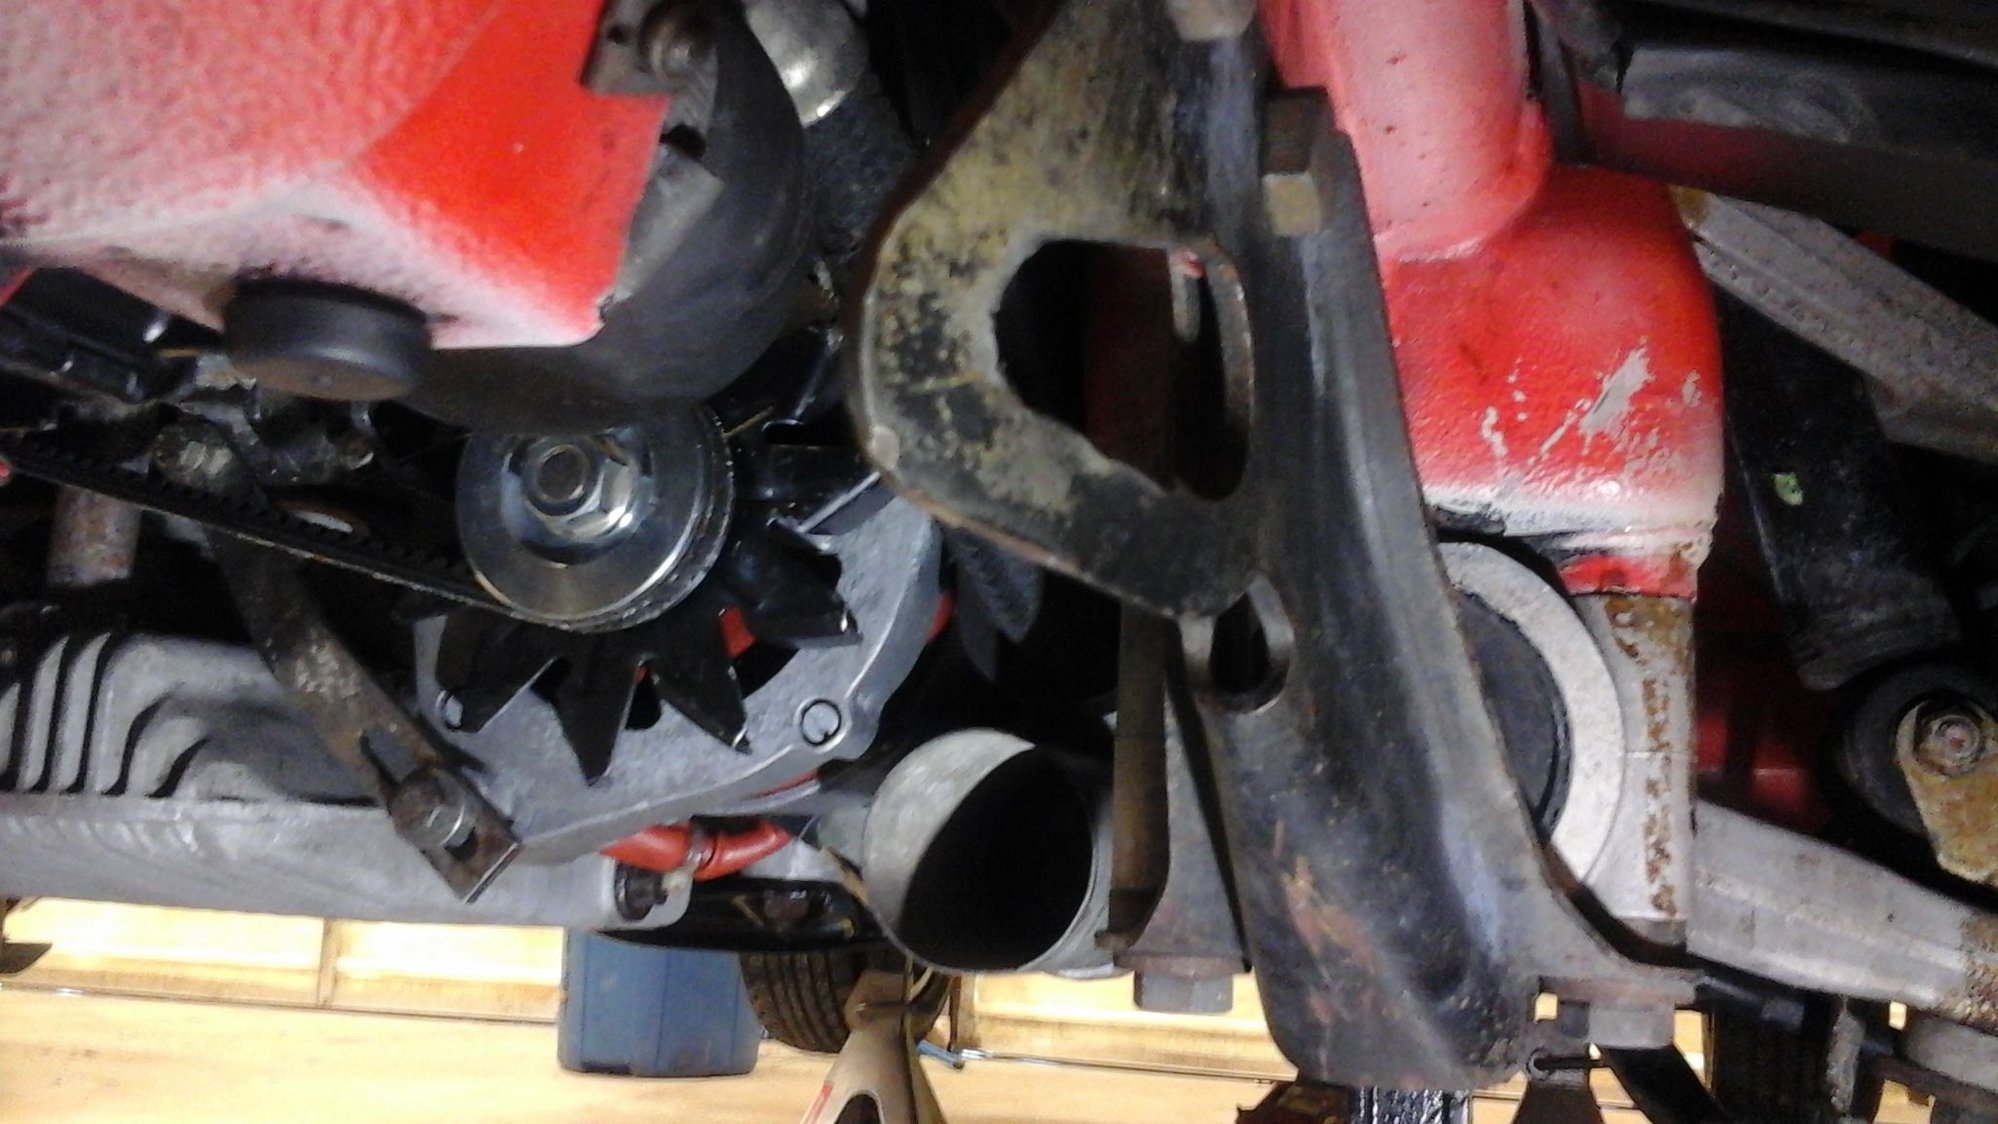
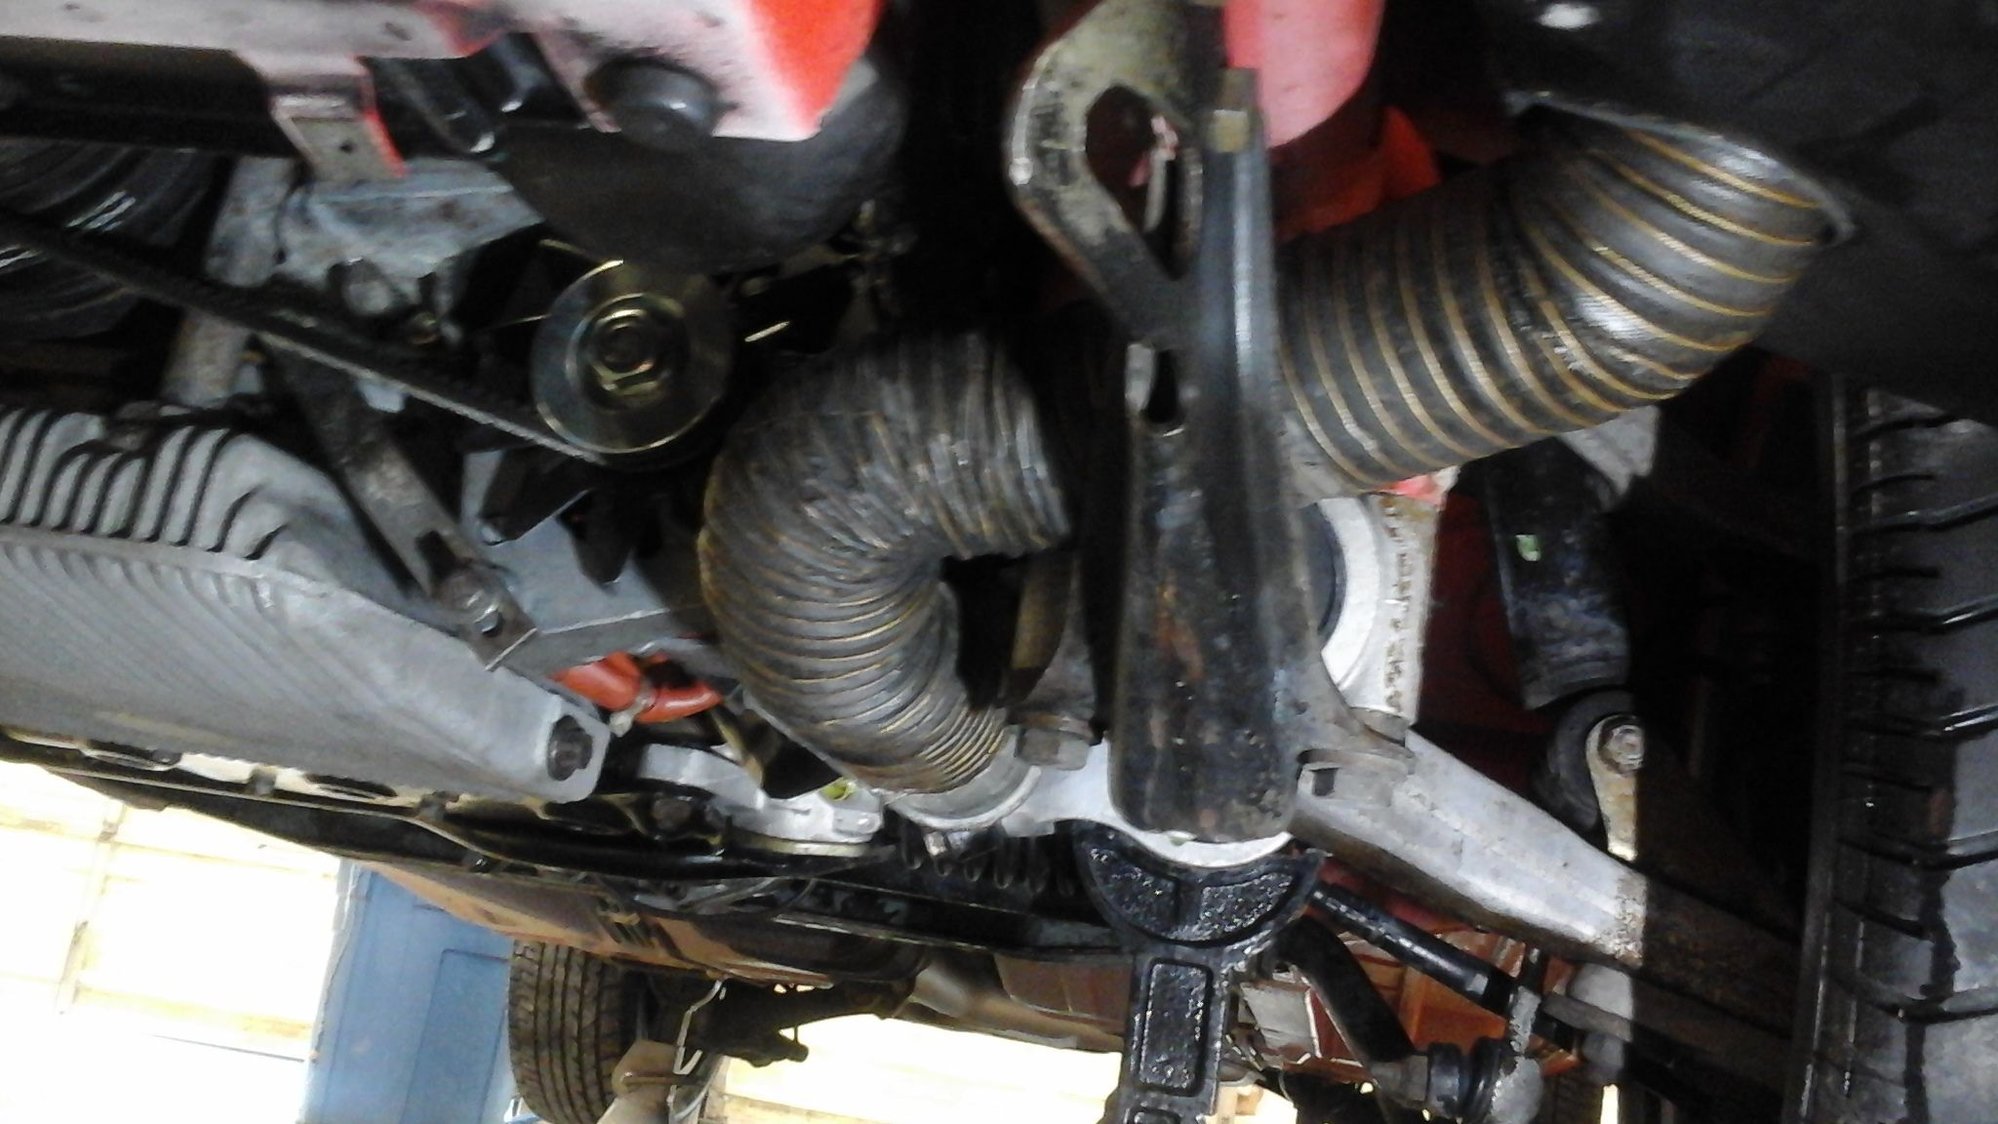
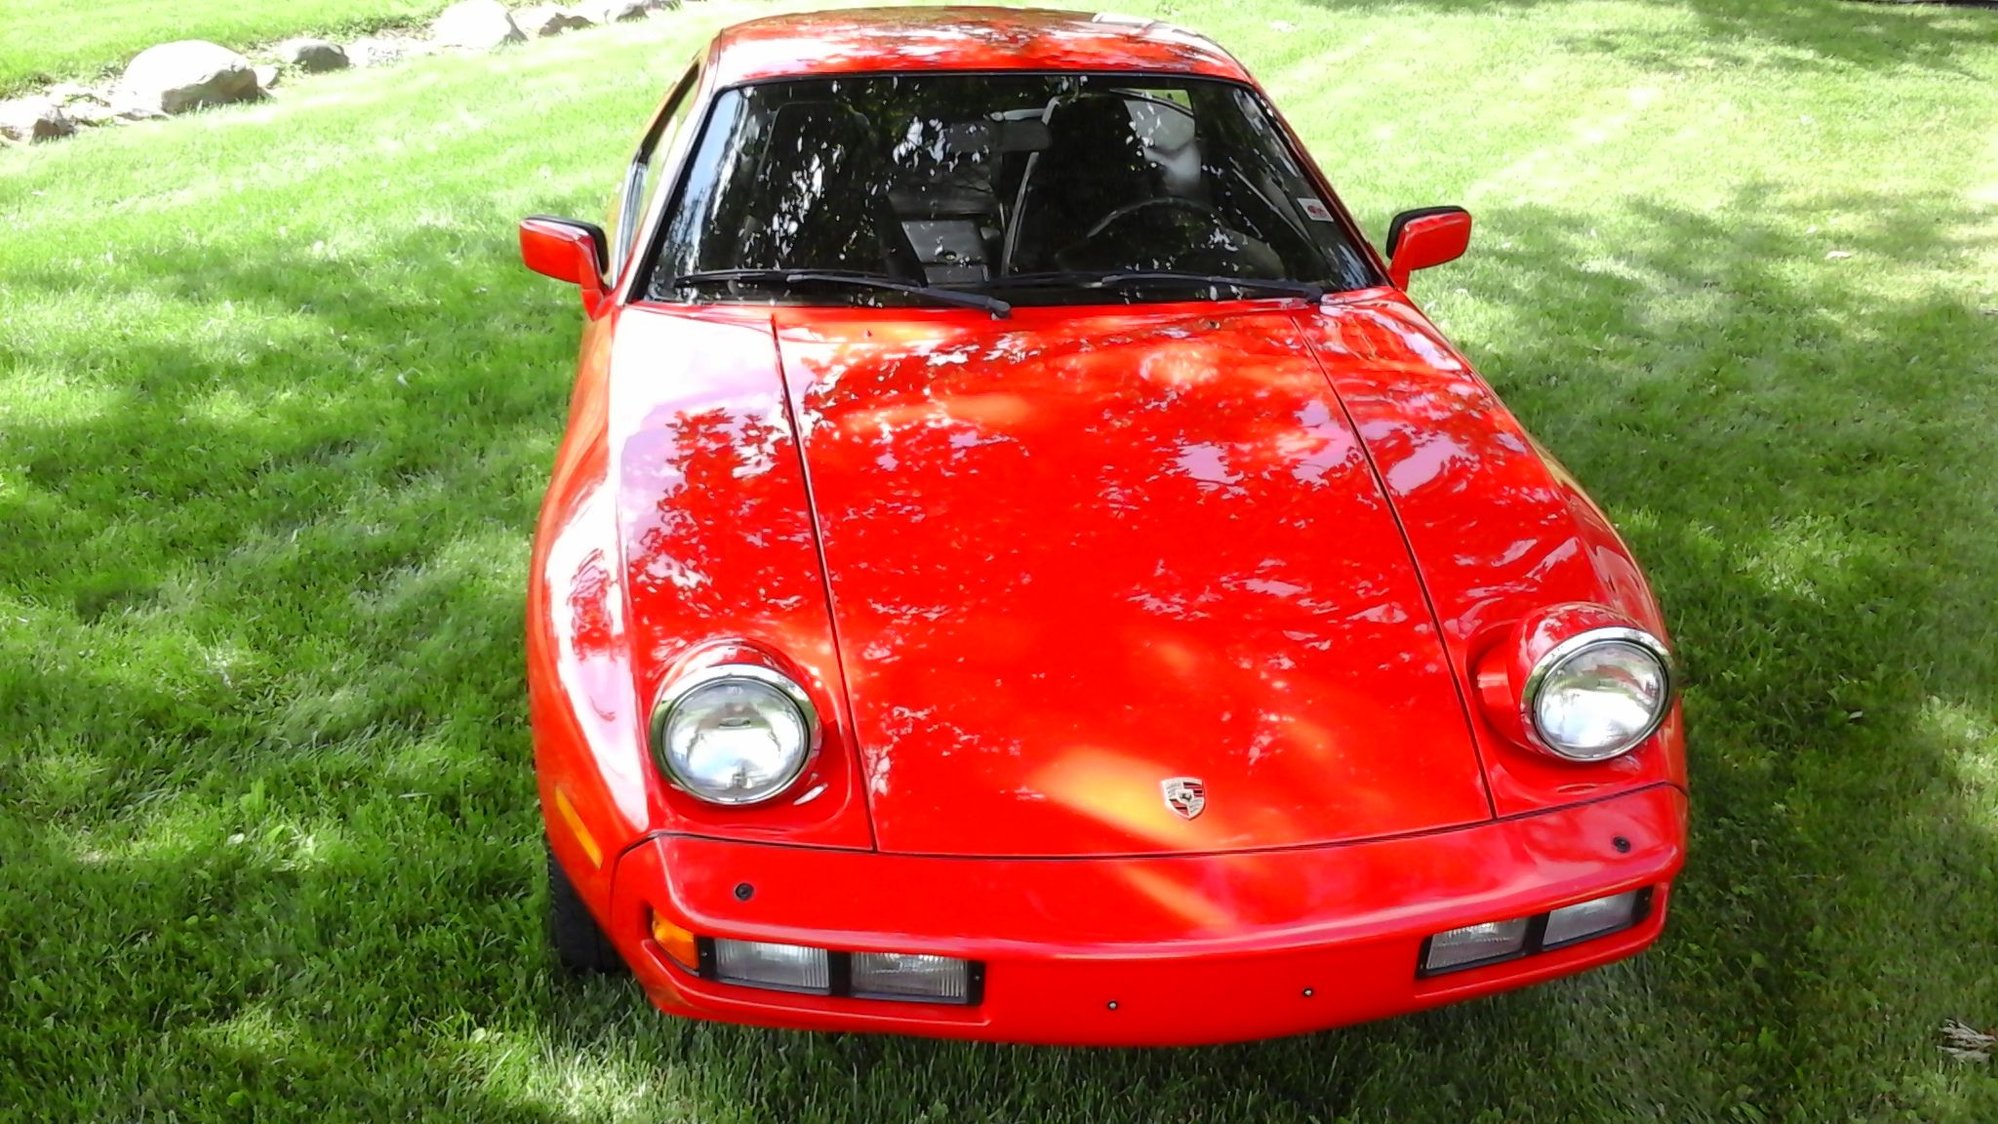
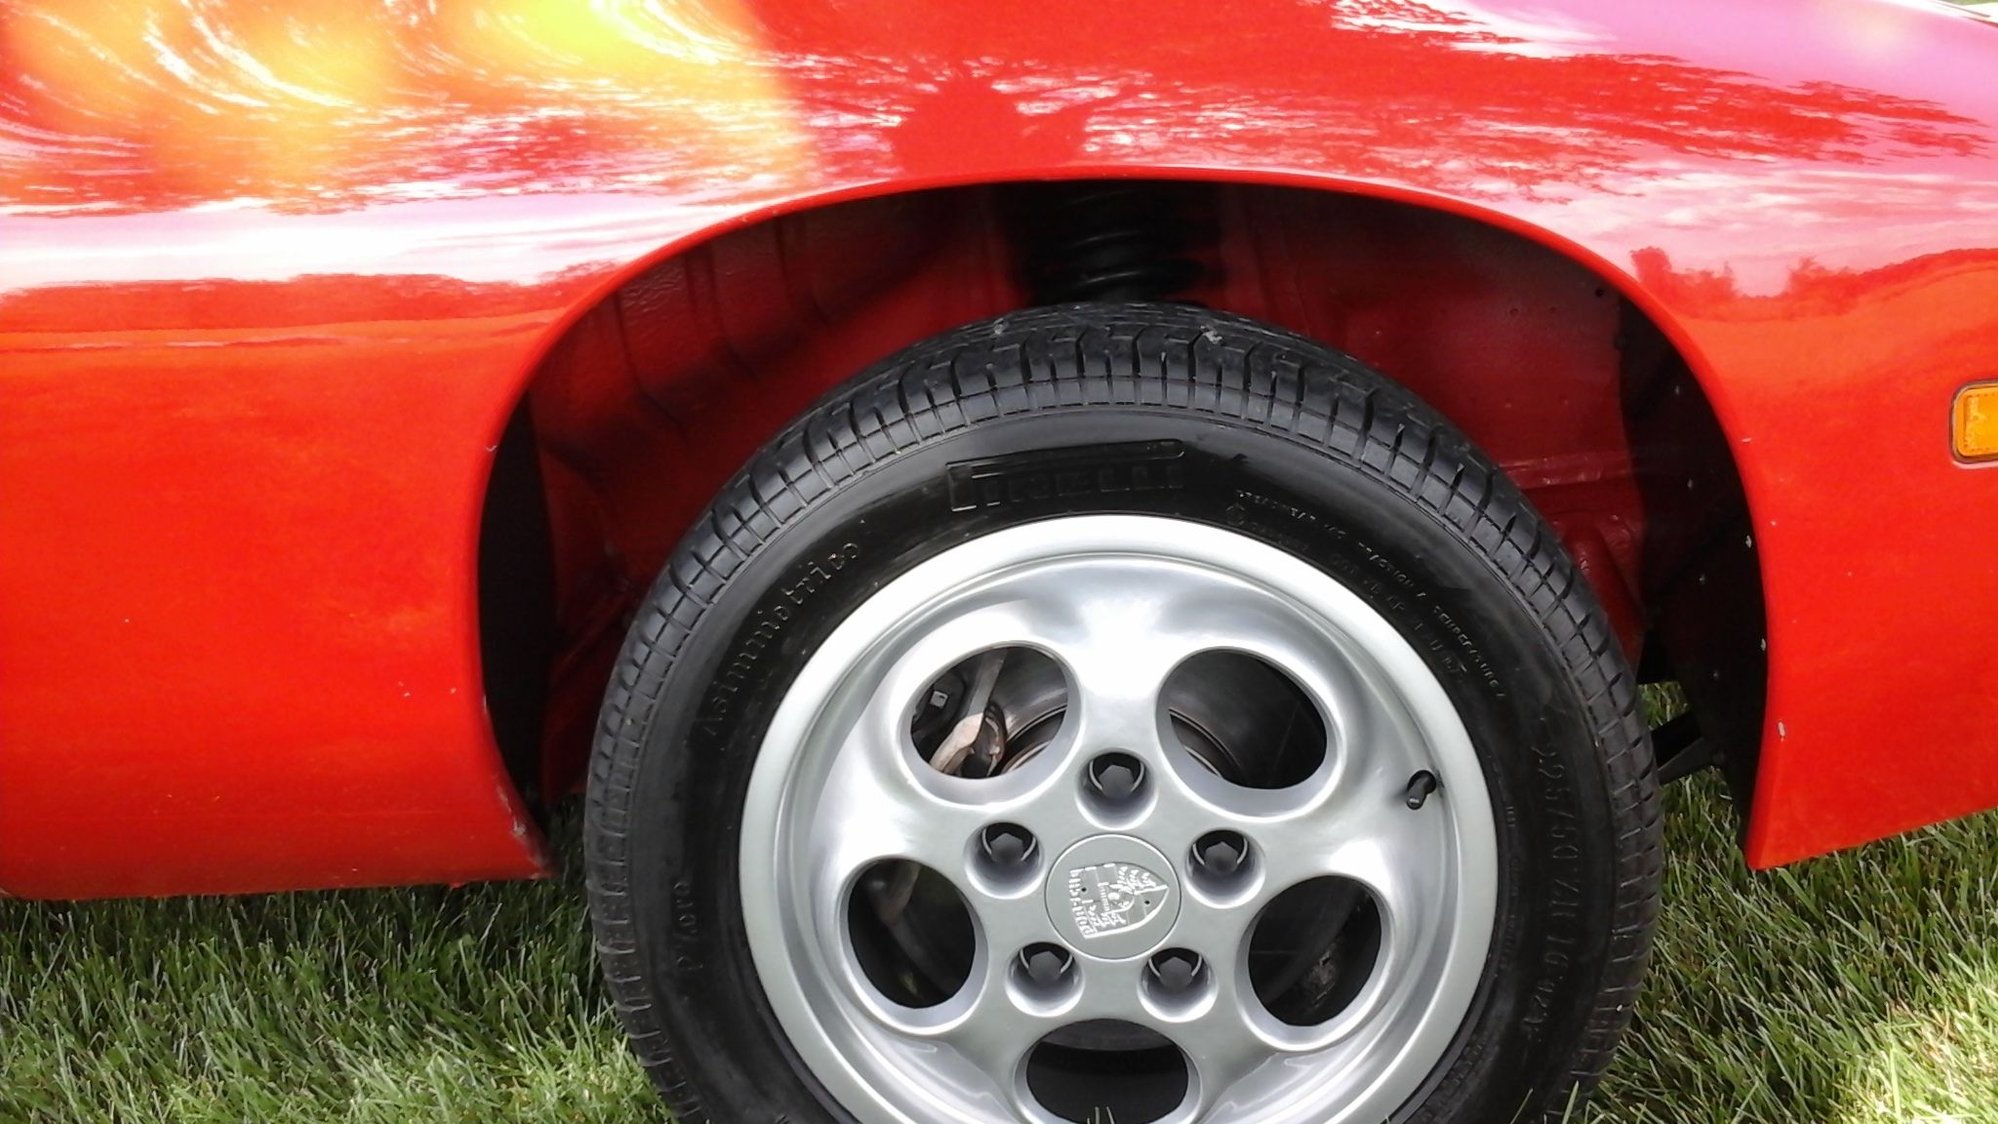
First, remove air intake tubes, belly-pan, radiator upper and lower shroud. If you are trailering the car, run engine for fifteen minutes prior to starting. The warmth kind of opens up the pours, so to speak, loosing the grime somewhat. Once you are at the car wash, plug air filter housing opens with bath towels (preferably old ones, or wife will bruise your noggin...don't ask me how I know), then soak down grimy areas with a engine degreaser and Simply Green, l'm mainly focusing on anything below the top of the water pump, lower portion of front and sides, and engine compartment, let soak for fifteen minutes.
Then insert what's left of your life-savings...and hit it with high press hose, on wash cycle, but always stay back some from painted areas or hoses (especially braided hoses, ie...Oil cooler lines), also stay away from engine electrical controller (below jump post) and top of engine. Now, mine was on a trailer...so l was able to get underneath easily. But, if you are driving the car...you may have to have someone follow you, bringing a floor jack along. It will make it much more enjoyable, not laying on the cement and all.
EDIT..ALSO STAY AWAY FROM ANY STICKERS...THAT YOU LIKE BEING ABLE TO READ. THE DEGREASER WILL DESTROY THEM.
Rinse engine when done, remove towels from air filter housing...and run car for fifteen minutes or go for a ride. I took my car for a ride on the trailer, while running. This moves some air past everything and the warmth helps dry out the engine compartment.
I believe this is where some folks get into trouble while doing this job...they wash everything down and walk away...leaving all of that moisture to do its damage.
Then...and you thought you were done...lol...l use a product from Zep, called ID Red, it comes in an aerosol. I bought a case, and yes...it is pricy...but it works great and doesn't harm paint (as long as you don't go crazy and start rubbing soaked area by hand). Work your way from top to bottom with this product, it will hit all of those tinny spots the power washer missed, or use in delicate areas around electrical systems.
That's how I cleaned my lower engine. Now, someone will come along shortly...telling you that you should never wash down your engine with a power washer. But, you asked me what "l" did....and this is what "l" did...plus, our engines are CIS and they have very few electrical connections (compared to later models), so as long as you don't get to crazy-close with the wand...you should be fine.
Brian.
Last edited by The Deputy; 07-02-2017 at 12:14 PM.
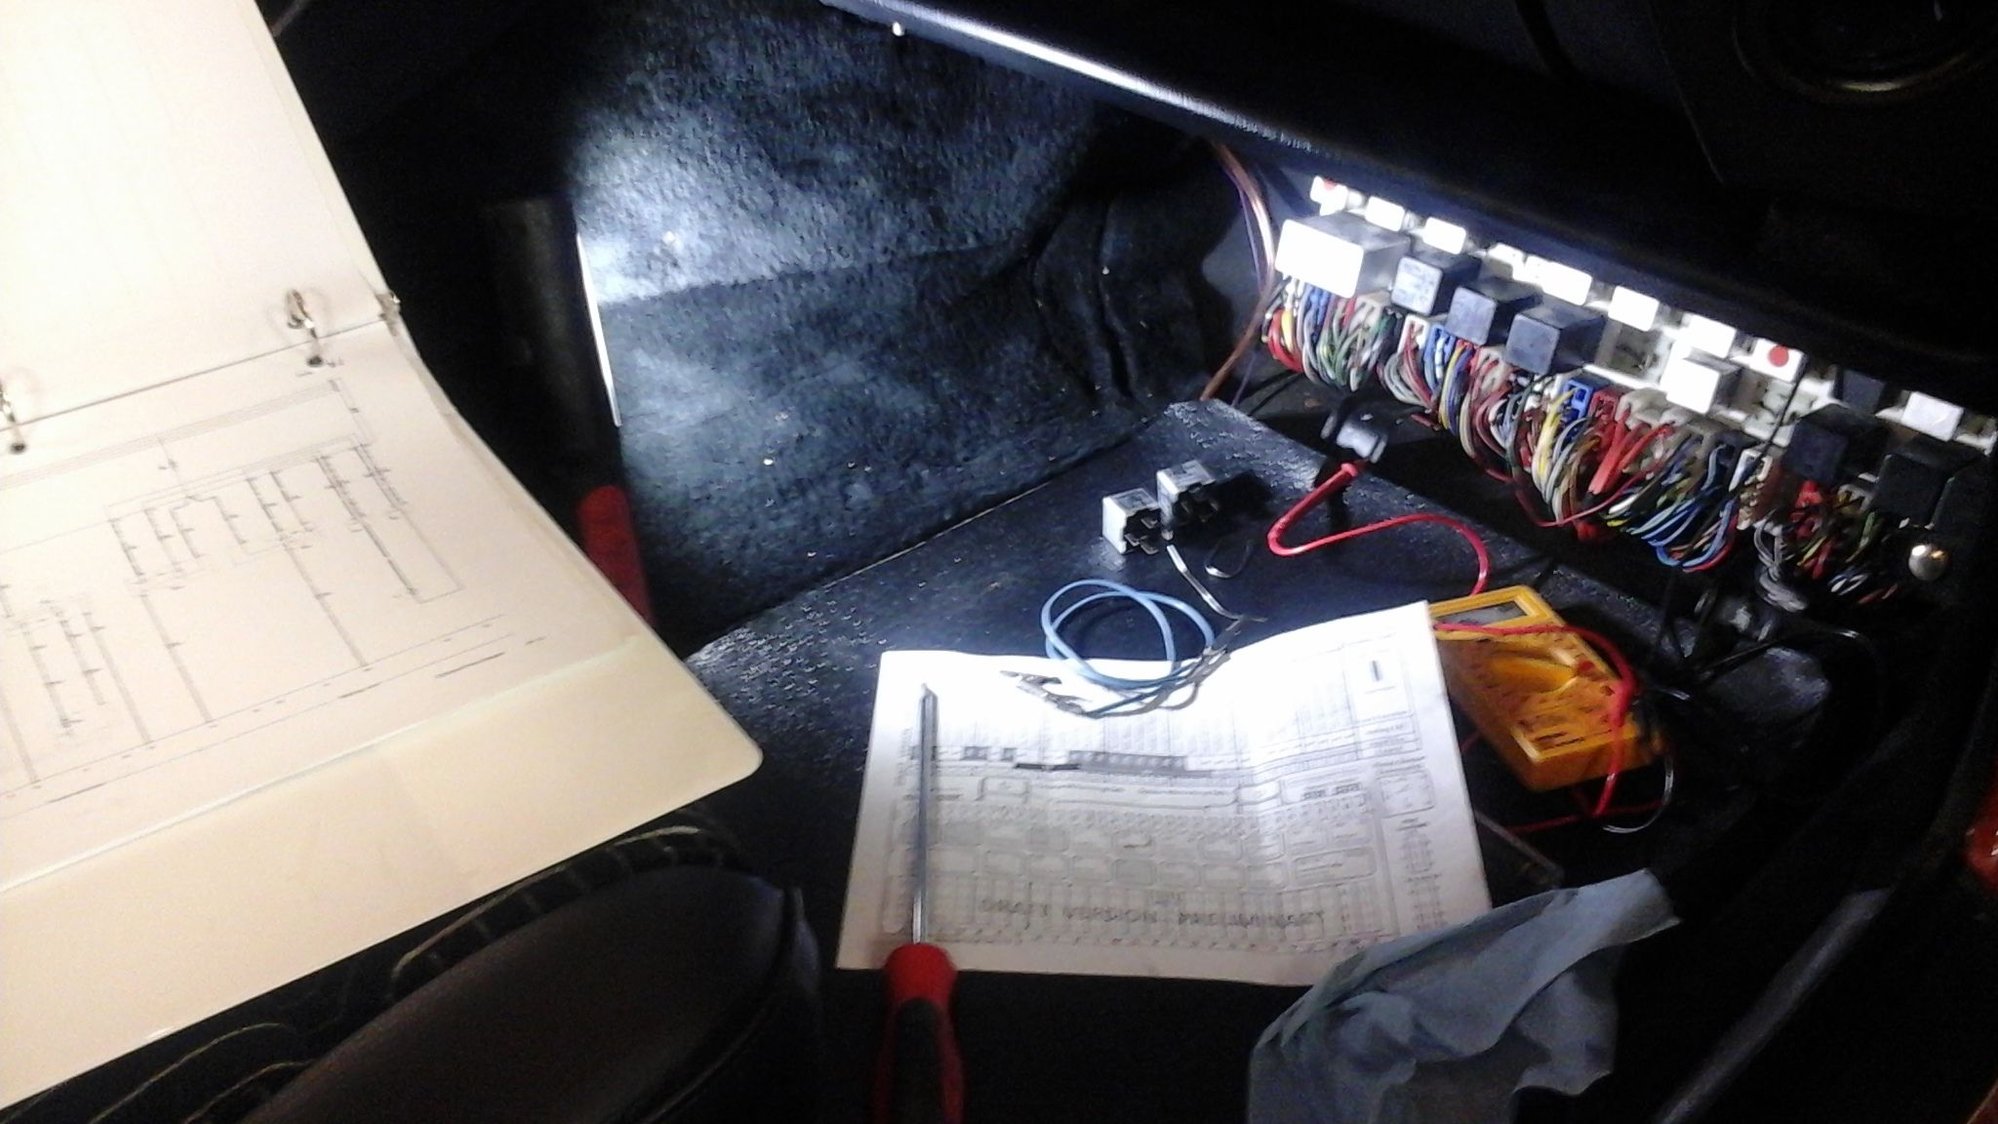
Lowered the windows yesterday, after returning from the car wash, pulled in garage...windows won't go up. Pulled CE panel, found blown fuze, hurray, easy fix. Well, not so fast partner...they still didn't work. Pulled relay and replaced it with defroster relay (which had the same wiring diagram on housing), still didn't work. Now, this is where me being a freak'n moron comes into play. After another hour or so, checking grounds, power sources, etc, etc...it finally dawns on me...that the defroster function hasn't been working on this car for awhile. So, out I go...to snag a couple relays from the extra CE panel I have...and lowandbehold...now both systems are functioning properly.
CE panel investigating commences...
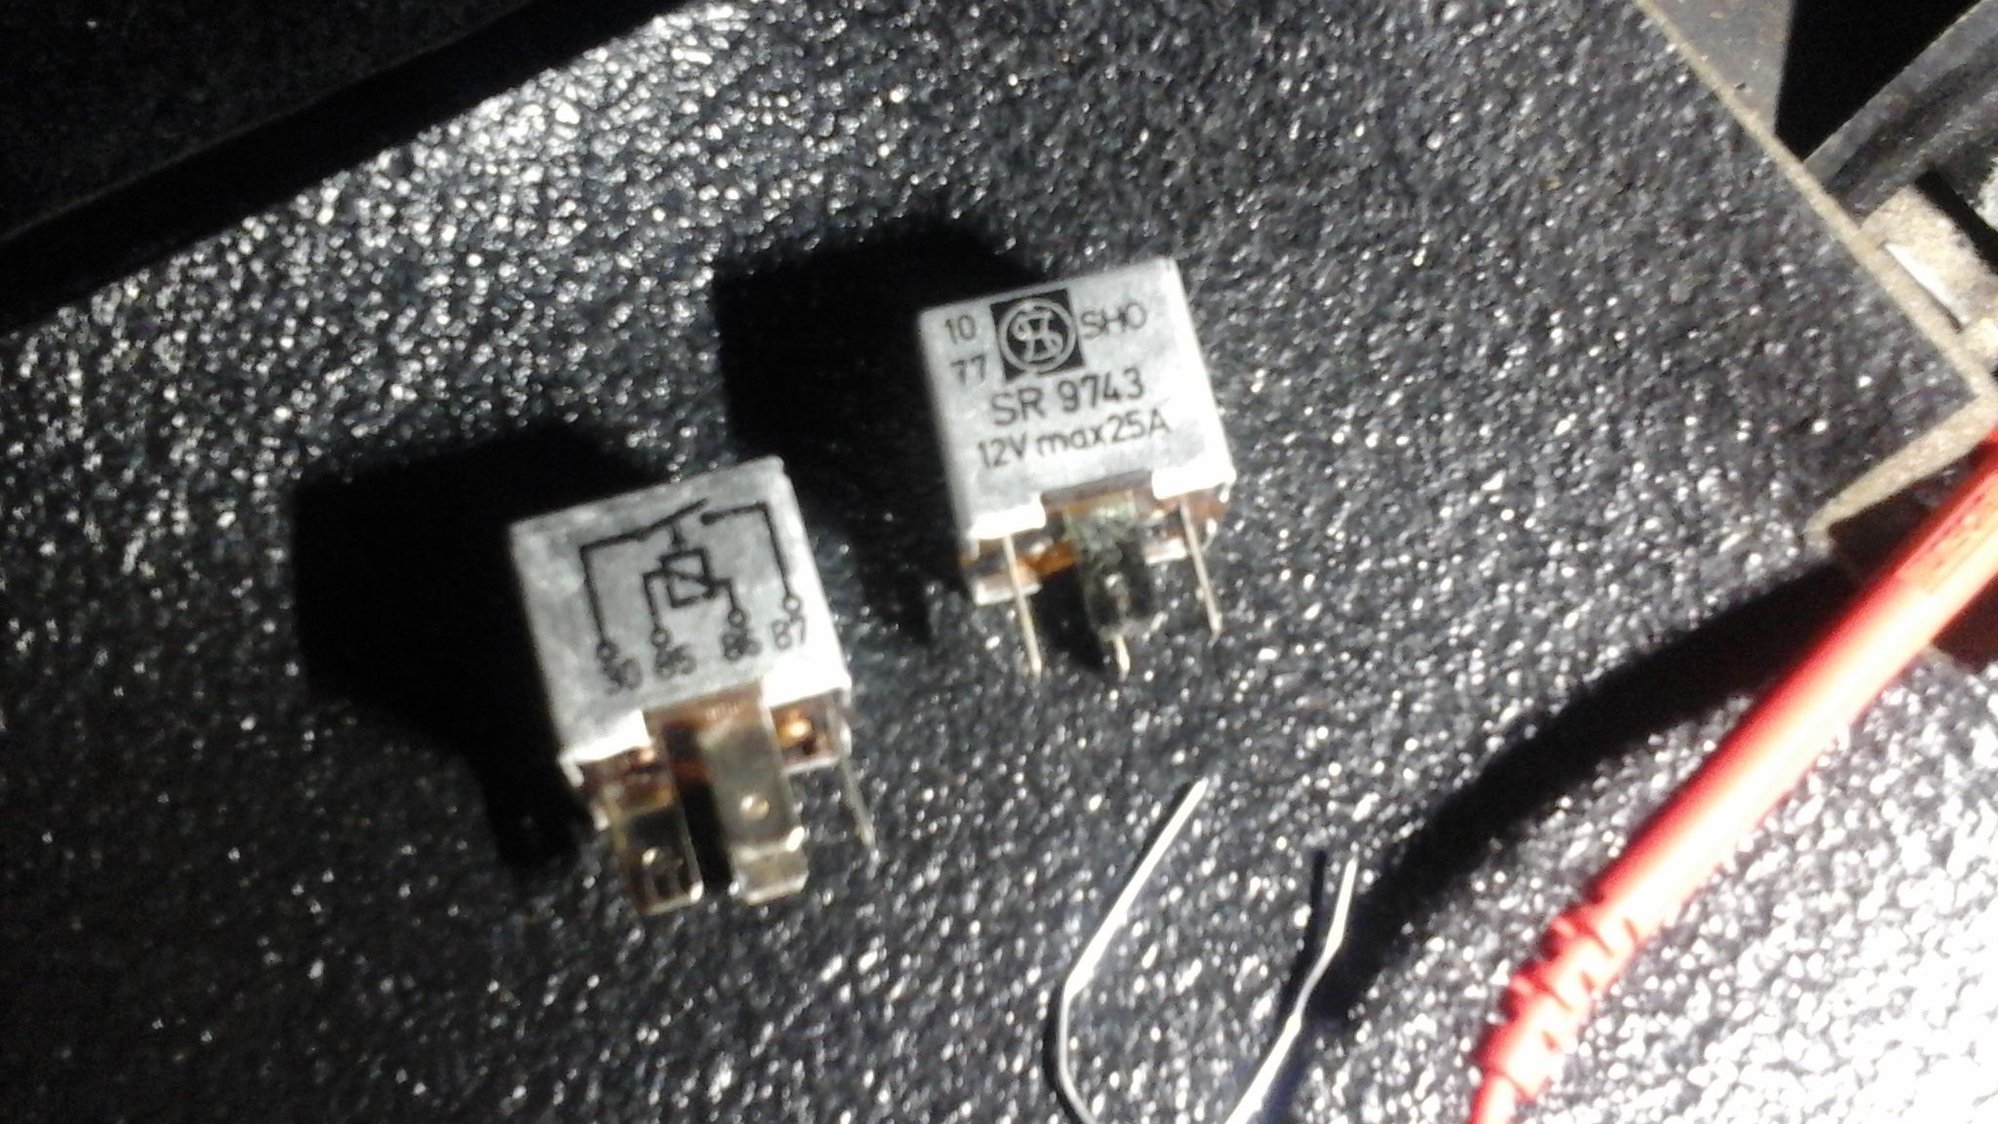
Guilty party's...
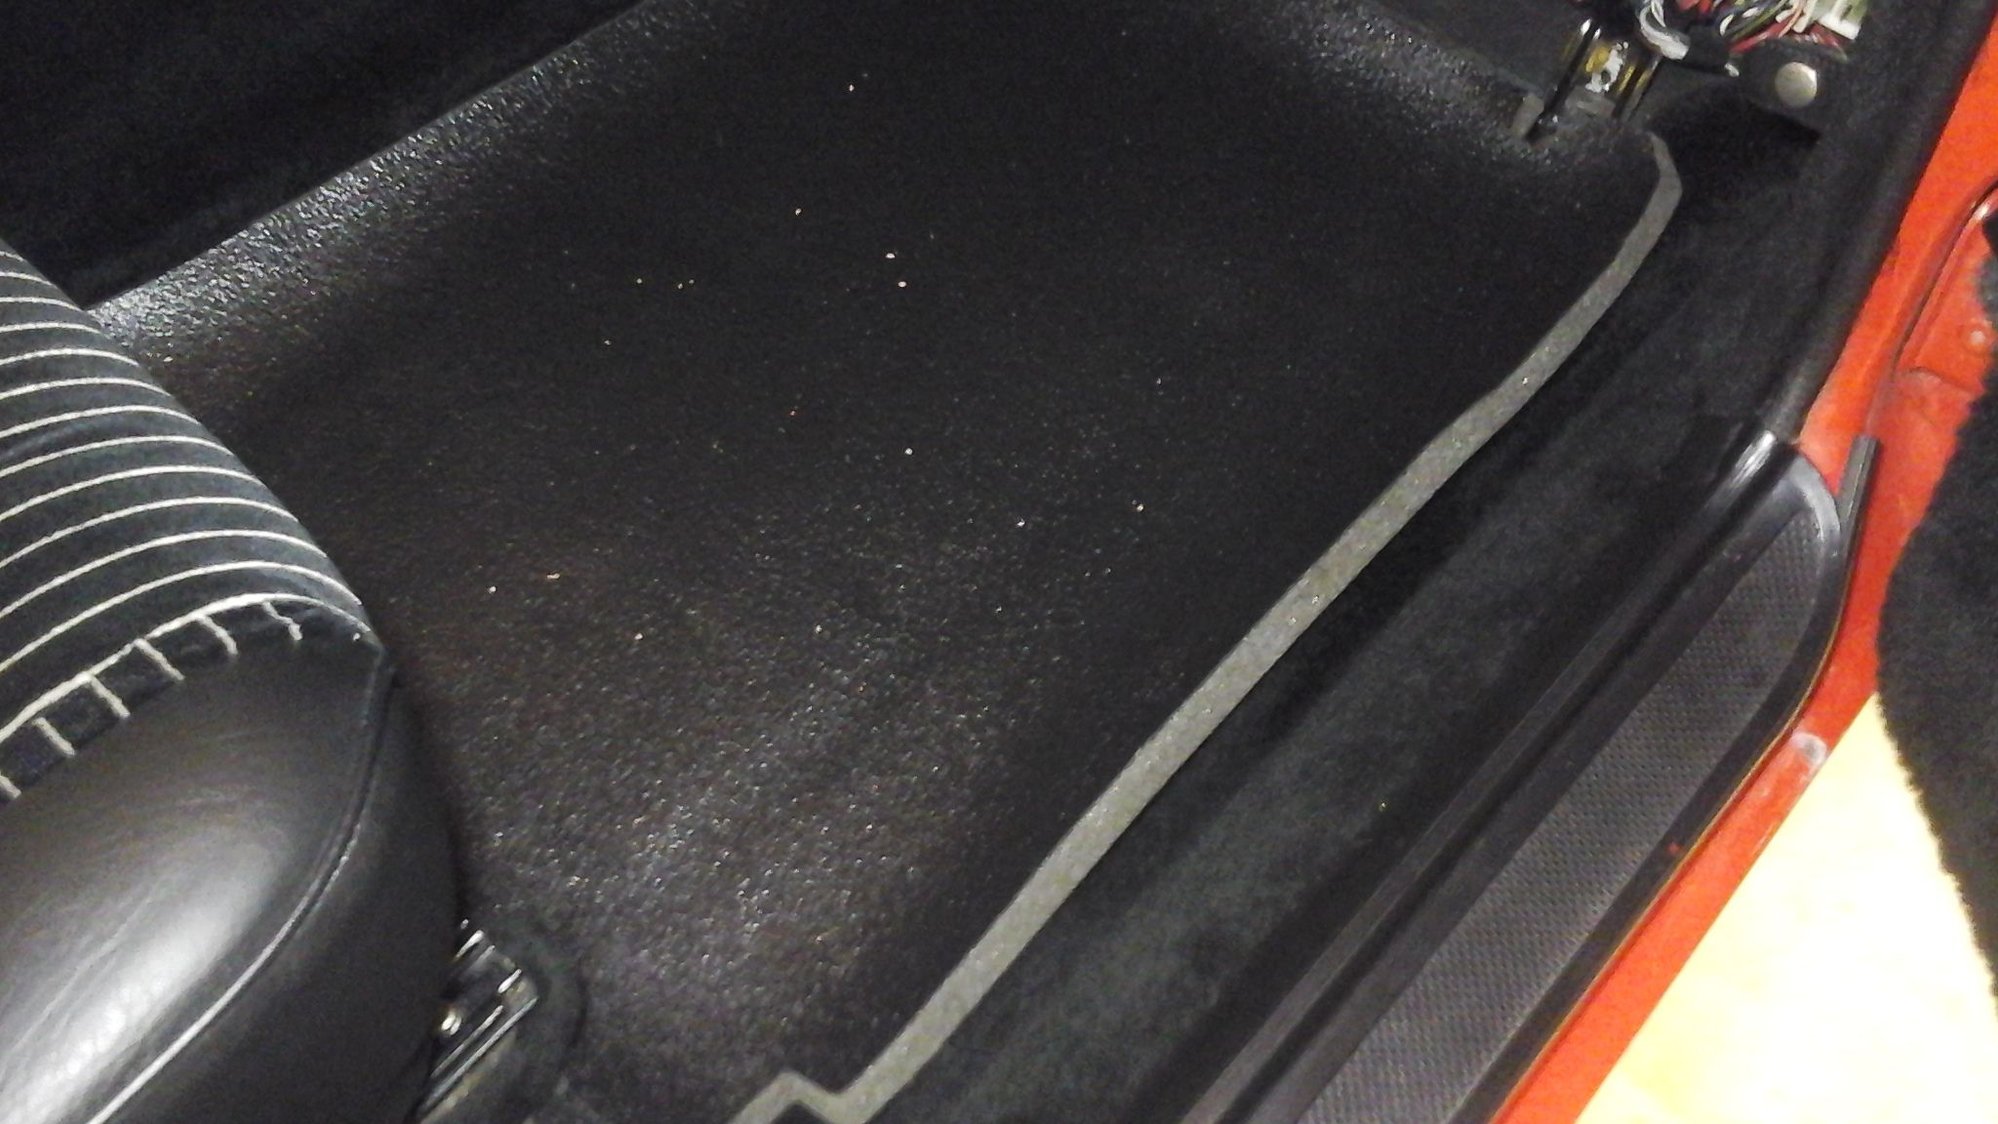
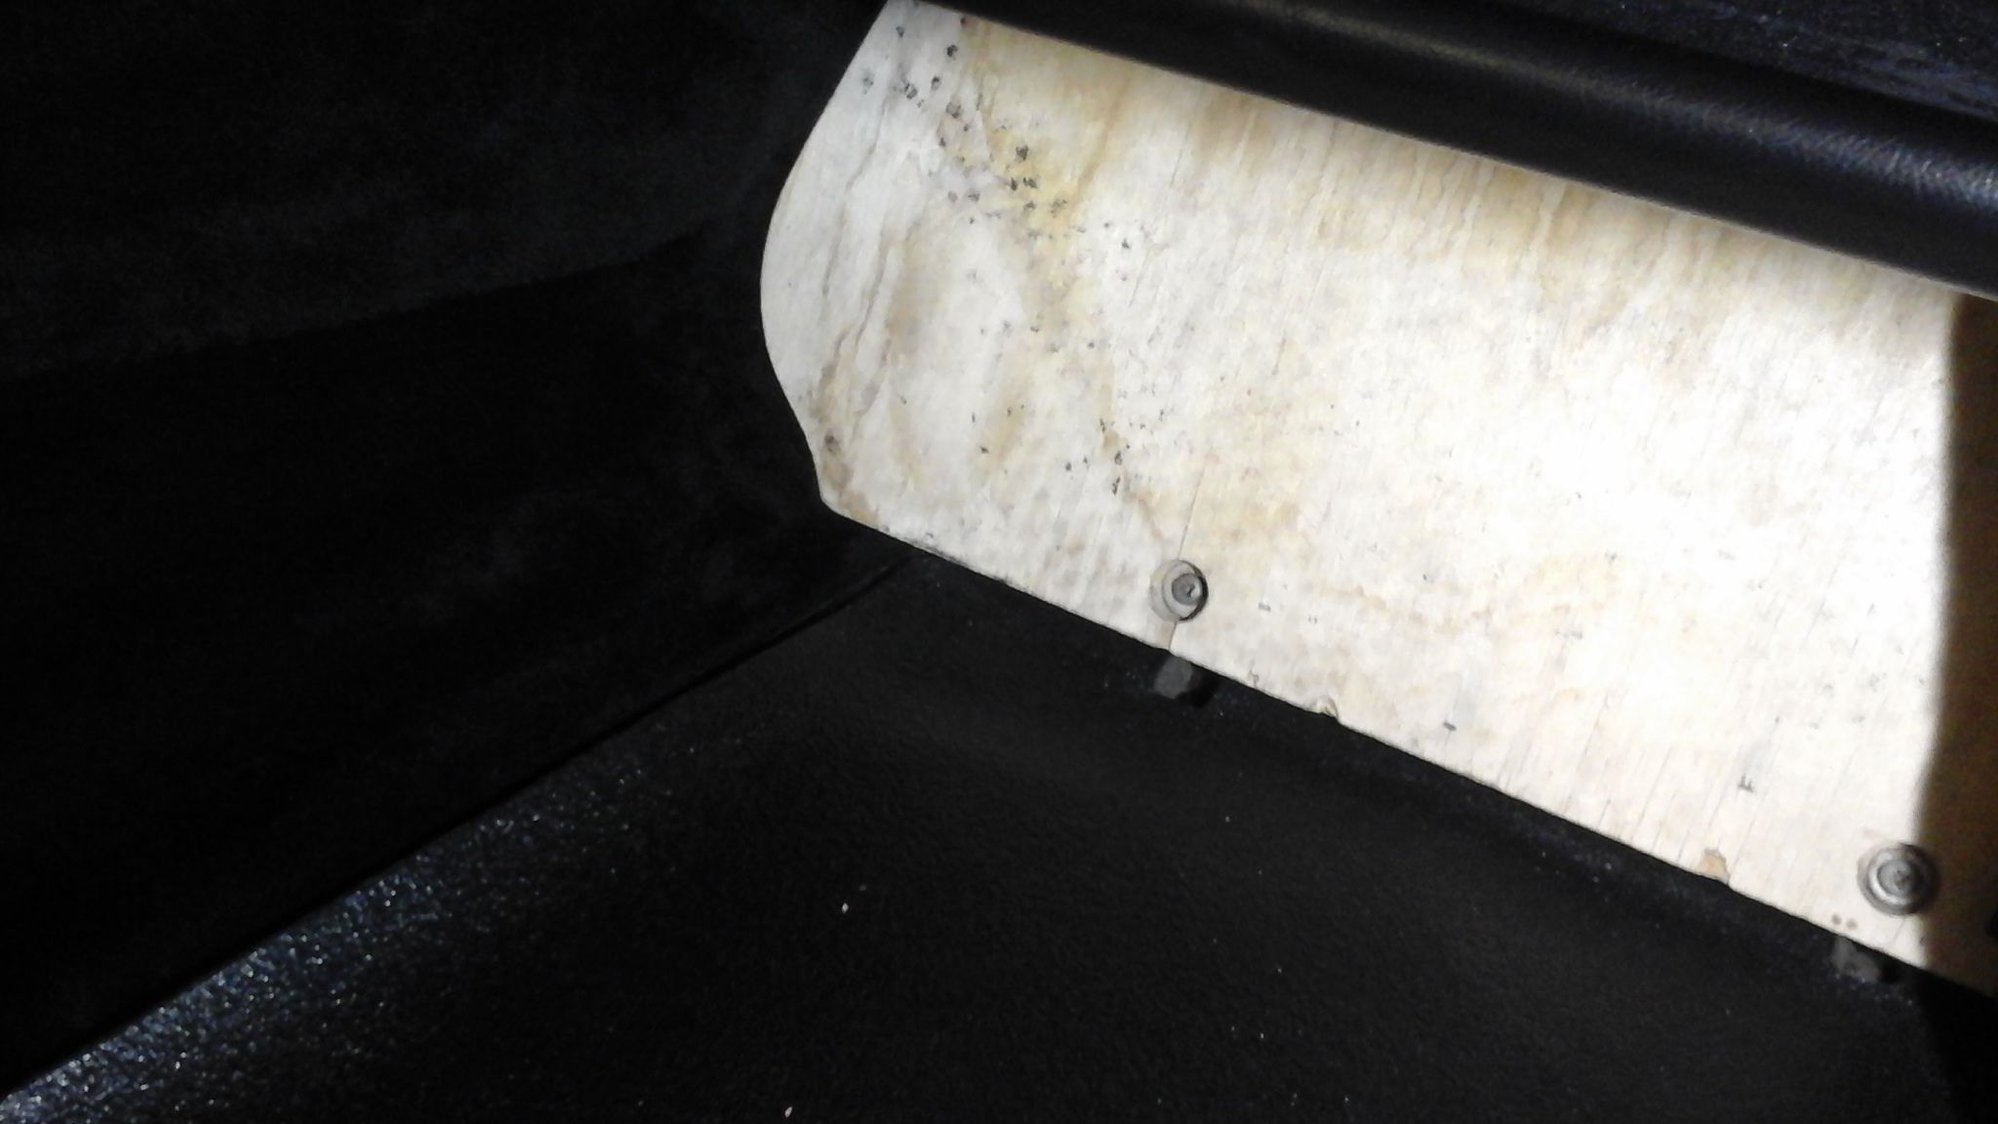
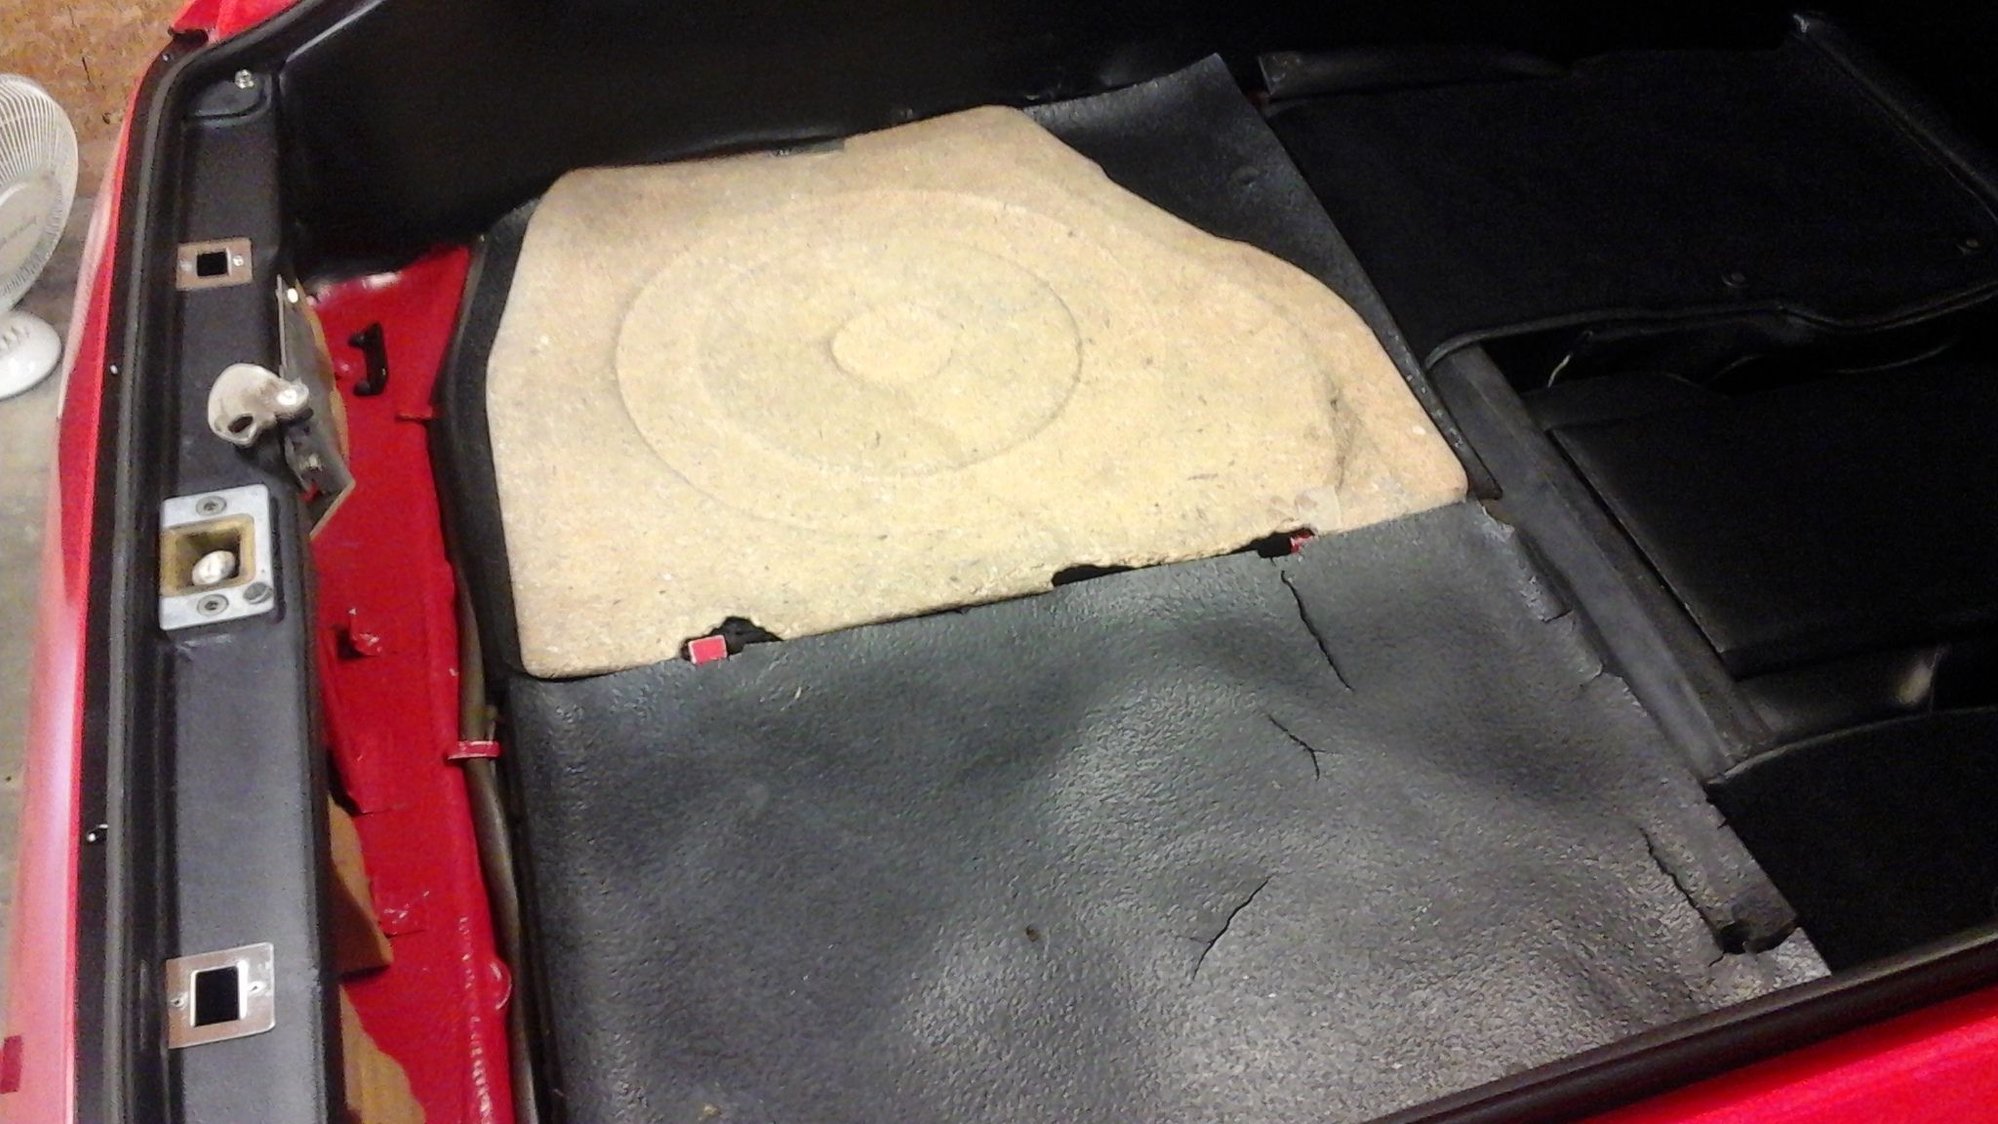
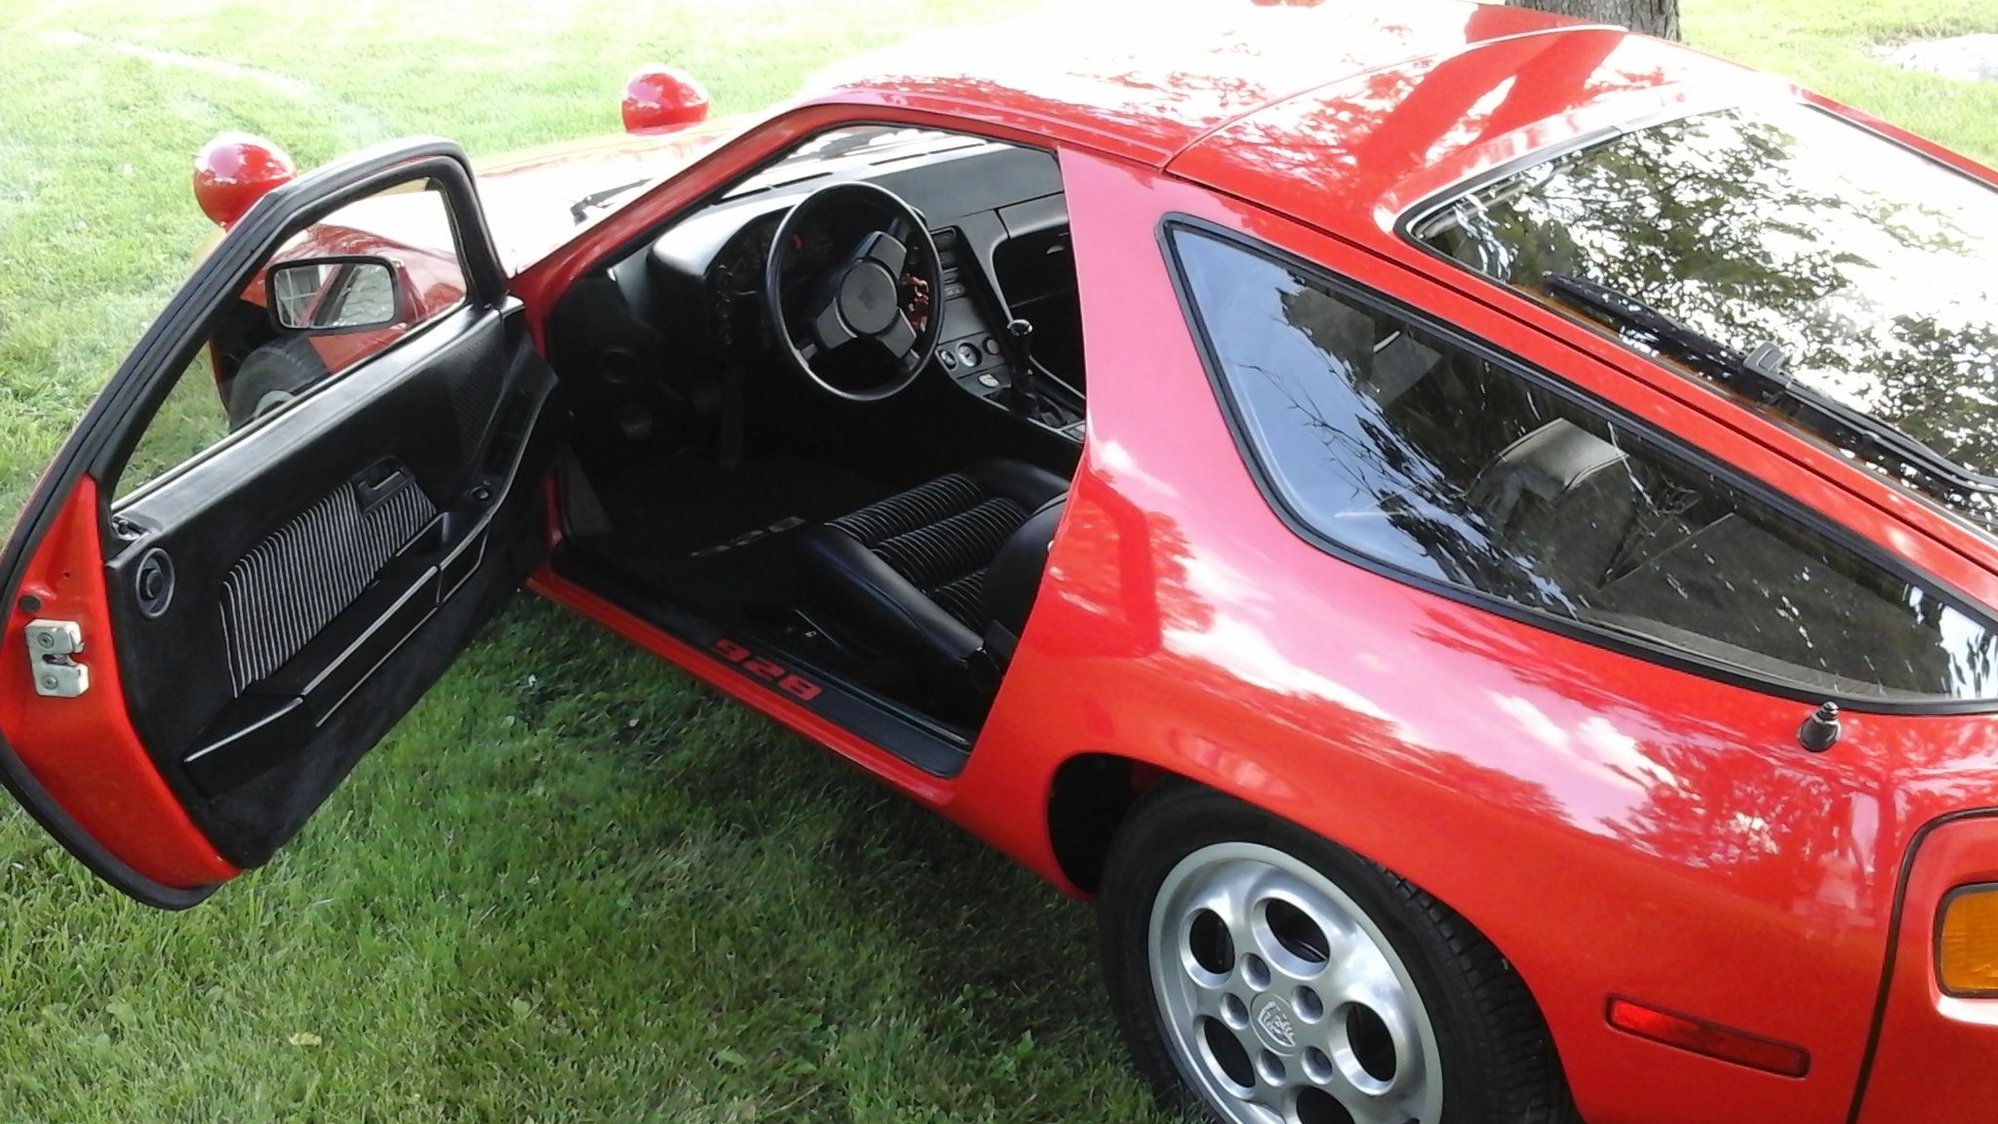
Well, since l'm in there...the floor pan gets cleaned, foam cushion cleaned and carpet vacuumed.
CE panel back in place.
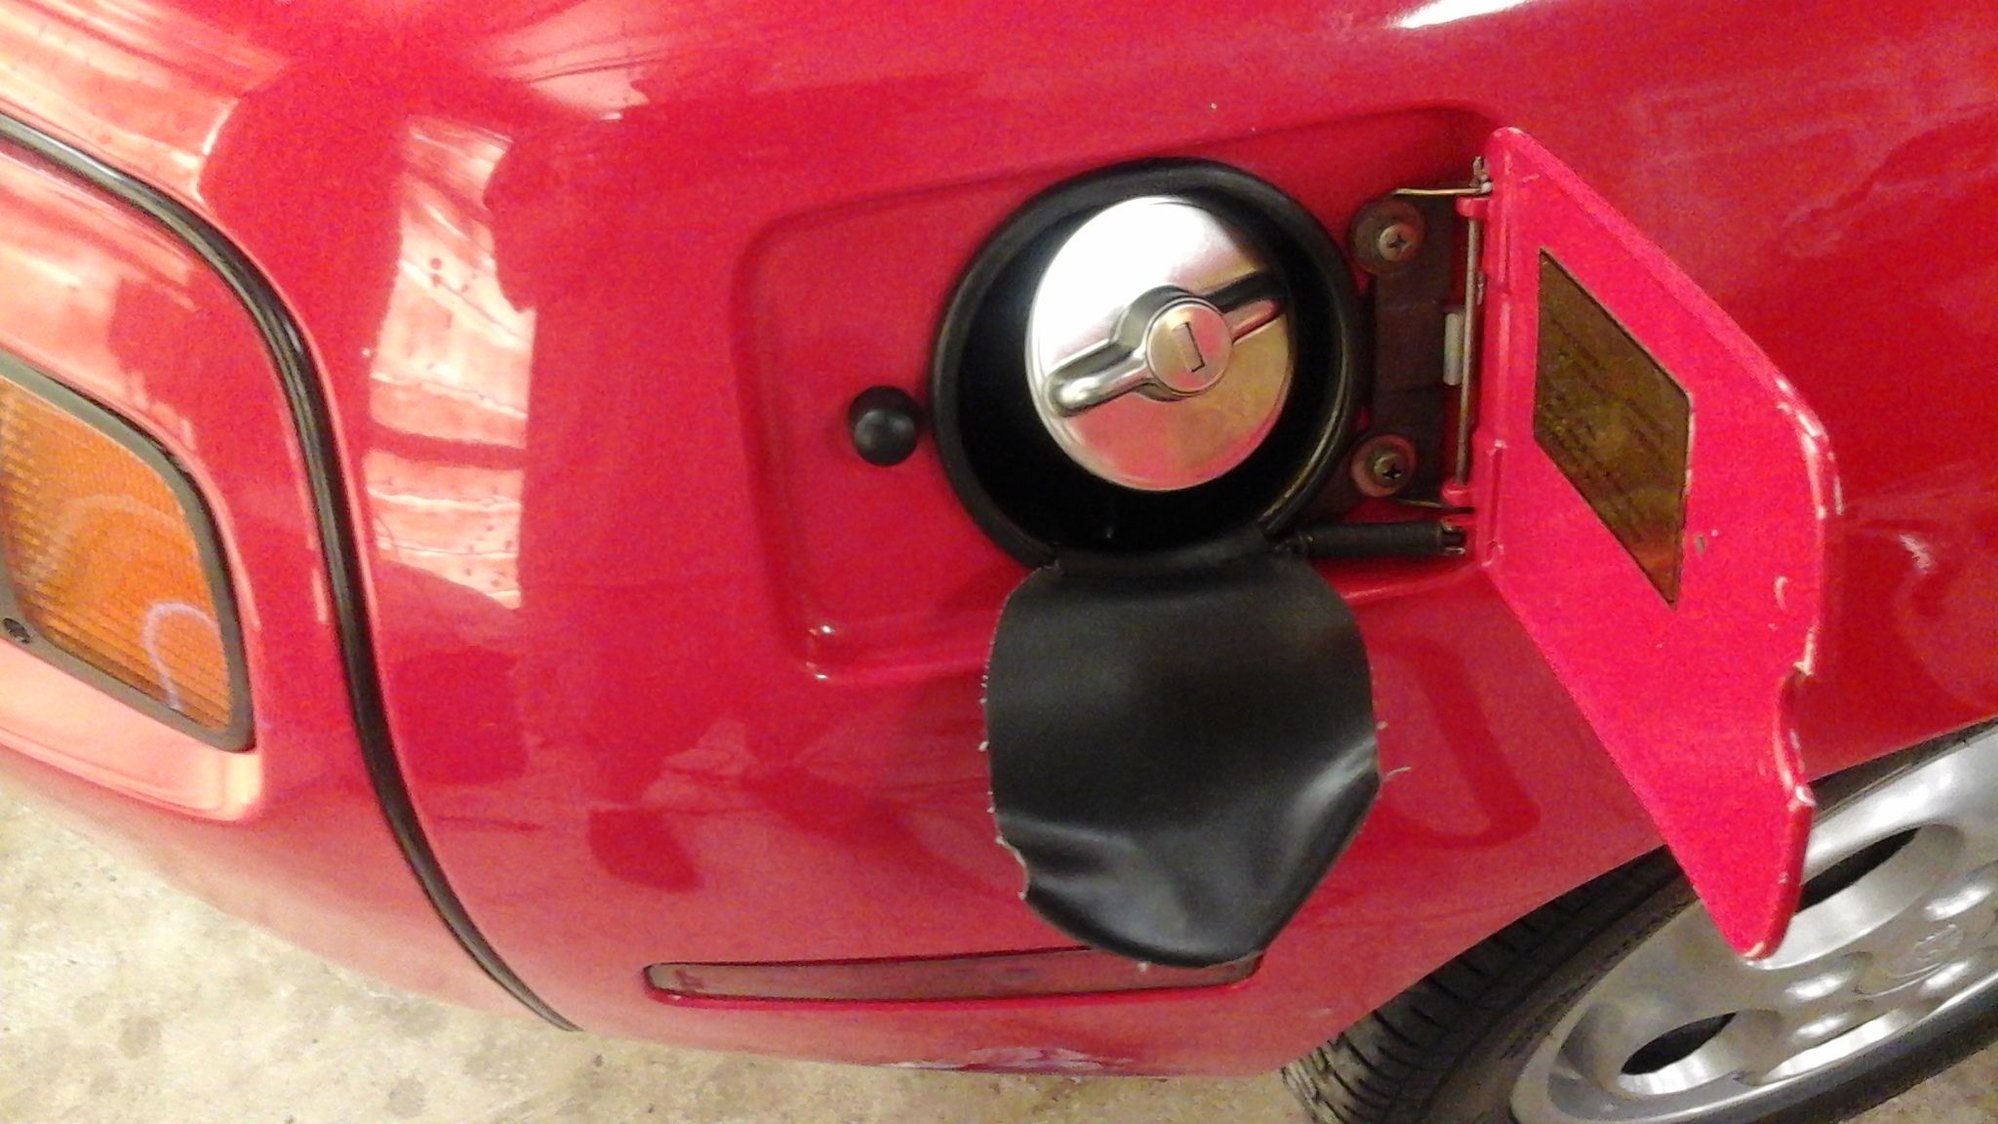
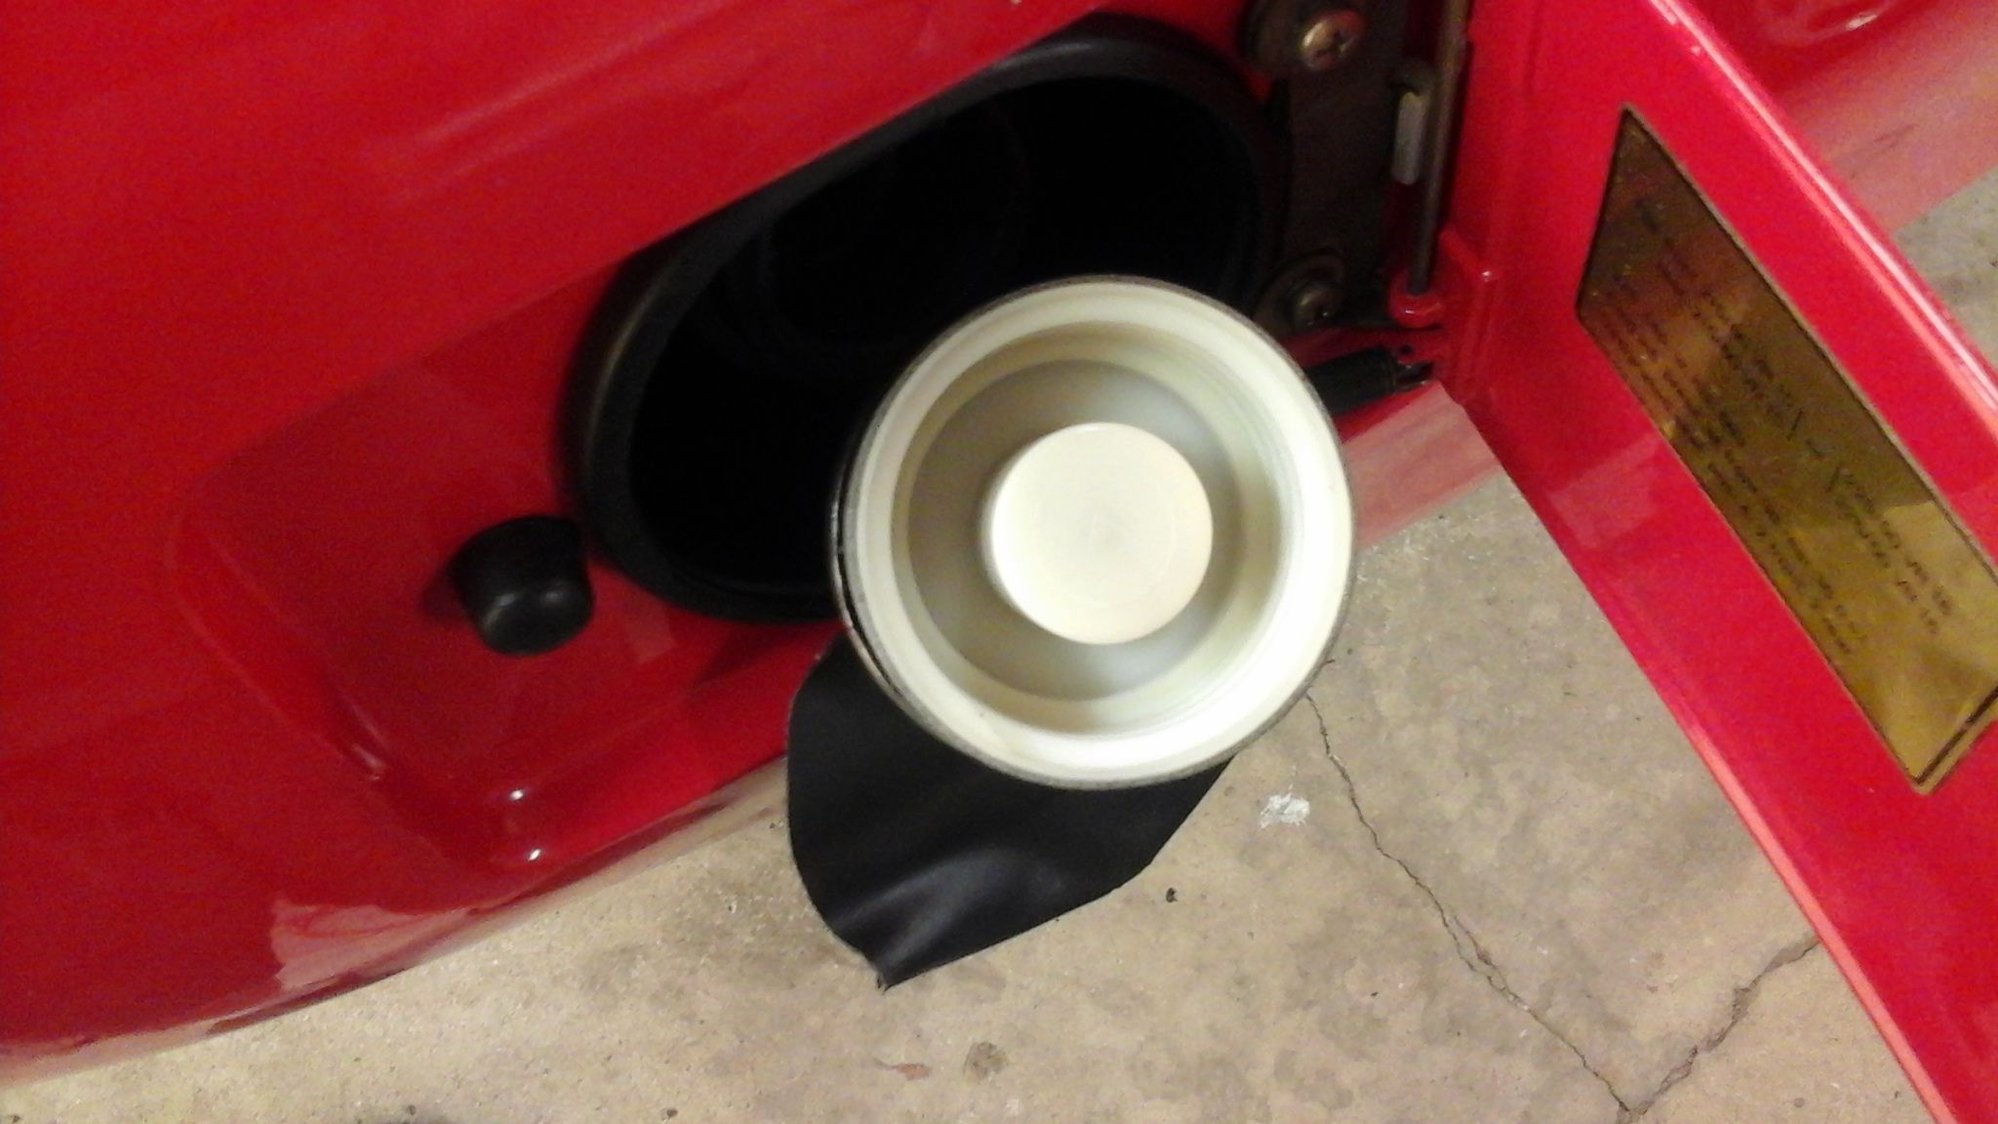
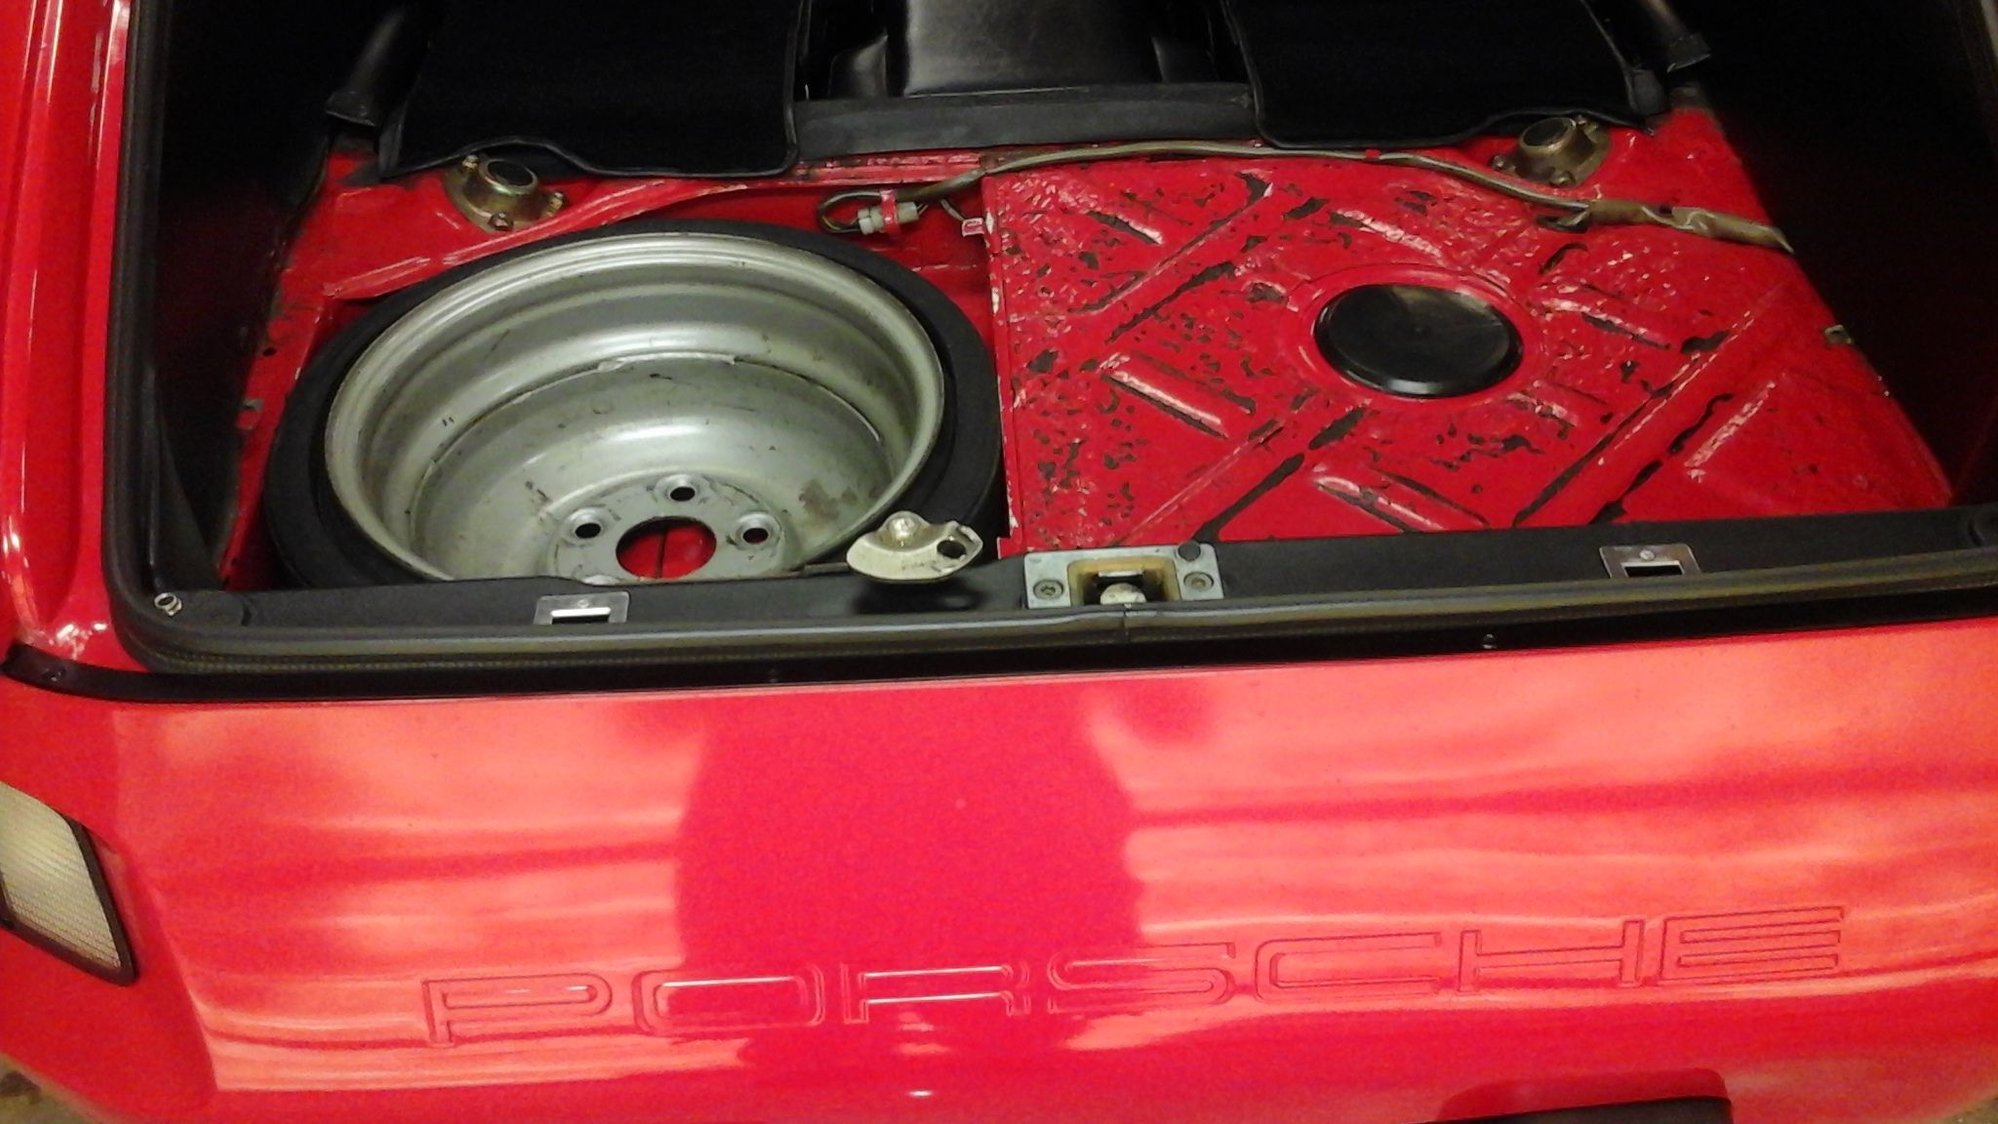
Decided to clean up gas cap area.
Oh, what the heck...may as well do the threads too.
Front bumper upper trim piece painted in satin finish. Staying, l like.
Rear trim piece painted in satin...also staying this way.
Will say one thing...cleaning the gas cap area was the most enjoyable job l've done so far...took a trip and never left the farm...lol.
Can I ask a noobie question? What does the defroster relay have to do with the windows relay? Are they connected in serial?
Beautiful OCD level of cleaniness.
-Hoi
Hello Hoi,
The only thing the two independent circuits have in common, is they use the same type of relay. I was leaning towards the window relay being bad, after doing a bit of diagnostics. So, looked around the CE panel for a similar relay...and the defroster one was the same type. So, switched them around, using defroster's in windows spot as a quick check, to see if the relay was bad. But, I was checking a bad relay...with another bad relay. My defrosters hadn't been working for some time now...but I didn't put two and two together...until my third cup of coffee and an hour of scratching my head knowing it "should" work (since l had all conditons required to make a relay work) and figuring out l'm a moron sometimes..lol.
All's well that ends well.
But, long story short...no...the two circuits have nothing to do with one another.
I know, that #225 needs too much work and unkept maintenance. How about I fly out and drive it home so that I can "fix" it and keep it off your hands, for free!
All jokes aside, you're another one who is an inspiration for my "junk" cars.
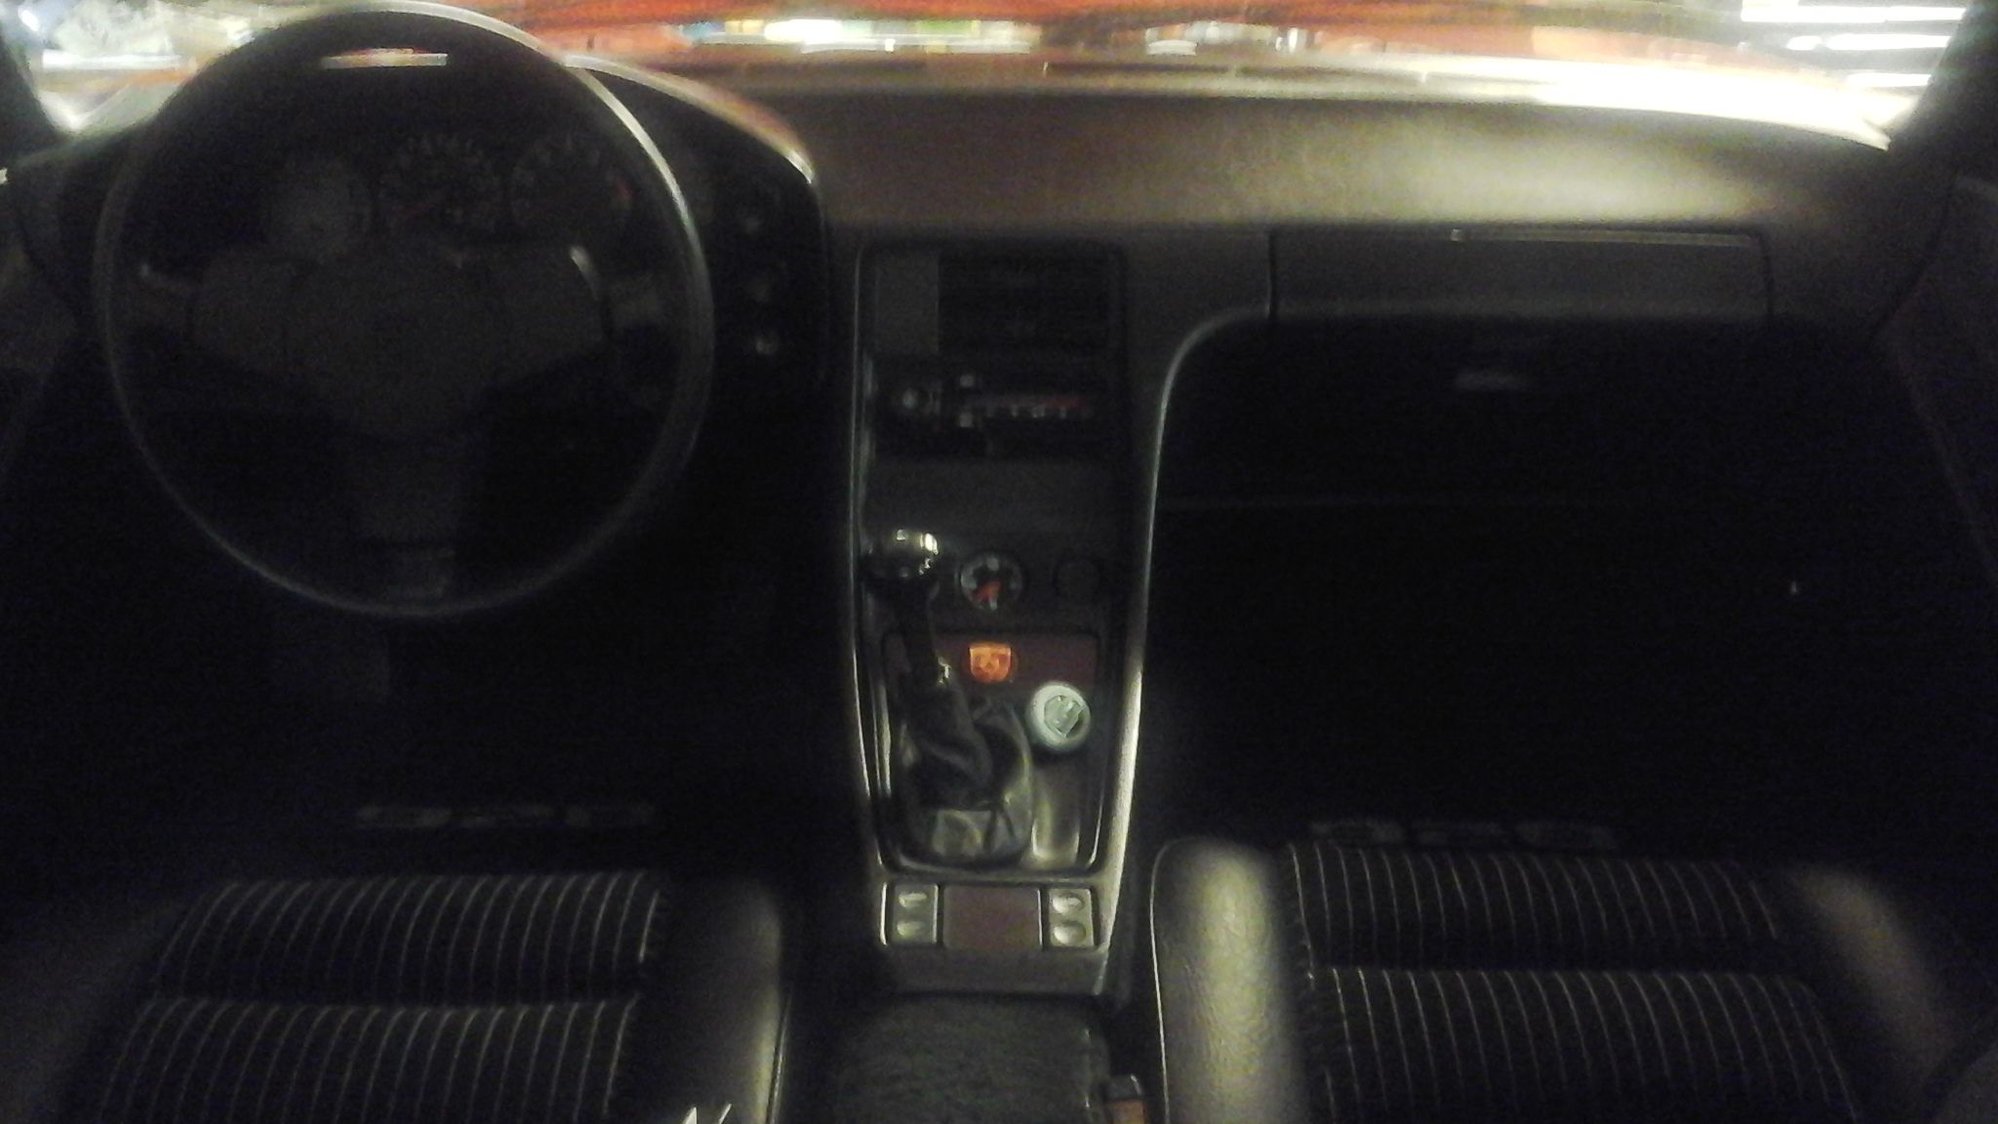
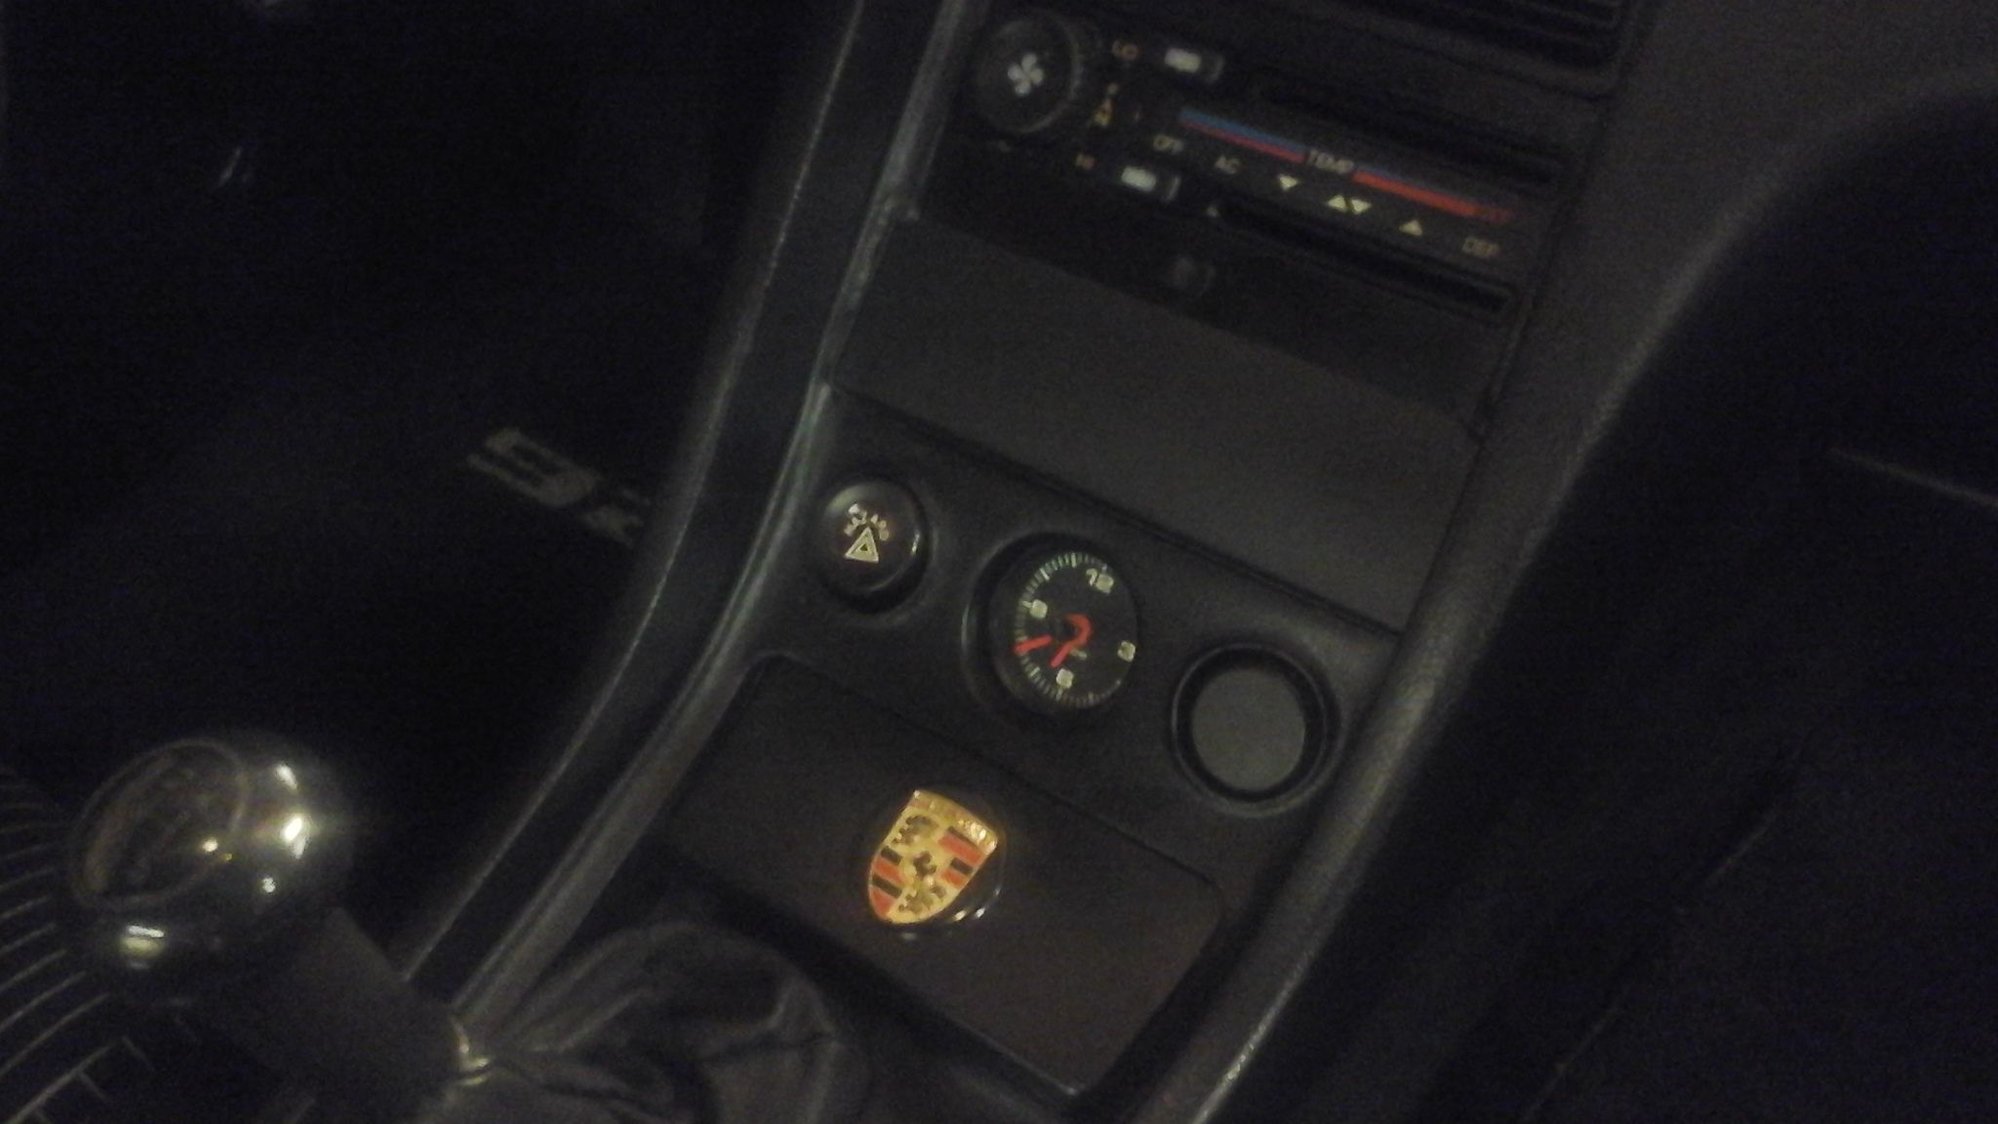
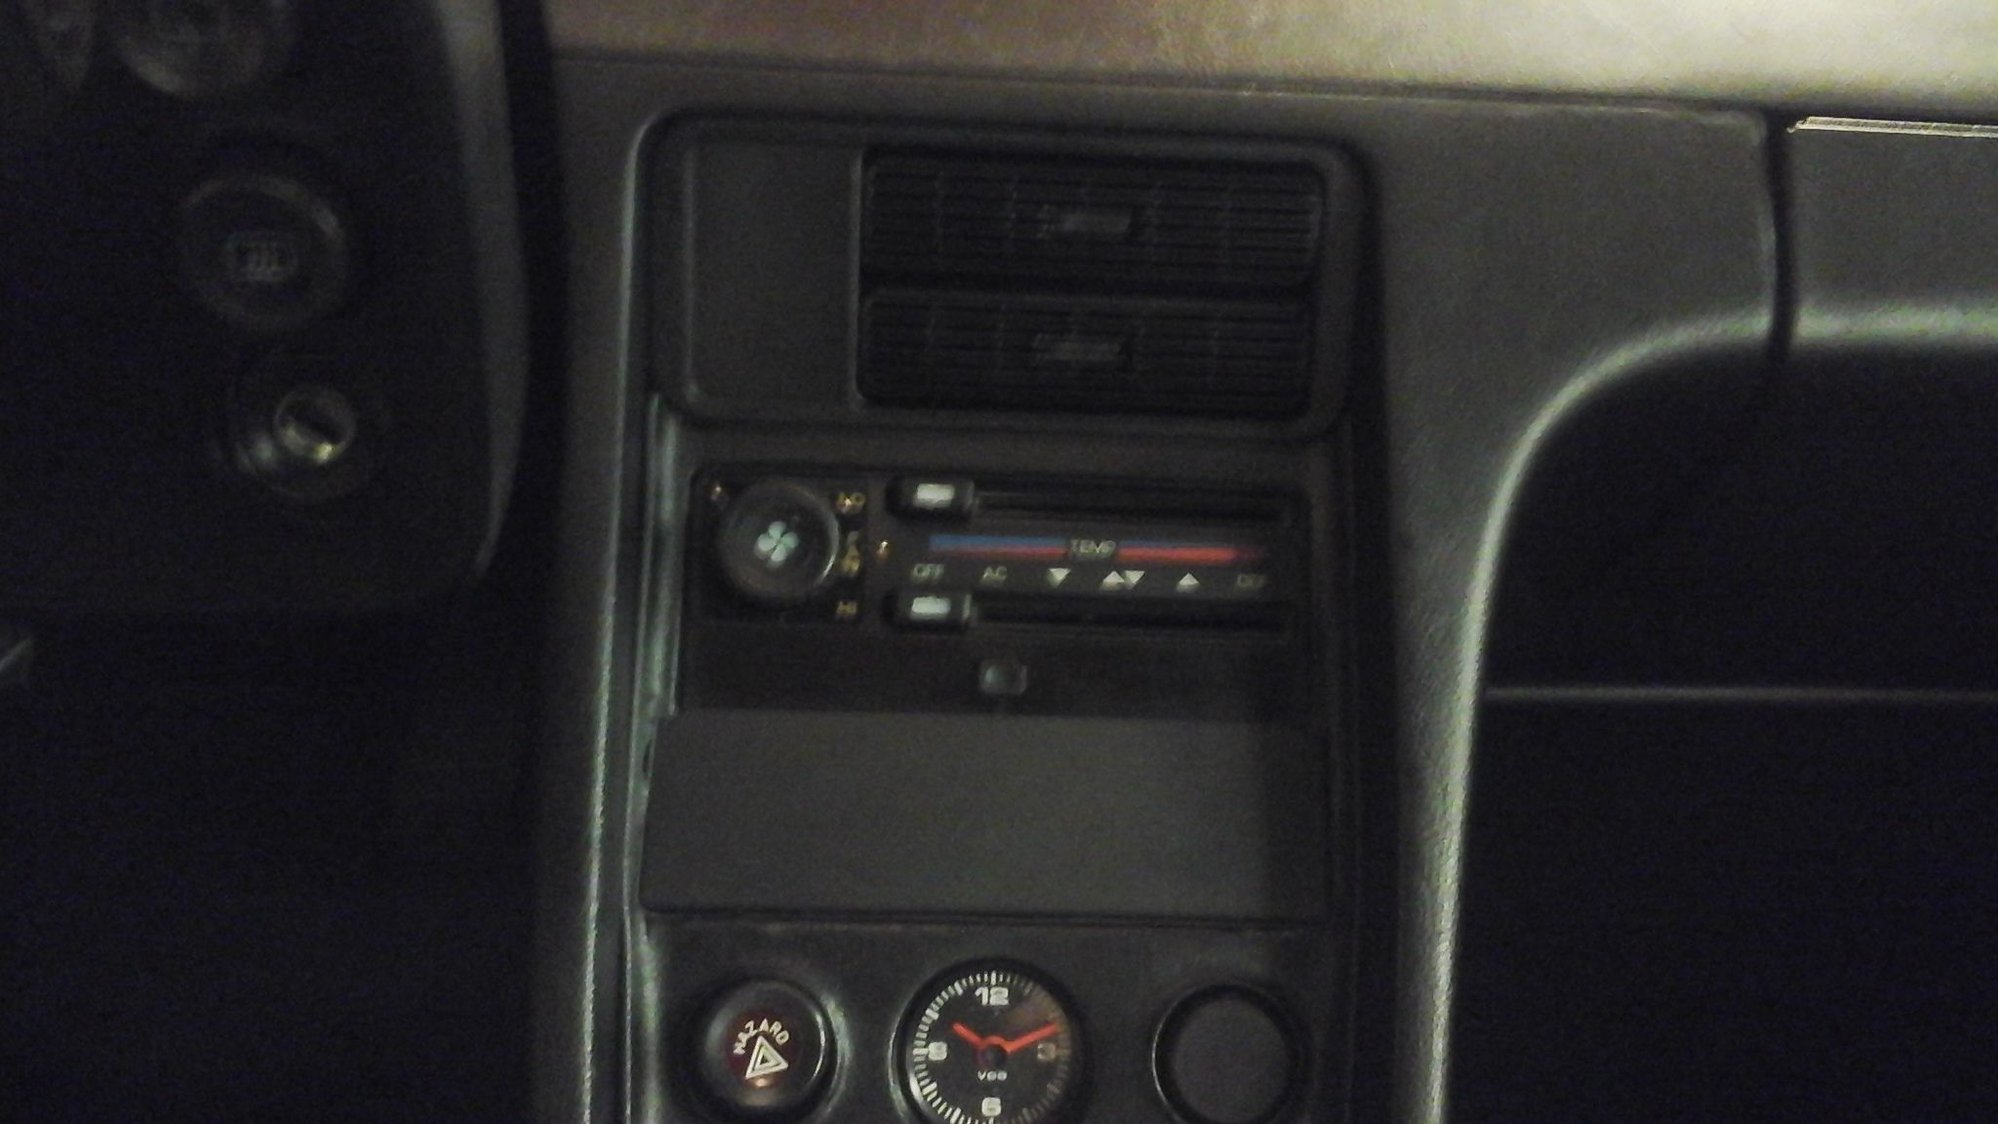
Since I couldn'T obtain a 78 radio delete plate...
Good bye, modern-ugly-radio...hello custom radio delete plate.
Made my own radio delete plate from a radio delete kit l ran across. This delete plate was much bigger than needed,, so l had to custom trim it into place, and, since my radio console surround had been hacked up...l needed a bigger one to help fill the gaps...all in all...(and it's not a hundred present done yet)...it turned out okay.
Had a bit of a fitment issue along the bottom, so l used a phone charger electical cord on edge to fill space.
I know, that #225 needs too much work and unkept maintenance. How about I fly out and drive it home so that I can "fix" it and keep it off your hands, for free!
All jokes aside, you're another one who is an inspiration for my "junk" cars.
-Hoi
Old red would think she'd died and went to heaven, if she lived the life of one of your cars...l've seen the car spa's your girls have been to for detailing and paint finishing. All my girls get are my clumsy hands and bad eye-sight detail work...yep, she'd surely leave me if she knew anything different existed.
I kind of chuckled at the "fly in" part, too...but if you don't mind landing in a hay field or maybe having to dodge a cow or two on impact...eeerrr...landing...l'll keep an eye out for you.
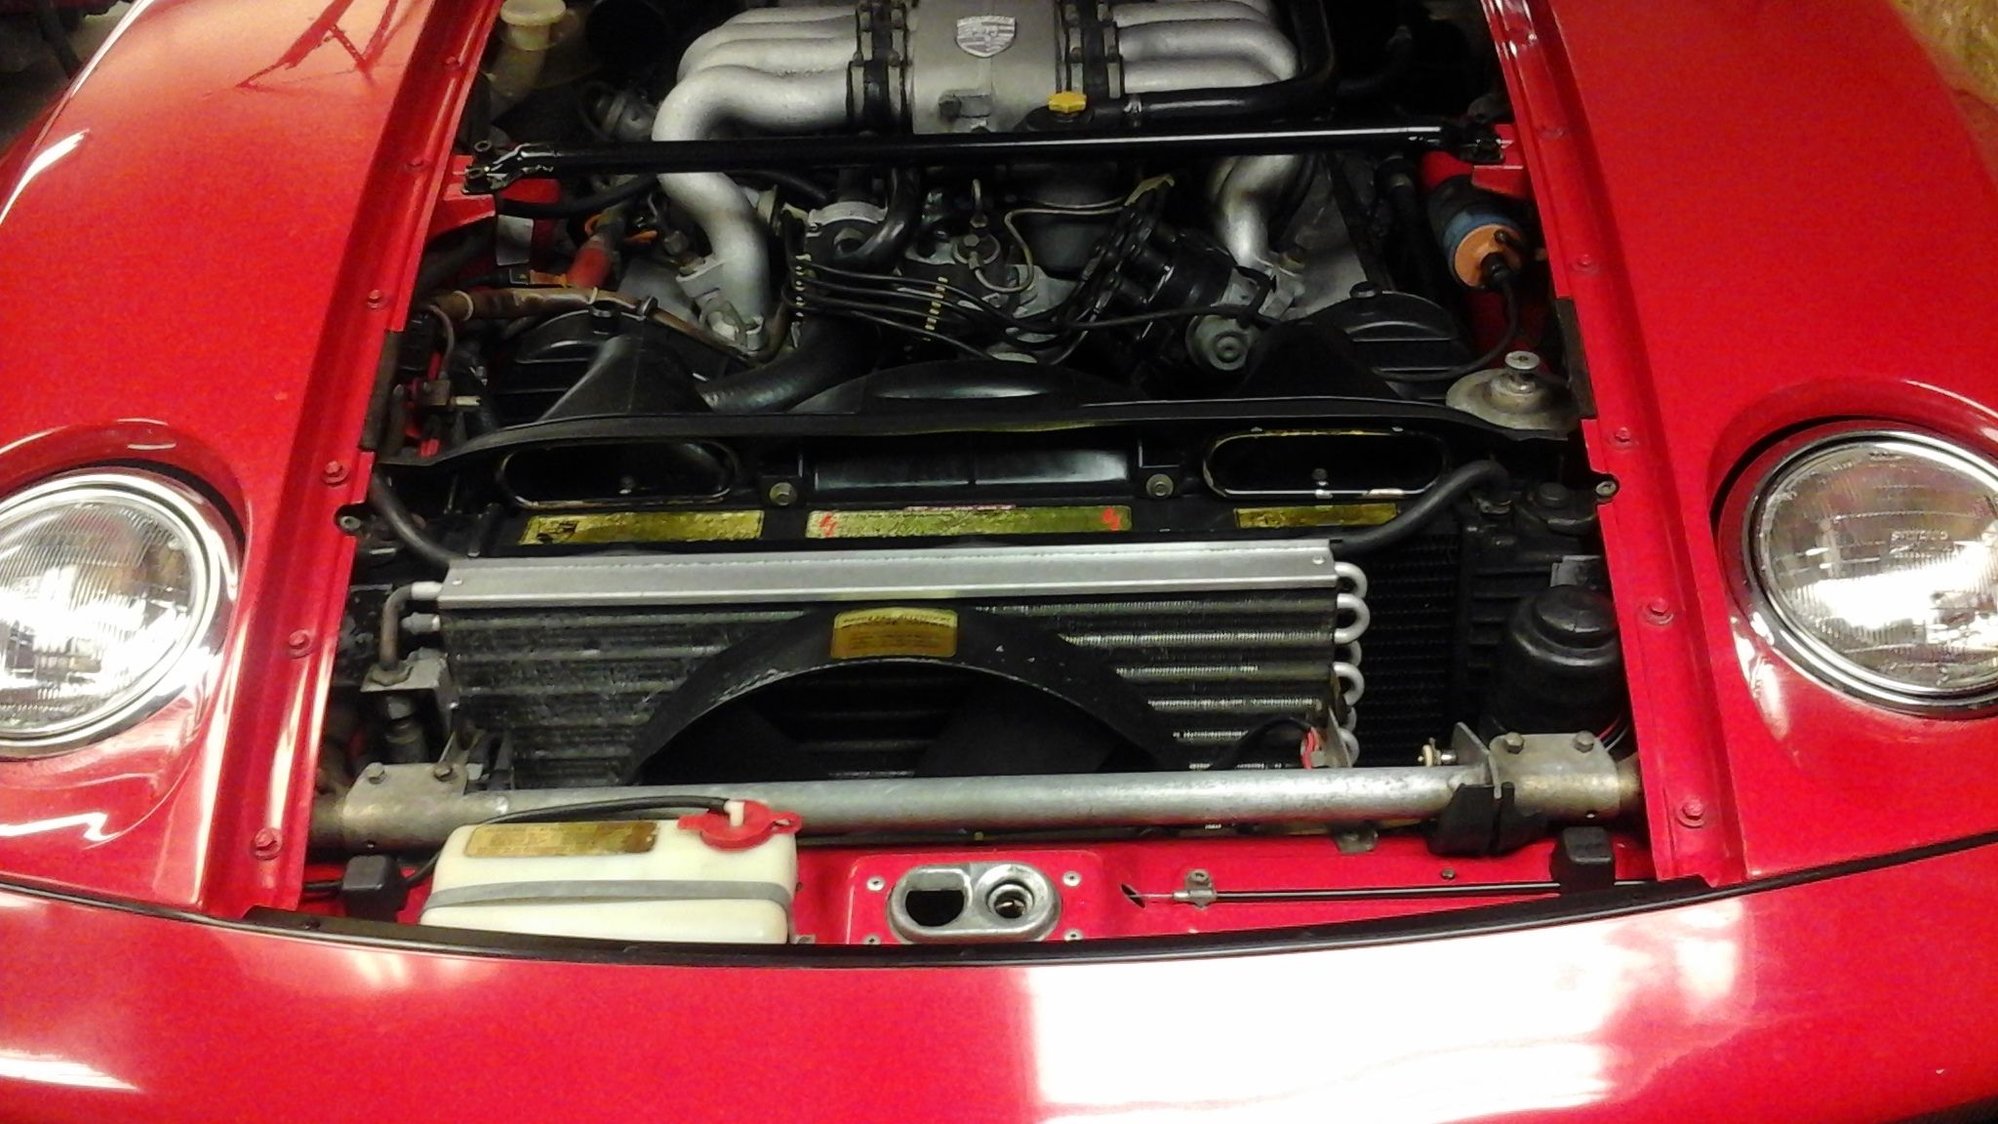
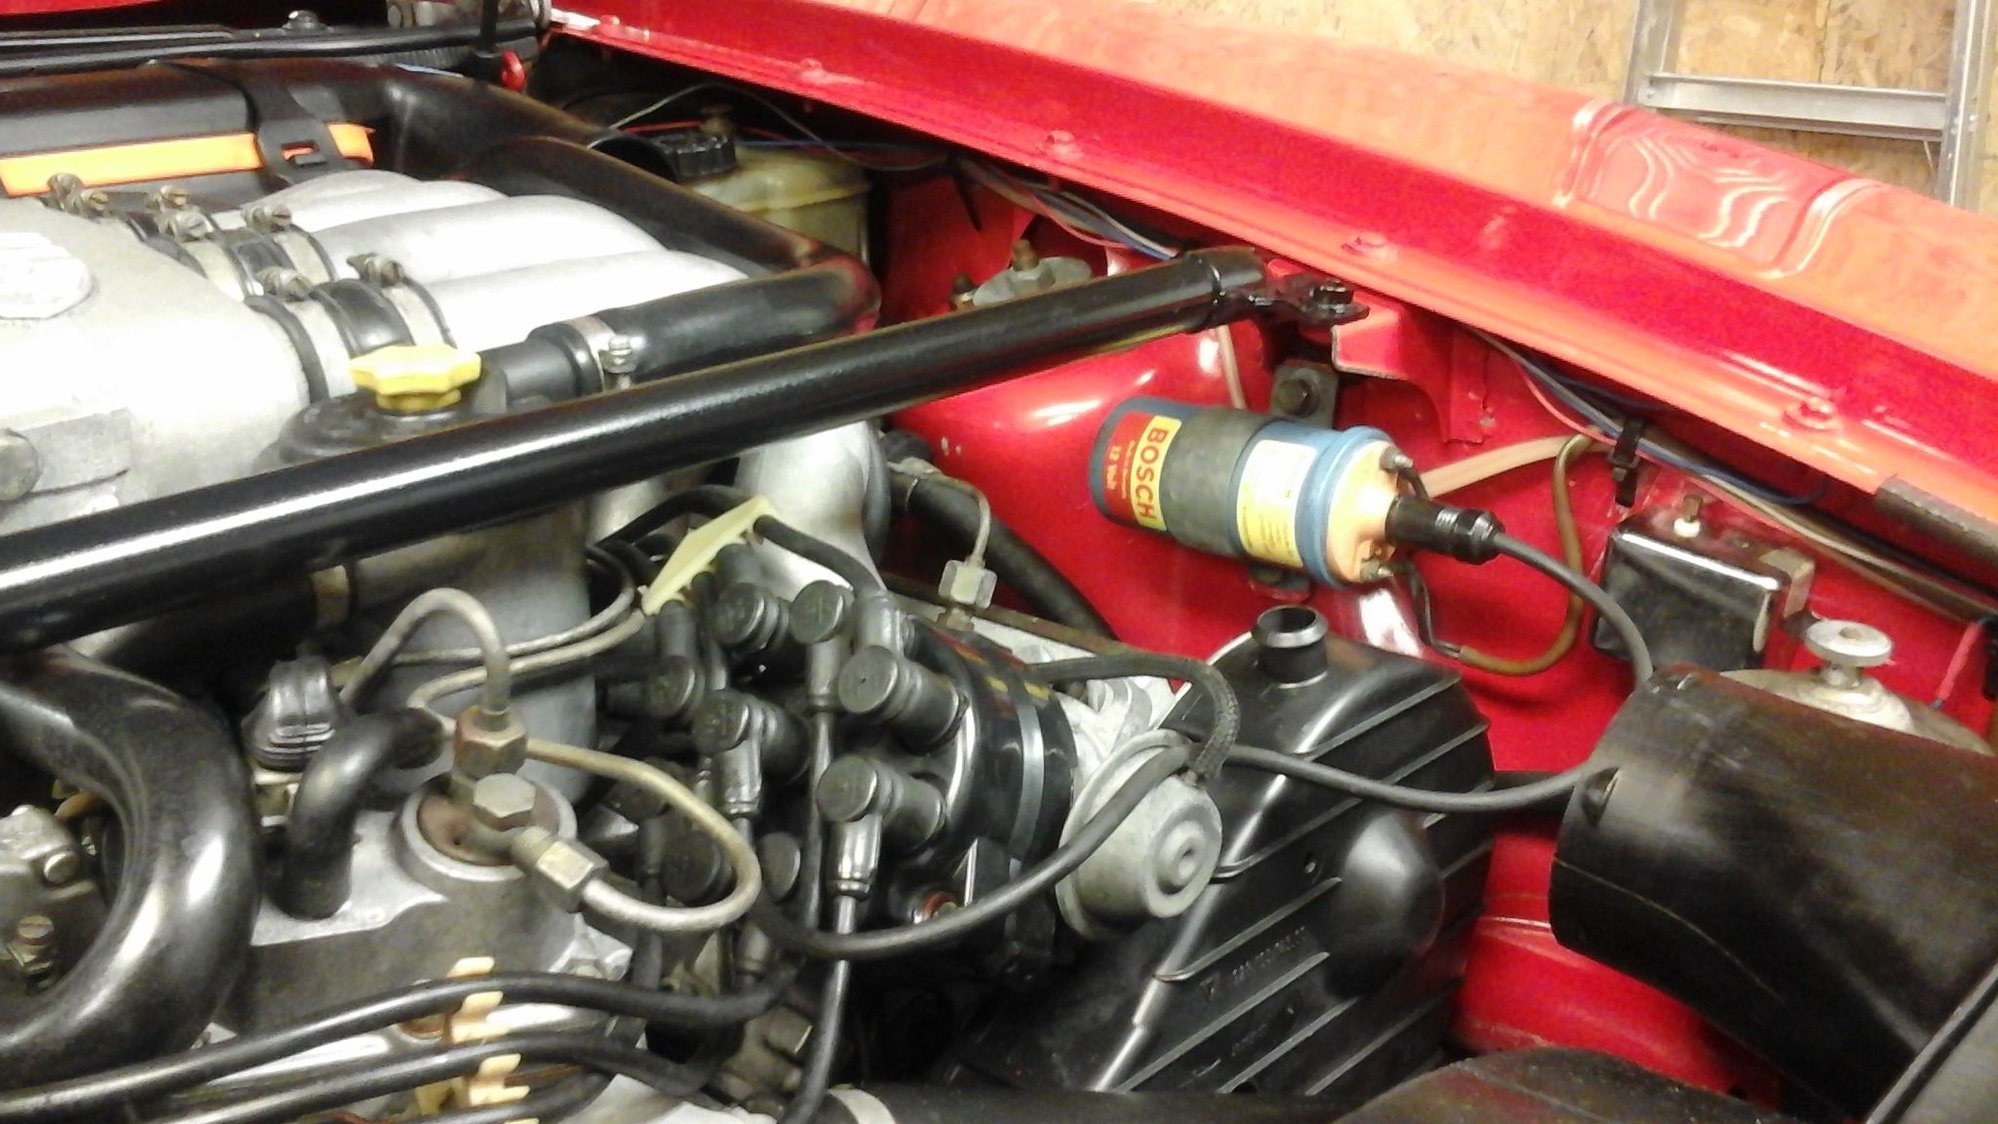
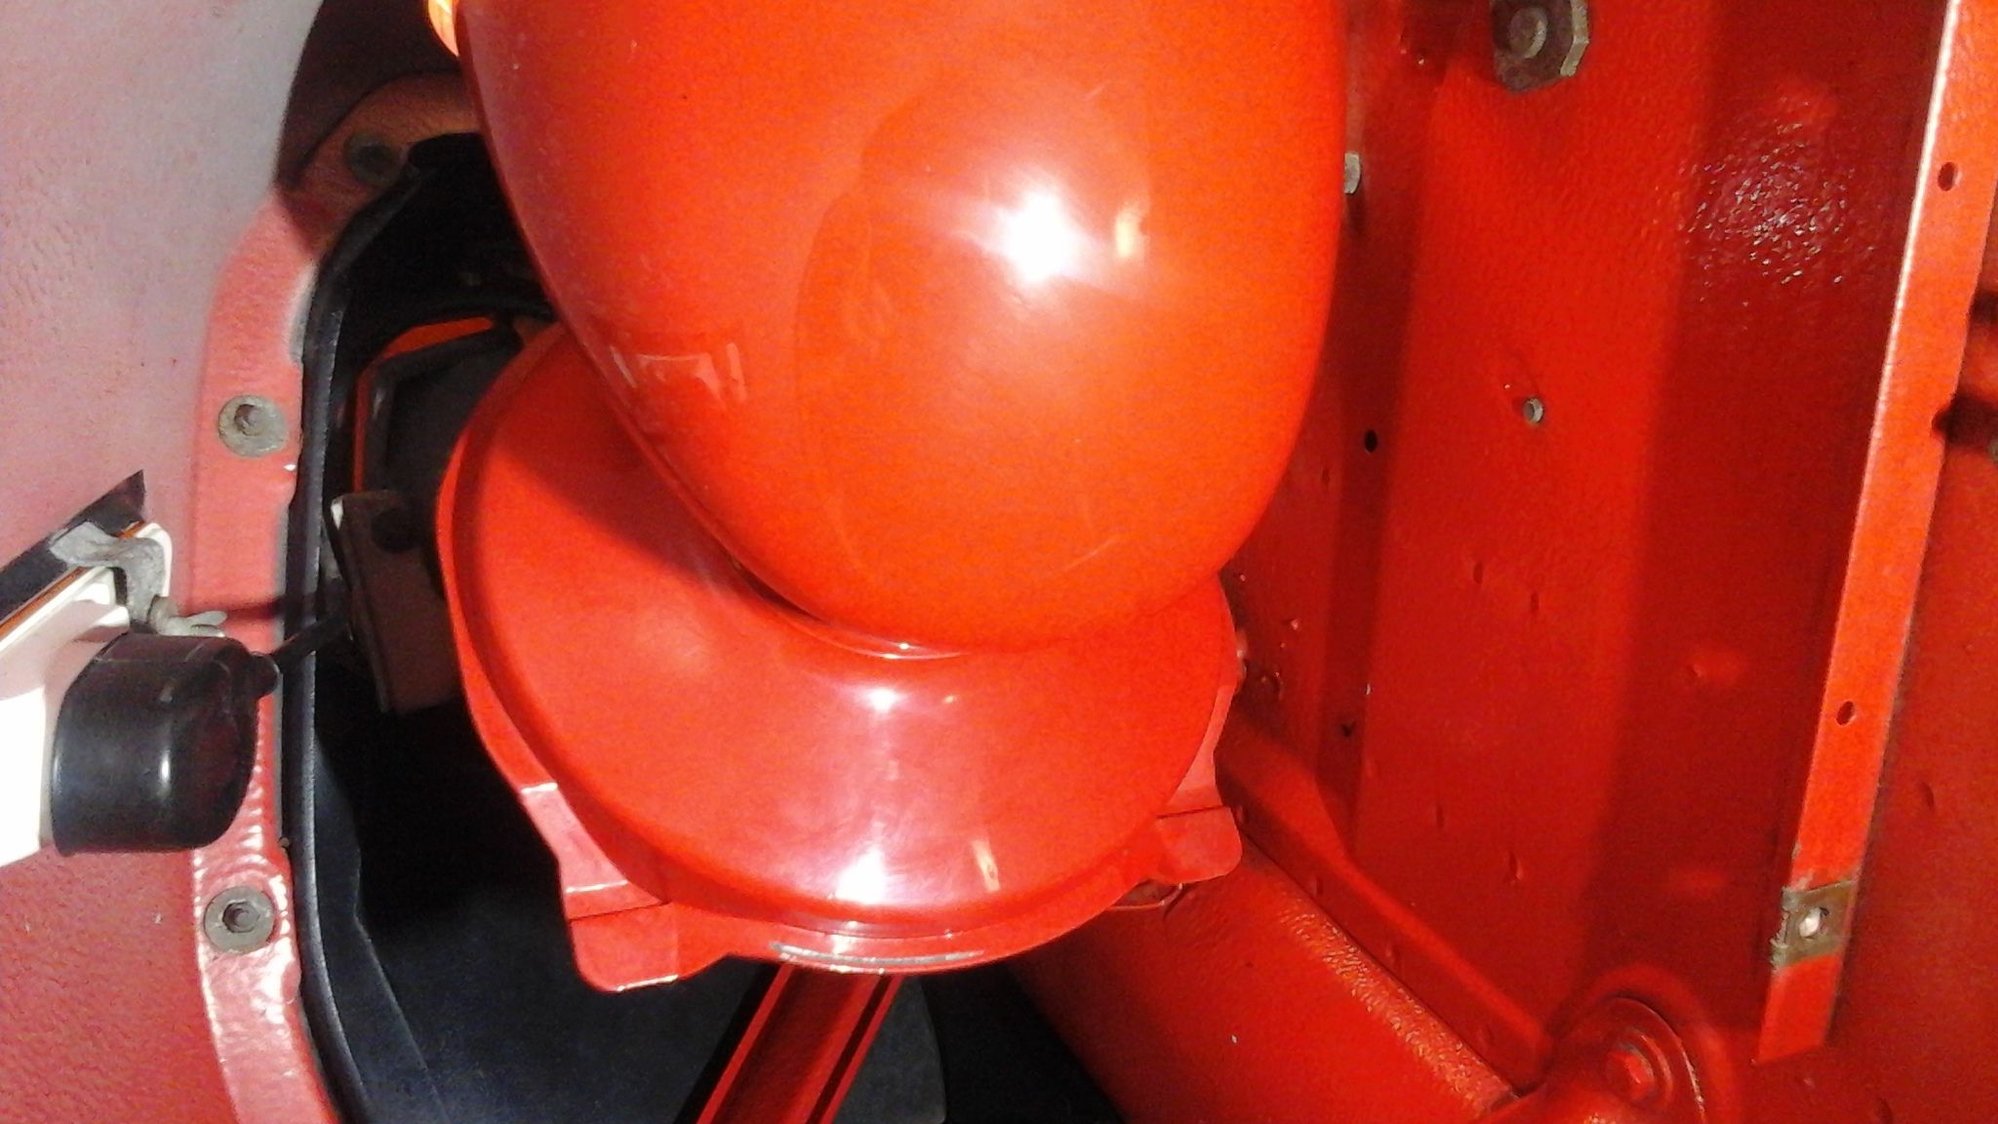
New air intake tubes installed and ready to suck wind.
Few more under-hood, interior corrections....and then the exterior detail work begins.
Brian.
looks great! I made some tubes for my 79. They look great but man are they fragile to install and remove. I am almost tempted to go back the the plastic trumpets for daily use.

 07-02-2017, 07:23 AM