When you click on links to various merchants on this site and make a purchase, this can result in this site earning a commission. Affiliate programs and affiliations include, but are not limited to, the eBay Partner Network.
For sure! I hear it's typically +100-150 lbs right there, I weigh 185 and wasn't in the car, and it will have a bit more due to a few coolers and the dash added back in as well.... I have a lot more weight to pull out before I'll be approaching the class minimum weight!
Let's see... back of the napkin... 2580 + 185 + ~125 = 2890 is effectively where I'm at, and I still need more weight to account for coolers and accessories. So about 250-300 more pounds to go.
The doors and seats will be easy weight to shed, and I haven't done much aside from gutting the interior so I still have a fair bit of low hanging fruit ahead before I get to the hard part of the diet. But with nearly 300 lbs to lose I need it!
I have not weighed mine since I started the gut. My new fiberglass top has arrived and it is really light and well made. Once I finish with the current project, I'll put the wheels on and weigh it. Hoping to easily make the weight limit.
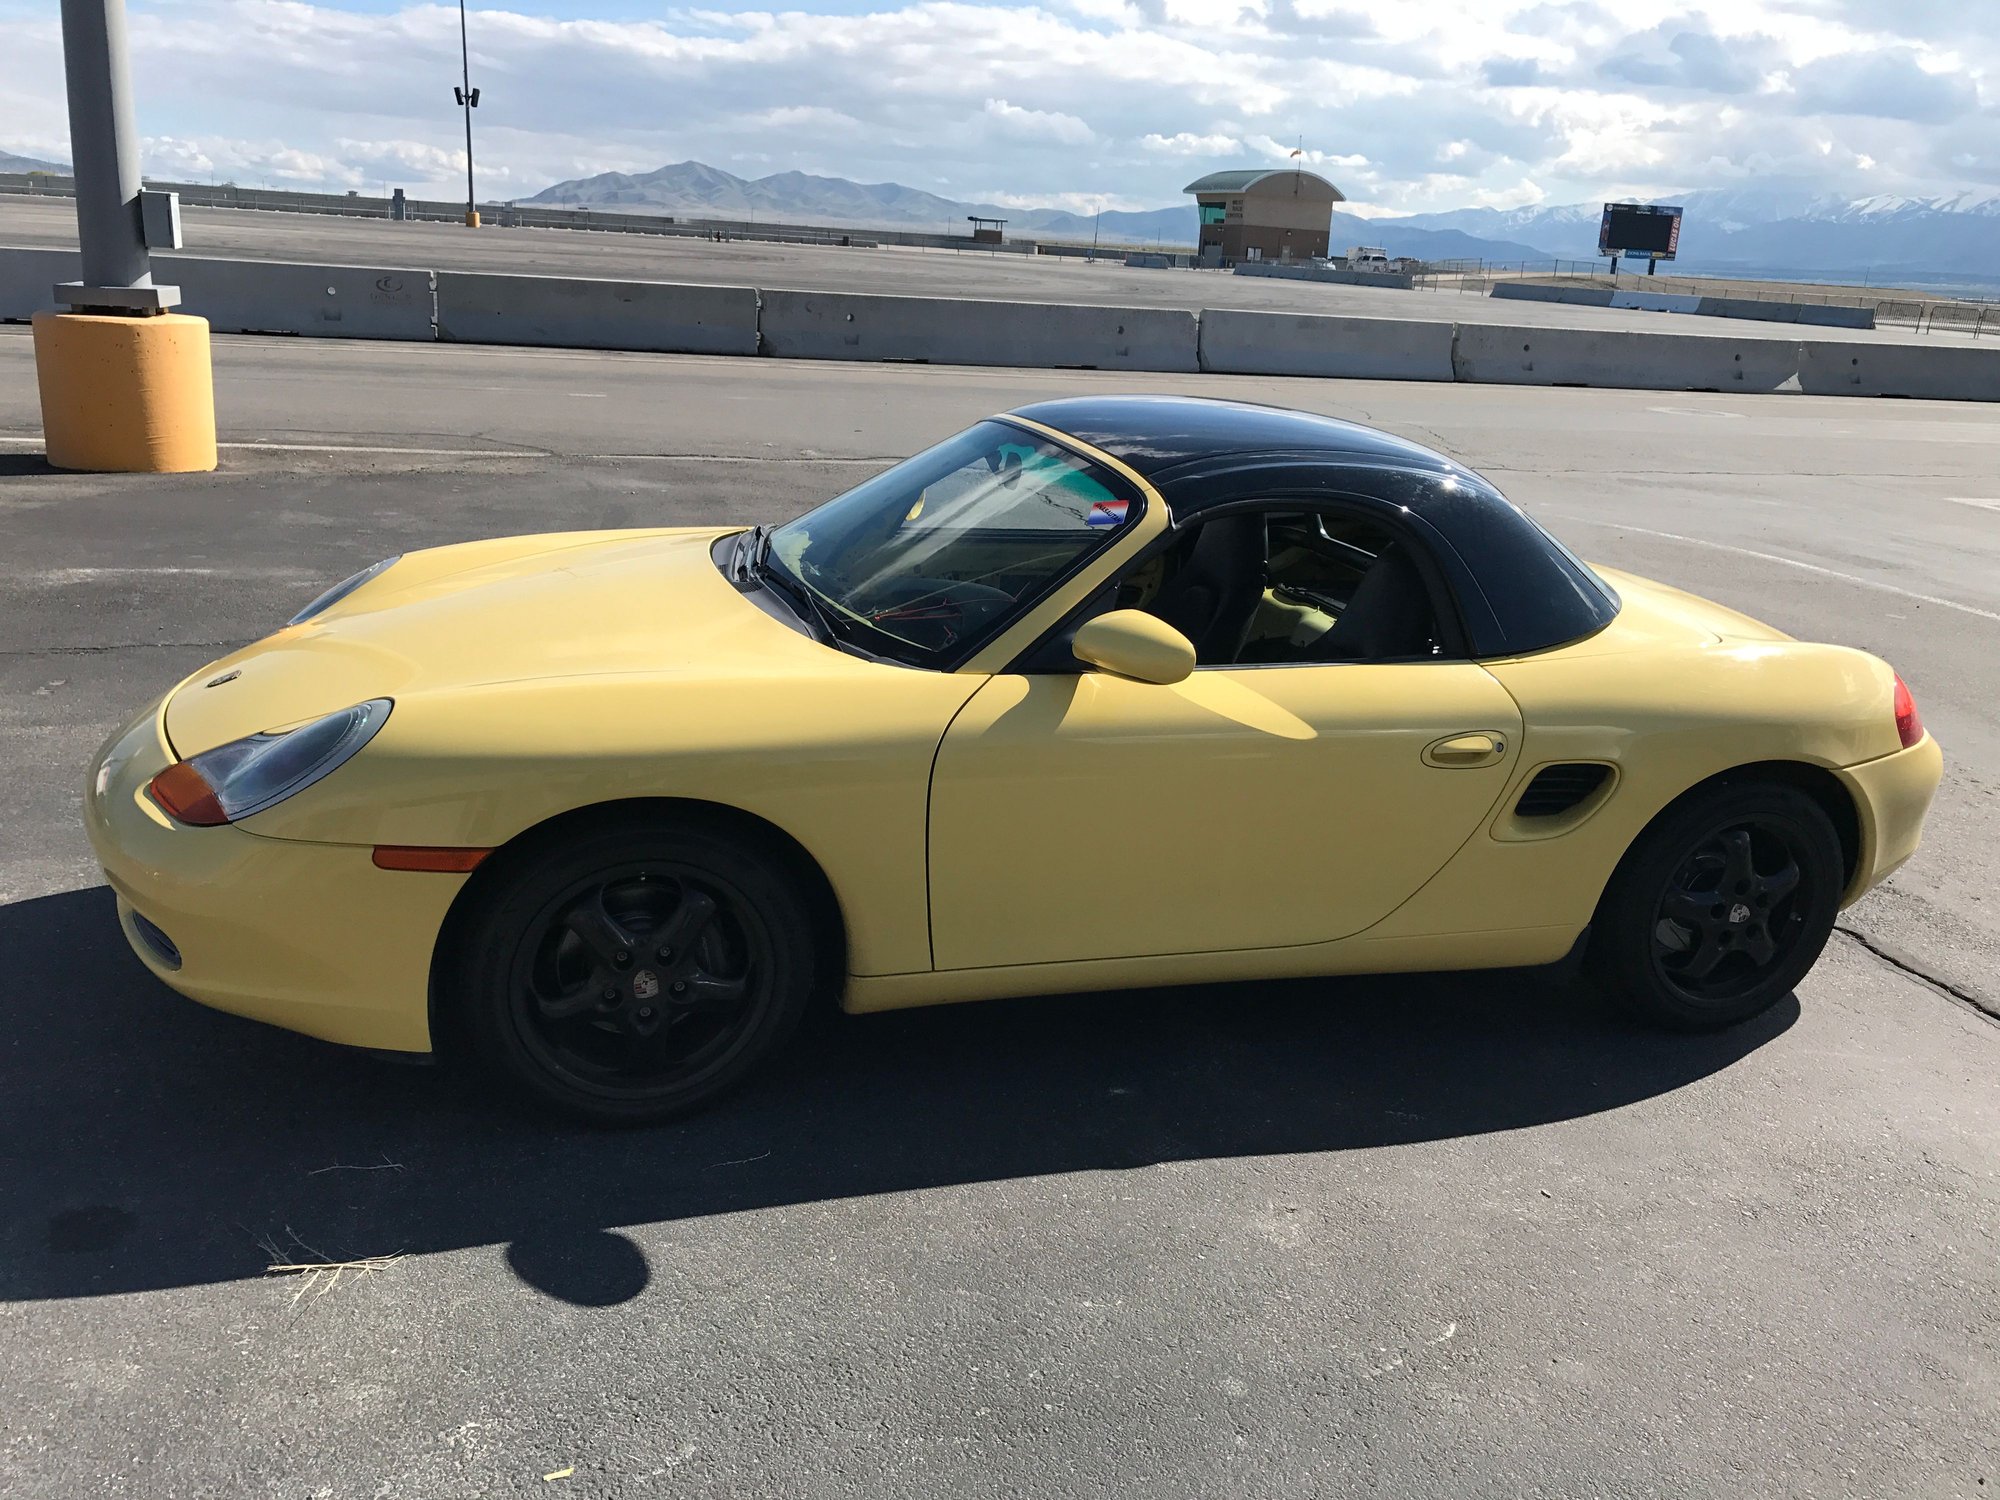
First DE update - car ran flawlessly! I talked with locals and they said the car at the DE level was fine on factory cooling here, and indeed that was my experience.
I had had two issues:
1) I find the stock pedals hard to heel toe with right now, and I'll need to address that either through parts or by changing my technique if I want my synchros to last. I have size 12 shoes so my heel is too low unless I rotate my foot nearly 90 degrees.
2) The stock seats are a royal PITA in a DE (even on street summer tires) due to the major lack of lateral support. My wrists and arms genuinely ache and it hurt my performance in the last session.
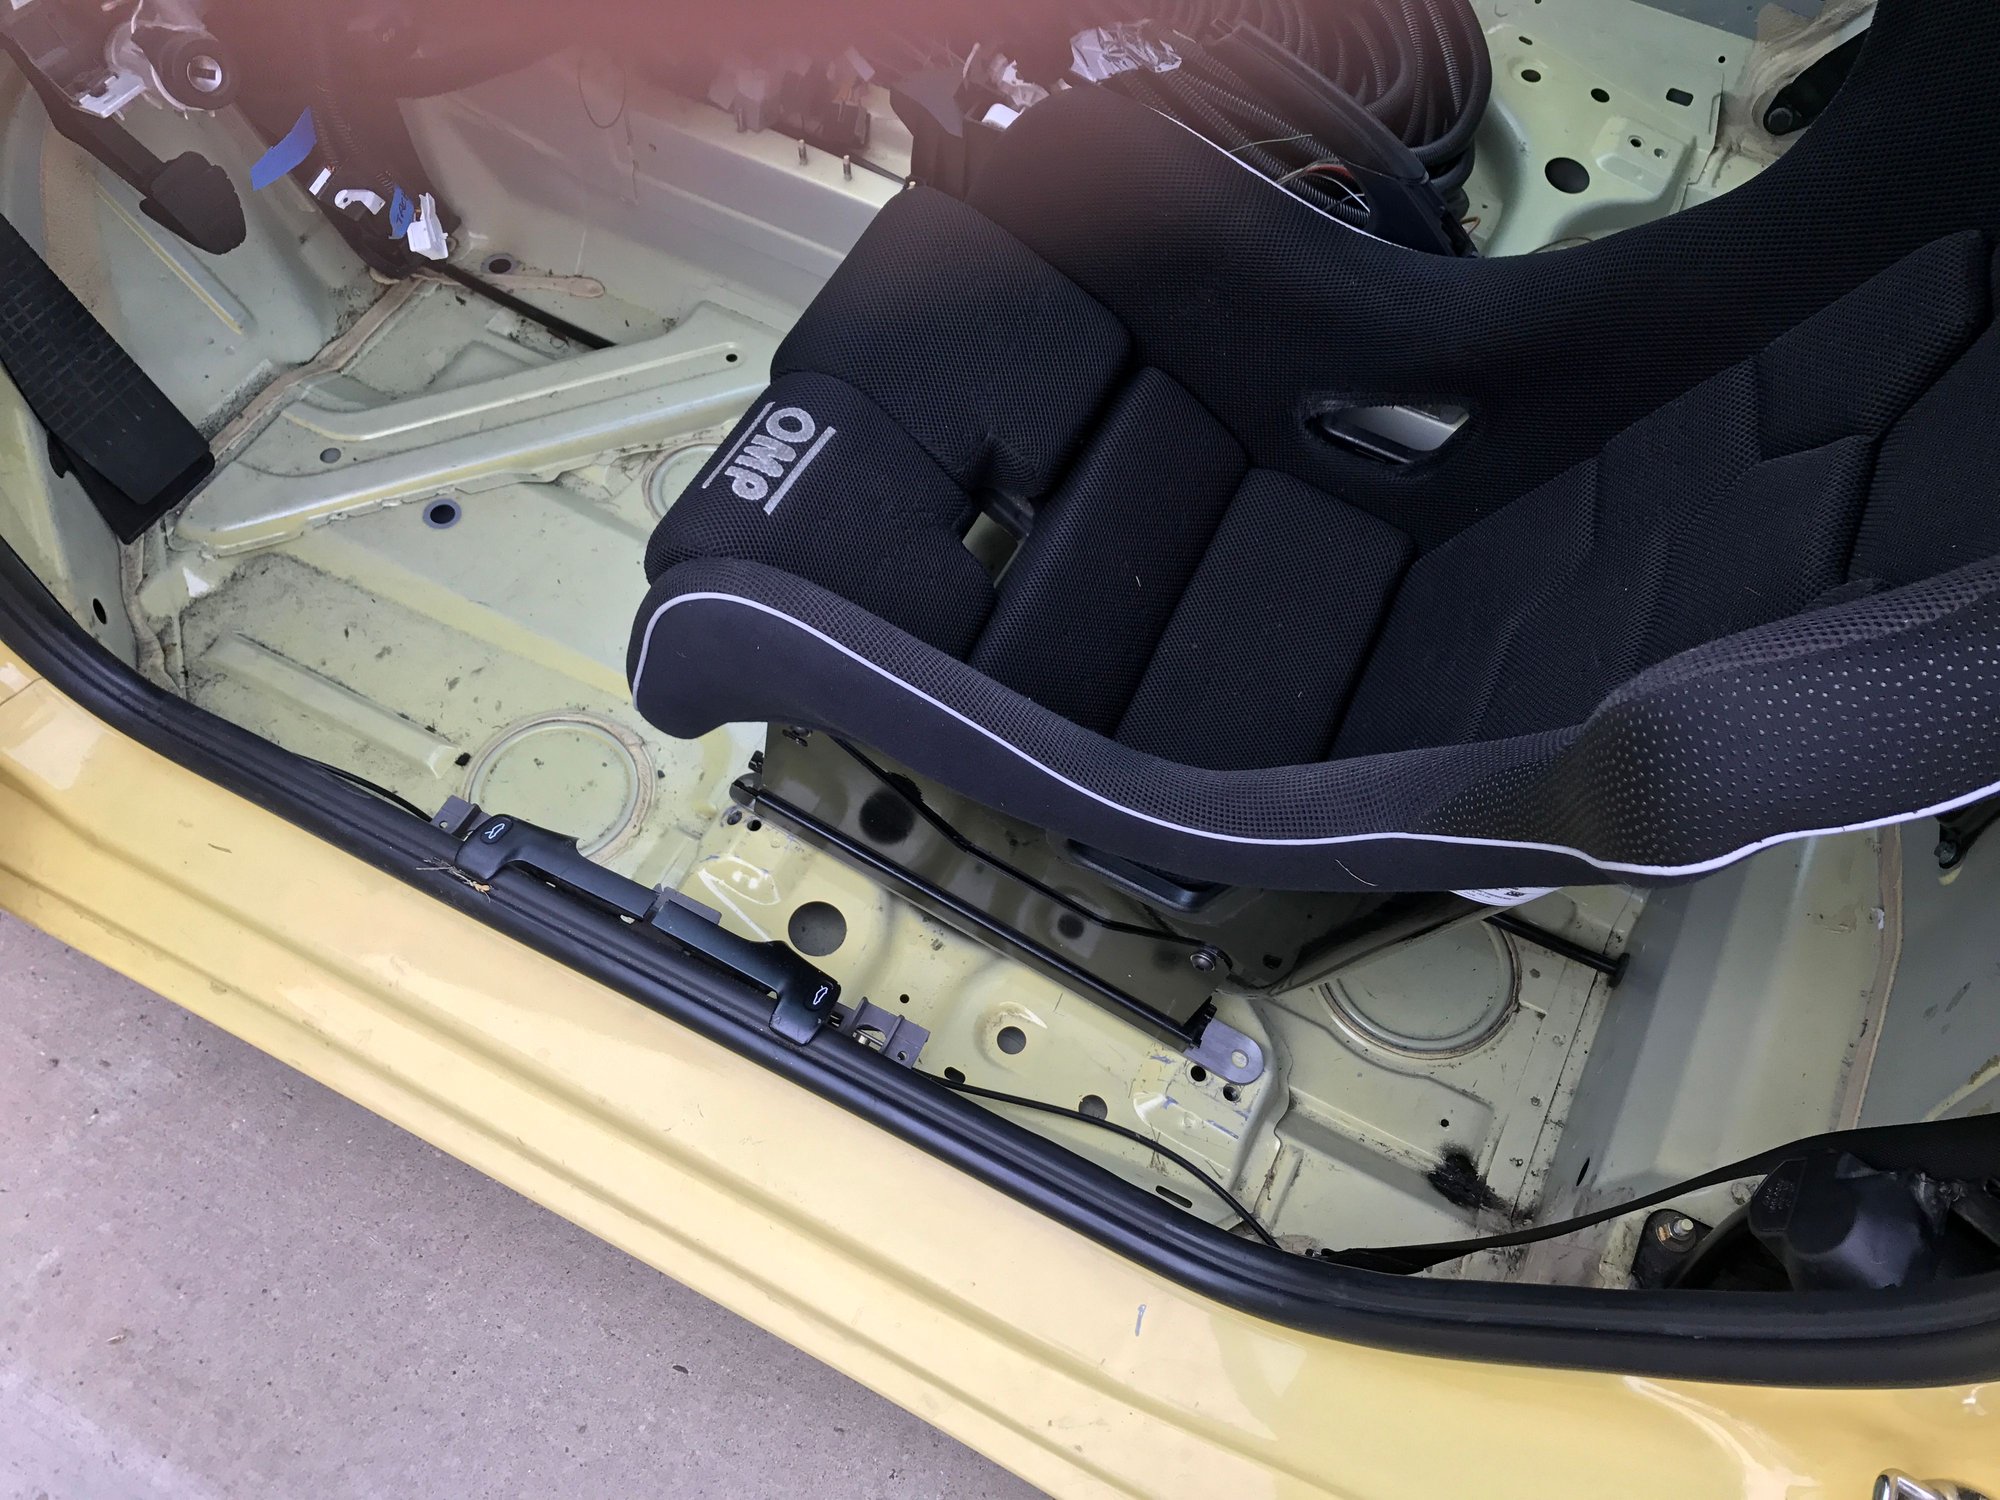
I bought two used OMP WRC-R seats from the local Ford Performance Race School as they were given a sponsorship to replace them - they're valid through 2020 and in the end they gave them to me for just $200 each! I need to find mounts and sliders, but in ~2 weeks when they finish working on their cars they'll probably give me a set of OMP mounts or sell me them with sliders for very little depending on what they have in the shop after finishing their replacements. (Apparently they have a bit of work to do to fit the new seats, so they may have to reuse some of the mounting hardware)
I have not weighed mine since I started the gut. My new fiberglass top has arrived and it is really light and well made. Once I finish with the current project, I'll put the wheels on and weigh it. Hoping to easily make the weight limit.
I hope you do! I've enjoyed seeing your build on the other forum. You're quite ahead of me in many ways - I imagine the car just gets more and more enjoyable to drive.
The factory 986.1 Boxster passenger seat with manual sliders and electric tilt weighs 44 lbs on a bathroom scale including the steel slider rails. The seat rails seem to be a significant part of that weight but I didn't disassemble them to see how much.
I weighed one of the OMP WRC-R seats with the standard padding on it on a bathroom scale and it came to 22.5 lbs. They are FIA certified fiberglass seats. For reference, OMP claims the seat weighs 8.8 kg = 19.4 lbs, so it's 3 lbs or 15% overweight. Perhaps the factory number is for one on the light end of average and stripped of the cover / padding.
Source: http://www.ompamerica.com/images/cha...acingseats.pdf
The seat will also need side mounts and optionally rails to be installed in the car. The Brey Krause R-9751 mount weighs 4 lbs. I don't have a weight for the factory rails but they seem heavy. Going fixed with the BK floor mount system is another option and adds another 4 lbs.
Current Amazon listings show the OMP steel mounts weighing 5.5 lbs (or 3.8 for aluminum) and the OMP sliders weighing 4.6 lbs, so a typical install will require 8-10 lbs of hardware to mount.
To get a figure, taking the OMP mounting hardware, the seat + OMP slider and aluminum mount OR the seat + BK side and fixed floor mount you end up with 31 lbs compared to the OEM seats at 44 lbs. The absolute lightest carbon OMP seats are claimed to be 7 lbs lighter than mine (at a claimed 12.3 lbs). Upgrading the factory seat belts to harnesses probably adds a little bit of weight too.
So when all is said and done, moving from the OEM seats to FIA seats seems to save 10-25 pounds per side depending on the details, it's on the low end of that range for those of us that use sliders and fiberglass FIA seats, and removing the passenger seat saves 44 lbs as compared to the OEM seat.
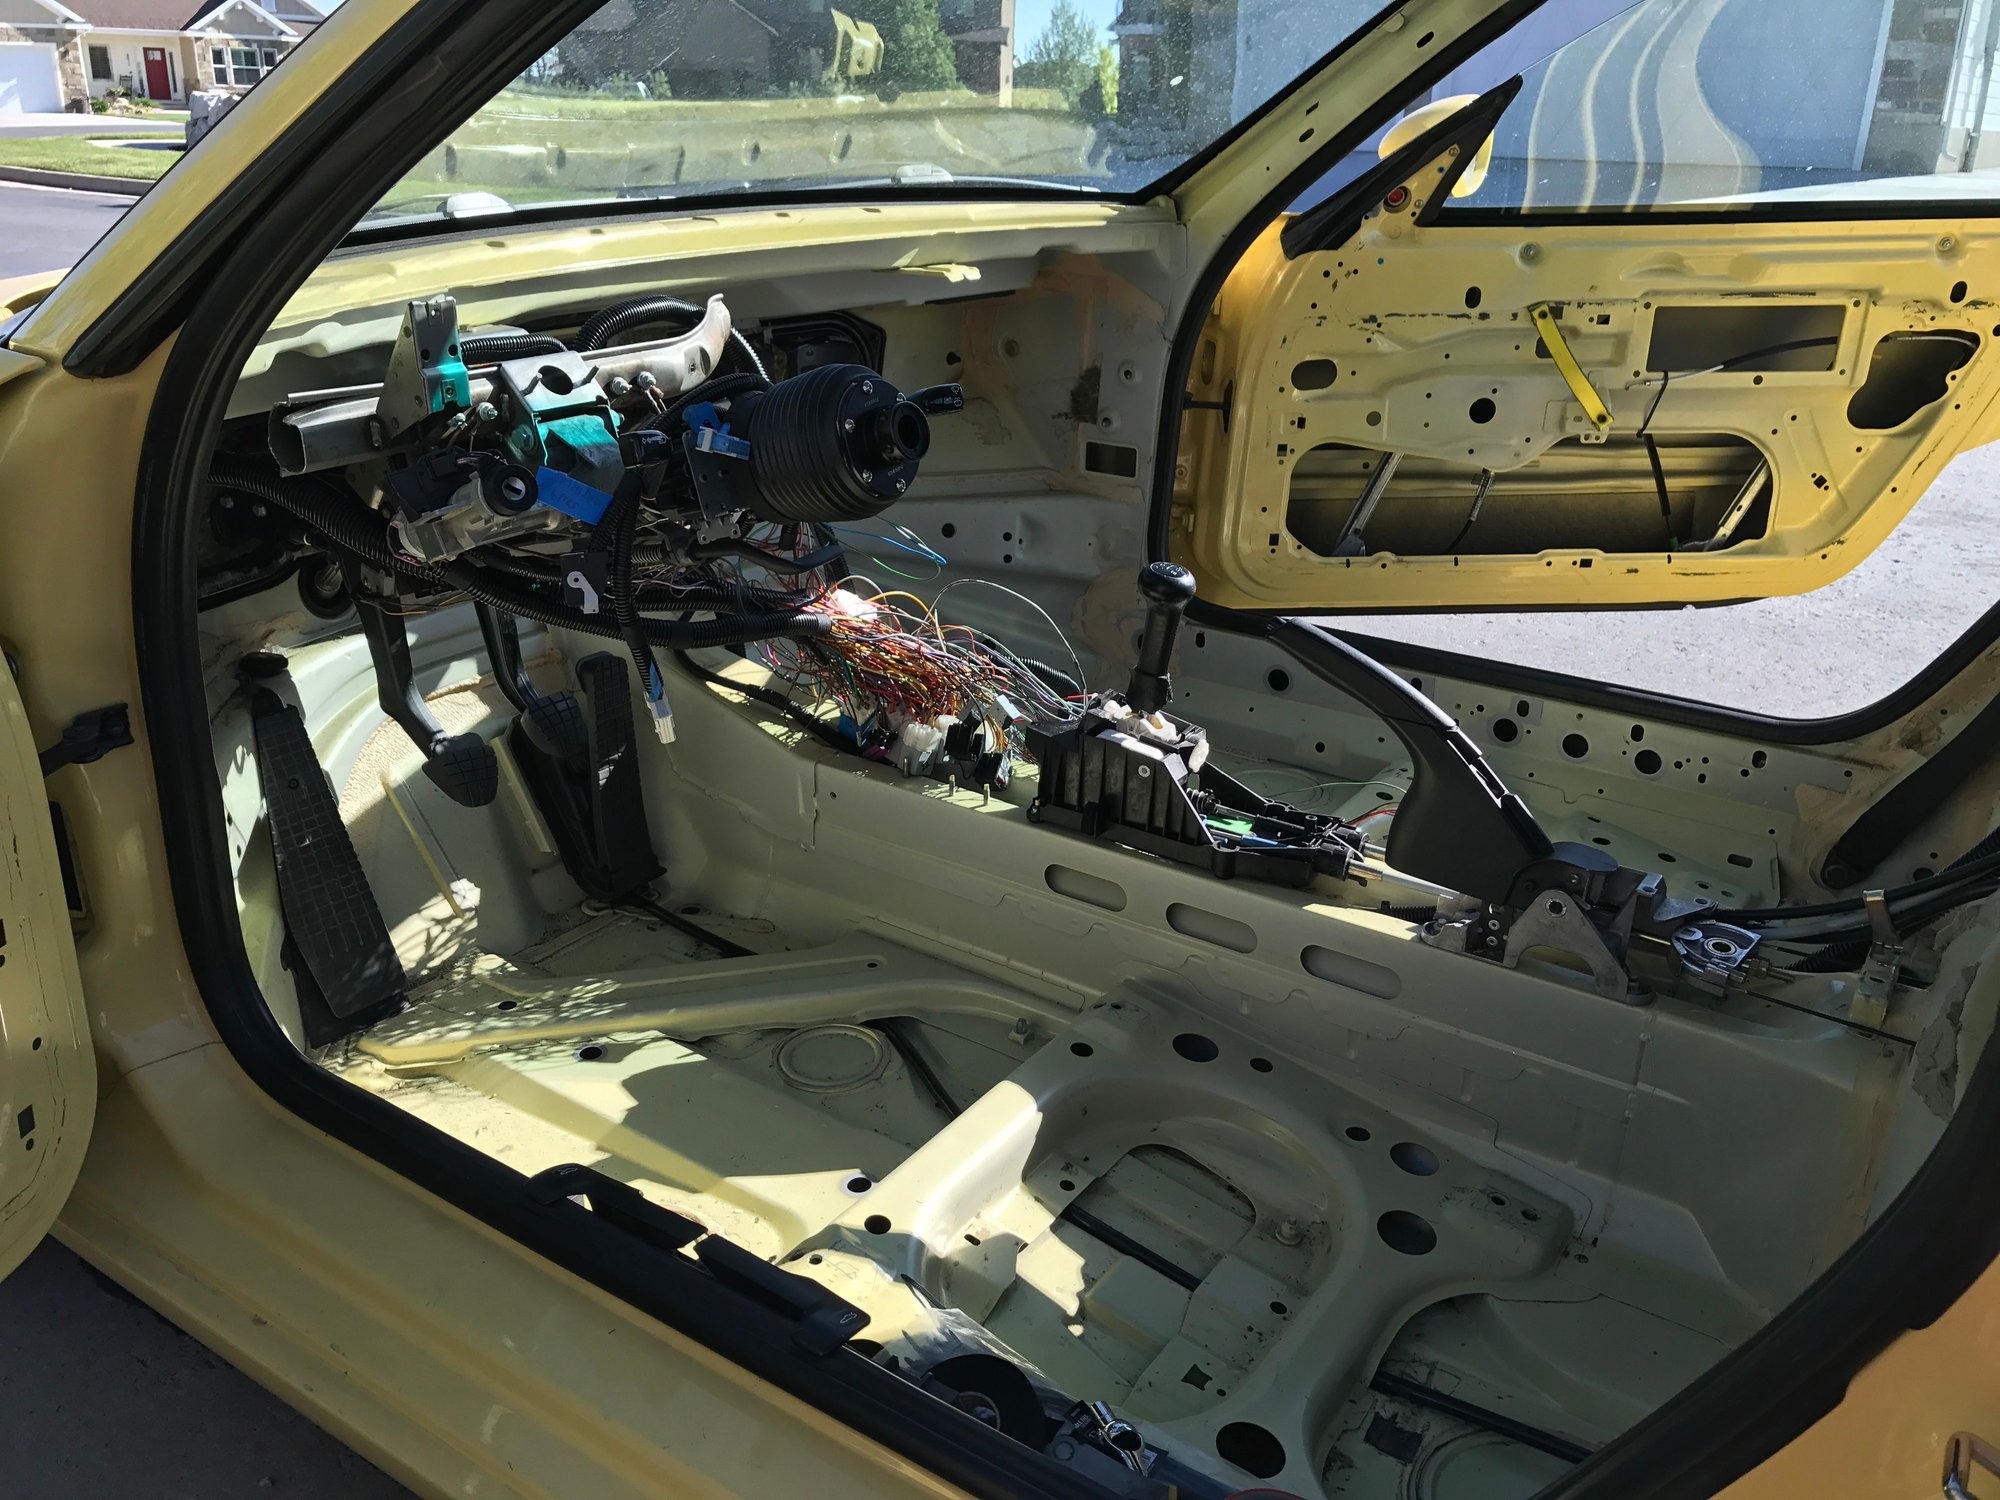
I pulled the window motors and electronics a few days ago and left the regulators in place so I can slide the windows up and down.
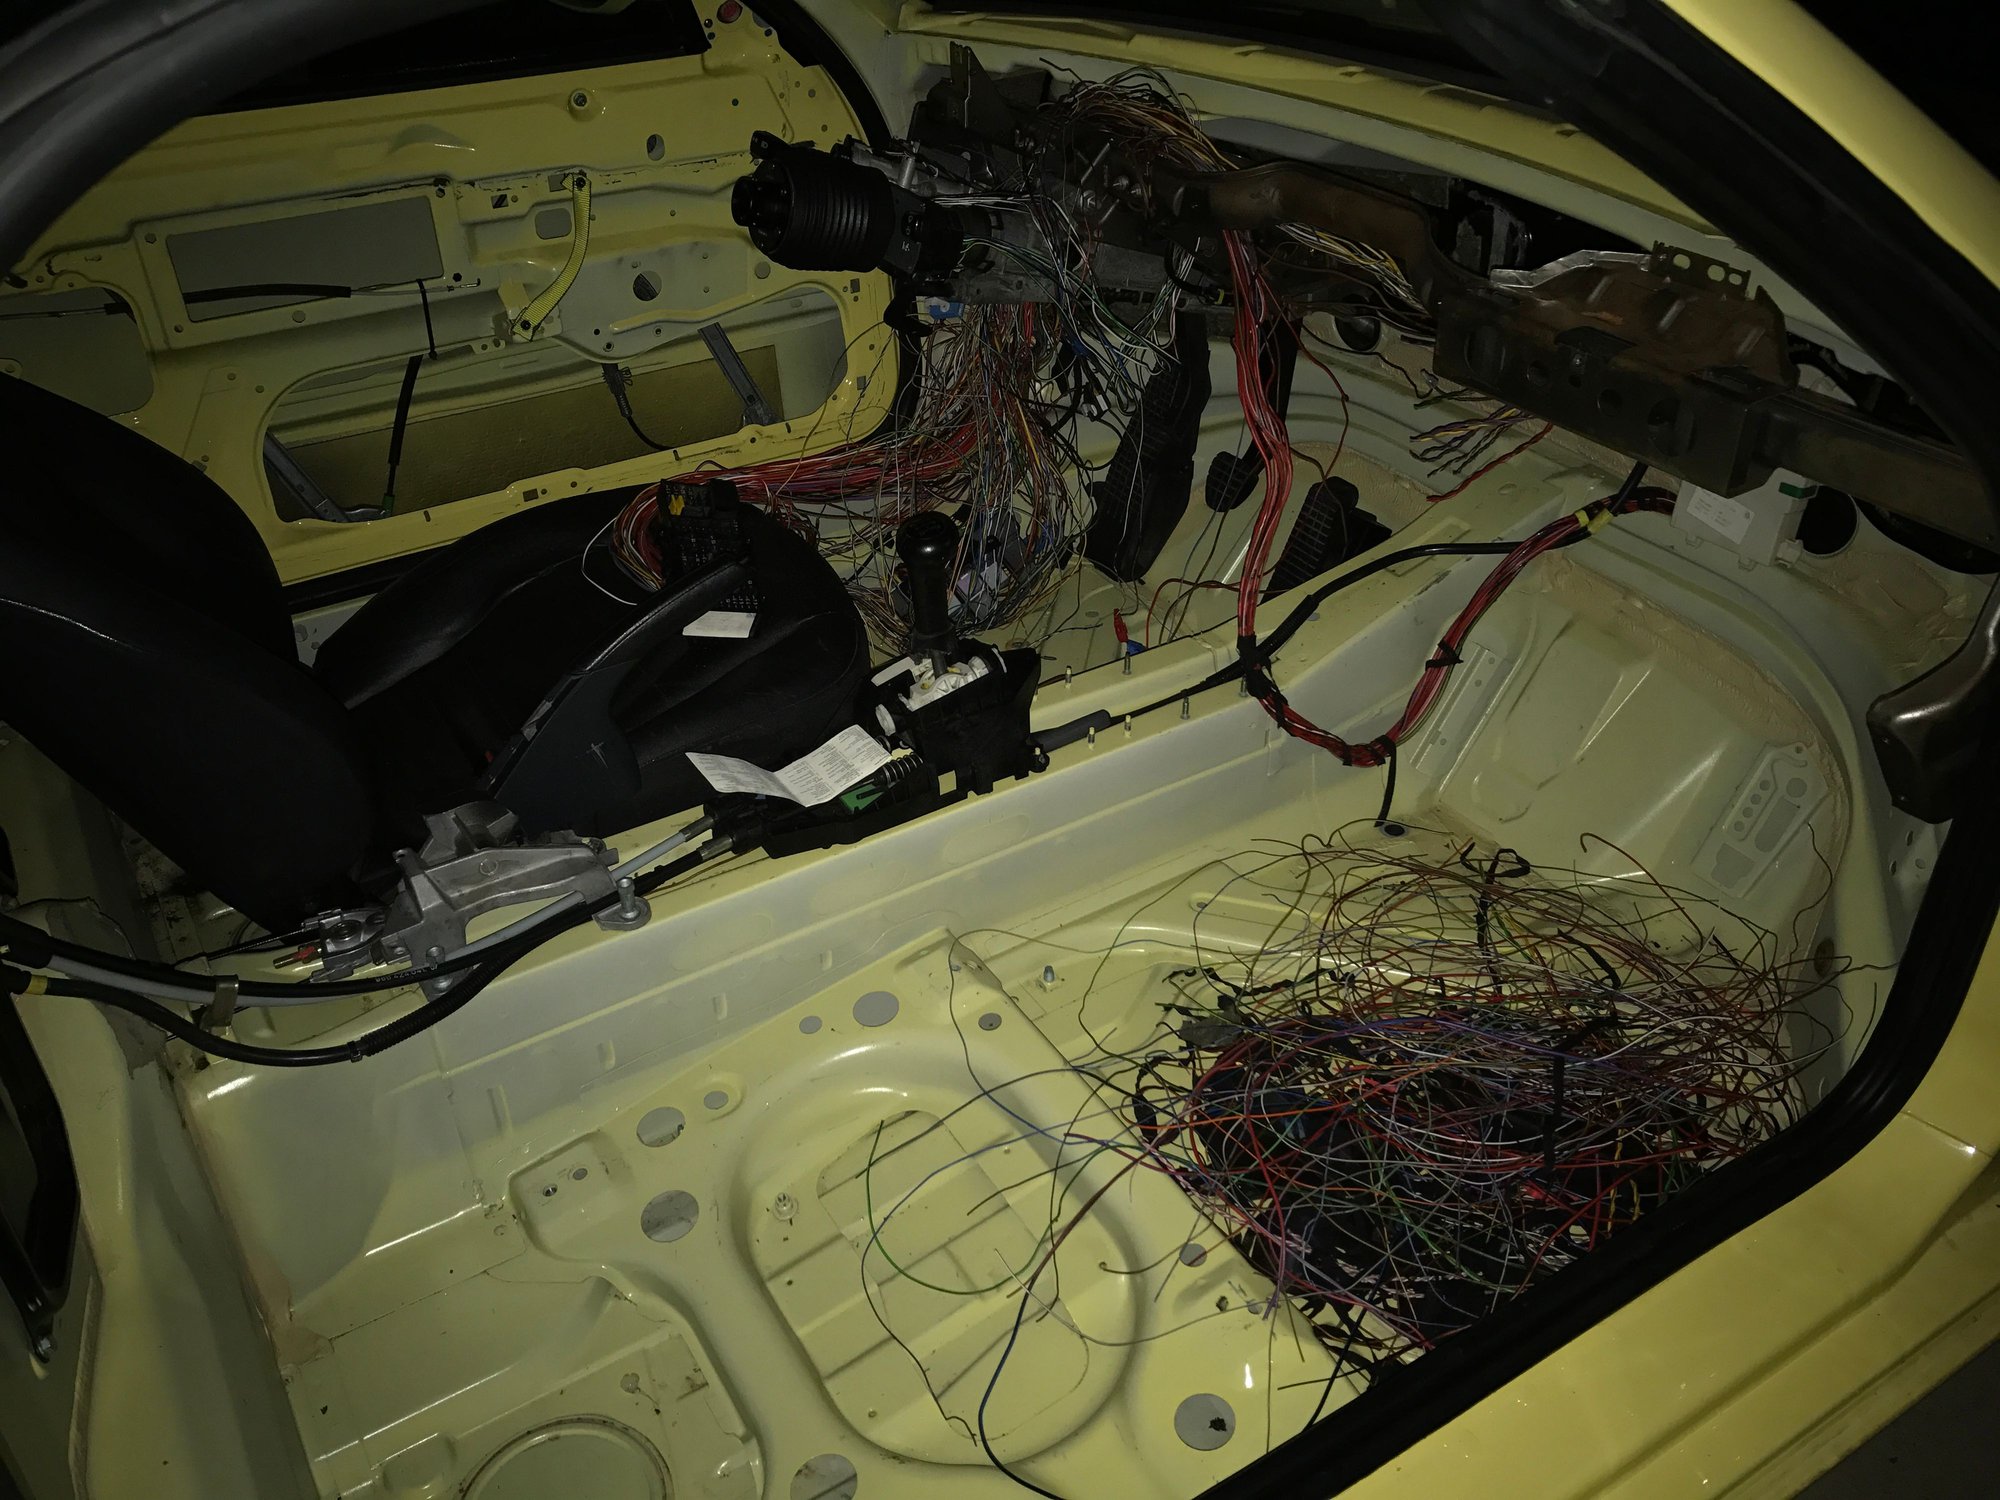
I've started paring down the wiring and removed the fuse box and relay panel so they're easy to access. It's a bit of a mess but the that's how it goes. I used to do a lot of car stereo stuff so the wiring wasn't too frightening to me.
Bad habits came to bite me though - I used to cut a lot of wires at once since they were all unpowered. At some point I was too eager cutting or snipping wires and now the ABS light is on. It's either a ground I inadvertently cut - one went back on itself and I was going too fast so I missed it - or a short from the final time I snipped multiple wires. I saw a spark and learned a lesson there, disconnect the battery or one at a time since then. The ABS fuse is good but I ran out of daylight. If it's not easy I may figure that one out later.
On the other thread i recommended, there is advice to wire a test light into the starter to make it easy to test the immobilizer ... I highly recommend doing that.
On the other thread i recommended, there is advice to wire a test light into the starter to make it easy to test the immobilizer ... I highly recommend doing that.
Prudent advice, which I did not take My engine was apart and I started cutting anyways. I printed out all of the wiring diagrams, read many threads and just did it. When I put it back together, no fire I was fairly confident that the immobilizer wiring was fine and started tracing the ignition, which turned out fine. At that point I scratched my head, looked intensely at the diagrams, and then poked and prodded a few wires. Low and behold, a big fat wire, nicely looped and labeled was hanging behind the crossbar. Yep, forgot to hook up the ECU wire! Once that was done, she fired up.
Thanks for the advice and recommendations guys. Even the ones I don't take - it's always better to be informed as it helps you understand risks and think twice about things in the moment.
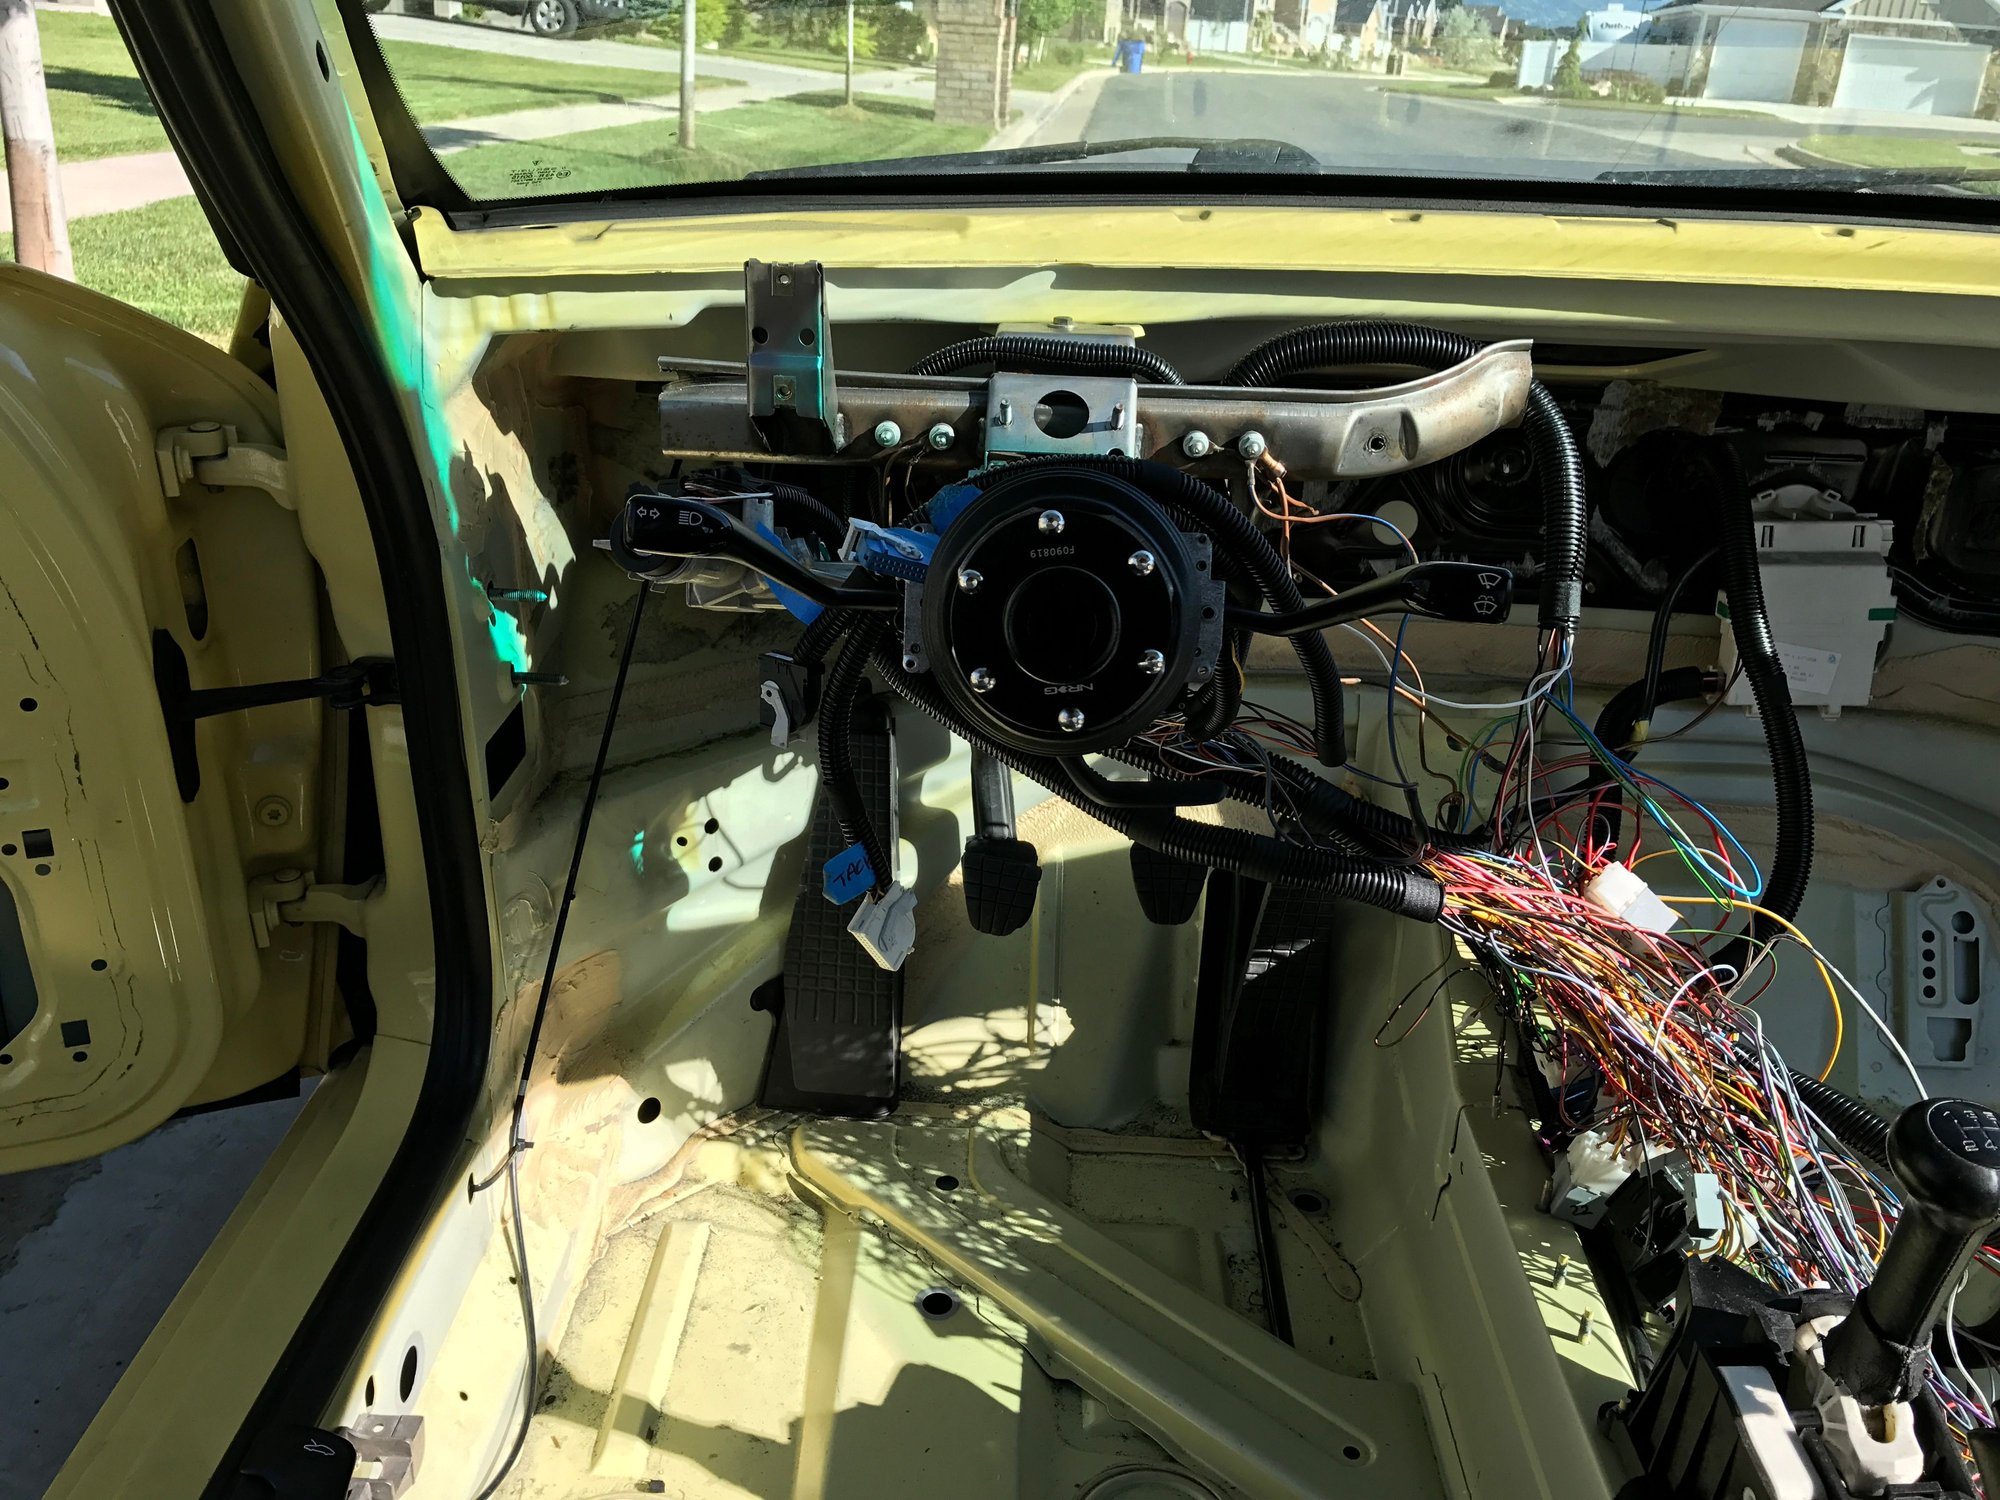
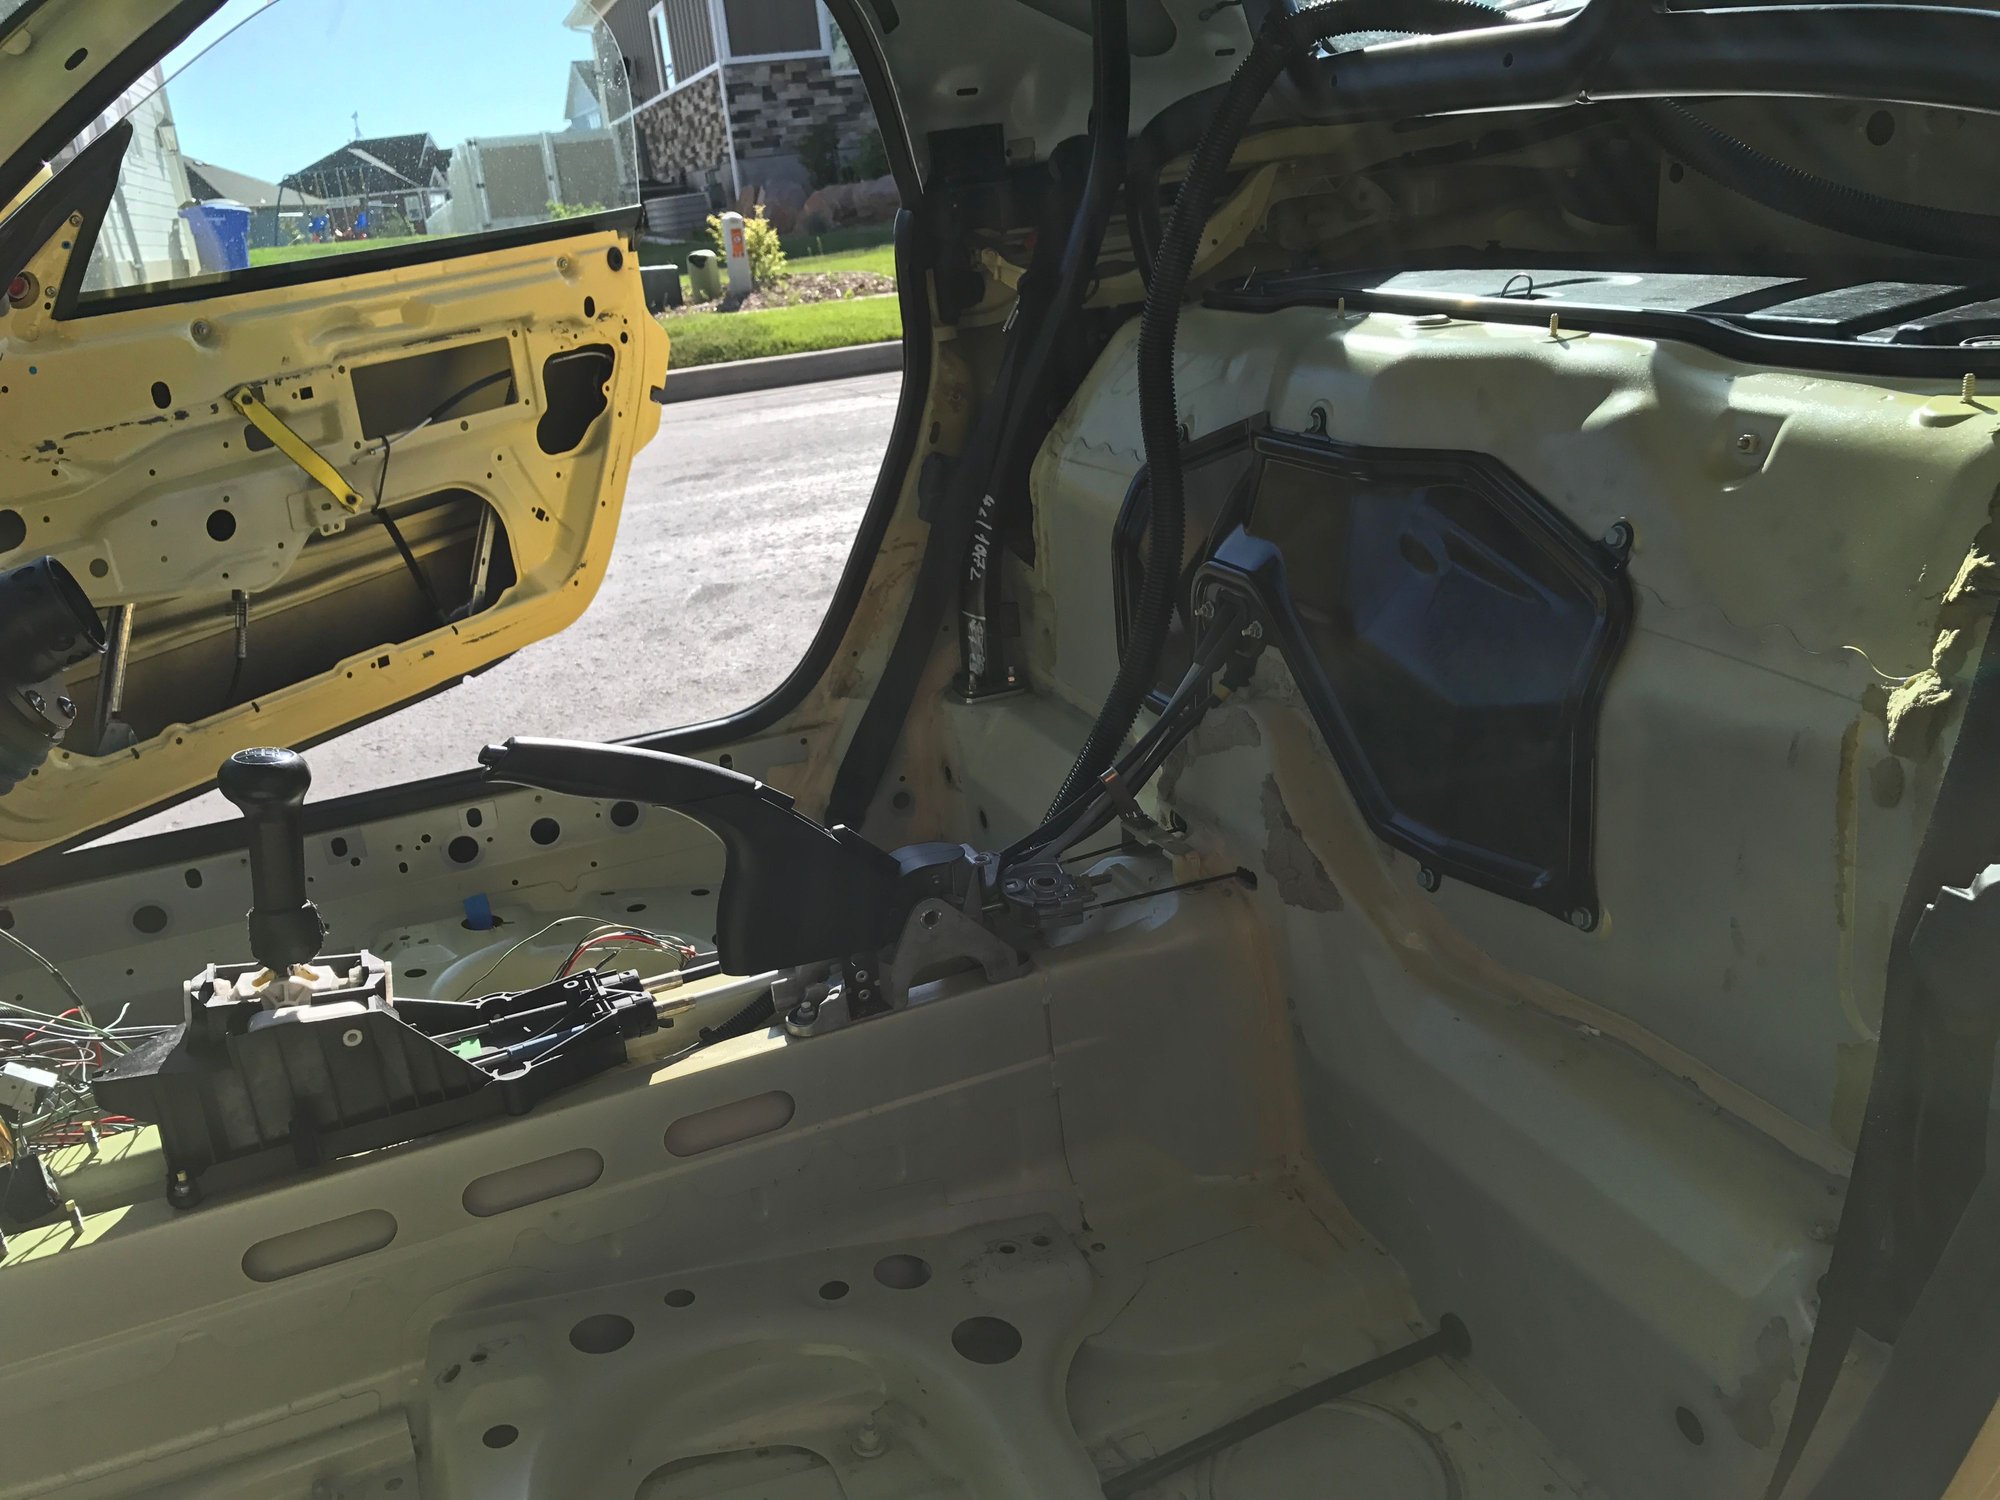
Lately I haven't spent much time on the car, so more wiring progress and I cut off the ignition lock... nothing super interesting. The ignition lock is a five minute job with everything disassembled. Looks like the relay box is going to be a big source of wires for me soon. The seats are out and fuse box, relay box, and immobilized are laying loose on the floor. The car looks terrible but I'm making progress.
The Ford racing school gave me OMP sliders and mounts for the two seats I bought from them. They're good folks - they ordered one set of new hardware to give to me because they told me they'd sell it all together! I told them it wasn't necessary but they insisted. All in need is to adapt the OMP sliders to the floor and maybe drop by fastenal.
After thinking about bending the end of 3mm steel sheet/plate to match the boxster using what I have in my garage I ordered the BK R-9041 floor mounts and will bolt the OMP sliders to them. Still not sure if I'll be good to go this way or if I'll have to remove the spot welded floor seat mount bracket. With the OEM seats at the lowest setting the top of my helmet rubs the gutted hardtop, so I hope I pick up a bit of room. In any case this arrangement should work fine for DEs now and the BK mounts can always be used for the passenger side later on.
I trimmed away and removed most of the upper support beam that supports the steering wheel and pedals. For now I'll keep the core support but the horizontal member will be replaced as part of the roll cage. The trimmed member doesn't look great yet but it's hard to get a cutting tool in there (with my tools anyway). I might just spend some time with the hacksaw and trim it back neatly at the outer edges of the support framework.
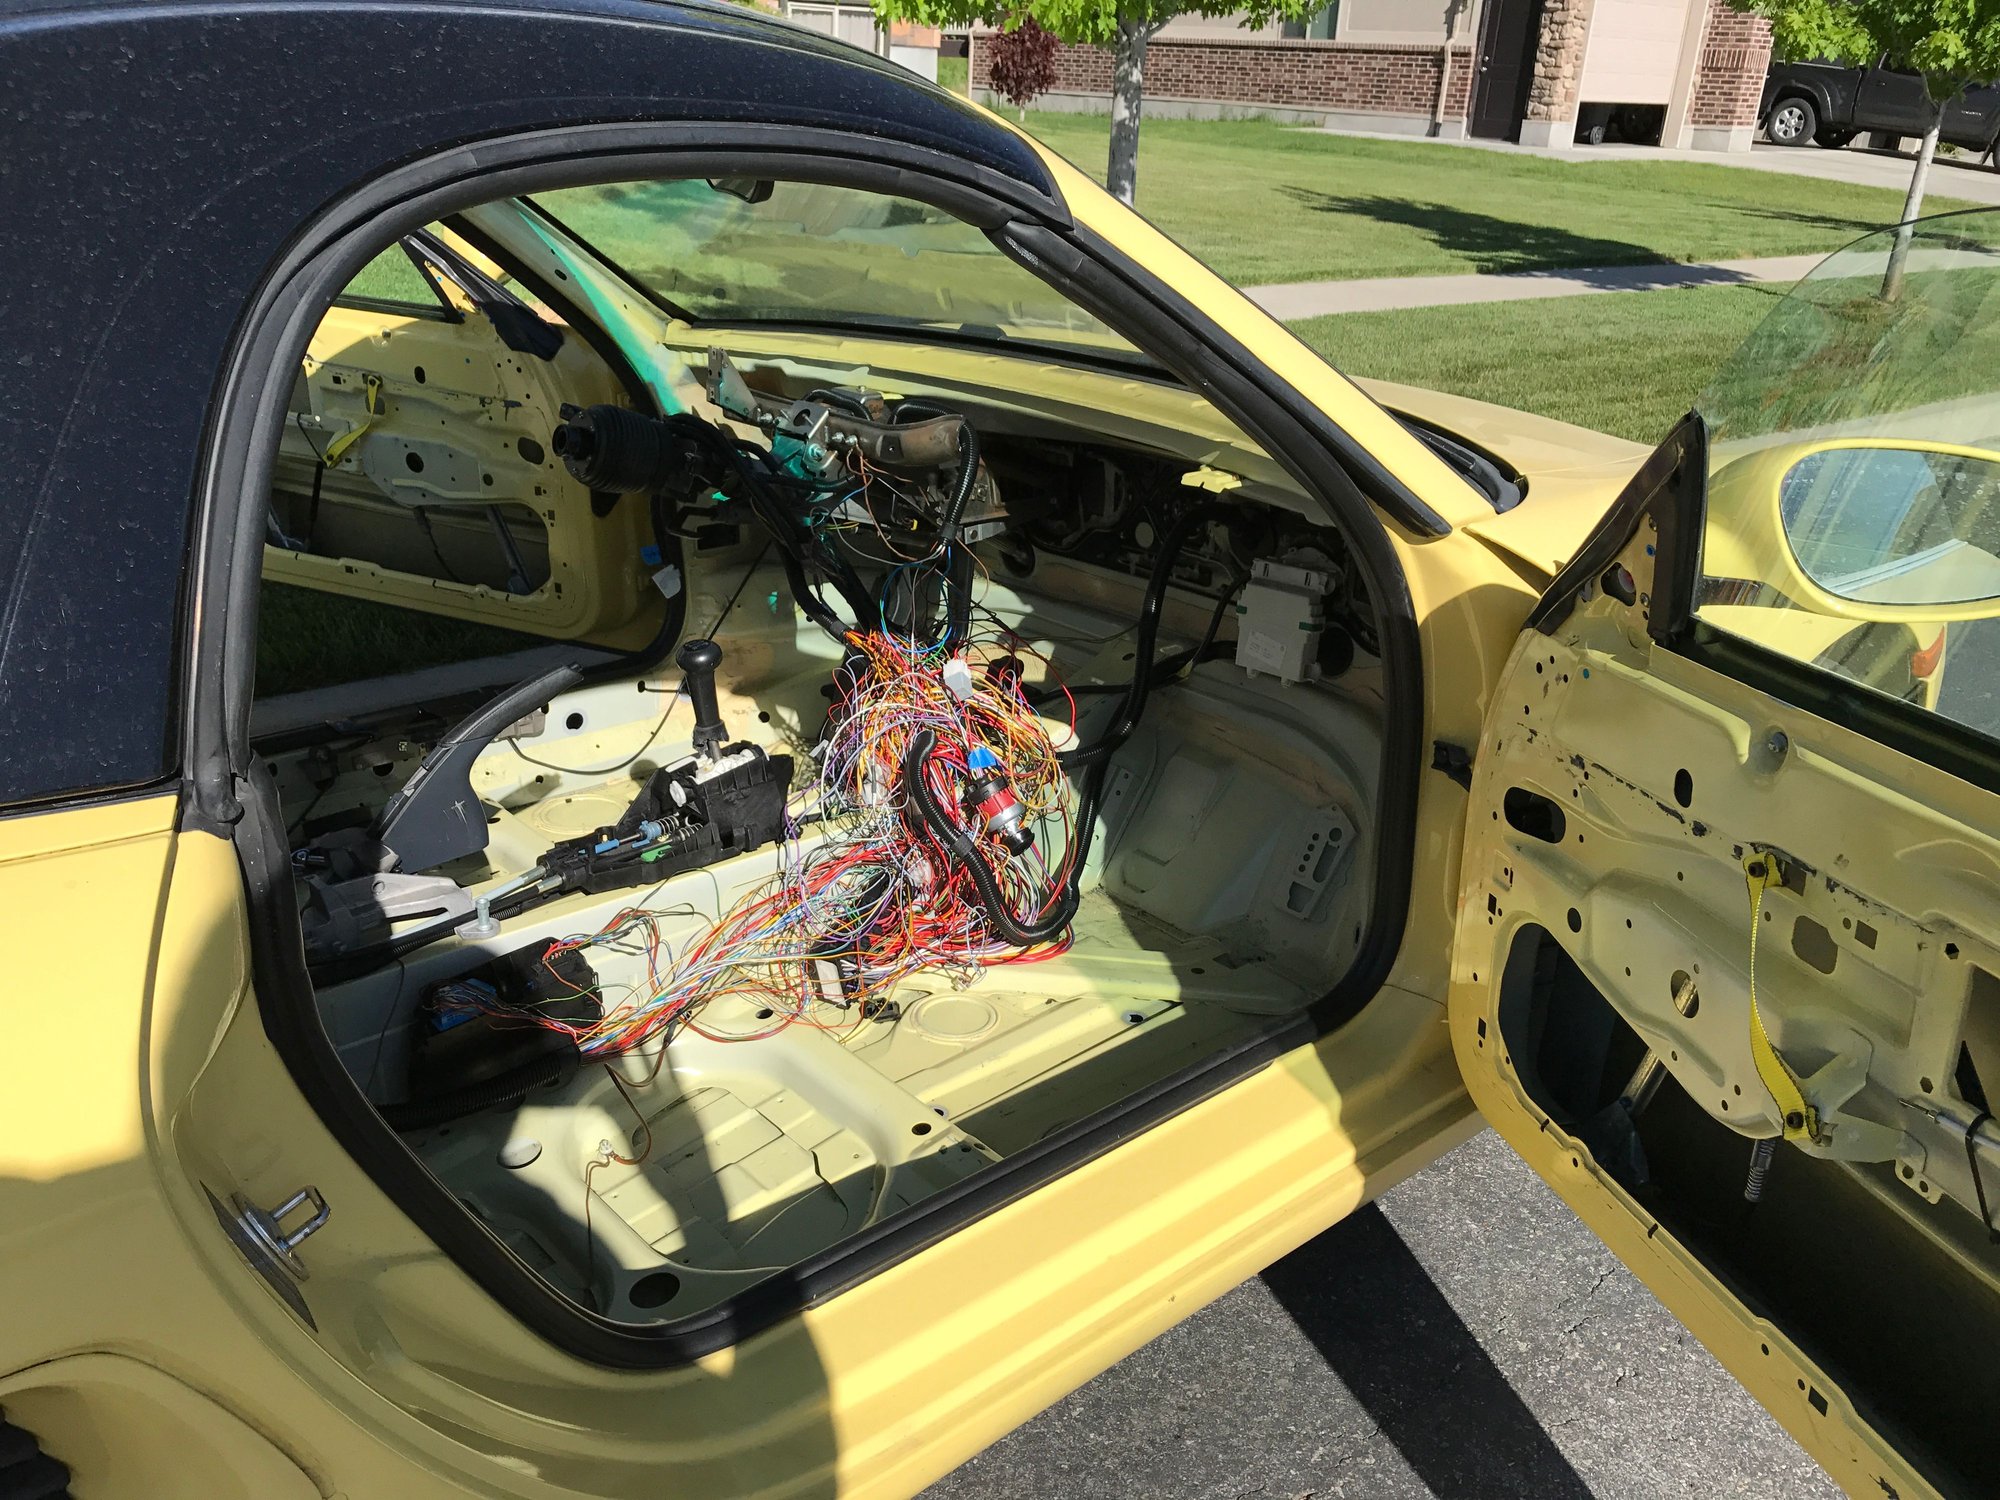
I made a little more progress on the wiring. I've pulled most of the dead end wires from the driver's compartment. I removed the relay box entirely after writing the numbers on each relay with a sharpie so I can easily identify them later. I taped over any remaining wire ends and got some split loom to start getting the rat's nest under control. I'll probably leave the wiring job in a stable but partially done state for a while as I haven't pulled everything, eliminated redundancies, or tried to replace relays with switches as appropriate. Regardless, the driver area is looking a fair bit better. I'm thinking to get a fire blanket and temporarily zip tie the current mess of fuse box and relay guts inside of it so I can use it at DEs without raising any eyebrows.
I have a BR9041 Boxster seat floor mount coming Monday so I can get the new driver's seat in. I'll get the side mount and slider hardware for the second seat from the Ford school at the next NASA DE.
For now I have three point belts so I'll have to drill a hole in the seat mount or frame and bolt the seat belt receiver to it. Not sure if I'll need more head room after the roll cage goes in. If I need room I'll replace the welded floor seat bracket with welded steel plate as specified in the rules and mount the seat slider directly to the floor reinforcements. I can move the BK adapter to the passenger side if that will happen, and otherwise I'll order another BK adapter.
I just received a set of plastic razor blades for adhesive clean up and ordered SAI block off plates.
I'm pretty happy I've been put in HPDE group 3! Once I've run in group 4 I'll be able to get my race license. I need more practice though as I don't have the fundamental skills down well enough for group 4 yet. It will be fun getting there.
Frustrated right now.... the BK adapter doesn't fit with my hardware. I flipped the side mounts both ways and can't get it to line up with the amount of adjustment I have available. I'd need two left or two right side mounts to make it work. I don't have good tools to double bend the side mounts with either. I'd have just gone with the heavier planted bracket for the same money if I'd have realized this would be a possibility.
I ordered it from OGRacing and (edit originally planned to contact them about returning it. They didn't have the planted base in stock and I ended up instead ordering planted side mounts as they have a wide range of adjustment. They ended up working well as you can see a few posts down. I also spray painted the BK floor mounts black just for cosmetics.
 04-20-2017, 07:23 PM


 My engine was apart and I started cutting anyways. I printed out all of the wiring diagrams, read many threads and just did it. When I put it back together, no fire
  I was fairly confident that the immobilizer wiring was fine and started tracing the ignition, which turned out fine. At that point I scratched my head, looked intensely at the diagrams, and then poked and prodded a few wires. Low and behold, a big fat wire, nicely looped and labeled was hanging behind the crossbar. Yep, forgot to hook up the ECU wire! Once that was done, she fired up.


 originally planned to contact them about returning it. They didn't have the planted base in stock and I ended up instead ordering planted side mounts as they have a wide range of adjustment. They ended up working well as you can see a few posts down. I also spray painted the BK floor mounts black just for cosmetics.
