When you click on links to various merchants on this site and make a purchase, this can result in this site earning a commission. Affiliate programs and affiliations include, but are not limited to, the eBay Partner Network.
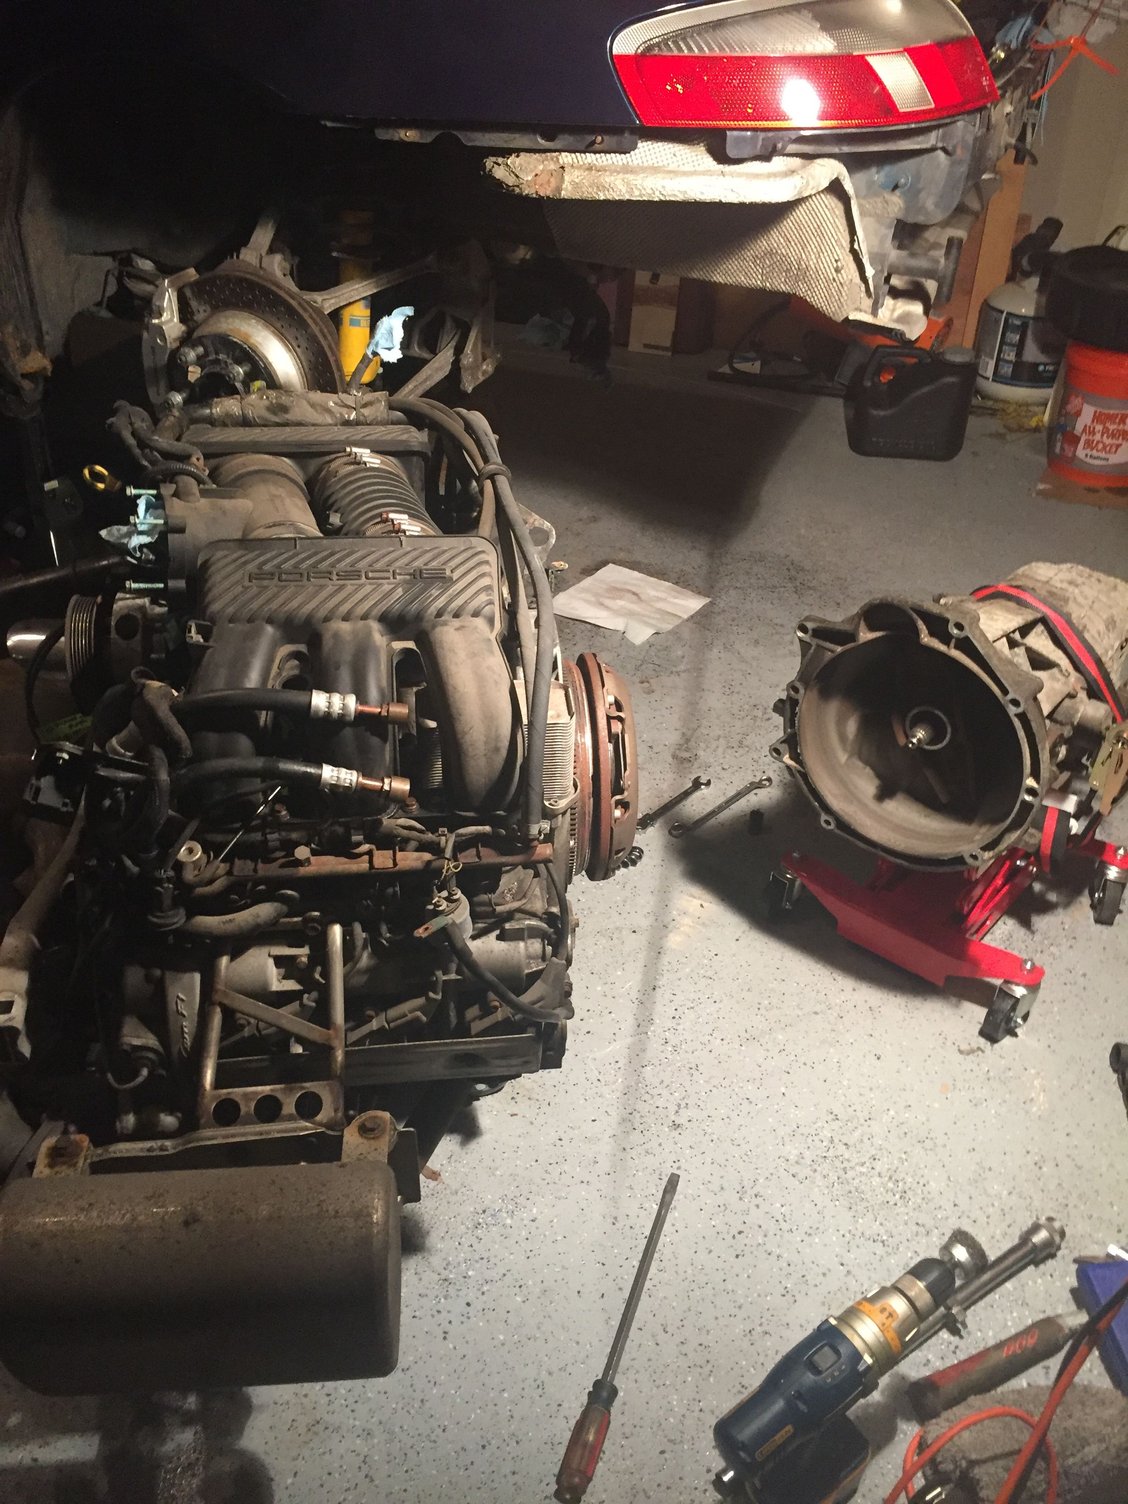
It'll probably take me an hour or so to clean up and make space in an area where I can actually work, and move comfortably around the engine. In hindsight, I should have had my son get his 944 out of the garage before I started this project... Now the real fun starts
Congrats! Looks easier than it really was, I'm sure. Keep us updated. It's guys like you that educate dummies like me by doing these types of things and sharing the pics and experiences.
Thanks Billy! None of it was particularly difficult but, obviously there's an awful lot to it. The big obstacles are corrosion, and time. Space is always a consideration as well - this would be a difficult undertaking in a 1 car garage. Although I've got an extra car in my space (2 car + with a loft) it's on dolly's so I can move it around if need be. The loft also gives me some extra space to put things like bumper covers etc. and work on little things like treating and repainting rusted parts. I'm looking forward to actually getting to the engine work that necessitated the rest of this excersise.
Cool thread.
What instruction set did you use for dropping the engine?
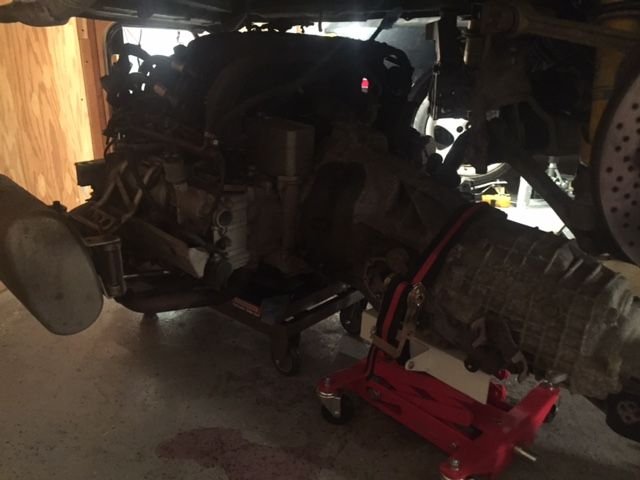
Also, what dolly are you using for the supporting the engine (I have the exact same transmission jack as well)?
Congrats! Looks easier than it really was, I'm sure. Keep us updated. It's guys like you that educate dummies like me by doing these types of things and sharing the pics and experiences.
Cool thread.
What instruction set did you use for dropping the engine?
Also, what dolly are you using for the supporting the engine (I have the exact same transmission jack as well)?
Thanks,
Mike
its the Harbor freight hydraulic table (500lb model). I should have gotten the 1000lb model as this one will lose altitude over time... I'm going to put it on an engine stand anyway, so it should be alright...
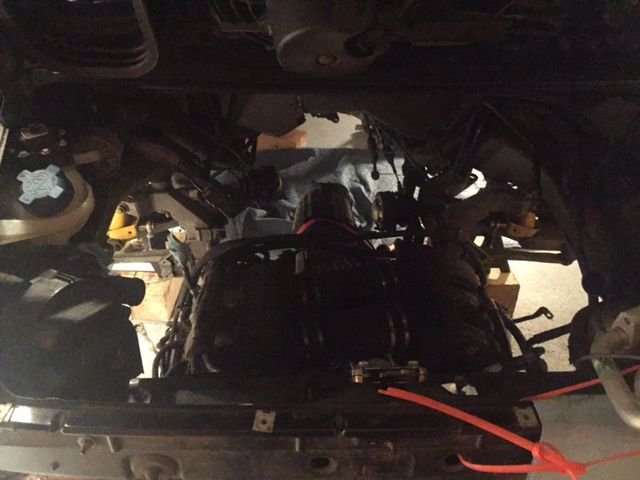
This took me all of 15 minutes including marking and bagging the bolts... removing the exhaust components is going to be a different story - I've been soaking the bolts/nuts for well over a week already. The one nut I was able to get off took me about 20 min. I think I'm just going to cut the rest of the ones that I can get to as I've already ordered a bunch of new hardware. Even if the nuts come off they're not reusable. I also replaced the power steering pulley which was steel and rusted with a nice aluminum one for $20 (used on eBay). What's the best way to remove the intake plenum? Directly at the block/case, or just the upper part and leave the "stacks" ? Lots more little stuff to come off...
So, a few questions in anticipation of replacing the cam chain tension-er pads: ** I've done a search on this and reading through at least 5 threads, I'm no closer to an answer than I was an hour and a half ago...
1) The best sealant for the cam covers? Use the OEM recommendation or is there a better aftermarket product?
2) Cam cover bolts... Replace? 1 use only? Any recommendations? OEM or Aftermarket ?
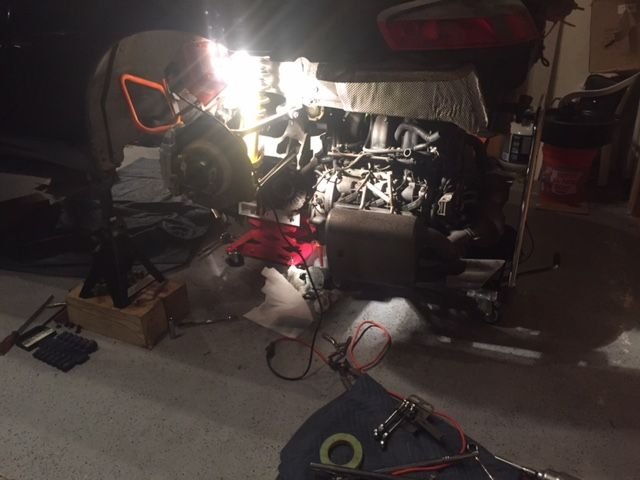
3) Engine stand mounting points: 4 points ok? Yoke - worthwhile/mandatory?
That's all for now, I'm sure I'll think of more shortly...
Just wanted to add I used loctite 243 on the cam cover bolts. I used a 4 point stand and added one more arm to it to reduce the stress on the engine case.
You can use the mechanical HF trans jack under the engine to provide support.
If you want to use additional arms ( I went mad and used 6 ! ) buy some threaded rod to make your own attachments to the case.
There is a yoke vendor on Bay now who sells a 5-arm yoke for the M96.I just modified an HF one.
Just wanted to add I used loctite 243 on the cam cover bolts. I used a 4 point stand and added one more arm to it to reduce the stress on the engine case.
new bolts? They're micro encapsulated aren't they? Is the loctite necessary or more of a "safety net"? Also, 46 bolts total (23/side)?
 04-22-2017, 07:56 AM
 Now the real fun starts


 I mean Ditto, lol!