
Oil Filler Tube replaced
 02-21-2017 | 11:01 AM
#1
Thread Starter
Instructor
Joined: May 2016
Posts: 232
Likes: 9
From: Hamden, CT
Hello,
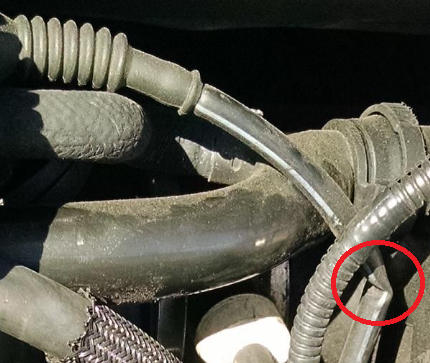
So I finally tacked the oil filler tube this weekend. After replacing my engine mounts, for some reason the engine raised enough as to allow the top idler pulley to rub against my oil filler tube.
So next time I added oil, it escaped through a small slit that was worn into the tube. I noticed when I saw clean oil spilled on the garage floor.
Anyway, I wanted to give a couple helpful hints that I didn't pick up while reading a handful of DIYs for this.
If you struggle getting the alternator out, then you may be doing what I did wrong. After tapping the right mounting bolt, I was trying to rotate the alternator counter clockwise with the right longer bolt still in place. That is wrong. Your alternator will never come out that way unless you removed the intake etc. Instead, once you feel like you have loosed that back bushing, then completely remove the longer right bolt and the left bolt that should have been a little loose while you were doing the tapping.
Now you actually want to rotate the alternator clockwise. The alternator comes out pretty easy if the right side rotates down and the left side raises. You may need to tap the alternator on the right in the downward direction so that the alternator clears, but it works. The did finally come across one DIY that showed a pic for this. But most of the DIYs don't specifically say to do it this way.
Once I got the alternator back in, I realized I had no room to reconnect some of the vacuum hoses. Had to remove alternator again. For the most part, if you are careful, I don't really see a need to remove the vacuum hoses. Just be careful not to break them.
The two 10mm bolts that hold the filler neck to the top of the engine are a pain, but you will get them. Have to use some feel as it is hard to see. I mostly used a short ratchet wrench as getting a socket in there was a little tough with some of the electrical cables getting in the way.
Pic of finished job after 4 hours of struggling.
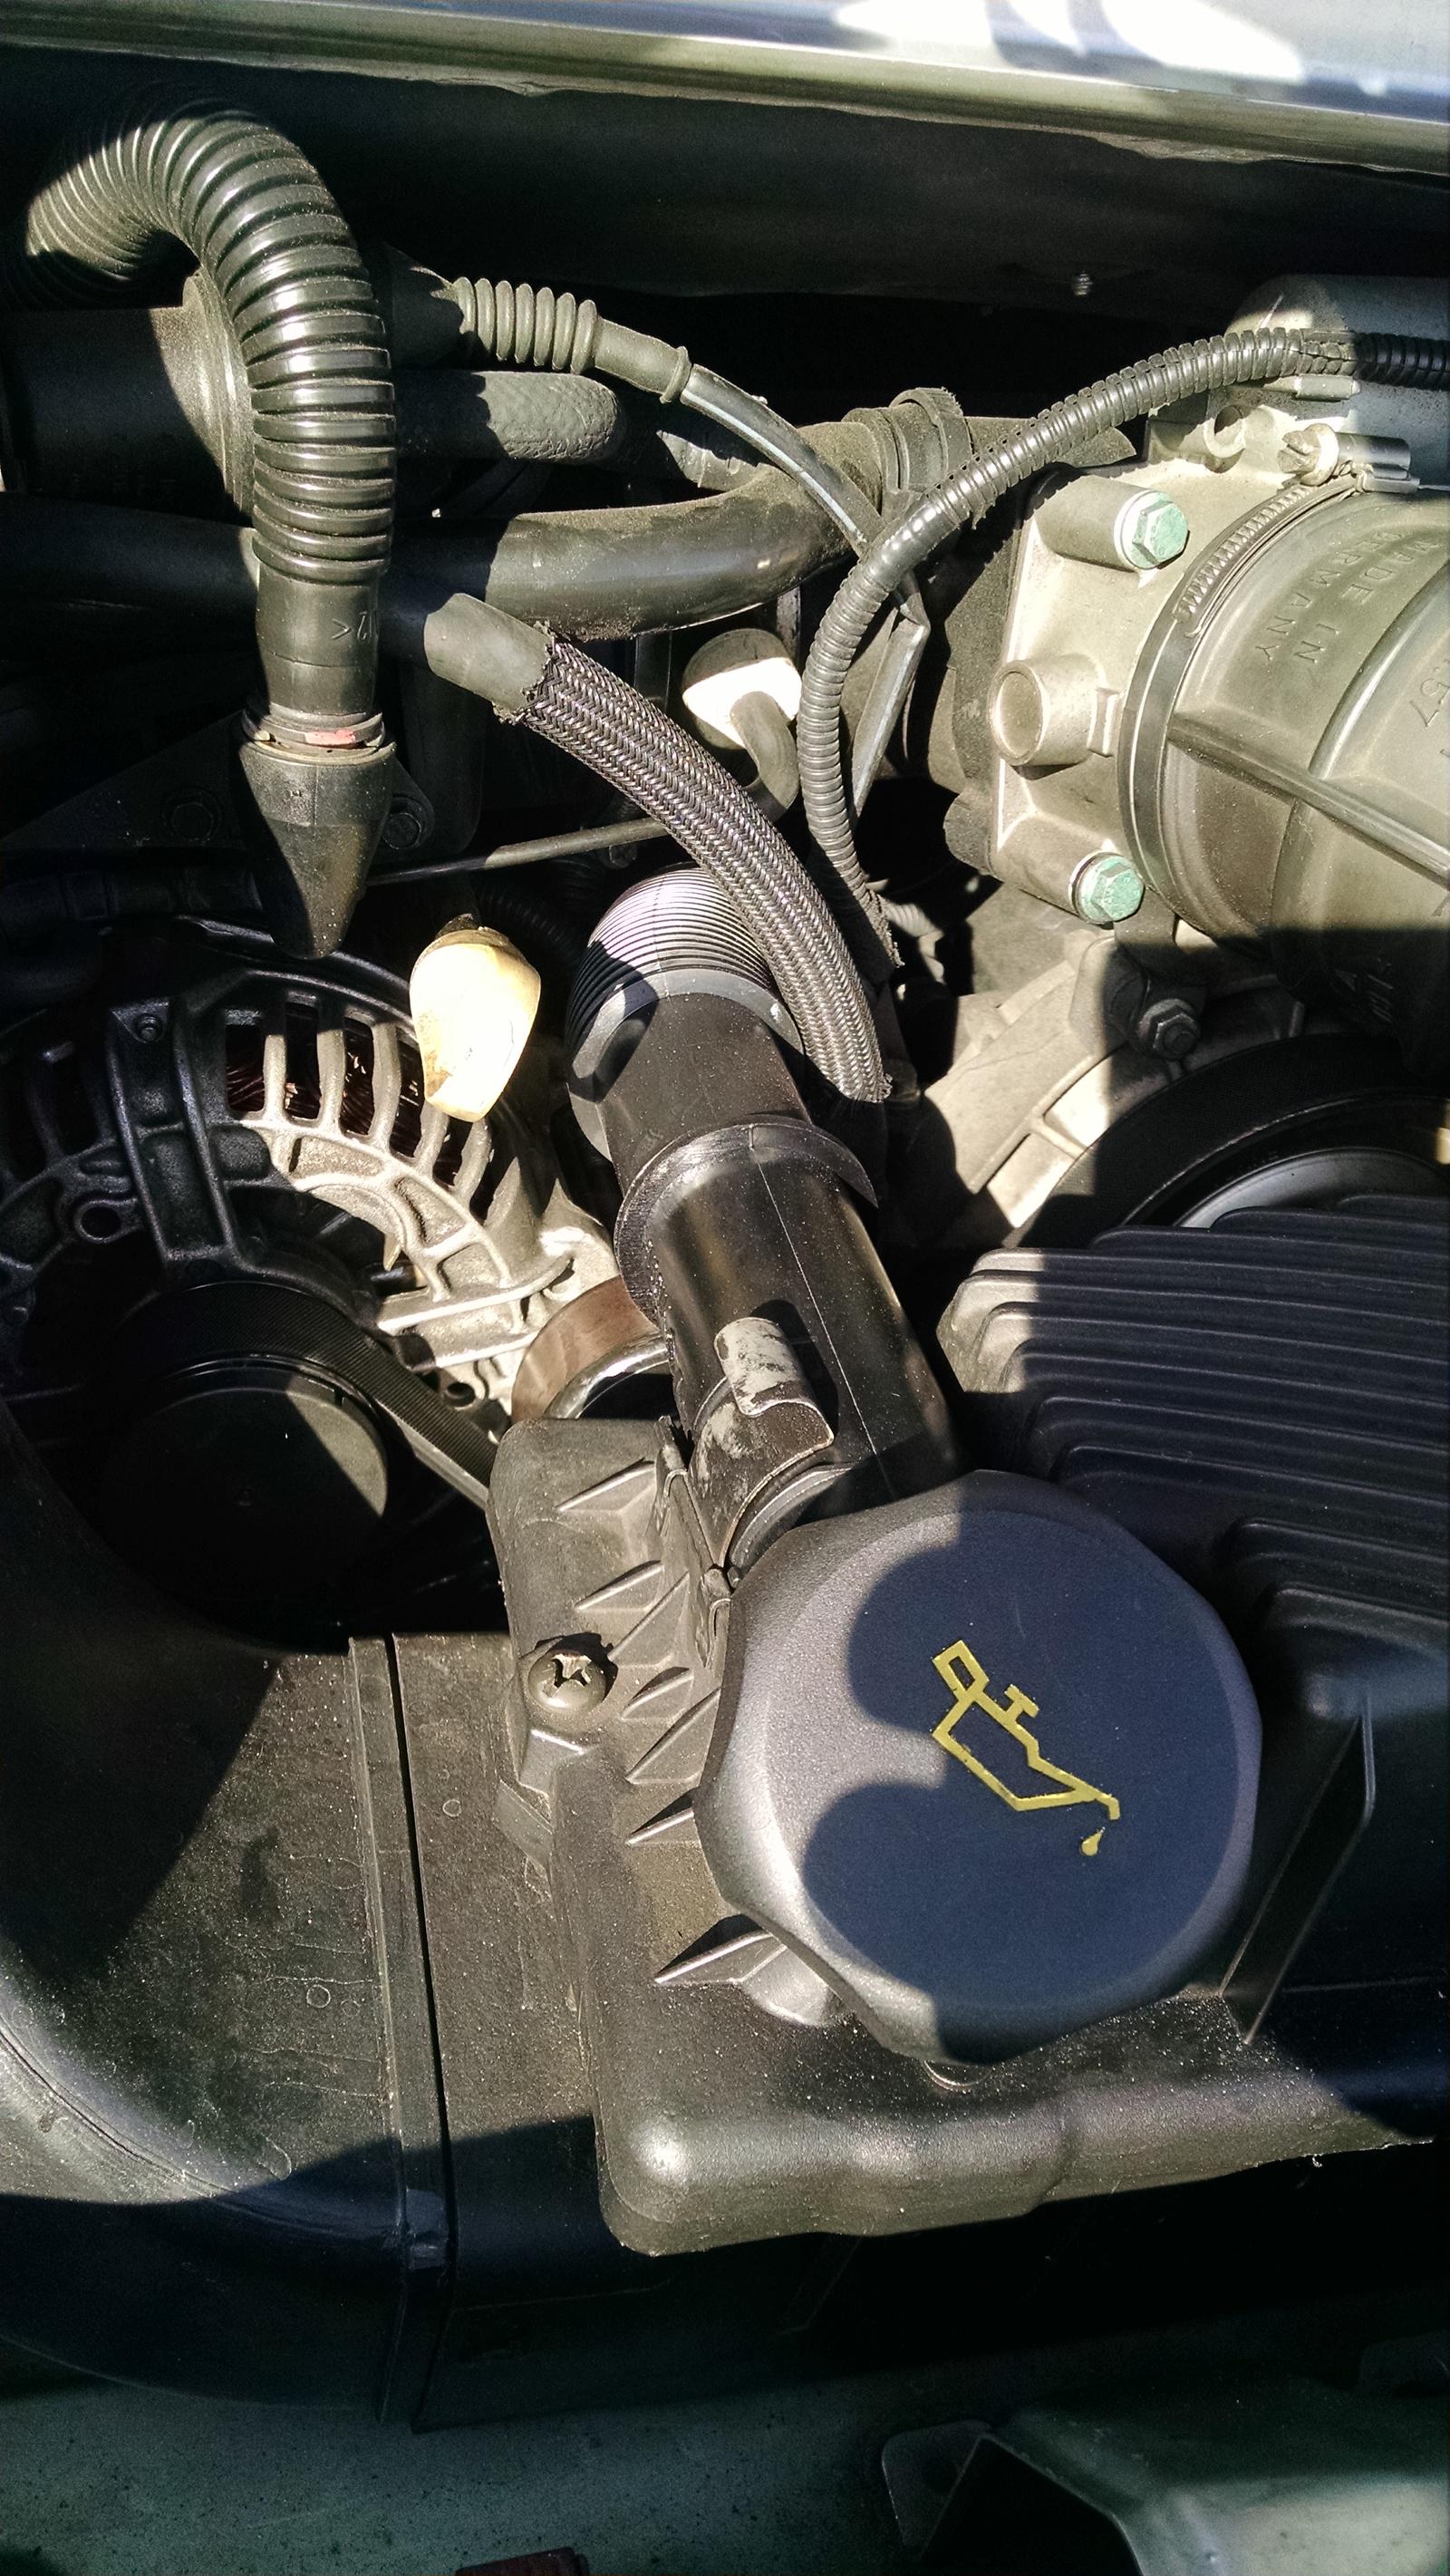
02-21-2017 | 11:43 AM
#2
Rennlist Member
Joined: Feb 2015
Posts: 892
Likes: 70
From: Western NC
Odd that the pulley would rub. Are you sure you got the rubber isolators back in that go under the air box? One of mine always falls out when I remove the air box and deleting these could make the air box sit lower?
Thanks for the tips on the alternator!
Thanks for the tips on the alternator!
02-21-2017 | 11:49 AM
#3
Thread Starter
Instructor
Joined: May 2016
Posts: 232
Likes: 9
From: Hamden, CT
Possible. While still using my old taped up filler tube, I just glued three washers to the posts on bottom of air box. That gave me about half a centimeter of clearance. Those washers are still there and now I have a full inch of clearance with this new 996/997 oil filler tube.
I am wondering if my saggy mounts caused my old oil filler tube to bend permanently over time. Once the engine was raised back up....hmm not sure it that would cause it.
I am wondering if my saggy mounts caused my old oil filler tube to bend permanently over time. Once the engine was raised back up....hmm not sure it that would cause it.
02-21-2017 | 12:56 PM
#7

Drifting
Joined: Apr 2014
Posts: 2,335
Likes: 25
From: Los Angeles
Thanks for posting this. I really find these write ups very useful compared to the "slap 'er in. have a beer,done in 2 minutes ,total breeze" accounts.
It is the mistakes and problems that bedevil us . So thanks for taking the time to share.
It is the mistakes and problems that bedevil us . So thanks for taking the time to share.
Trending Topics
 02-26-2017 | 09:32 AM
#11
Thread Starter
Instructor
Joined: May 2016
Posts: 232
Likes: 9
From: Hamden, CT
No problem. I feel the same way. Especially on the spark plug DIYs. Yes that one is doable without removing bumpers or mufflers but some people make it sound like you can do this in 2 hours the first time and in reality it takes most people the whole day. However, I did it again recently to re-torque the plugs and it was much easier. Worst part is reconnecting electrical plugs on ignition coils, lol.

 07-03-2017 | 11:04 PM
#14

Racer
Joined: Aug 2016
Posts: 459
Likes: 24
From: WA
I just broke the oil filler tube while putting on a new serp belt after doing a starter/starter cable & water pump replacement job.
Is this the correct part number for the oil filler tube Part #: 997-107-131-00-M100 ('99 996)?
Thanks,
Mike
Is this the correct part number for the oil filler tube Part #: 997-107-131-00-M100 ('99 996)?
Thanks,
Mike
07-04-2017 | 01:07 AM
#15
Nordschleife Master
Joined: May 2005
Posts: 7,328
Likes: 68
Yes, that's the latest per autoatlanta.com