Try and smack this tophat bolt out or not?


 08-14-2016, 06:57 PM
#78
Race Director
Thread Starter
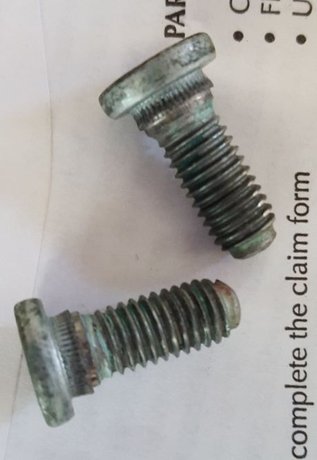
OK, so thanks to Bypro, I have a couple replacement splined bolts to play with.
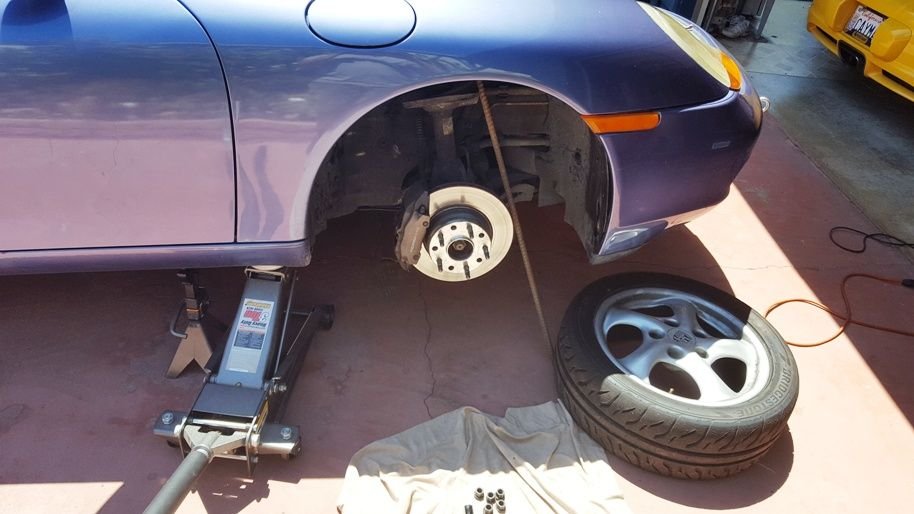
First, I sprayed some Liquid Wrench on the old bolt to let it soak while gathering tools. Then looked around the scrap bin to find a suitable support for the bottom of the plate. Found a piece of thick rebar the right length.

Wedged it under the plate and secured it with a wheel. What could go wrong?
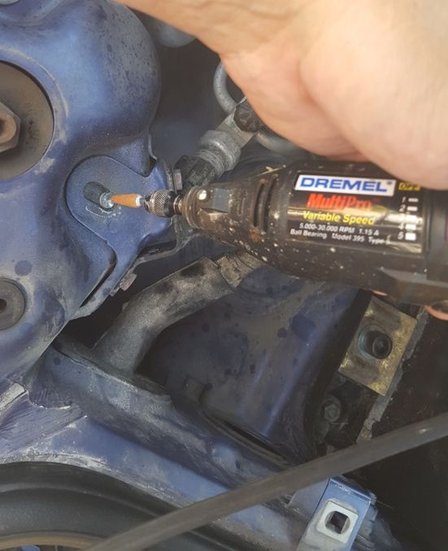
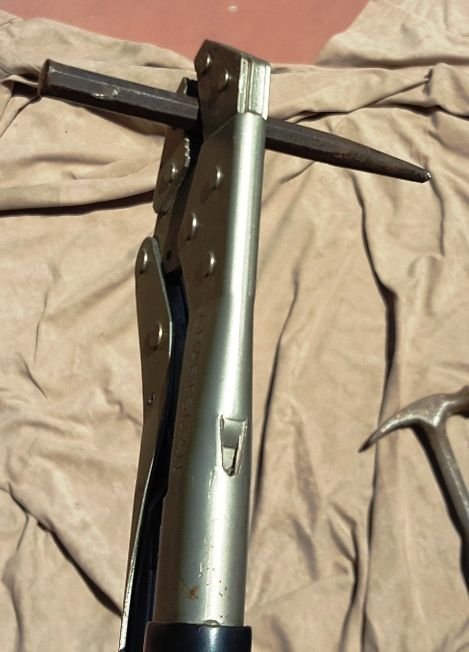
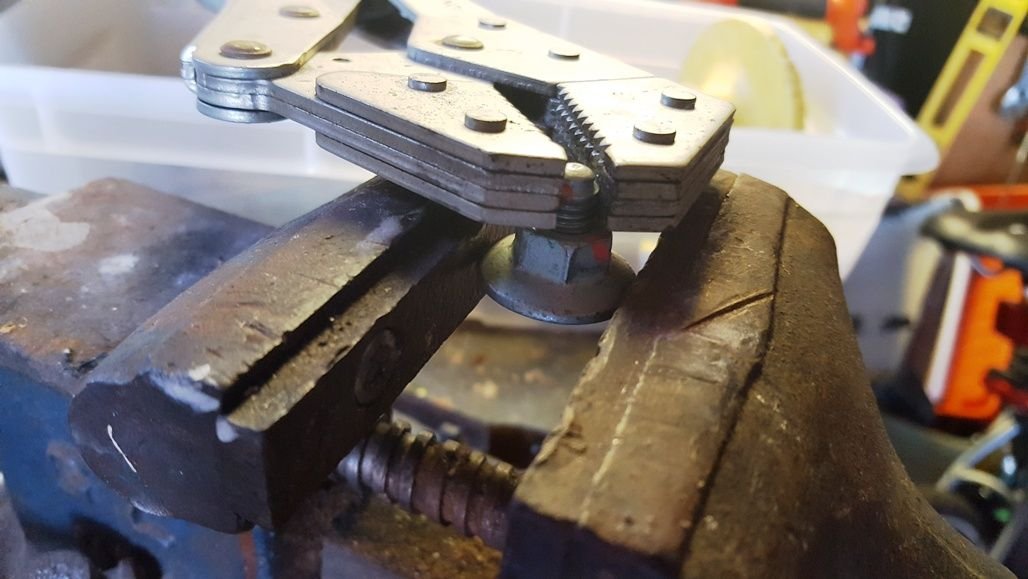
Then used a Dremmel to grind a small divot into the top of the bolt stub:
Then ground the tip of an old punch to match the divot, and invented the Faultless Tophat Bolt Removal Tool and filed several patents.
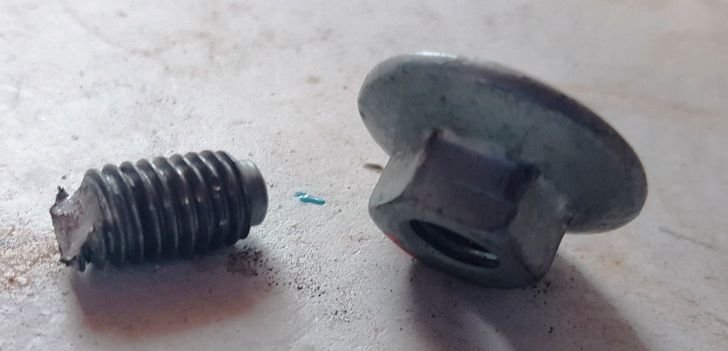
A few good smacks, and the rotten tooth was out.
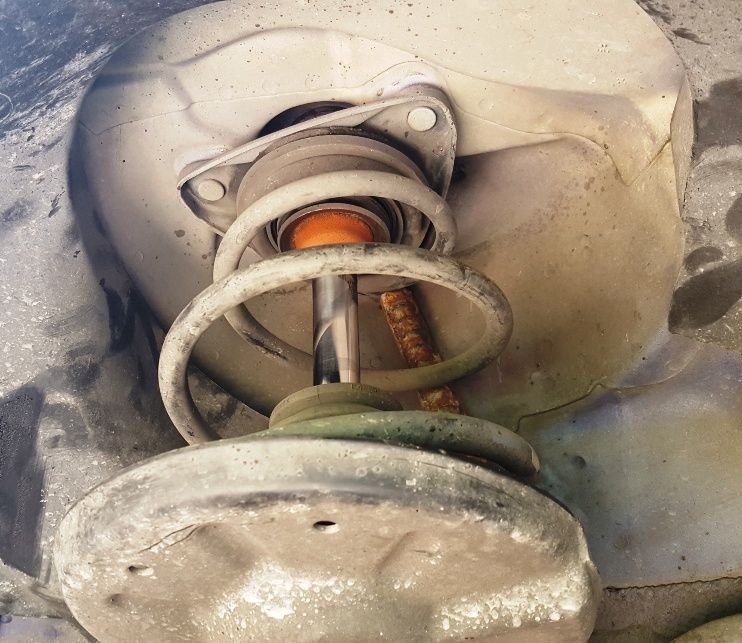
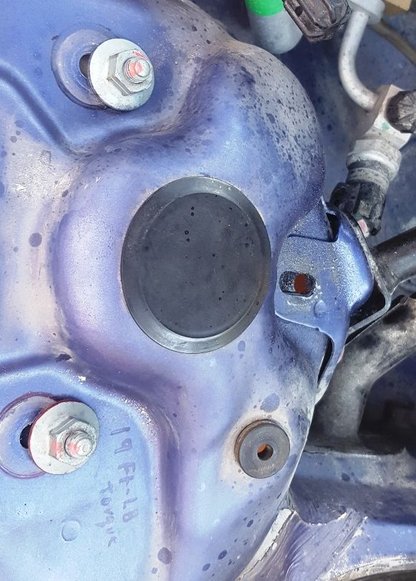
And just left with this cavity that needs a filling:
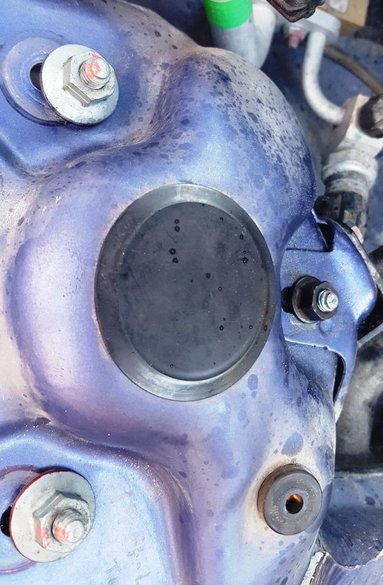
Put in the new bolt. Someone suggested using a scrap nut to pull the splines in. Thought that was a good idea.
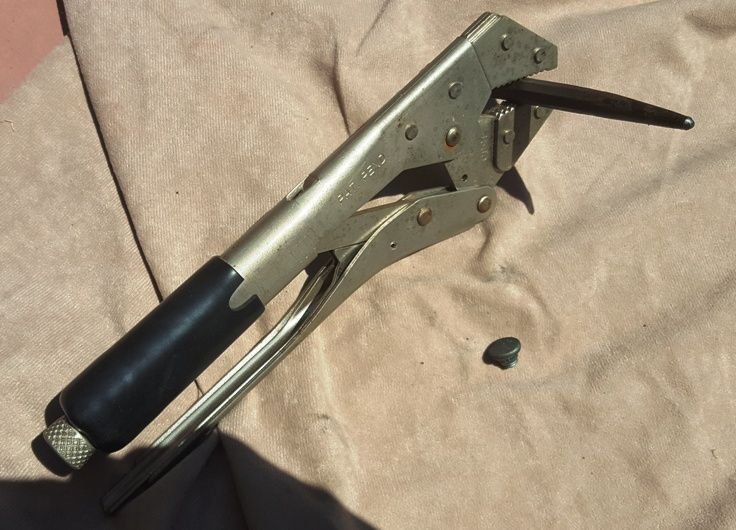
Used the Faultless Tophat Bolt Removal Tool to remove the bolt stub from the original nut:
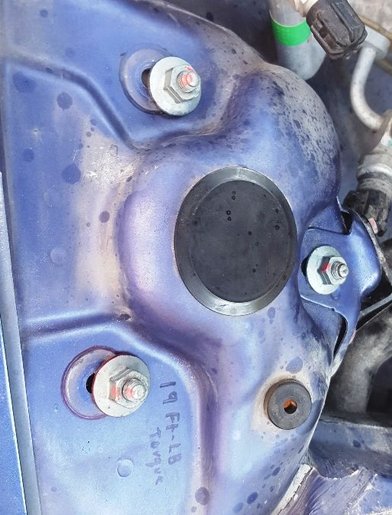
Replaced the scrap nut with the proper one, torque to spec, and good to go!!


First, I sprayed some Liquid Wrench on the old bolt to let it soak while gathering tools. Then looked around the scrap bin to find a suitable support for the bottom of the plate. Found a piece of thick rebar the right length.

Wedged it under the plate and secured it with a wheel. What could go wrong?


Then used a Dremmel to grind a small divot into the top of the bolt stub:

Then ground the tip of an old punch to match the divot, and invented the Faultless Tophat Bolt Removal Tool and filed several patents.

A few good smacks, and the rotten tooth was out.

And just left with this cavity that needs a filling:

Put in the new bolt. Someone suggested using a scrap nut to pull the splines in. Thought that was a good idea.

Used the Faultless Tophat Bolt Removal Tool to remove the bolt stub from the original nut:


Replaced the scrap nut with the proper one, torque to spec, and good to go!!
 08-14-2016, 07:04 PM
#79
Rennlist Member
All's well that ends well...! Doesn't it suck when a seemingly simple task turns into a week long project though? 
08-14-2016, 07:40 PM
#80
Rennlist Member

 08-14-2016, 08:23 PM
#81
Race Director
Thread Starter
Decided to fix a few more things as long as I was in there. As I always say: if it ain't worth doing, it ain't worth doing right.
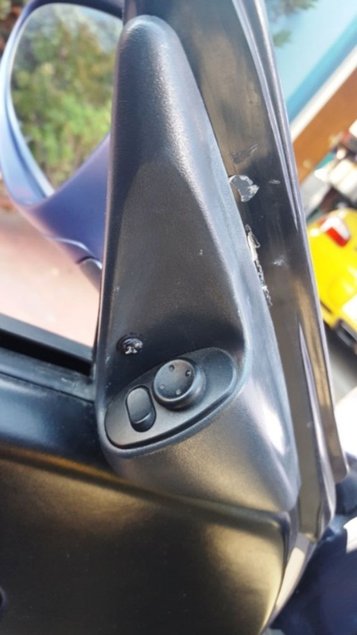
The #$@!% panel for the mirror switches kept falling off. A sheet metal screw into the frame and a black sharpie to the screw head took care of that.
The dome light assembly kept falling out. This should hold it.

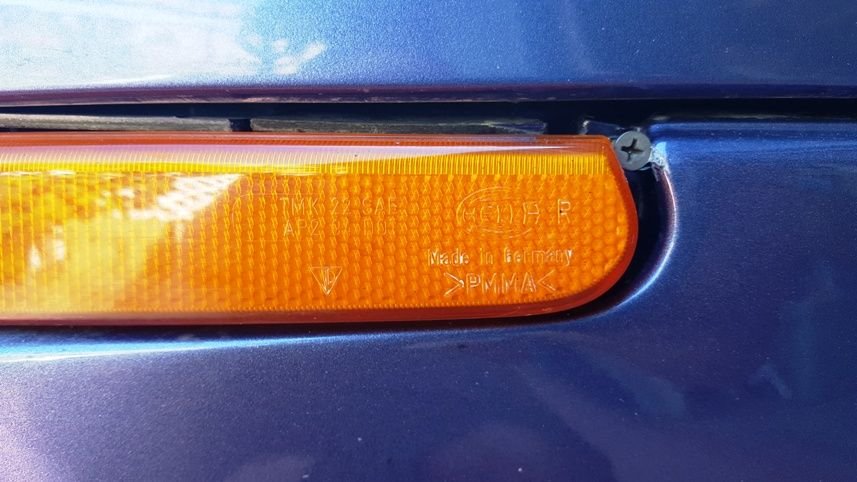
The passenger side marker kept falling out. This screw should take care of things.
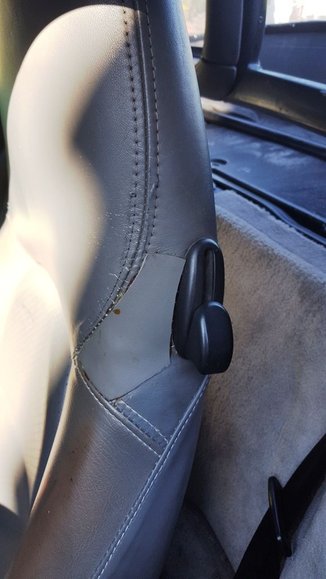
Seat bolster had a big tear in it. Looks good as new now:

The #$@!% panel for the mirror switches kept falling off. A sheet metal screw into the frame and a black sharpie to the screw head took care of that.

The dome light assembly kept falling out. This should hold it.

The passenger side marker kept falling out. This screw should take care of things.

Seat bolster had a big tear in it. Looks good as new now:

Last edited by Cuda911; 08-14-2016 at 08:42 PM.
08-14-2016, 08:47 PM
#83
Race Director
Thread Starter
 08-14-2016, 09:03 PM
#84
Rennlist Member
All's well that ends well. I would have smacked it hard also, but used a jack and extension with a "spare" impact socket as the underside brace.
Carry on, and make sure to put a roll of duct tape in the passenger footwell as the "ultimate cup holder and emergency bandage"
Carry on, and make sure to put a roll of duct tape in the passenger footwell as the "ultimate cup holder and emergency bandage"