When you click on links to various merchants on this site and make a purchase, this can result in this site earning a commission. Affiliate programs and affiliations include, but are not limited to, the eBay Partner Network.
Rear Suspension Side to Side Ride Height Difference...
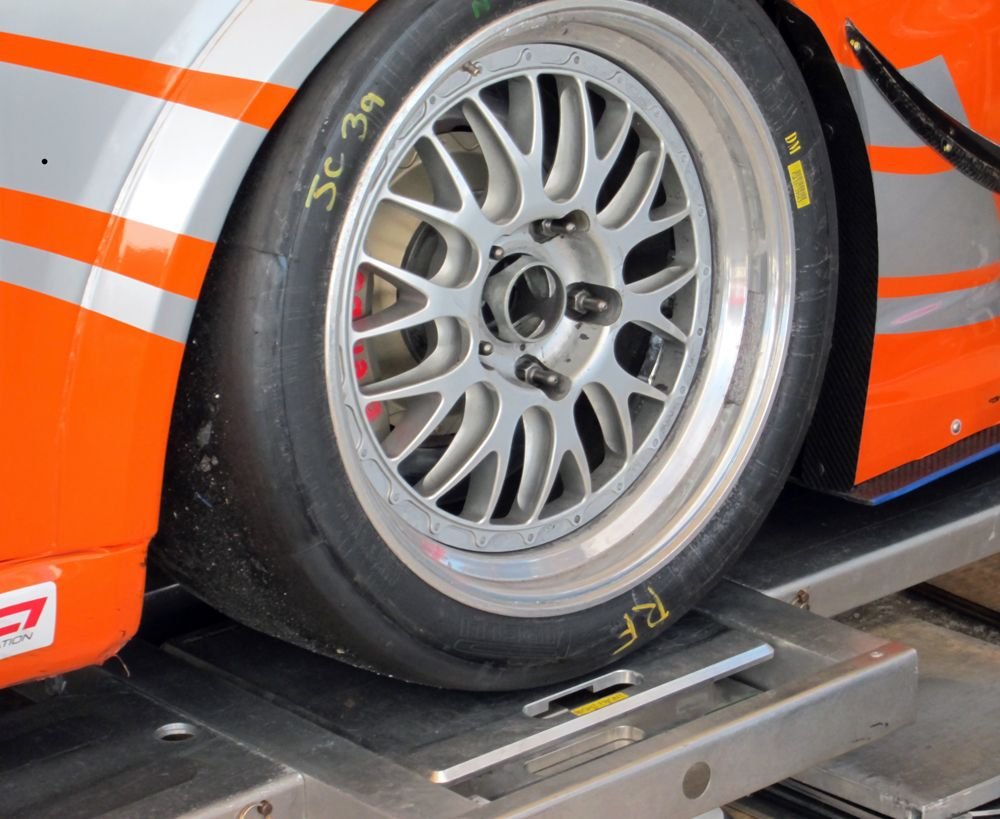
I just put 17x9 inch rims with 255/40R17 tires on my '83. I never noticed with my original Fuch rims and tires but the driver side is 5/8 of an inch lower than the passenger side and it's already started to chew up the tire after the first drive. I don't want to roll the fenders quite yet so I'm hoping to lift the driver side and leave the passenger side as it is.
Can anybody tell me how many splines on the torsion bar I need to move the trailing arm to get the ride height to better match the passenger side? I know that there will always be a 4 to 5mm delta between the two sides but, regardless of the resulting delta, I need to lift the driver side before I take it out again. Can anyone point me in the right direction?
Last edited by RennPartsDirect; 07-09-2016 at 01:38 AM.
Go 1 spline down on the outside (spring plate to torsion bar) then 1 spline up on the inside (body to torsion bar) that will be the smallest adjustment you can make.
But probably better if you raise the back, take wheels off and get both door sills at the same level.(digital protractor handy here) then measure how many degrees each spring plate hangs at. You will then know if one is lower than the other. If they are the same then with a tape measure check the distance from the outside of the rear guard in to the body of the wheel well. This will tell you if your guards are on the same giving the same tire clearance.
I'm trying to loosen the two bolts just behind the torsion bar pivot and I can't get either one to break loose. I've sprayed them with PB Blaster and held some heat over them and I still can't get them to break loose. I just end up moving the suspension the harder I crank on it. Am I missing something?
Last edited by RennPartsDirect; 07-10-2016 at 09:41 PM.
Why are we moving splines on torsion bars when both front and back have ride height adjustment screws?
A better question is why don't we see if the issue is warn shocks? The shocks do hold some weight and can effect the stance/ride height. Heck, it could be a broken rear sway bar mount. My only point is that if you didn't notice it before, maybe it is something new. Check your shocks first.
Rear suspension ride height requires a special wrench that Pelican sells. It is very thin and fits between the trailing arm and the frame. The same wrench adjusts the rear toe. It's a must have tool.
So I purchased a 3/4" impact and the wrench from Pelican (thanks Amber lamps for that suggestion) and finally got the 2 bolts removed from the swing arm and adjuster plate. What a pita. I've decided to replace the rubber bushings since I have everything off the car and bought a set of the Elephant Racing rubber bushings. They are supposed to be super-glued to the swing arm but I have found nothing regarding what I should do about lubricating the bushings between the outer cap and the torsion bar pipe welded inside the chassis where the inner bushing rides.
Do I need to lubricate these interfaces? If so, what type of grease/lubricant should I use?
Yea, the instructions on the Elephant bushings say to just use soap and water but a video I was watching on YouTube showed the guy slathering up the bushing with a white grease. I just don't want them to squeak once I have everything back together. I hate suspension noises, it drives the OCD in me mad...
Ride height and corner balancing are basically the same thing. Measuring ride height can be thought of as an approximation. It's usually fine for a street car - unless you have an OCD issue. In that case you might need to buy a set of scales.
Yes, scales are far more precise. If you run track events or Solo events then scales are really something to consider.
One other item is that you should have someone is in the driver's seat when you set ride height. They should be close in weight to you. If you're using scales this is essential. I generally like the gas tank half full.
It's not easy to find a shop with both scales and knowledge of a Porsche. If you know of such a shop be prepared to pay. On the other hand it will still be cheaper than buying your own scales.
Best advice if you're not mechanically talented is to find a good shop and do a full corner balancing and alignment.
On the other hand, if you're into DIY ride height adjustments, I would suggest first getting the front set up side-to-side and height so that it doesn't end up affecting the rear suspension when later you try to get that adjusted. I just finished doing the front end of my 85 Carrera: With the car fully settled on the suspension, first jack up the rear end using a single floor jack (and a block of wood) under the middle of the engine crankcase) remove the rear wheels, and then with the rear wheels off, lower the back of the car back down (still on the floor jack) so that the car is level (front to rear). Now what you have is a 3-point balance using the two front wheels and a center-point under the engine (for you purists, you can load up the driver's seat with weights approximating your weight (if you typically drive w/o a passenger)). This should result in the front end being able to balance side-to-side w/o any influence from the rear suspension (and not getting into any ride-height changes here). Now you can use the torsion bar adjusting screw/bolt to get the two sides to the same height. Many use the front fender lip-to-floor measurement; I prefer to measure from the floor up to the head of the bolt that fastens the front cross member to the chassis.
Once you have the front end done, you can use a somewhat similar procedure to do the rear - essentially with a single, middle front-end balance point underneath the middle of the cross member which is just behind the fuel tank. Although the procedures for adjusting the rear suspension trailing arms is different than the rather simple adjustment procedure for the front, the key will be a 3-point balance so that the front suspension doesn't influence measurements taken at the rear.
And something I probably should have said at the beginning, a level floor is essential.


 07-09-2016, 01:01 AM


 )
)