When you click on links to various merchants on this site and make a purchase, this can result in this site earning a commission. Affiliate programs and affiliations include, but are not limited to, the eBay Partner Network.
Have you considered removing the "pioneer" name emblem and model # off the top of the unit?
I've done it in the past, and actually painted the outer ring in a matte black to match the rest of the interior plastics. It's always at the clients discretion though since the screen has to be disassembled, and product warranty gets a bit hazy at that point.
Here's the next phase � integrated iPhone Dock for Apple CarPlay.
This part involved a good amount of forethought and design since one of the requests from the client was to have the mount adjustable and adaptable to different cases and possibly different phones in the future. The ideal location for the client was in the center console storage compartment.
Step One: Machine base components from cast acrylic and test fitment.
Notice the slotted hardware guides that allow the width of the mount to be adjusted. Also, the cable provision is enlarged to allow the cable to slide left to right. Shims beneath the plug allow the cable to move up or down, and also provide the pressure needed to retain it's position.
Without Case:
With Case:
Step Two: Design and fabricate hard mount to car.
This took a bit of engineering but I'm really pleased with the way it turned out. An acrylic block with a t-channel was added to the base of the mount to secure the single machine-bolt that holds the module to the car. A small threaded receptacle was attached to the bottom of the console "floor" that allowed the whole piece to be secured in the car. As a bonus, a 4mm hex wrench can be used to adjust the angle of the mount for better ergonomics.
Step Three: Paint all components in satin black and assemble module
Step Four (Final): Install Mount and Test
That's it for the new CarPlay system, next up is the much-needed audio upgrades. Stay tuned for some fun.
Super clean work Nick, very nice! Now can we hear it? Anybody here in Norcal do work that nice? i'm sure there is but who and where? It'd be worth the drive though...
Super clean work Nick, very nice! Now can we hear it? Anybody here in Norcal do work that nice? i'm sure there is but who and where? It'd be worth the drive though...
Anything special or different for the 997.2?
You know, honestly, The team and I at Musicar have been doing this a long time. We've never met another crew that puts in the same attention to detail, and we know a lot of people... Just check these out:
Super clean work Nick, very nice! Now can we hear it? Anybody here in Norcal do work that nice? i'm sure there is but who and where? It'd be worth the drive though...
Anything special or different for the 997.2?
Sound Innovations in Union City. Their work is just as meticulous. The shop's been around for over 25 years (used to be in Hayward). If you used to drool over the $100k-type installs in the 90's car magazines, their work has been featured multiple times in several of them. And of course, they can do a $1k job too. No affiliation, just very happy with the custom work they did on my 997.
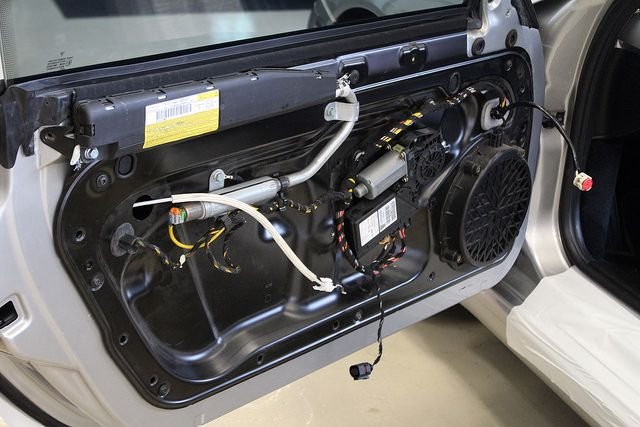
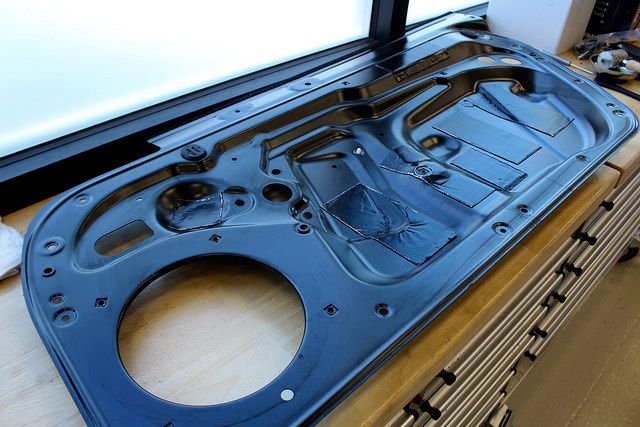
So now that the new Multimedia/Apple CarPlay system is in, we can shift our focus into upgrading the audio system performance. The first step we take is acoustically treating the door cavities for better response. A car's door is actually a terrible environment for a speaker. We have lots of thin metal surfaces that resonate, plastic panels that vibrate, and not to mention every door is different. Because of all this, we use a three-layer process to acoustically treat the environment inside the door and optimize the potential of the speakers we use.
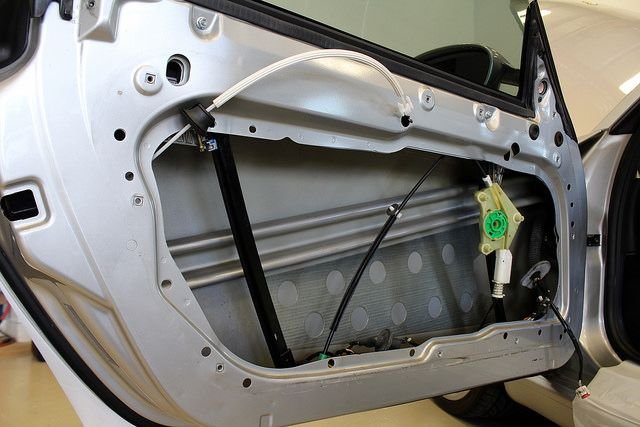
Step One: Door Disassembly. We need to remove the outer panel as well as the inner skin that secures the regulator assembly in order to gain access to the sheet metal.
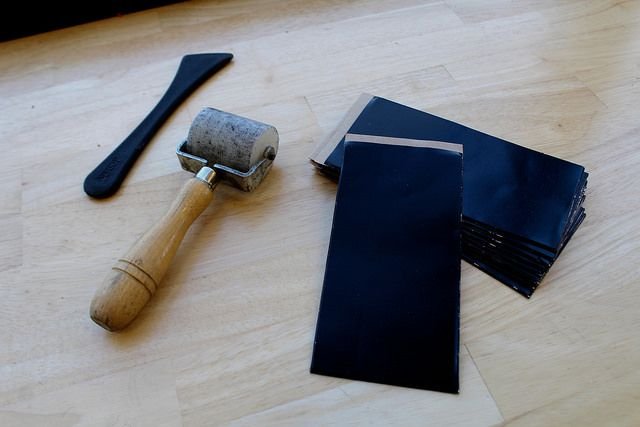
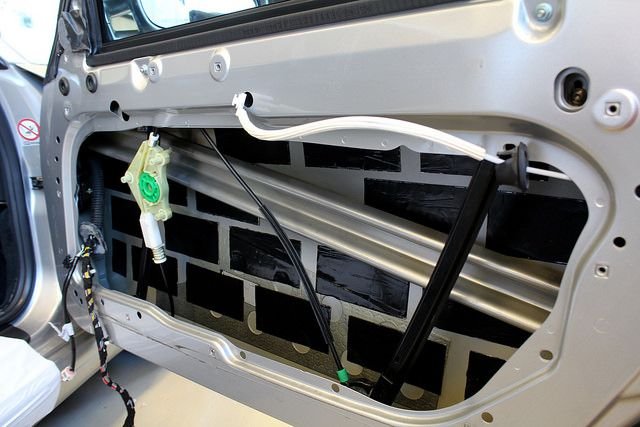
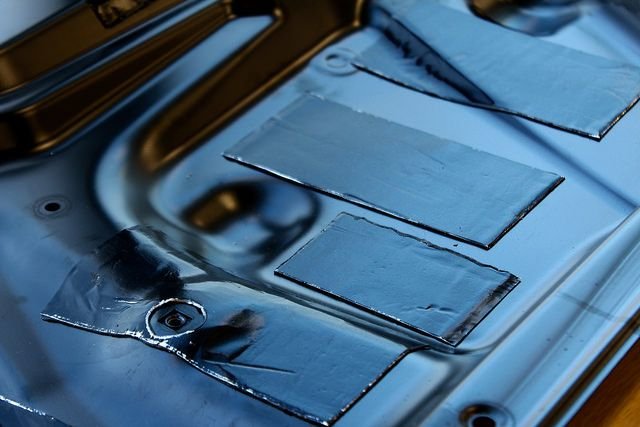
Step Two: Butyl-Based Damping. Most people get hung up on the brand of damping material used, and loose focus on the most important part � the application. We use a strategic method of placement to achieve maximum performance with the least amount of material. We don't want to add anymore weight than necessary.
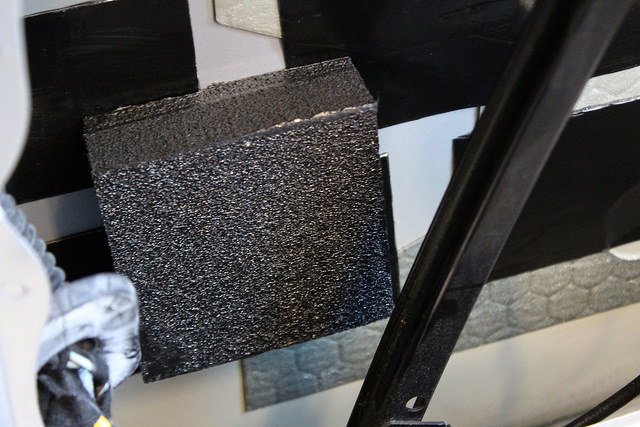
Step Three: Acoustic Tiles � a multi-layer high-efficiency acoustical absorption pad. These will go directly behind each woofer to help with the lower end of the frequency response range.
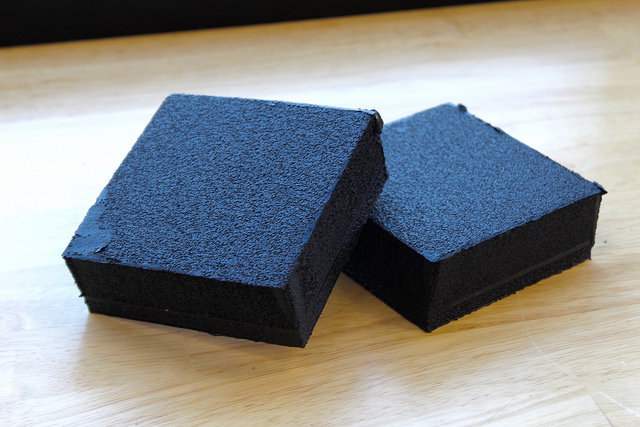
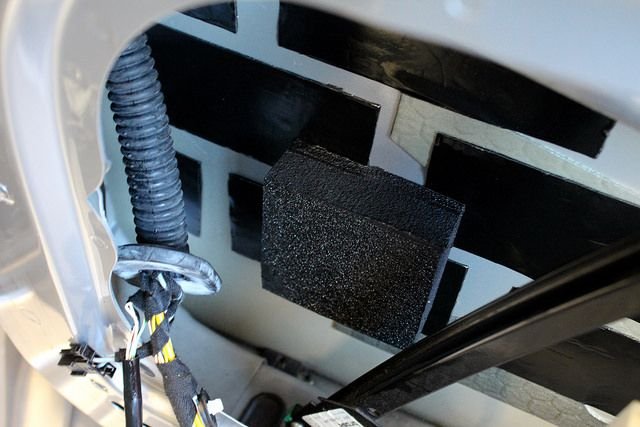
Step Four (Final): MLV (Mass-Loaded Vinyl). This material is a combination of closed-cell foam and high-density vinyl sheeting. The goal here is to create a blocking wall for outside noise and lower the ambient volume level in the cabin. The piece comes in a flat sheet and we precision cut them to fit the 997 doors.
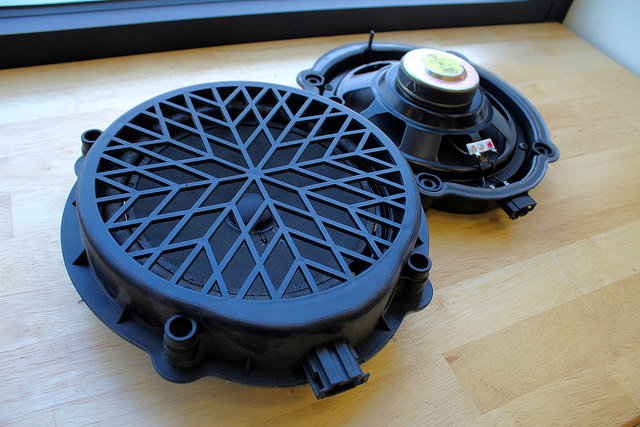
The factory 8" door woofers will be replaced with 6.5" Morel Virtus woofers. The idea here is to use the dedicated subwoofers for most of the lower bass response, that way we're not pouring too much energy into the doors and causing unnecessary rattles/vibrations. The foam surround on the factory woofers was completely dry rotted � it's no wonder they sounded so terrible.
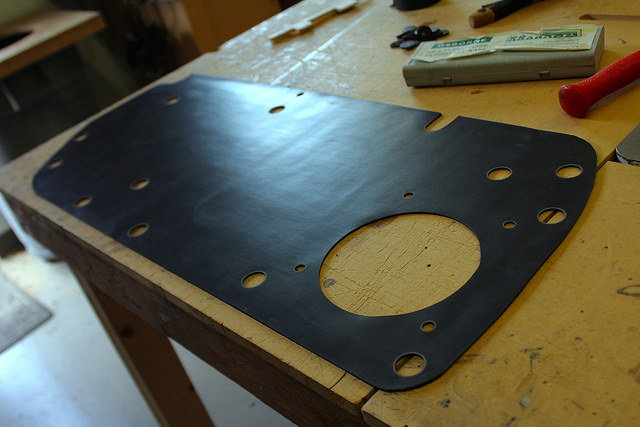
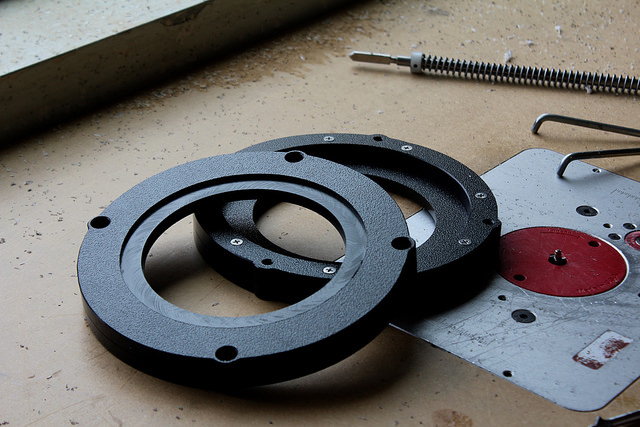
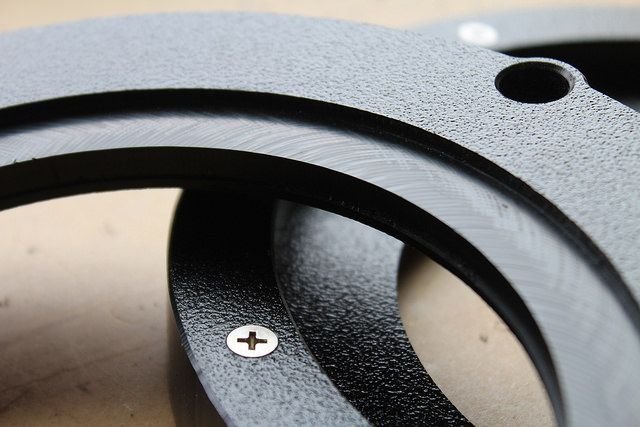
Step One: Speaker baffles/Fitment adapters. We want to modify as little as possible. In order to accomplish that we built a set of custom adapters from high-density polyethylene. The adapters use factory hardware to secure to the door, and have machined provisions for the new 6.5" speakers.
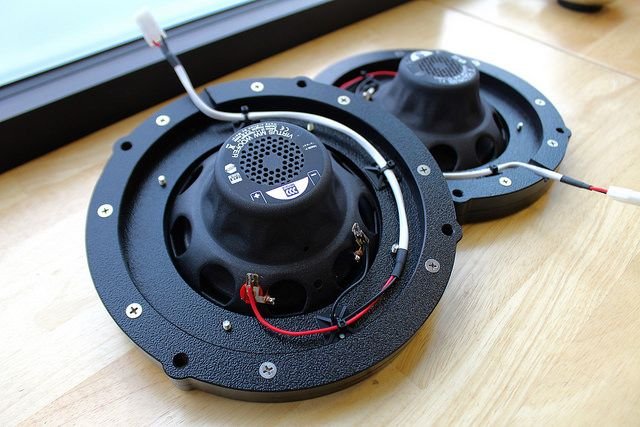
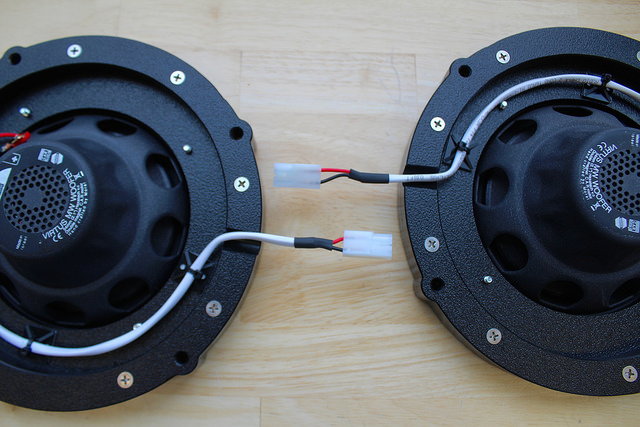
Step Two: Wiring. the new speaker leads are soldered to the speaker terminals and the wiring is managed on the back side of the adapter. Also, a small channel was machined to allow the wiring to fit under the adapter without getting pinched.
Step Three (Final): Mount the new module with speaker and wiring to the door. Again, factory hardware is used for this. The new baffle also adds rigity to the door for better speaker performance.
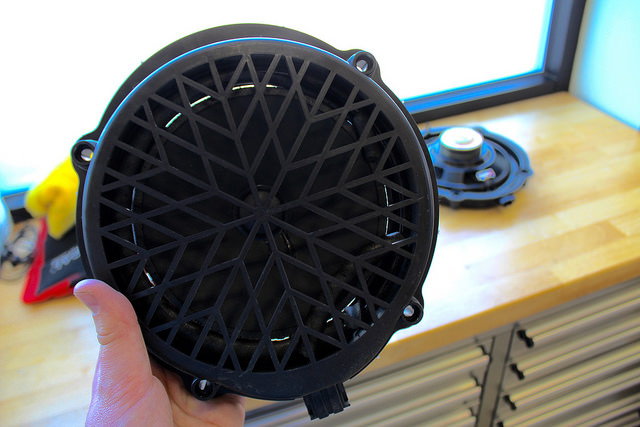
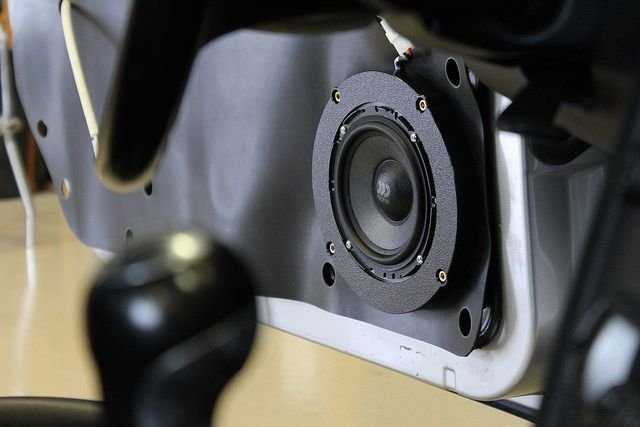
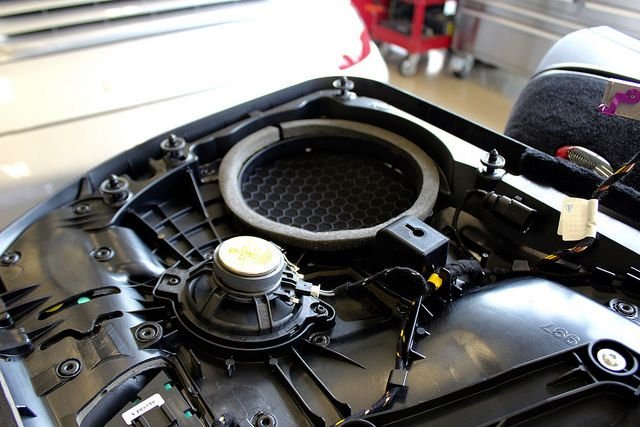
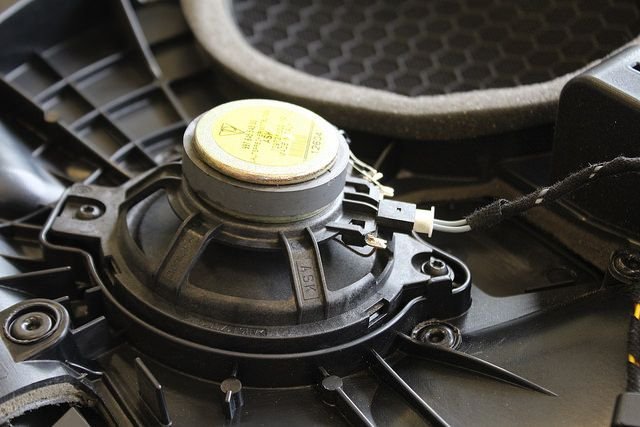
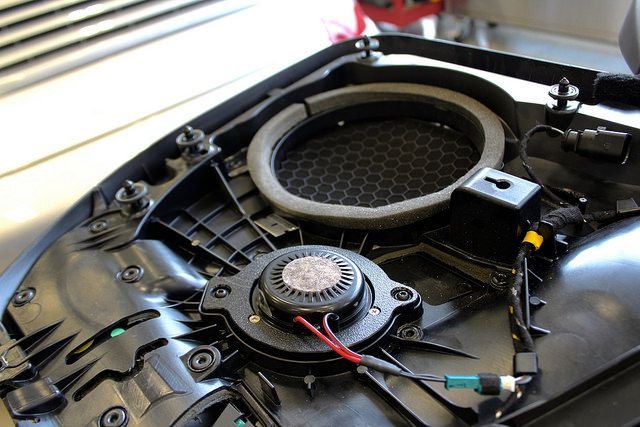
Replacing the factory midrange speaker was the next task. This is an important speaker in this setup since most of the important vocal information is in the midrange's frequency response. Unlike the woofer which is attached to the door itself, the midrange is back-loaded into the door panel. Here's the factory setup:
Step One: Fabricate the mounting adapters. These are constructed from high-density polyethylene and designed to use factory hardware. They also place the midrange in the most optimal position for best performance.
Step Two: Install new components and adapt wiring. The new speakers are mounted in place and a wiring harness is made to allow them to directly plug into the OEM wiring.
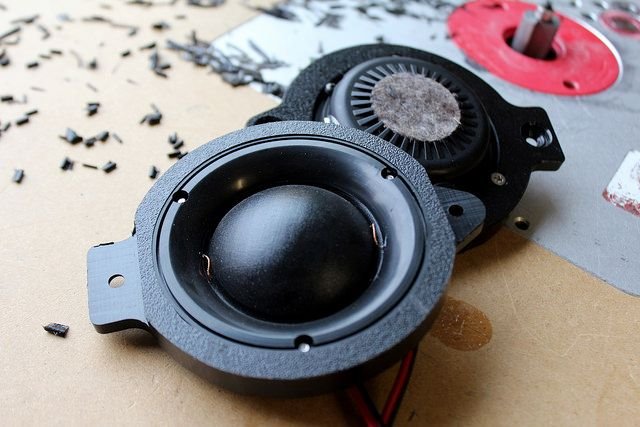
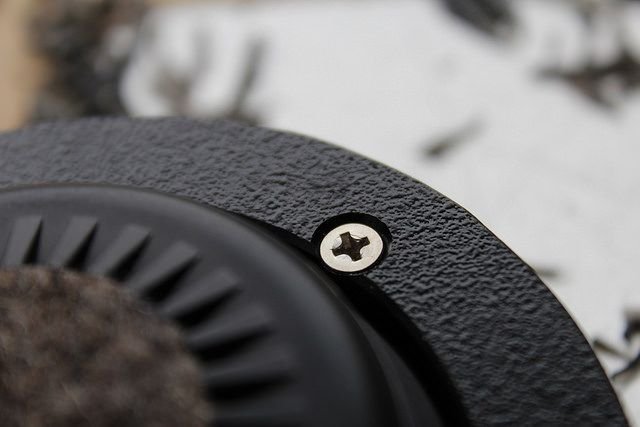
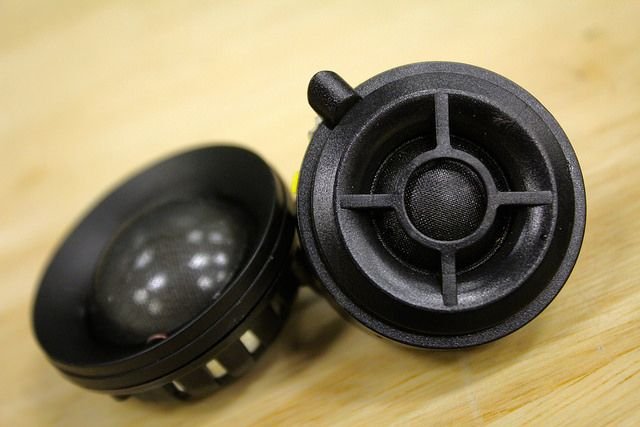
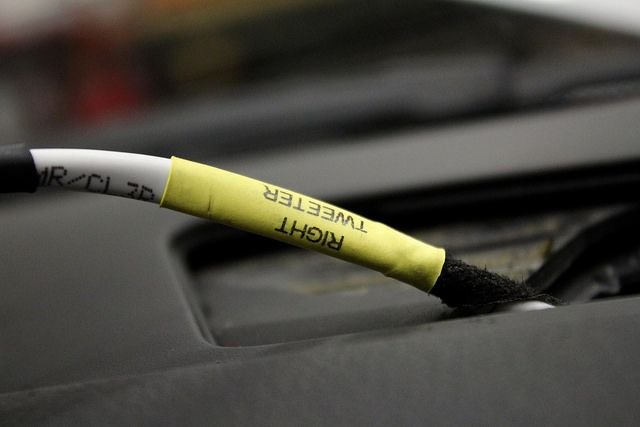
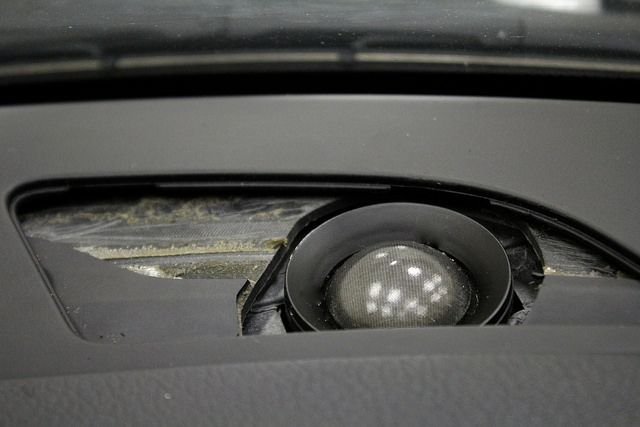
On to the tweeters. The factory versions were quite a bit smaller than the new pair from Morel. Modifications to the dash housing and the new tweeter had to me made in order for them to fit beneath the OEM grilles. Here's a shot of the factory tweeter with the new replacement behind it.
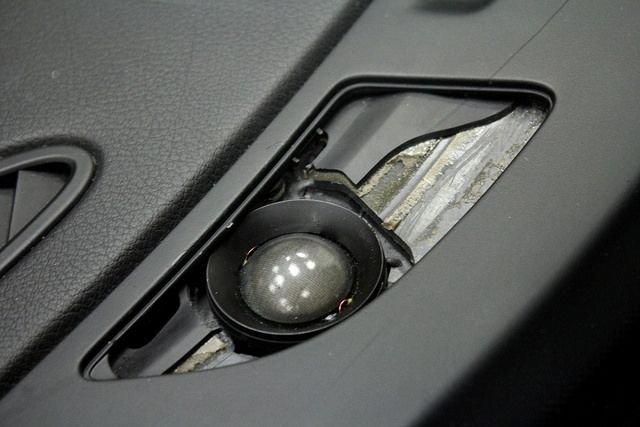
Step One: Modify and Wire. If you compare the images below with the product image in my earlier post, you'll see that the triple-spoke grill has been cut away and smoothed out. This was to lower the height of the profile to allow the factory dash grille to snap back in place. Also, a molex connector is attached so that our wiring can be easily disconnected if the tweeter needs service/replacement.
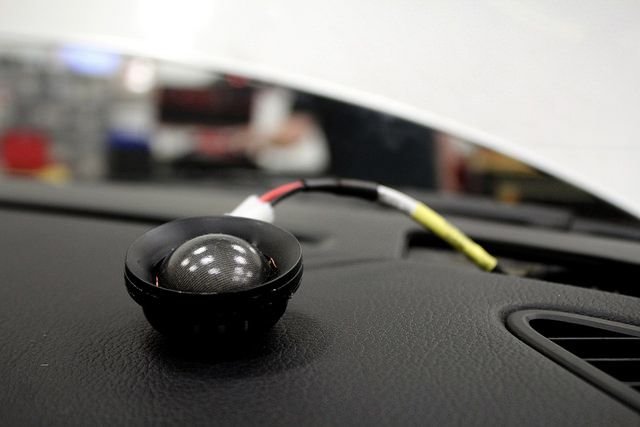
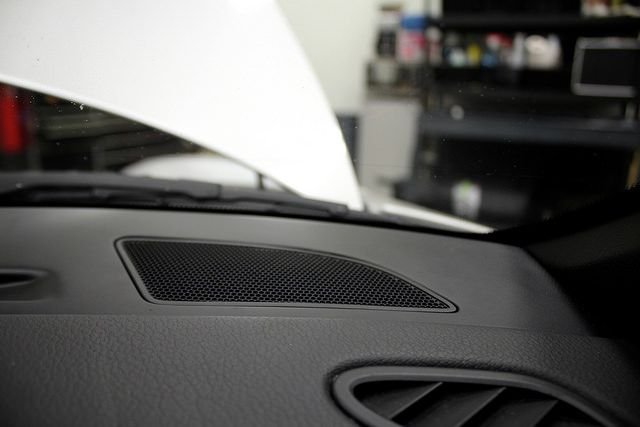
Step Two: Mount and Cover. The tweeter provision in the dash is modified in a way that allows the new Morel tweeter to snap into place without hardware needed to secure it.
Looks really nice ... looks to be excellent quality and craftsmanship too.
What about integrating with a multi-function steering wheel so the ***** and buttons all work, is that possible? That is, audio, nav, pcm, etc. I'm thinking 997-2, PCM 3.0+

 06-17-2016, 12:49 AM