When you click on links to various merchants on this site and make a purchase, this can result in this site earning a commission. Affiliate programs and affiliations include, but are not limited to, the eBay Partner Network.
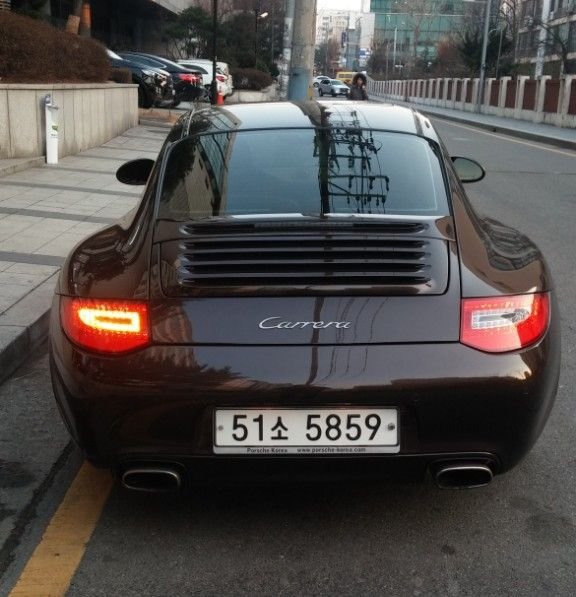
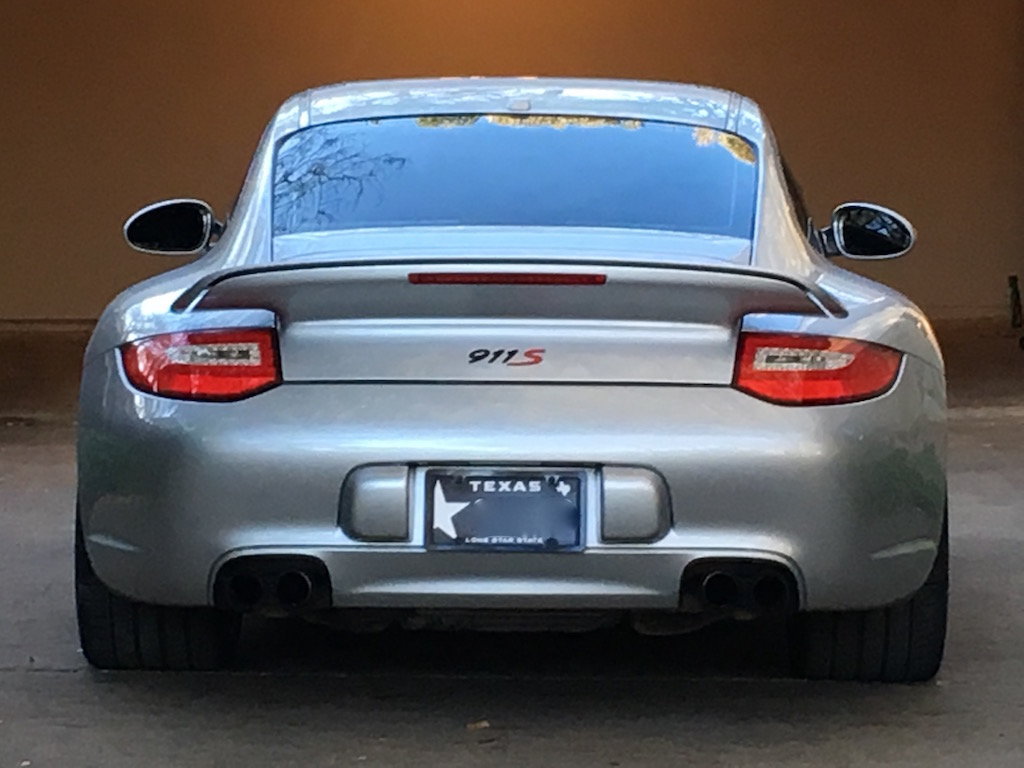
I was wondering if there are any templates out there for correctly putting on the "911" badge. I've seen a quite a few 997s with the 911 and I think it looks great. I want it to look as if it was done at the factory - perhaps the dealer?, and not like it was done by me -- I think I'd do a terrible job just eyeballing it.
The badge I bought (a 993 part I believe) from Suncoast has the numbers all attached to an adhesive backing. All you have to do is ensure it is centred and positioned vertically. I used masking tape and a tape measure to get the location right then you tear off the backing for the adhesive that holds the numbers to the car and apply them. Then you press down the numbers and pull off the backing that holds the numbers aligned. It was super easy.
Hmm thanks! All I'm worried is about is the centering. I was wondering if there is like a trunk template or something to get it exactly right without tape measure and all. I think I've seen something like that in a "how it's made" video.
Use painters tape to create a grid by measuring & placing the 911 emblem in the correct position. Put the emblem on and then remove the tape...easy peasy, lemon squeezy
997_ Toronto has a great idea. Mask off the existing emblems or area you want a new emblem and then place the new one there. Create a grid with tape and pen to ensure your spacing is correct.
__________________ SuncoastParts.com Your #1 Source for Genuine Porsche Parts and Accessories on the Web!
After measurements apply with badging with temporary clear tape first stand back from afar and look at it from a few angles.
Re-adjust if necessary ...
This should virtually eliminate the 2 most common errors with badging applications
- following upper decklid vs Lower decklid curve (resulting in a badging that curves down or "frowns" vs being visually straight) - you can only see this when you step back and view from afar
- improper top/bottom negative space above/below the badging - imo you can only see this when you step back and view from afar
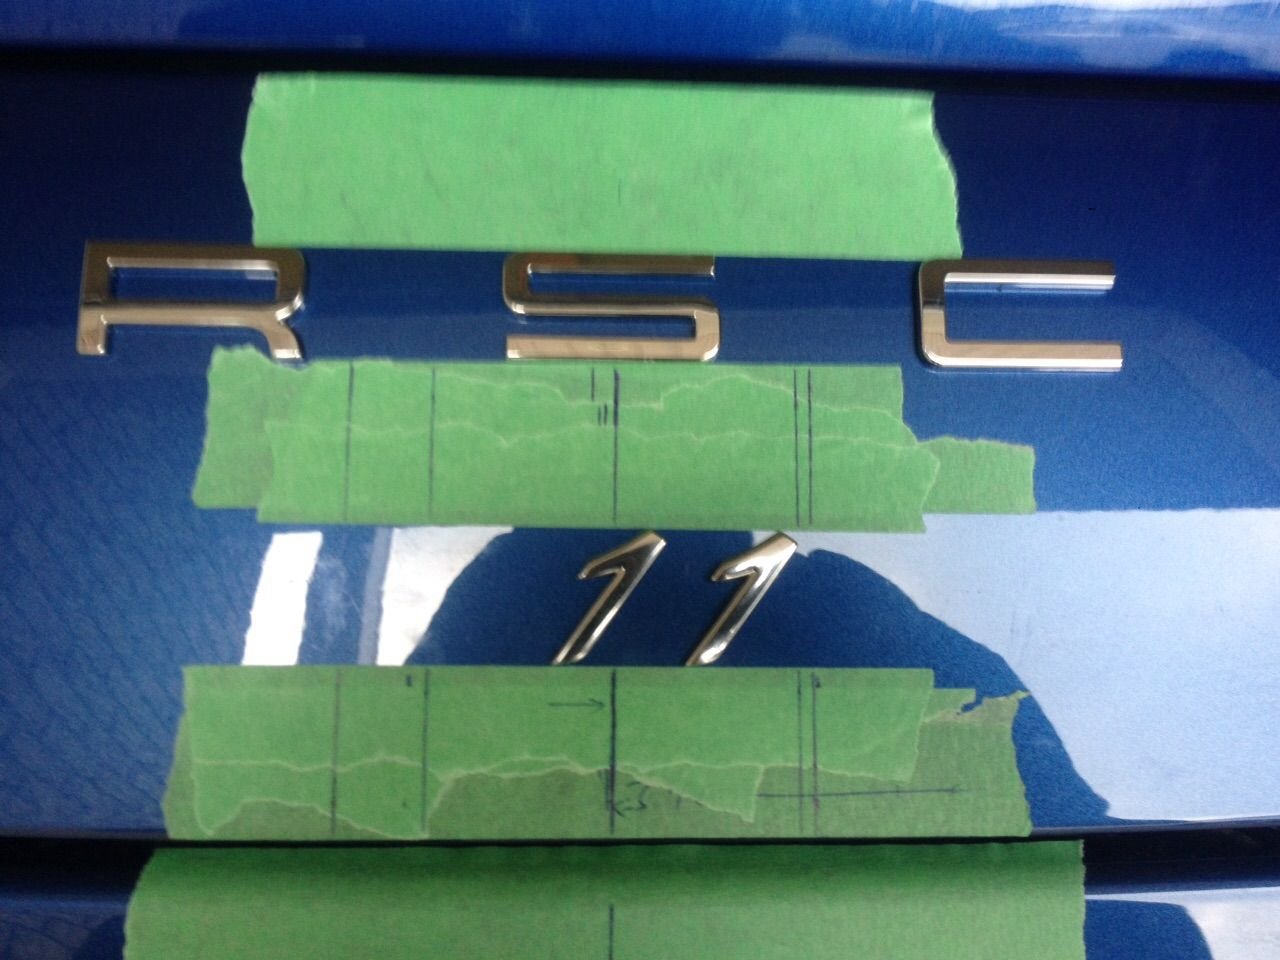
I was paranoid enough that I combined all of the above suggestions to make sure I got mine right... which was complicated by the presence of the taller S.
As the Toronto recommends, I used masking tape underneath being careful to make sure it was level with the decklid. Then I marked the center with pencil, then measured the width of the emblem (in my case the emblem and the S in the position I had chosen) and marked lines half the width out on each side to indicate where the emblem edges would be. Then I used clear tape like myw suggests to tape the emblems in position. Next I removed all of the masking tape to verify that I liked the position without the visual interference of the masking tape, standing far back and checking it several times. I ended up adjusting it down a bit as a result and basically repeated all of the above steps with everything just a bit lower.
Once I was happy with the taped position, I didn't reapply all of the masking tape. I simply used masking tape fragments to create outlines of sorts around the target position, pulled the emblem and removed the clear tape, then carefully stuck the emblems in place within the masking tape outlines. (I essentially had two half boxes in my case since the S is a little taller).
The extra effort is well worth getting it right and doesn't take that much longer. To be extra safe I also used top-quality masking tape made for easy release from paint.
Here is a photo of how I ended up positioning mine. You can see how the S would complicate things, but if you are doing a pure 911 then I think it will be even easier. I'm sure you'll love it. Good luck!
i actually did it in reverse
- made measurements placed everything quickly with clear tape based on measurements
- like you once its on (even if not perfectly aligned) being able to step back and see the overall big picture aesthetic of the badging will help you decide if things need to be adjusted (like you i adjusted mine a few times)
from here i had all the perfect measurements made and started applying the painters tape. markign the locations of the specifics.
the beauty of the painters tape is that the sides of it is where you can use to apply the badging... helping ensure perfect alignment.
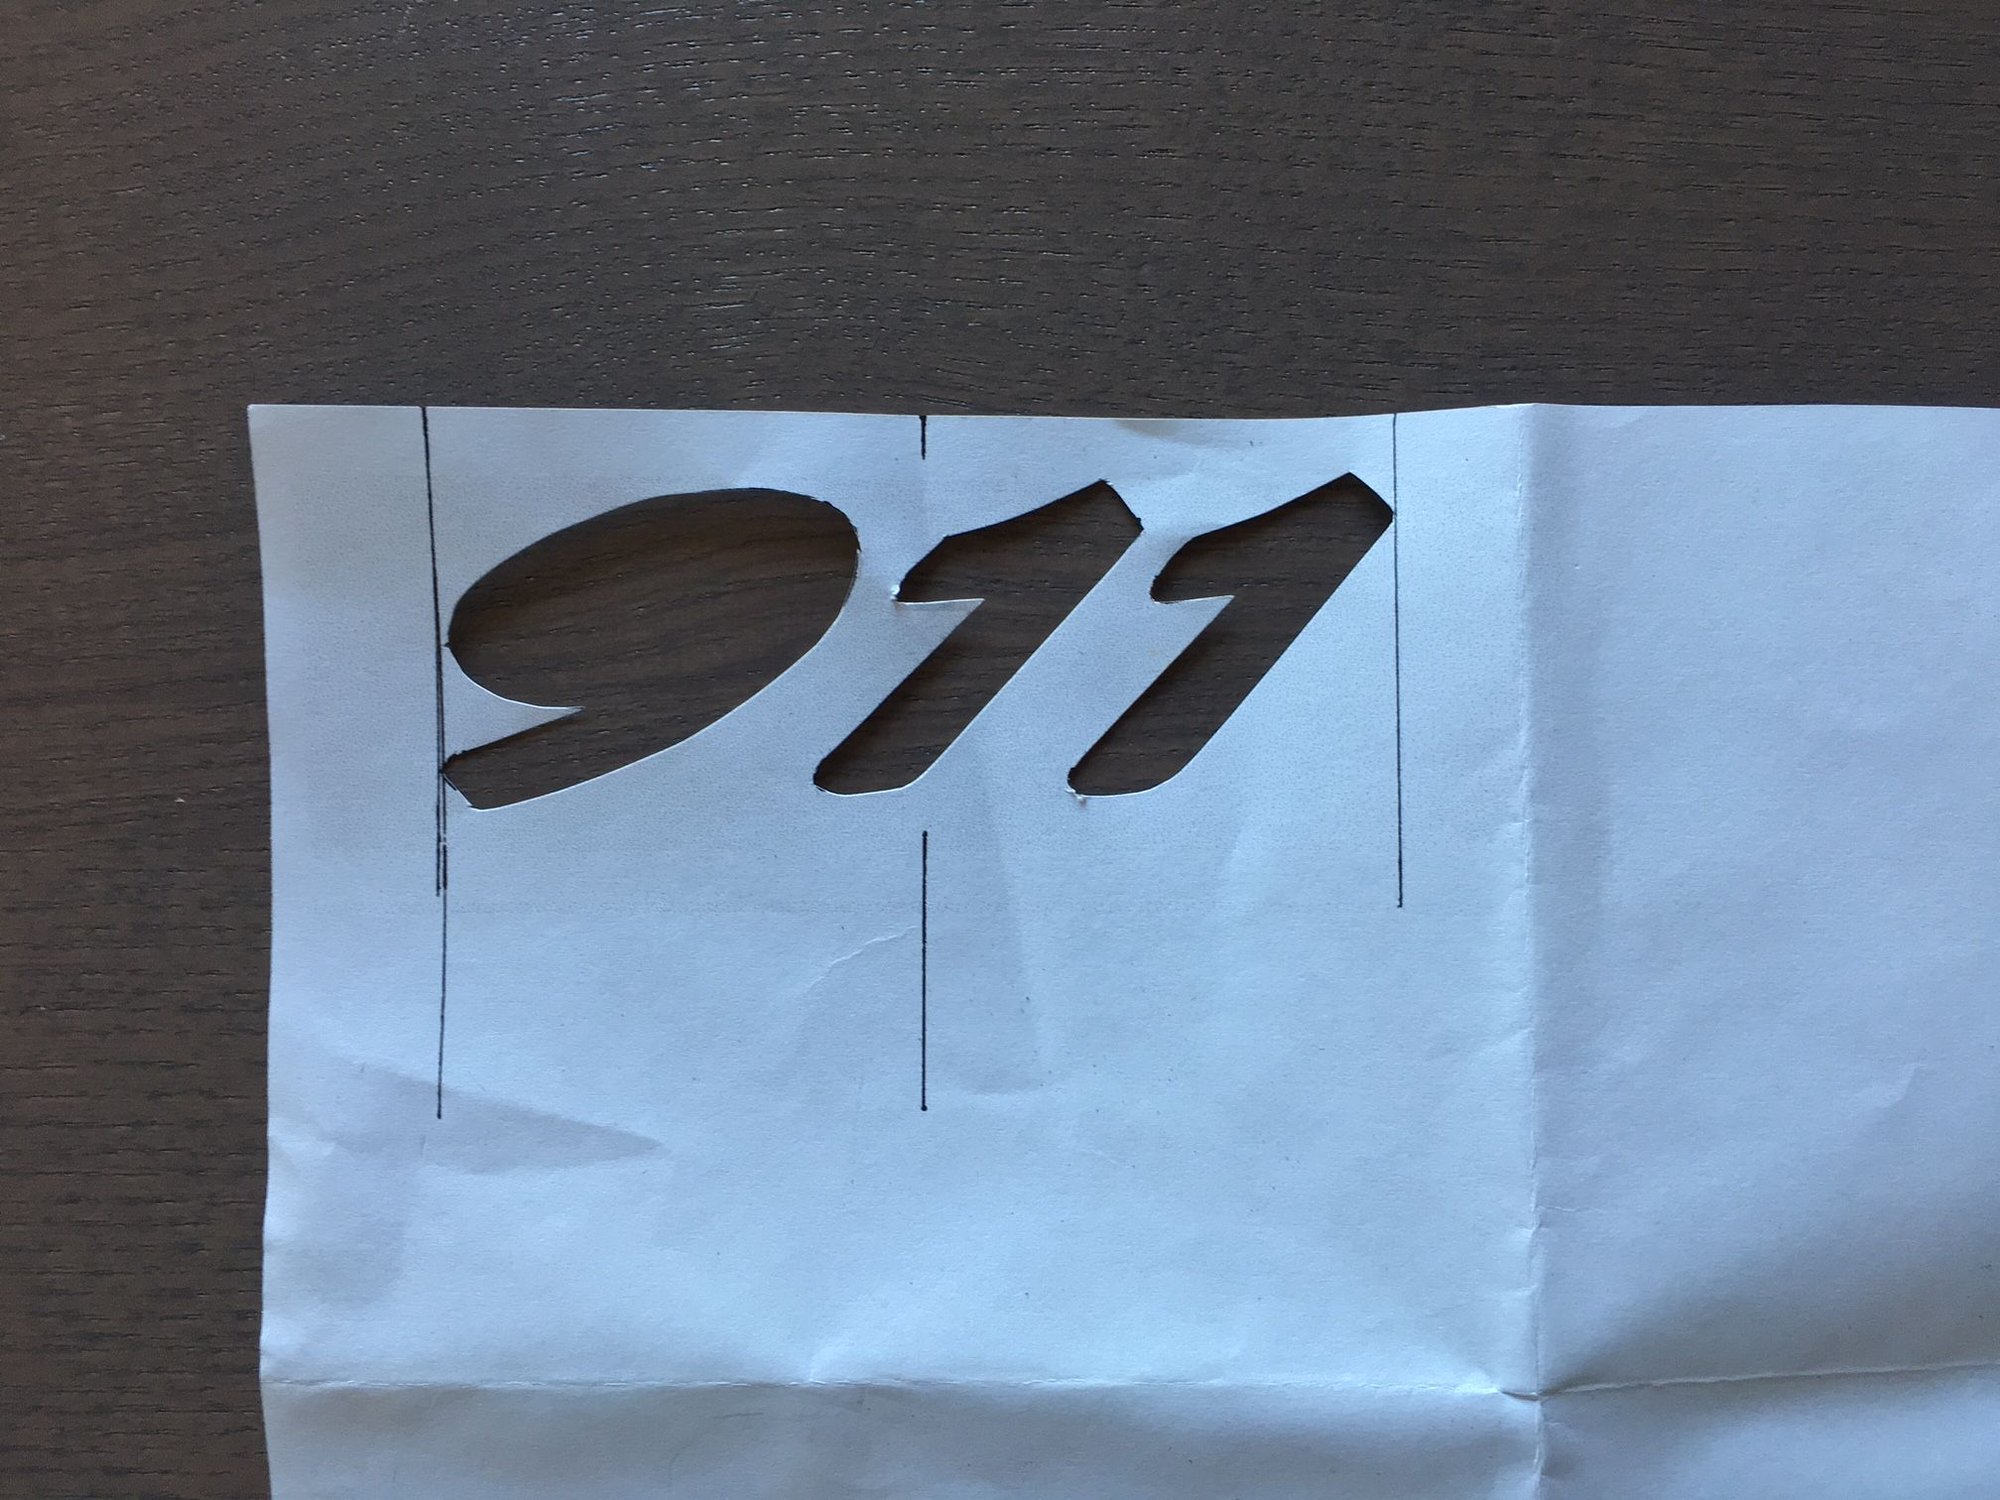
Here's how I'll be doing mine and hopefully this will help some of you out. Not only do I want to be sure of the spacing but also the correct angle of the letters is paramount. I was inspired by the OEM template and decided to make something to that extent but simpler. So my idea was to grab an OEM image if the 911 lettering and print it out to correct size. Now I can measure and place the numbers within my template, after I cut them out with an exacto-knife.
Here's how I'll be doing mine and hopefully this will help some of you out. Not only do I want to be sure of the spacing but also the correct angle of the letters is paramount. I was inspired by the OEM template and decided to make something to that extent but simpler. So my idea was to grab an OEM image if the 911 lettering and print it out to correct size. Now I can measure and place the numbers within my template, after I cut them out with an exacto-knife.
Cheers
Just FYI, most of the time the 911 numbers come together on a larger piece of paper tape stuck to the front facing of the numbers that hold them in the OEM position until after you put them on. You remove the tape protecting the sticky stuff on the back side, press them on together, then you remove the tape used for alignment on the top side. My 911 numbers came stuck together that way, I only had to treat the S as a separate unit.
Did your 911 numbers come separately? Or have you not received them yet? If not yet, I hope you will be pleasantly surprised to find that you don't have to worry about the spacing/slant or the numbers.
Here is an example I could find with the longer logo and the paper stuck to the face in the correct alignment and spacing. The actual letters are stuck on the far side of the paper that you see.
Last edited by StormRune; 03-24-2016 at 09:07 PM.
Reason: Added image
My numbers came separate from one another, so unfortunately I have to go this route. For now I'm postponing it, since I've gone with a "Porsche" negative style rear decal.
I was paranoid enough that I combined all of the above suggestions to make sure I got mine right... which was complicated by the presence of the taller S.
As the Toronto recommends, I used masking tape underneath being careful to make sure it was level with the decklid. Then I marked the center with pencil, then measured the width of the emblem (in my case the emblem and the S in the position I had chosen) and marked lines half the width out on each side to indicate where the emblem edges would be. Then I used clear tape like myw suggests to tape the emblems in position. Next I removed all of the masking tape to verify that I liked the position without the visual interference of the masking tape, standing far back and checking it several times. I ended up adjusting it down a bit as a result and basically repeated all of the above steps with everything just a bit lower.
Once I was happy with the taped position, I didn't reapply all of the masking tape. I simply used masking tape fragments to create outlines of sorts around the target position, pulled the emblem and removed the clear tape, then carefully stuck the emblems in place within the masking tape outlines. (I essentially had two half boxes in my case since the S is a little taller).
The extra effort is well worth getting it right and doesn't take that much longer. To be extra safe I also used top-quality masking tape made for easy release from paint.
Here is a photo of how I ended up positioning mine. You can see how the S would complicate things, but if you are doing a pure 911 then I think it will be even easier. I'm sure you'll love it. Good luck!
This is exactly what I want for my 2010 S. Can you post a link of where you bought the badges??

 03-24-2016, 09:02 AM