When you click on links to various merchants on this site and make a purchase, this can result in this site earning a commission. Affiliate programs and affiliations include, but are not limited to, the eBay Partner Network.
center comb flap actuator job and cleaning up stereo wiring
I started this center comb flap actuator replacement job about a month ago. I'd be farther along if I wasn't so distracted by the stereo wiring weirdness and cut or disconnected wires I find along the way. I don't know where to start, so I'm going to post some pictures and hope more experienced eyes can identify, criticize, make suggestions, etc.
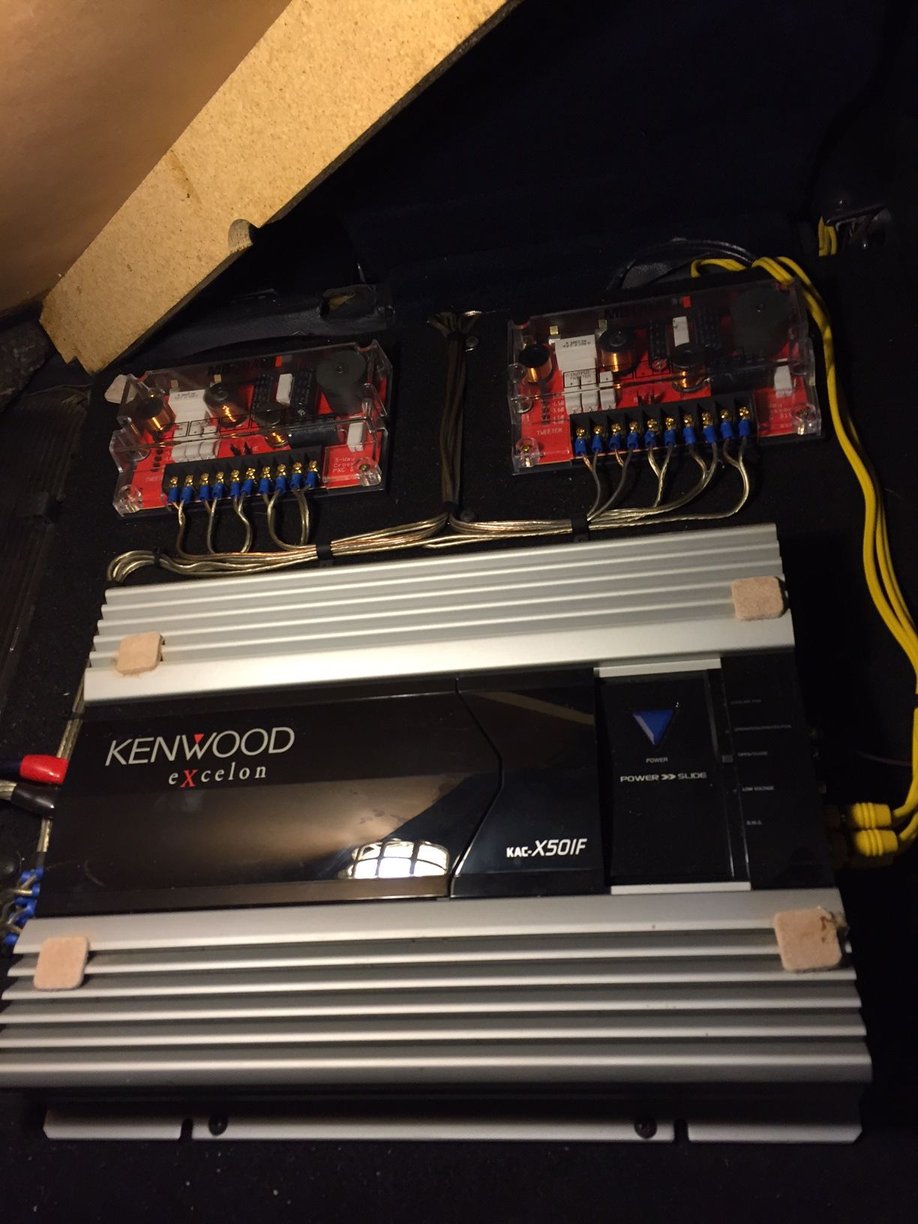
The stereo worked when I bought the car, but didn't sound right. The powered subwoofers had been removed (the rear seats are like new because they were out of the car for 20 years). Below is a pic of the 4 channel amp at the back. It appears to have some MB Quart crossovers. I suspect these are sending only low-mid to high frequencies to the speakers. Thus the less than full sound.
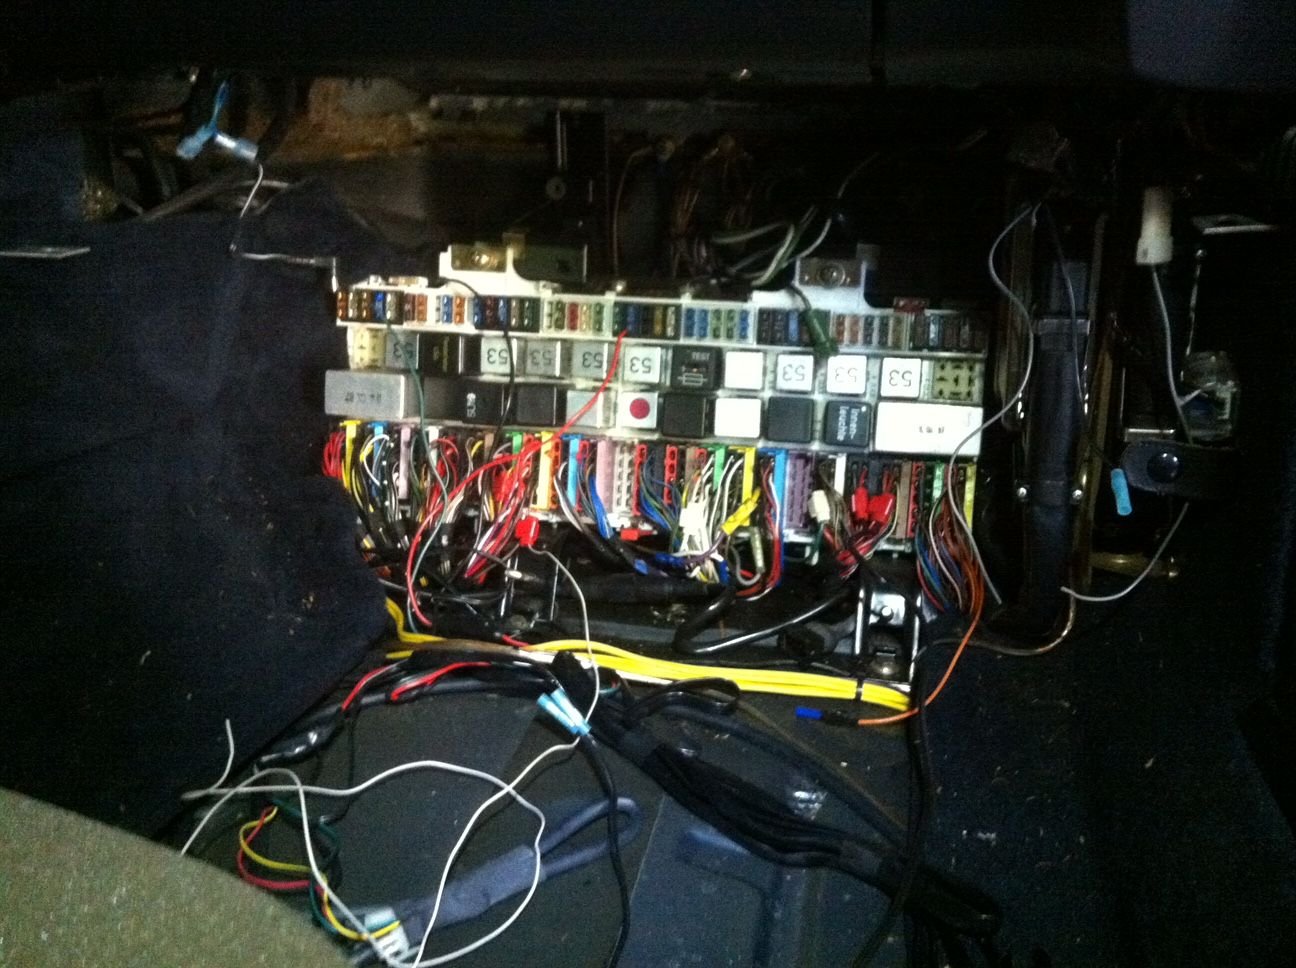
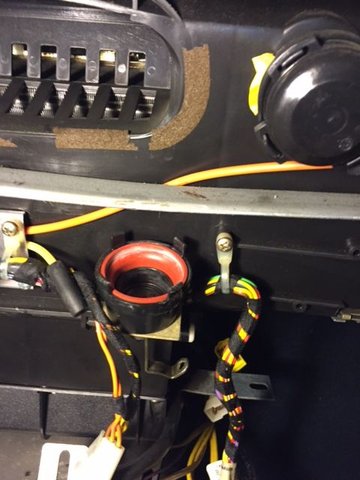
When replacing the footwell HVAC recirculation flap actuator I discovered the head unit was powered in hacked fashion by pressing the wires into the front of the fuse panel and held in place by the fuses. This seemed to be a rushed attempt to put a new head unit in the car before sale, as the rear amp and crossovers were installed with care. There are also disconnected wires, some cut wires, etc. Nothing critical, as the car runs great, and hasn't caught fire...yet.
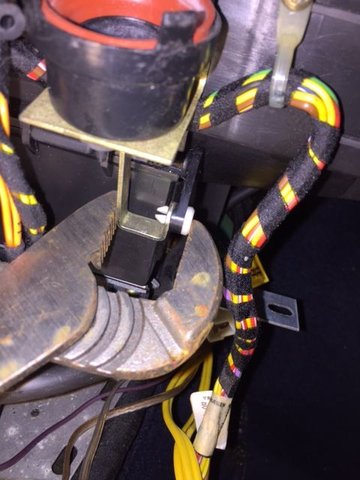
See a familiar connector (like that green one) and know what it is, please advise. I'd like to know the proper way to connect the head unit to power.
I found more interesting/disturbing wire mess behind the head unit and HVAC controller and AC switch - warning bar after I removed them.
Last edited by Captain_Slow; 03-21-2016 at 09:21 PM.
Reason: change title to reflect major content of thread
Look for the car original radio wires behind the head unit.
I would use them.
This is from another thread here:
Brown (solid) is always ground (31), Red (solid) is usually battery+* (30) Black is always ignition (15), Black/ Yellow (X) is accessory, . Brown/Yellow = radio alarm connection
I would start with this.
There's no reason AFAIC going directly to the CE panel.
Decided to remove the Kenwood amp, cables, etc. .....then decided to keep the Kenwood, existing head unit, and just rip out defunct wiring and level controller to a subwoofer amp that is no longer in the car...and just generally clean up all the wiring.
Last edited by Captain_Slow; 03-20-2016 at 10:30 PM.
Reason: change of plans...again
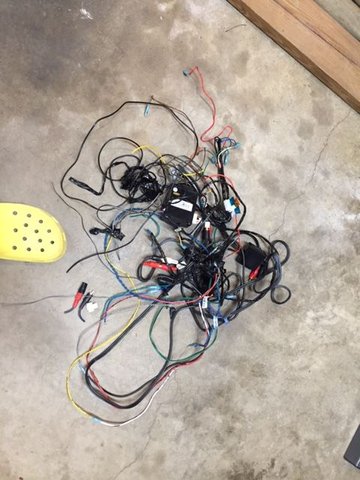
Have made good progress on identifying original wiring and newer and poorly installed wiring. Pulled out the code alarm and all the wiring to it that had been spliced into factory wiring for power, etc. Had to make a few repairs to original wiring after removing all of the above. Found the original factory option telephone wiring is still in the car. Just tucked it more neatly away. Found several lengths of wire connected to nothing. Hard to say what the wires were for (definitely were not original). Because they weren't connected to anything from one end to the other I removed them. I'm cleaning out the clutter and organizing with zip ties and labeled what I will keep. The goal is to retain the Kenwood 4-channel amp and Sony head unit (for awhile) and run either front and rear (rear seat area) speakers, or front and use rear channel for a sub. Plenty of system for me. Below is the rats nest of wiring and code alarm pieces I removed yesterday. Today I move on to the HVAC center and footwell flap actuators.
Should note that after removing the mess below and removing a few wires connected to wires appearing to come off the ignition....all lights in the pod (and temporarily connected head unit) came on at first key detent. Then one more turn of the key and it started immediately and idled smoothly. Sigh of relief.
Last edited by Captain_Slow; 03-22-2016 at 12:17 AM.
Reason: needed to note all is well after removing alarm
Have made good progress on identifying original wiring and newer and poorly installed wiring. Pulled out the code alarm and all the wiring to it that had been spliced into factory wiring for power, etc. Had to make a few repairs to original wiring after removing all of the above. Found the original factory option telephone wiring is still in the car. Just tucked it more neatly away. Found several lengths of wire connected to nothing. Hard to say what the wires were for (definitely were not original). Because they weren't connected to anything from one end to the other I removed them. I'm cleaning out the clutter and organizing with zip ties and labeled what I will keep. The goal is to retain the Kenwood 4-channel amp and head Sony unit (for awhile) and run either front and rear (rear seat area) speakers, or front and use rear channel for a sub. Plenty of system for me. Below is the rats nest of wiring and code alarm pieces I removed yesterday. Today I move on to the HVAC center and footwell flap actuators.
Should note that after removing the mess below and repairing a few wires connected to wires appearing to come off the ignition....all lights in the pod (and temporarily connected head unit) came on at first key detent. Then one more turn of the key and it started immediately and idled smoothly. Sigh of relief.
There's a great amount of joy in getting crap spaghetti wires out of a hacked job. Nicely done.
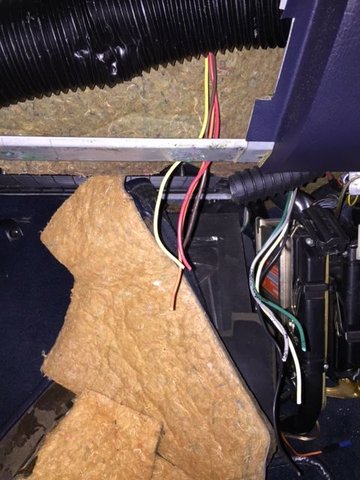
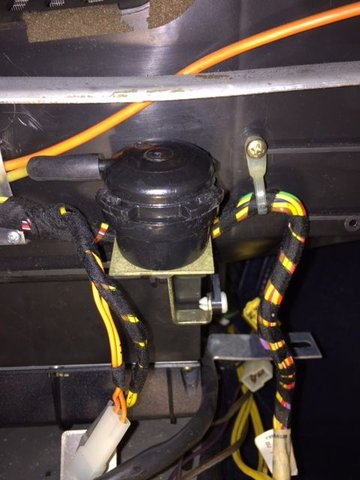
Thanks guys...I think the key to a successful extraction of such a mess is going very slowly...study what's there, where it goes, what is original and what isn't. I was always trying to figure out what is original and how it should be connected. Unfortunately, I think the original alarm box is gone. The picture below shows two sets of wires that are original. I know the set dangling in the upper left went to the alarm horn and possibly the hood light switch (triggering alarm if hood were opened...not sure). When I removed the cheap code alarm system's horn (mounted on the engine cooling fans shroud) I rolled up these same wires and zipped tied them near the HVAC blower motor (while I was in there replacing the blower). So, I'm not worried about those wires as I know what they are and where they go.
However, the wires dangling in the lower right are a mystery, but since at least some of them were connected to the cheap code alarm I think they were originally connected to the factory alarm box. I have no idea why the PO replaced the Porsche alarm with the crummy code alarm - but I think he liked the lights flashing and key fob remote to arm the system and keyless locking of doors....like modern cars.
Last edited by Captain_Slow; 03-20-2016 at 09:30 PM.
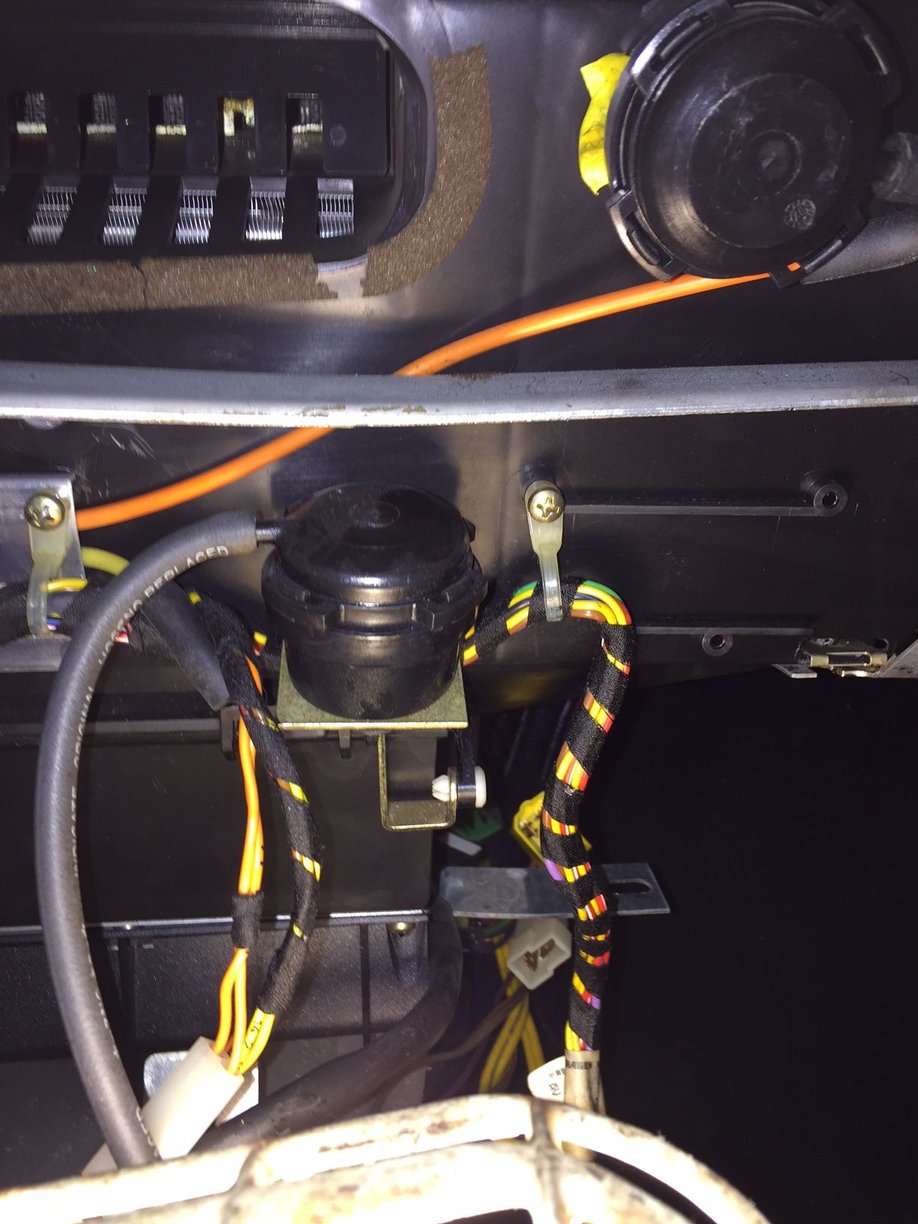
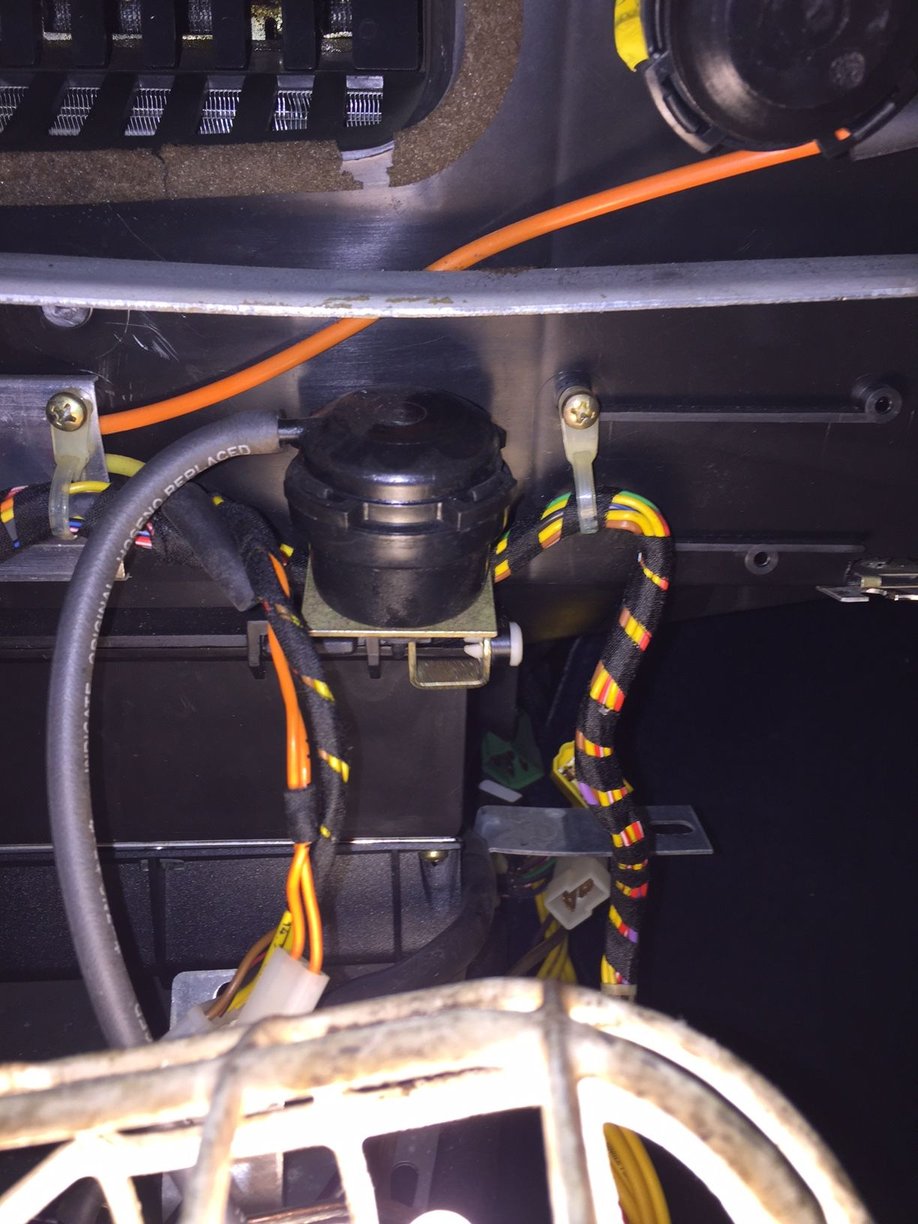
Back to original task - replacing the HVAC vent actuators
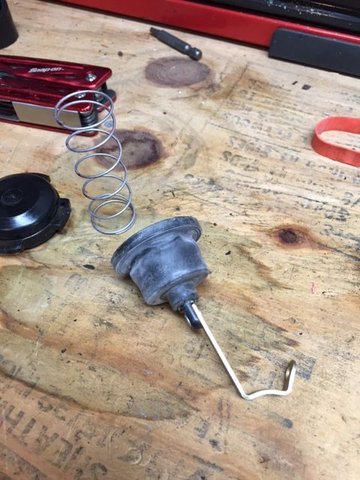
Moved on to replacing the footwell flap actuator. Tested it first. It worked fine, but I decided to replace it anyway...cuz you know it will fail soon if I don't.
Test pics
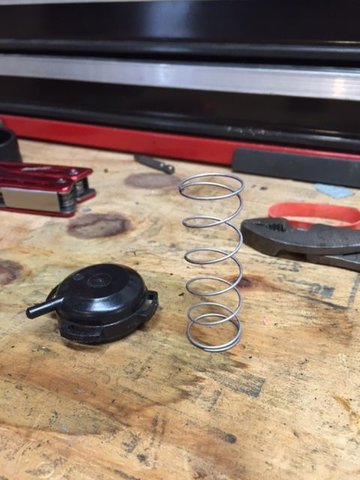
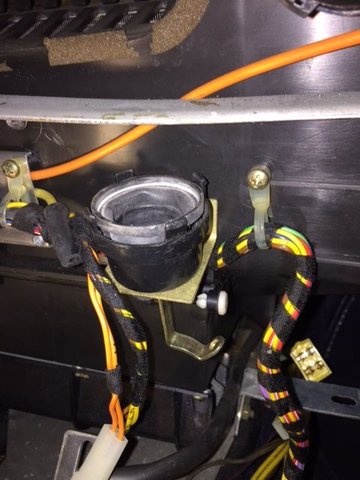
I followed Dwayne's guide. The one difference I found is that the spring inside the actuator was not tapered, fat to narrow. As shown the one in my car is a cylinder. Still, I kept the orientation the same.
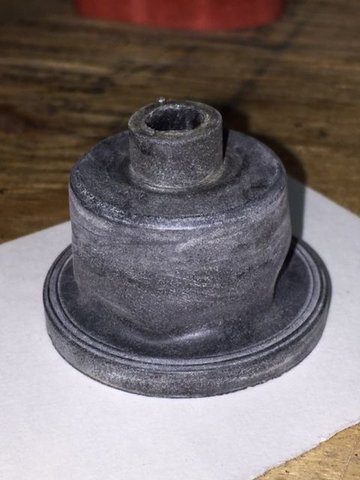
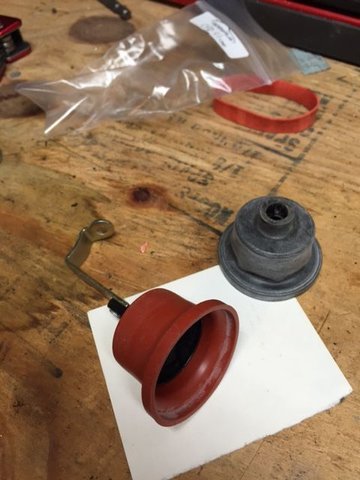
The original actuator, as tests indicated, is fine. Actually it looks really good. It is slightly stiffer than the new red silicone replacements.
Done...(well...one more to go)
Last edited by Captain_Slow; 03-20-2016 at 06:02 PM.
Curt...this is a walk in the park compared to your intake refresh (unless electrical gremlins are laying in wait...letting me feel smug for a few days before they strike).
I forgot to note that I tested the center comb flap actuator and immediately knew it was the bad one. Before I even looked at the Mity-Vac gauge I could hear the characteristic tap tap tap sound from the comb flap with each squeeze on the pump. I'm looking forward to replacing it tomorrow and repeating the vacuum test. Anyone who has lived with the tap tap tap of the comb flap knows how incredibly irritating it is. For me (just me at least) the value of the car goes up a couple grand when this tapping is silenced
Haha. I hate the tapping. I have been into those murky depths three times. Too foolish to replace everything the first time around. Last time I had no joy on operation of this flap and before pulling everything apart once again realized the little white nub had come loose on the arm. Easy enough fix after removing the side console piece on the passenger side. You could have heard my shout of joy at not having to pull the guts out again if you were listening around here. But what does anyone in my neighborhood know about working on these cars?

 02-28-2016, 07:53 PM