When you click on links to various merchants on this site and make a purchase, this can result in this site earning a commission. Affiliate programs and affiliations include, but are not limited to, the eBay Partner Network.
Suspension Mod Details/Discussion Rebel Racing LCAs - adjustable puck and adjustable camber shims.
I finished my DYI alignment and the settings are: Camber Front -3.6 degrees (8mm shims on one side 10mm shims on other), Camber Rear -2.8 degrees (10 mm shims on both sides and then fine adjust with camber adjust eccentric); Front Toe 1.25 mm toe out each wheel (measured over 490.5 mm wheel diameter), and Rear Toe is 1mm toe in at each wheel. Ride height: LCA higher at wheel (sloping down toward center of car).
Installation of the struts and LCAs was reasonably straight forward. Couple of areas of redo I'll pass on for other DYIers: There are some good youtube videos of strut installs that are worth studying. Let me know if you want links. My front LCAs had 1-2mm of axial play between the solid inner bearings and the cast ears that hold the LCA inner fixing bolt. This seemed excessive to me so I found some shims to take all that play out. If I tried to tighten the bolt without the shims I feared I'd break the ear off. Rear strut/LCA is complicated by the need to remove the drive shaft at the transaxle. For both front and rear, I found it easier to remove the upright from the strut, and then unbolt the strut at the top and remove it. Install in reverse order.
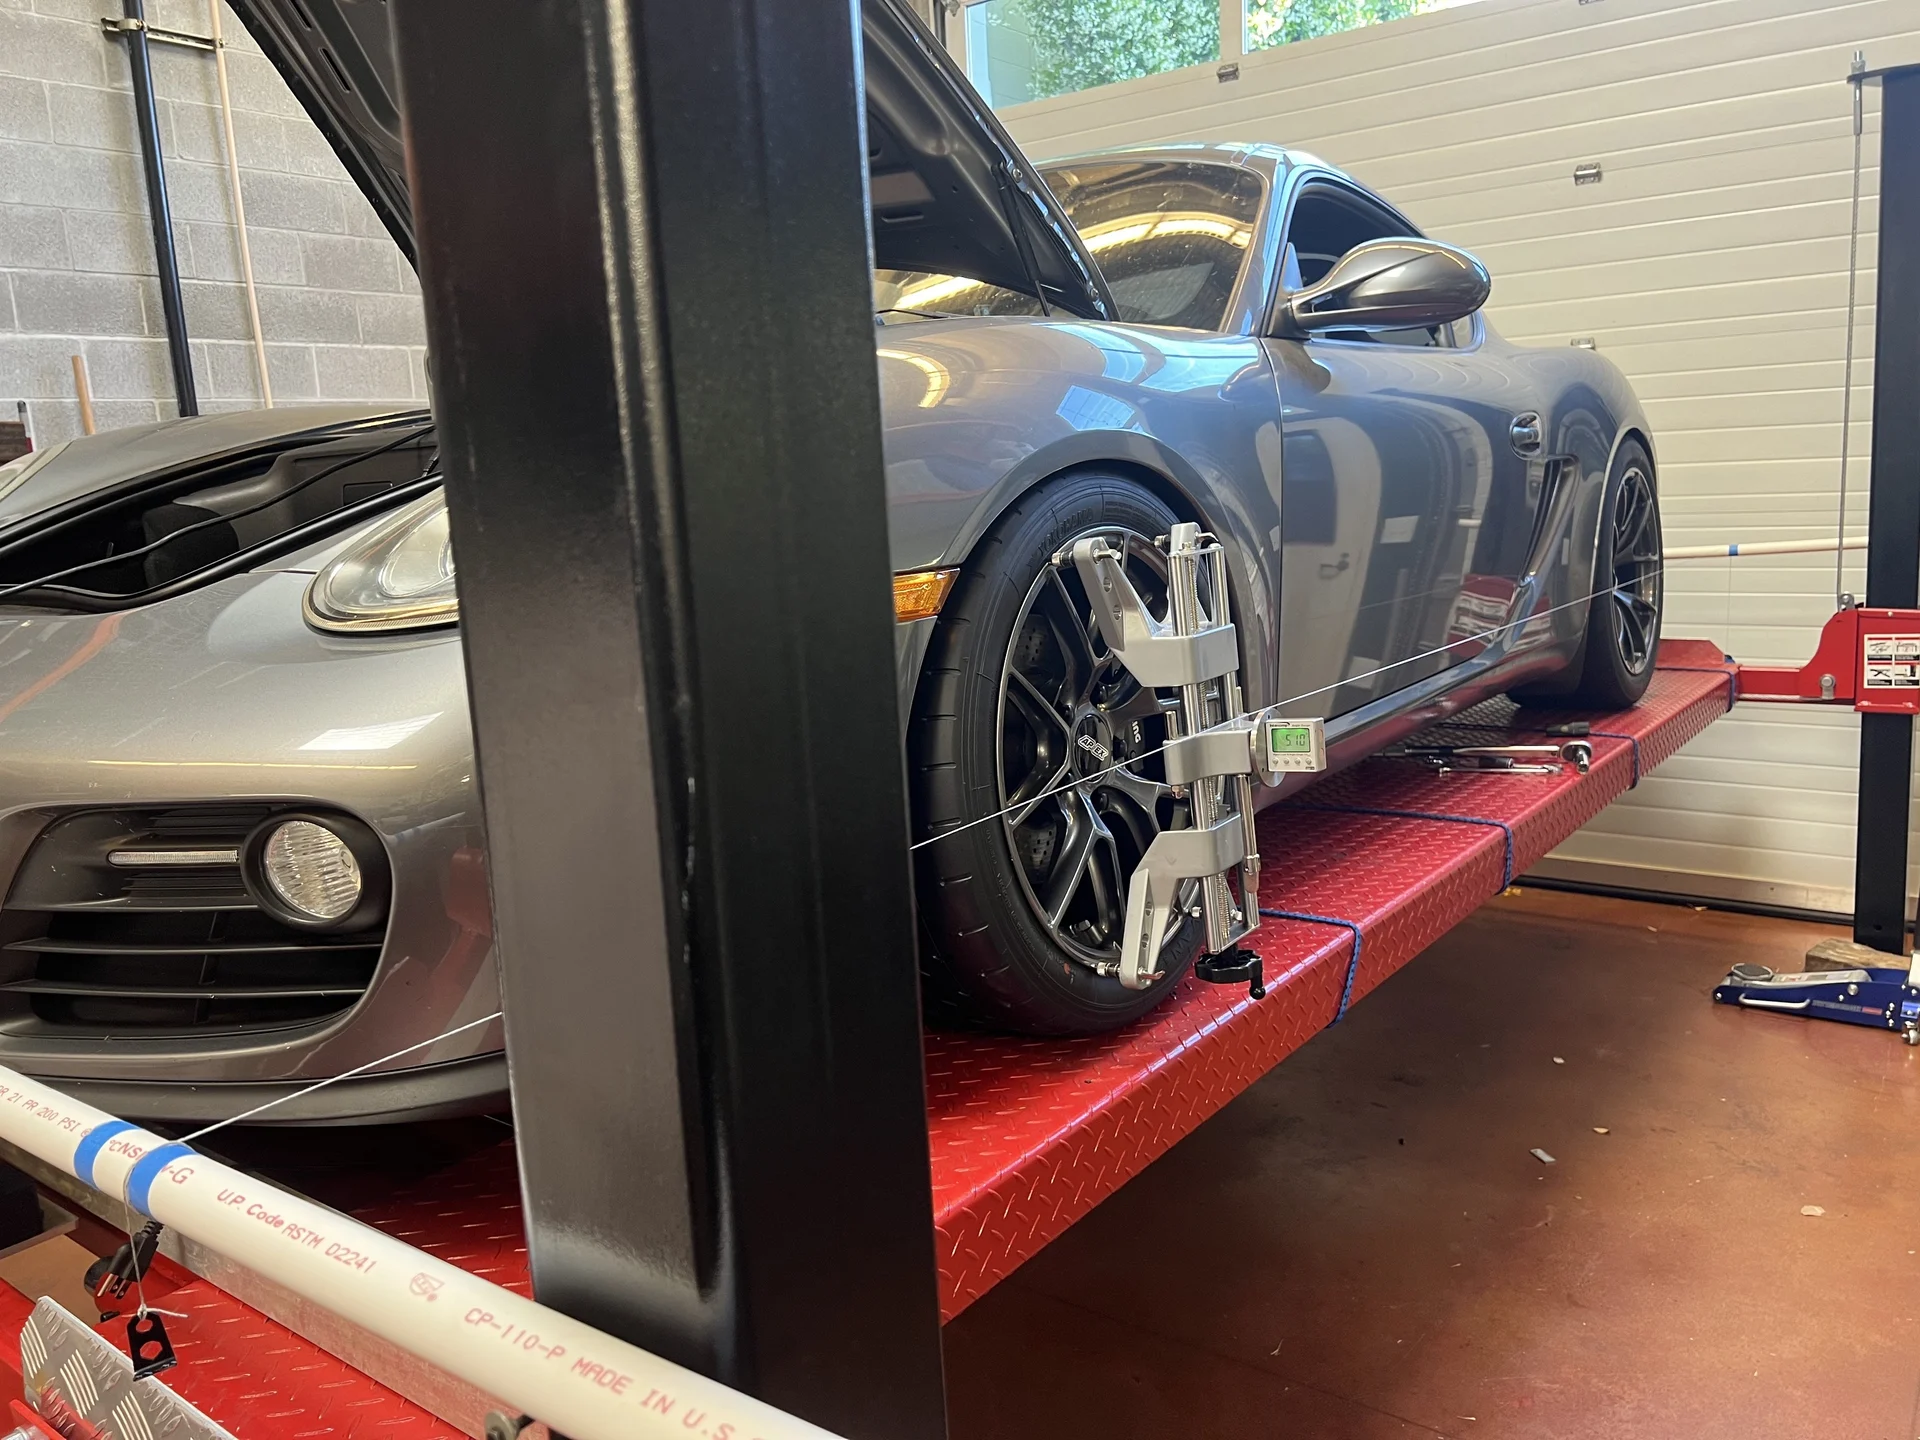
DYI Alignment tips: I used the string method for toe - there is a good youtube for this also - google "string alignment". For camber I used a good digital angle gauge and wheel mounted camber jig. This is my "alignment rack" String method is quite accurate for Toe measurements. Pretty happy with this Camber gage. The wheel attachment and the digital angle gage are off ebay. I machined the round base for the magnetic gage.
As each adjustment affects the others I ended up working out this order of tasks: Others that have done this more often than I may have a better recommendation.
Set ride height to approximate end state
Set toe front and rear to zero
Set rear camber, adjust toe, check camber, repeat as needed
Set front camber, adjust toe, check camber, repeat as needed
check ride height
check everything and adjust as needed
I found that rear camber was easy as the OEM eccentric has the equivalent of about 10mm shim of adjustment. So I put one 10mm shim on each side and fine tuned from there. Front camber was a pain complicated by my penny pinching lack of clevis tie rod ends. Adjusting toe with OEM tie rods is a PIA as you have to remove the wheel with each adjustment. Next time I'm springing for some Tarett tie rods, OR, I may try to mod the OEM tie rods to install a clevis. It doesn't look hard to do. Camber is very sensitive to toe setting so it doesn't pay to try to set camber without adjusting the two together. The easiest way to replace the LCA shims was to remove the wheel, loosen the shim lockdown bolts, pull on the bottom of the brake disc to keep the shim slot open, and quickly swap shims.
One error I made that could have been a disaster is that the struts slide into the upright with a web that lives in the slot of the upright. The upright pinch bolt goes through the web. There is a right angle tab at the top of the web that can fall into the upright slot and then the pinch bolt tightens on the tab but not on the barrel of the strut. I only discovered this as I was checking clearance between my new APEX wheels and the strut. One side had only a mm or so of clearance. I had to loosen the pinch bolt and confirm that the tab was clear of the slot and sitting on top of the upright.
A caution on use of digital angle finders for camber. You do need one that can zero out the plane the car is sitting on. My lift rails are slightly tilted toward the center. I placed a rigid bar across the rails to define the plane. Also the camber measurement is sensitive to the wheel jig being plumb.
I rechecked everything once I get the car off the lift, and the measurements were different by maybe +/- 0.1 degree of camber.
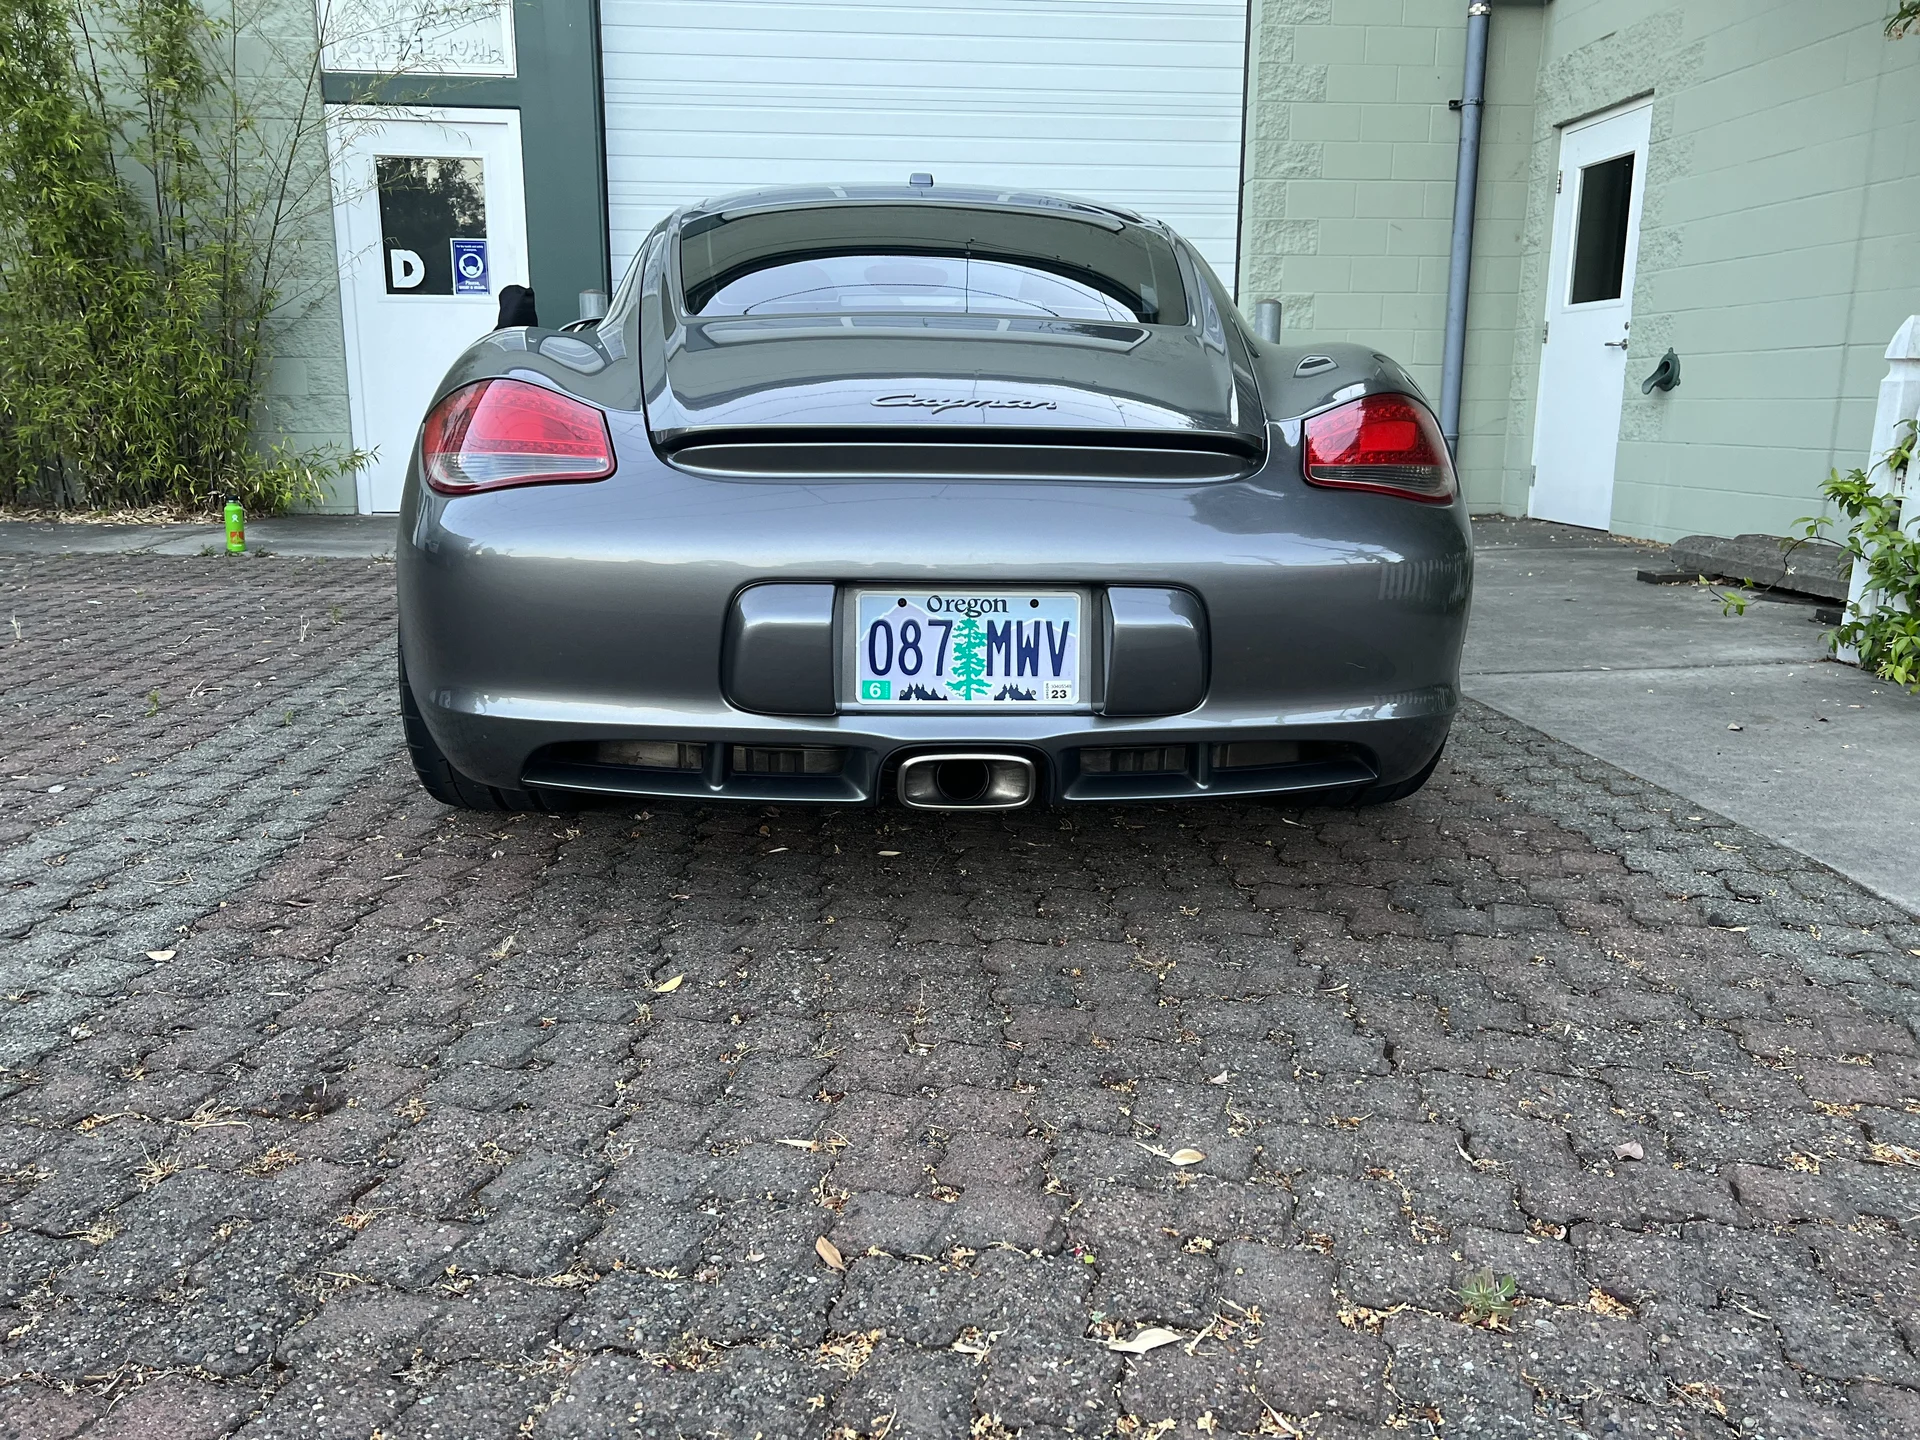
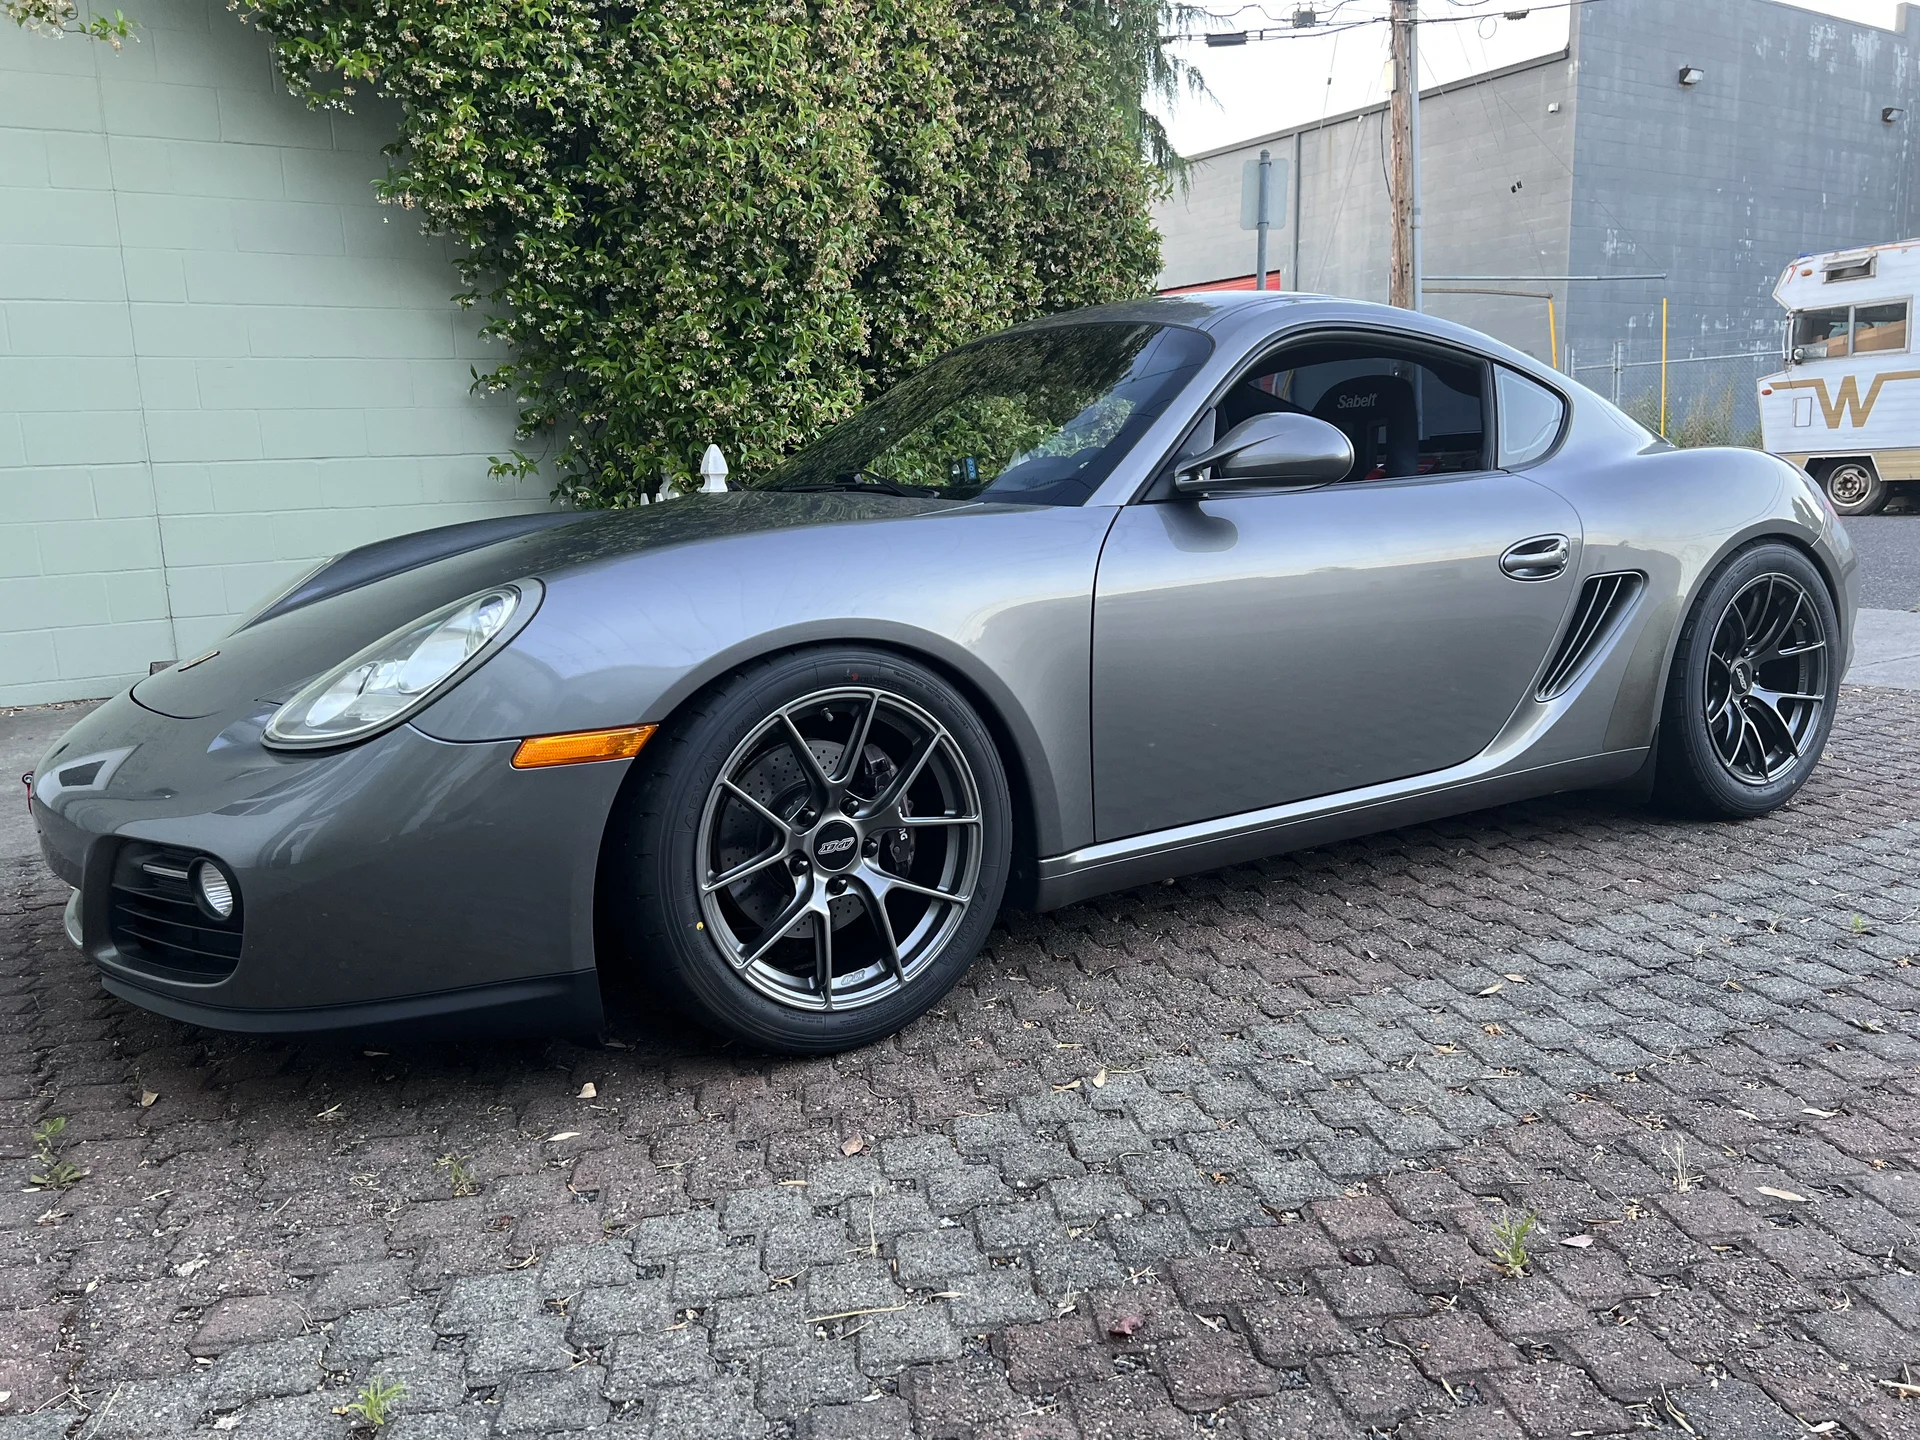
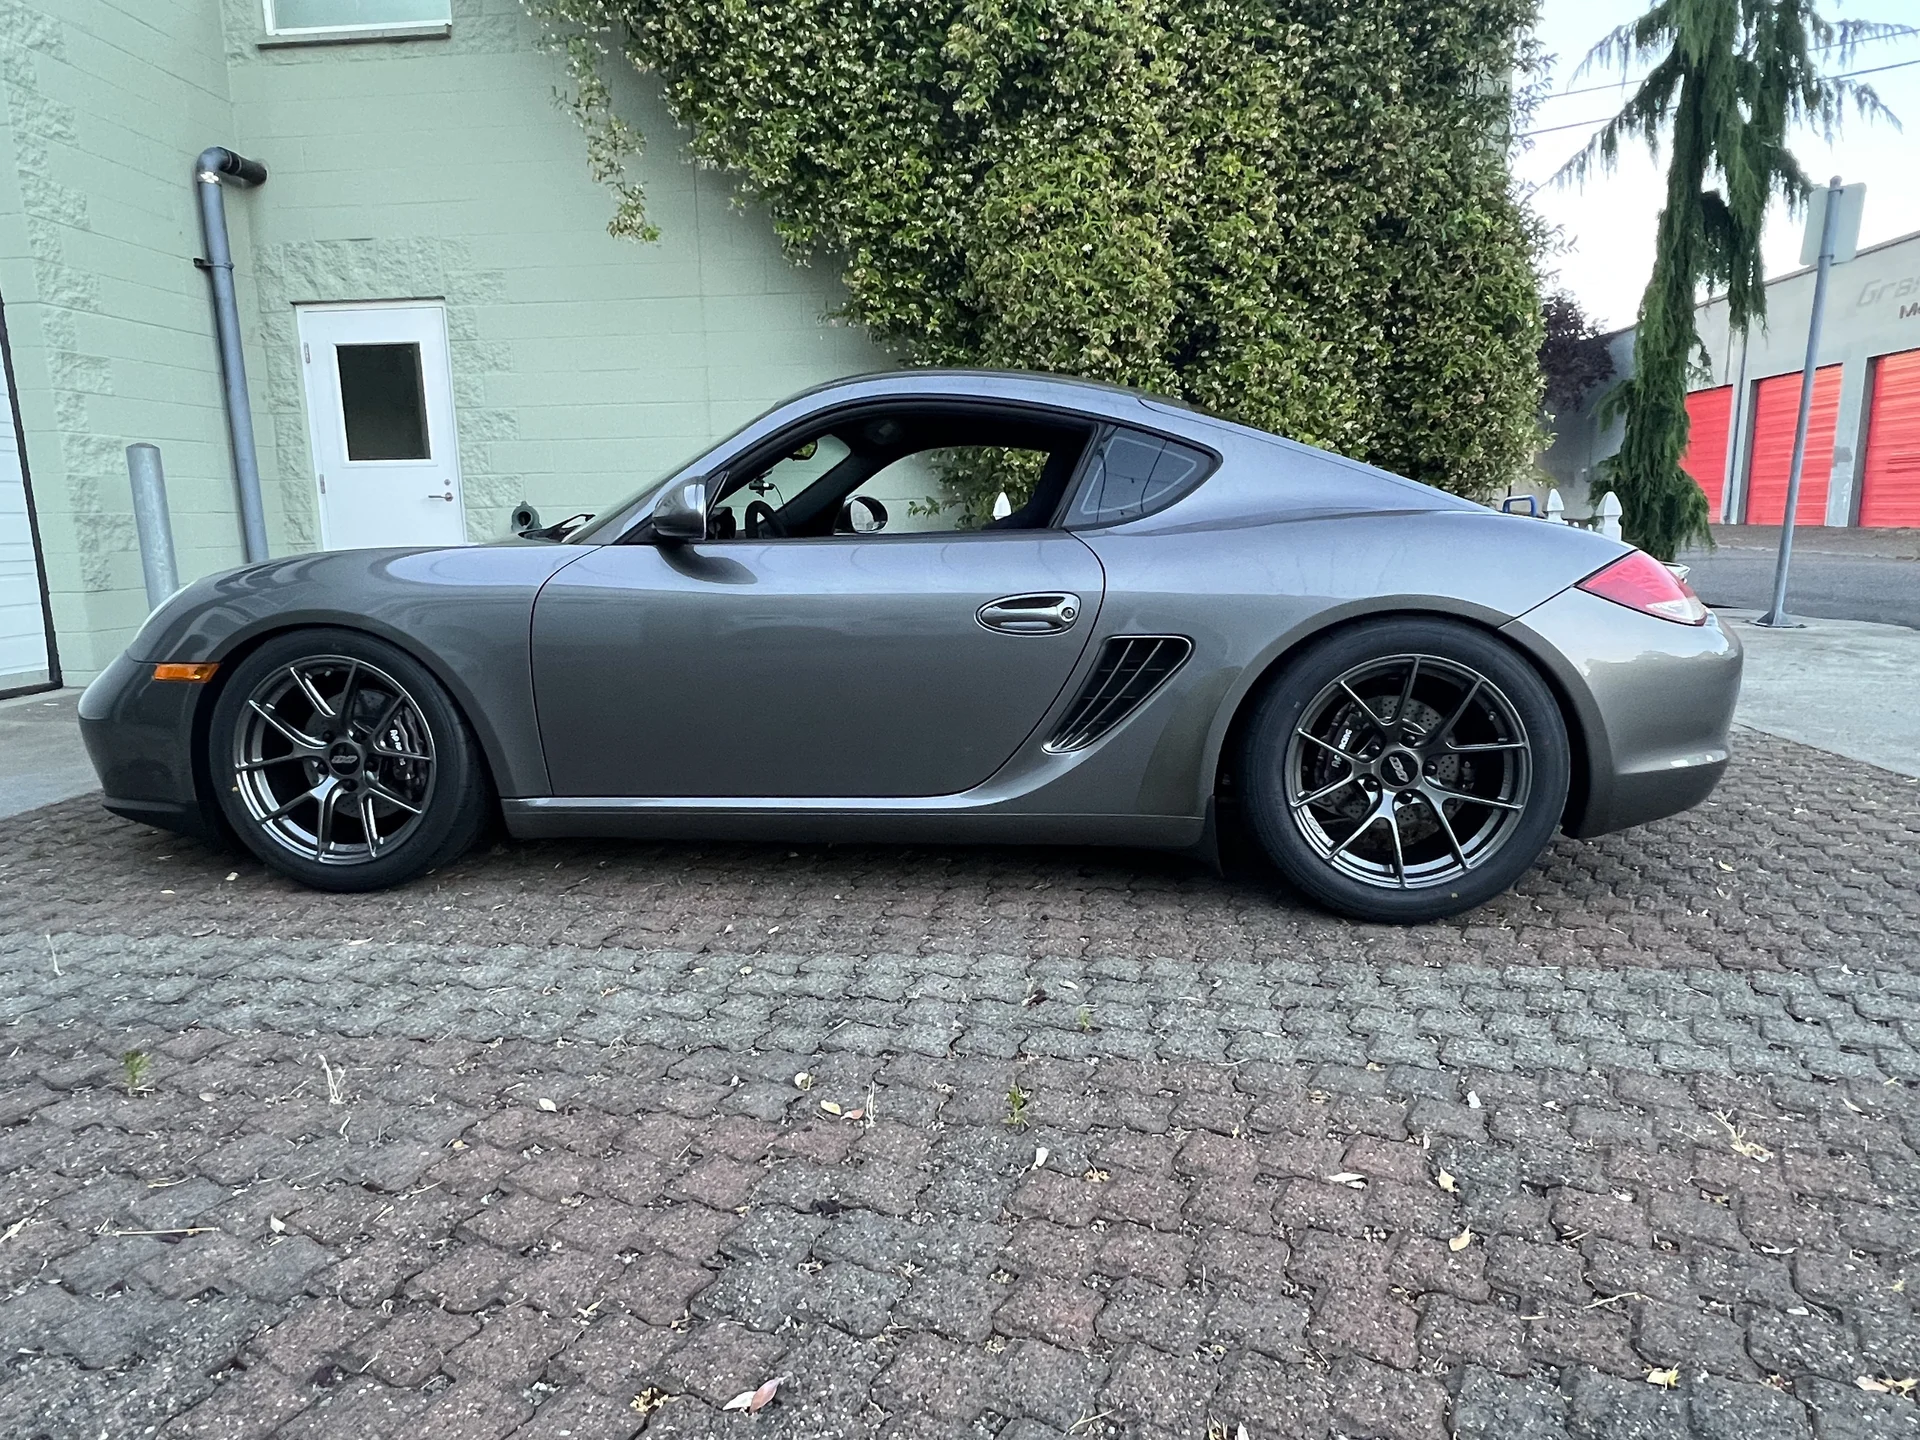
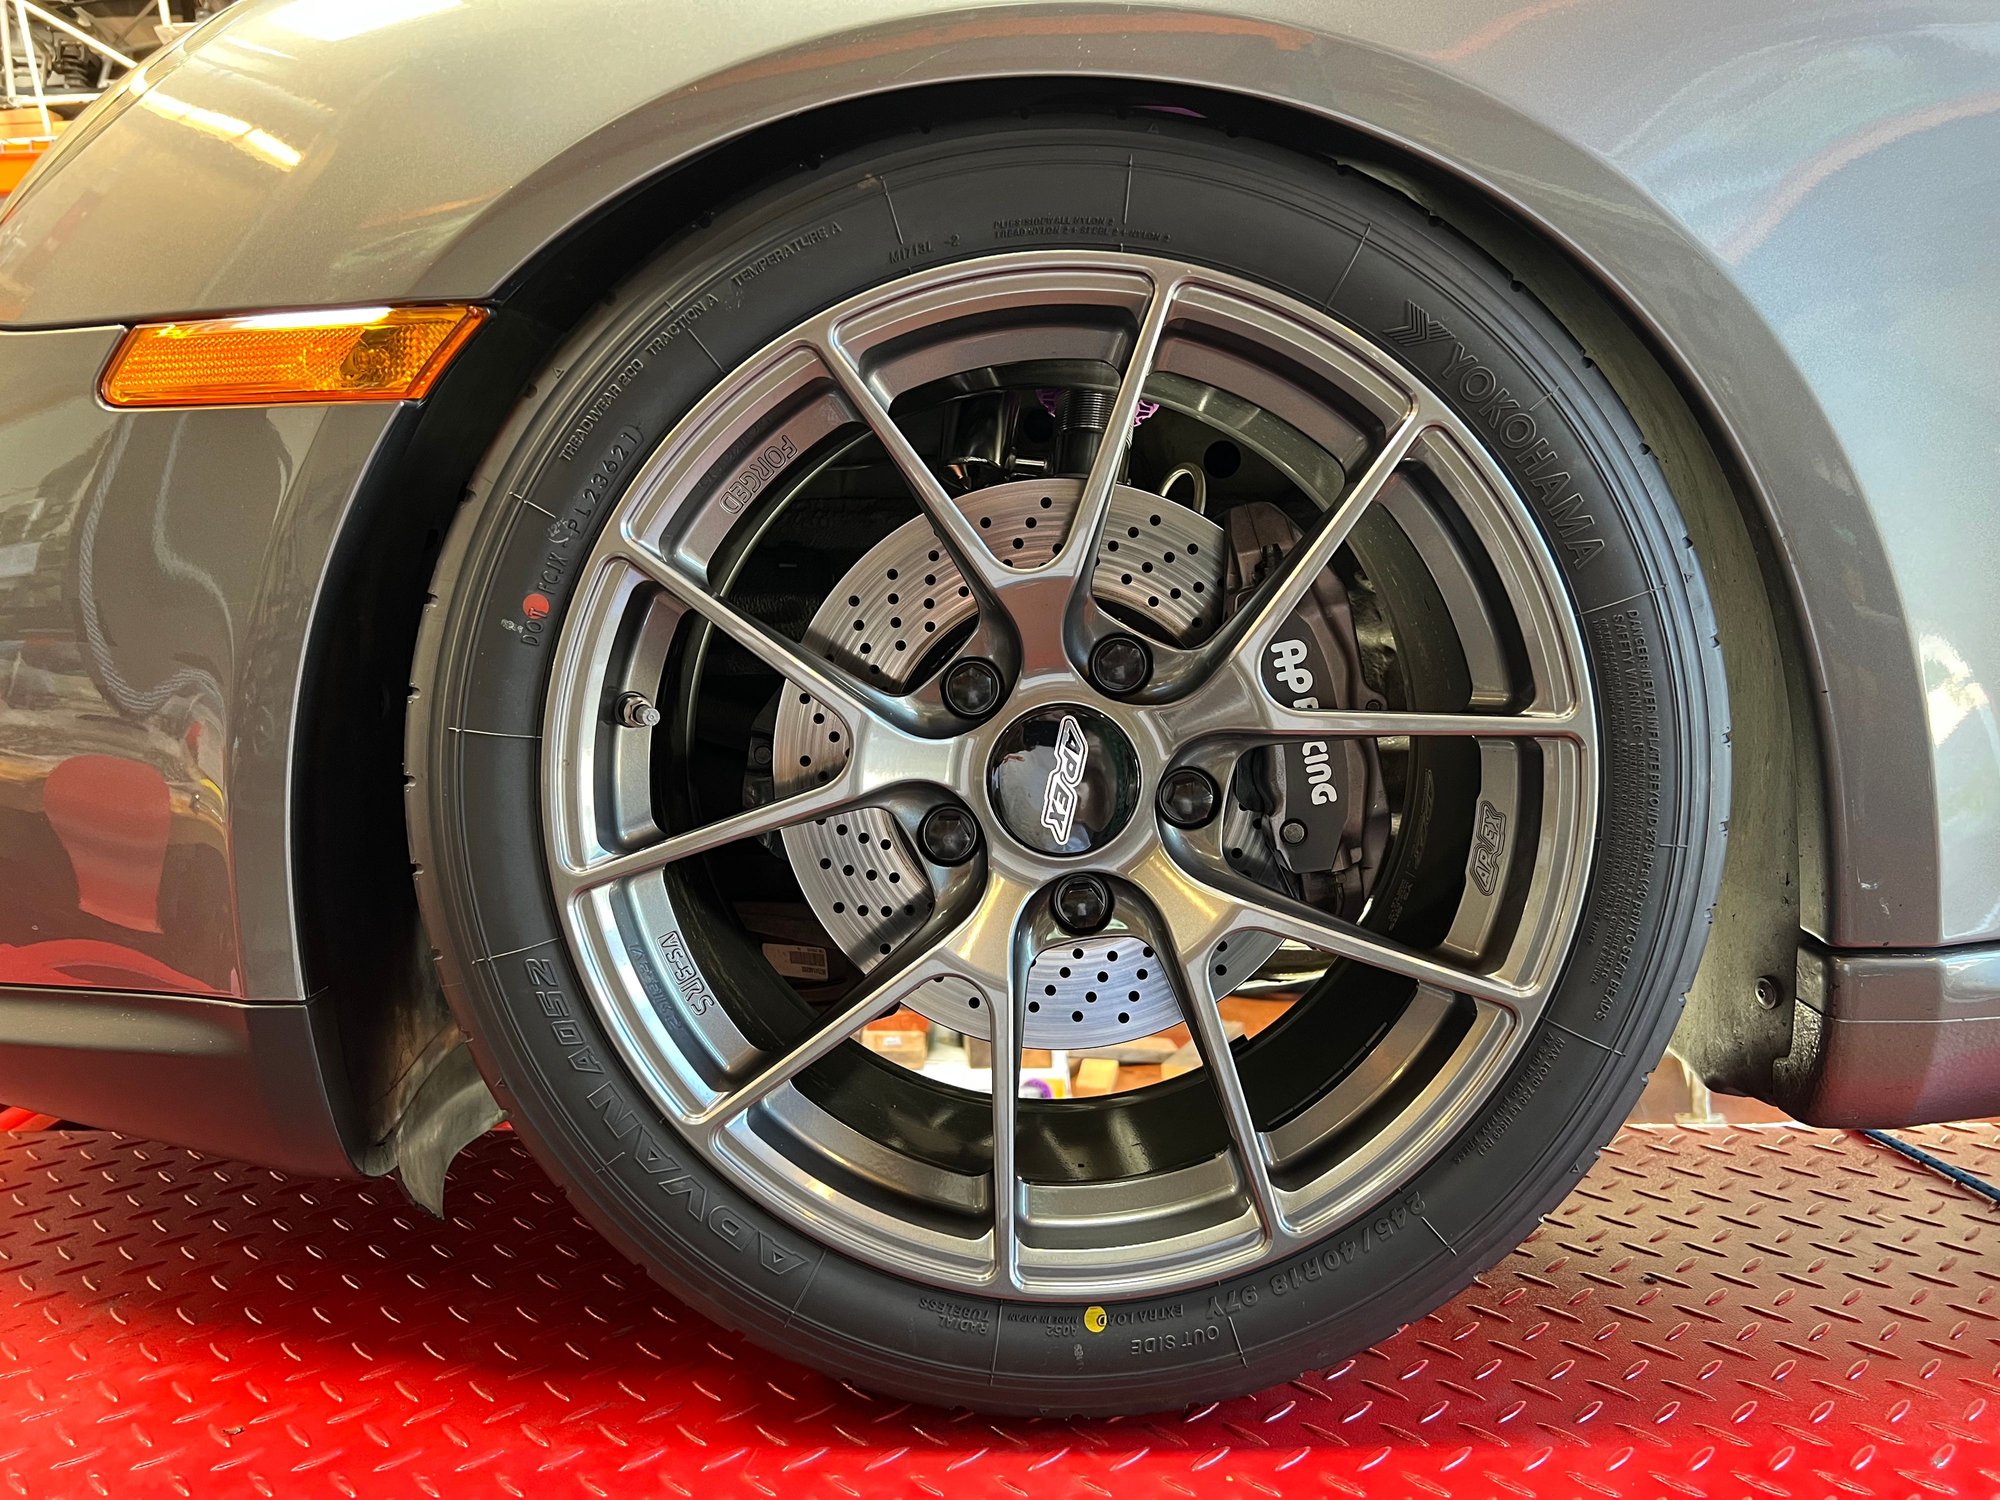
Cayman sits quite a bit lower now Apex Wheels look good. I had an issue with rear tire hitting inside top of fender. I backed off on the Camber a bit. Next set of tires will be 35 profile. Tires fill the wheelwell nicely
You may have noticed that the calipers are no longer red. I removed the poorly applied red paint and went back to the OEM dark grey. I like that look, the AP Racing decals help (LOL), and they are easier to clean.
I was prepping my car for my next track day on June 2 at Oregon Raceway Park (an awesome track that would be worth the drive). I am going to see if I can get back to -3.5 front and -3.0 camber rear. When I did my alignment I didn't pay too much attention to bump steer. I shimmed my rear toe link to raise the wheel end as high as possible and on the front there was nothing I could do as I am running the OEM toe link. The OEM link is a real PIA to adjust. I decided to buy a good front toe link and this got me going down the bumpsteer rabbit hole.
From what I have been able to investigate the advice of "raise the front toe link at the wheel end as far as possible" is probably the best we can do on a lowered Cayman. Zero bumpsteer (or Ride/Rollsteer) is achieved if the line between the toe link joints intersects the Instant Center (IC). The IC moves with bump and roll, so if that line intersected the IC over the entire bump range, you would have zero bump steer. This is almost impossible to achieve with a strut suspension. For a strut suspension the lateral IC is the intersection of the line through the LCA and a line from the top of the strut, 90 degrees to the line of strut sliding displacement. So if you are looking at your front LCA on your lowered Cayman, at static ride height, you would want your toe link to be not quite parallel with the LCA, but a bit further apart at the wheel end. Since the toe link is above the LCA, this will point the toe link toward the IC.
I ended up purchasing the Tarett toe links (pricey) because of this description: "Bump Steer Optimized & Adjustable: The attachment to the wheel carrier is raised more than any other kit on the market, thus maximizing bumpsteer reduction. Spacers can be added as needed to adjust bump steer, but most applications require raising the attachment point to reduce bumpsteer."
I really didn't see how they "raise it more than any other kit" - maybe they have a tapered cone that ends right at the wheel hub casting and a very thin spacer between the hiem joint and the cone?
On the rear it looks like it is possible to raise the wheel end of the tie rod too much (pointing the tie rod below the IC), at least with my tie rod. I'll have to try to minimize rear bumpsteer.
The best way to dial out bump steer is, as others have said, to support the car on jack stands, remove the springs, and measure toe change throughout the bump range, Removing the springs is a PIA. I will try lowering the spring perch as far as possible and measuring the toe change over whatever bump range I can achieve.
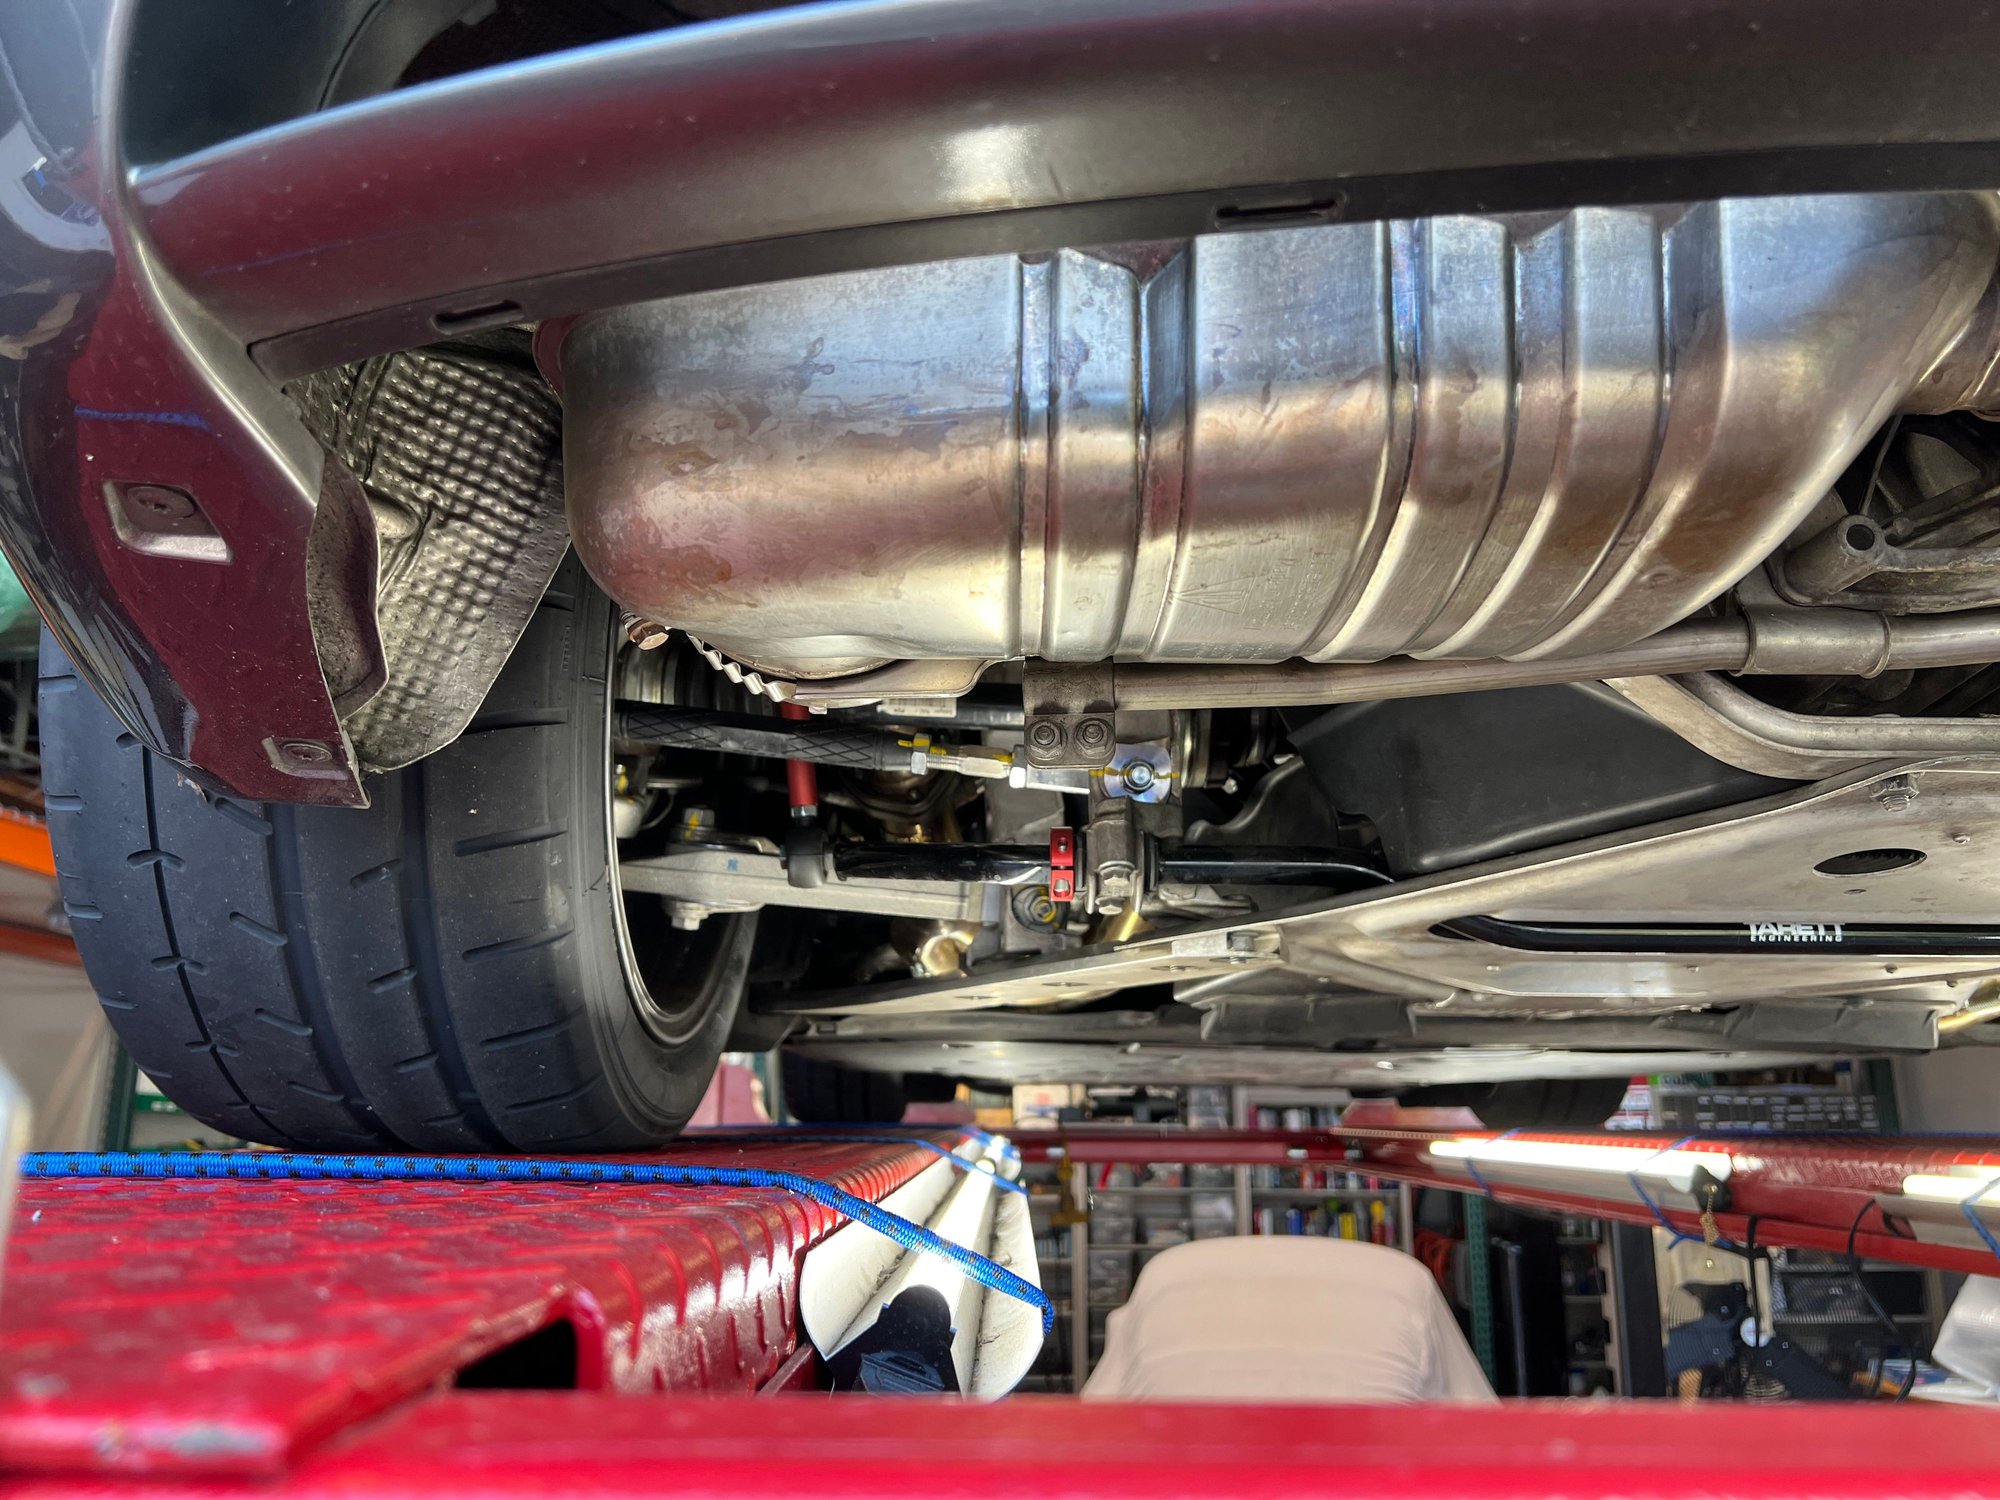
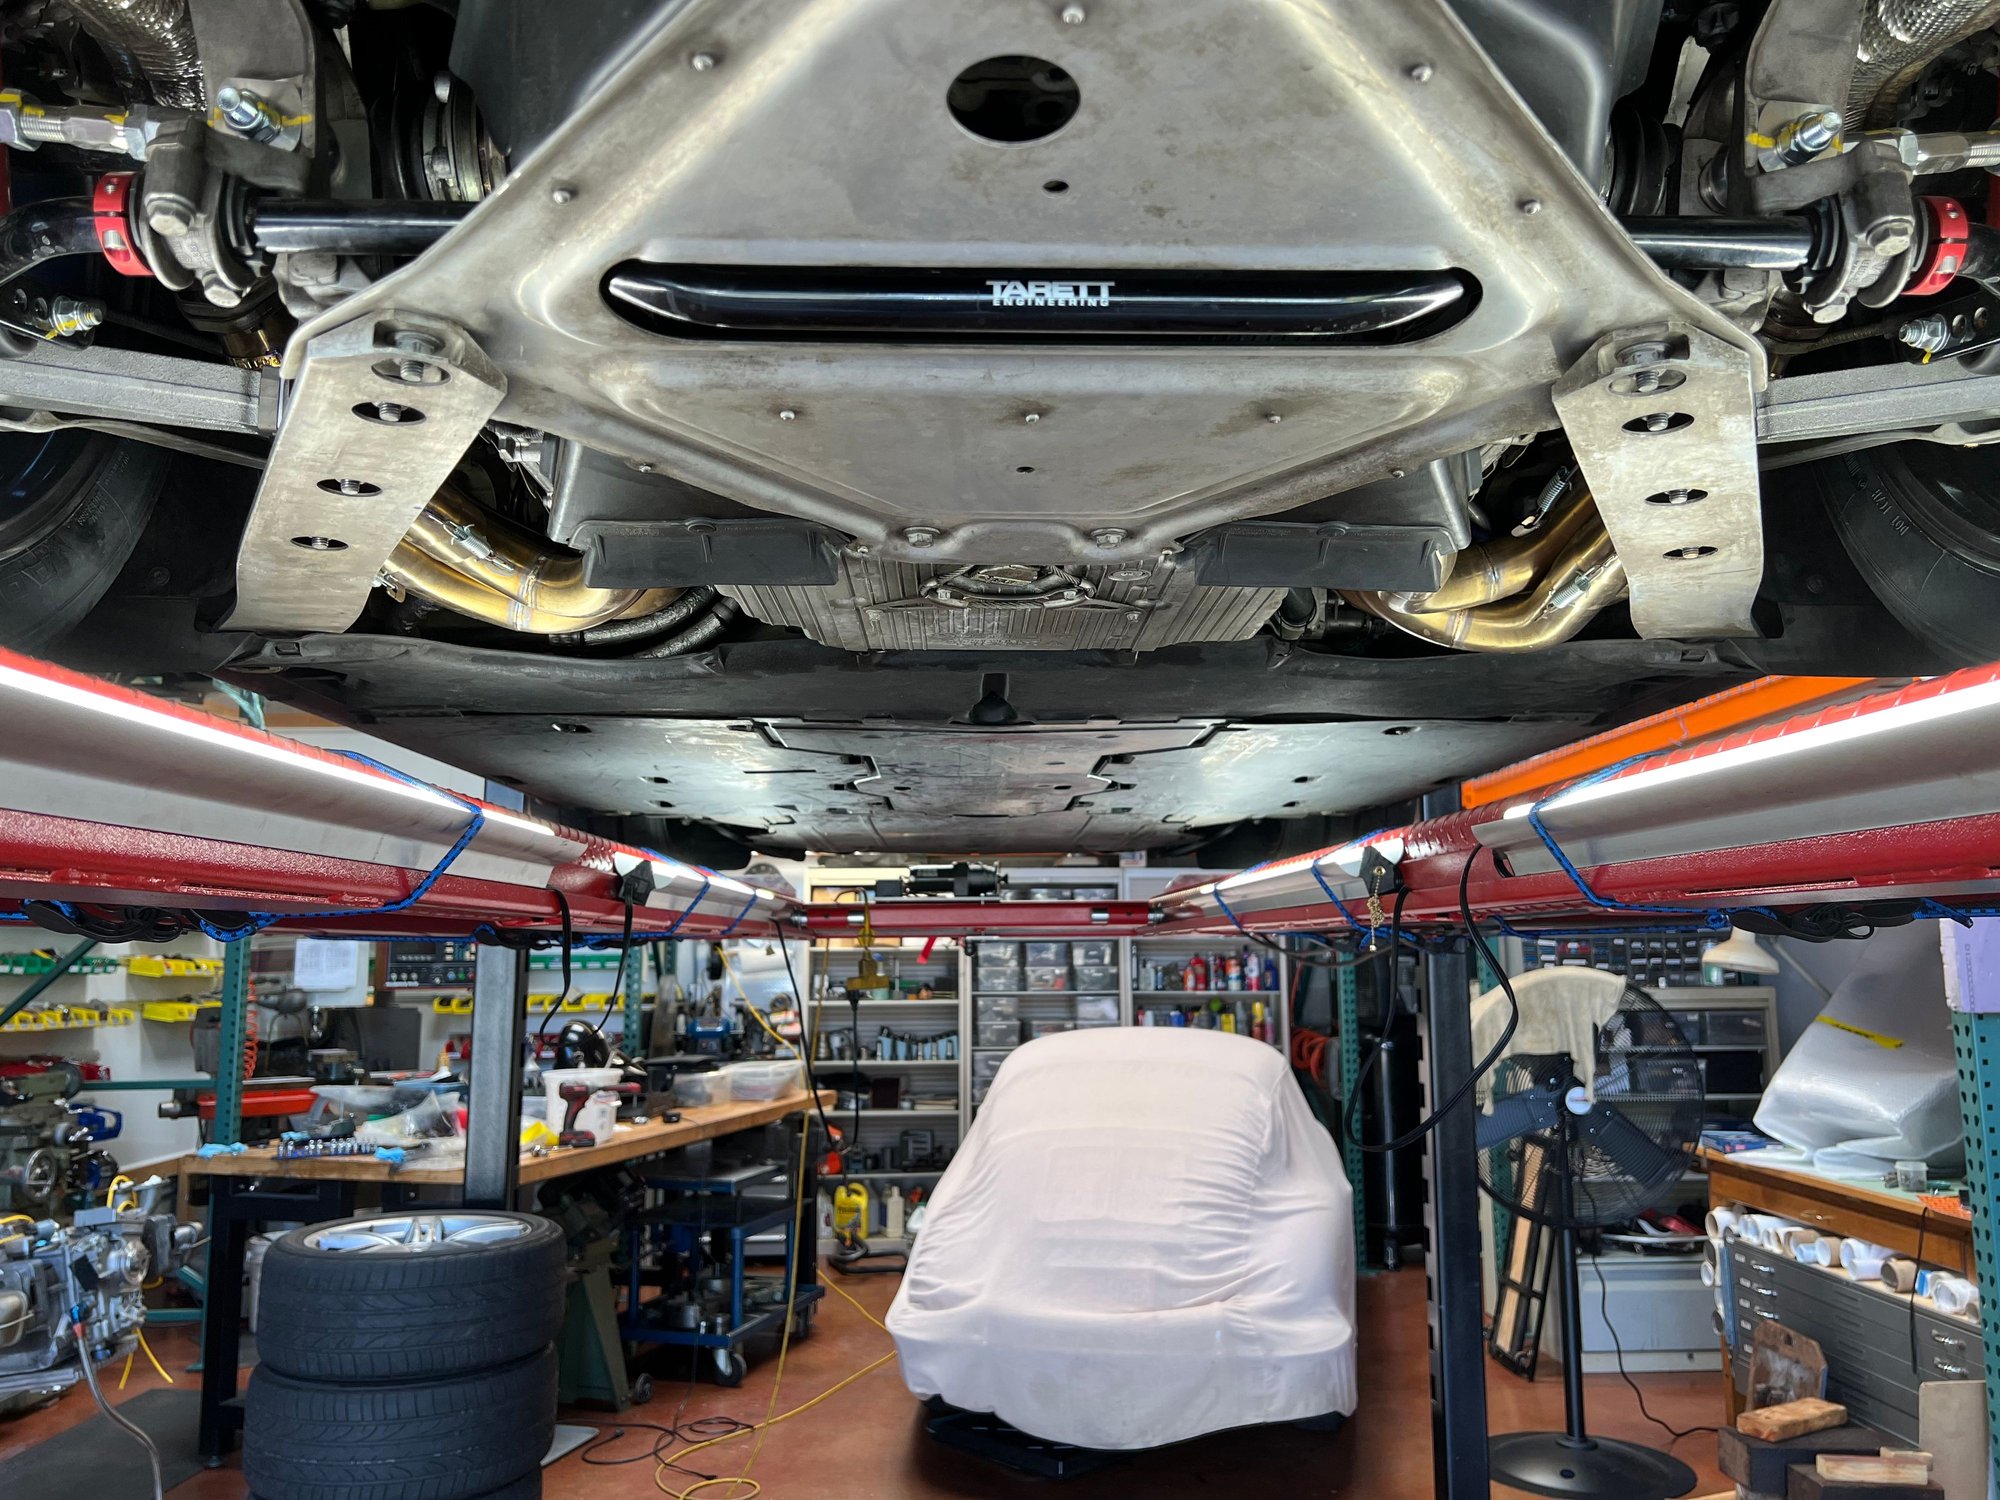
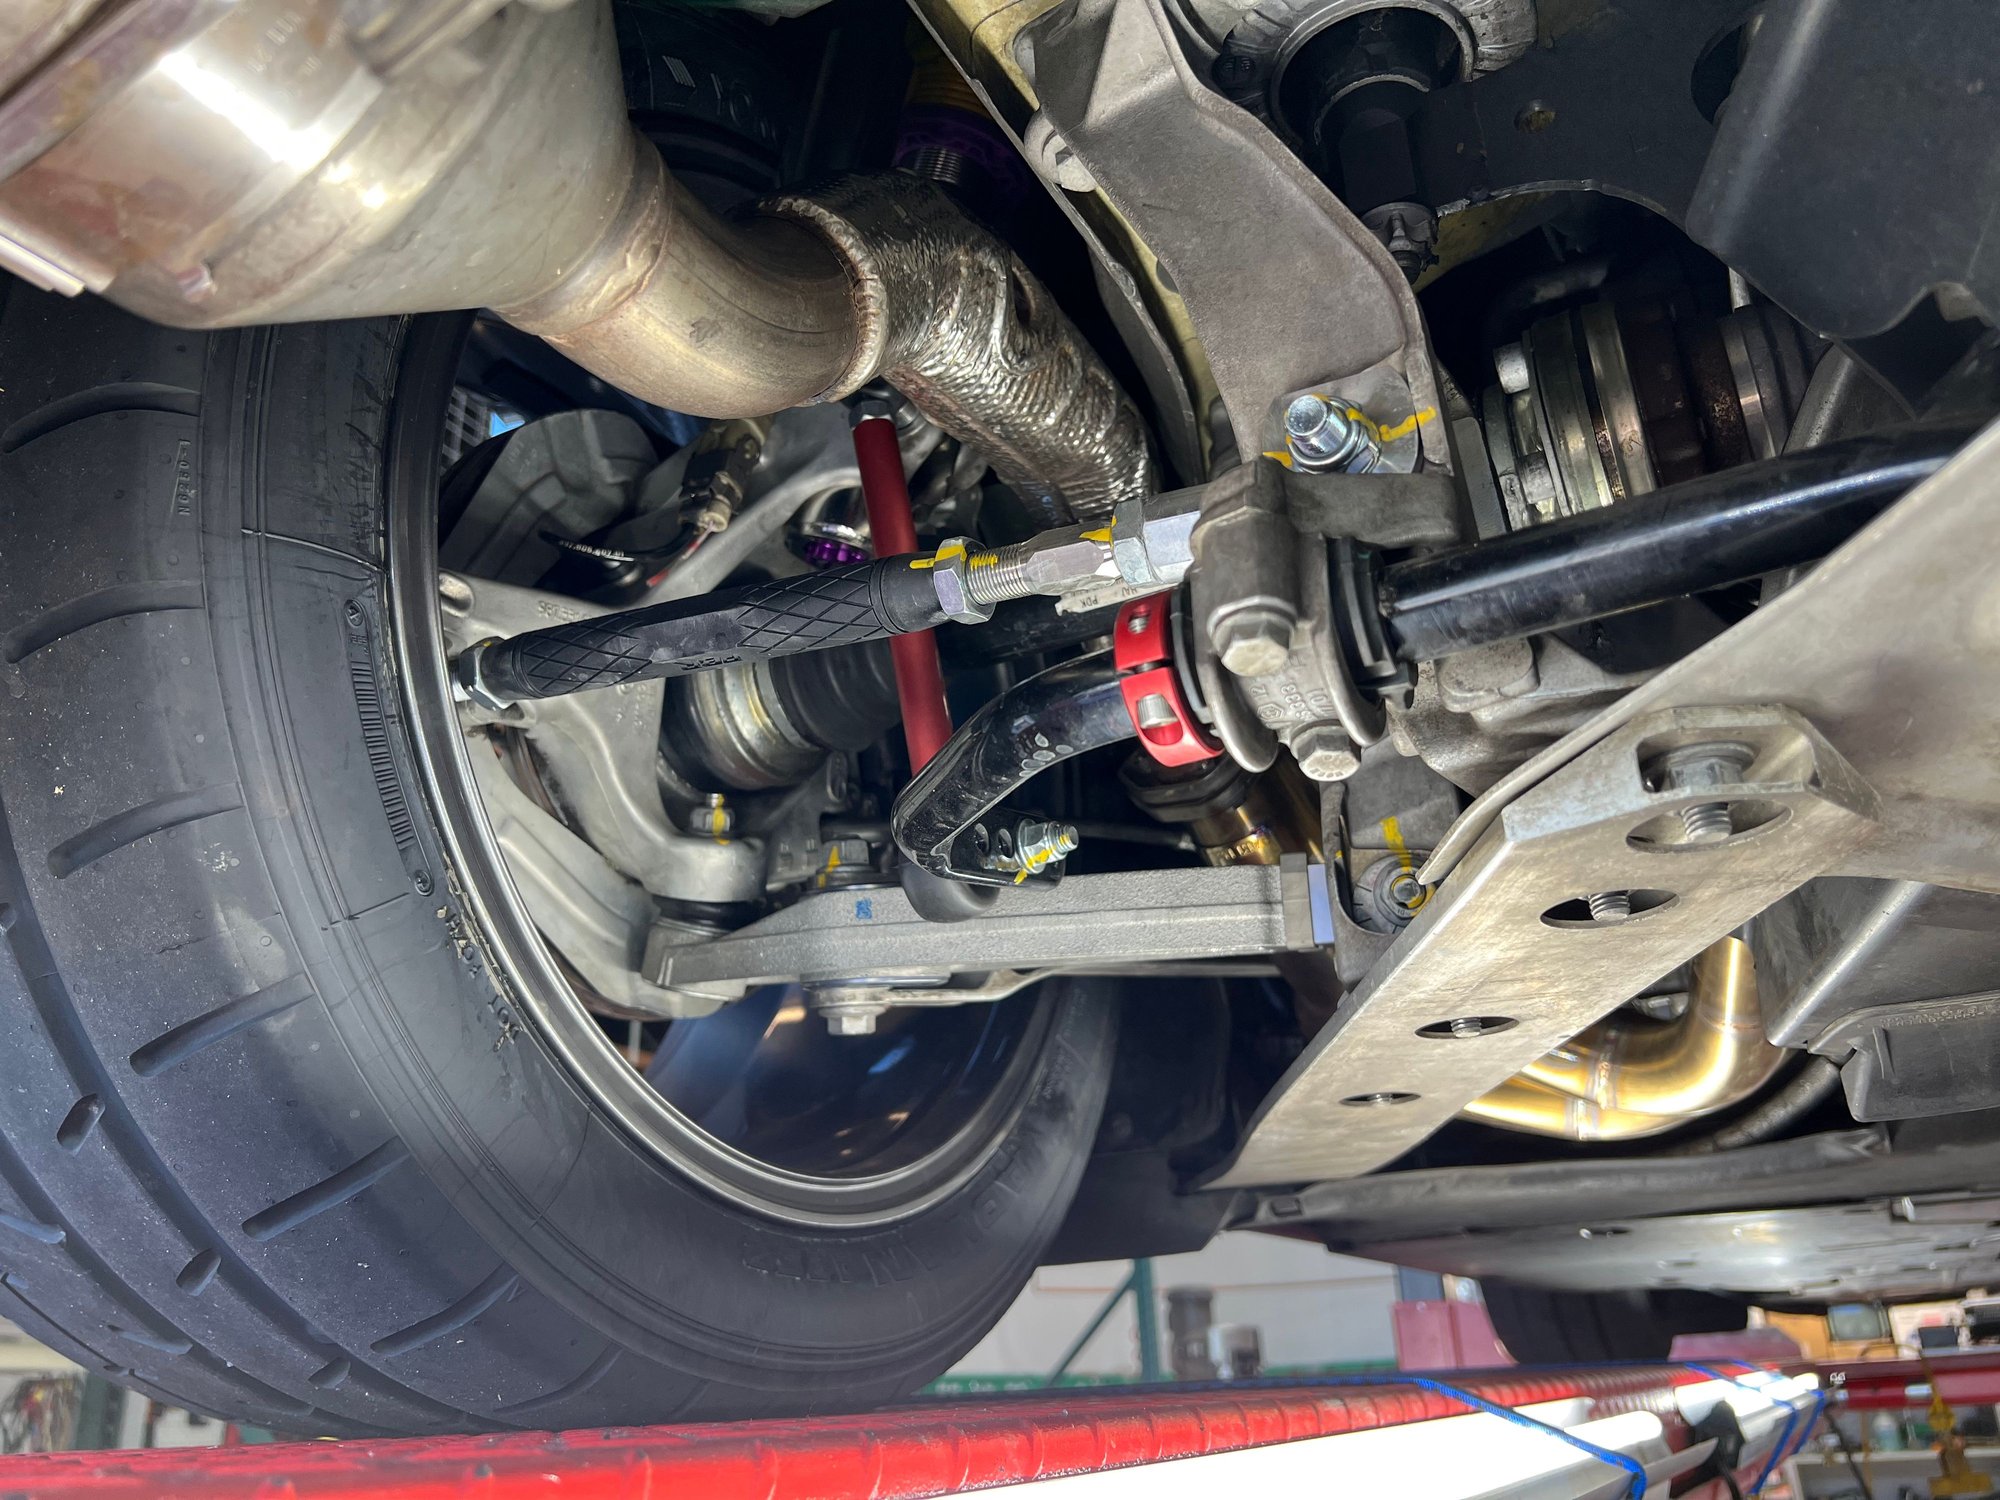
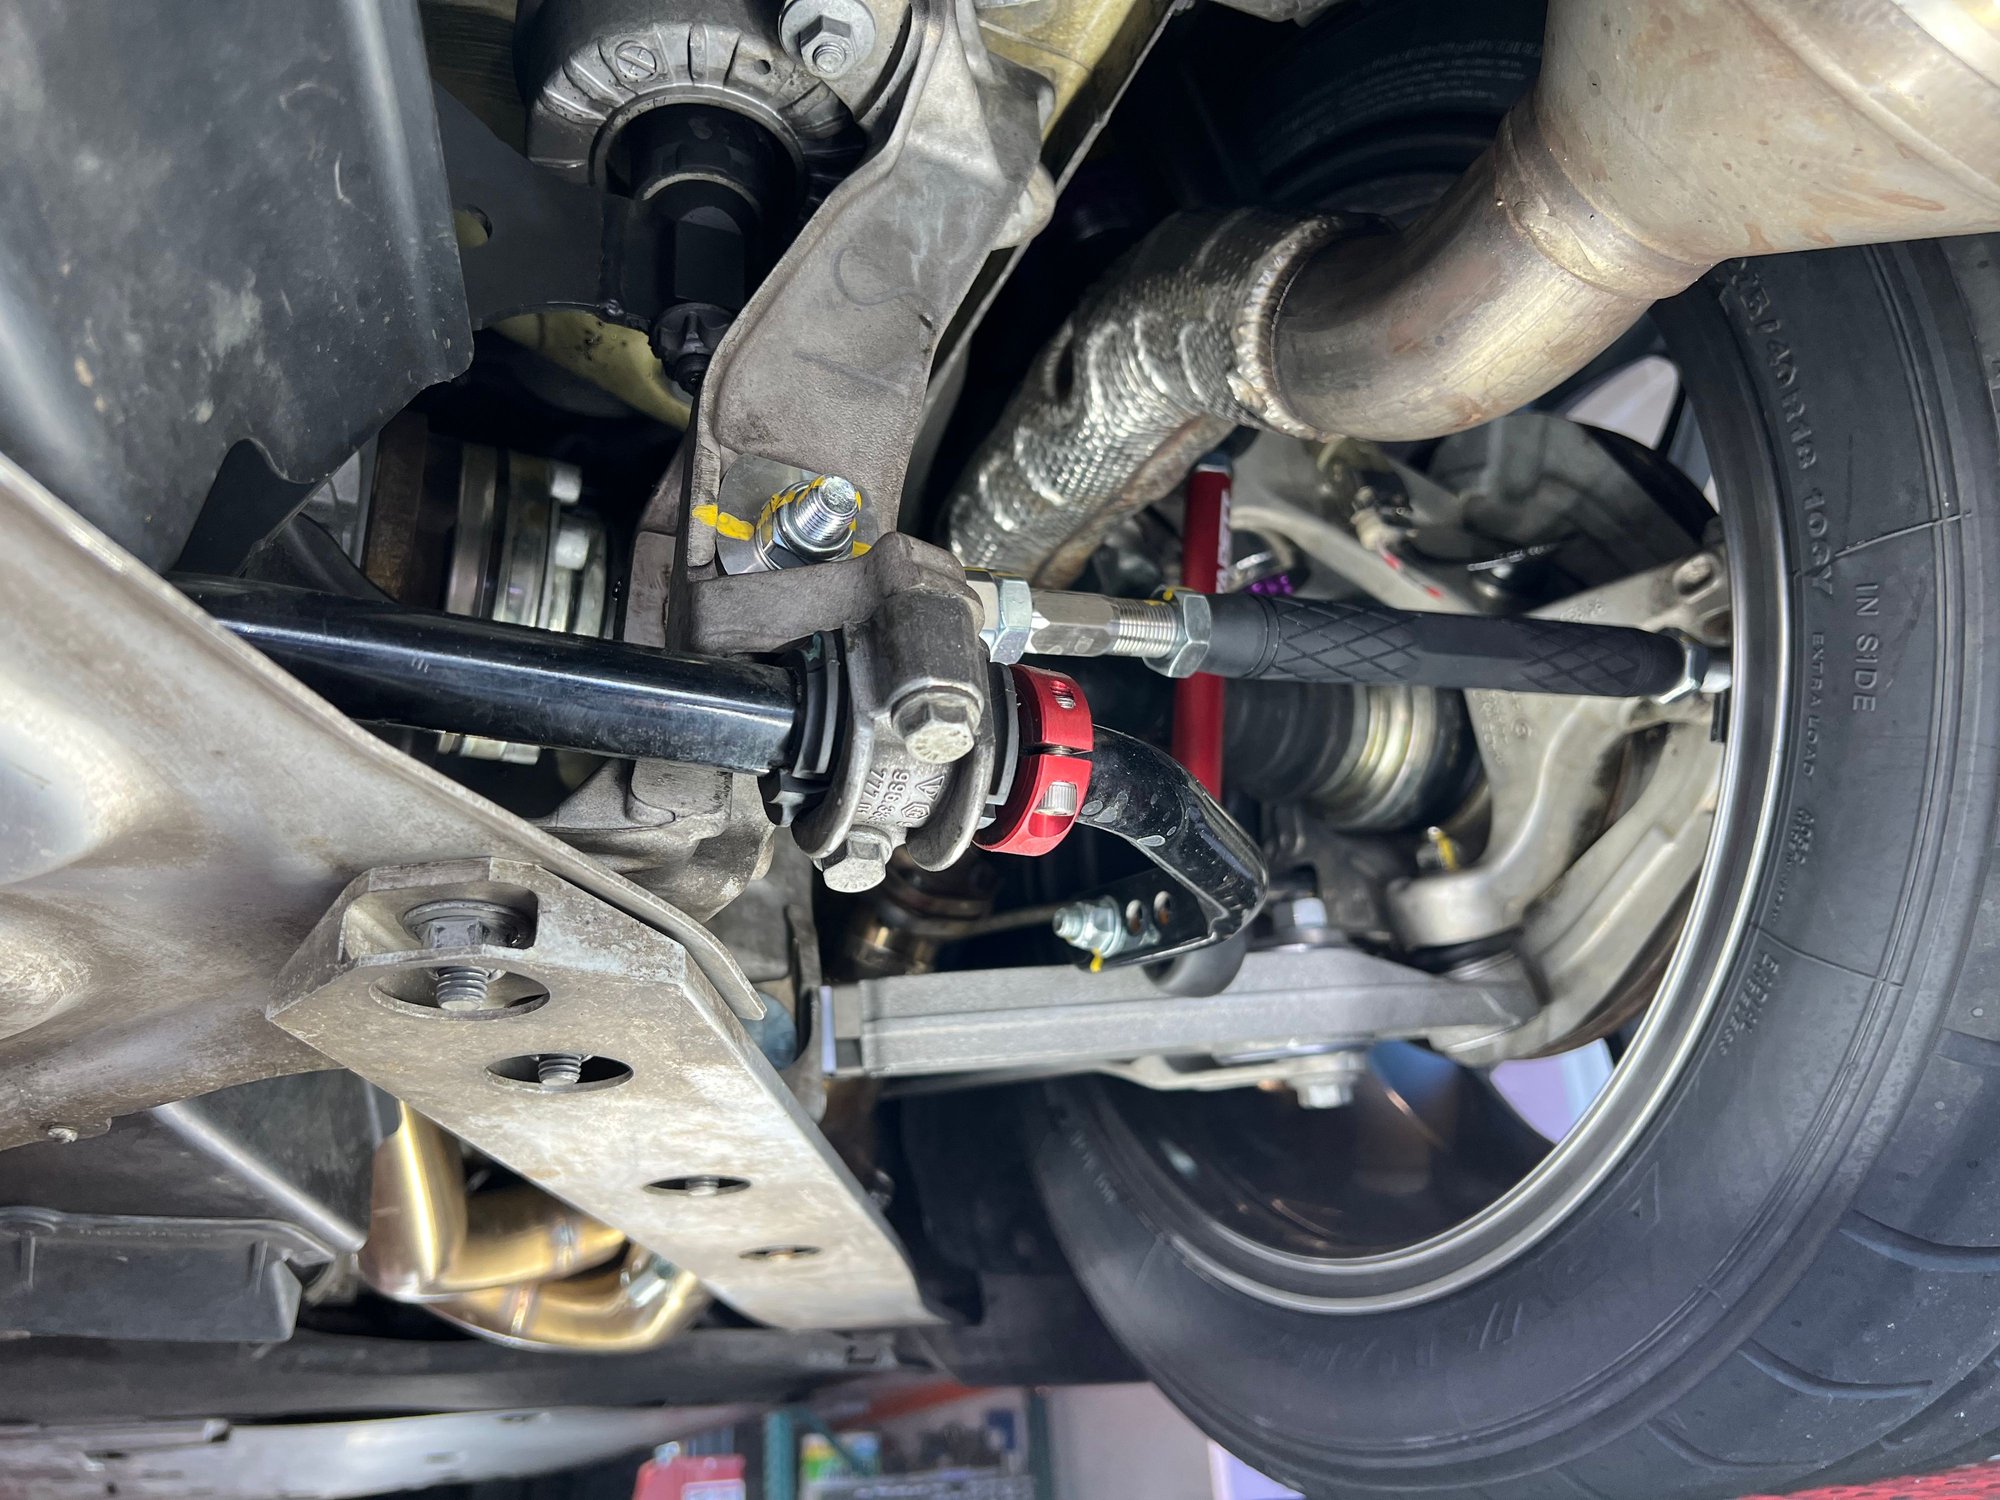
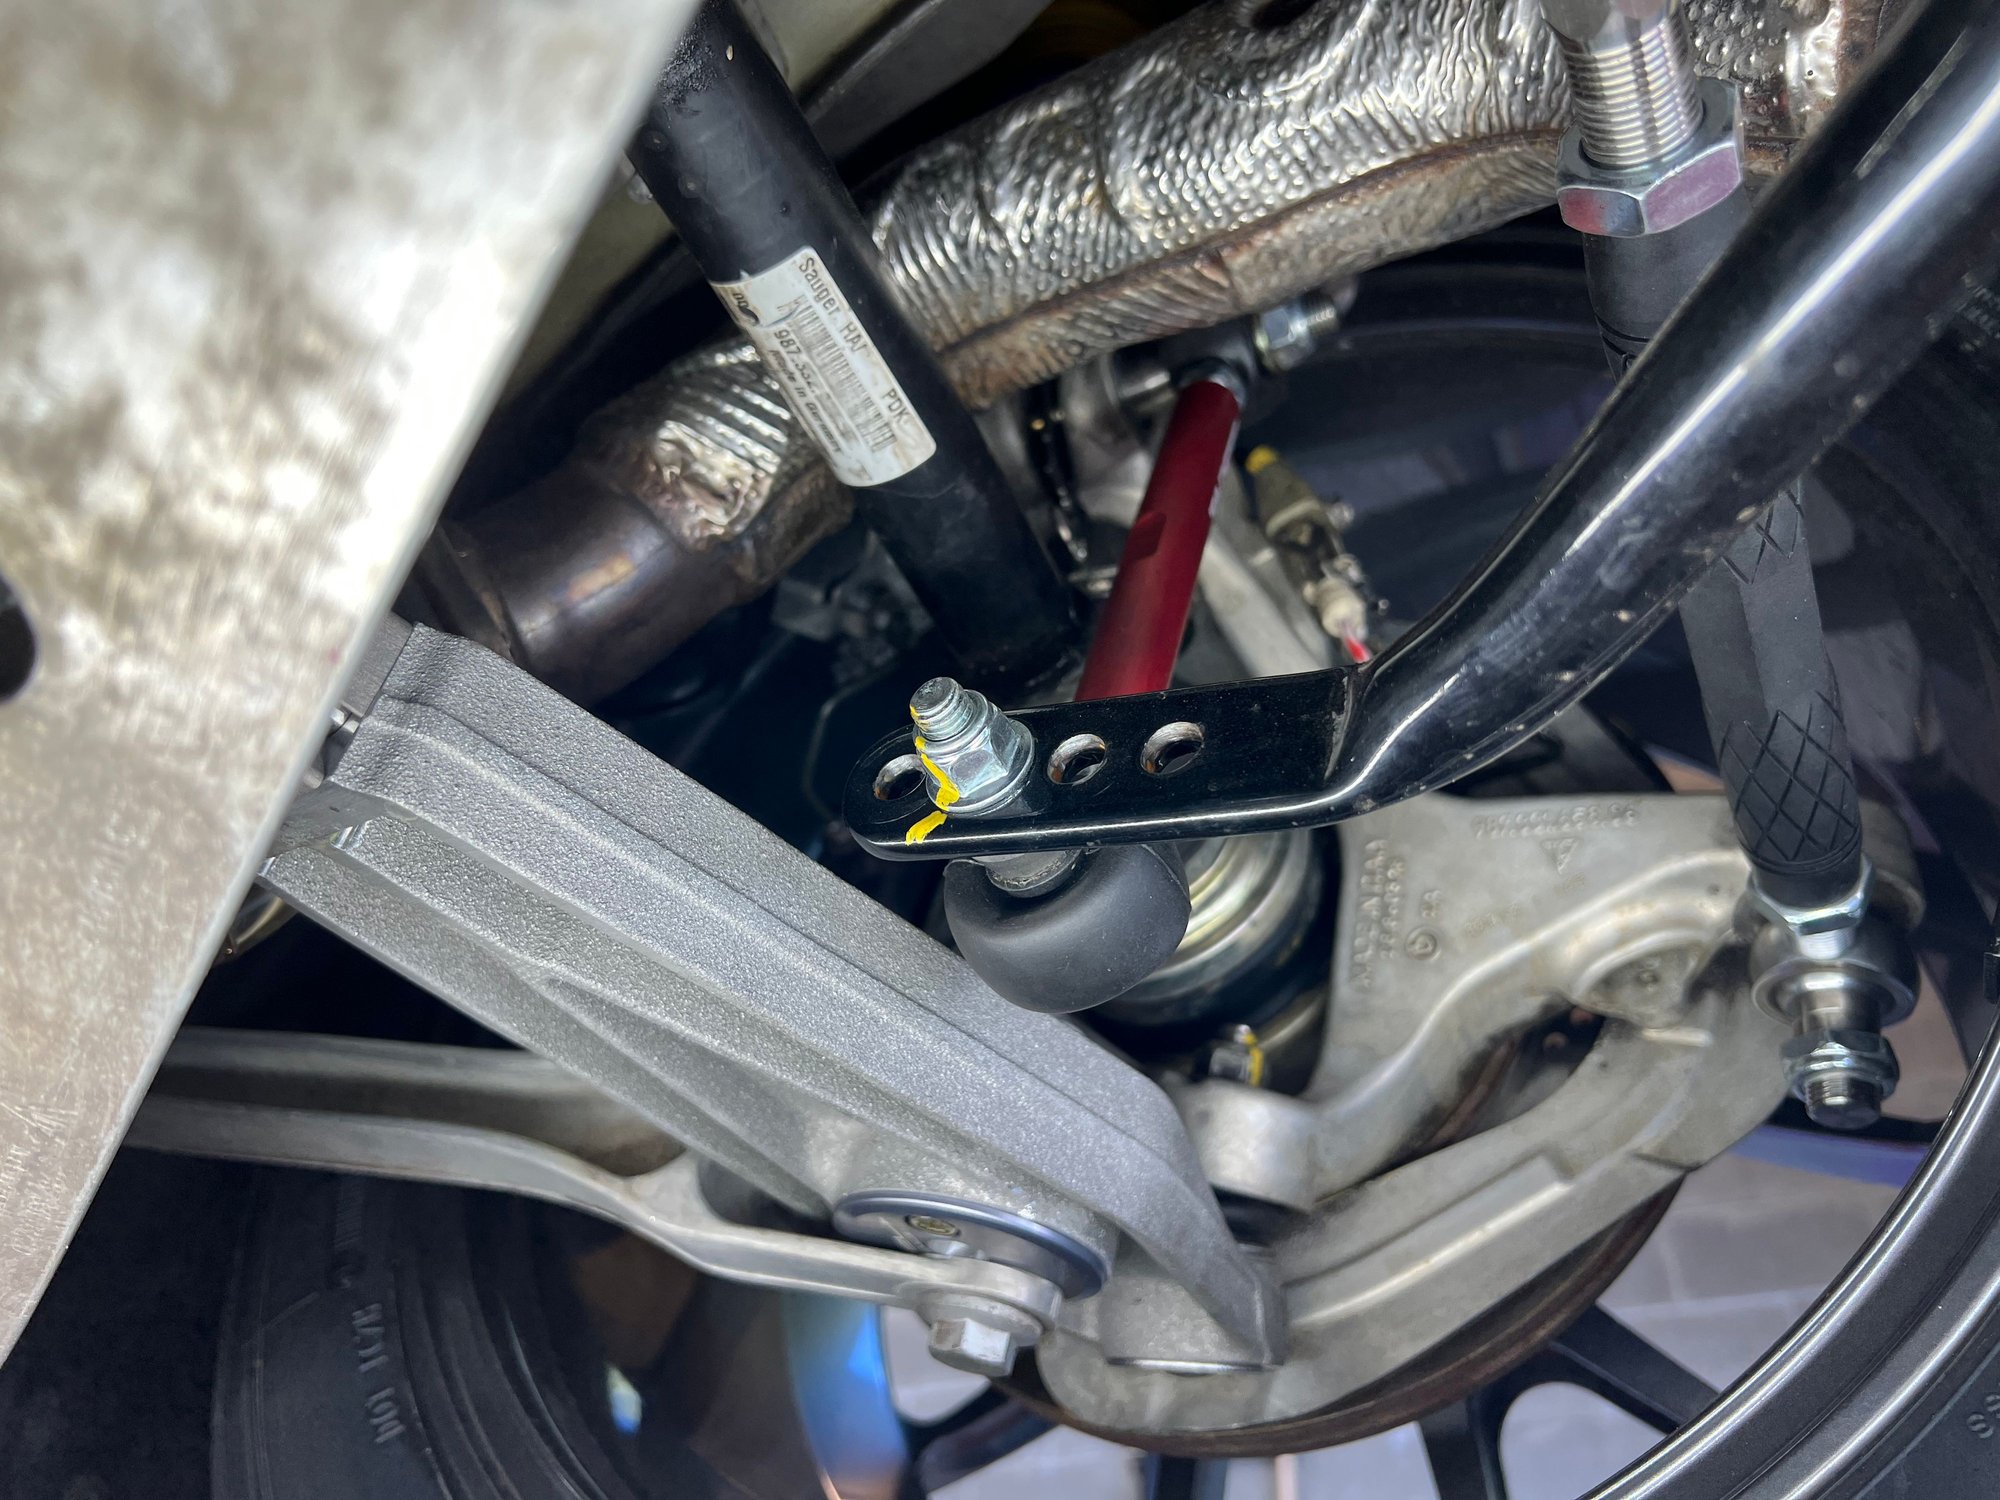
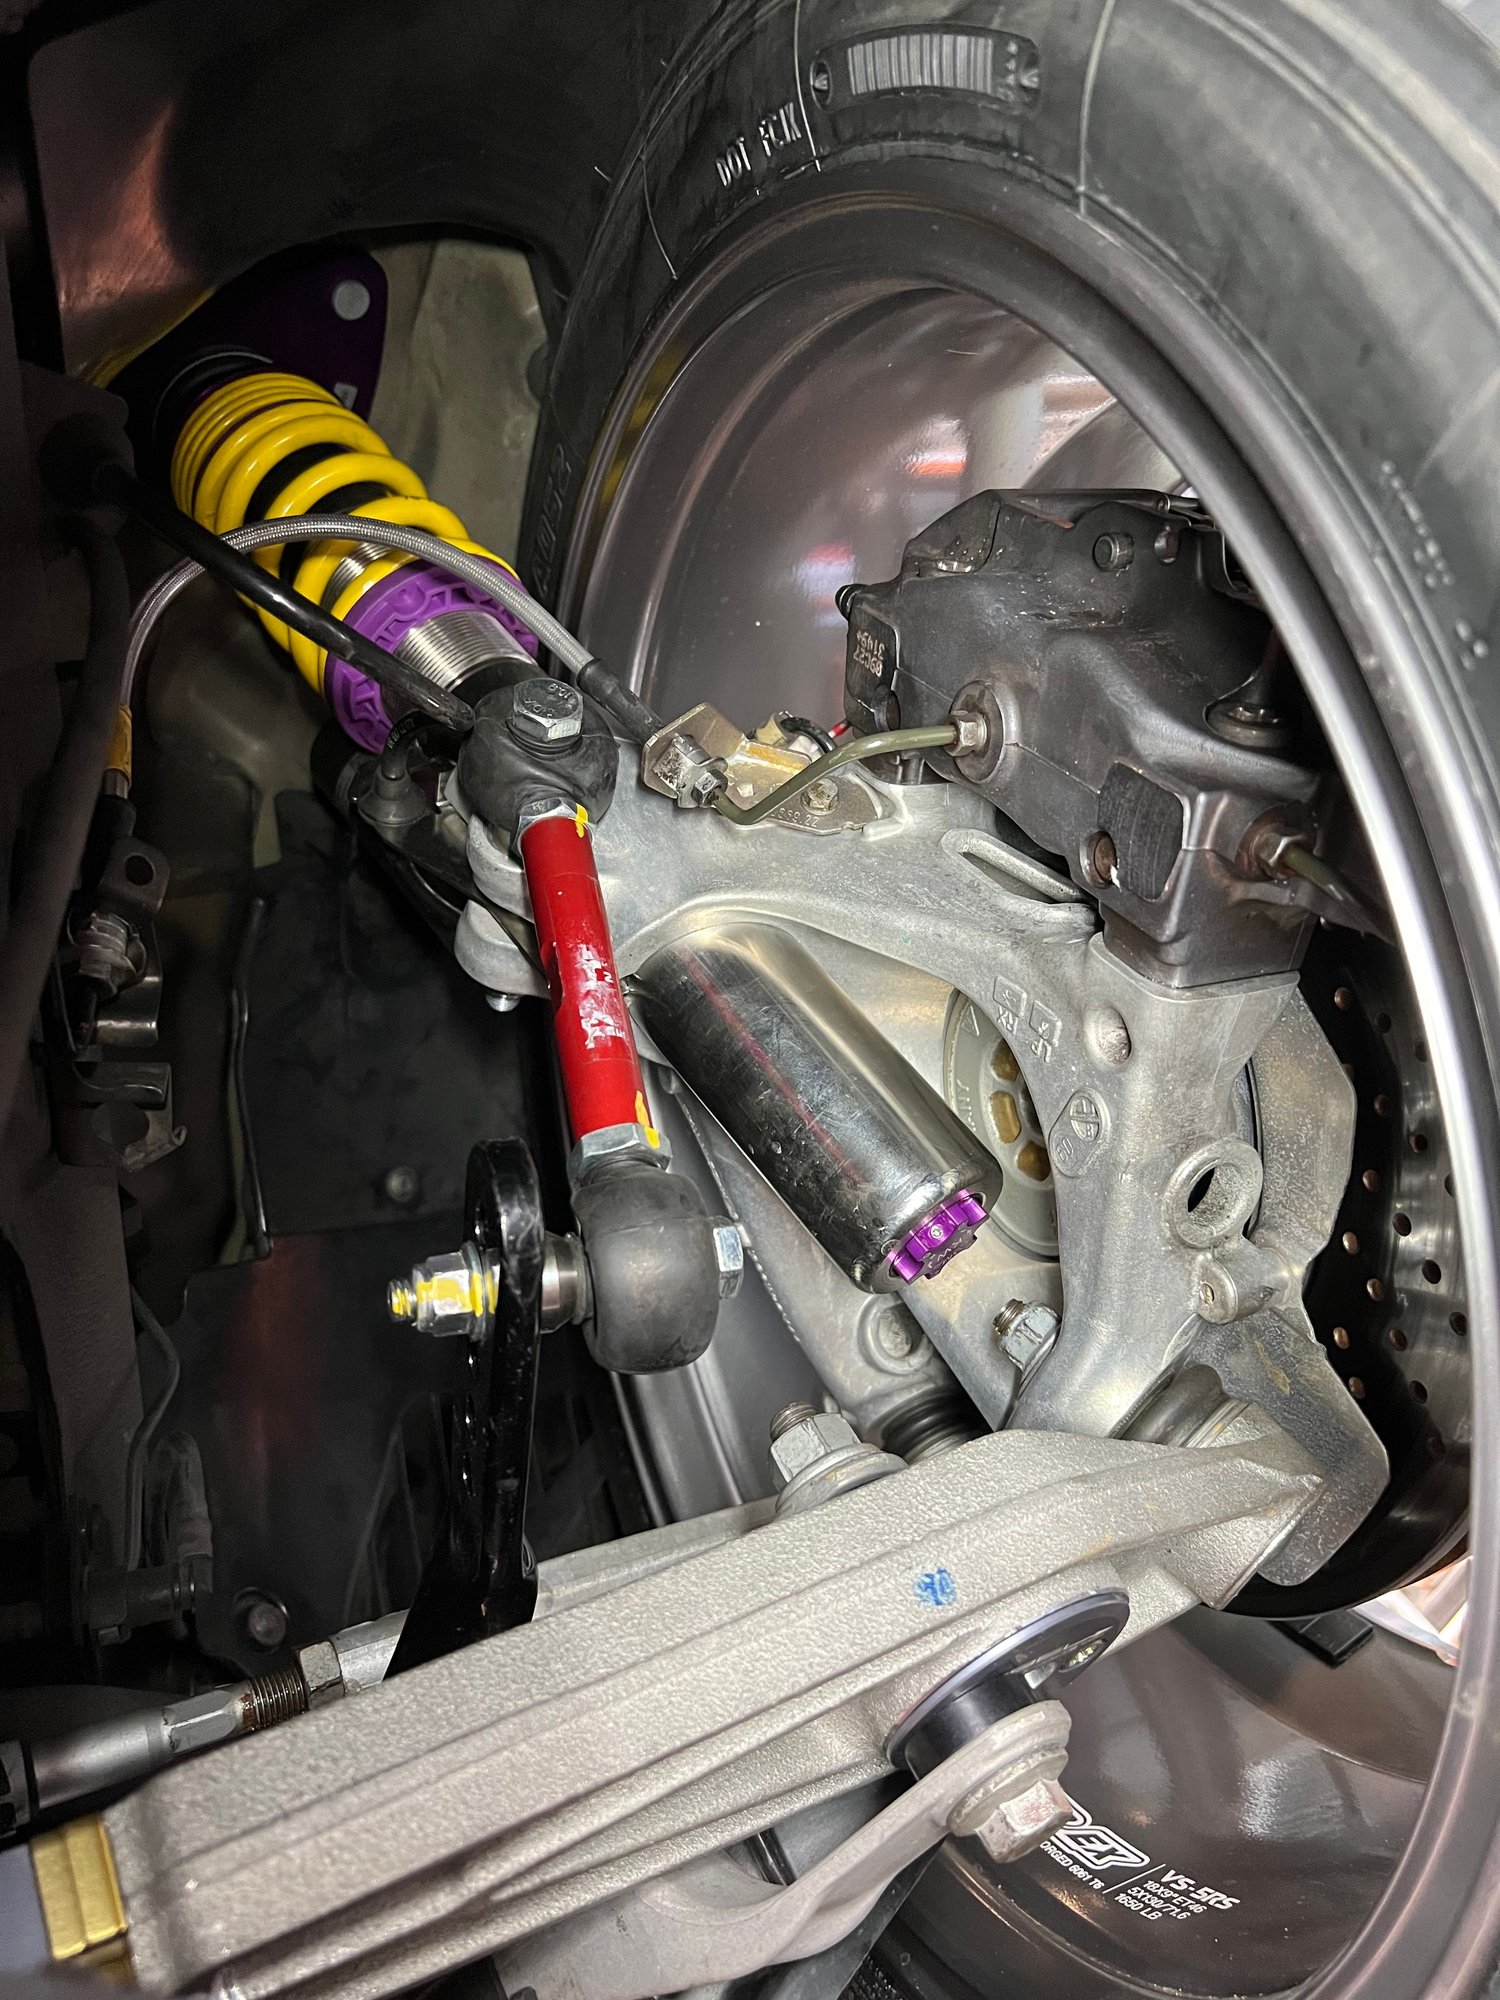
More photos of suspension mods: Right rear suspension - Note slope of LCA and that line thru toe rod and line thru LCA look like they converge.
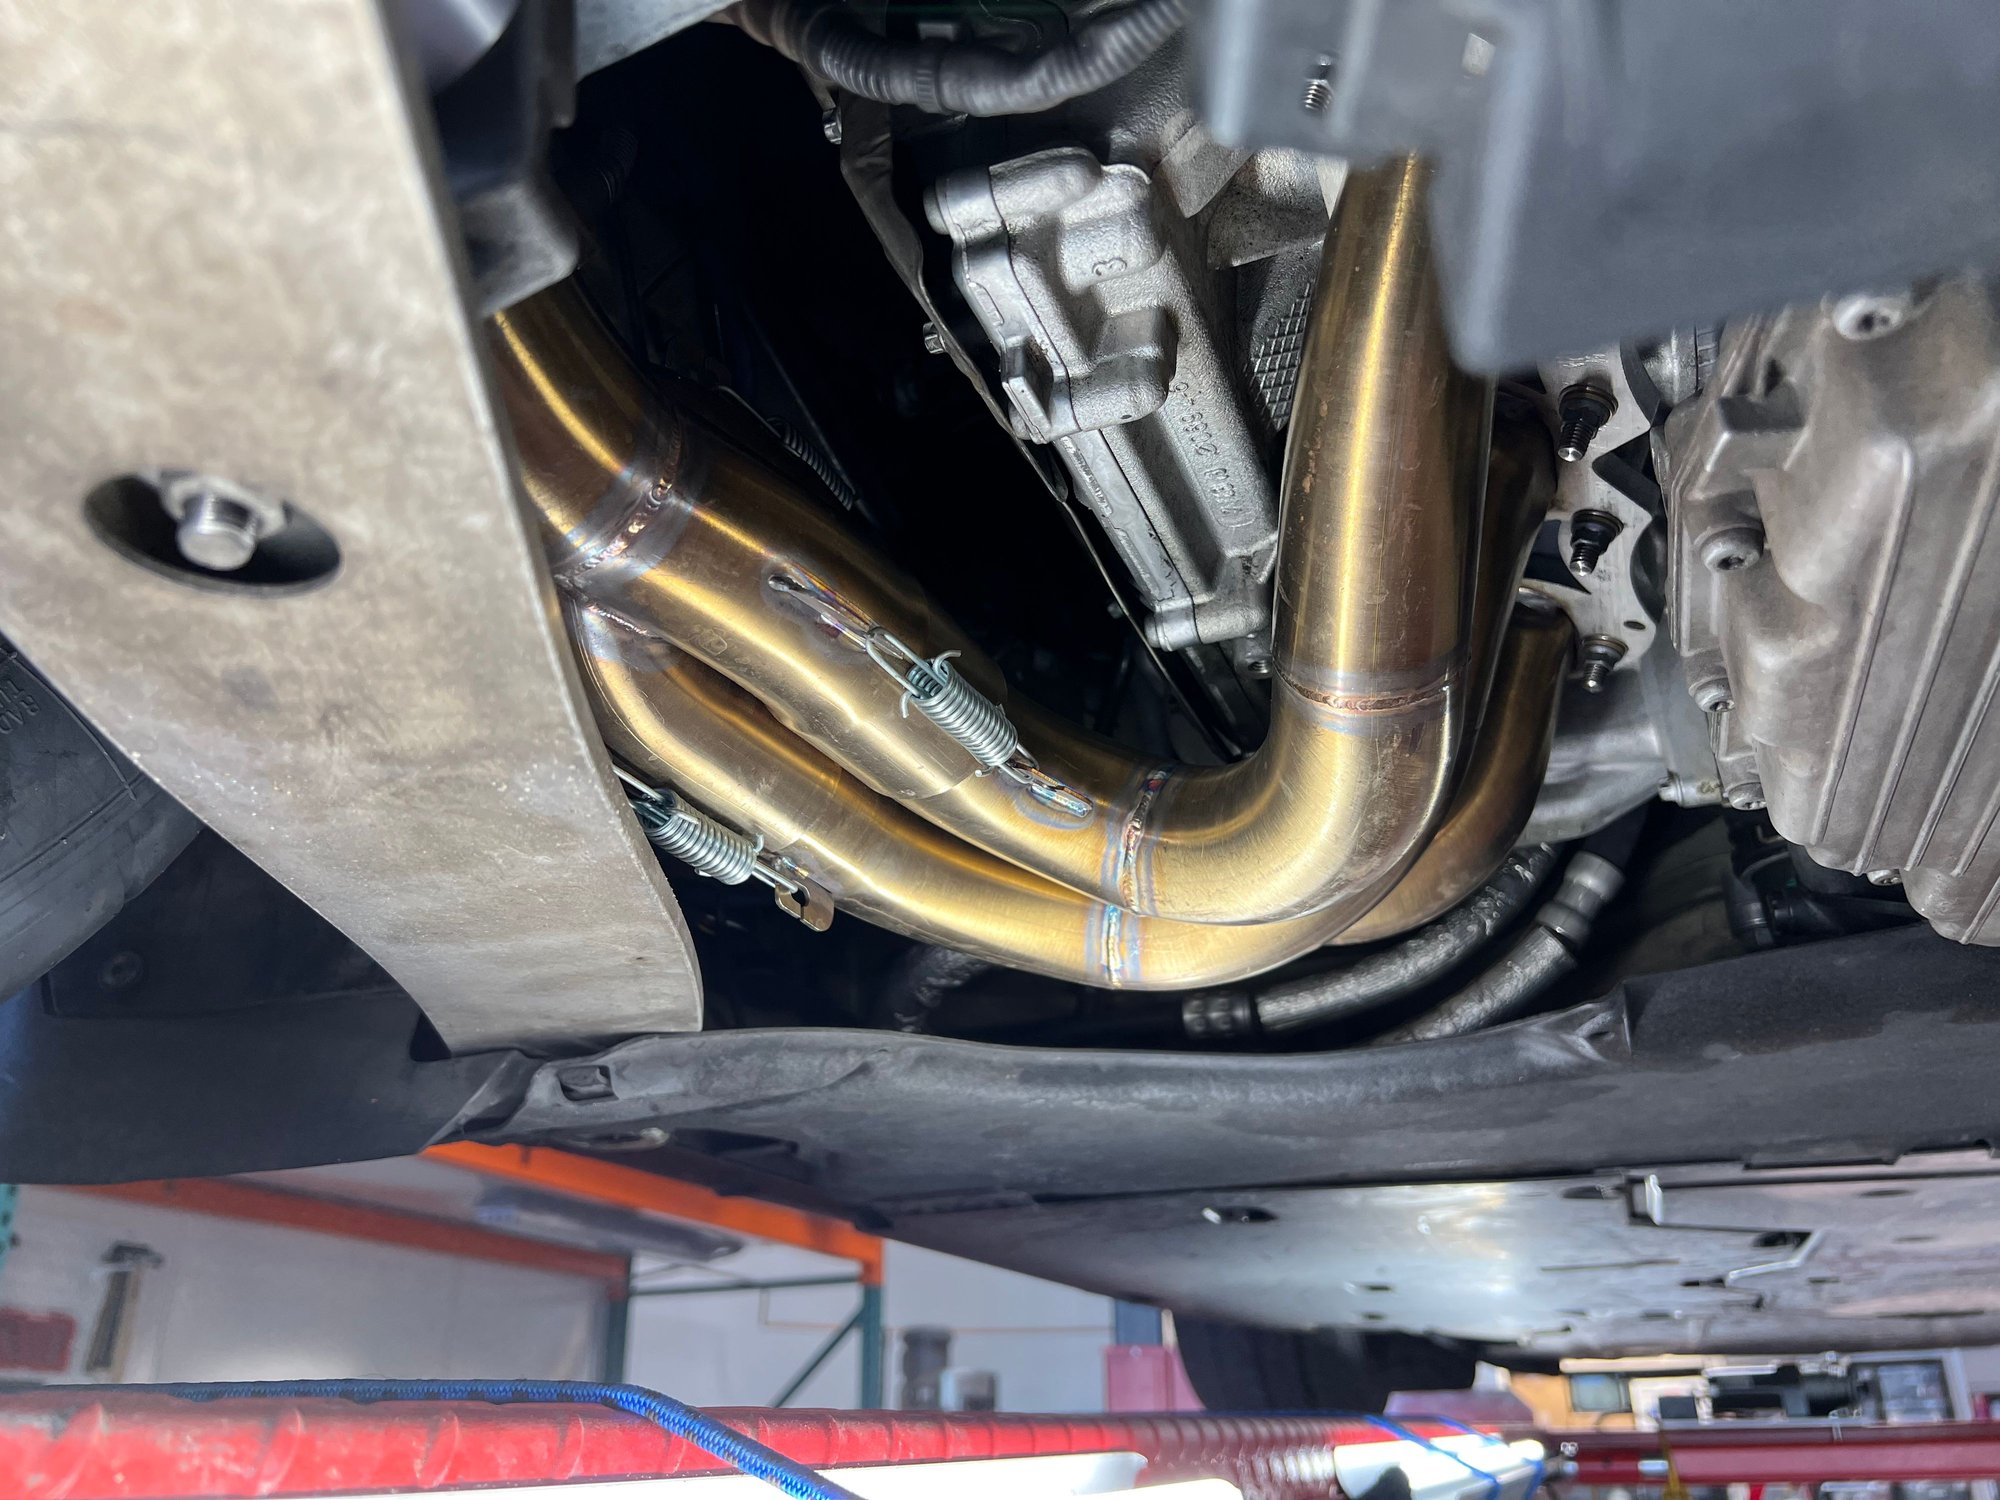
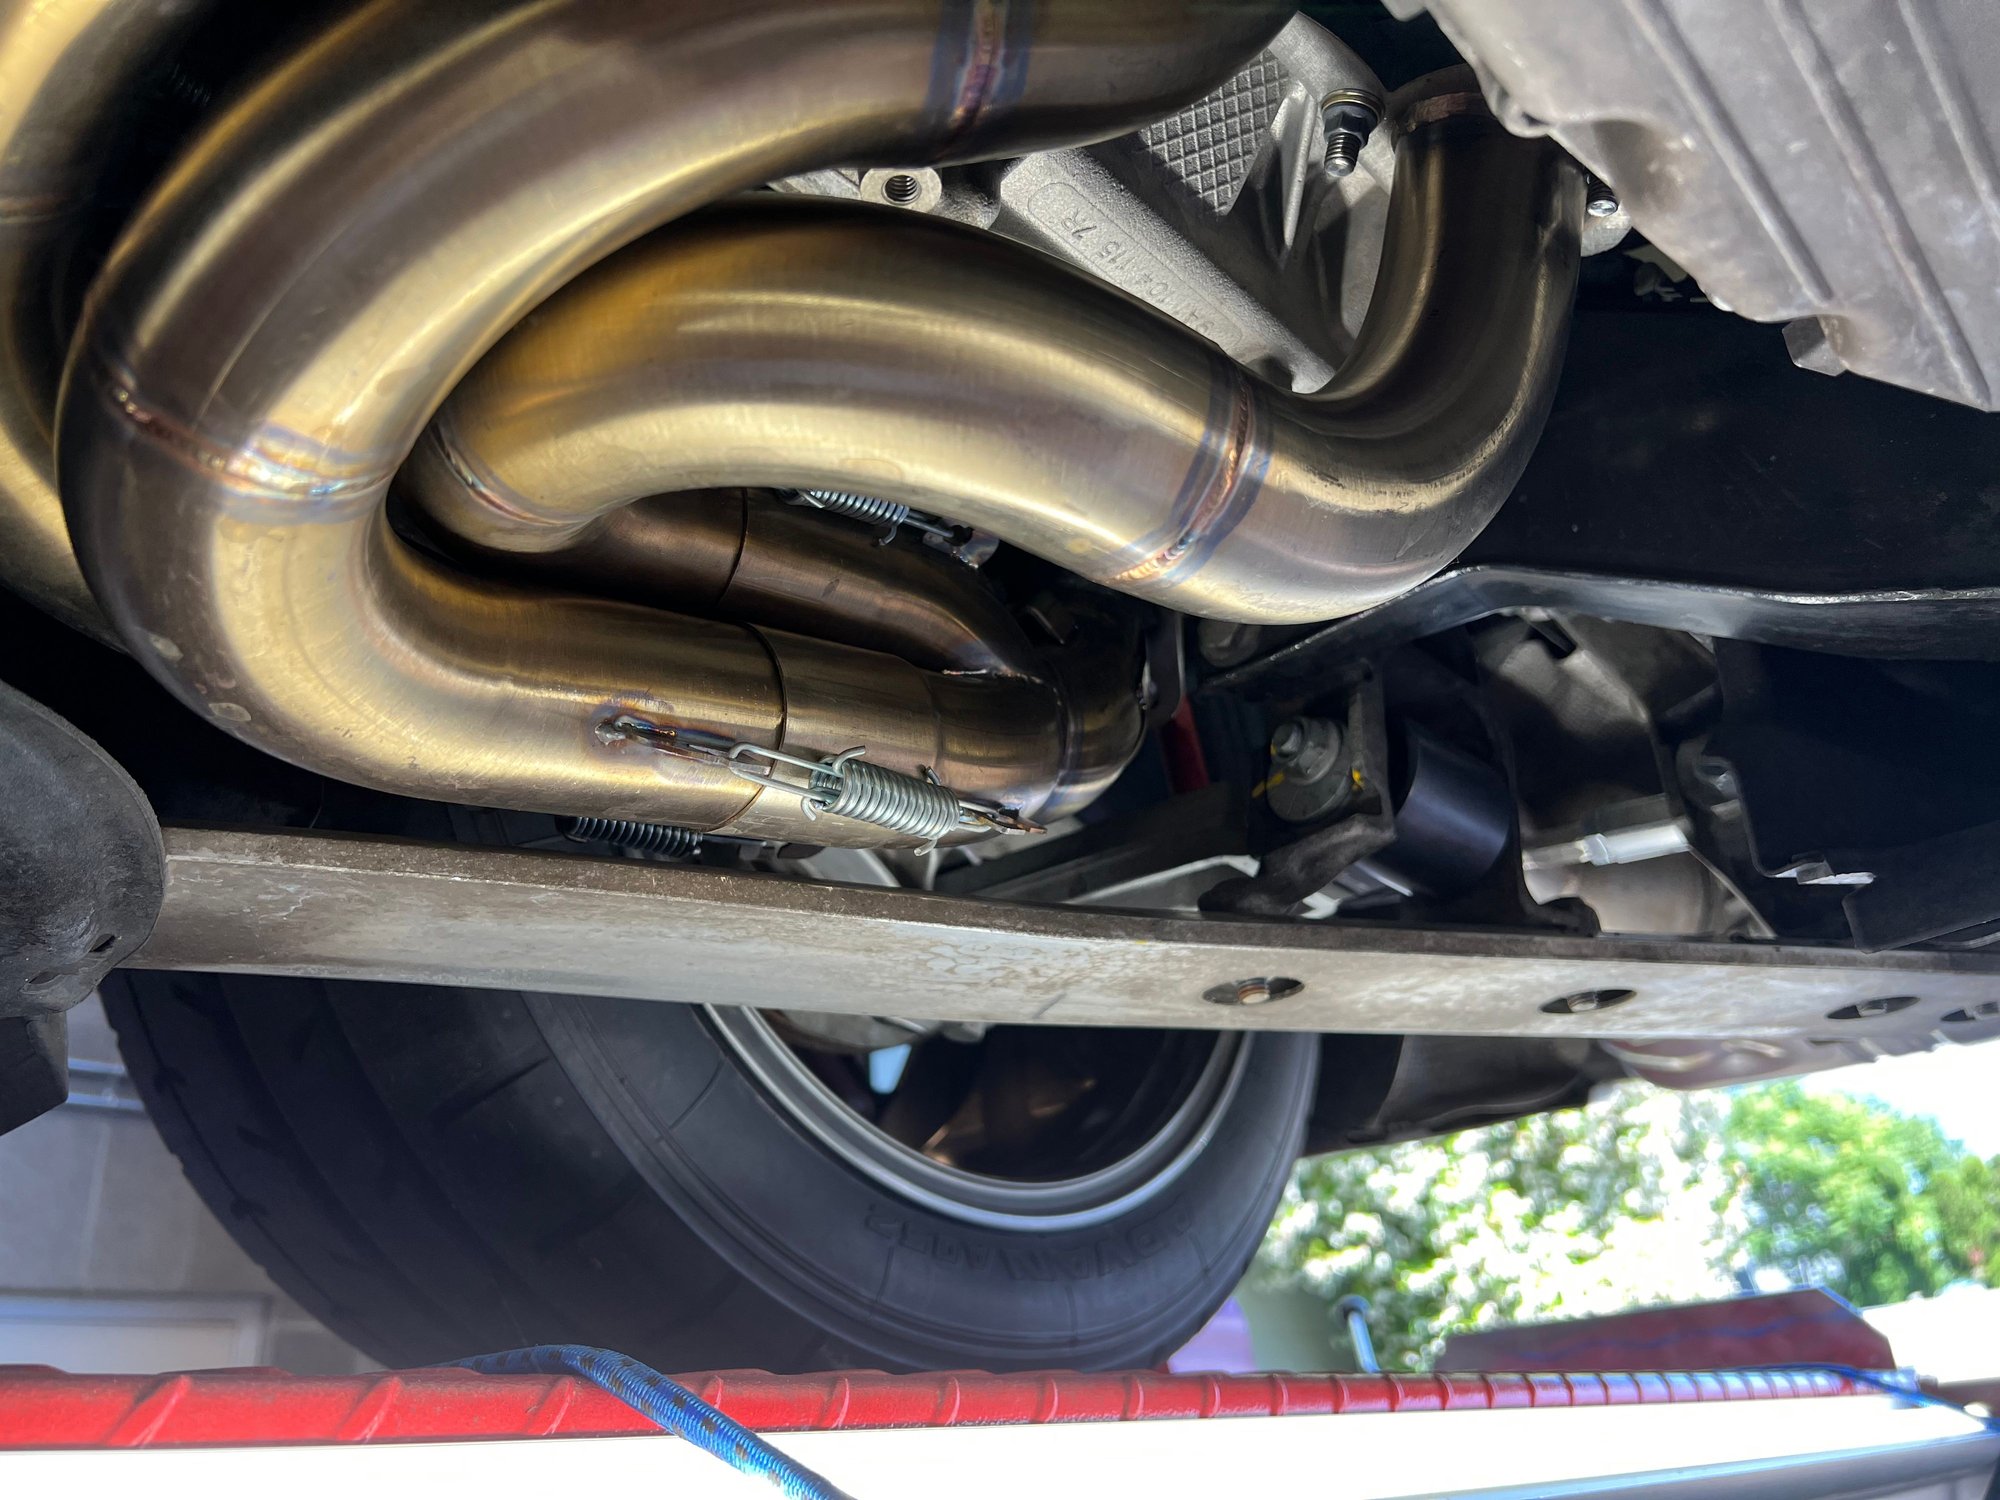
CarGraphic headers are really nice kit. Installed no problem. Used O2 sensor extension on the forward sensors and did not have any issues with fault readings. Left Rear suspension detail Right Rear suspension detail Initial rear sway bar setting - left and right the same CarGraphic header detail Header detail RF suspension - Sway bar in 2nd from softest initial setting - L&R same Left Front wheel. Ferodo DS 2500 pads.
Notes on Headers:
1. They sound great - even with stock mufflers. Need to get it to about 5000 rpm for nice sound.
2. Did not notice any real performance gain. I did some before and after 0-100 kPH times and could not measure any difference.
3. Had to reroute O2 sensors, but used OEM sensor cables.
4. Installed extensions in O2 sensor bungs - no issues
Notes on Suspension Mods:
1. WOW - this is now a different car. Much more planted. Handling is more precise and predictable, car does not "wallow" as much. Turn in is sharper. Lap times decreased -
2. For street I set the bump and rebound KWs to 2 clicks from full soft. Still a bit jarring but livable. I would not like to take too long a trip in them. This next weekend we will do a 200 mile one way trip - will let you know how bad it is.
3. Interior noise (suspension knocks) is noticeable - definitely not recommended for a mostly street car. However, for a street car canyon racer I would recommend lowering the car - I think that change alone will do more for handling than any other one change.
Most recent changes:
a. Installed Sport/Sport+ OEM upgrade - cost about $1600 installed by local dealer. I have not had a chance to test this on the track - will report back.
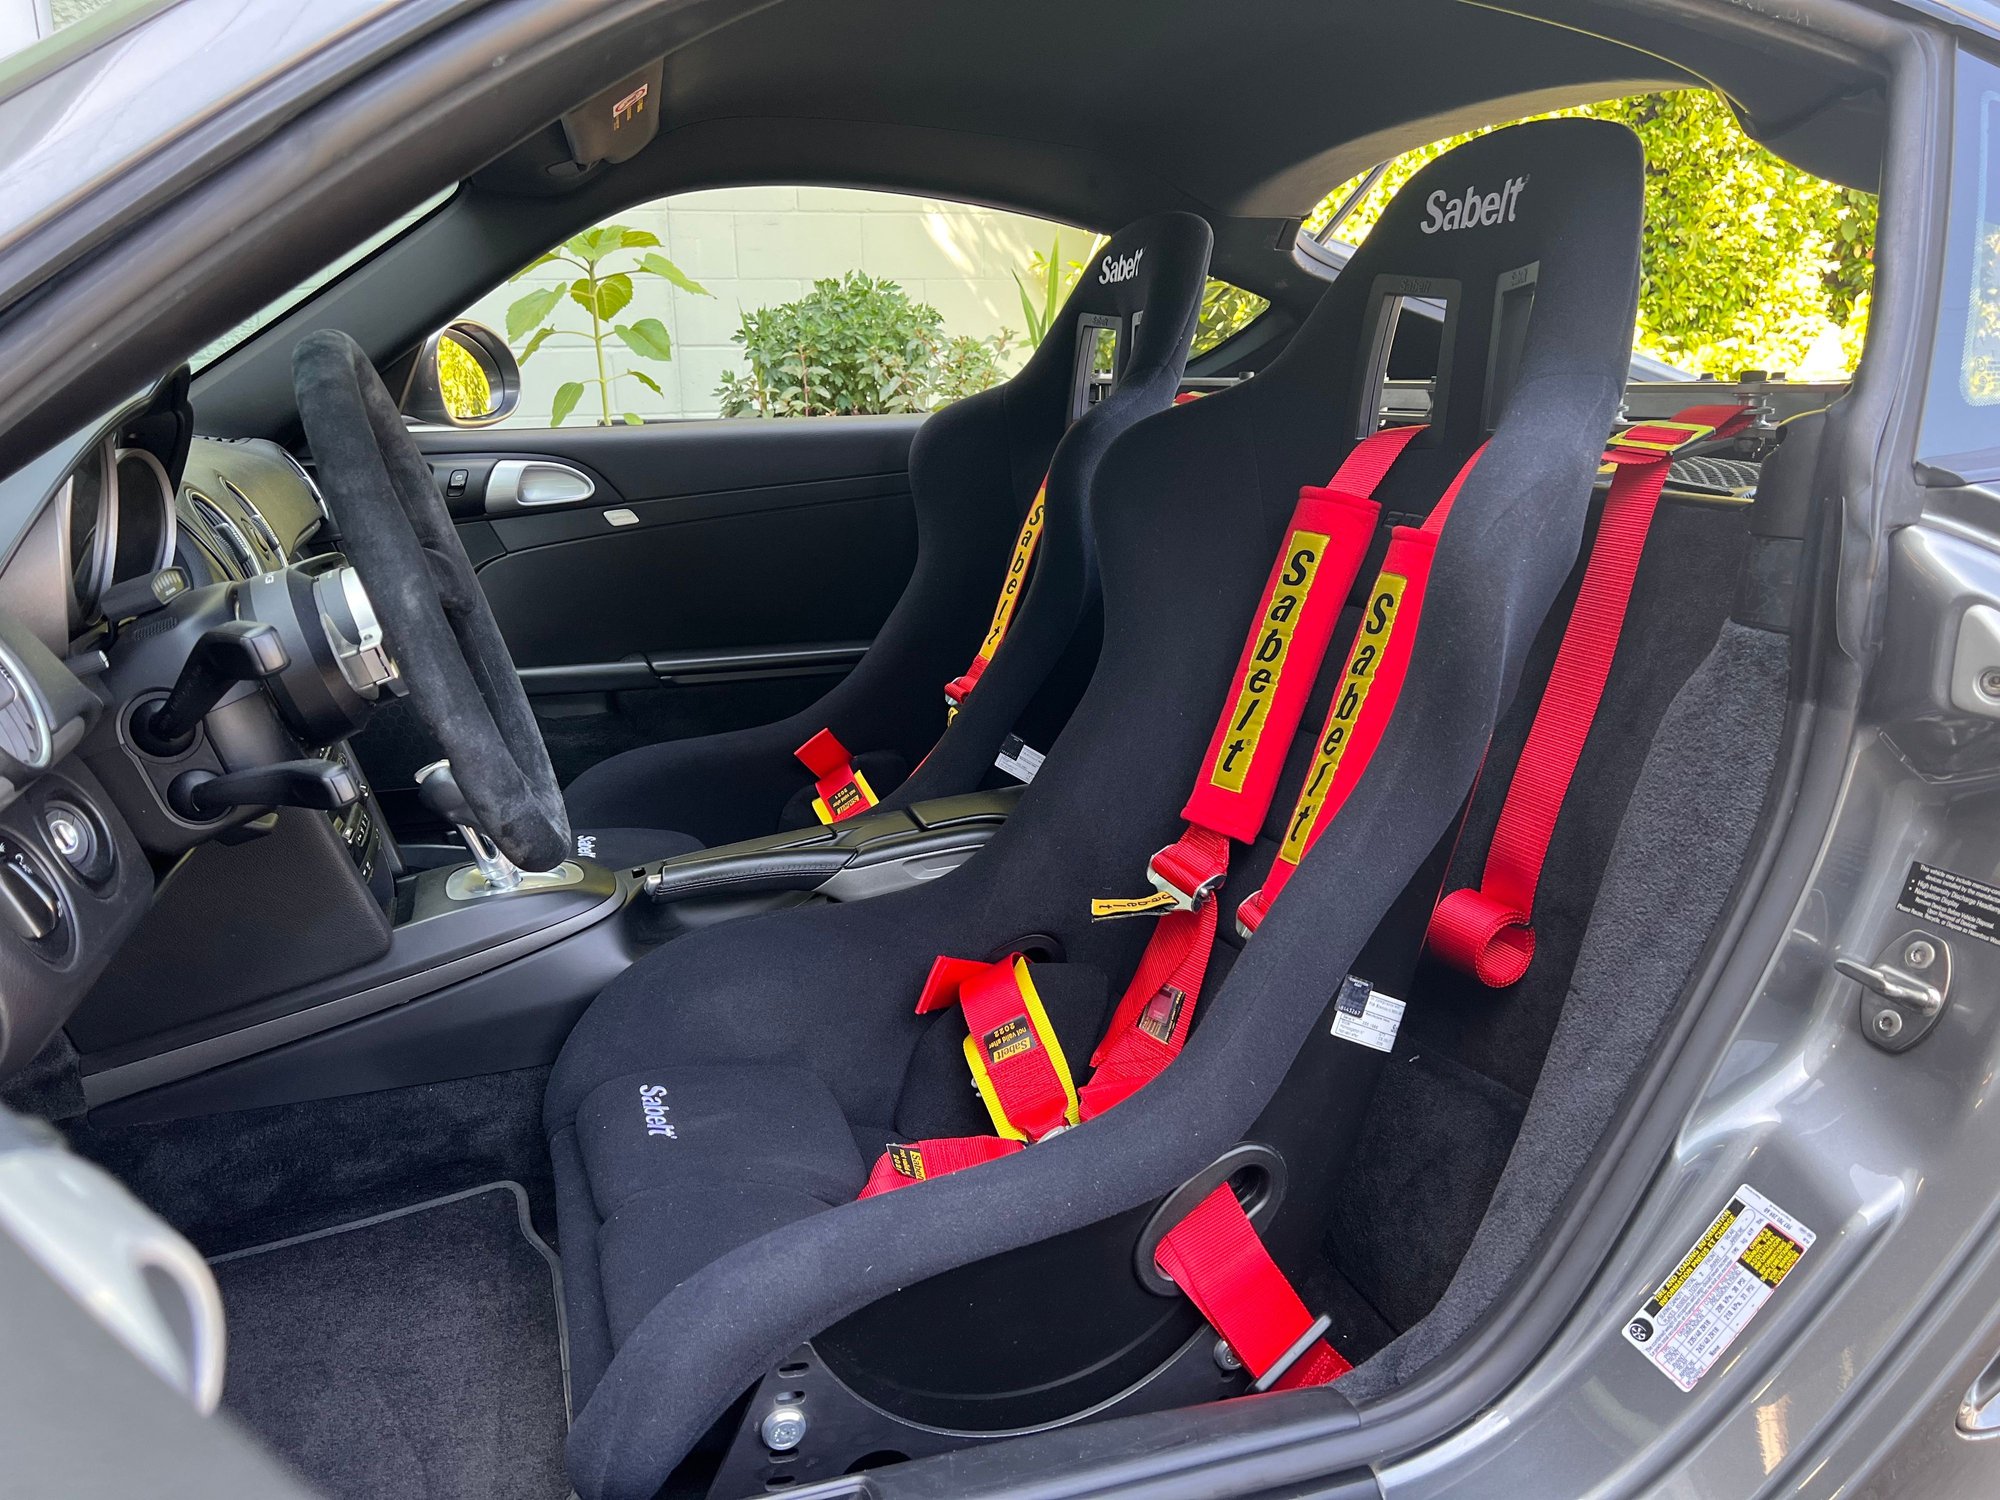
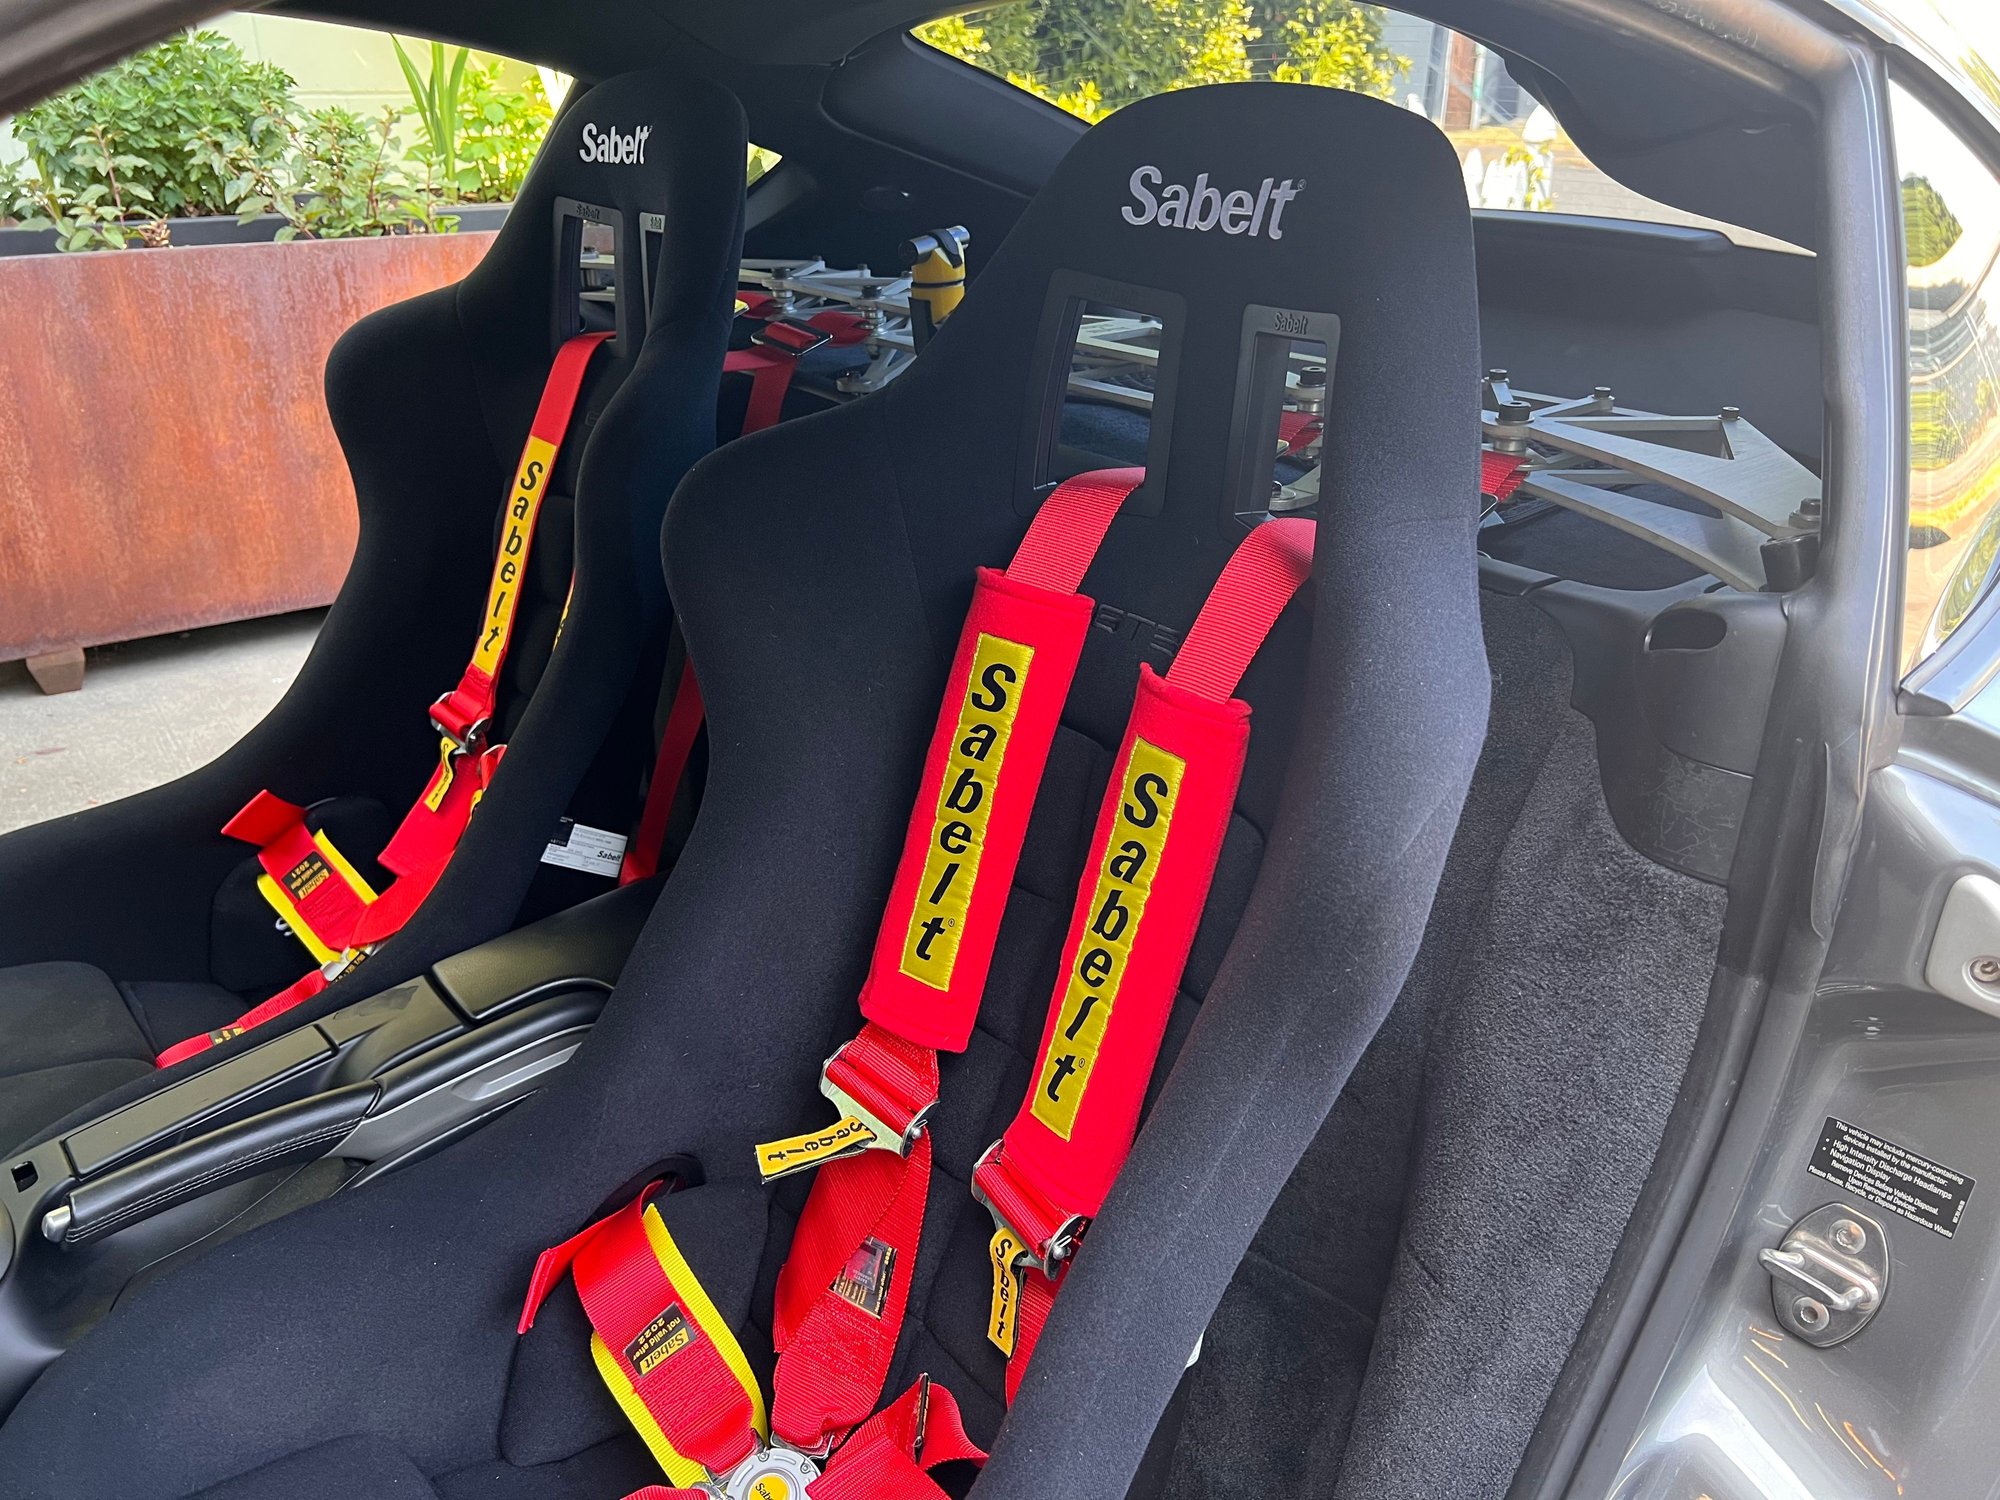
b. Installed second Sabelt racing seat - saved about 40 lbs.
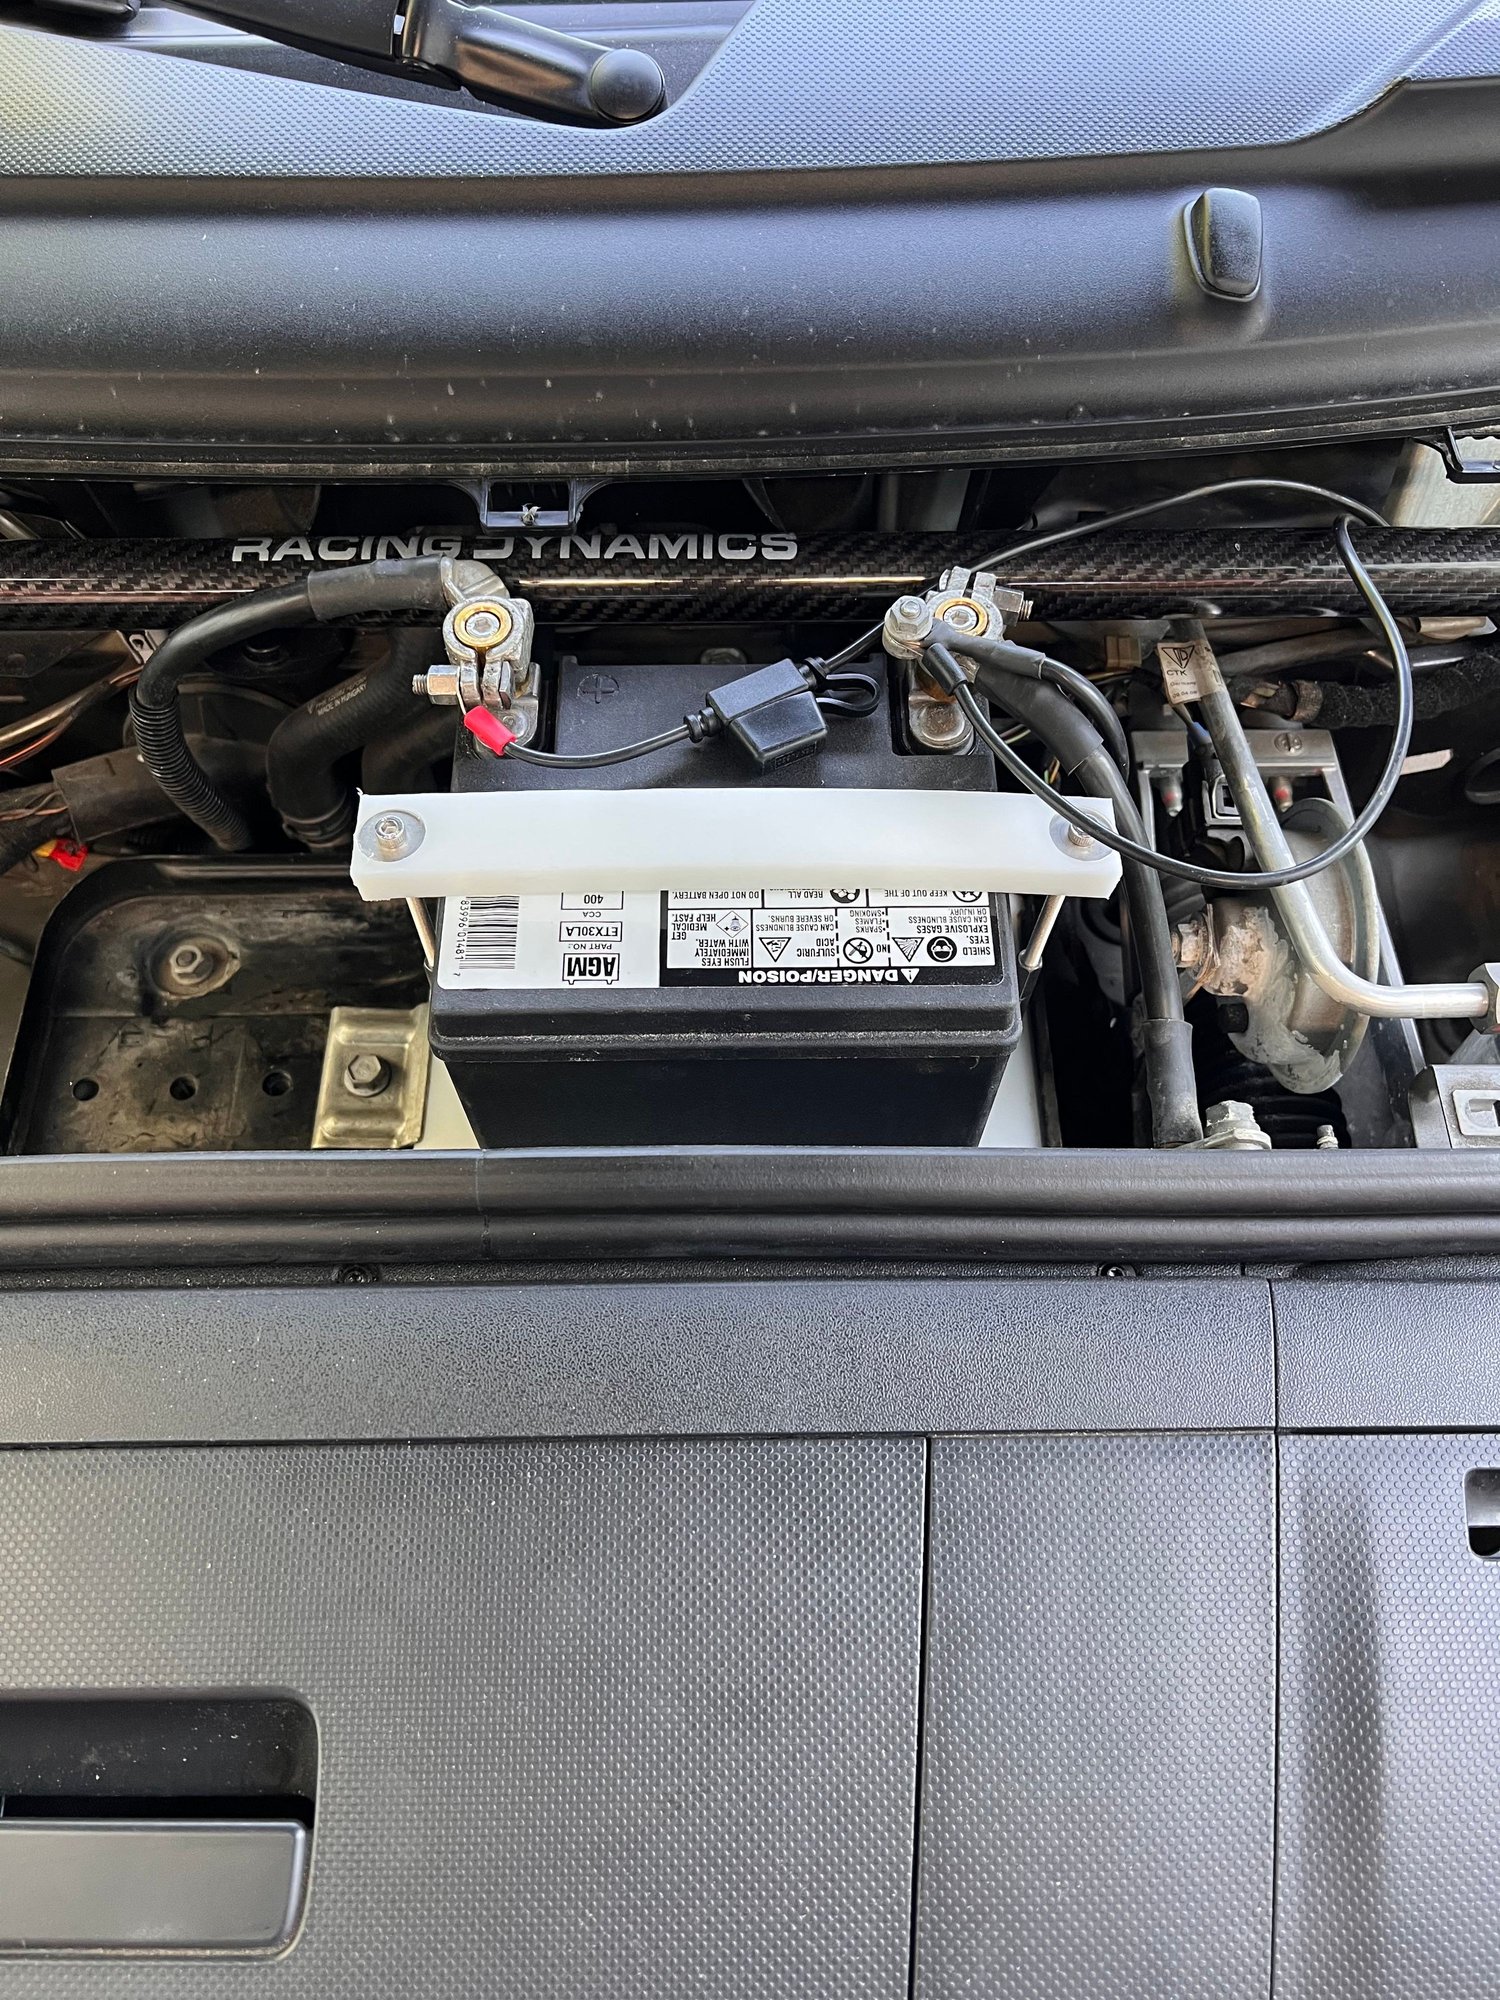
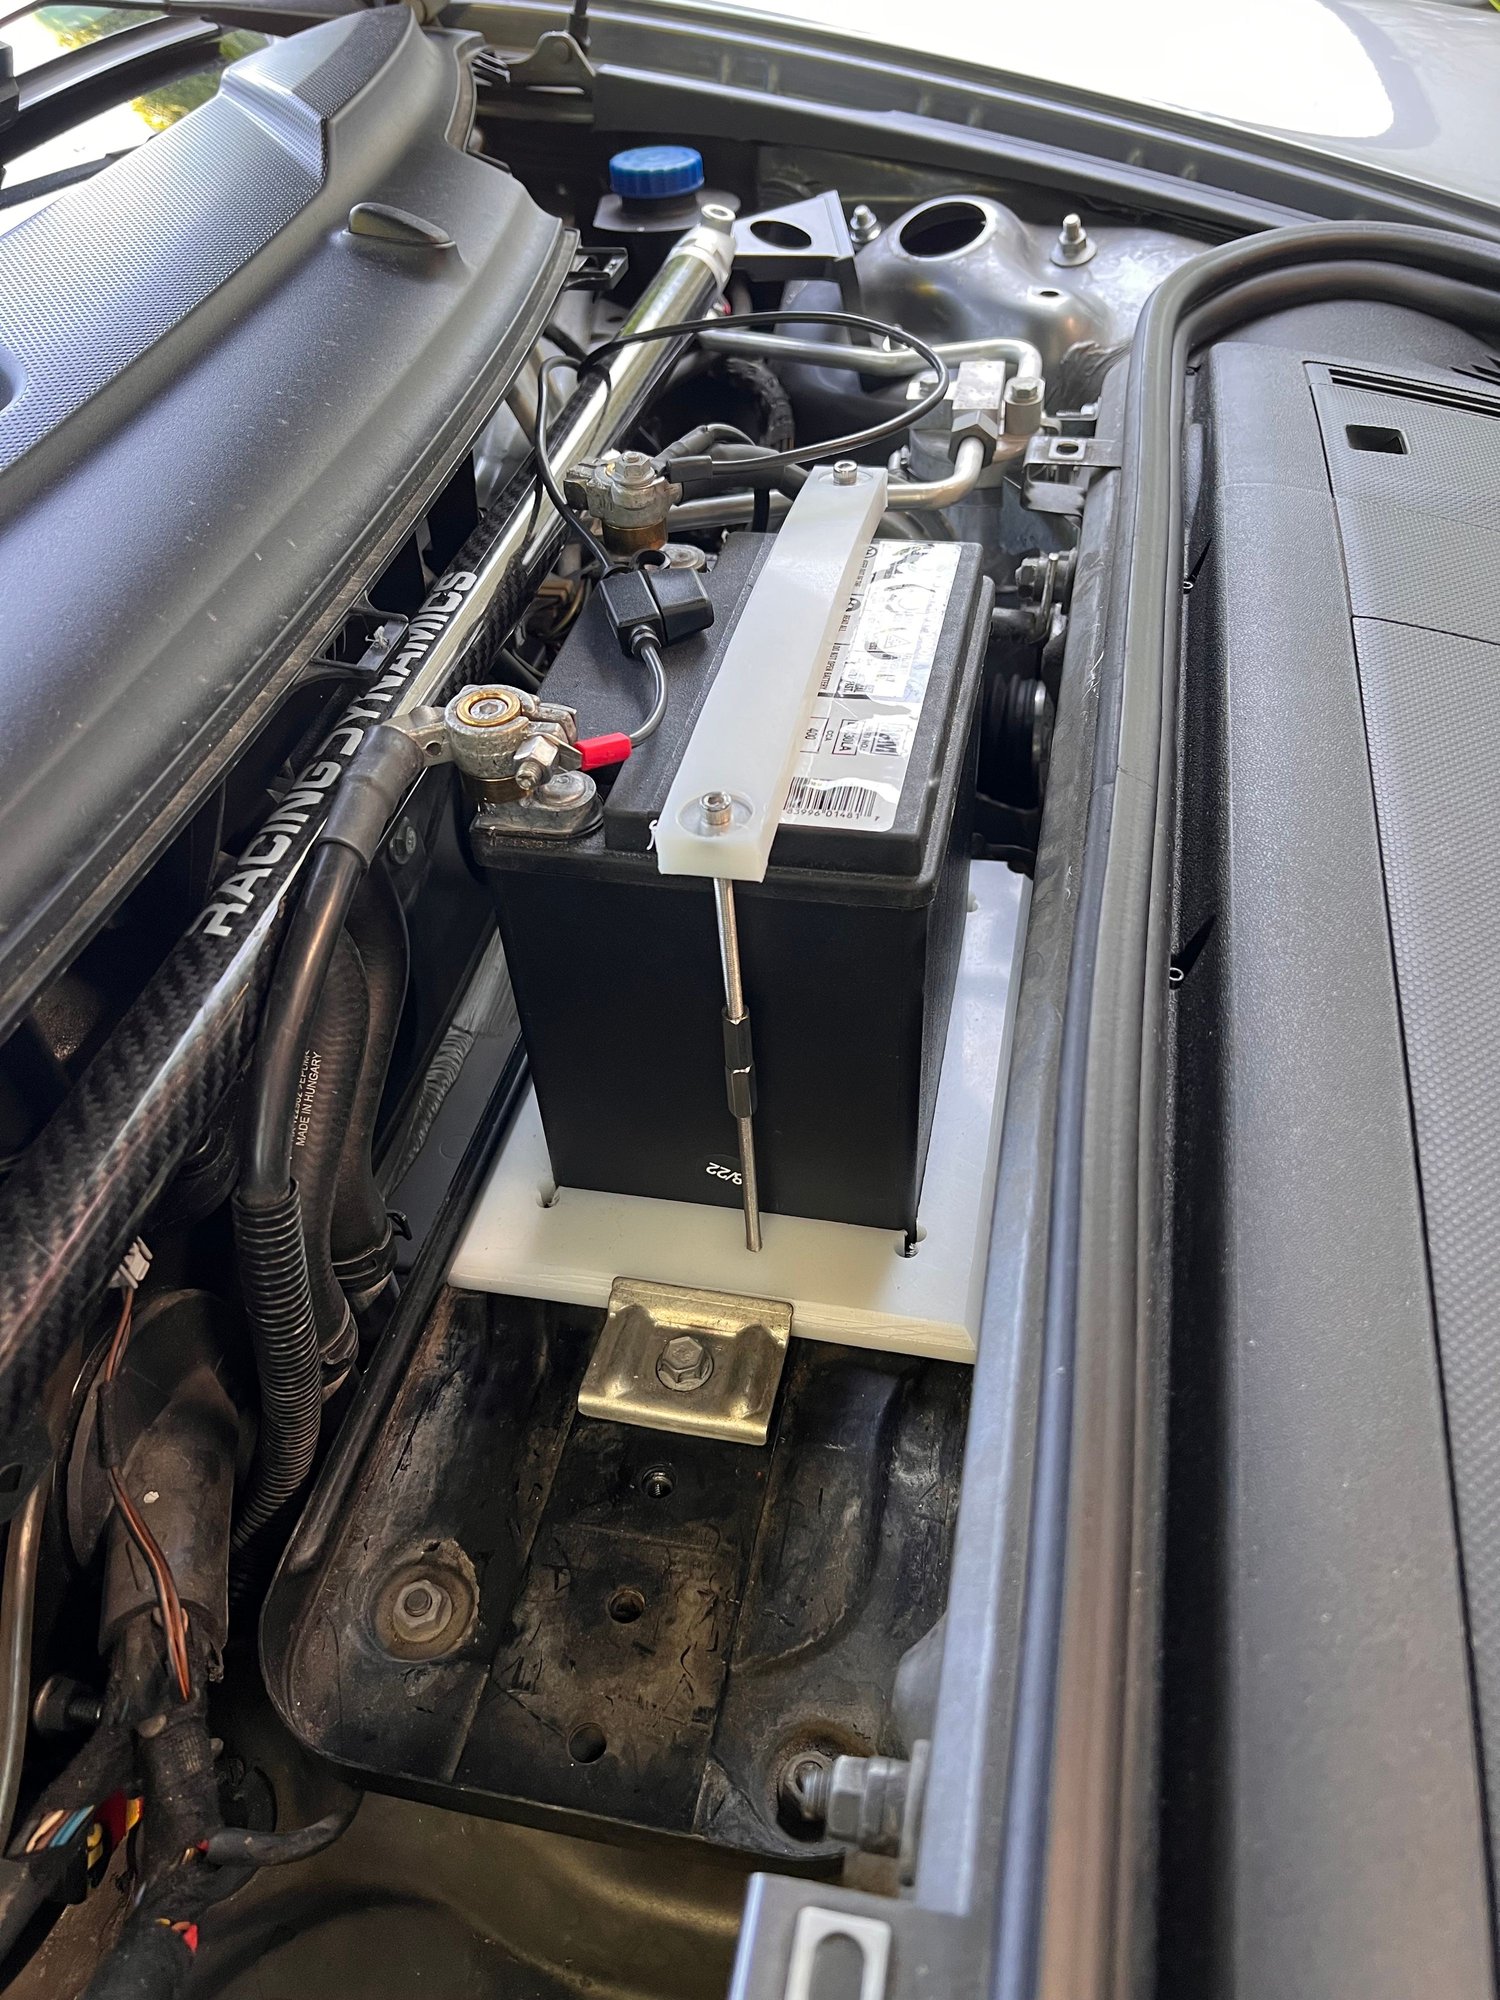
c. Installed light weight battery (thought my old one died but it was the trickle charger that died - now I have a spare) - saved about 15 lbs.
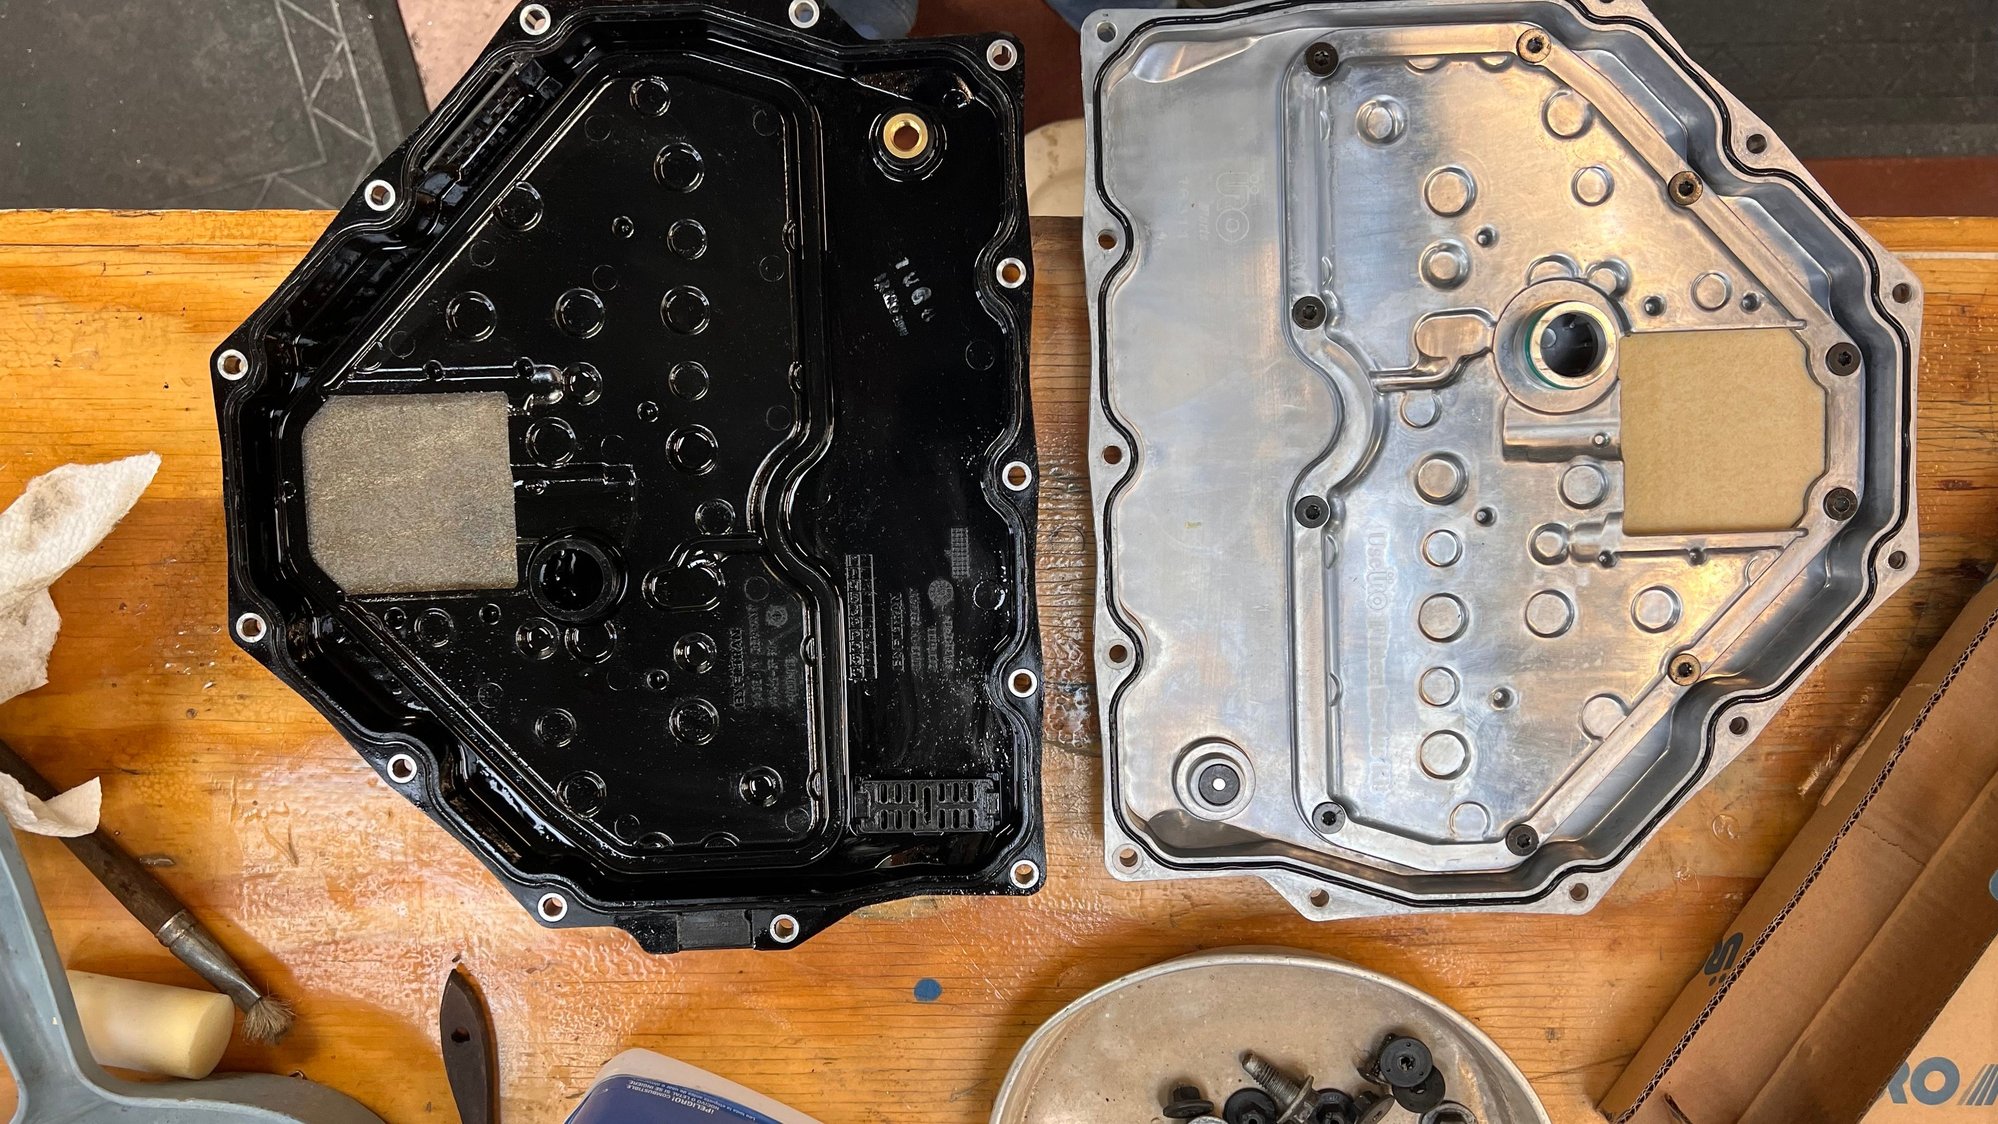
d. Installed alloy PDK sump (VS plastic OEM) and flushed PDK fluid. Hoping the metal pan will keep the transmission cooler and it has the feature of a replaceable filter. I plan on fluid changes about every two years (6 -8 track days).
e. Changed engine oil - use 10-40 Mobile 1. Oil filter looked super clean when I cut it open.
Notes on Headers:
1. They sound great - even with stock mufflers. Need to get it to about 5000 rpm for nice sound.
2. Did not notice any real performance gain. I did some before and after 0-100 kPH times and could measure any difference.
3. Had to reroute O2 sensors, but used OEM sensor cables.
4. Installed extensions in O2 sensor bungs - no issues
Notes on Suspension Mods:
1. WOW - this is now a different car. Much more planted. Handling is more precise and predictable, car does not "wallow" as much. Turn in is sharper. Lap times decreased -
2. For street I set the bump and rebound KWs to 2 clicks form full soft. Still a bit jarring but livable. I would not like to take too long a trip in them. This next weekend we will do a 200 mile one way trip - will let you know how bad it is.
3. Interior noise (suspension knocks) is noticeable - definitely not recommended for a mostly street car. However, for a street car canyon racer I would recommend lowering the car - I think that change alone will do more for handling than any other one change.
Most recent changes:
a. Installed Sport/Sport+ OEM upgrade - cost about $1600 installed by local dealer. I have not had a chance to test this on the track - will report back.
b. Installed second Sabelt racing seat - saved about 40 lbs.
c. Installed light weight battery (thought my old one died but it was the trickle charger that died - now I have a spare) - saved about 15 lbs.
d. Installed alloy PDK sump (VS plastic OEM) and flushed PDK fluid. Hoping the metal pan will keep the transmission cooler and it has the feature of a replaceable filter. I plan on fluid changes about every two years (6 -8 track days).
e. Changed engine oil - use 10-40 Mobile 1. Oil filter looked super clean when I cut it open.
Great thread, I am about to switch from street 911 to track-focused Cayman so this is very helpful. Question: how often do you plan to change oil/filter and comment: I have heard and read some negatives on Mobil 1 and would point you to some research on this (much discussion on the subject on the 997 forum). My indy shop uses LiquiMoly and Motul, the owner tracks his 911�.just food for thought.
I change oil about once a year as I drive less than 2000 miles a year. I have used Mobil 1 in everything I own without any known issues. Also recommended by OEM - but it is worth looking into - thanks and good luck with Cayman - What year are you looking at? looks like you have had quite a few cars.. Maybe it is just me but I think the original 987s just look better than the newer Caymans.
I change oil about once a year as I drive less than 2000 miles a year. I have used Mobil 1 in everything I own without any known issues. Also recommended by OEM - but it is worth looking into - thanks and good luck with Cayman - What year are you looking at? looks like you have had quite a few cars.. Maybe it is just me but I think the original 987s just look better than the newer Caymans.
There are reasons to question use of Mobil 1 in spite of OE recommendations�I will leave it there. Back to the subject at hand, I will be looking for a 987.2 base with manual transmission. I am a firm believer in the 9A1 engine (and the PDK as well) but will enjoy rowing gears again. Will be focused more on suspension and brakes and think I will get plenty of bang with the 2.9 base engine. So following your build with great interest.
I think the 2.9 makes a great track car. Many cars are faster but these cars respond well to suspension mods. I lust after a set of AP brakes. Maybe someday I'll spring for those or maybe just go with girodisc. Planet-9 987 Forum also has a lot of info on Cayman track setup.
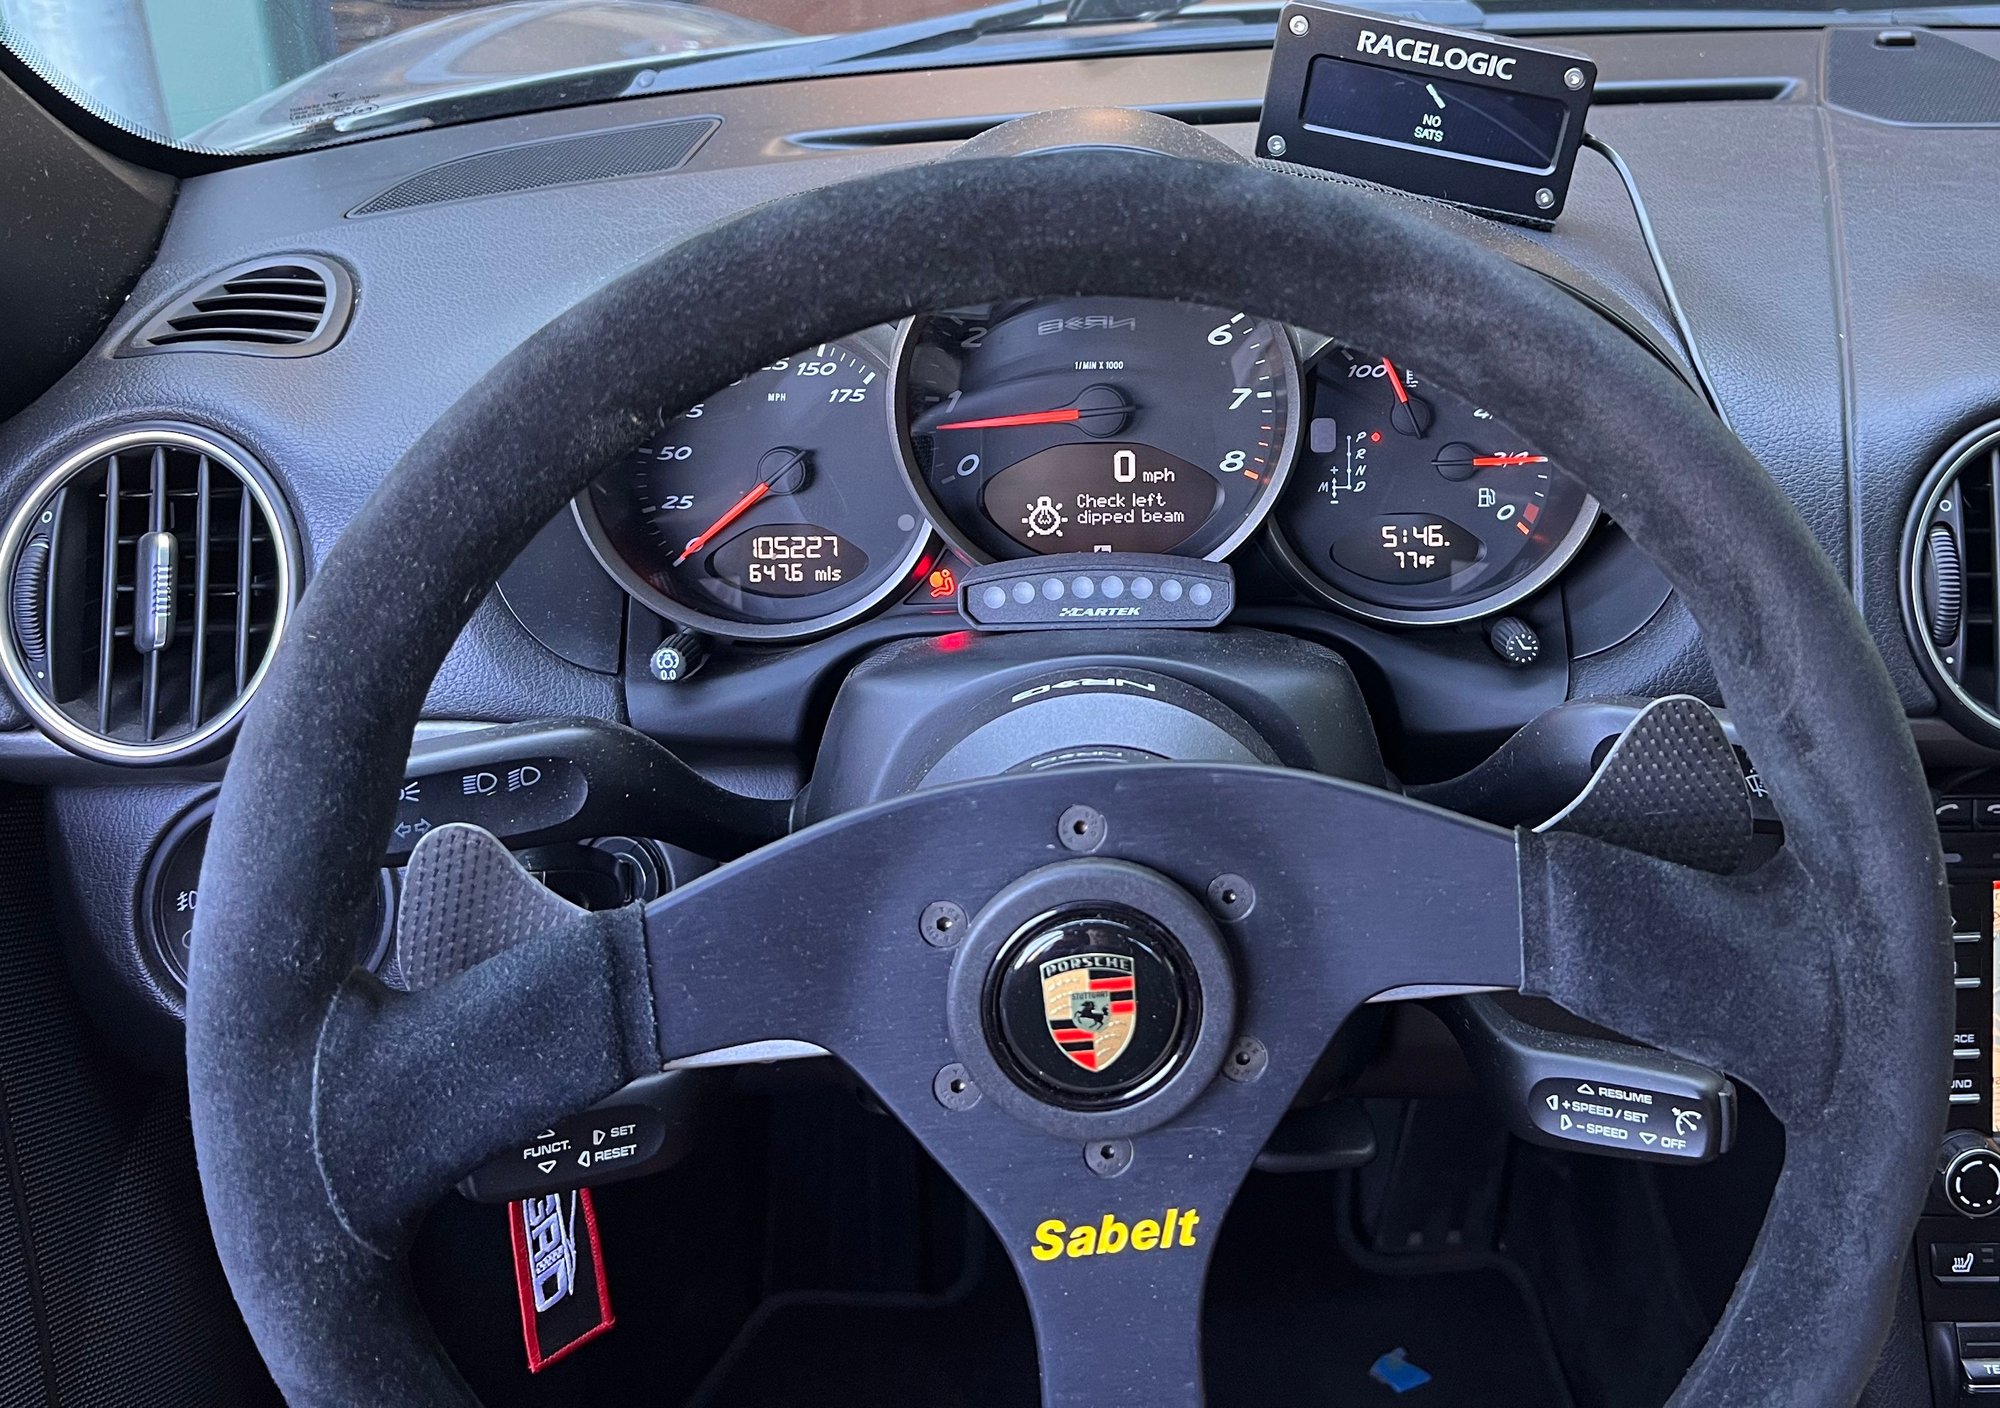
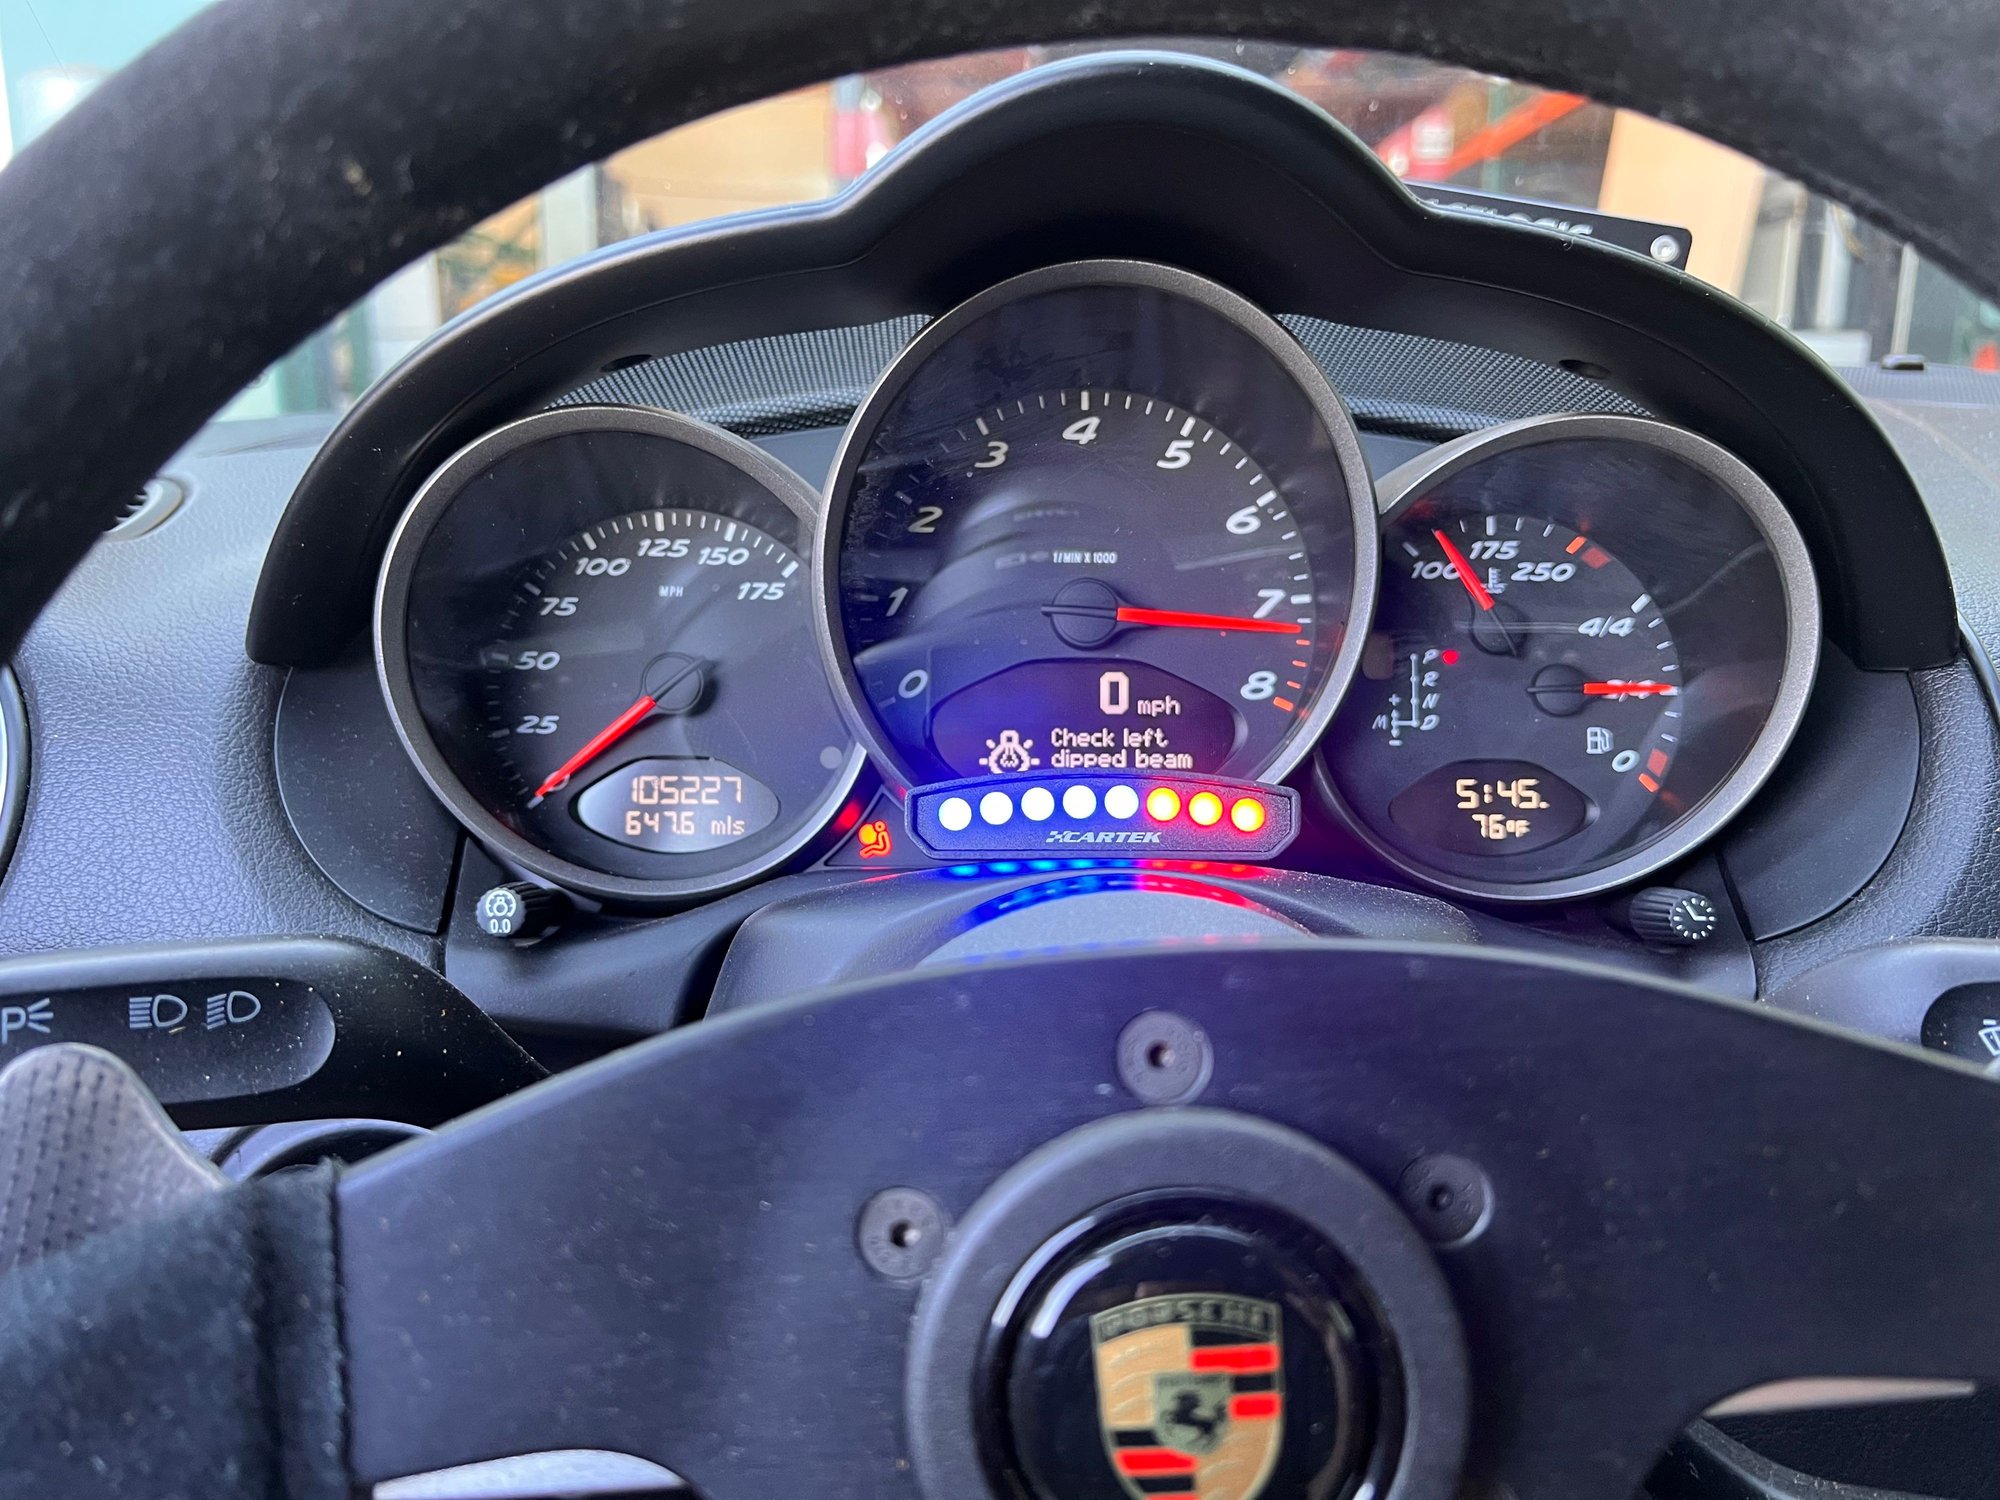
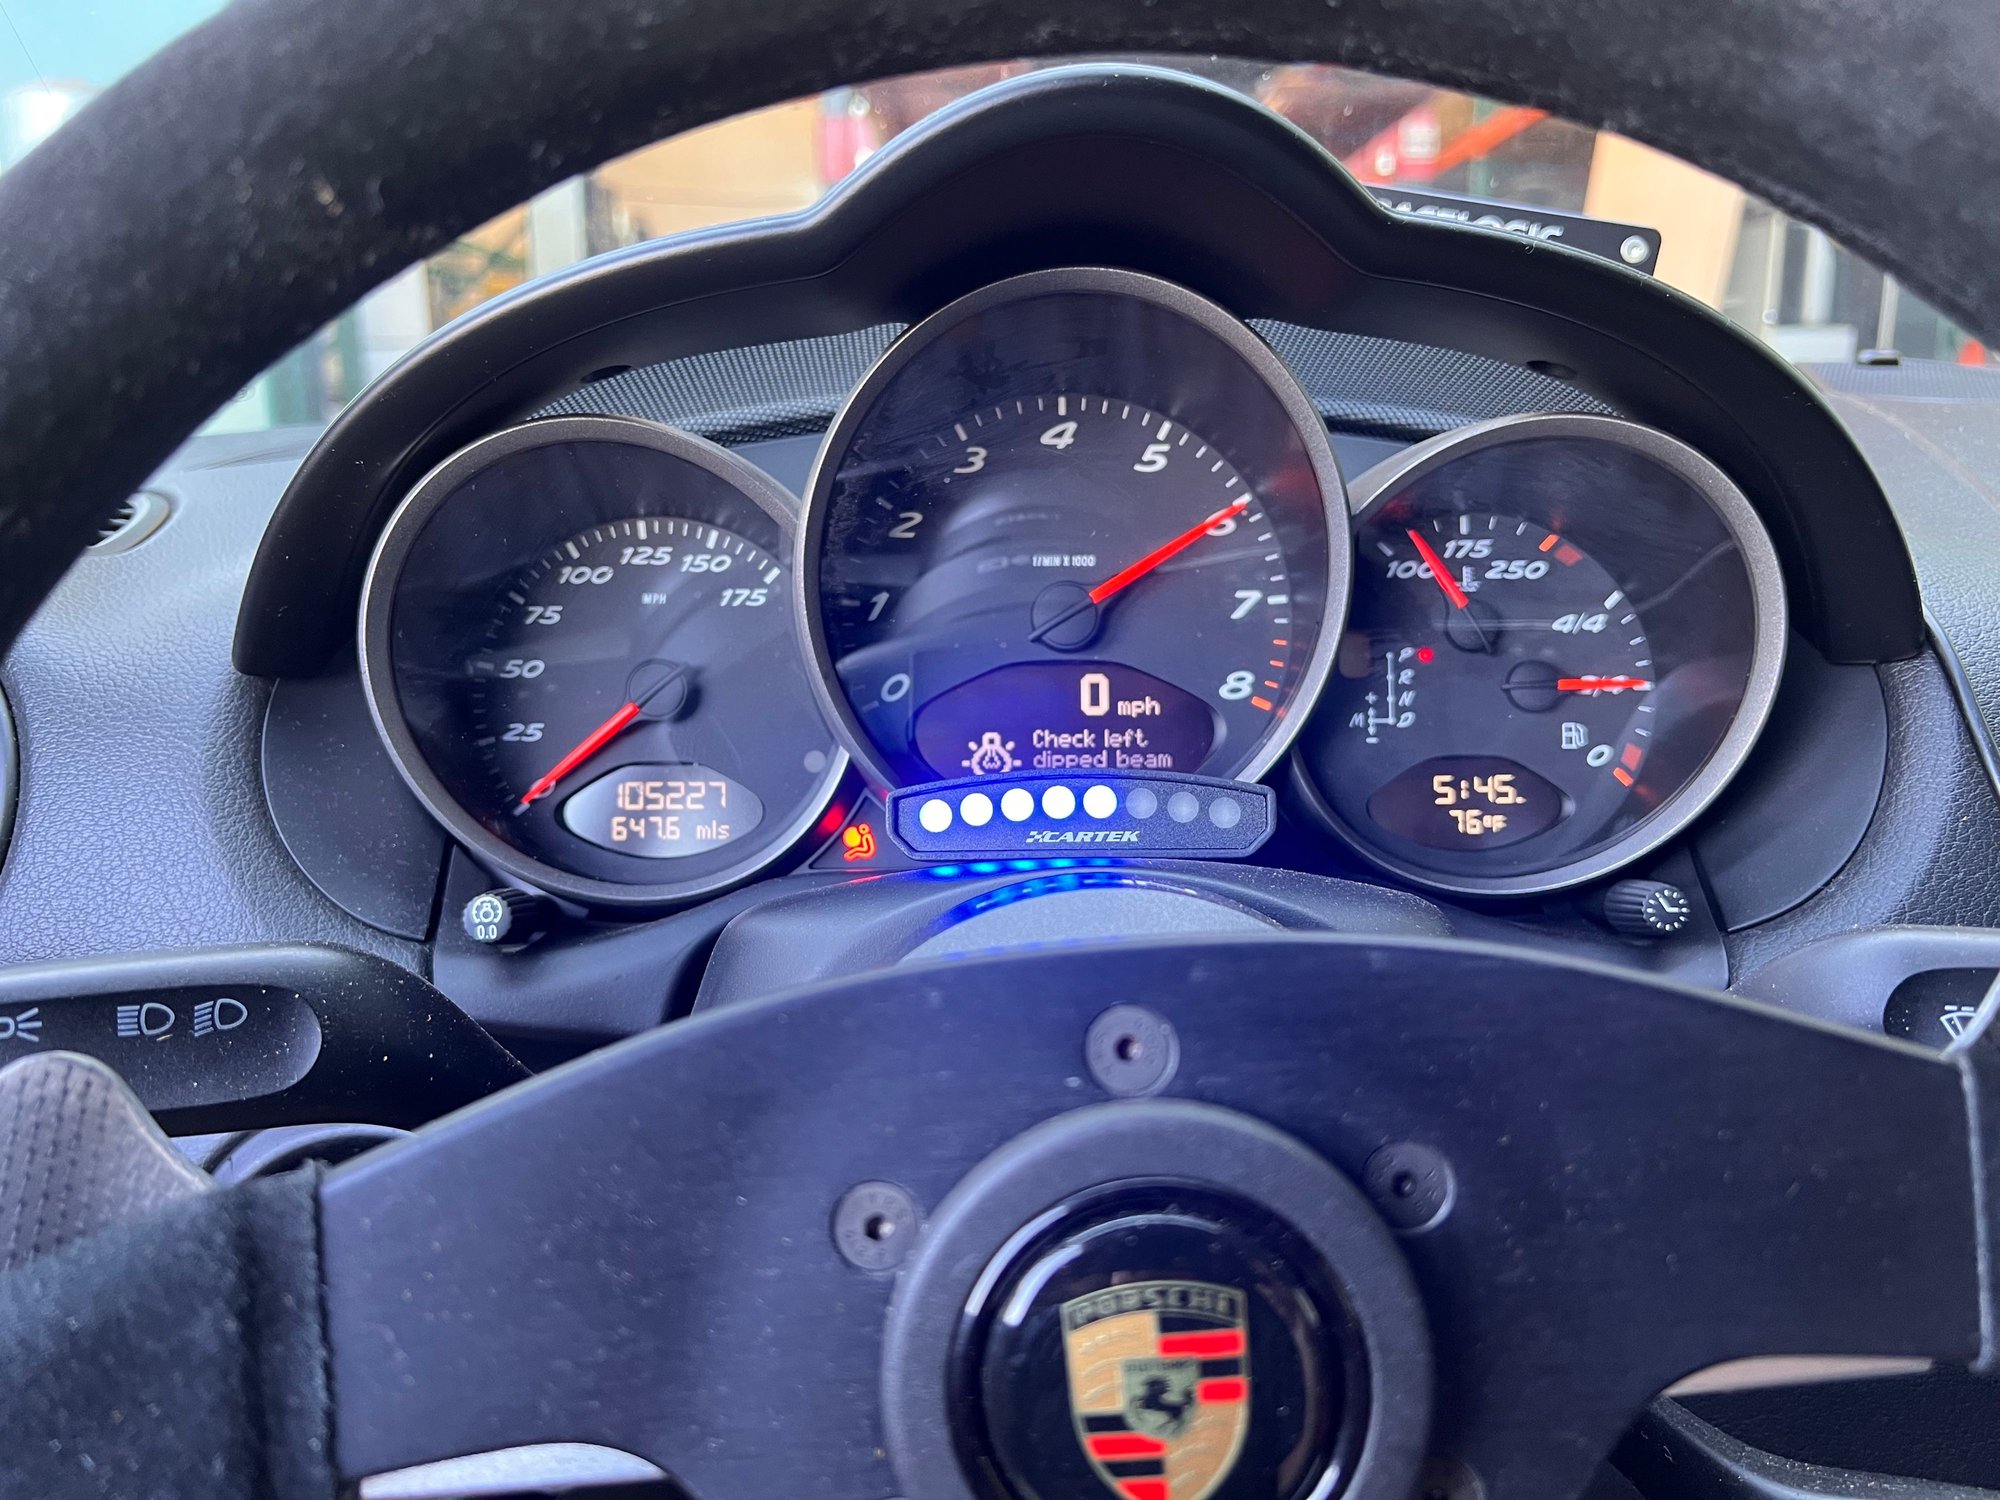
Some more photos of Mods: The shiftlight install turned out OK but was a real PIA. I have the OBD2 version which has a connector that plugs into the display that prevented me from installing it close to the Tac. I ended up hardwiring the cable into the display.
Max rev 7300 RPM Red lights come on at 6000 rpm, White (actually green) at 4000. Everything is programmable which is nice.
Sabelt GT3 Seats - Low cost and FIA approved - Seem to fit my 5'10" , 170 lb. body well - no adjustments, bolted in using OEM bolts. I had to tig weld some tabs onto the Sabelt seat mounts and I welded in an inside rear seat belt anchor .
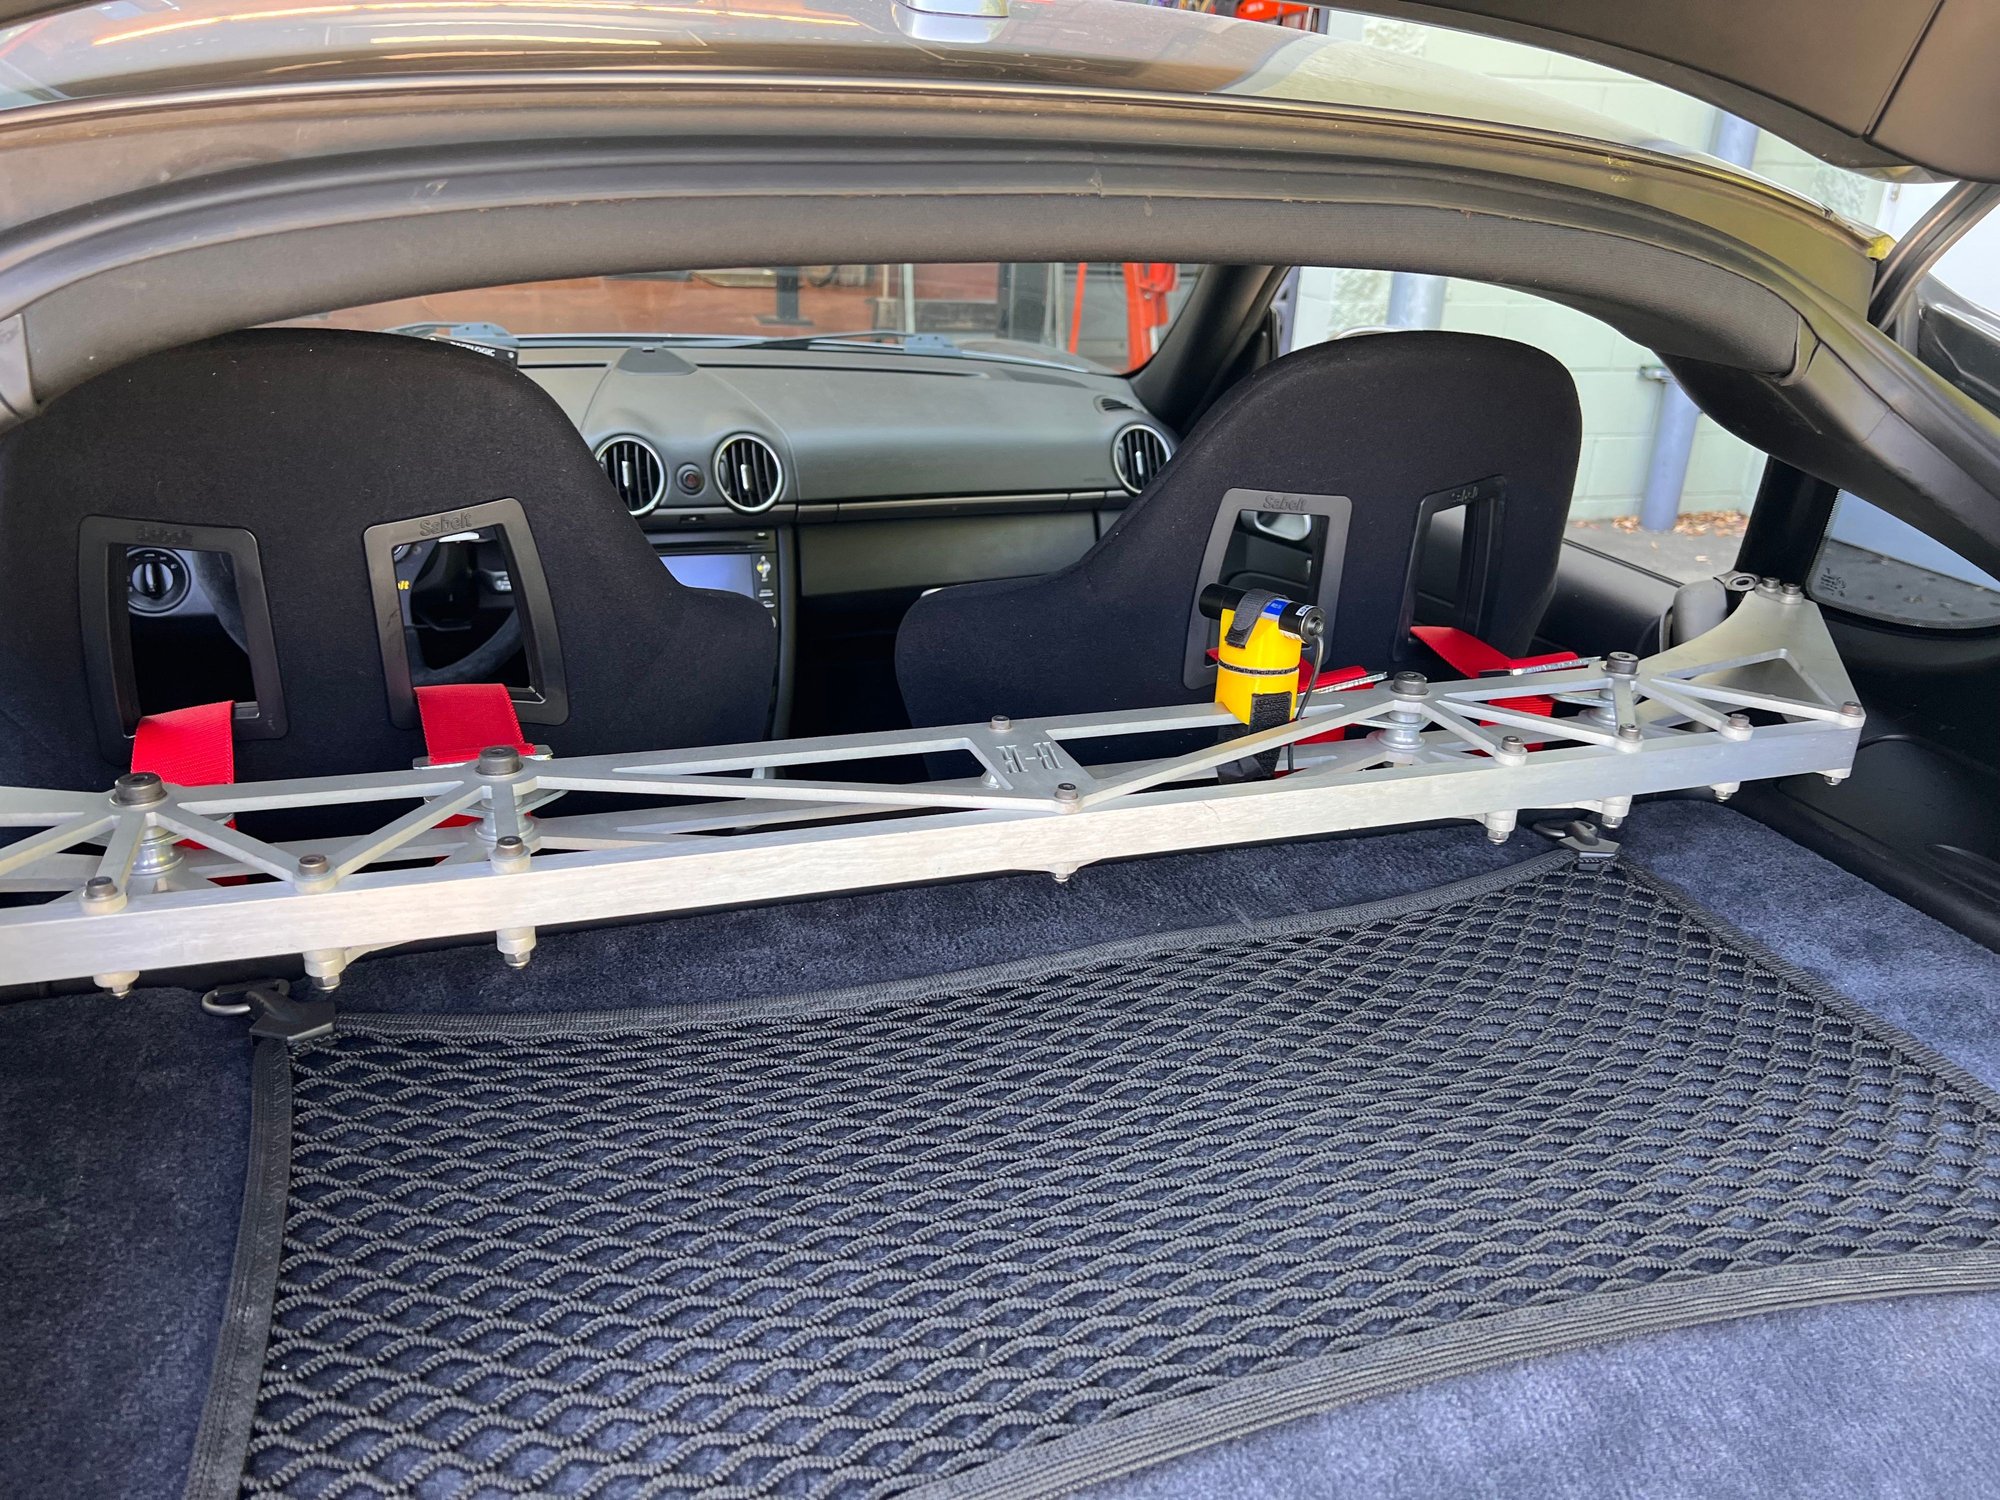
Harness Bar shown, Note Deleted OEM seat belts.
H&H harness bar. Yellow item is data logger camera. These bars fit with absolutely NO ISSUES. Light weight Battery - About half the weight of OEM Gel cell battery weighs same a Lithium, cost 1/4, I keep it on trickle charge

 05-27-2023, 12:42 AM