Fixing my 2015 Macan S Vent Controls
 05-18-2022, 01:16 AM
#1
Rennlist Member
Thread Starter
I had to replace 3 of the 4 vent clips on my new to me 2015 Macan S. The Driver Side Door, Passenger Side Radio and Passenger Side Door. You may not need to do it exactly like I did but I was struggling until I got the Hemostat. Once I had the Hemostat I completed all 3 in about 30 mins including the time to remove the vents from the car.
Recommended Tools
Inventory the Clip:
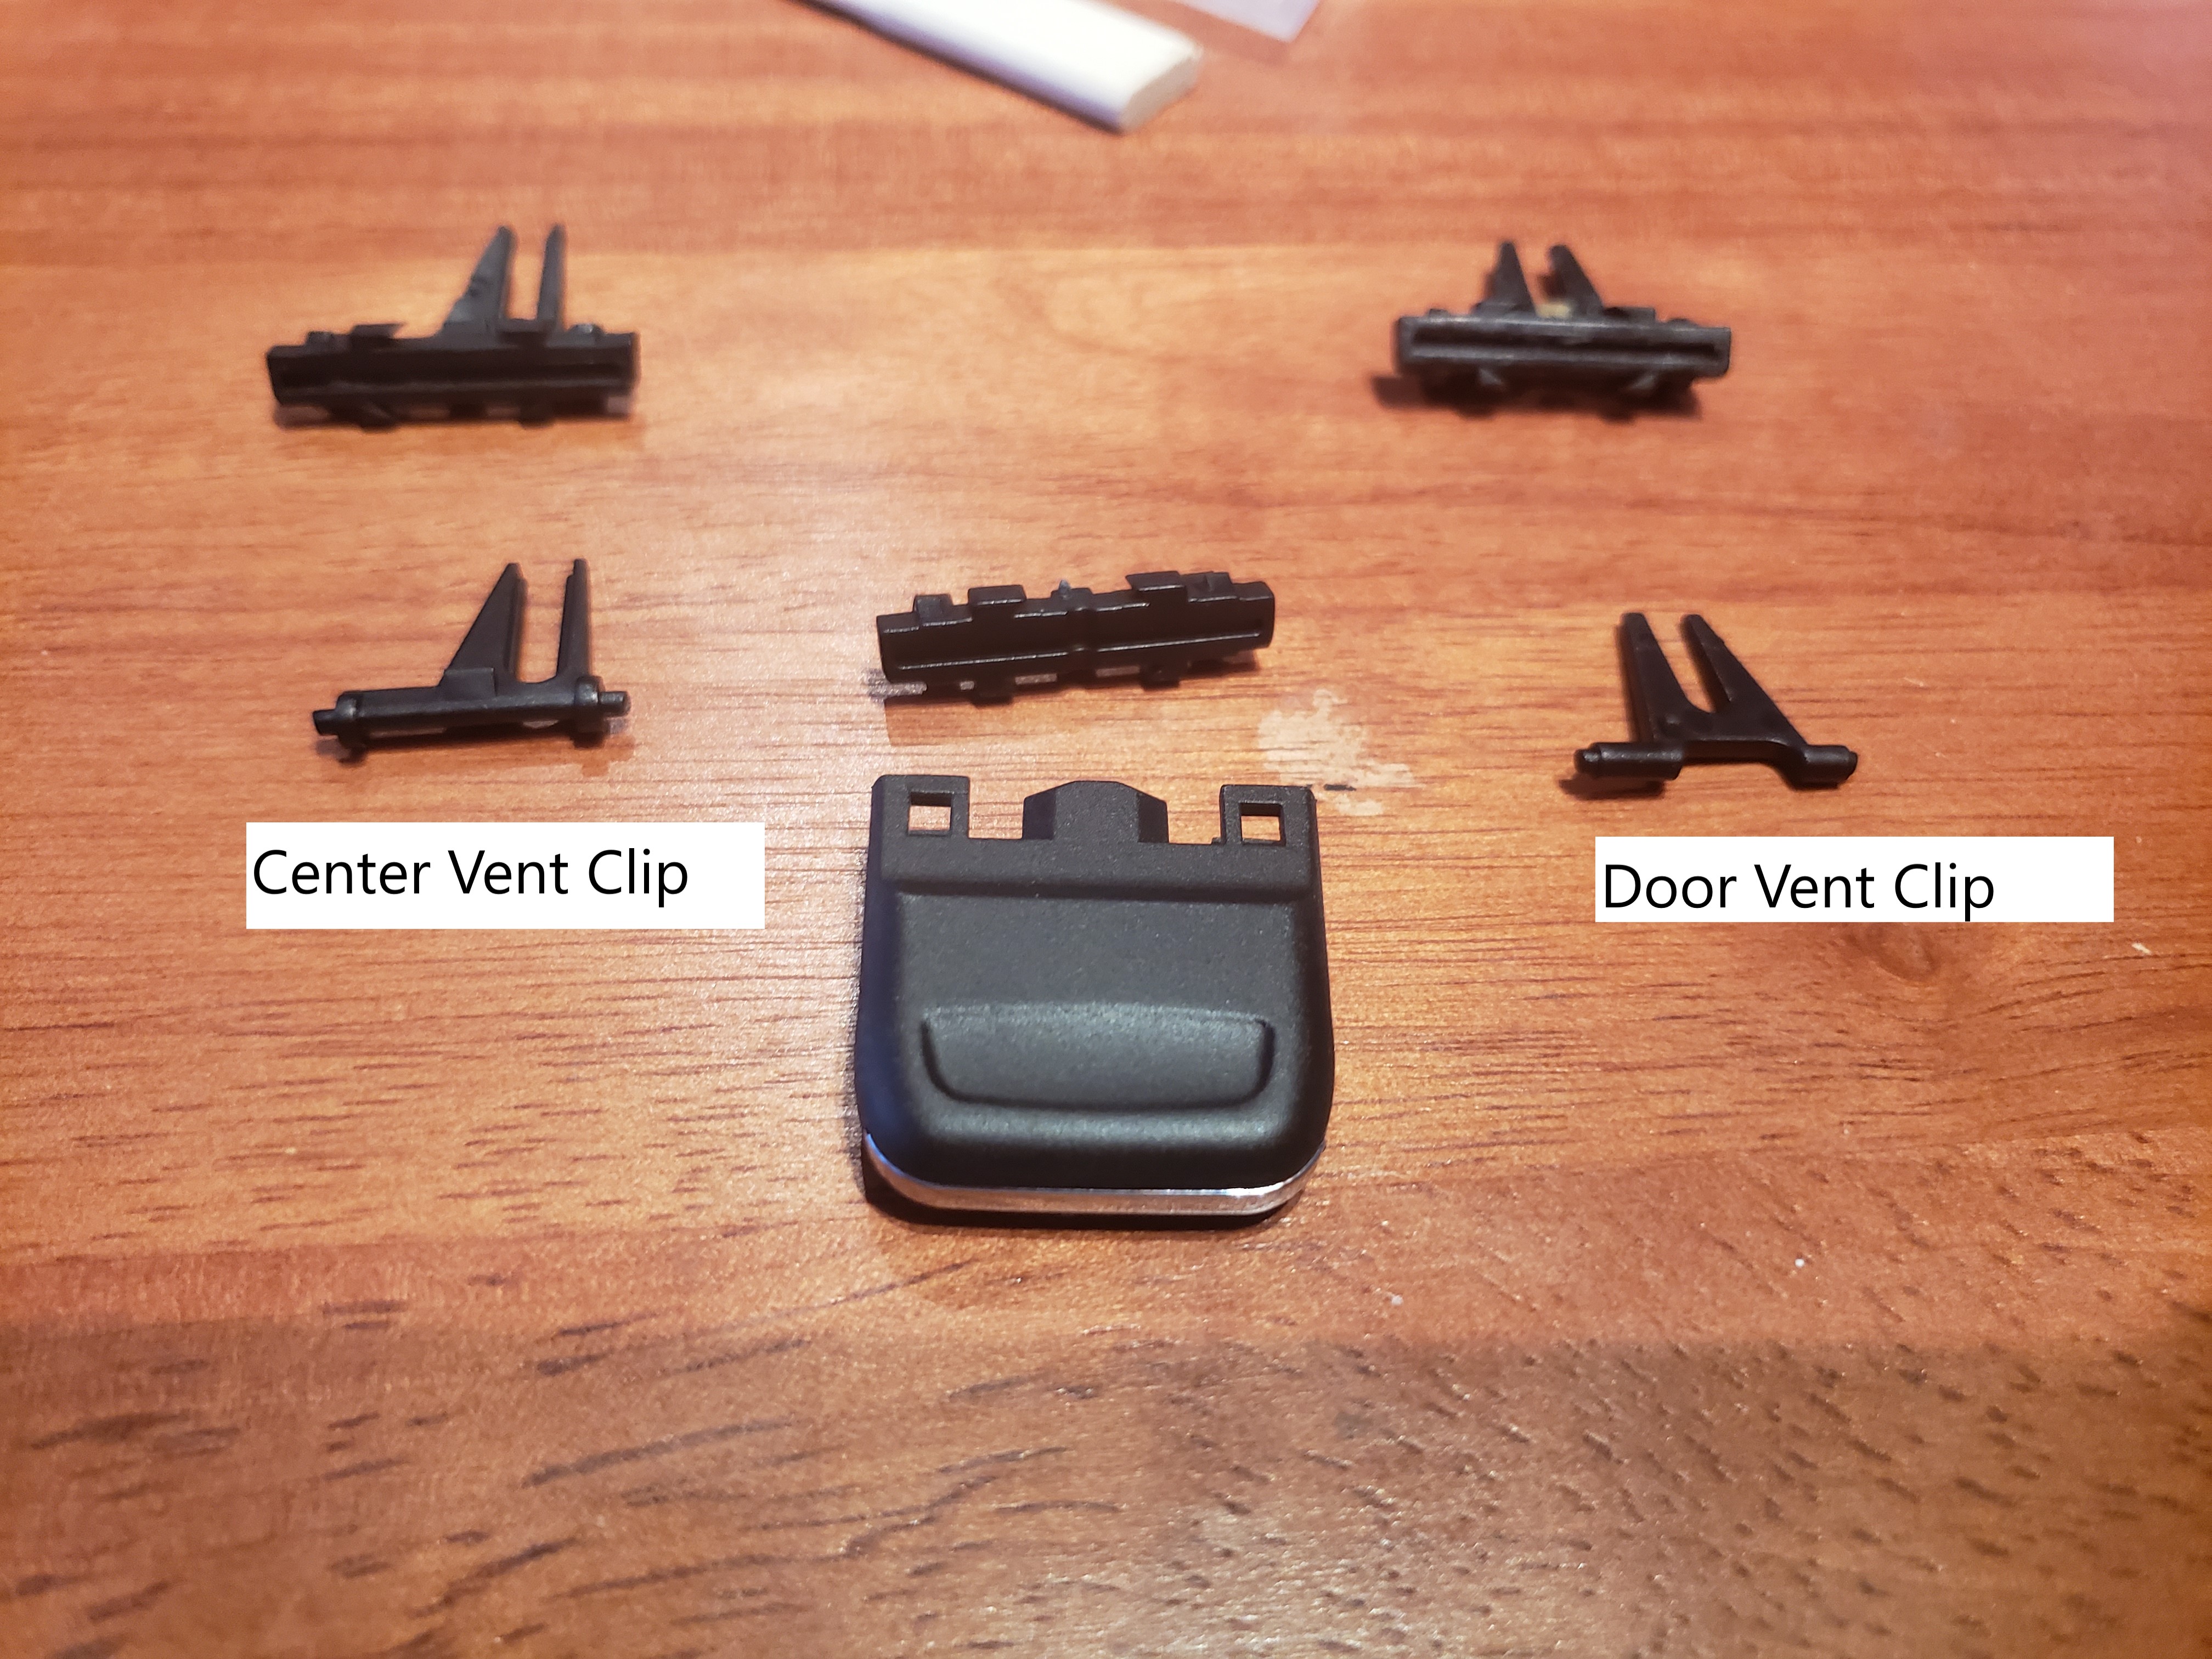
In the background are 2 original pieces I found sitting in the vents. Notice the slight difference between the "Center Vent" Clip which appears to be used for the 2 vents next to the radio and the "Door Vent" clip which is the style used for the door vents. Look at the center piece that attaches to the control. It's keyed. The smaller cut is the top and the larger is the bottom. If you have your control upside down it will not move freely like the OEM control.
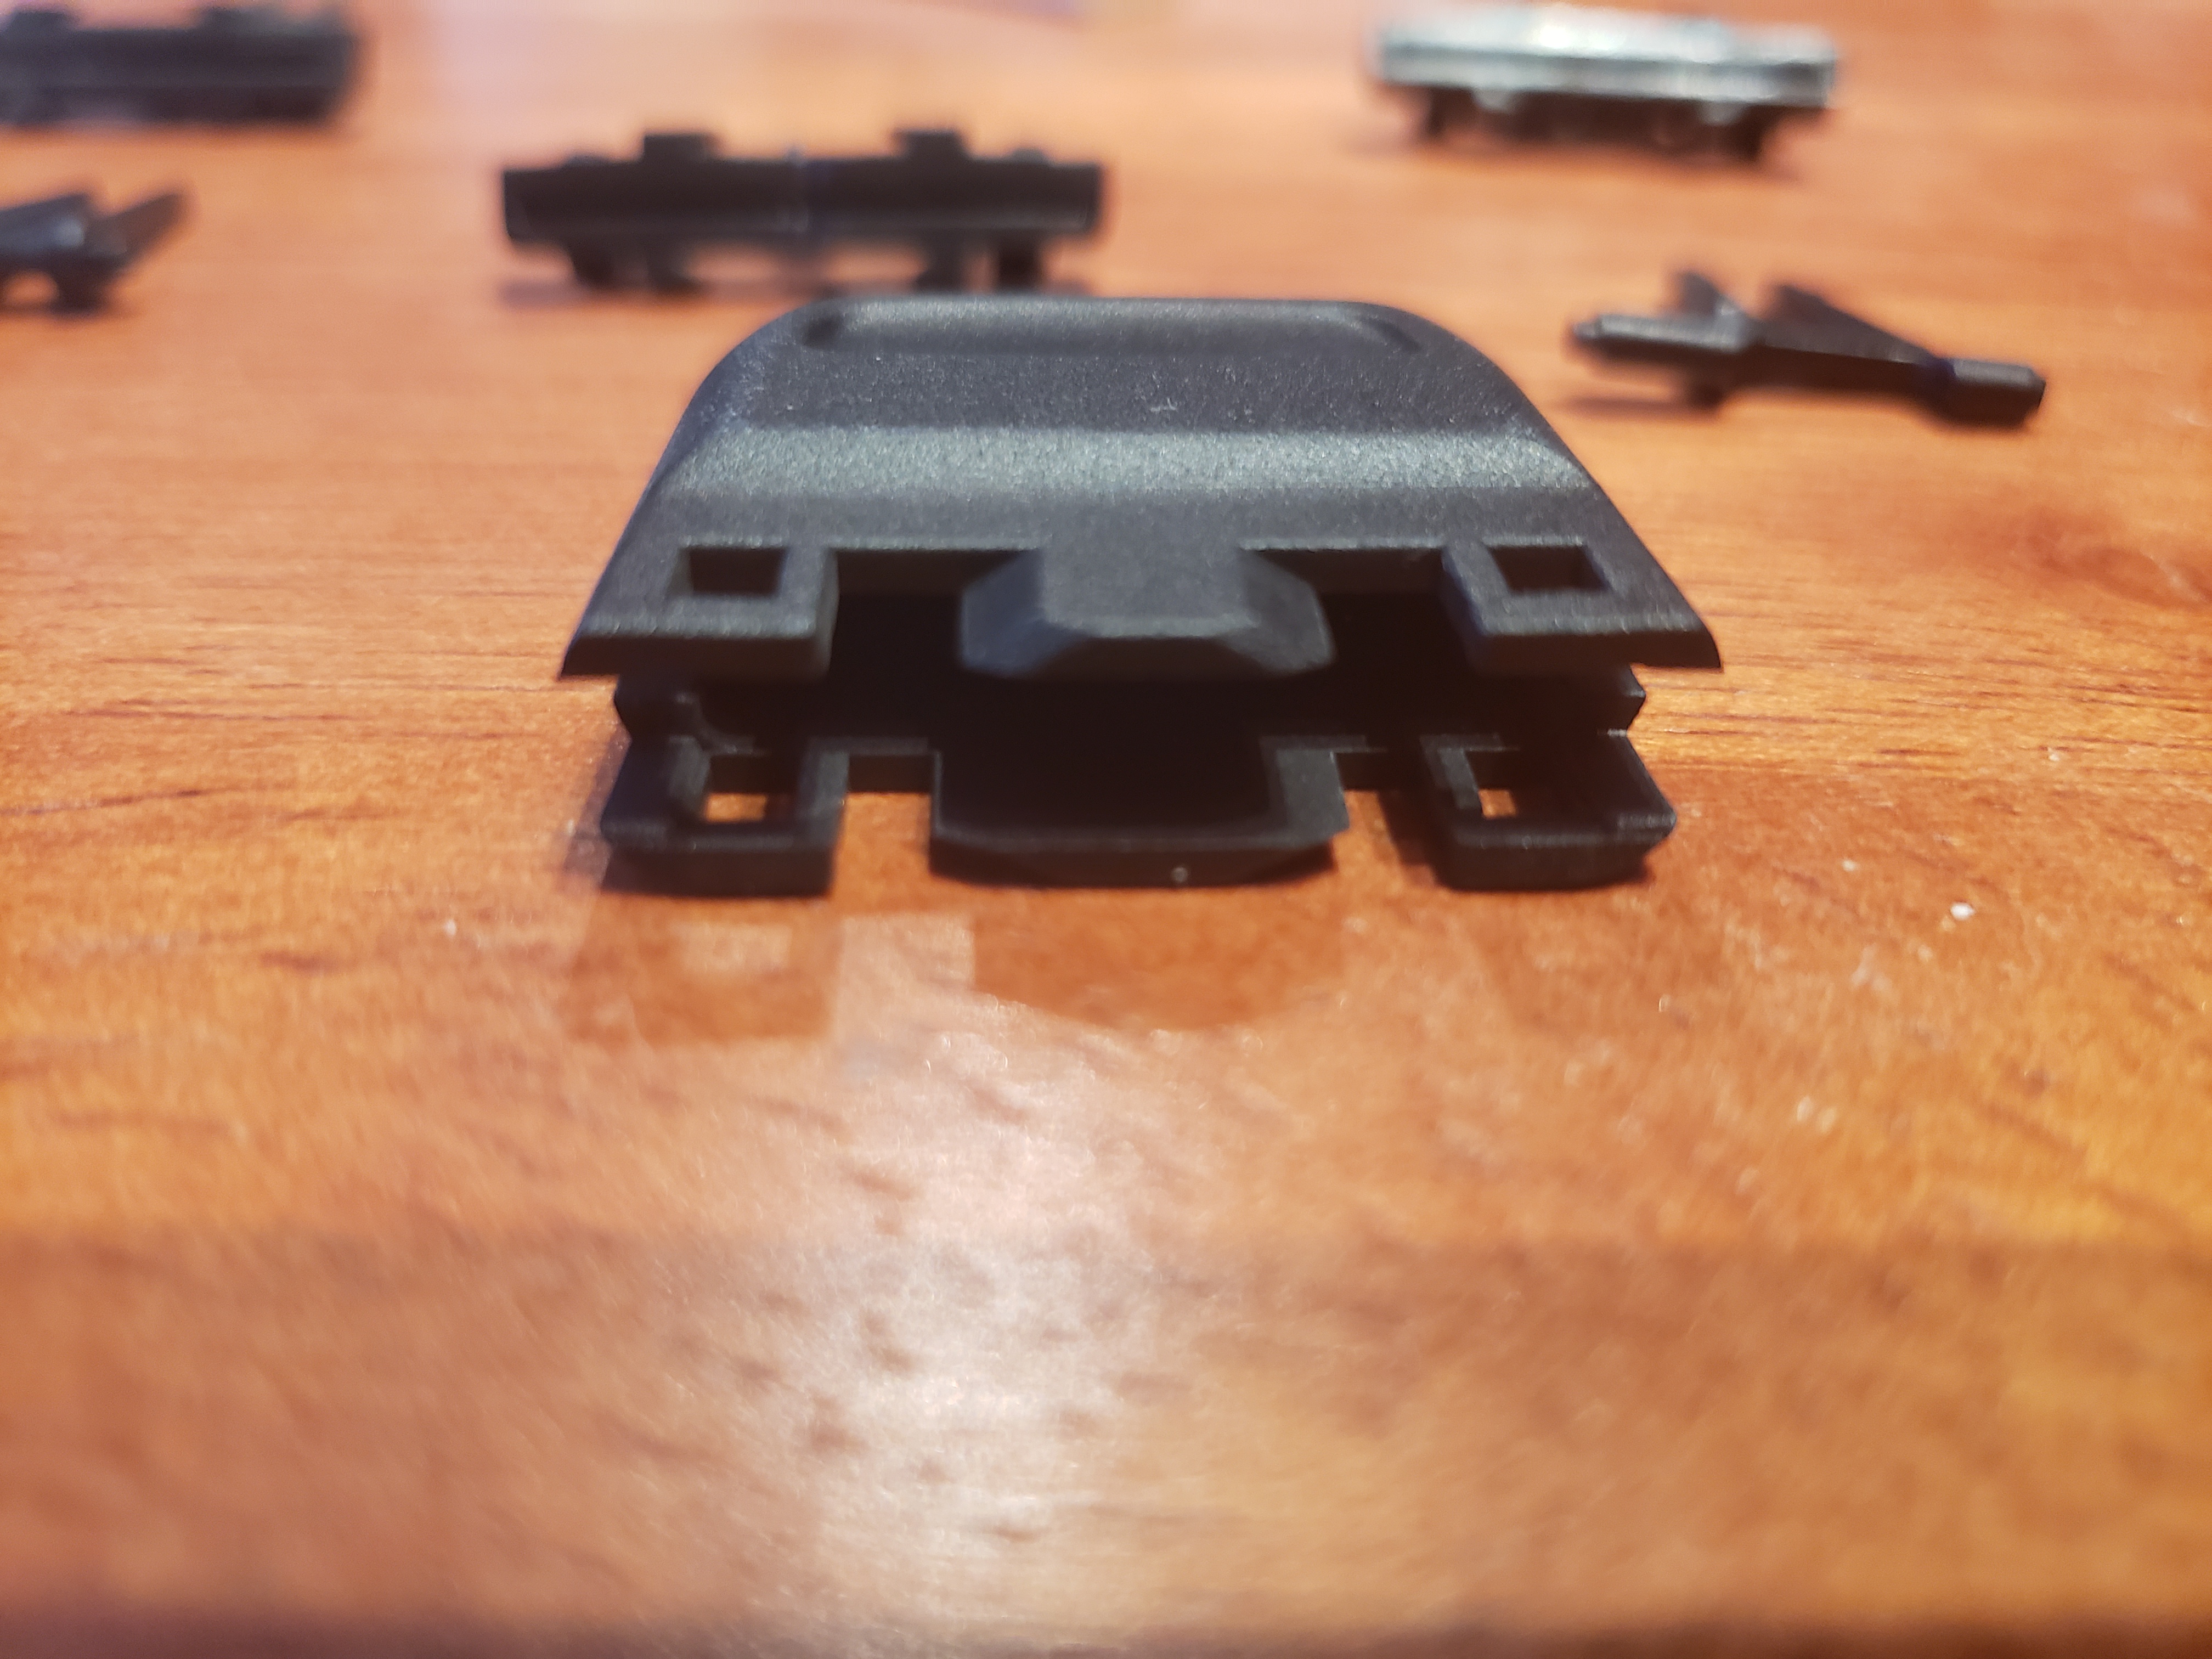
View of back of control:
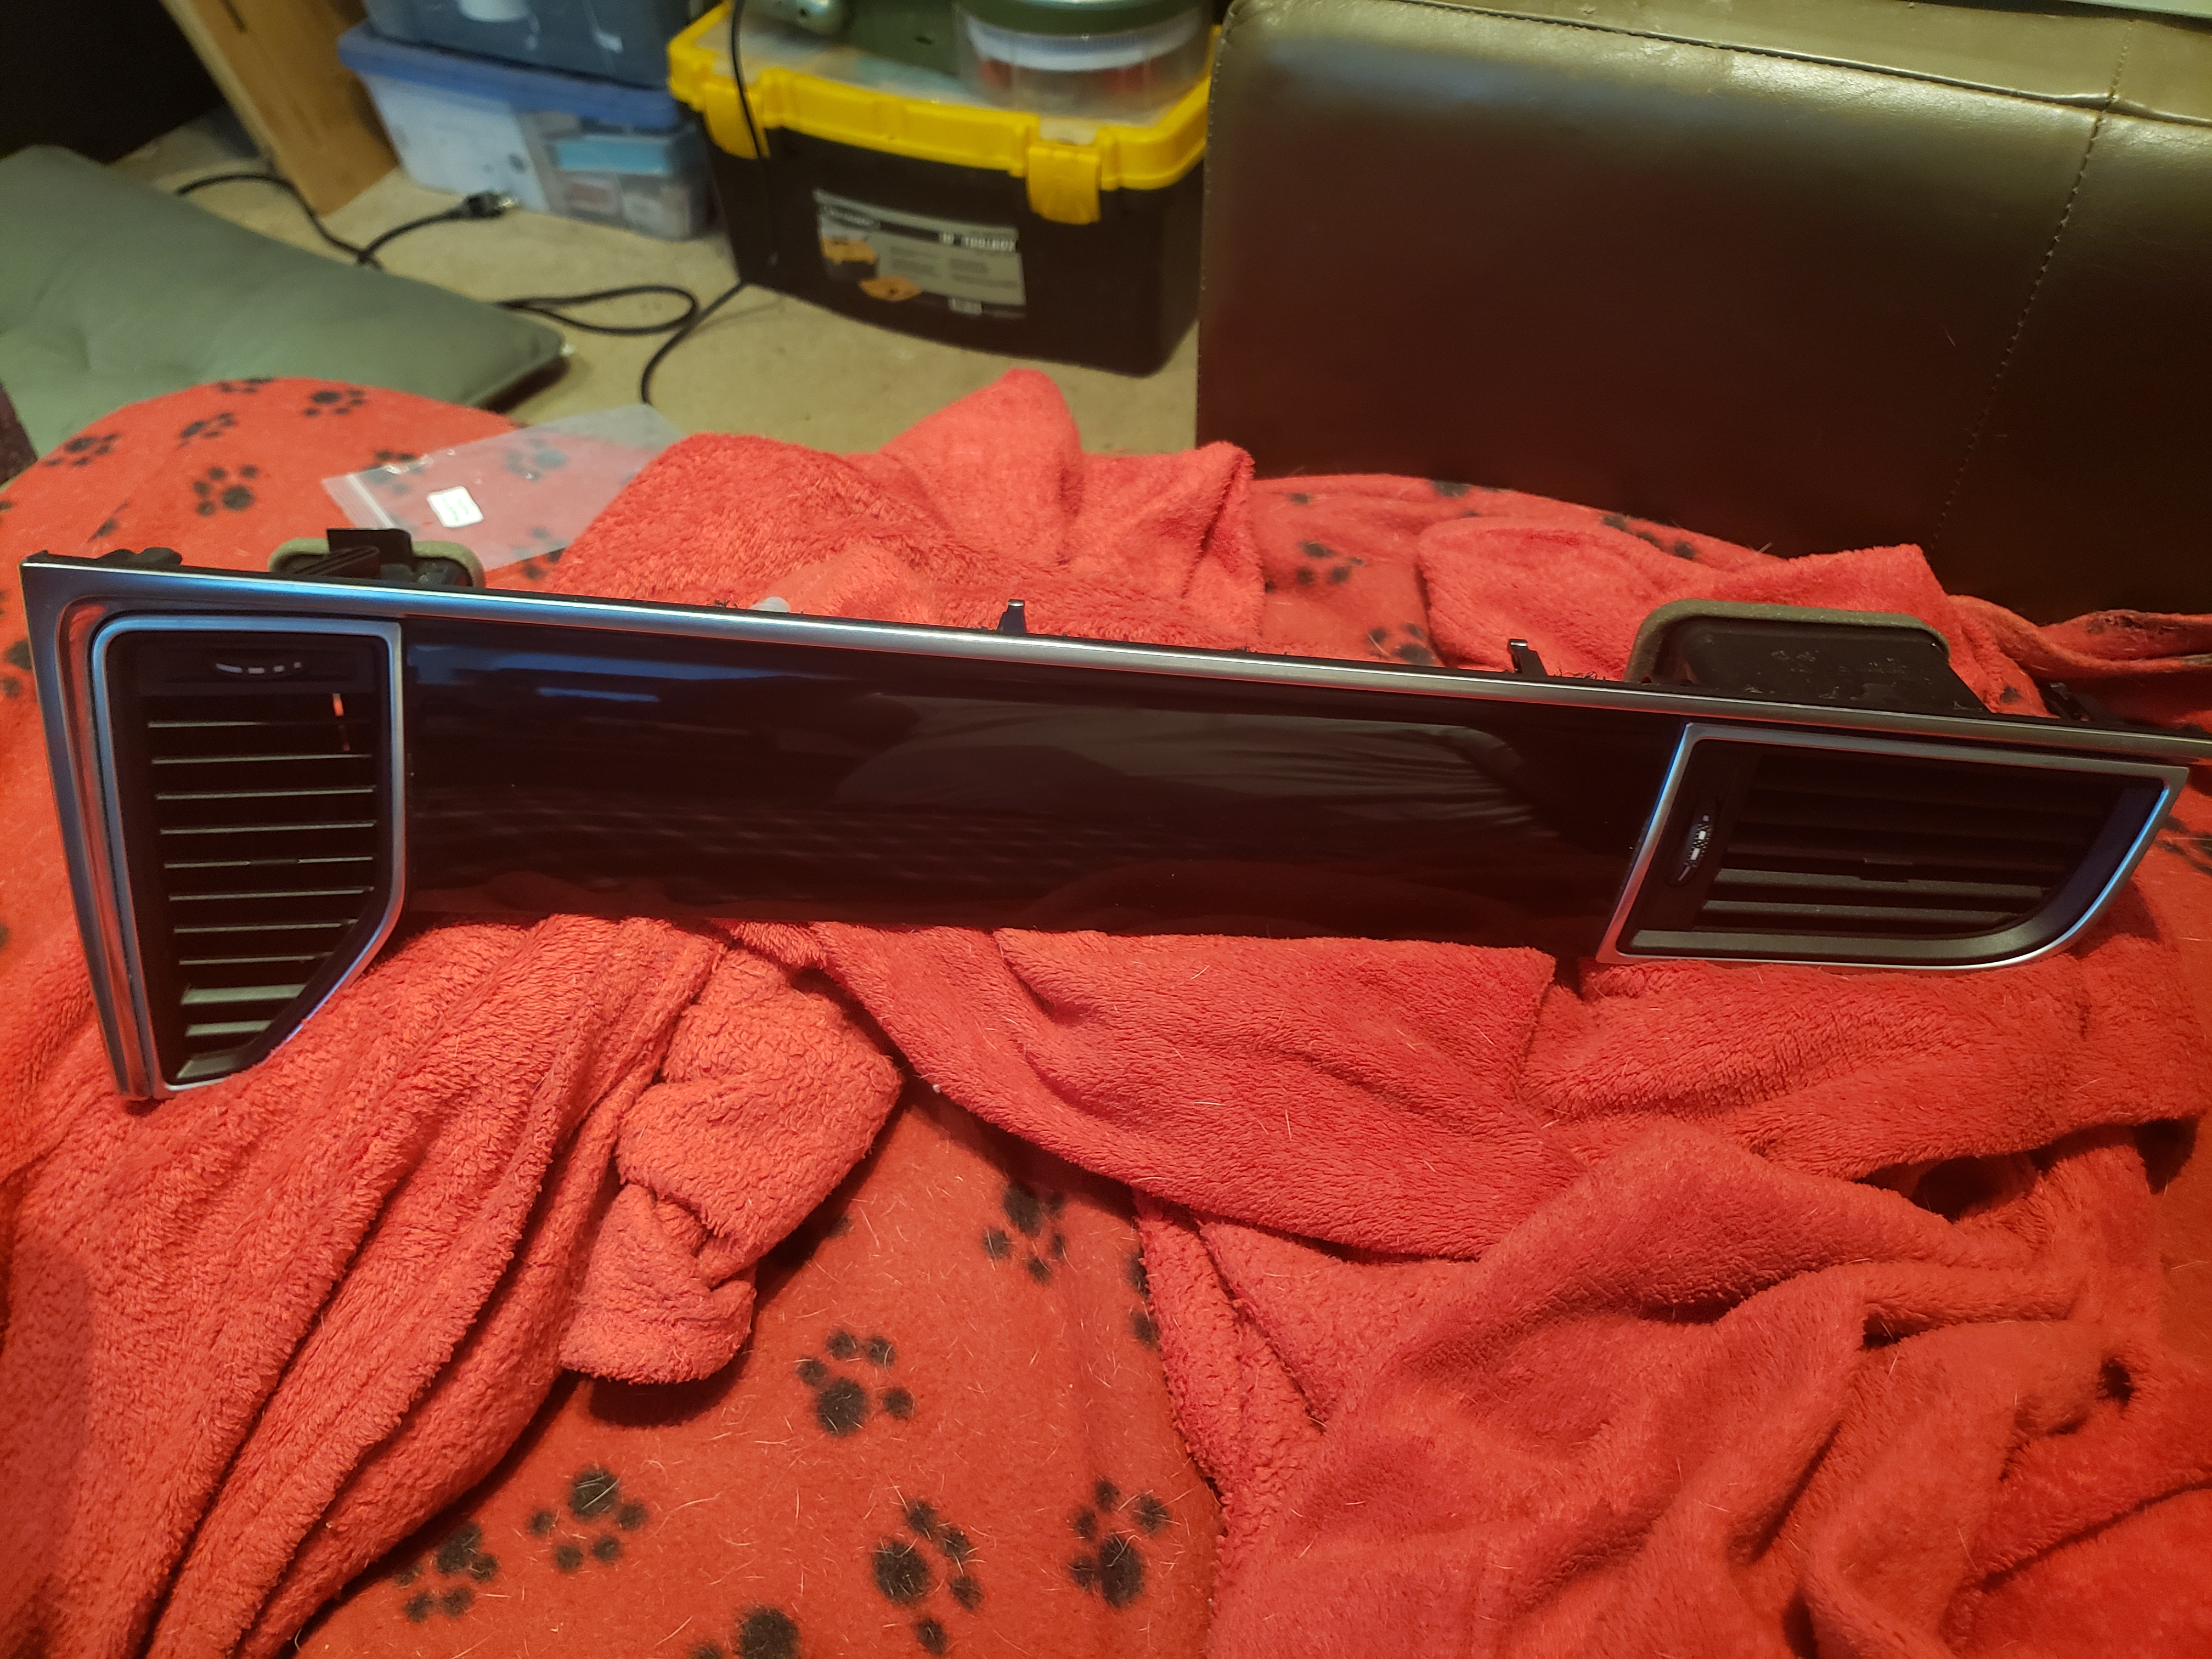
Passenger side vents removed.
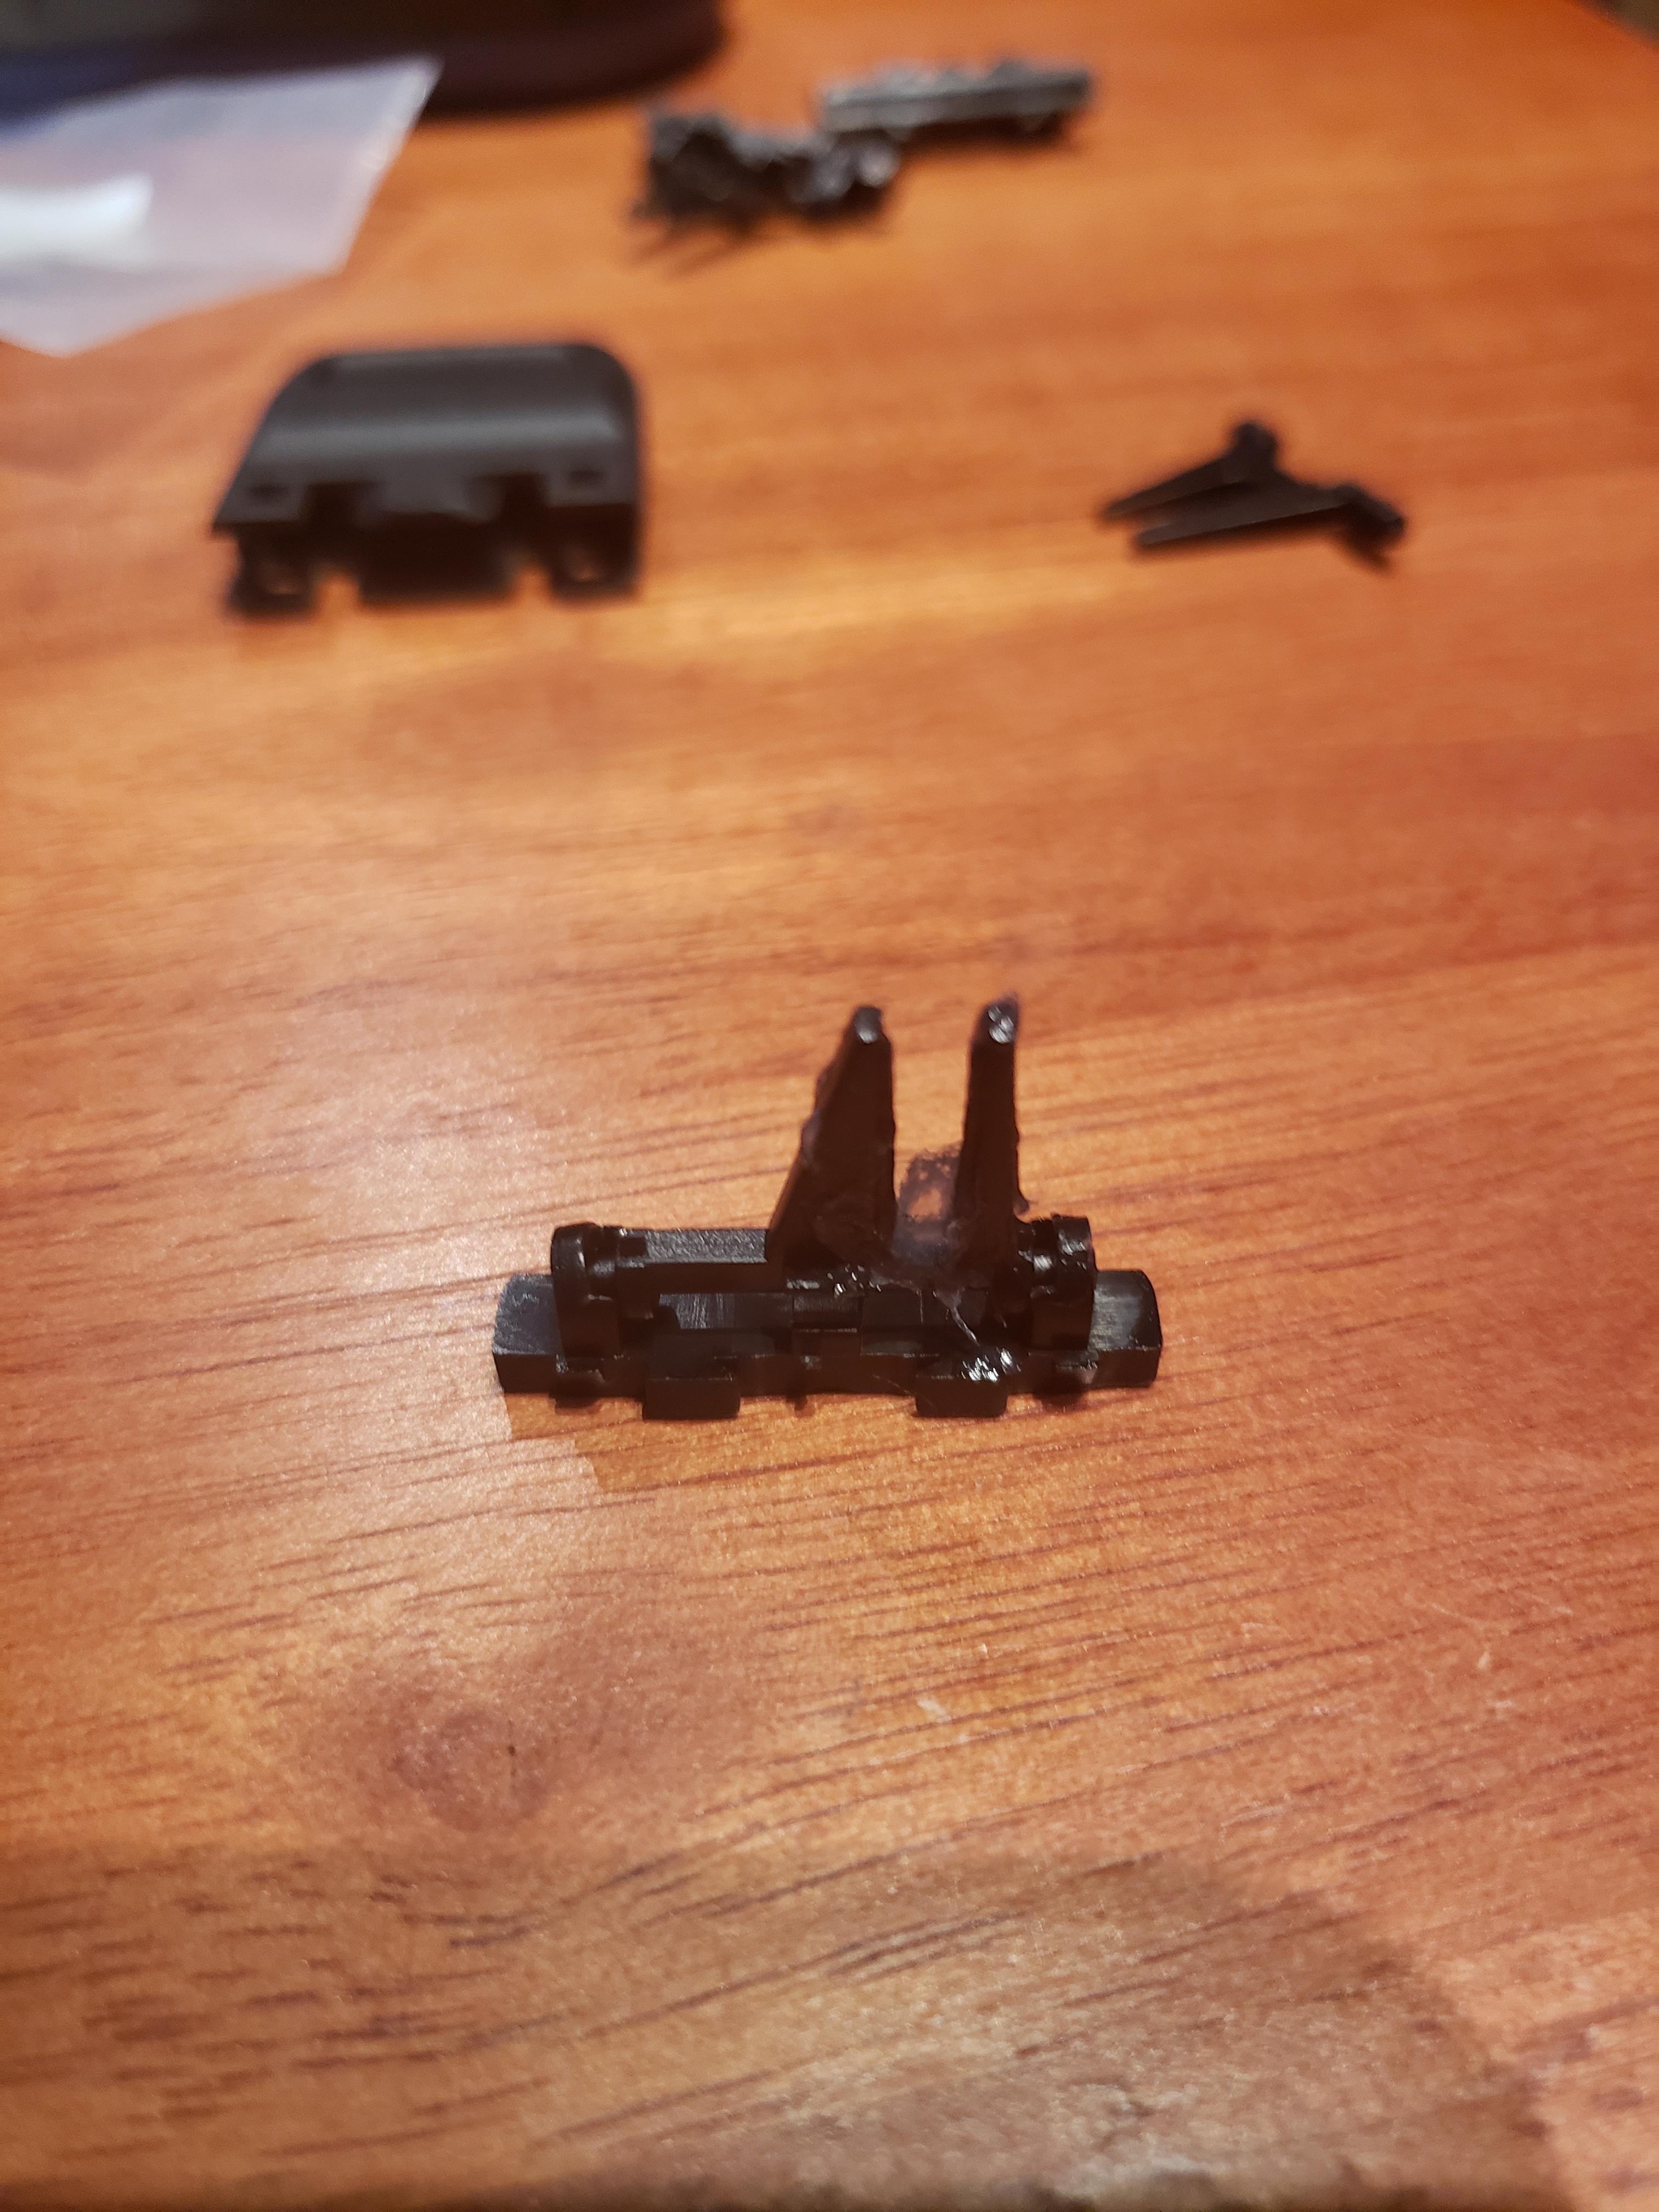
OEM piece recovered (notice the grease where it connects to inside of vent).
Step 1: Remove the Vent
I followed this video:
One tip which isn't described in the video to remove the wire harness is I let the vent hang down to put very slight tension on it so it was "pulling". I then pressed on the little metal tab as I very lightly pulled on the vent. Once I felt it move just a tiny bit I stopped pulling and then then was able to disconnect the wire harness. Trying to do this by pushing down with the Awl and pulling the connectors apart didn't work for me (but might for you).
Step 2: Assemble the rear of the control based on the vent you're working on.
Step 3: Lube the rear of control
Add a tiny bit of vaseline to the notch as can be seen here
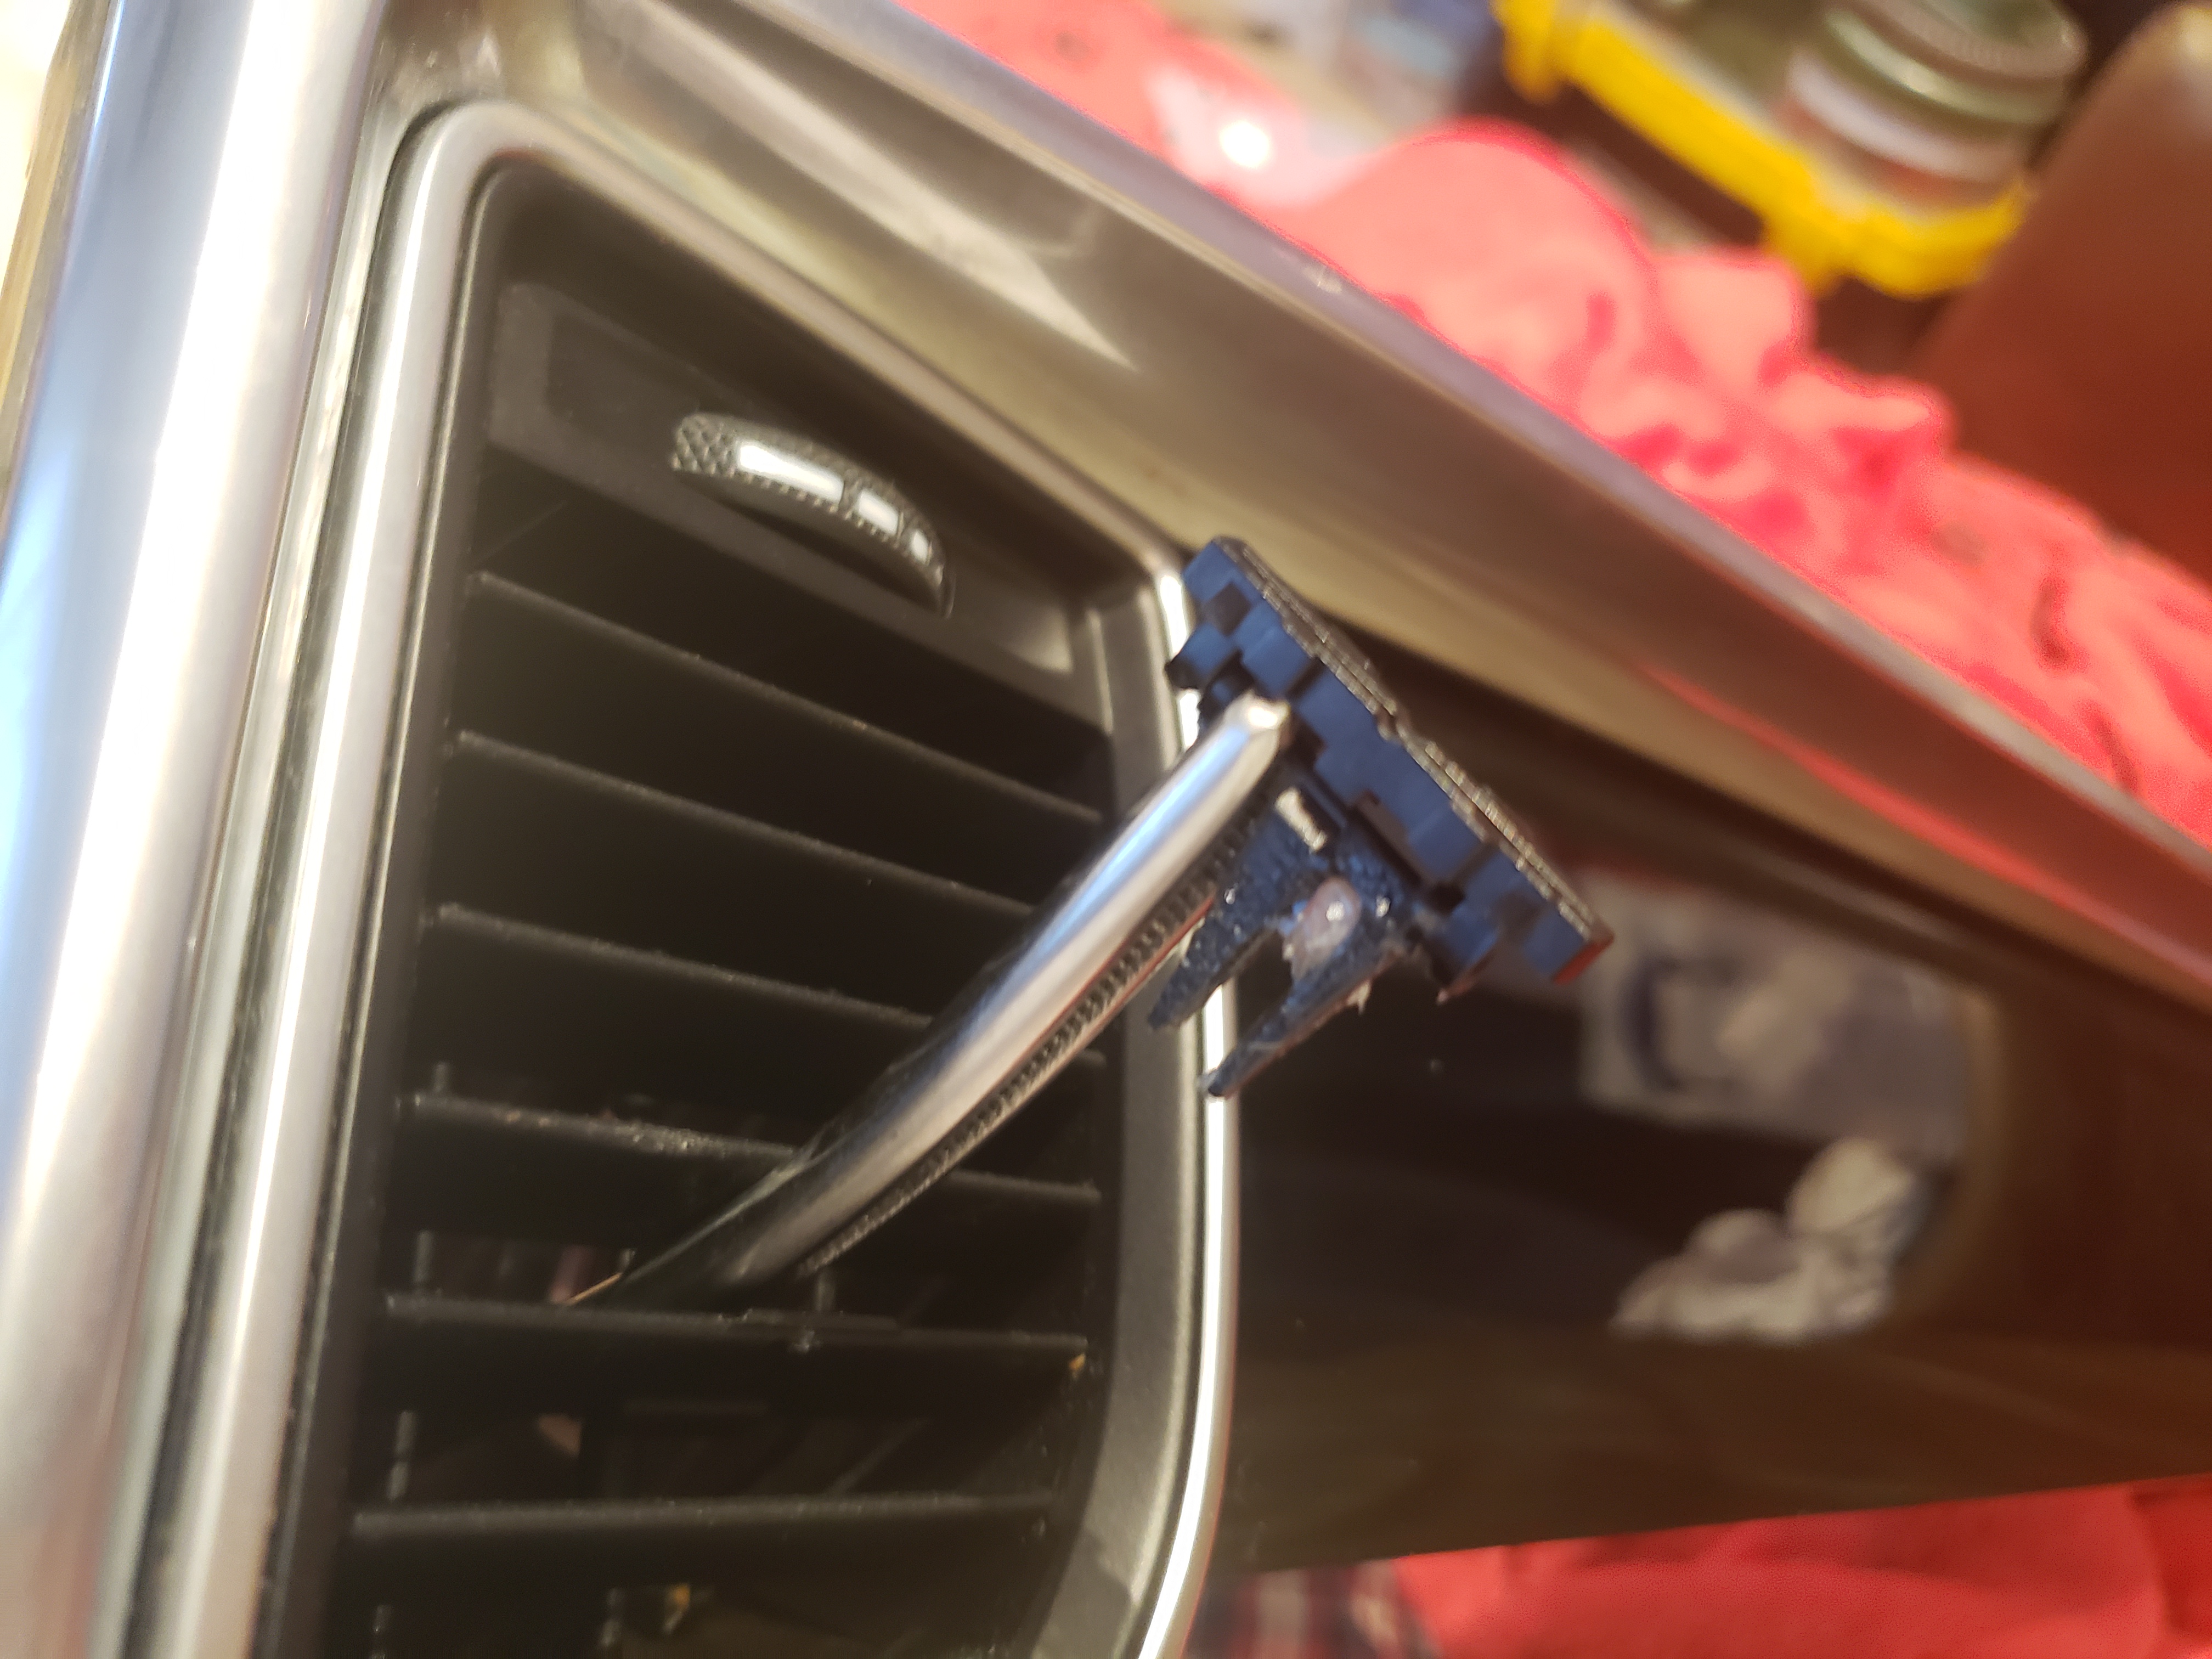
Step 4: Grab the Control
Depending on the vent you can reach through as I am showing above. That worked for me on the driver door side, but not on the passenger side. On the passenger side I used the tweezers to pass the control just pass the slats and used the hemostat to grab it from the rear of the vent. It's important to make sure the hemostat grabs it all the way up and touching the rear control. If you don't do that it'll keep swiveling up/down and make it harder to push the control together.
Step 5: Assemble
While the hemostat holds the rear of the control over the swivel point (make sure the notch goes over that) I just pushed the front of the control over it. However, I could not tell if it was fully secure doing this.
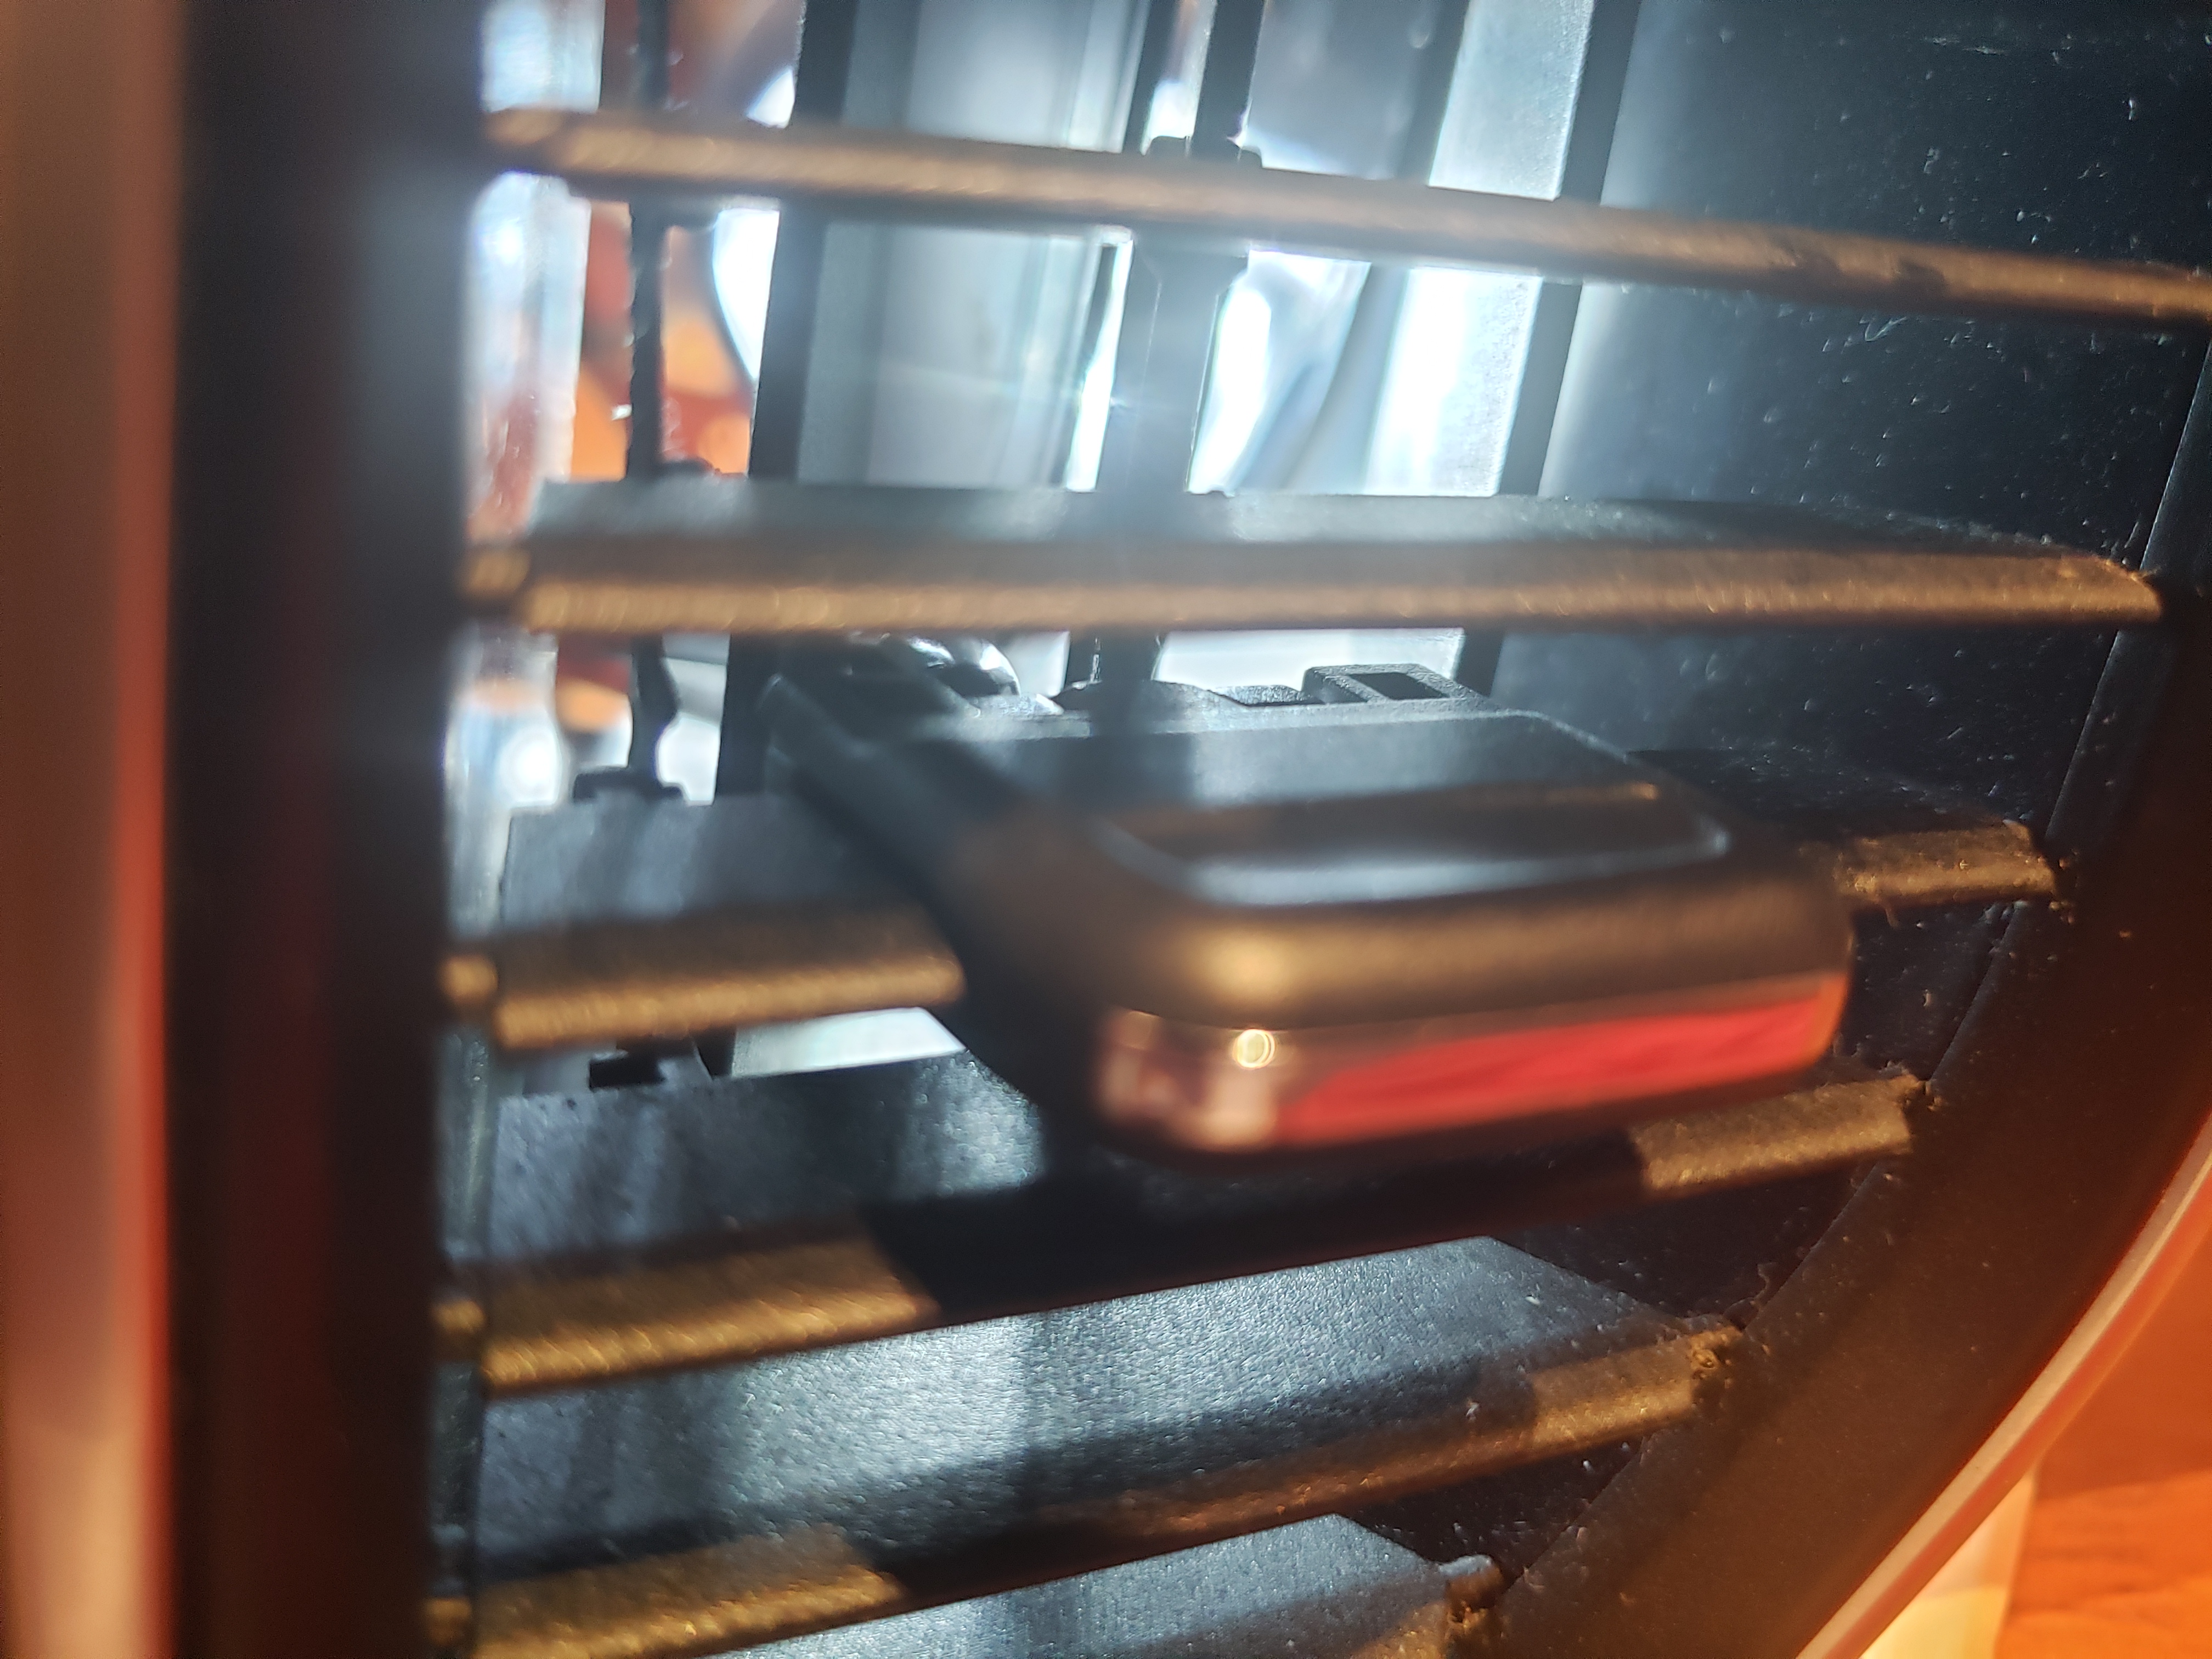
Step 6: Confirm Connection

I carefully tilted the front of the vent downward while holding the front of the vent control. I then used the chopsticks to push on the rear of the control and in all 3 installs I heard an audible "click" which confirms that the pressure from the front wasn't enough to secure it.
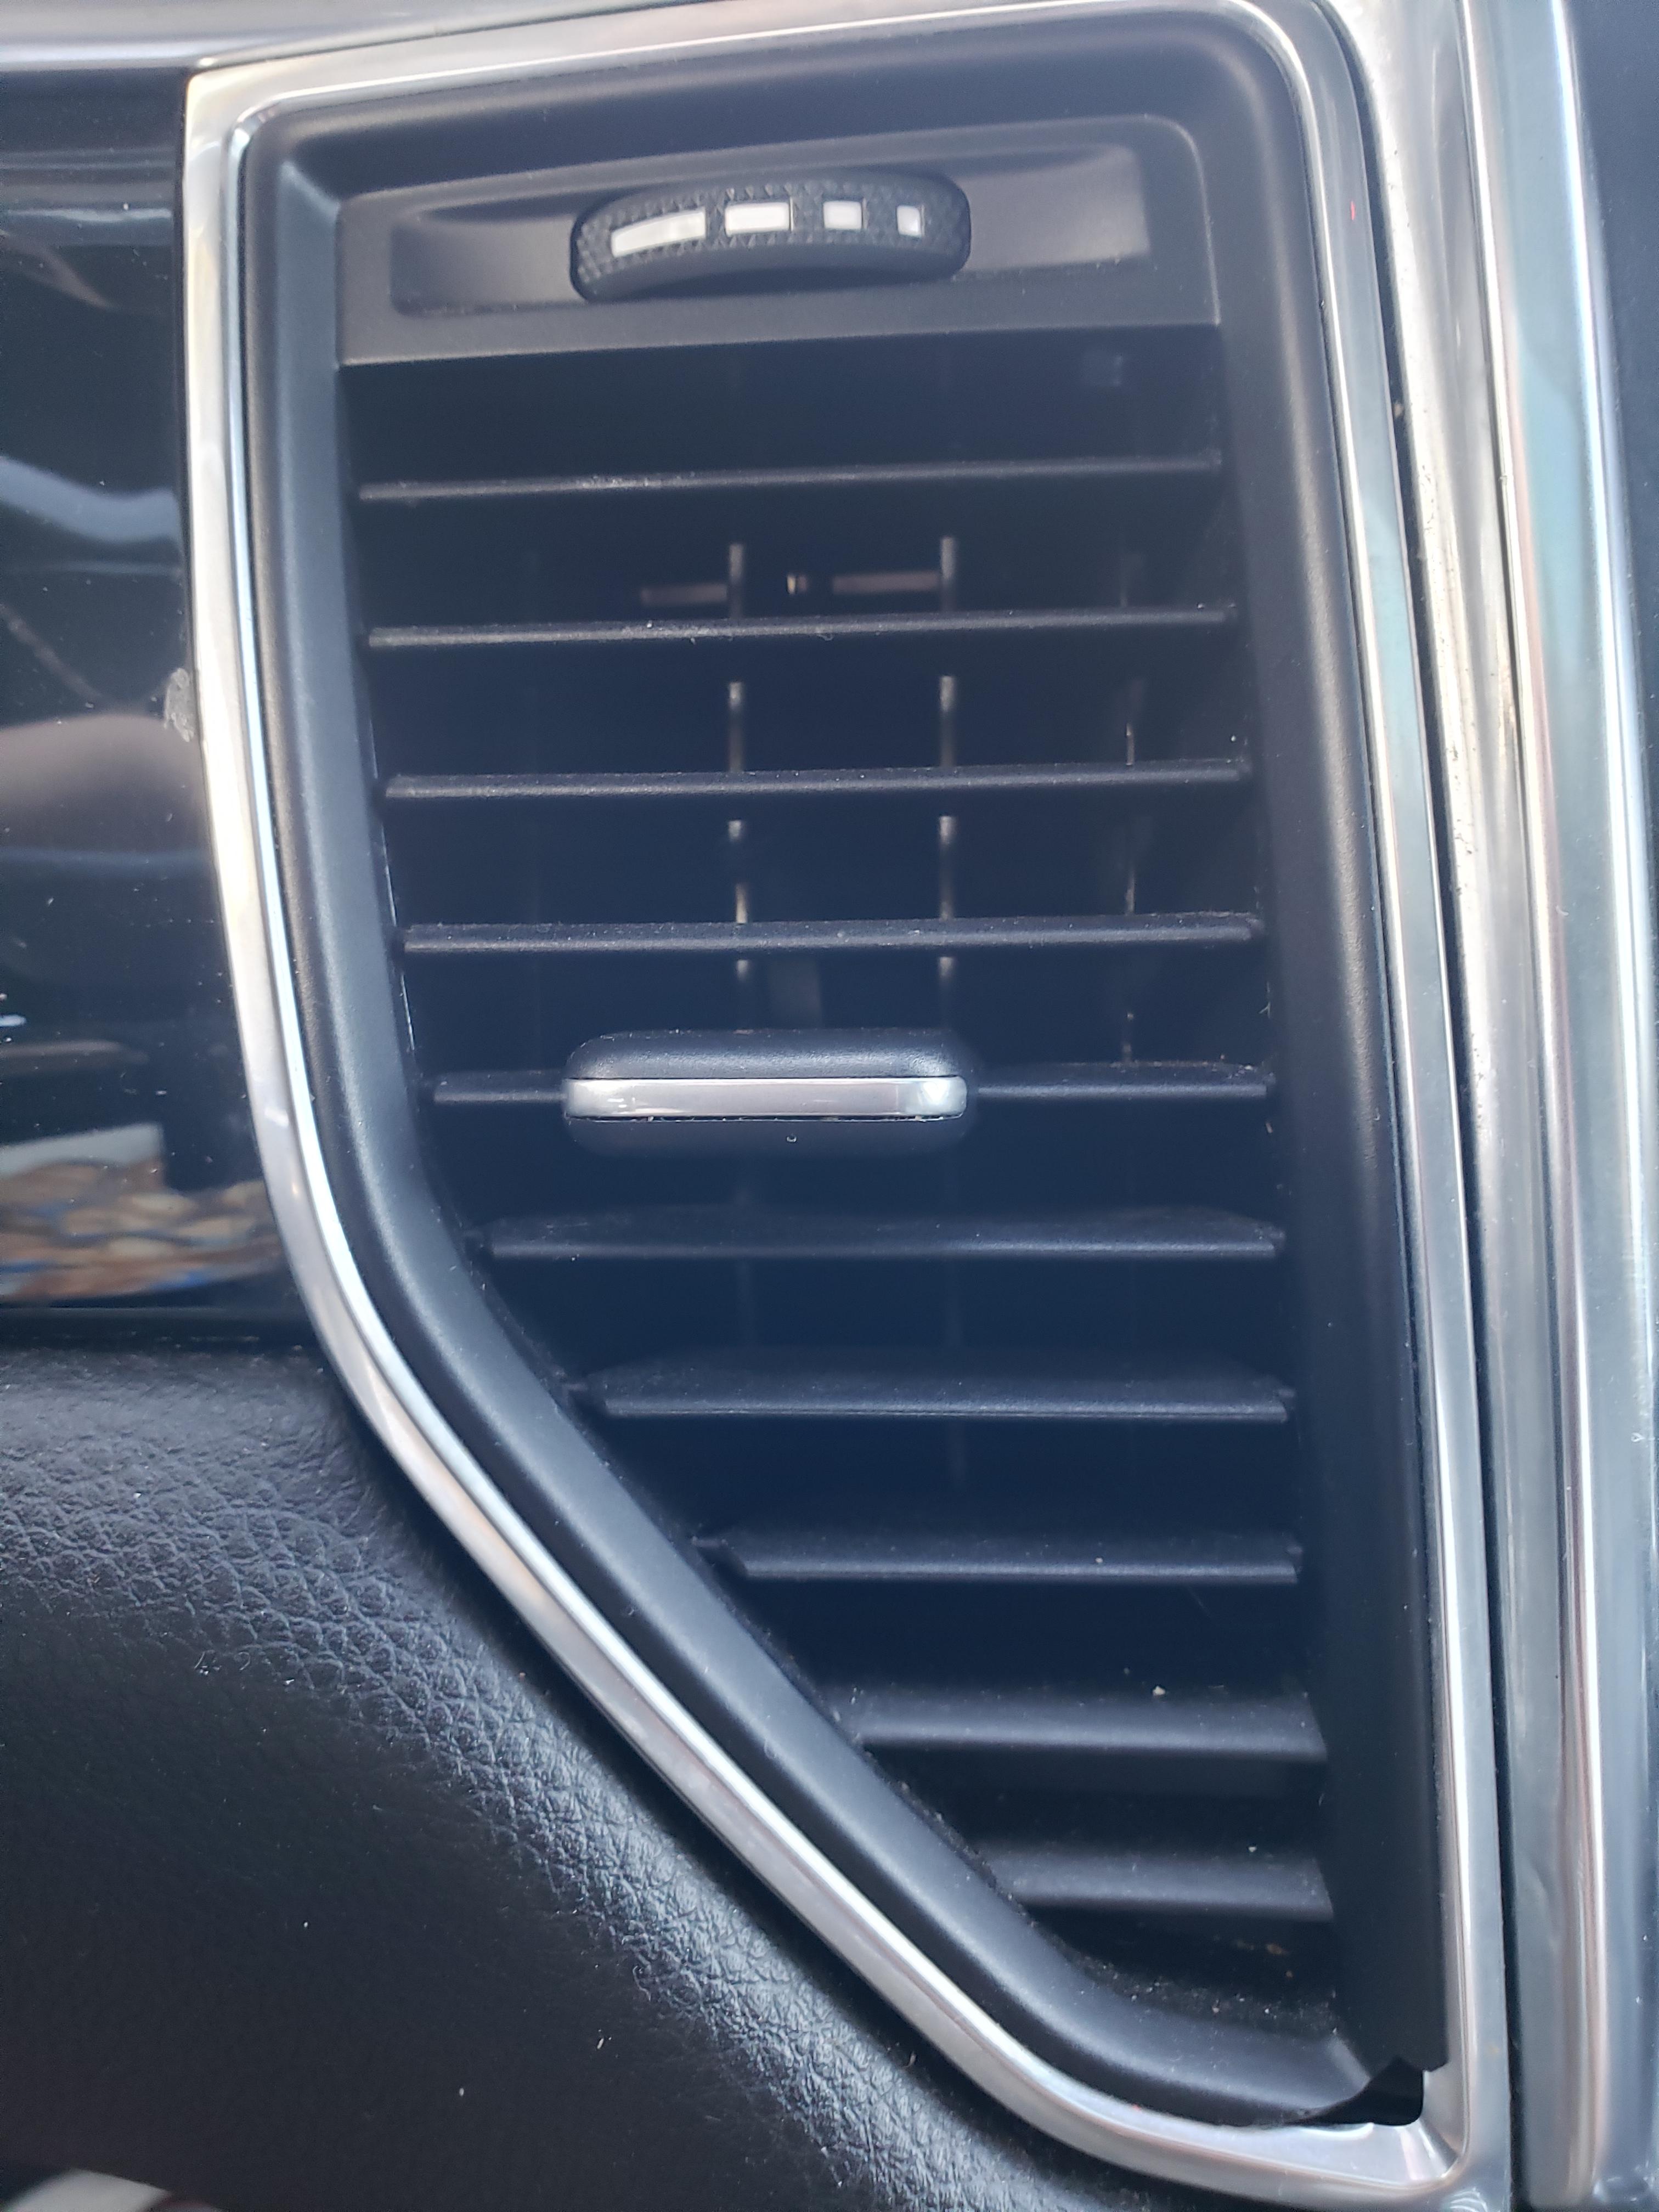
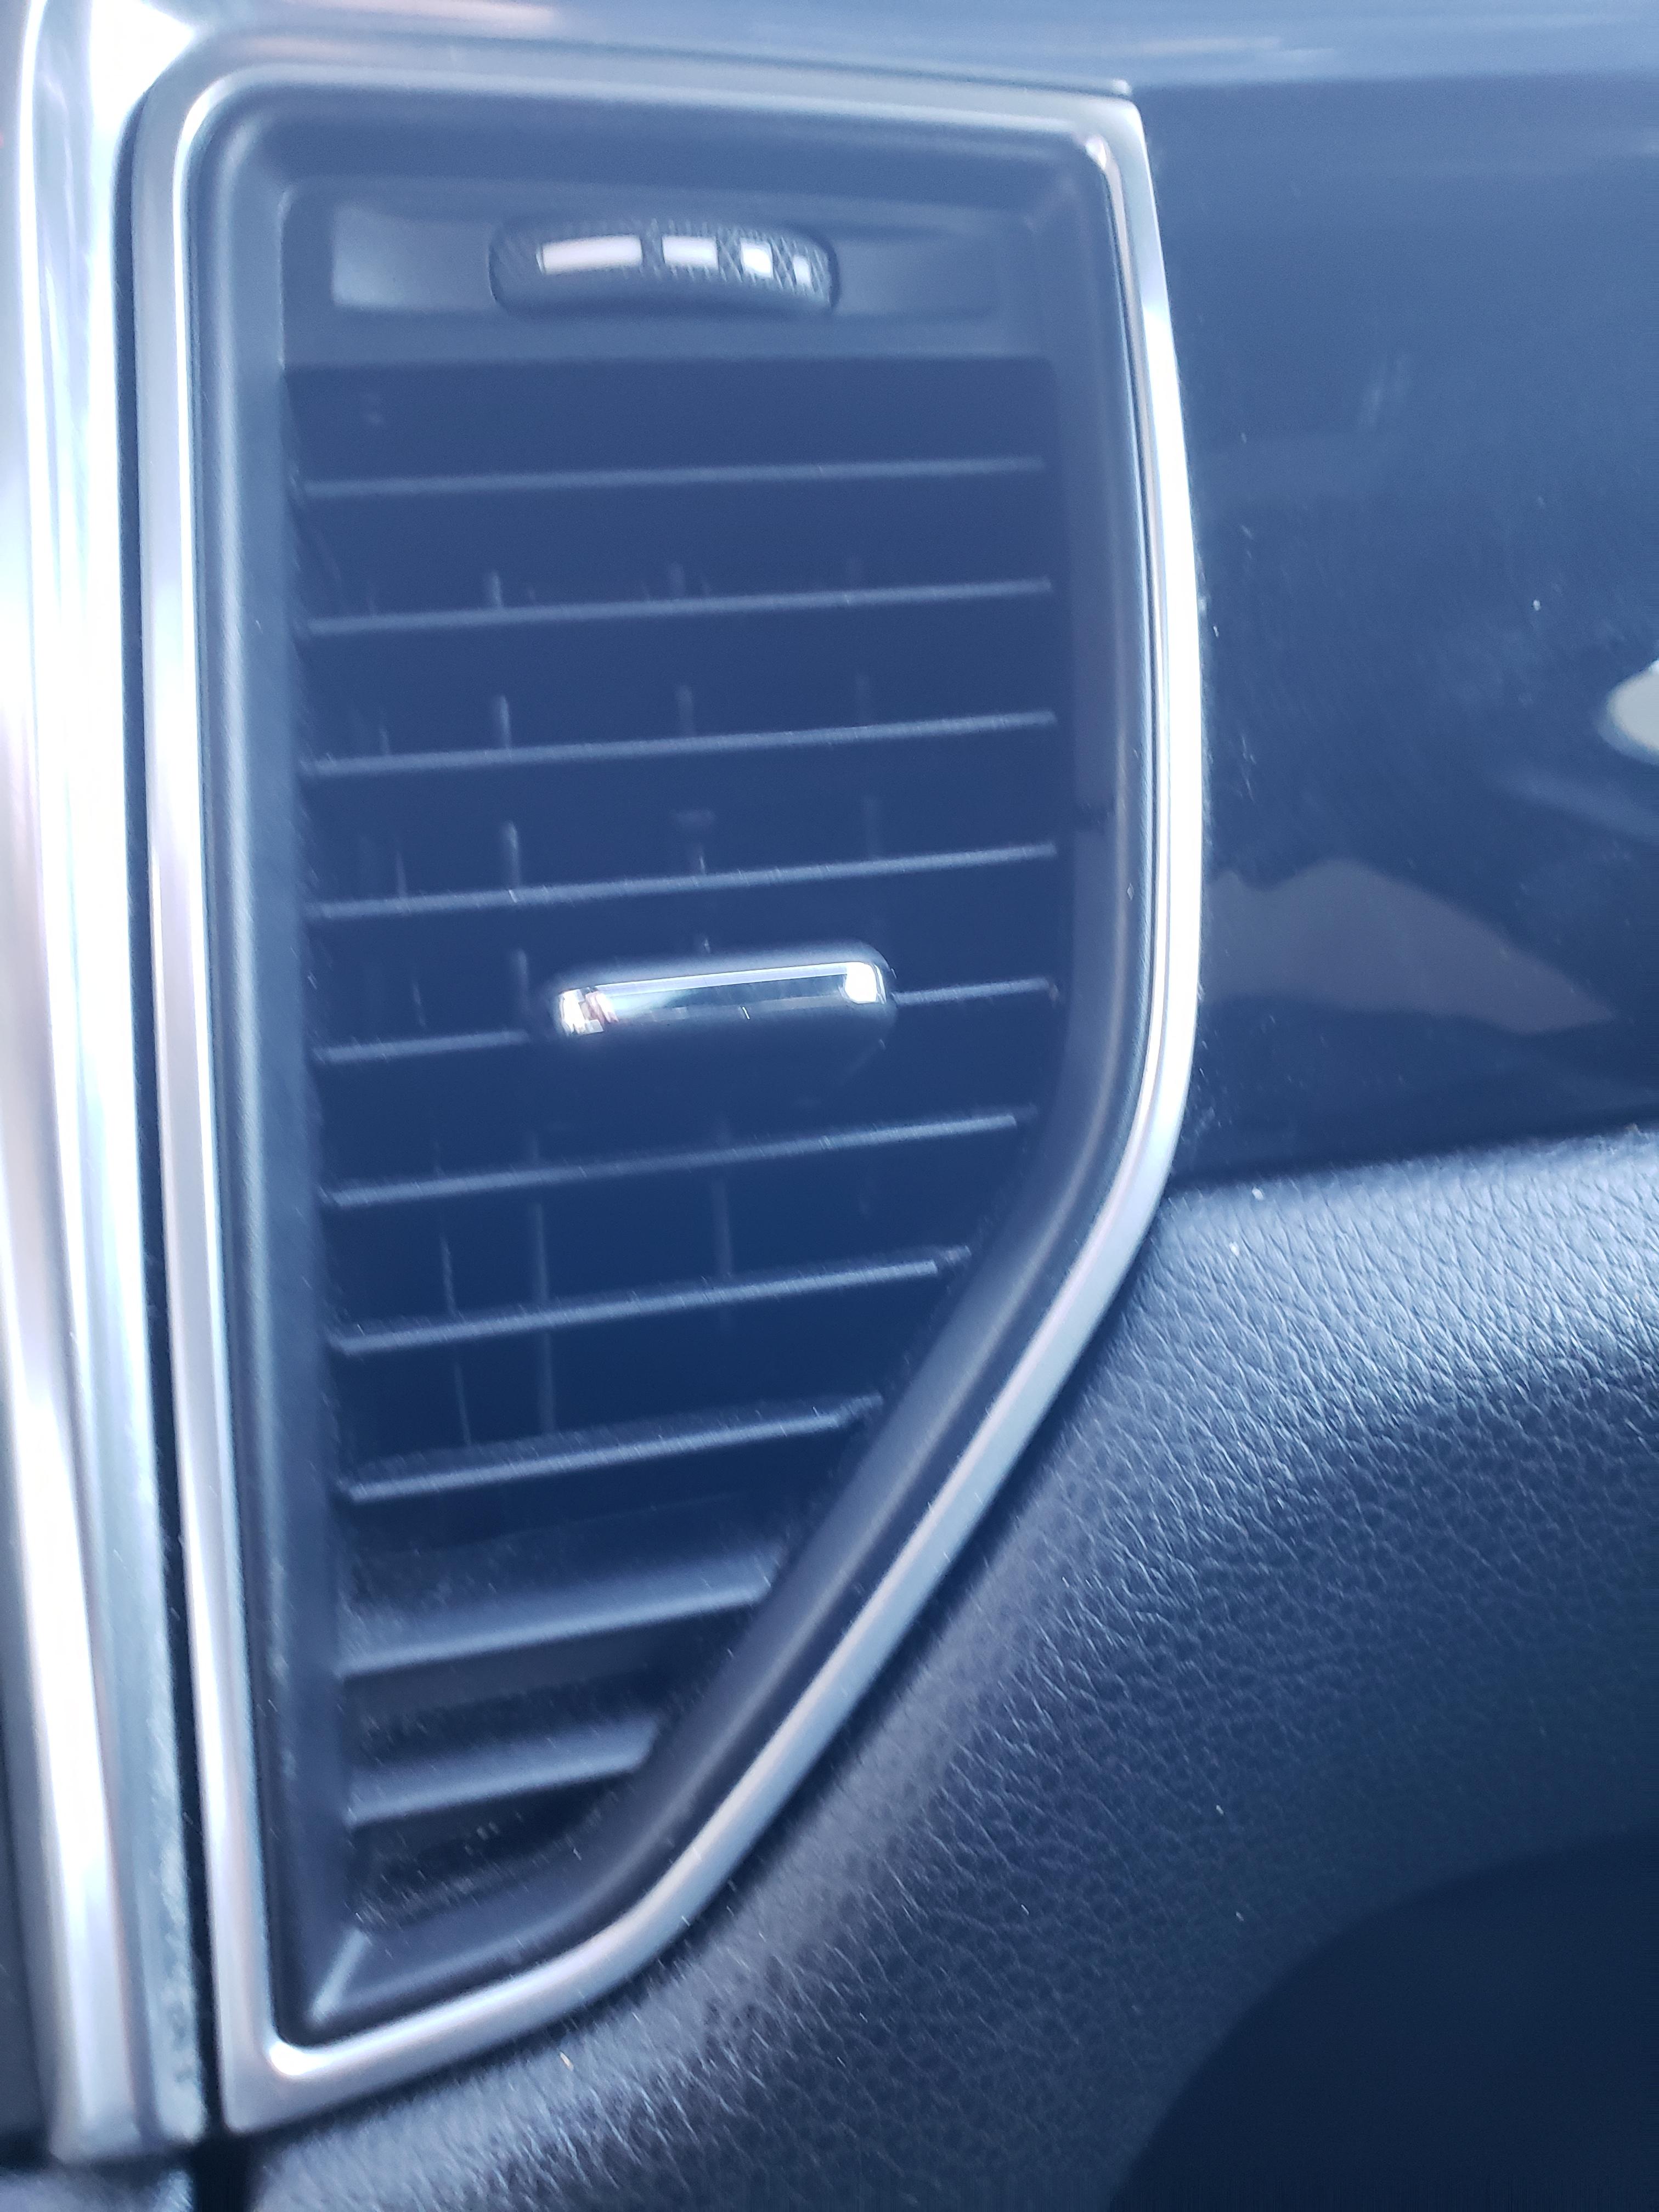
Step 7: re-install vent into car
Hope this helps some folks out!
Pic of OEM control:
Pic of Ebay Control:
Recommended Tools
- Vent Removal Tool: $7 https://www.aliexpress.com/wholesale...=3438+T-Handle
- 12" Curved Hemostat: $12 https://amzn.to/39xIn83
- Tweezers: https://amzn.to/3FTEdDL I had one similar to this
- Wood Chopsticks (optional): I got mine from Panda Express
- Vaseline (optional)
- Awl: https://amzn.to/3sH7sEz I had one similar to this
- Vent Clips: (I offered $9 each for 4 - $36 total and it was accepted) https://www.ebay.com/itm/174531427055
Inventory the Clip:
In the background are 2 original pieces I found sitting in the vents. Notice the slight difference between the "Center Vent" Clip which appears to be used for the 2 vents next to the radio and the "Door Vent" clip which is the style used for the door vents. Look at the center piece that attaches to the control. It's keyed. The smaller cut is the top and the larger is the bottom. If you have your control upside down it will not move freely like the OEM control.
View of back of control:
Passenger side vents removed.
OEM piece recovered (notice the grease where it connects to inside of vent).
Step 1: Remove the Vent
I followed this video:
One tip which isn't described in the video to remove the wire harness is I let the vent hang down to put very slight tension on it so it was "pulling". I then pressed on the little metal tab as I very lightly pulled on the vent. Once I felt it move just a tiny bit I stopped pulling and then then was able to disconnect the wire harness. Trying to do this by pushing down with the Awl and pulling the connectors apart didn't work for me (but might for you).
Step 2: Assemble the rear of the control based on the vent you're working on.
Step 3: Lube the rear of control
Add a tiny bit of vaseline to the notch as can be seen here
Step 4: Grab the Control
Depending on the vent you can reach through as I am showing above. That worked for me on the driver door side, but not on the passenger side. On the passenger side I used the tweezers to pass the control just pass the slats and used the hemostat to grab it from the rear of the vent. It's important to make sure the hemostat grabs it all the way up and touching the rear control. If you don't do that it'll keep swiveling up/down and make it harder to push the control together.
Step 5: Assemble
While the hemostat holds the rear of the control over the swivel point (make sure the notch goes over that) I just pushed the front of the control over it. However, I could not tell if it was fully secure doing this.
Step 6: Confirm Connection
I carefully tilted the front of the vent downward while holding the front of the vent control. I then used the chopsticks to push on the rear of the control and in all 3 installs I heard an audible "click" which confirms that the pressure from the front wasn't enough to secure it.
Step 7: re-install vent into car
Hope this helps some folks out!
Pic of OEM control:
Pic of Ebay Control:
Last edited by djbooya; 05-18-2022 at 01:07 PM.

The following users liked this post:
mikewire (05-18-2022)
05-18-2022, 12:51 PM
#2
Nice, thanks for posting this. I had one break when installing my Isudar module, so this is exactly the info I need to do the job. Ordered some of the tabs from that same seller.
Curious how long did it take to receive those vent controls from overseas?
Thanks!!
Curious how long did it take to receive those vent controls from overseas?
Thanks!!
05-18-2022, 12:57 PM
#3
Rennlist Member
Thread Starter
Ordered 3/15 - Delivered 4/5