When you click on links to various merchants on this site and make a purchase, this can result in this site earning a commission. Affiliate programs and affiliations include, but are not limited to, the eBay Partner Network.
Hello - I am a longtime car guy. I love tools and cars.
There has not been much on the Macan lowering on the nets as a DIY. Video coming soon.
This is on a 2017 Macan S, Pre LCI.
The most recent video from sept 11, 2020 by a motor garage is extremely simplified and does not address any of the actual steps. i.e to make roast turkey - put in oven - turkey done.
The following carries a disclaimer - this is for information only and not a manual to do things. You take this decision to undertake the DIY at your own capacity and will, any damage you sustain to your vehicle or yourself is at your own risk. Work within your limitations. ANY DAMAGE TO YOUR CAR IS YOUR OWN RESPONSIBILITY, THE WRITER WILL NOT BE RESPONSIBLE FOR ANY DAMAGE TO CAR OR PERSON/SELF.
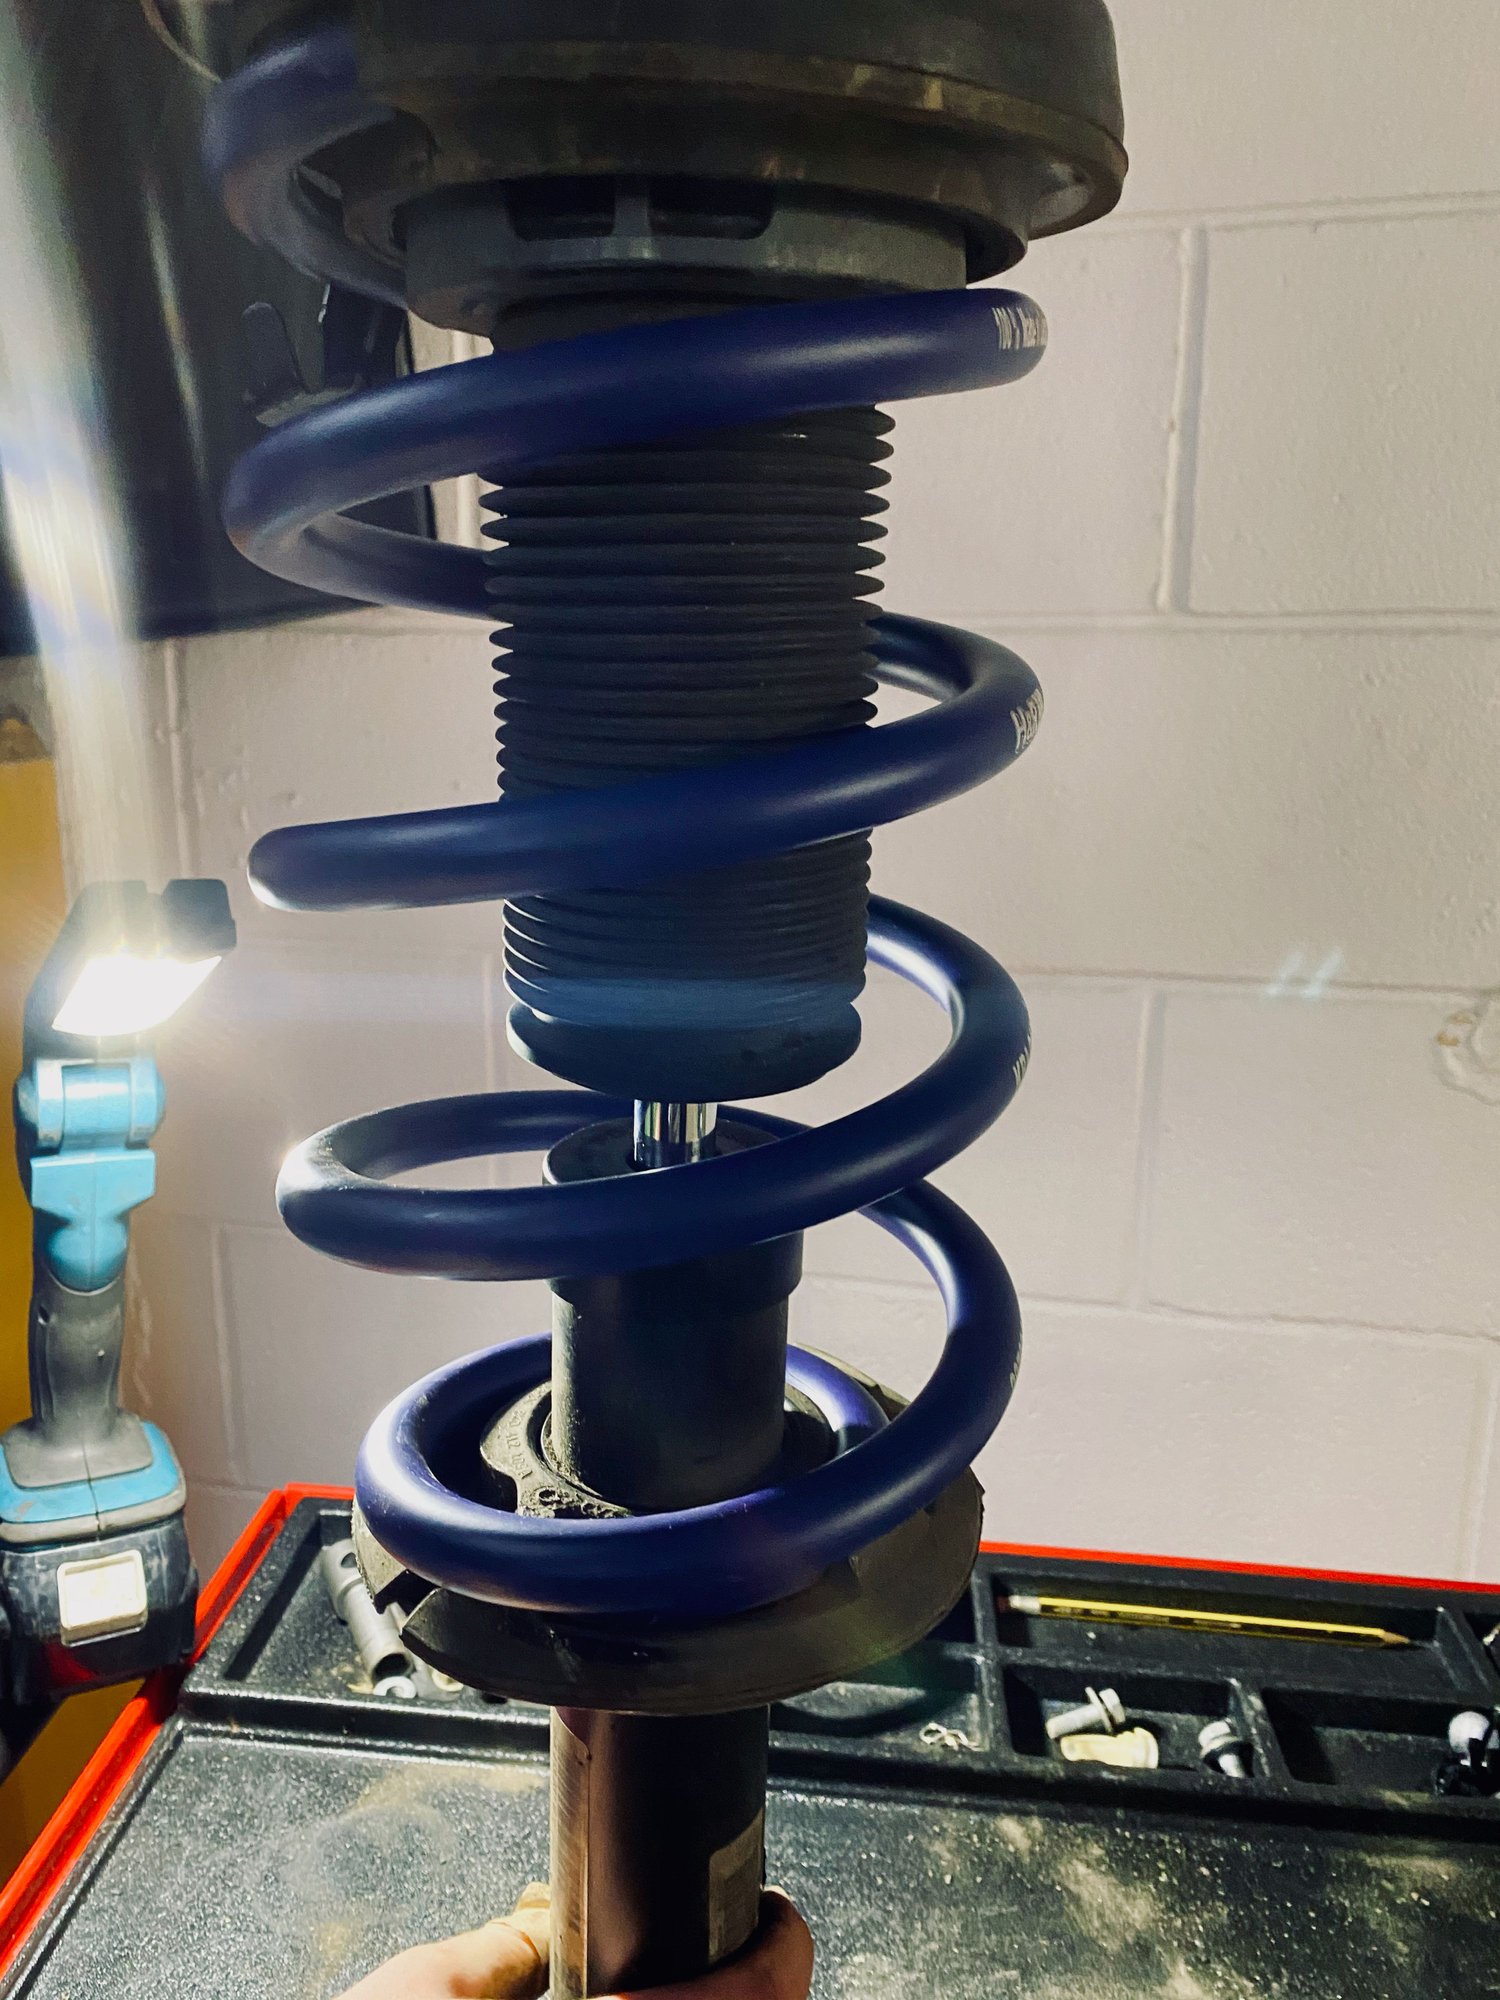
Tools required a good portable spring compressor. - Amazon has some which have interchangeable C clamps for different springs. I got one rated at 1000Kg. It worked great.
Impact wrench really desirable - I use Makita, and Tend tools sockets and wrenches and Facom ratchets. Torch, WD40, hammers.
You will mostly uses 10, 13, 15, 16, 17, 18 mm.
Expect that you know the basics of car safety, jack up the car and put it on stands under the frame. Know how to remove seized bolts.
NEVER EVER POINT A SPRING COMPRESSOR AT YOUR BODY, FACE OR BODY PARTS. THEY CAN FAIL AND HAVE CATASTROPHIC DAMAGE, AND CAN CAUSE FATALITY.
This I would rate at about an 7/10 for complexity and difficulty.
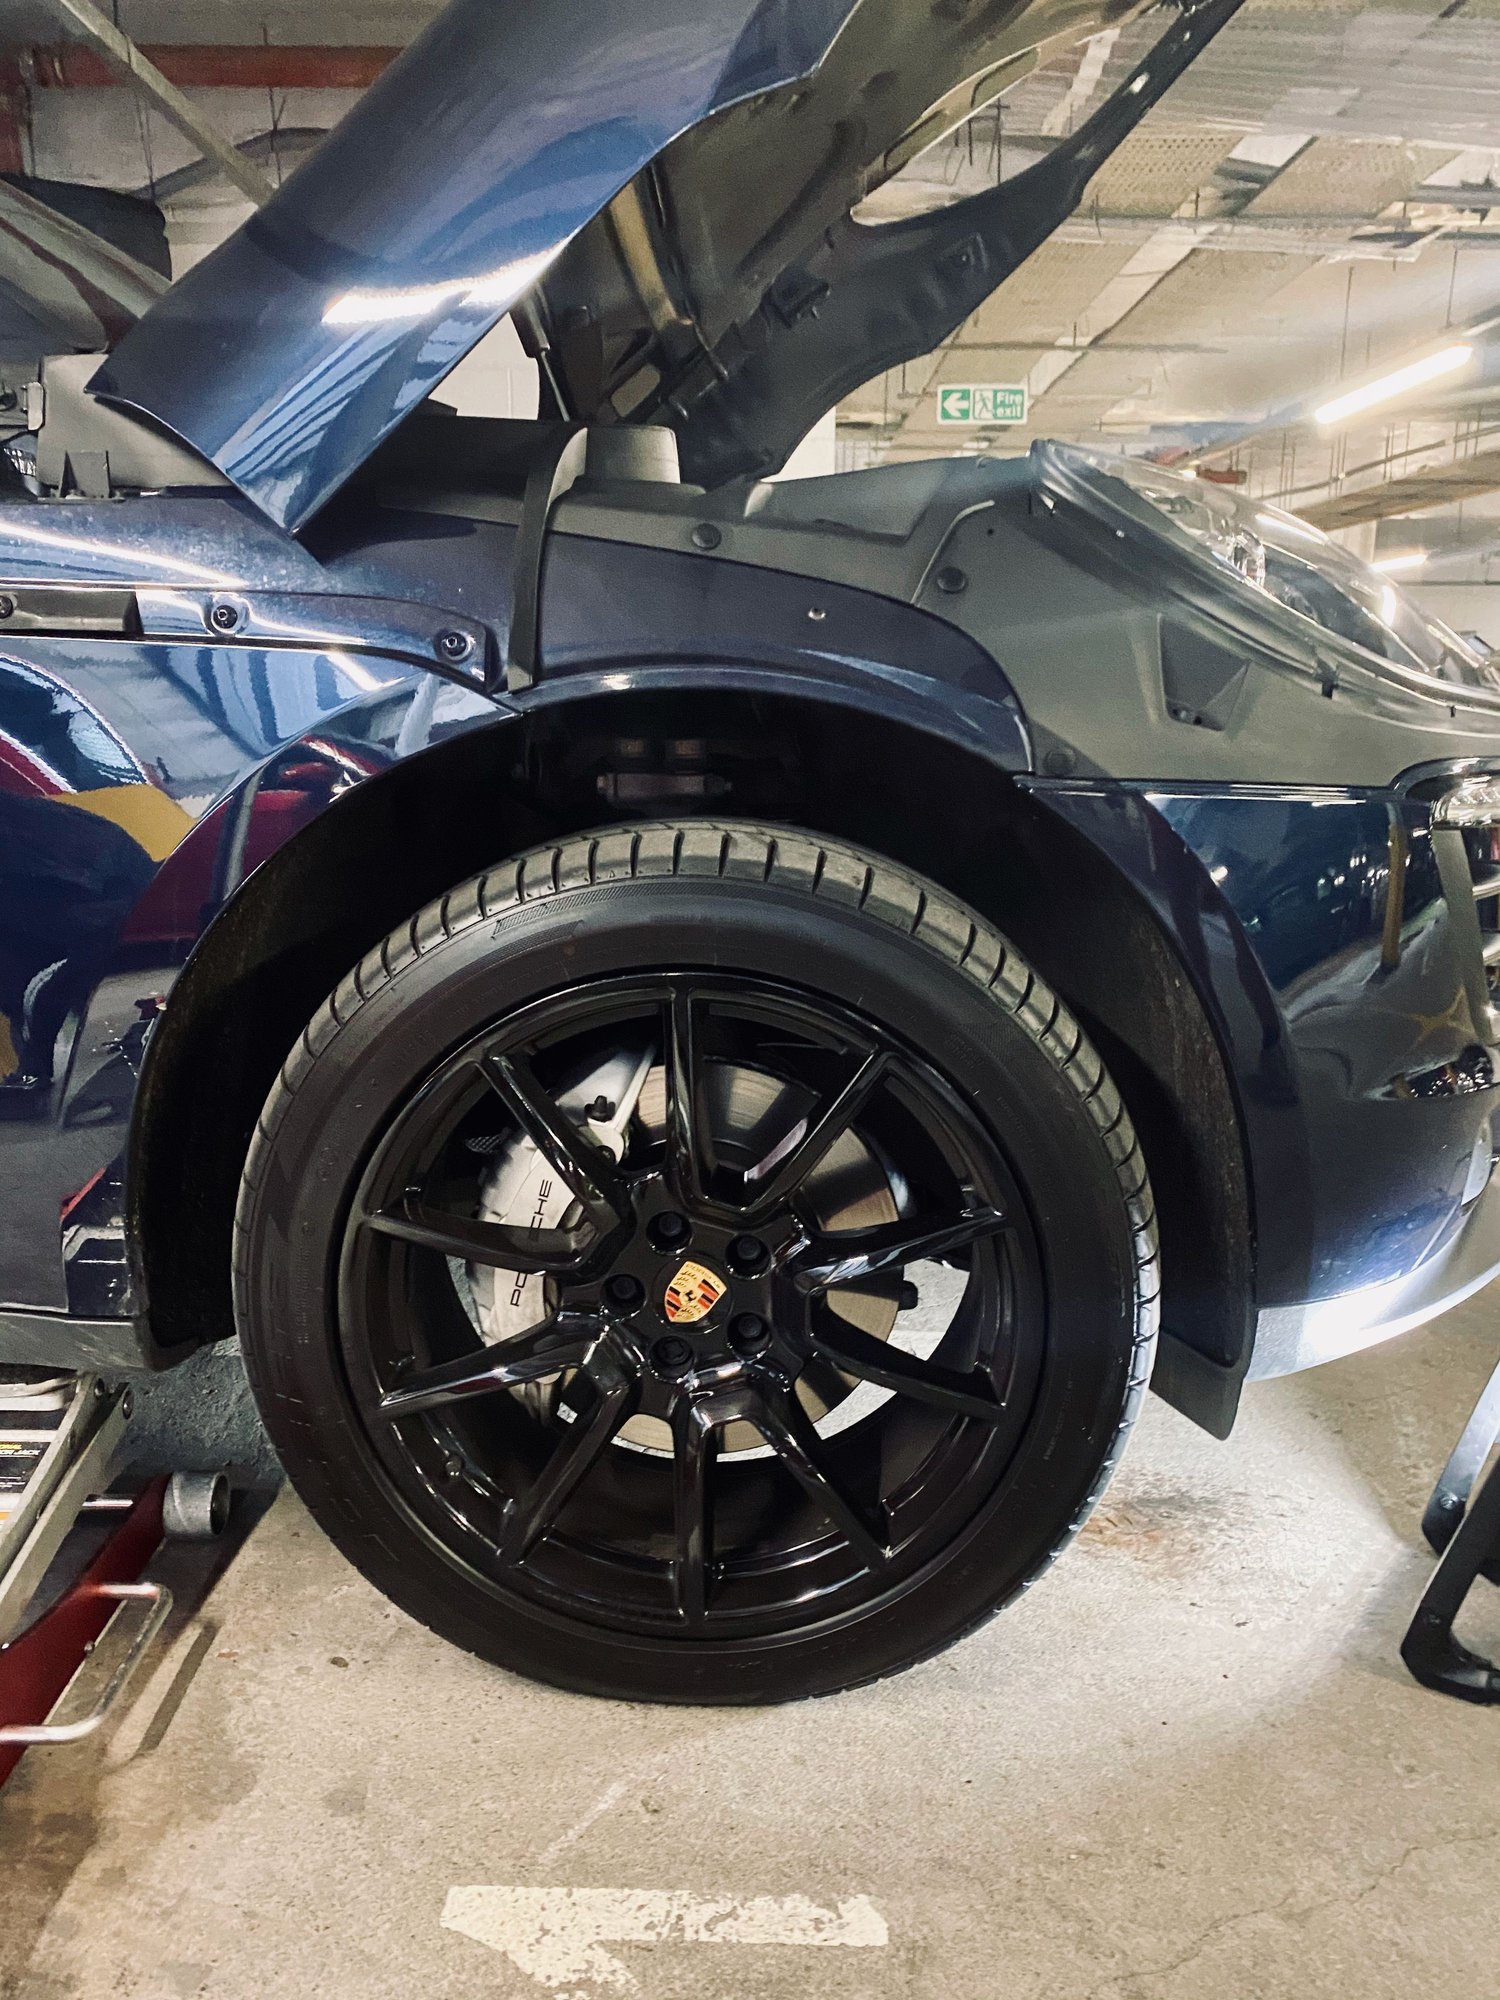
The finished product drives smoother then before, handles better and definitely sits nicer. See GTS Macan for comparison. Alignment is required.
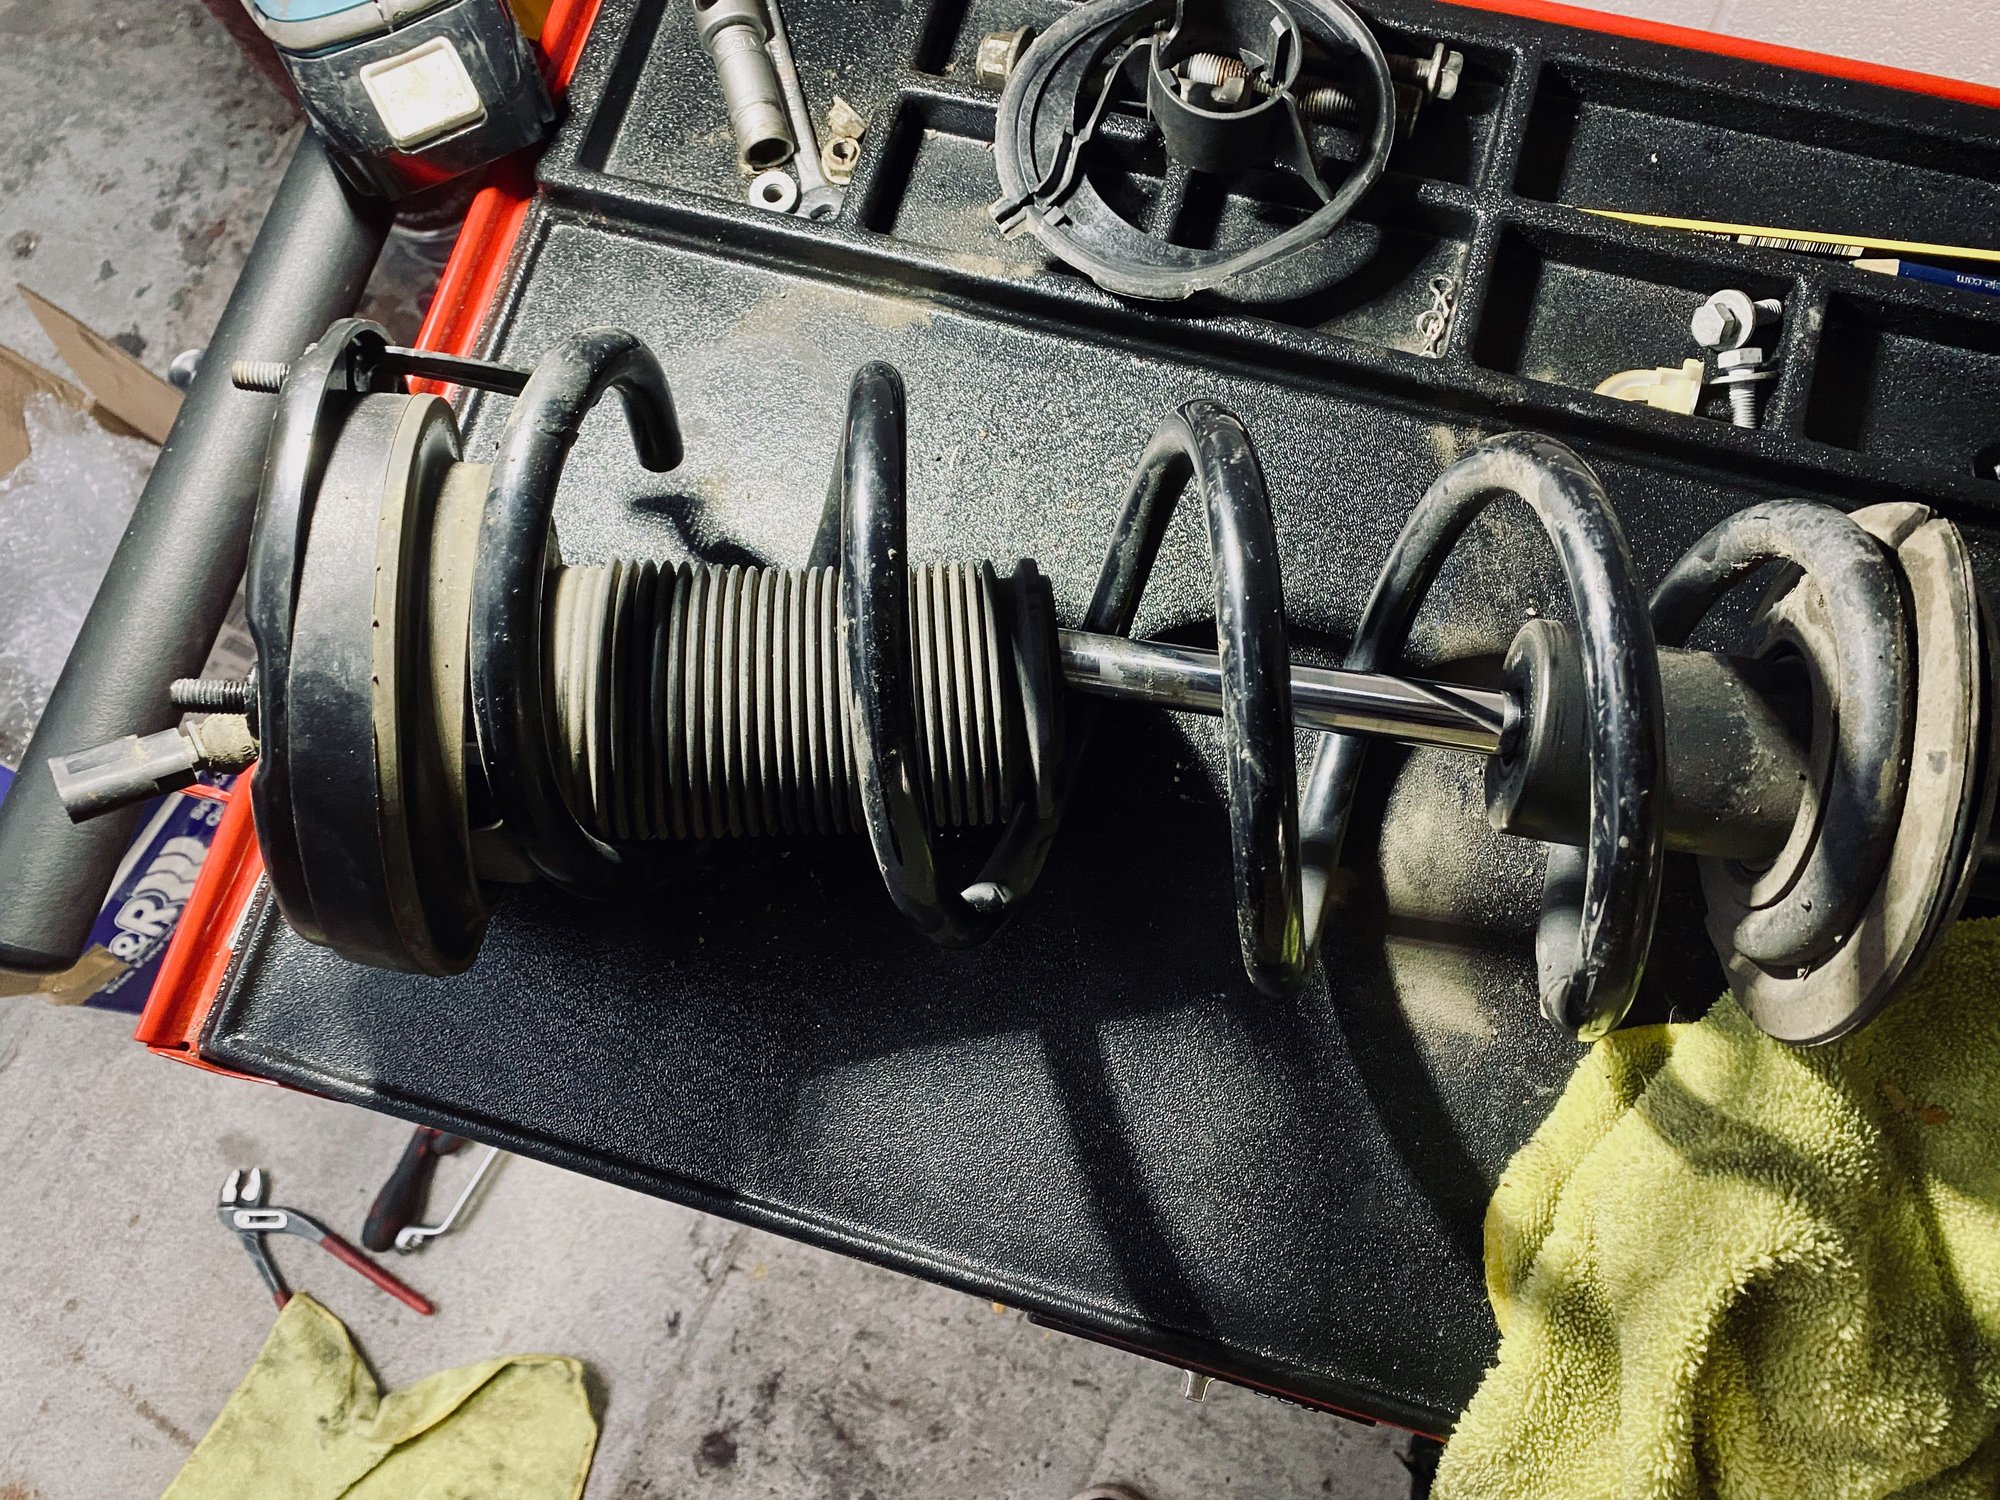
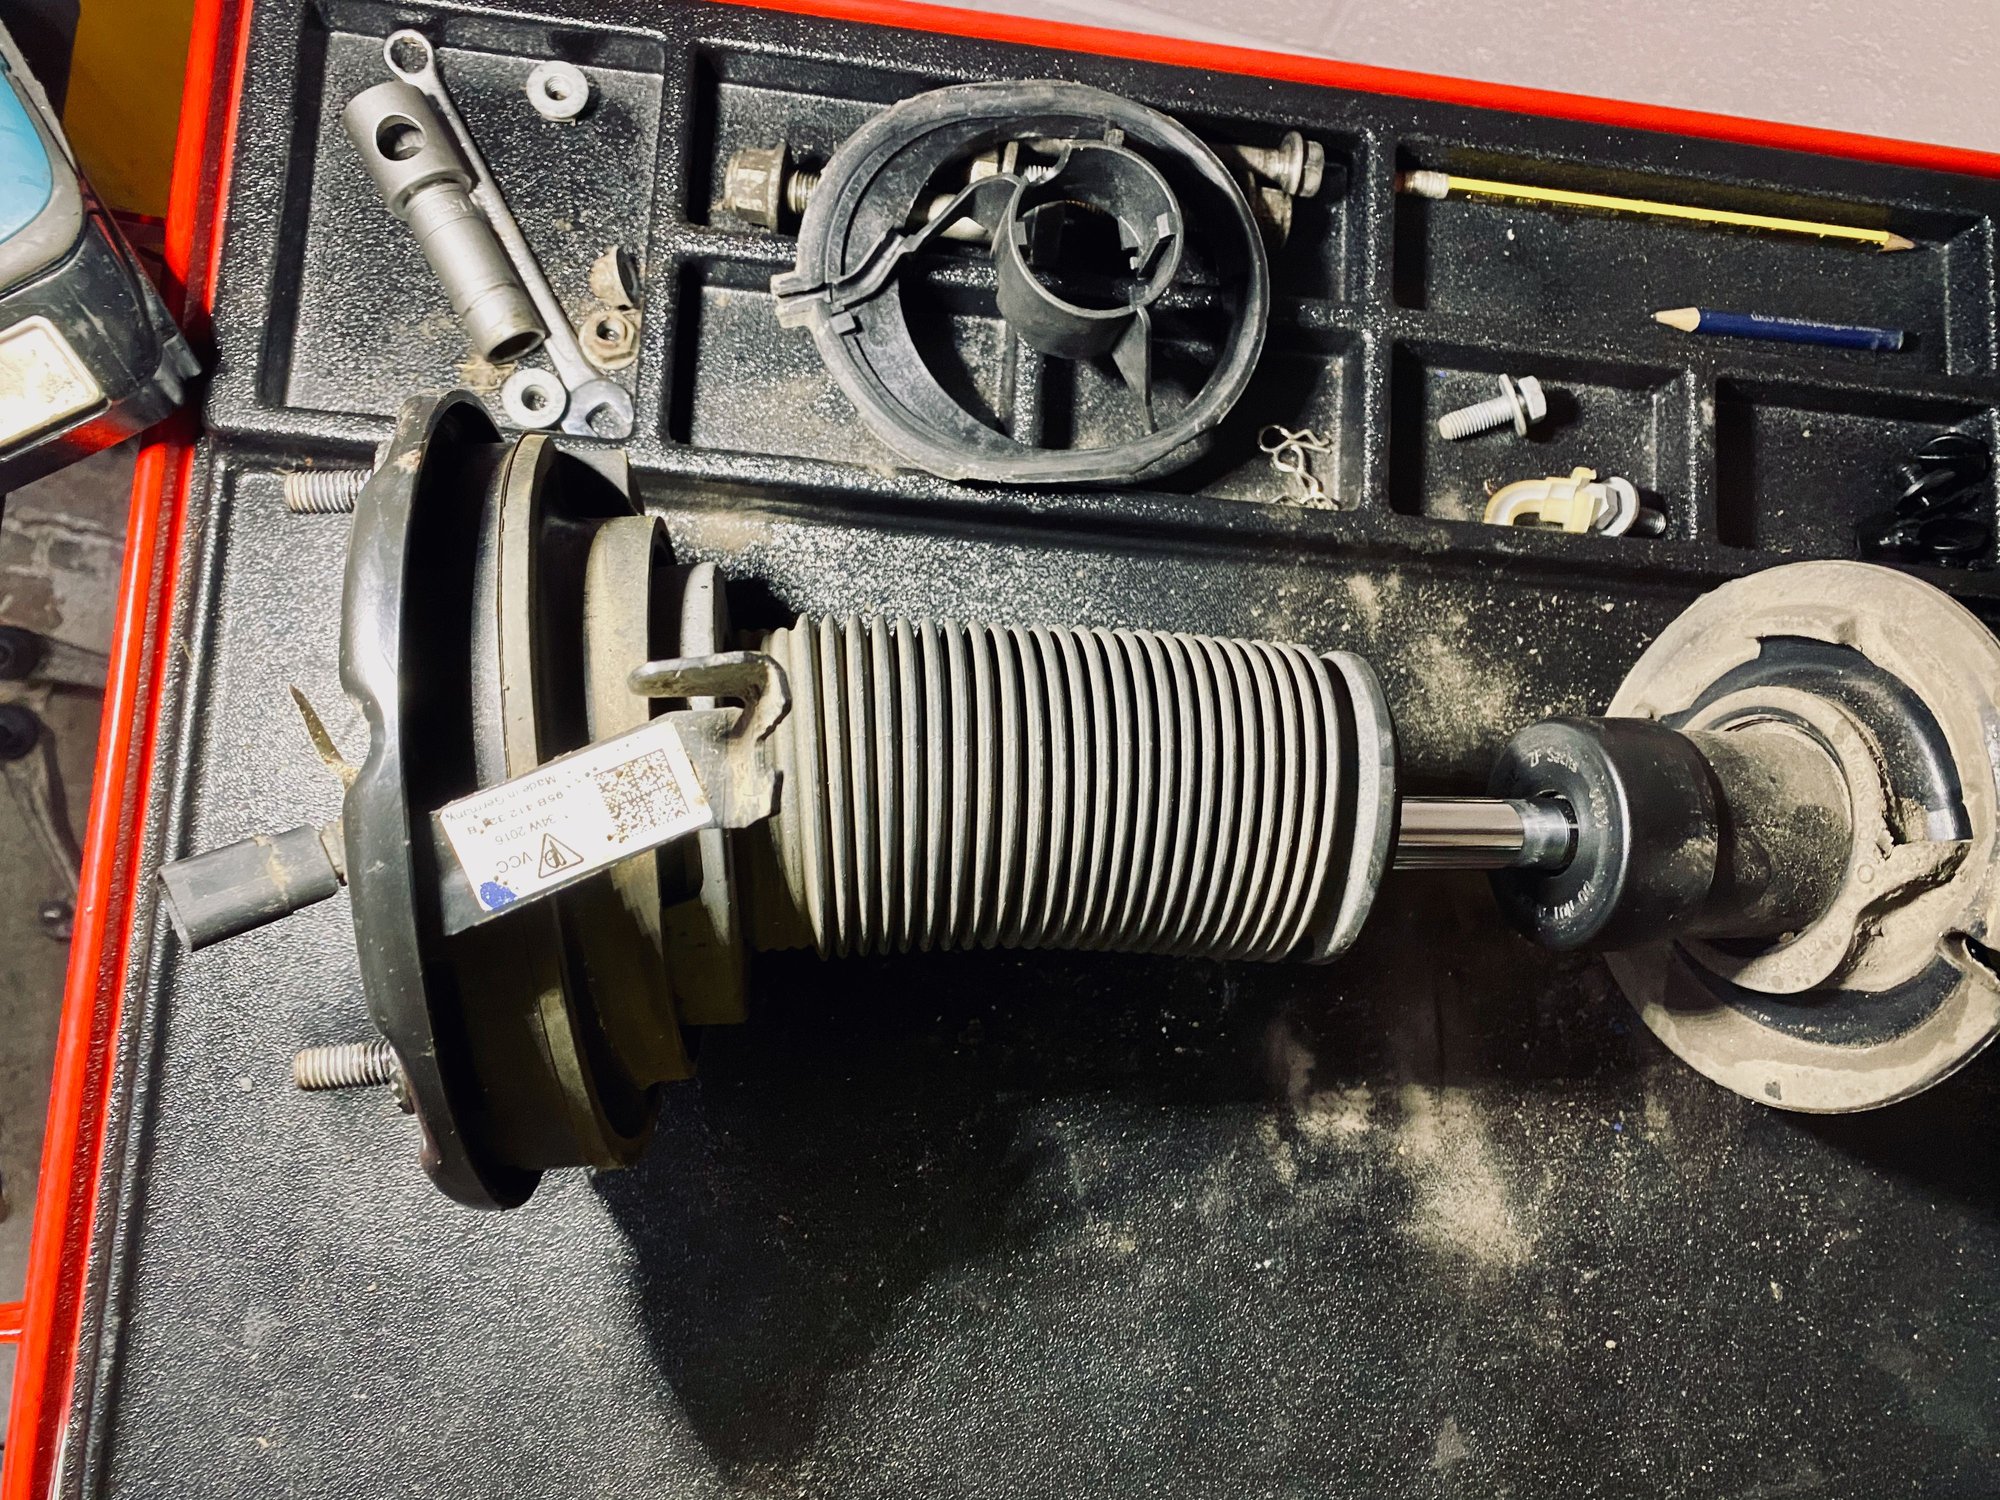
See picture and instructions below.
TIPS - Budget more time than you think. Take breaks, safety is paramount, wear mechanic gloves to protect fingers and hands. Goggles and mask is also advisable.
Remember you undertake this project under your own prerogative, if damage occurs to your car due to process, it is all at your own risk and you take it all as your responsibility. The writer is NOT responsible for any possible omissions or damage to car or suspension system or to persons or self.
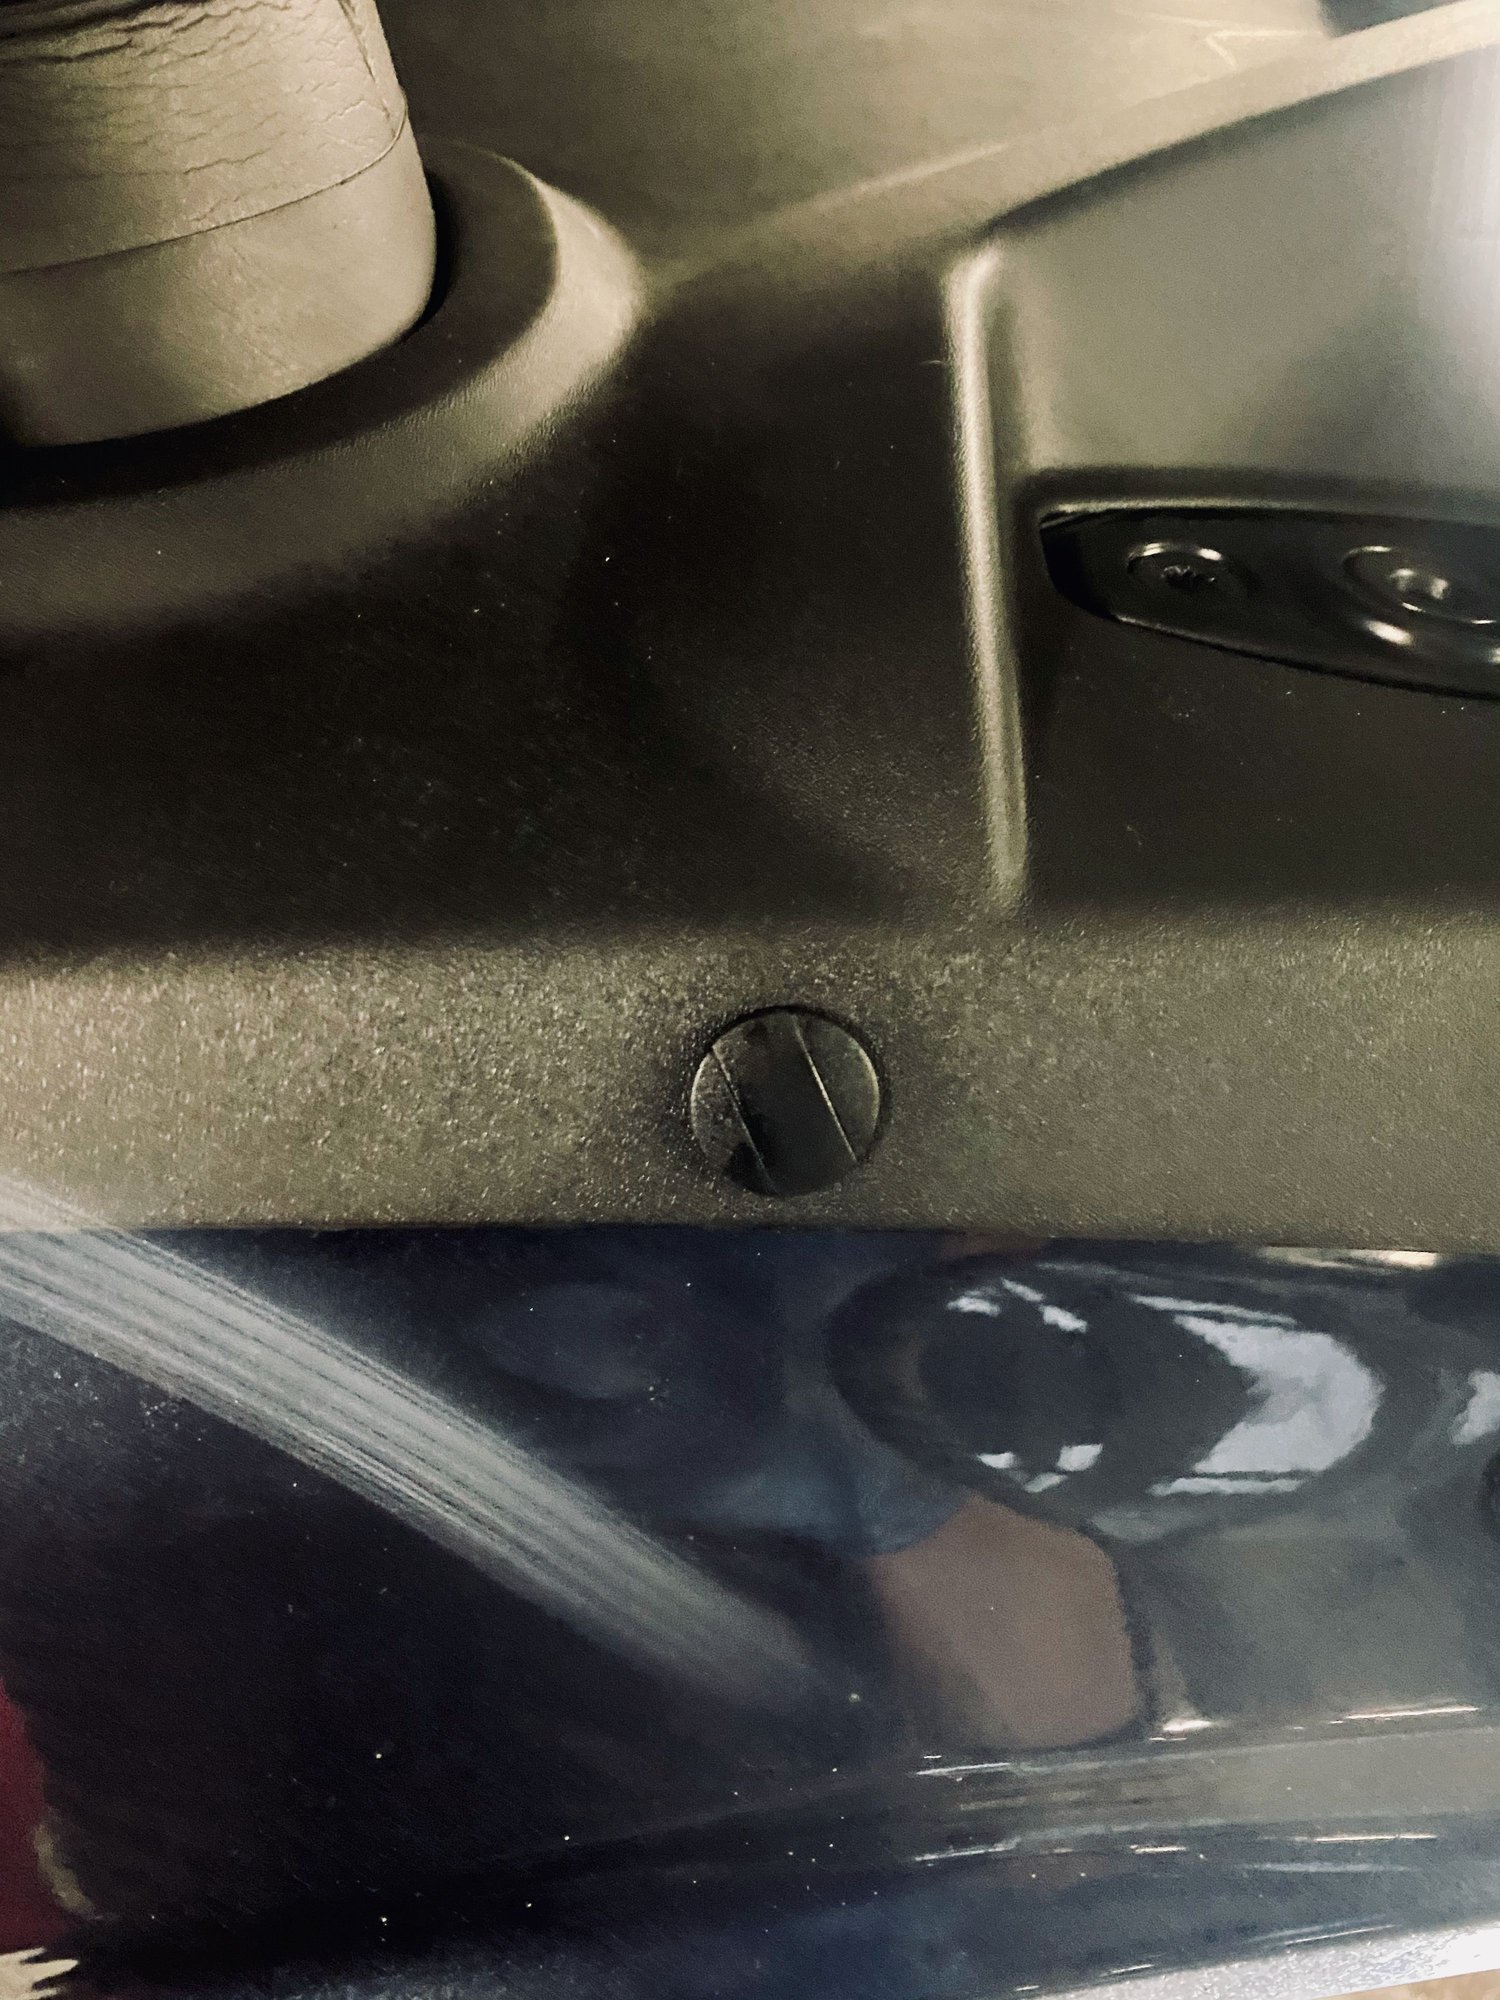
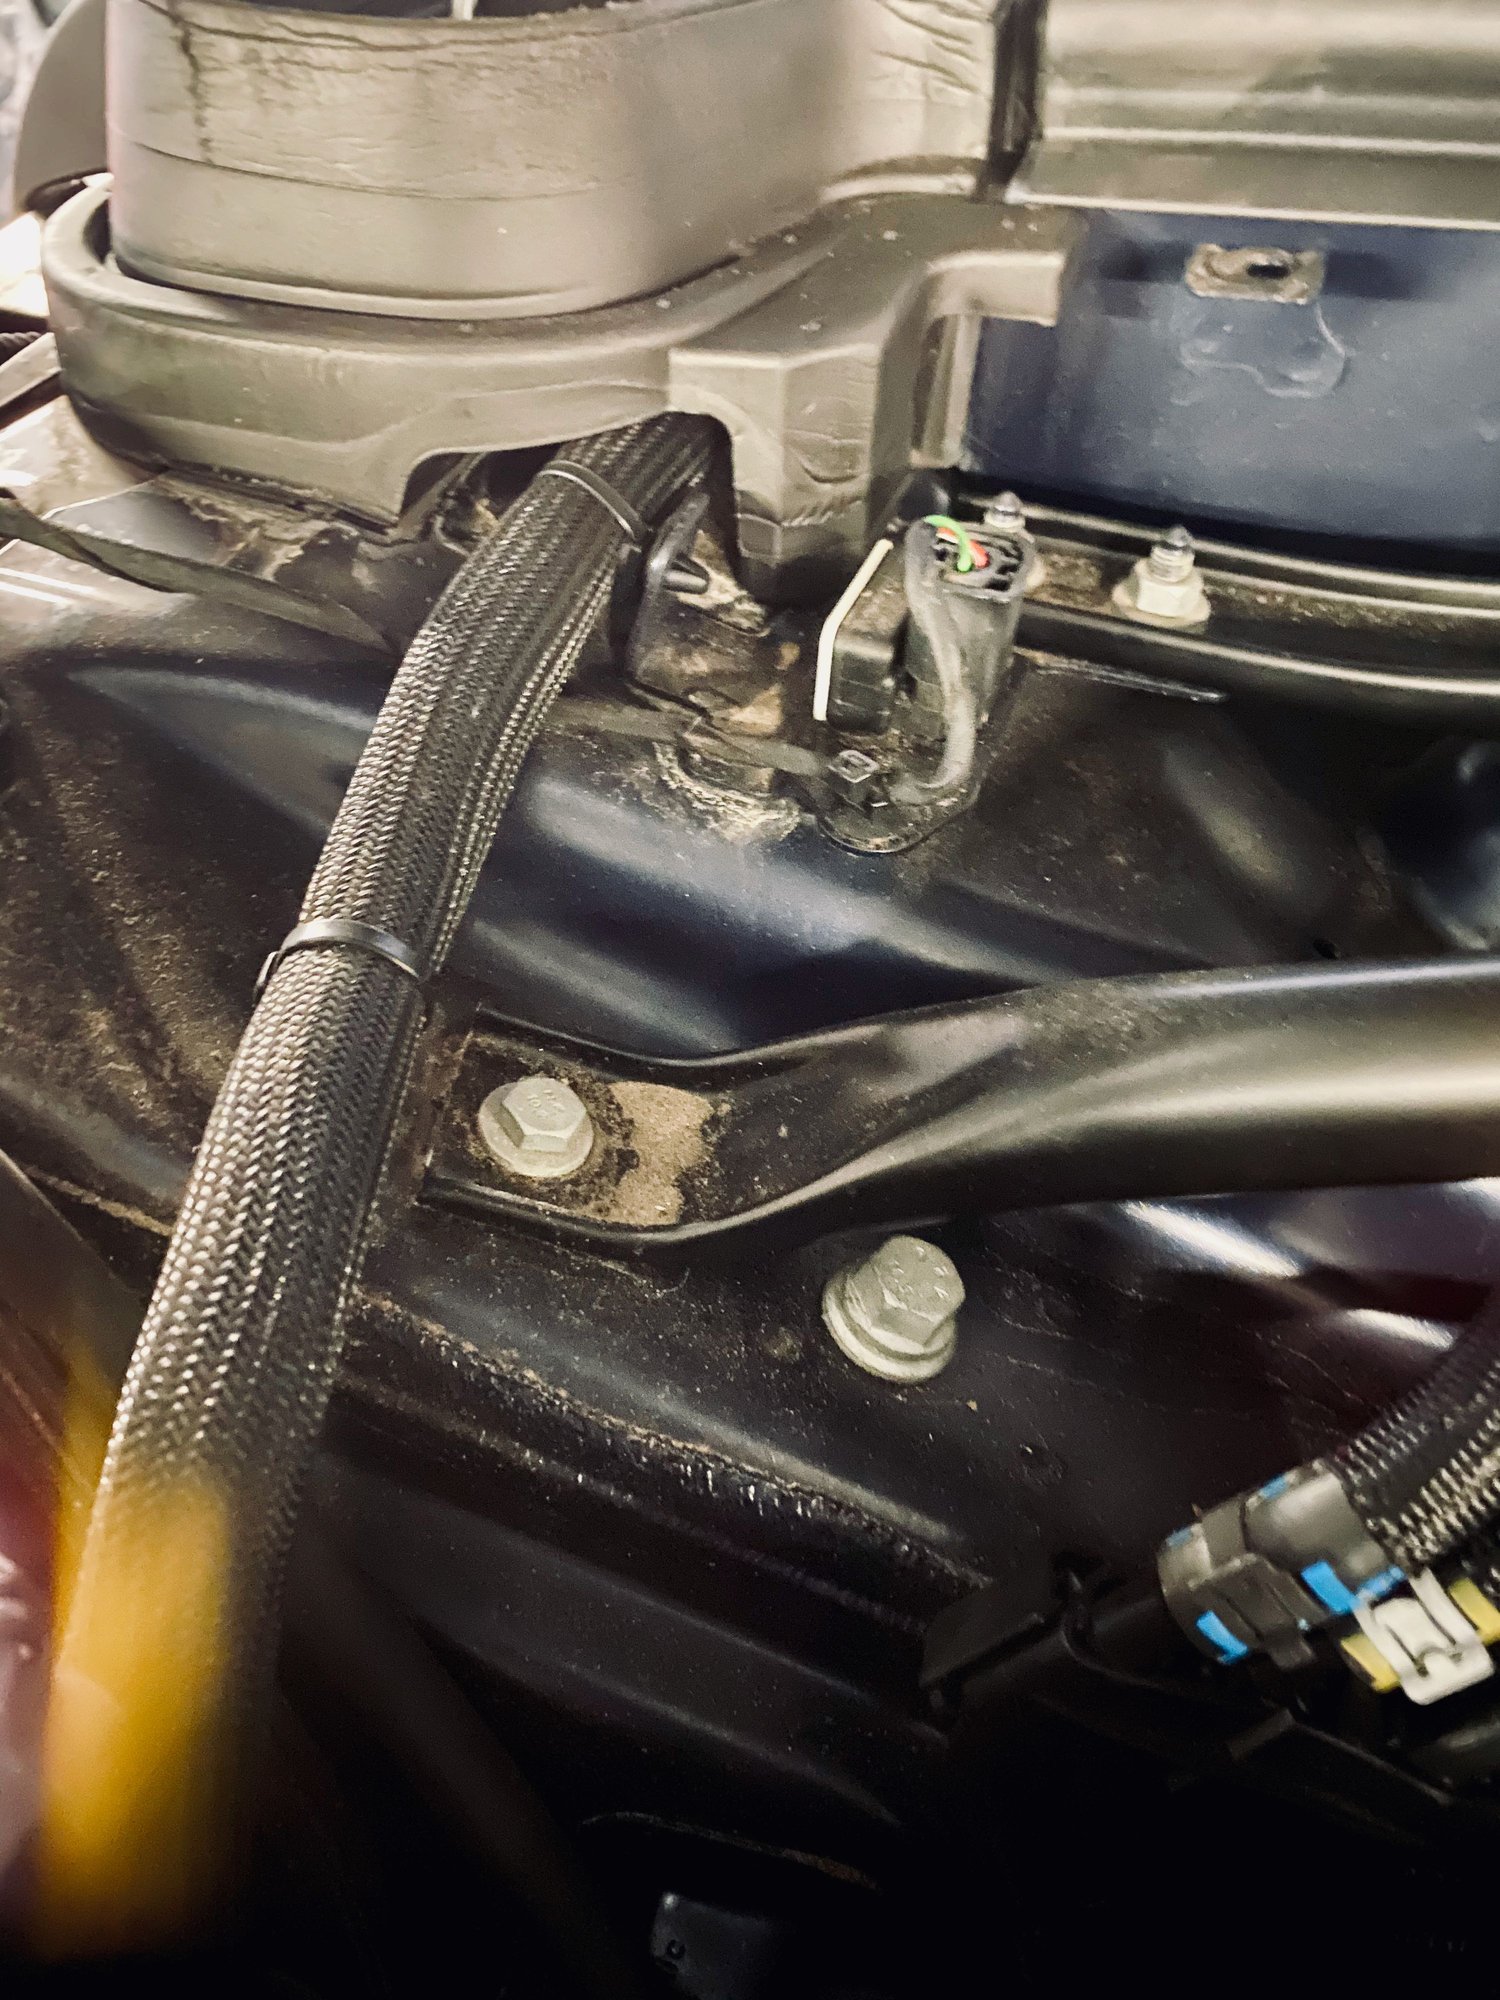
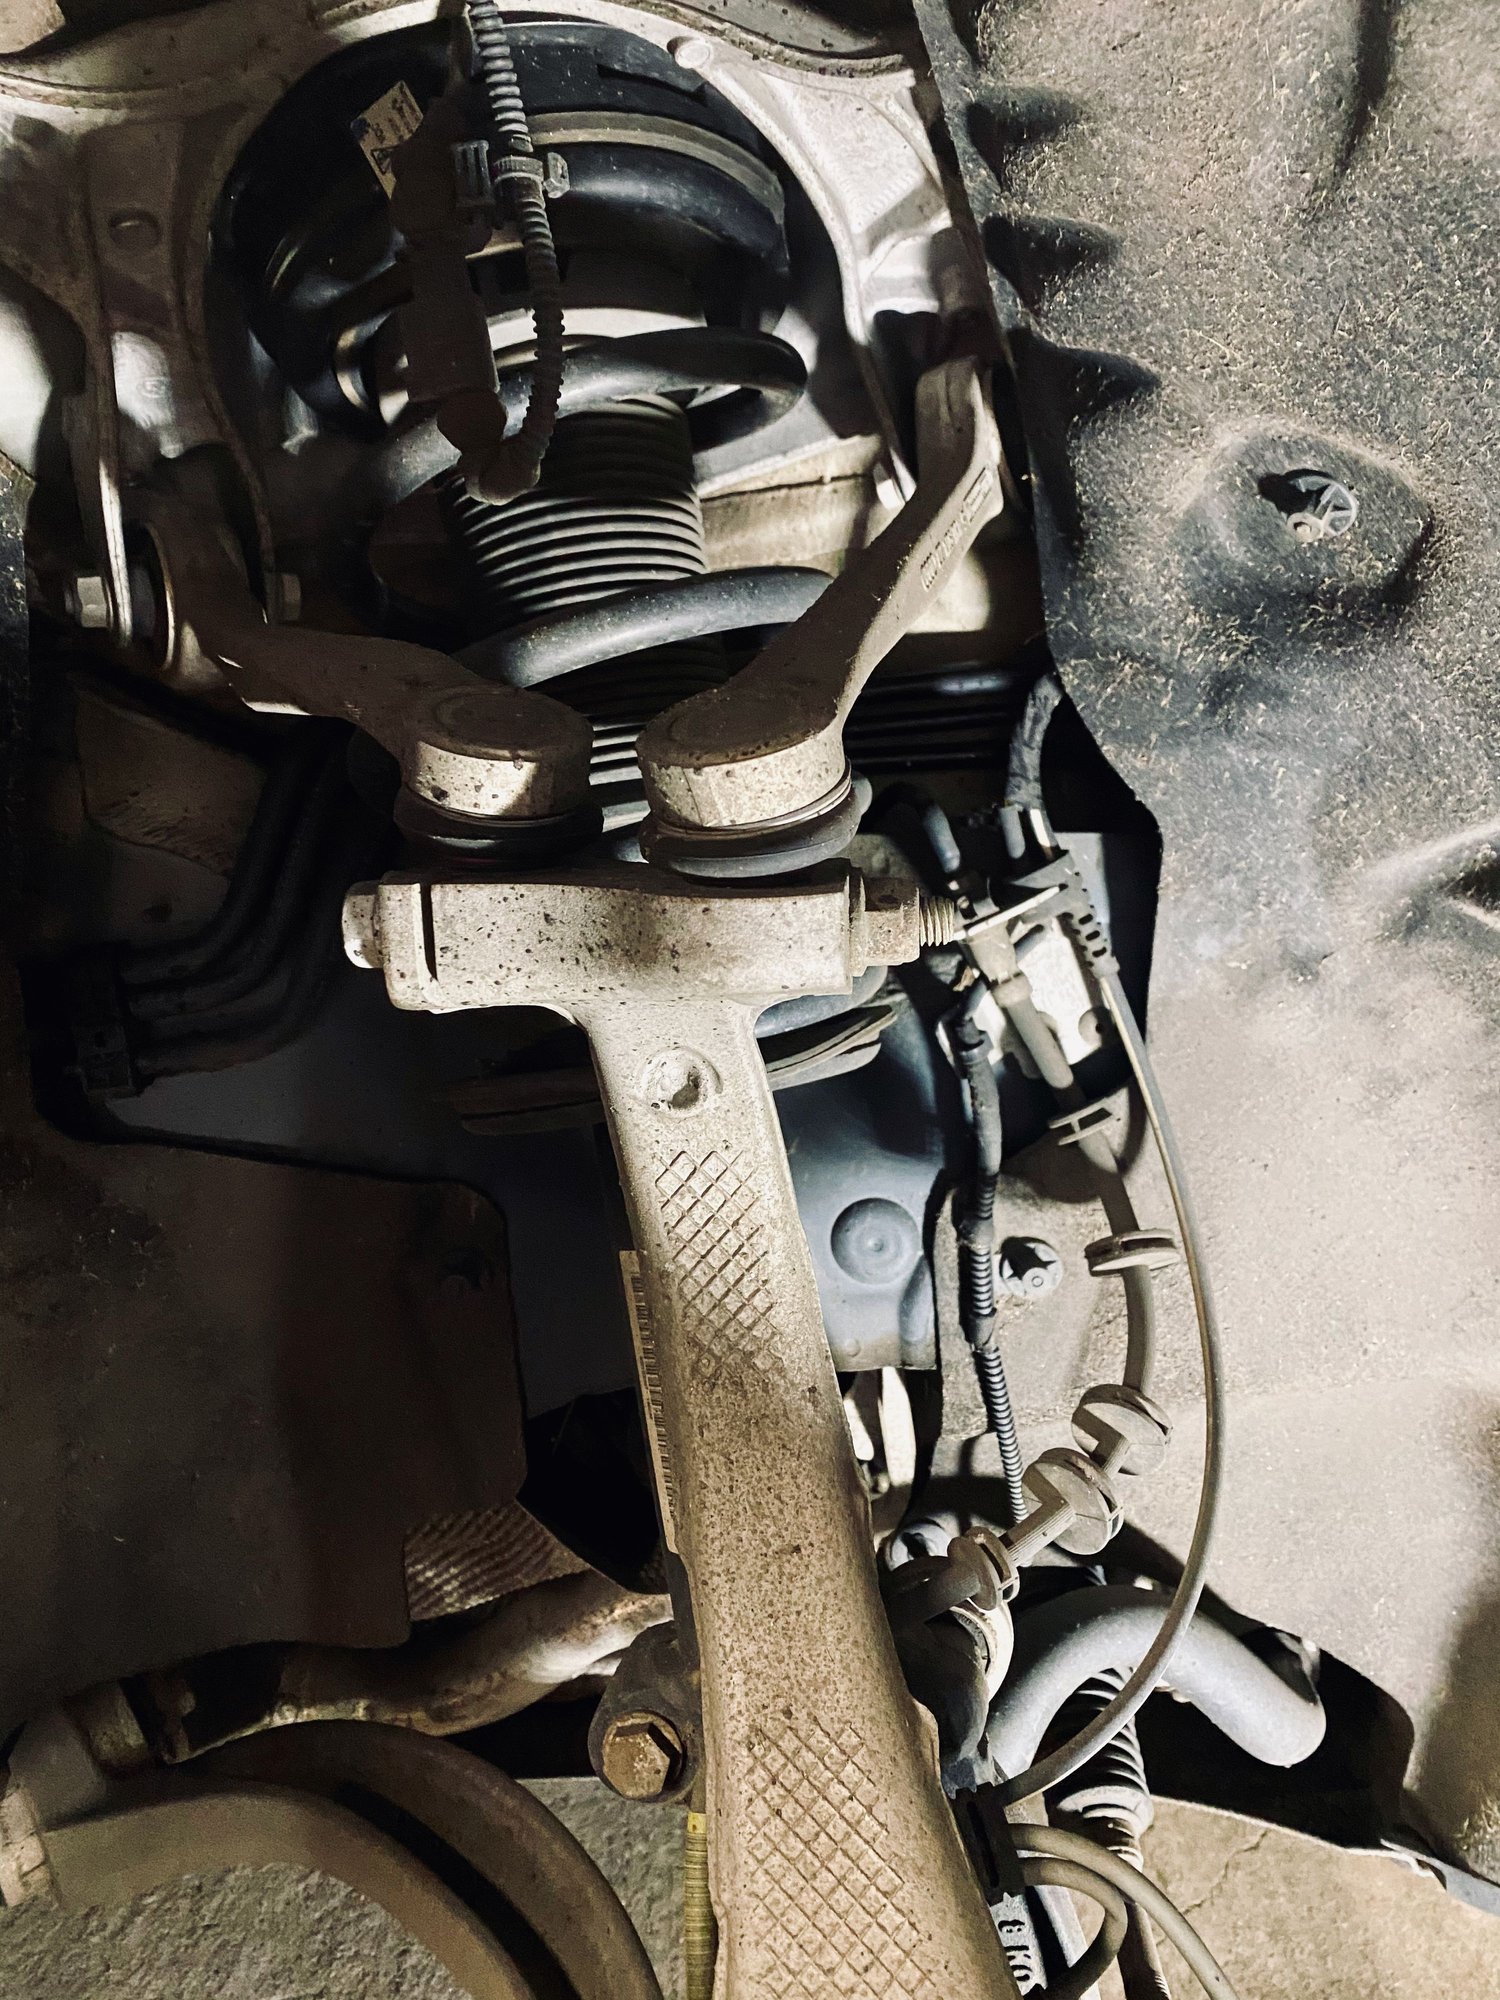
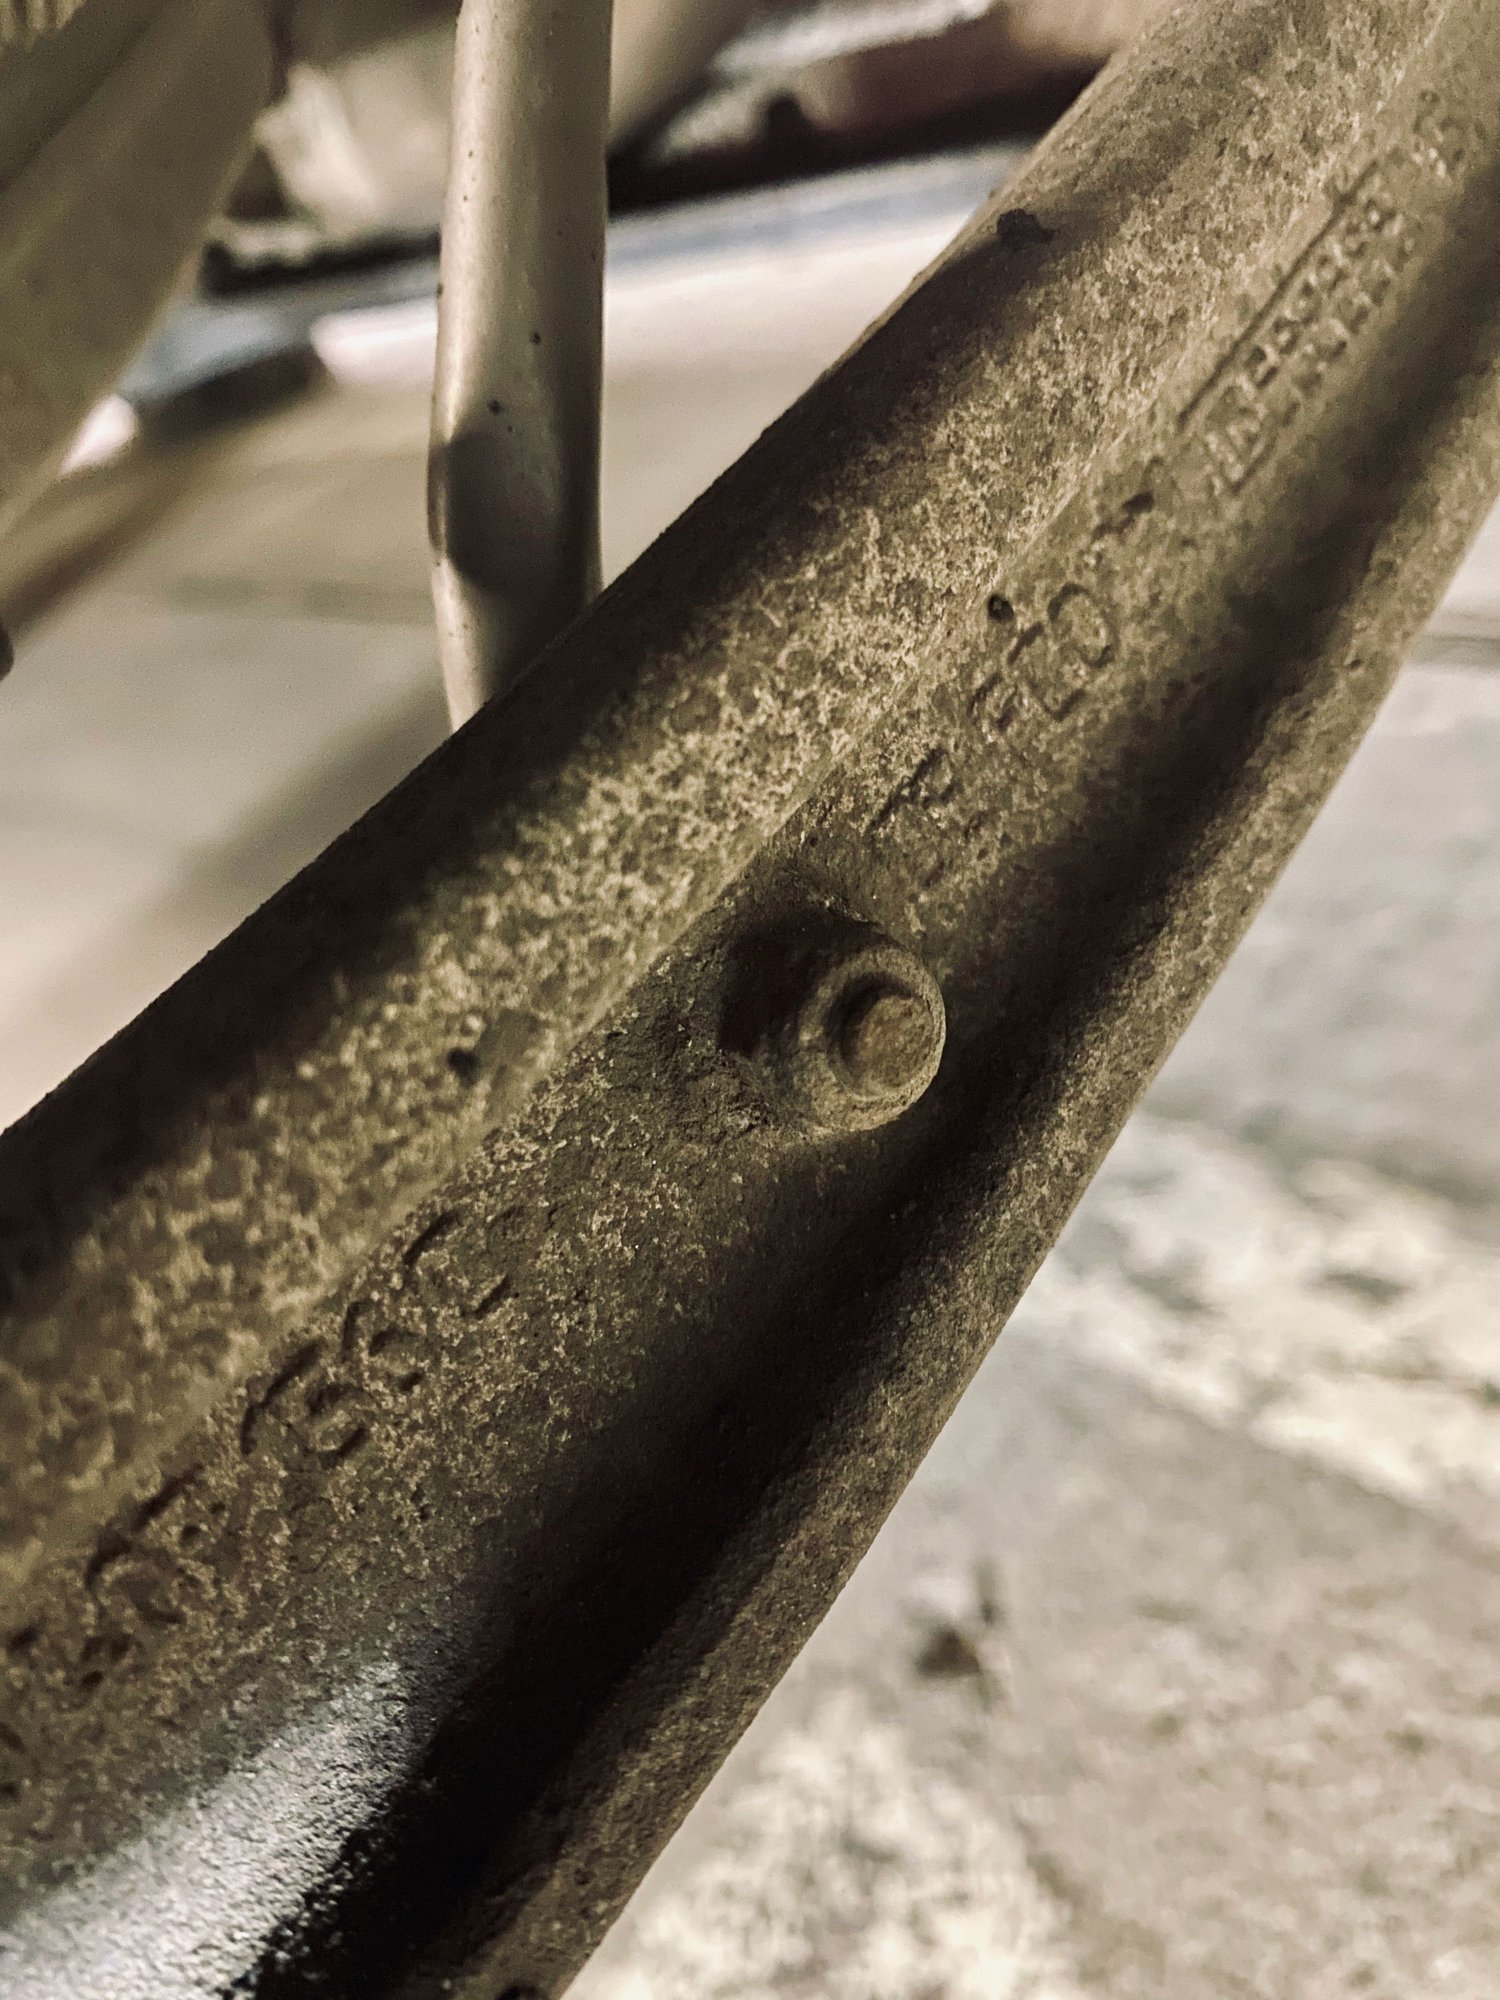
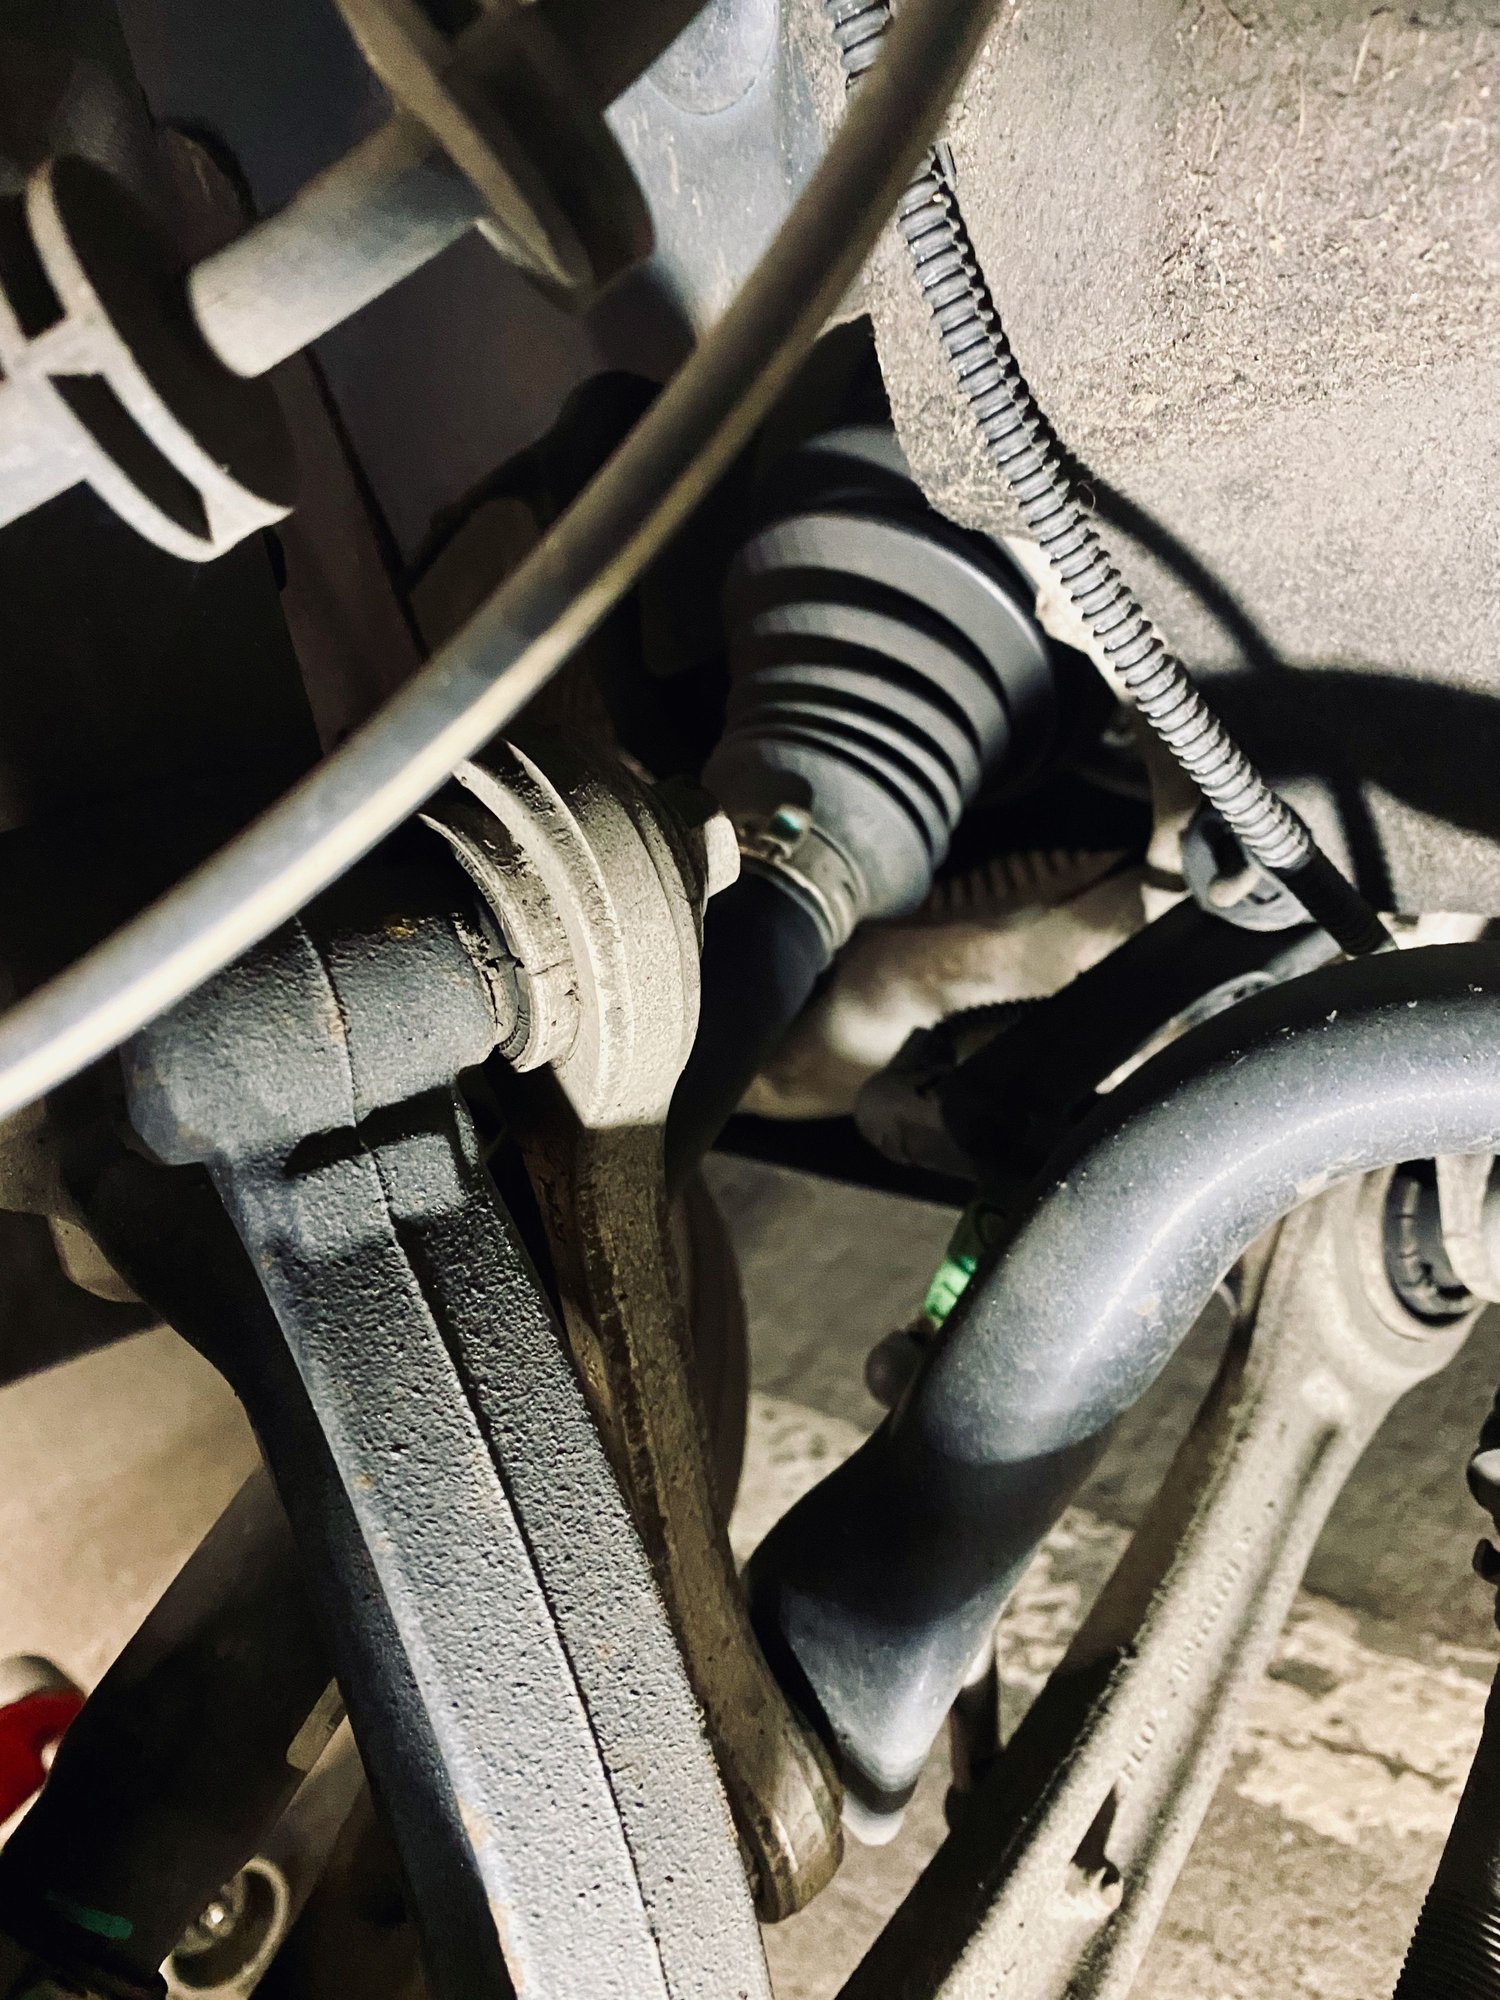
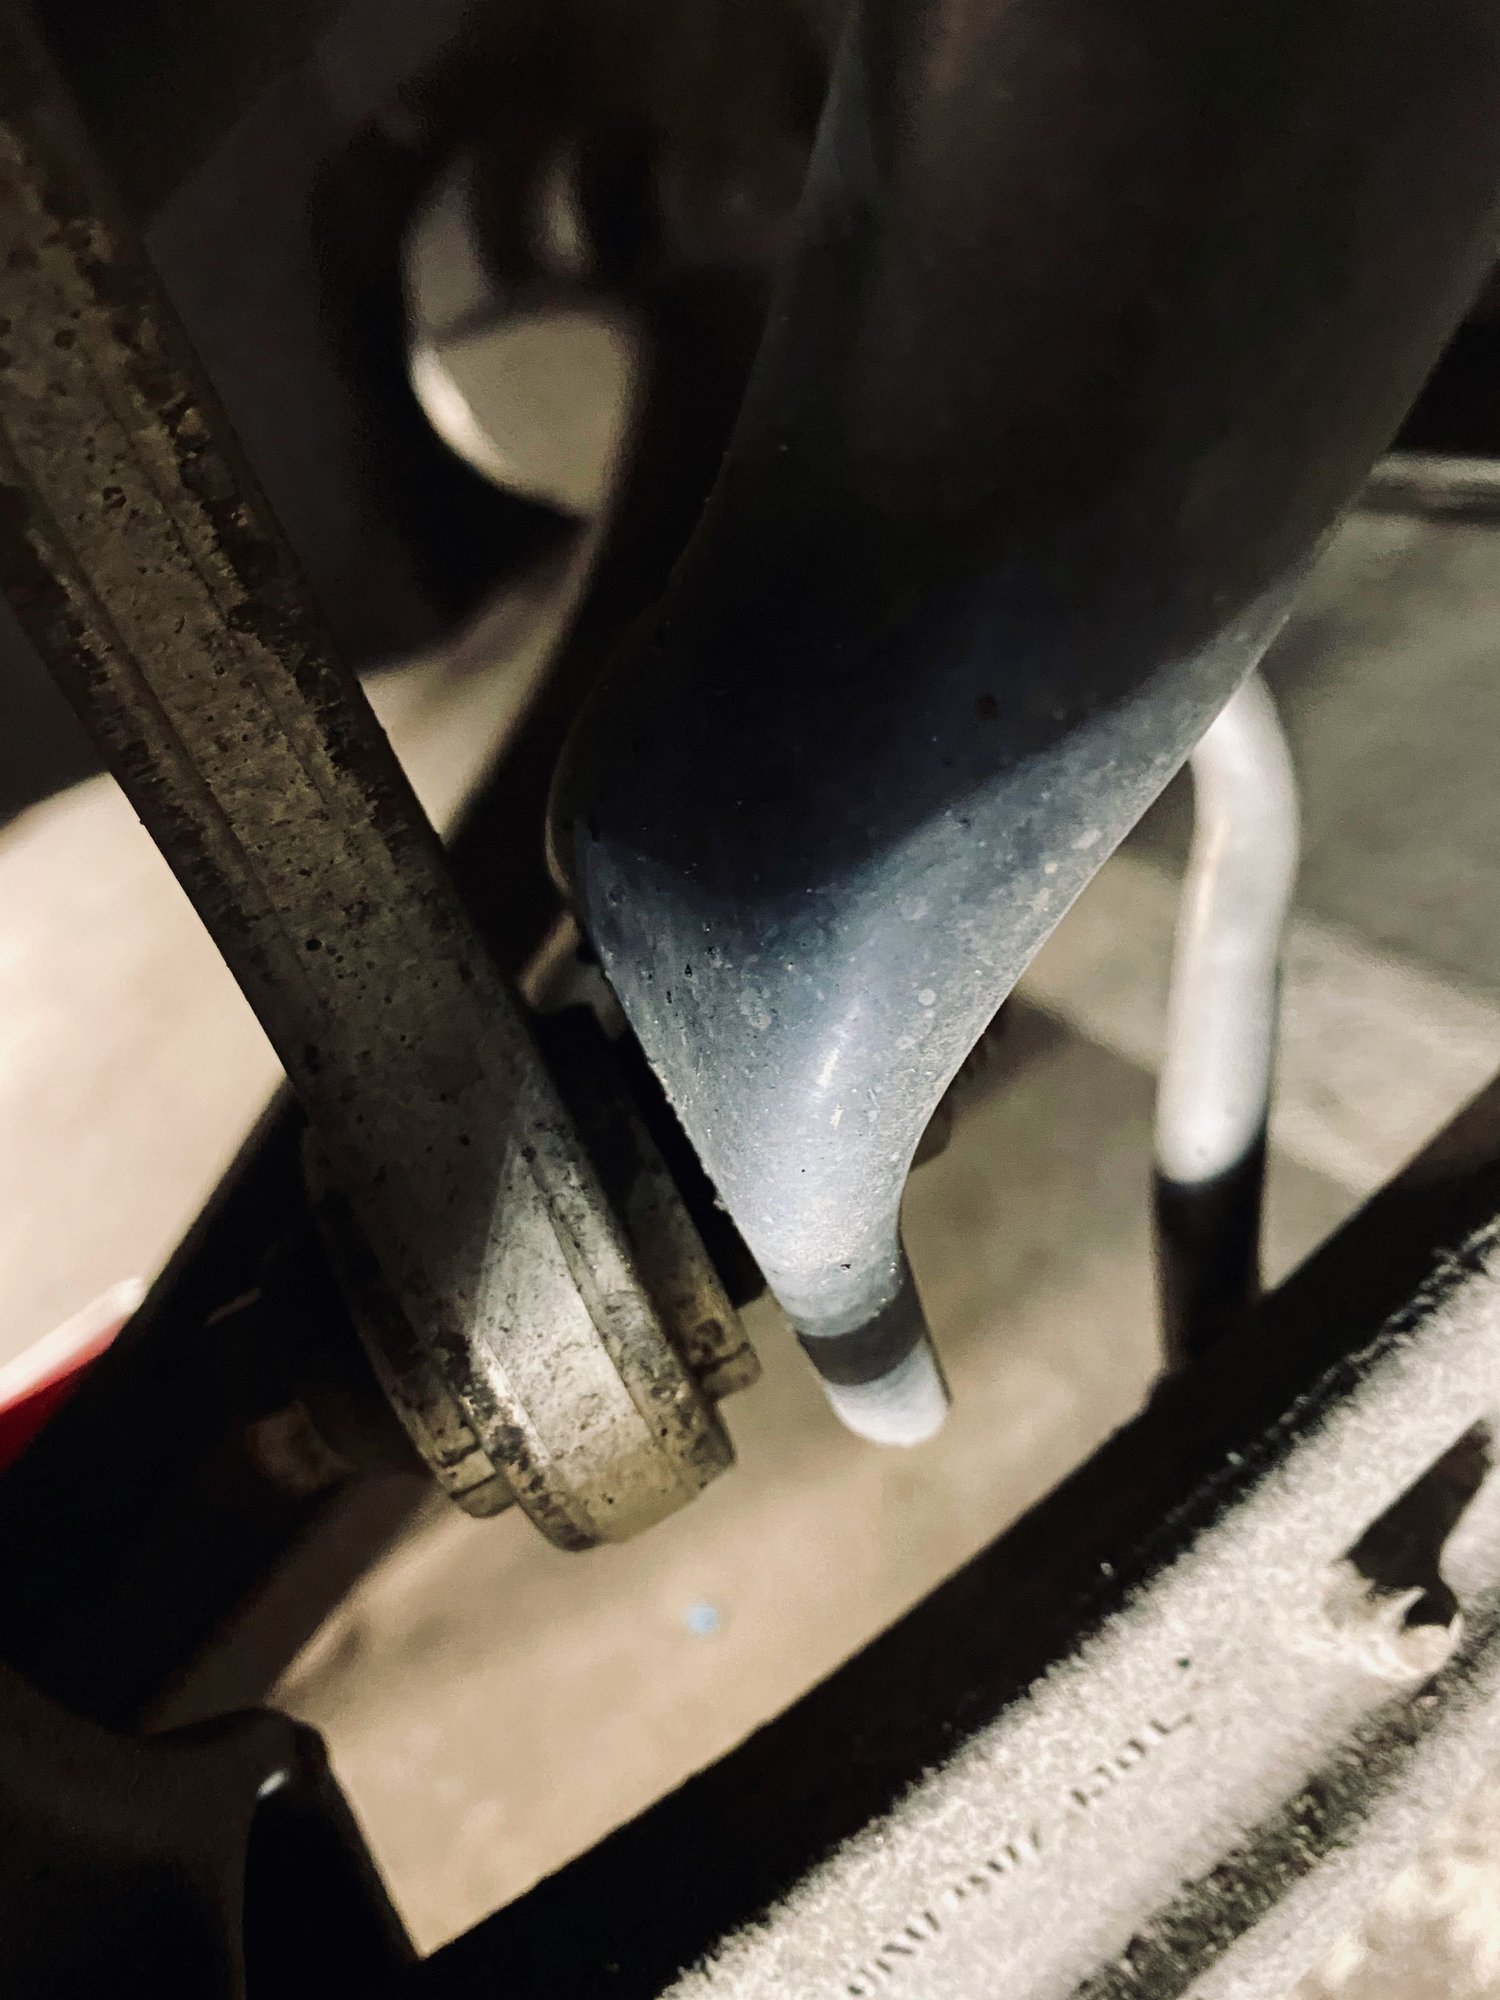
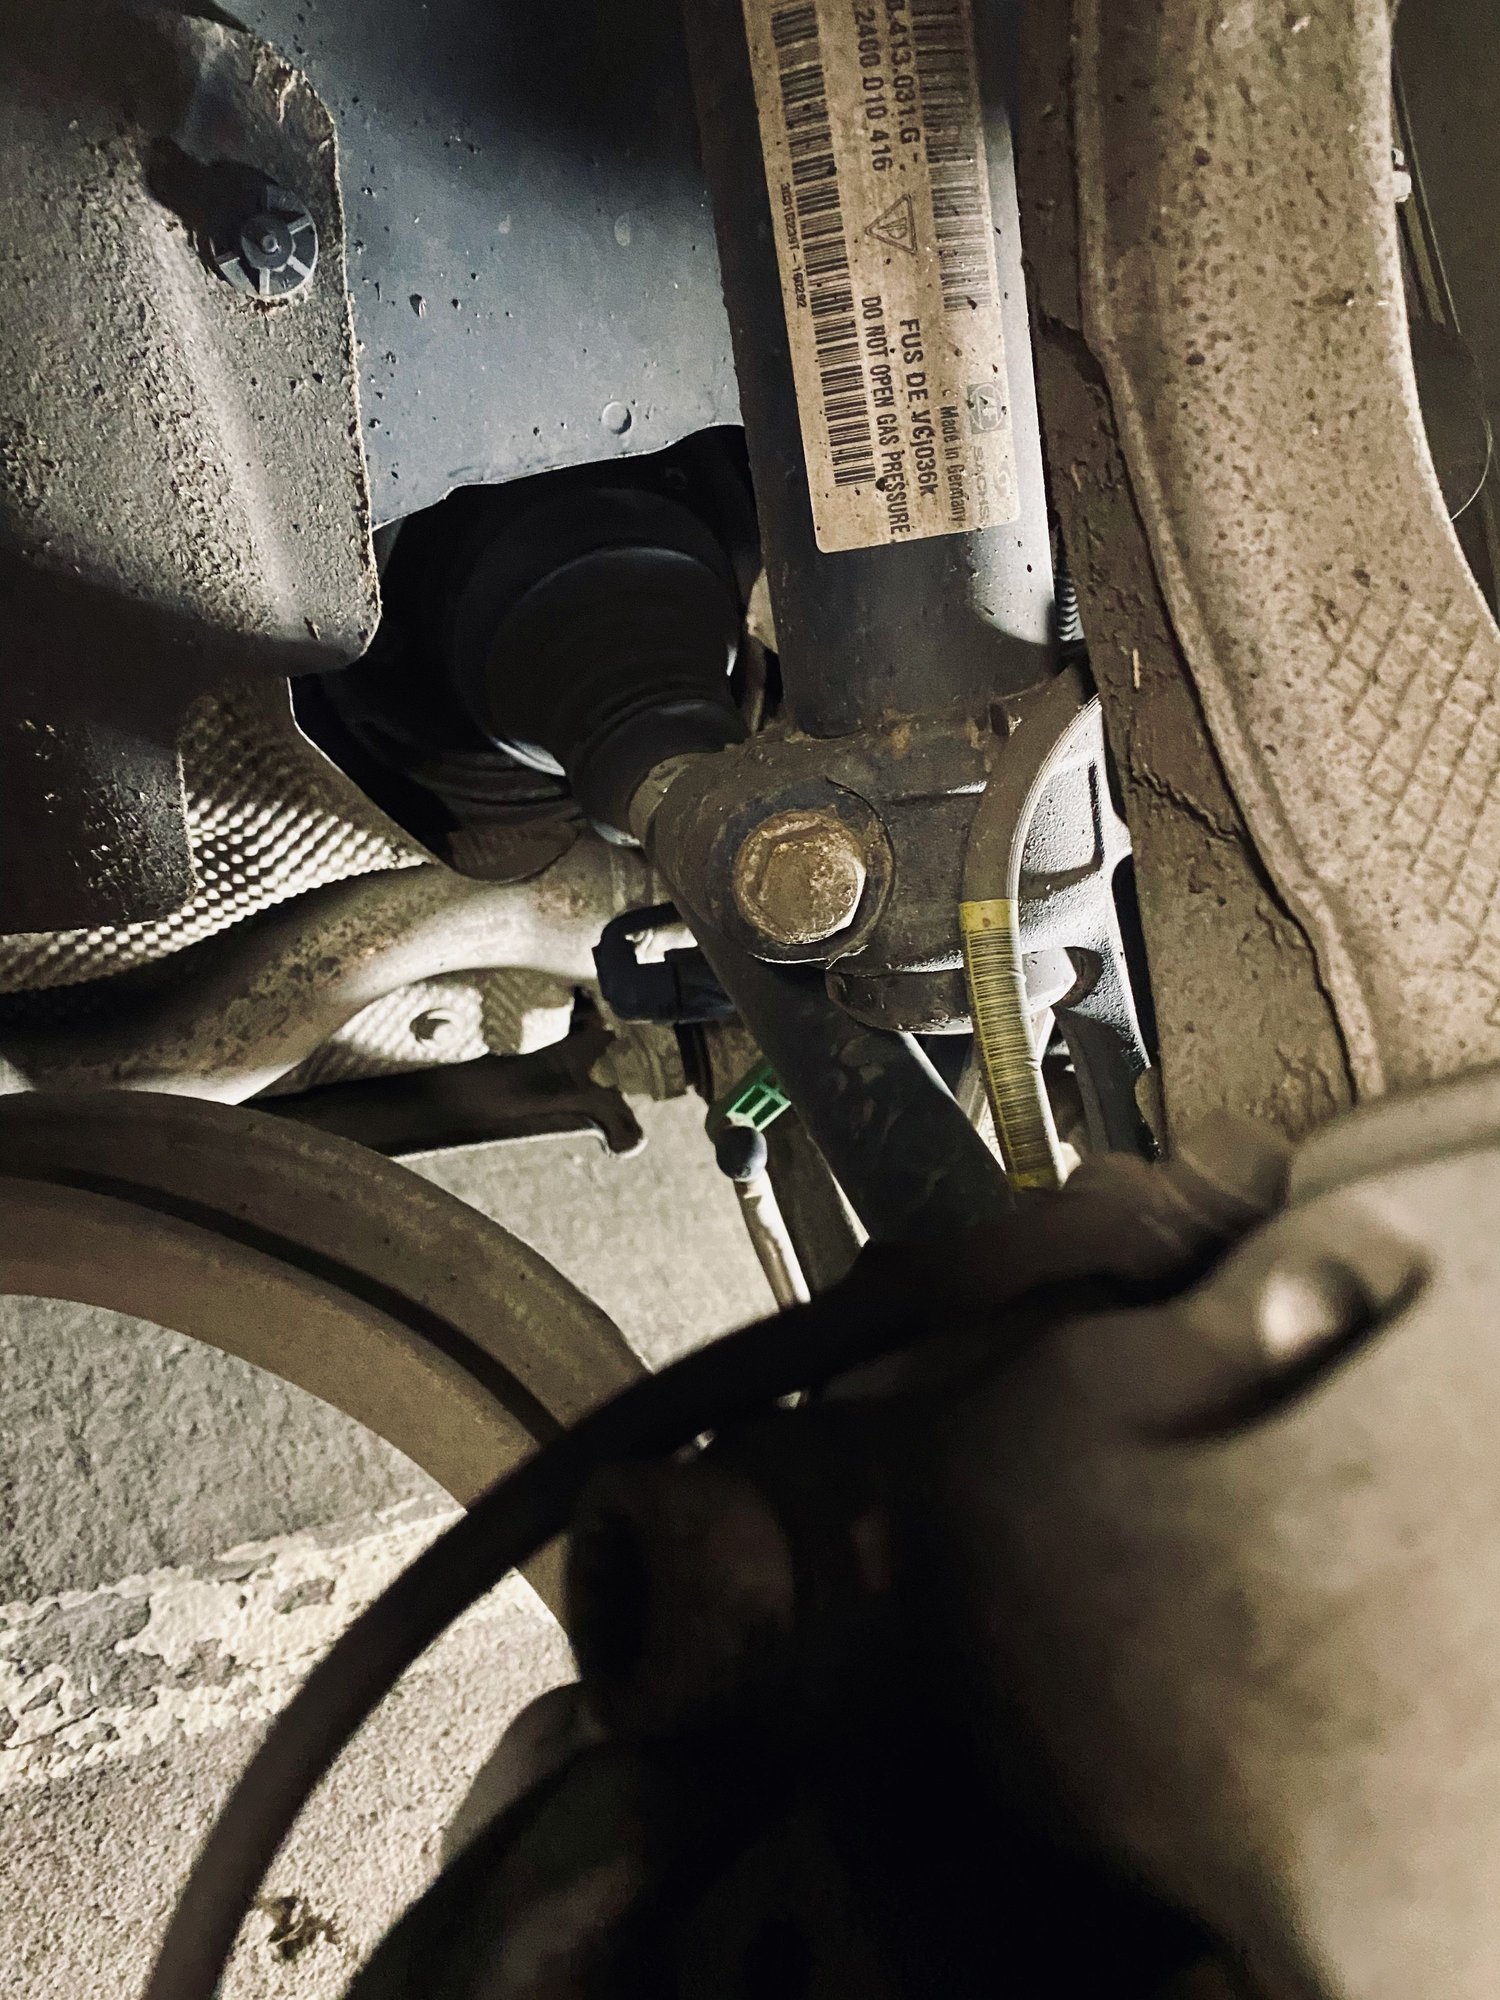
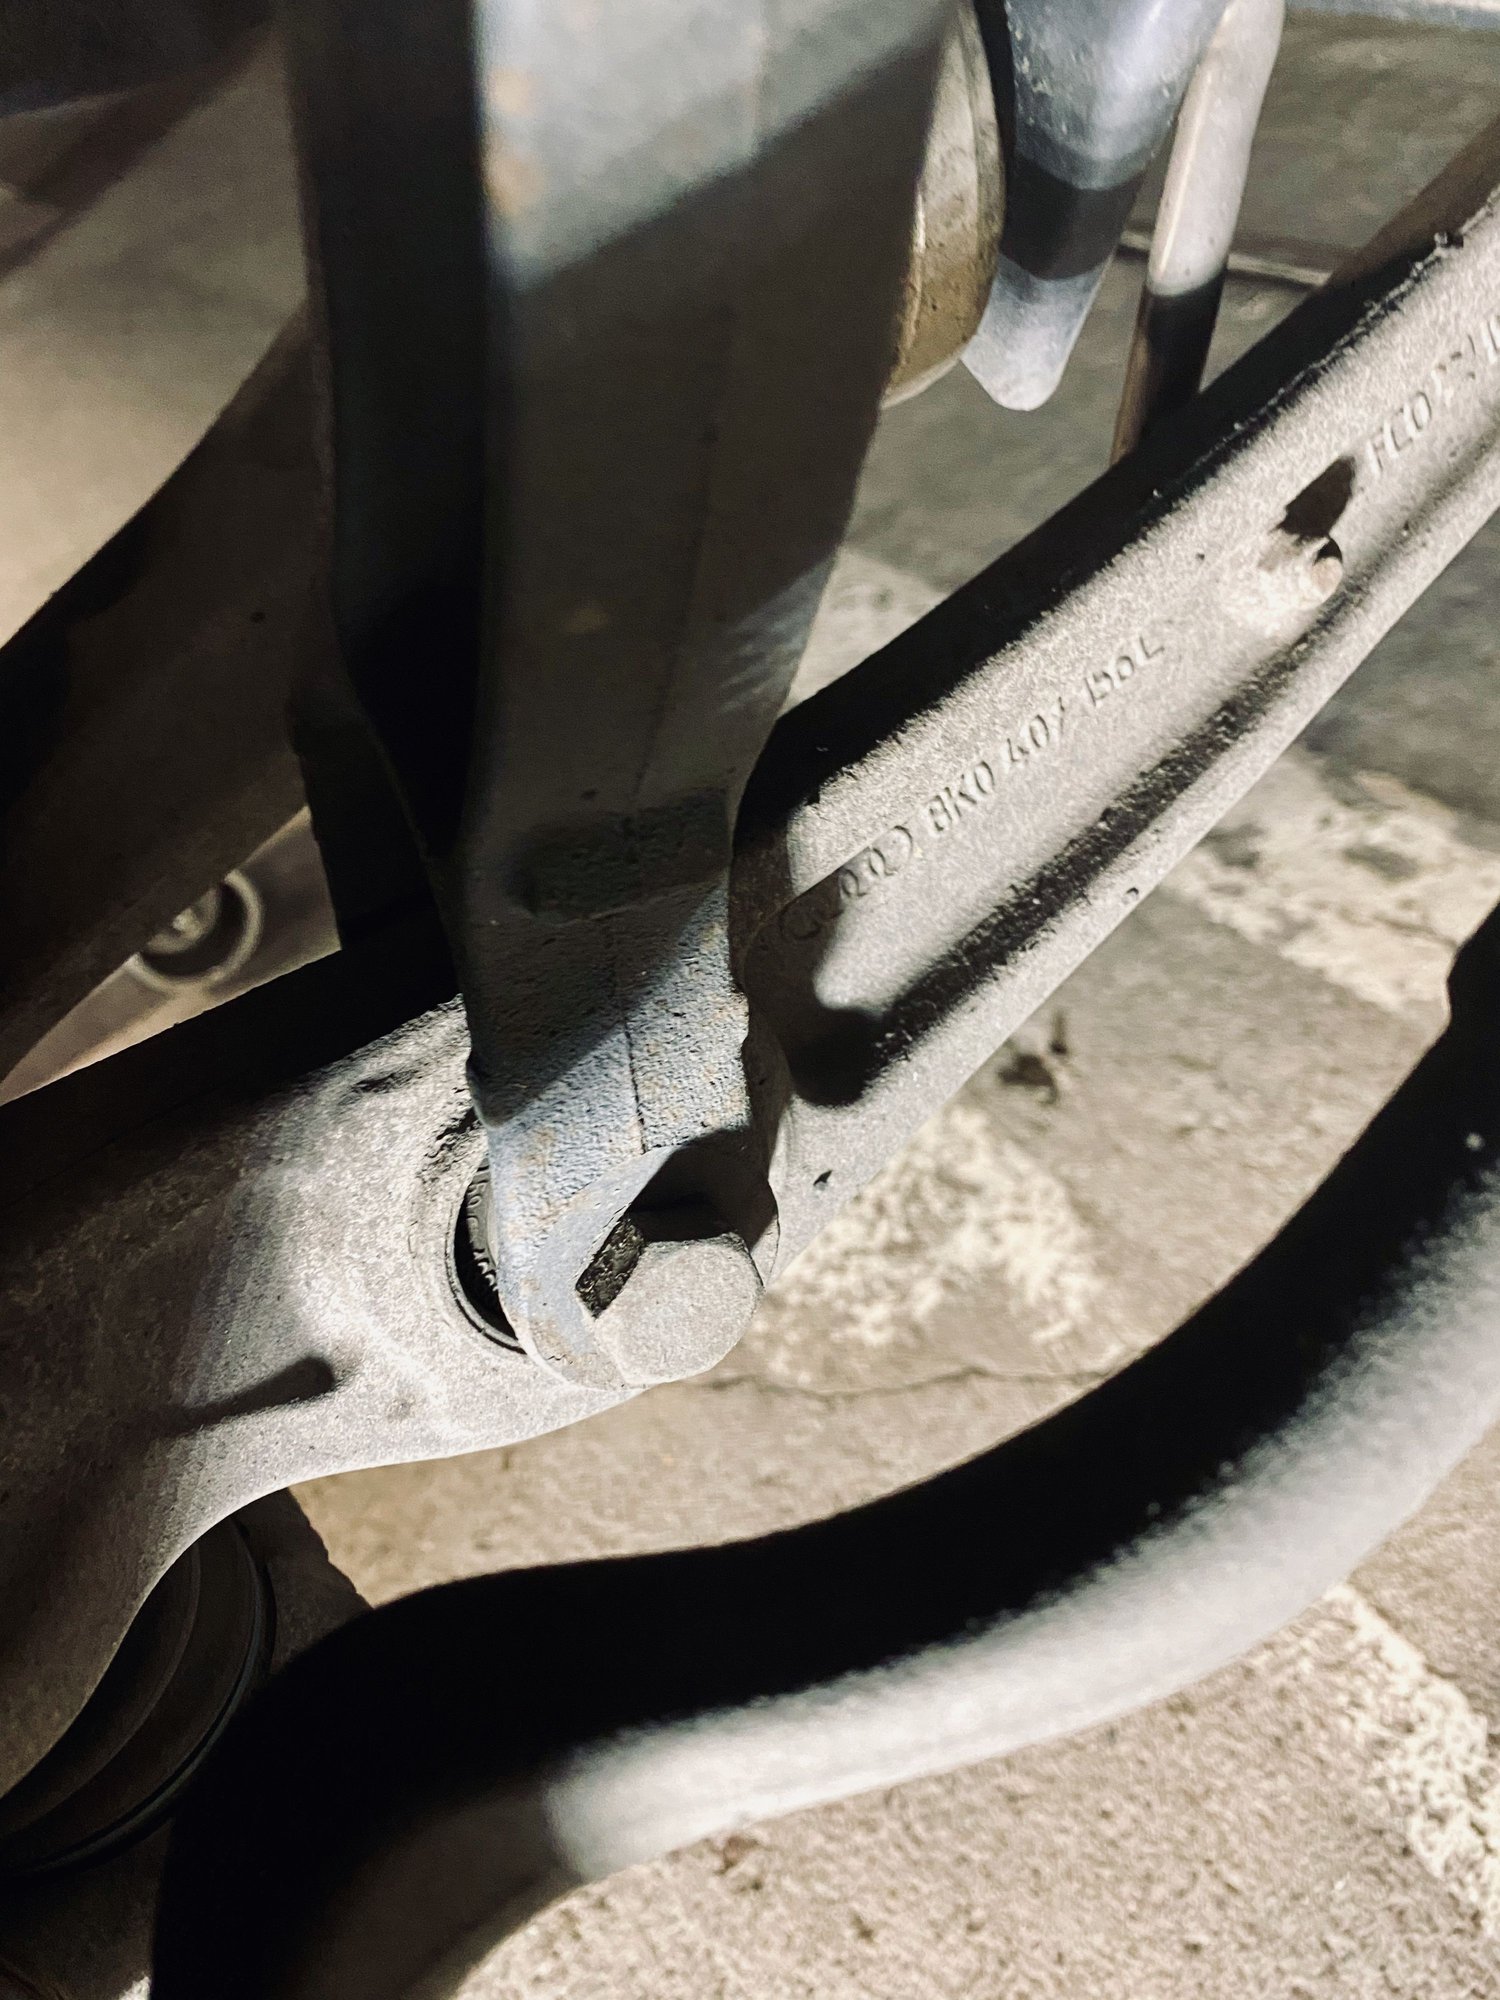
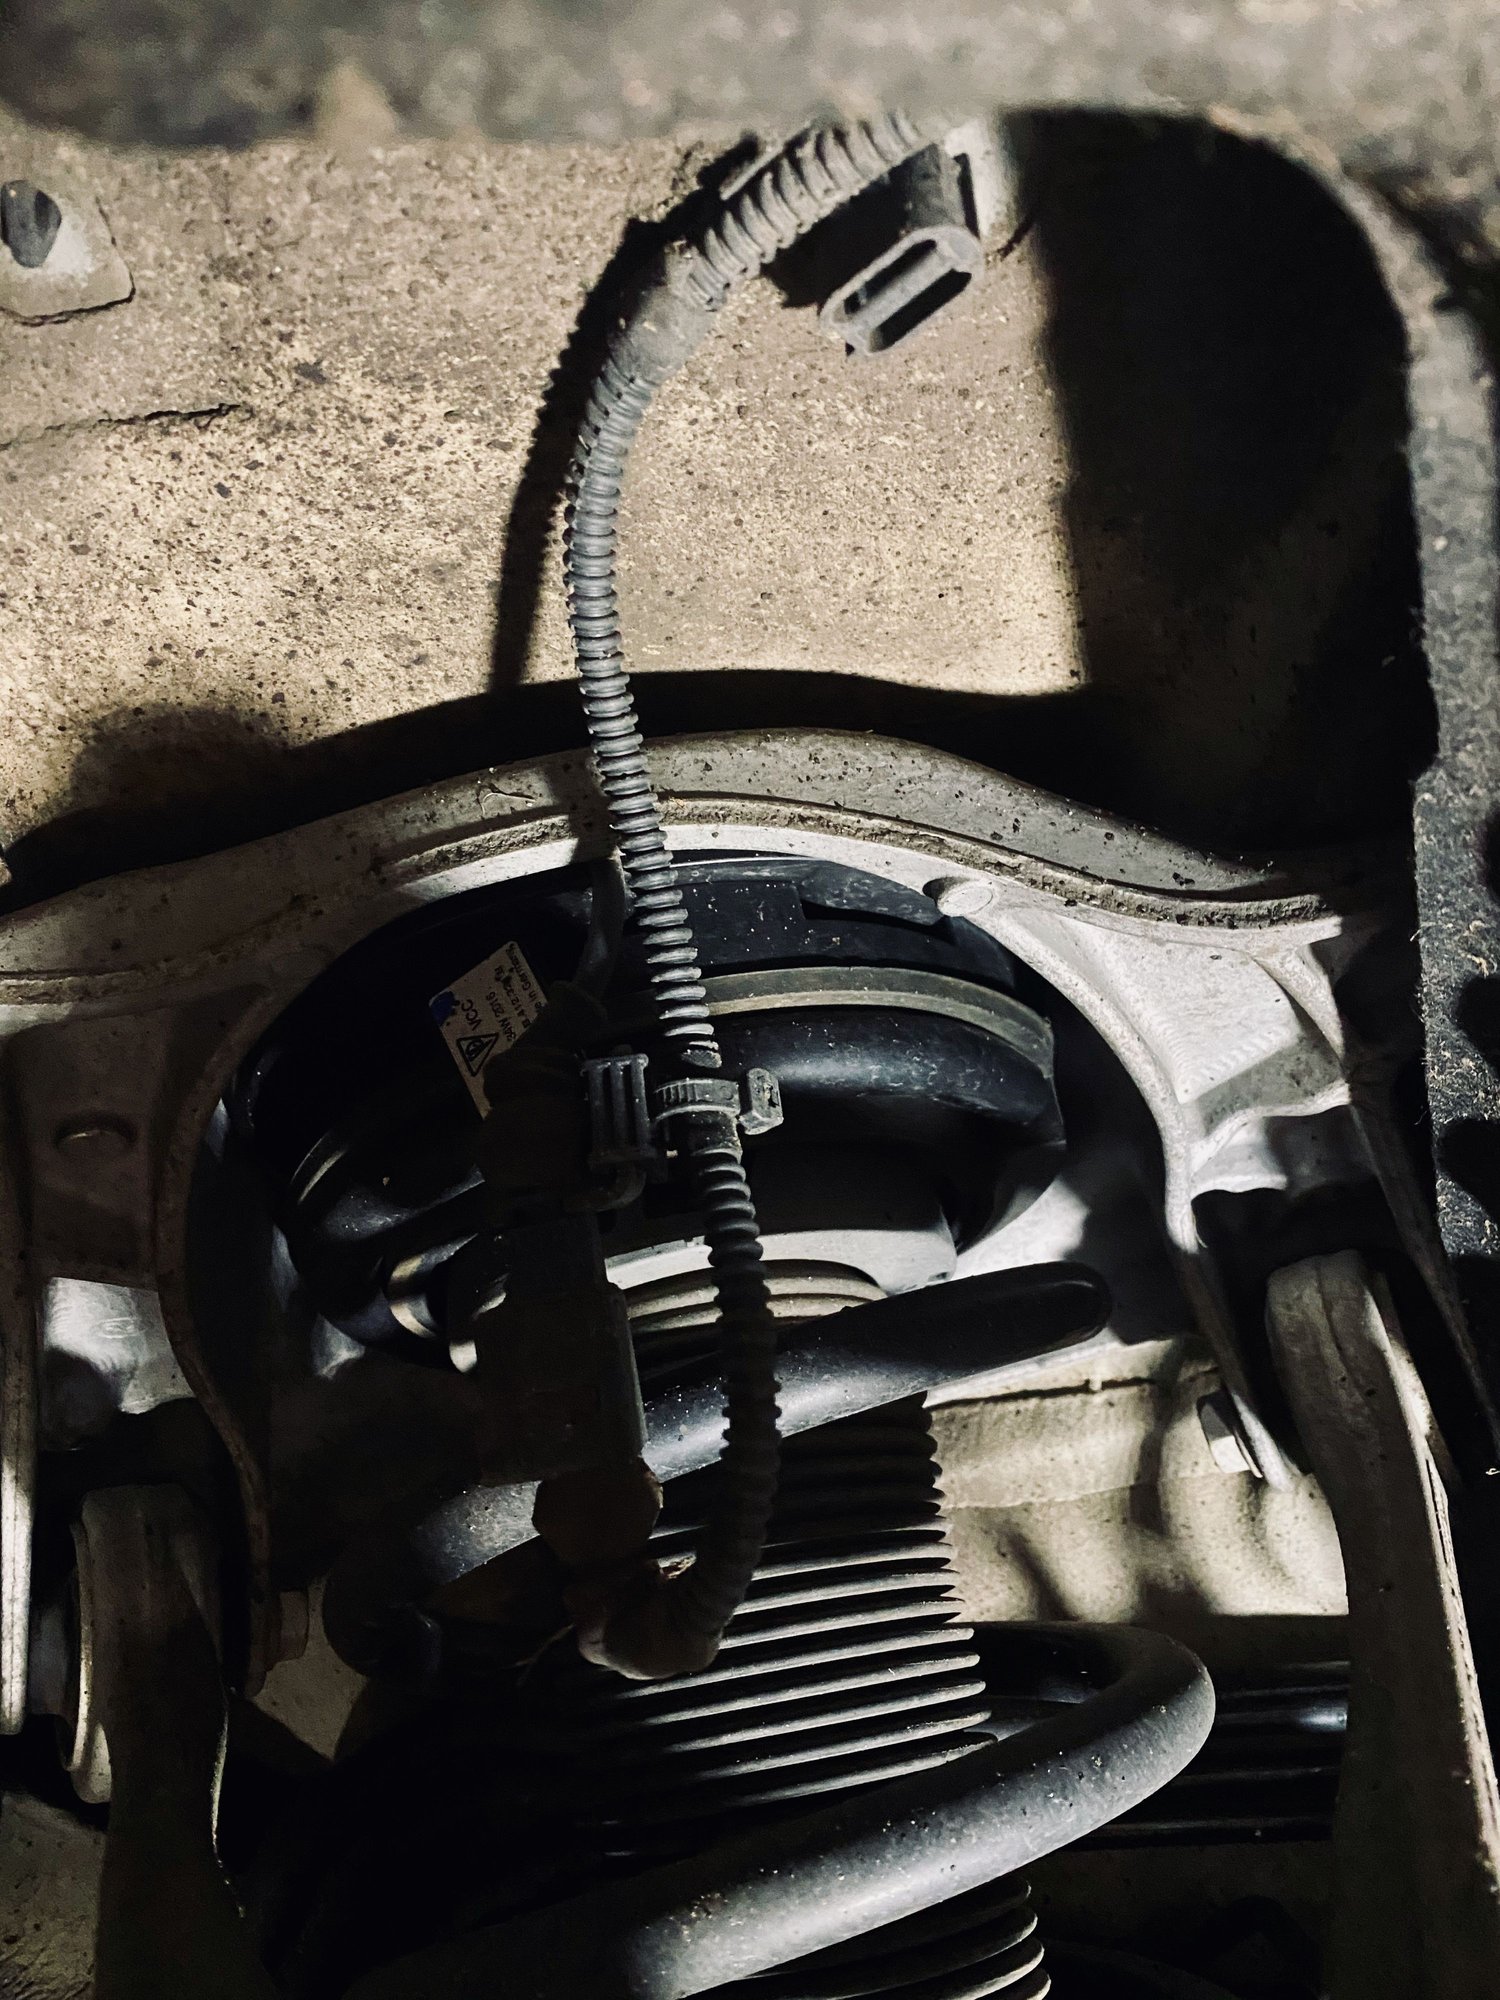
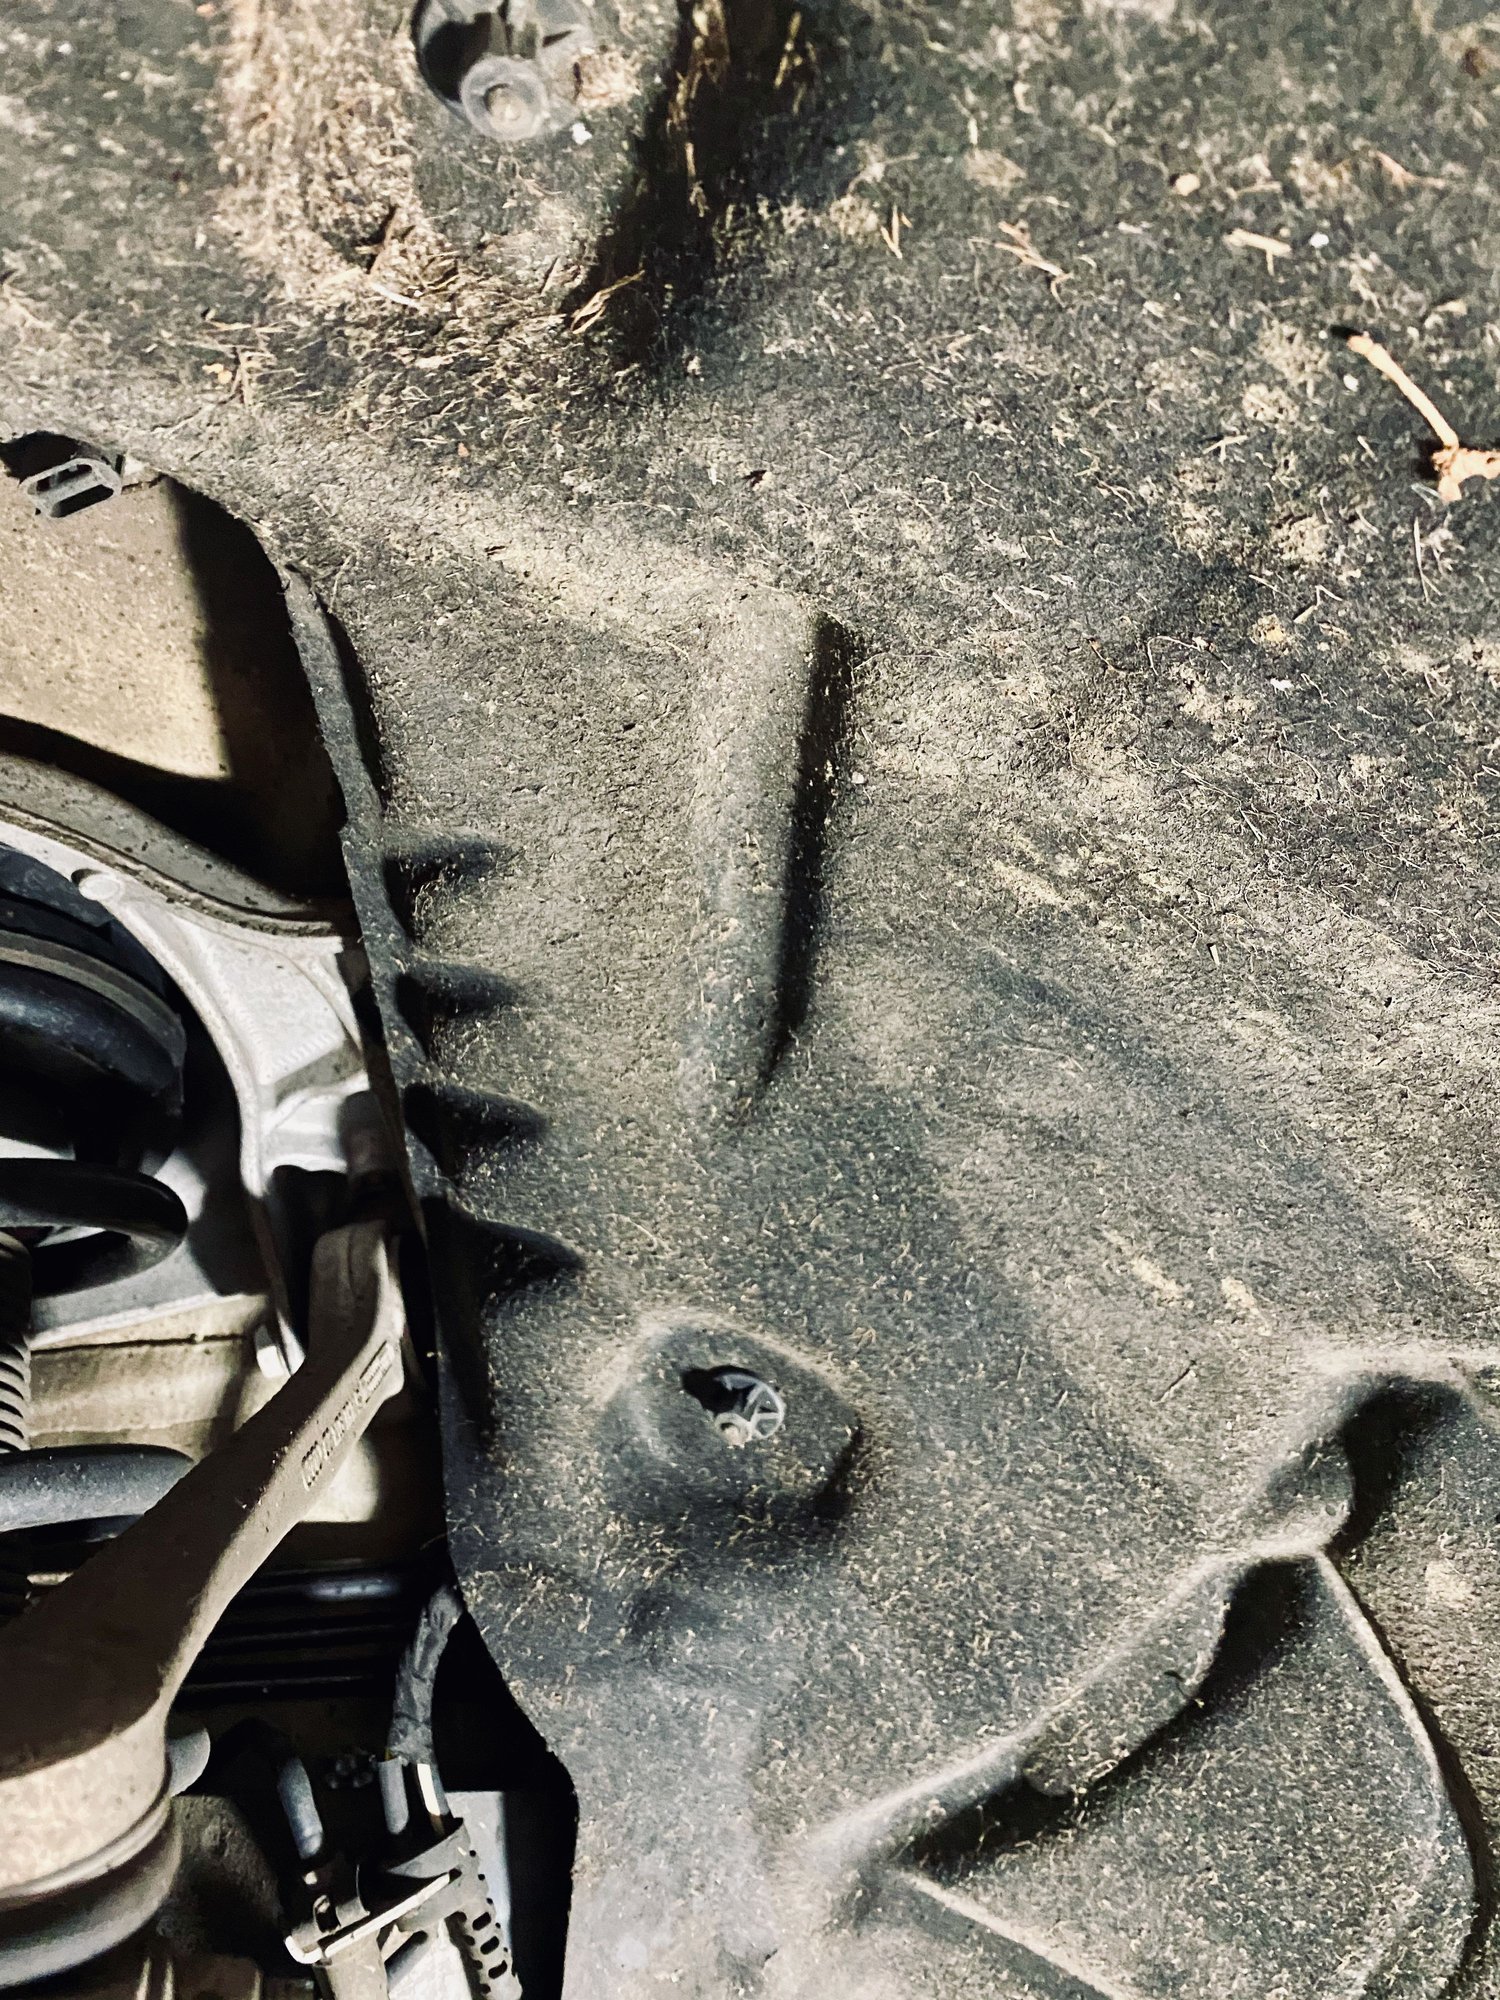
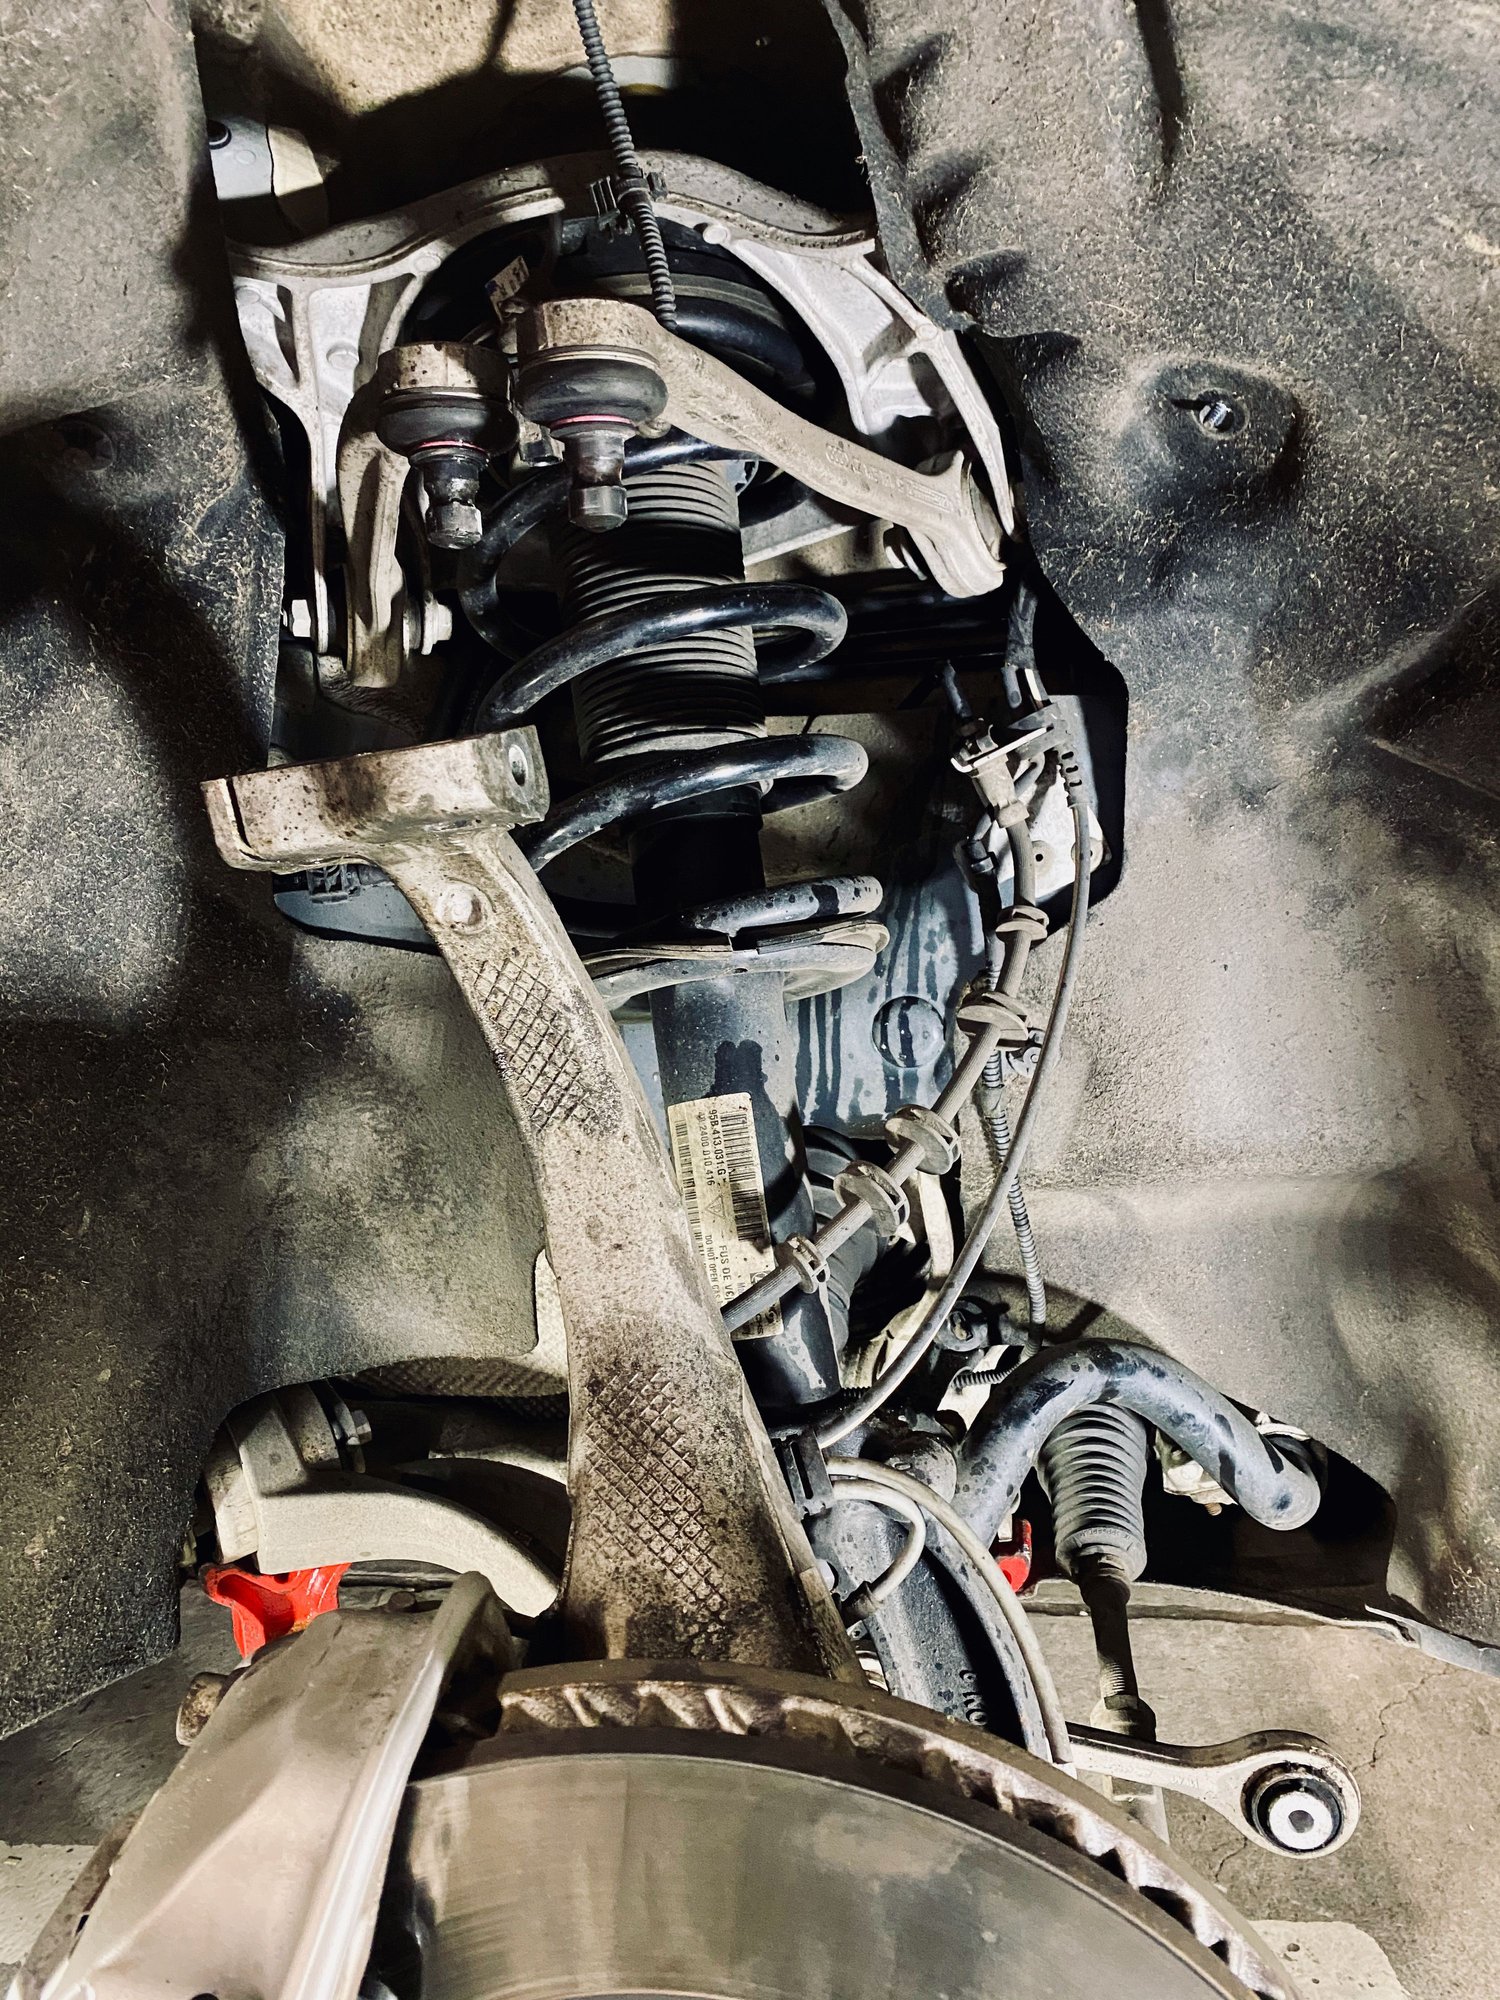
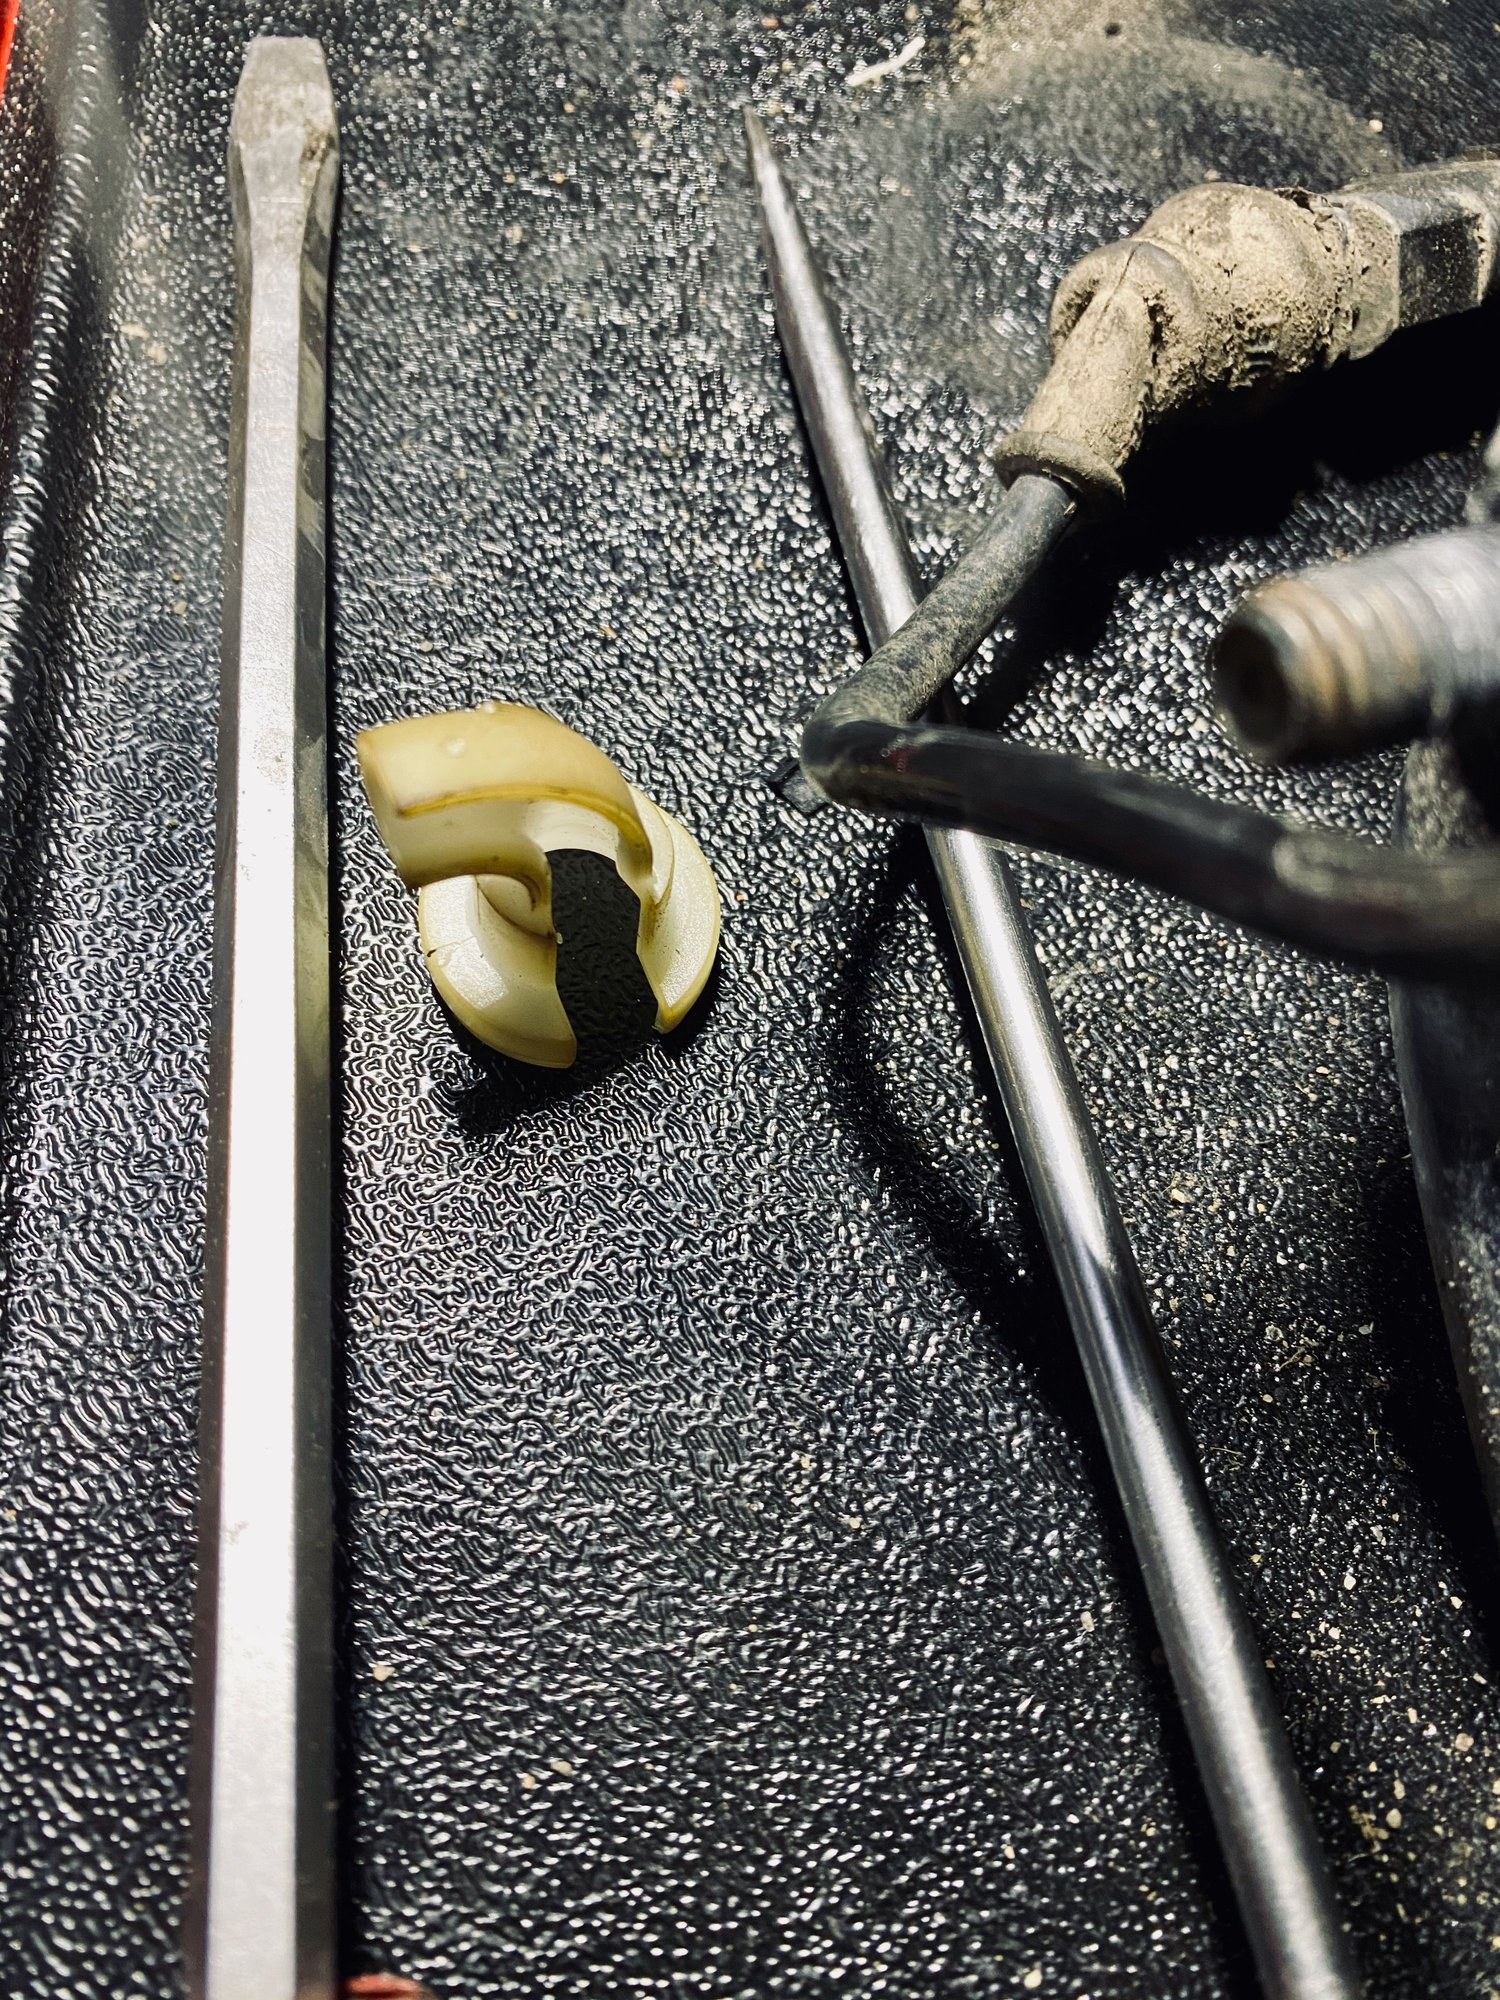
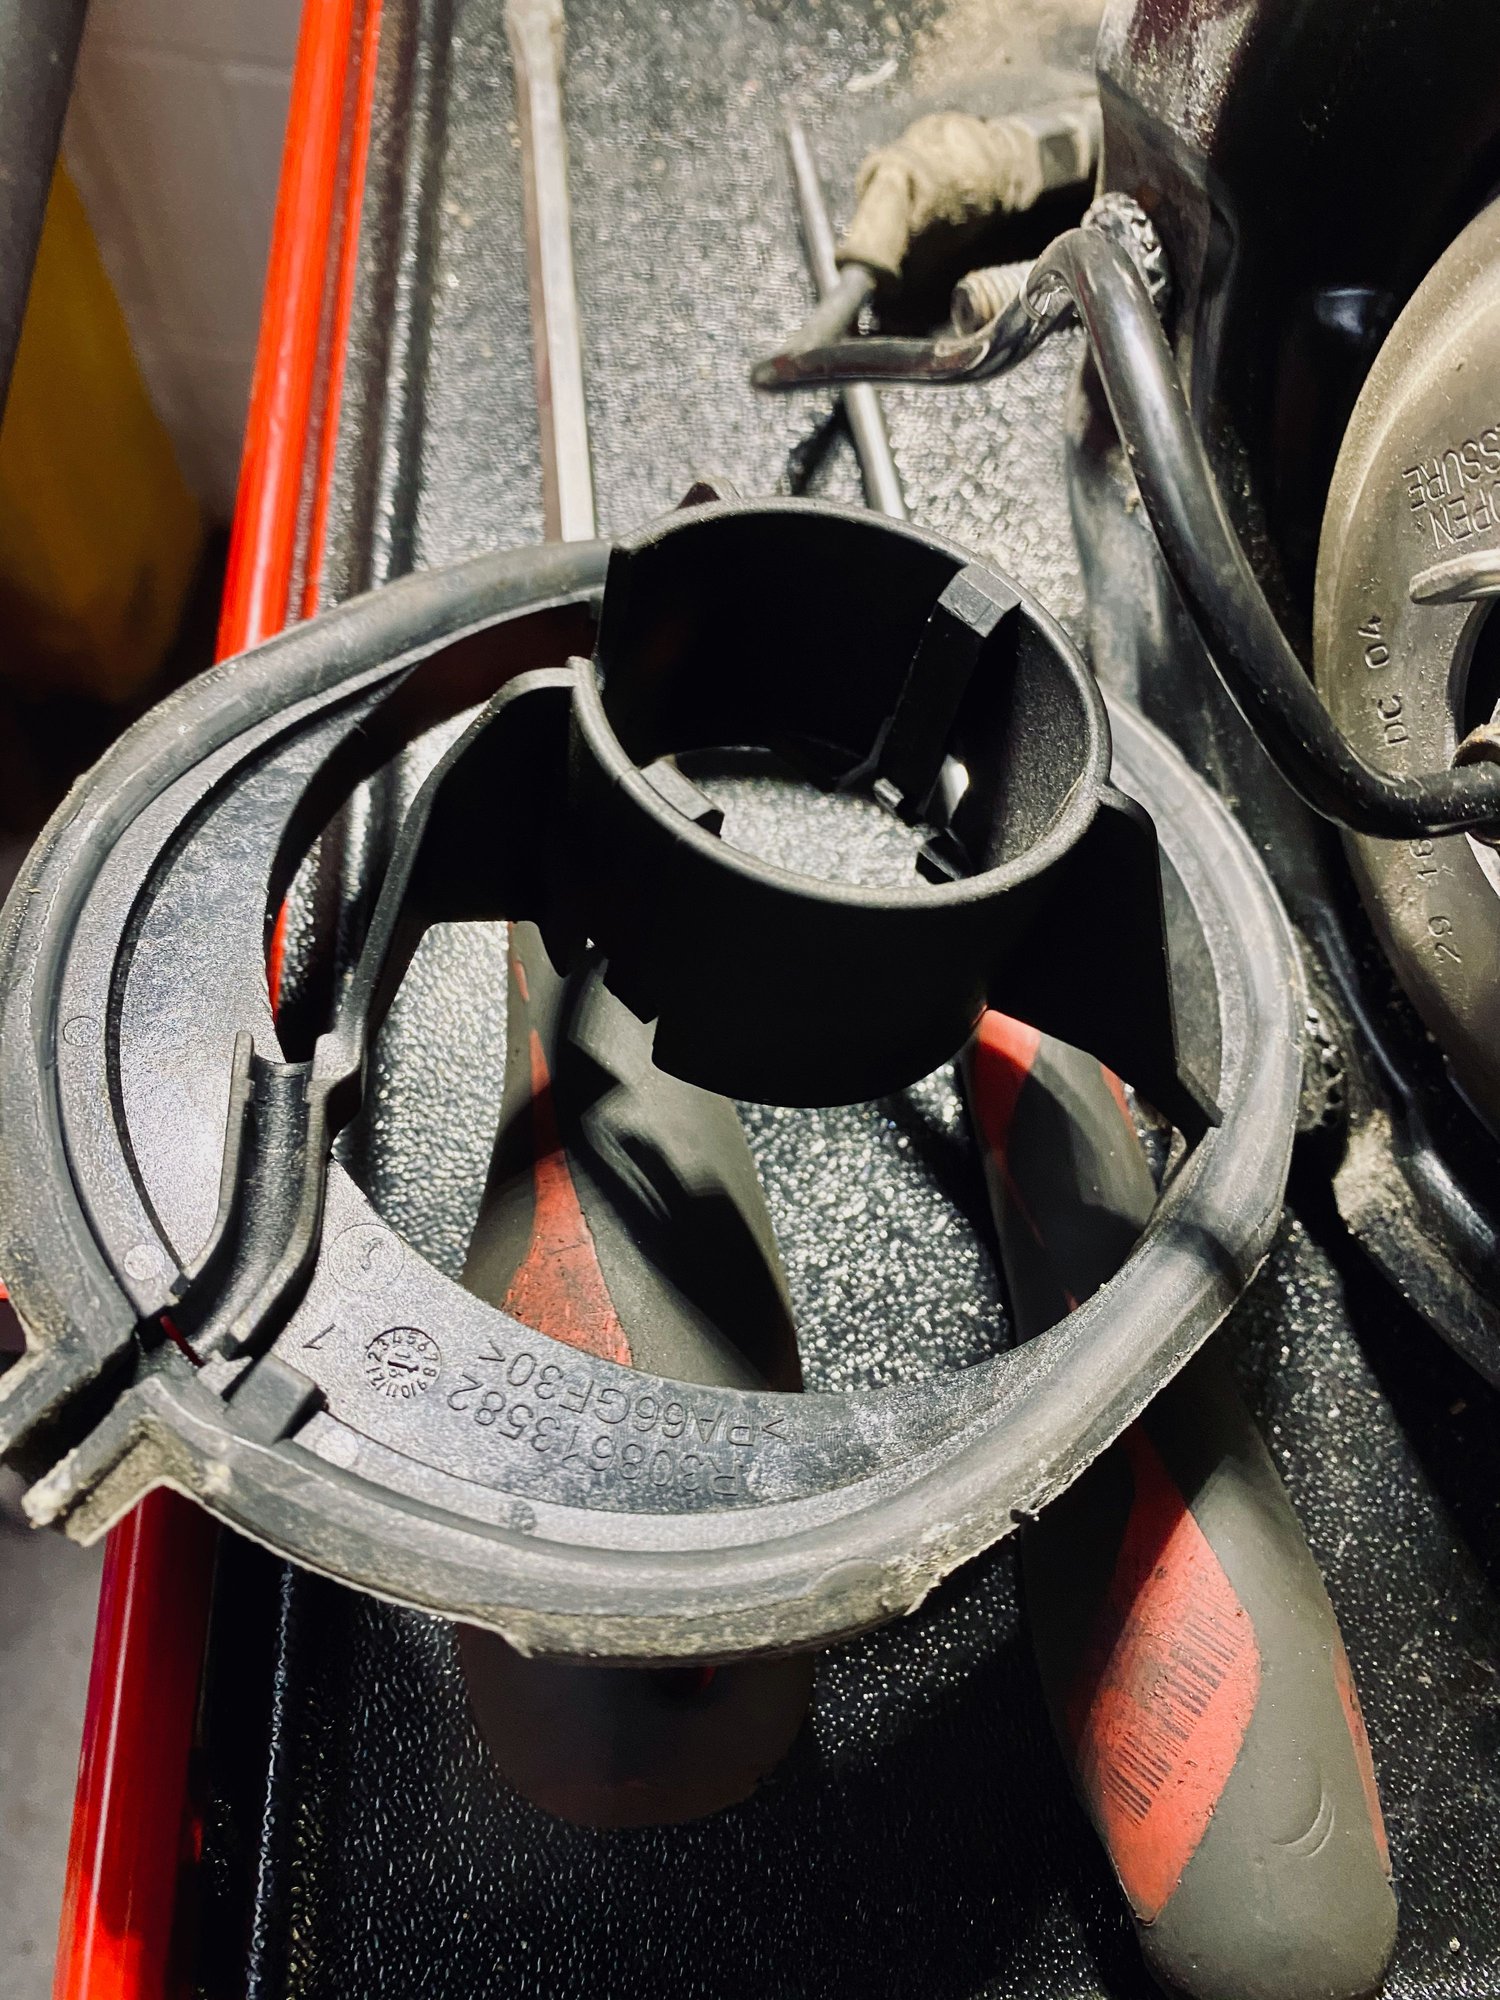
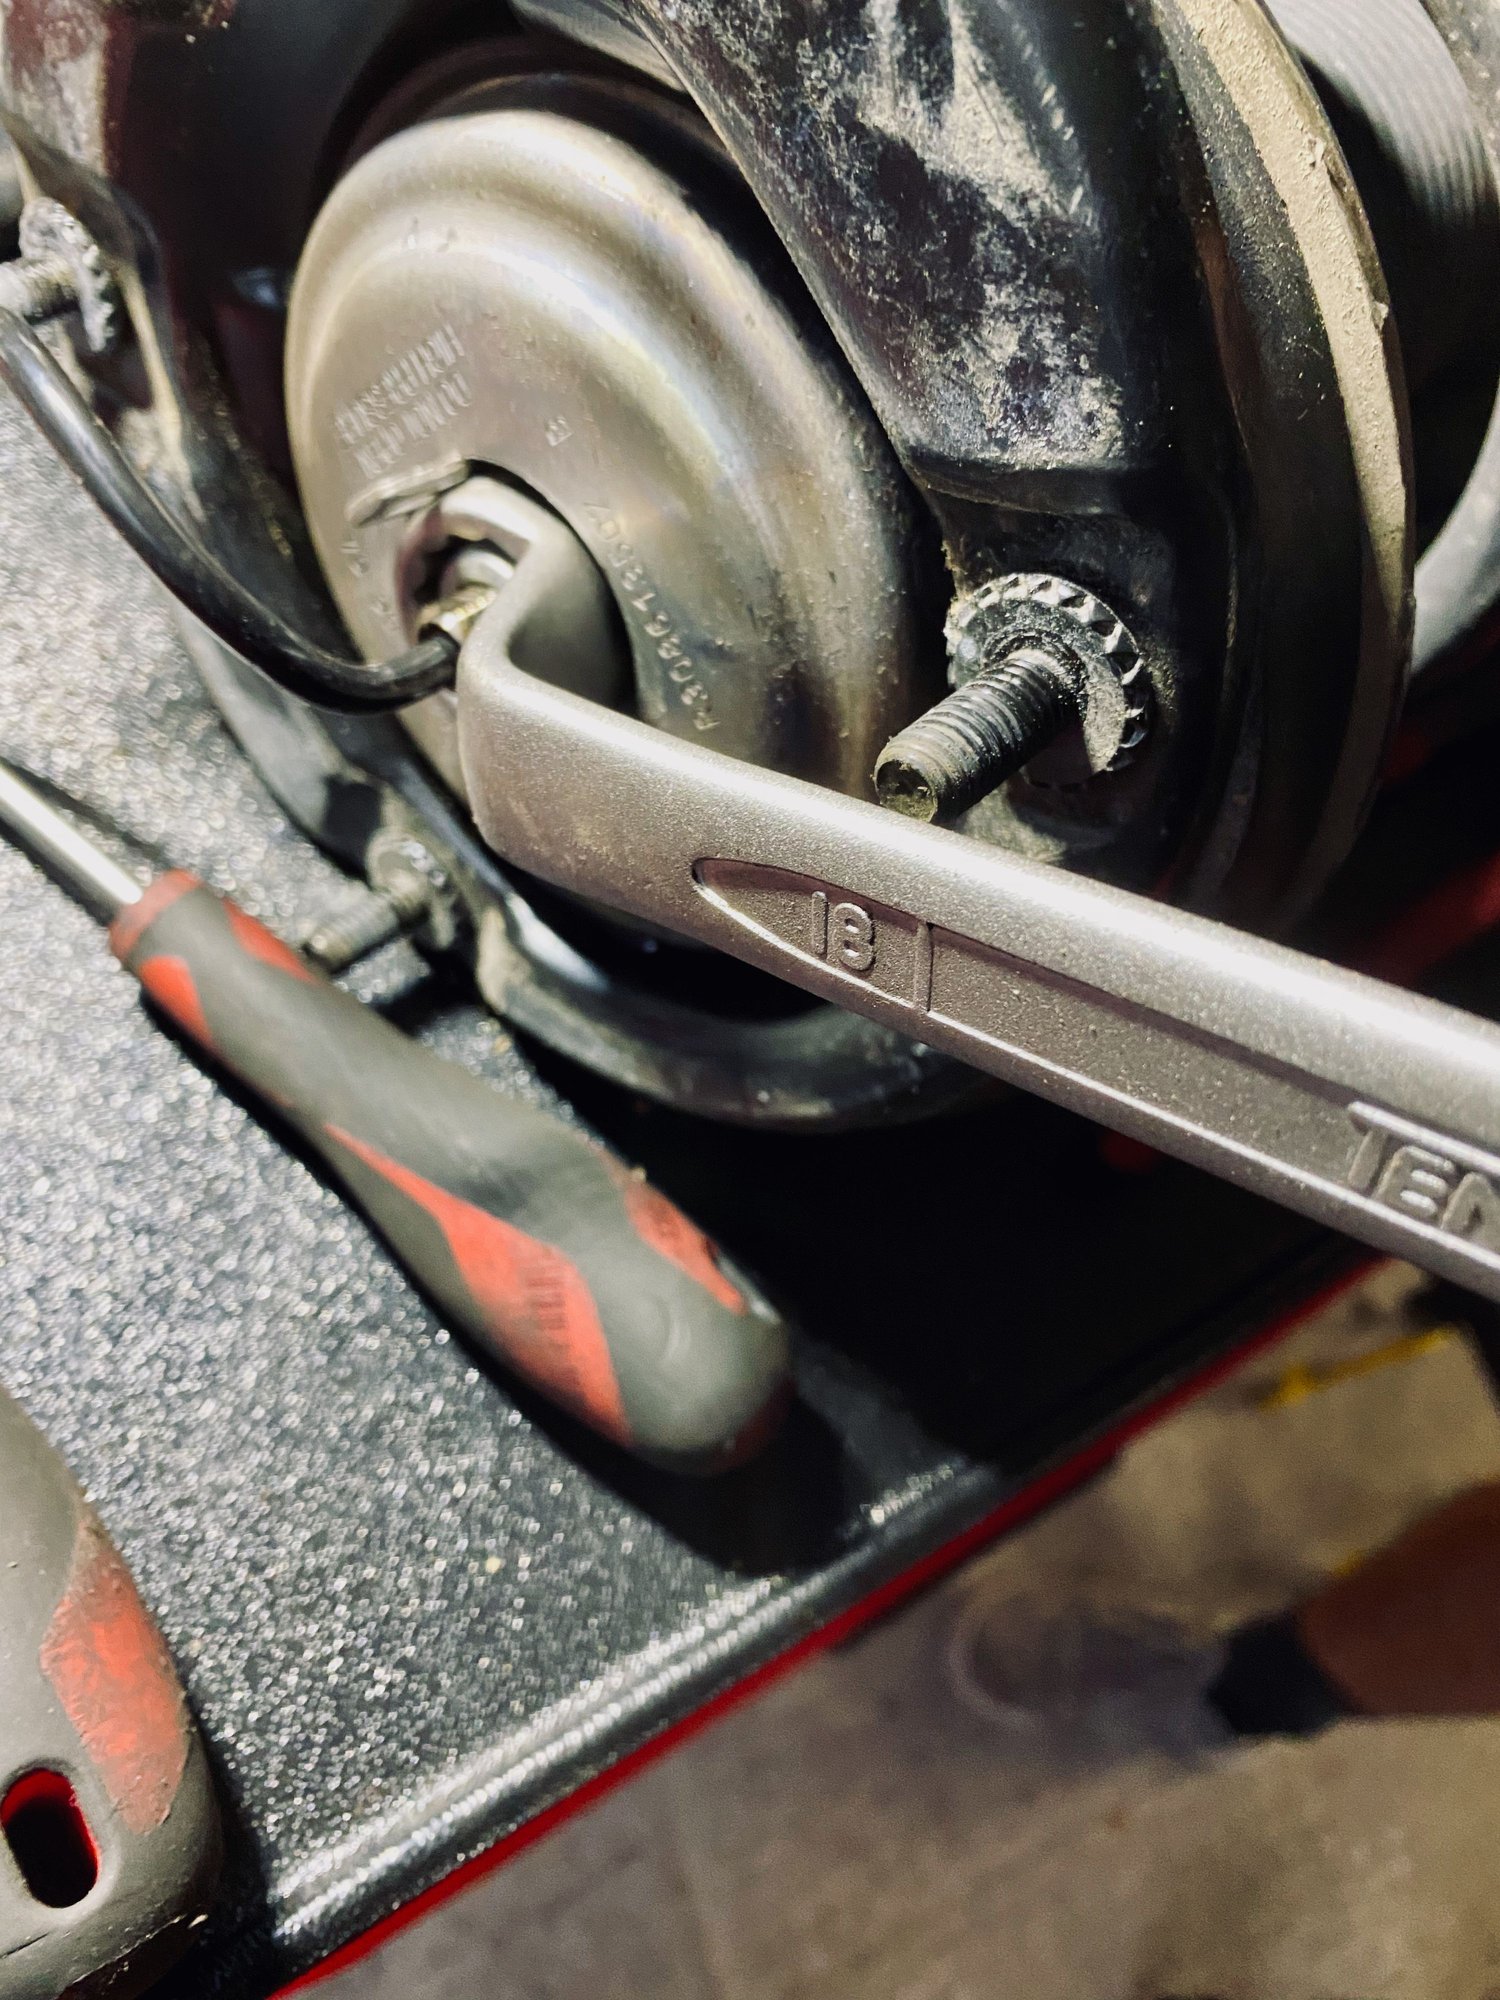
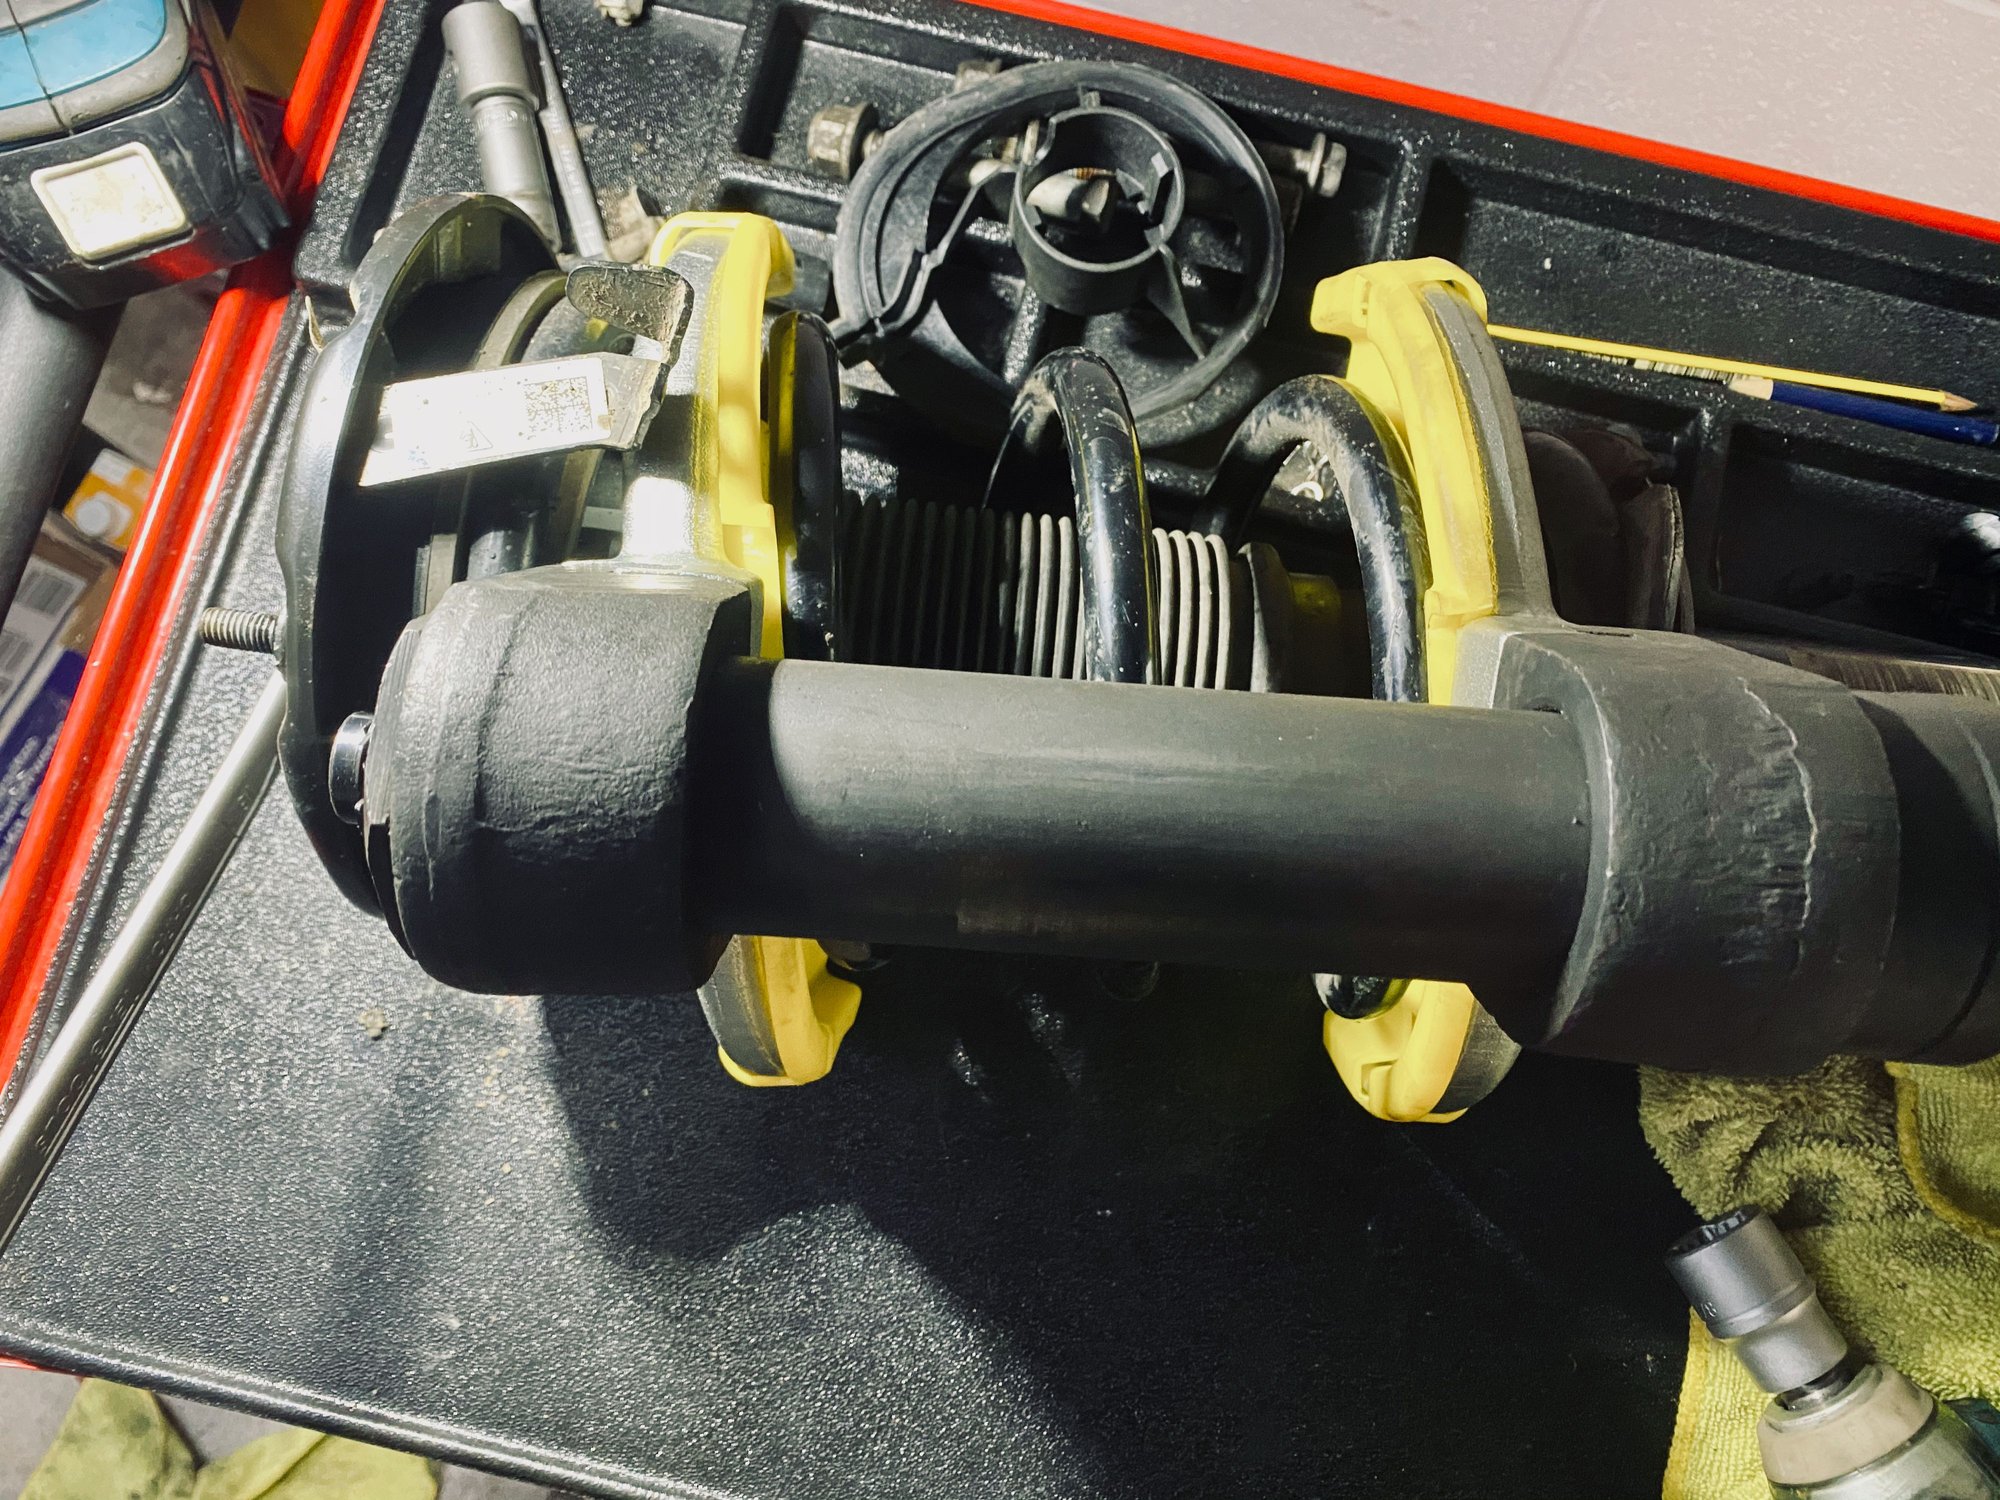
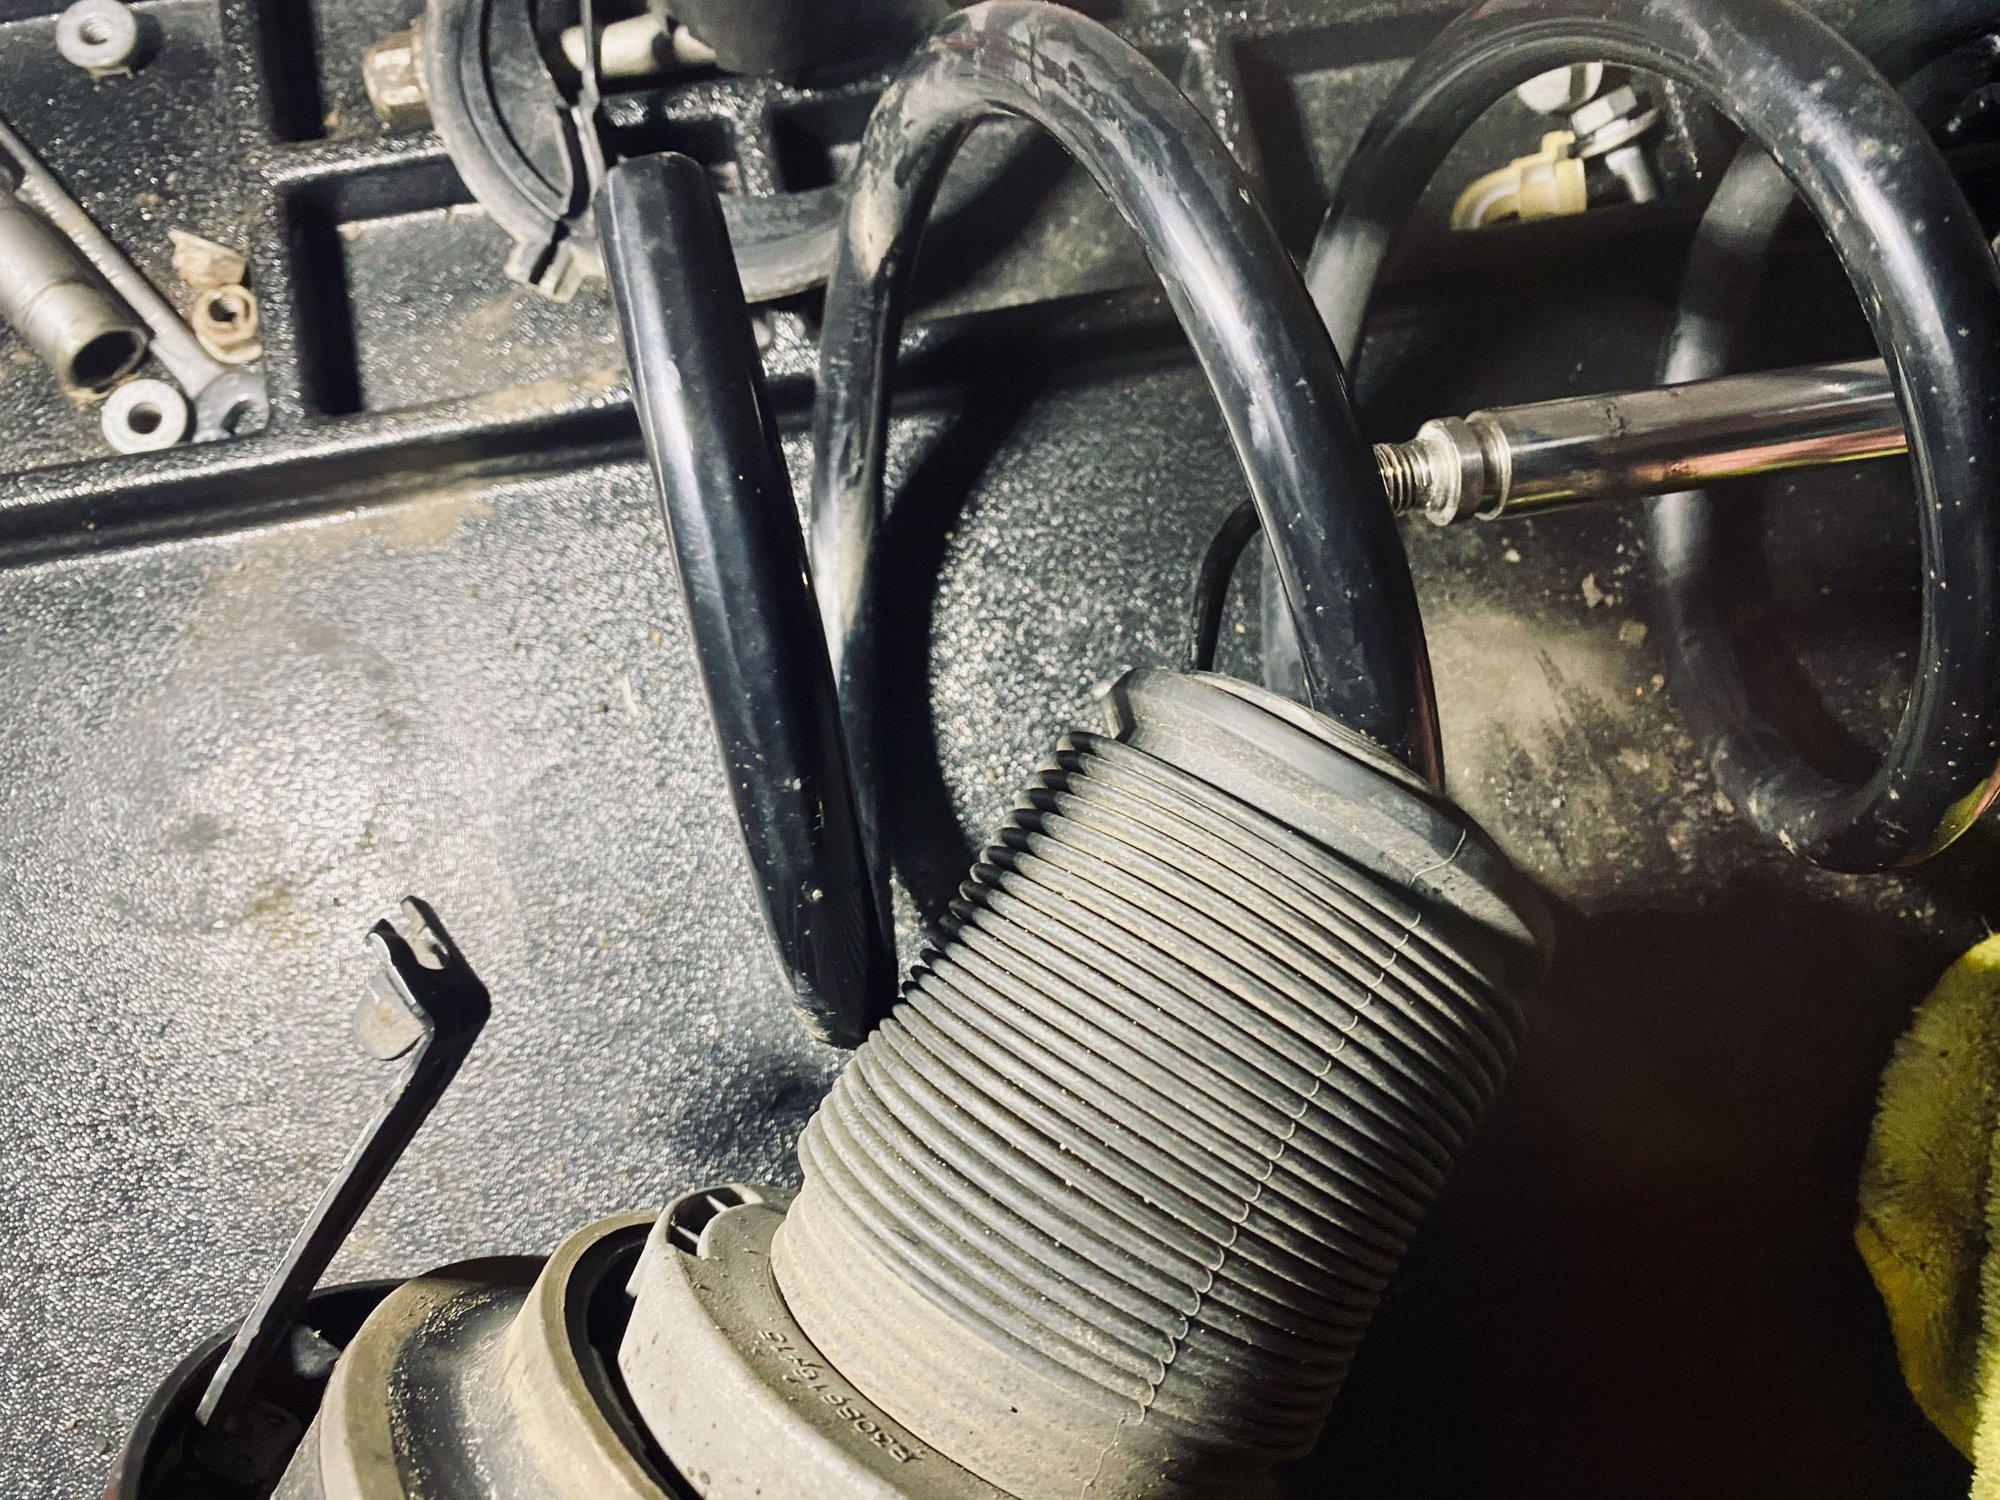
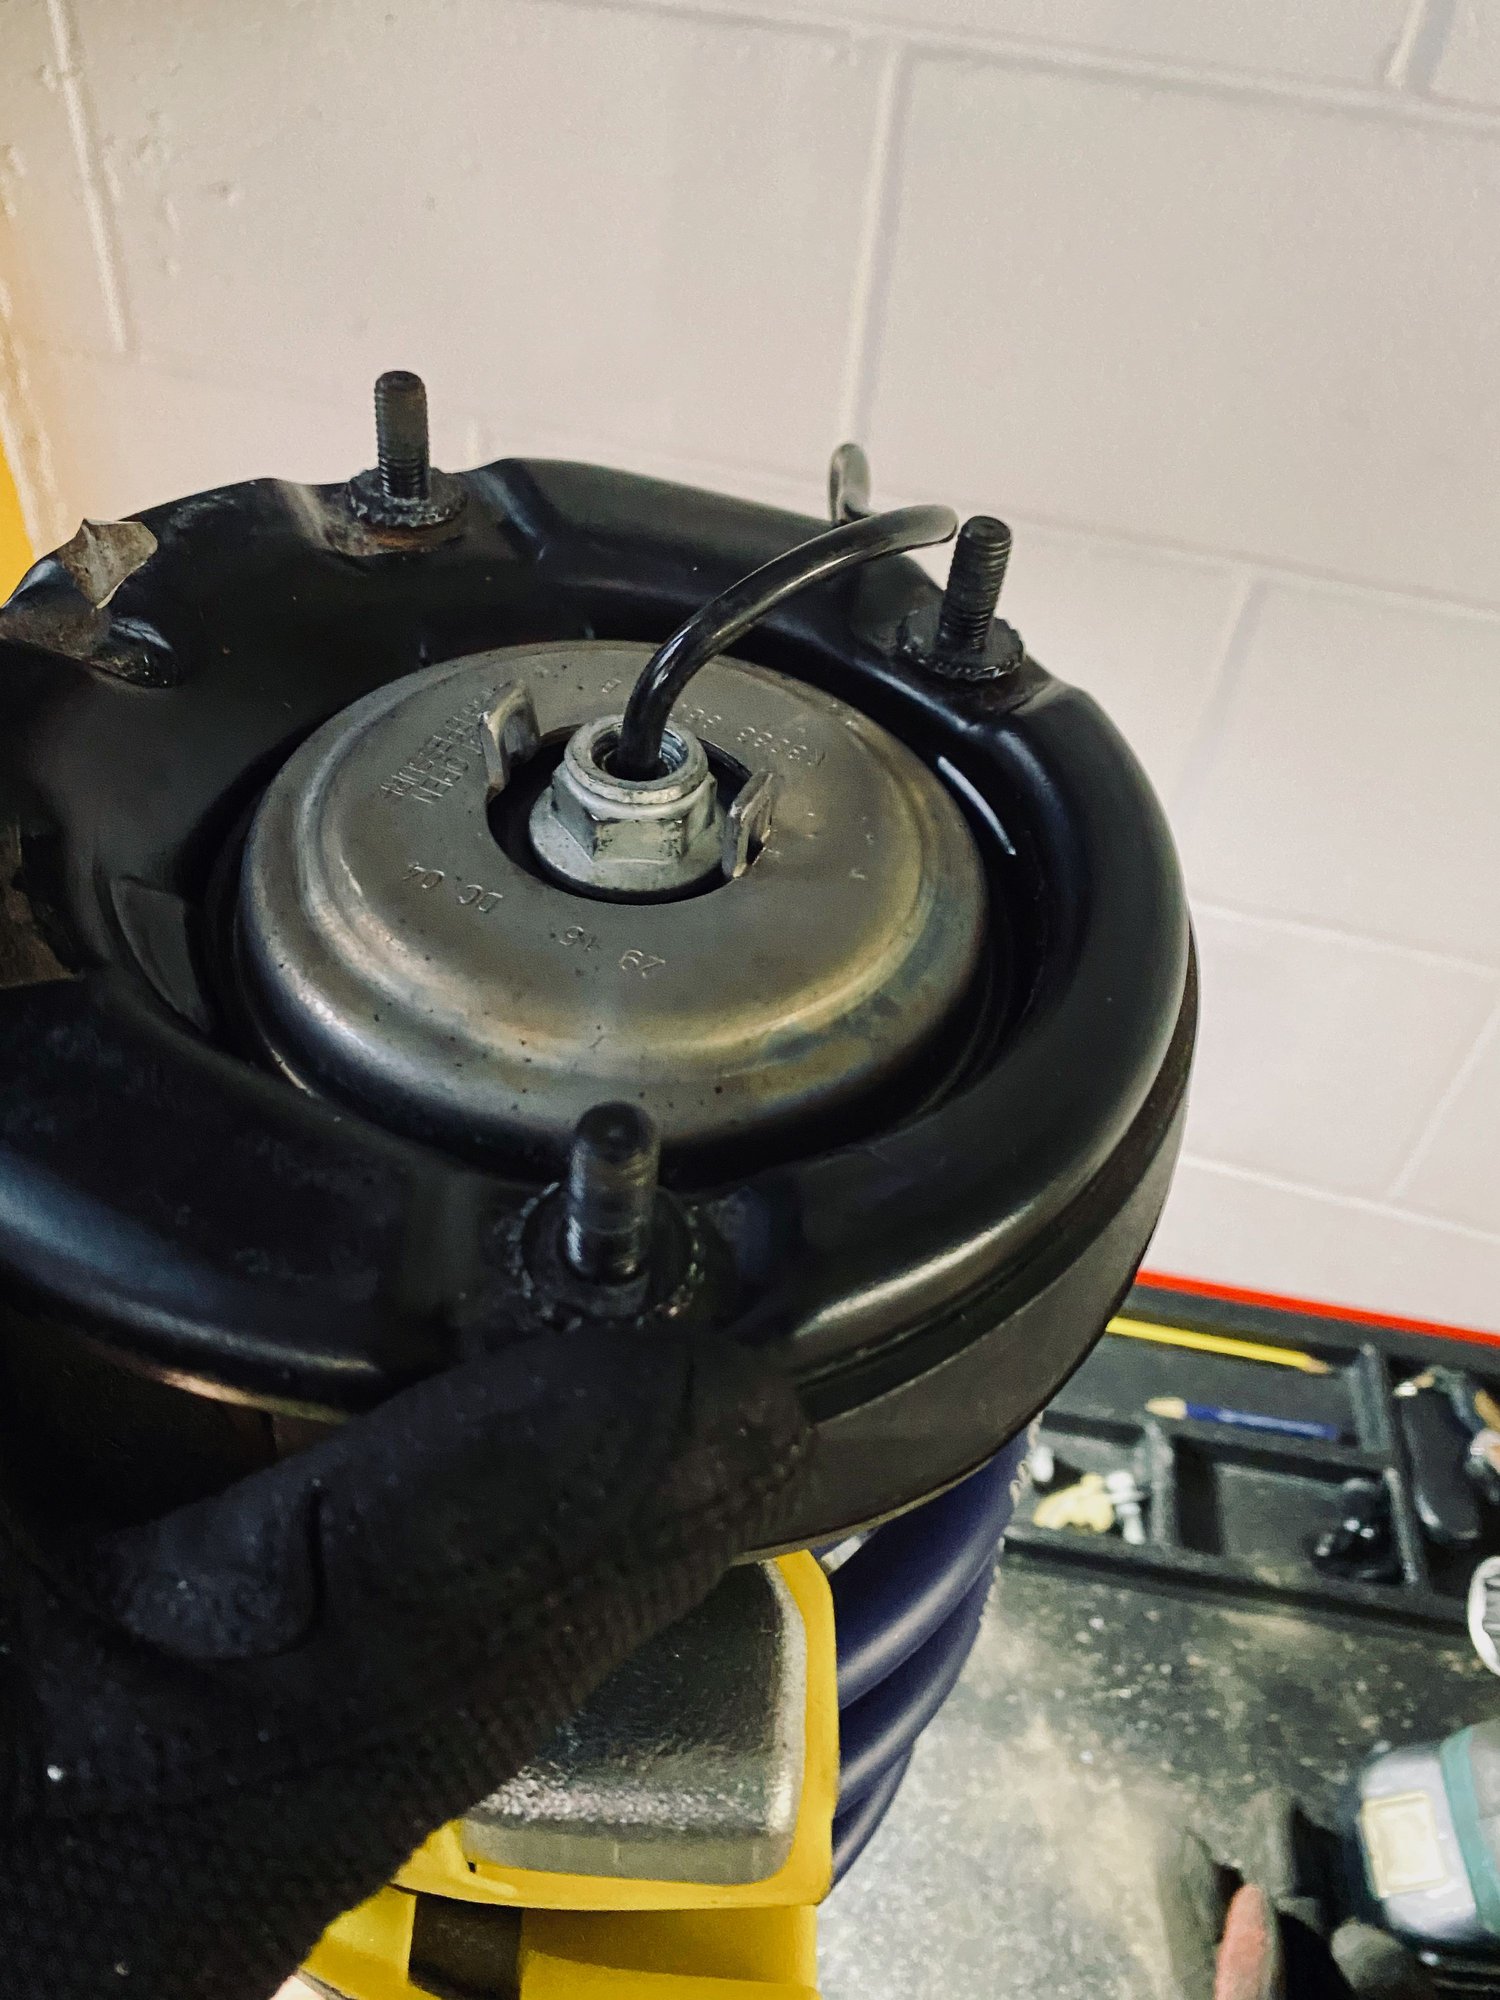
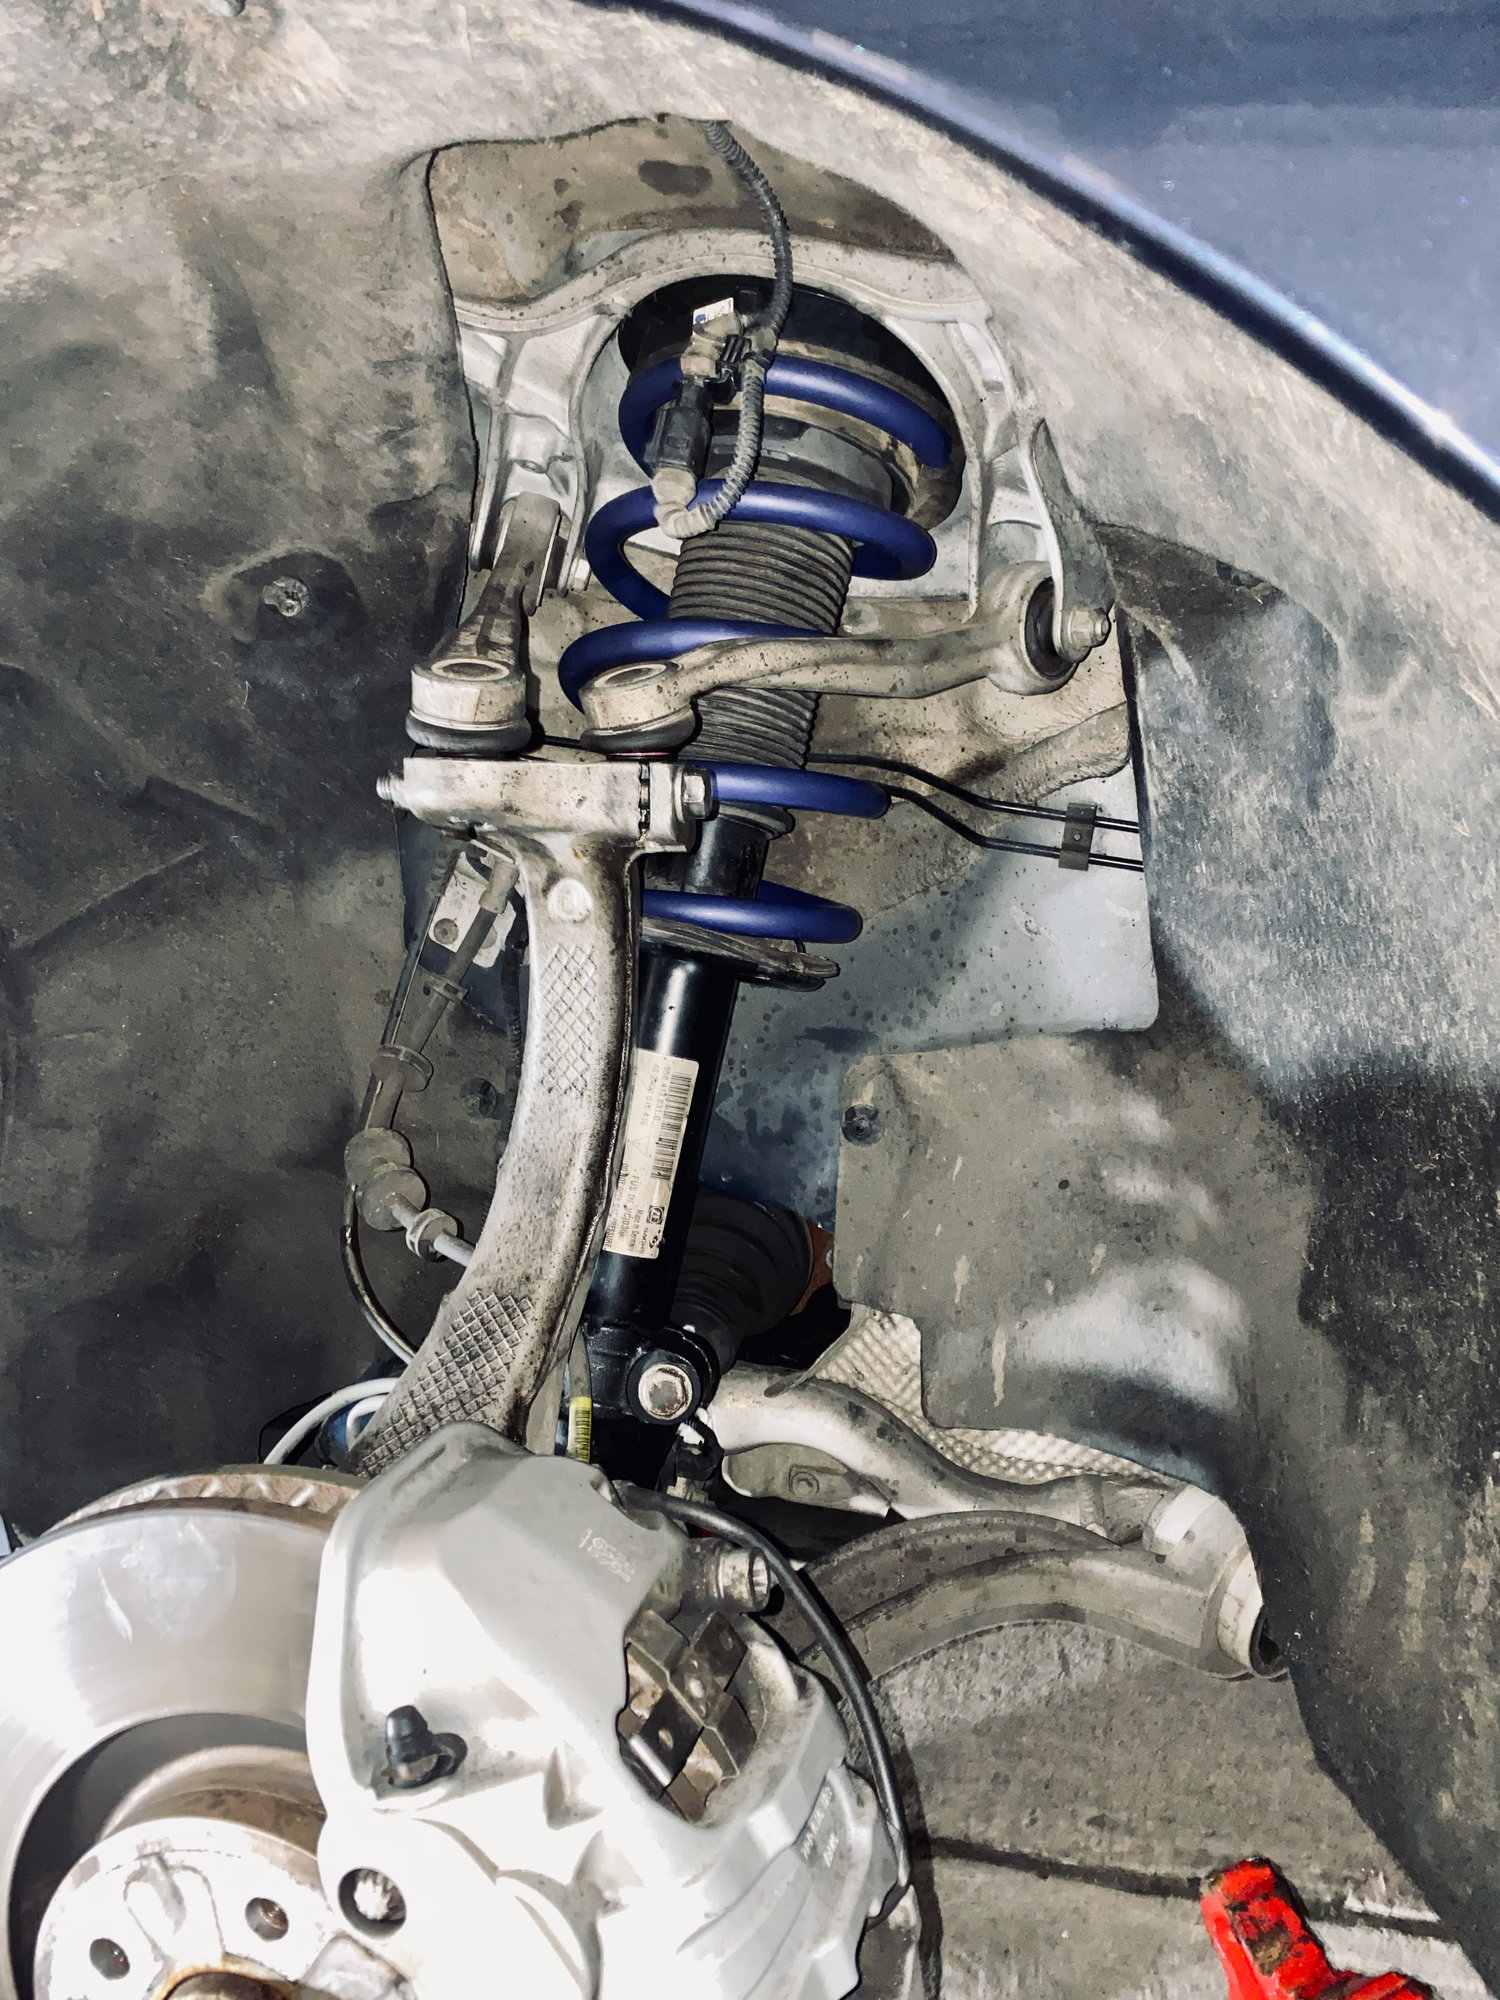
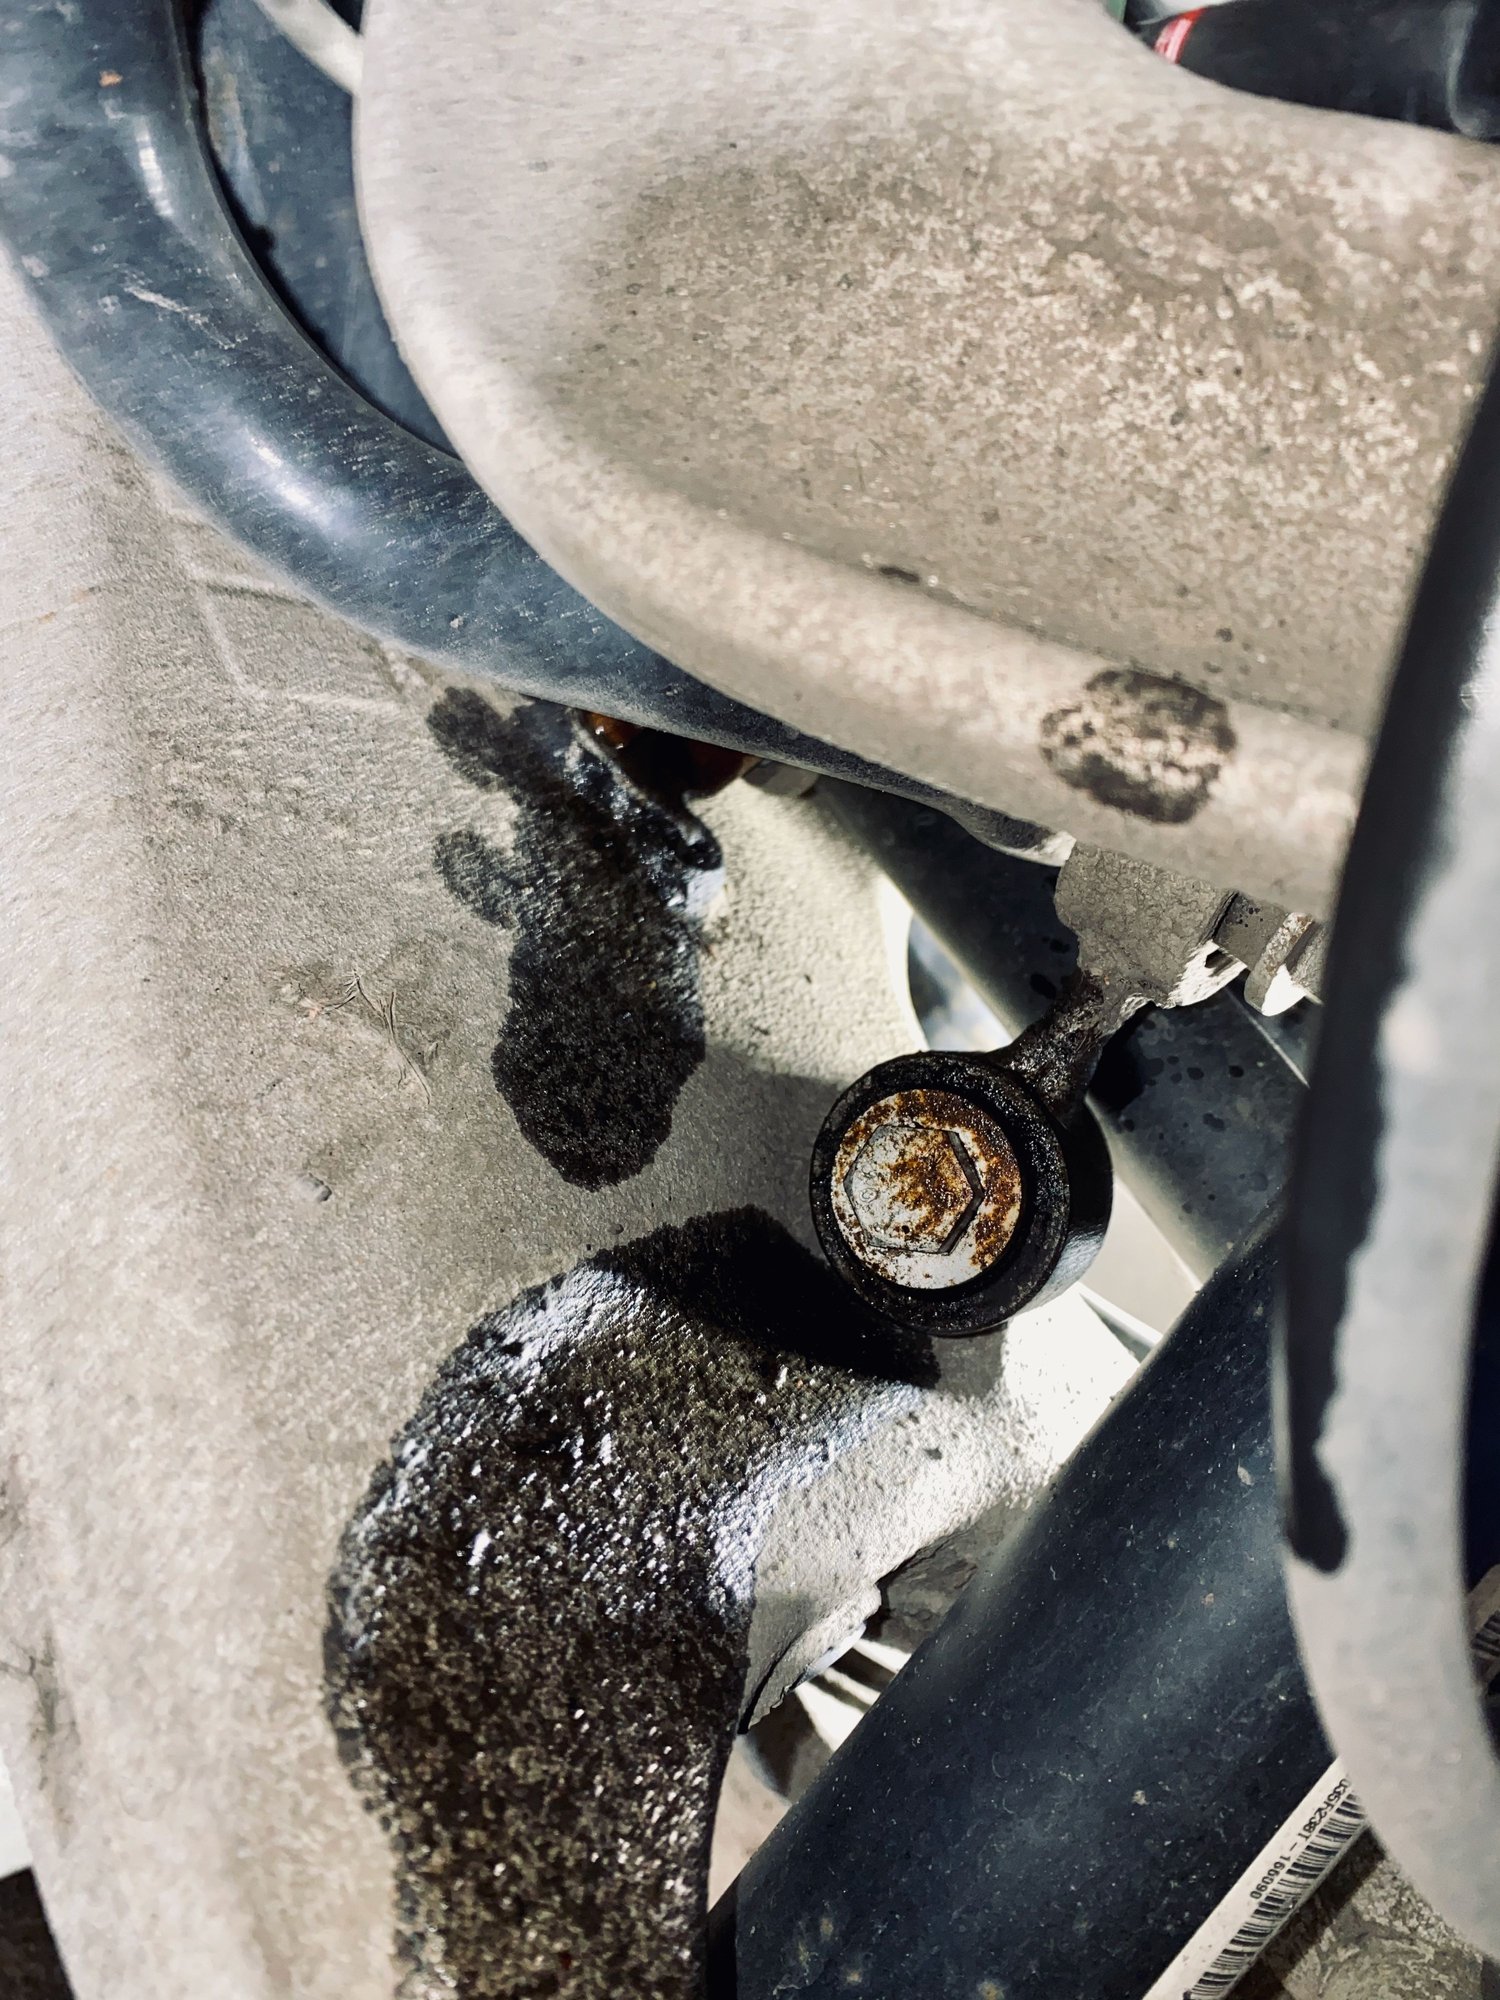
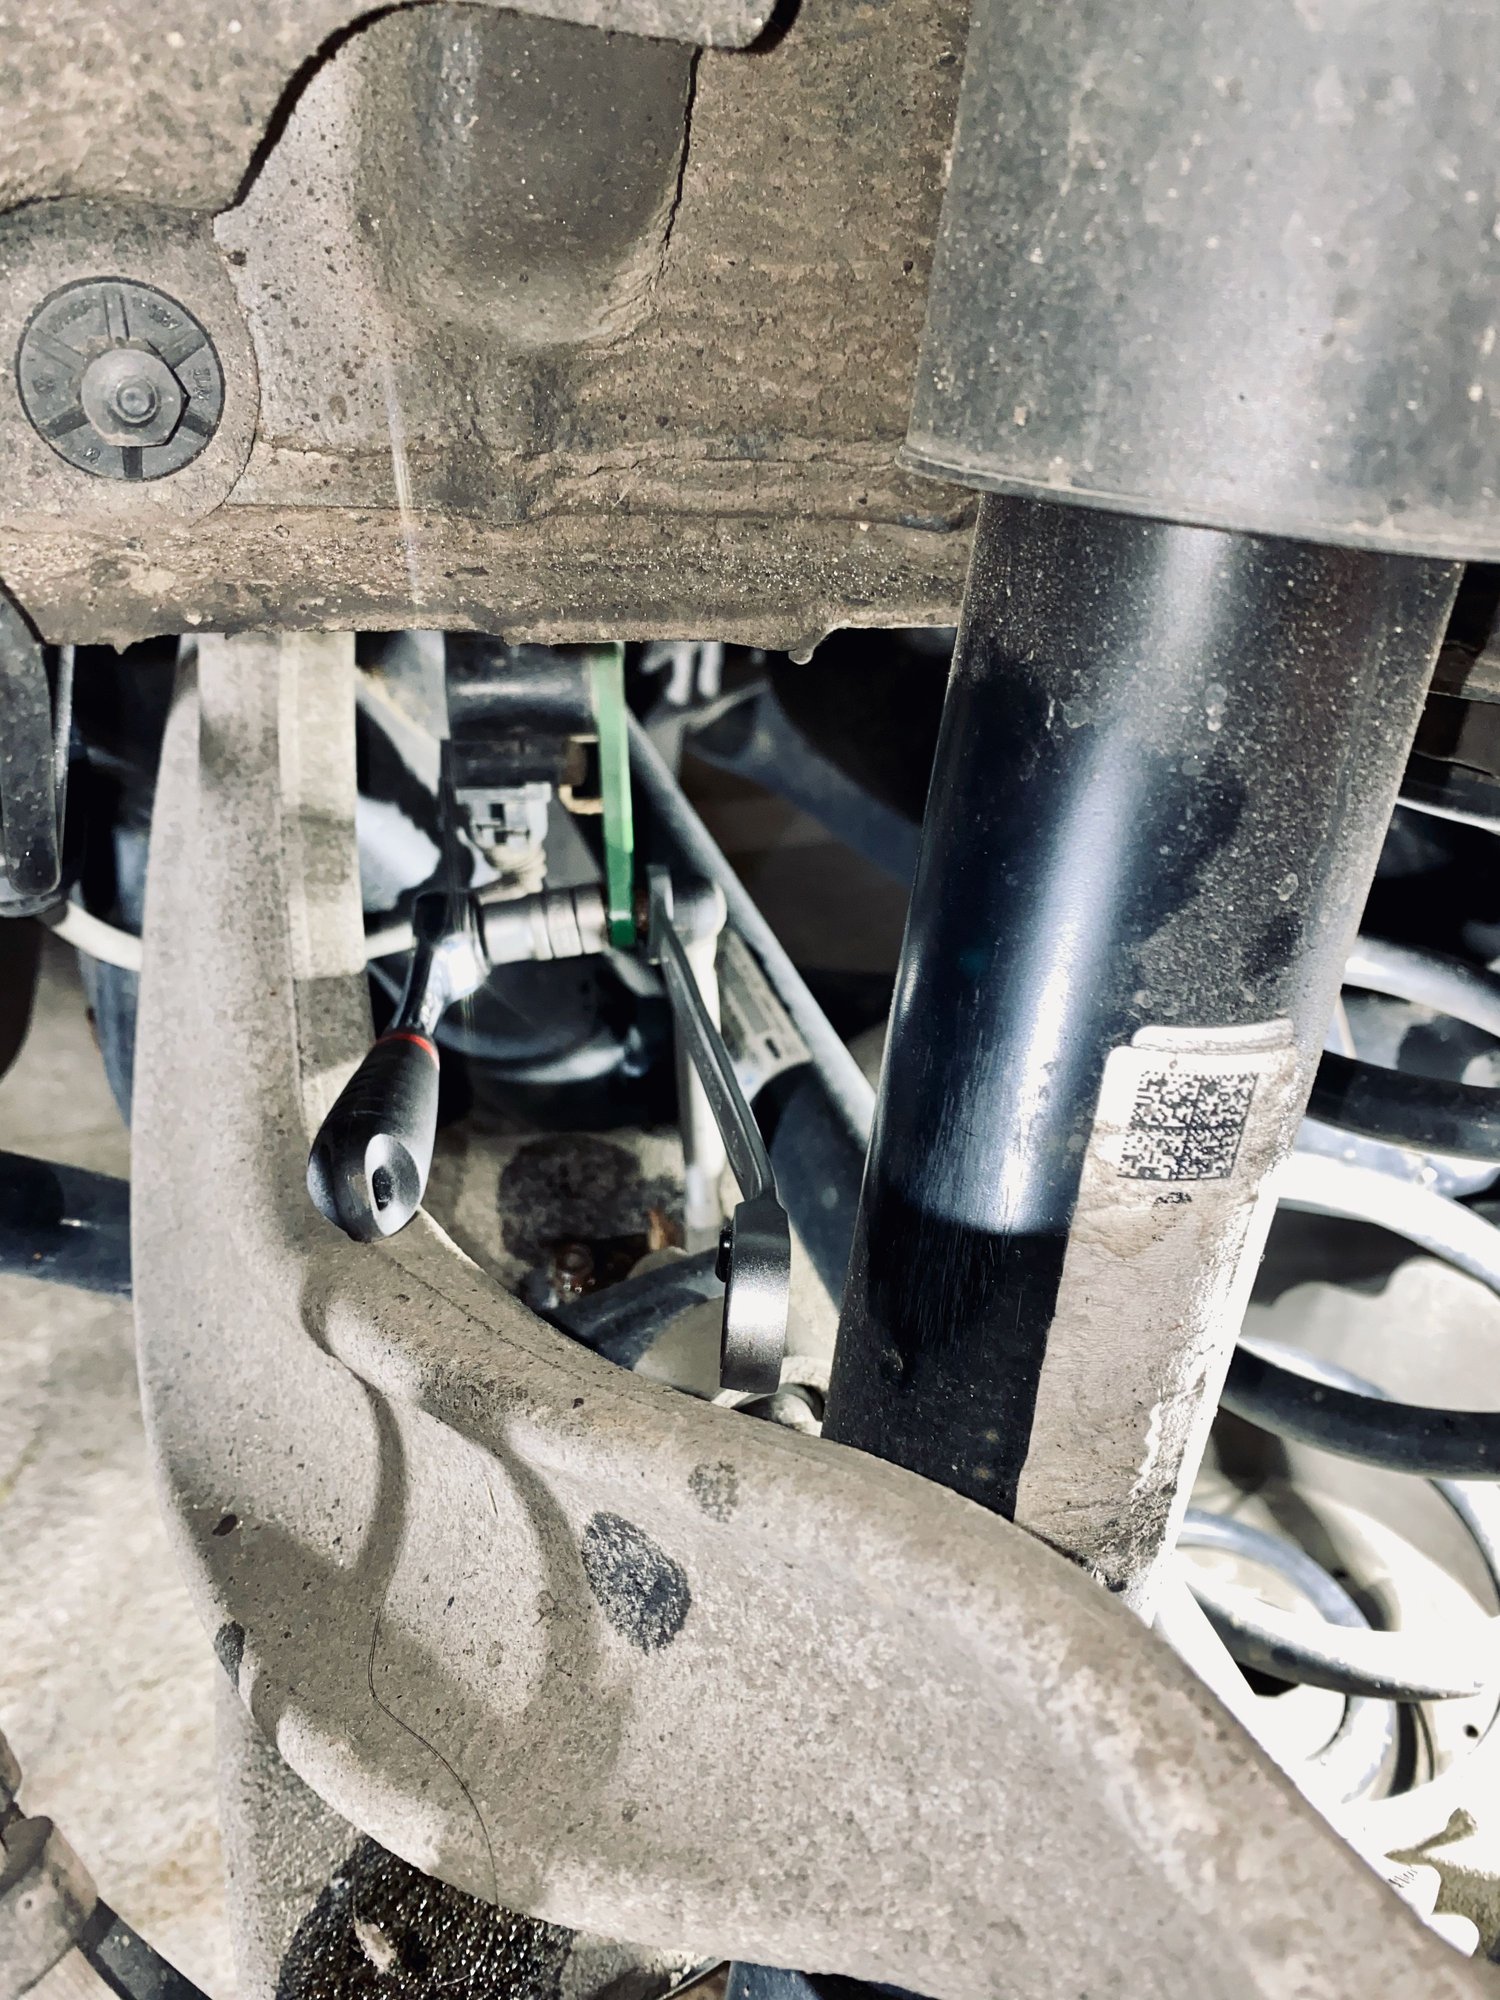
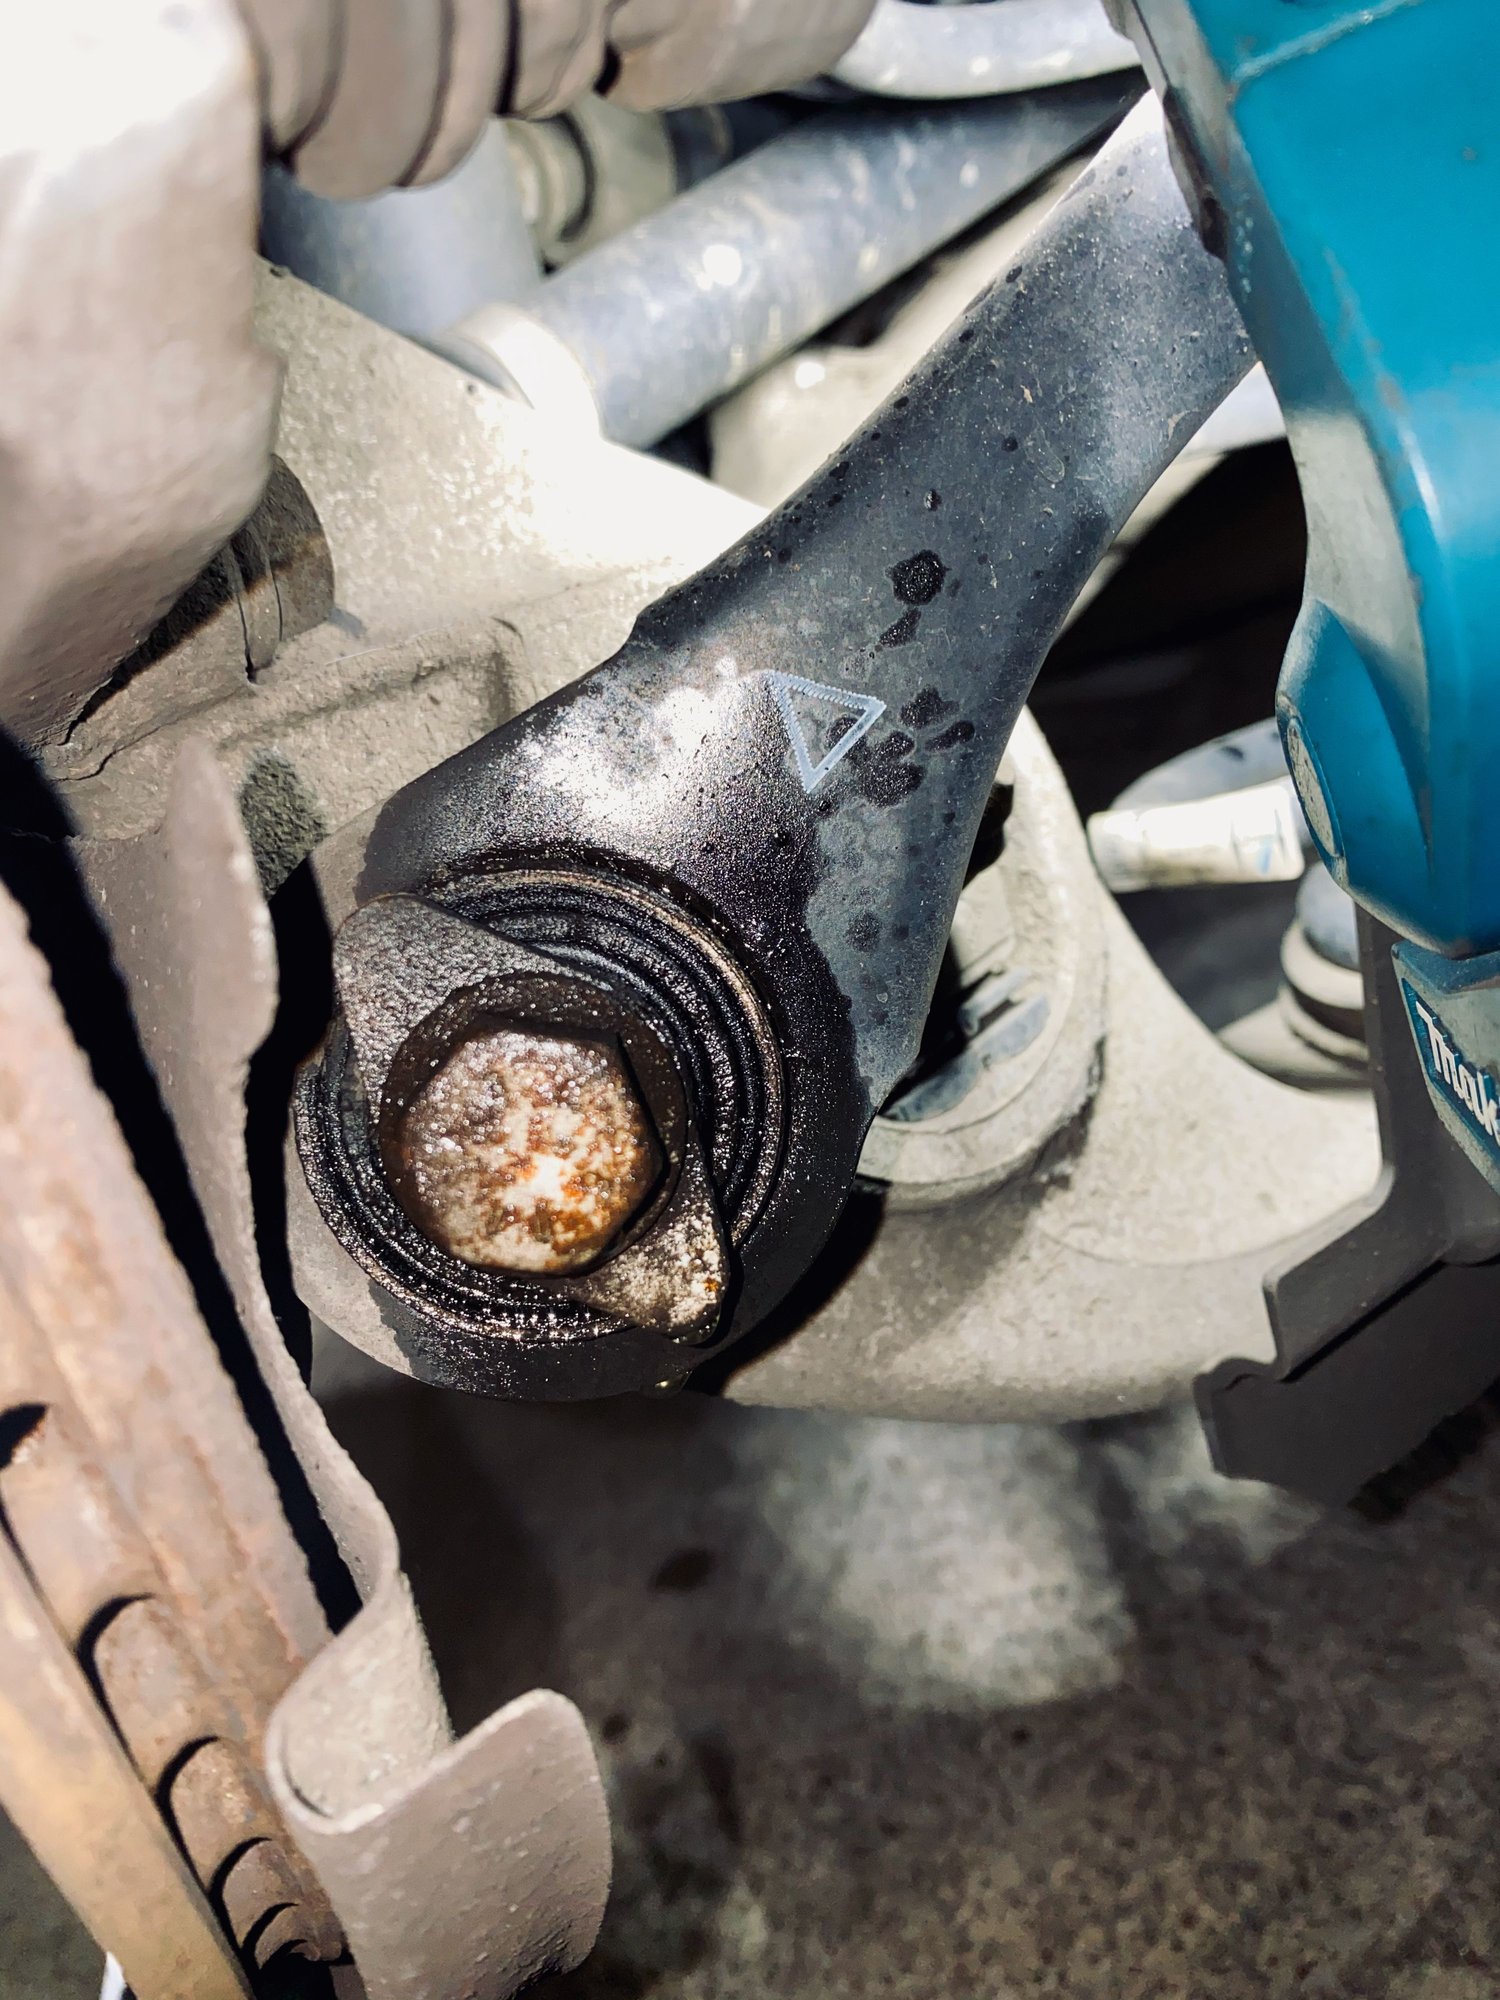
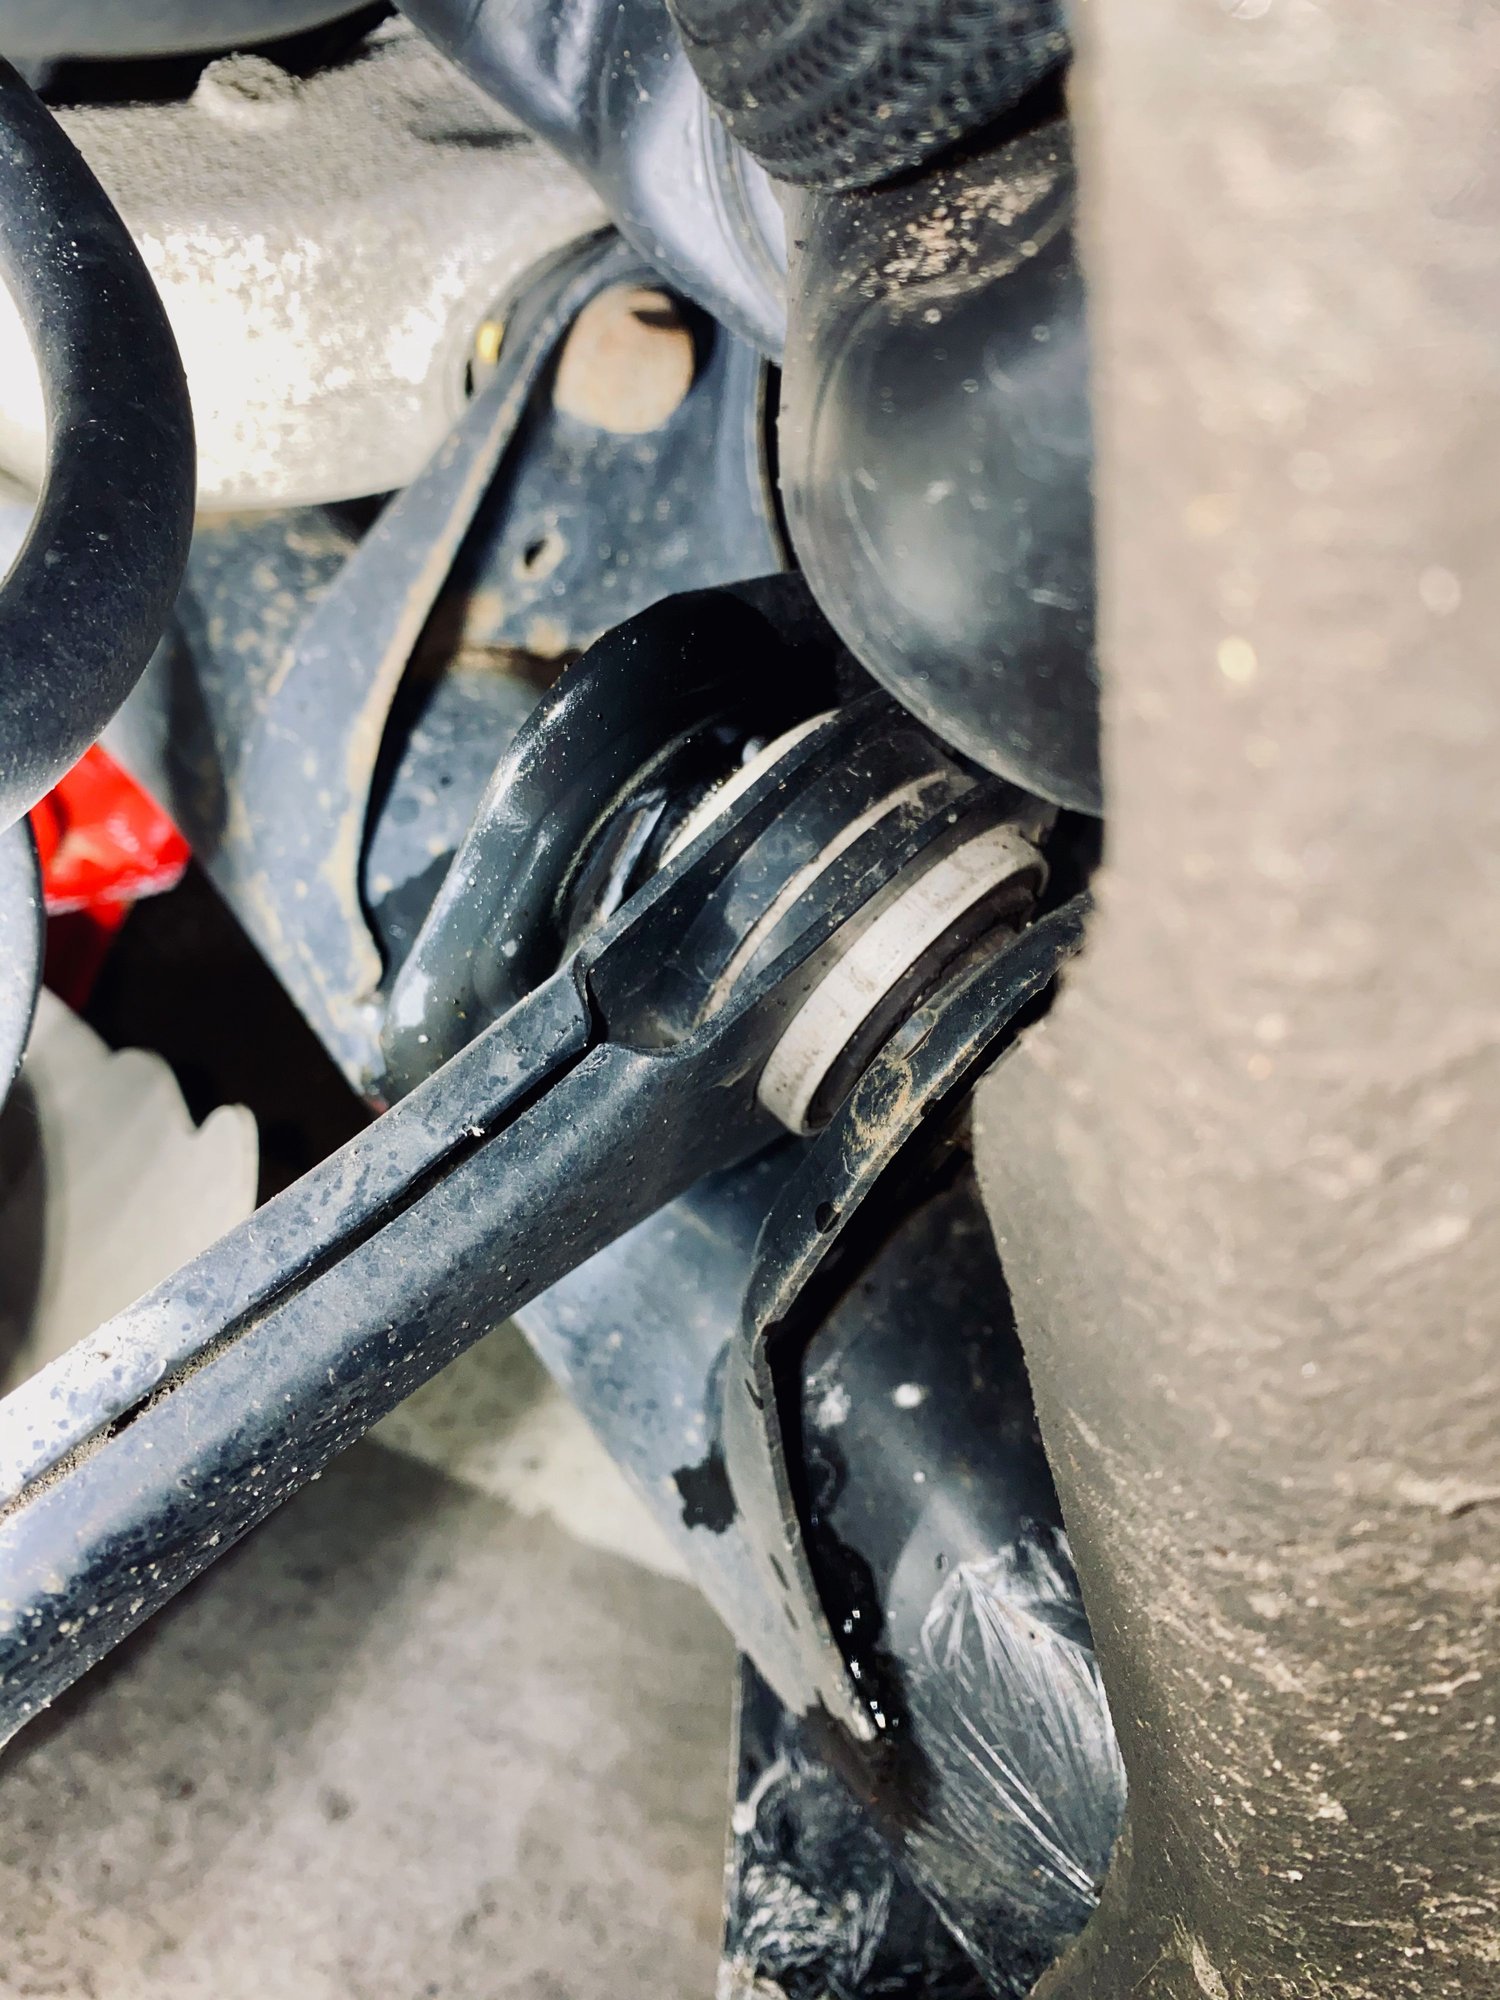
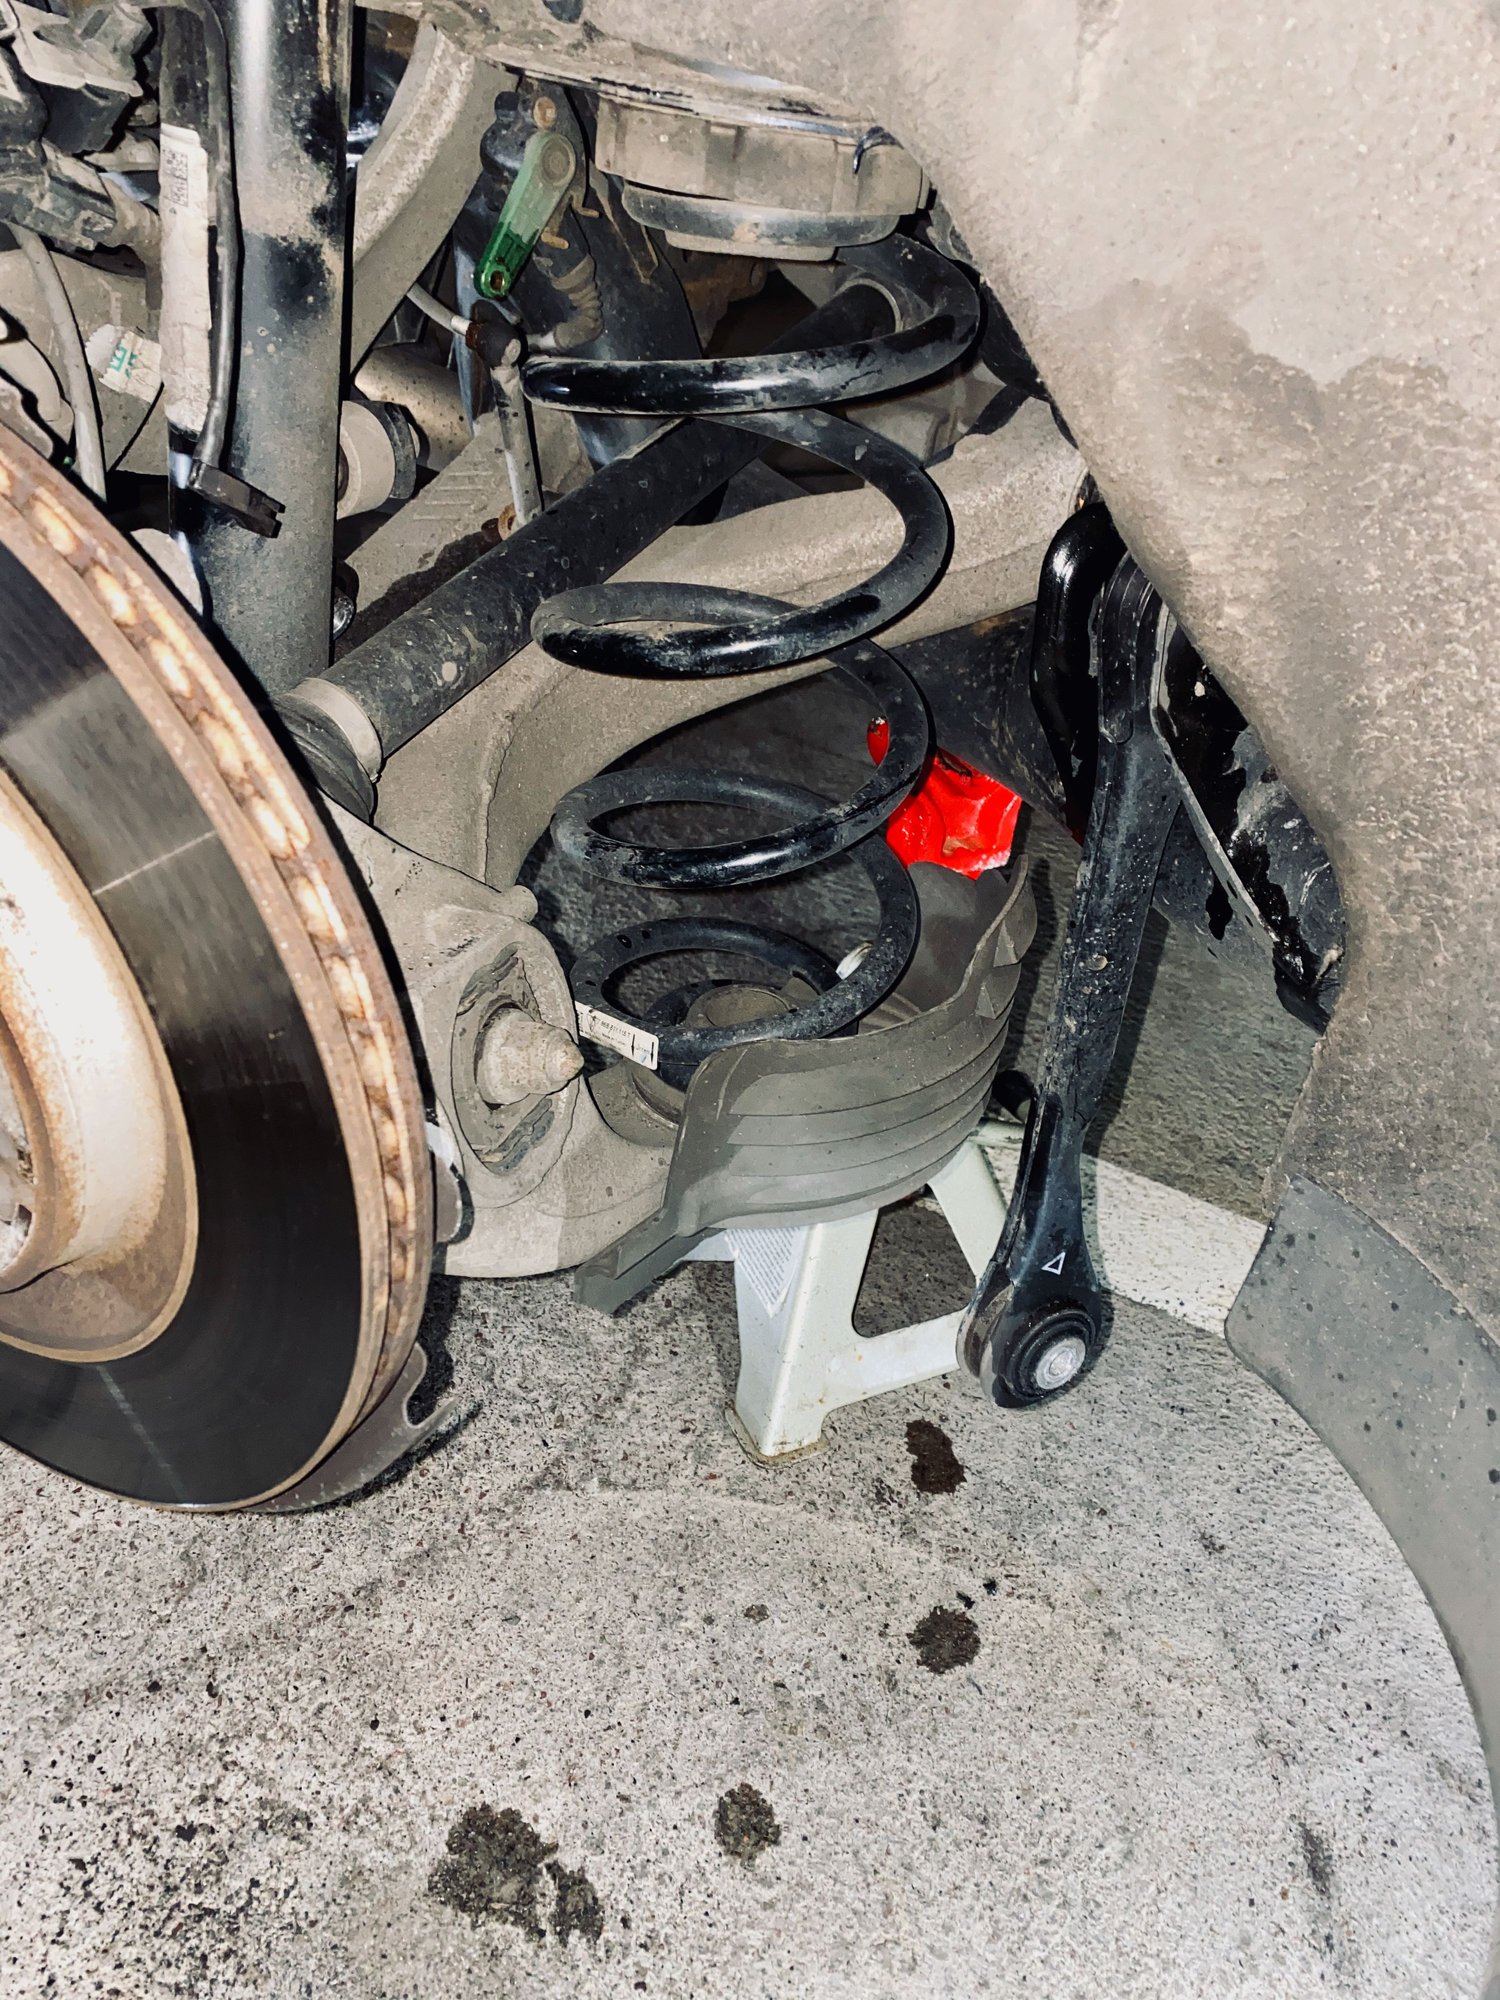
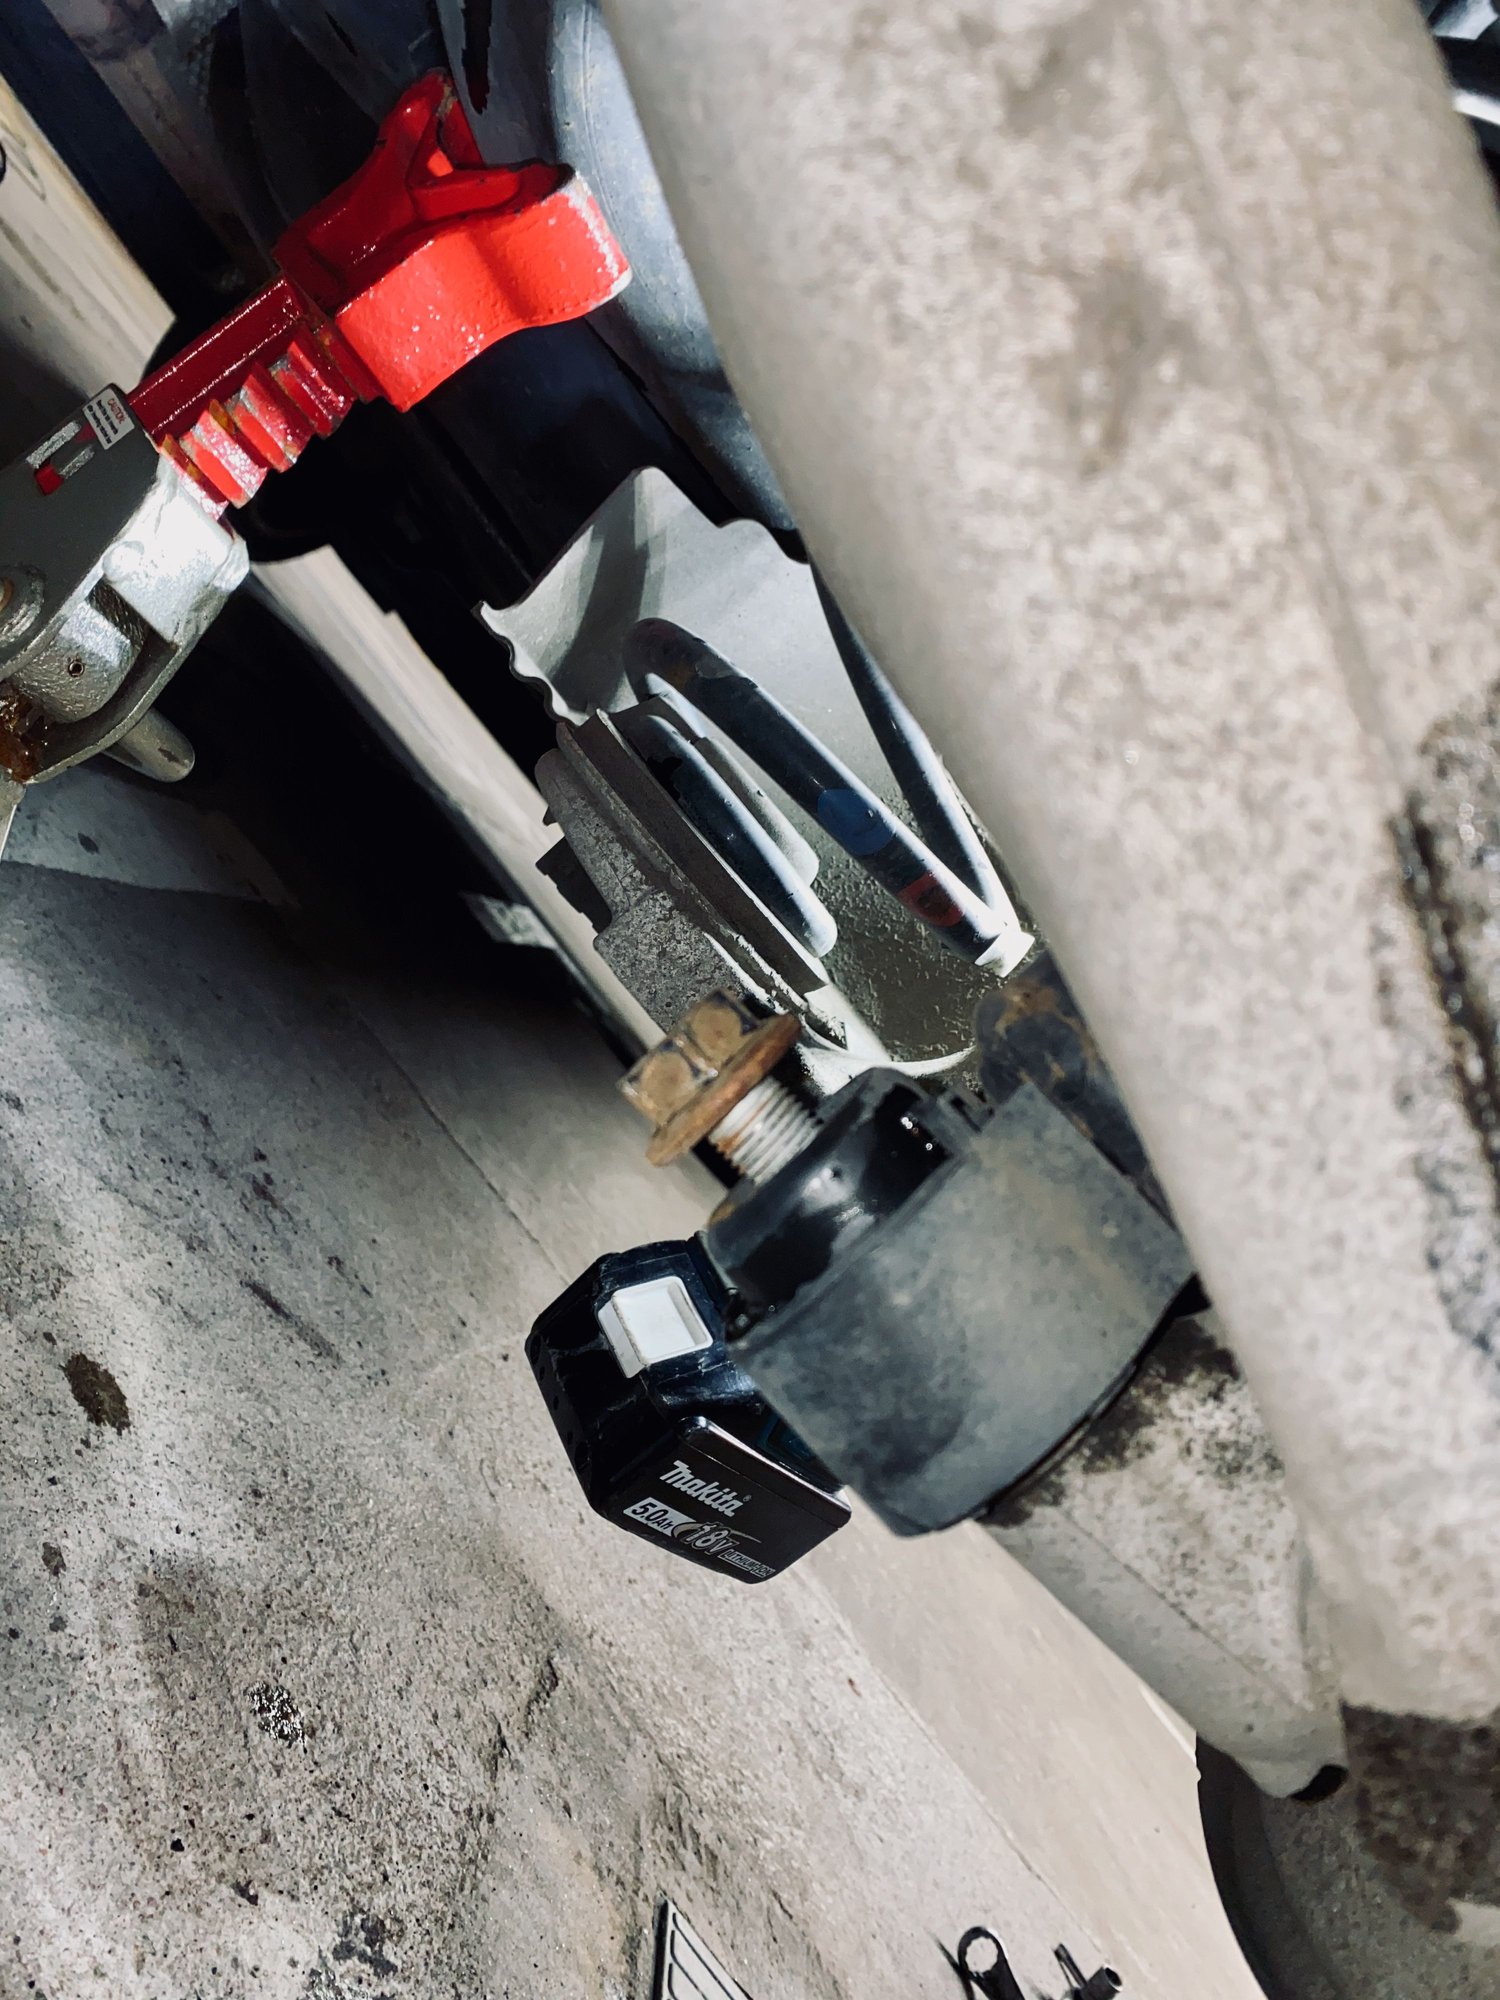
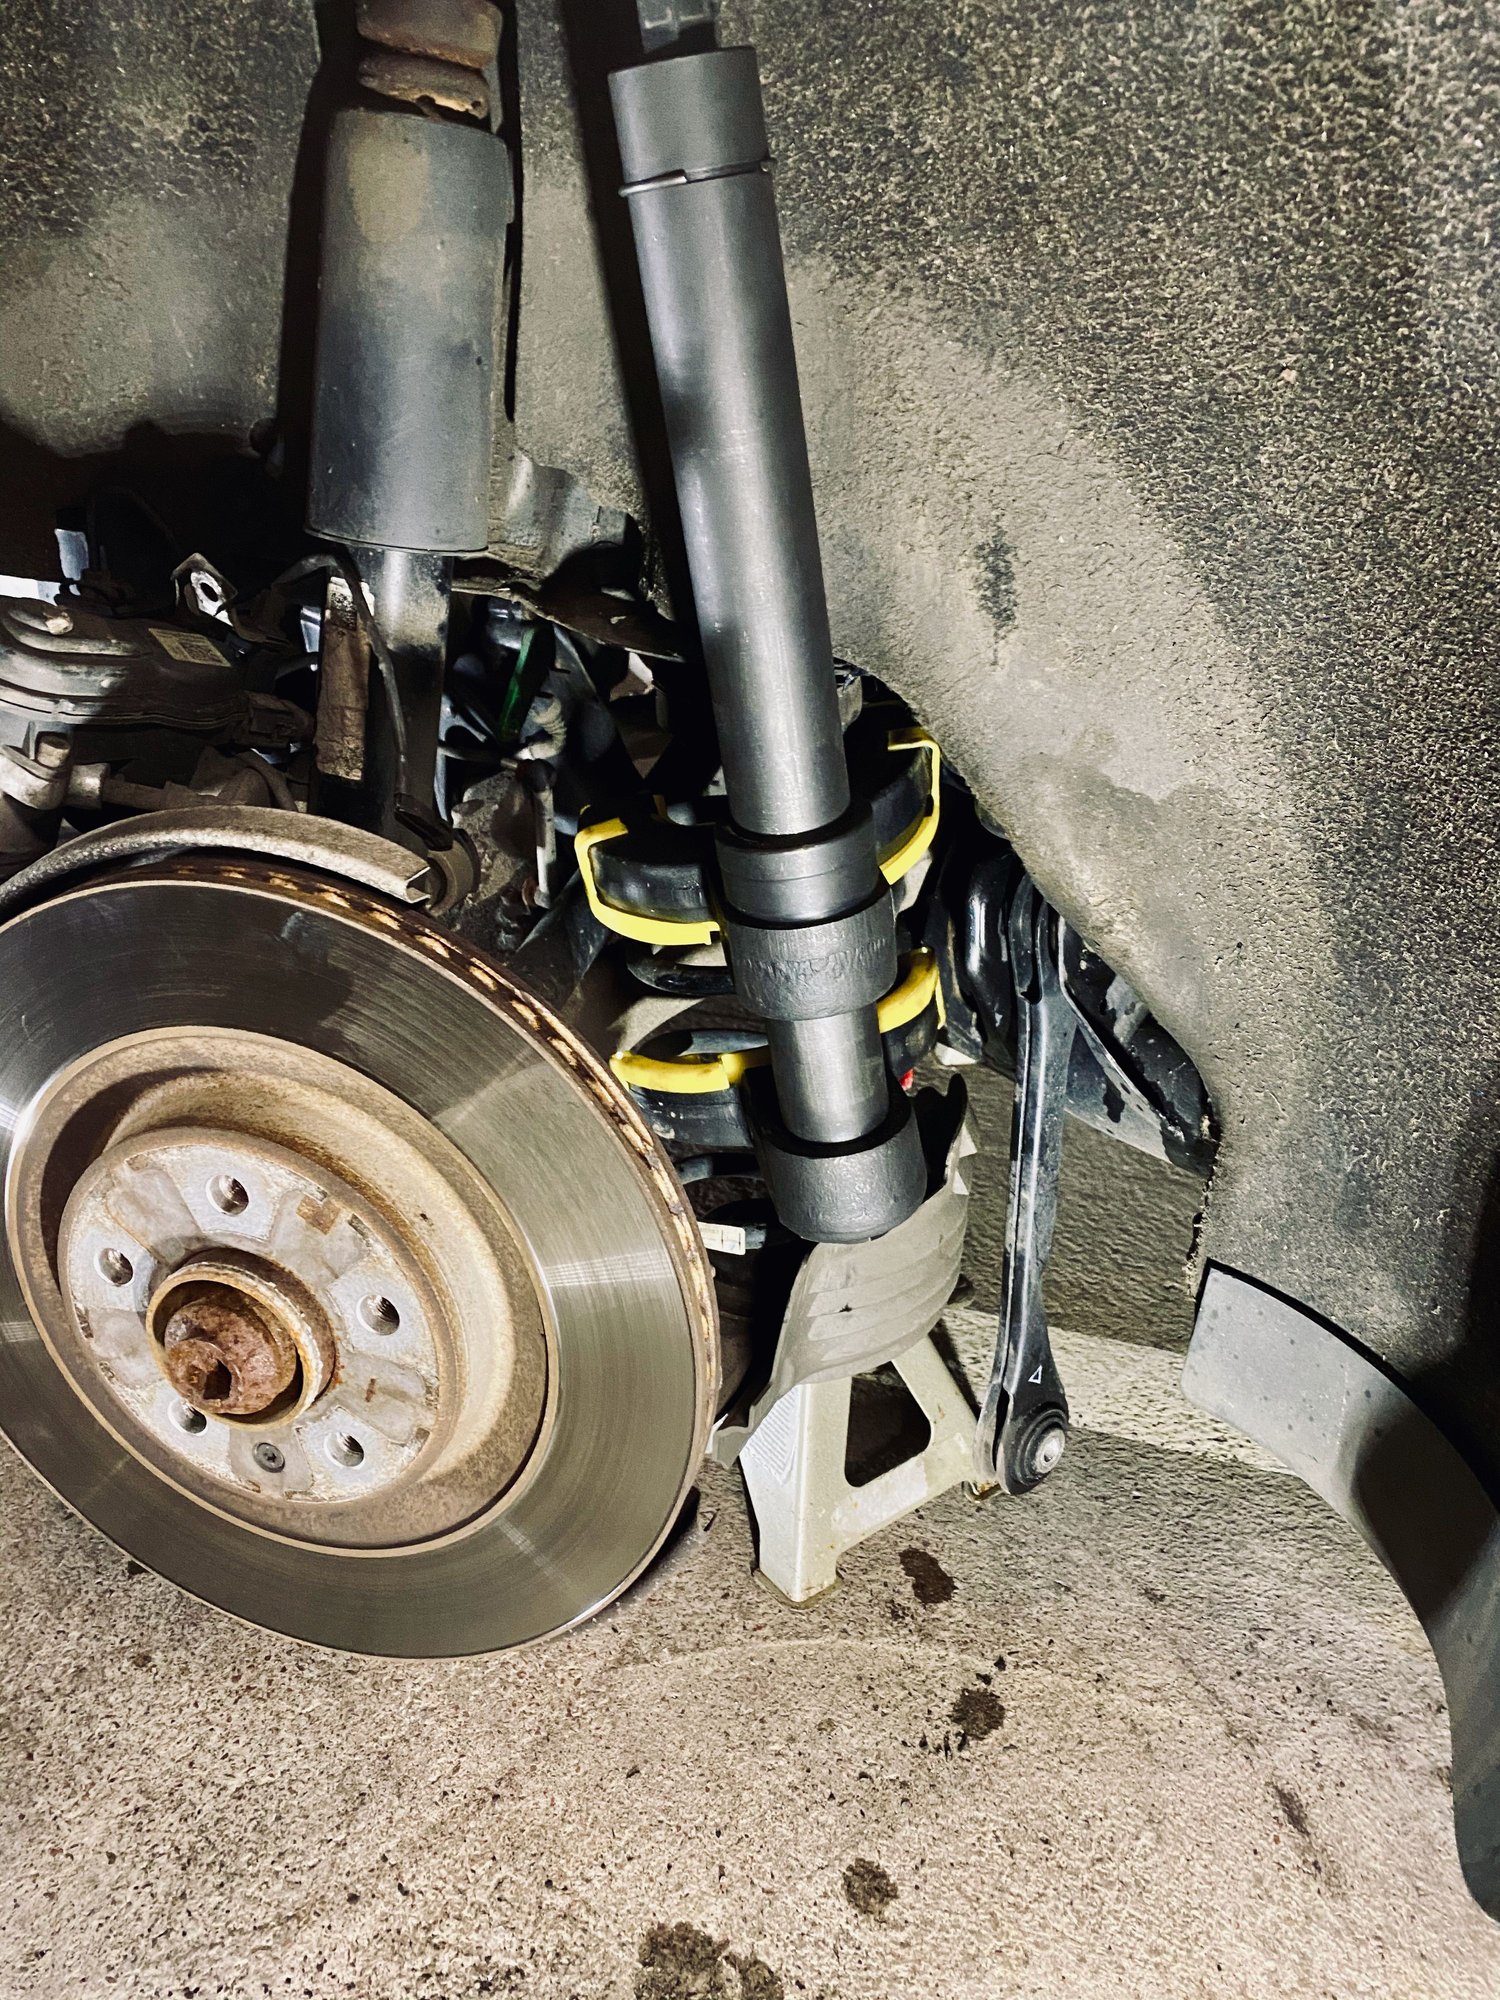
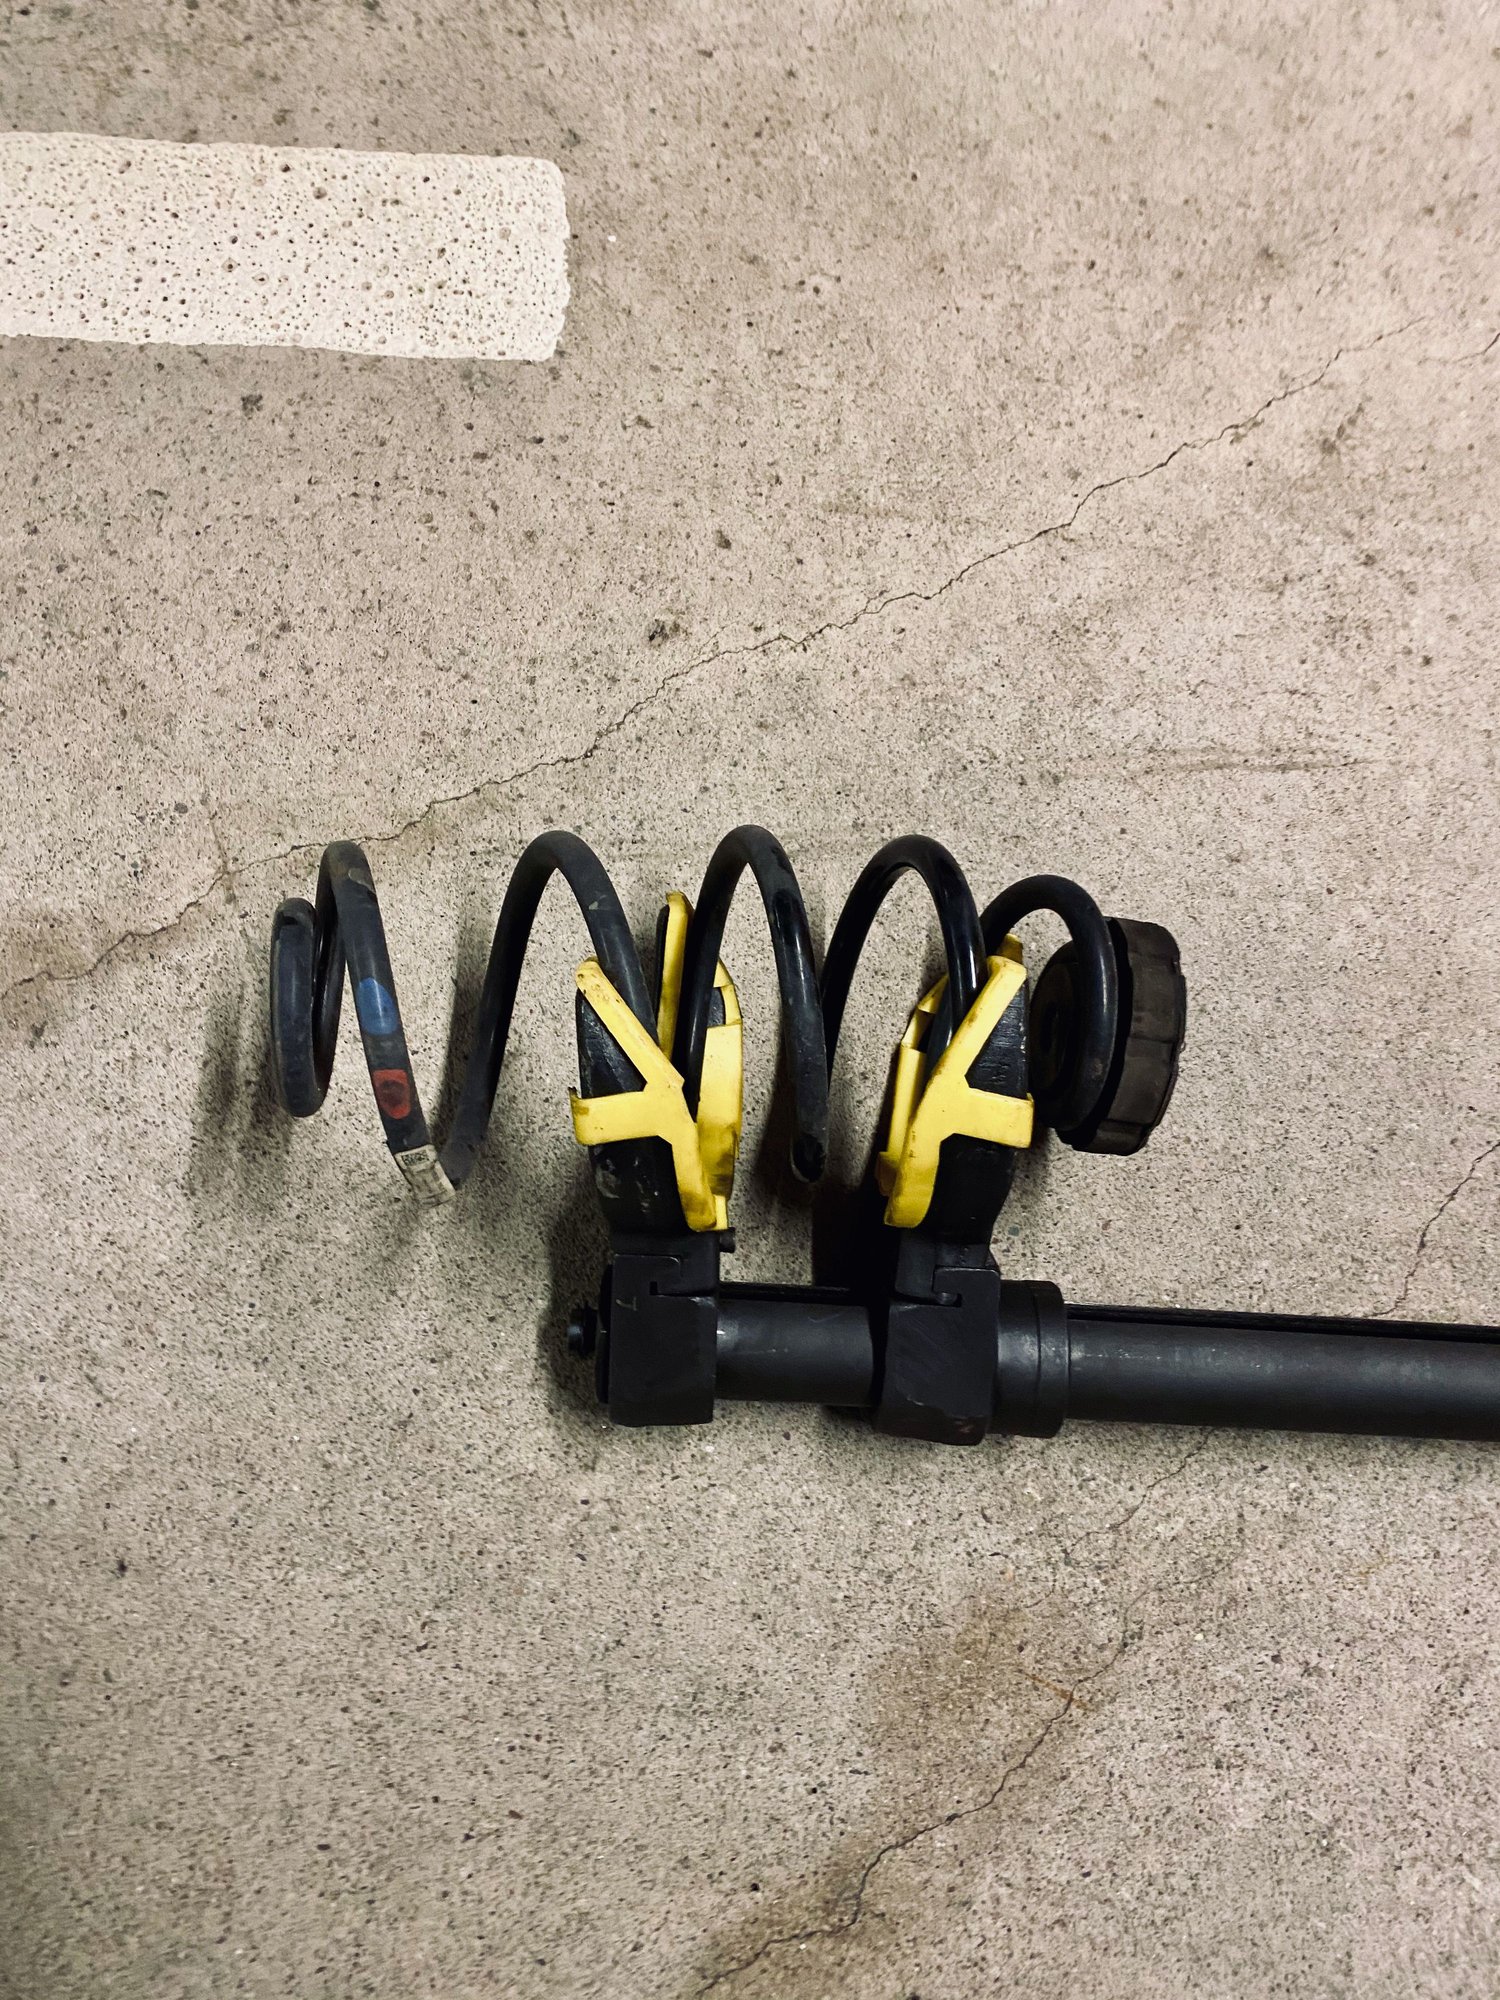
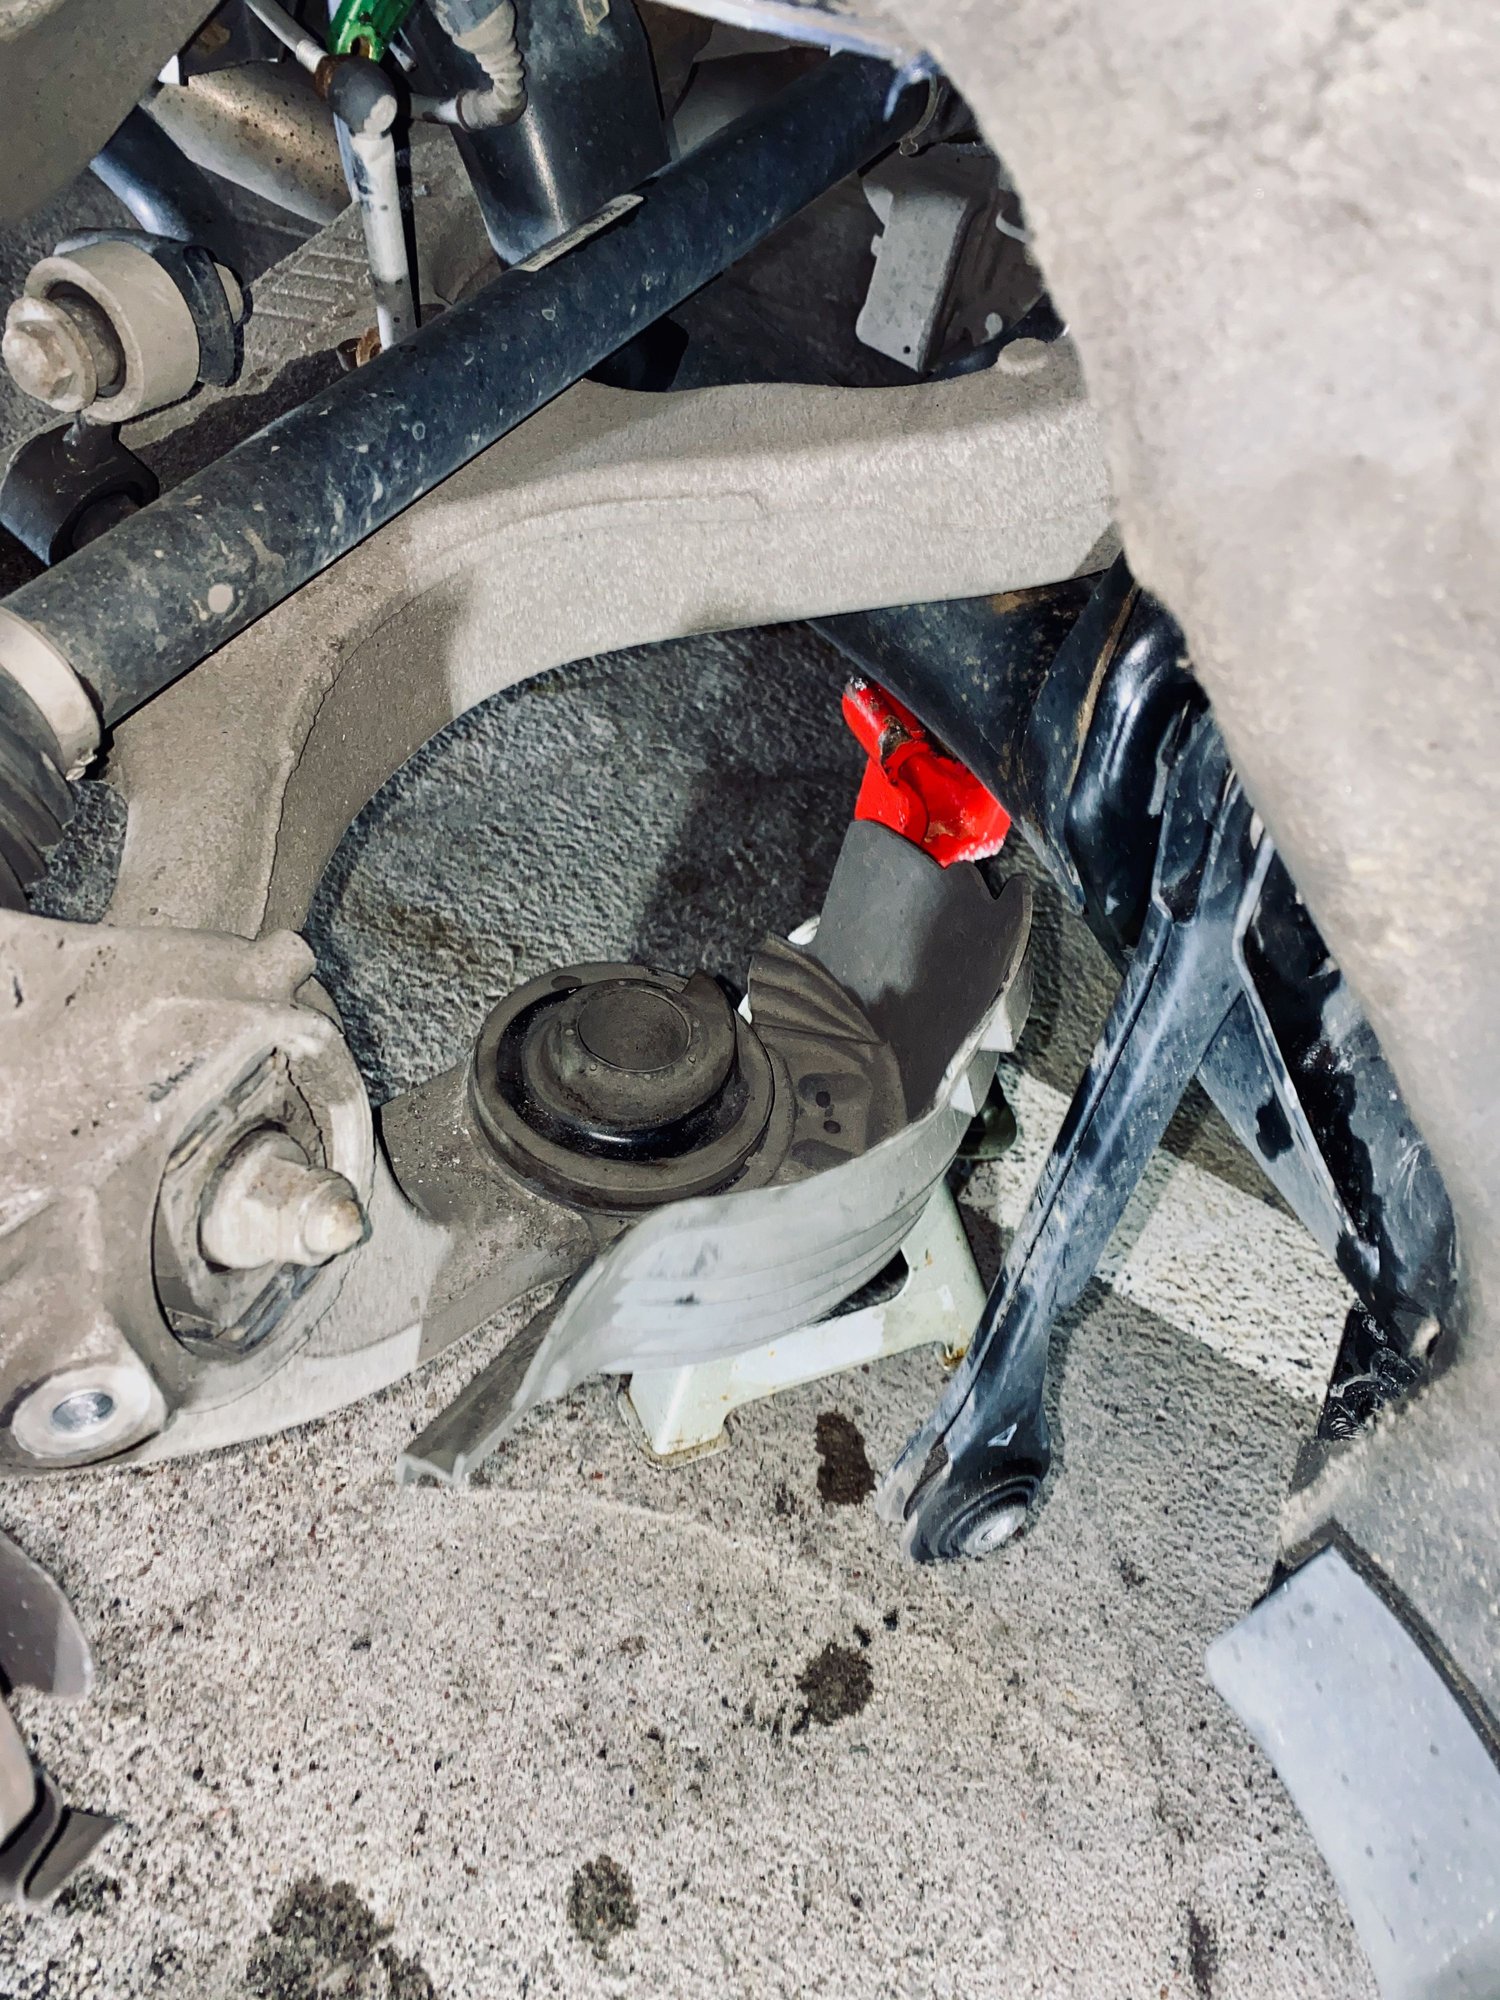
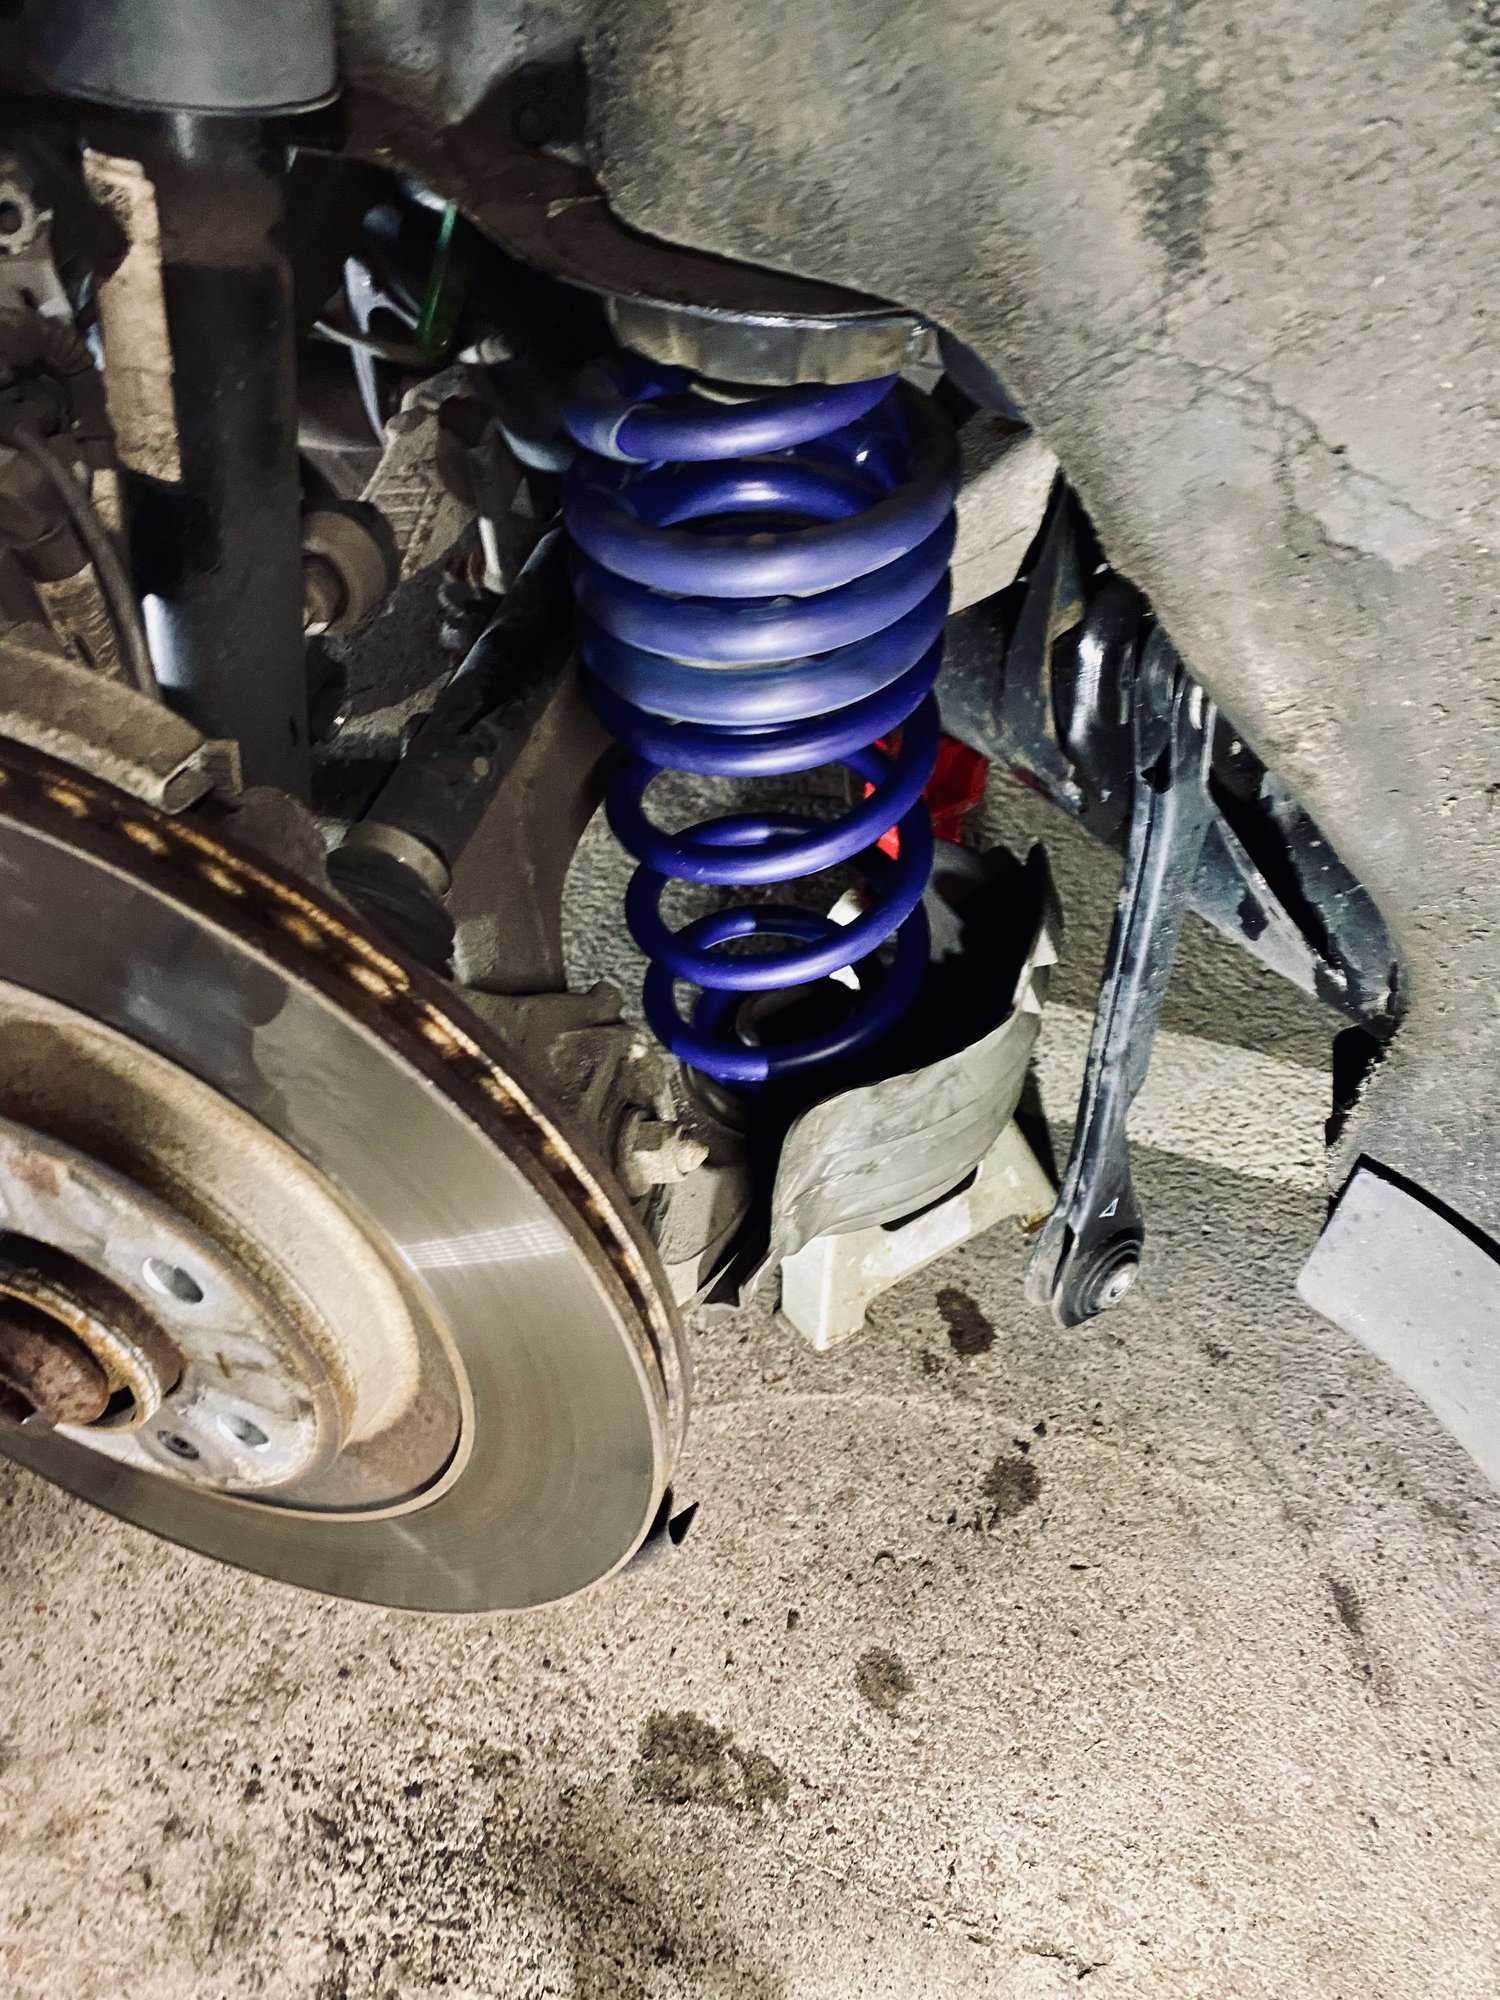
Remove plastic clips carefully Remove stress bar only one half side. 1.Jack car and put on stands. Remove plastic cover from top and one that covers the battery terminal and brake fluid reservoir. Do not lose the plastic clips. Remove half of the control strut bar 15mm. 2. Remove wheel. 3 unbolt top pinch bolt with 16mm, it holds two aluminum arms, Very audi like. 4. if the bolt slides out nicely with a light tap of the hammer your are lucky. 5. if it does not, this is a seized bolt and require you to follow the seized bolt protocol. Be careful not to damage the rubber protective cover on the arms. If the arms are stuck you can tap them out gently from bottom. (the bolt may require further persuasion w a hammer - back up bolt to top of head so its flush. 6. Unbolt lowering link same as rear. 7. Unbolt top sway bar link and loosen lower move to side 7. Unbolt top sway bar link and loosen lower move to side 8. Unbolt the pinch bolt around shock 9. Unbolt at bottom shock. 10. support with jack at bottom control arm. 11. Unclip PASM sensor, be very carful not to snap it - should come out easily even if dirty. 12. Quickly check over that all things are loose. 13. Be generous w WD40 or use antiseize on pinch bolts and top of the control arms. 14. Remove two of the plastic bolts that hold up the plastic mesh in wheel well. 15. Remove the 4 15mm bolts that hold up the strut, it should lower gently with the jack. 16. wiggle it out slowly down, use a pinch bolt spreader for the lower part of the shock, otherwise it will be harder to get in. On re-assembly you will need this to be spread till all bolts are in place and shock bolted up. This should be last bolt to be tightened. 17. Now you should have your shock. TAKE A BREAK 18. Now unbolt the carrier 4 15mm bolts at top of shock. This comes apart and put it to side. 20. There are two clips on either side of the shock, careful not to break them, ease them out w a screw driver. Remove plastic clip around wire. 21. the shock bolt takes an 18mm wrench - on mine anyhow. I used a Teng Tools Drop wrench and it allowed me to feed the connector through it. Your variant of car may differ. 22. Break loose the bolt but DO NOT fully unbolt. Only loosen 1 (one) turn. 23. Attach spring compressor, I used the largest C clamps for front. 24. Compress spring till loose. Again careful, never point spring compressor or spring at yourself, and never ever at your head. SAFETY FIRST. 22. Now that you have everything taken apart at top of shock, remove wrench carefully and very slowly decompress the spring. You are wondering how you�re going to get the spring off. 23. It�s a coil and you just carefully unscrew it making sure the wire is not overstretch, the shock protectors can get in the way, but just pull it up. It can be tight, but be careful and take your time. 24. Use new H&R spring, wind it back on the reverse way. 25. Make sure it fits well and you have it the right side. 26. Attach spring compressor. Watch out for the PASM support and position your spring compressor carefully. 27. compress spring and once you see a few threads on top, put bolt on, be sure springs lines up w rubber cushions and it�s at the stops. 28. Compress a bit more if you need more room. Spring is shorter so should be no issue. If it�s not fitting, check work again or snags. Make sure PASM WIRE IS THROUGH FULLY. Be gentle w it. 29. Tighten down the shock bolt to full stop, you may need to use a smaller wrench around the shock to stop it from spinning. 30. Reassemble rest of strut.
32. Reassemble in reverse, again be aware of the pinch bolts and use antiseize like copper grease or whatever you fav brand is. 33. Work from top to bottom, keep in mind not to tighten last pinch bolt at bottom shock. 34. Use jack to help you with height, at times you may have to push control arms down to make space. Wiggle strut back in, secure it w one bolt at top and continue reassembly. 35. Remember to reconnect PASM. 1. Rear - its more complex than you think. 2. Jack up car, put on stands and take off wheel, do same on other side. Take pressure of sway bar. 3. Unbolt sway bar links, top remove bolt, bottom loosen. 4. Unbolt links, they are little aluminium arms, put to side 5. trailing arm unbolt at diamond washer and loosen at frame, let hang. loose at frame. 6. Remove brake caliber and carrier 7. Unbolt lower shock. 8. Fit spring compressor to black OEM spring, torque down till spring is loose, or there is no more room to go on spring compressor. Use a ratchet to torque it. 9. Press down on the brake disc/arm to lower it more. There should be some play, pull spring out. 10. Away from yourself perpendicular, so if anything happens springs shoots sideways not into you, or a passerby, or your car. Loosen the compressor and remove spring. 11. load up H&R spring, compress. Remember to use the rubber caps from old spring, the bottom one has nipple and a splash guard. Situate the spring in a way that it fits onto the rubber mat and lock. Depress control arm till you�r able to get spring inside. This is the slightly fiddly part, but its not as hard as it sounds. Be aware not to damage spring or the callipers. (they should be far out of the way.) 12. Once spring sits normally and you're happy, bolt everything back up in reverse order including sway bar link. 13, Wheels torque is in the owners manual but it is likely 160nm.
Enjoy the new ride. Believe me it sits significantly better and if you have 18 ways seats, hump in butt won't be an issue when getting in or out.
For some reason I am not able to edit my own thread.
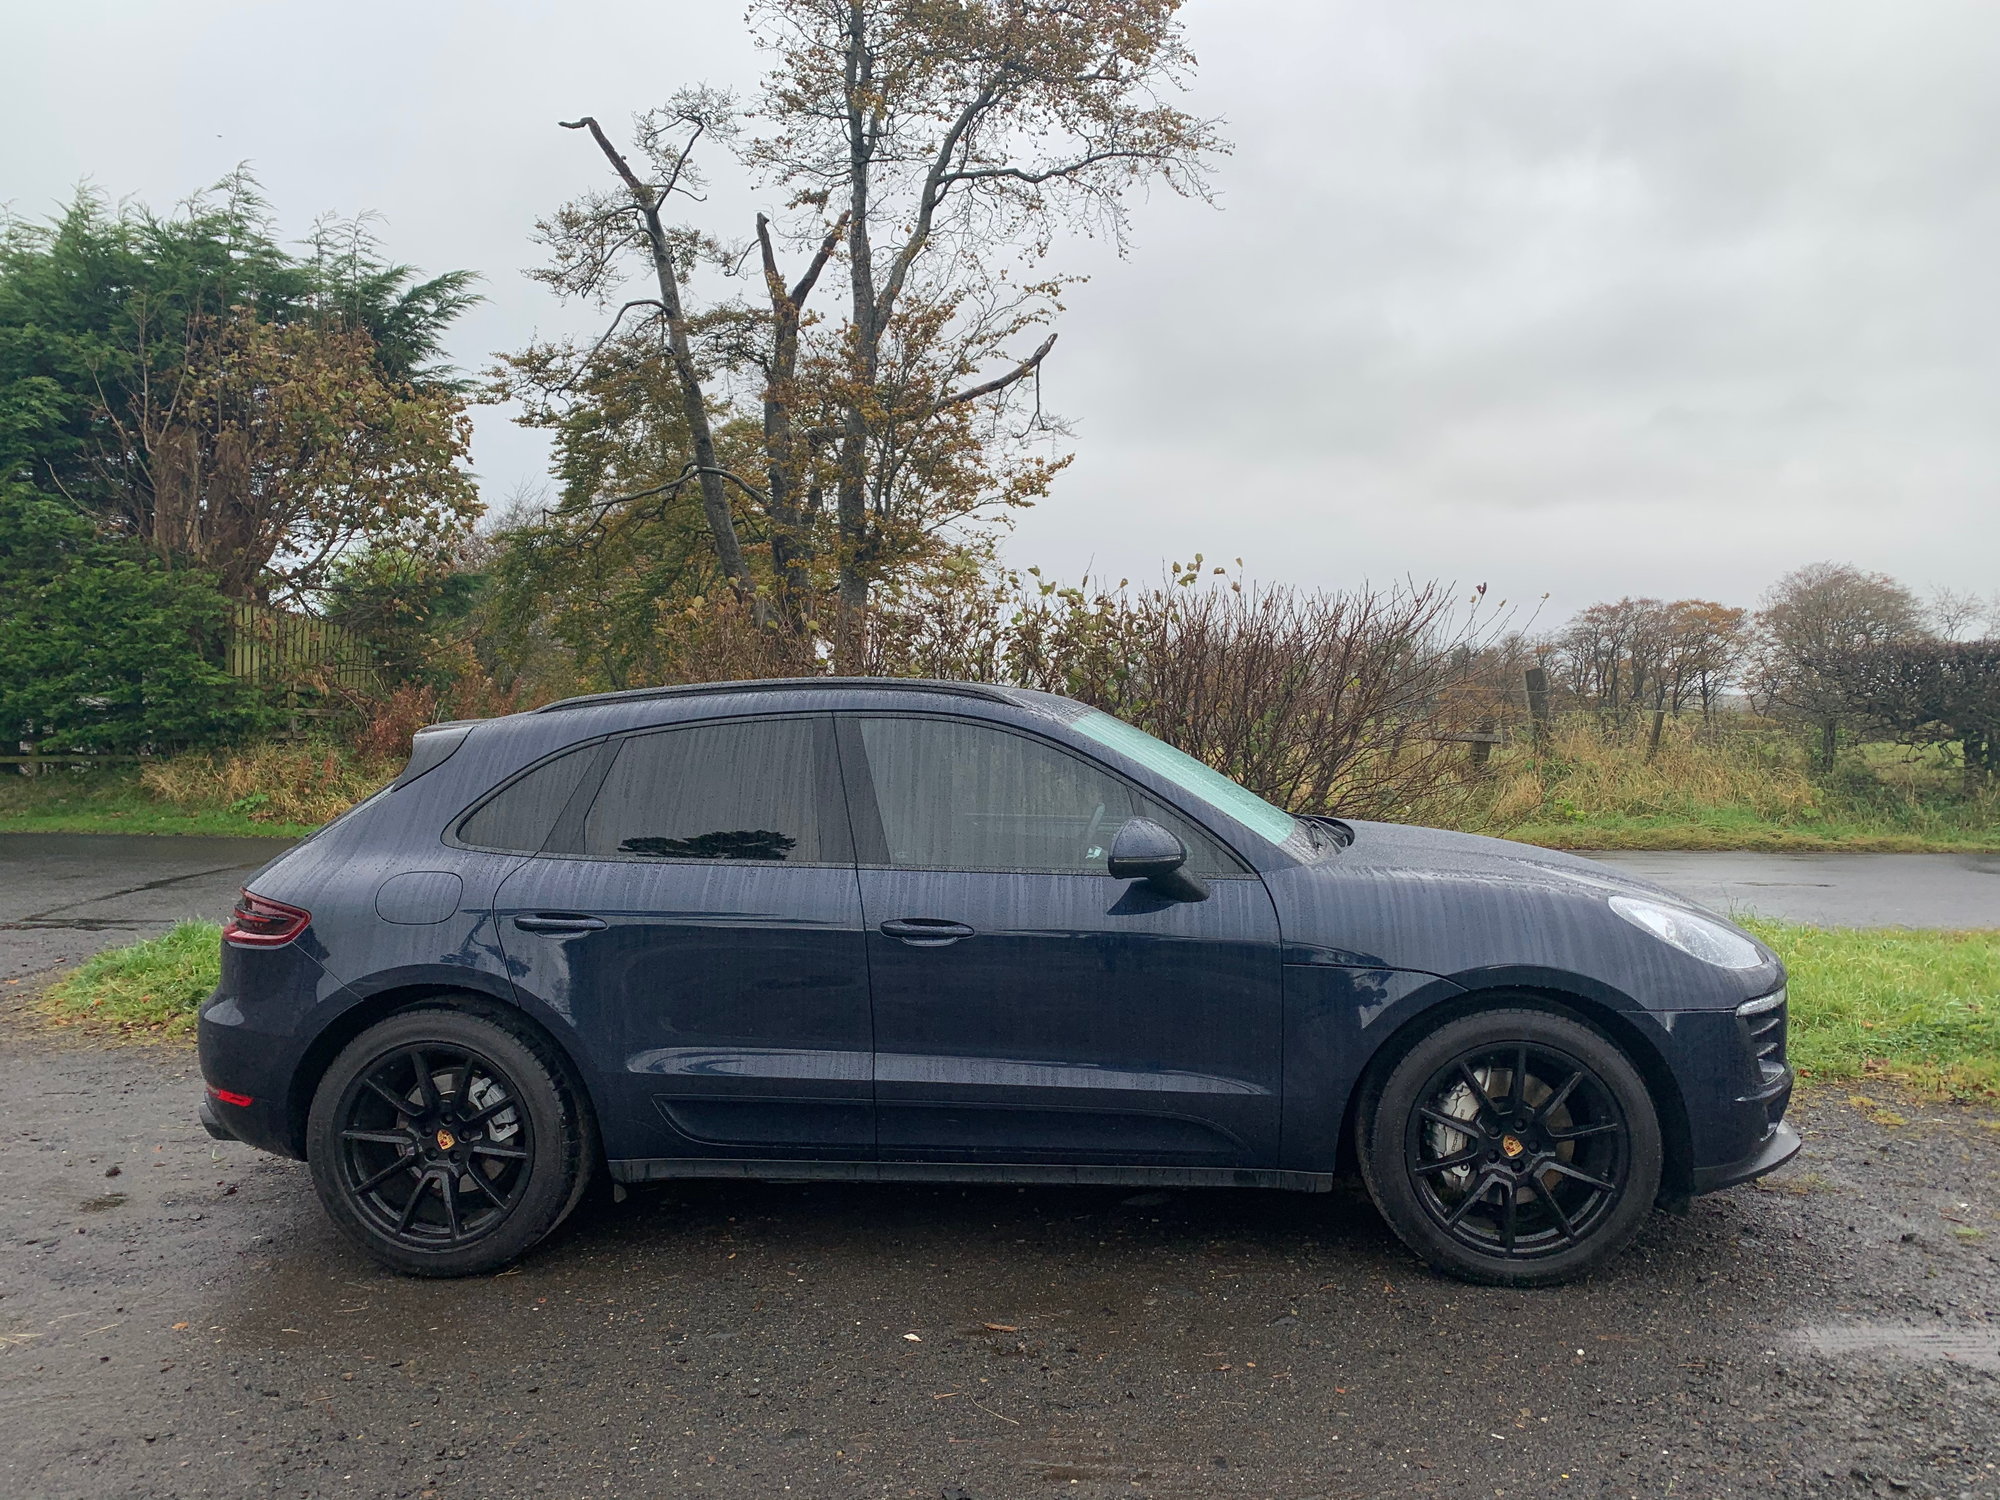
This is the finished product.
For some reason I am unable to edit my own thread. Here is the finished product. The ride is very smooth, much smoother than before, handling is excellent. A well worth mod.
Alignment was done a bit late. This really should be done asap as the toe out will chew the tires very quickly.
As far as handling post alignment - an M2 on Ohlins certainly does not handle better.
The drive is smooth, not harsh, it does not roll, does not skip on road imperfections as it did before. The turn in is sharp and crisp, you can slide the car in a very controlled manner.
This mod is certainly worth it as its cheap and gives such a huge impact on the car. Strongly recommended.
Thanks for the write-up.
My girlfriend wants a Macan, and if she gets one, this mod (maybe coilovers instead) is on my short list.
Saving this write up. As BMW no longer imports the estate into the US I'll probably replace it with a Macaan and lower it. It won't look as nice as the 3 series estate but I'll probably like the performance improvement.
 10-19-2020, 07:32 AM