When you click on links to various merchants on this site and make a purchase, this can result in this site earning a commission. Affiliate programs and affiliations include, but are not limited to, the eBay Partner Network.
V8 Replace Bank 2 Variable Valve Timing (VVT) Actuator
There are two parts that Porsche/others refer to that start with VVT:
1. The VVT Actuator aka solenoid camshaft adjuster (what this DIY is about and lives under the valve cover); and
2. VVT Solenoid aka Lift controller and aka solenoid valve switchover (which is the subject of a separate DIY and is the solenoid that is in the back of the head).
There are two VVT Actuators (VVTA), one per head. They are not a maintenance item but they are a wear item with unknown life expectancy. Porsche troubleshooting guide recommends an oil change (I did an oil flush) and cleaning VVTA in naphtha, which I did. Fault came back. P000C Intake camshaft position slow response, bank 2, Implausible signal. Still rough idle. Rats. If I see this for bank one, I will try an engine oil flush and if it returns, I will skip the naphtha rinse and just replace it. Not worth opening the valve cover twice. Some have reported great results with an engine oil flush so don't be hair triggered to R&R.
If you choose to take this job on, I highly recommend the AllDataDIY subscription. Porsche shop standard is 5 hours plus lots of parts. This is not a 5 hour job. Maybe 3-4 hours if you take your time. No PIWIS is required.
Just follow the DIY in reverse for the install.
Tools:
metric sockets
ratchet
torque wrenches
8mm flex head ratcheting box end wrench
universal socket
small diagonal wire cutters
male and female sets of torx drivers
rags
zip ties
couple of bunger cords and
take lots of pictures prior to disassembly as a handy reference...
AND patience.
Torque values:
2 steel lifting eye bolts 23Nm. MAKE SURE that you take pictures and know were these go back. Otherwise, wrong hole and broken stuff.
13 aluminum valve cover bolts 4Nm + 90 degrees
4 aluminum coil pack bolts 4Nm + 90 degrees
4 Design cover bolts 6 Nm (estimated as I could not find a value)
4 AOS bolts 10 Nm
2 B+ wire harness holders on the valve cover and lifting eye 12 Nm
1 B+ 8 sided bolt at the b+ distribution 20Nm (estimated as I could not find a value)
1 Negative ground strap 12Nm (estimated as I could not find a value)
2 VVTA bolts 6 Nm
2 coil pack wire harness ground strap bolts 12 Nm
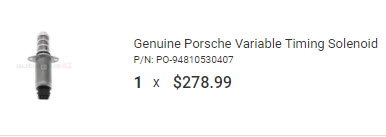
Taka a look at what Porsche MSRP is for this!
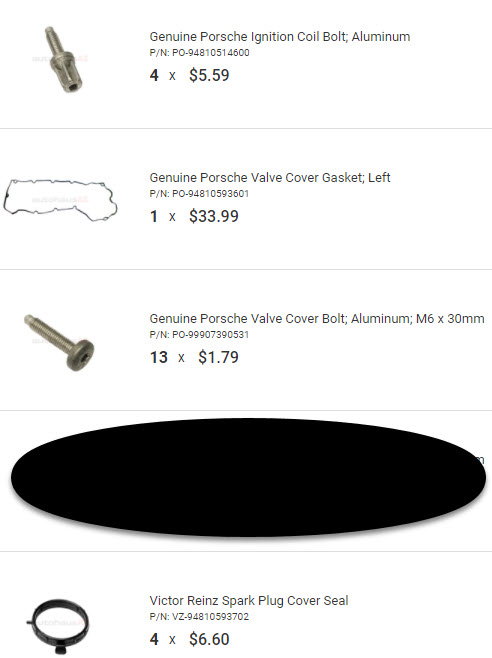
At a minimum, order the aluminum bolts. The seals are molded and can be reused depending on when they were last replaced.
Gasket is the seal between the valve cover and the VVT. The seal is molded and can be reused depending on when it was last replaced.
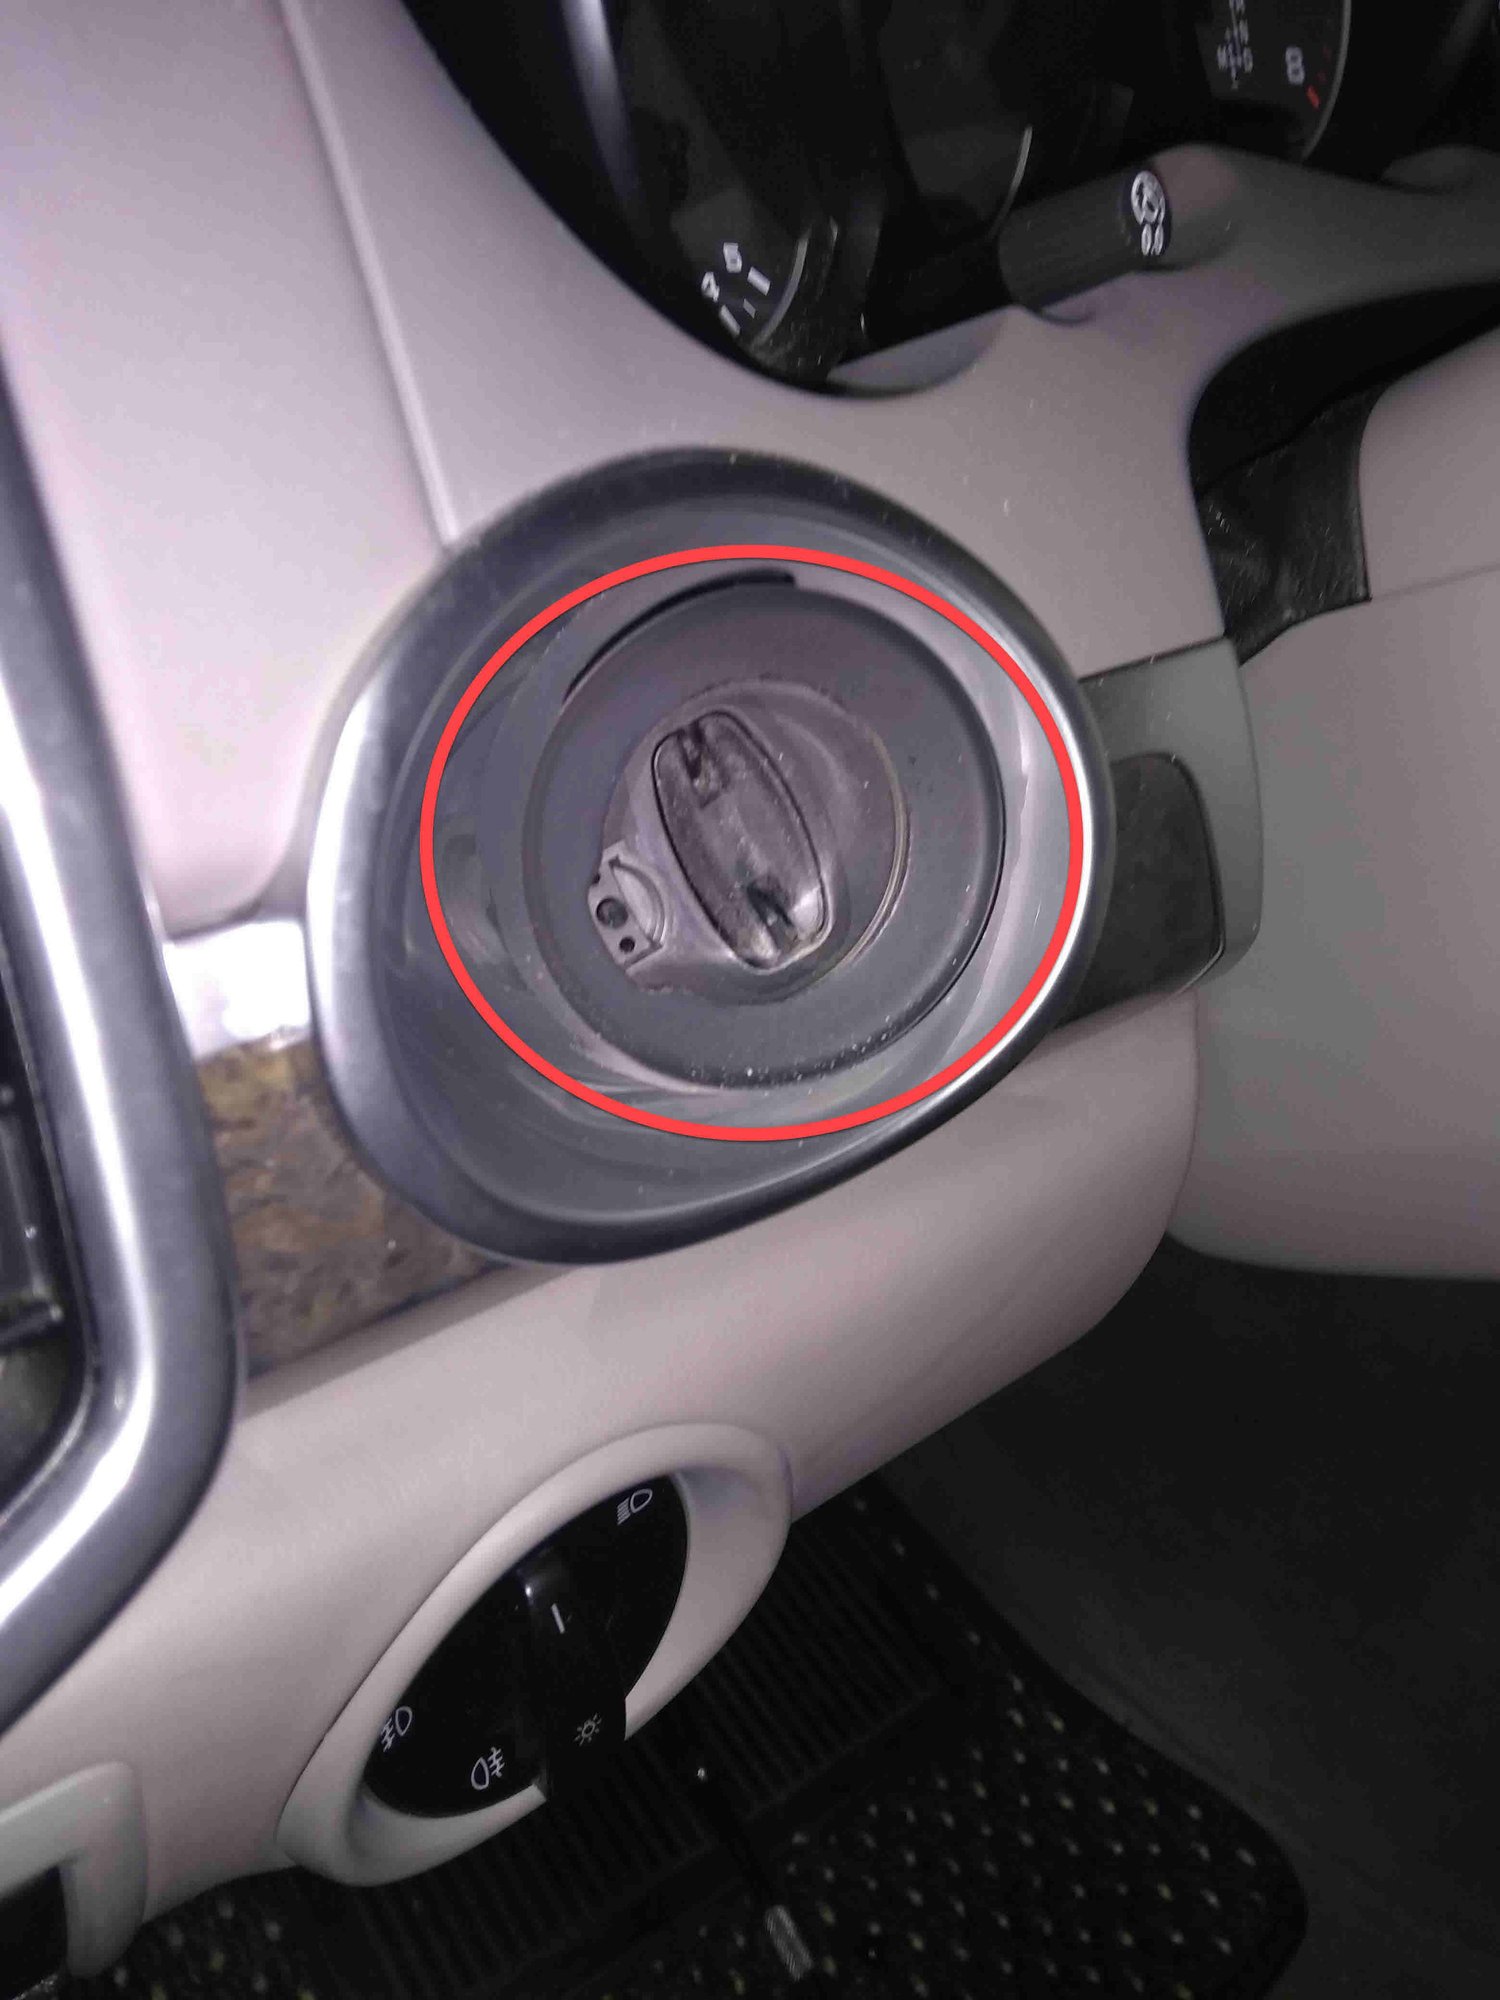
What's missing? The key. Make sure it is NOT in the ignition.
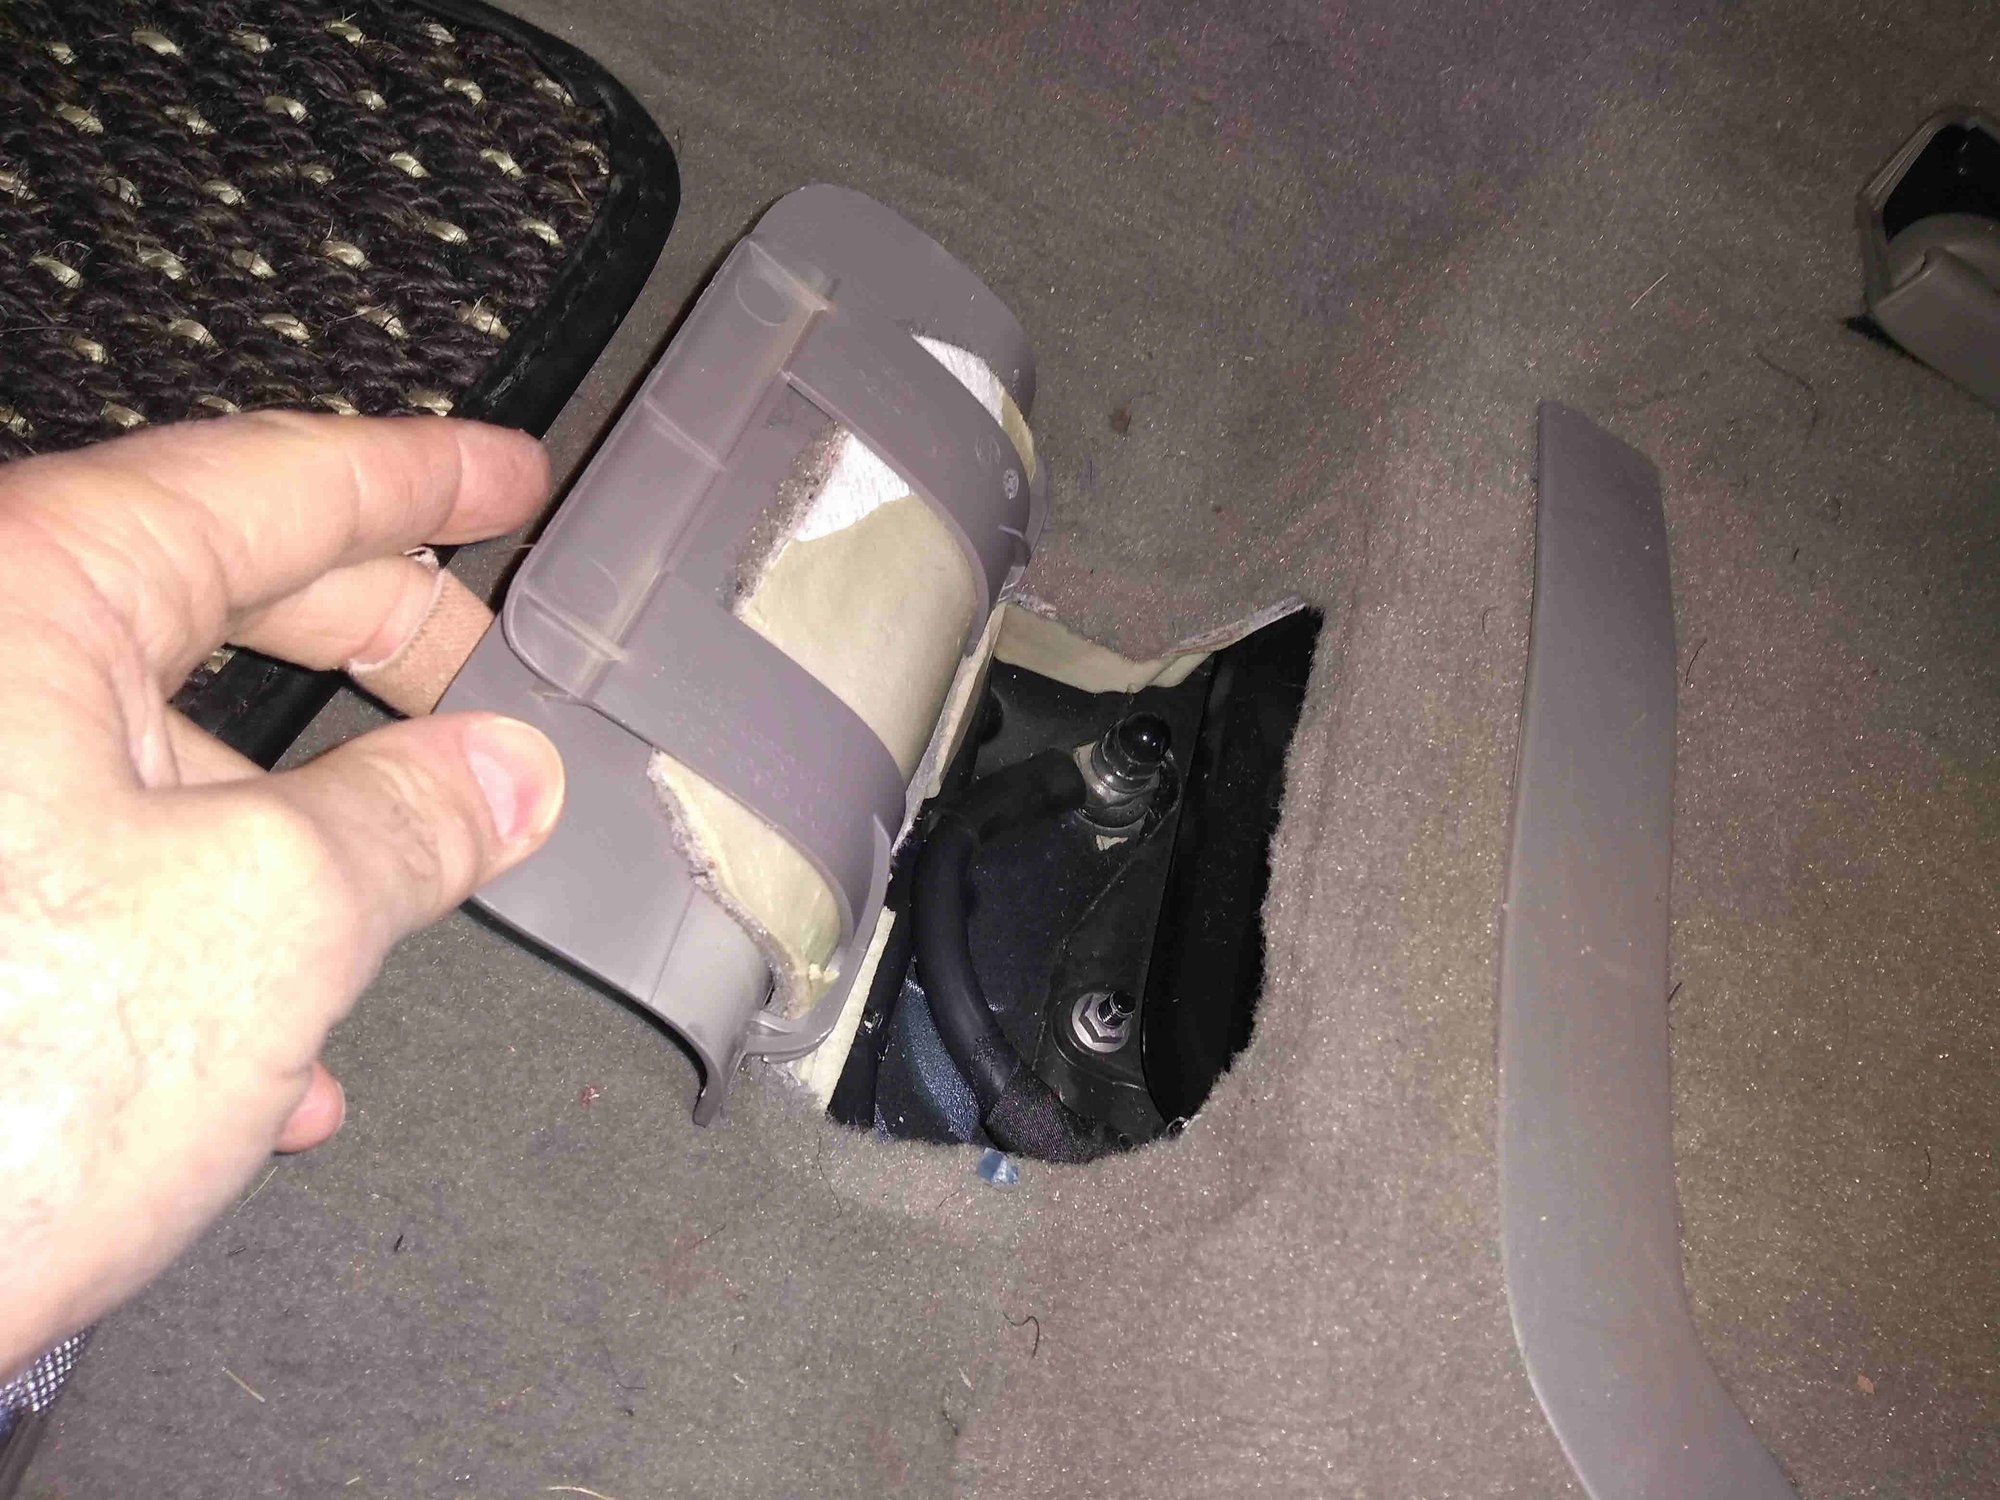
Oh look, I wonder what is under there?
Release the ground strap. It will spark a little. Wrap the cable end in a cloth once you get it off the lug so that it does not end up back on the lug. The cable memory will want to take it back home, which is bad. .
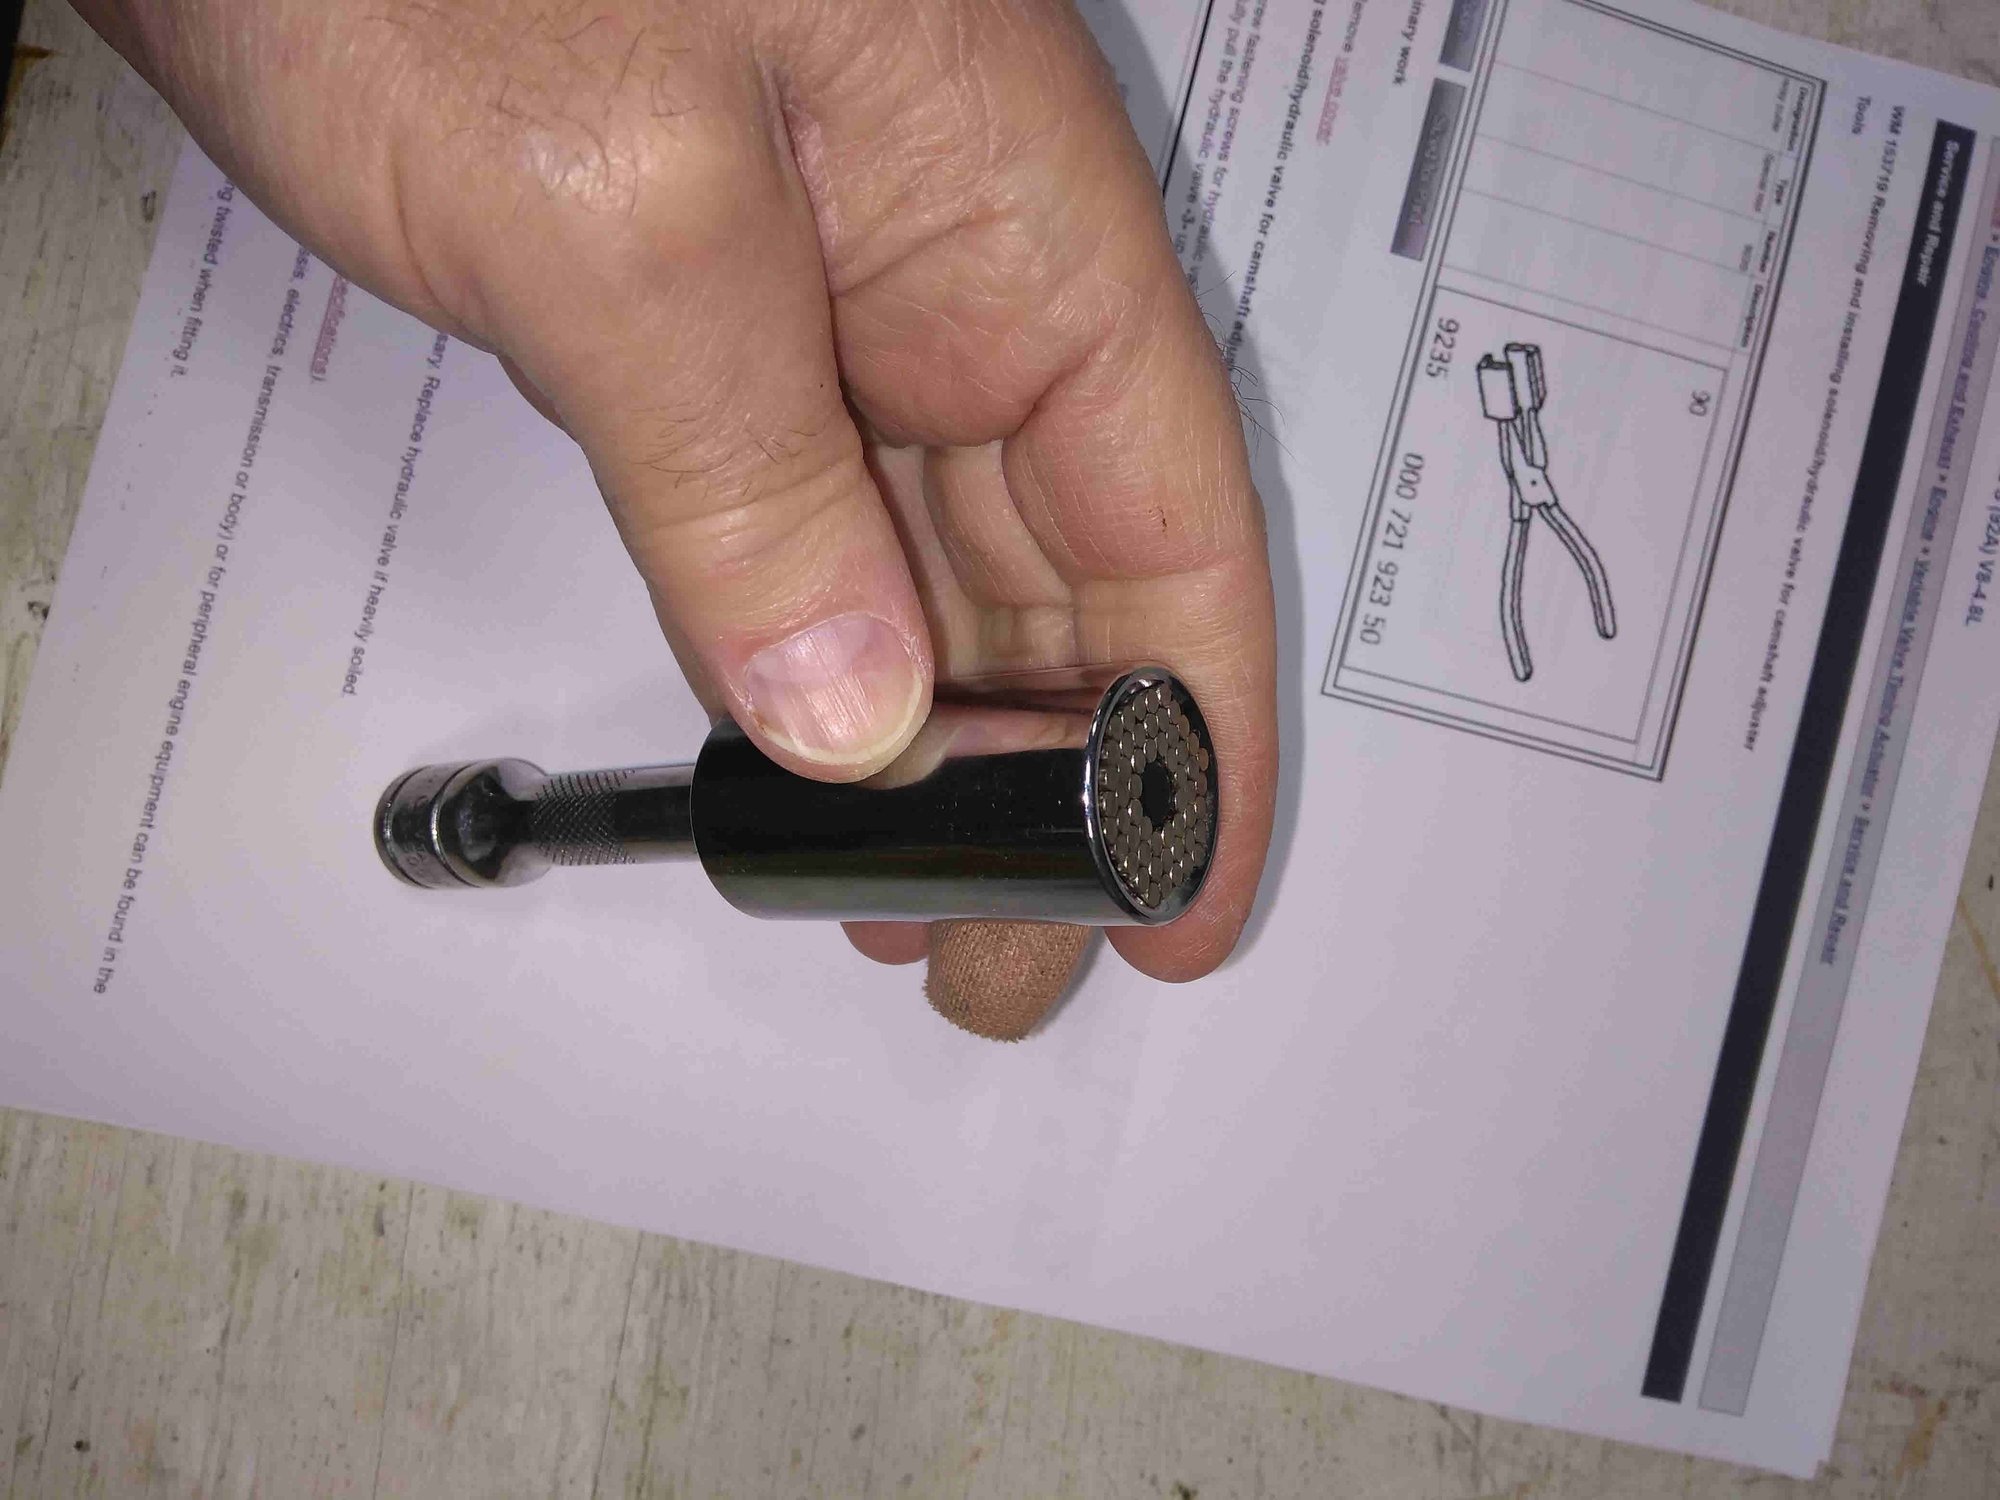
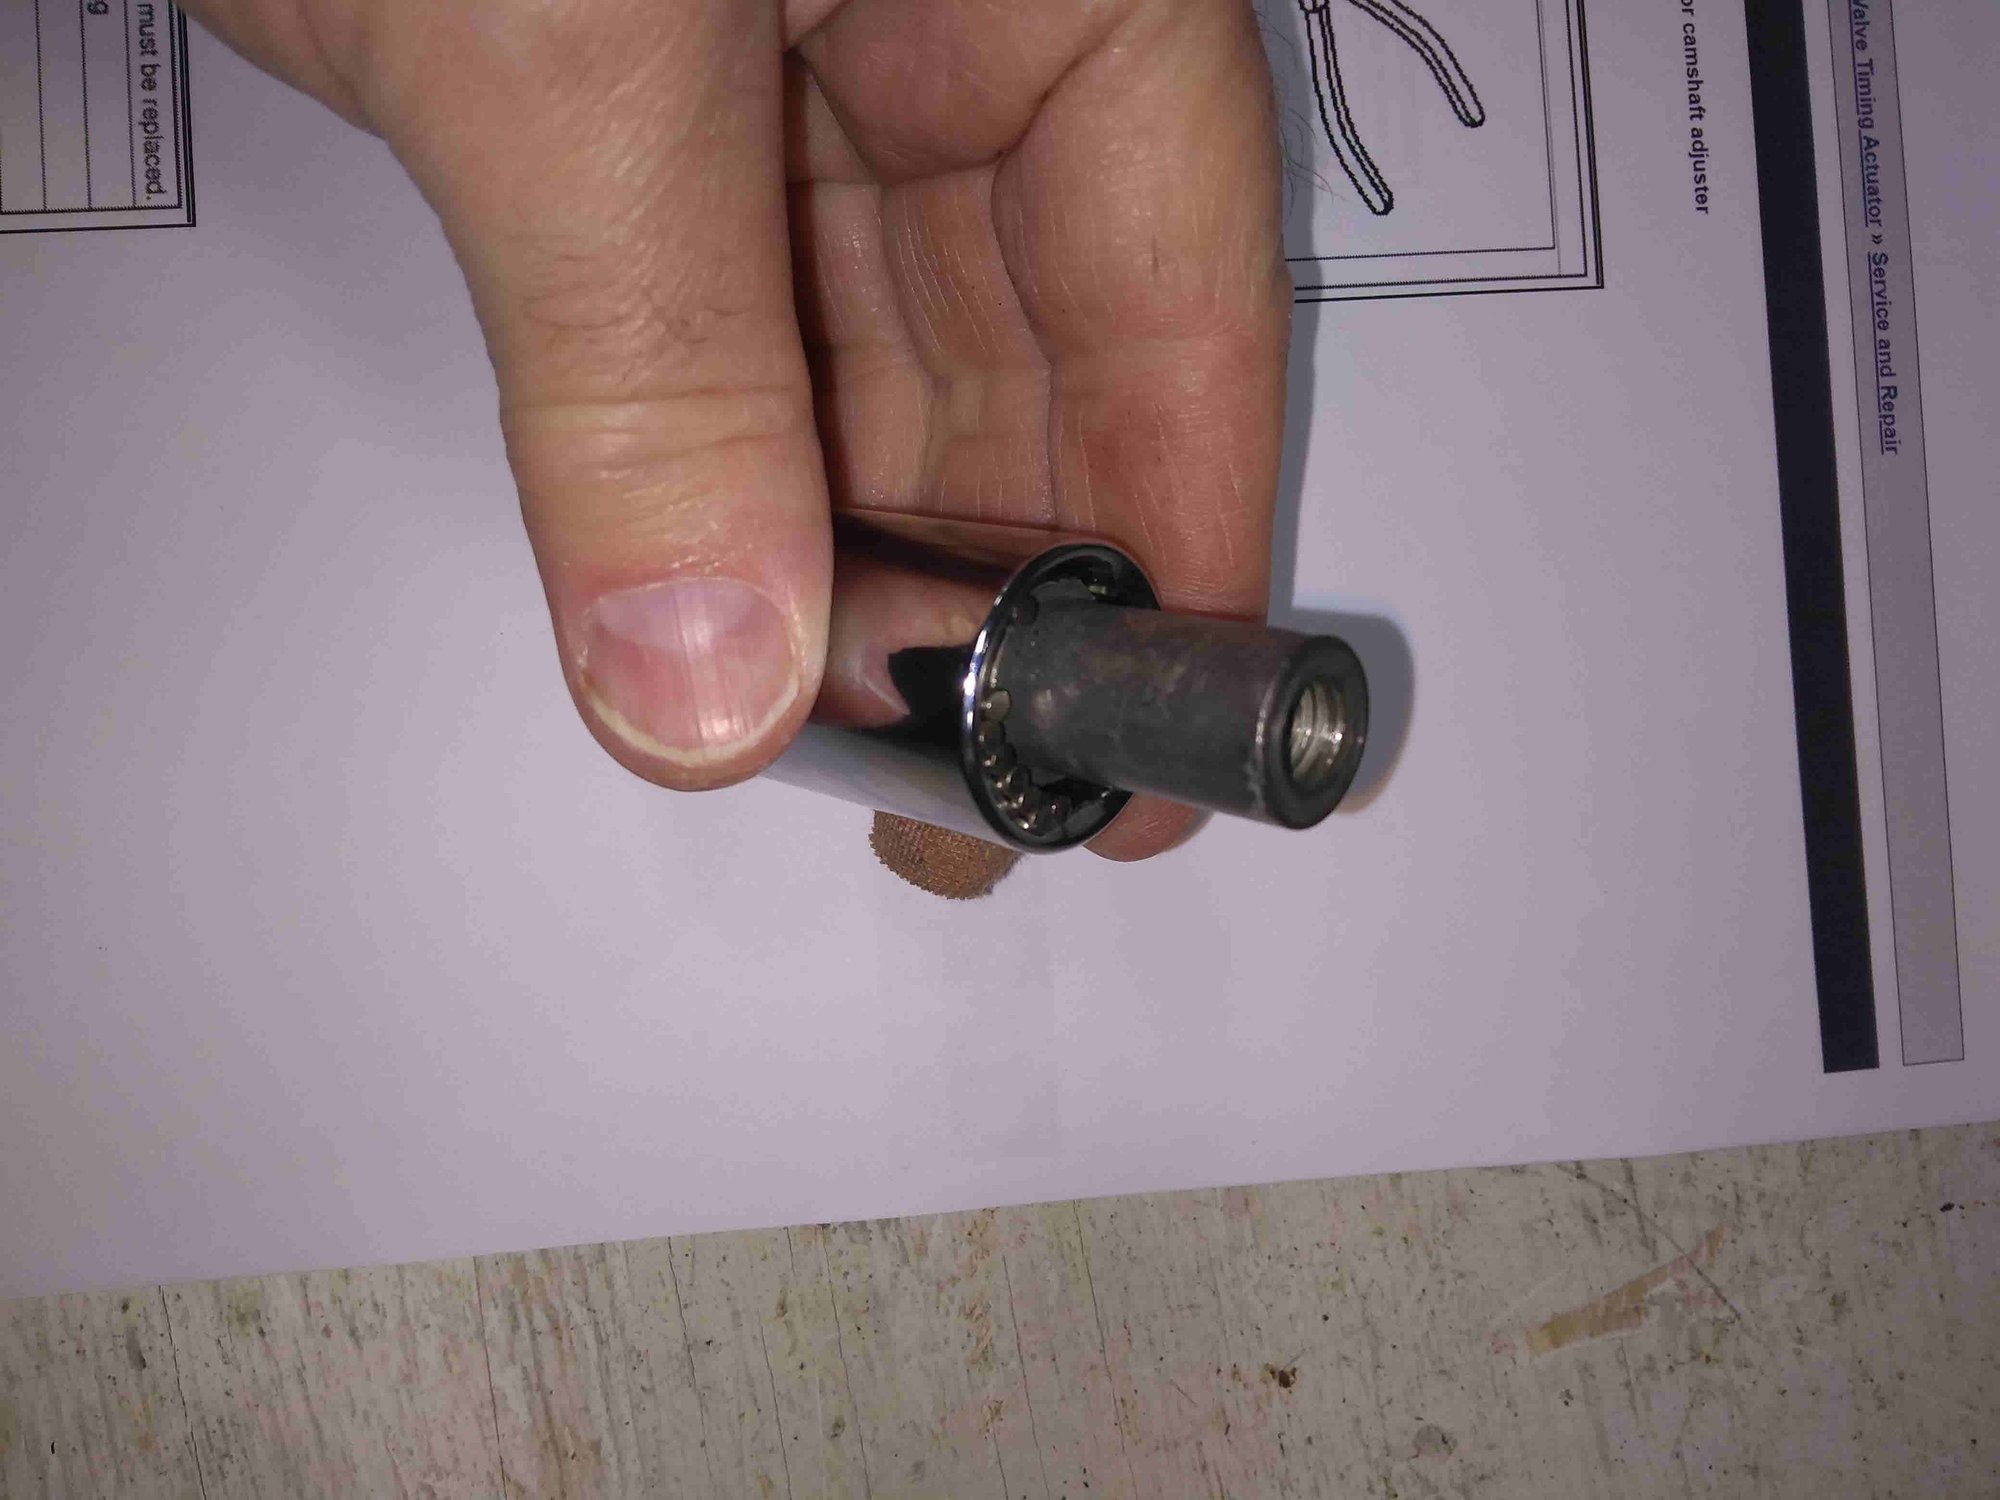
Open the + jumper point cover. Time to release the B+ starter cable from the distribution block. Hmmmm, why is this bolt head not like the others? I have been wrenching on 6 sided nuts and bolts since my first tricycle and erector set. This has 8 sides. Use the universal socket.
Universal socket. Handy to have in the box.
Once you get it off the, just leave it in the socket. You will be reinstalling it shortly.
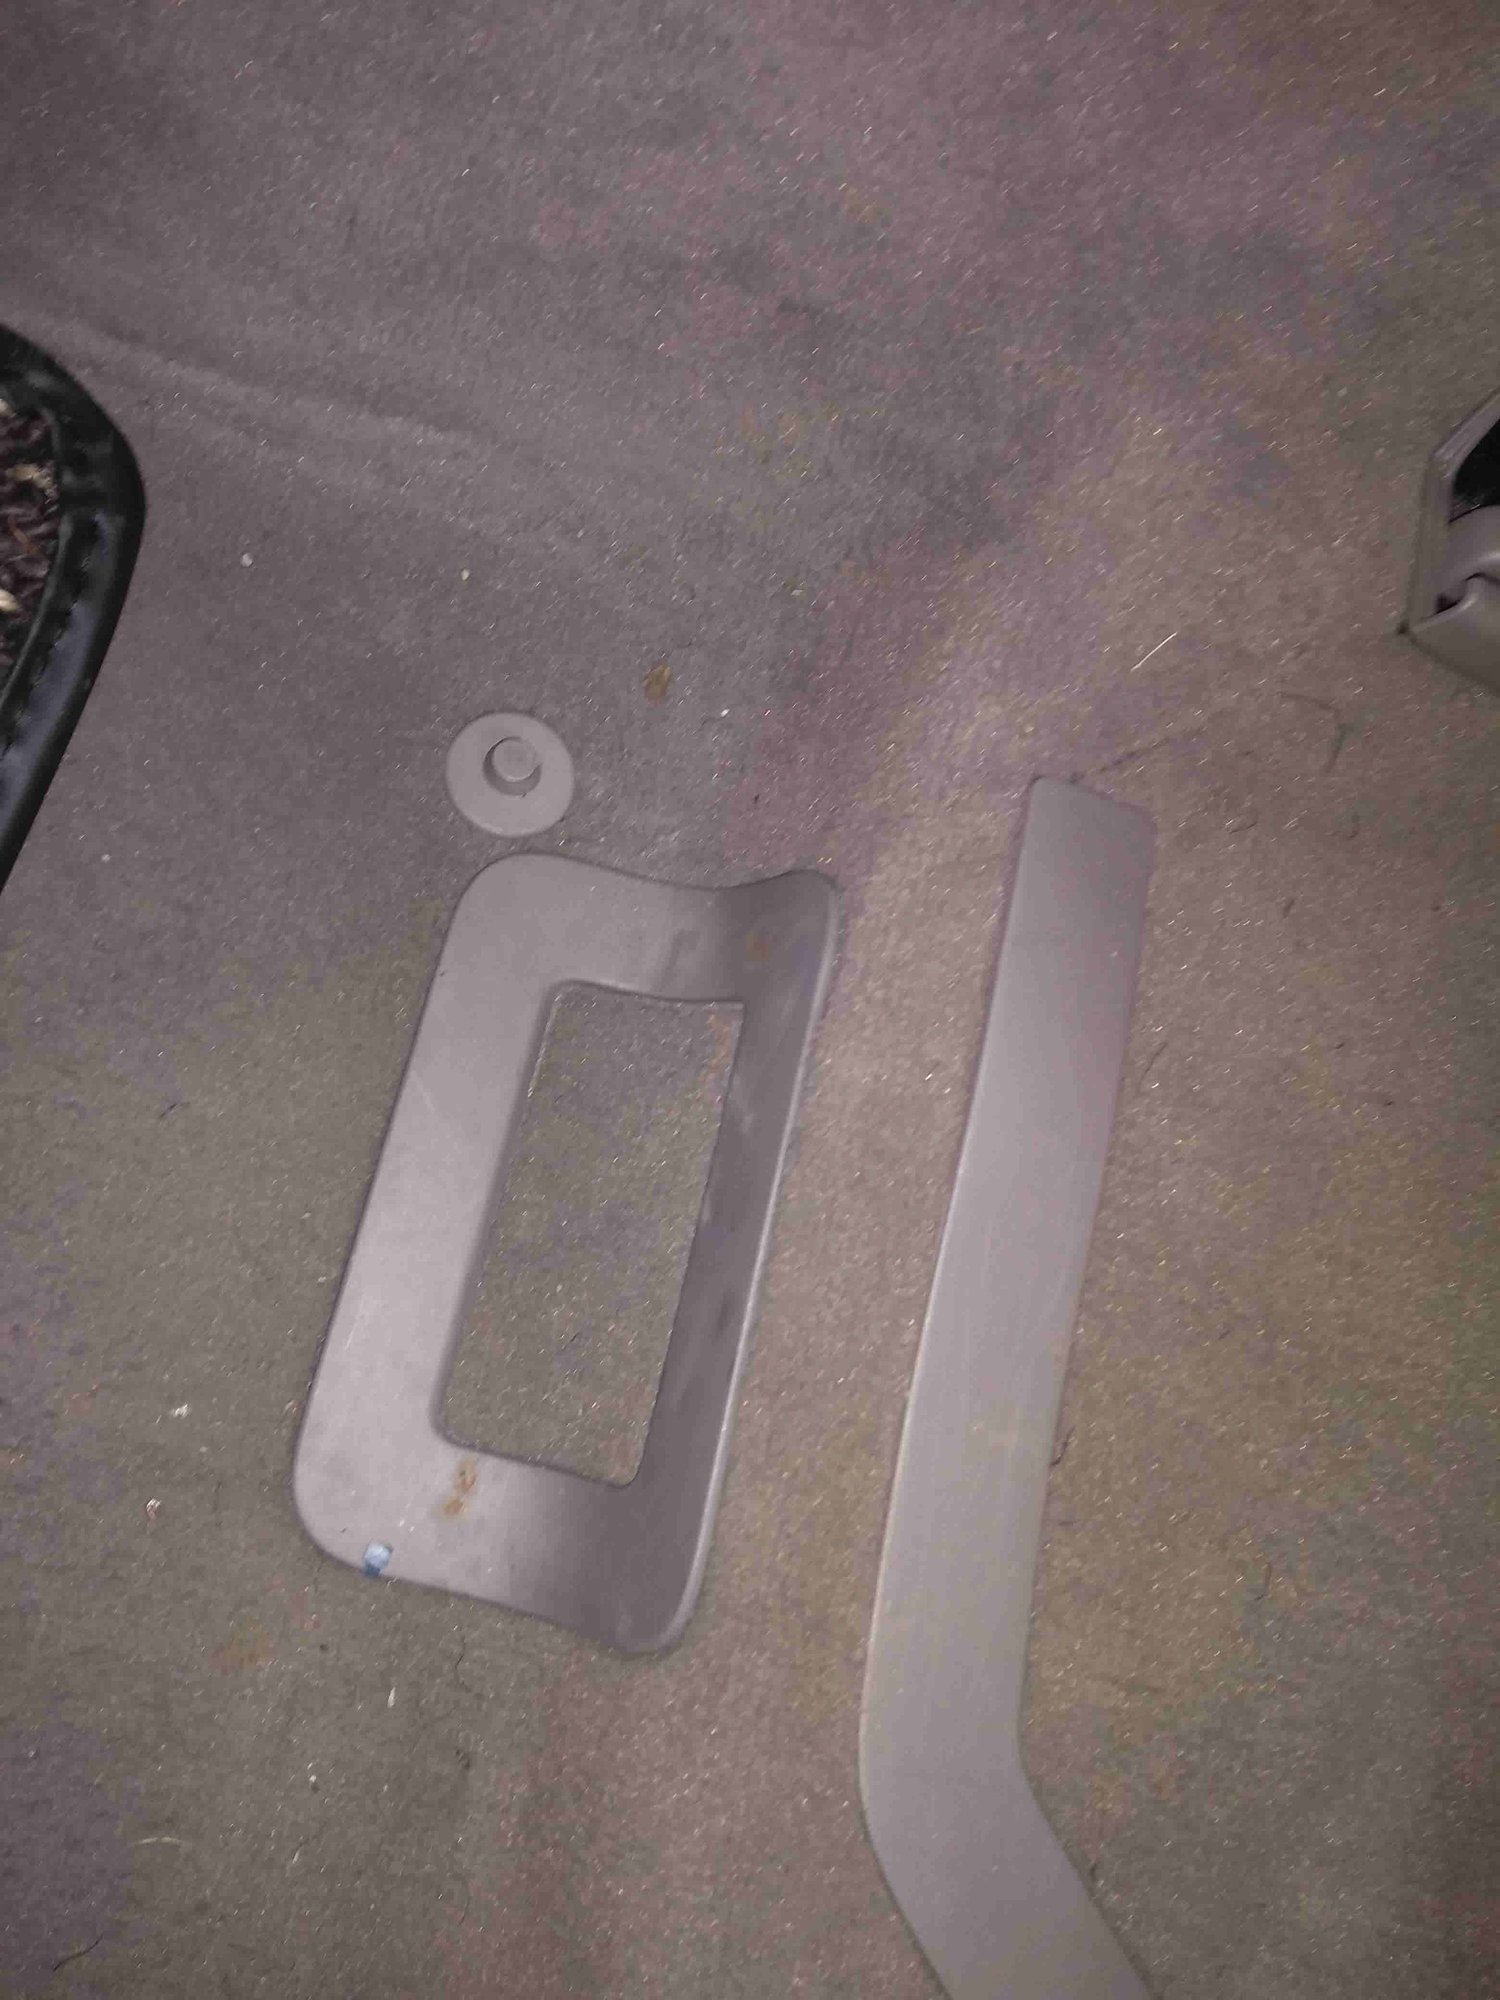
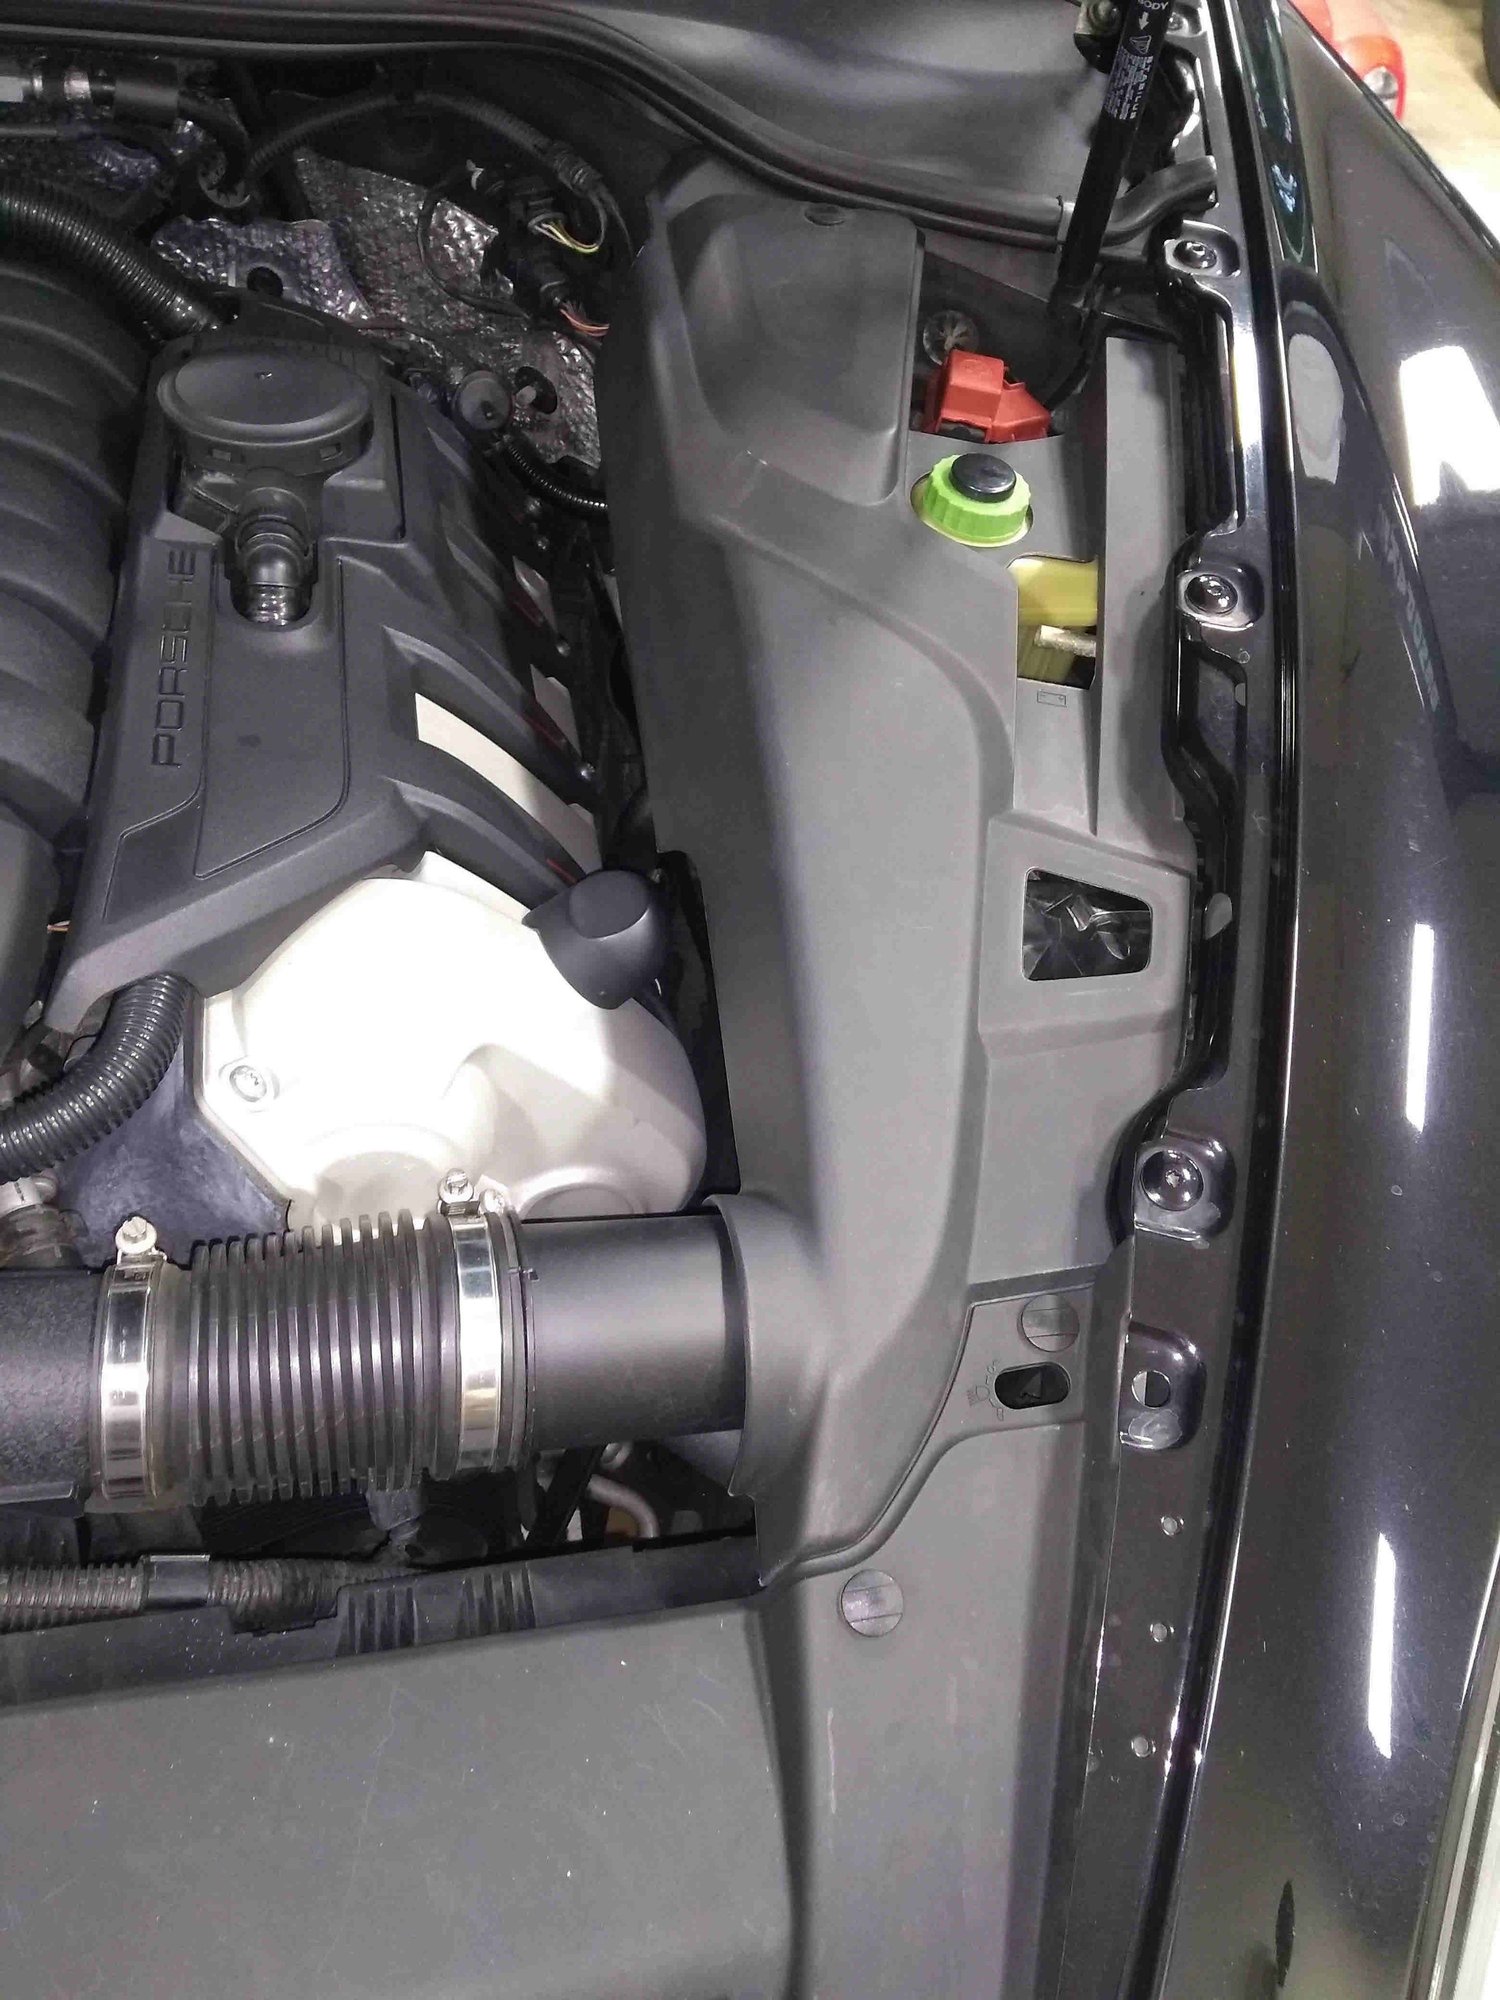
Remove the side cover and air filter box cover.
Much more room to work.
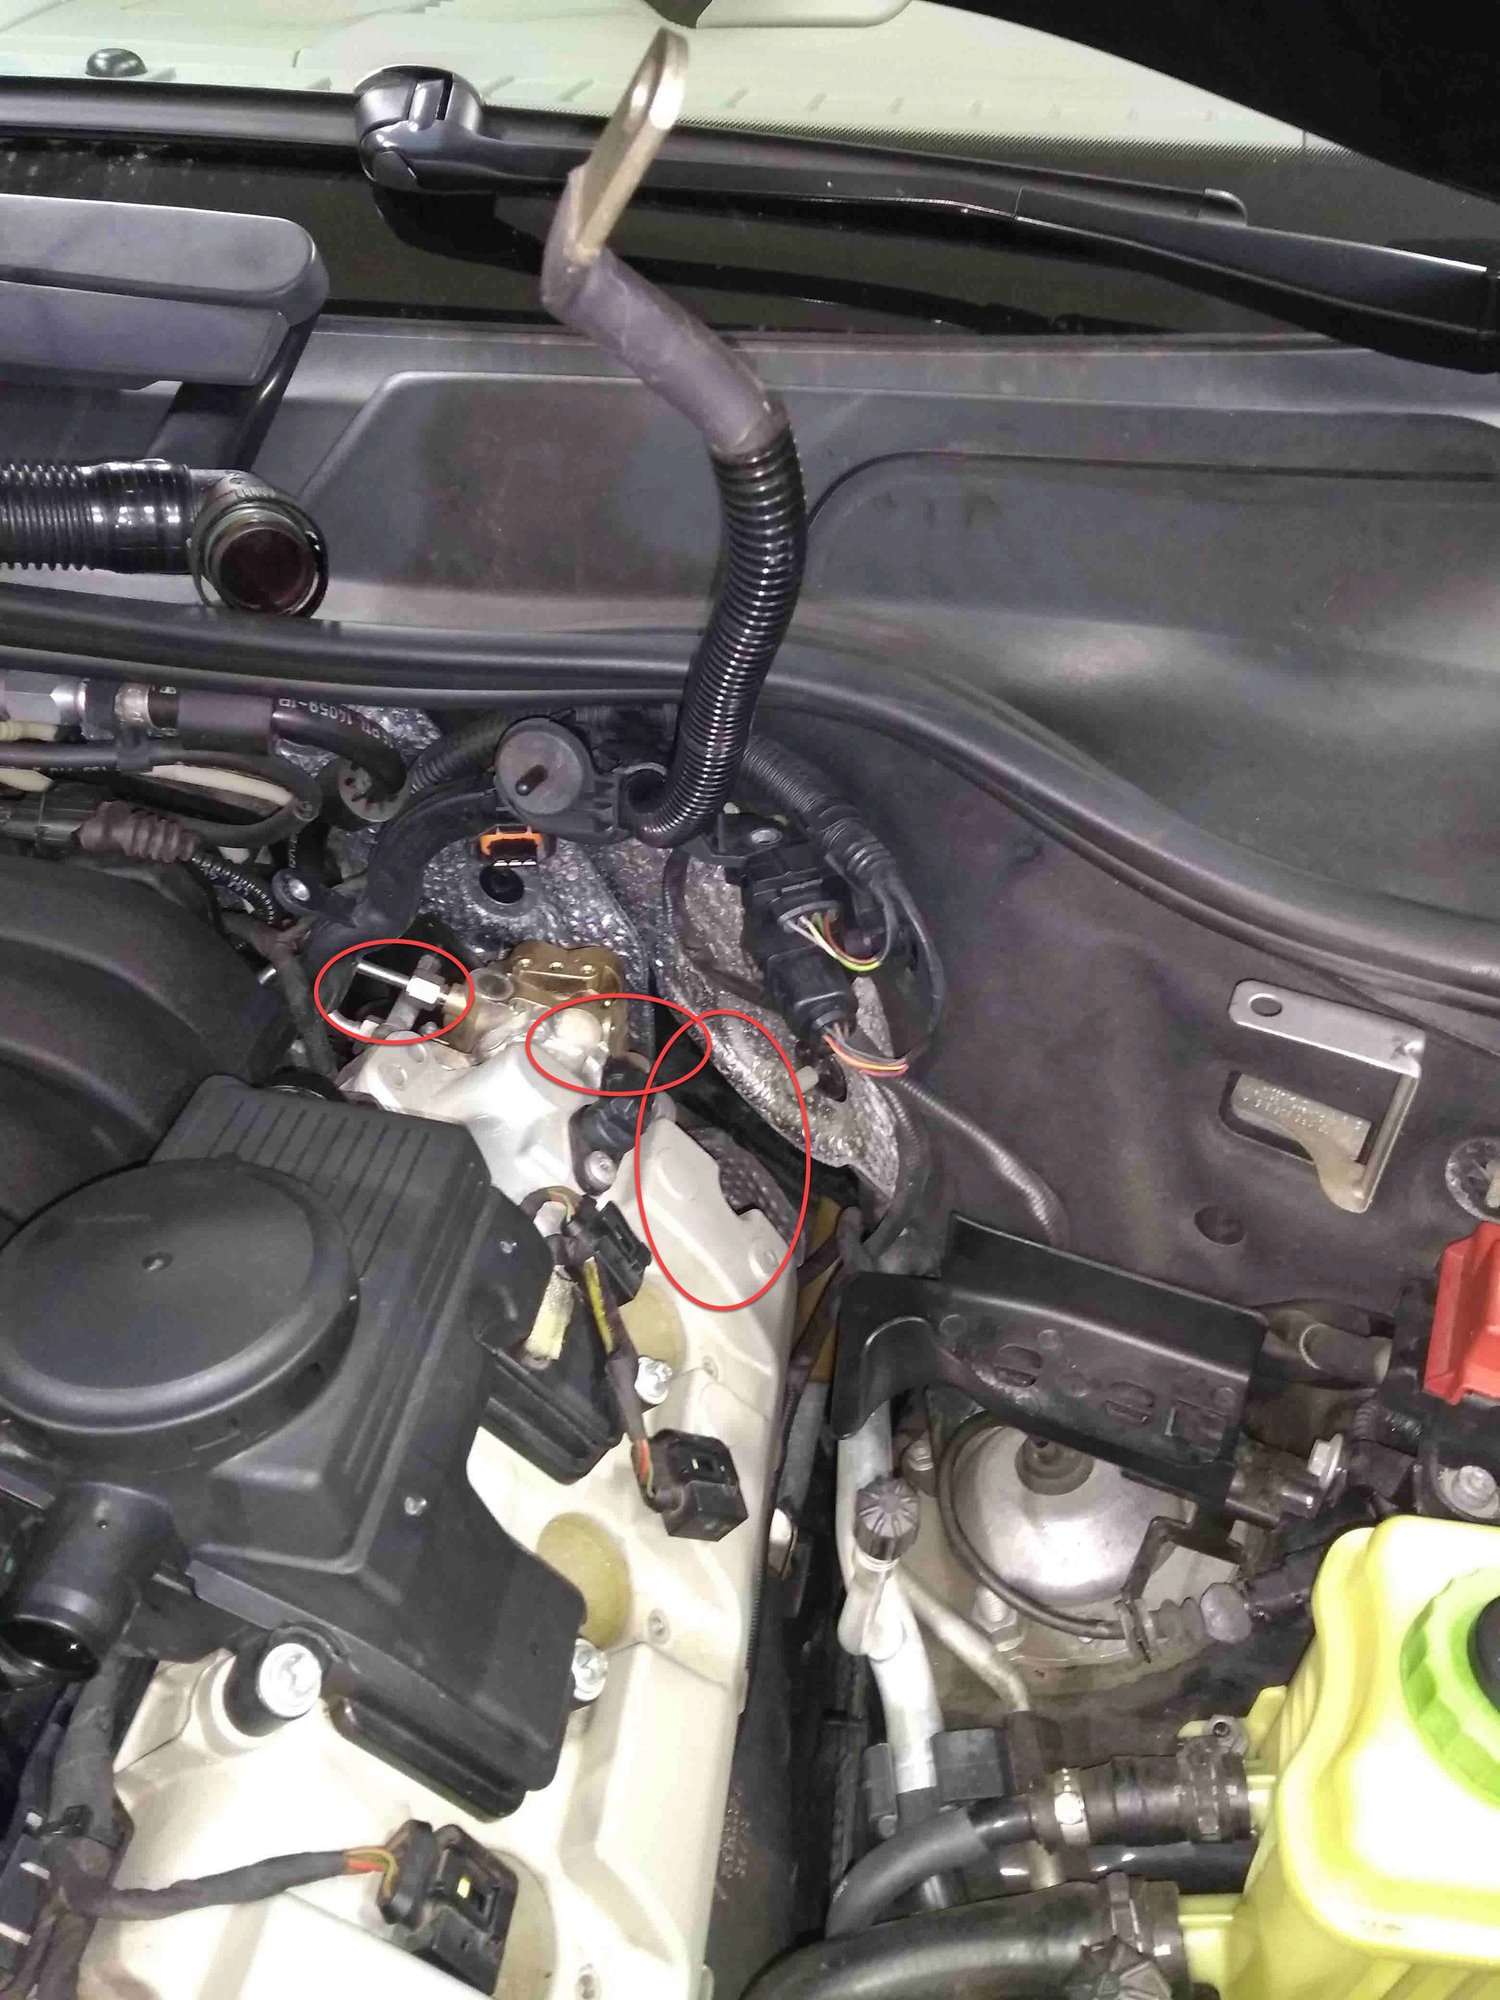
Release the hall effect harness and the two B+ cable holders, one of which is on the lifting eye.
Remove the design covers and coil packs.
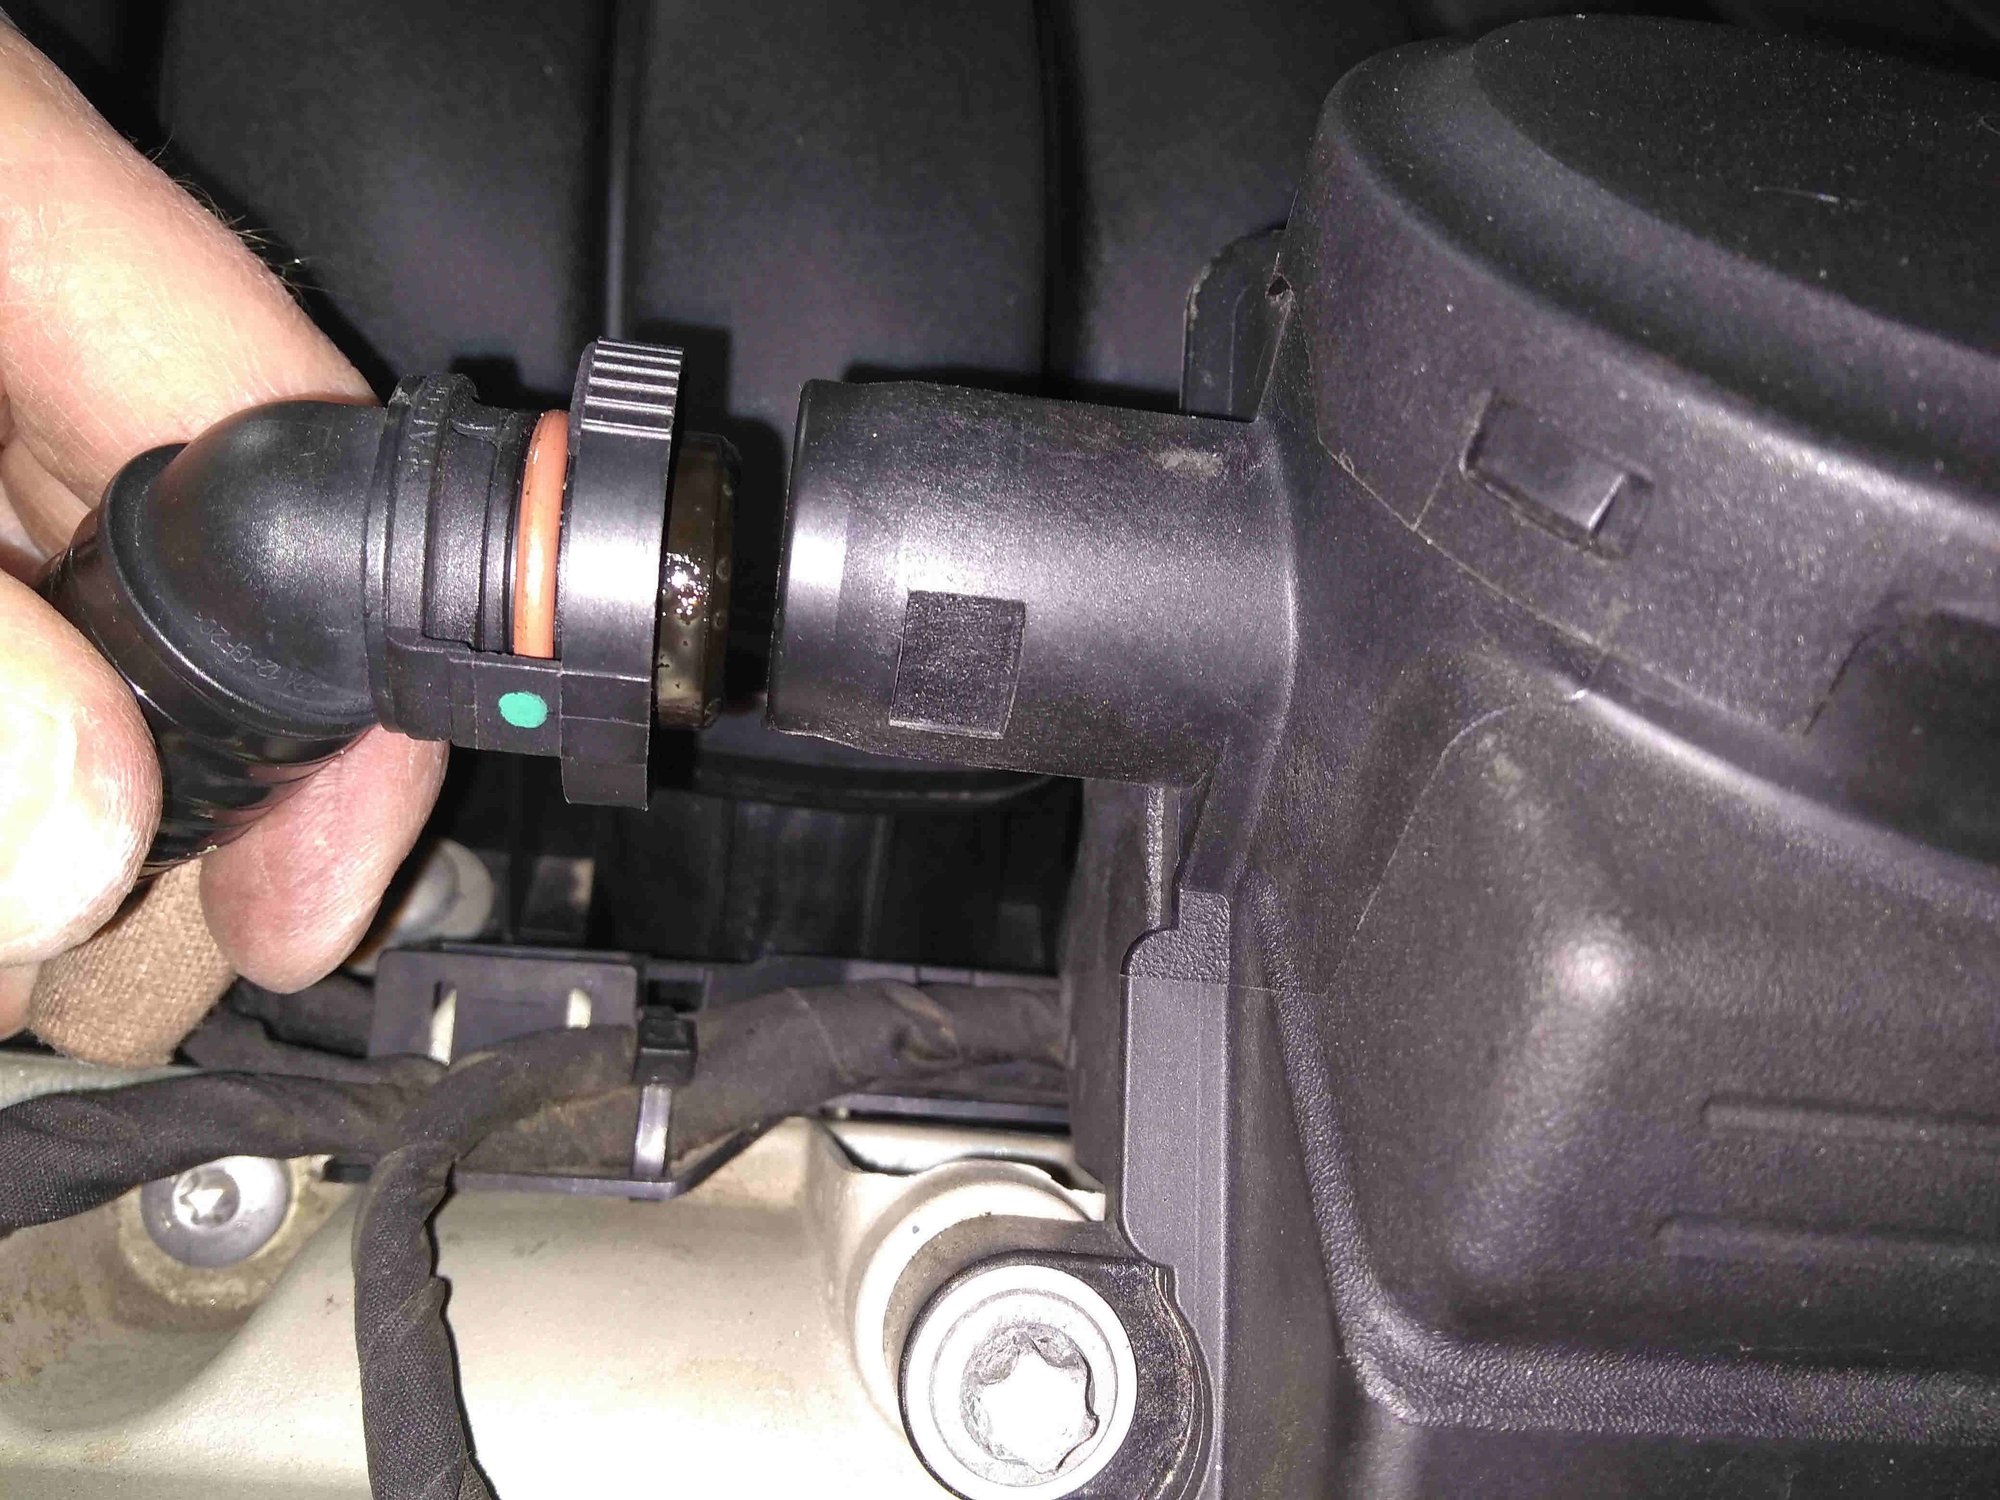
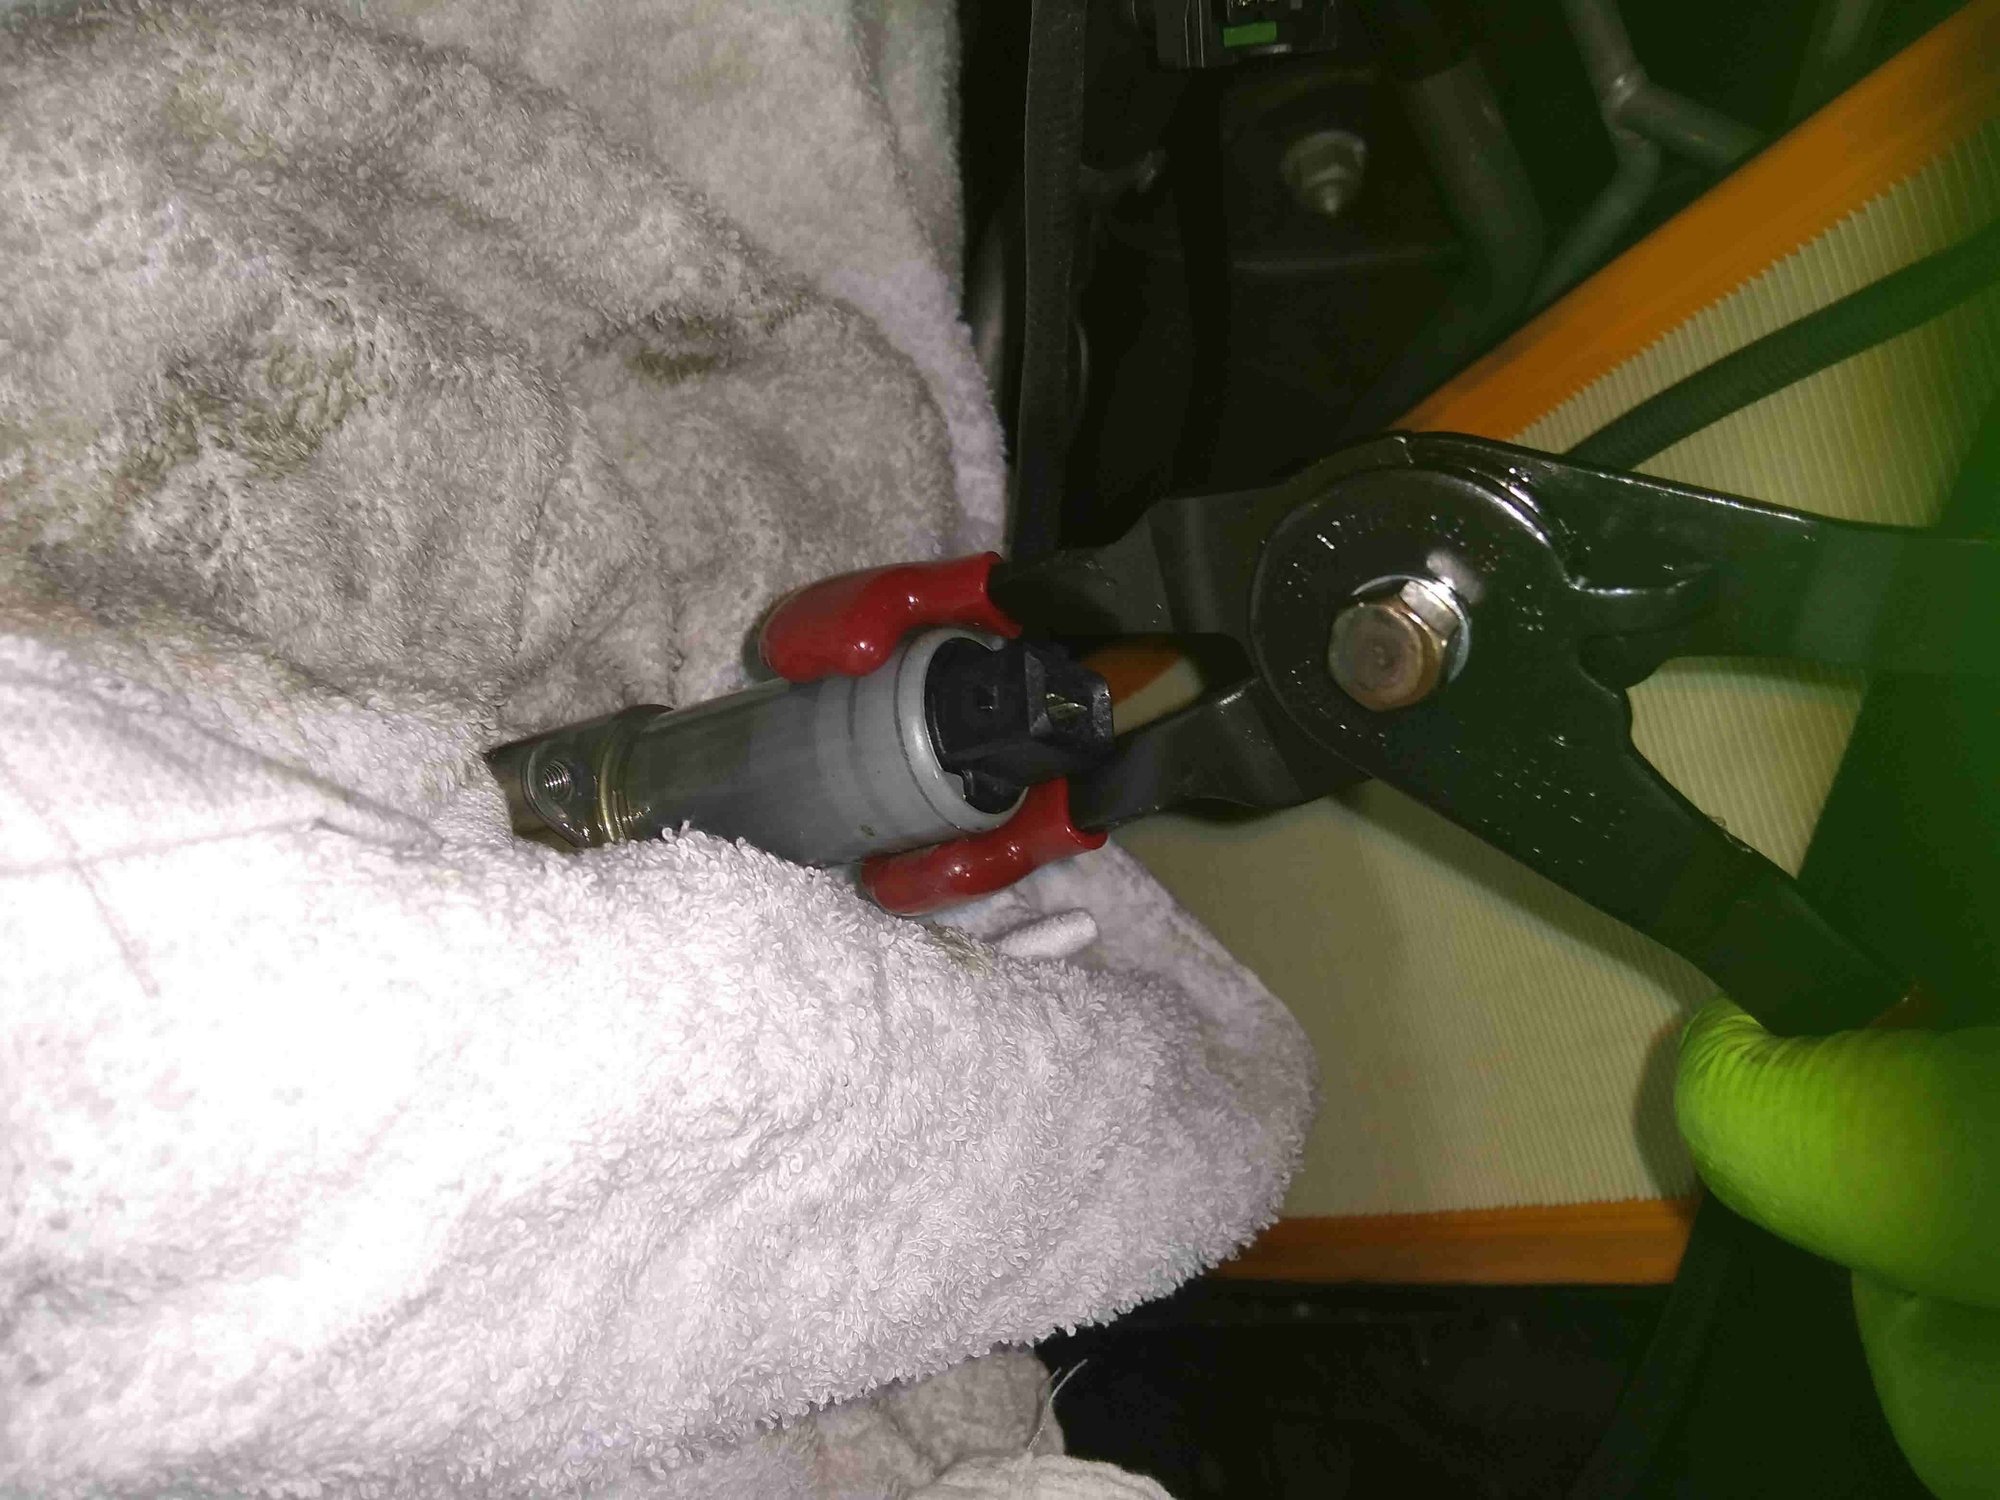
This is a pinch firmly and pull fitting. I like it.
Both will release the same way. Unscrew the AOS retaining bolts. and remove the AOS.
Make sure you do not leave behind the AOS square seals. They should be on the bottom of the AOS. No seal, BIG vacuum leak. Now stuff some rags in those holes.
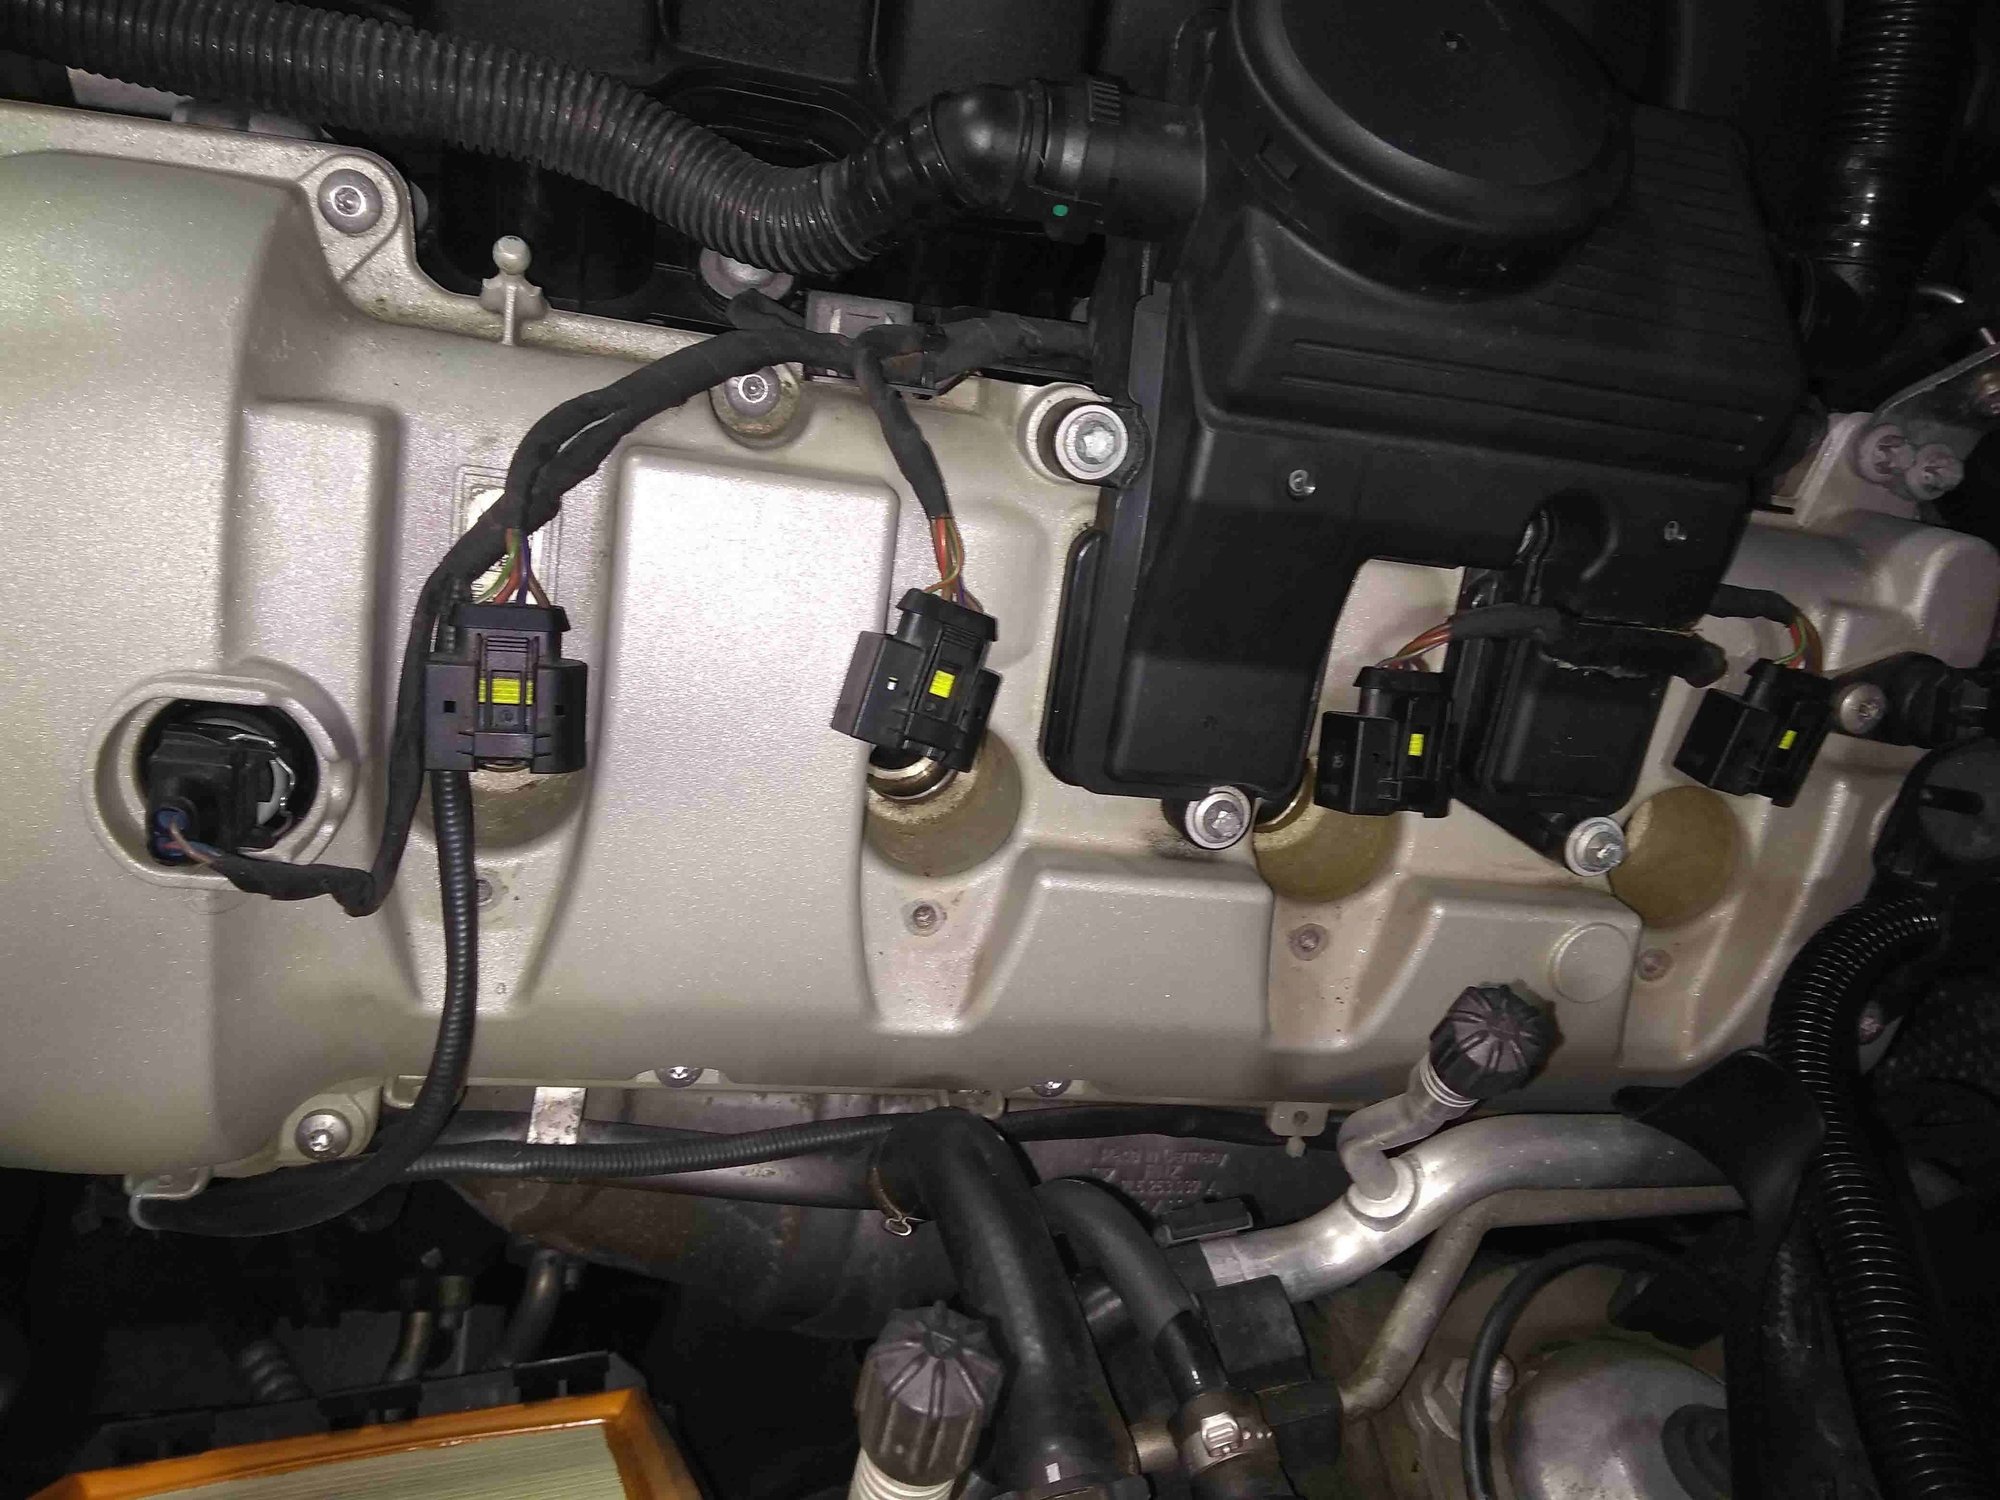
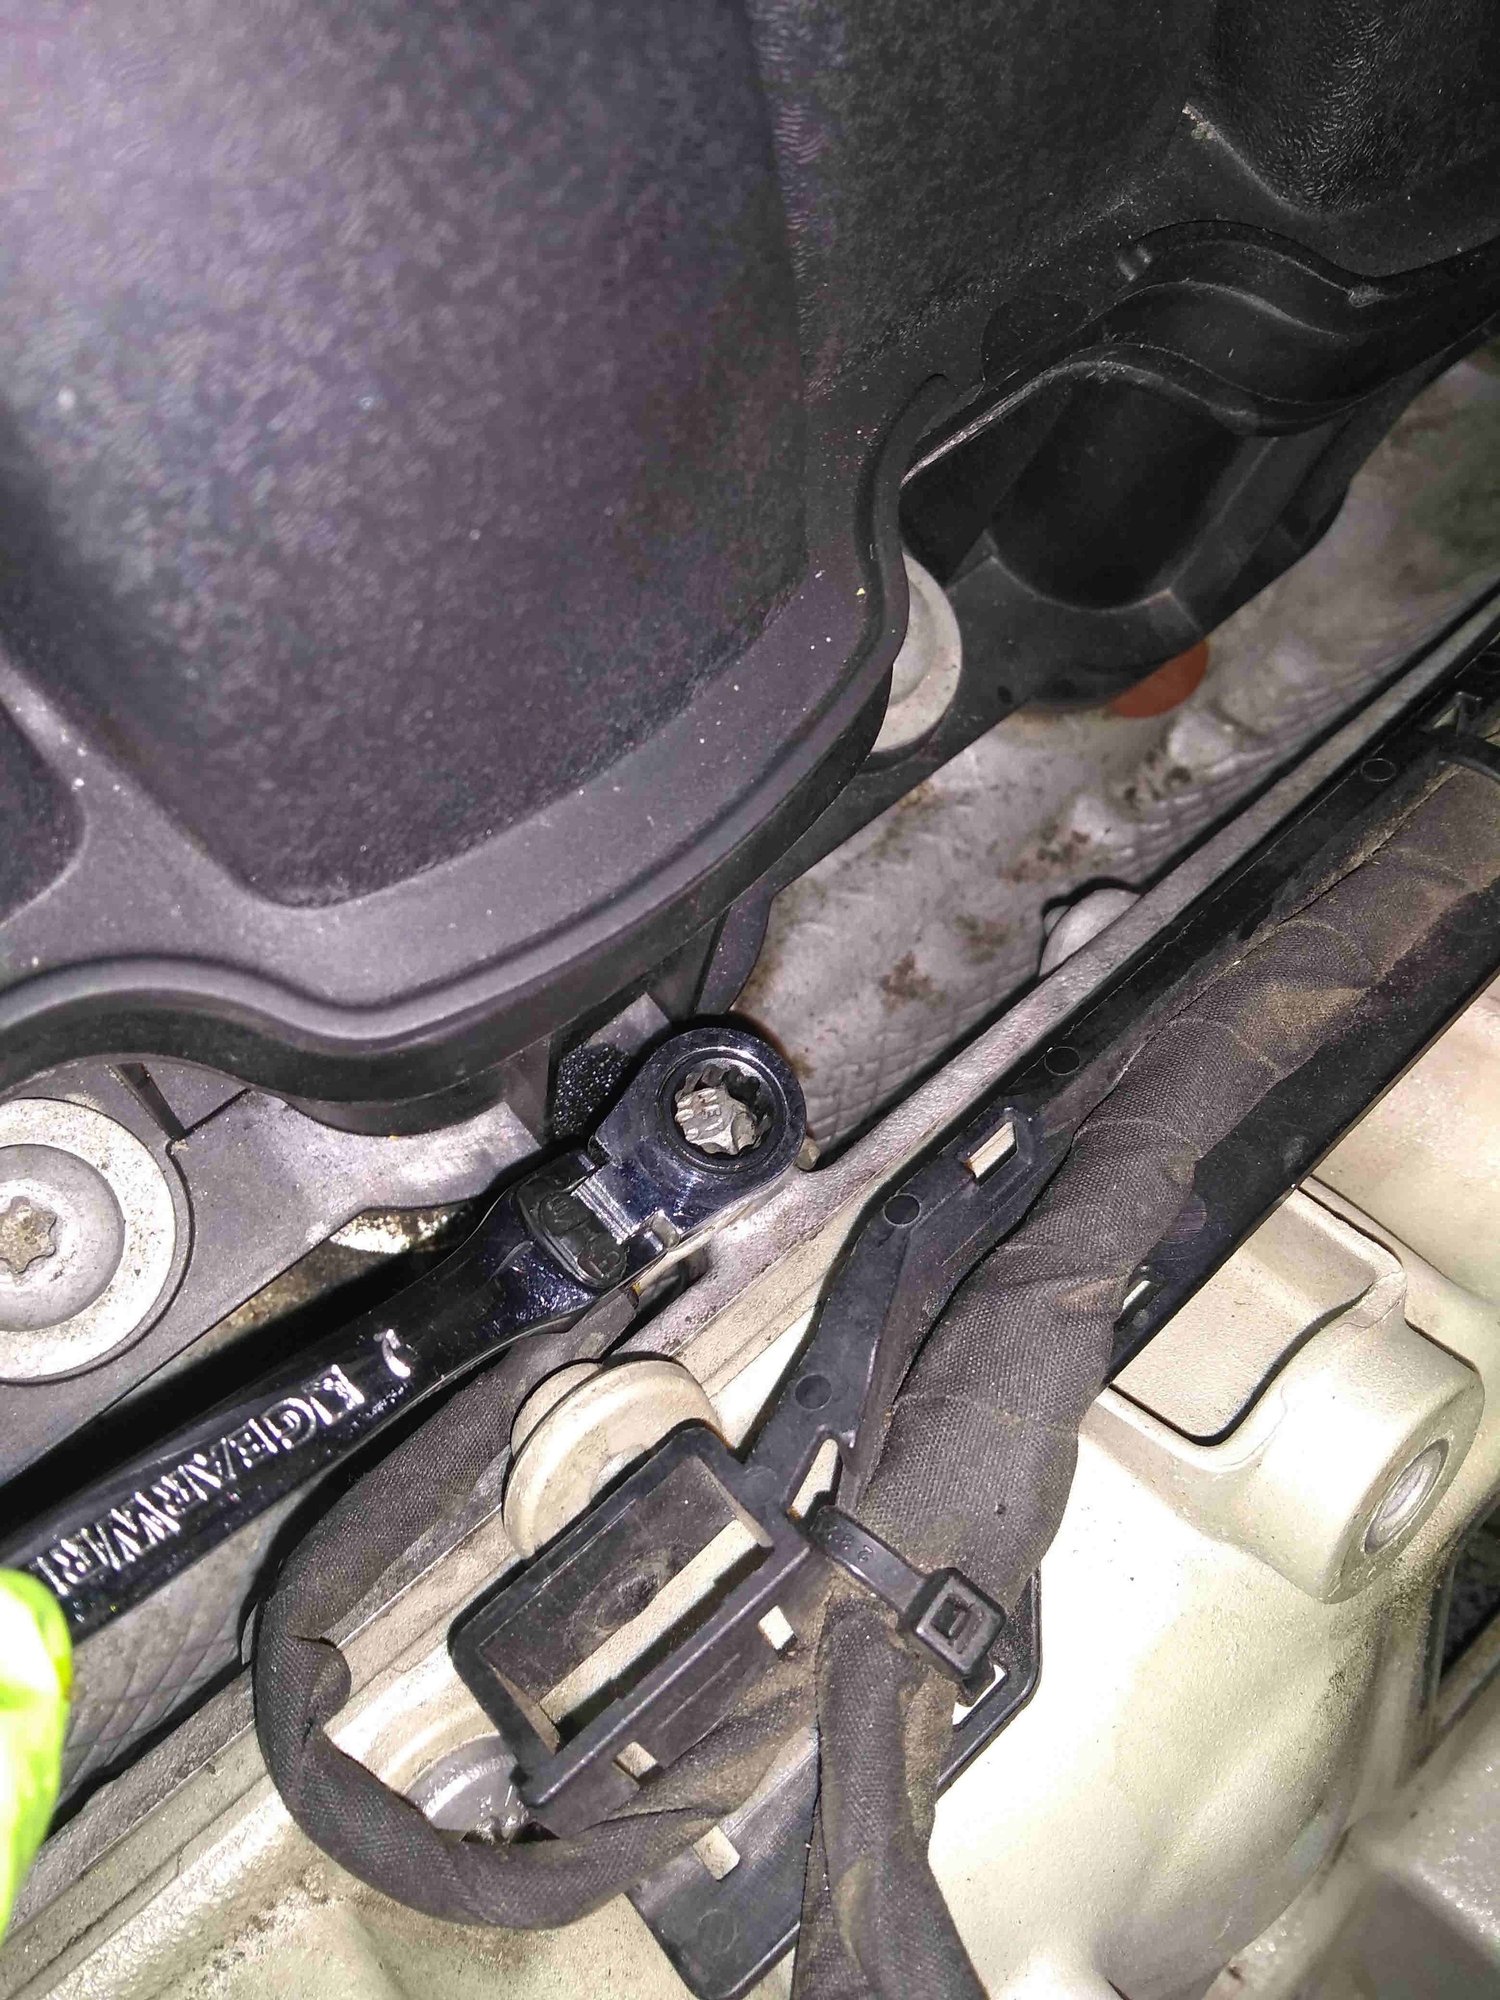
8mm 12 point box end flex head ratchet. You will be using this to remove the two ground strap bolts which are part of the coil pack wiring harness.
The square box on the wire harness carrier is a friction fit. It is at the top of the valve cover. Just lift it off to gain access to the ground strap nut.
Oh look, there is a second one. Ground hog day!
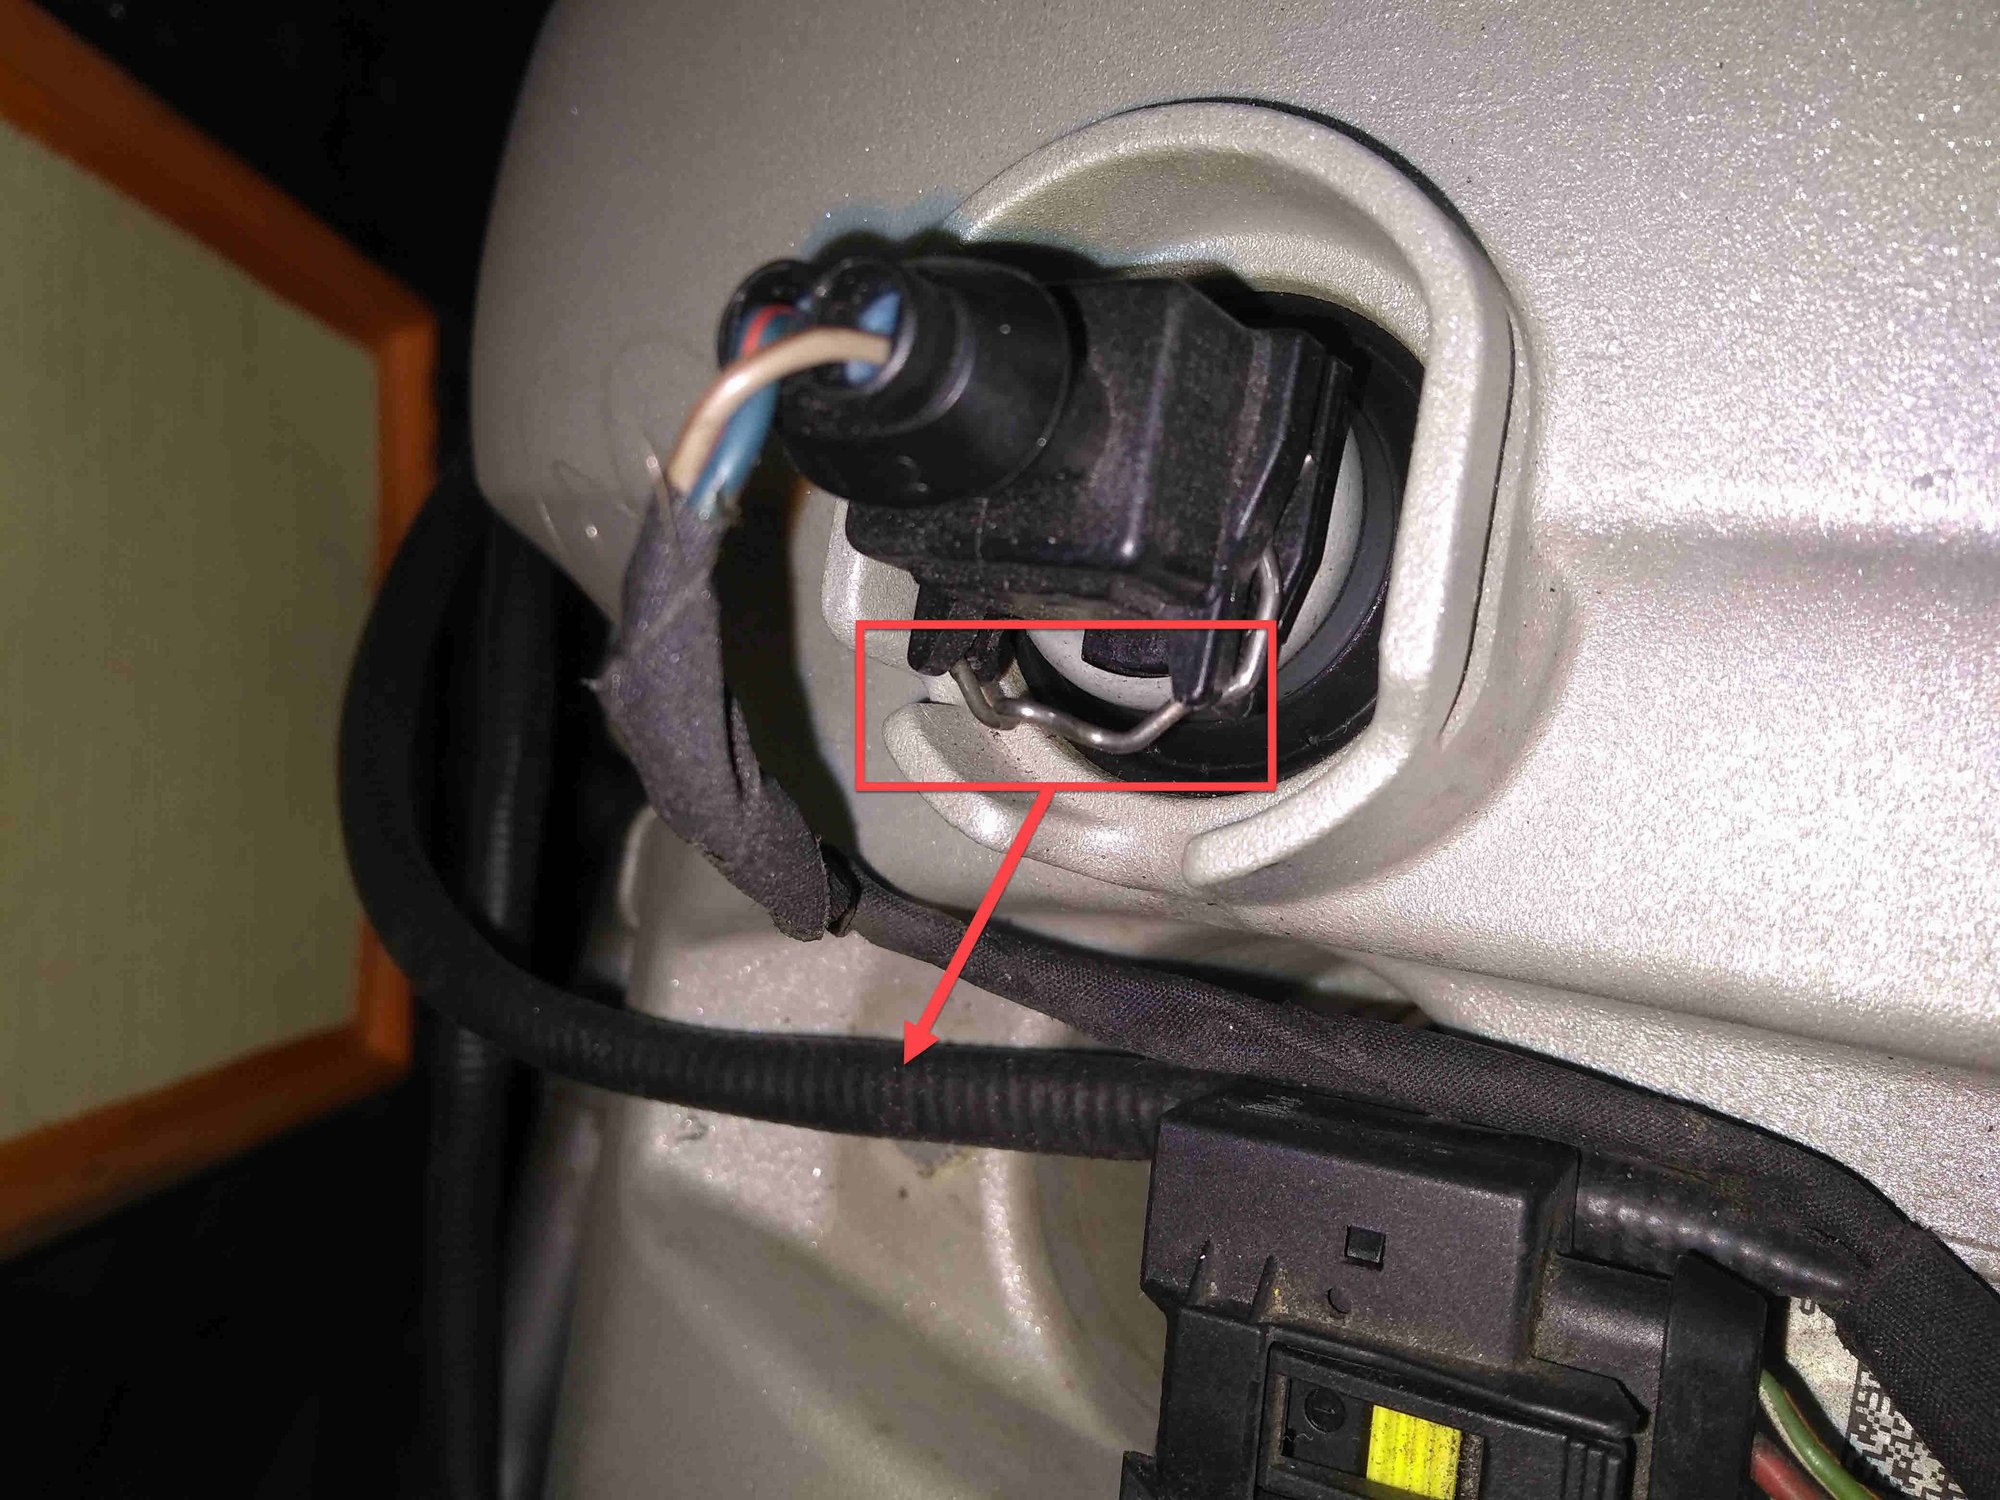
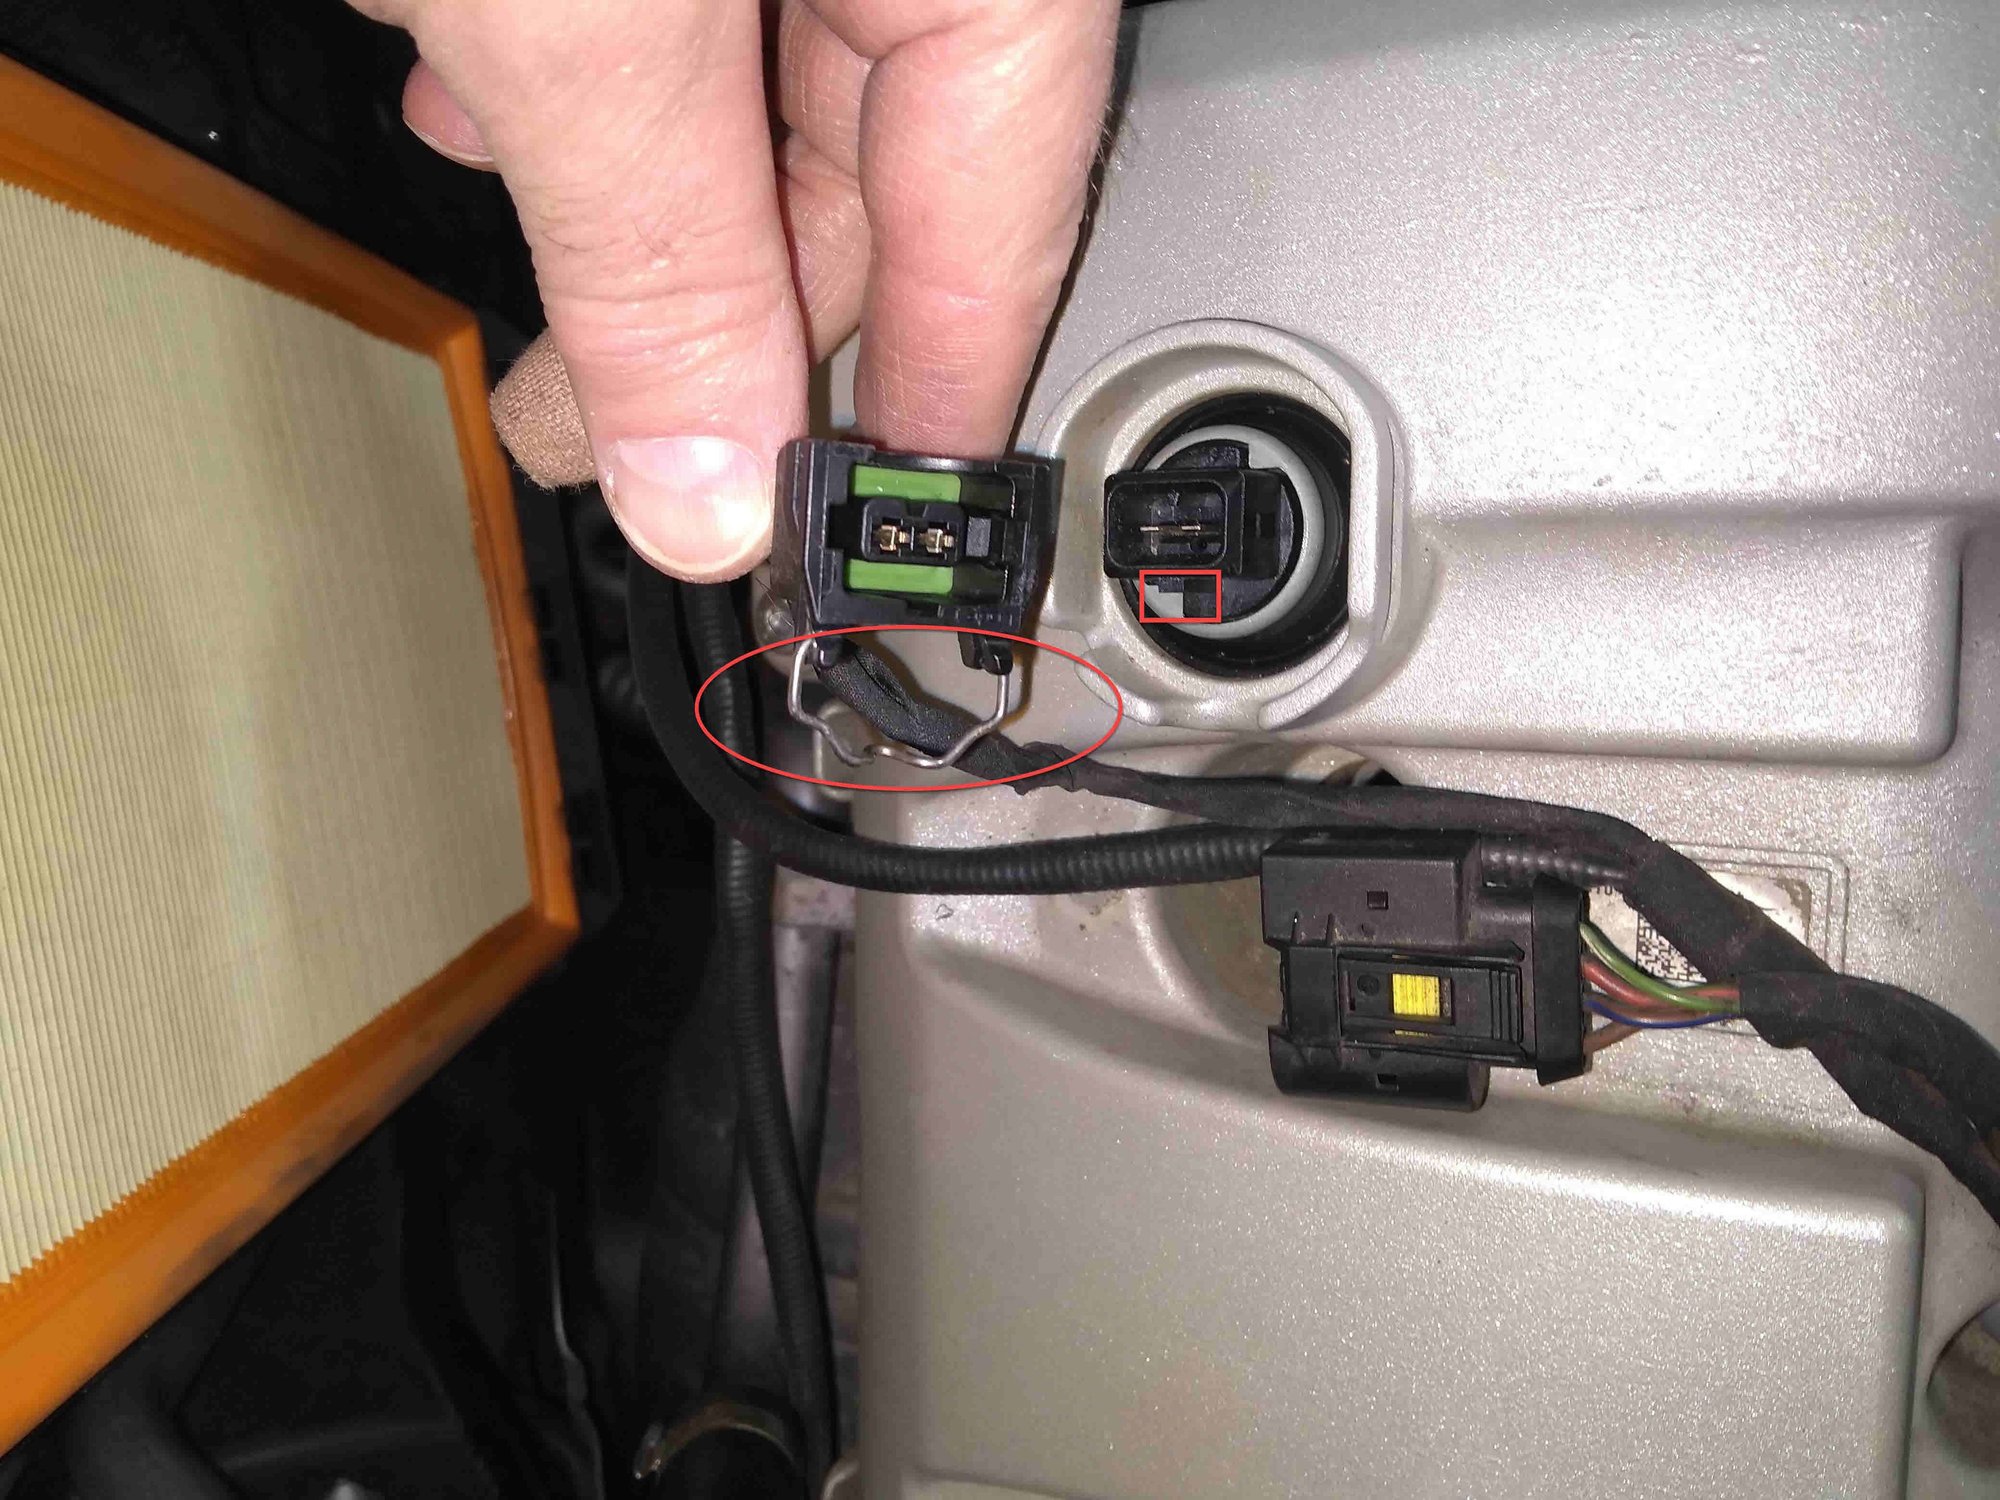
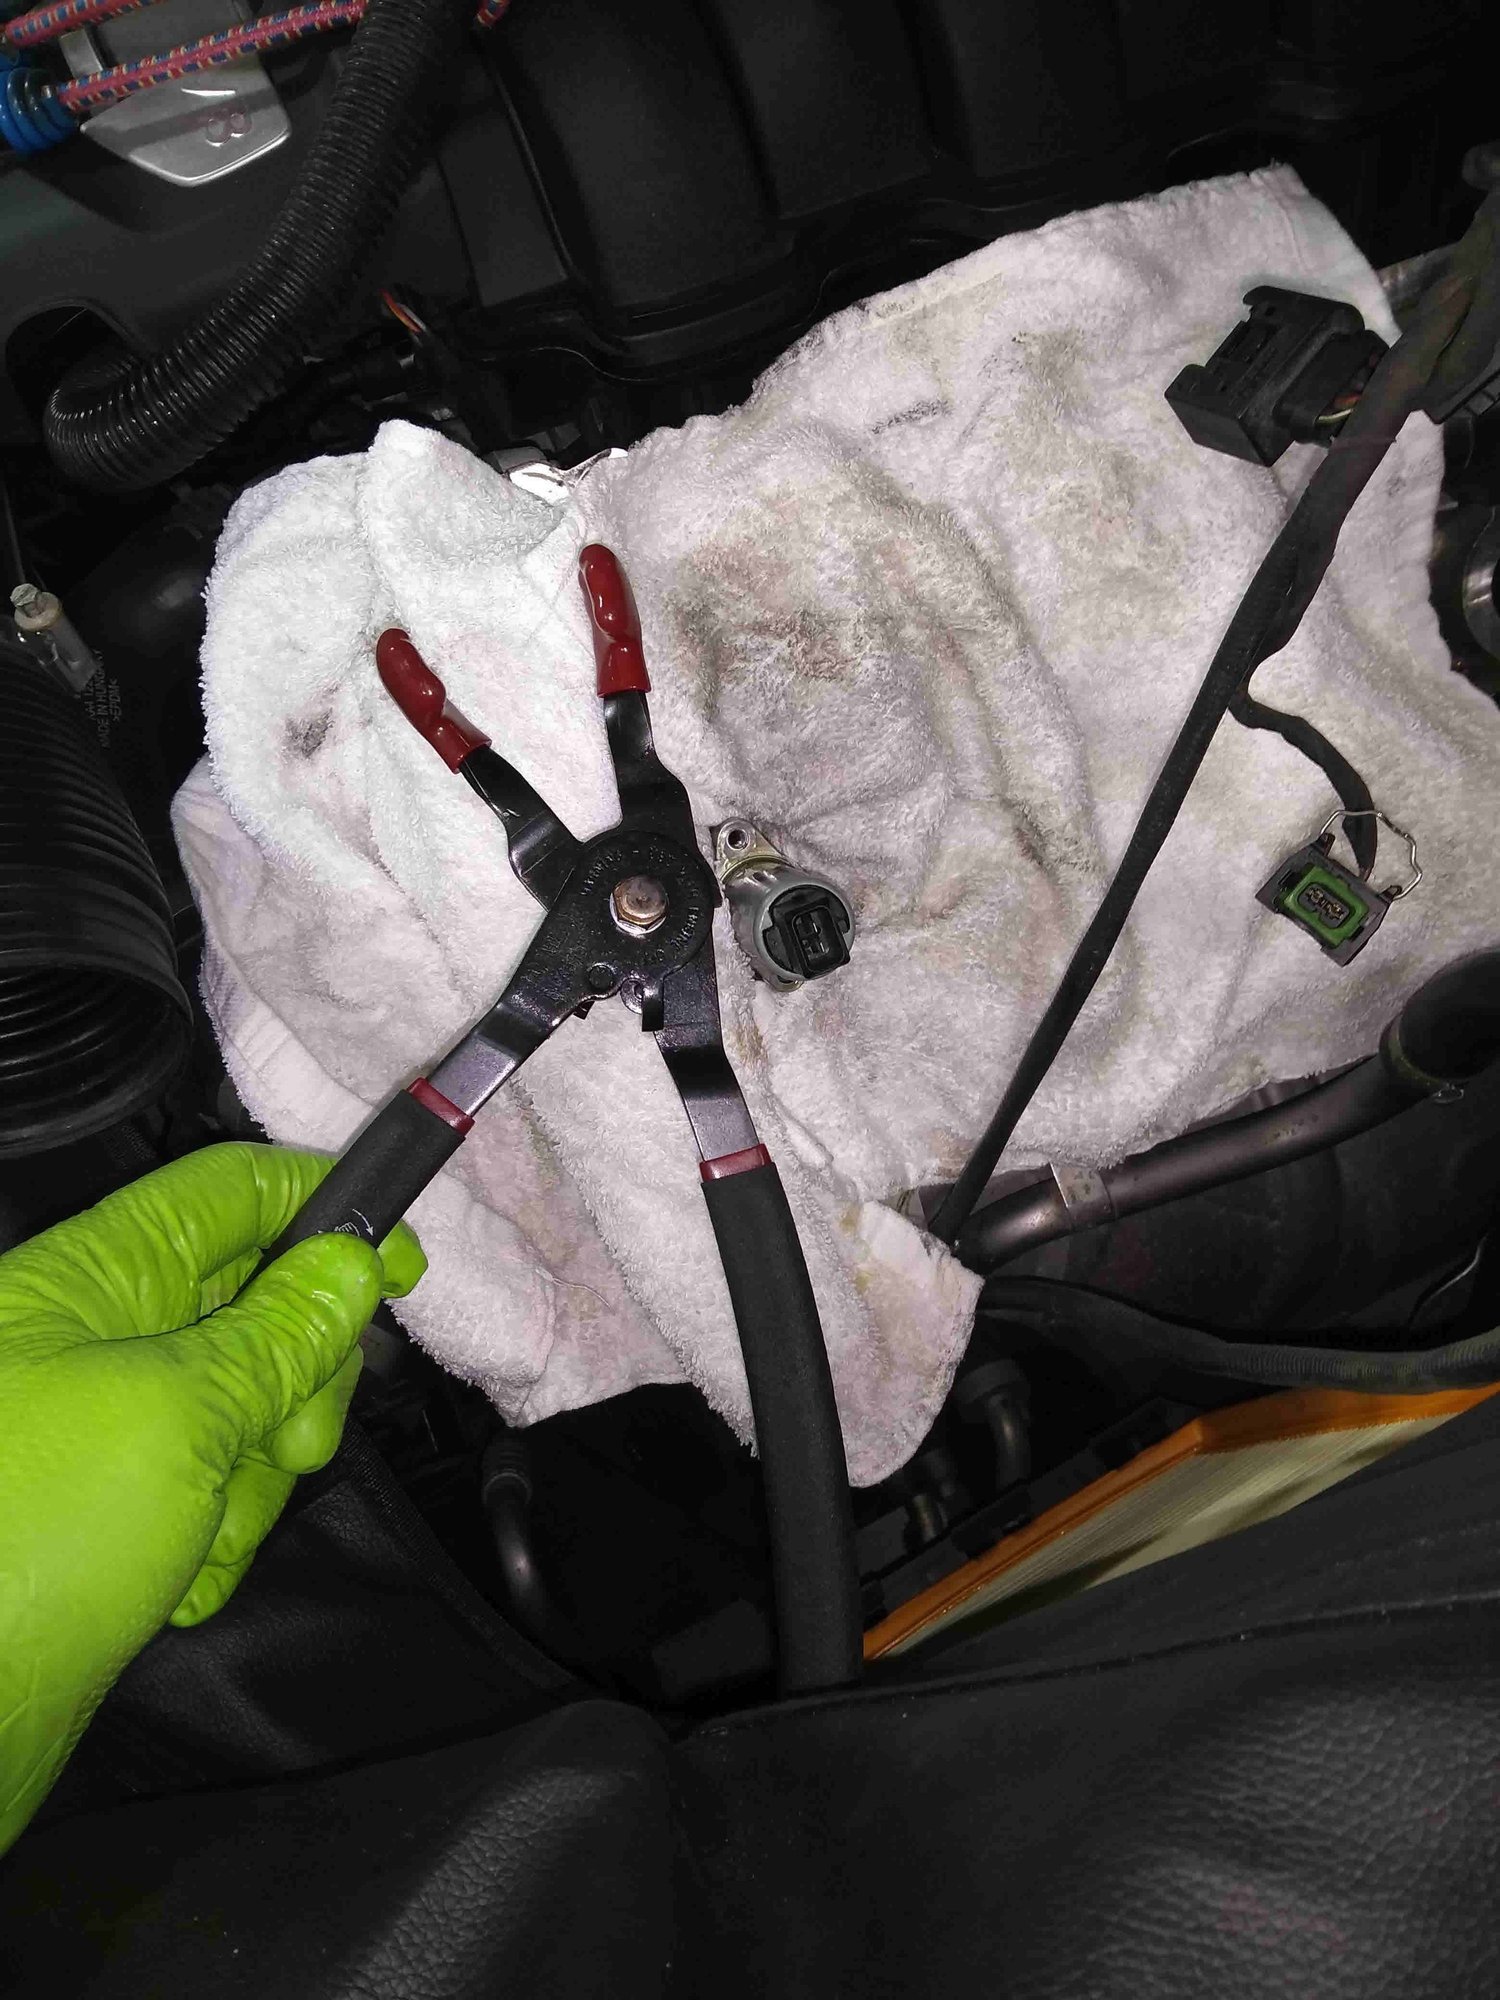
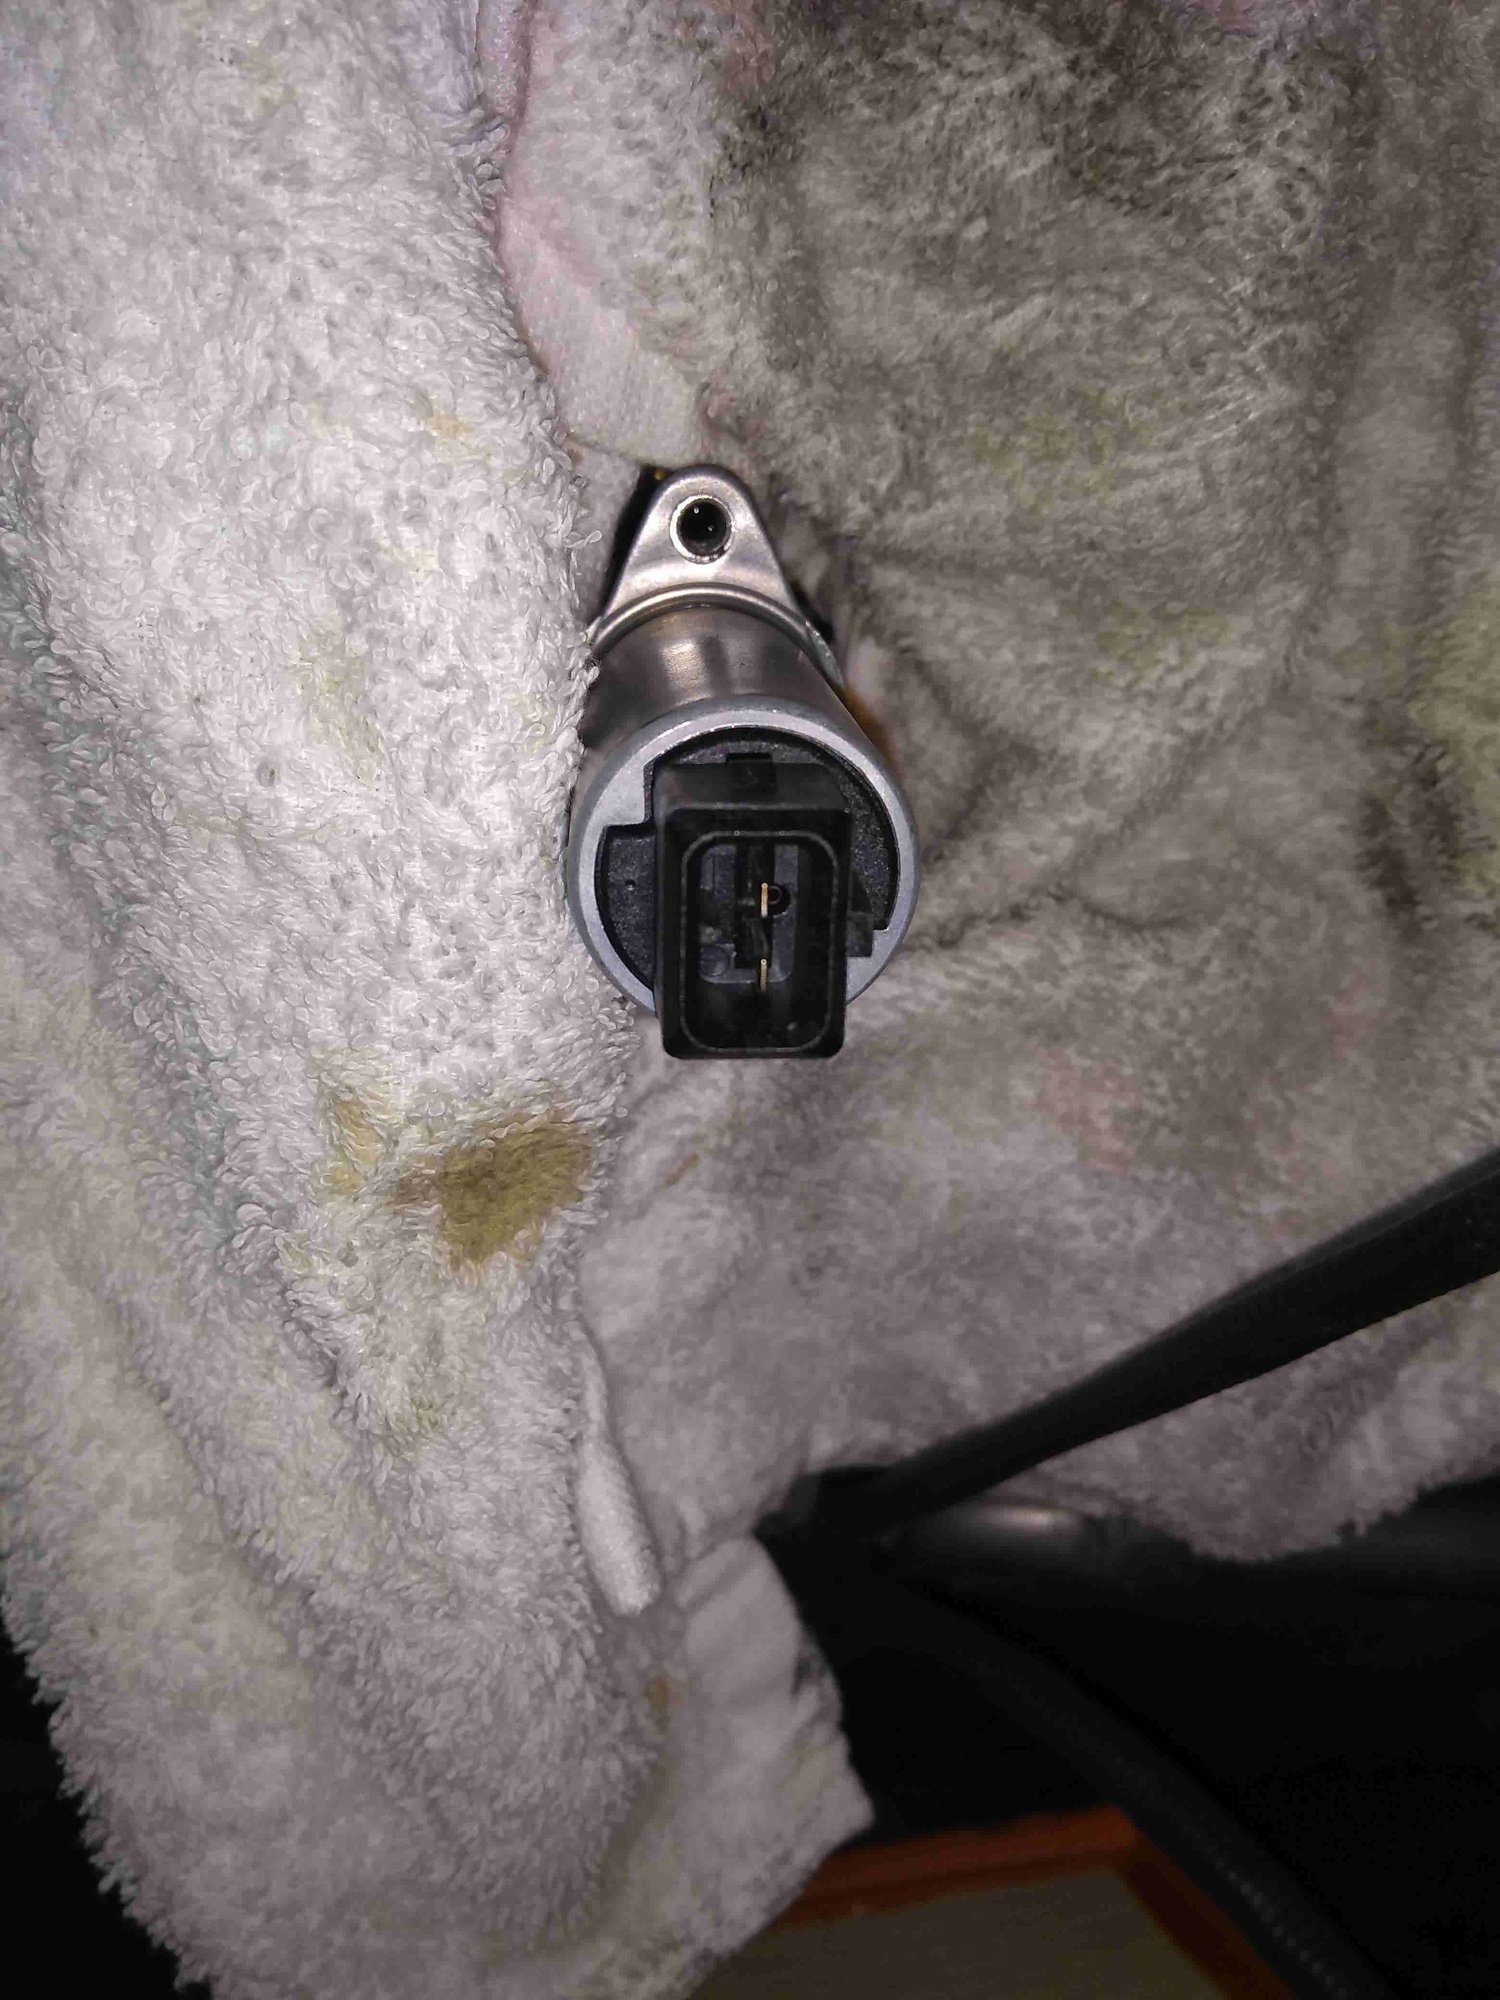
Grab the ring and pull gently to release. Pull too hard and you will pull it completely out.
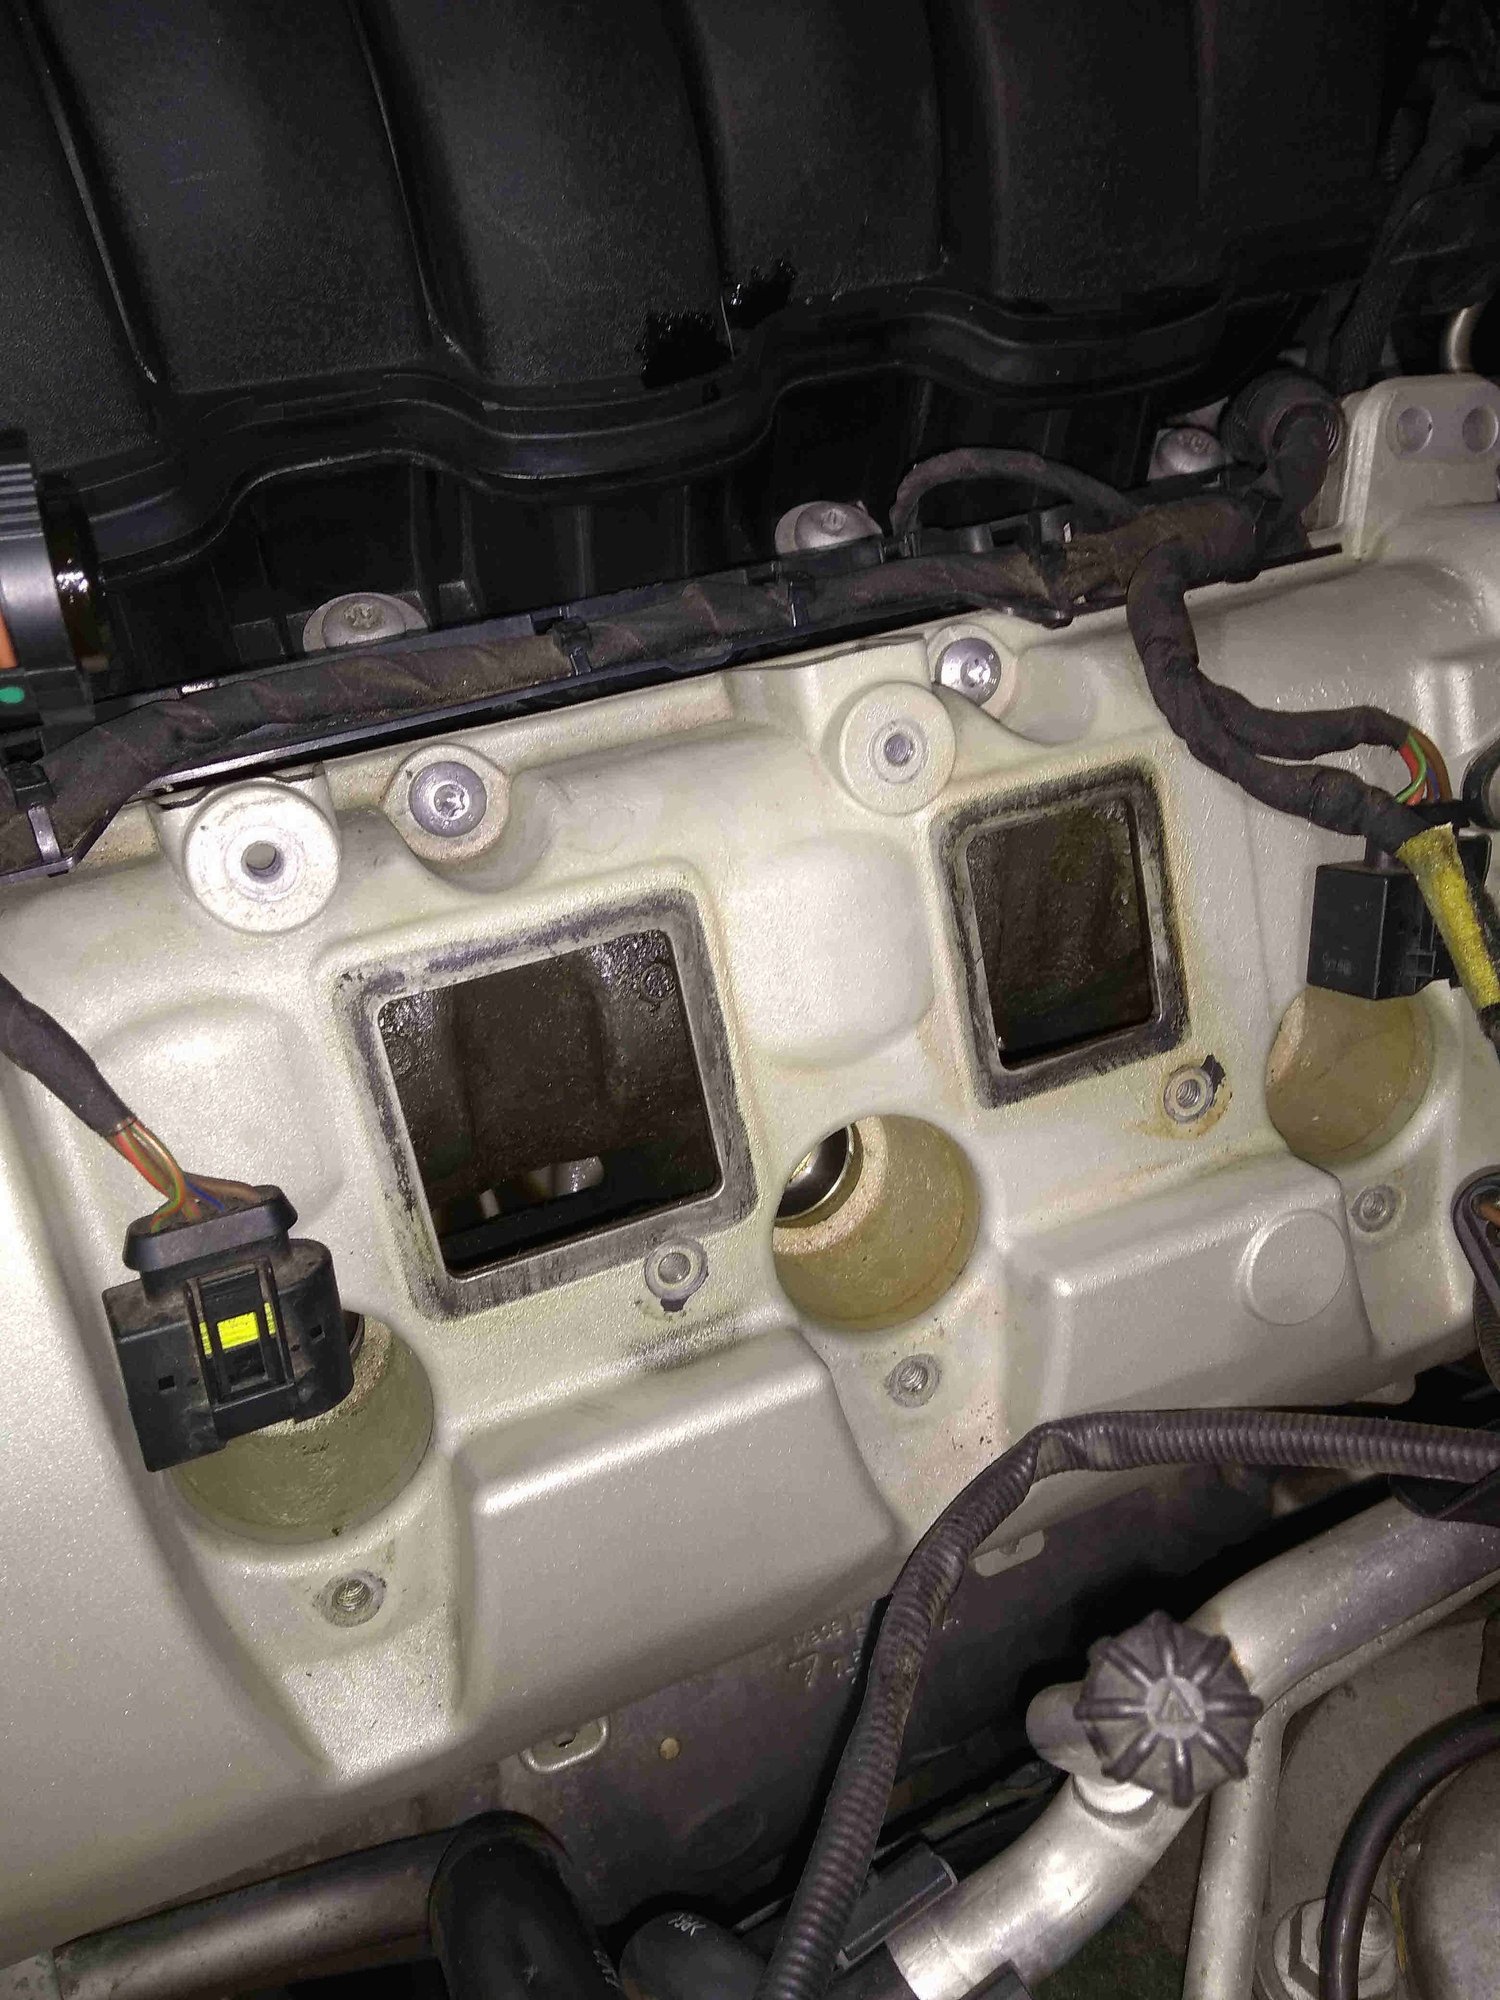
Off the connector will come. NOTE the small red box identifying the male guide for the harness. This is the VVT actuator connection and the male guide must be pointing to the rear when you install the new one.
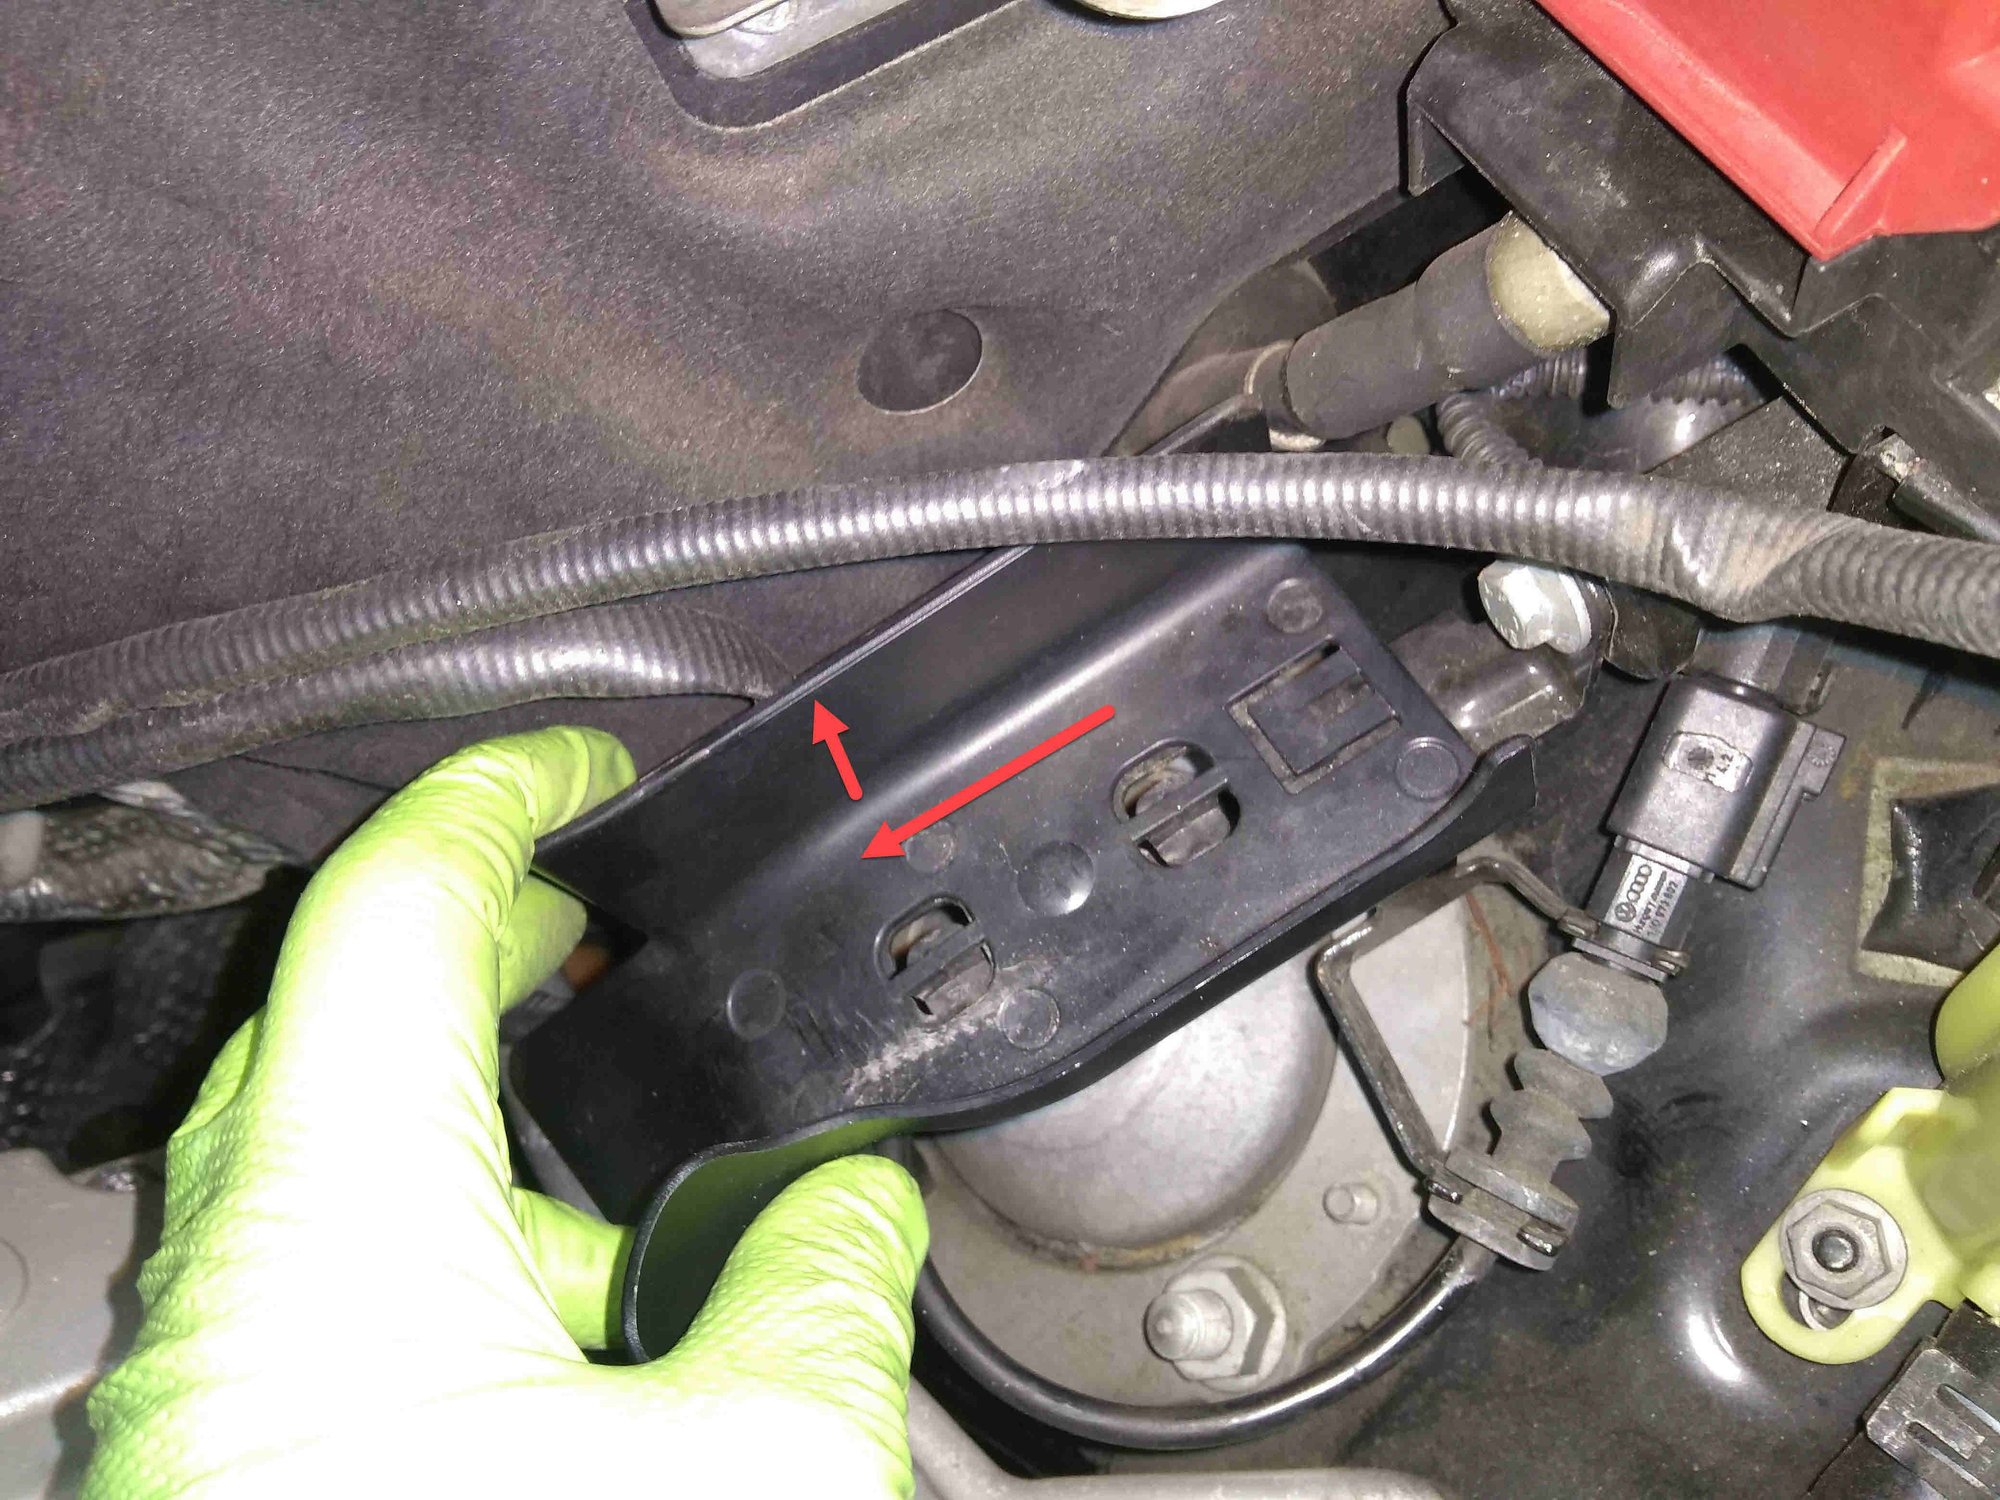
B+ cable protector. slide and lift. Be careful. too much slide and lift you you will snap lock in it. Trust me, it can happen and upon reassembly a zip tip tie works fine.
I used some elastic cord and gently held the harness away from the work area. AOS holes are stuffed and it is time to release 15 bolts. 13 aluminum and 2 steel (lifting eye). You will also be cutting, CAREFULLY, some zip ties at the bottom of the valve cover that hold a wire harness.
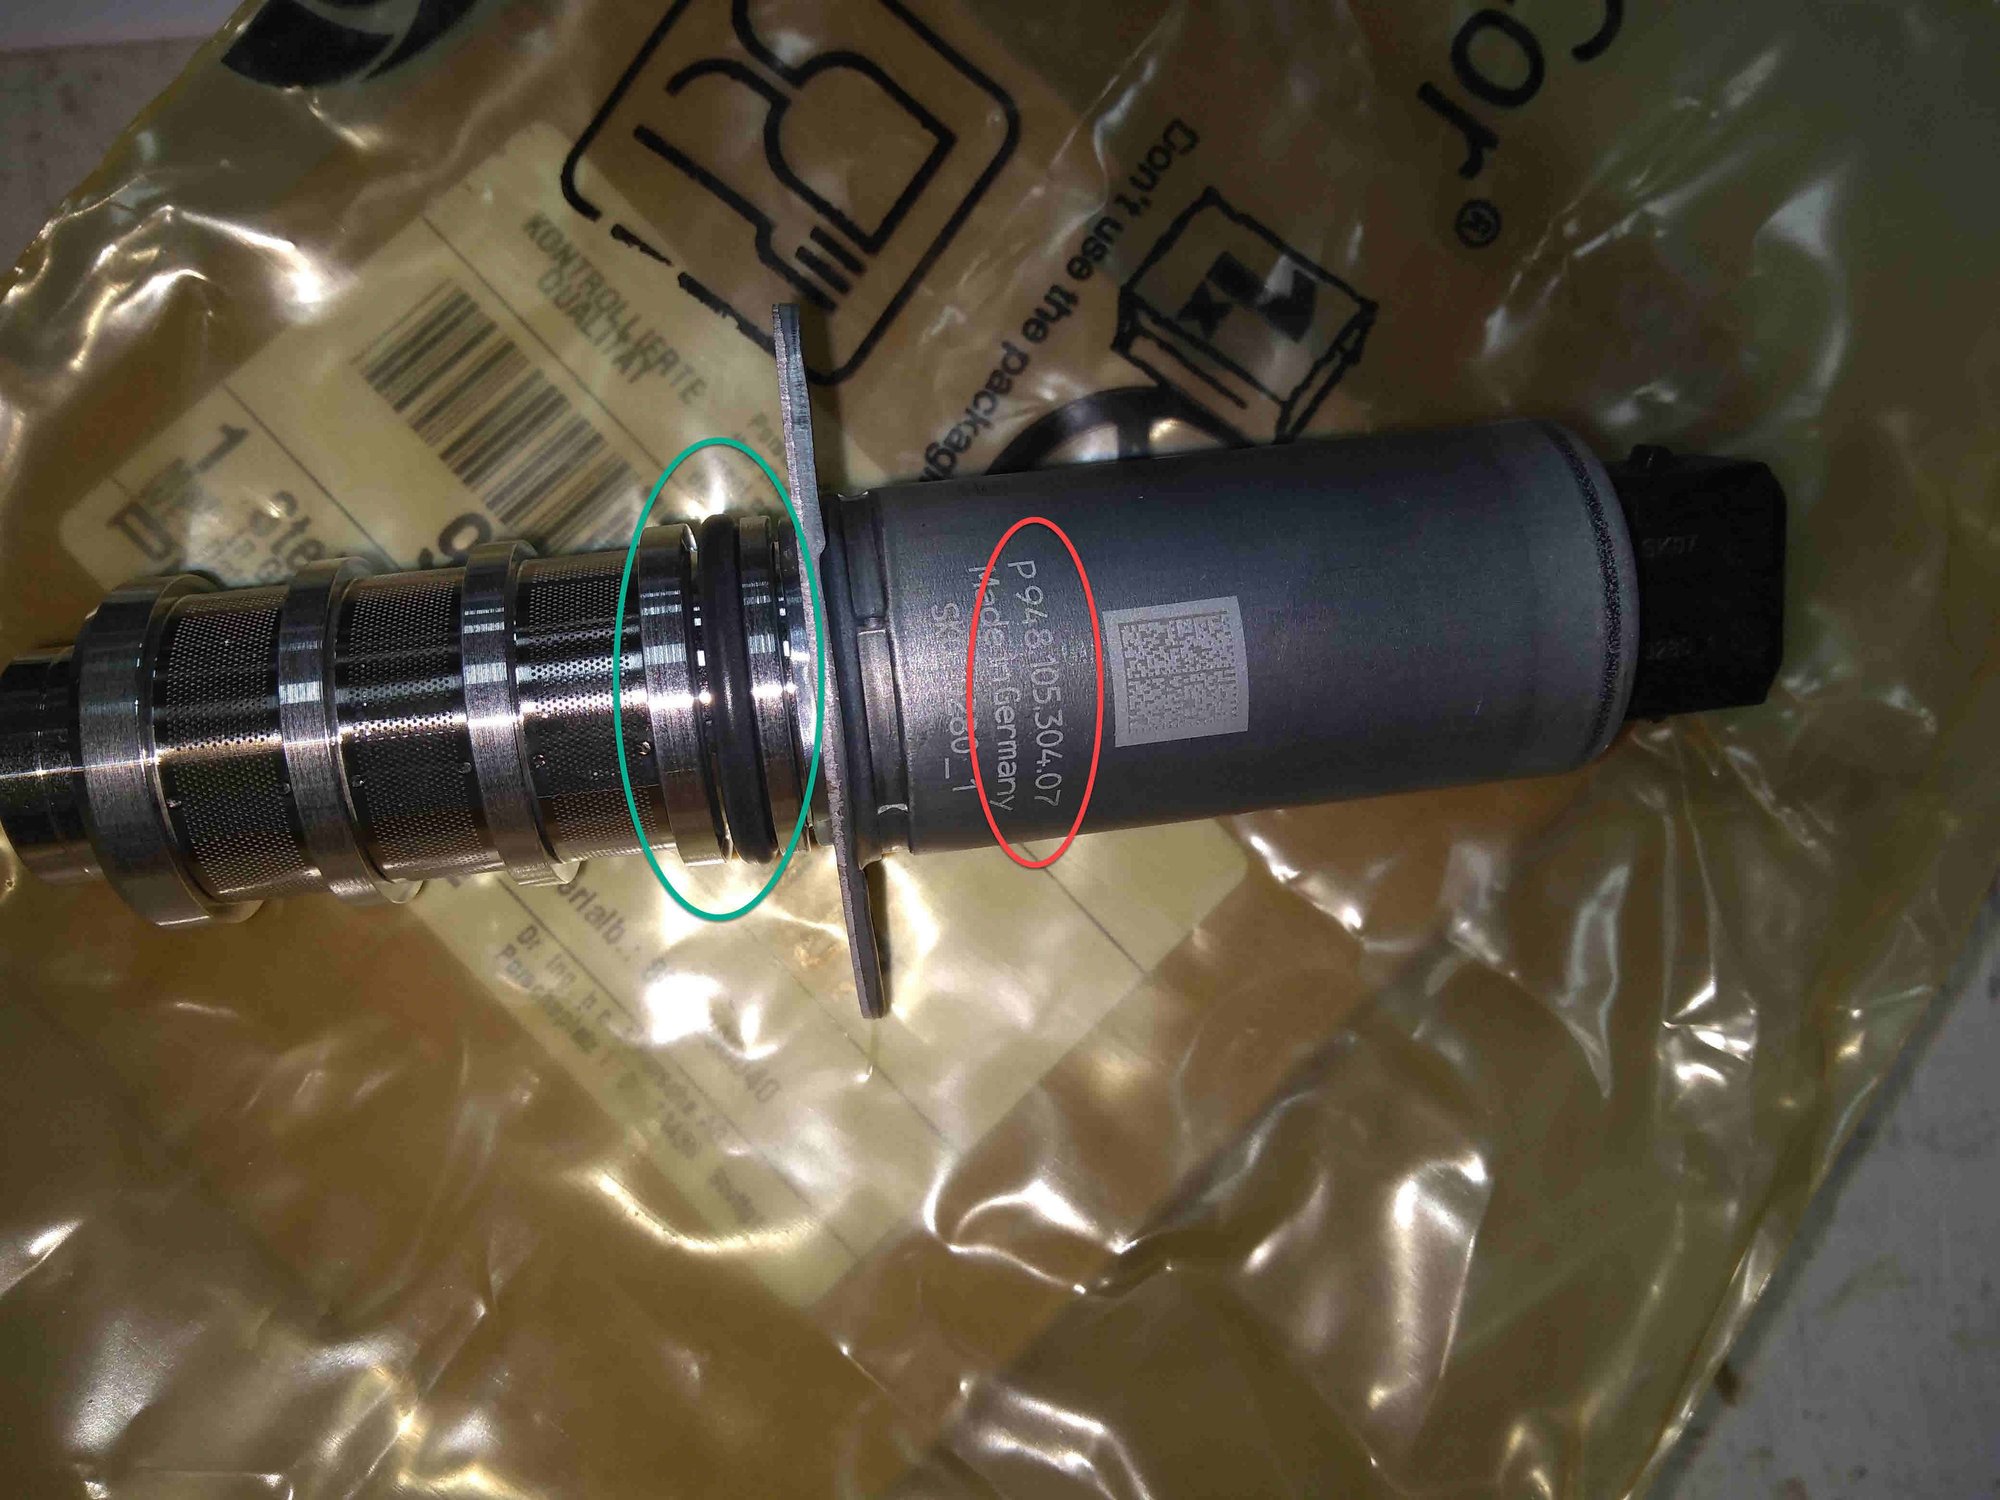
Part number is the most current and the seal is in place.
track all 4 of your spark plug access hole molded seals down.
Nothing scary here.
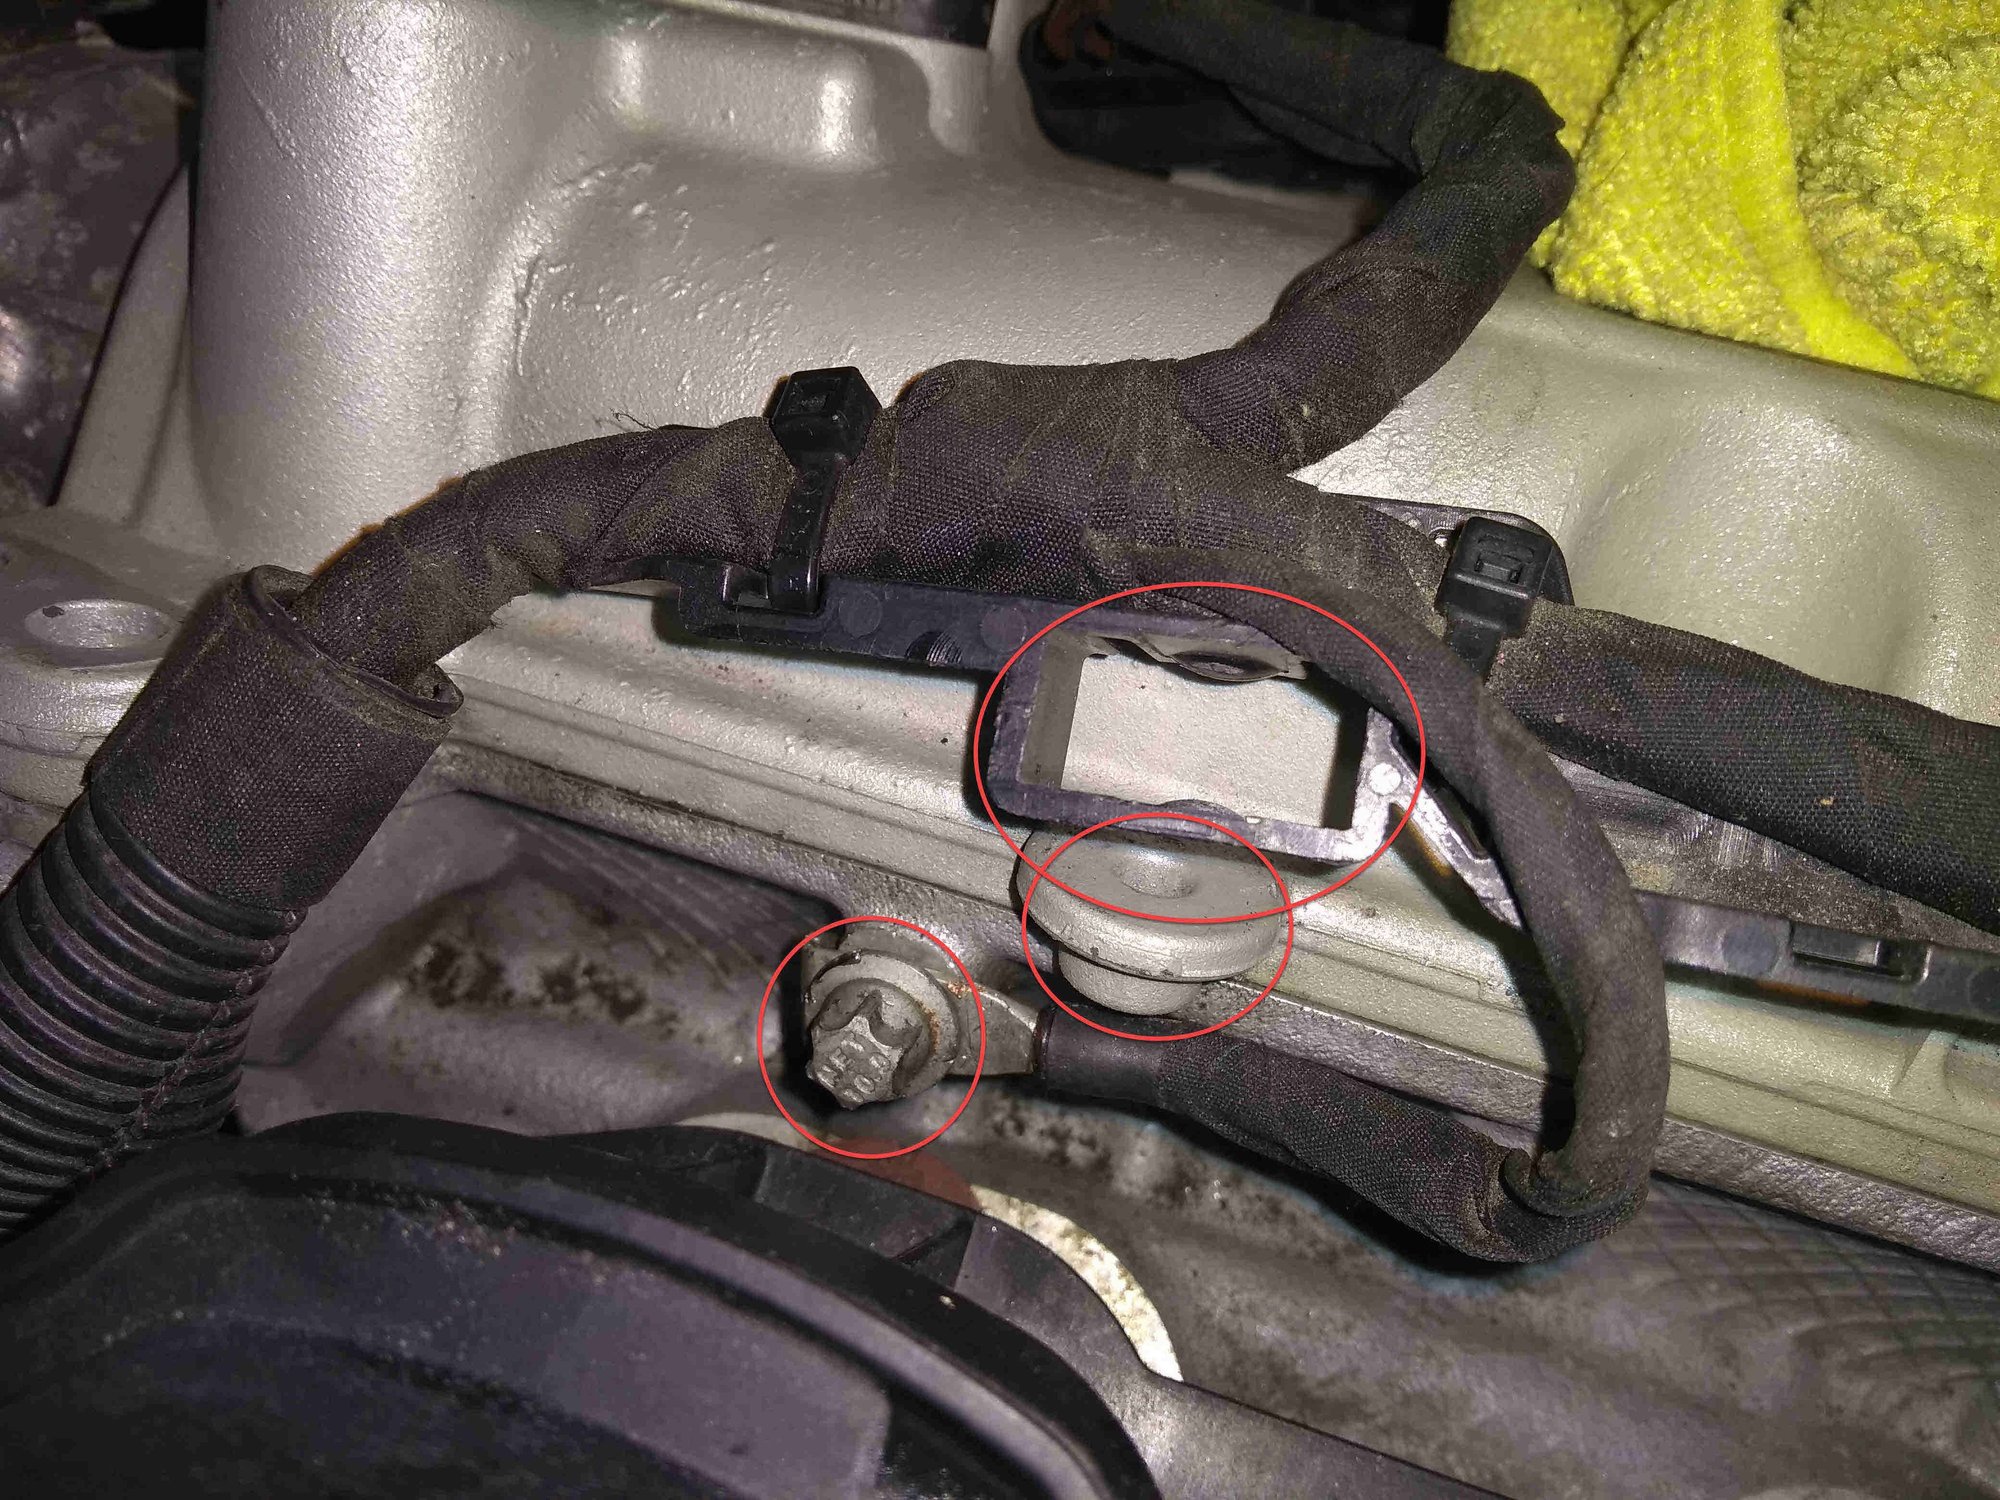
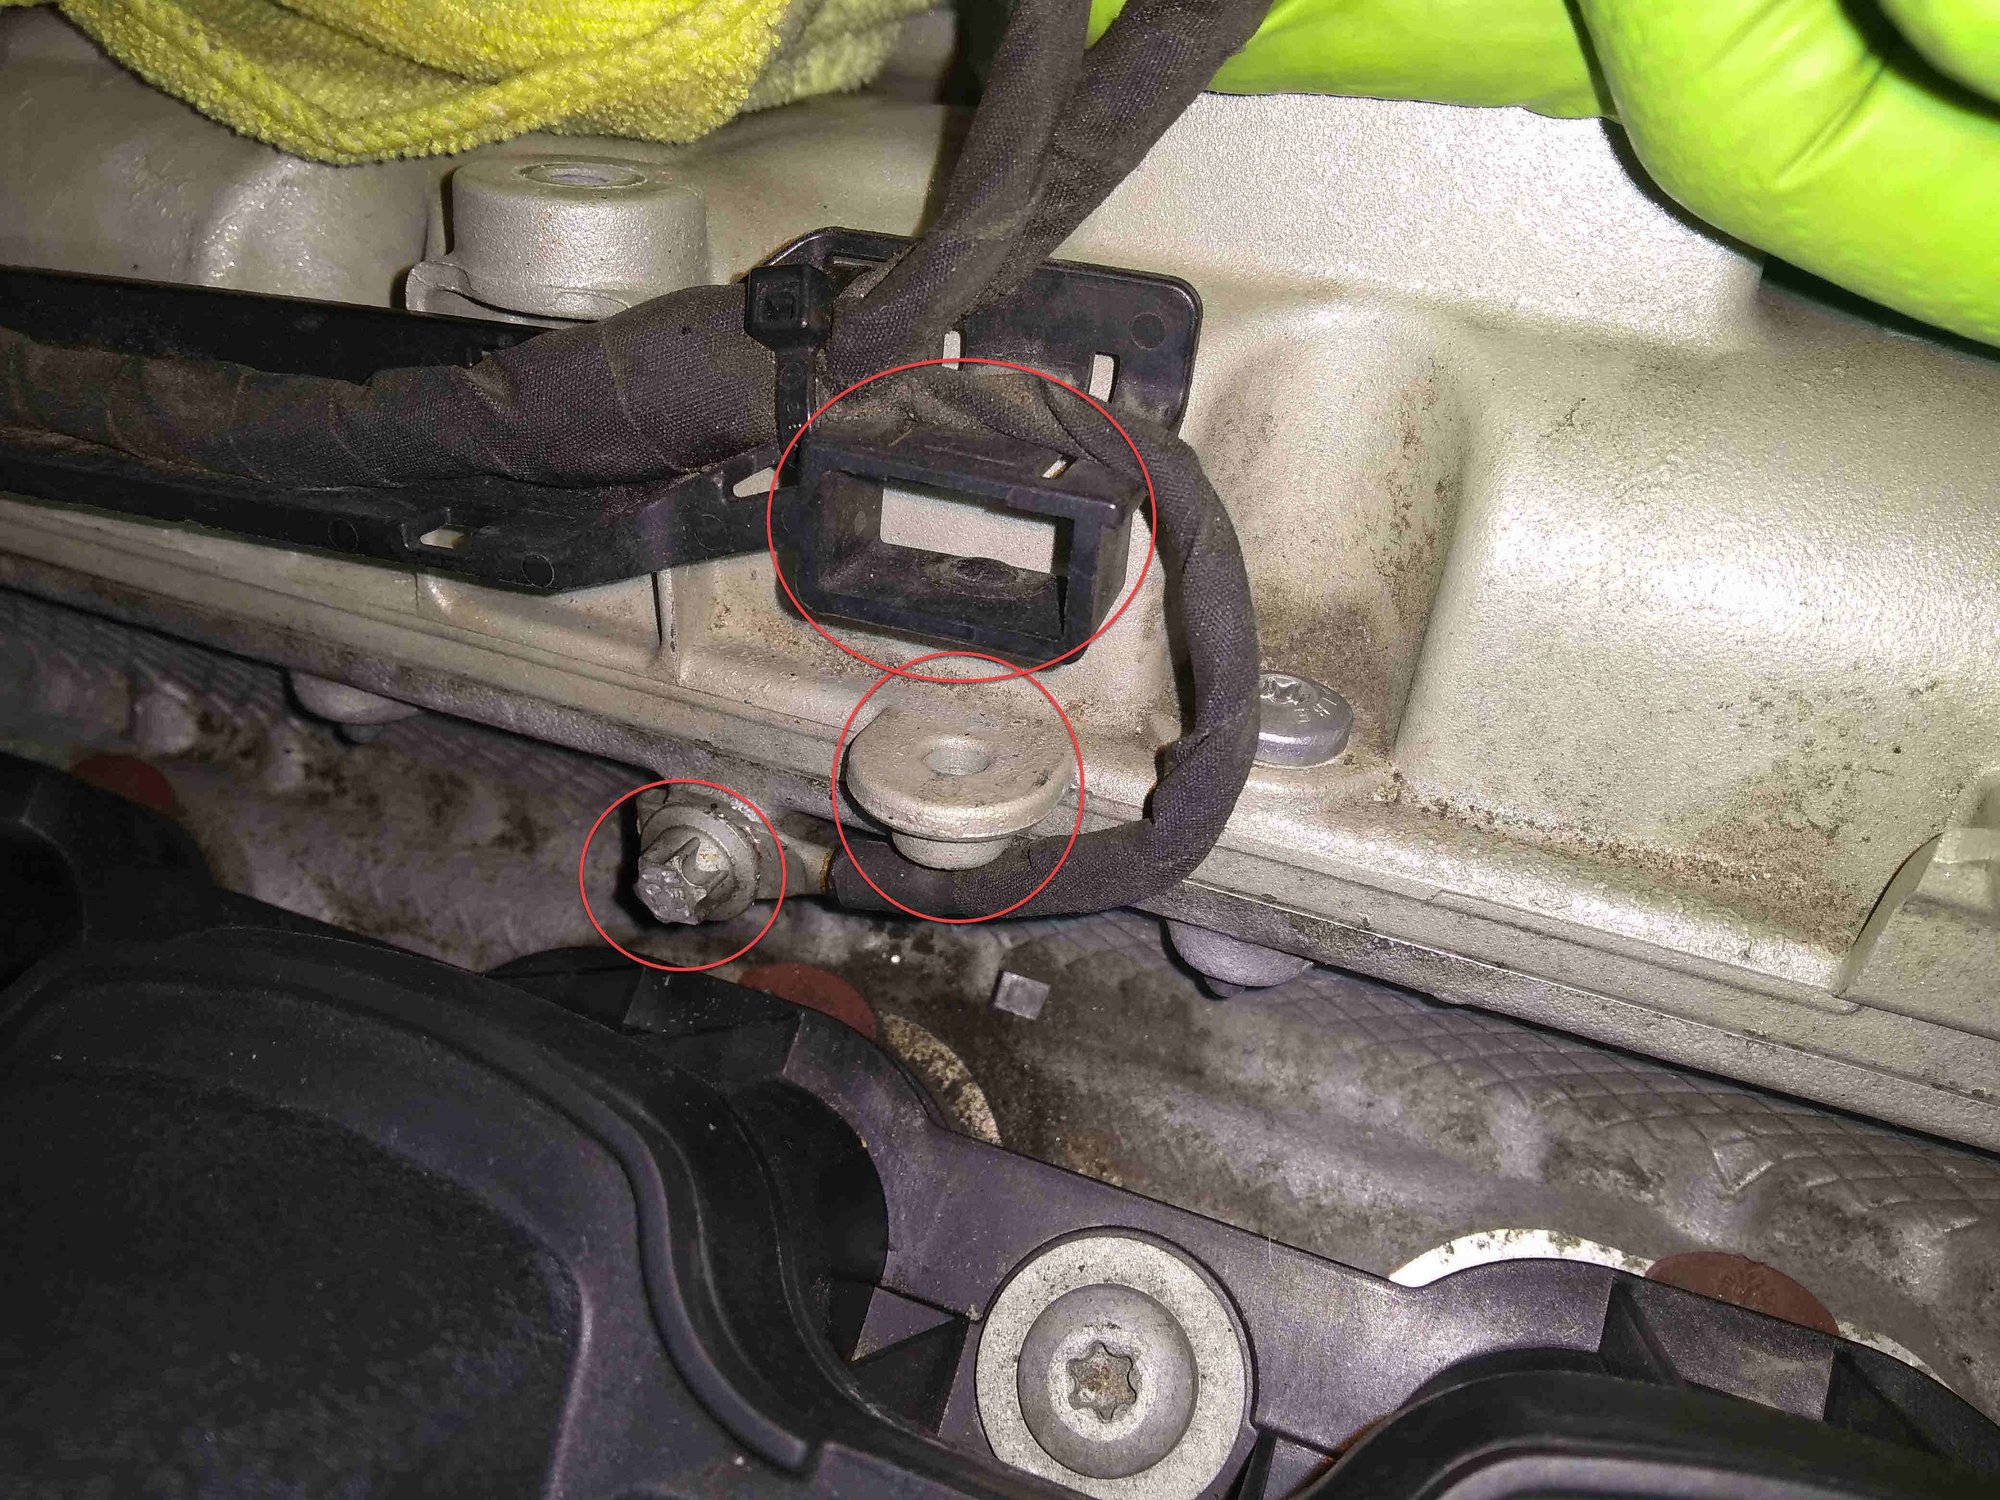
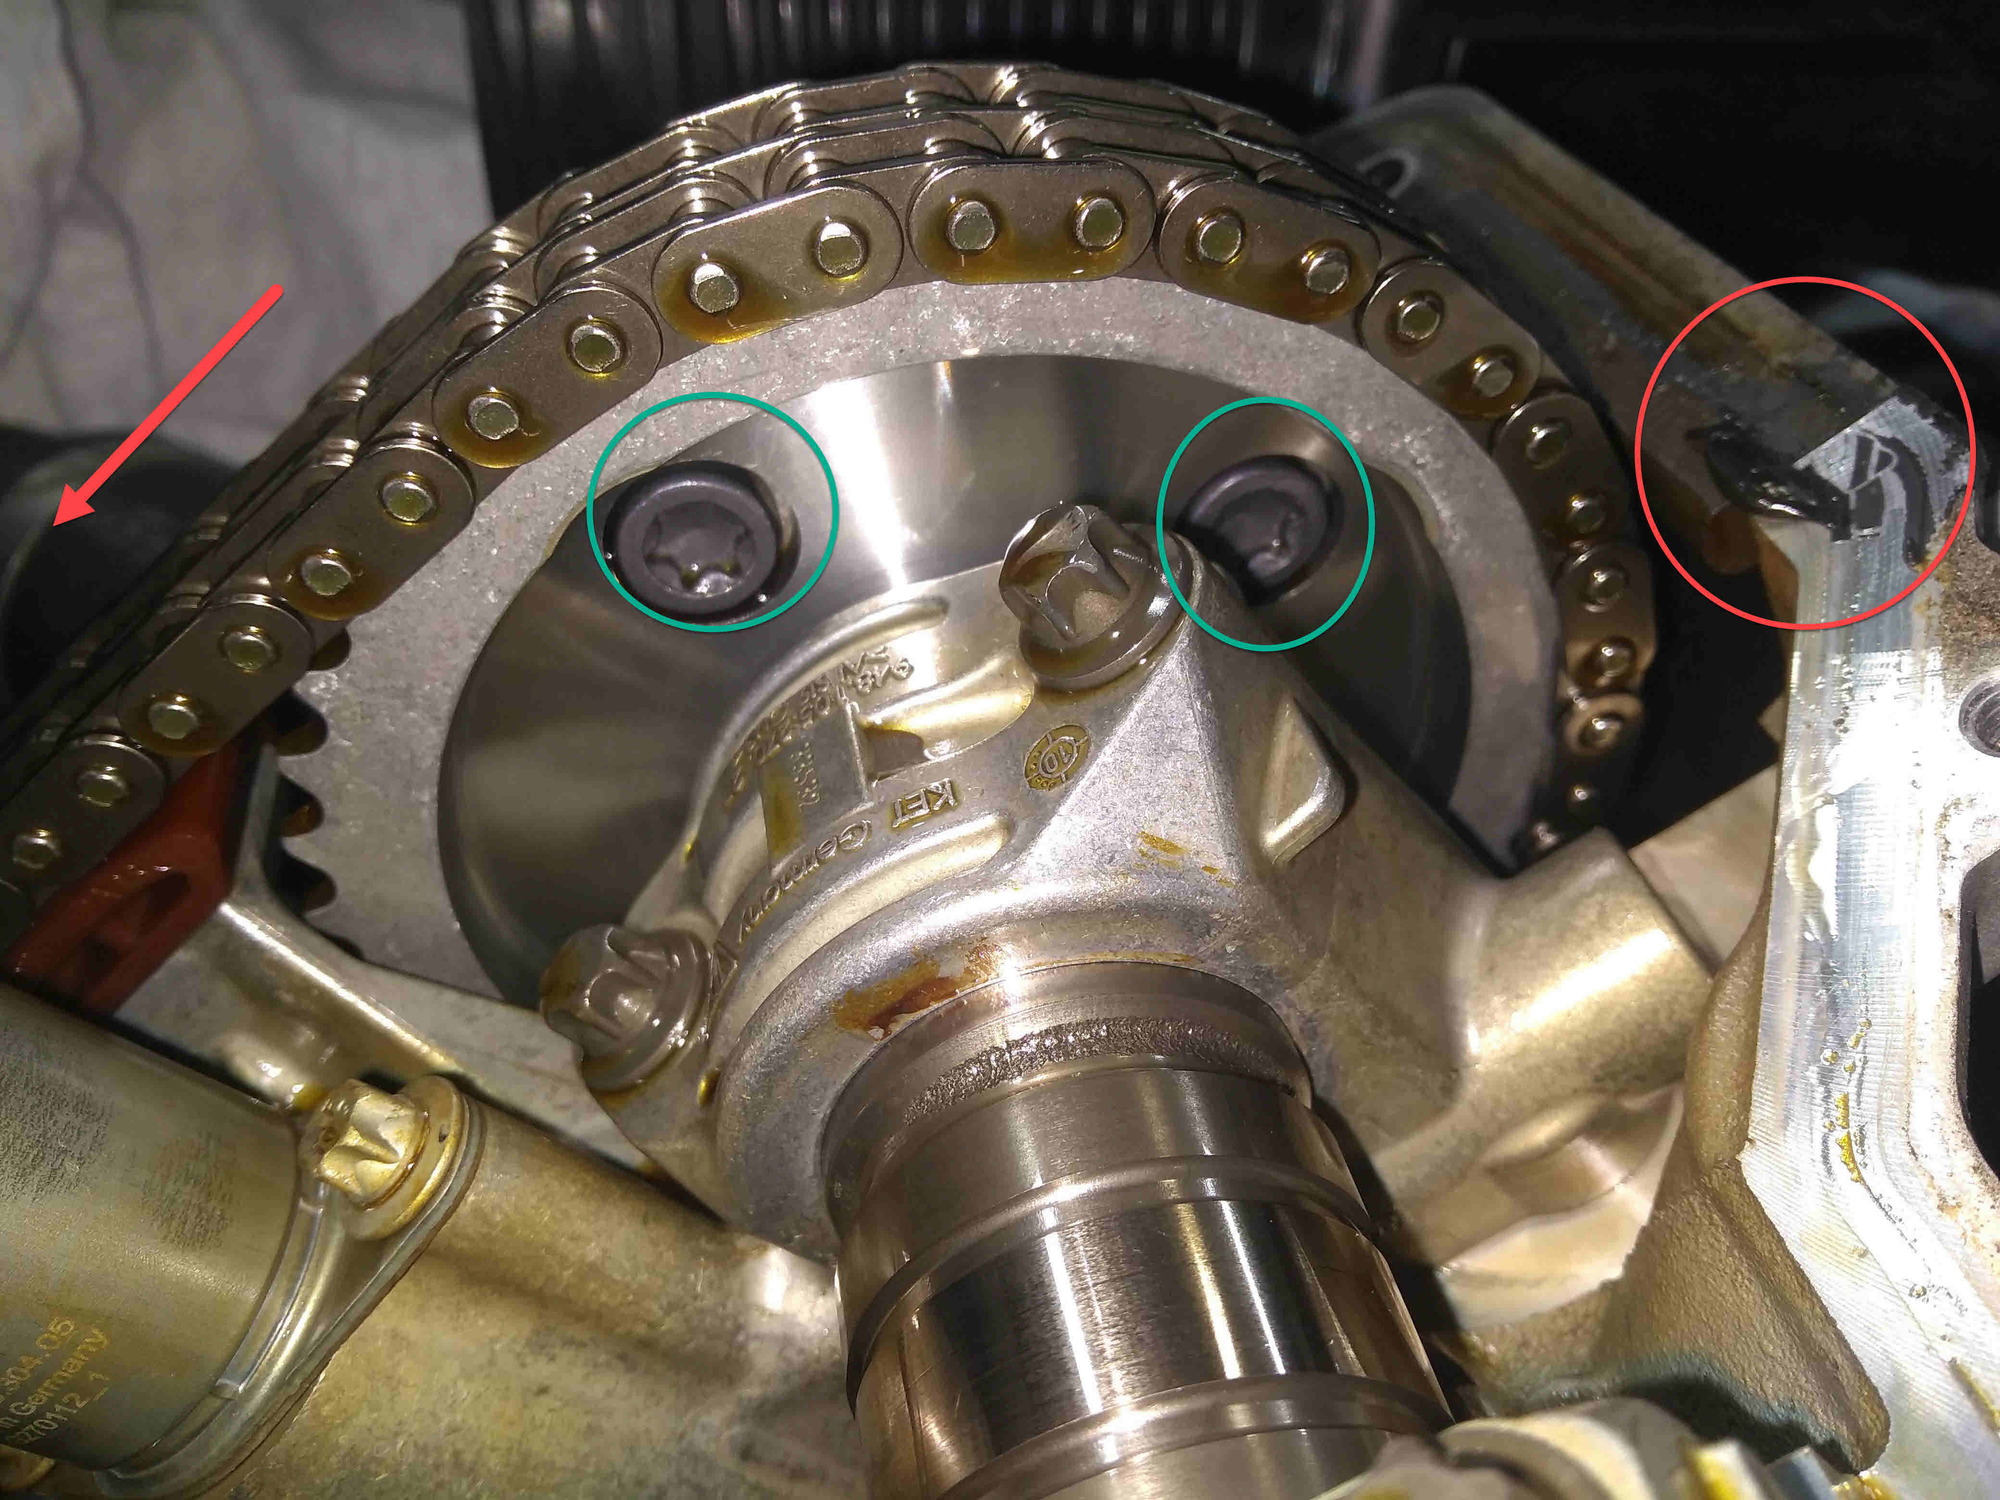
The arrow and the red circle are the two places that you will use a small amount of Drei Bond 2200. It is where the timing cover and head mate. The green circles are the new bolts for the cam adjuster campaign.
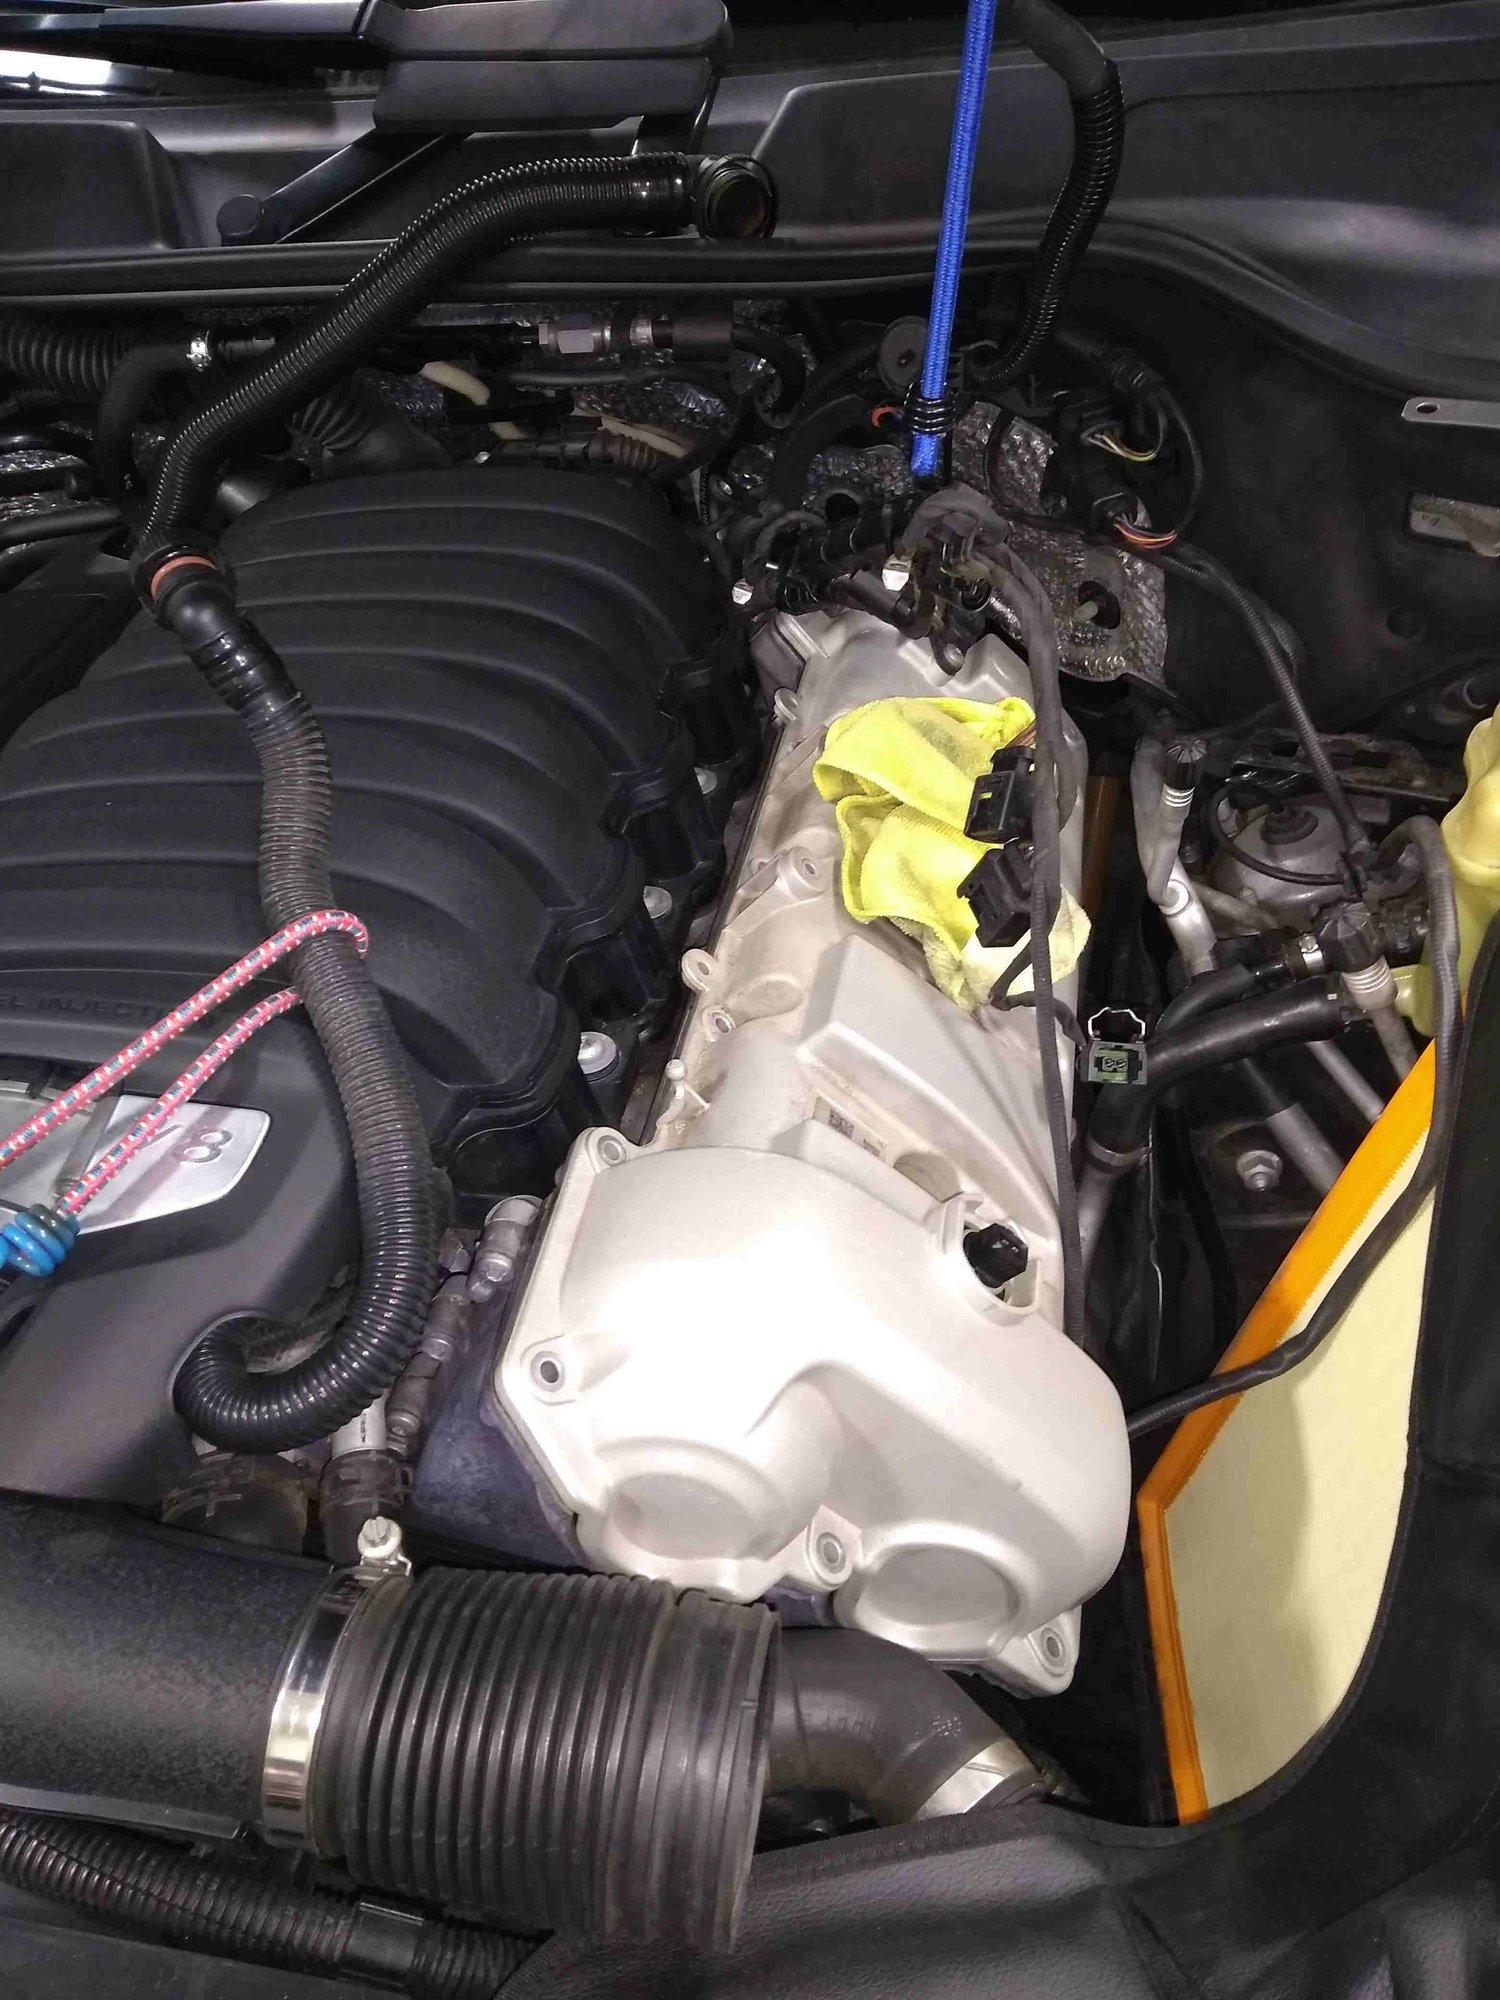
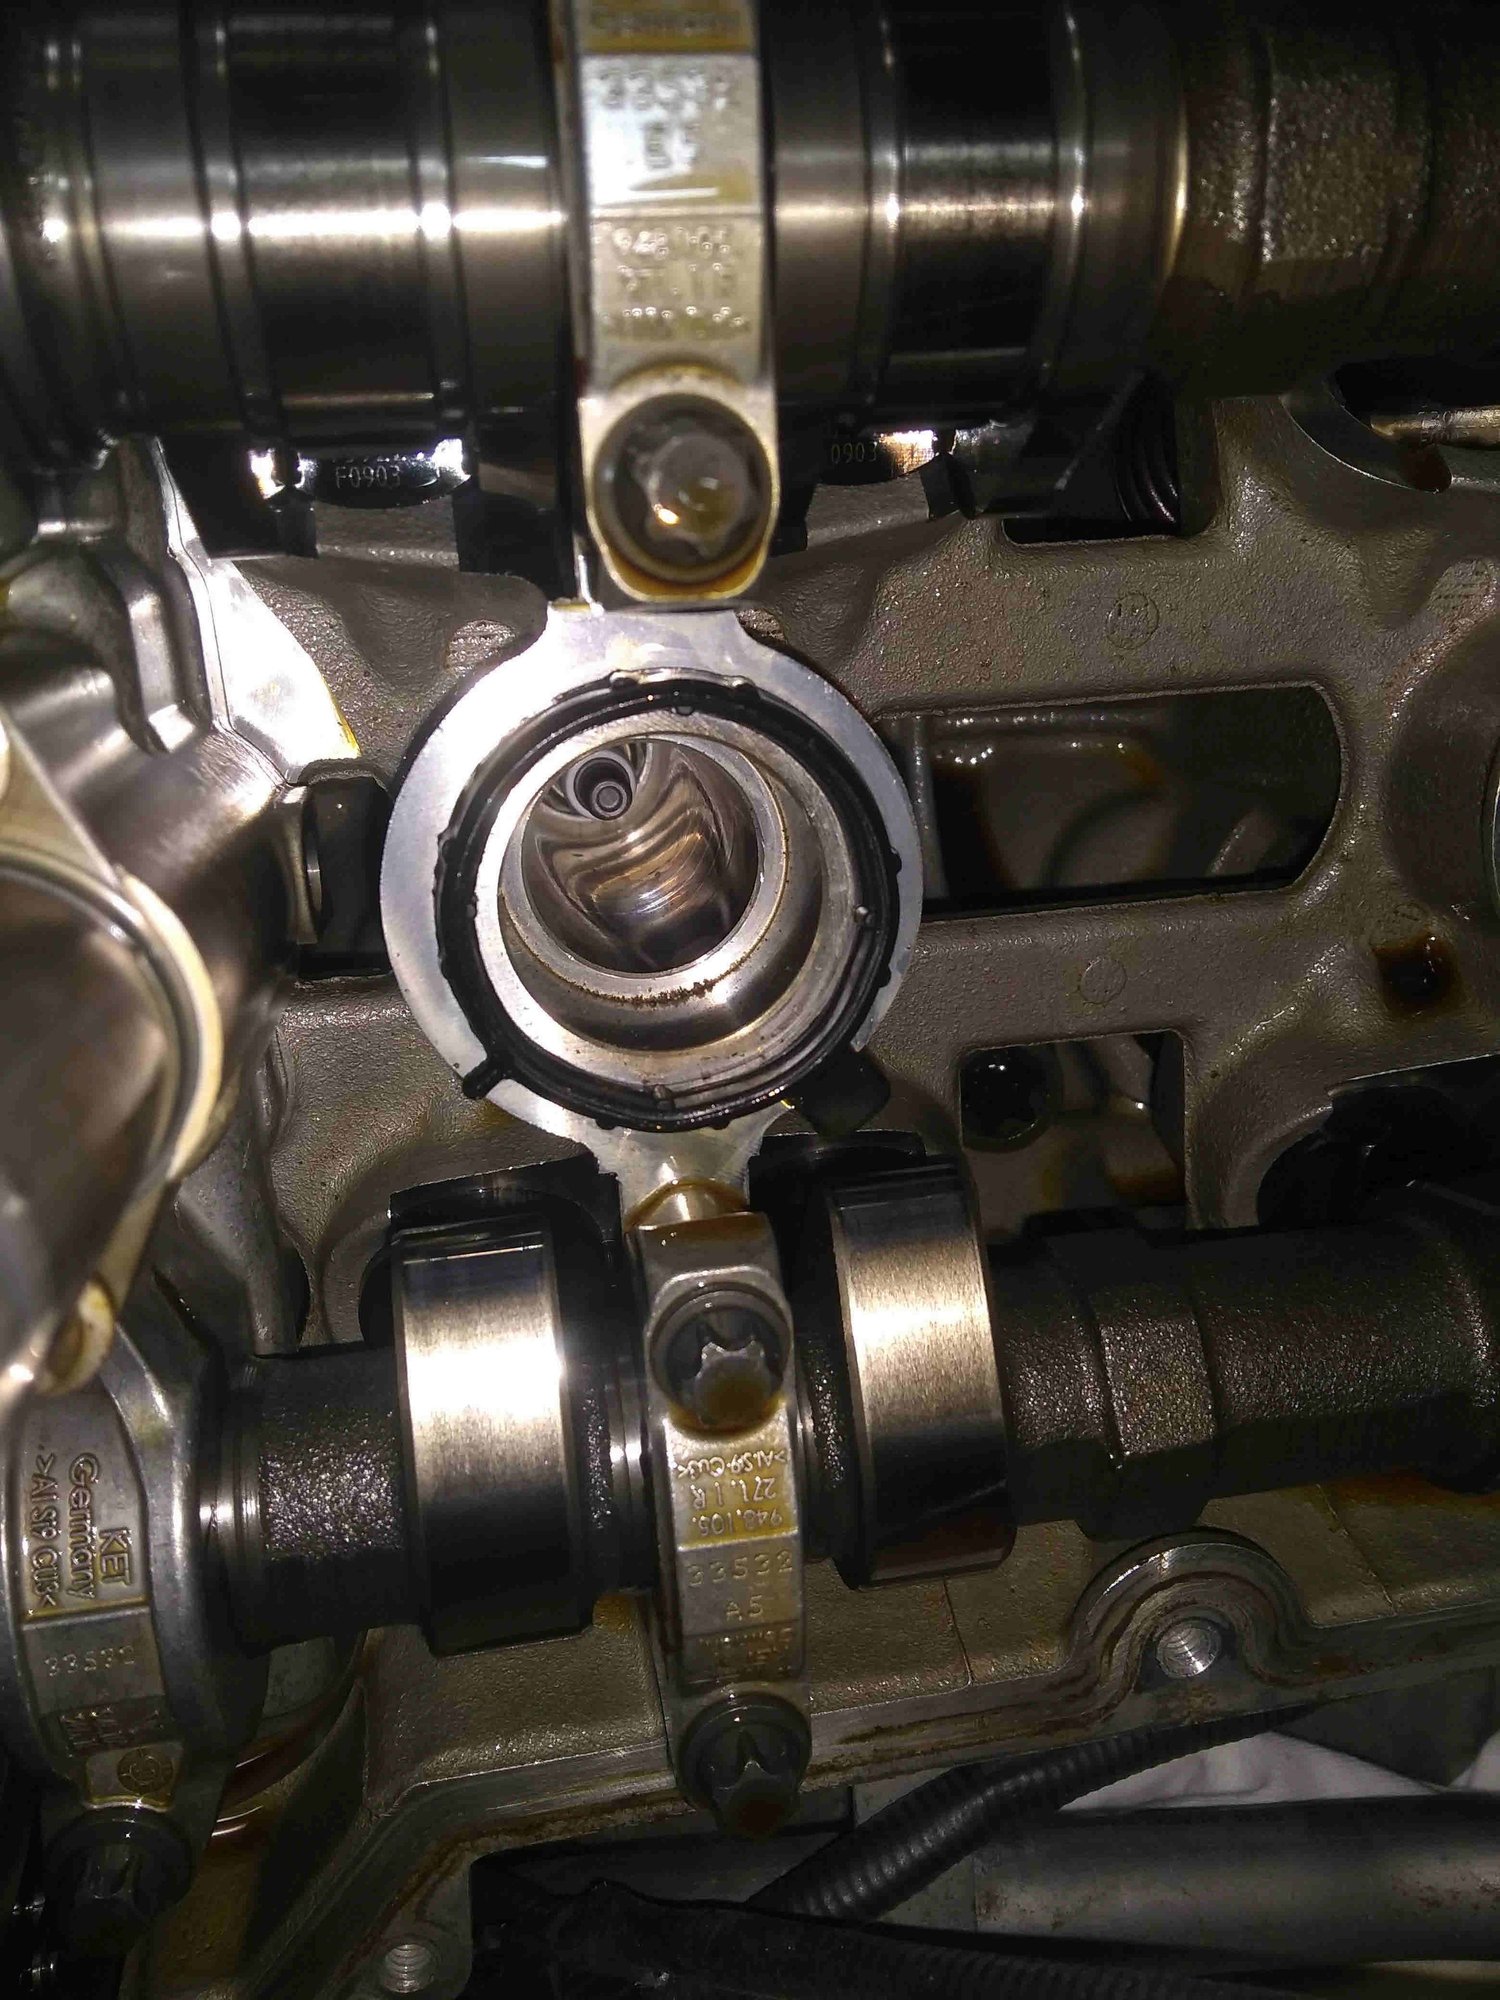
Cover/protect your work area. The timing chain galley is a straight trip to agony if you drop anything down it.
Bolts removed and ready for the lift.
Get a good grip on it and increase lifting pressure until it releases. It is a tight fit. MAKE SURE the O-ring comes with it.
 03-03-2021, 10:38 PM