When you click on links to various merchants on this site and make a purchase, this can result in this site earning a commission. Affiliate programs and affiliations include, but are not limited to, the eBay Partner Network.
Hey guys,
I had looked quite a bit trying to find details on how to do the roll bar time replacement. I didn't find much in the way of images so I figured I would take some as I went through the process.
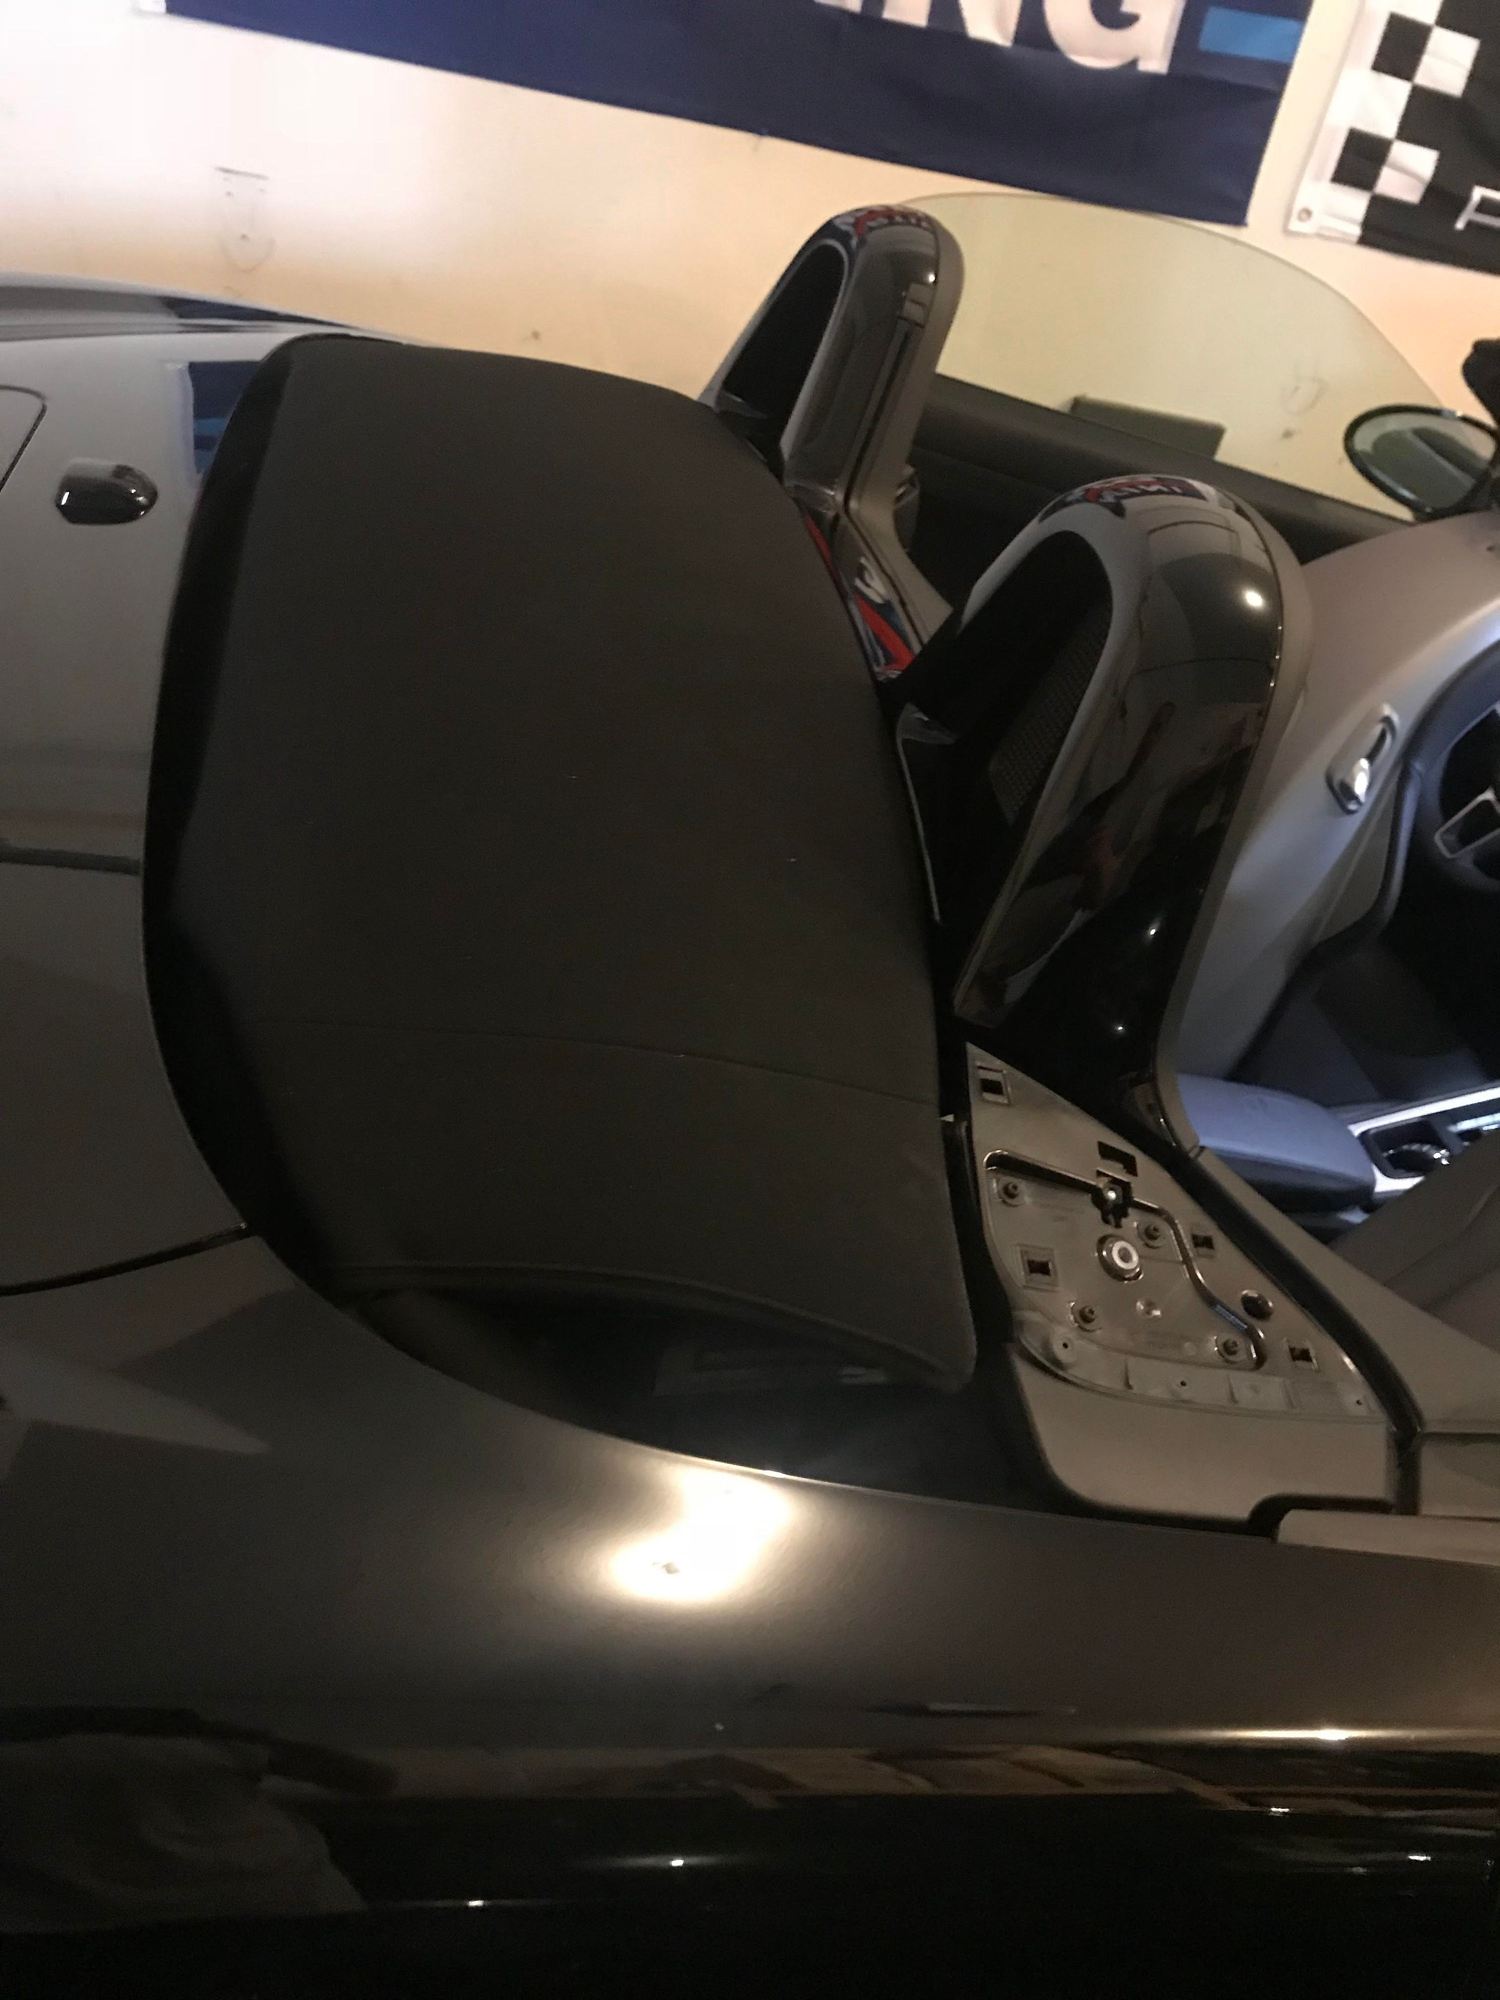
My '17 Boxster is black and I thought the standard gray wasn't a very finished look (as shown in photo 001) and thought it would look much more finished in glass black.
The process is pretty easy but hopefully this will help some of you out.
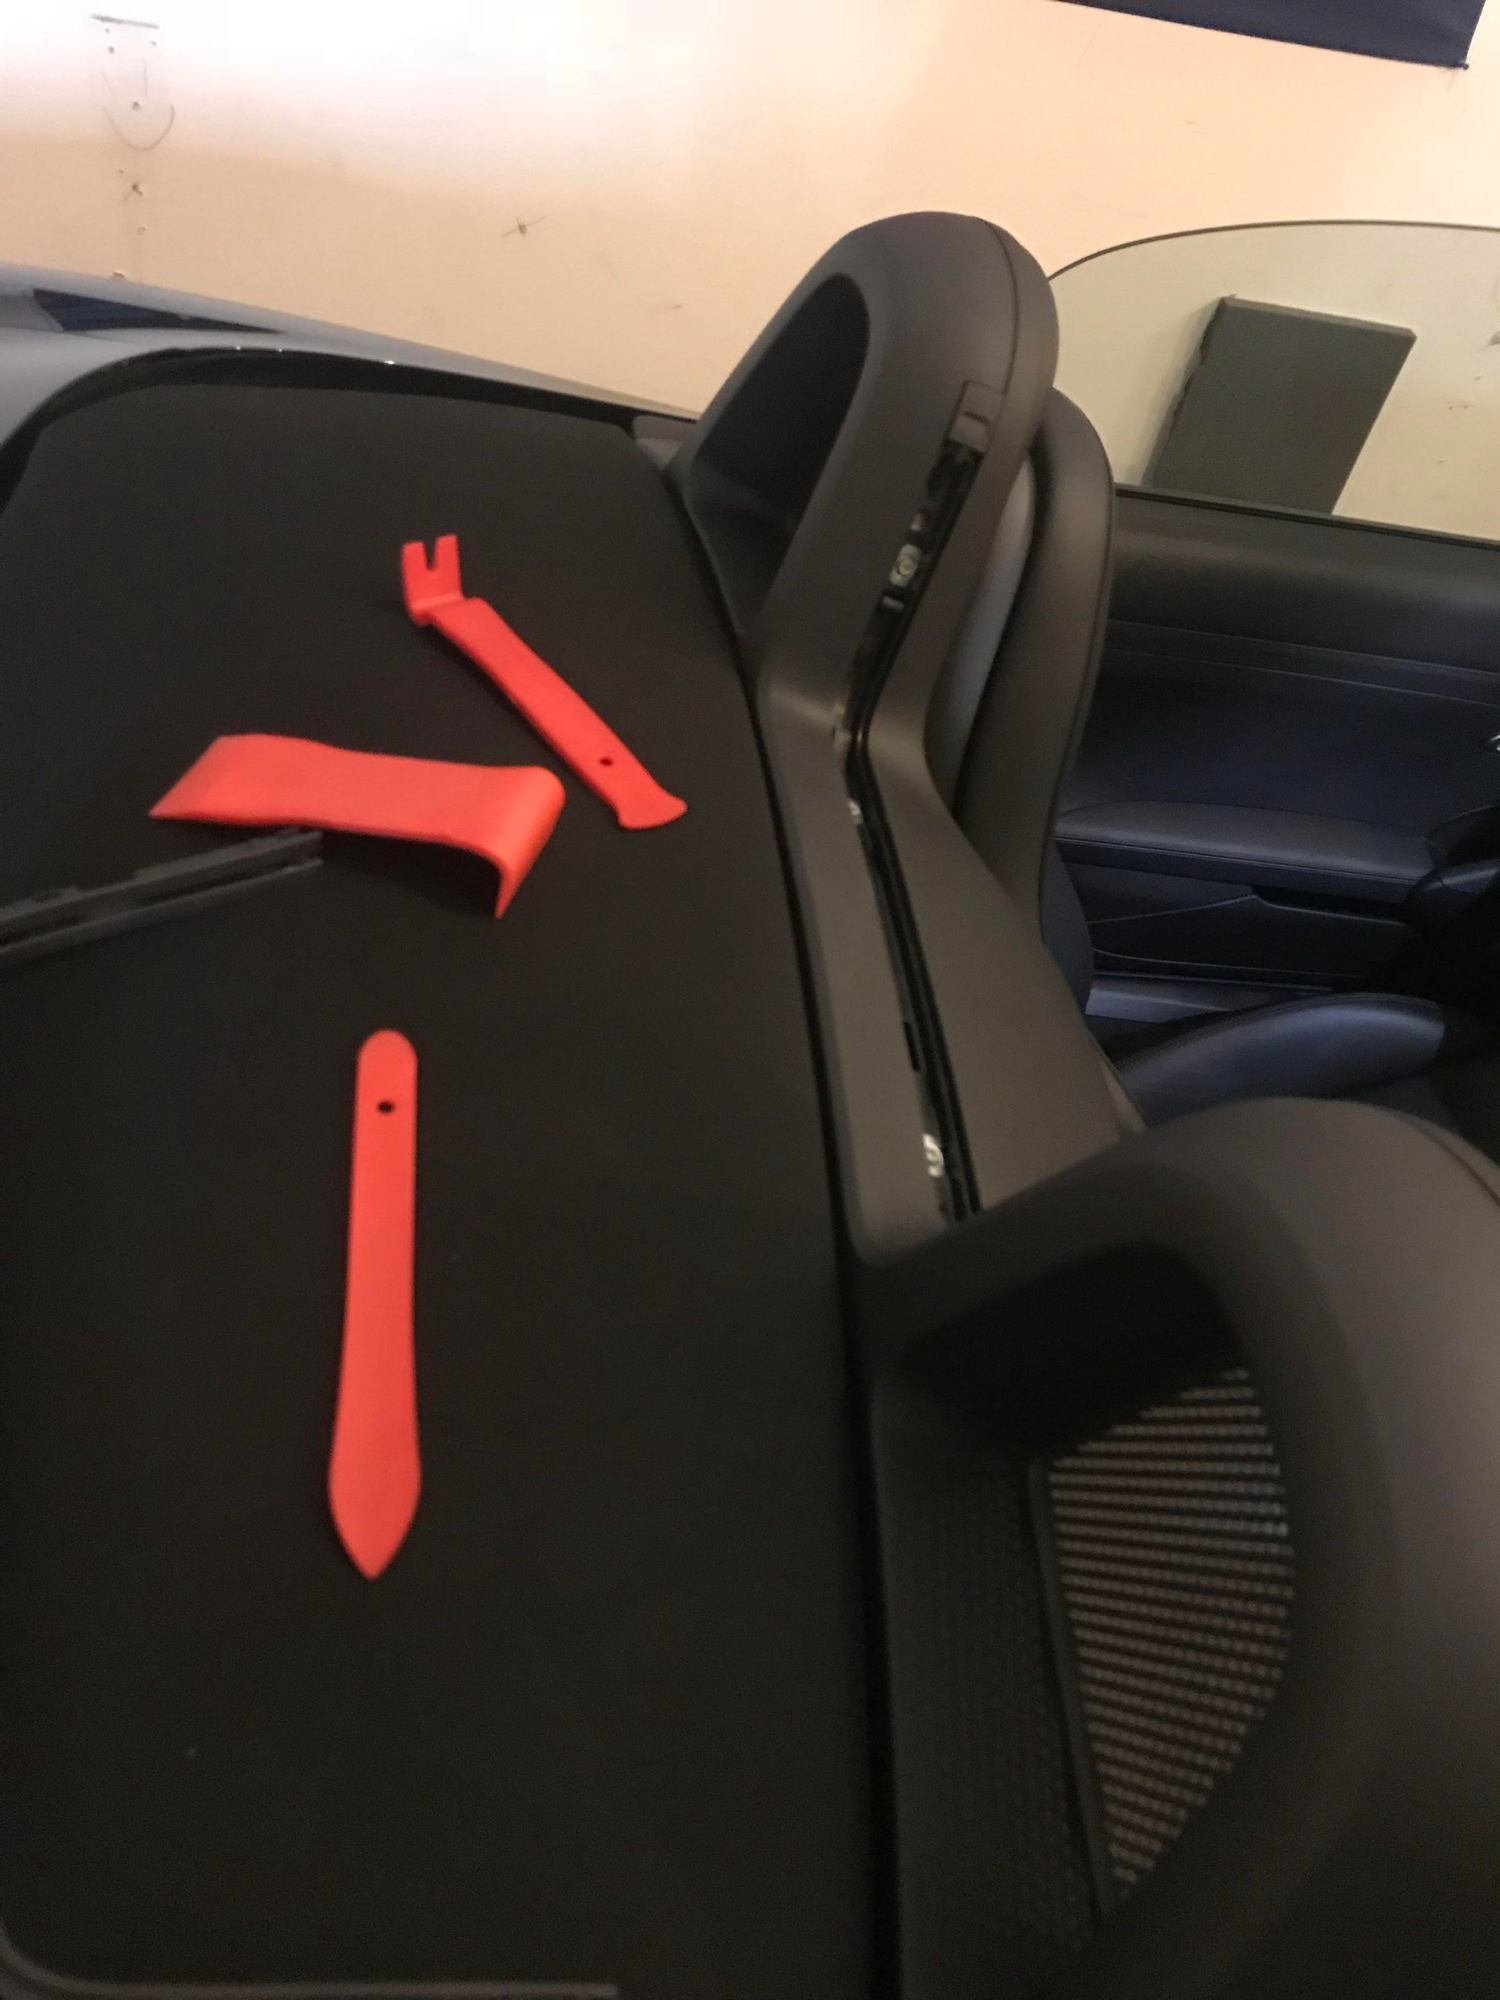
Tools needed
Interior trim removal tools.
Torx T25 bit.
1. Remove the wind deflector.
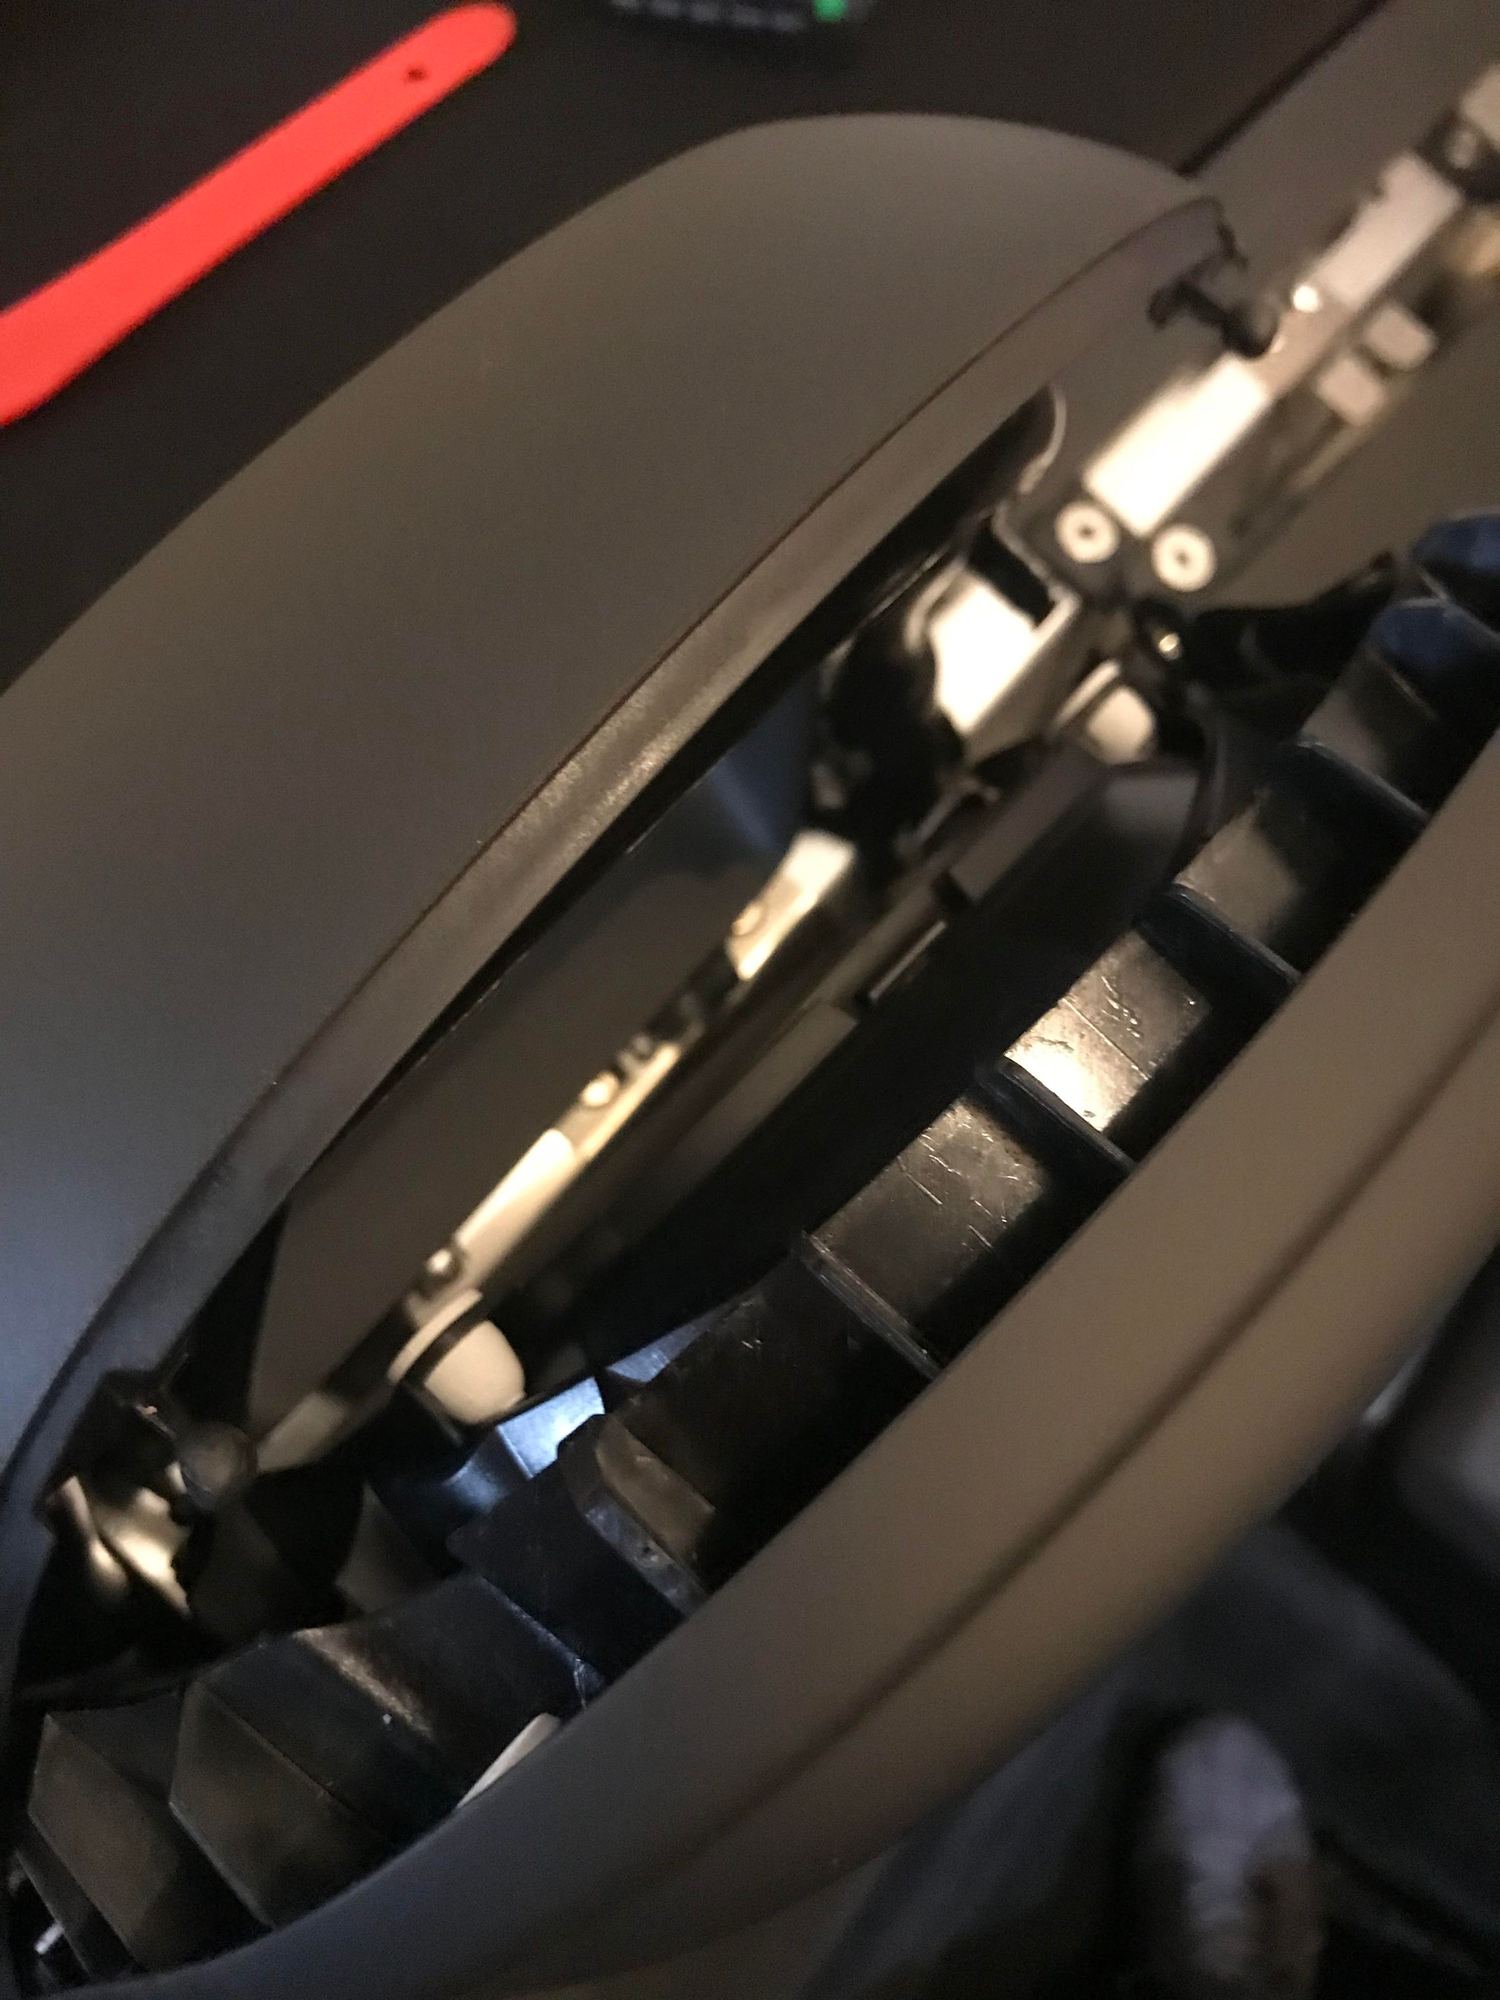
2. Remove the INNER track on the wind deflector track assembly. There is an inner softer track that fits into the main assembly. This will expose four torx screws. as shown in photos 002 & 003.
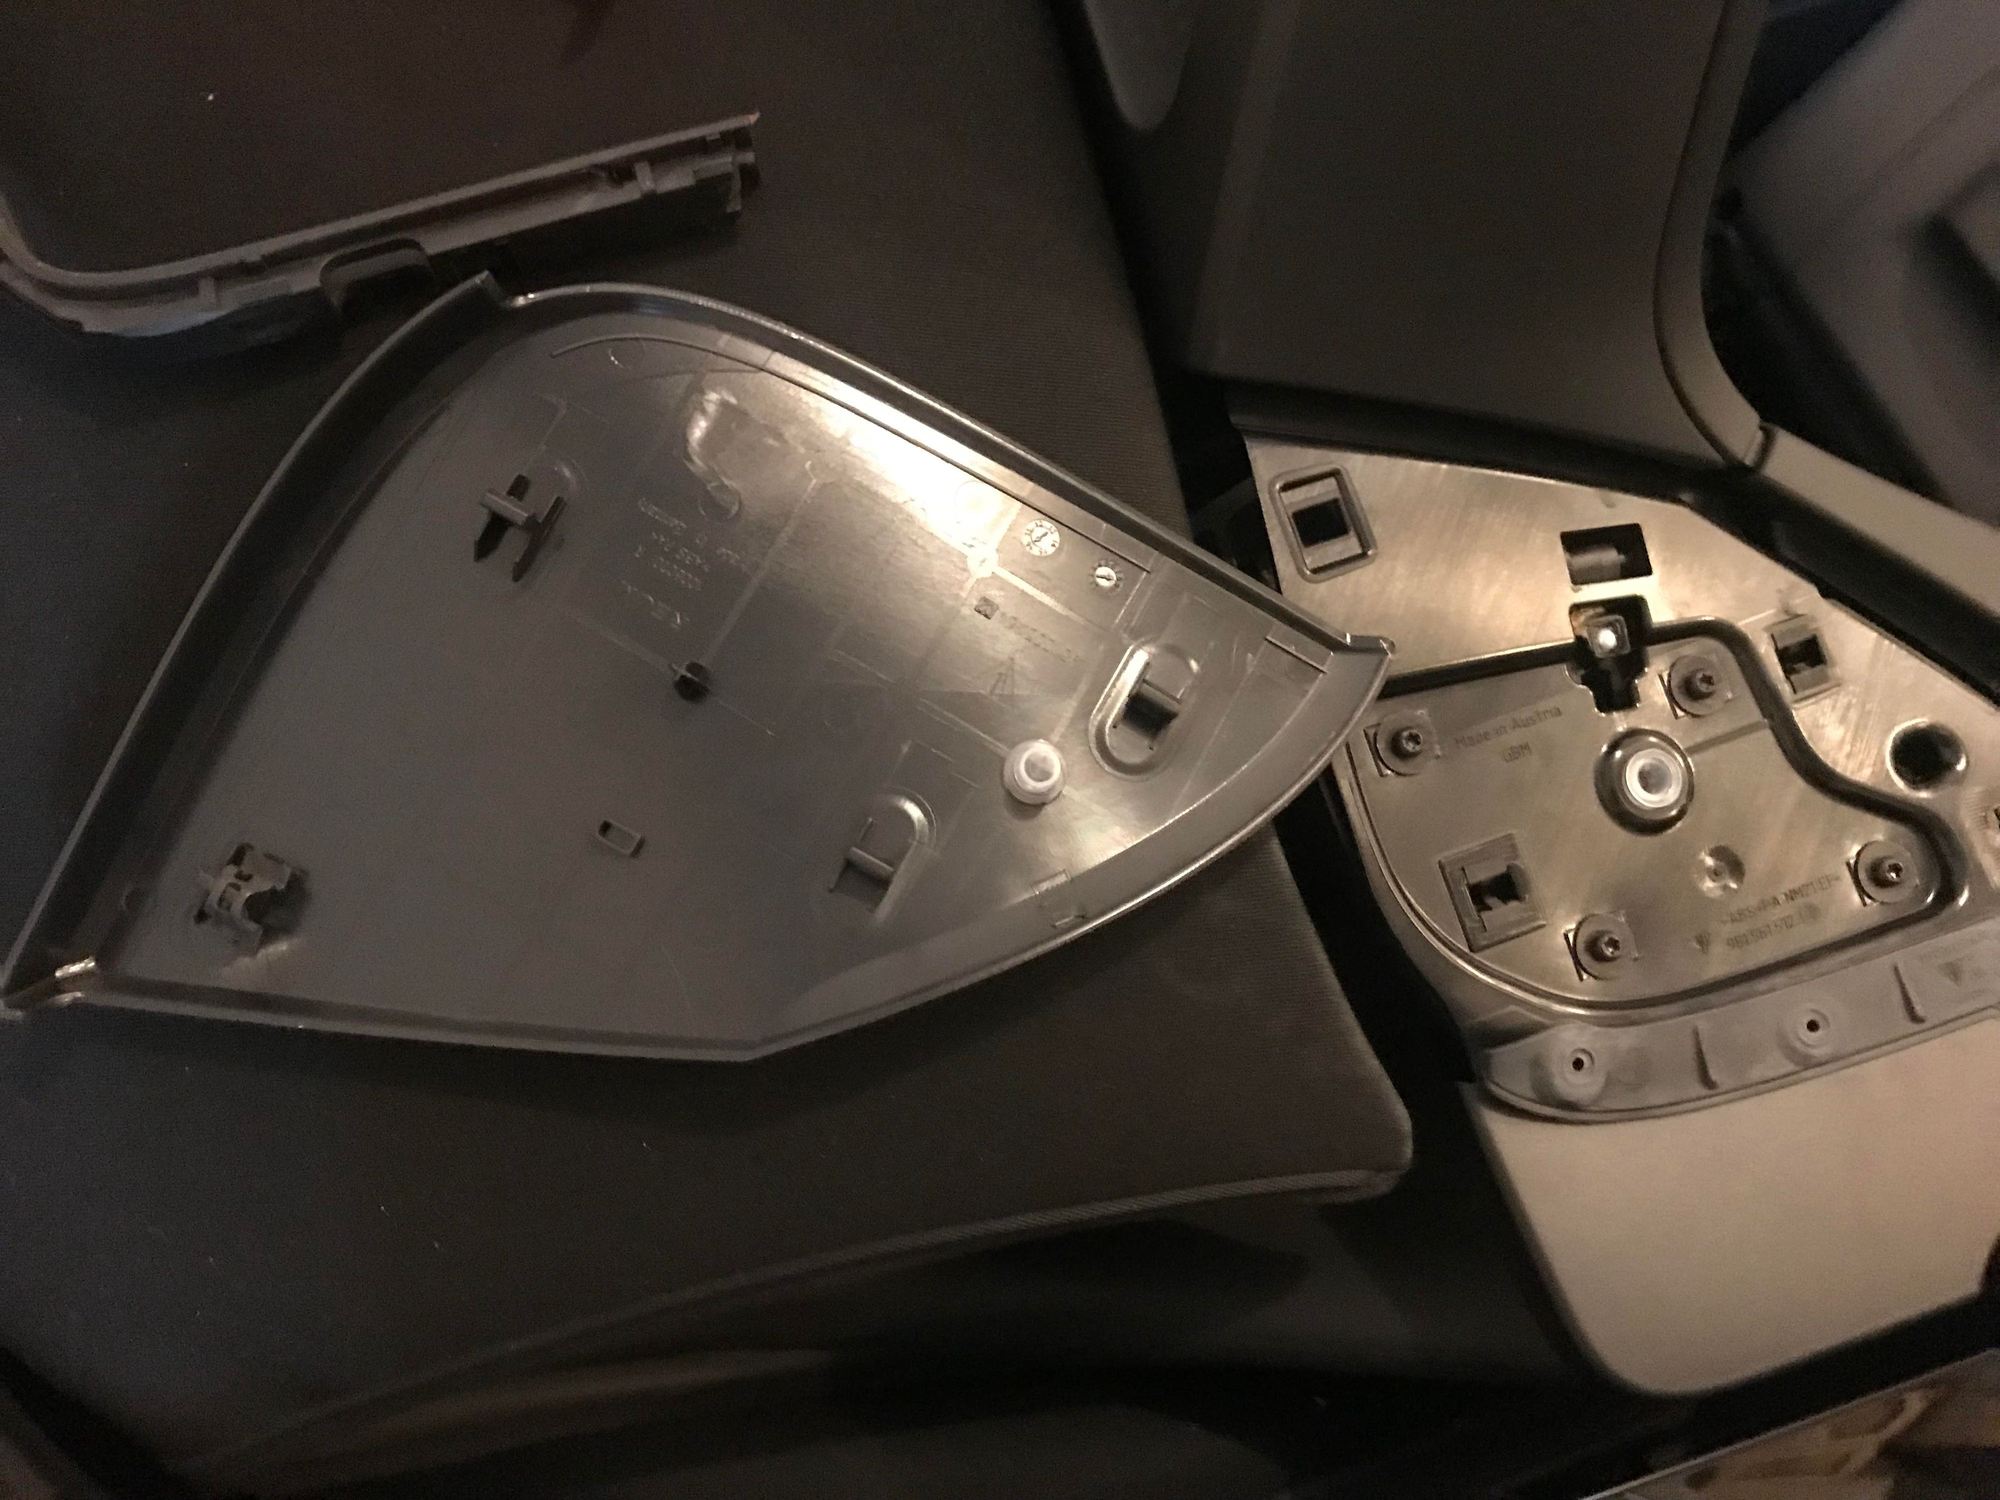
3. Remove the side trim covers next to the roll bar trim (photo 004) n each side of the vehicle. These simply pop off. Once of mine was stubborn and I was concerned I would break it but it just took a little force. Be sure not to lose the small clear caps as they will need to go back on (you can see it in the middle of the metal assembly in photo 004 below). I am guessing these are in place to stop rattles.
4. Remove the four torx screws. Be careful not to drop them back into the convertible top area as I am sure it would be a pain to fish them out.
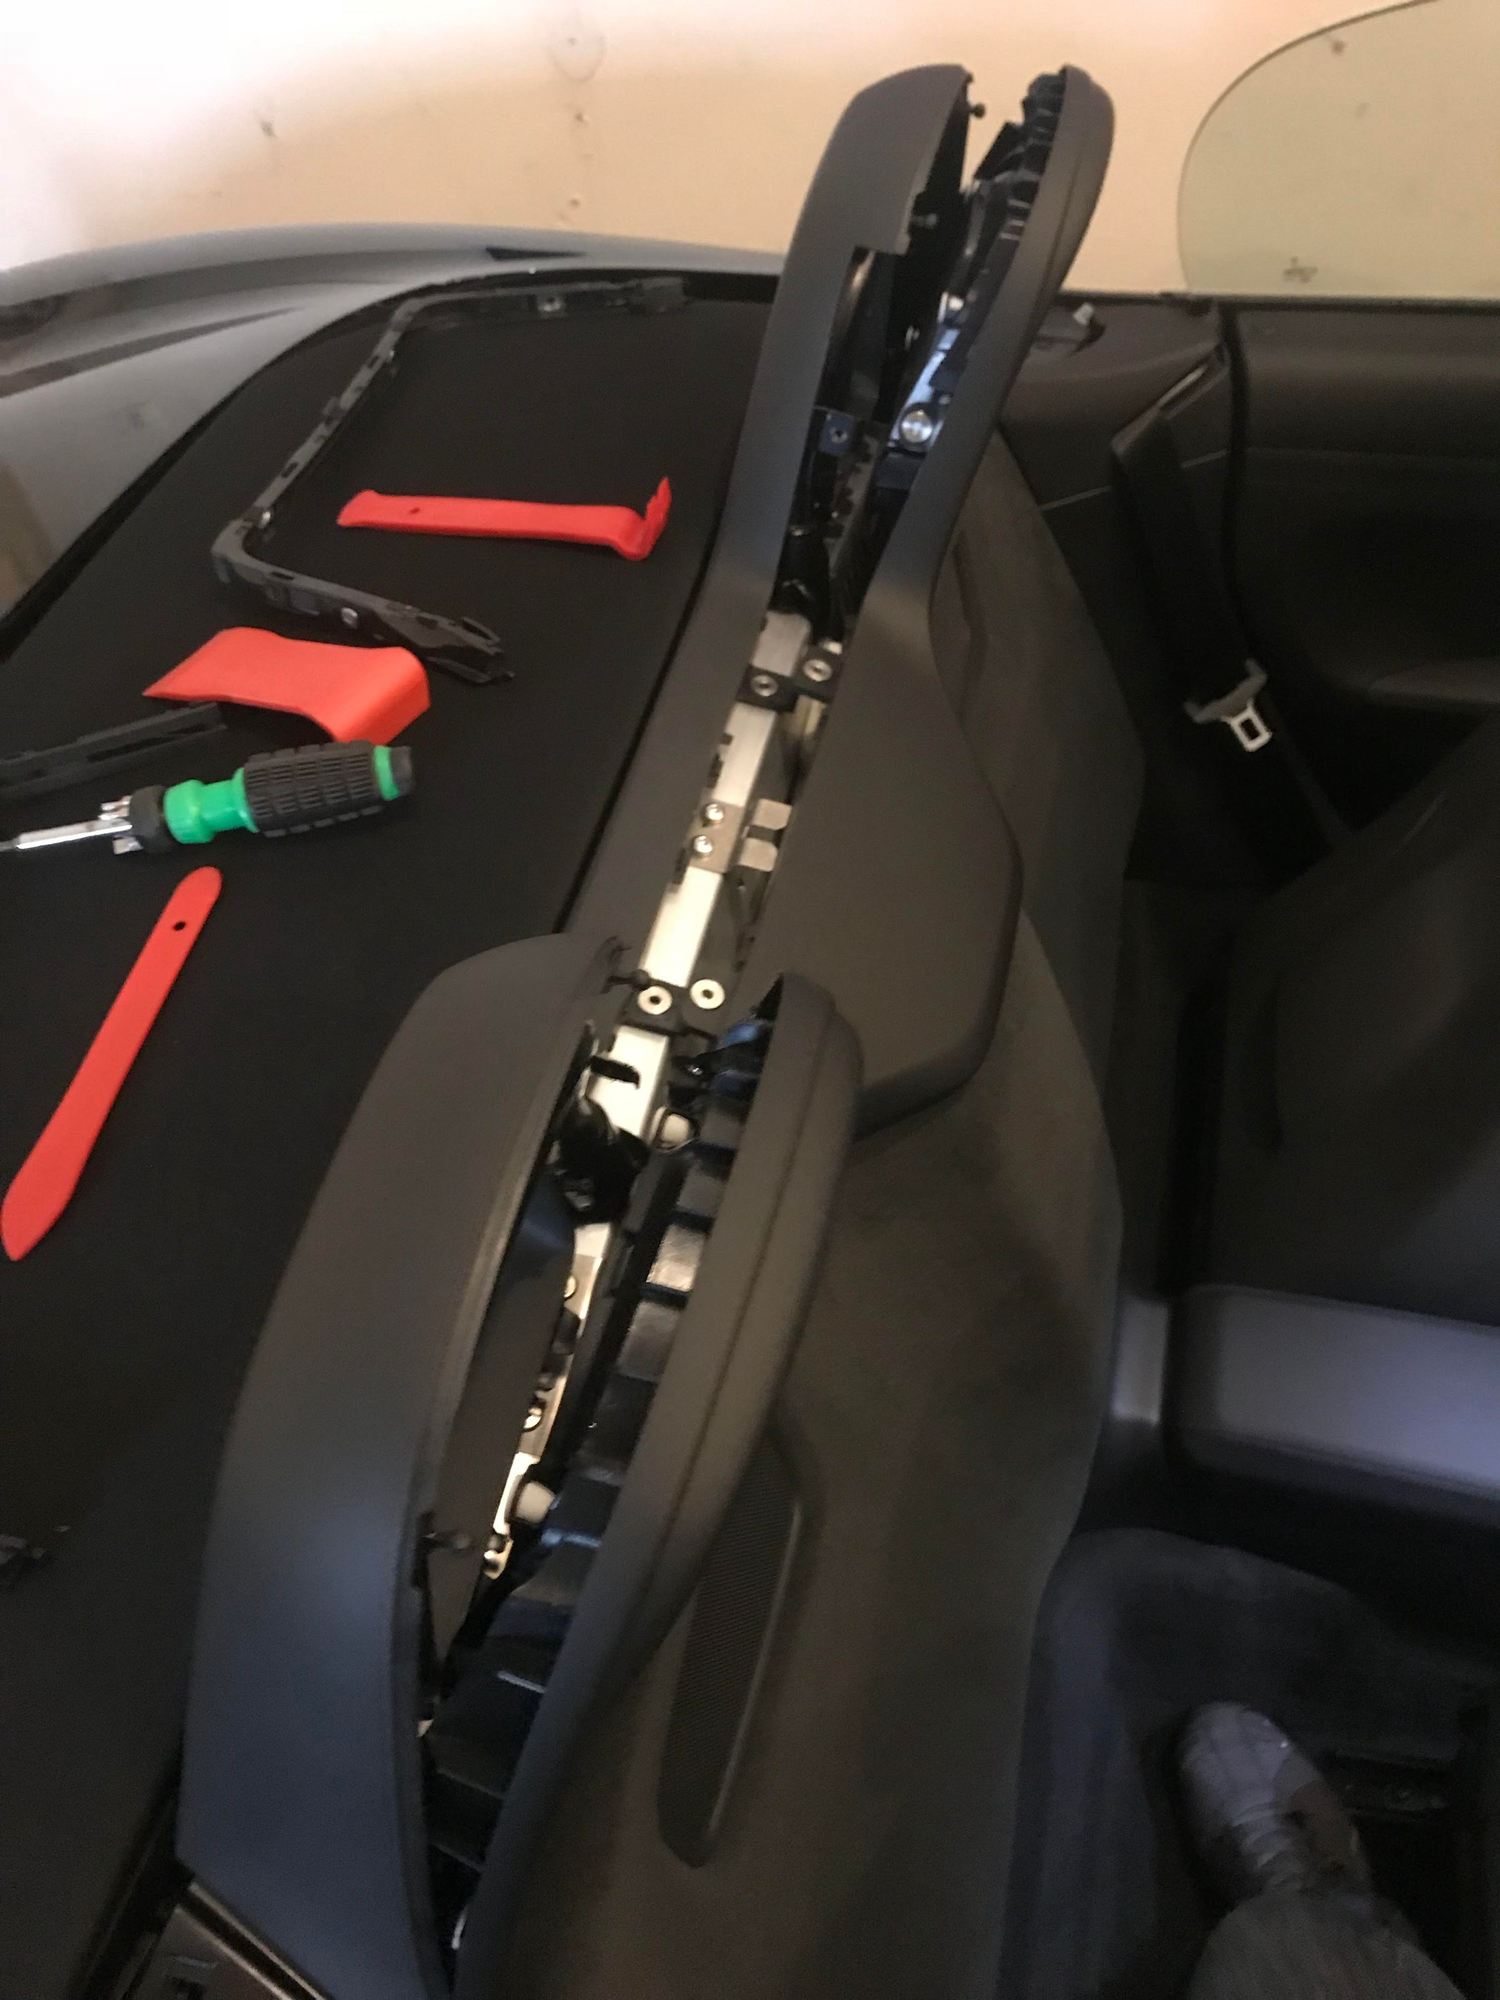
5. Insert a trim removal tool (various sizes will work but preferably a thin one) near the push tabs in the wind deflector assembly and gently pry apart the two roll bar covers. See photo 005 & 006. You can see they are held together with a male to female tab system. The tabs are soft but seem durable.
6. Remove the wind deflector assembly.
7. Loosen the trim pieces that cover the seatbelt on each side.
8. Remove the trim piece that faces the front of the vehicle and place it aside. There are tabs that go down into the seatbelt trim covers. This too a little bit of work to slide the tabs out, just be careful not to break them.
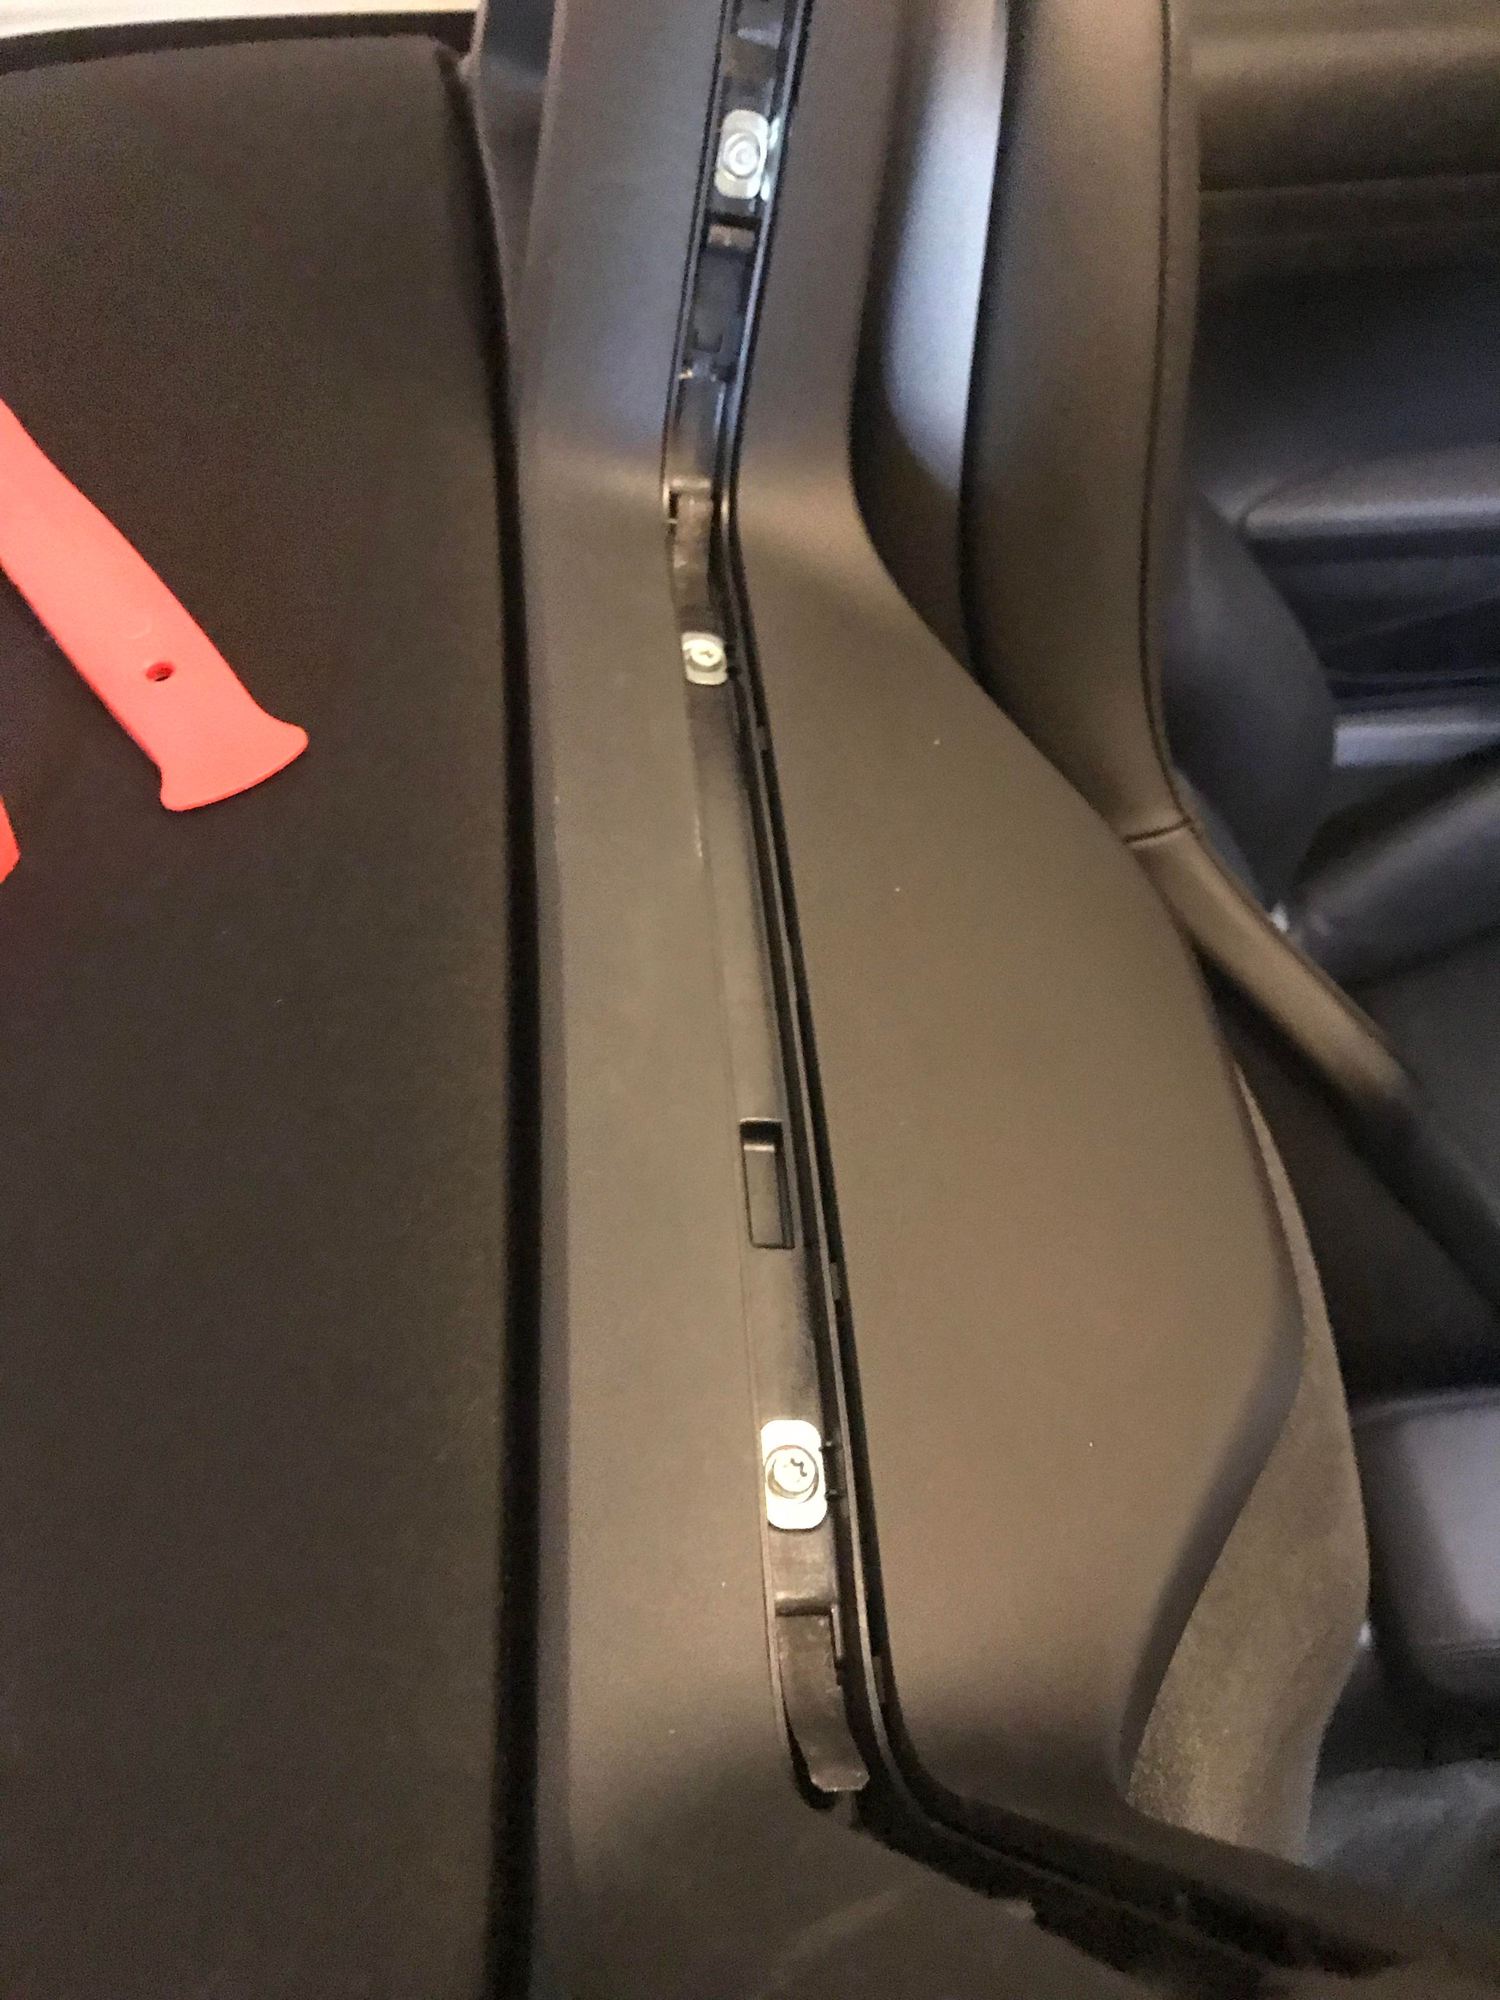
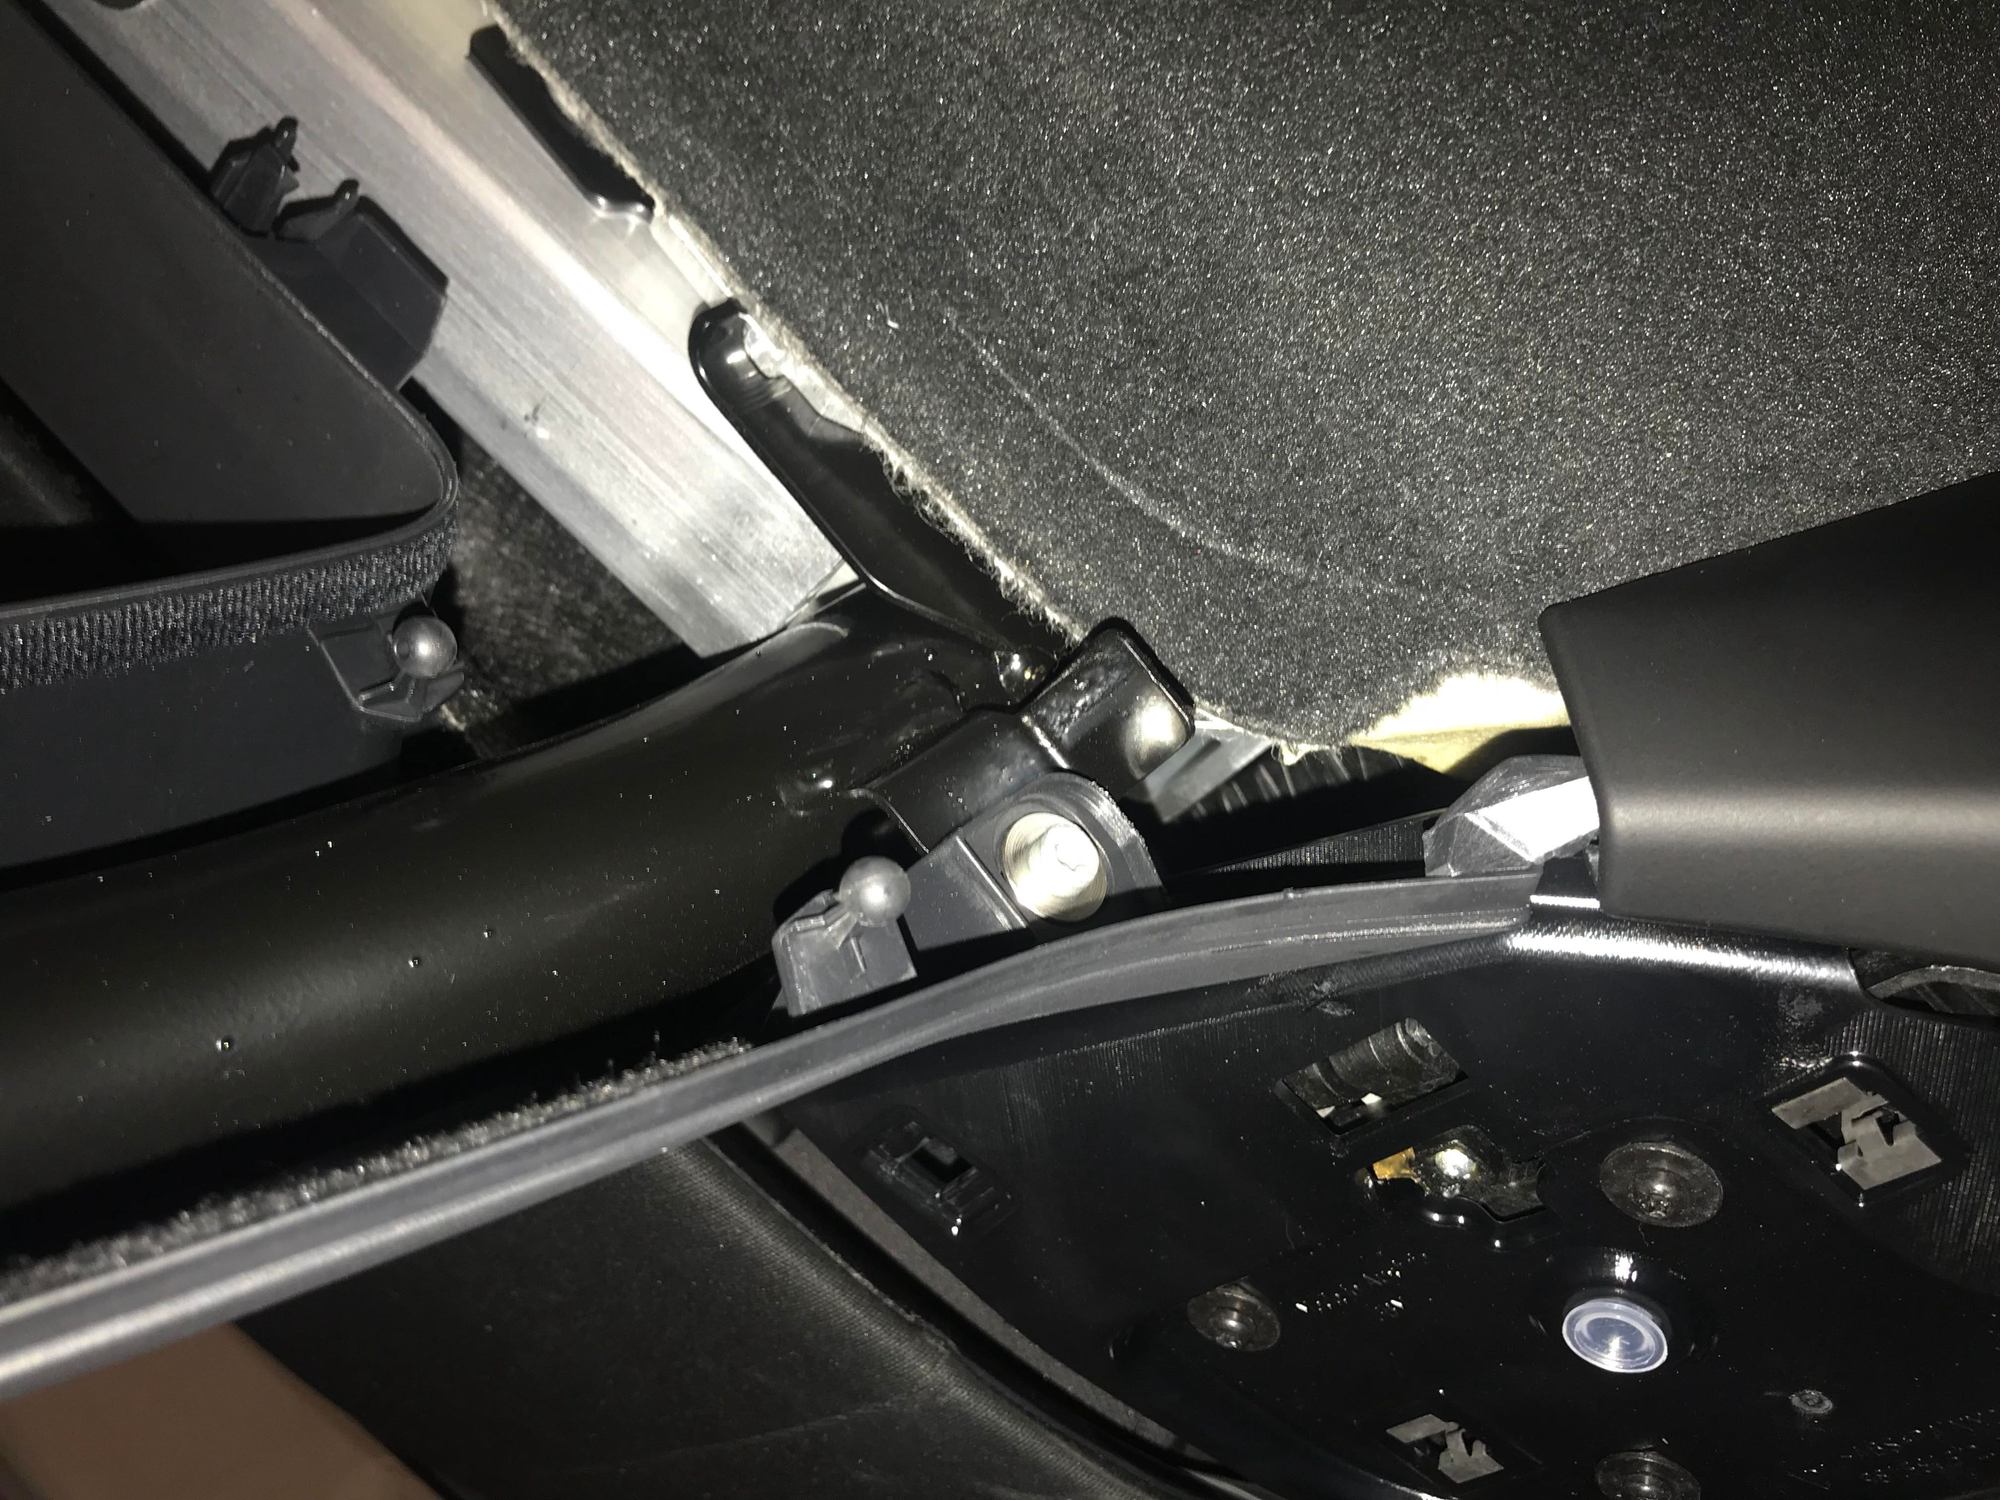
9. Remove the two torx screws you have no exposed by removing the front trim. You can see one of them in photo 007. They are located in the outermost area on both sides.
10. Remove the rear roll bar trim. Lean the top of the trim towards the back of the vehicle and it will come right out. Don't try to pull it straight up.
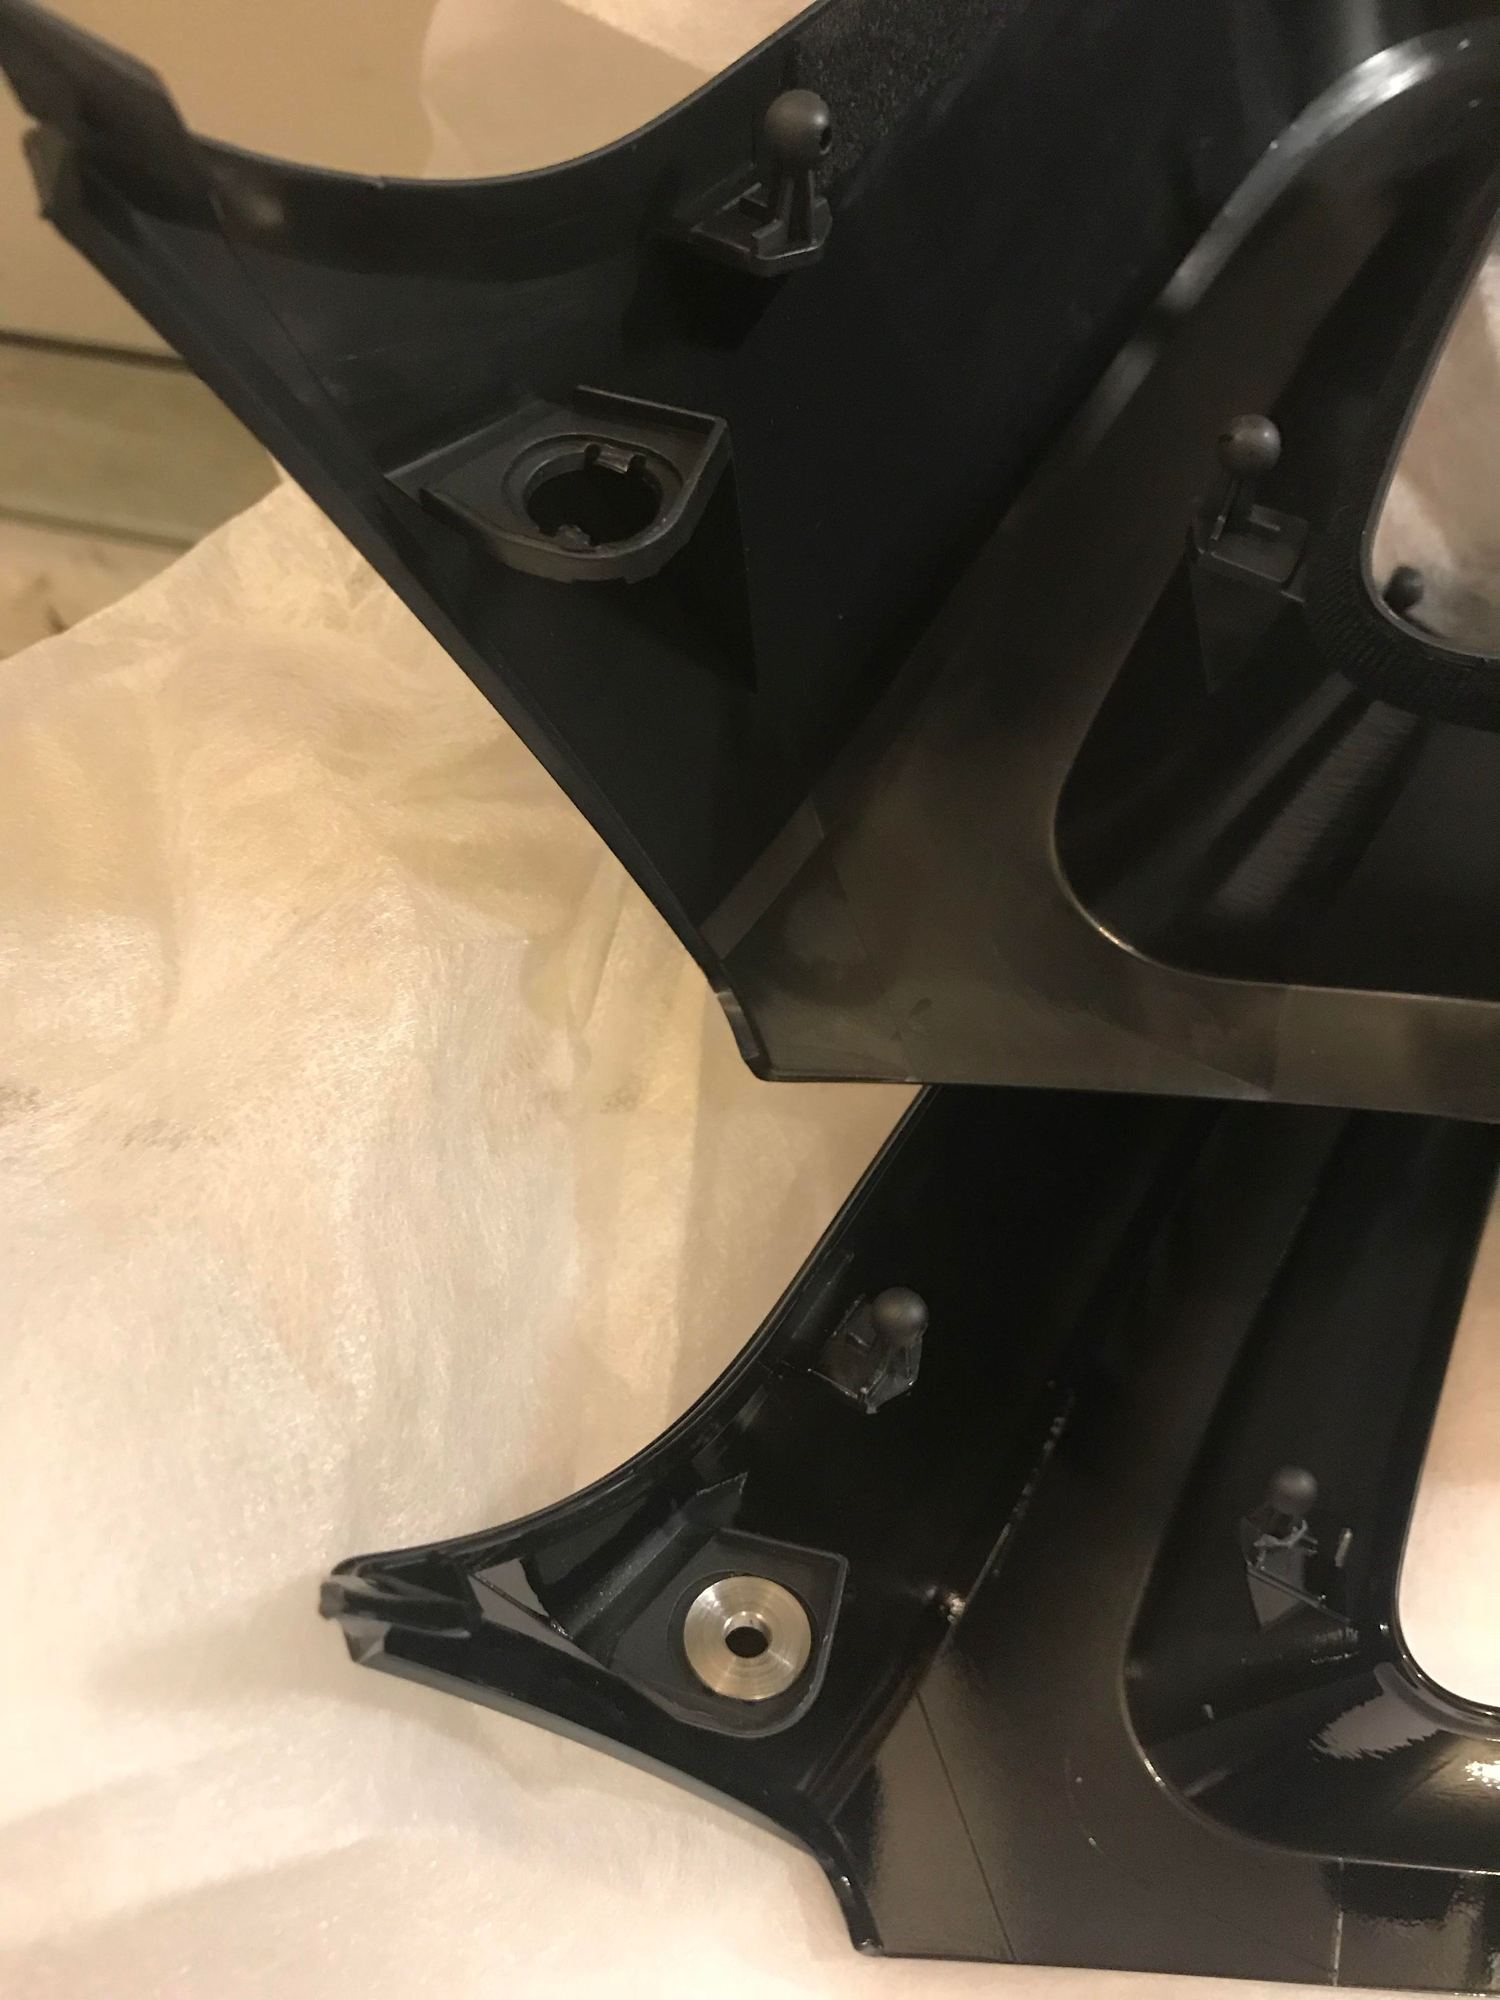
11. Once you have the trim off, remove the small silver screw fittings (shown in photo 008) as well as the small clear cap and place them on your new trim piece. If you are taking your trim to have it painted, I would suggest taking these off and putting them in a baggie until you put the trim back on.
12. Now simply follow the directions in revers to put the trim back on. I will mention a few things though.
A. Make sure you get the carpet inside the trim.
B. I found it a little tricky to get the tabs back into the seatbelt cover correctly. As they do fit in a certain way. The seatbelt cover does have a trim piece attached to it that I popped off slightly which made it a little easier.
C. The wind defector assembly main piece was just a bit tricky as well so make sure and keep the two main trims popped apart to fit this in. Also, I had it backwards at one point because I thought I would have set it next to the area it came out of the way it came out, nope, i had reversed it. lol
D. I wore gloves when reassembling because well, gloss back and all. Also be careful when putting the screws back in that you don't hit your new piece. You could probably put some masking tape over it if you'd like.
Great write-up Chris! Thank you. I'm thinking of either painting or wrapping mine while it's sitting garaged waiting for spring
I imagine buying a factory painted one is quite expensive.
instructions on how to remove roll bar covers on 2013 Boxster
having a hard time removing the soft cover----don't want to pry too much and brake it. Whee best to start prying and should I pry from both sides at the same time----any suggestions?
I am also having trouble with the soft cover. Not sure exactly where to pry to have an effect it mostly seems to flex in place. Video of removal would be much appreciated.
Answering my own question. I was able to figure out where to pull (not pry) from to get the wind deflector track to come out easily. Pull, not pry, because prying levers against visible plastic portions and risks deforming them although the plastic seems pretty tough.
Using one of the pry bars from this kit that is the right width to fit I pulled from each side where the button is. Push the button in and you can get the pry bar under and pull against the entire width of the track. Repeat for both ends then pull up by hand.
I haven�t disassembled further as I was just checking the screws under the track to see if one was missing.
 04-27-2018, 10:56 AM