When you click on links to various merchants on this site and make a purchase, this can result in this site earning a commission. Affiliate programs and affiliations include, but are not limited to, the eBay Partner Network.
I decided to challenge myself and see how far my skill levels will take me so started out by doing a small section by replacing the clear stone guards on my 2013 991. Please keep in mind the 3M OEM product is much thicker than the Xpel film. I used a steamer to remove the old clear guards and cleaned up the area really good and installed the NEW stone guards I have to be honest I was a bit nervous as I never had taken on one of these projects before, but I was very surprised at the results on how well it came out.
That's when I decided to put my beginner’s skill to the test and so I decided to take it to the next level.
I started watching many YouTube videos’ on how to do a PPF and picked up different techniques and tricks that installers used. I have attached a link to a few that I thought was really informative and clear.
I figured the Porsche hood would be a good starting point since it’s pretty much a wide flat area and for a beginner like me it was a good choice. I started my research on where to get the material online and there were several sites including Xpel and the prices varied until I found OpusPremiumfilms.com. I reached out to them to find out about the pricing and how they handle different cars and models as far as precut formats and so on I ended up communicating with Josh who not only handles the operations but also is a professional PPF installer which was a huge plus as he gave me inputs on the install and the tools needed for the job. I must say he was very helpful and also had the best price as far as my research showed so it was a no brainer. One thing I really liked about his service is that he will send you a outline of what the PPF would look like and the area’s you may want to alter to your liking, example I didn’t want the Porsche emblem cut on the film as I had mine removed in order to have a cleaner install without precut area’s showing and also he gave me extra half inch around the outer perimeter of the hood for overlap in order to tug in the material so once again it’s a clear look with no precut outlines that typically are available as a default.
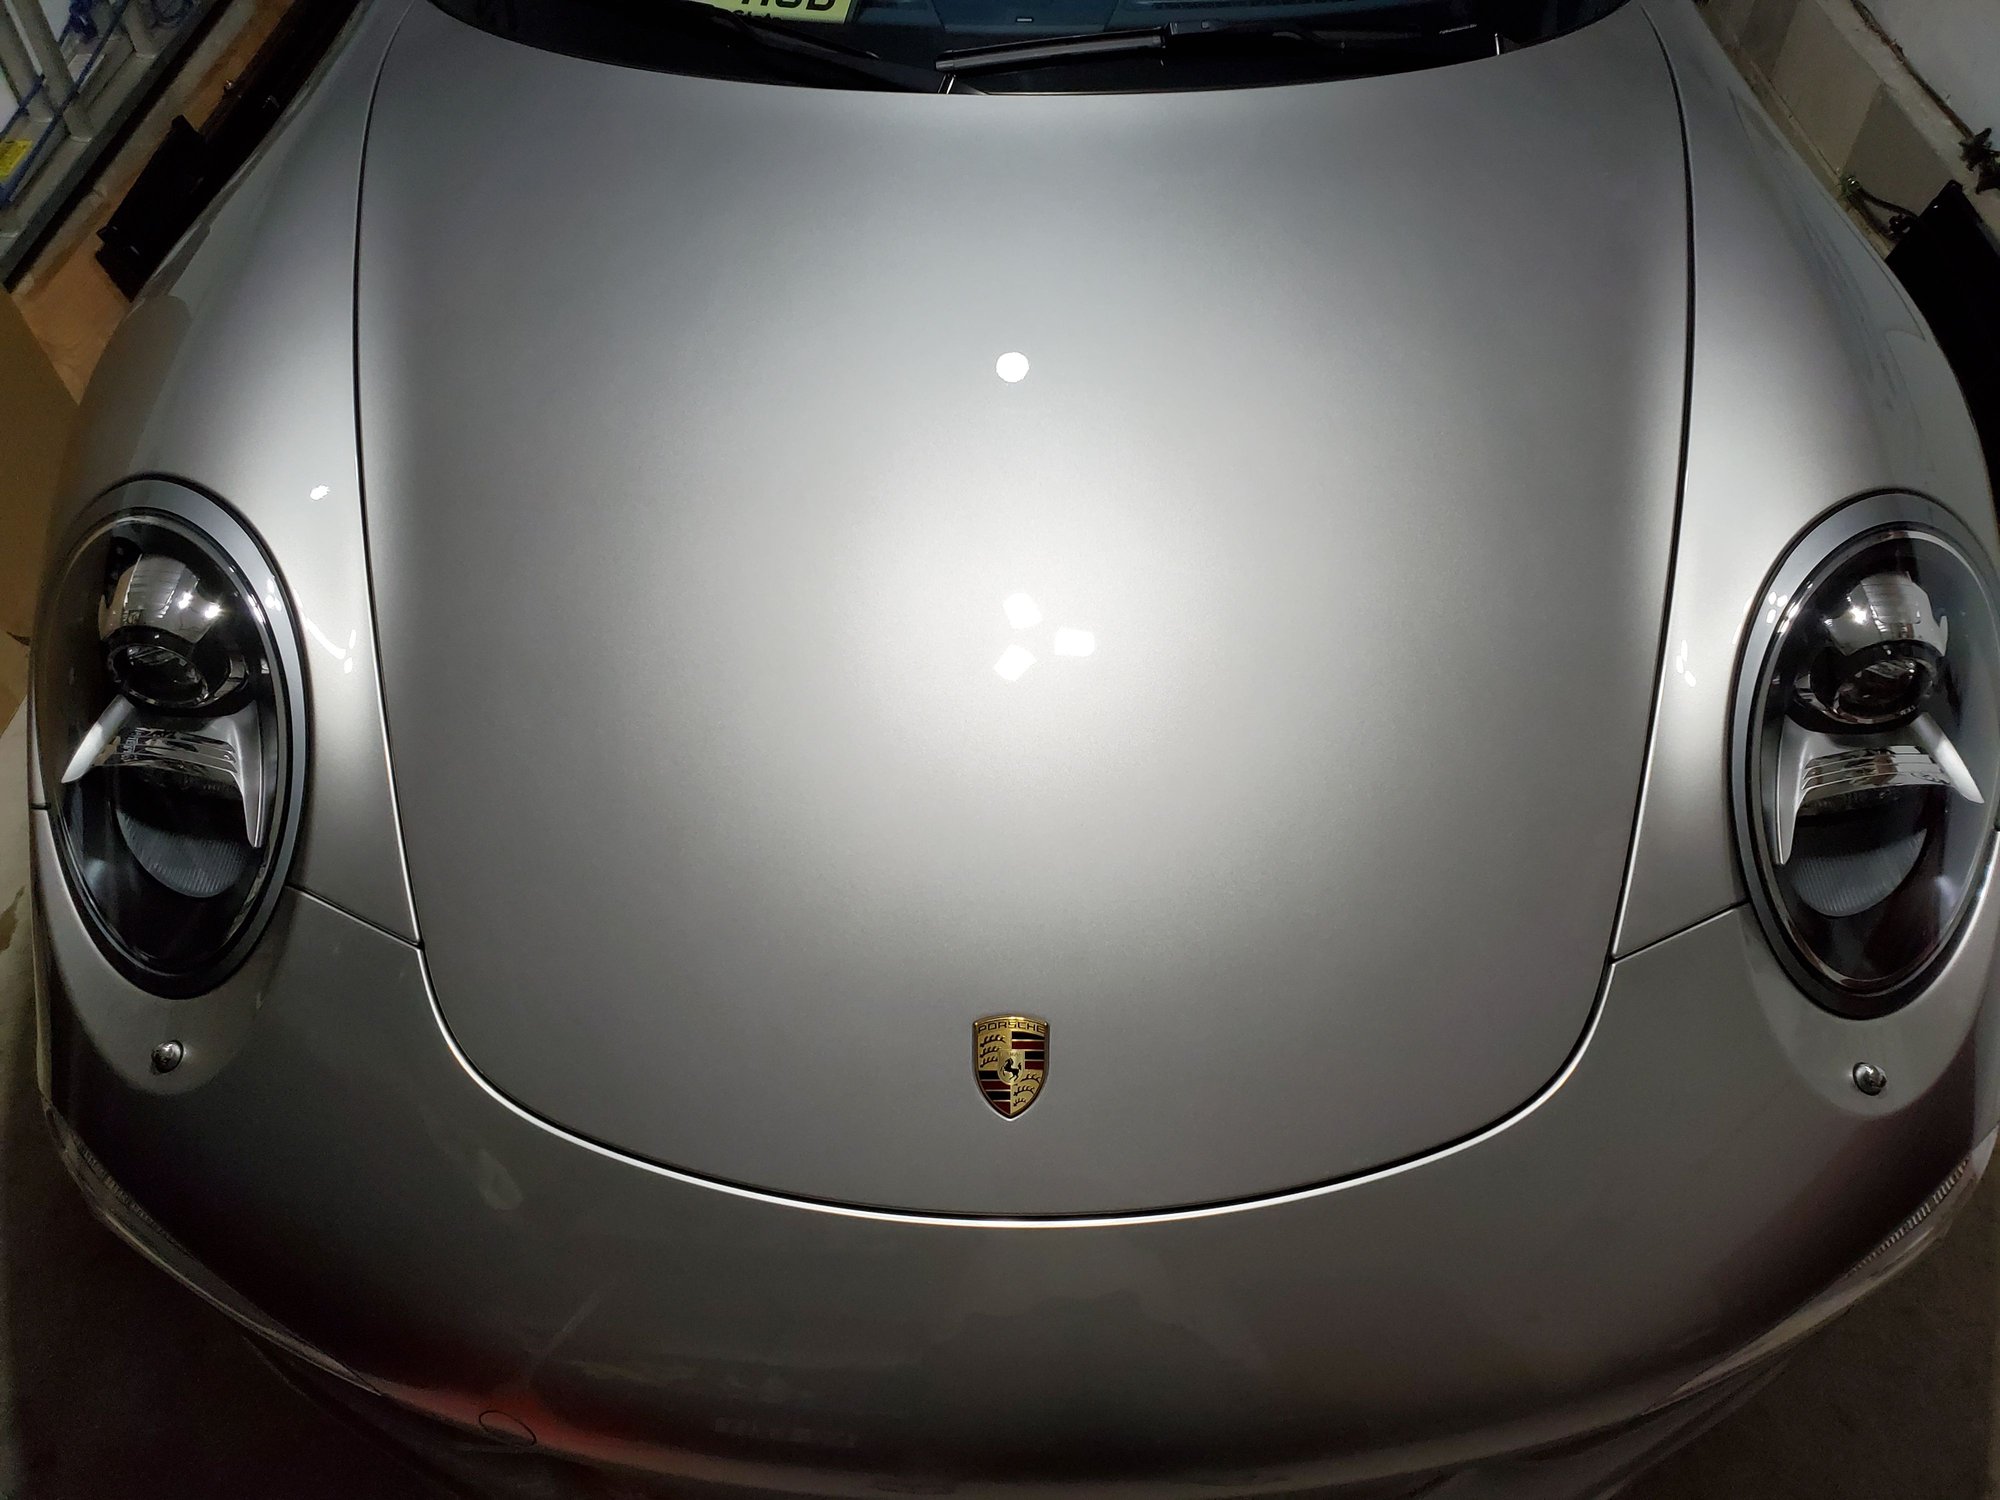
I know it may be hard to see the final product by looking the pics but the film looks amazing and you can’t tell if there was a clear film on the hood. Now that I am more confident on the install, I am planning to purchase a kit for the front bumper and I will hopefully follow up to share my experience.
The main reason I wanted to share this experience with all the enthusiast was the fact that there were many mixed perceptions on the product vs. cost and so I figured why not have it both, if you can tackle the job yourself and also protect your vehicle without dishing out over $1k. In my case the estimate to do the hood and the bumper was around $1200 form one the local installer’s. I ended up only spending $250 on material just for the hood thus far. I figured with the cost of the bumper I be looking at another $250-300 a total of $500, not bad when you’re doing the labor and most importantly the satisfaction.
Also keep in mind it will be cheaper to buy let’s say hood, bumper and front fender’s as a package, reason being the entire kit can be pre kit into the 6ft sheet, I didn’t want to jump right in and spend $750 so I decided to buy the hood 1st to see how it will come out and go from there.
Sorry for the long story, I hope It shine some light on things and maybe you want to tackle a project. I have attached linked to some of the things you will need and if you have any questions just shout it out, I be glad to answer. Just a FYI, I bought the XPEL ULTIMITE PLUS, Josh also sells the 3M products and other’s but form my research I found that Xpel is the one you want to go with as Josh will probably steer you there as well.
The prep for the car was as follows:
1. washed it with Dawn detergent.
2. Polish if required, if you see swirl marks on the pait when shining light directly on an area. My case I was good so I skipped this step.
3. Wet Clay bar
4. Final wipe down with GYEON Quartz Q�M Prep 500 ml - Pre Coating Surface Prep to Remove Oils and Lubricants Before Applying Ceramic Coating - Anti Static Surface Amazon purchase
Link for Xpel PPF above, I would suggest to email Josh as he can tailor exactly to your vehicle. opuspremiumfilms@gmail.com Atten: Josh
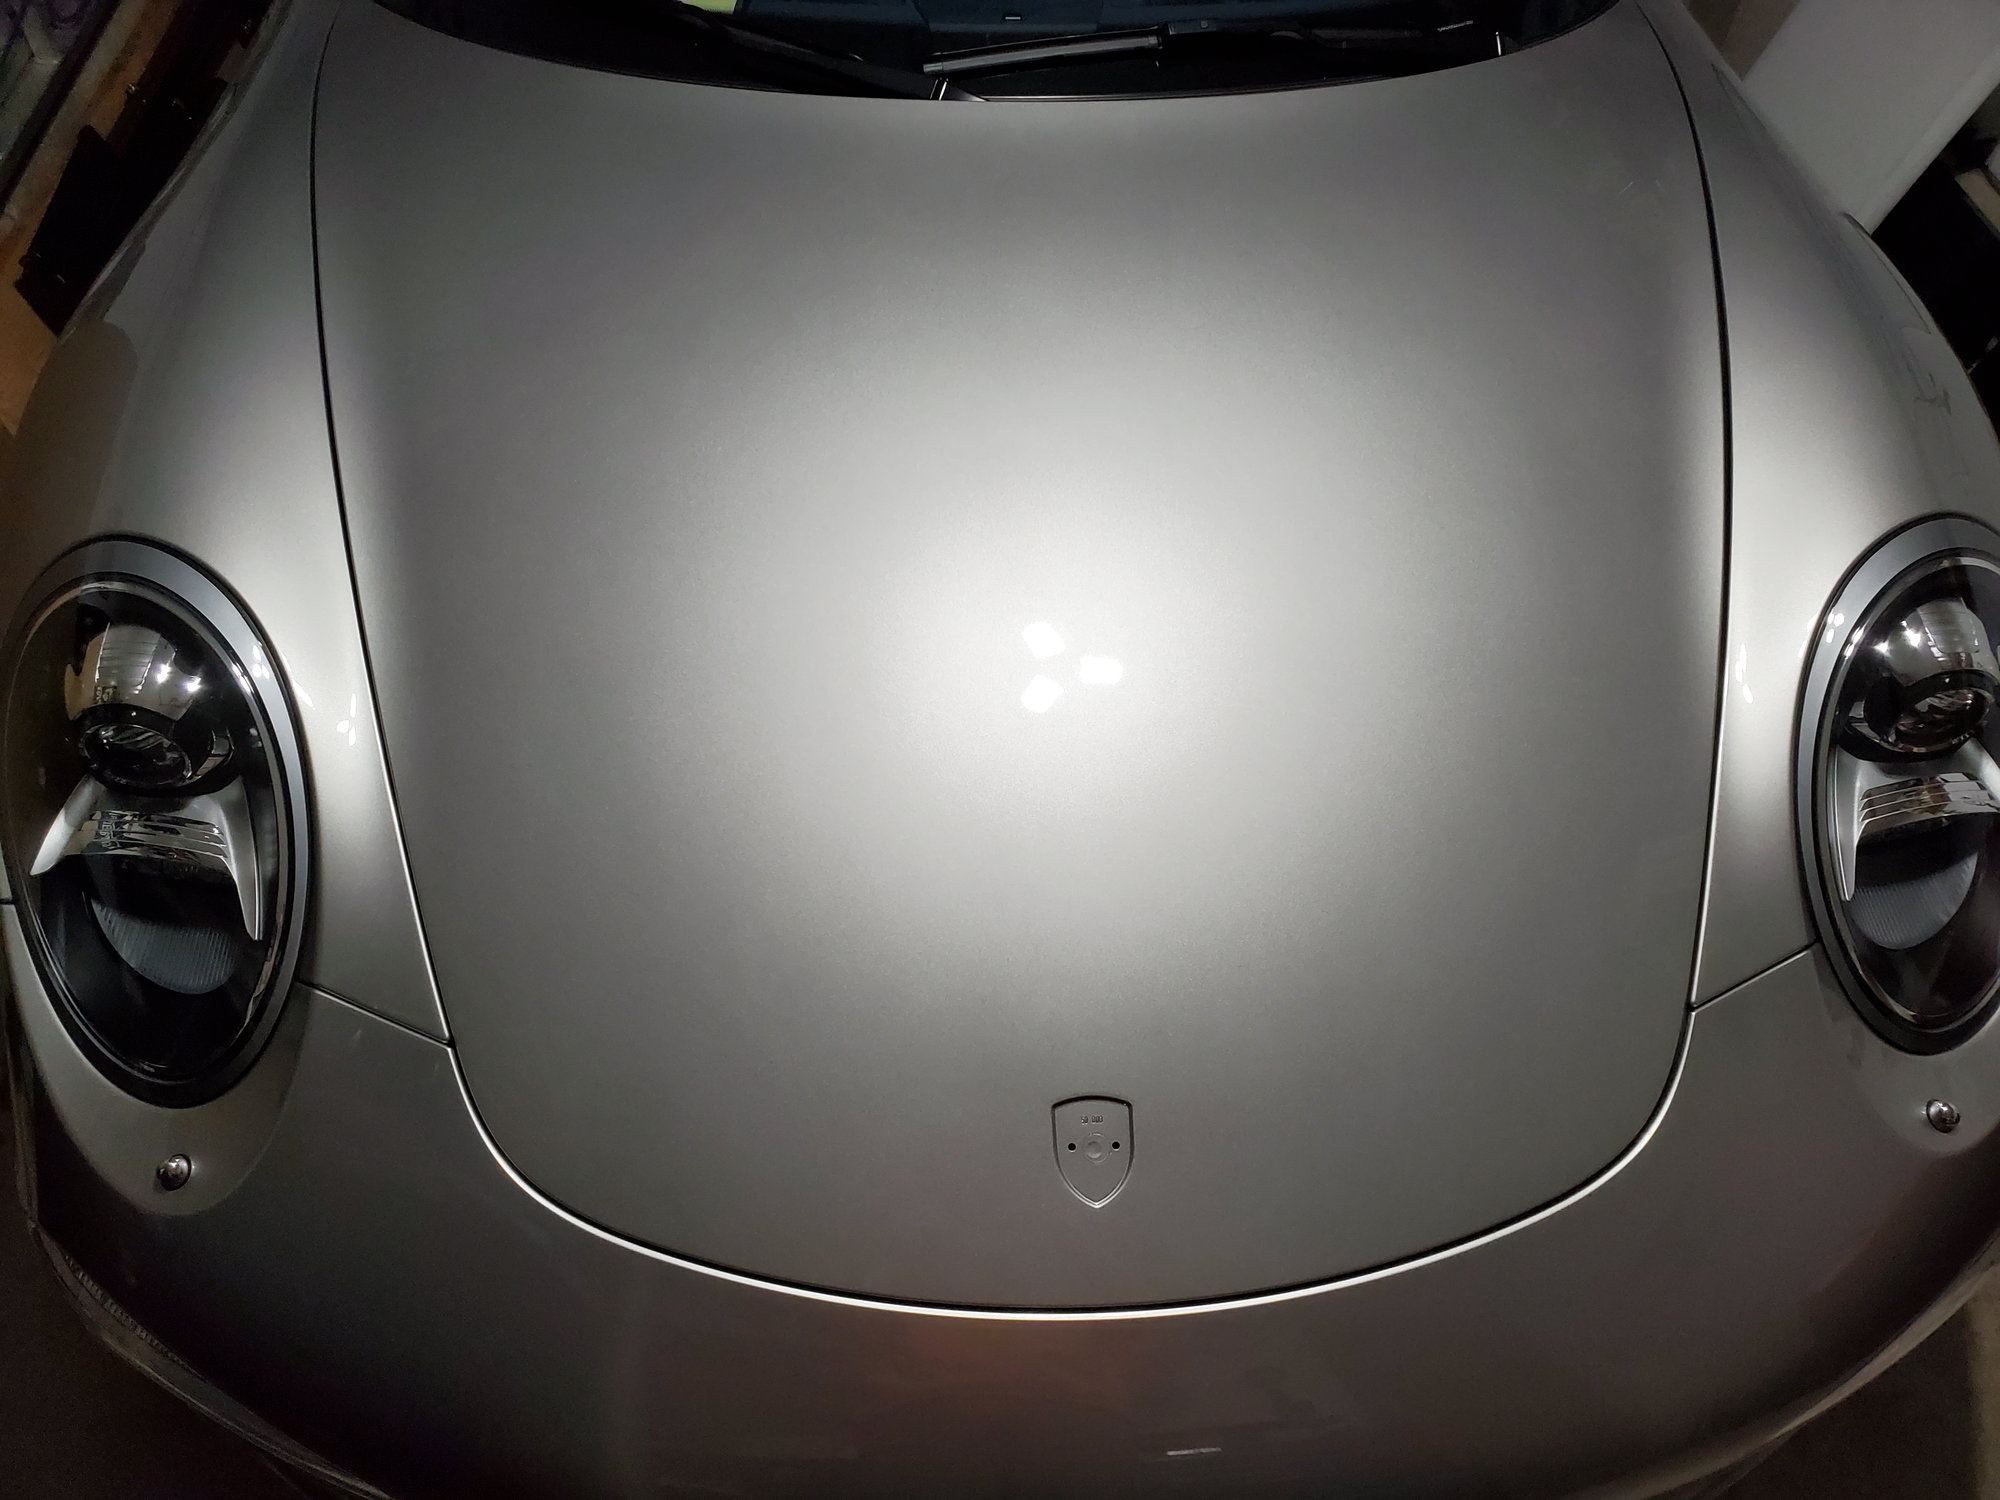
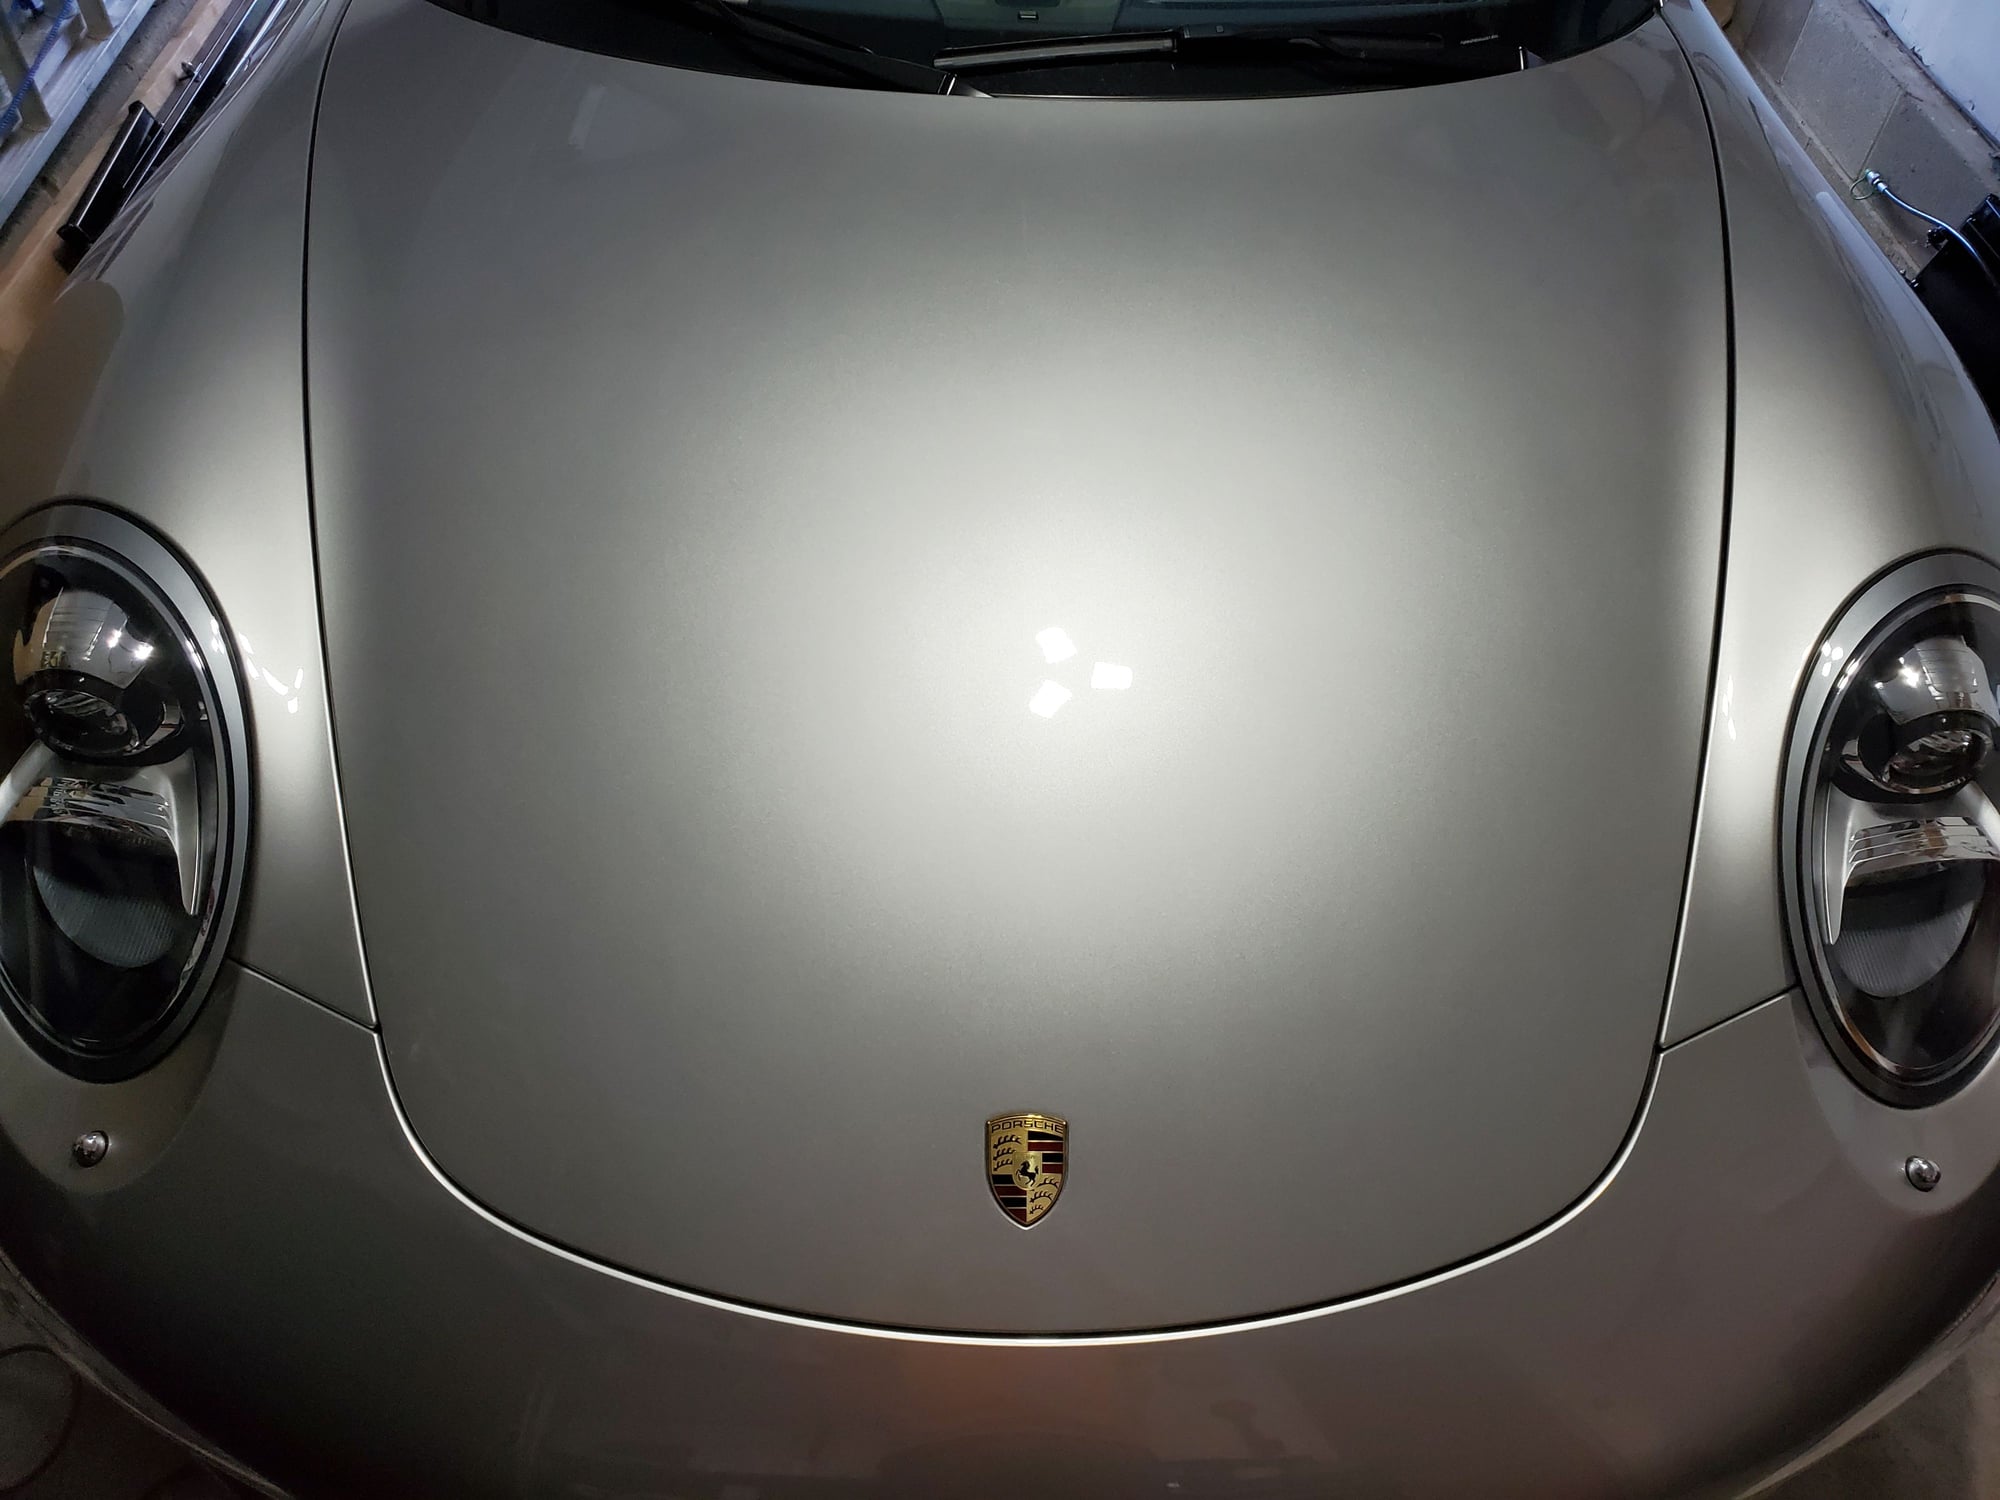
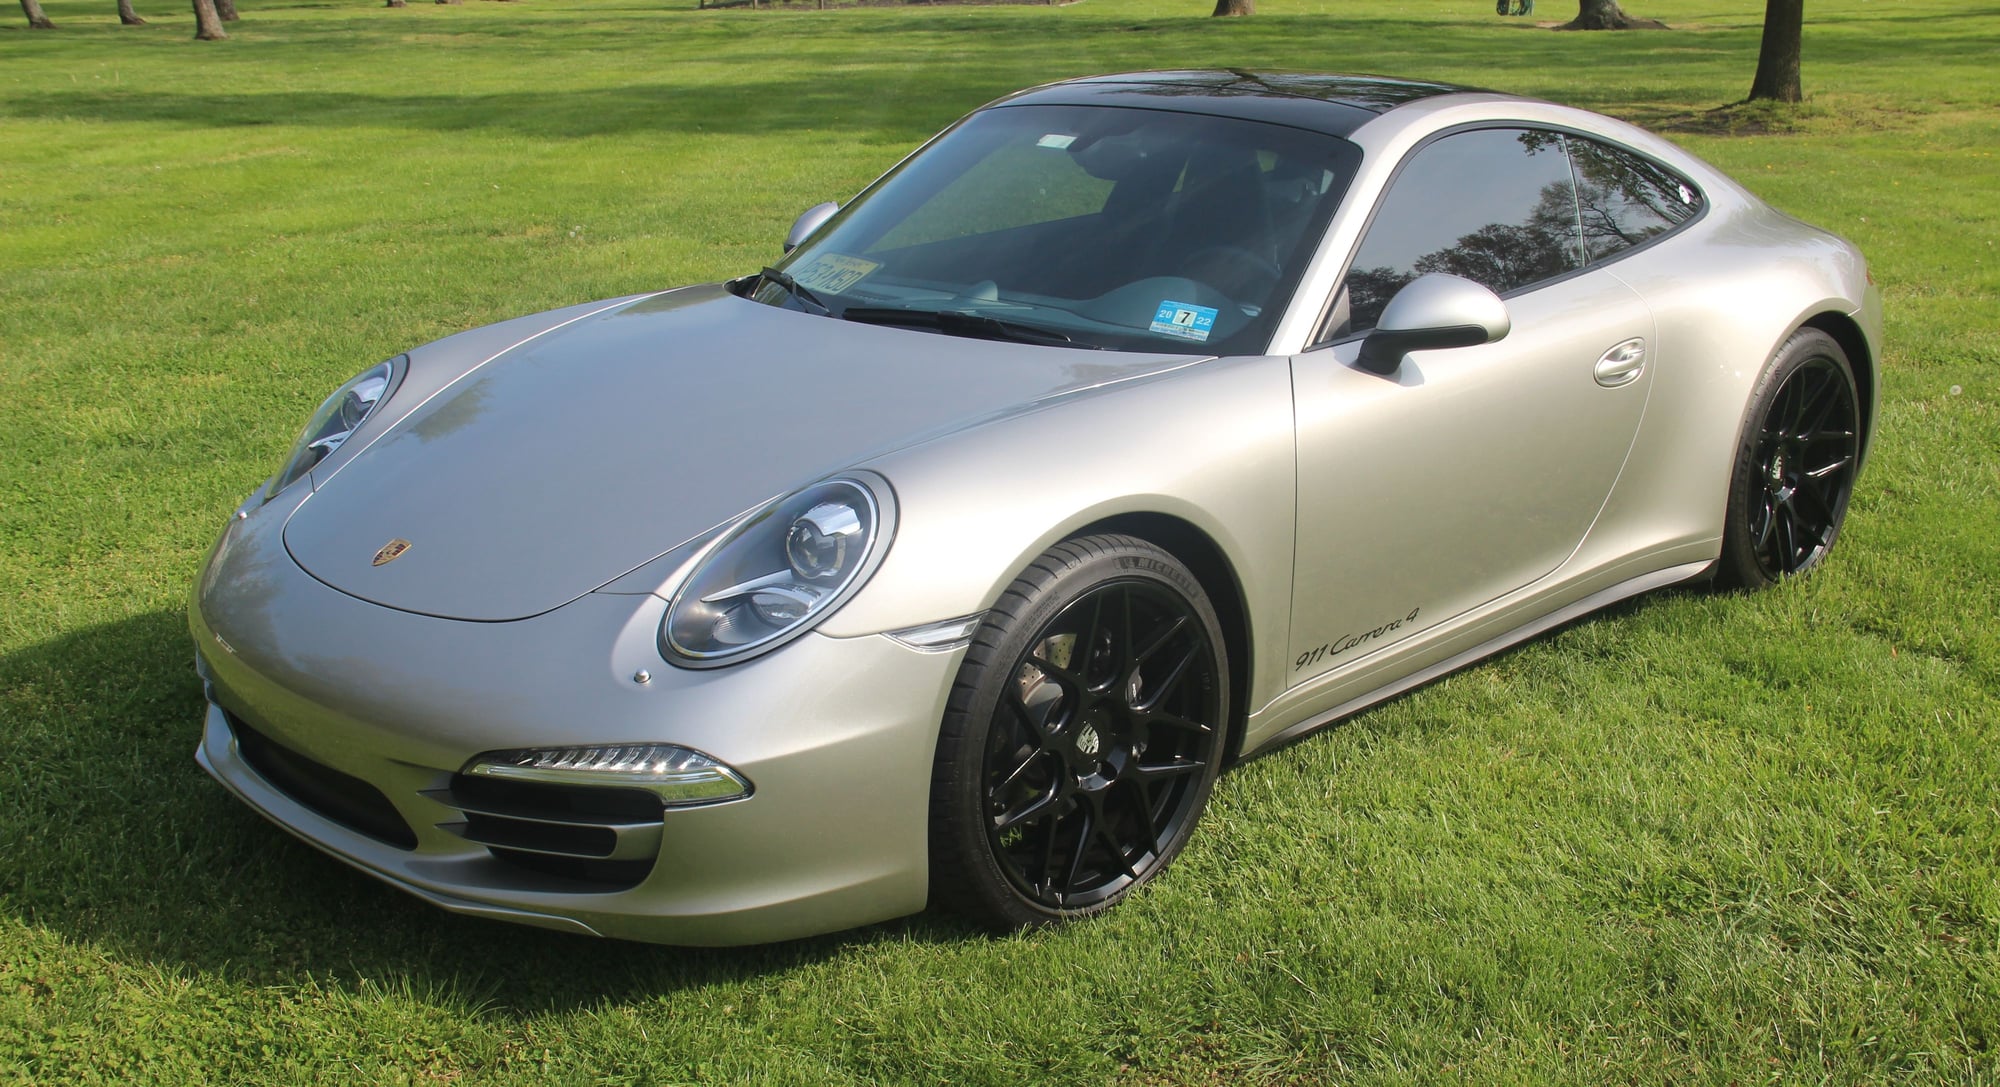
Things you will need to apply PPF Pre PPF Pic. Post PPF hood only post ceramic coat on top of the PPF hood only post PPF Hood only, with No ceramic coating post PPF hood only, with No ceramic coating
Supplies you will need to apply PPF below:
https://www.xpel.com/xpel-installation-gel-2-0-16-oz : This is really helpful for area's that may take longer to work on, the Gel will last longer vs. slip solution. I used slip solution for the hood as it was an easier project. for the bumper I will be using the Jel.
Nice work. For what it's worth, the hood is probably one of the easier ones to tackle. I'd be curious to know how much more difficult the front bumper is for an amateur DIYer. Something like bumpers is where I hesitate because if I screw it up, that's hundreds wasted on a single plastic sheet.
Looks perfect! How much do you think you saved? I mean, was it worth it? Some things, like tile work, I've found it is better to let an experienced installer do the work. I would love to be able to do it.
I admire the perseverance of the DIYers who can pull off installing a PPF so well done and thanks for sharing the knowledge.
I miserably failed to install a protection film on my IPhone 4 many moons ago - 25$ down the drain in 5 minutes. Installing PPF is something I would leave to a pro in my personal case.
Thank you all for your kind words. The whole point of this project was to test my limits and see what would be the outcome and the main reason why I chose to do the hood 1st to get a feel for it. I could have easily pissed away $250 if I screwed it up, but I knew I can do it and for that reason I have more confidence on taking on the bumper project. It wasn't really about the money for me at least. As I had mentioned the pro installer's would have probably charged me $600 or so, yeah it's great to know how much you have saved money wise but it's knowing that you're the one took on the challenge and succeeded. I feel comfortable enough to go forward and I will keep you guys posted.
One note to share as well, PPF material works well in warmer climate so with the warm weather upon us, it will help with the install, just make sure your inside the garage and importantly keep the garage door closed when your pealing off the material to transfer it to the hood or other locations, you don't want dust or other microscopic material get on the area and or the Film. once you have laid down the Film go ahead and open the garage door if you desire. I personally like to leave it open for more lighting.
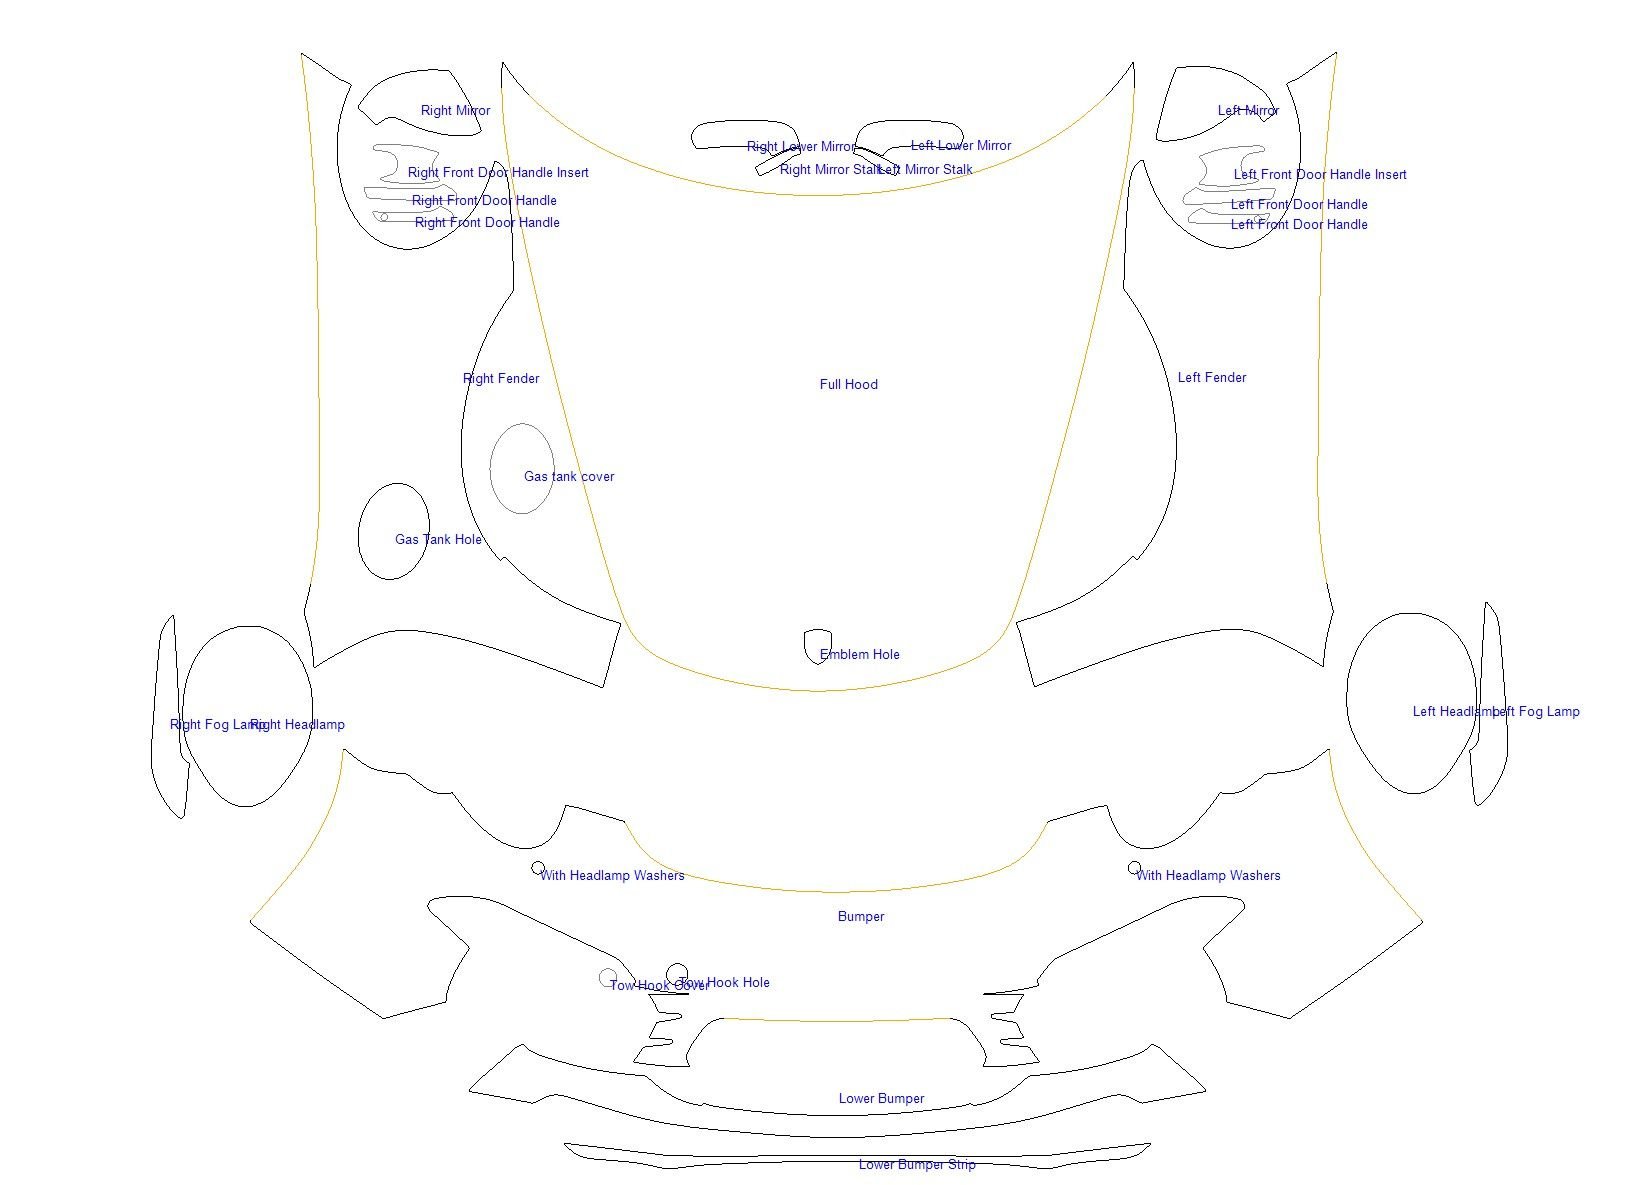
Attach is a picture what Josh from opuspremiumfilms.com had made for me initially to do the hood, lights, bumper, and fenders. the Yellow outlines is where he was giving me half inch overlap to fold in the material around the edges.
Definitely watch the You Tube links , these two were very helpful to me understanding the process and technique's. the main thing is to TAKE YOUR TIME AND BE PATIENT.
Cheers
nice job on the hood. looks great. smart move on starting with the hood as the easiest part to get a feel of how PPF works and behaves when working with it.
now good luck on the front bumper! thats usually the most difficult part of any car... it makes you question life sometimes hahah
I just ordered the pre cut for the front bumper so I keep you guys posted. There is no need to remove the bumper, however I ordered a pre cut without cutting out the headlight washers and they gave me half inch on the edges so I can fold the film which makes it a clean install. I am also didn't need to remove the headlights the cut was right where it needed to be.
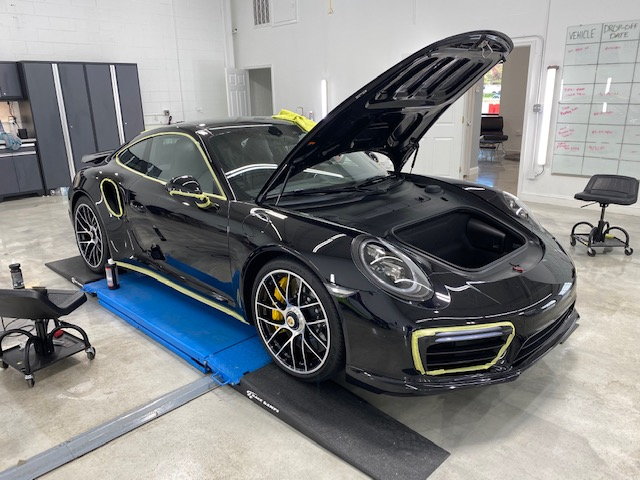
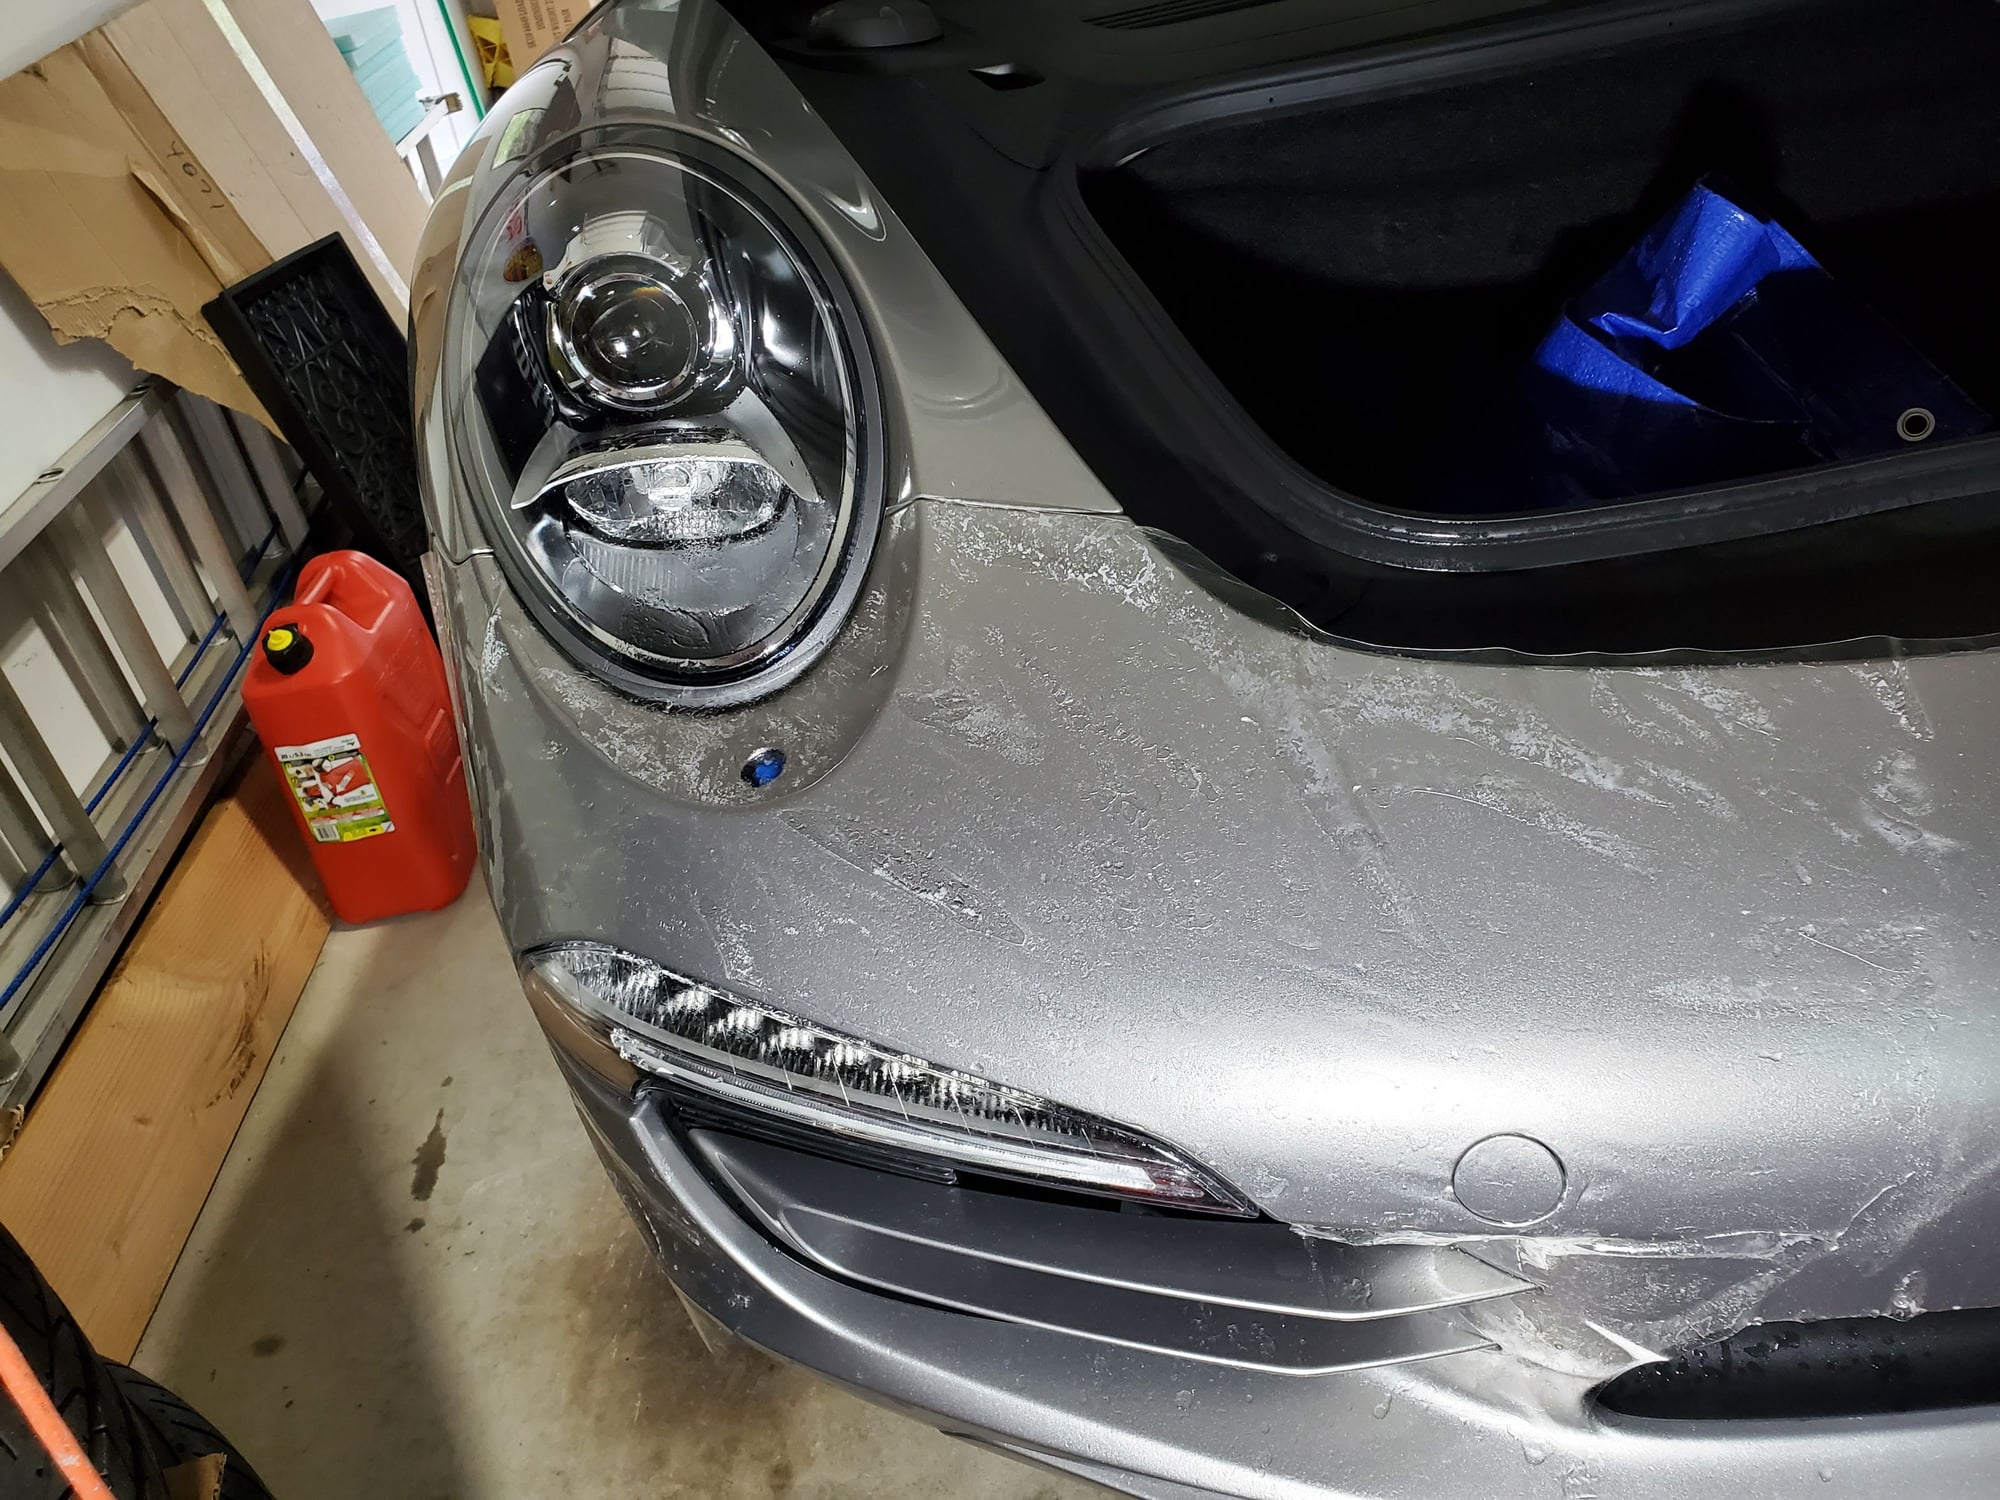
So to follow up, I went ahead and purchased the bumper precut kit, and had it installed yesterday. I have to say it wasn't as hard as I thought it was going to be. It did take me 5hrs to finish it all up, but I was very meticulous about the process. I was amazed how long the Gel solution managed to stay slippery which in this install it's a must slip solution to use. I recommend having several towels handy as you squeeze the gel out from the film you have to keep wiping away the excess, and it gets a bit messy. BTW, I have the car up in the air using my Quick Jack lift, I would recommend some kind of ramp of some sort to bring up the front in order to make it easier to work on.
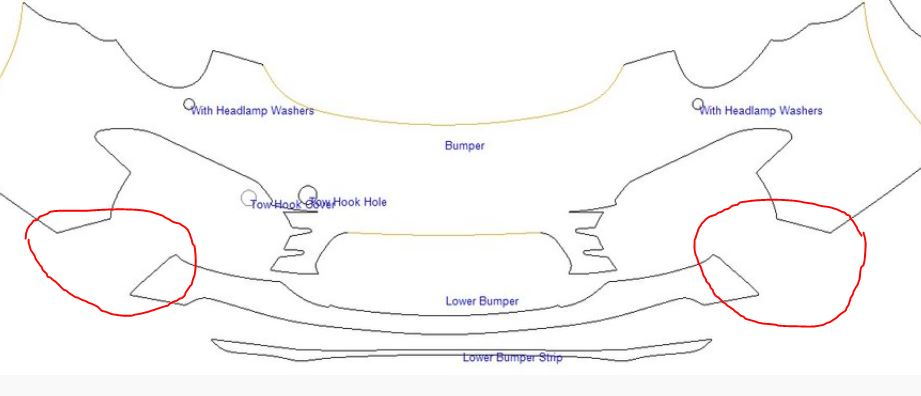
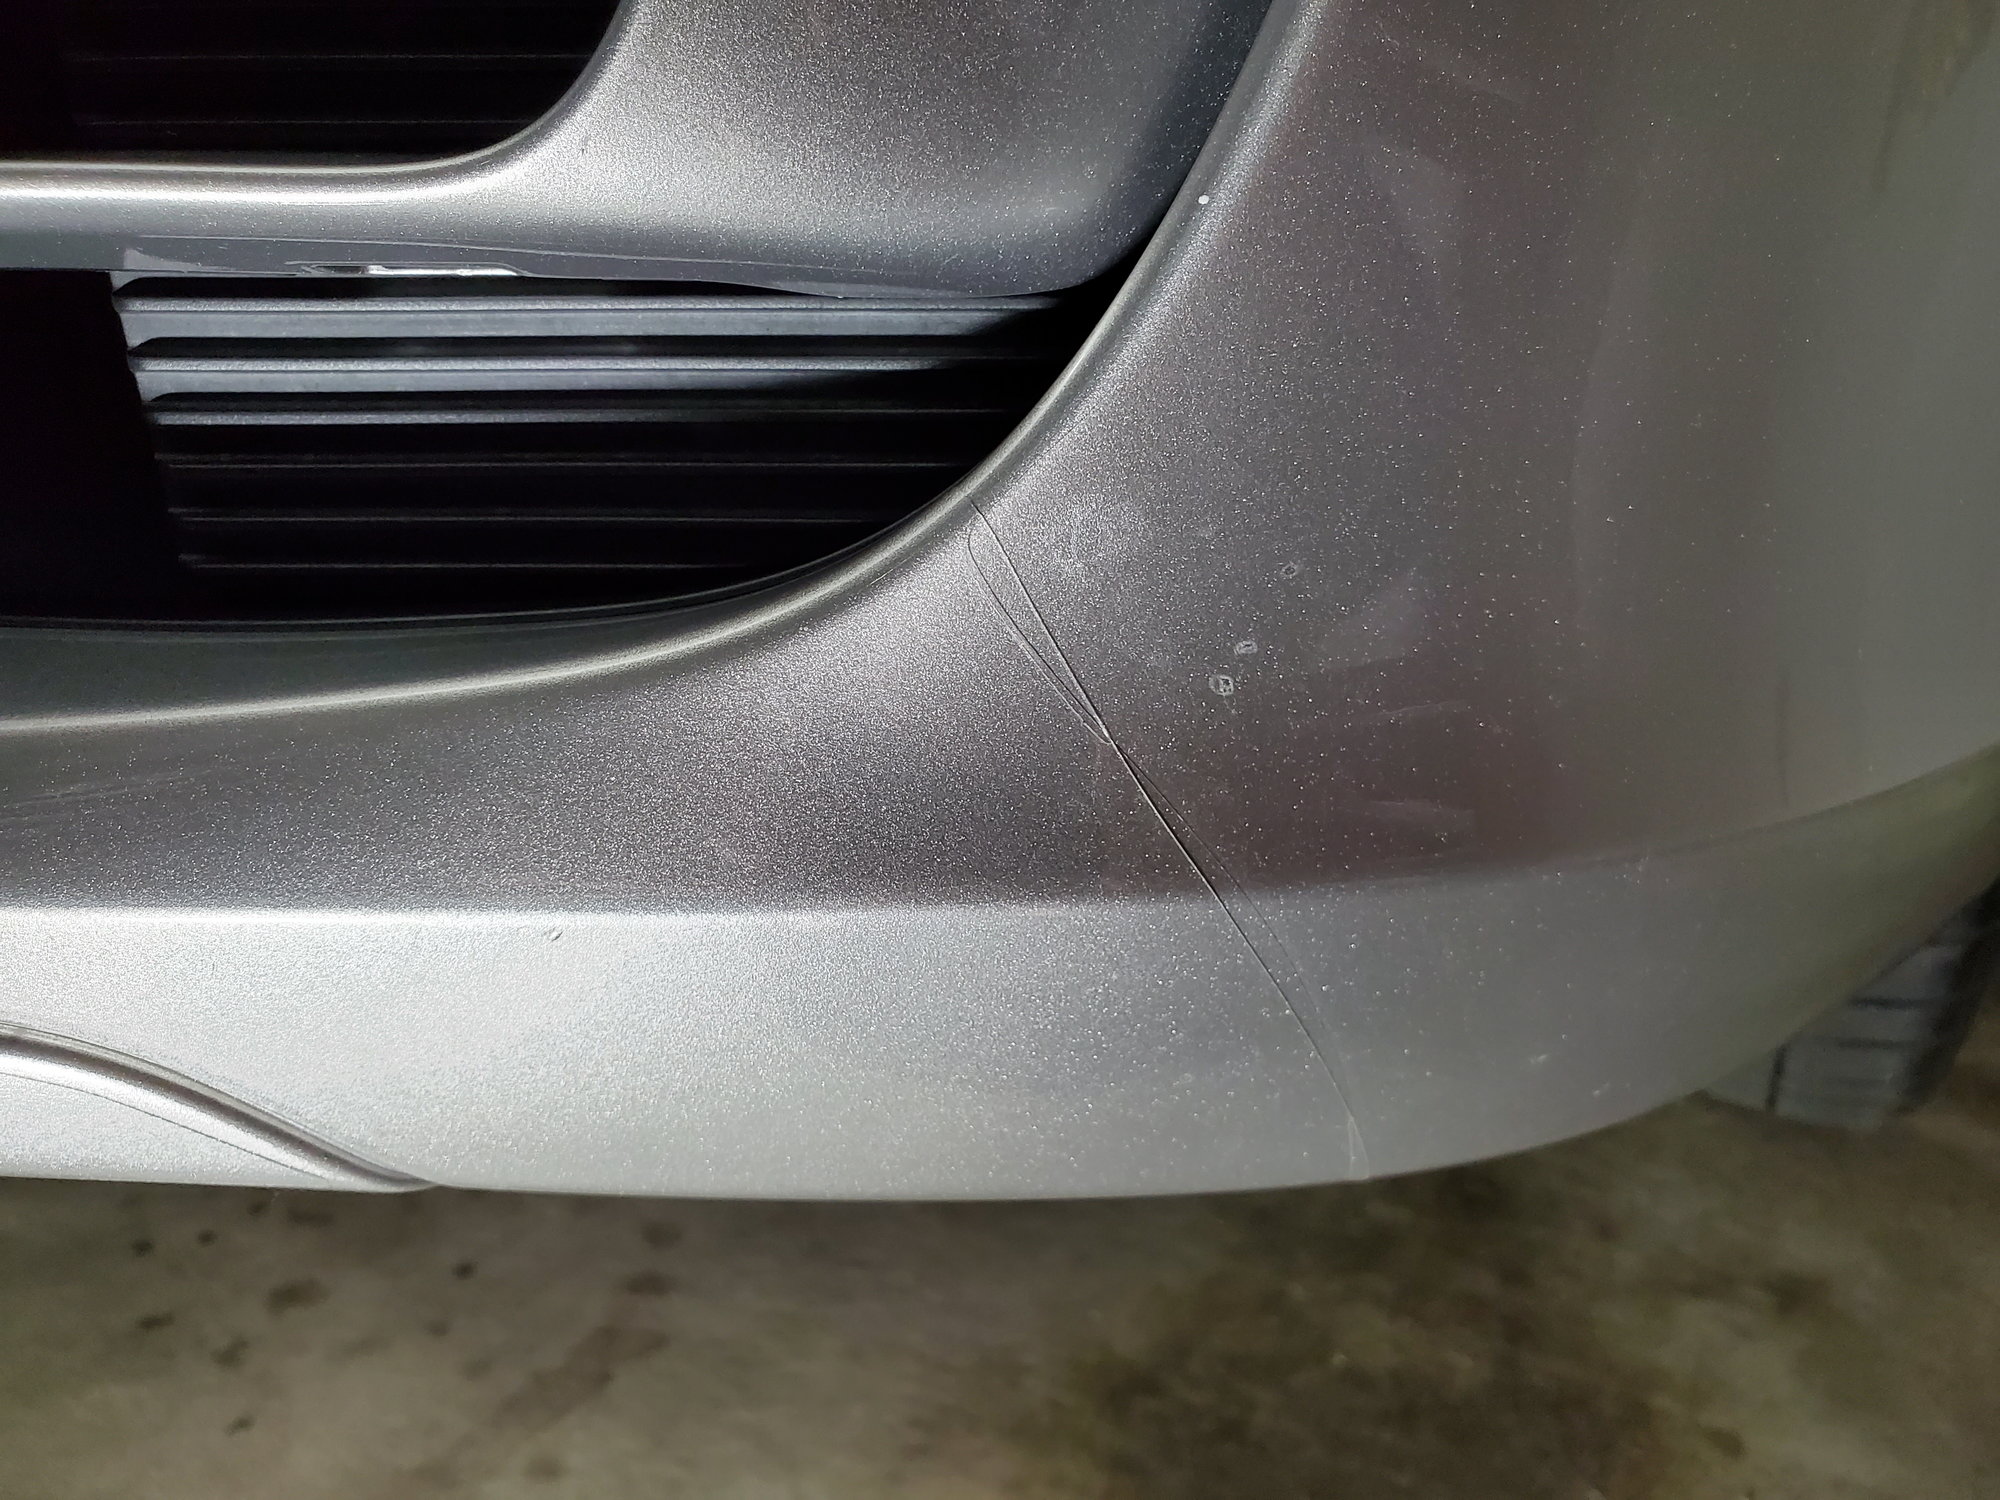
I have to say the hardest part of the install for me at least was trying to line up the 2 pre cut pieces to keep it uniform see picture the area I am talking about. The cuts are like 45deg angle, and it was hard to figure where to place the film. If I had to do it again, I would have the main bumper put on and then install the 2nd piece as I am doing the install so I can reposition the film to line up accordingly. Overall, I am very happy with the results. Hope this information will provide better insights on what it takes to tackle a PPF bumper install. Josh from Opus Premium Films mentioned that Porsche car's are one of the difficult vehicles for PPF install, so for me it was even more of a challenge as a DIY.
Cheers
The joints that I had Mentioned closer shot of the actual install the 2 joints half install in progress
After speaking with my PPF installer, I had a better understanding of what they have to do to get the pre cut patterns to fit. They said if I saw the precut piece, that I would think it doesn’t fit. They have to stretch certain parts to make them fit. That lower bumper seam is one of those areas that they have to massage to a good fit.
 04-27-2021, 08:35 PM