When you click on links to various merchants on this site and make a purchase, this can result in this site earning a commission. Affiliate programs and affiliations include, but are not limited to, the eBay Partner Network.
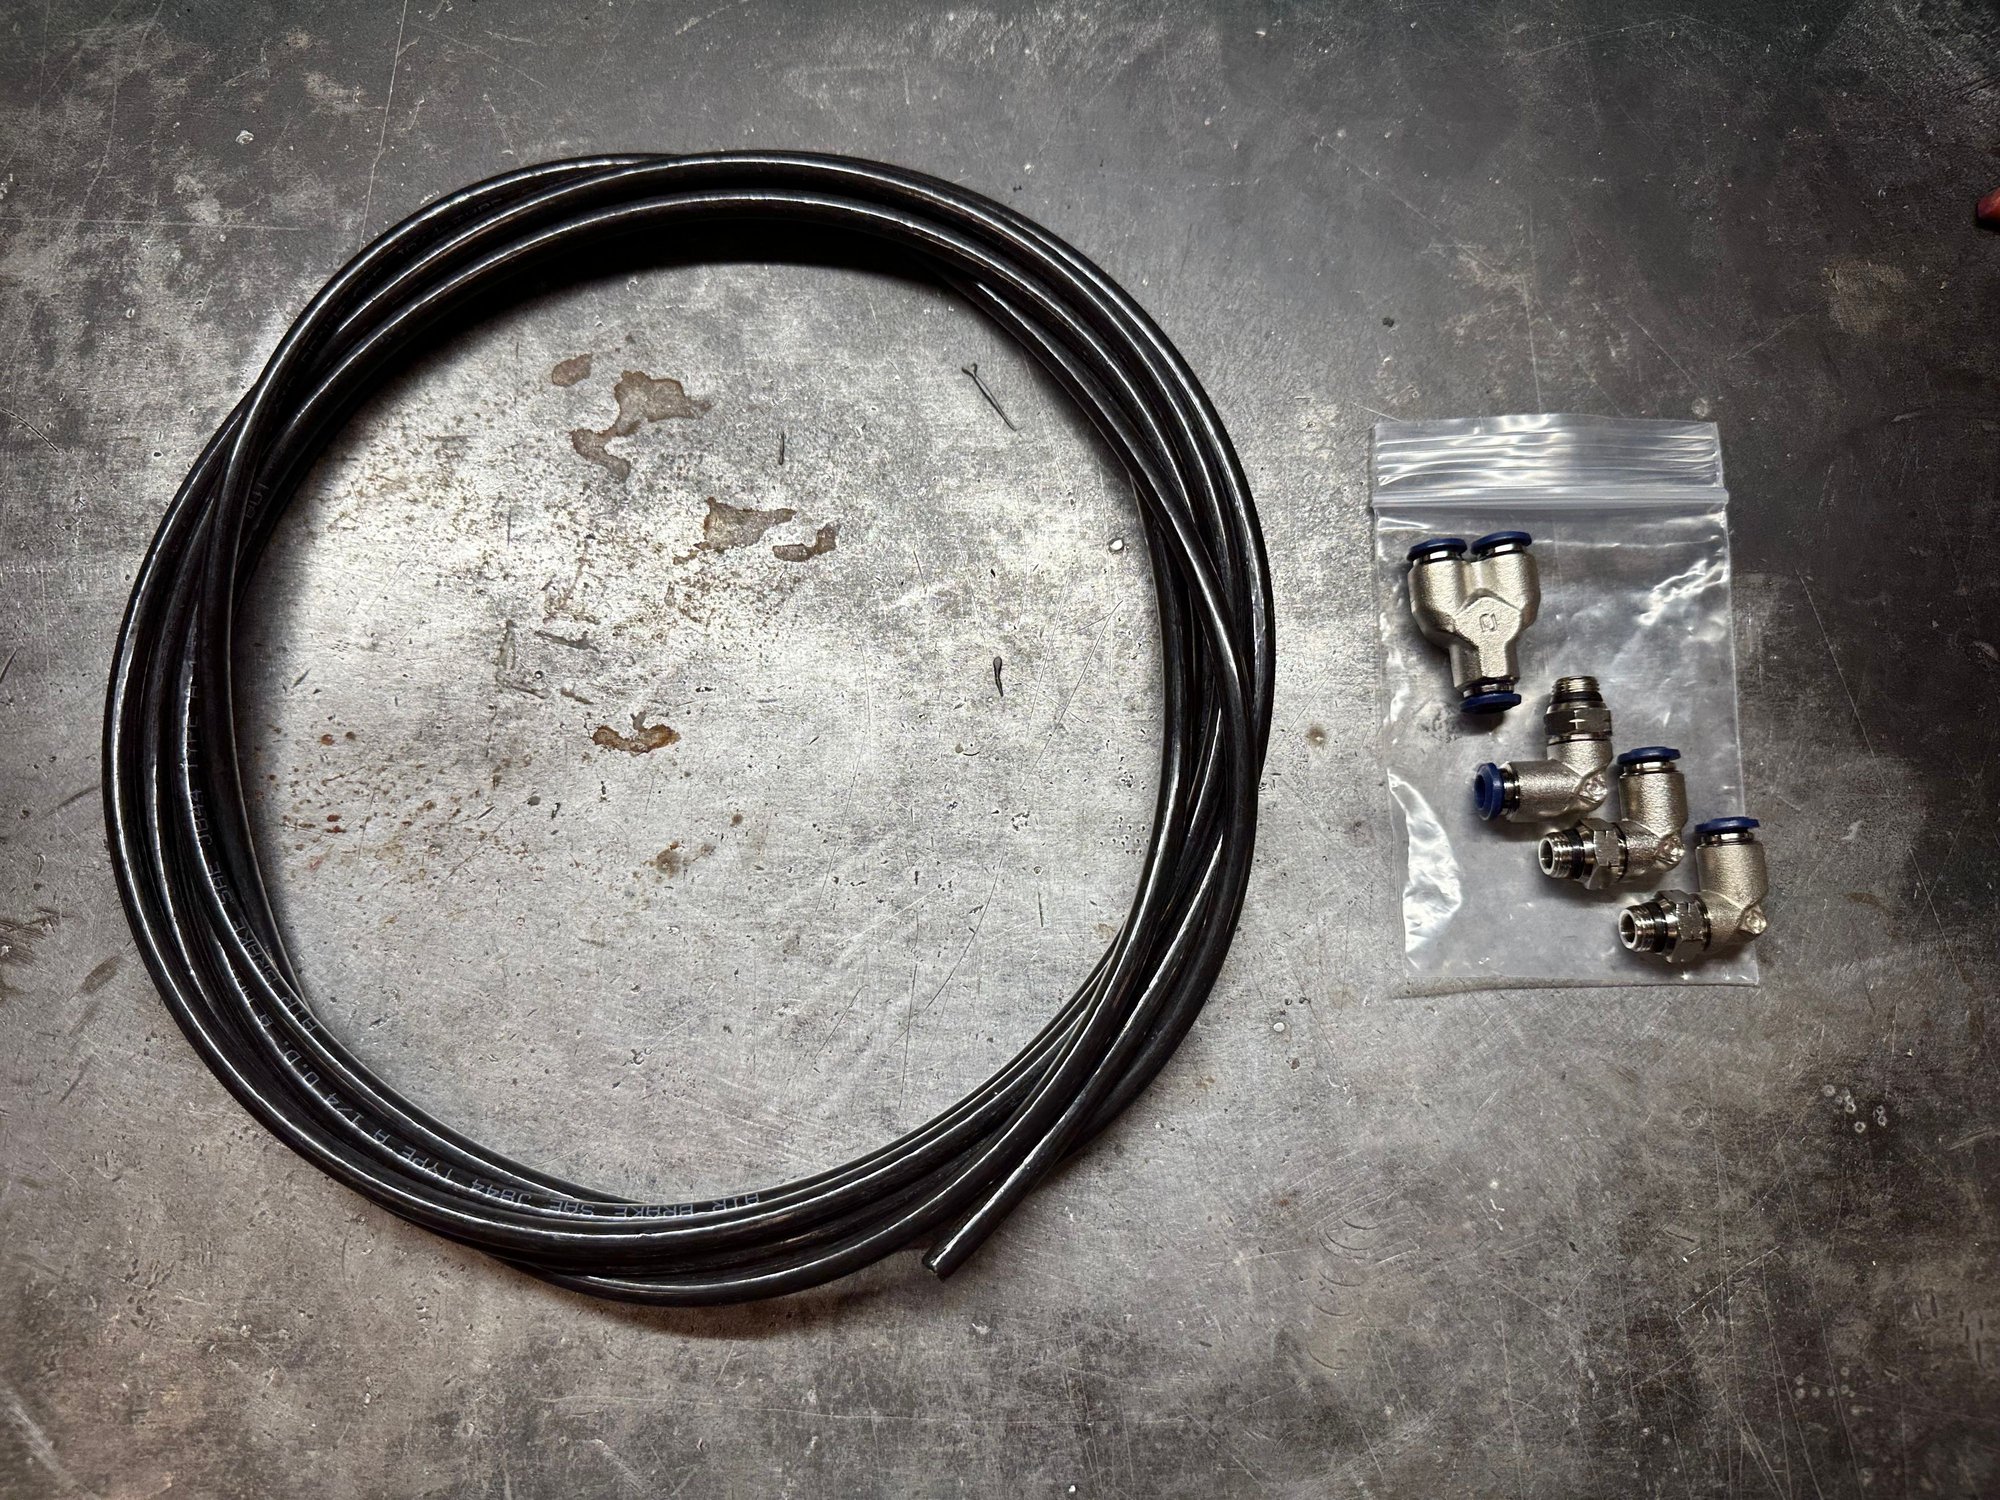
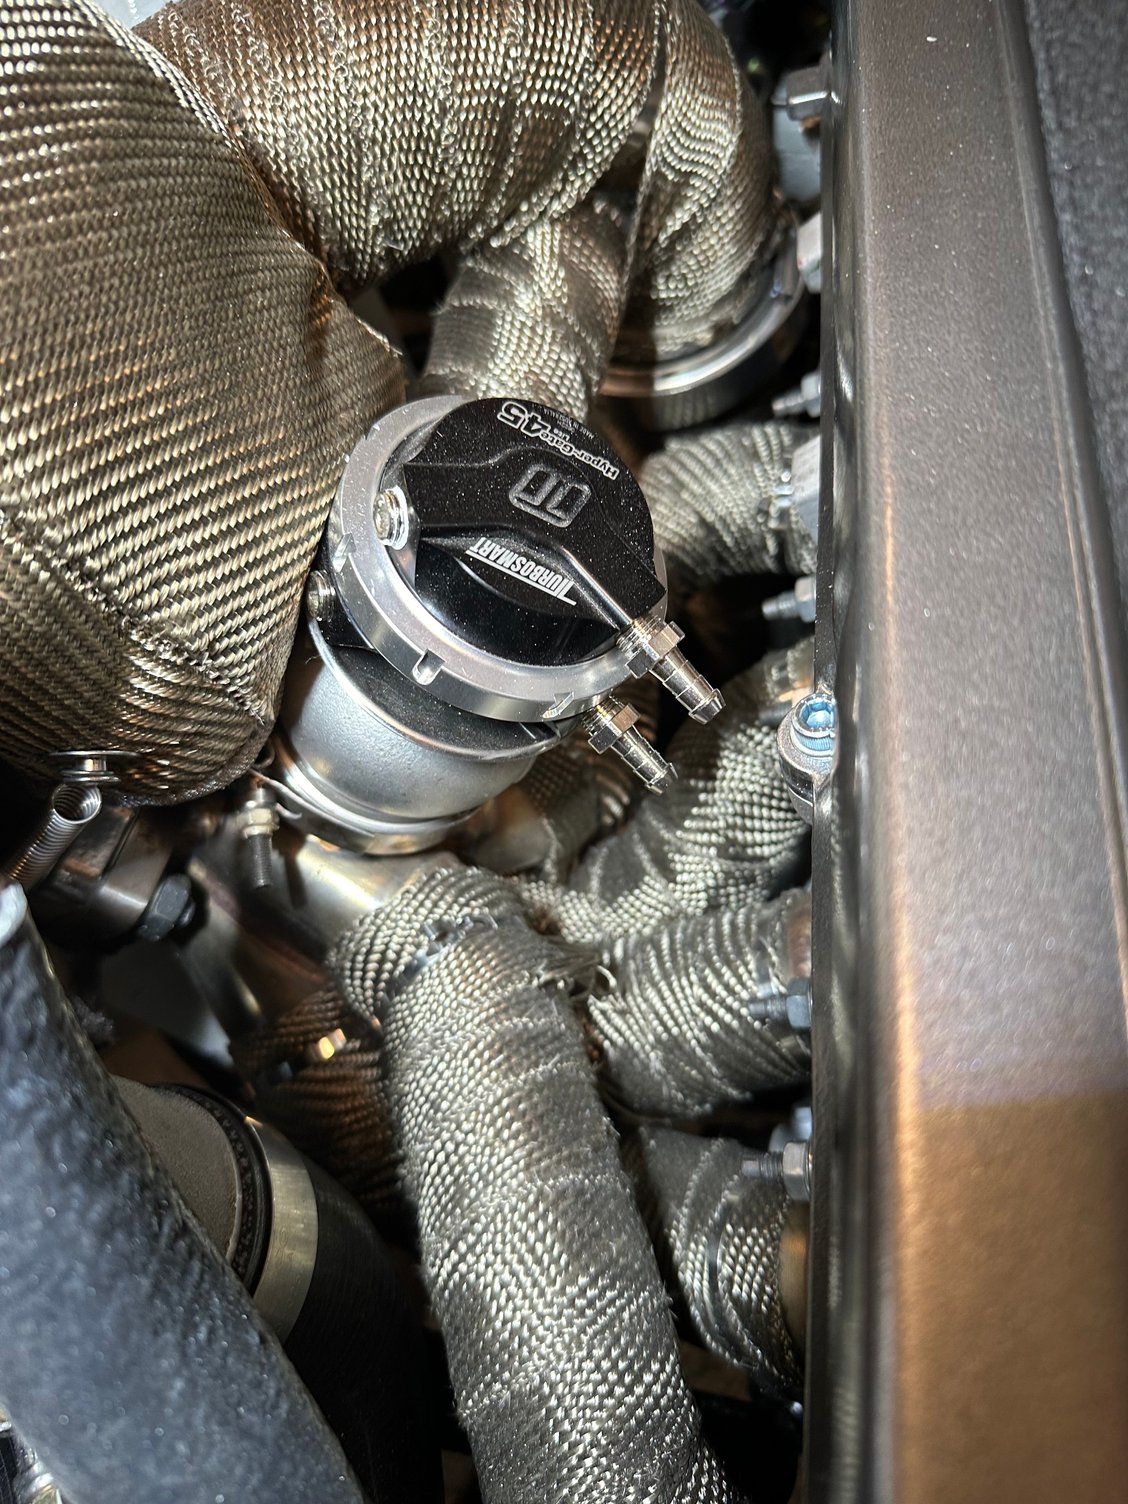
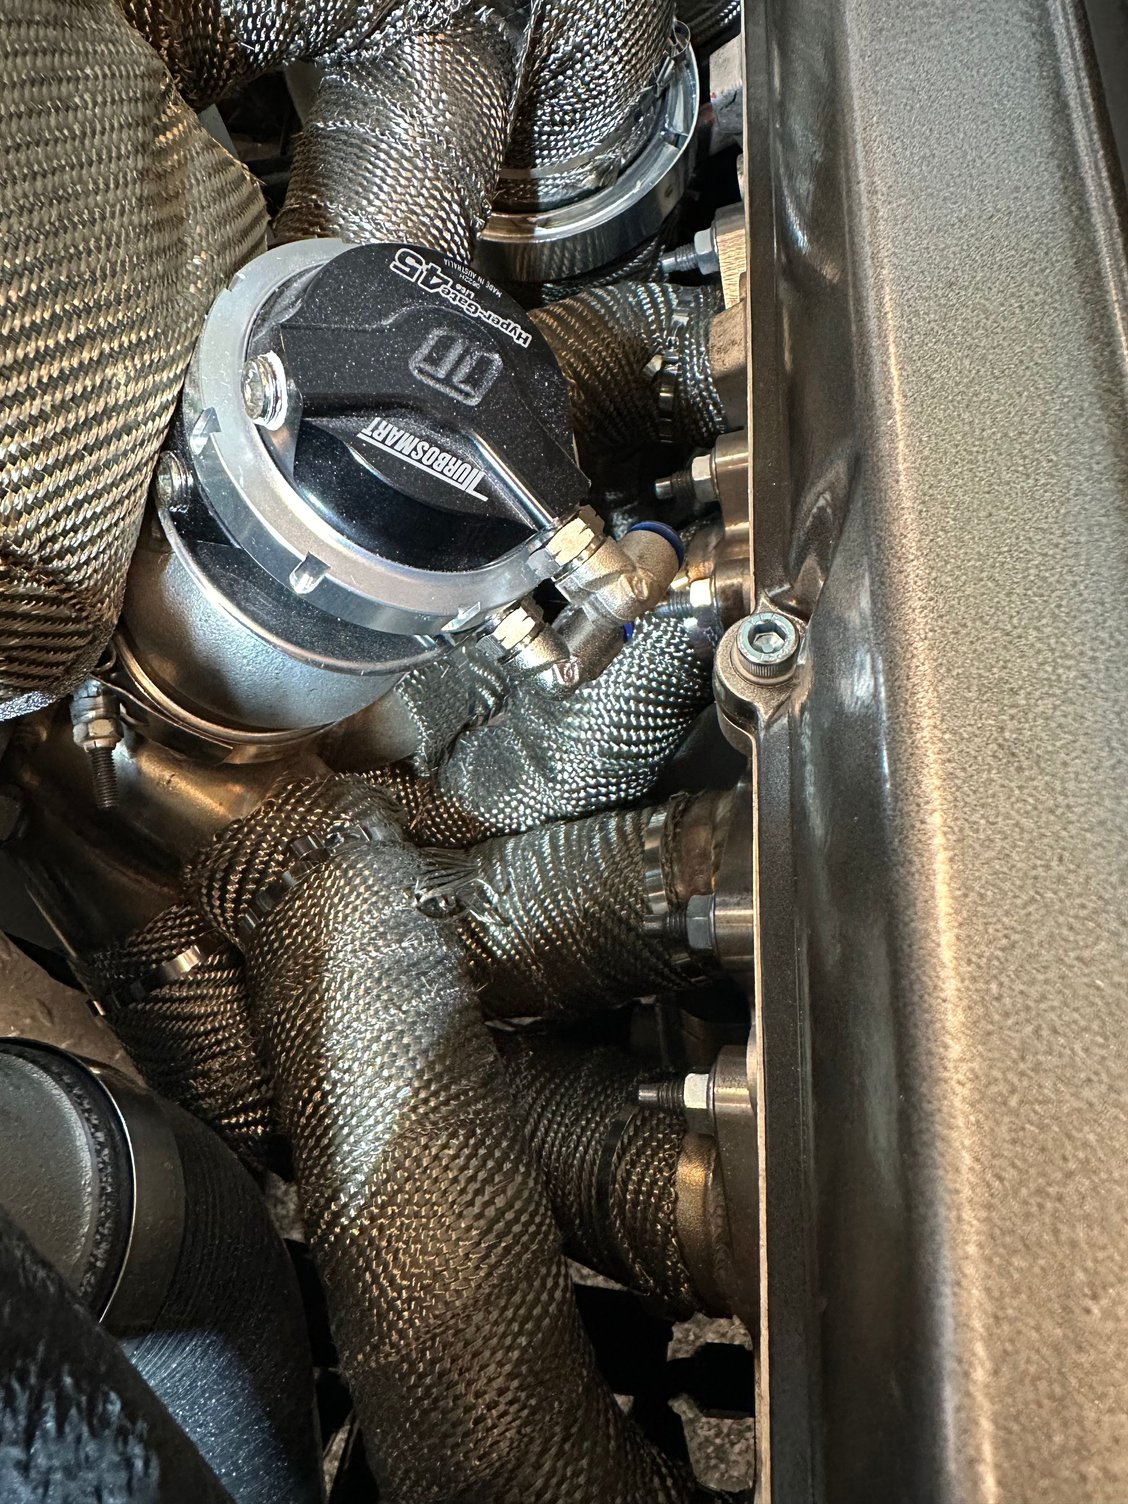
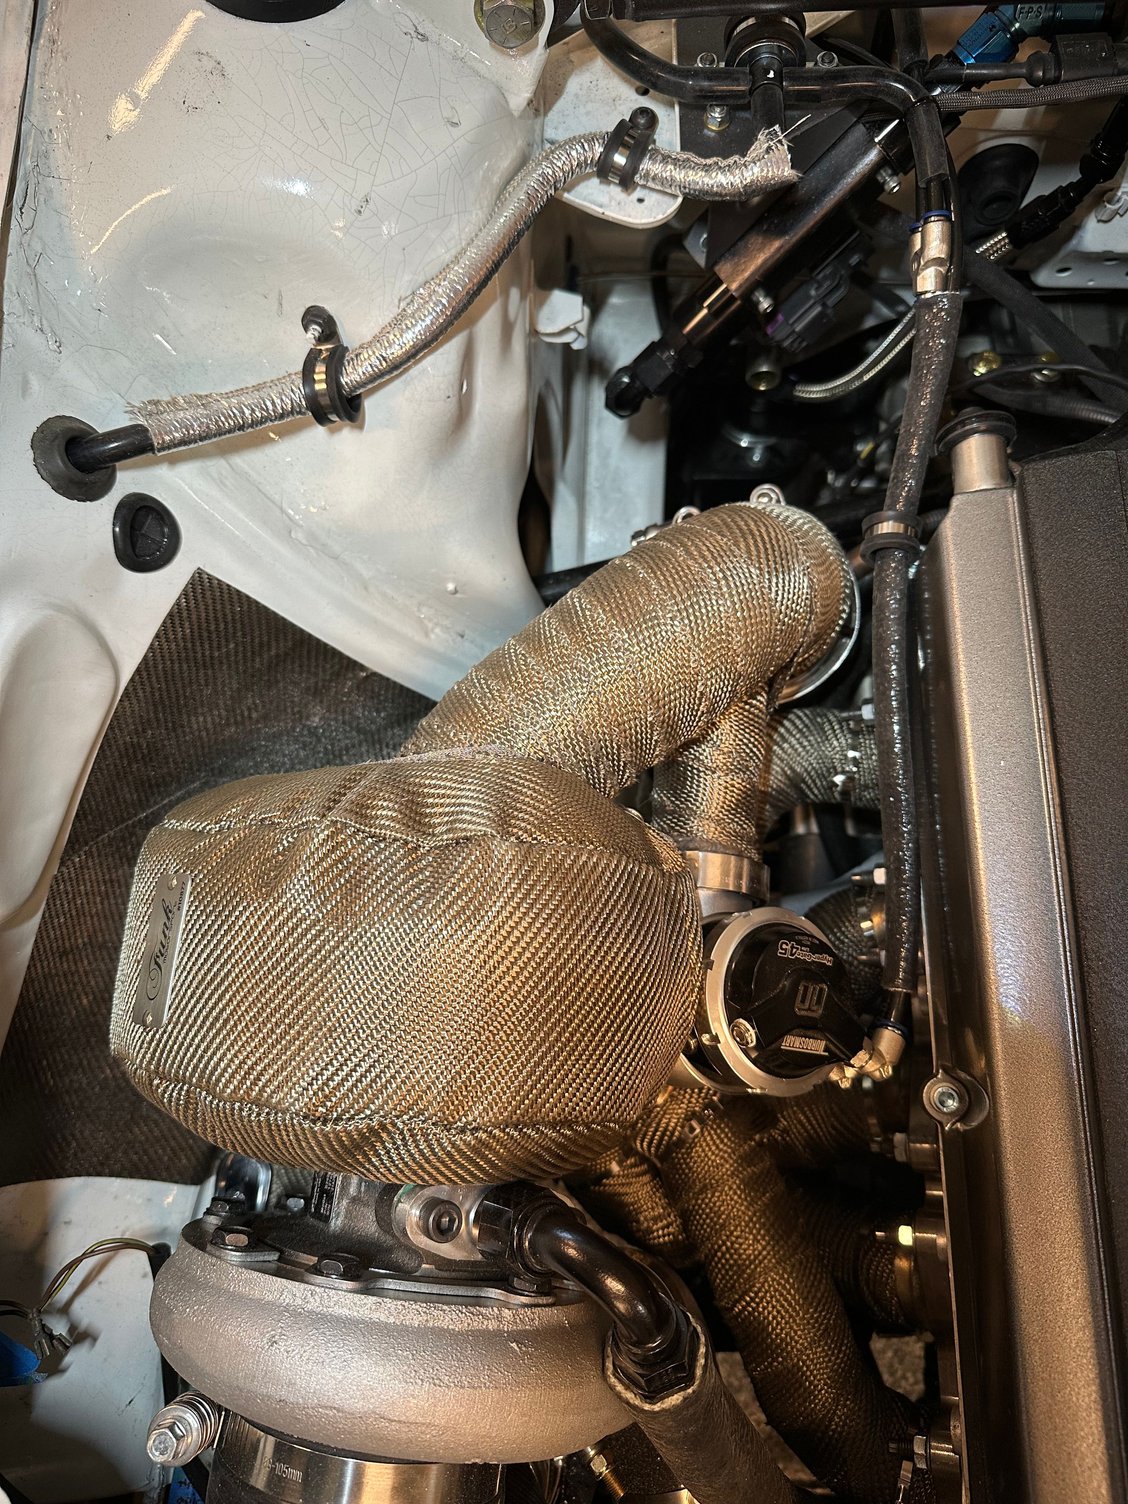
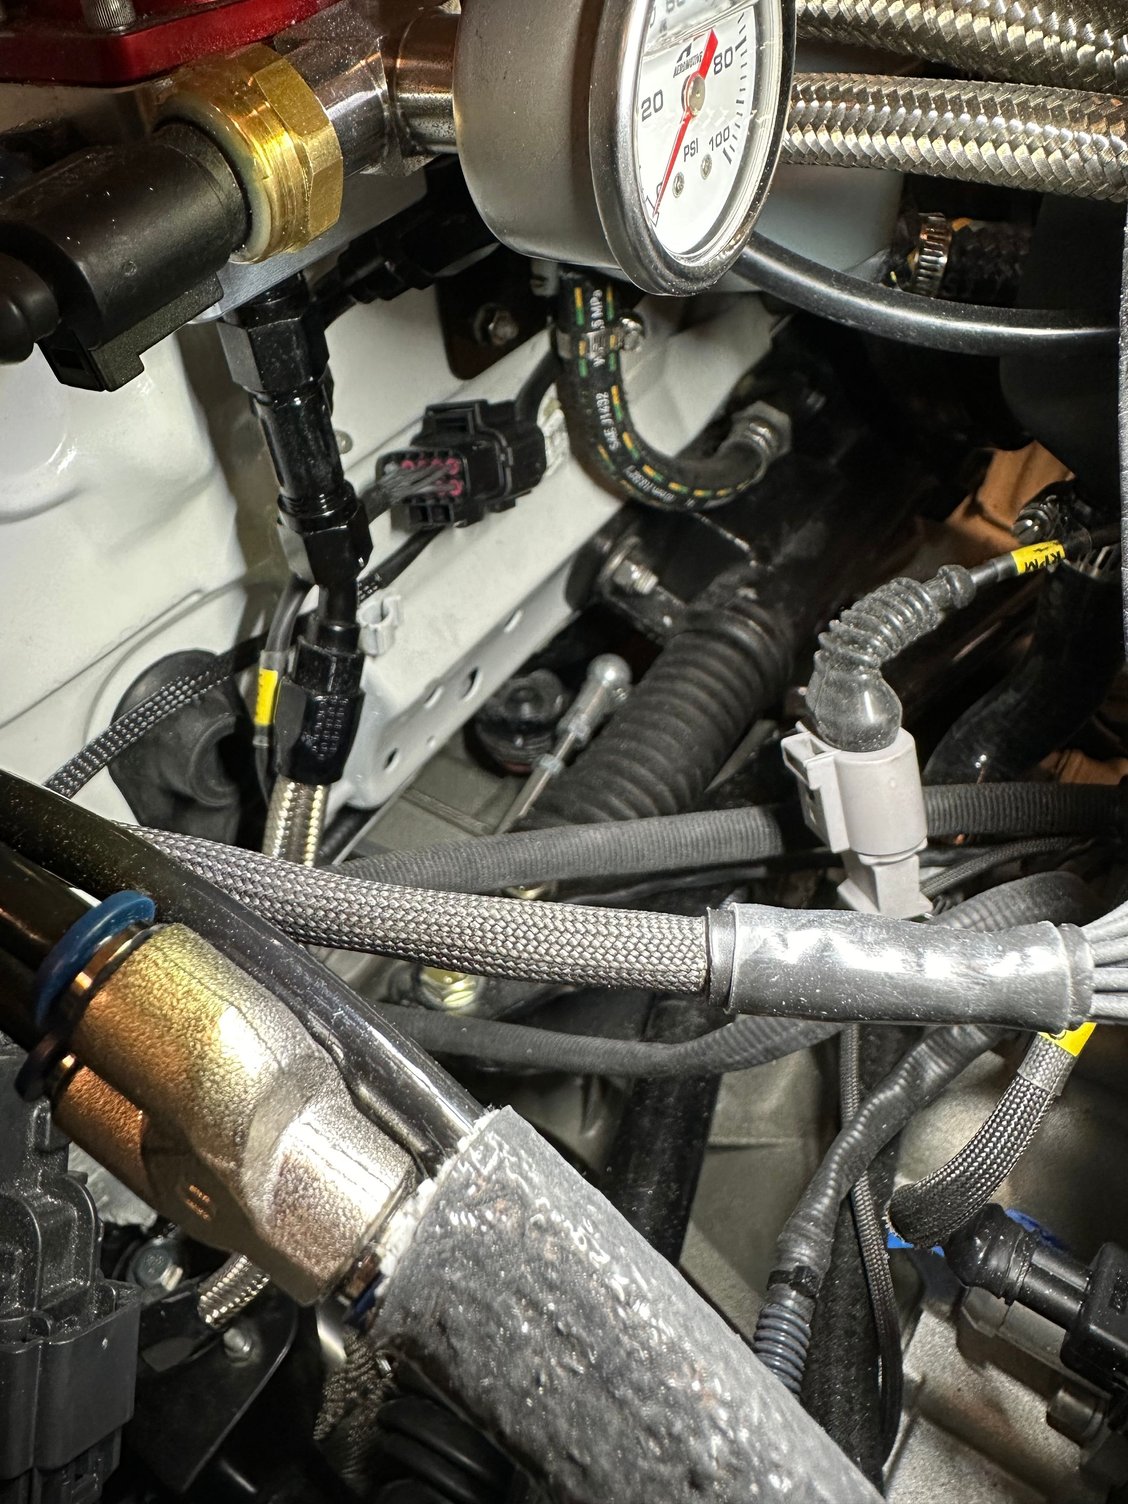
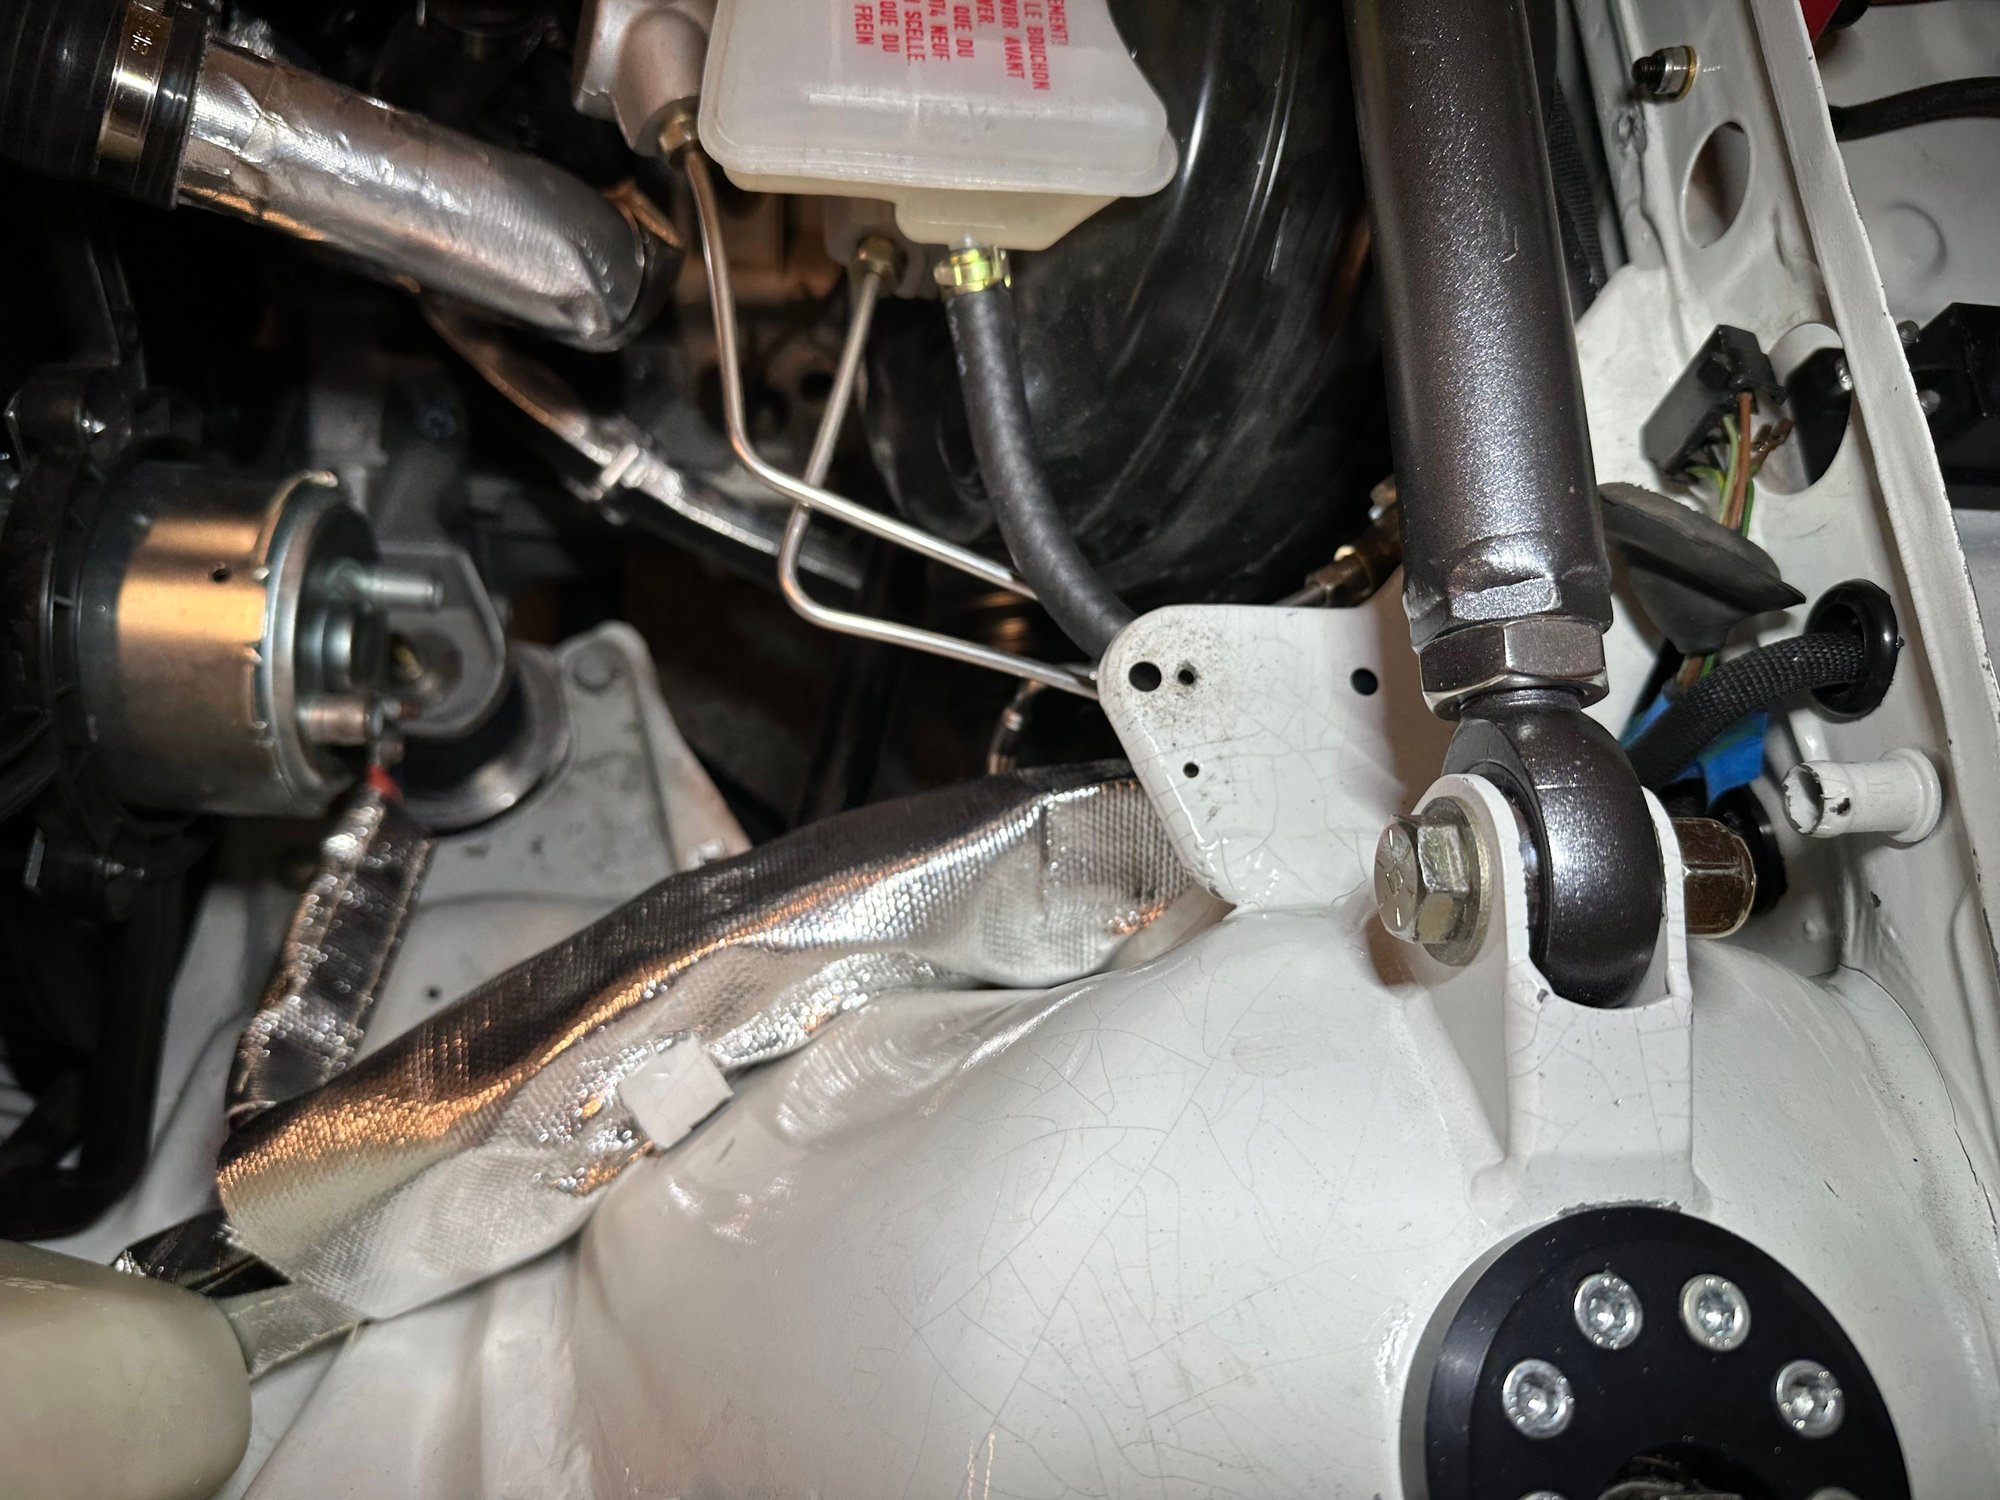
Installed the Turbo vacuum system. Vara, sent me info on a nice alternative to the standard silicone vacuum hose.
Straightboost Performance makes a kit with threaded swivel SBP push to connect fittings and SBP 1/4" hose.
Everything went together great and I added a heat sleeve.....one more item done!
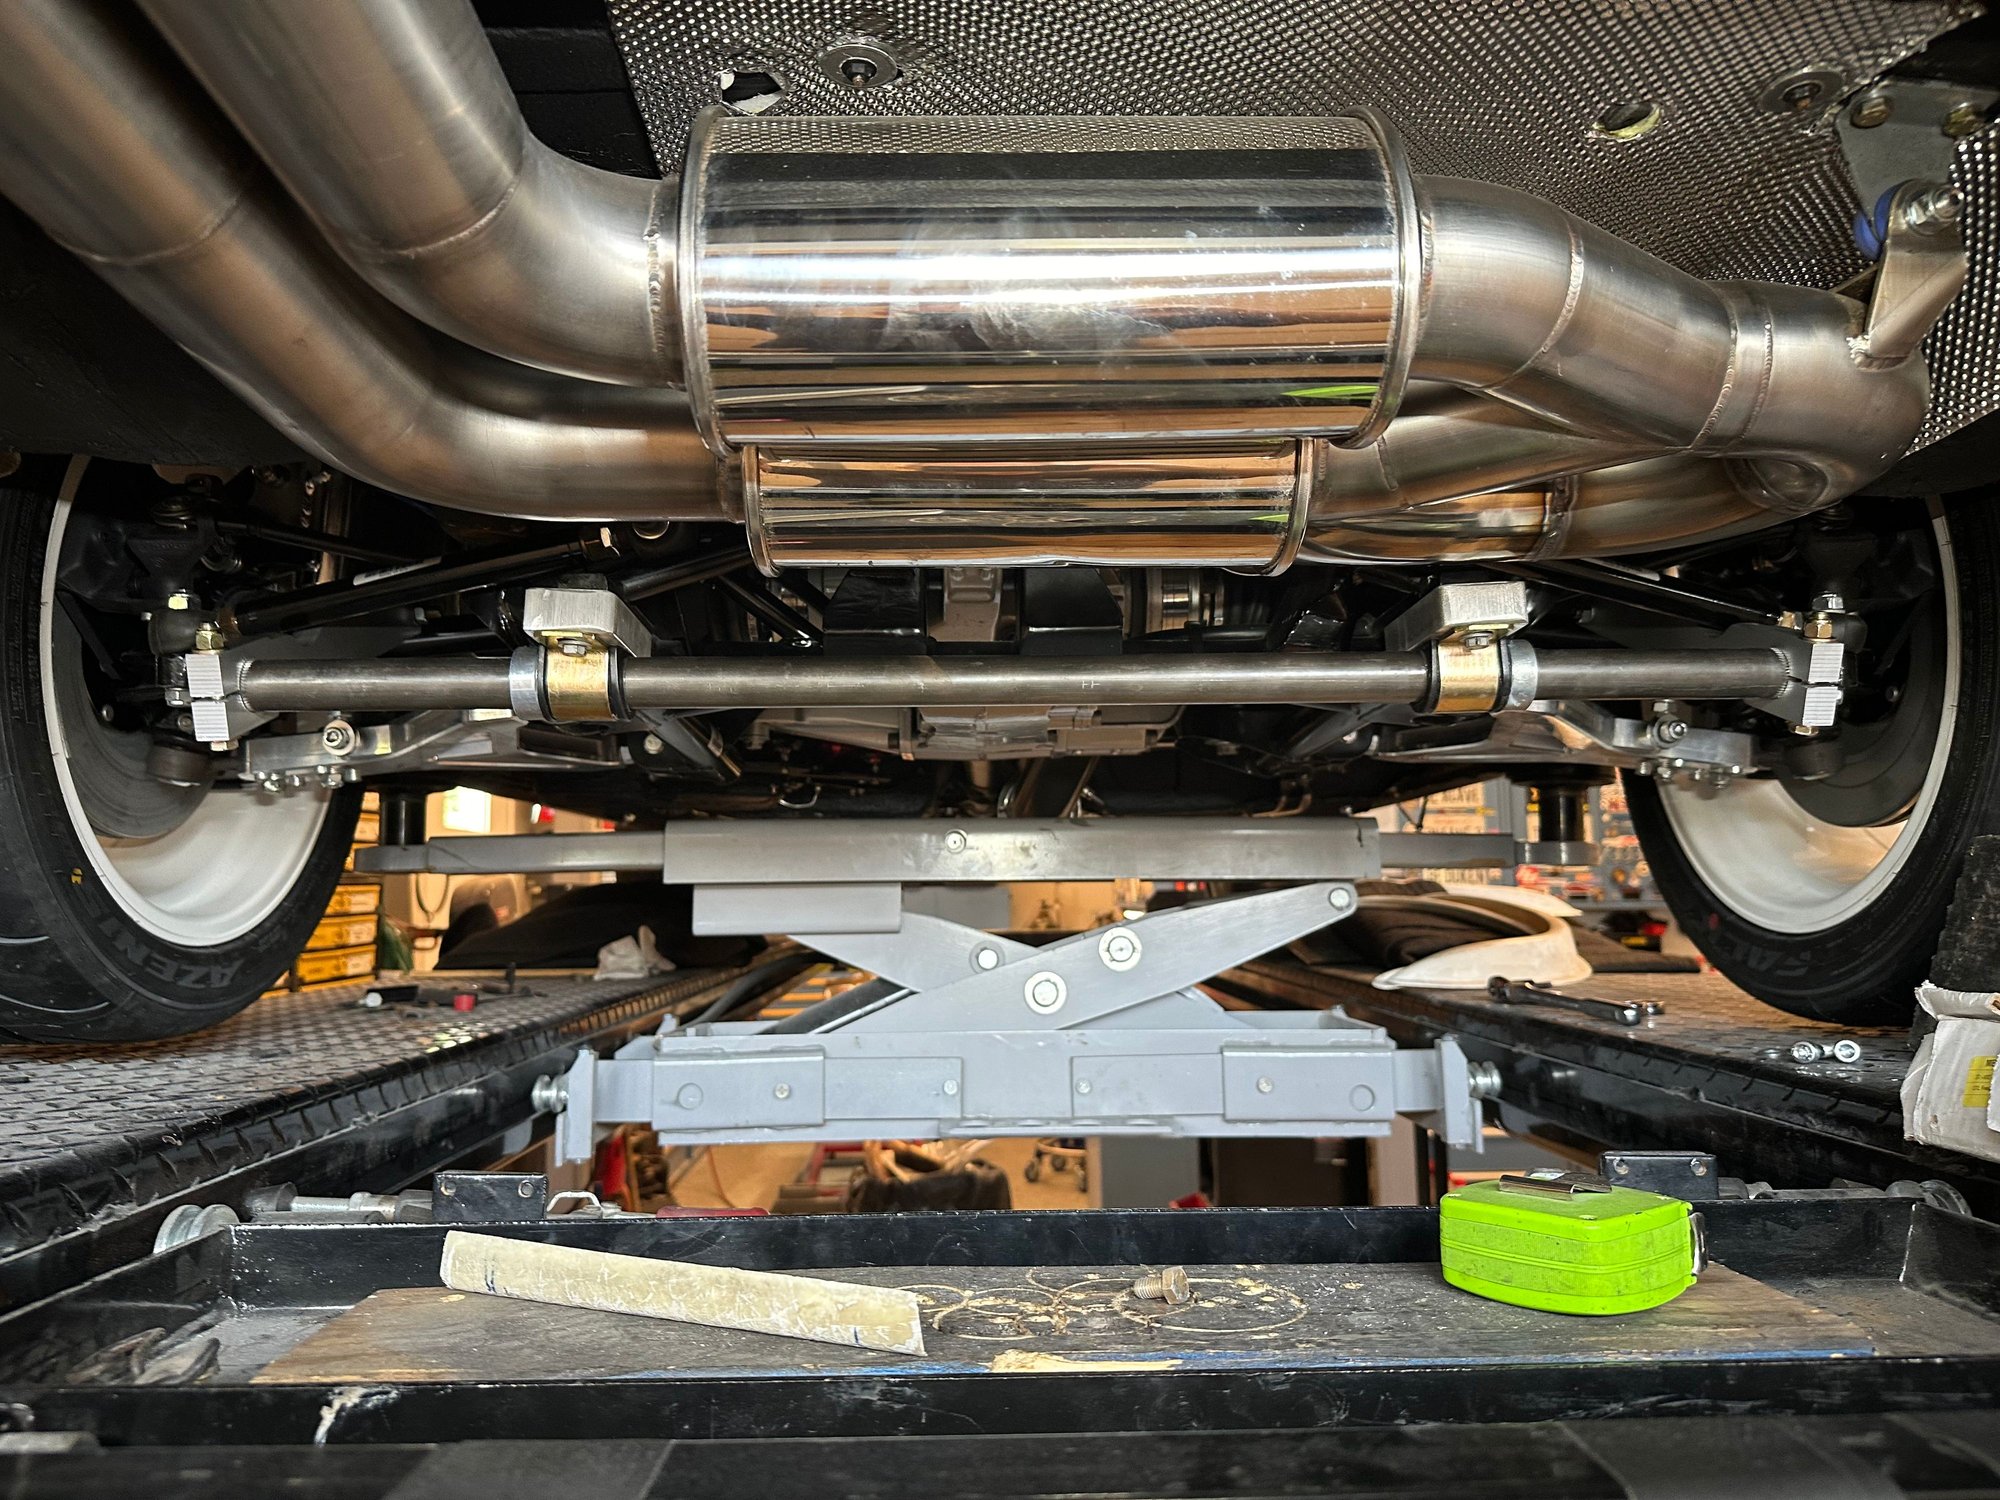
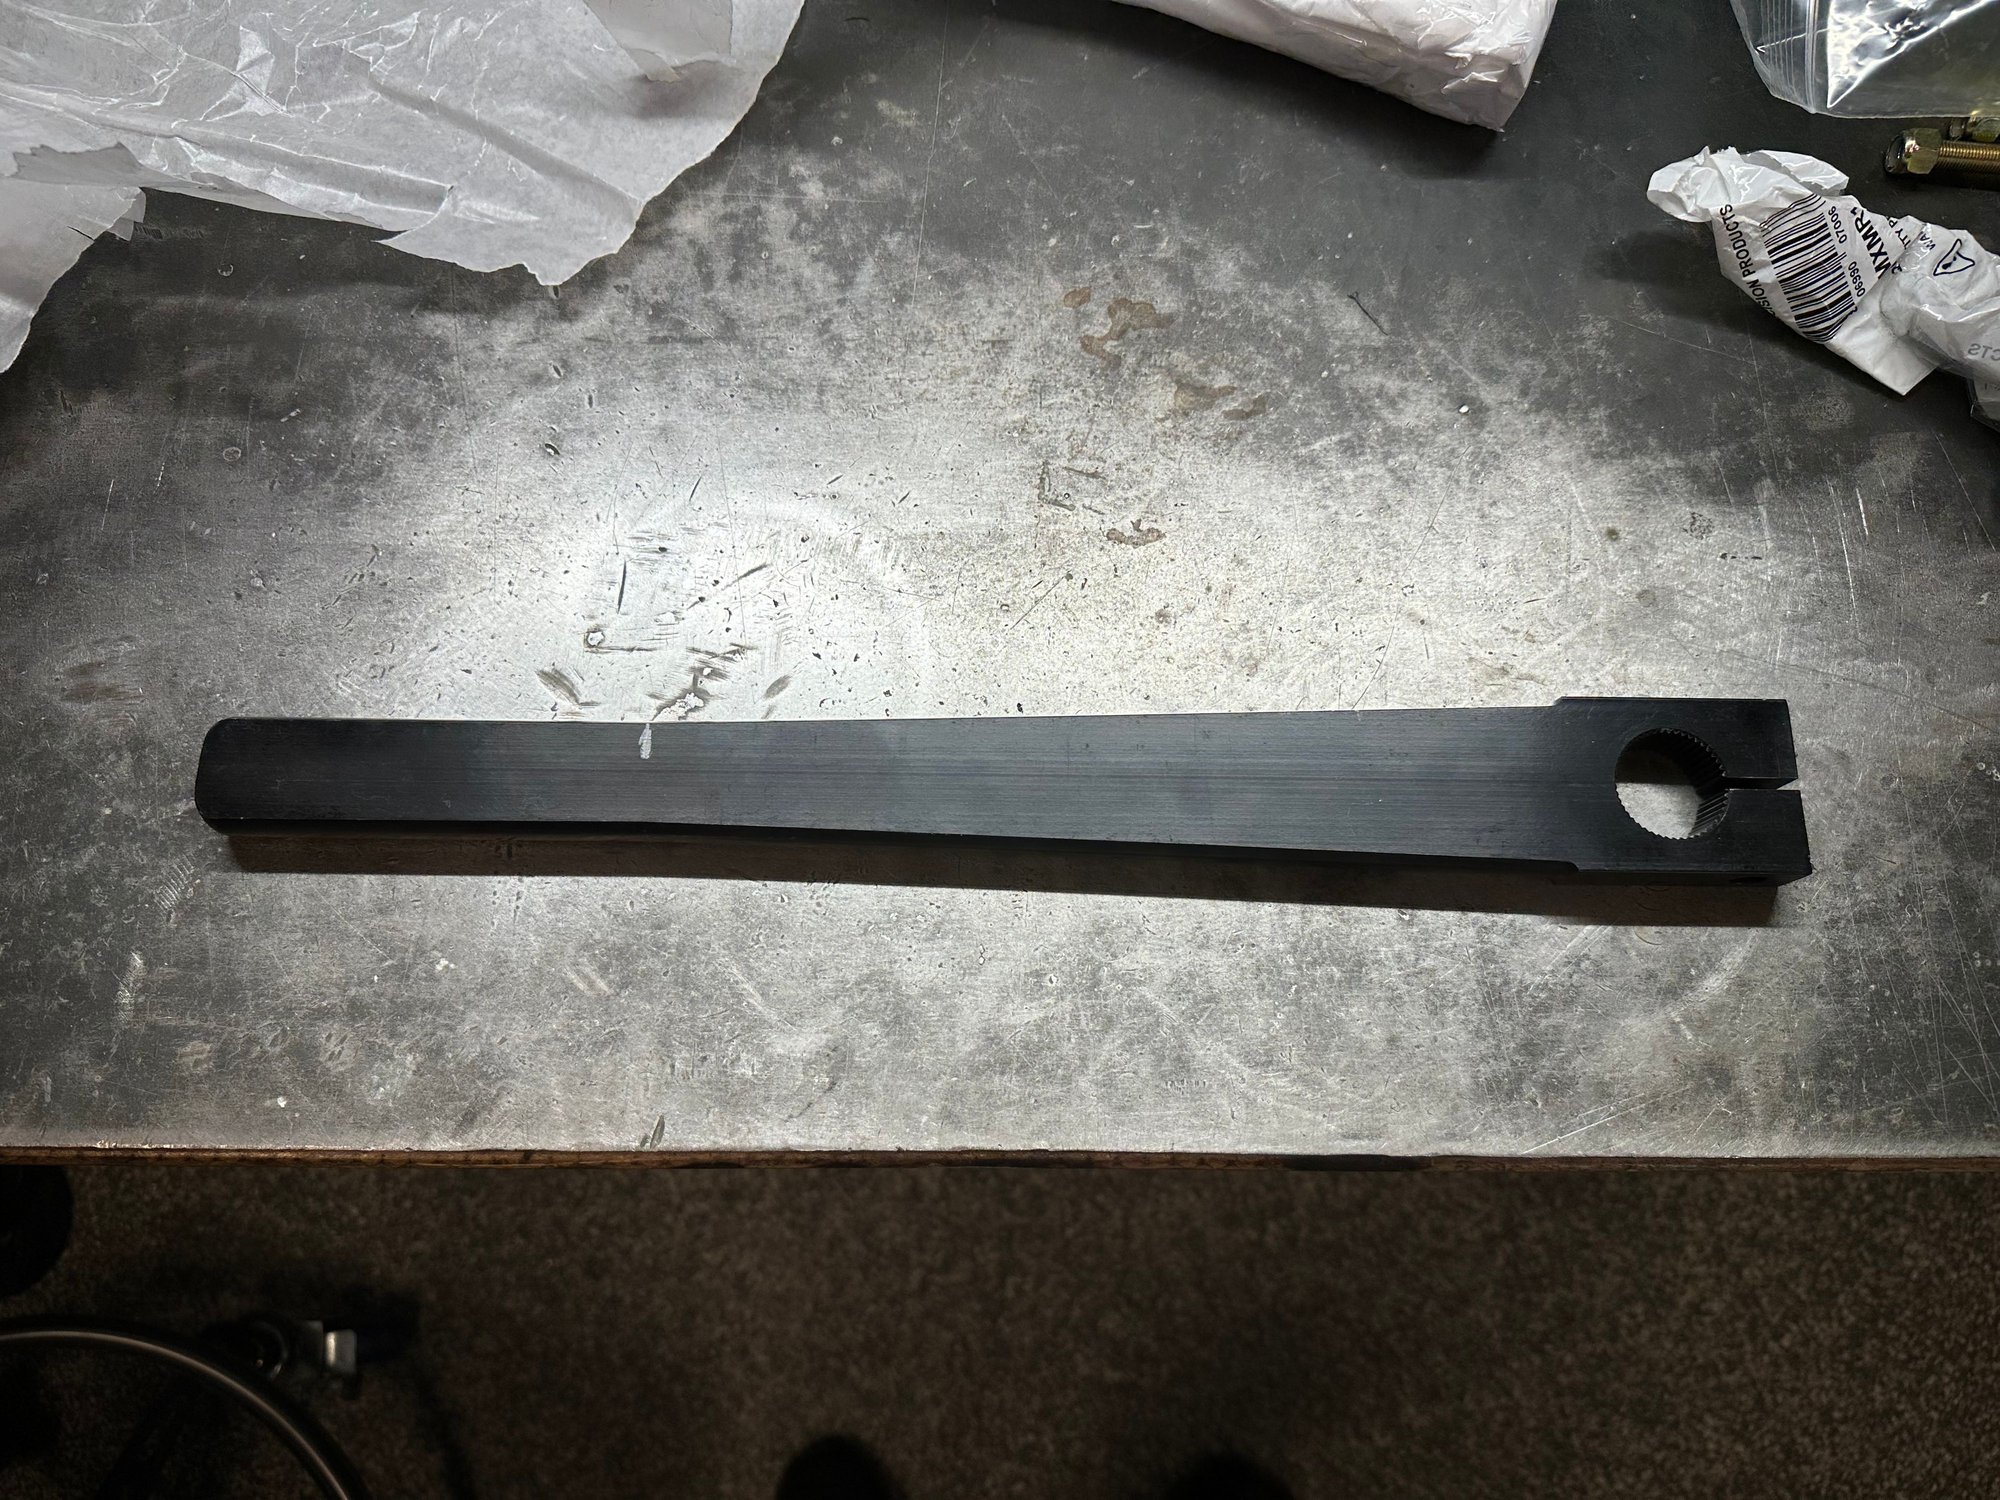
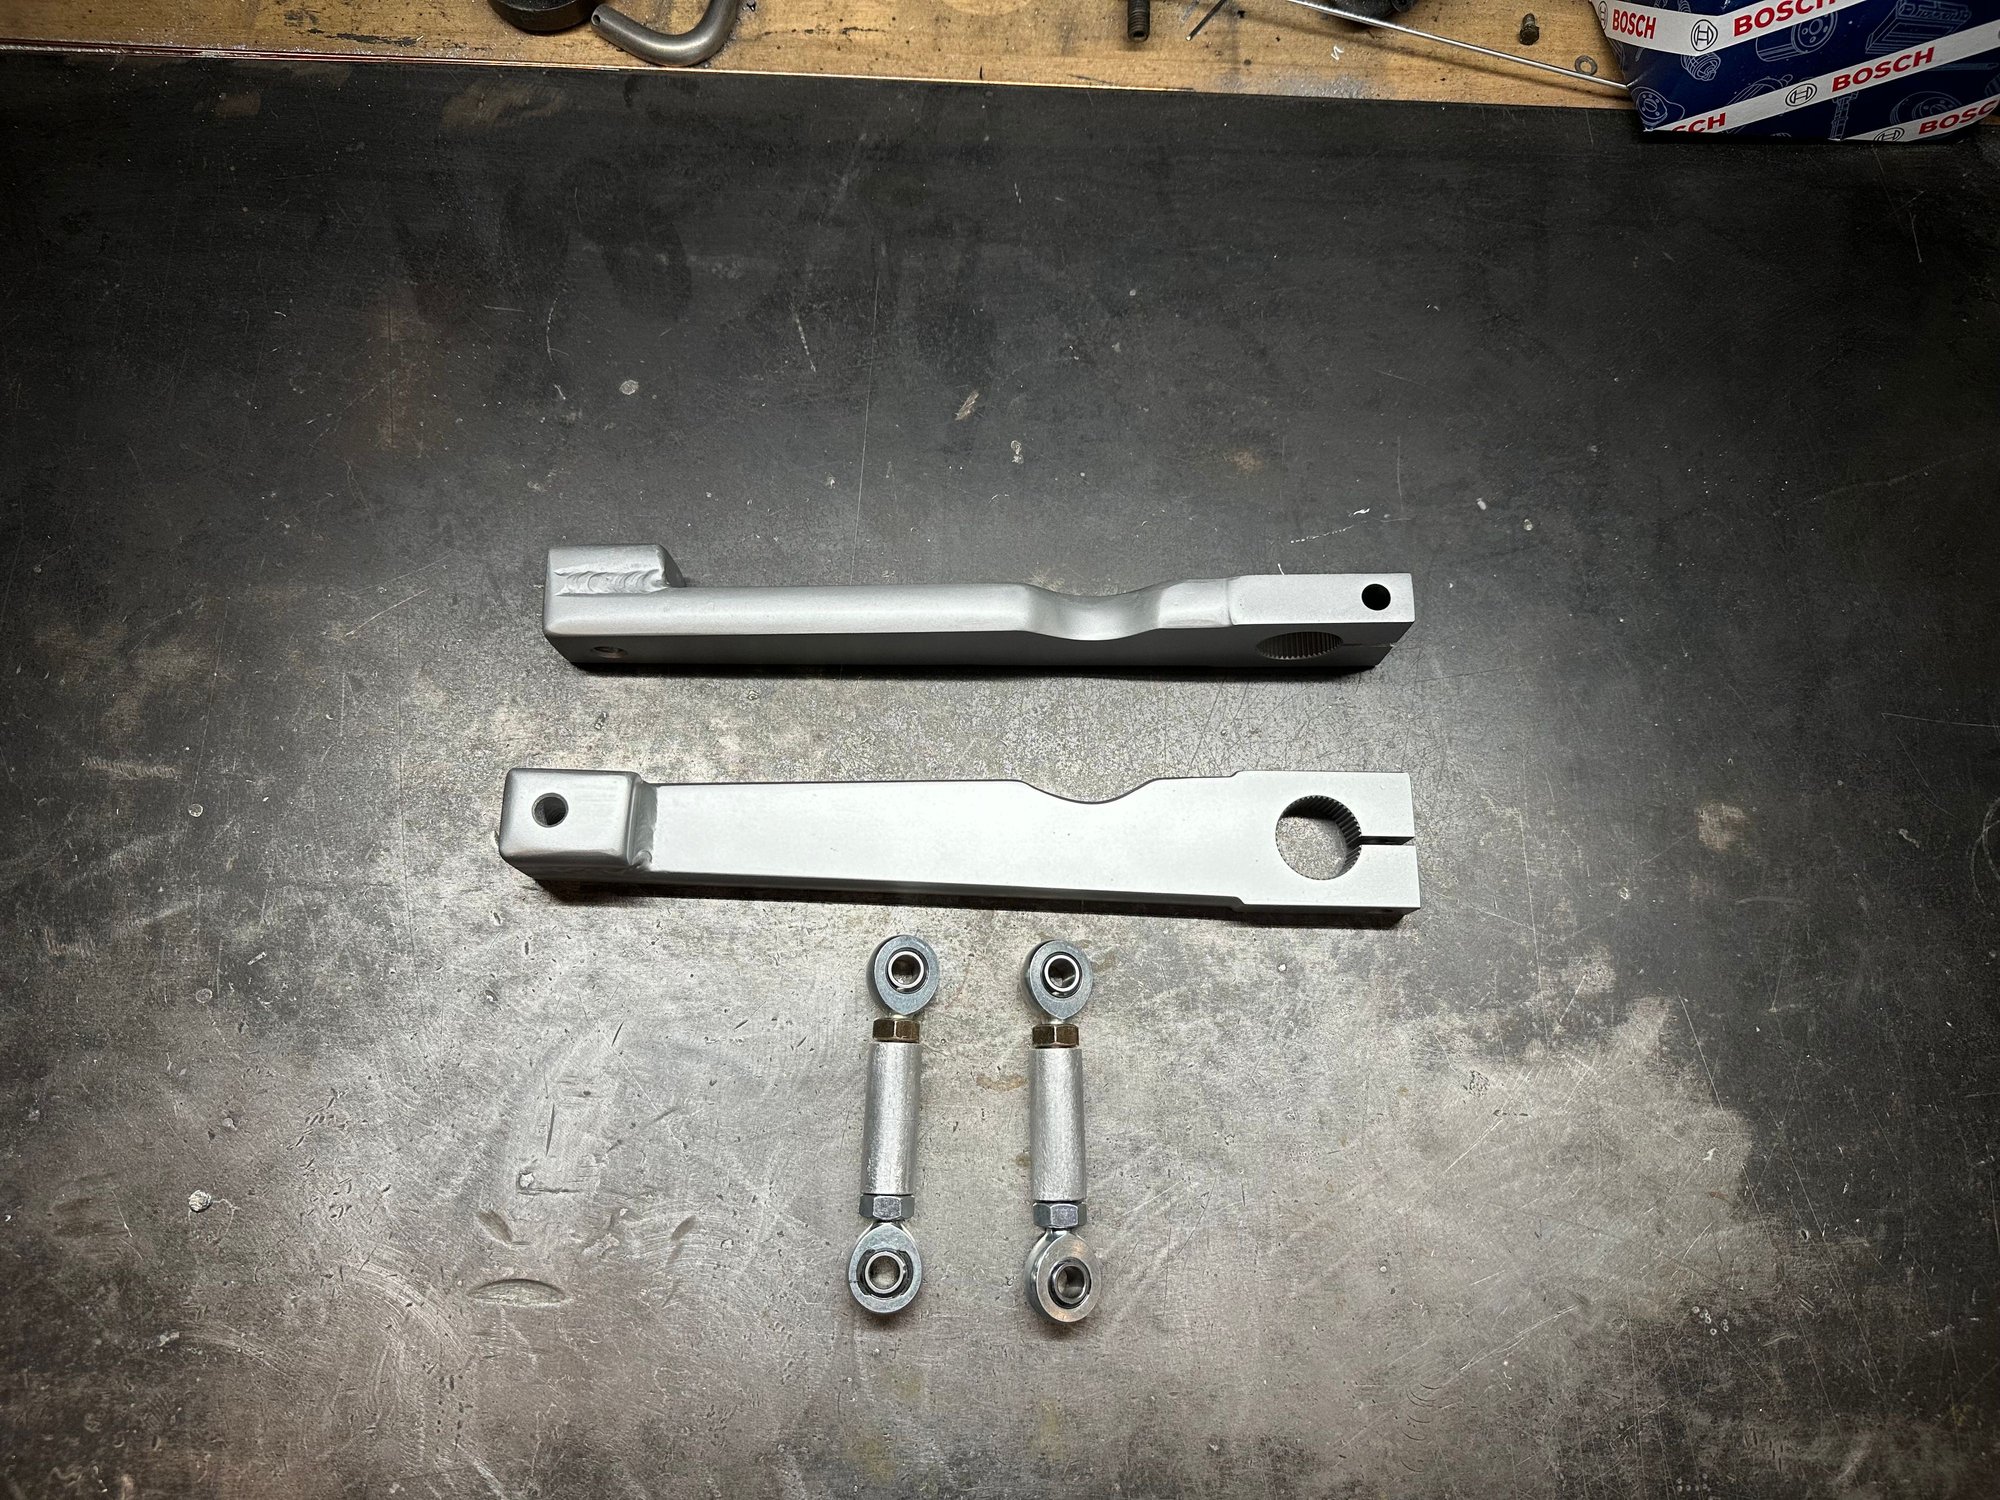
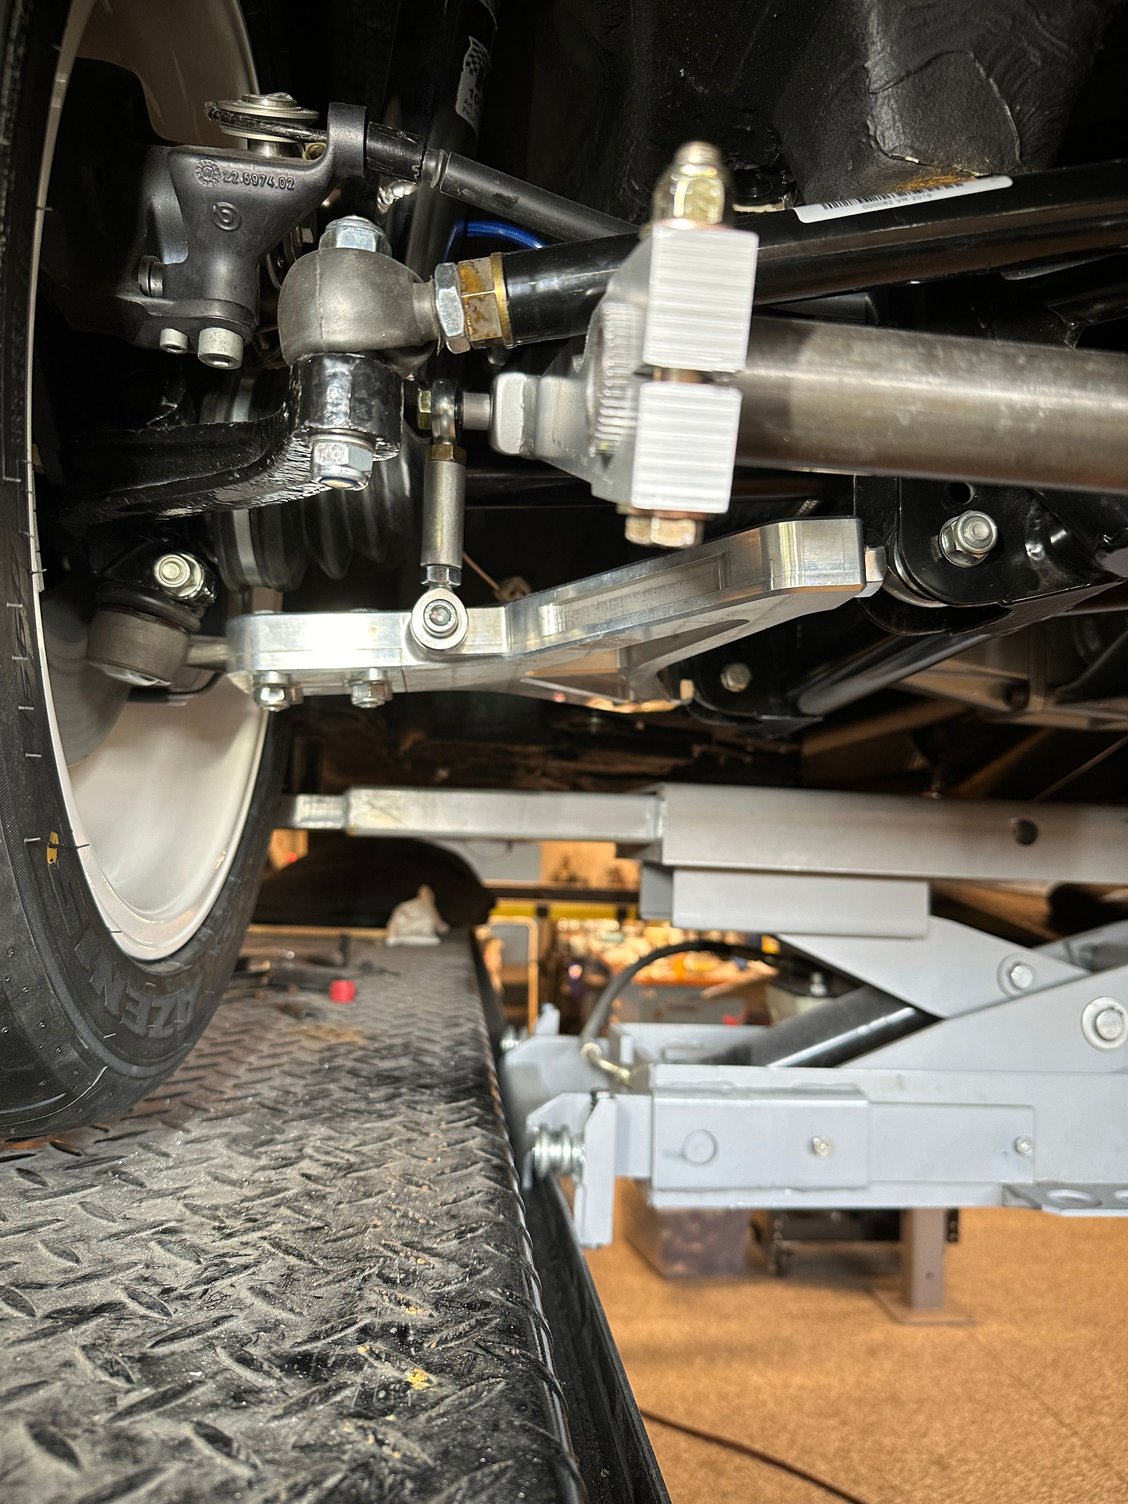
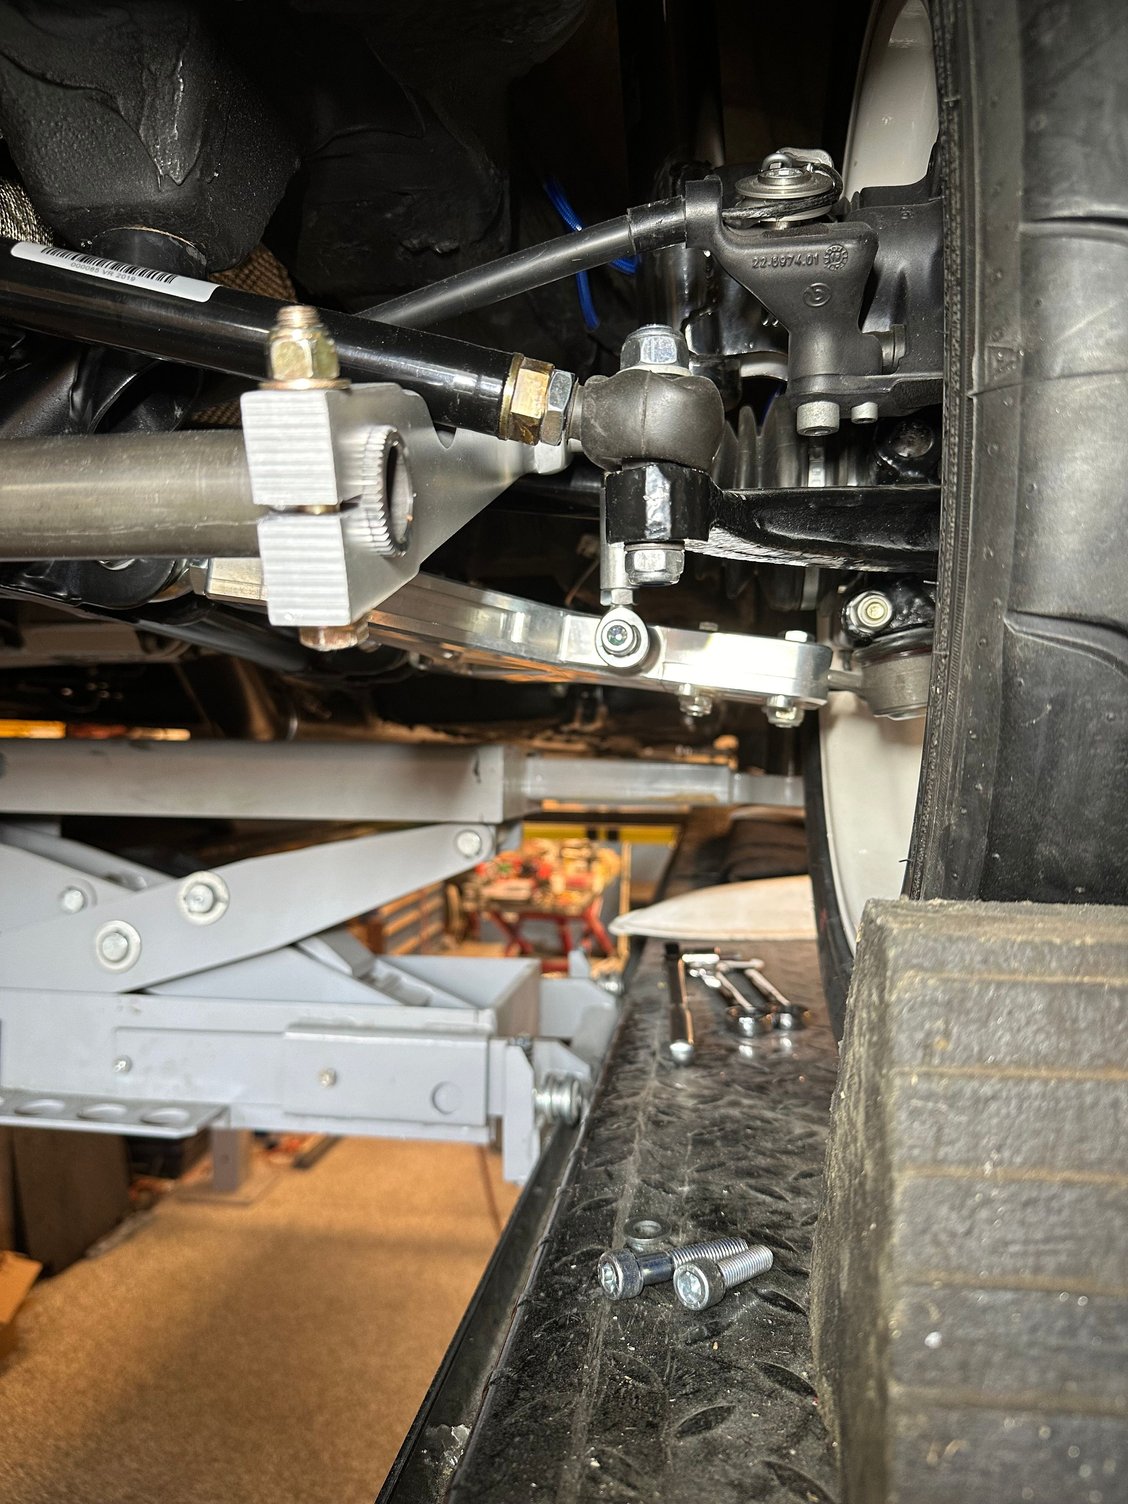
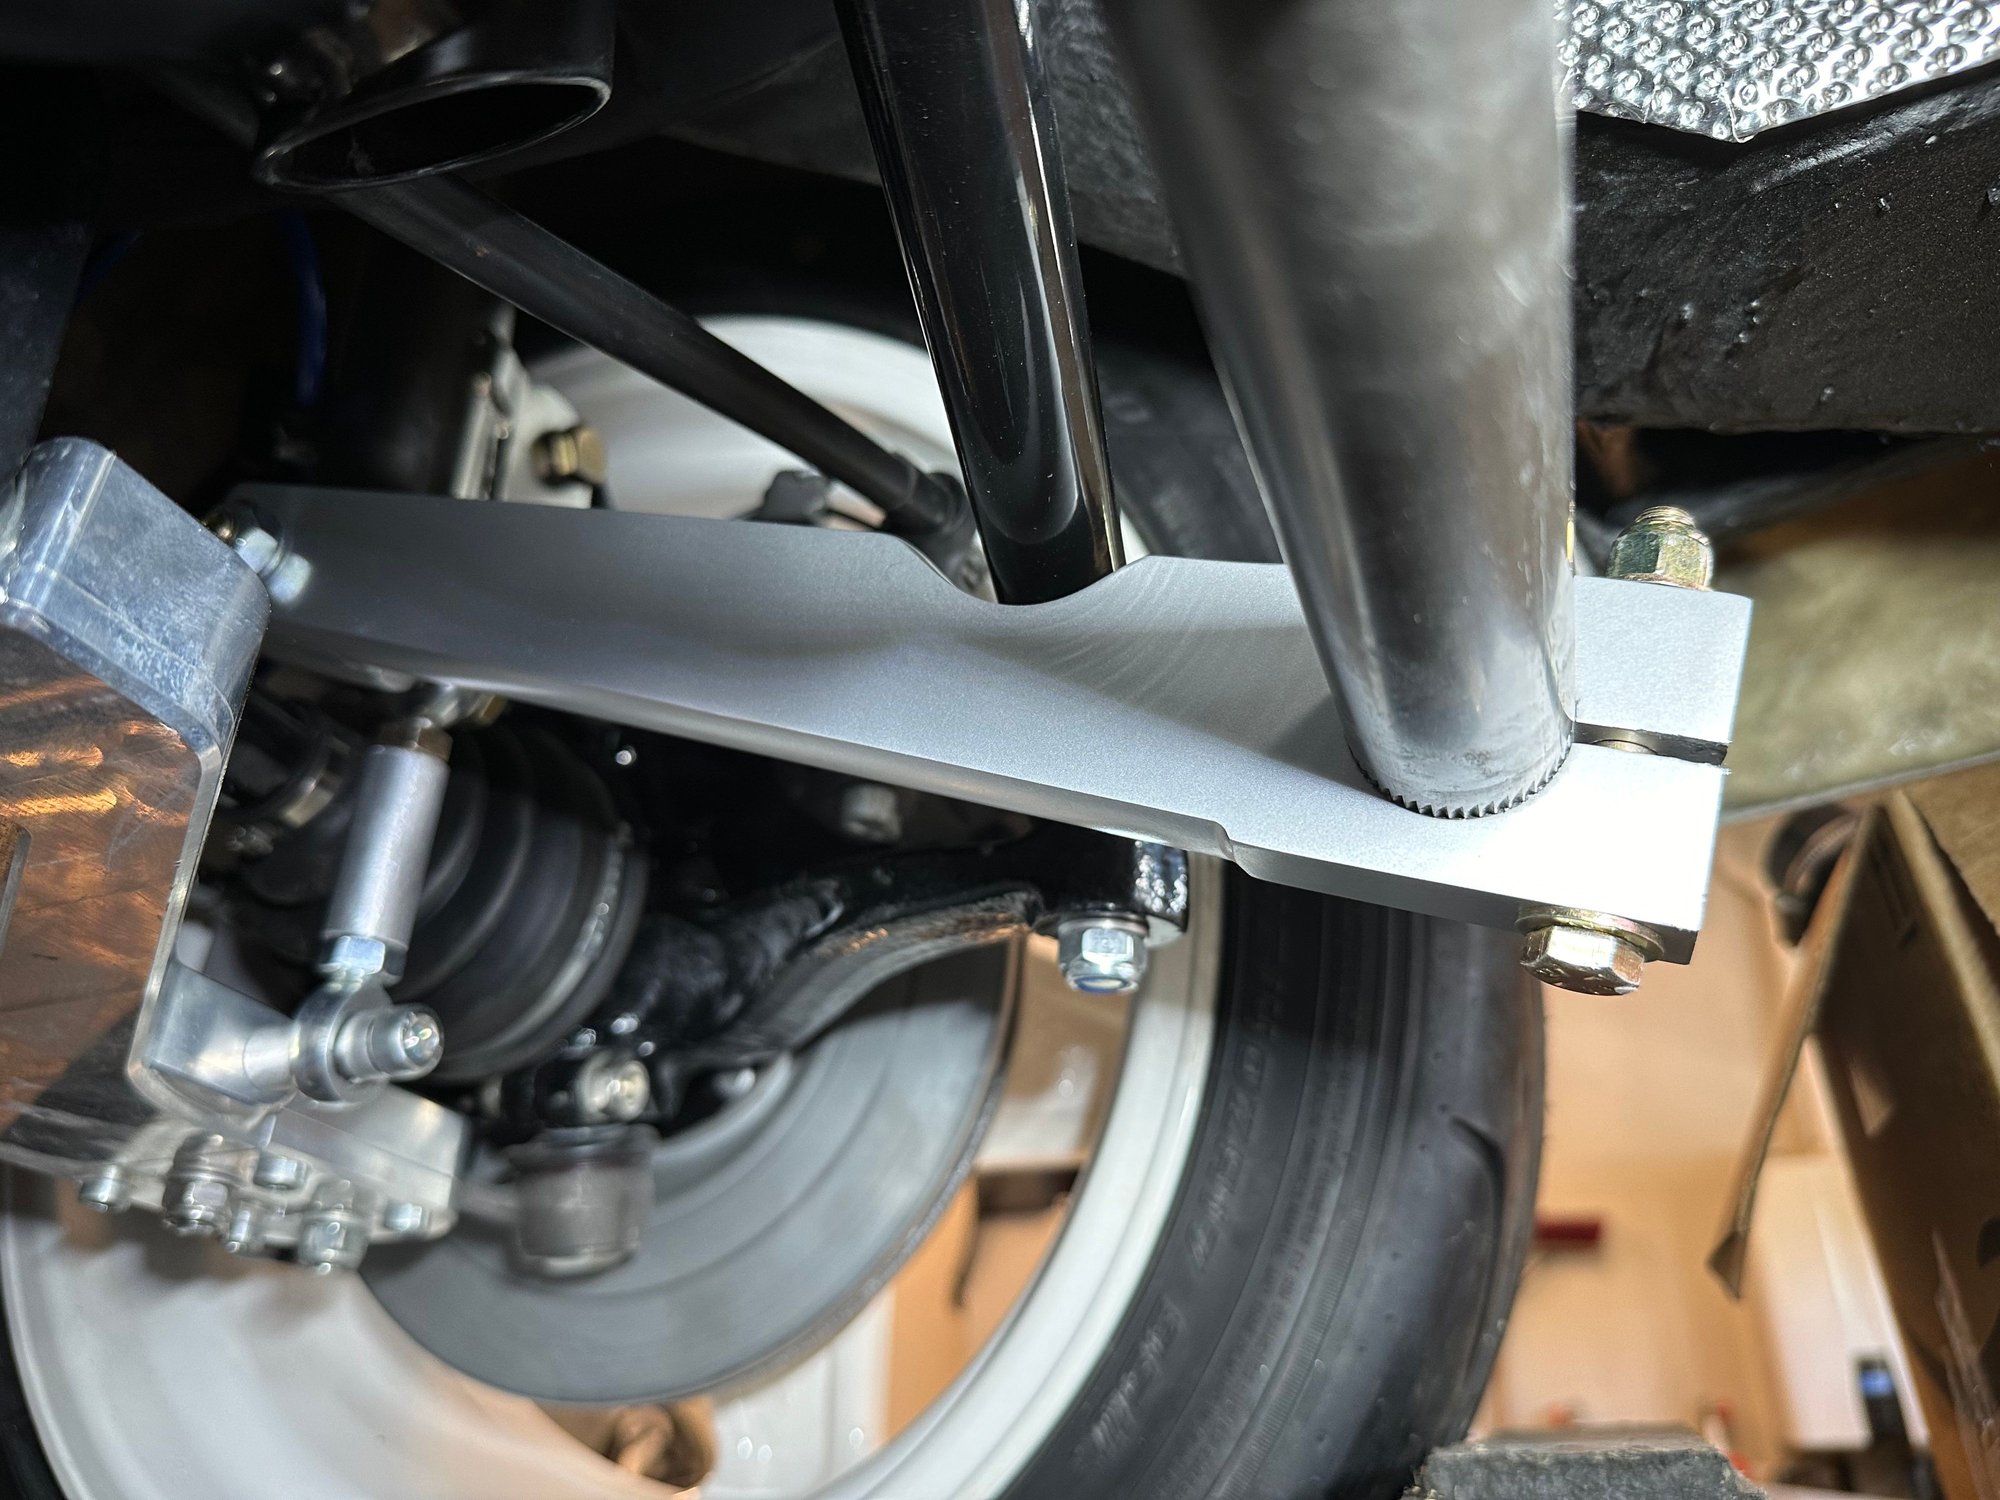
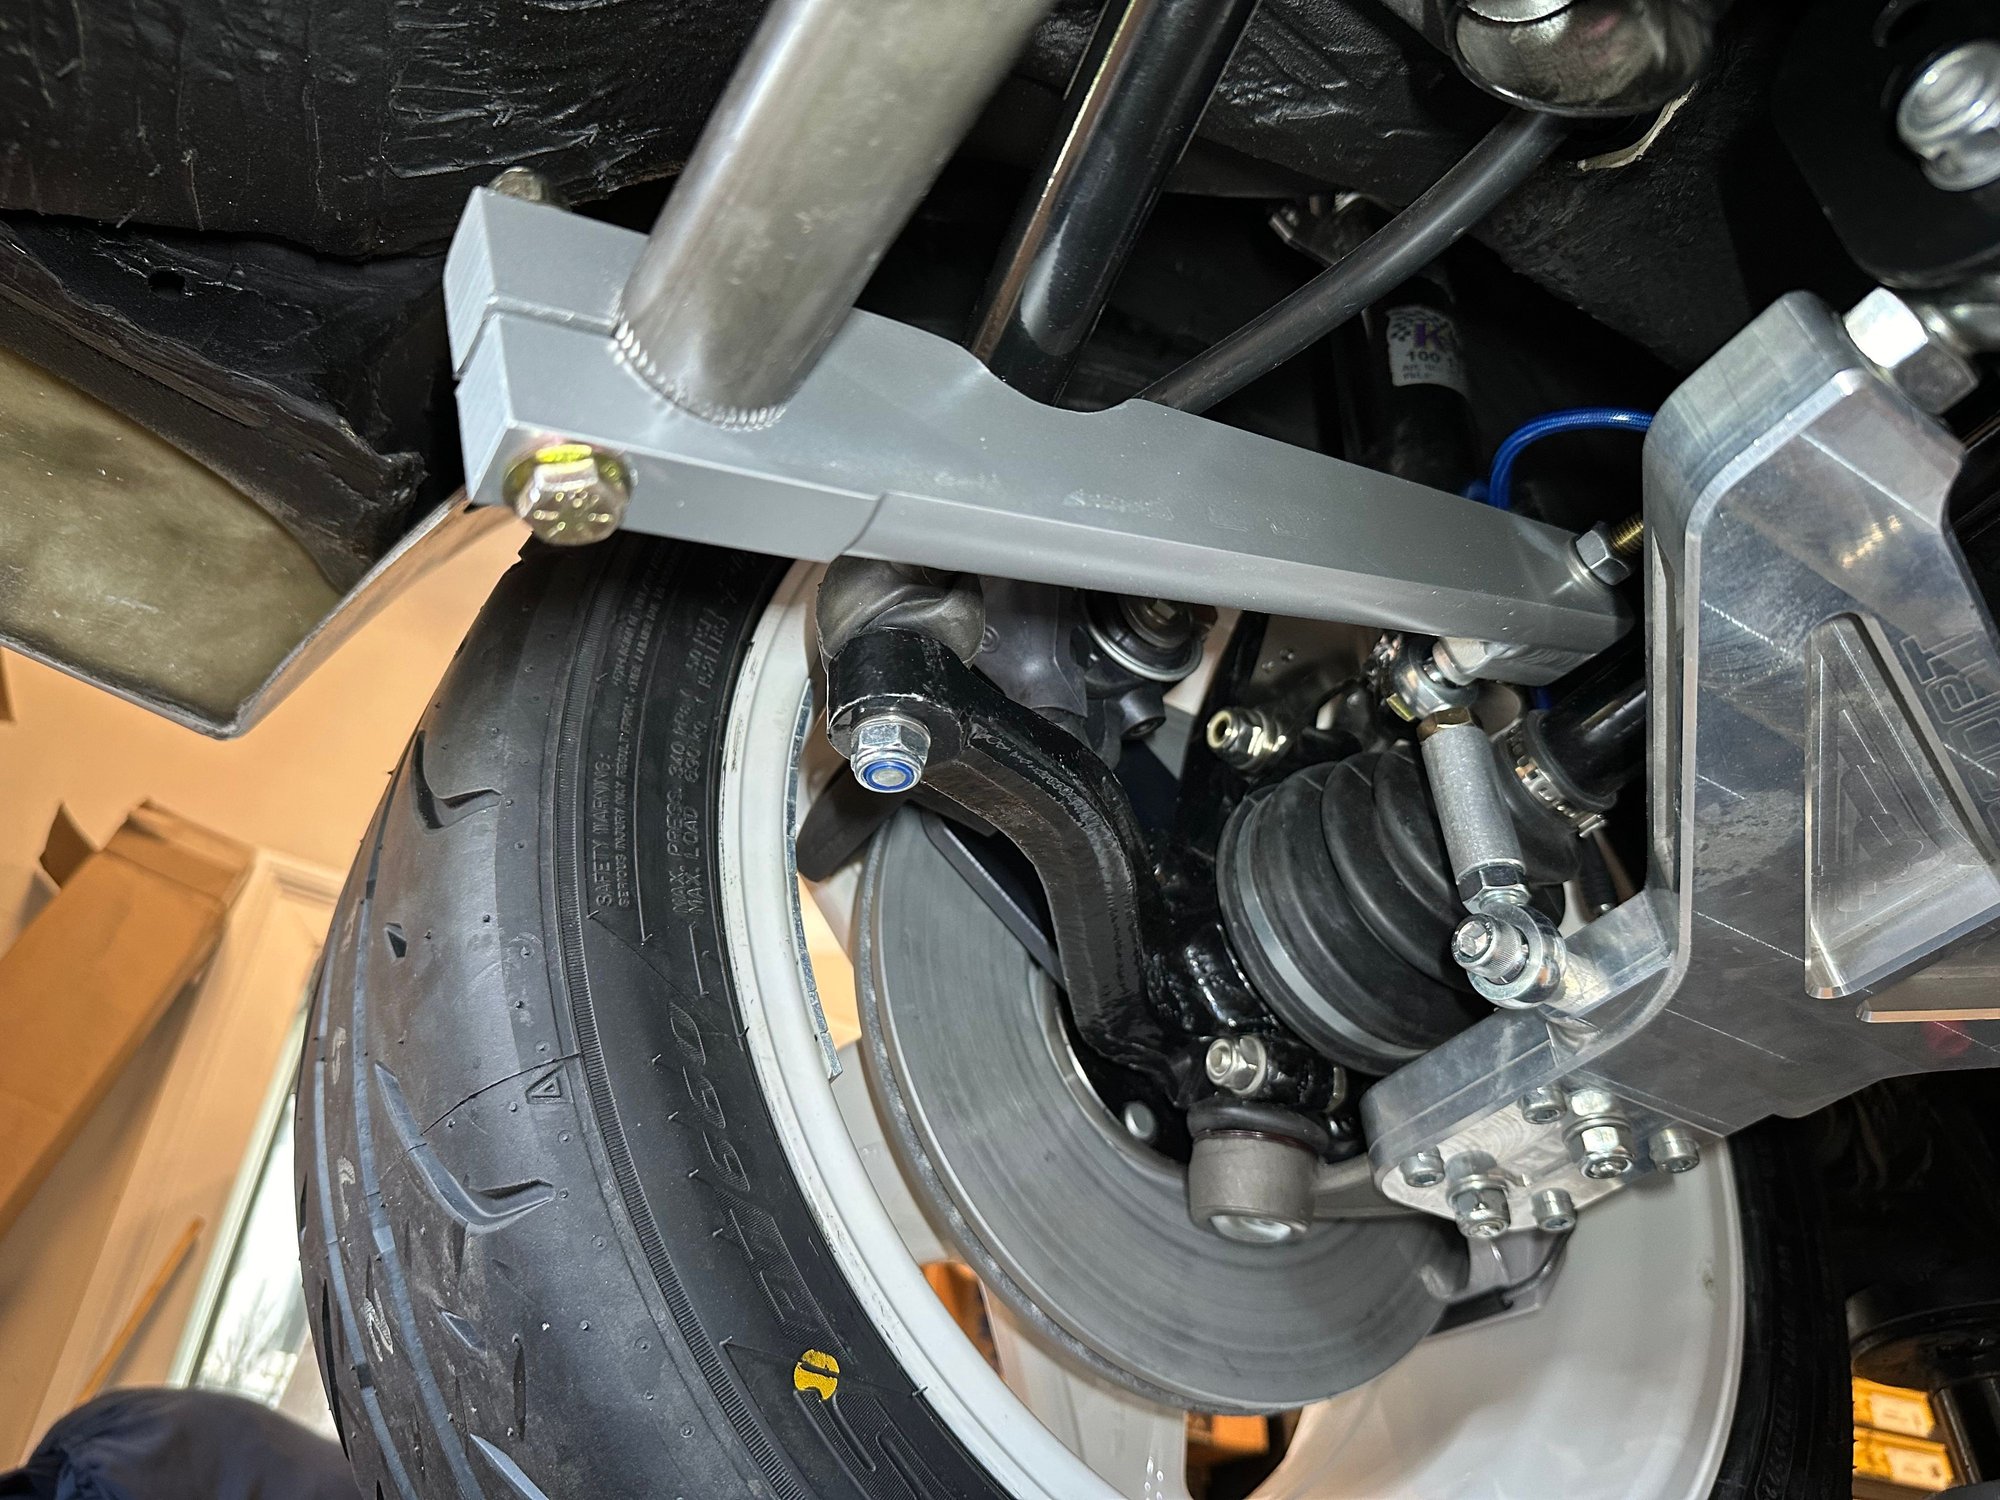
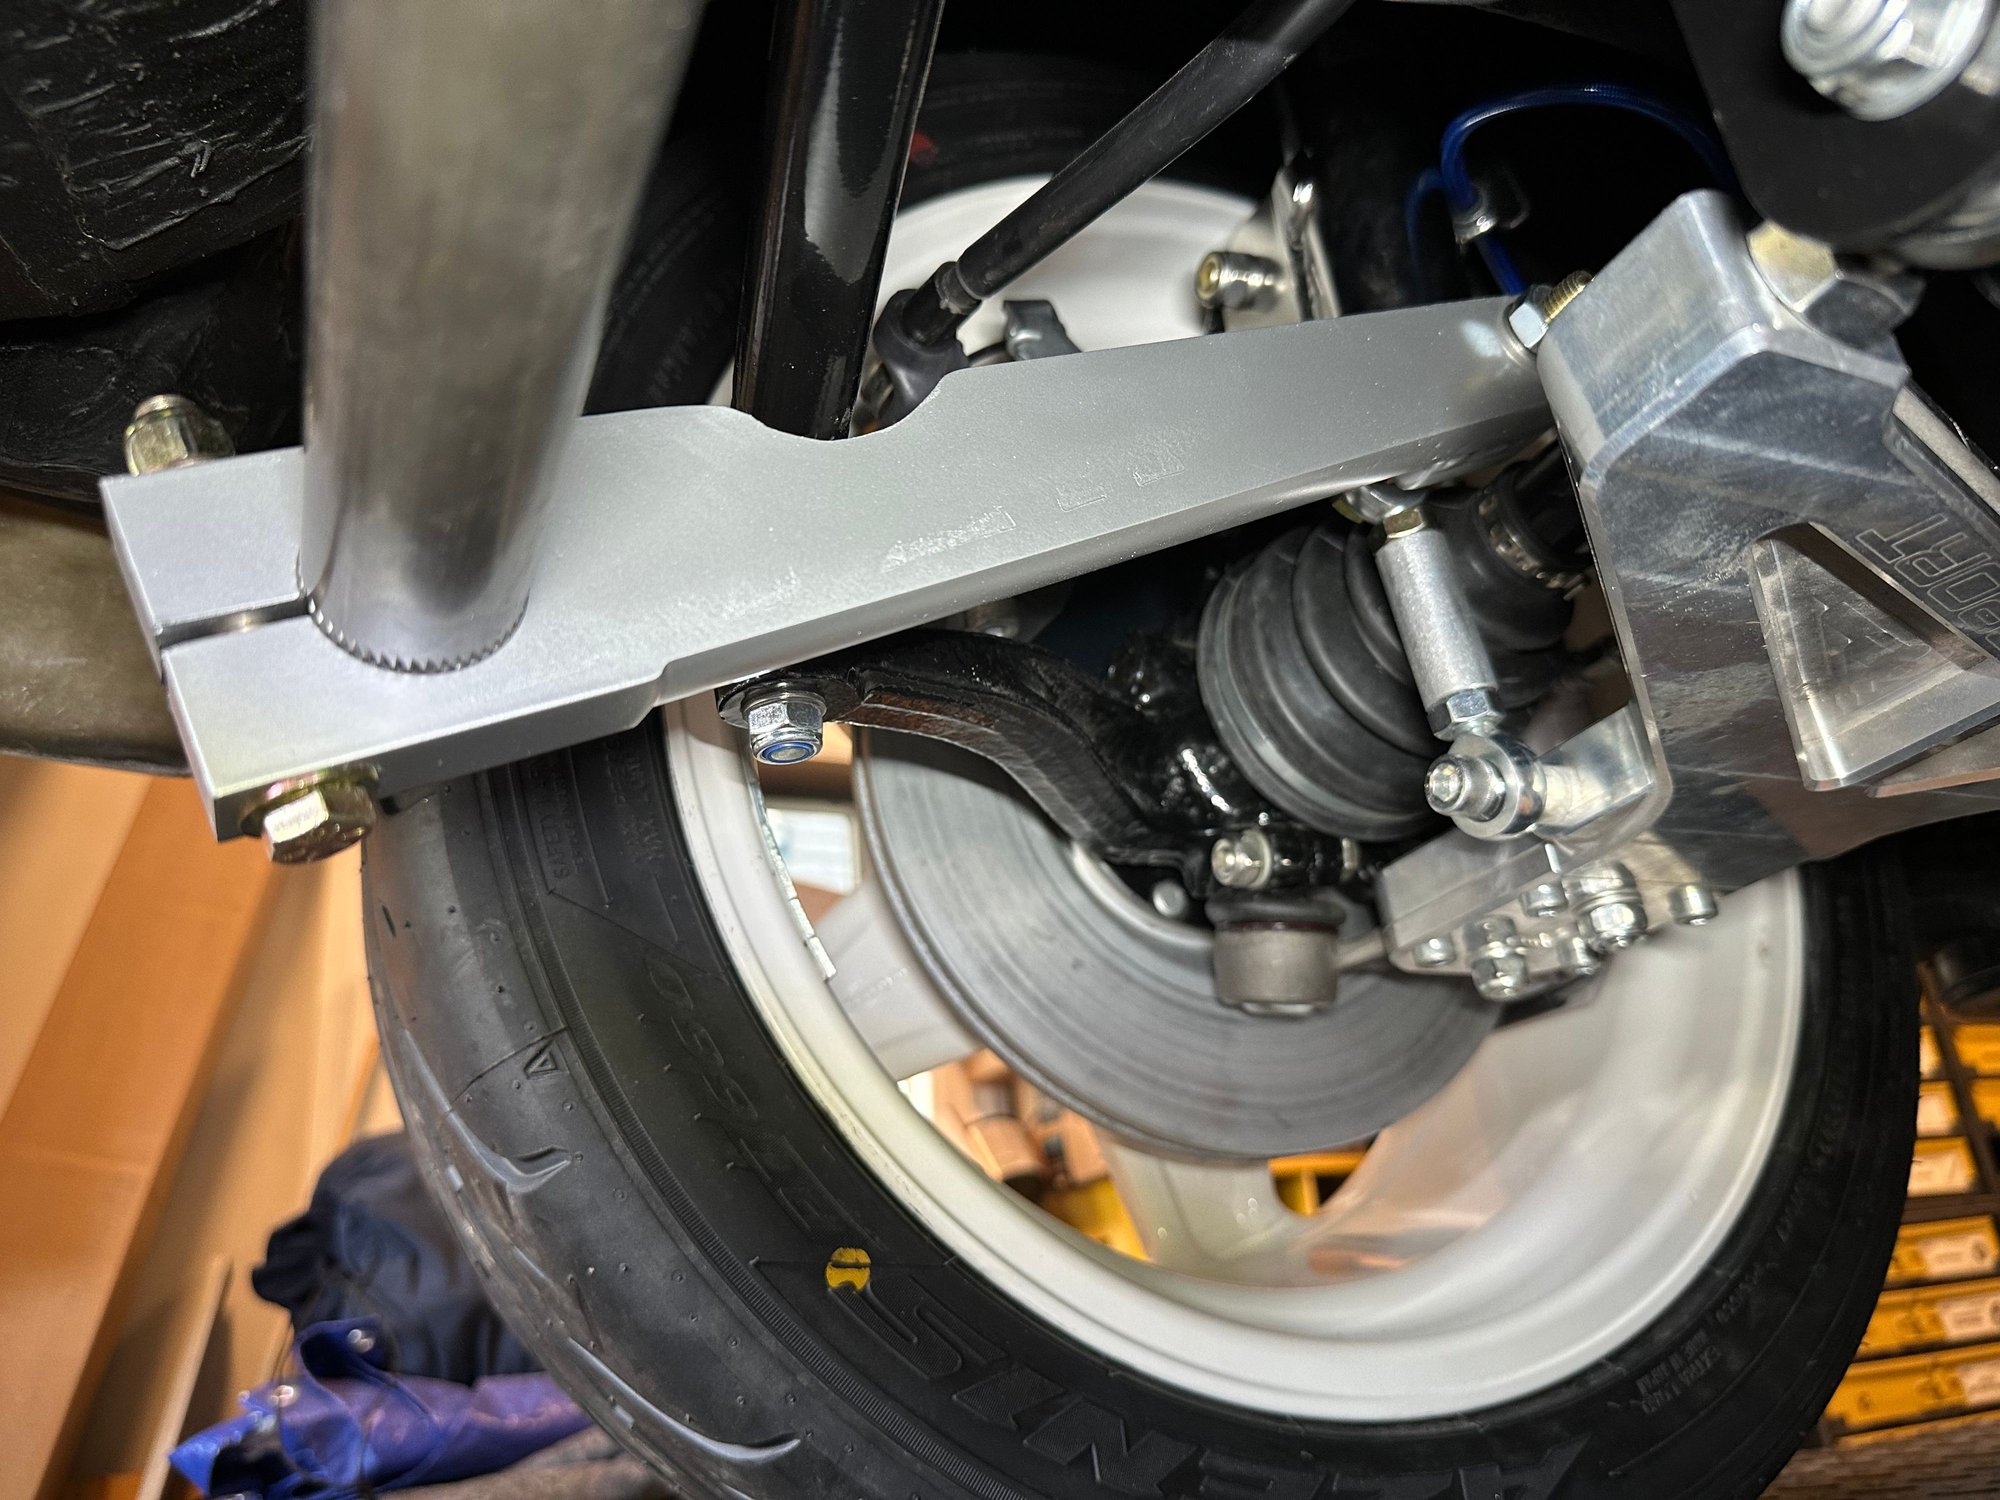
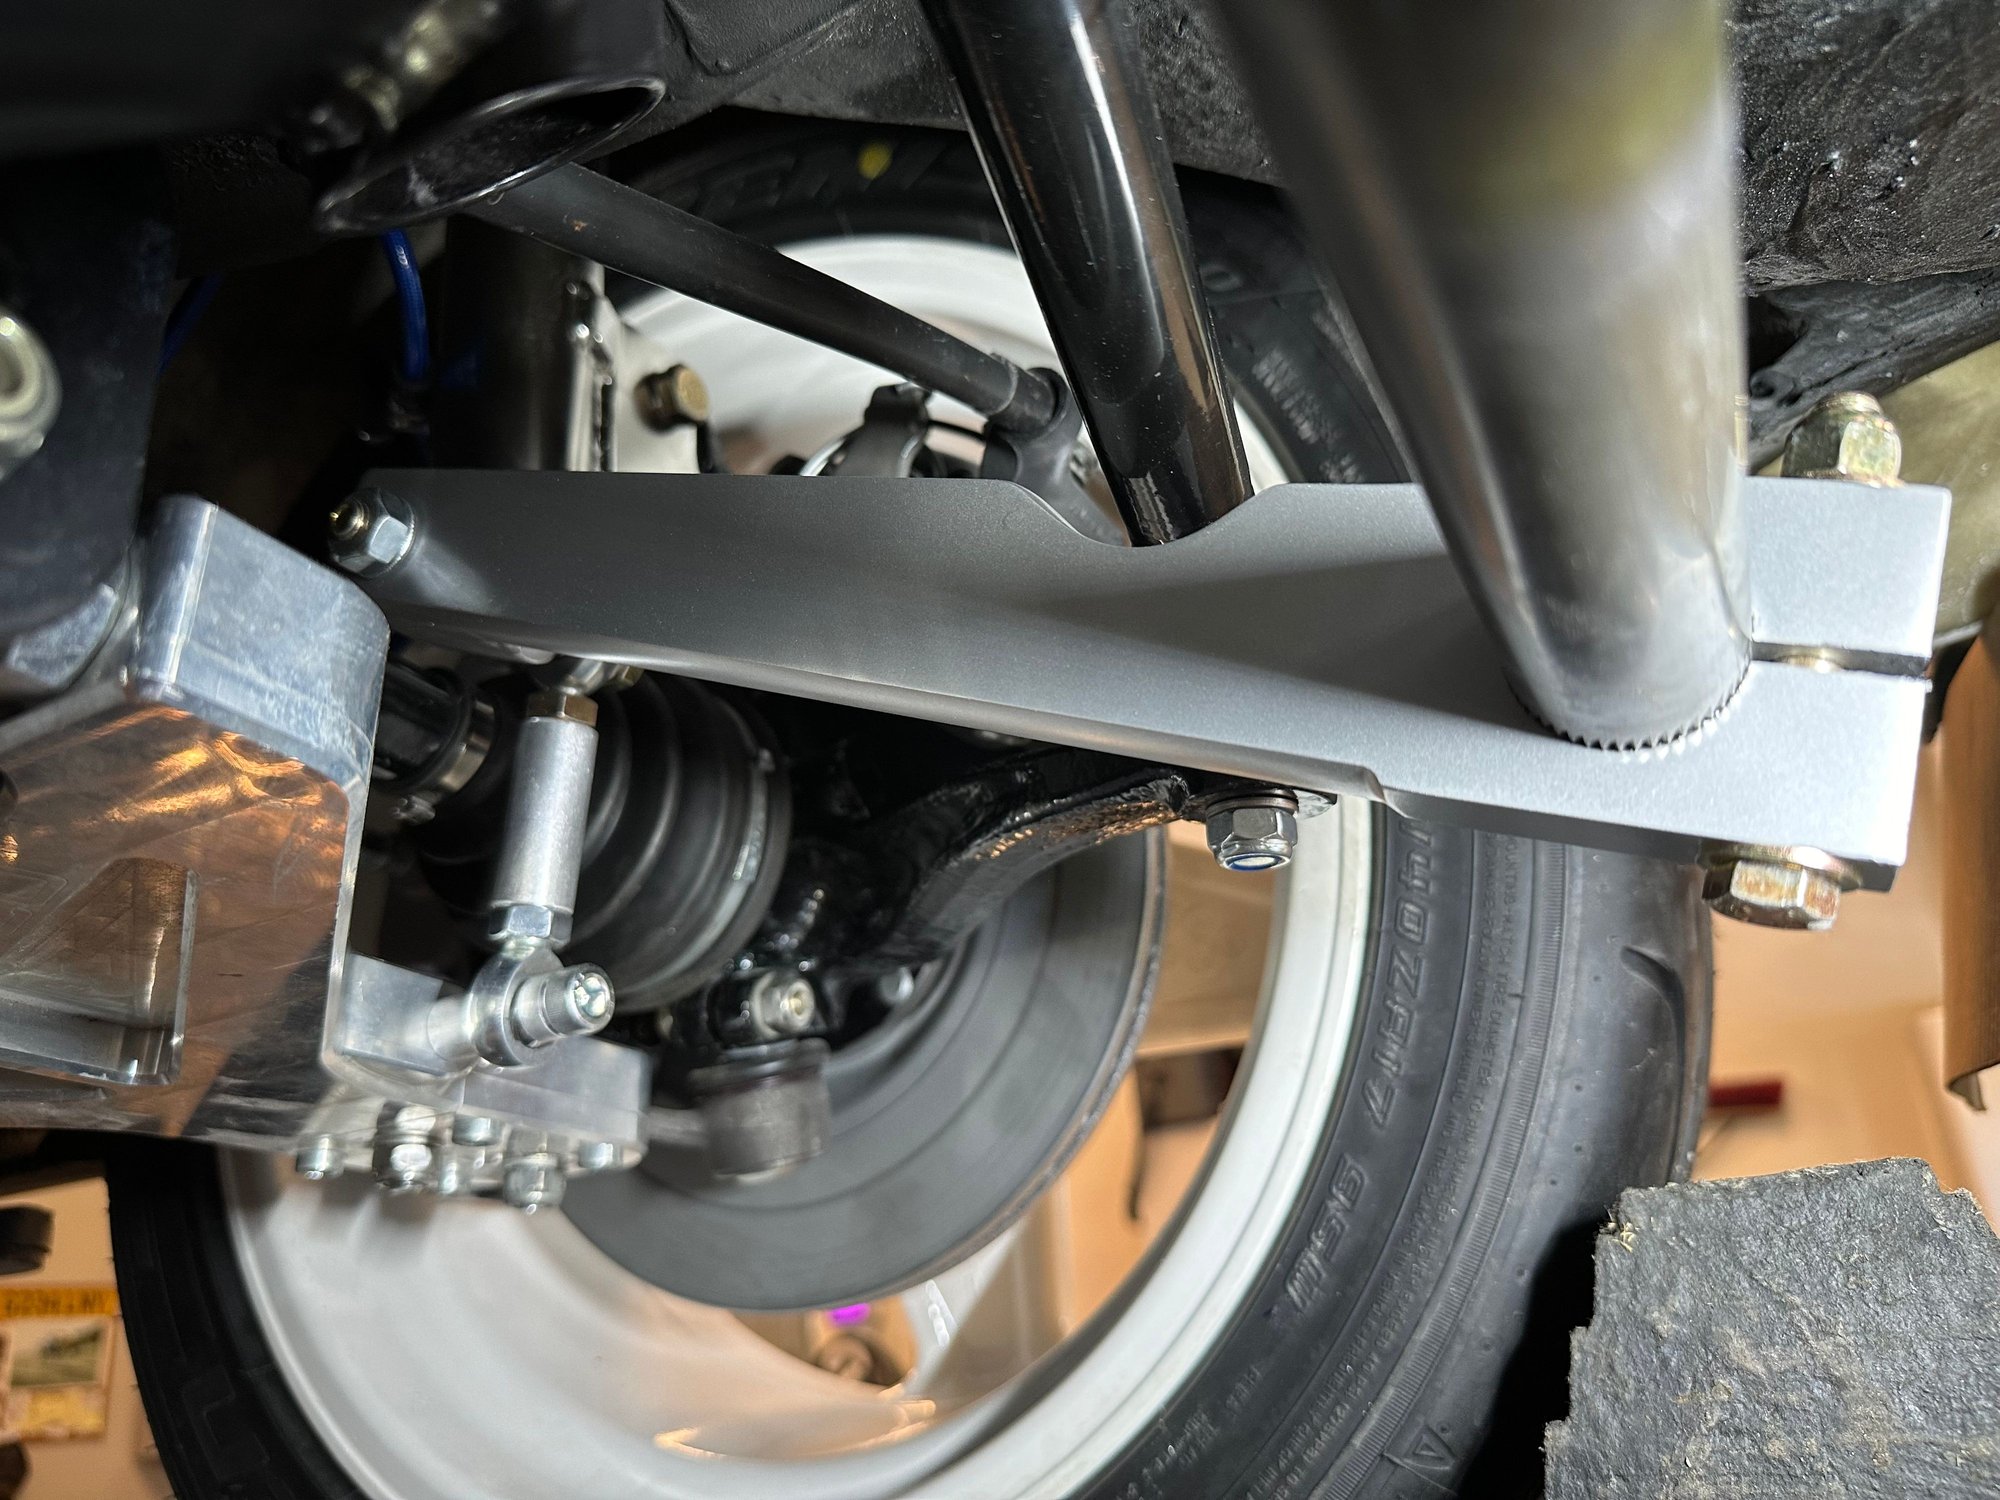
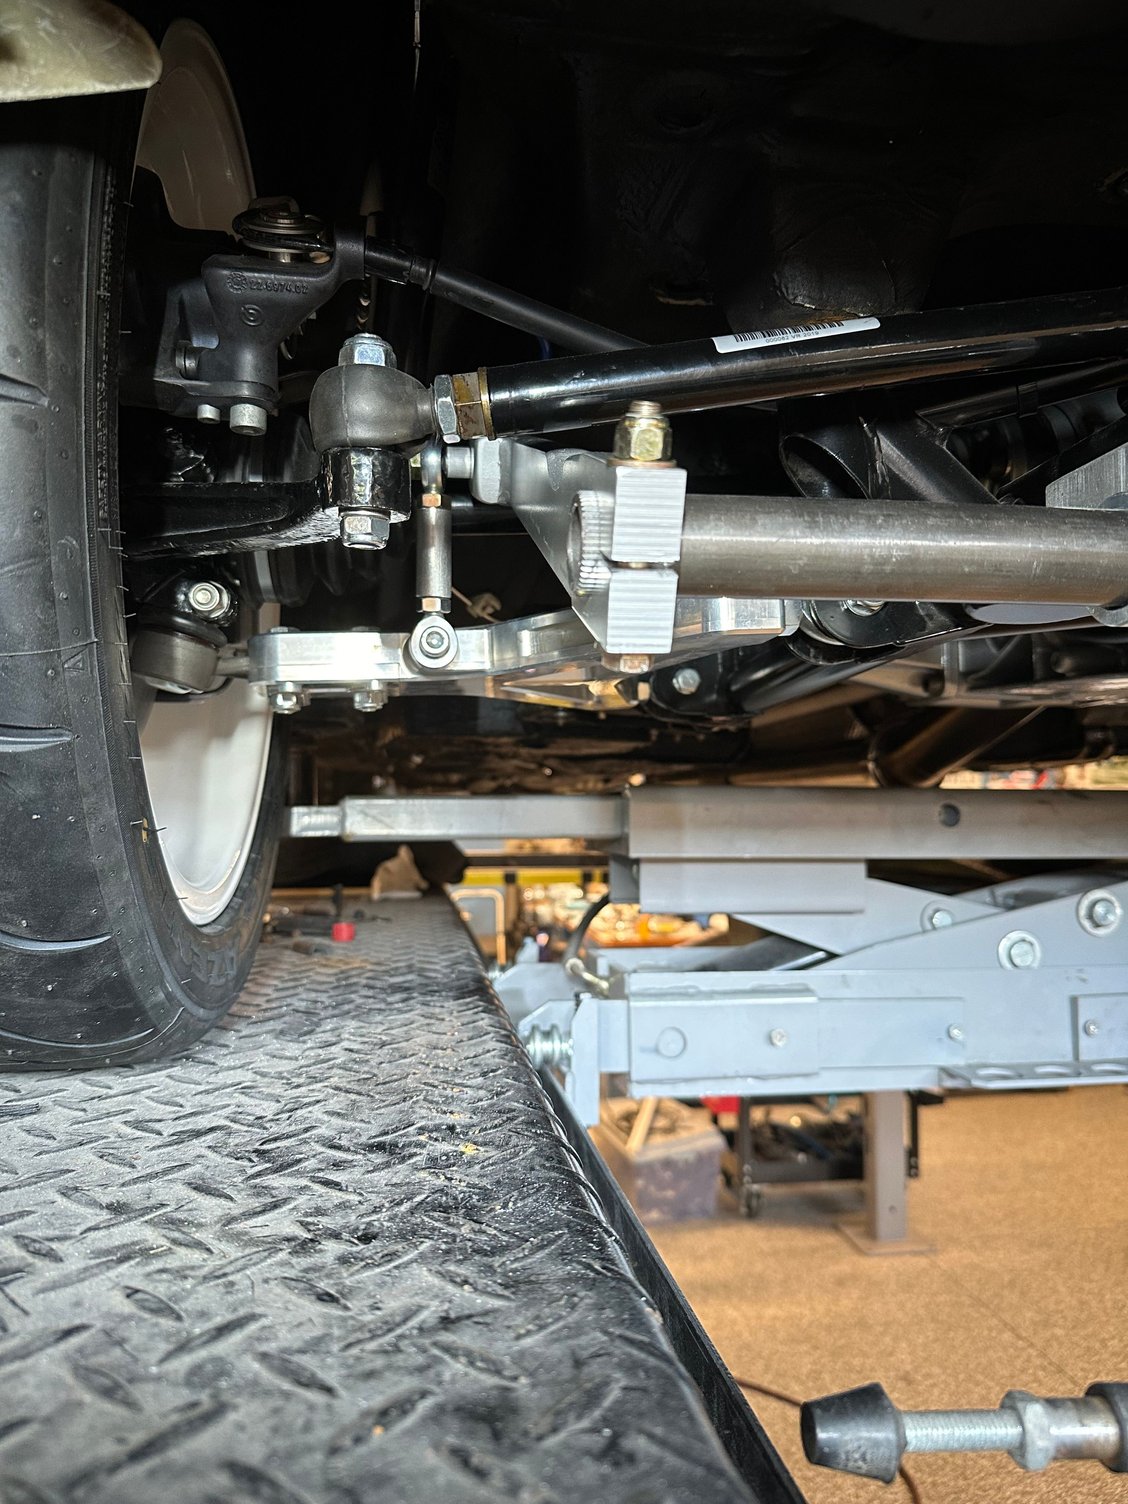
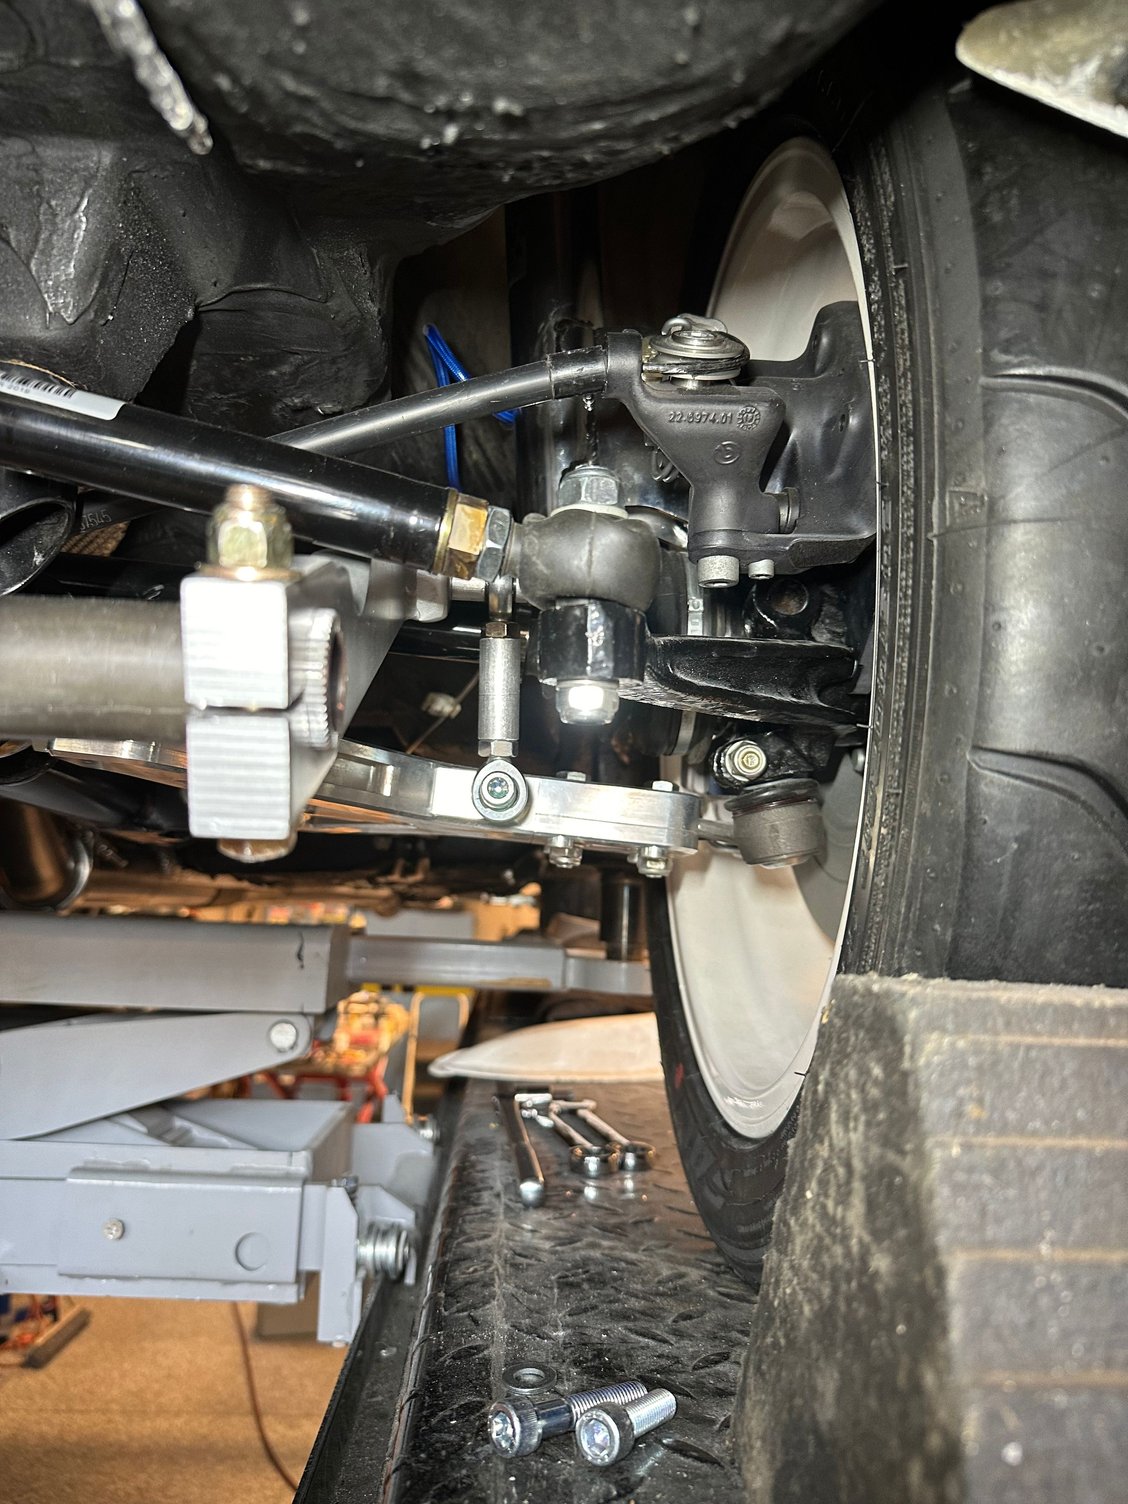
Finished the rear sway bar and it was quite a bit more work than the front. I am using the same 1 1/4" 48 spline hollow torsion bar, as the front, but was not able to get the arms that came with the kit to work. The issue on the rear is the tie rods that connect to the spindle at full suspension drop, interfere with the sway bar arms. I found billet arms and was able to massage, plus I made thicker mounts to lower the torsion bar a bit to have clearance around the tie rods at full drop.....compression is a non issue.
One more box checked in the to do list.
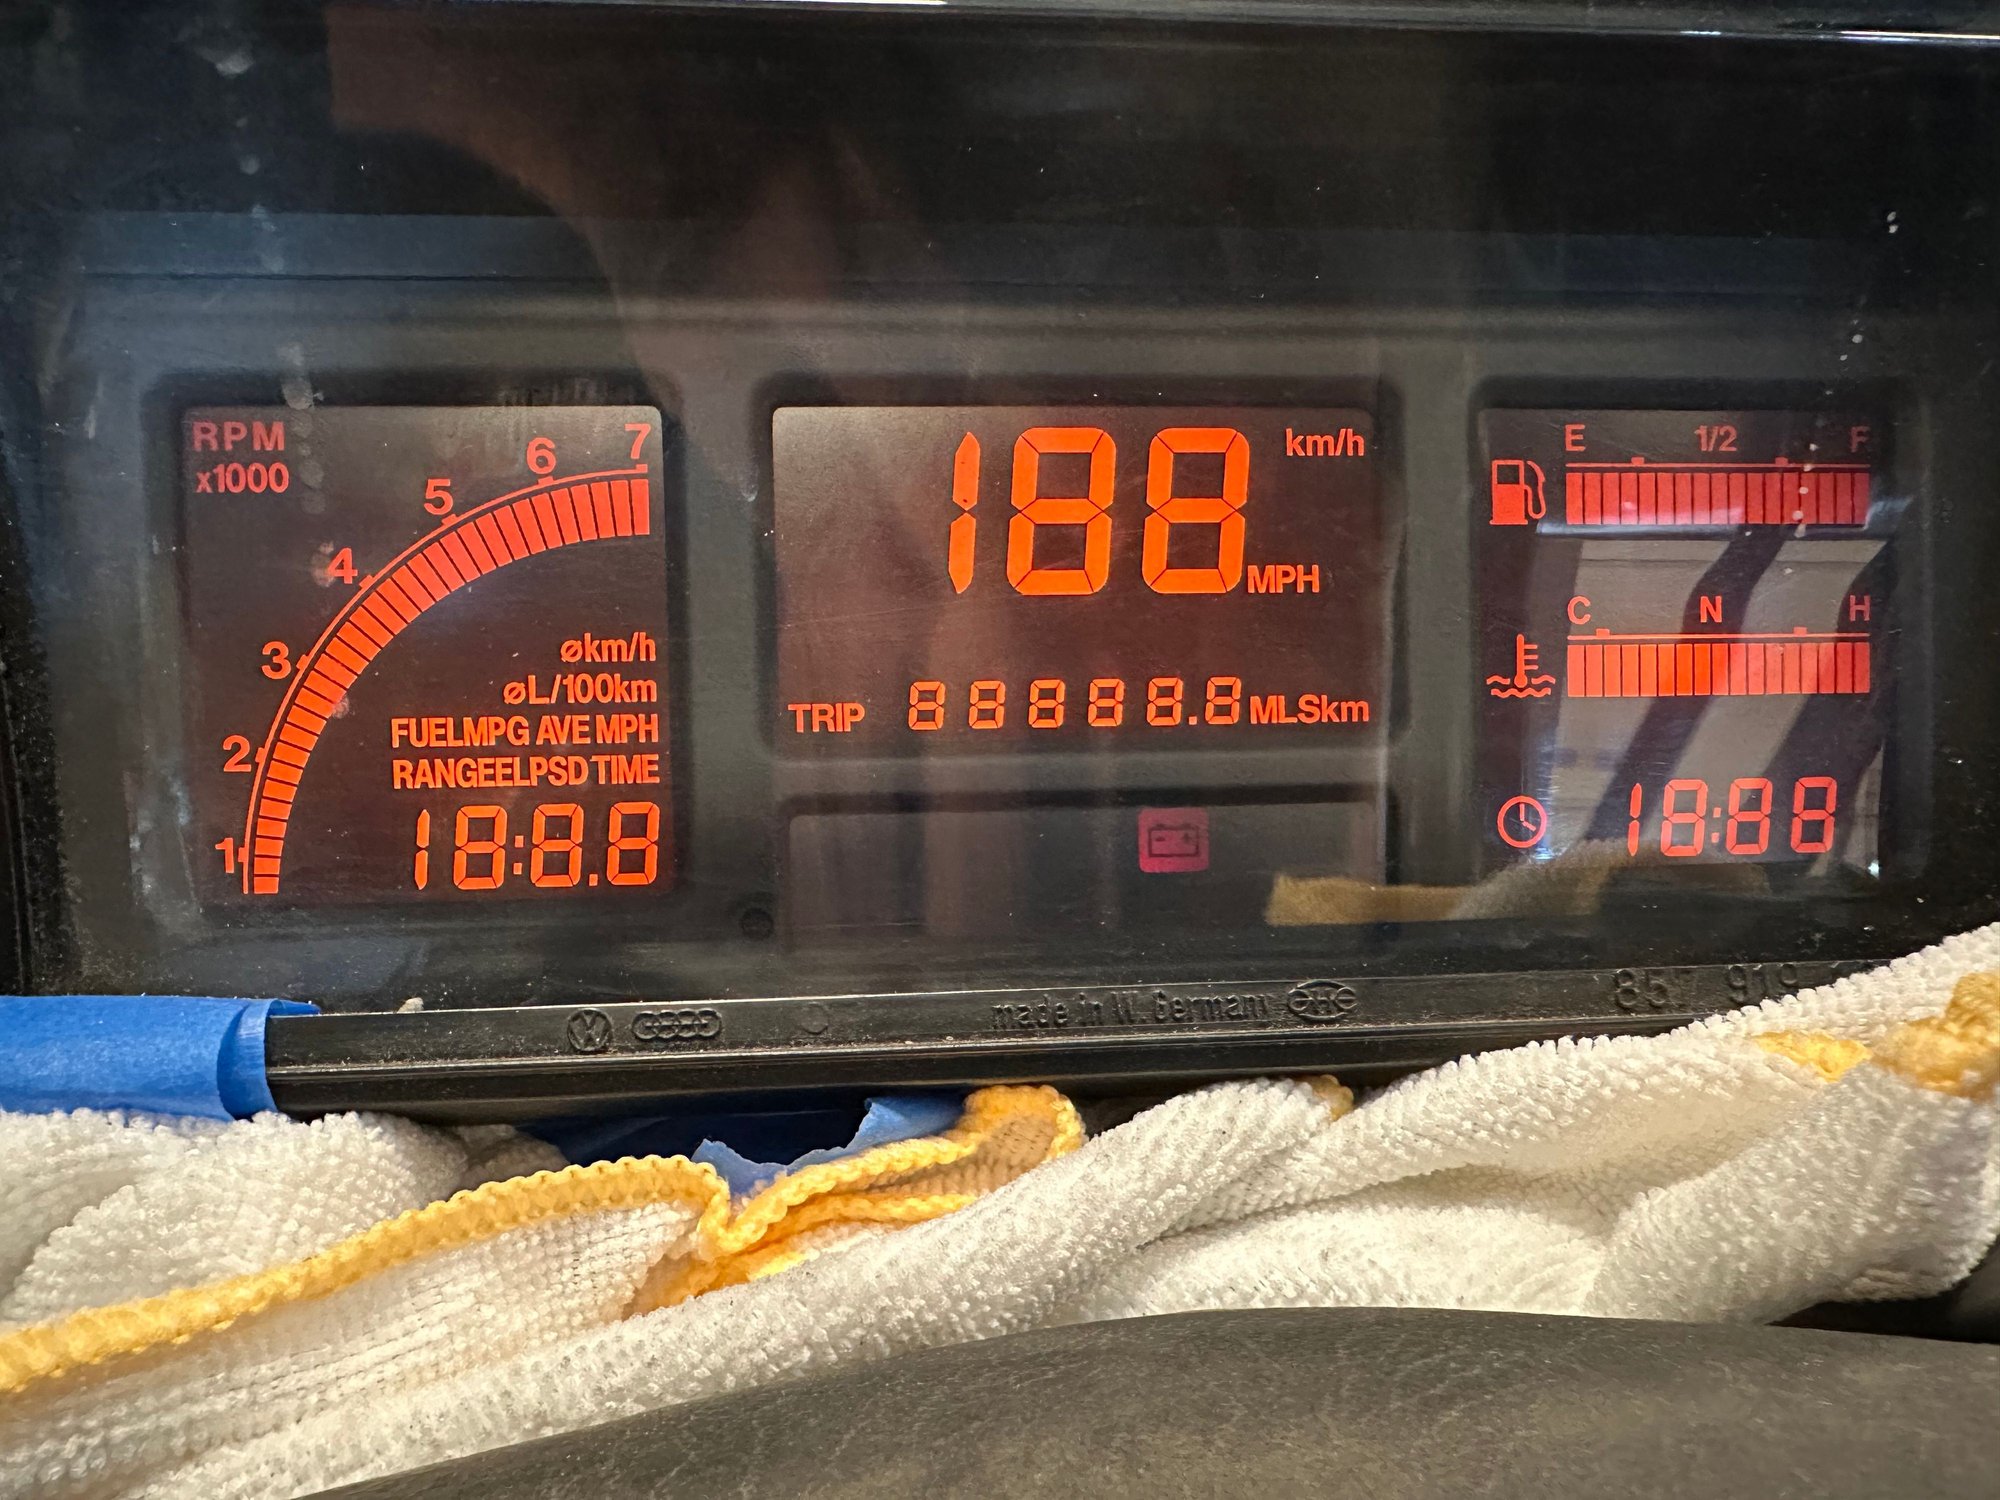
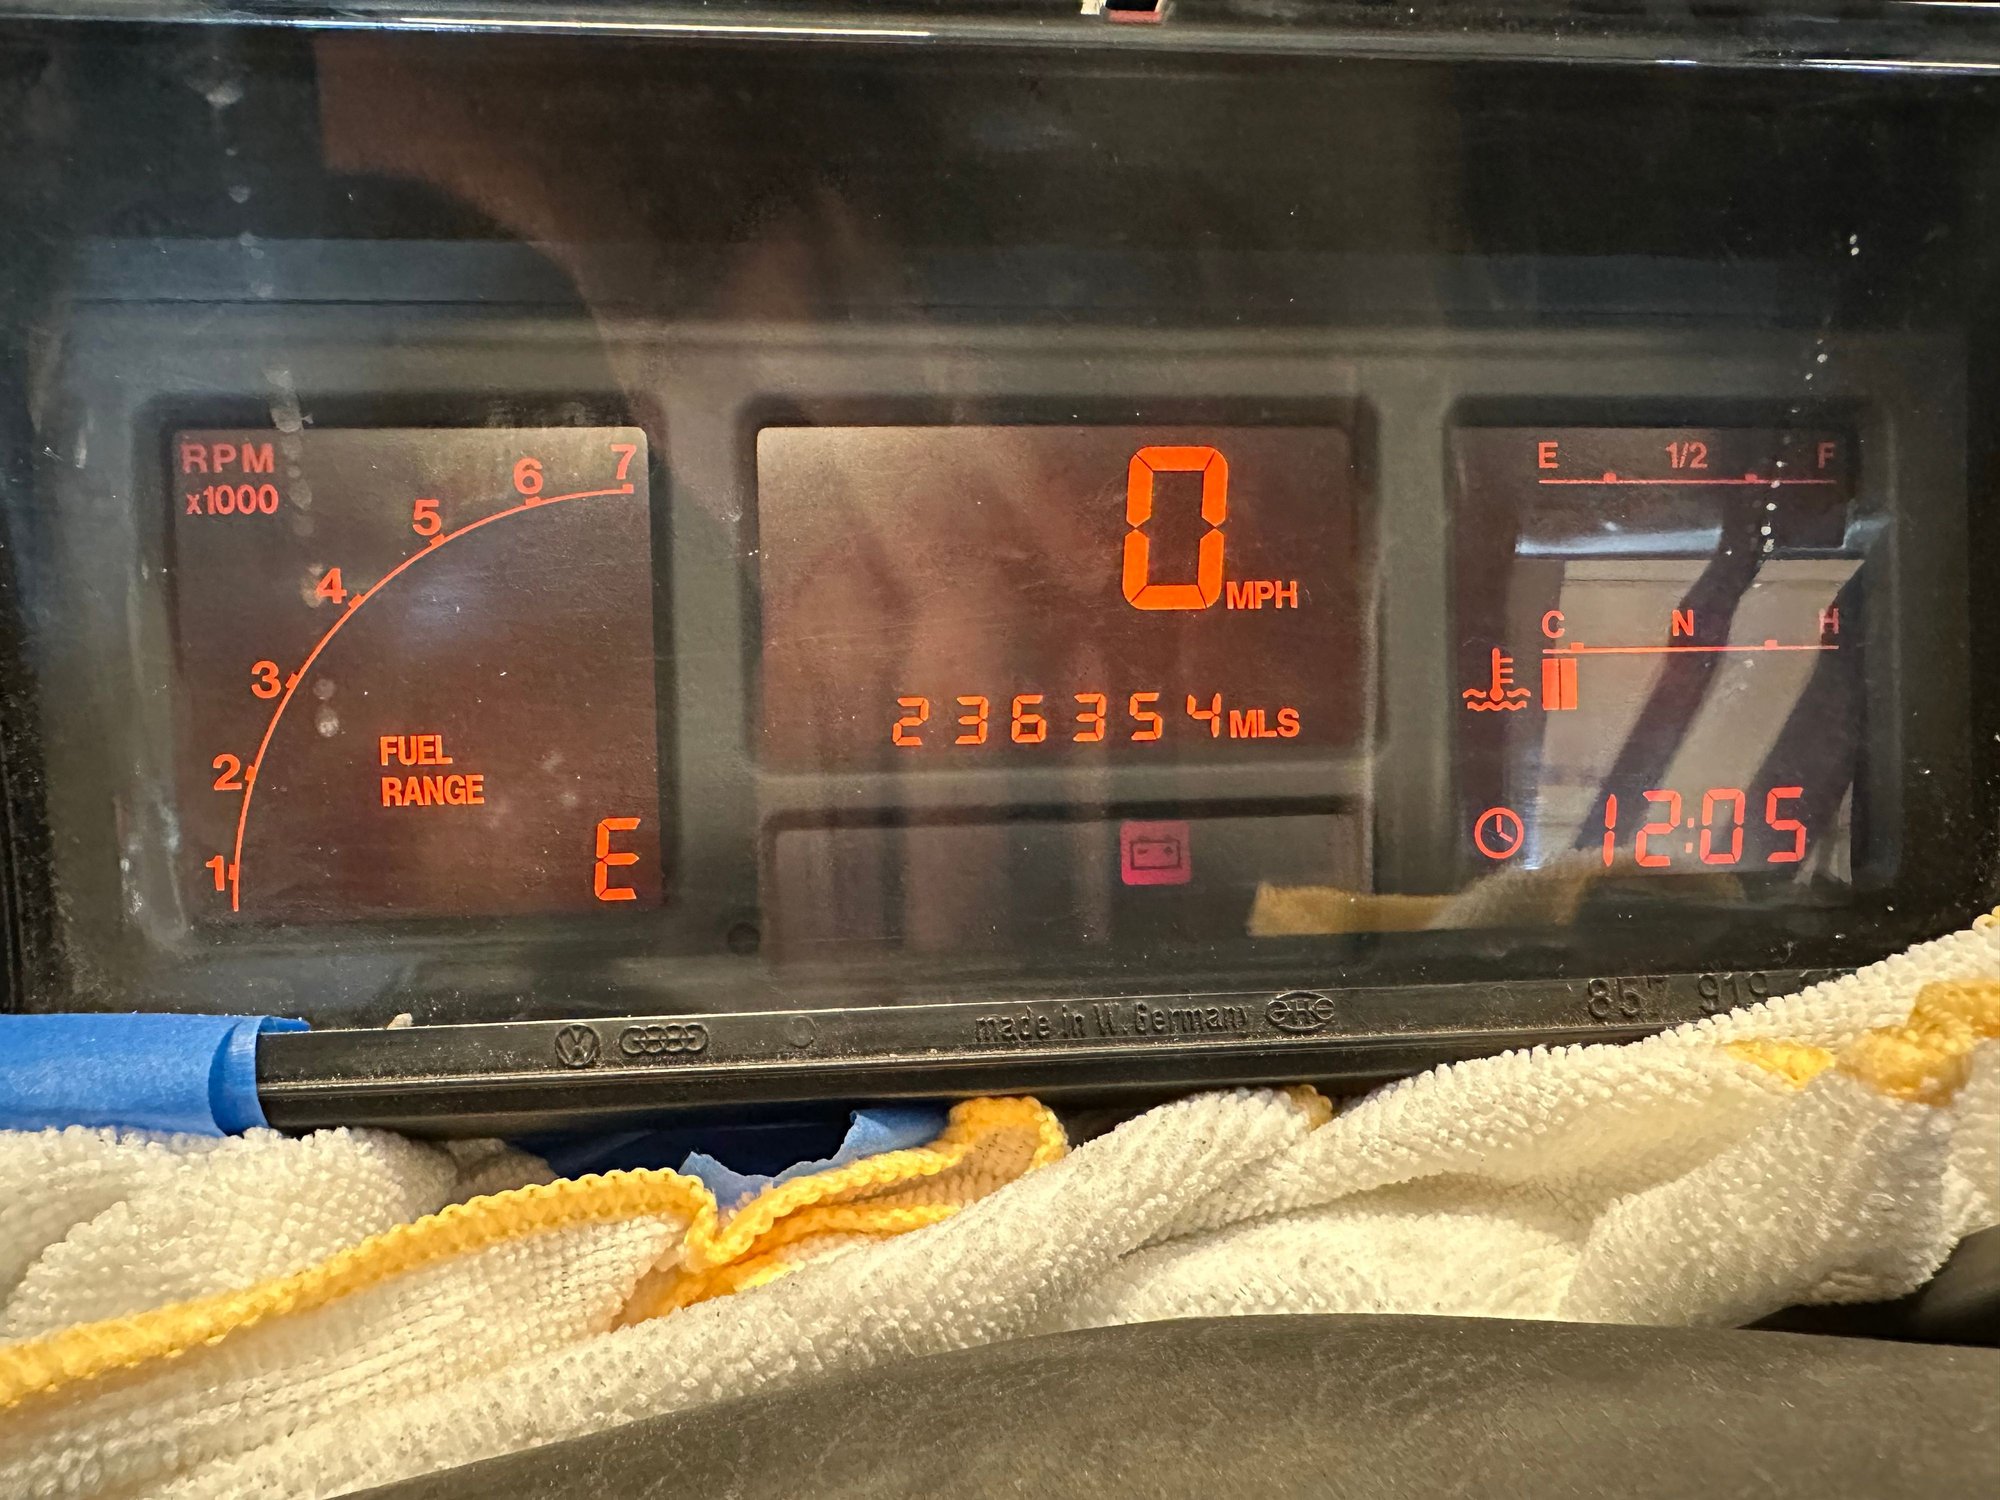
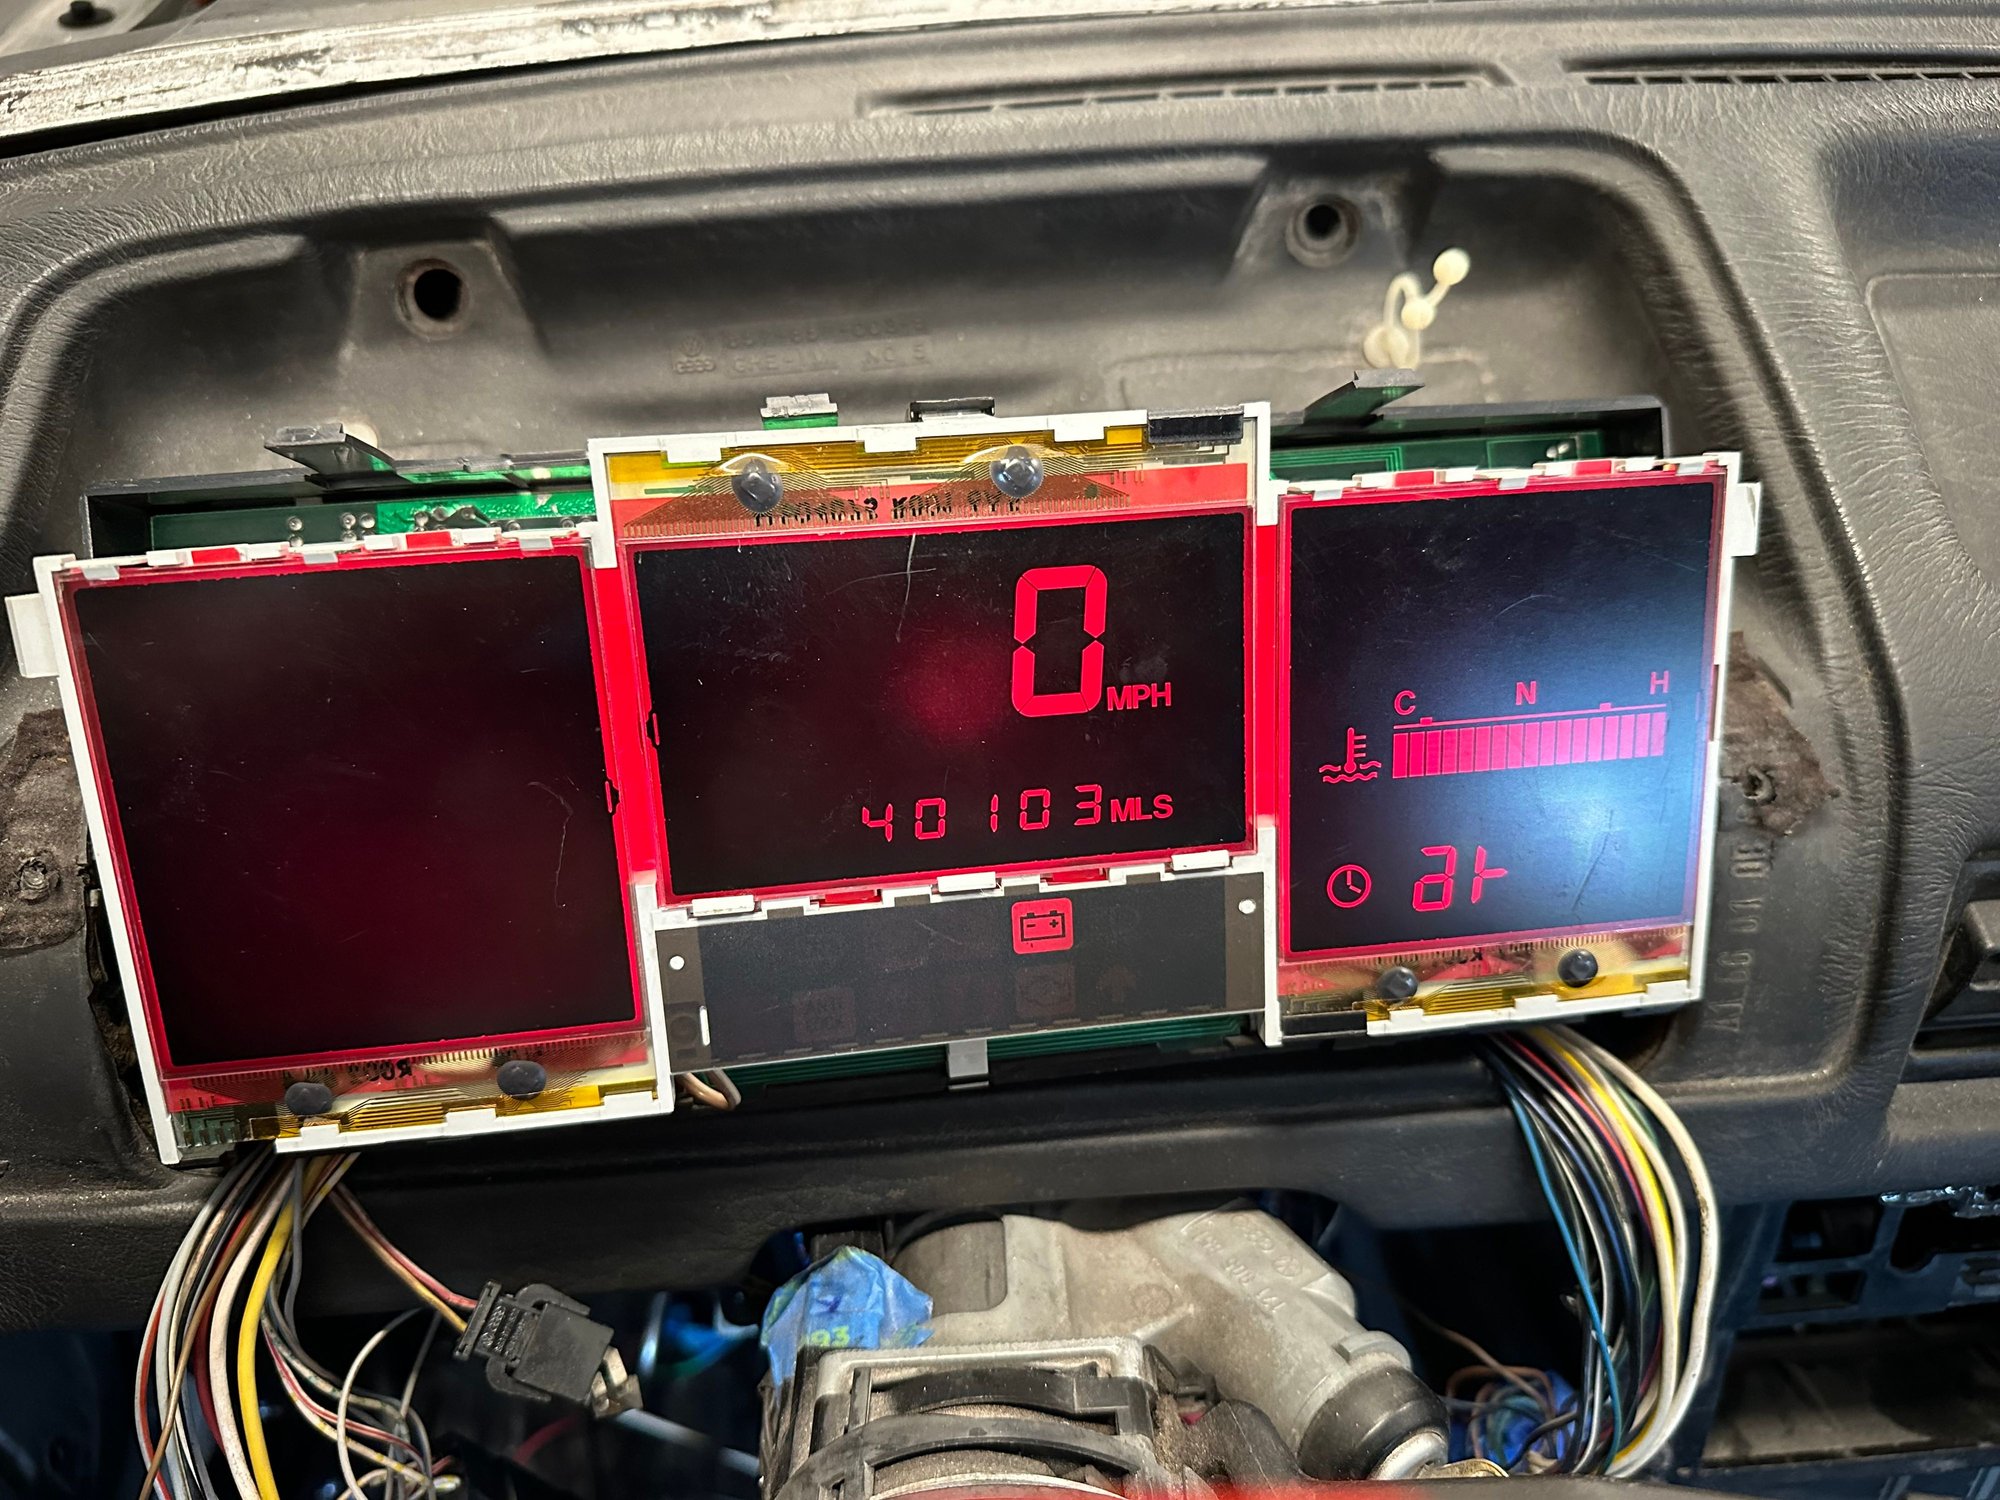
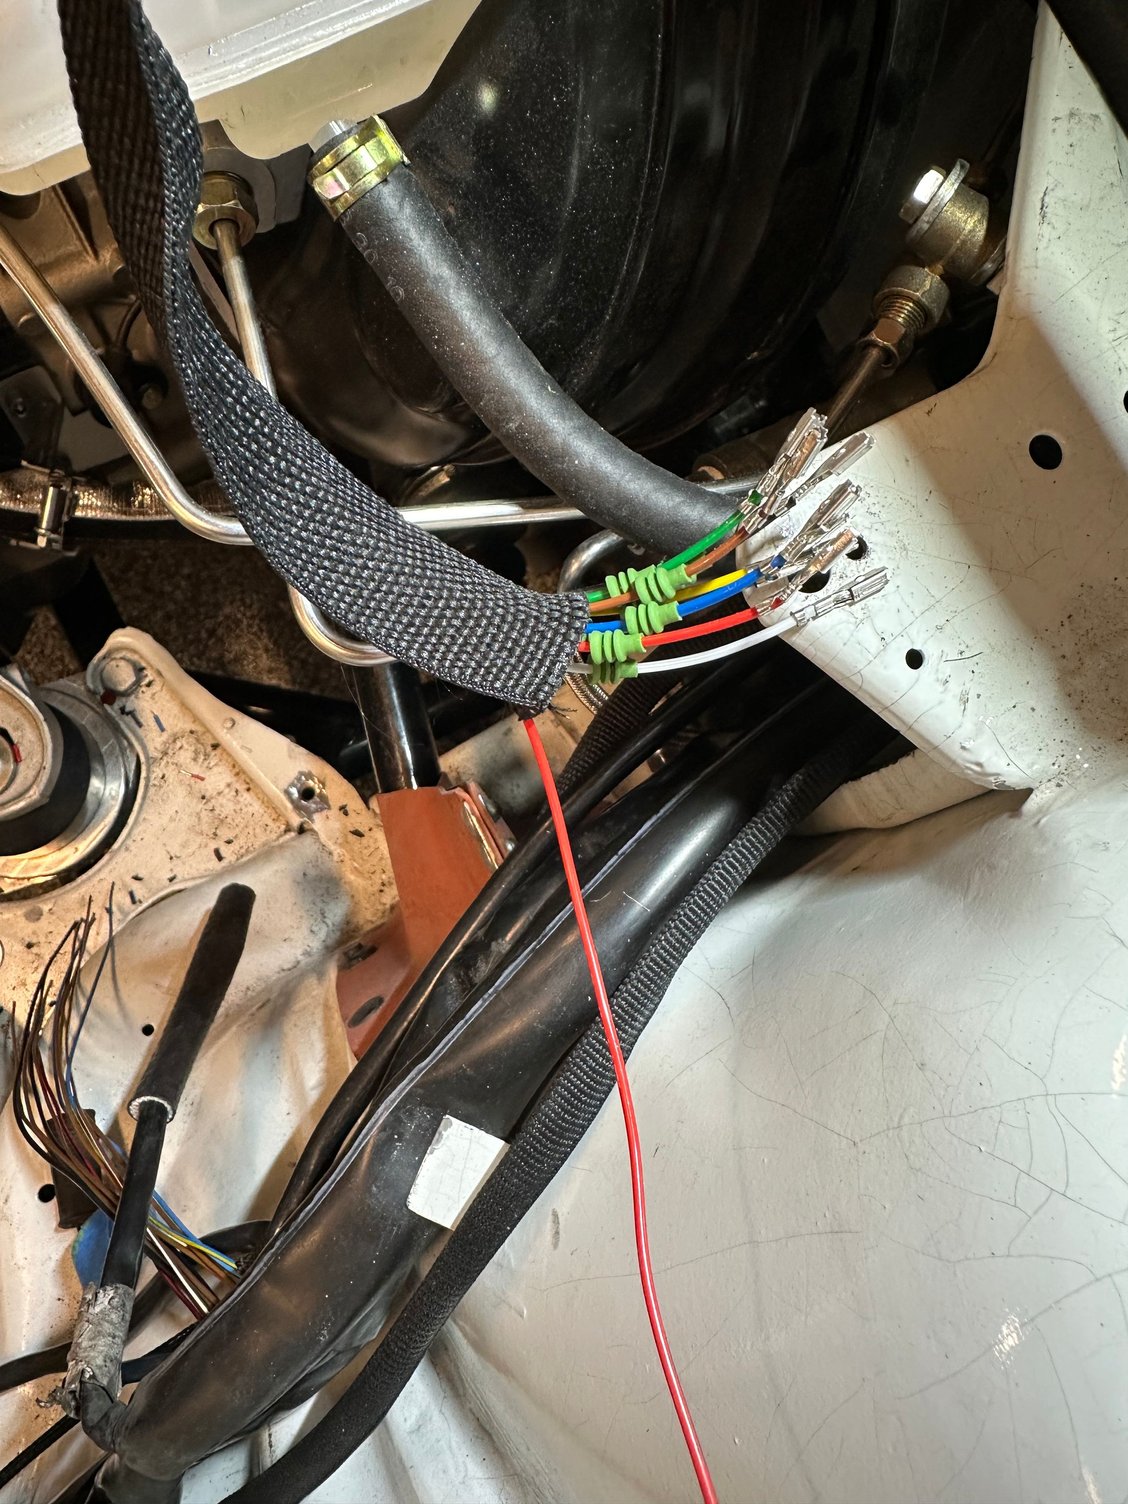
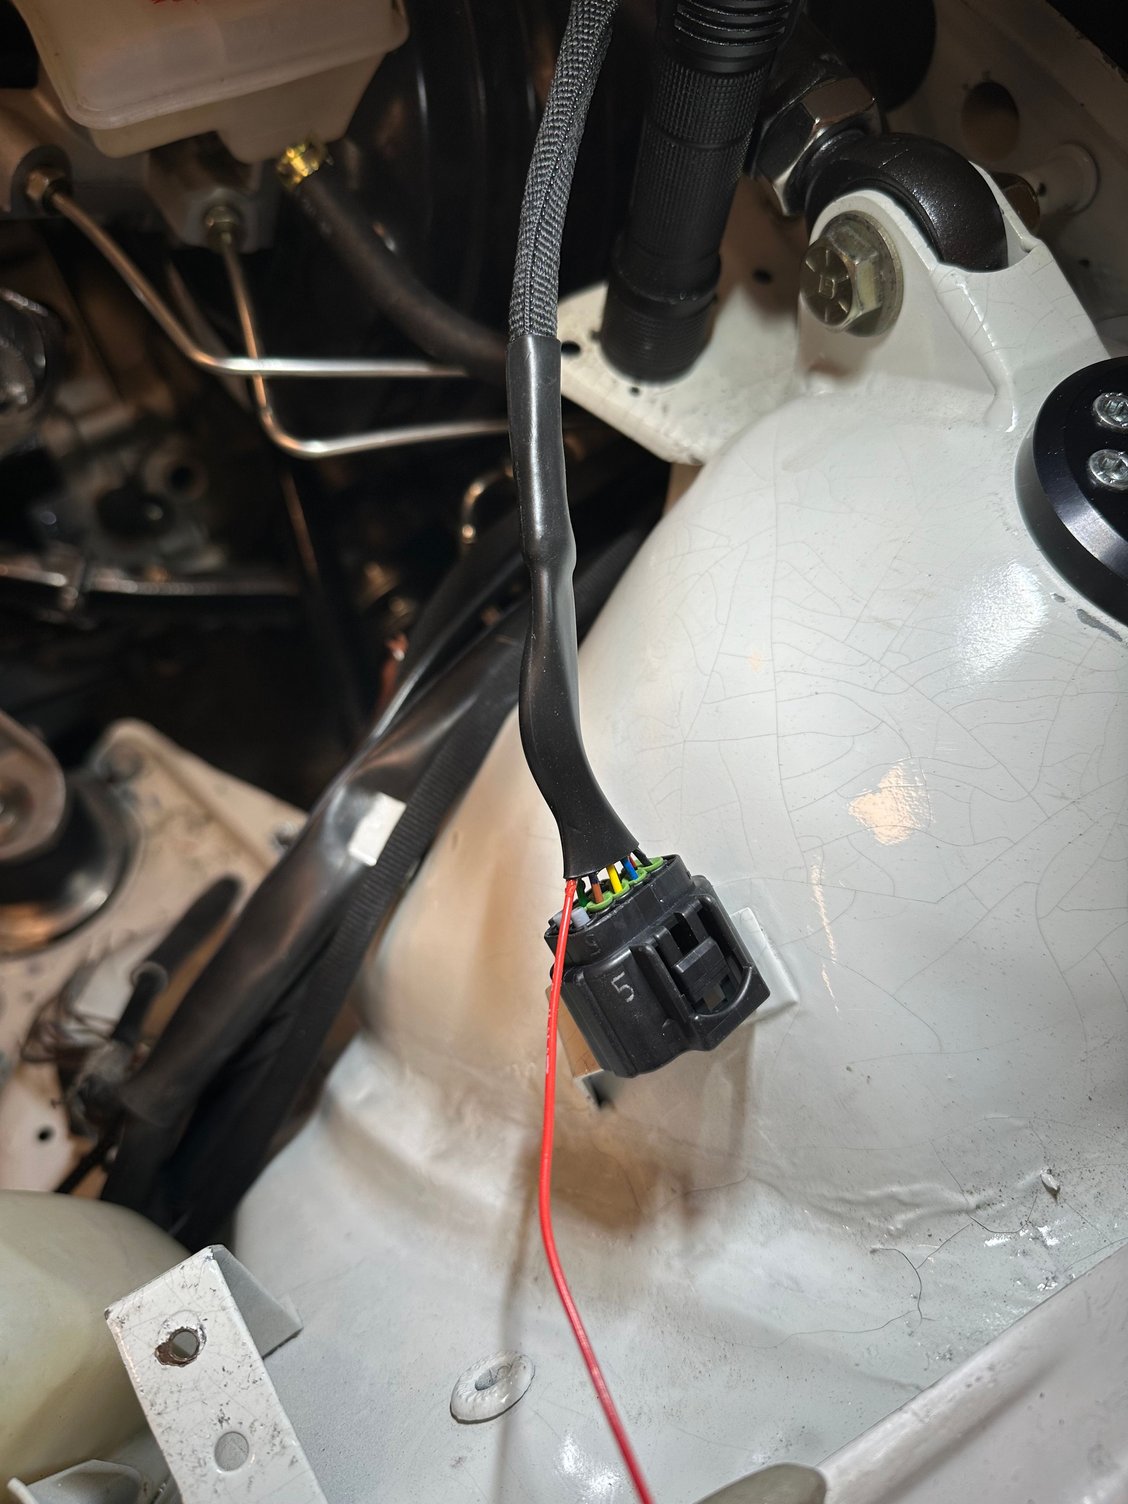
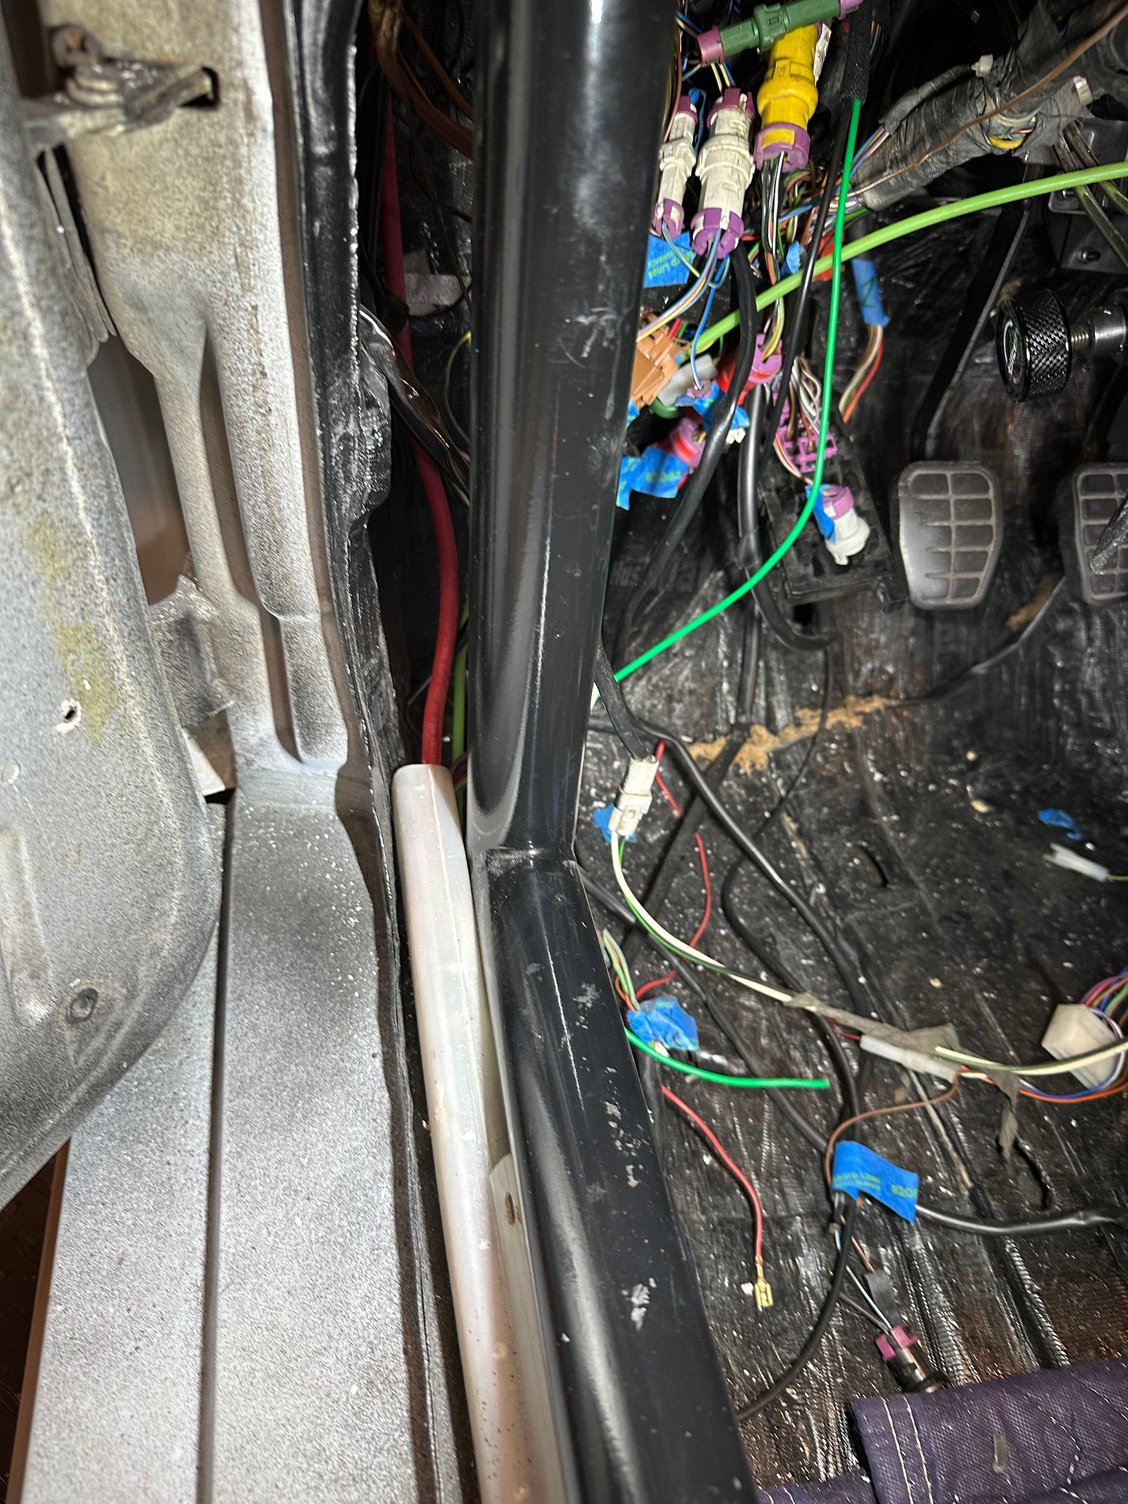
Been making some headway on the wiring with the help of Norbert (SRS). The engine harness Norbert built for the Motec ECU connects to all the sensors and now we have to get the Motec to talk to the Audi components, so I have to find the correct wires in the body harness and make up a connector to connect to the Motec plug , which Norbert made and designate pins for each function. Also, using the digital dash, which was tested for the 1st time today.
I have (3) digital instrument clusters....one is orange and seems to work, the 2nd is red, which partially works and the 3rd does not light up at all.
I was aware of the orange and green clusters, but did not know about red.
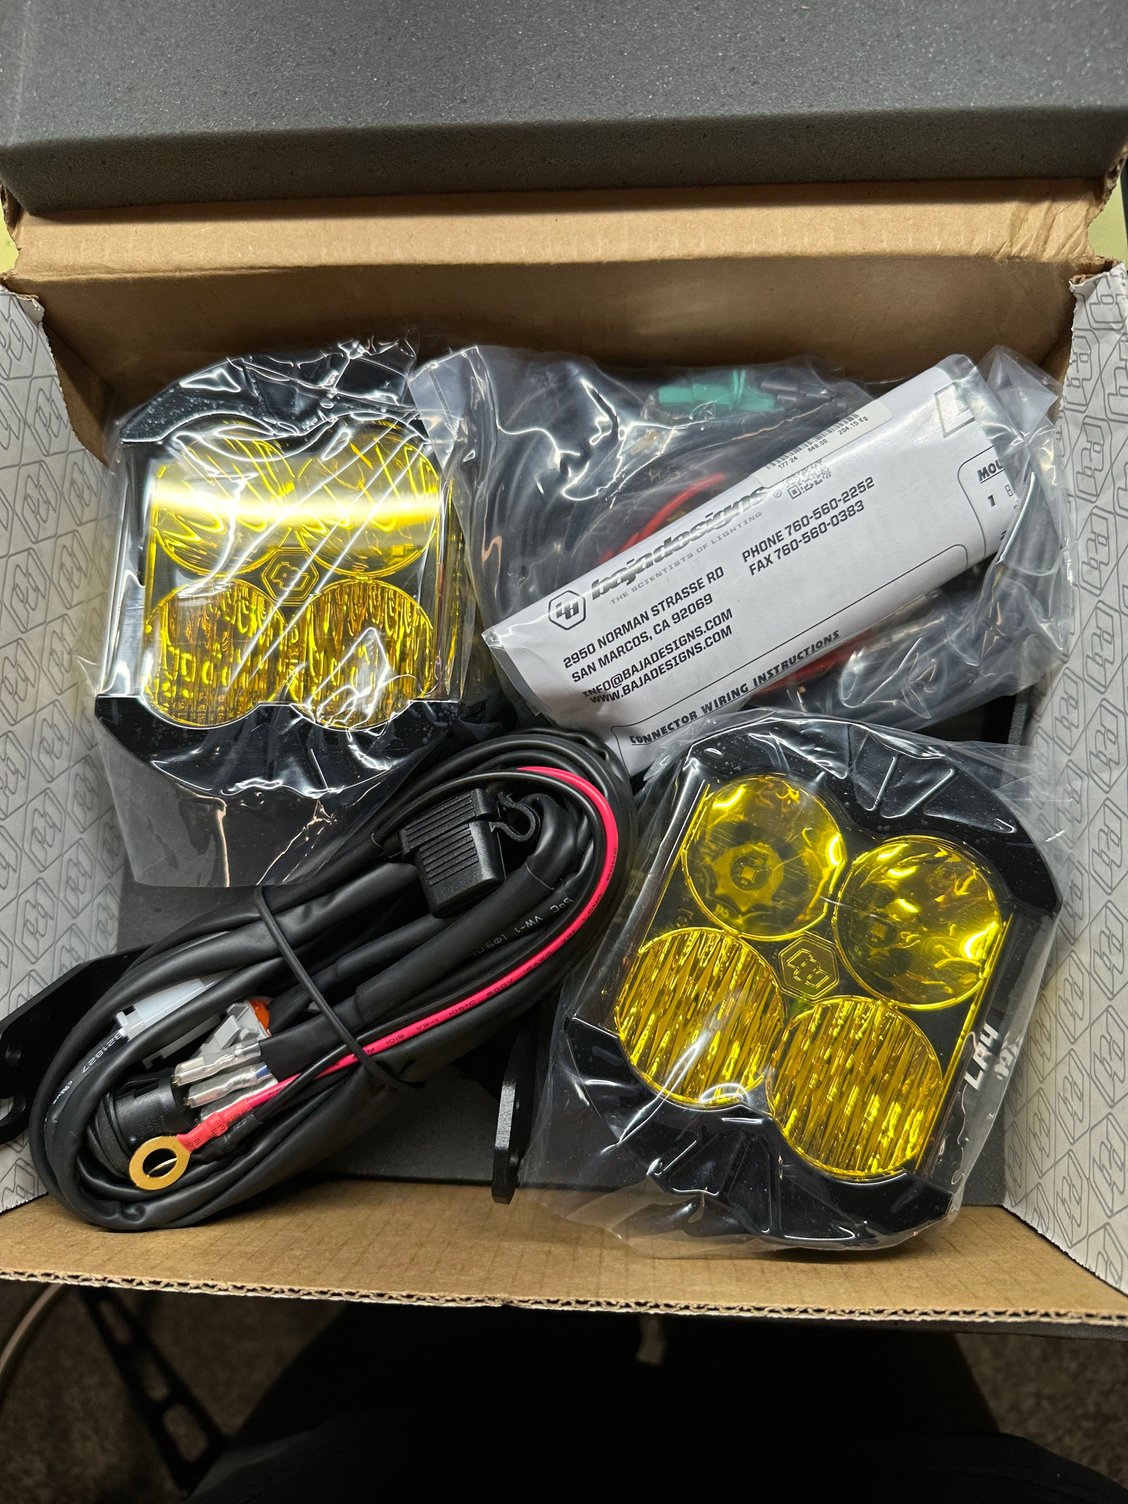
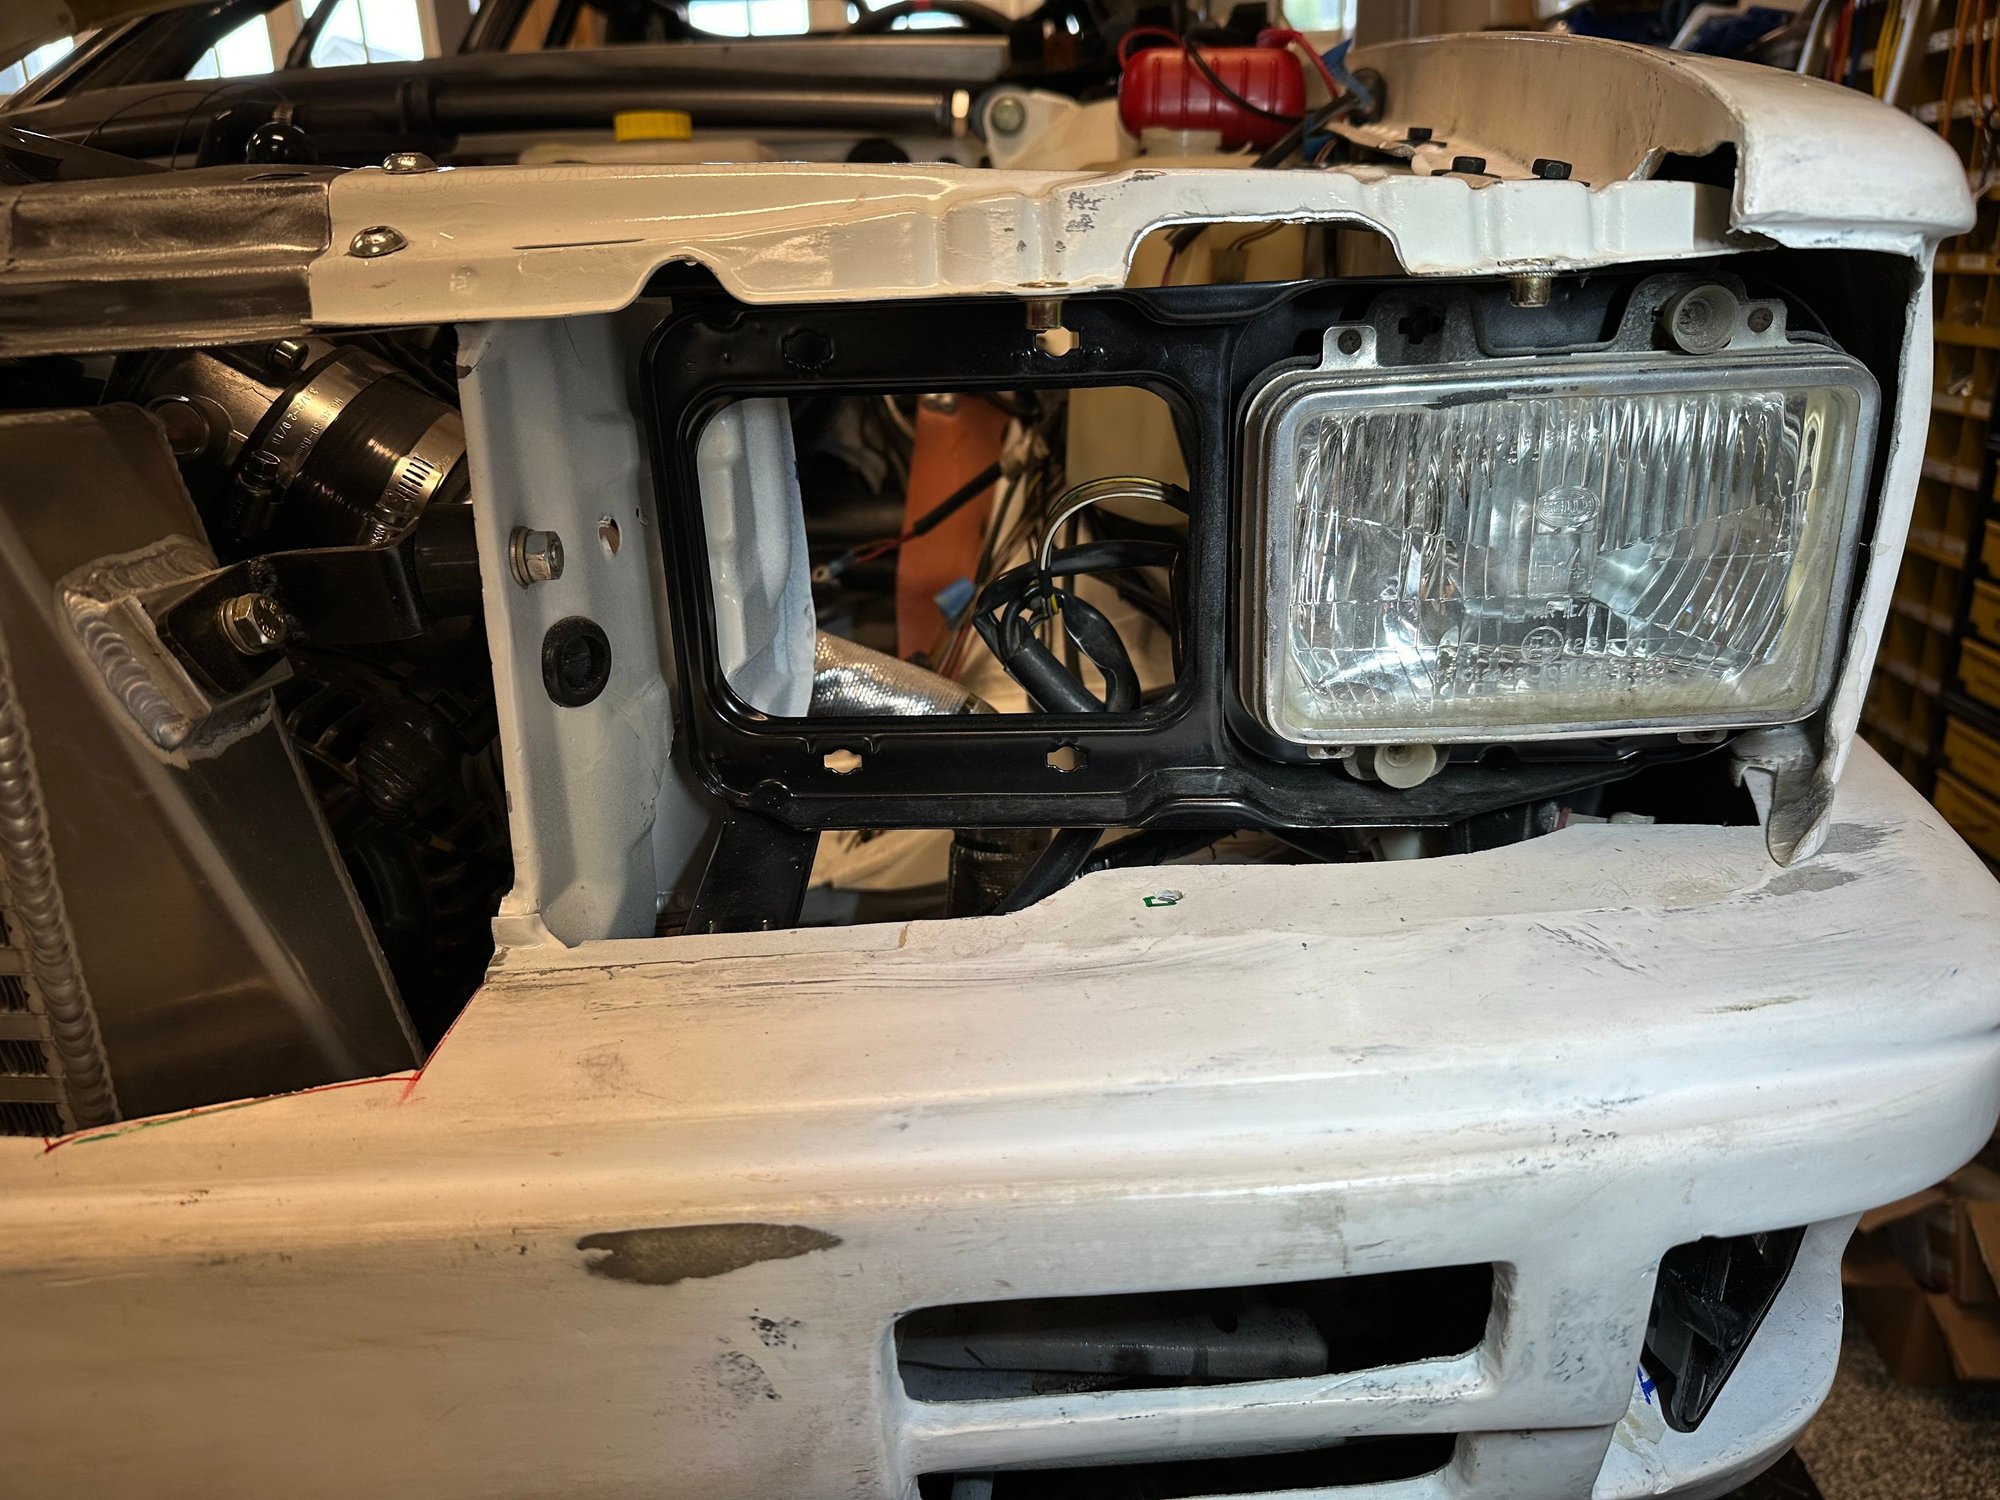
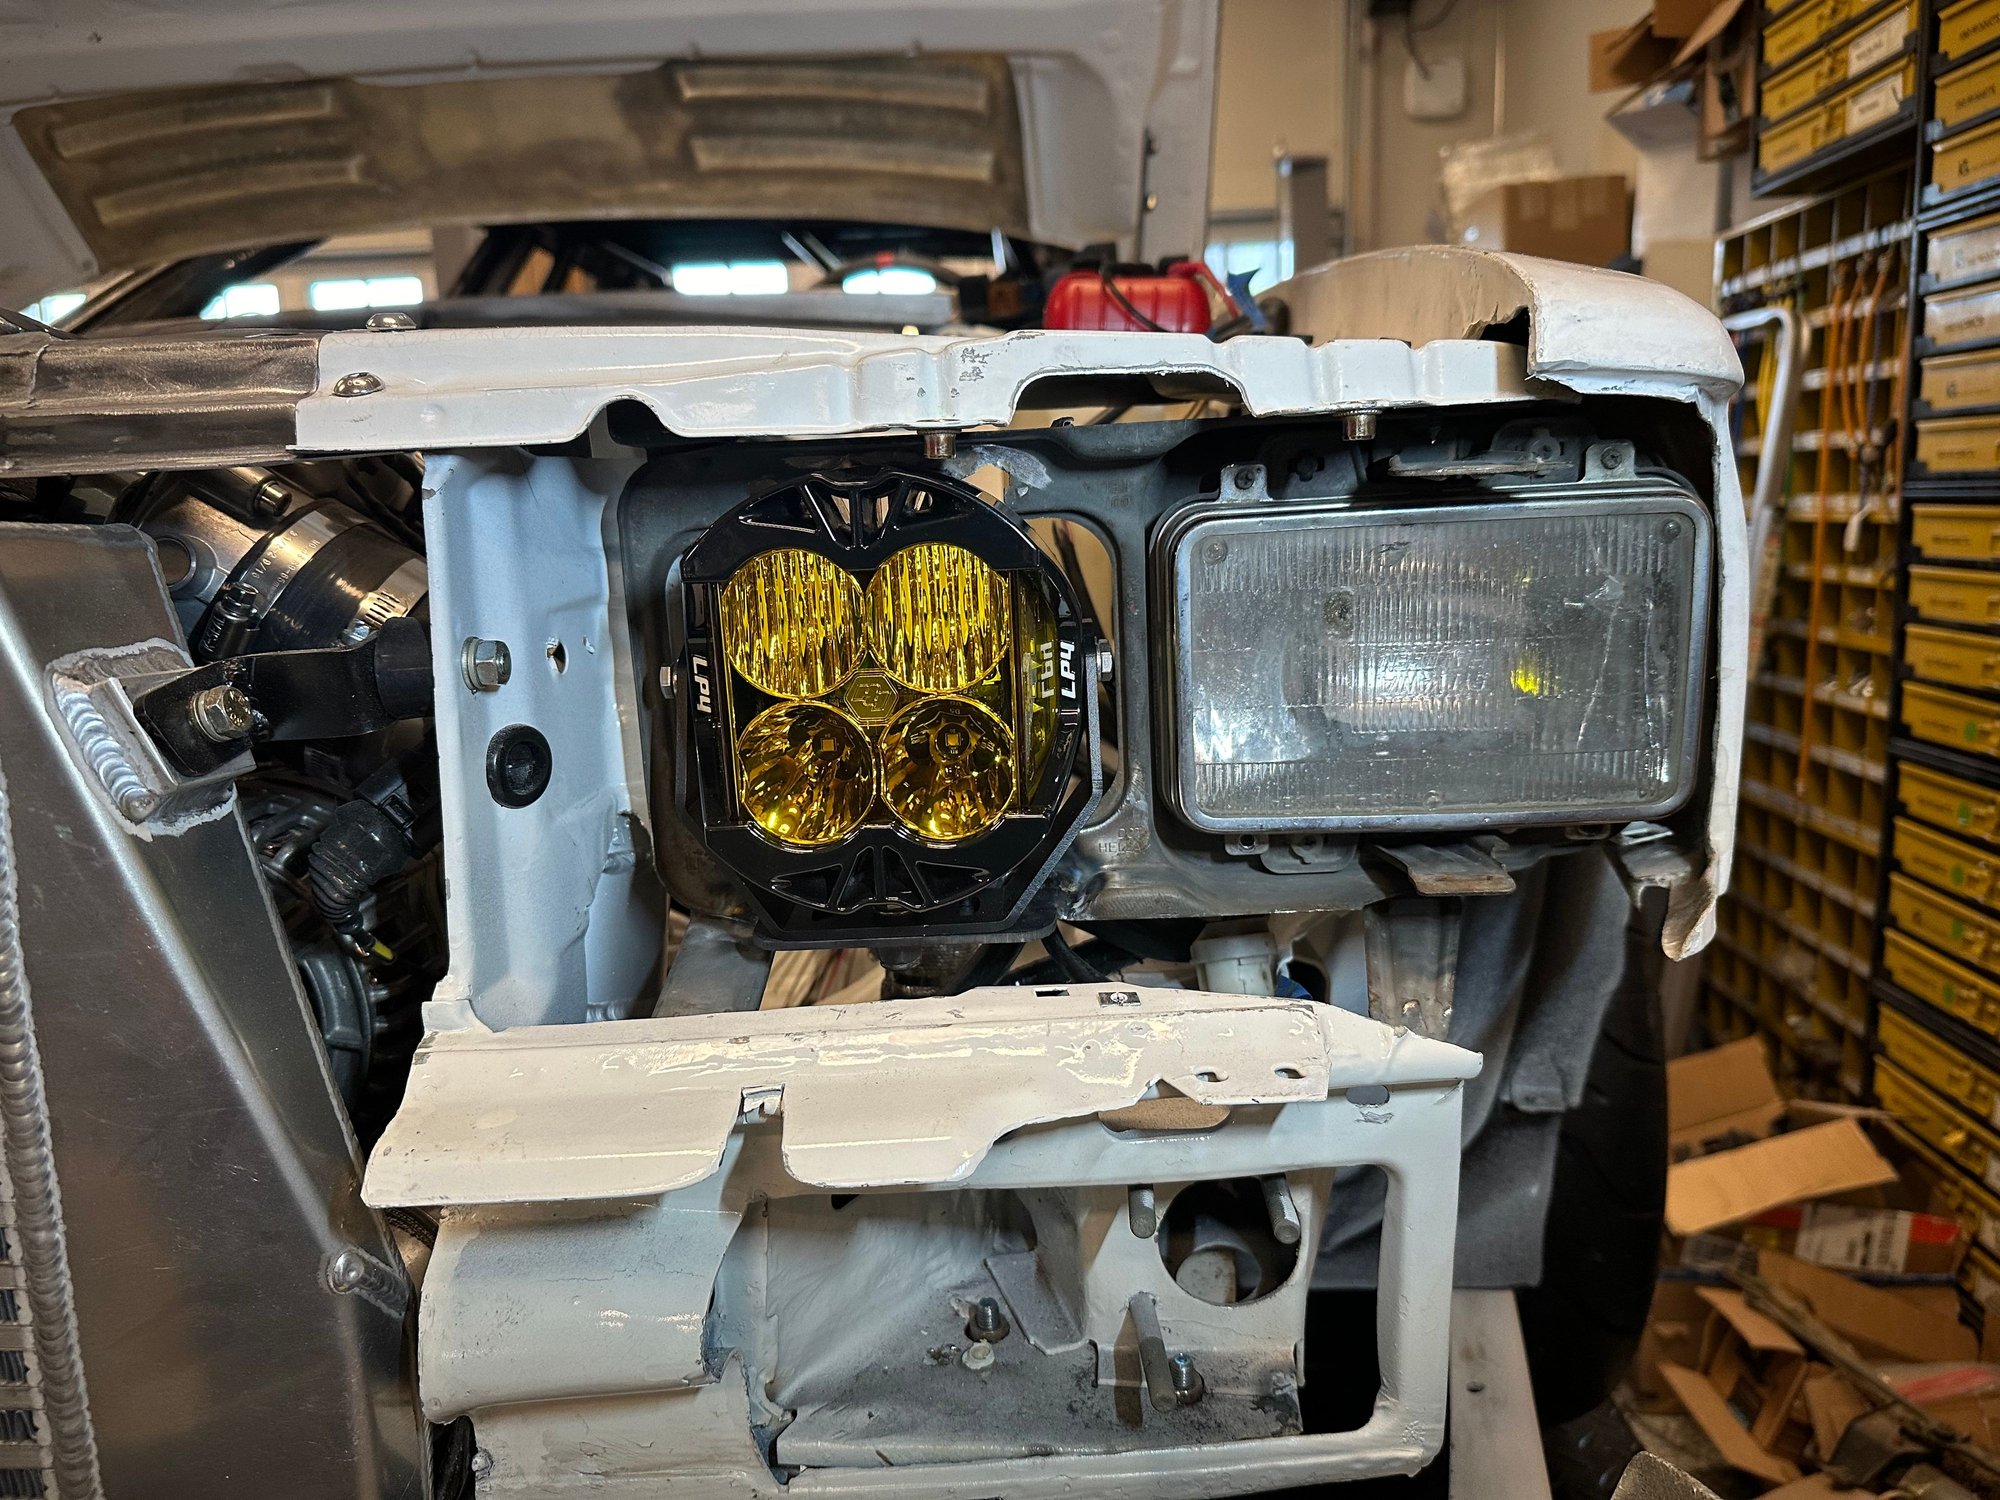
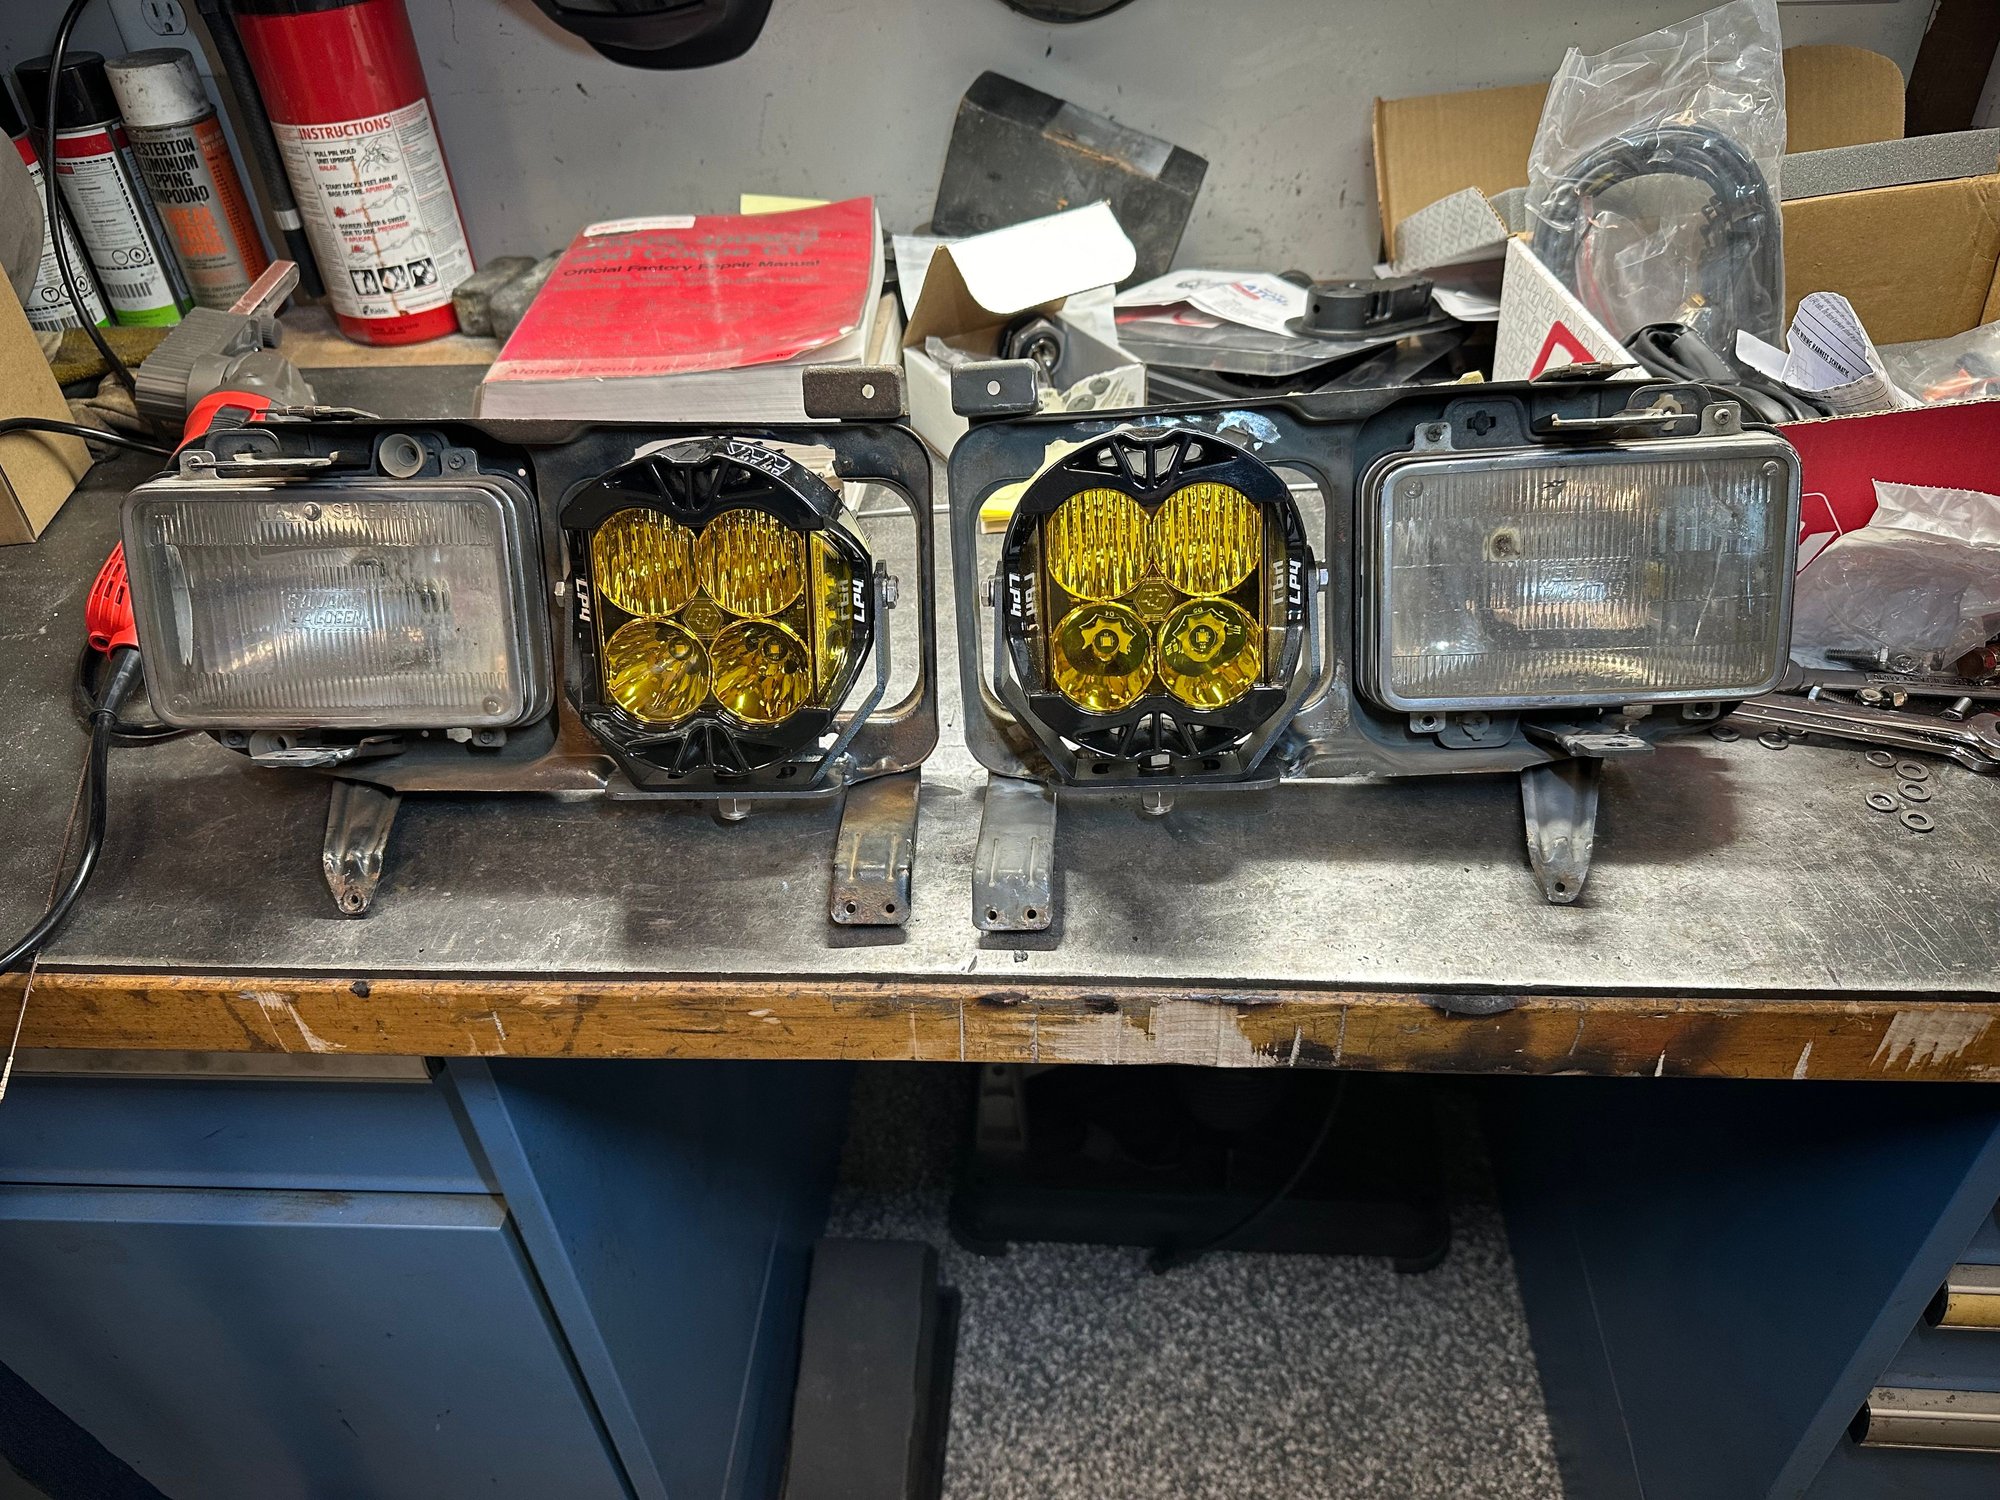
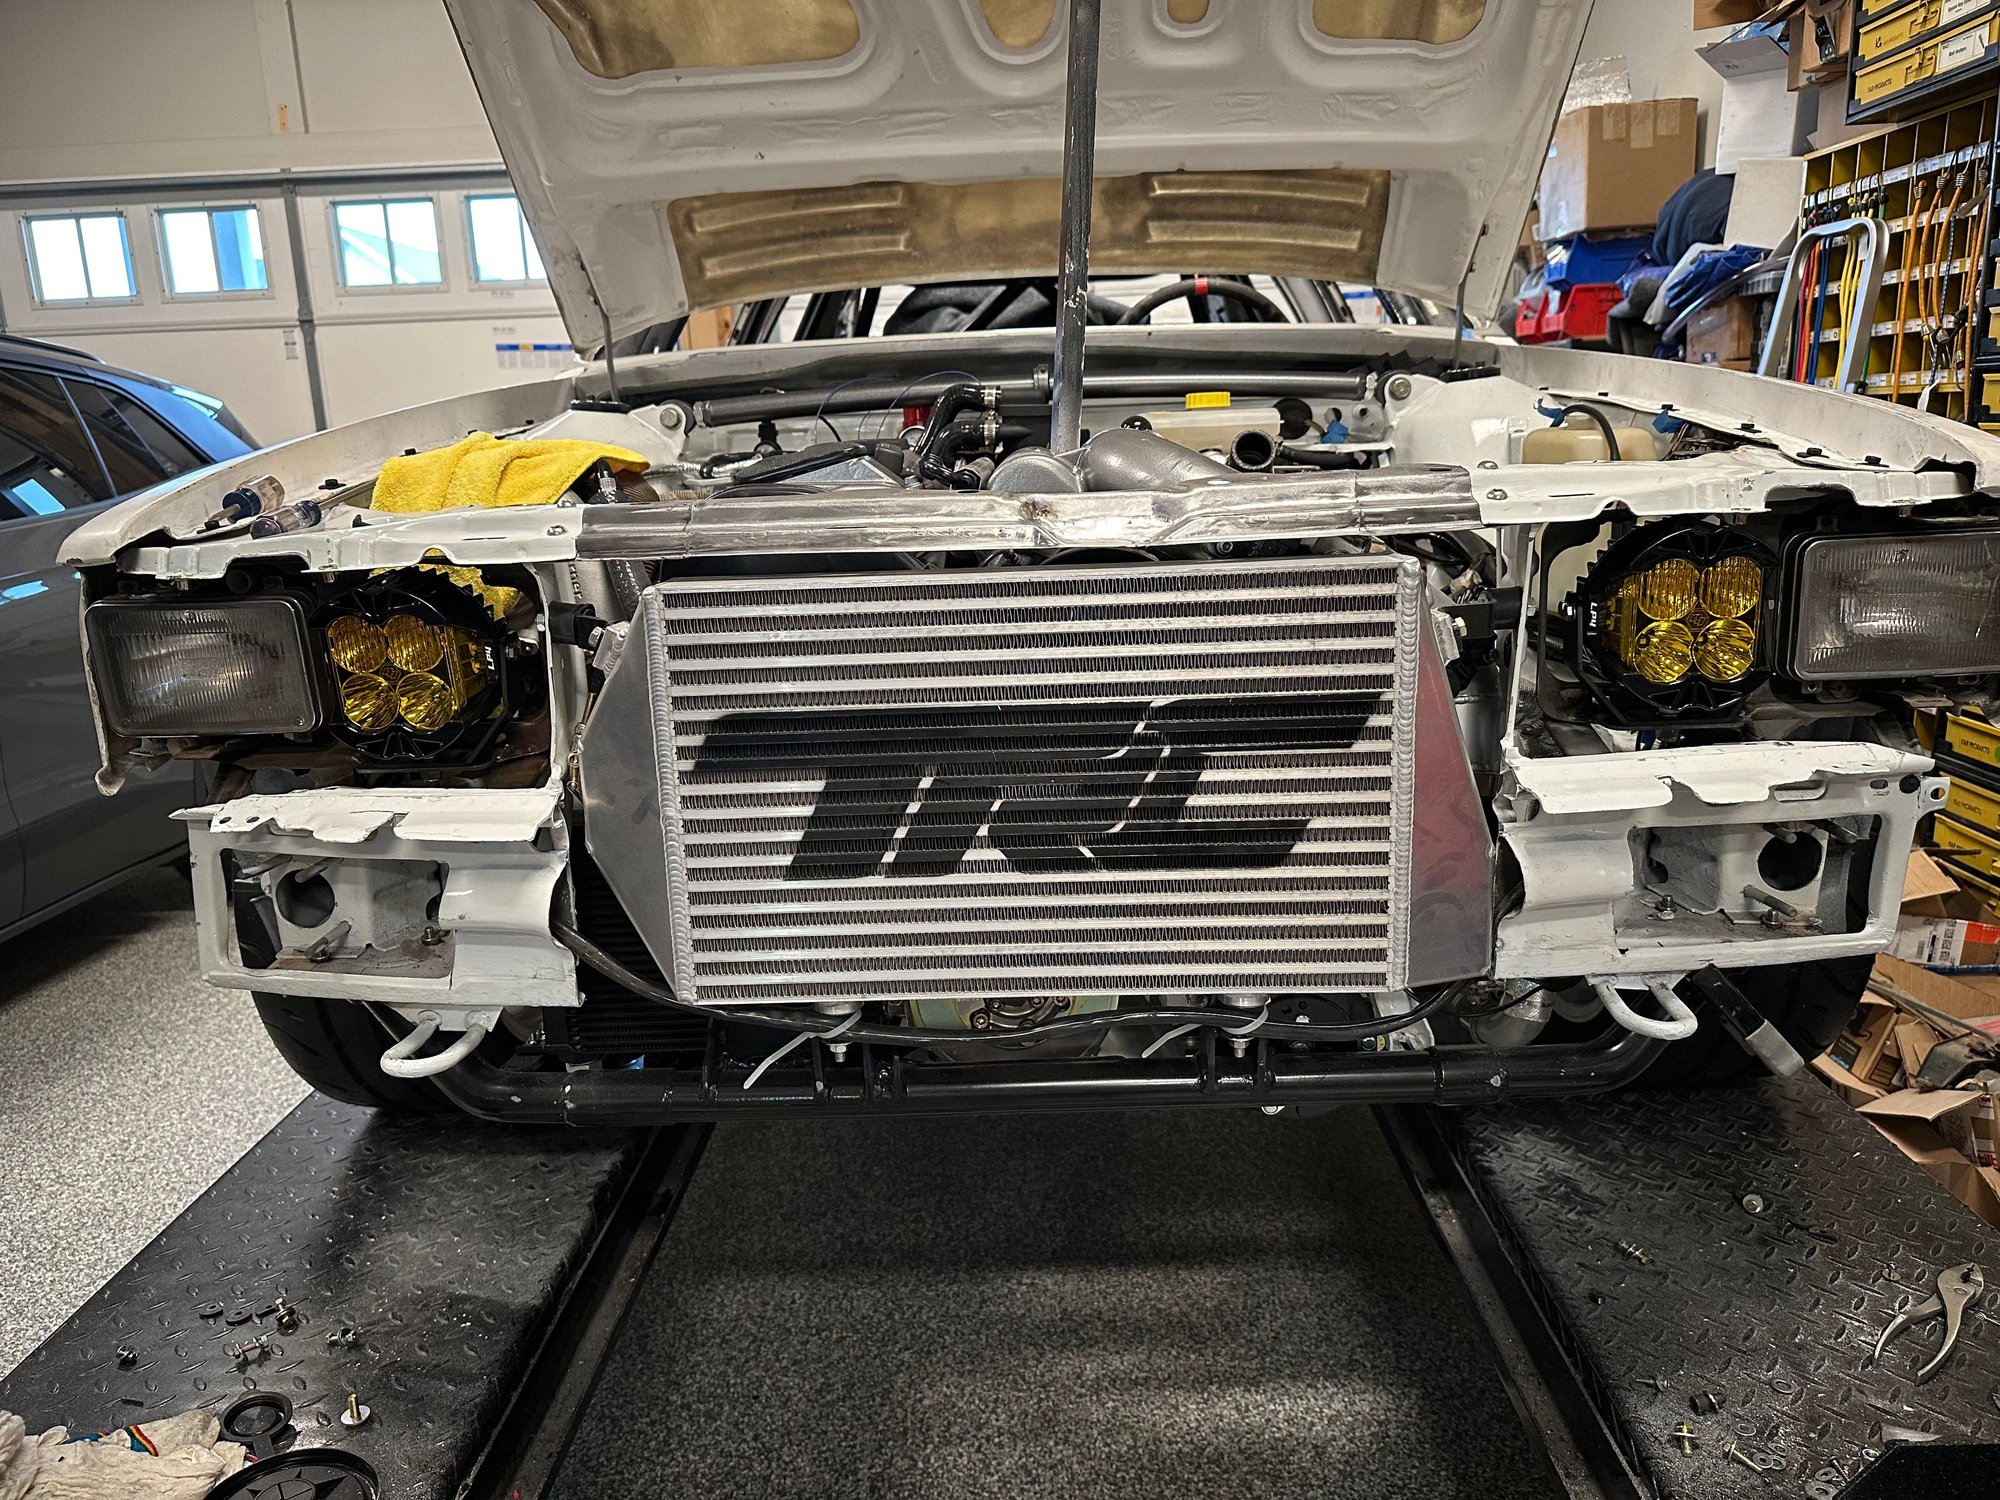
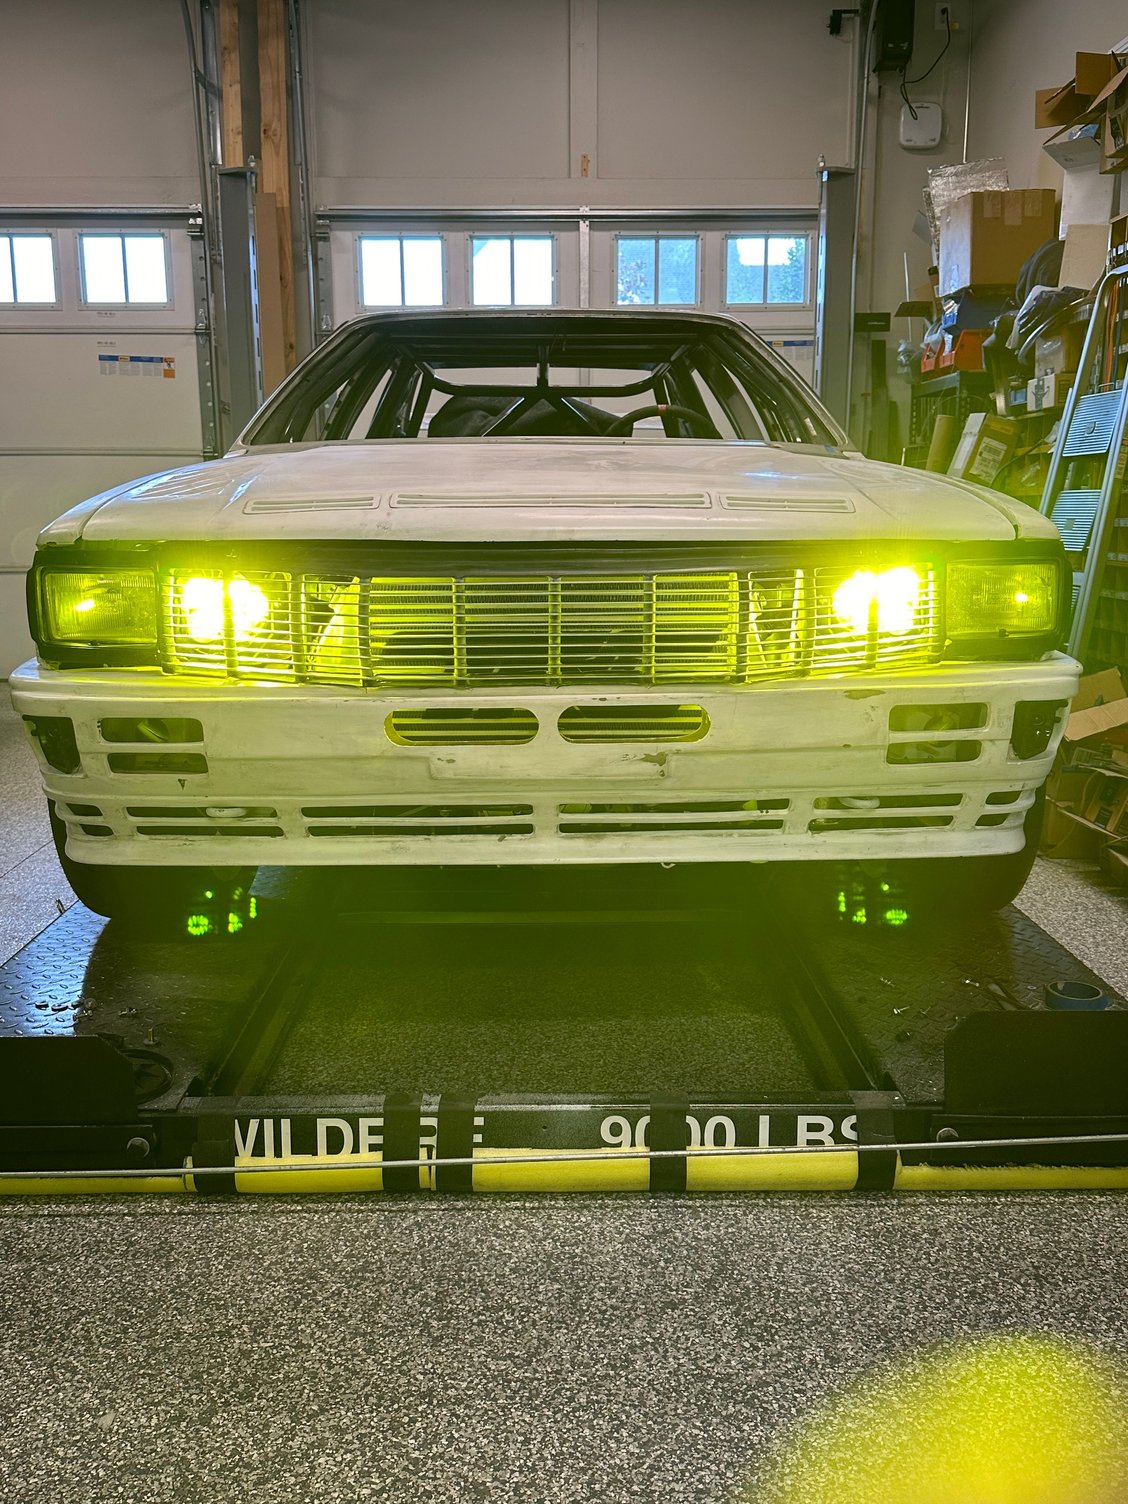
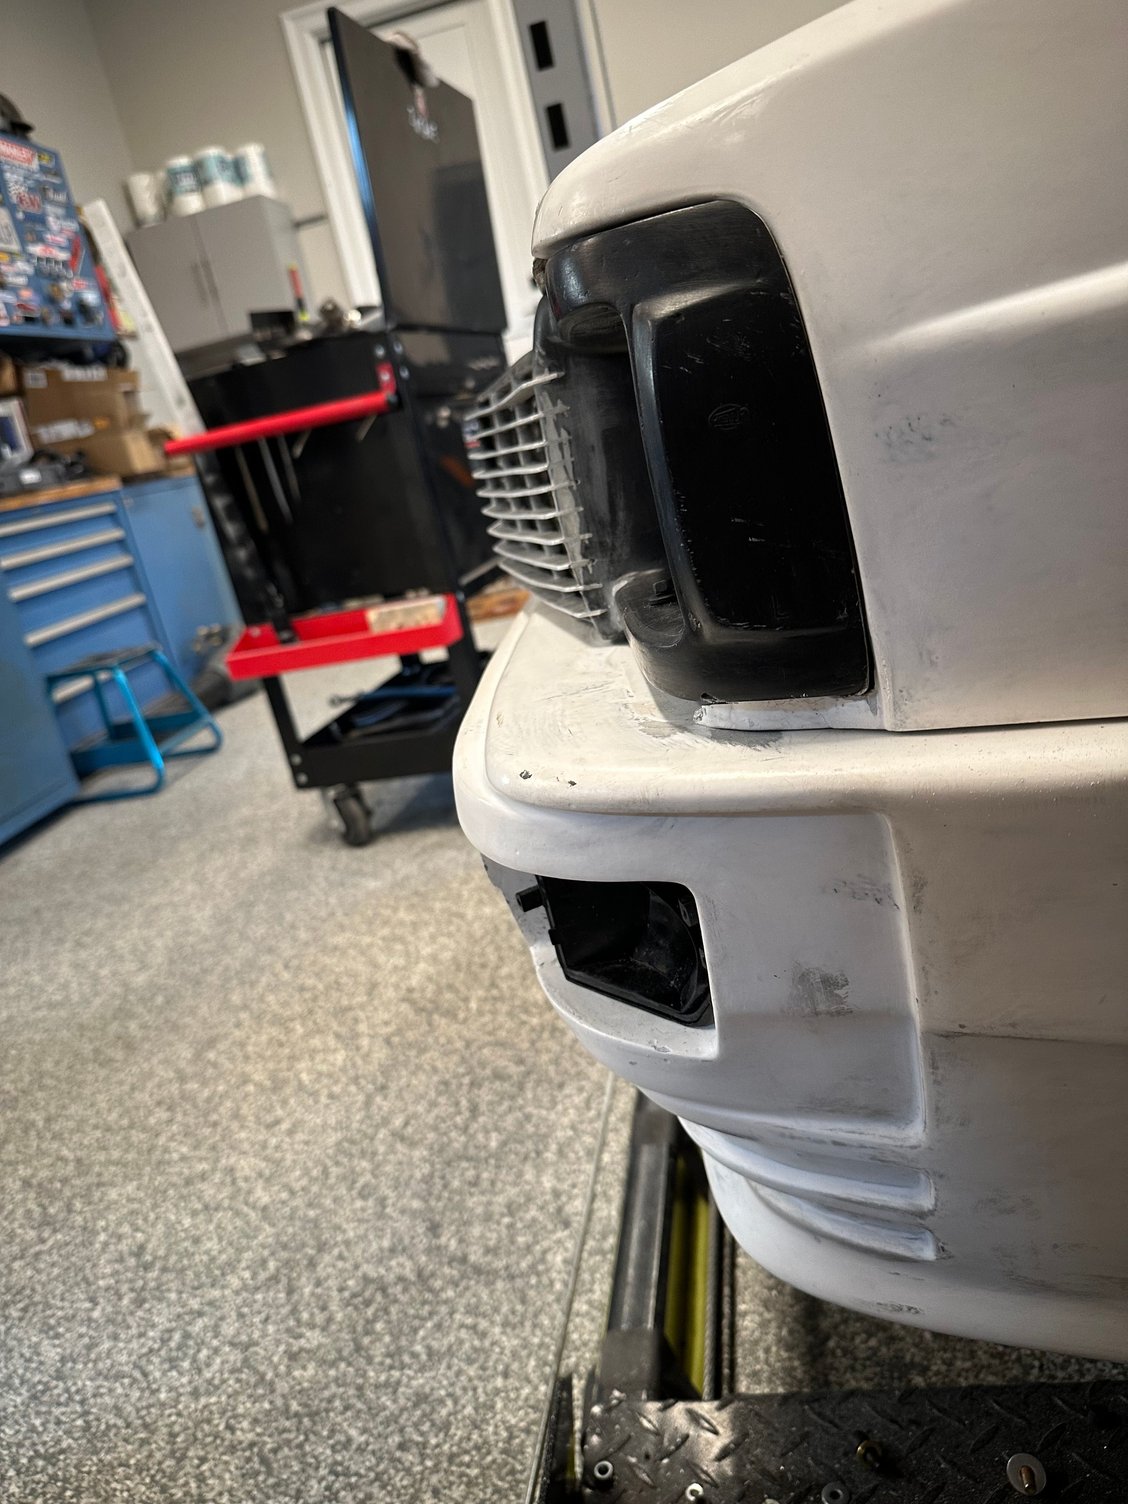
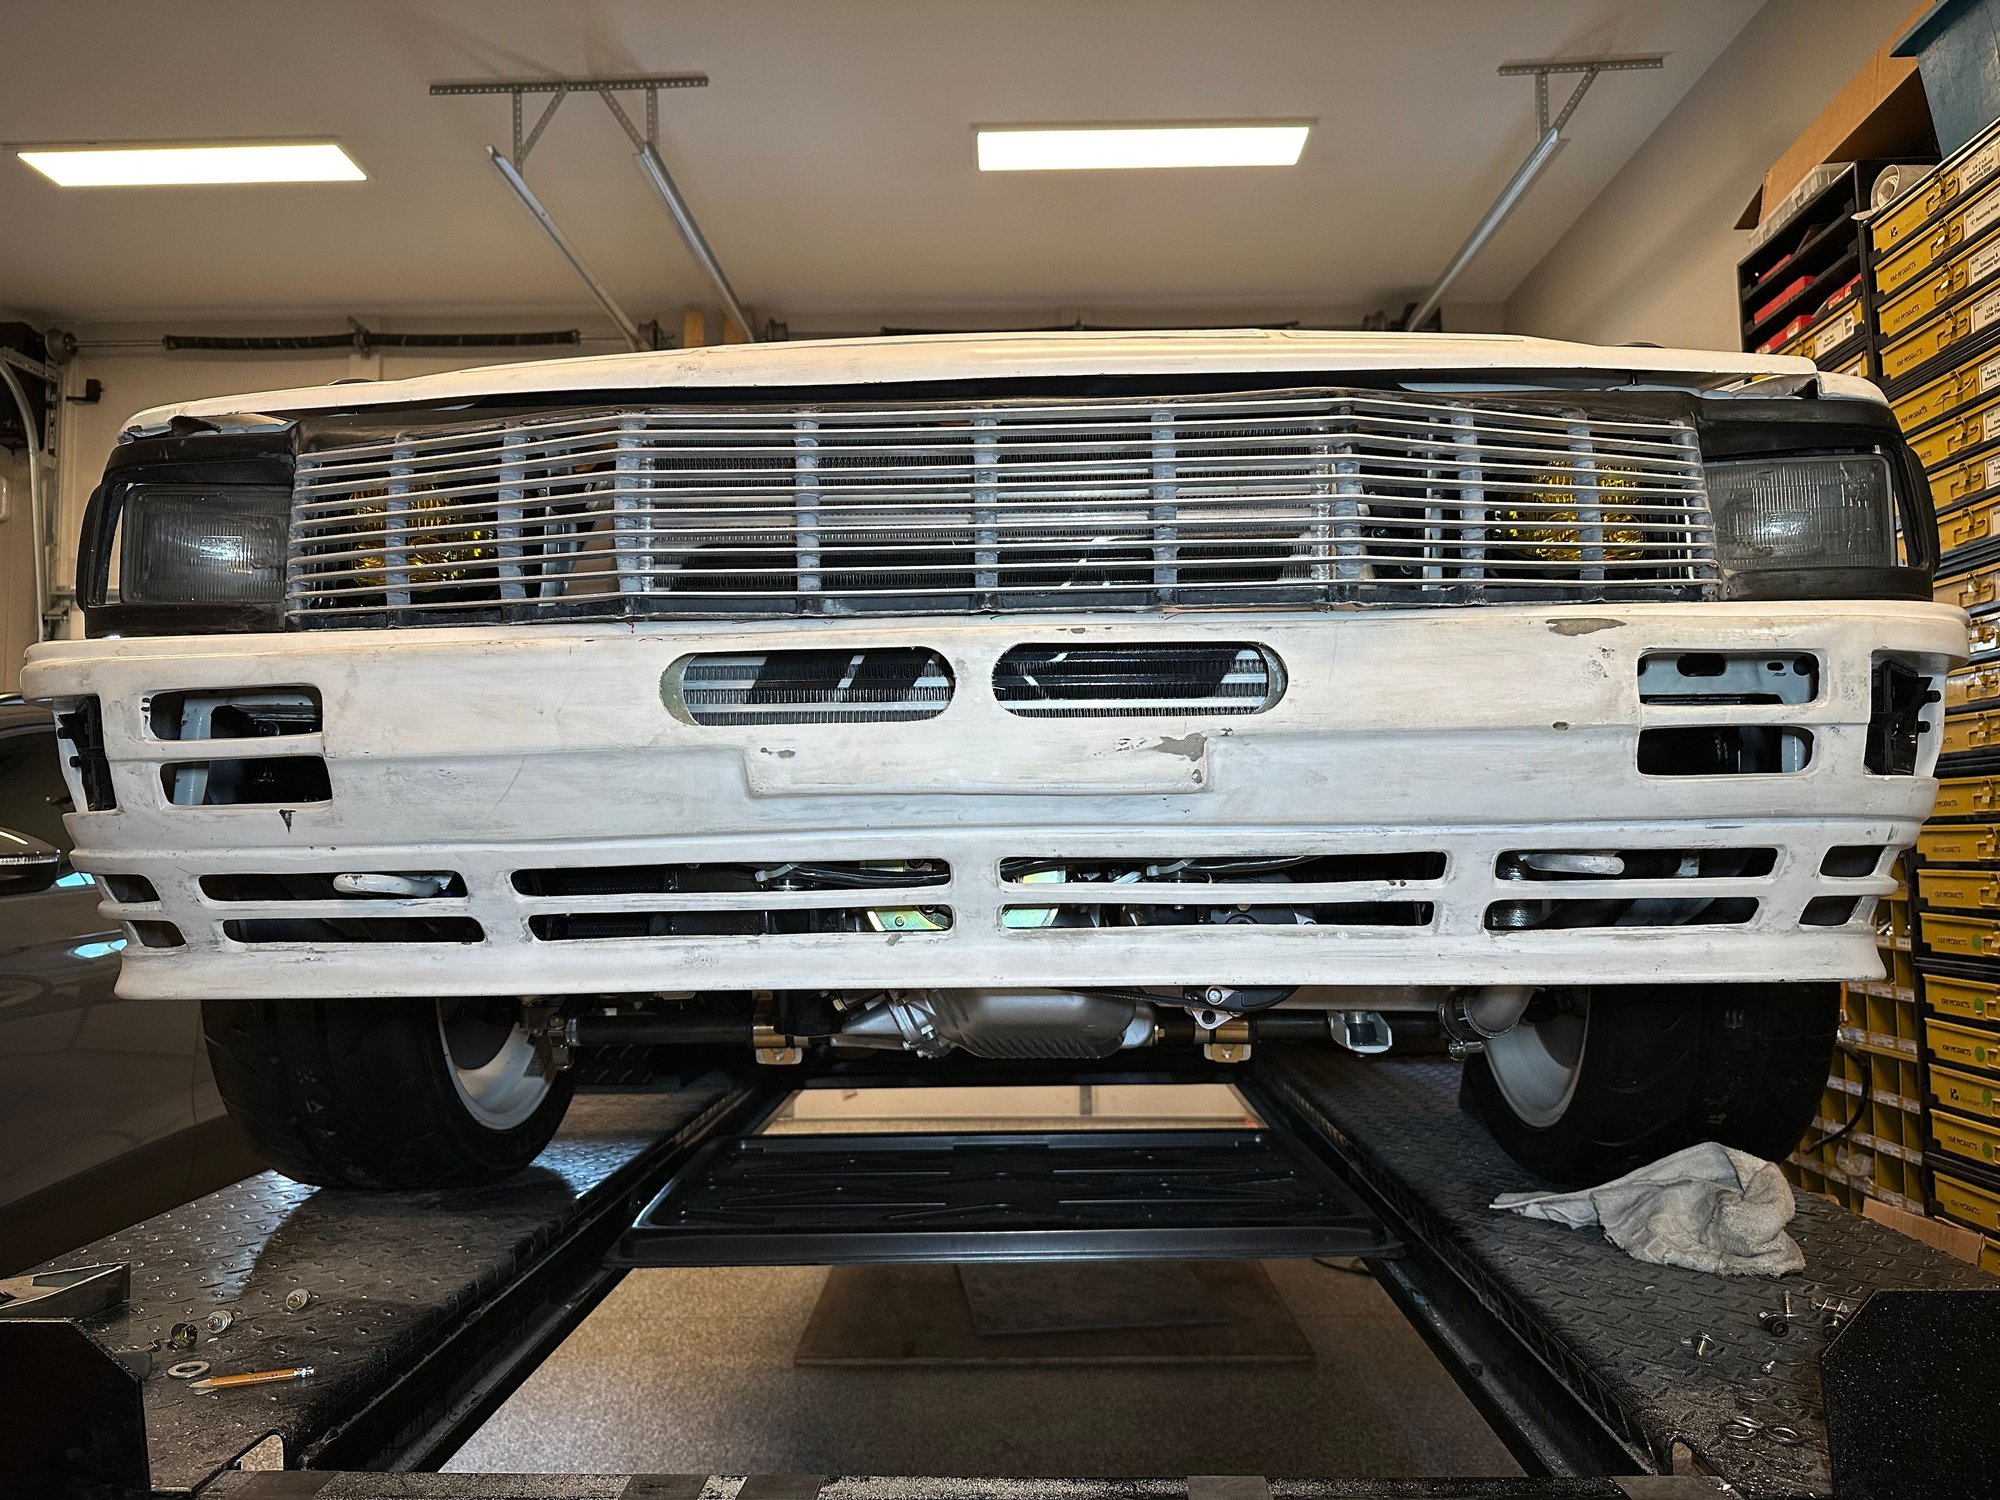
Sooo.....I like lighting and always put a twist on all my builds. Since, I went with the single headlight for the group A look, the grill allows for the second light opening for something extra.....I decided for the Baja Design 's LP3 amber lights......with a little fabrication, the lights fit perfect and I like look and its very bright
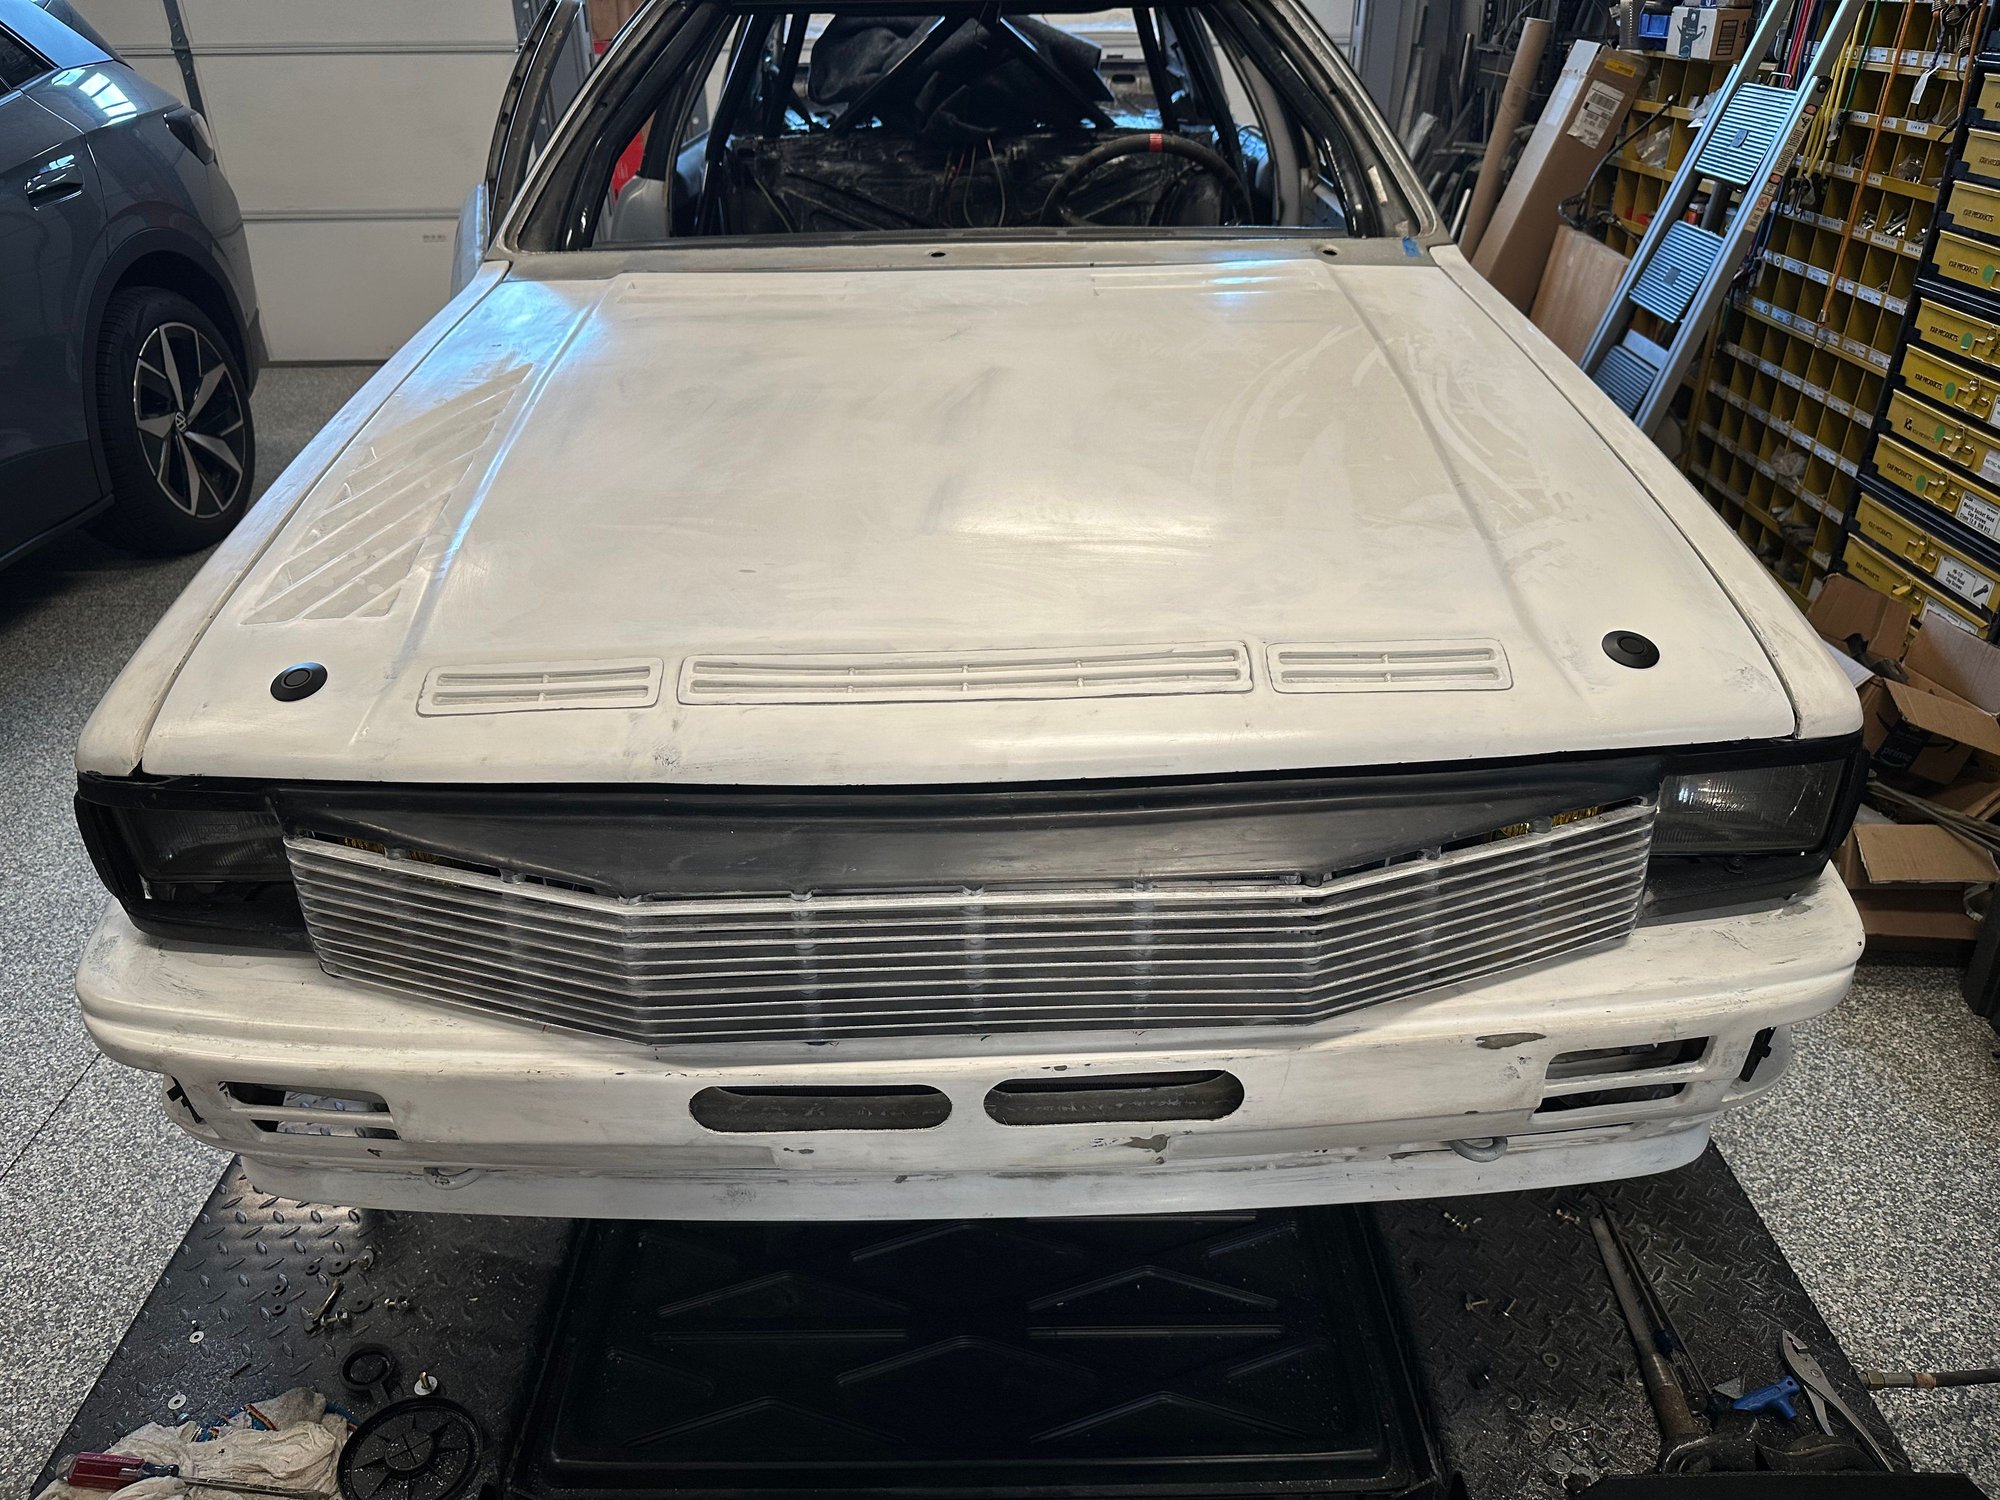
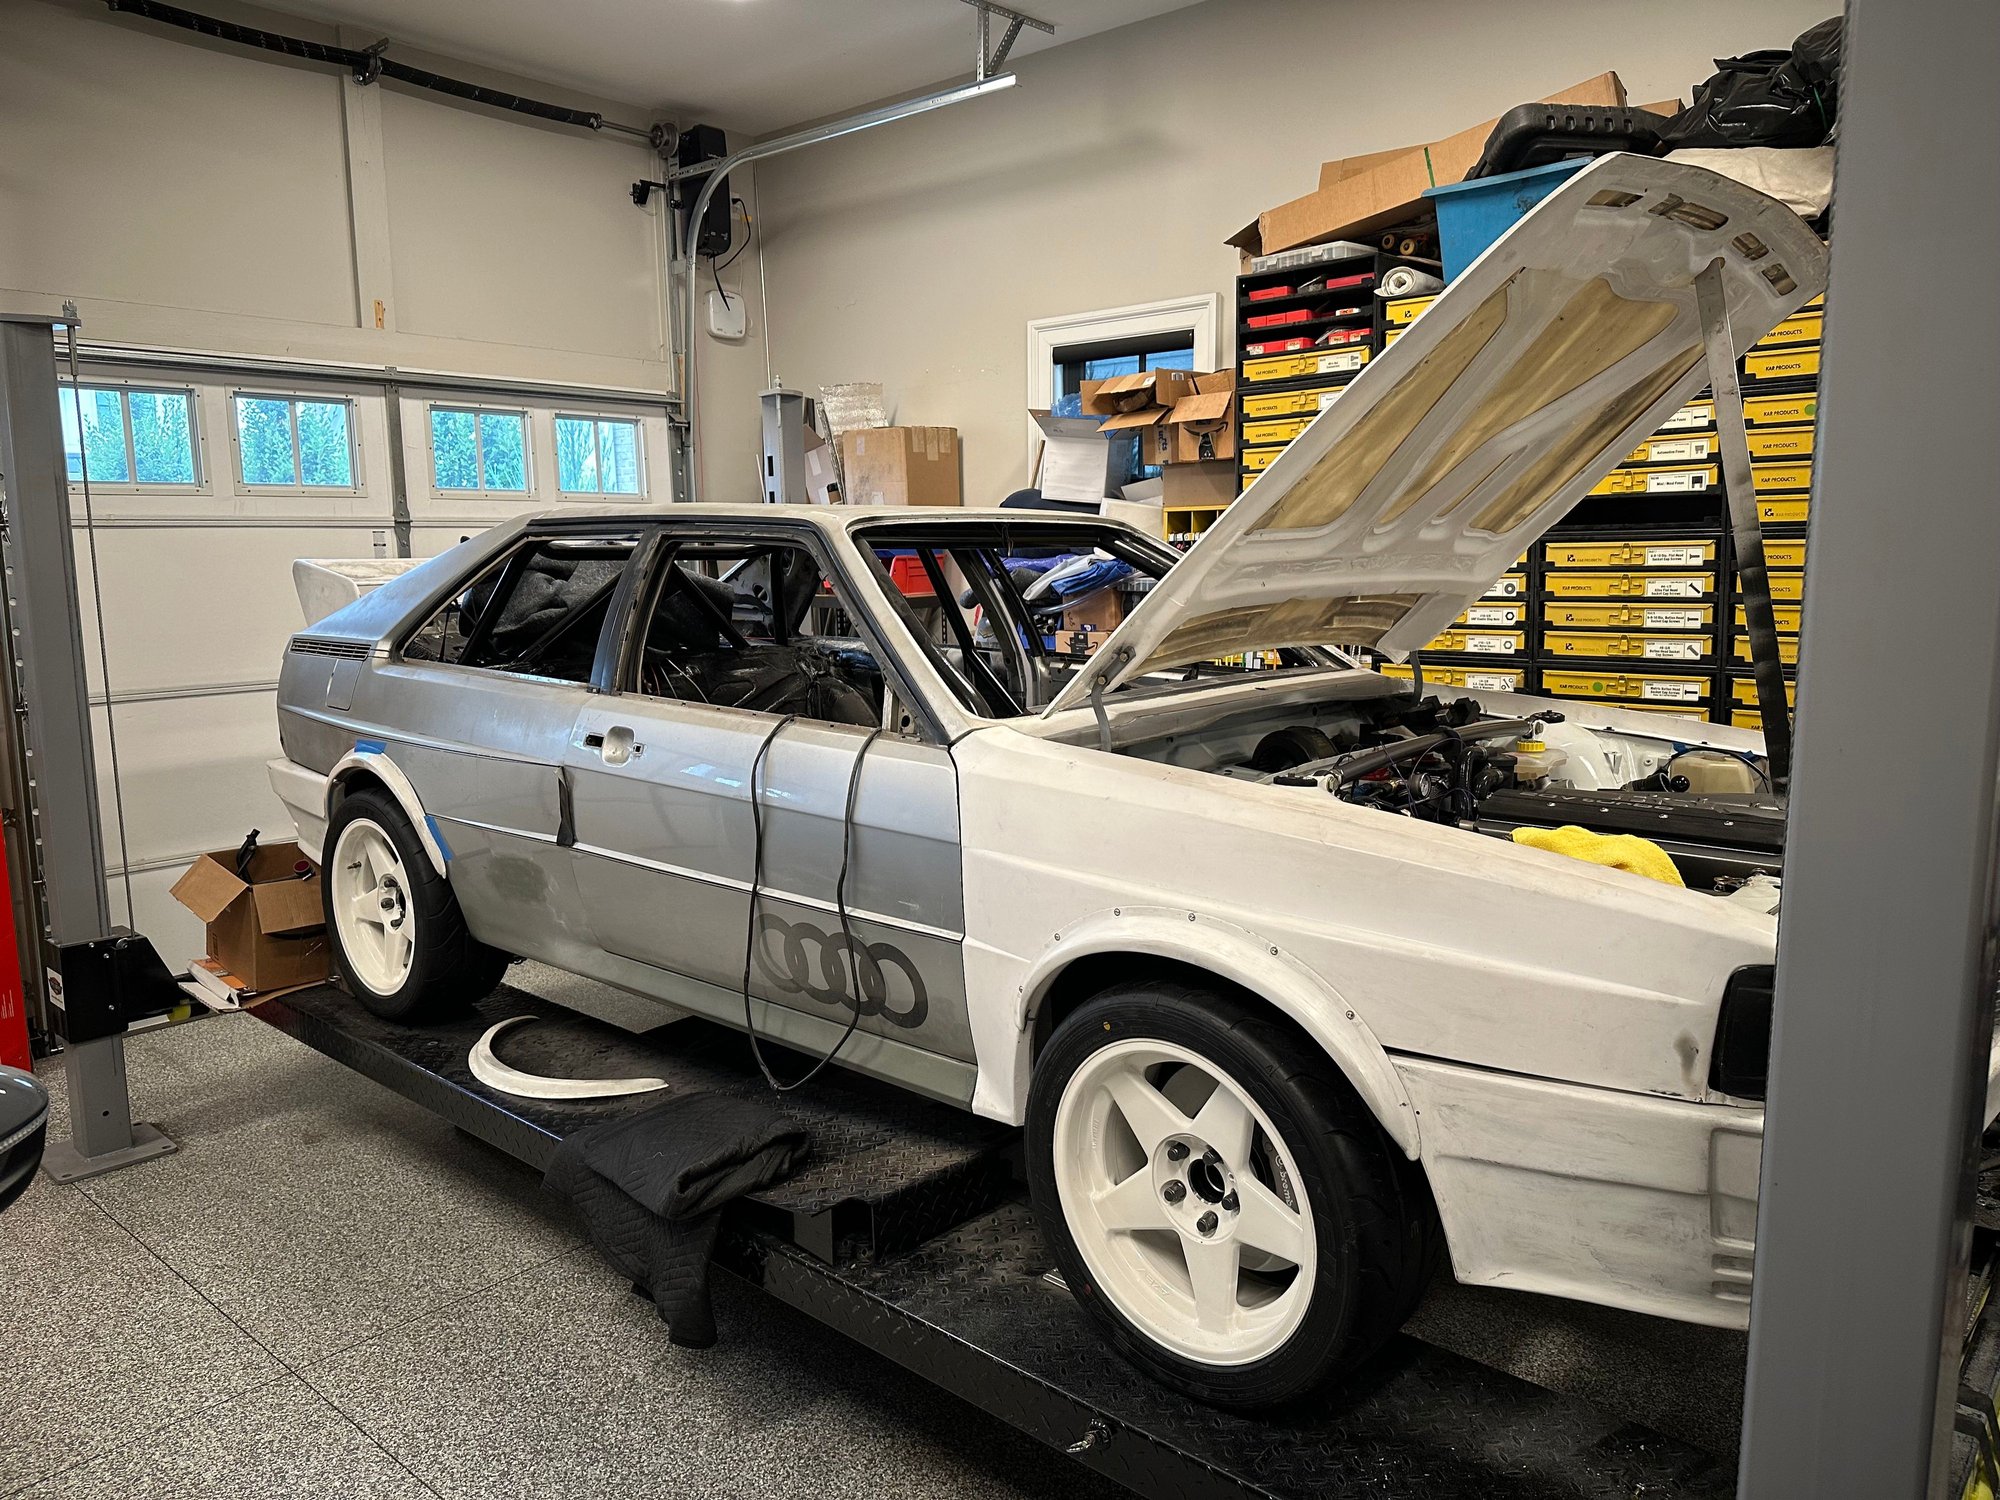
I have been working on fitting the fiberglass fenders, flares, hood and grill. I am not a body person, so it has taking quite a bit of time, but is starting to fit nicely. There is still work to be done, but I will let a professional make it right before paint.
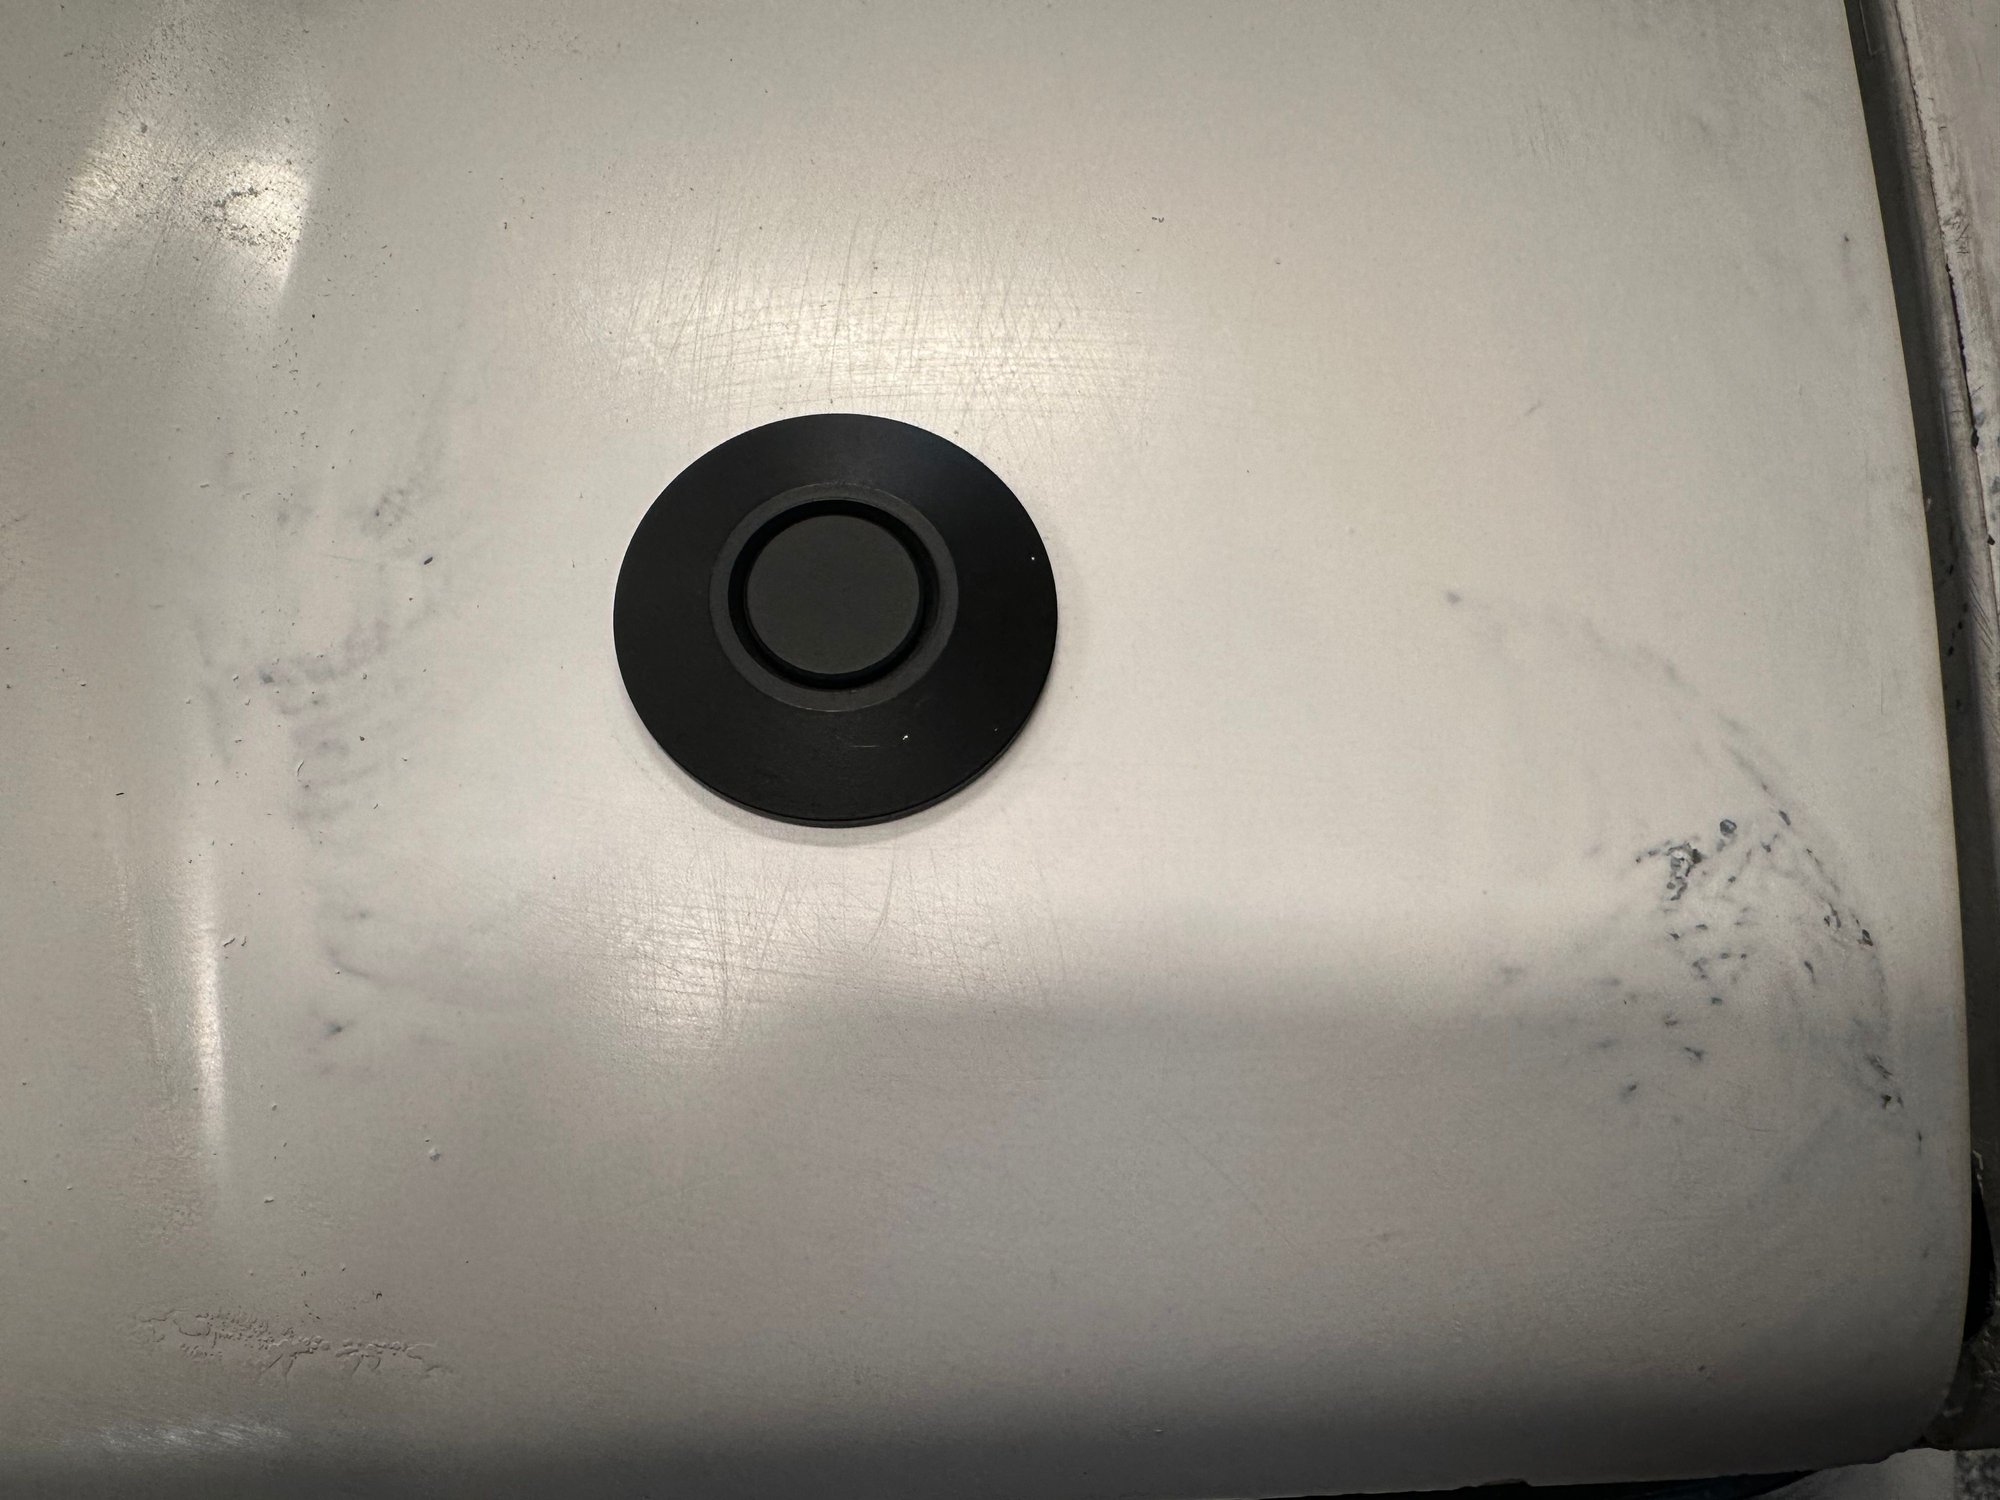
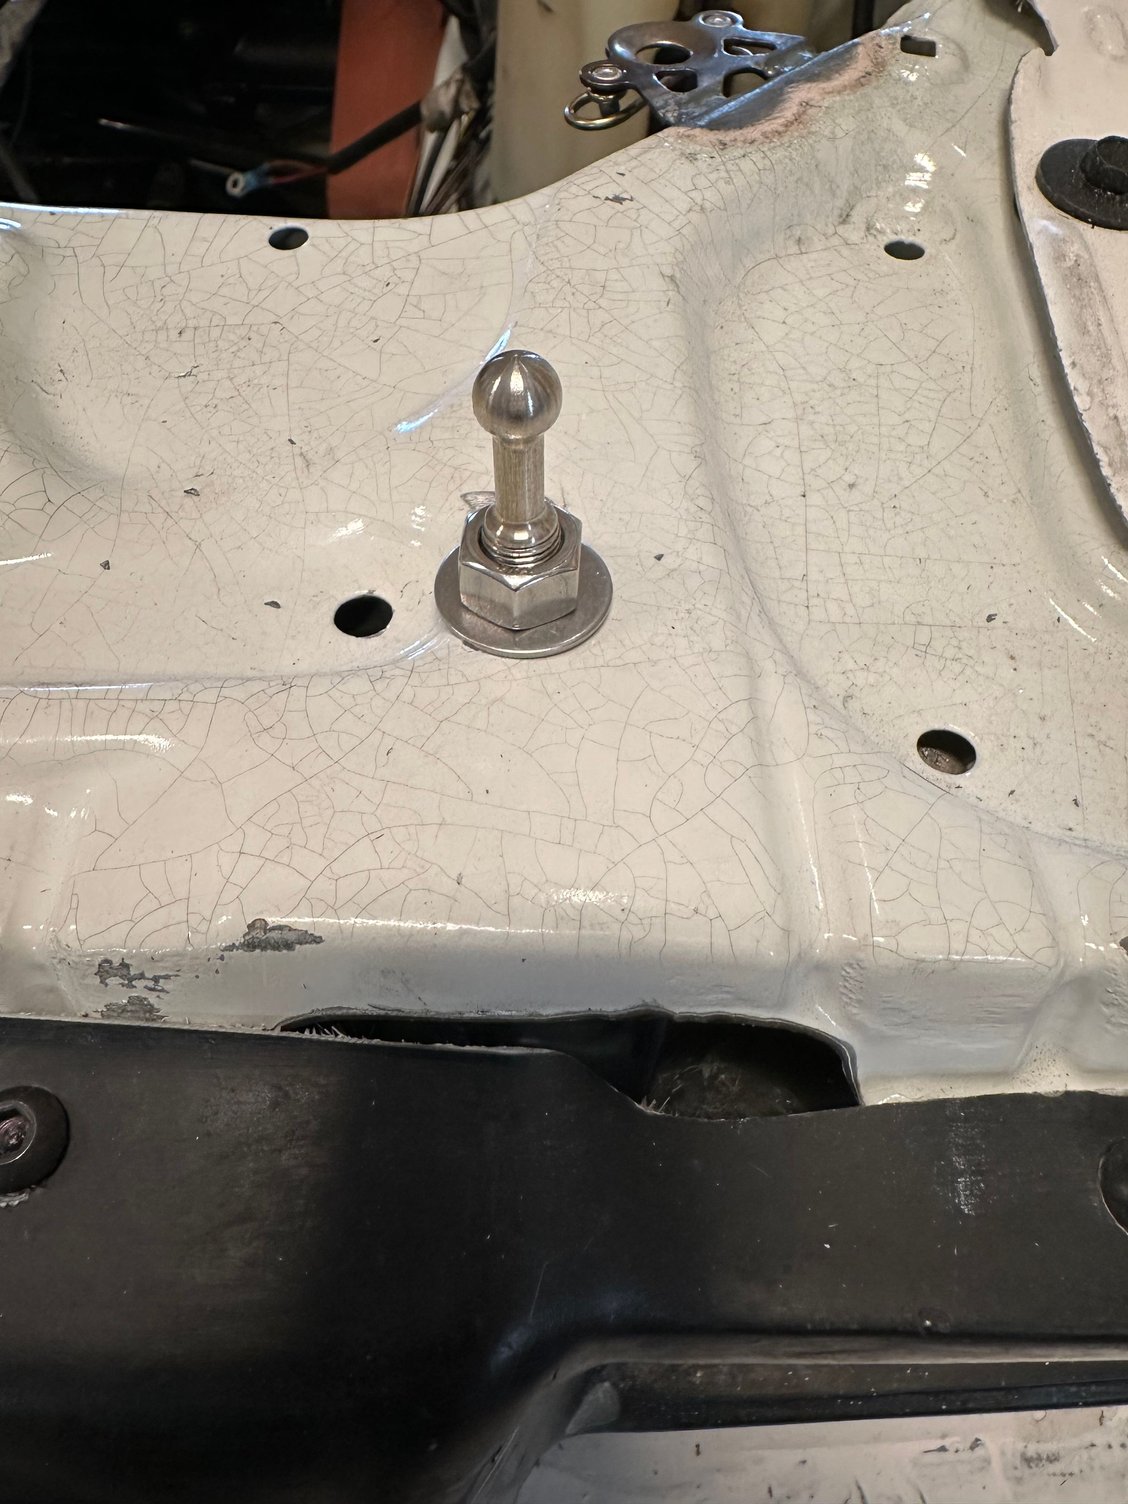
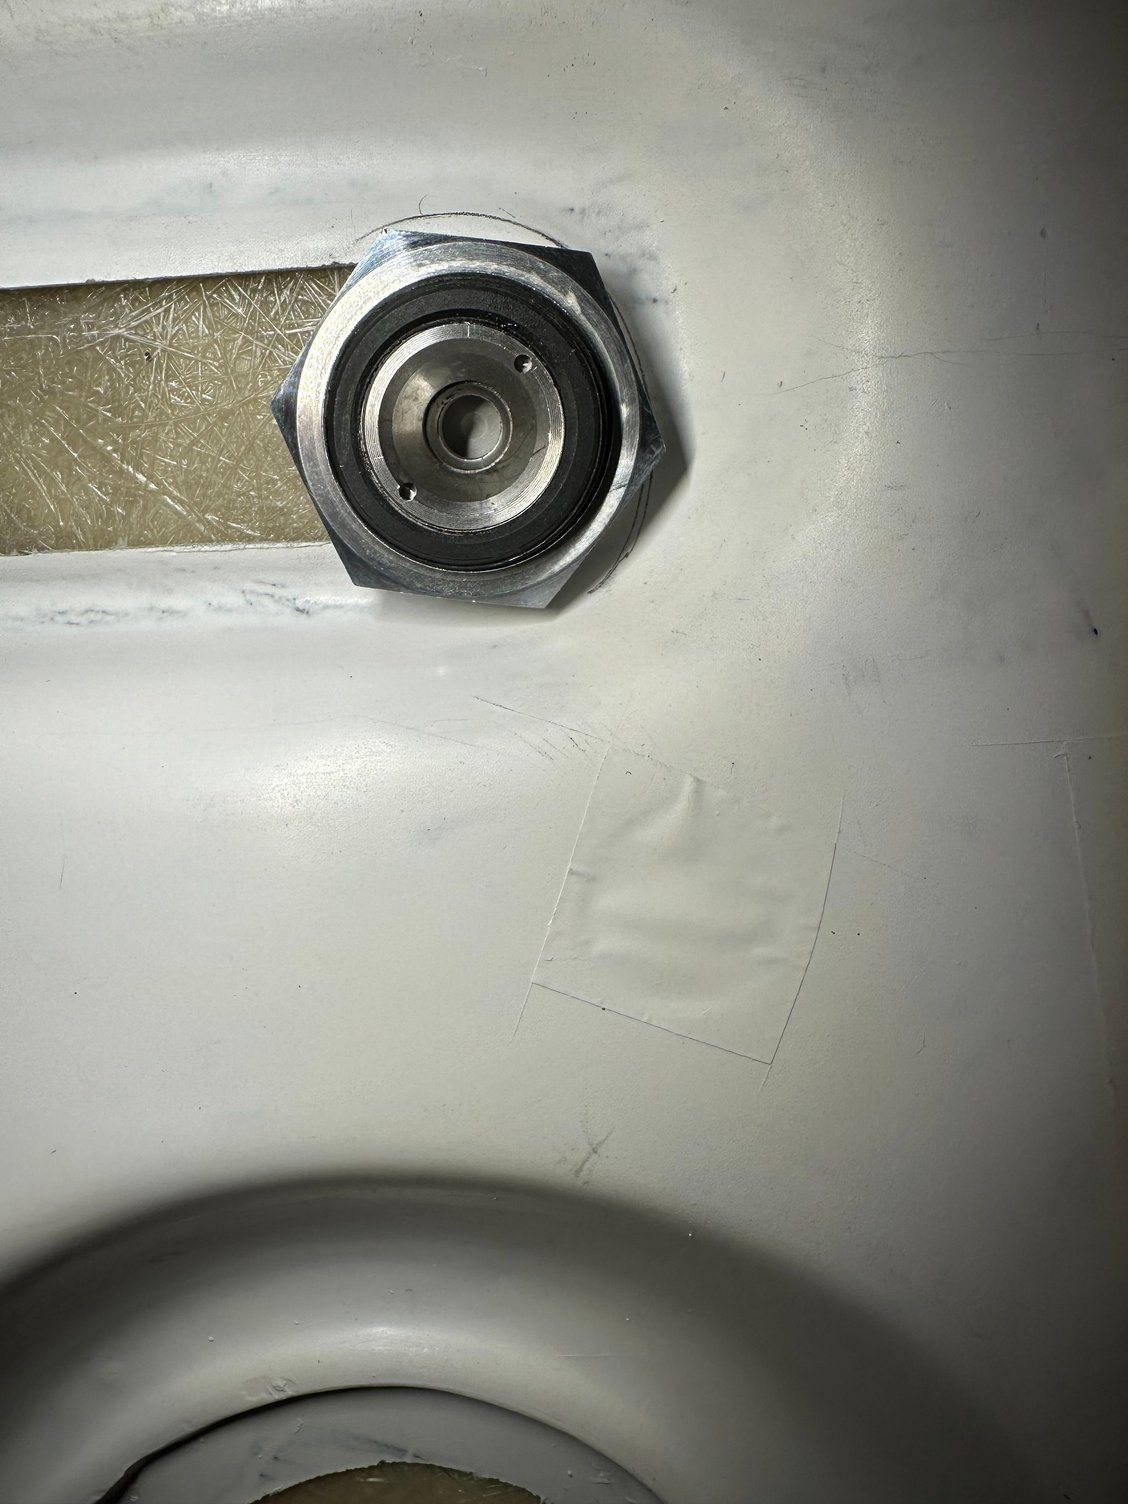
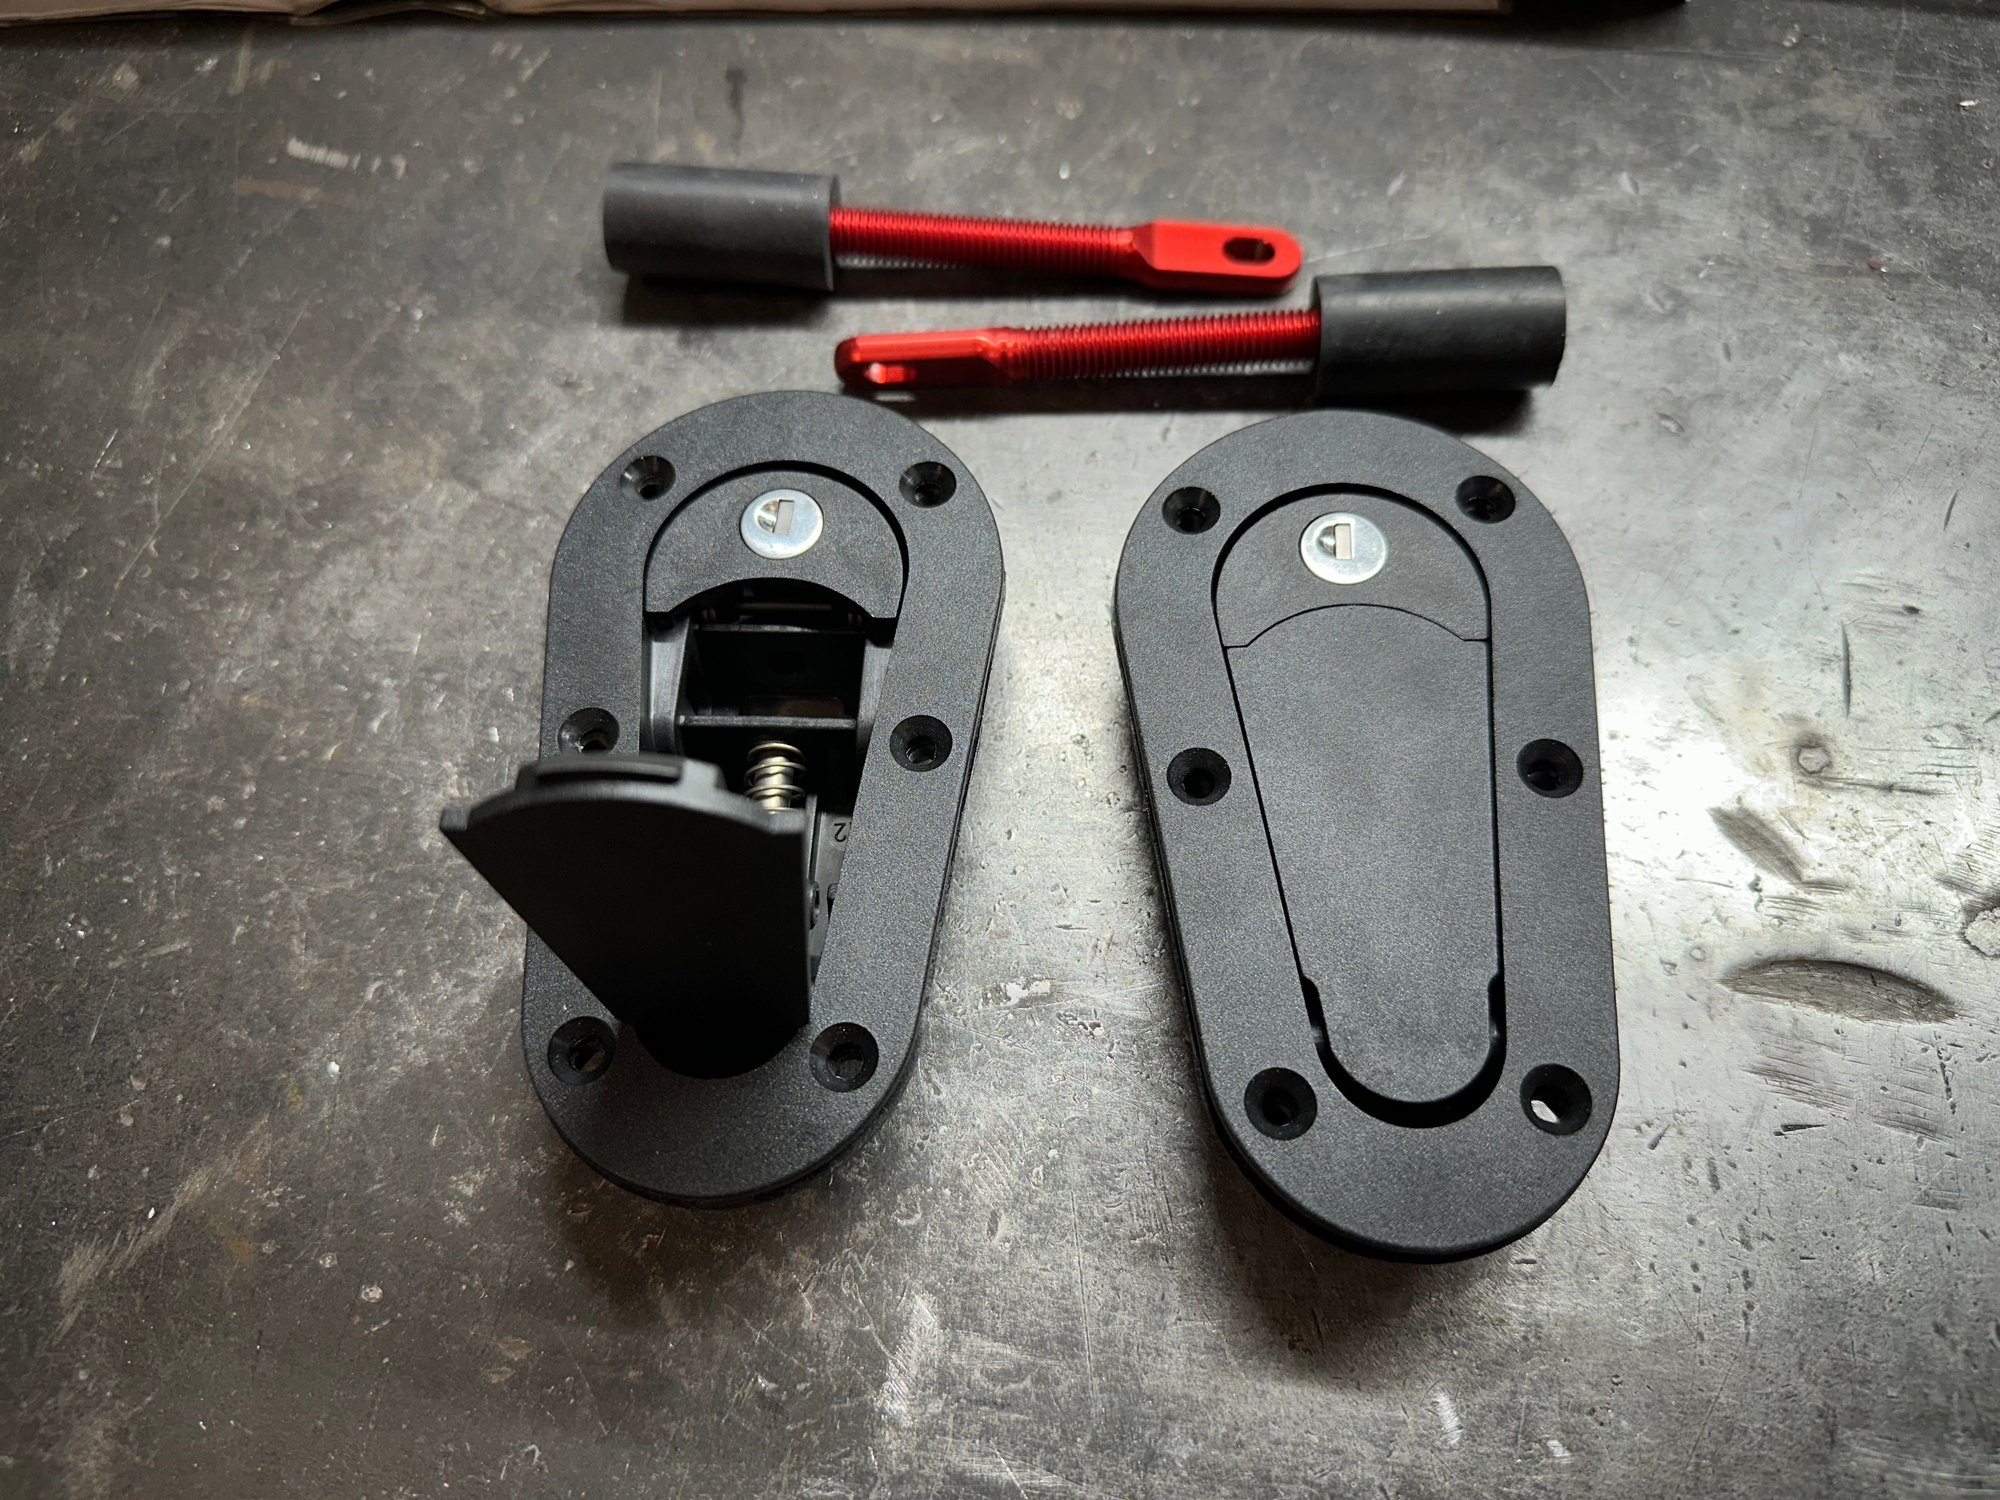
I am using a billet push locking hood latch that Vara suggested. I purchased the flip up locking latch, but due to the locations where the latches would mount, too much of the structural fiberglass would need to be cut out, so these smaller locking pins worked out great.
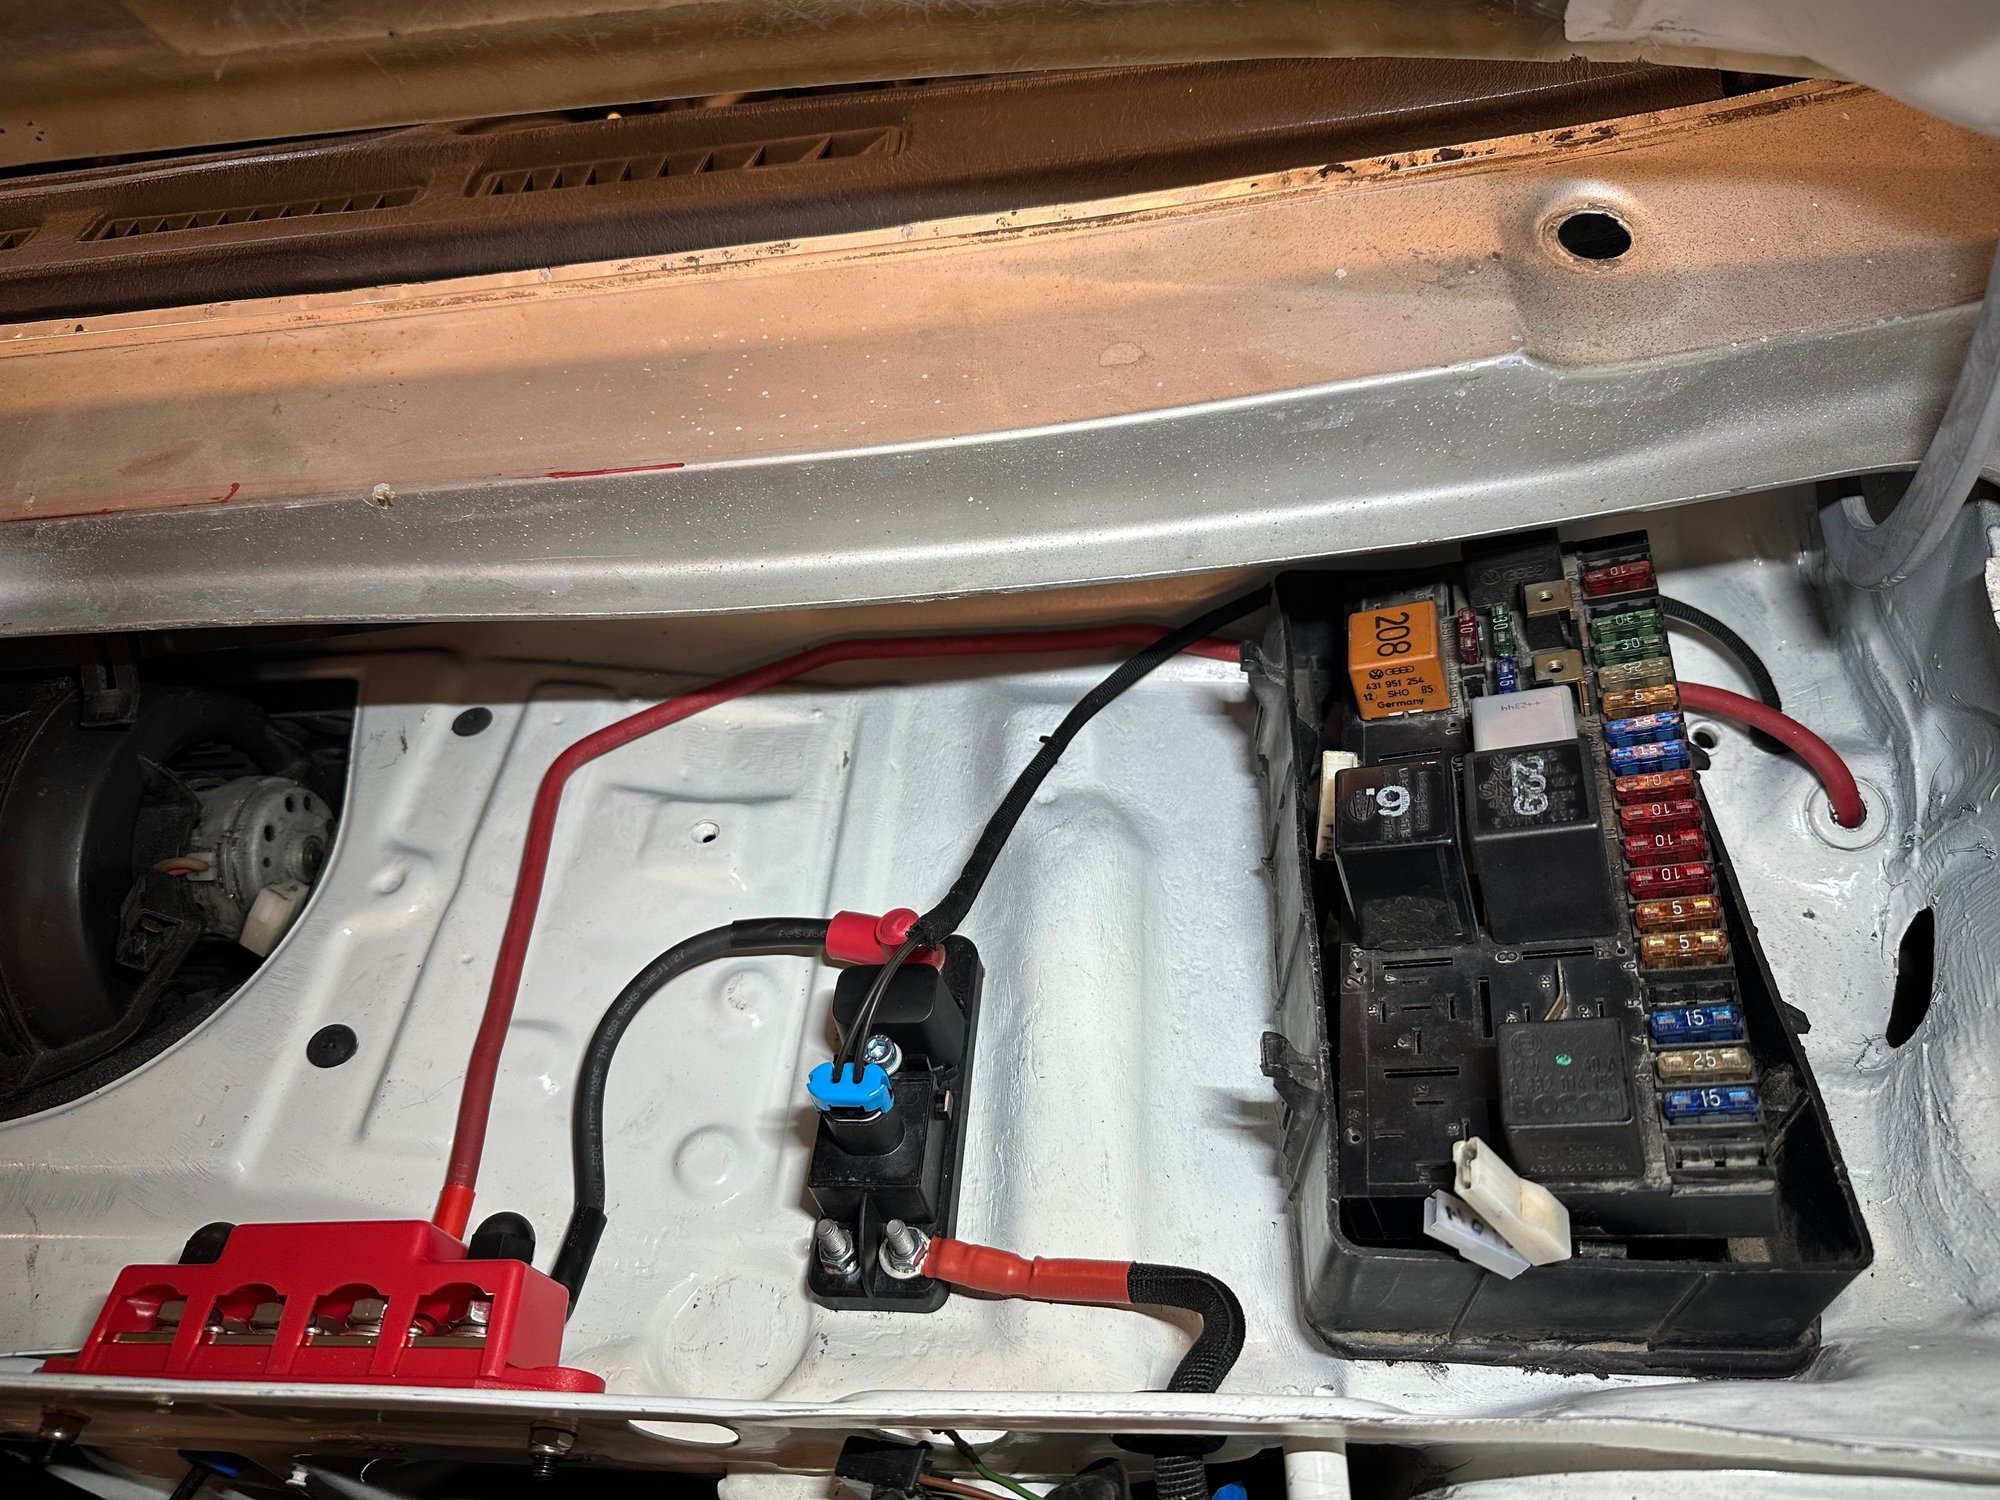
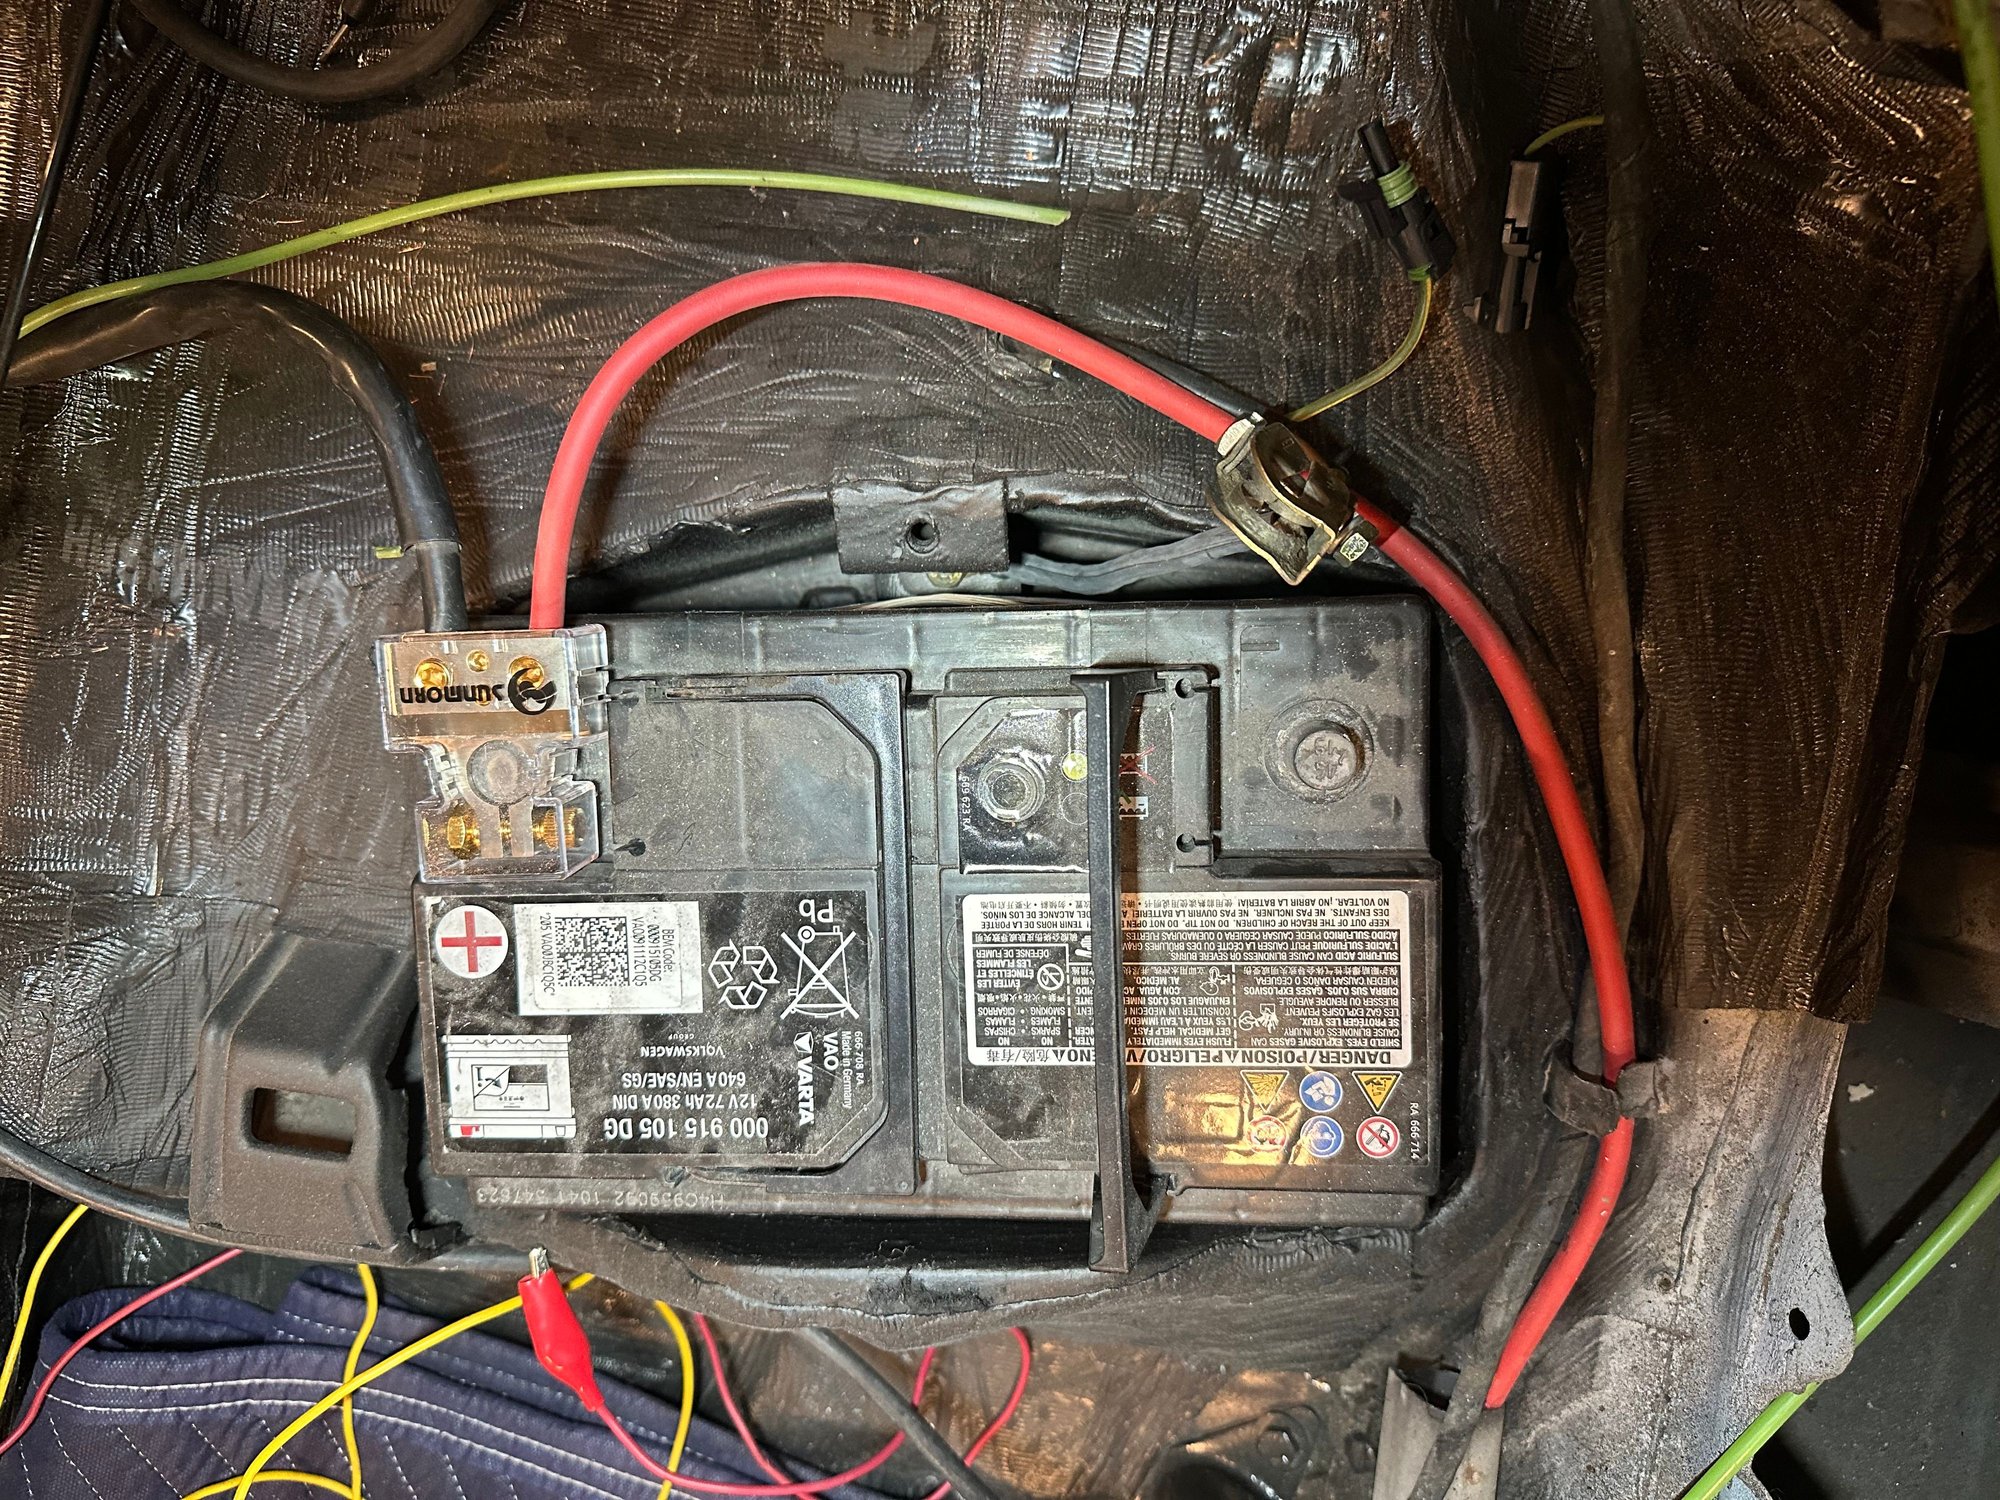
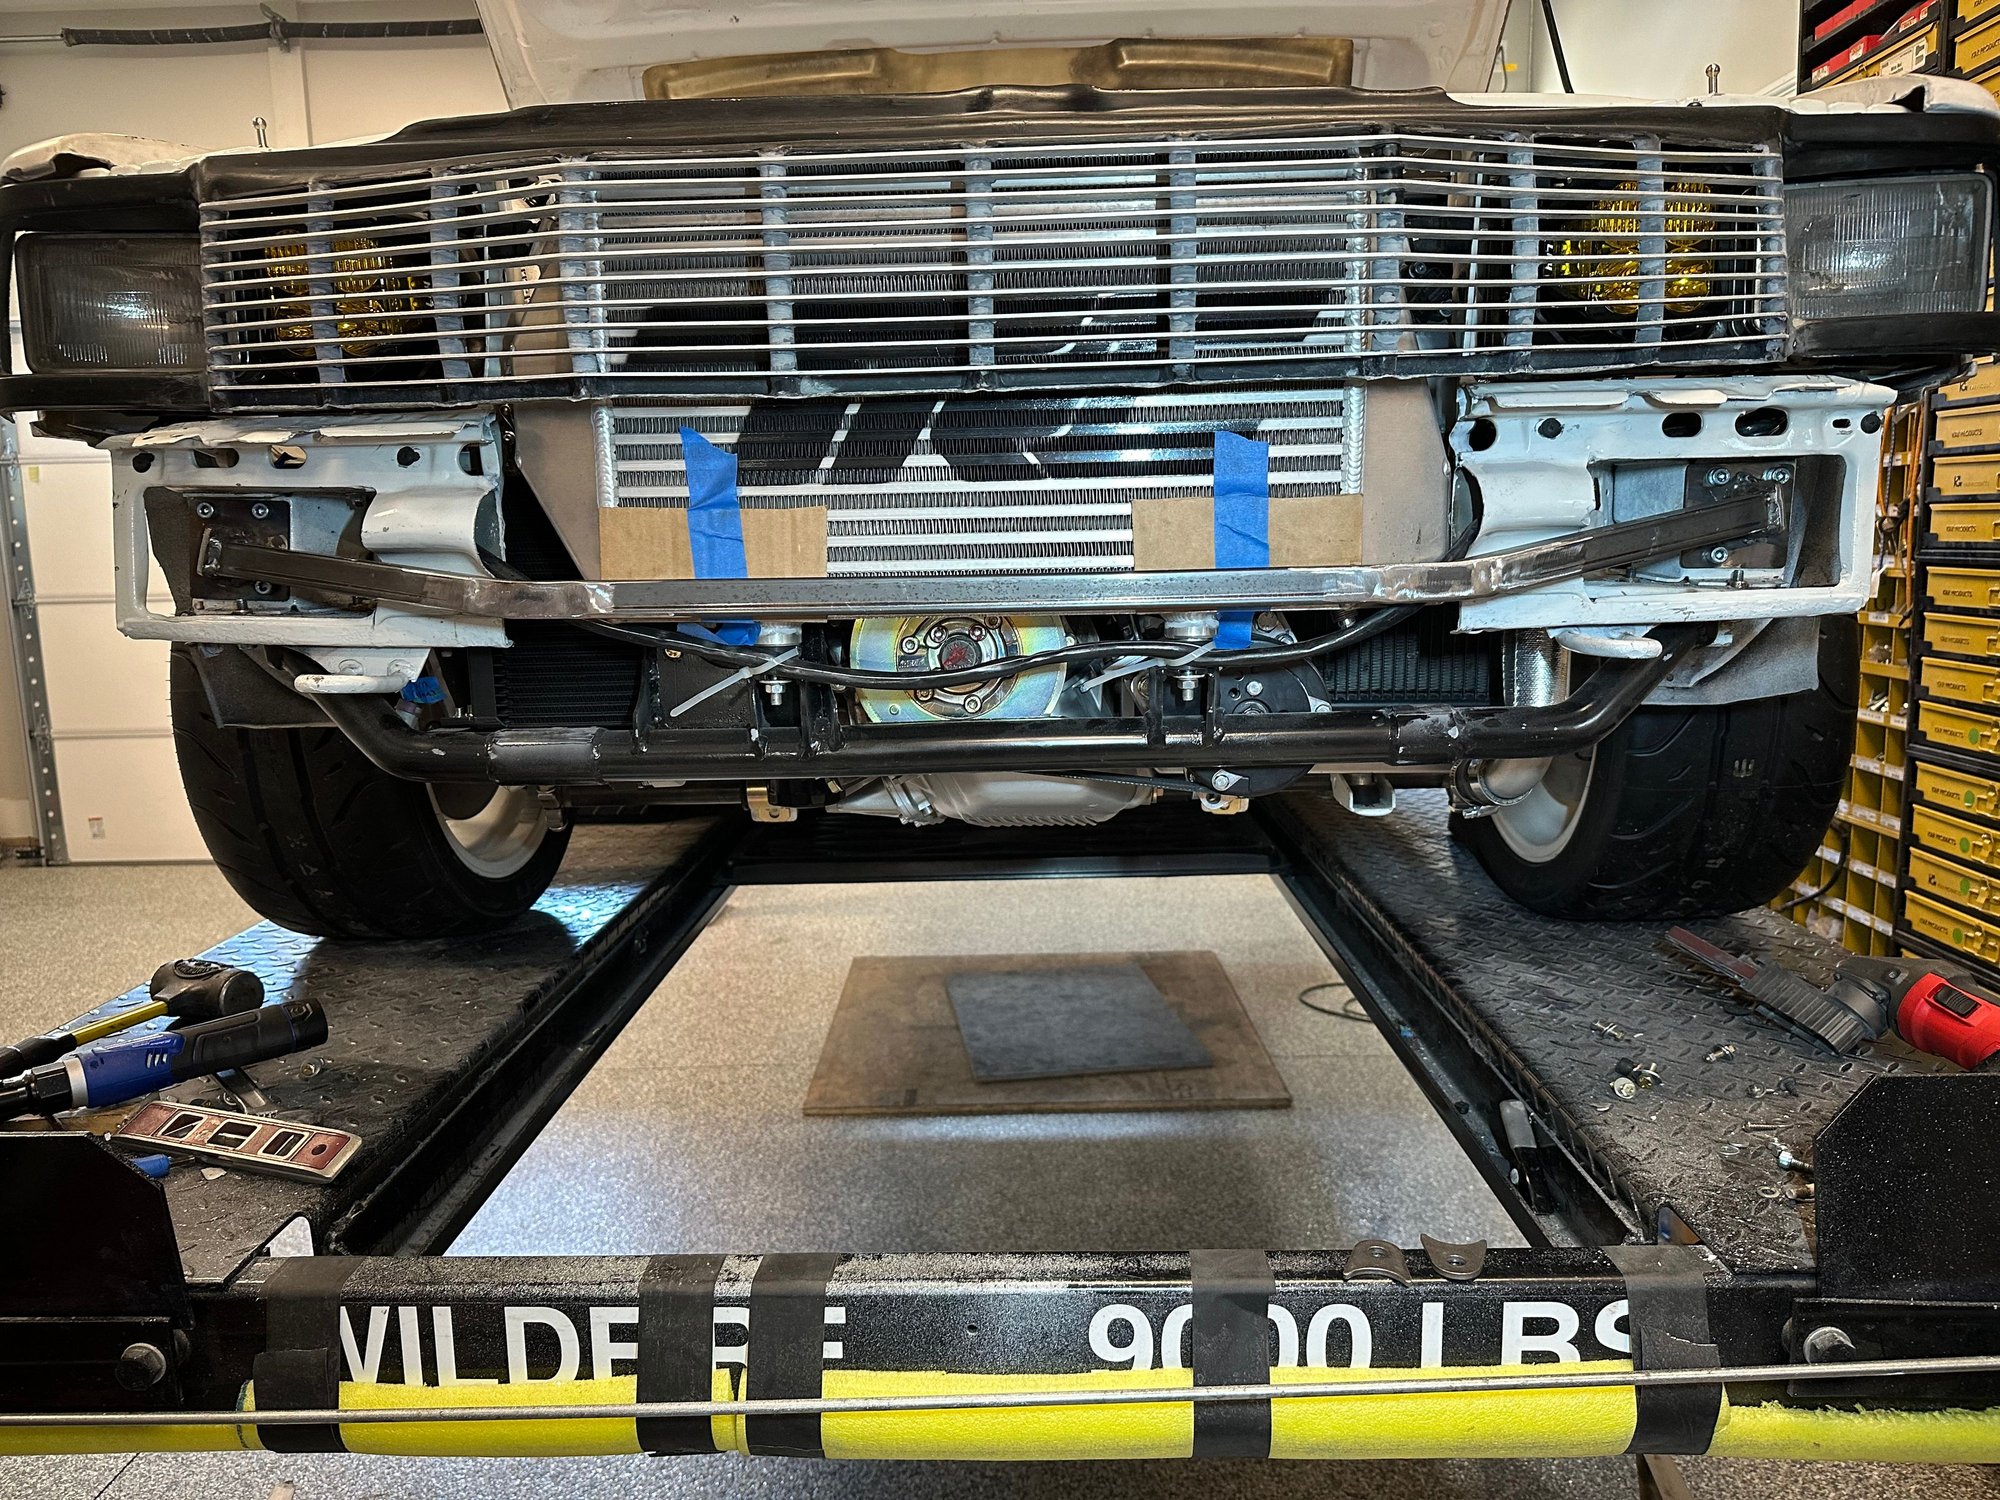
Vara pointed out early on that the Spal radiator fan was not going to be sufficient to to pull the amount of air needed to cool the engine, so I purchased the large 500 watt fan. Well, when going bigger, it means everything needs to go bigger and that included relay and wiring. Vara provided details on a Eatons Bussmann relay. I ran a designated 6 gauge wire from battery to a block and then to the relay. I also ran 6 gauge wire to the fan. I powered up the fan and it sounds like a airplane taking off....serious power.
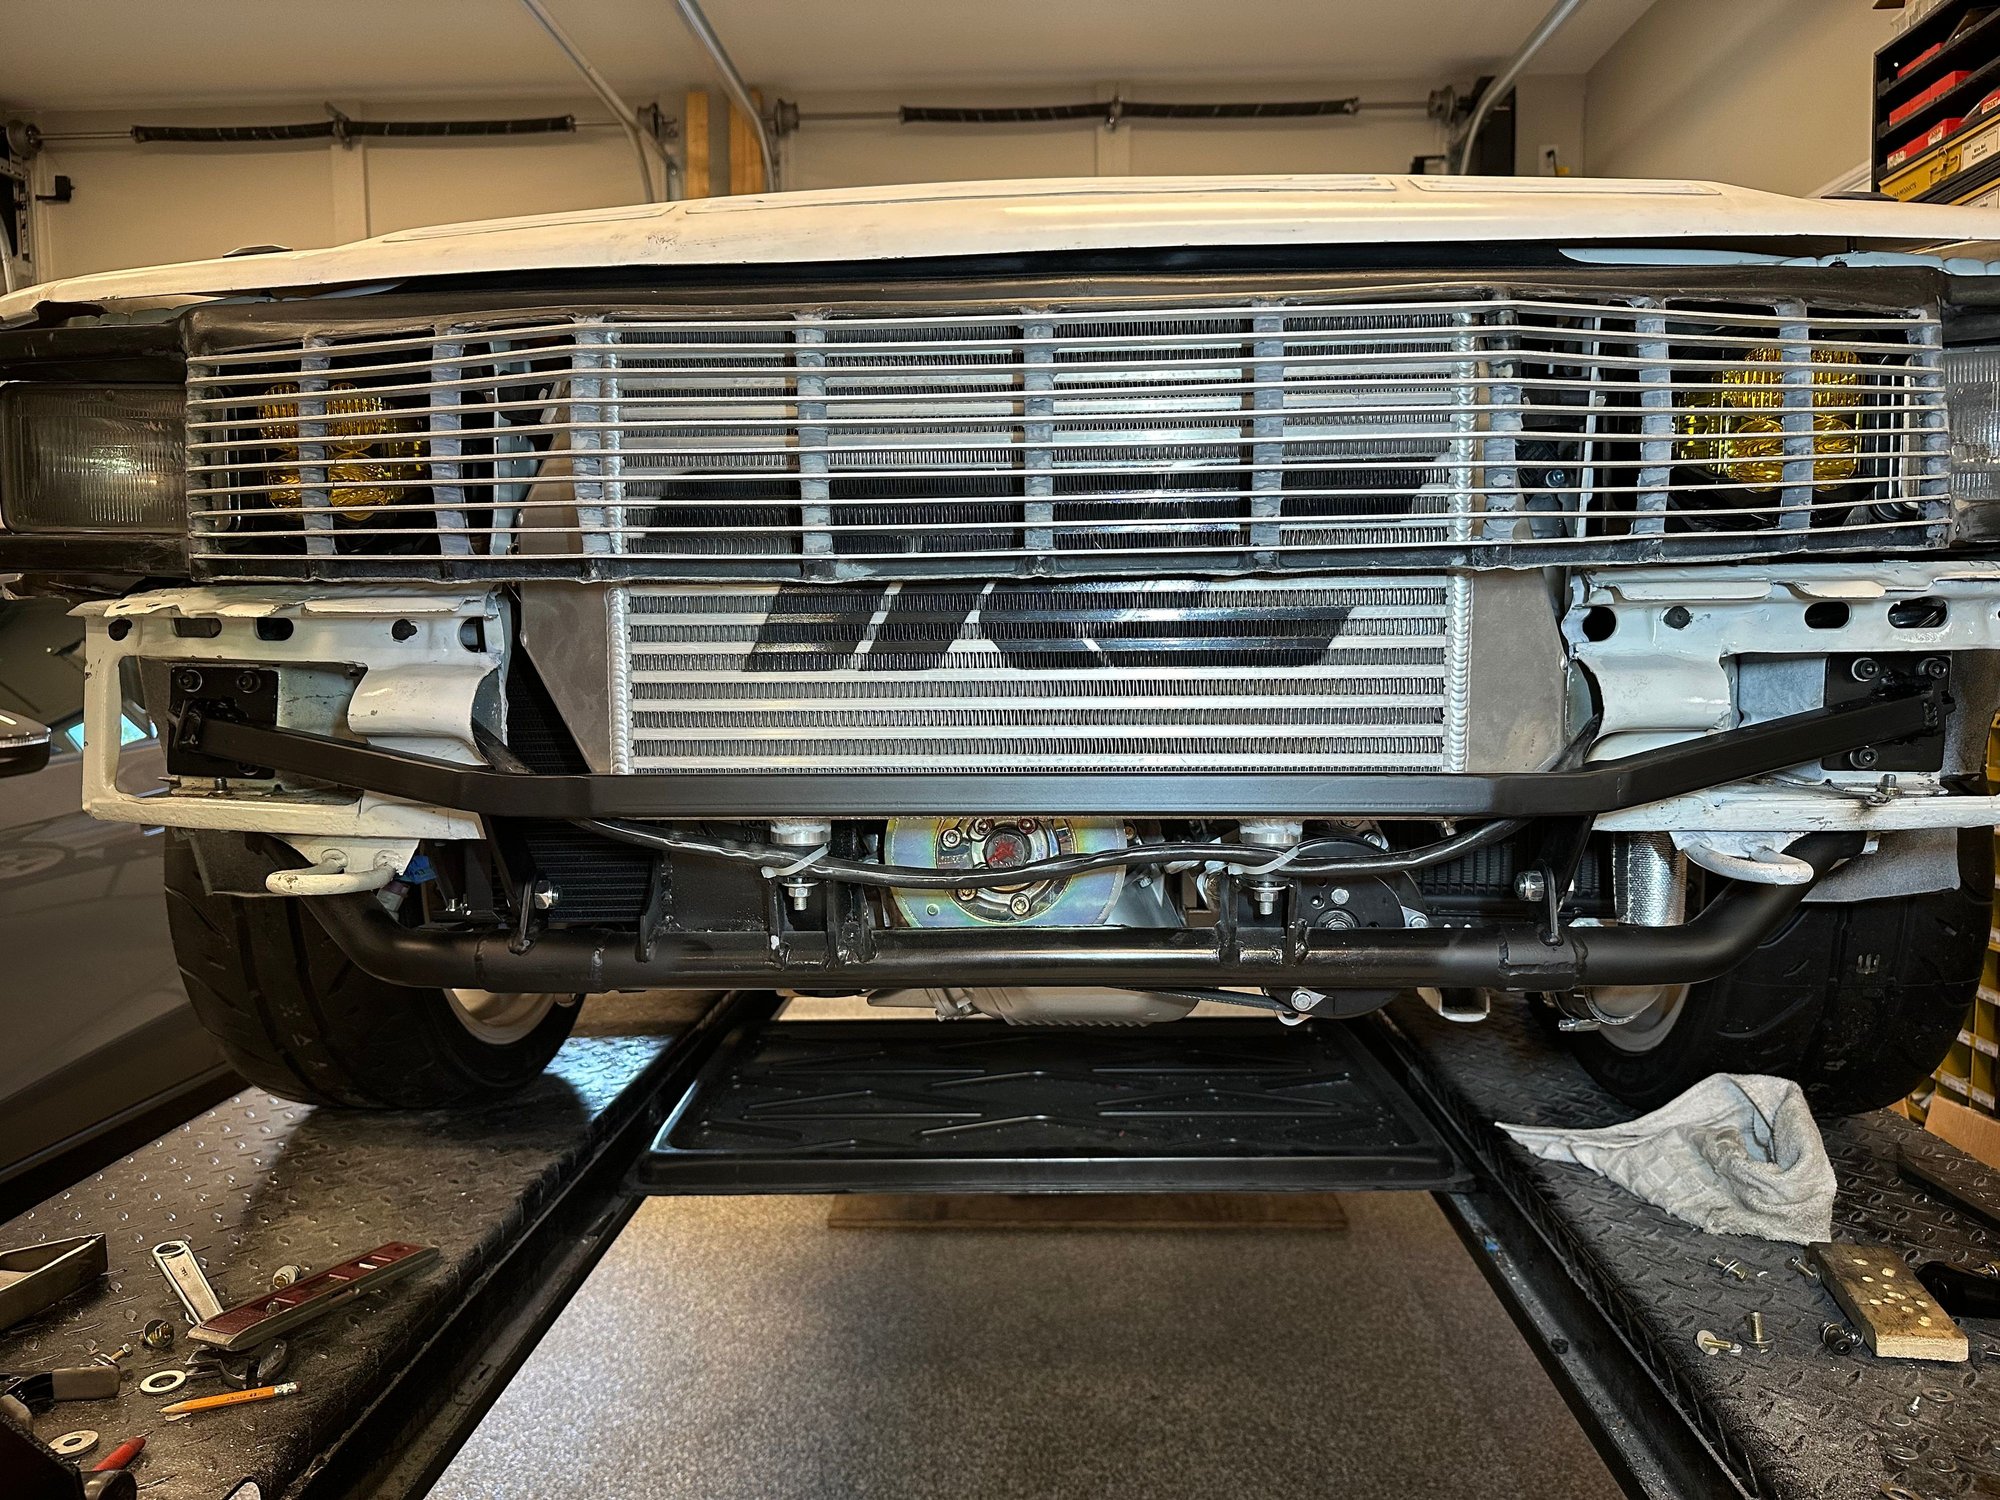
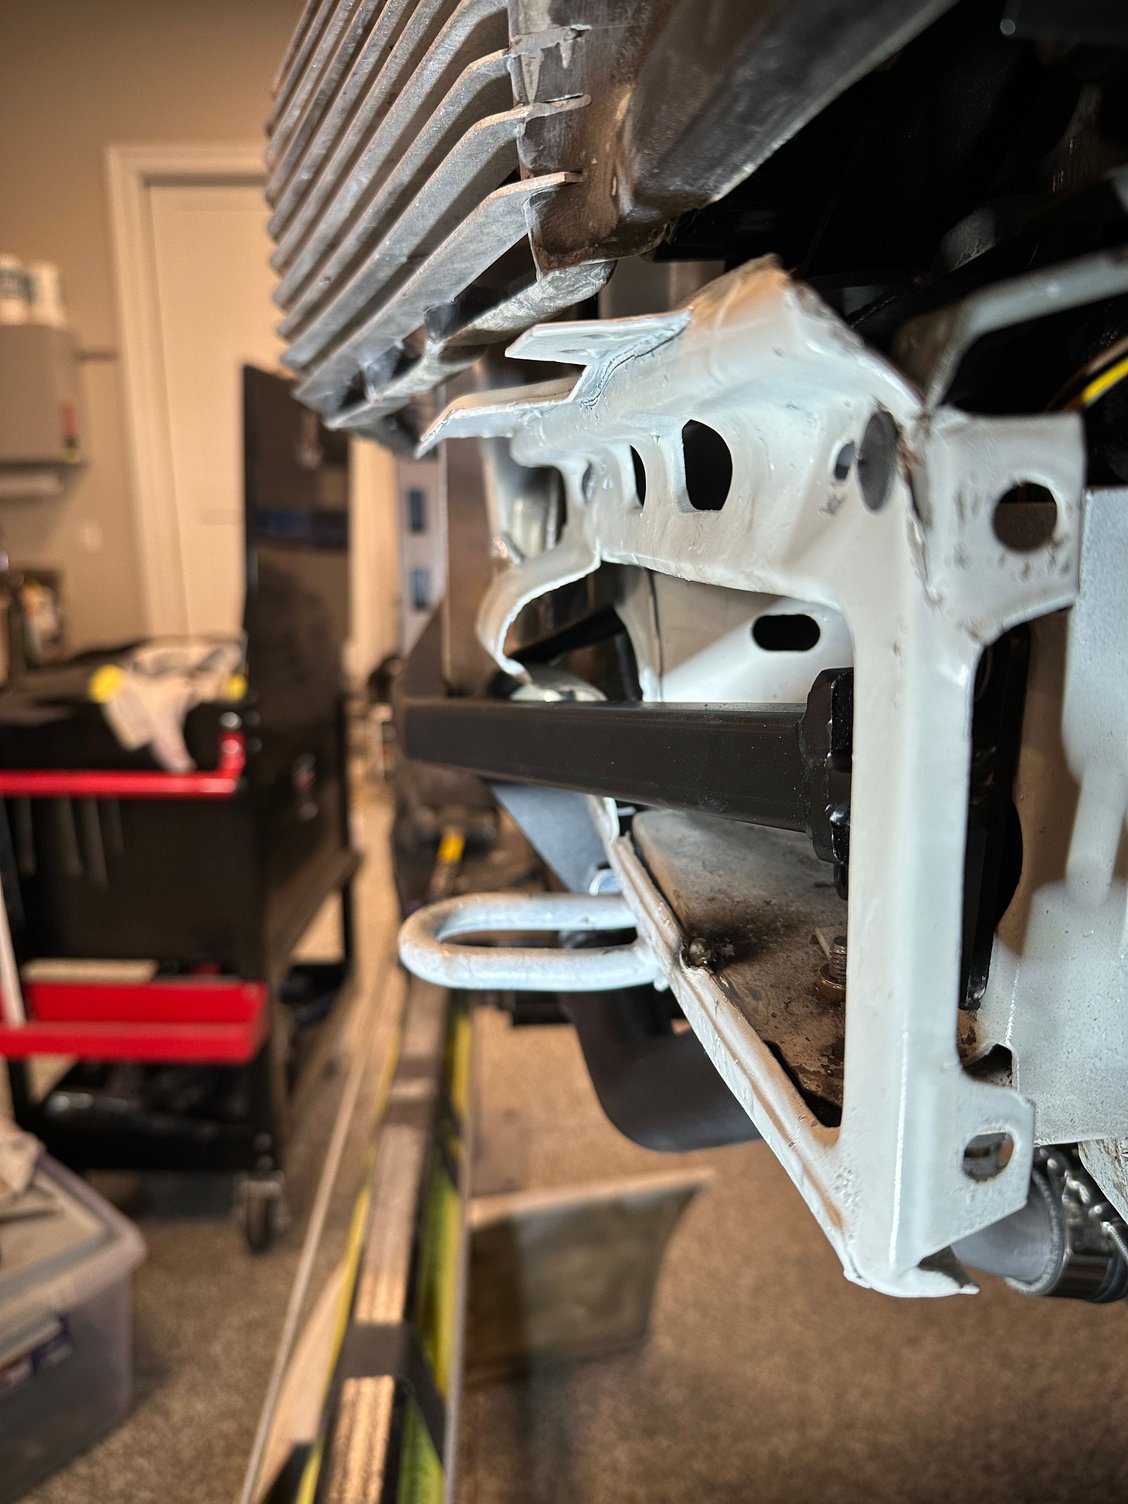
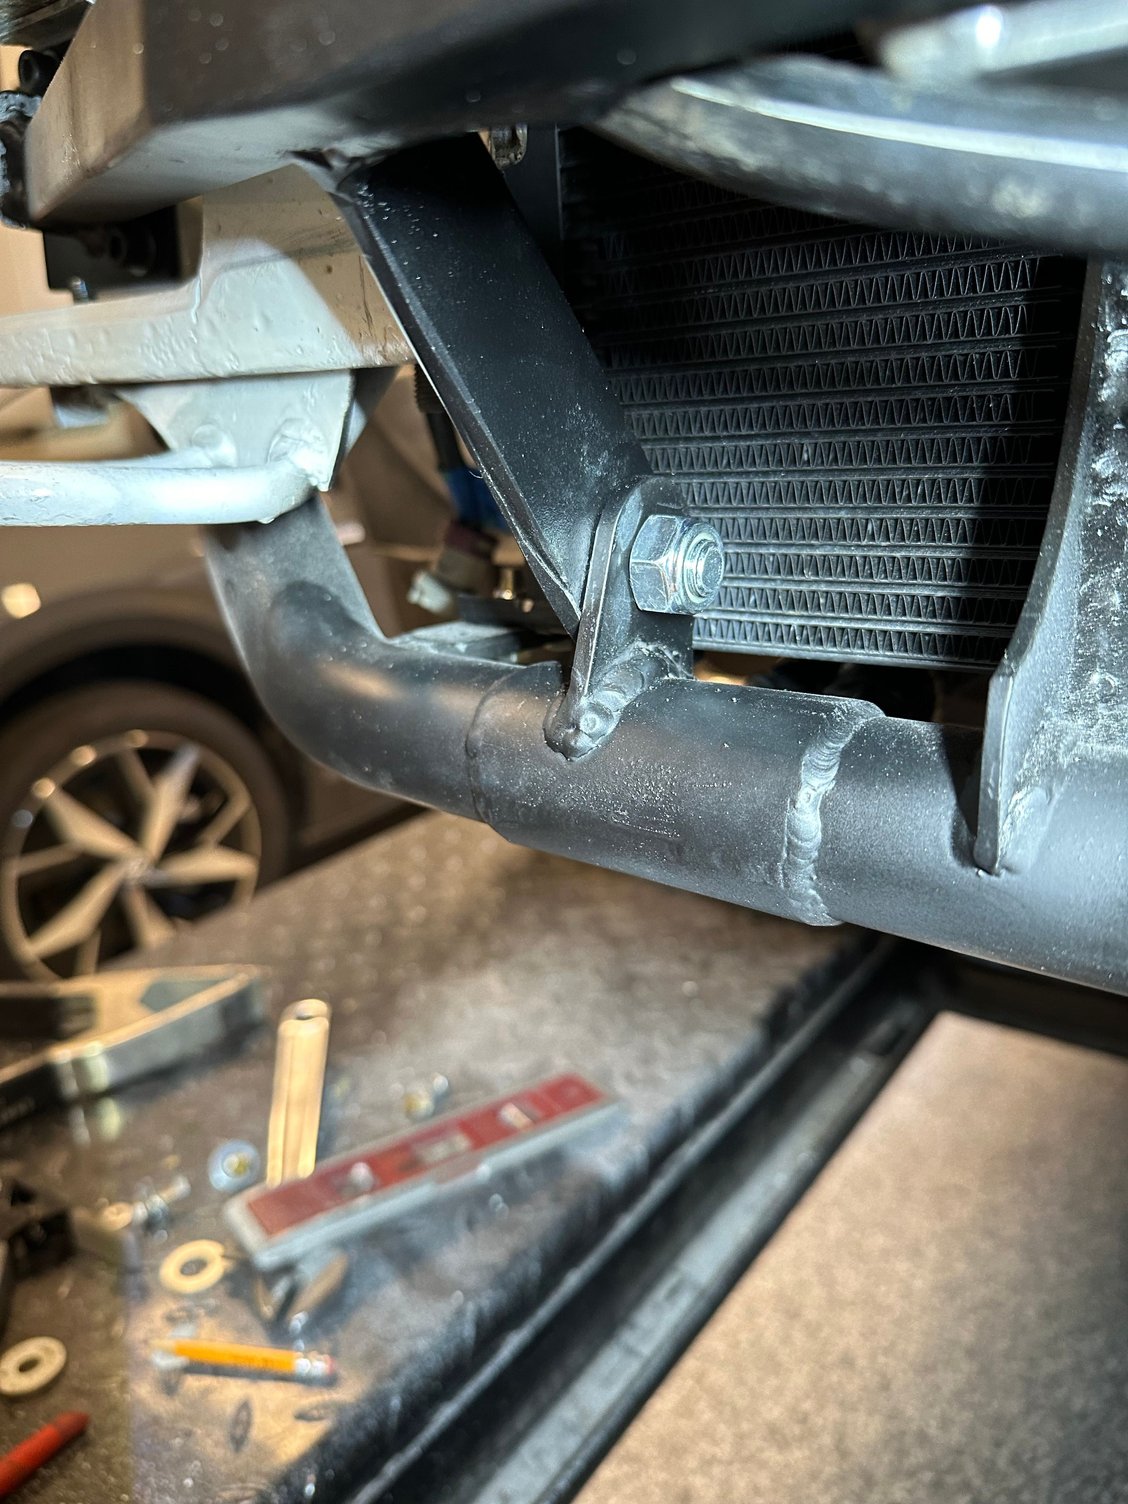
Built front chassis cross member, to reconnect where the front clip was cut out, even though I have the bottom cross member, which ties everything together along with the top piece, I wanted to make things really strong, so now I have (6) connections tying the front back together. The bottom cross member and front are bolted together, to really make it strong.
 07-11-2024, 05:22 PM