When you click on links to various merchants on this site and make a purchase, this can result in this site earning a commission. Affiliate programs and affiliations include, but are not limited to, the eBay Partner Network.
Part of checking the wiring out, I tested the brake lights, turn signals, backup etc and everything worked accept for the rear tail lights only work on running lights and dont work with headlights on....need to fighure that out.
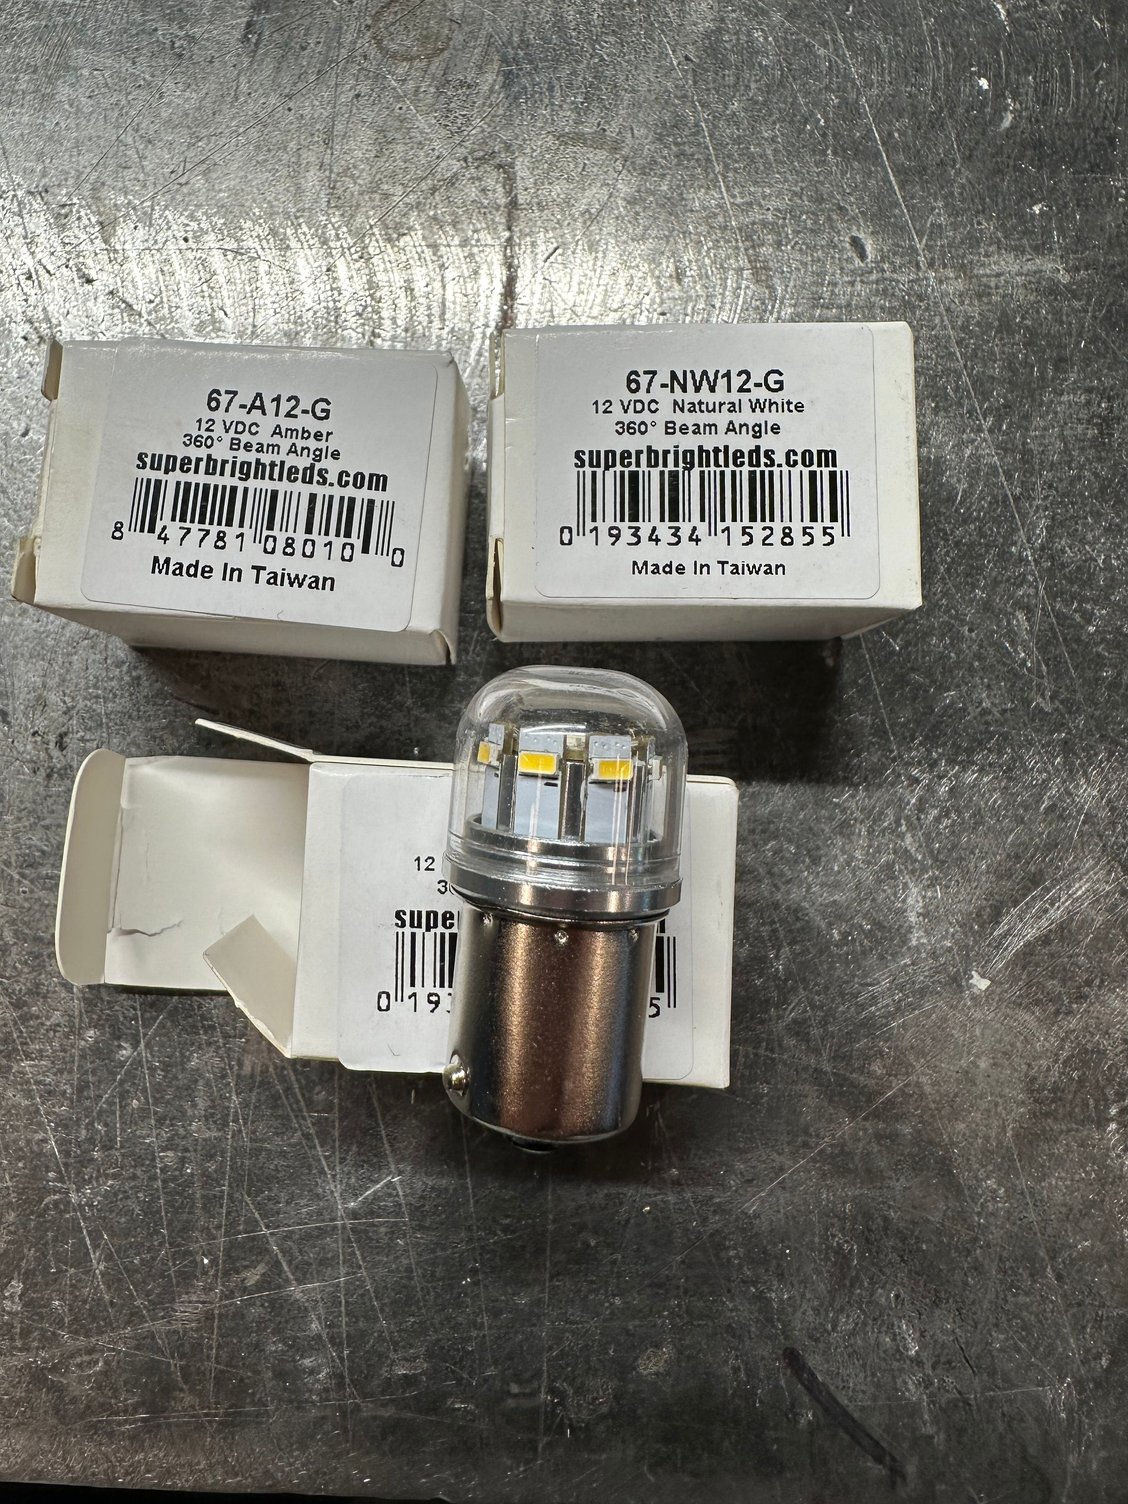
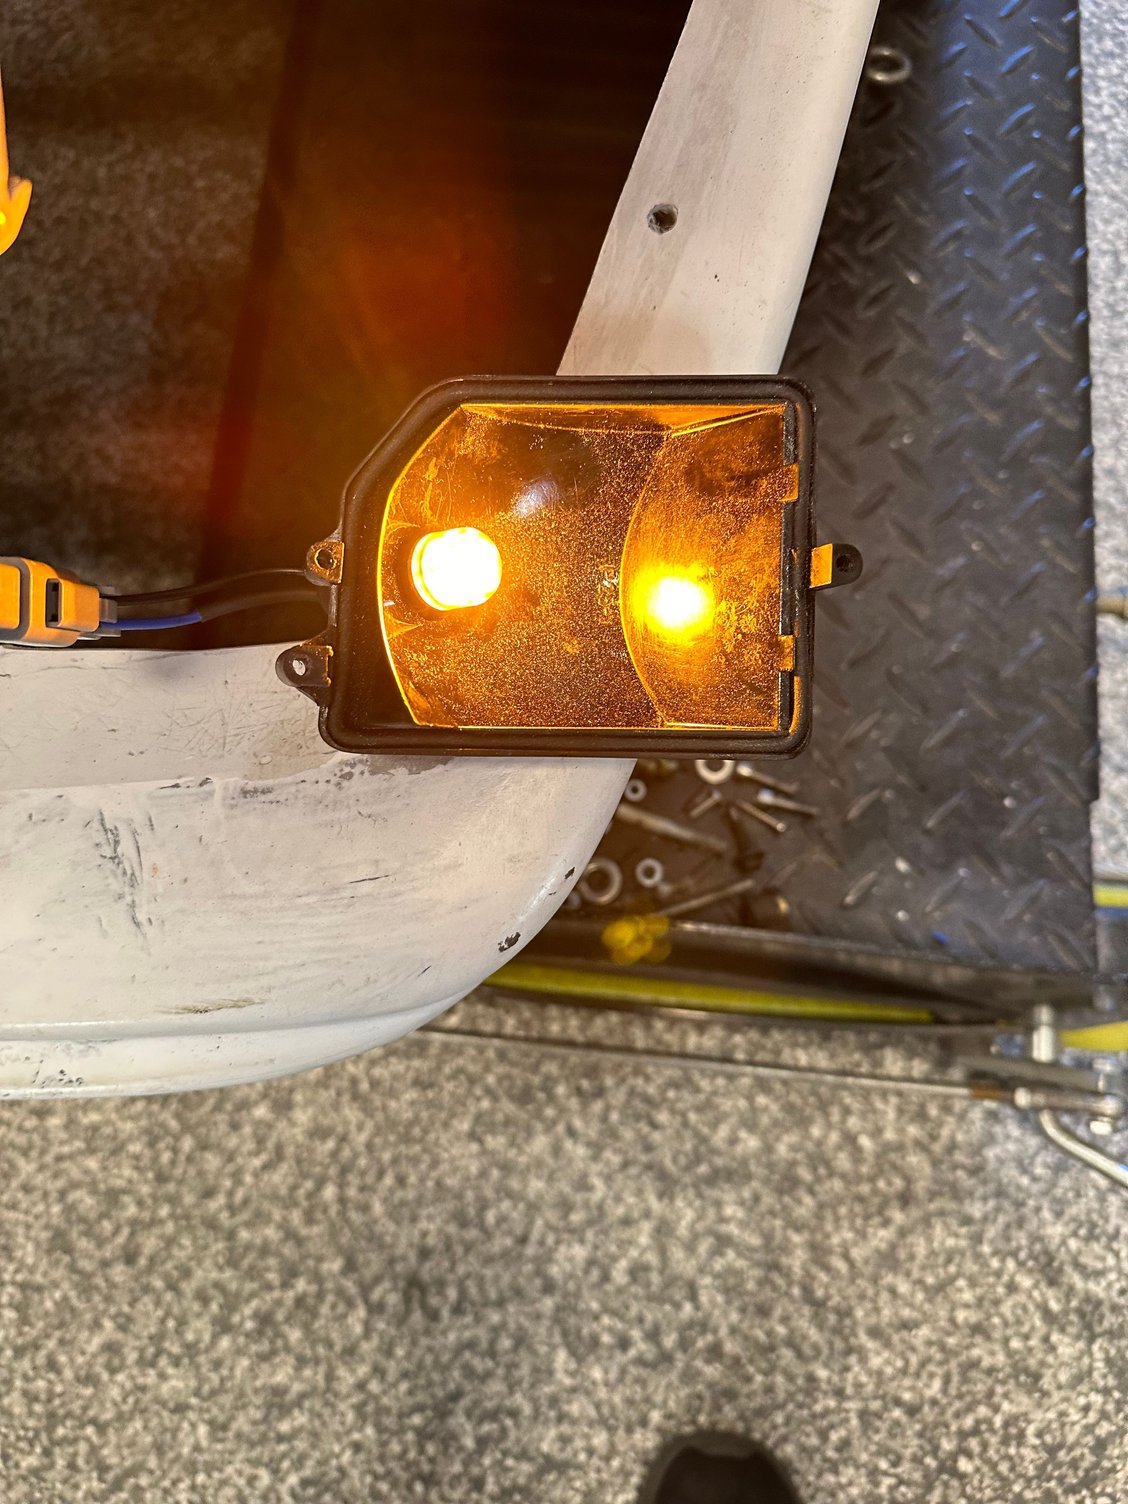
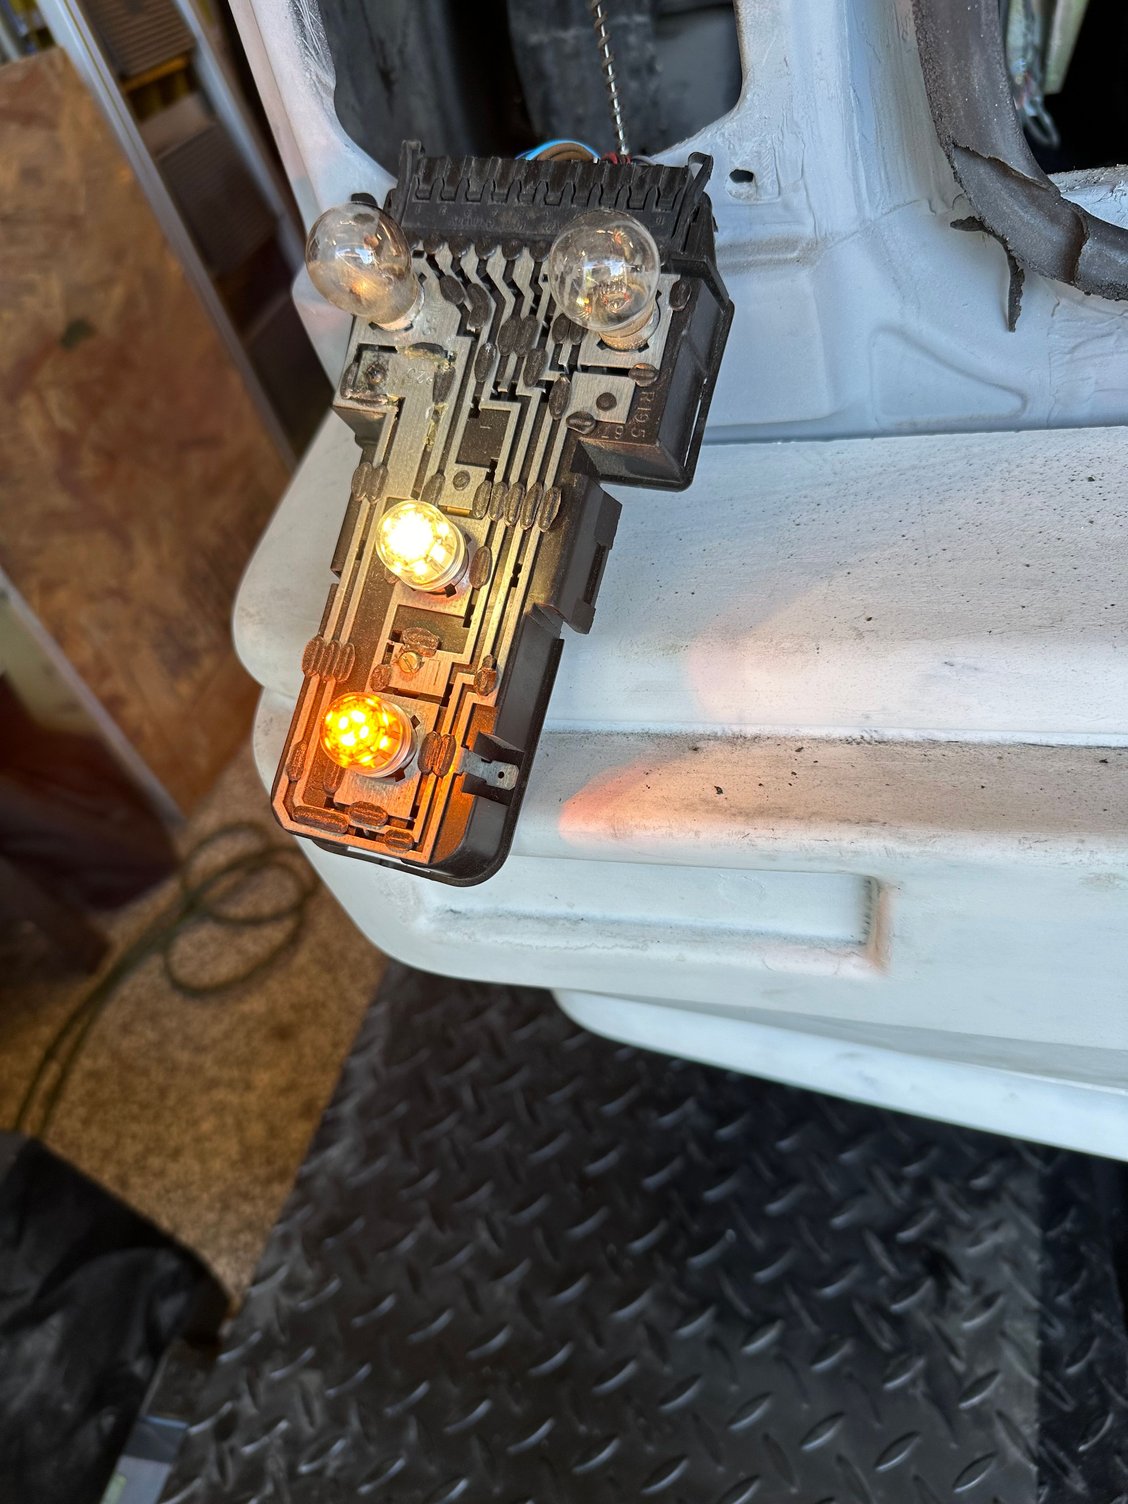
I noticed how hot the bulbs get and decided to do what I did on another build and that is to use LED bulbs.
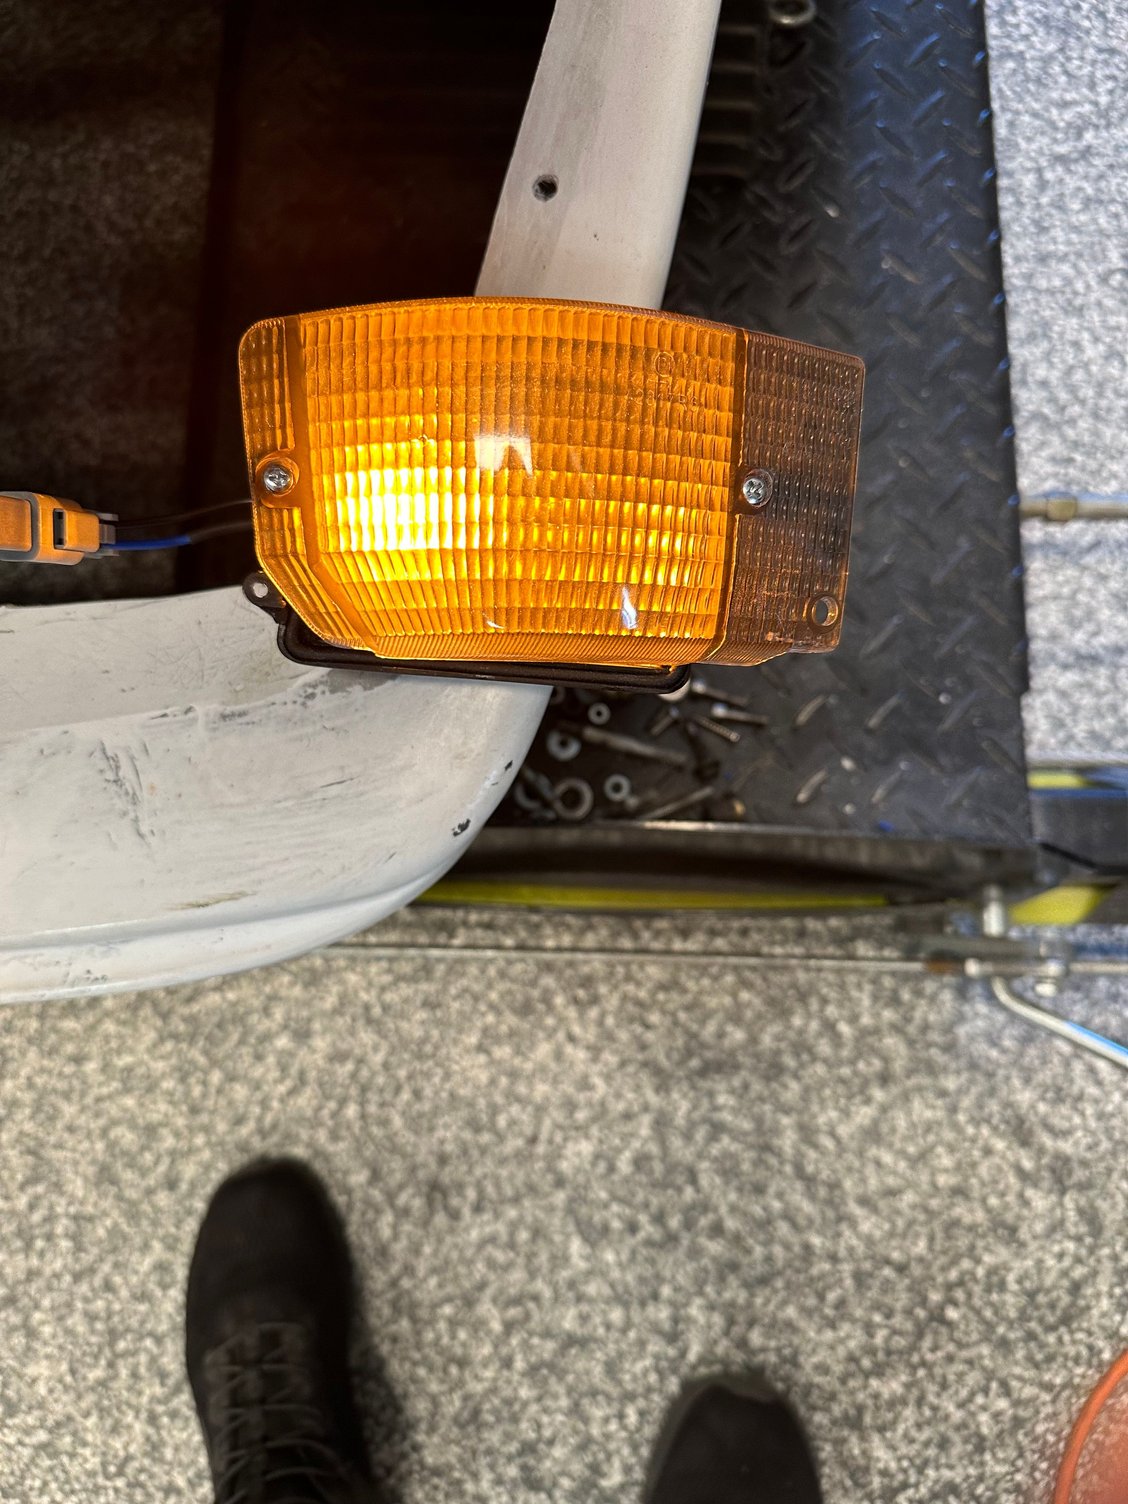
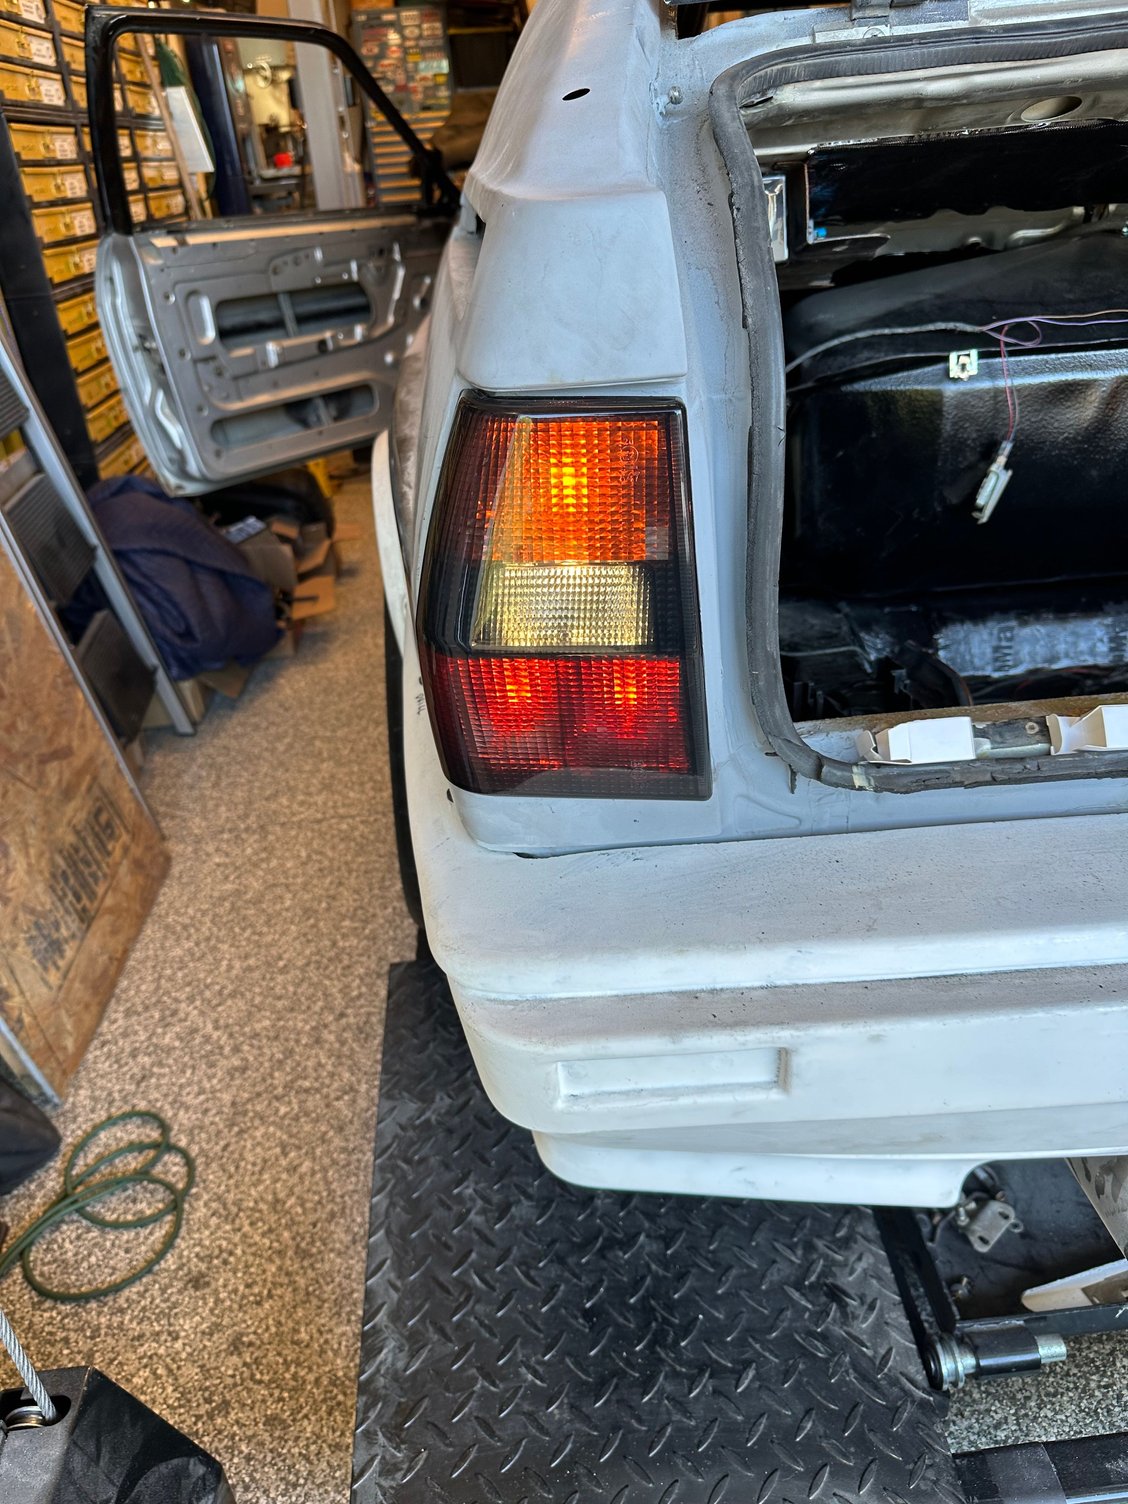
I am going to be using the smoked Frankani lens, which have red, yellow and clear lens on the inside, so you can use clear bulbs, but I decided to get amber for turn signals, clear for backup and red for running and brake (Still waiting on red)
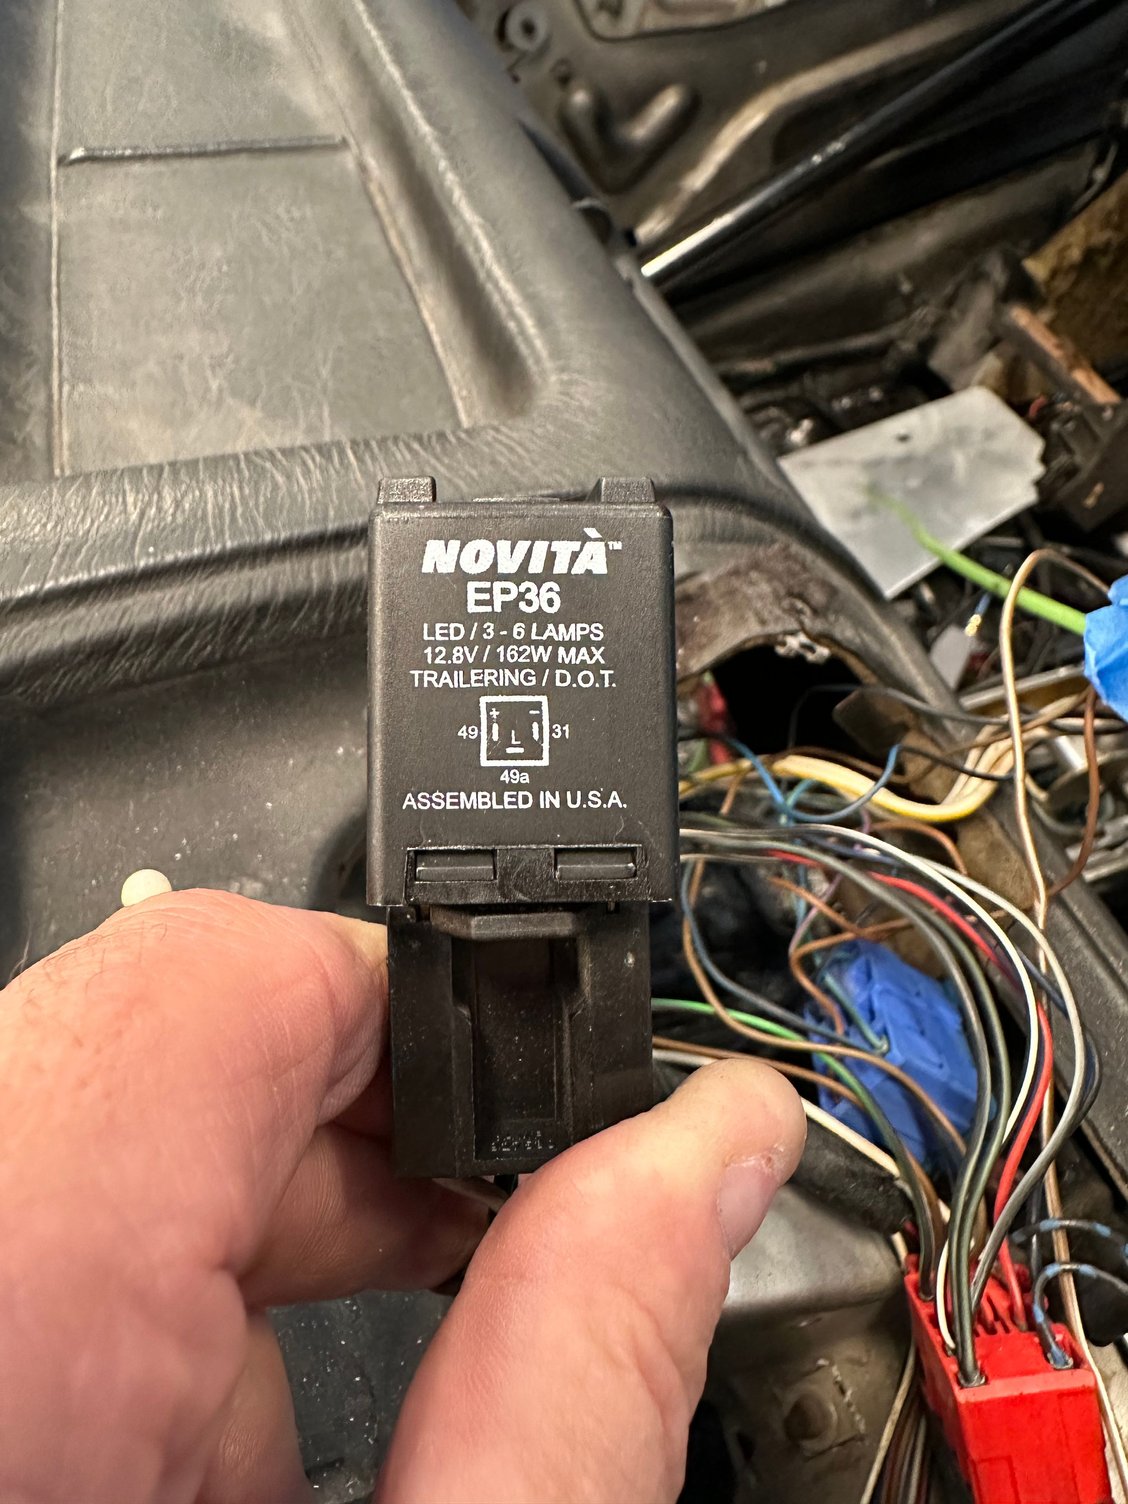
The bulbs are plug and play and bright. plus cool to the touch. The only thing that you need to change is the flasher relay to a LED flasher relay, other wise they will flash rapidly.
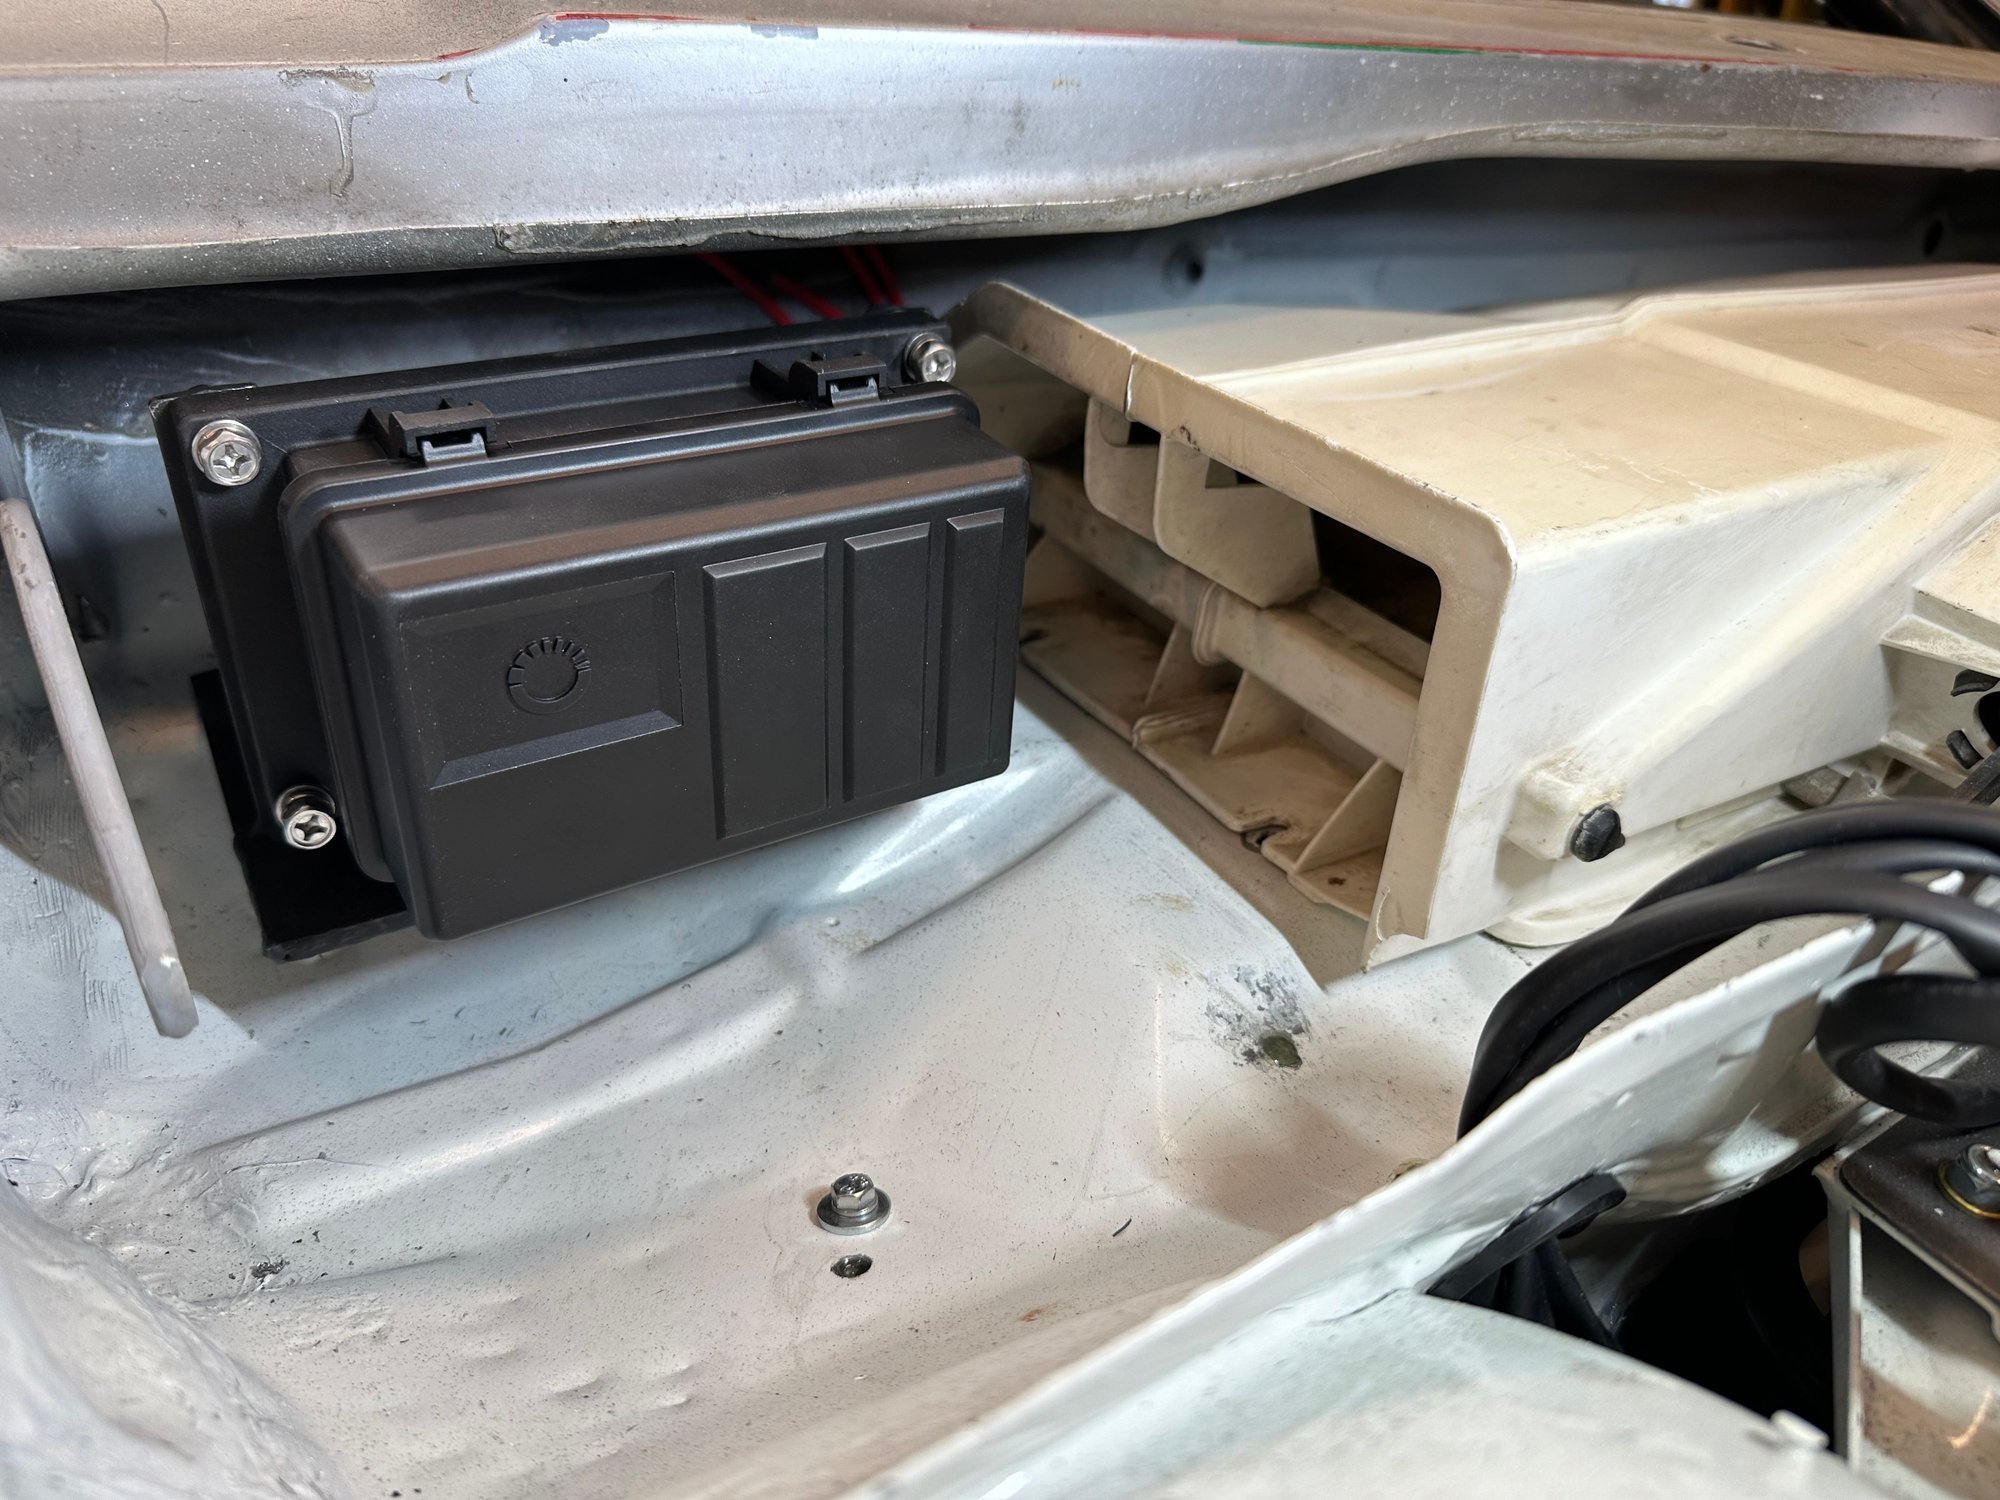
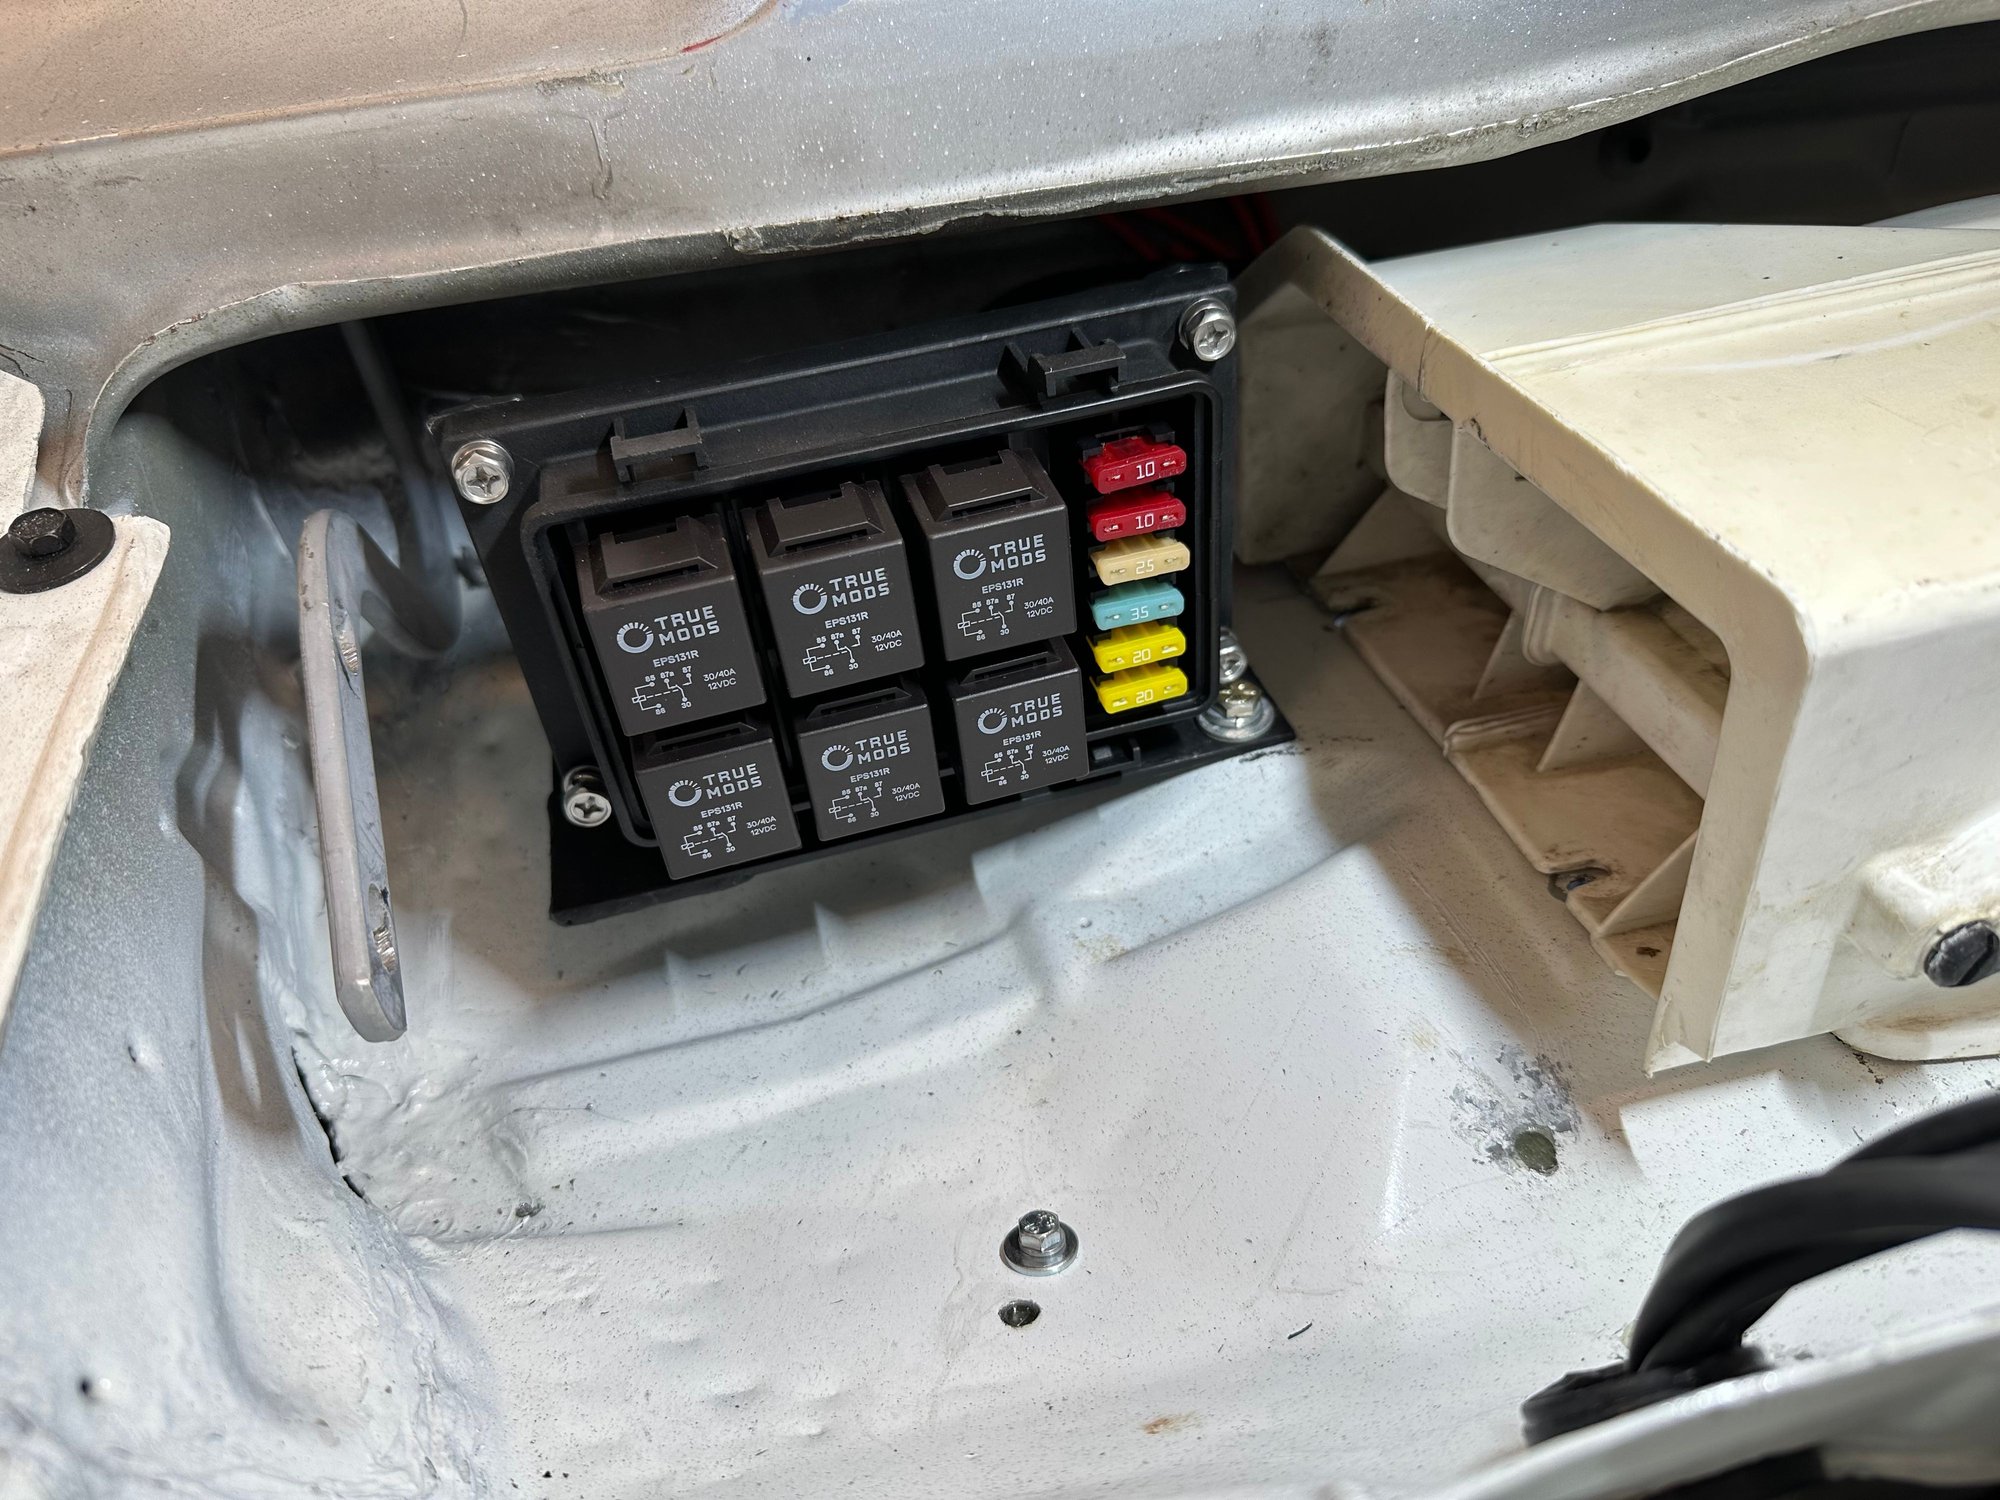
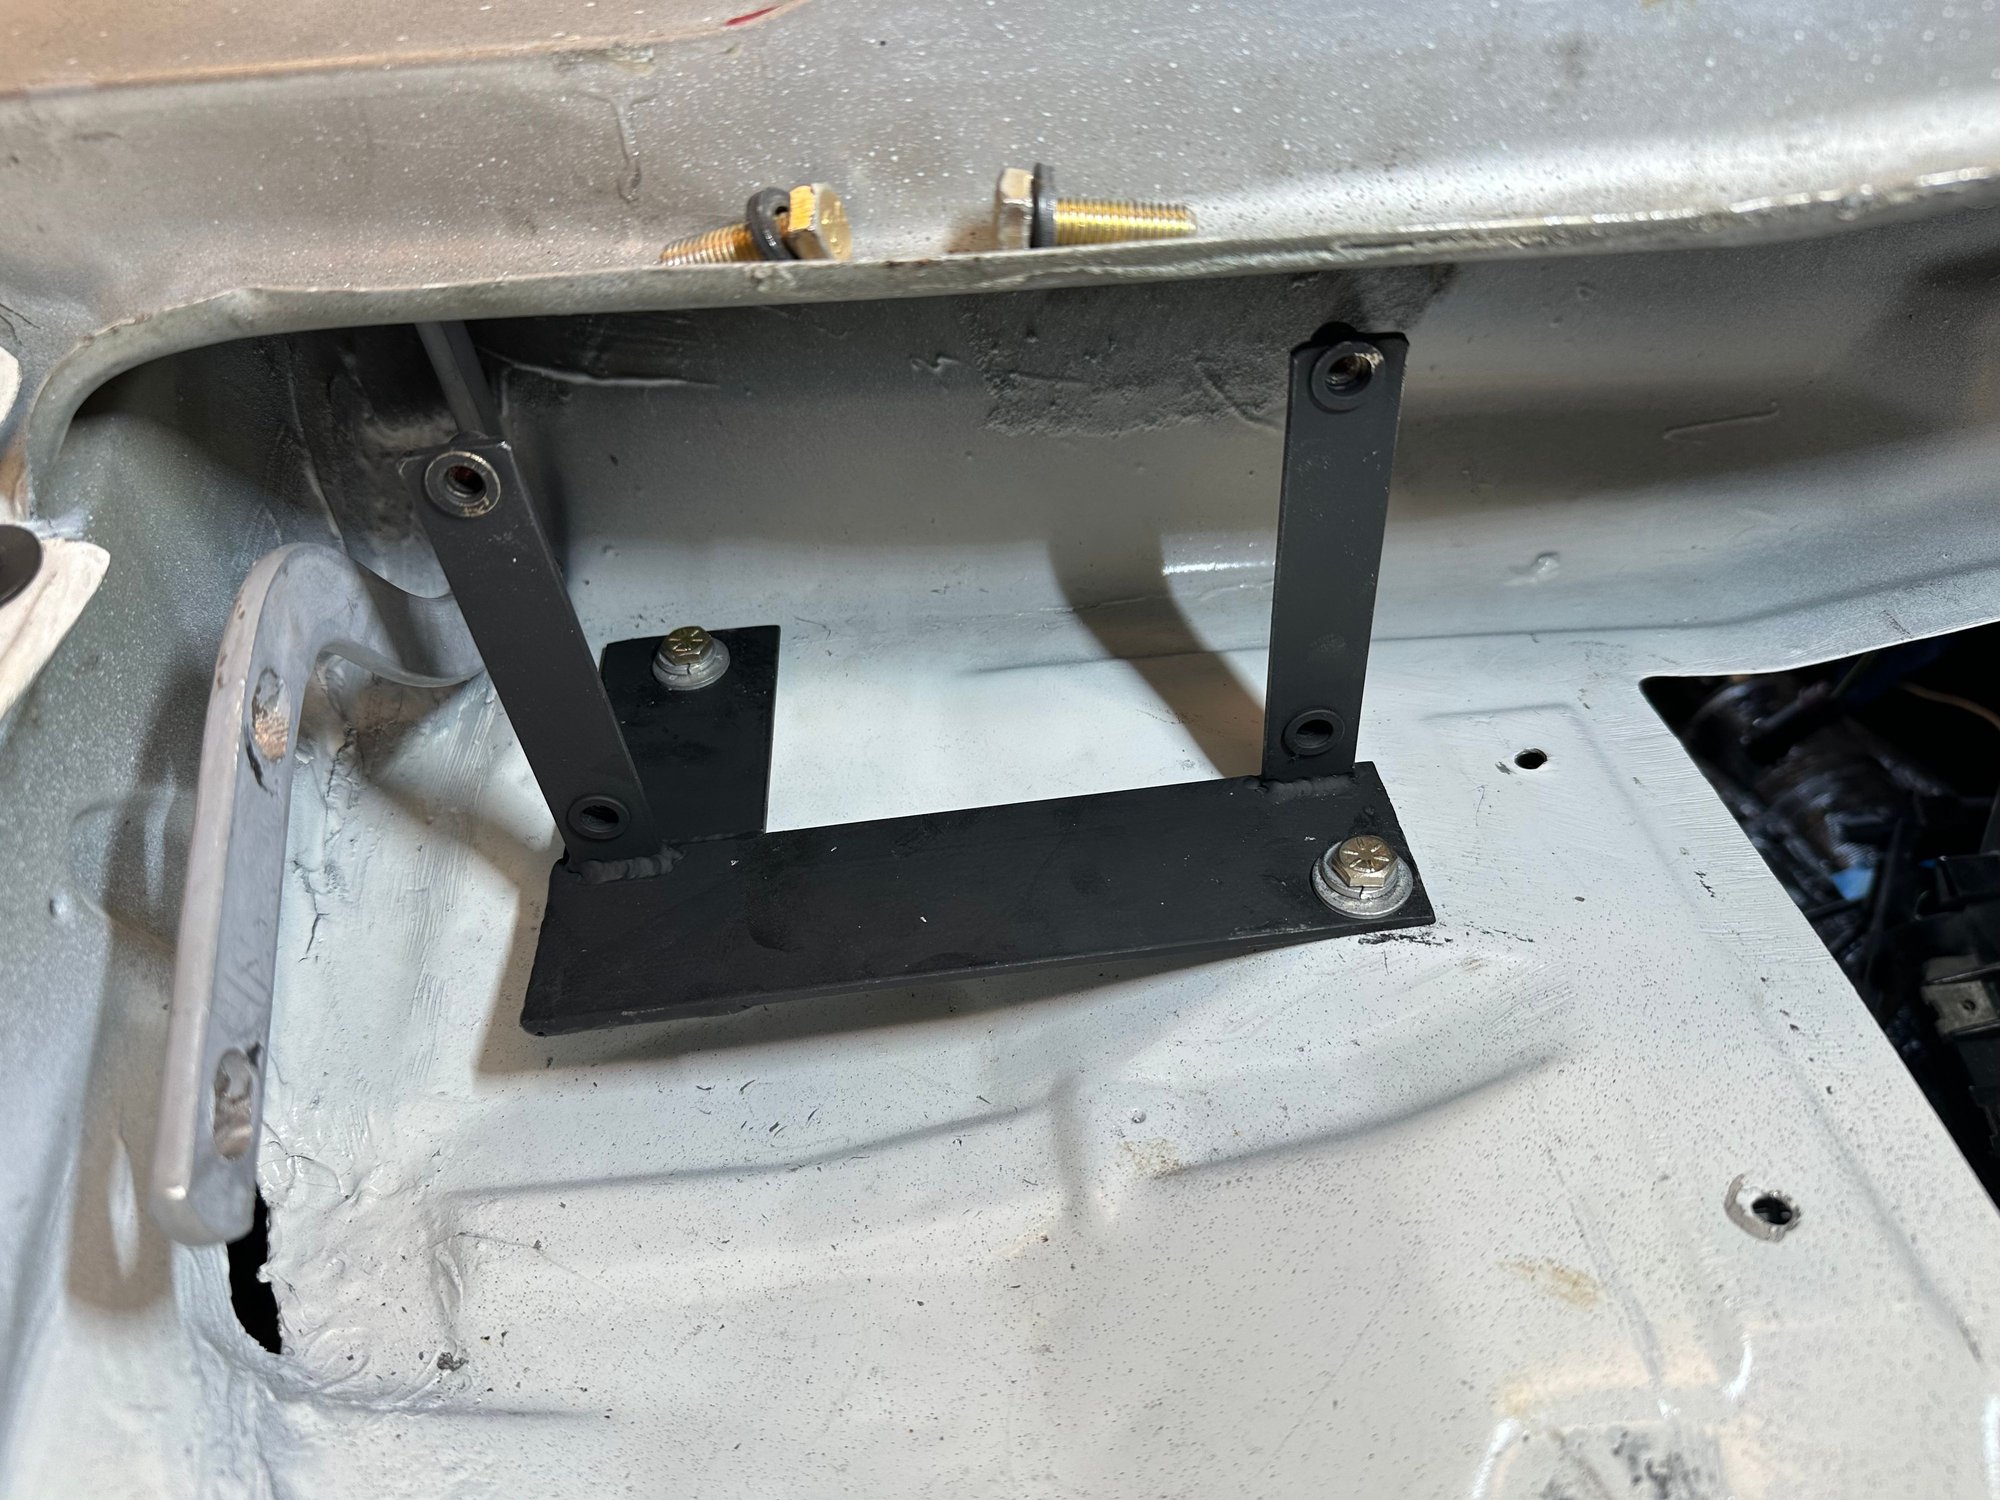
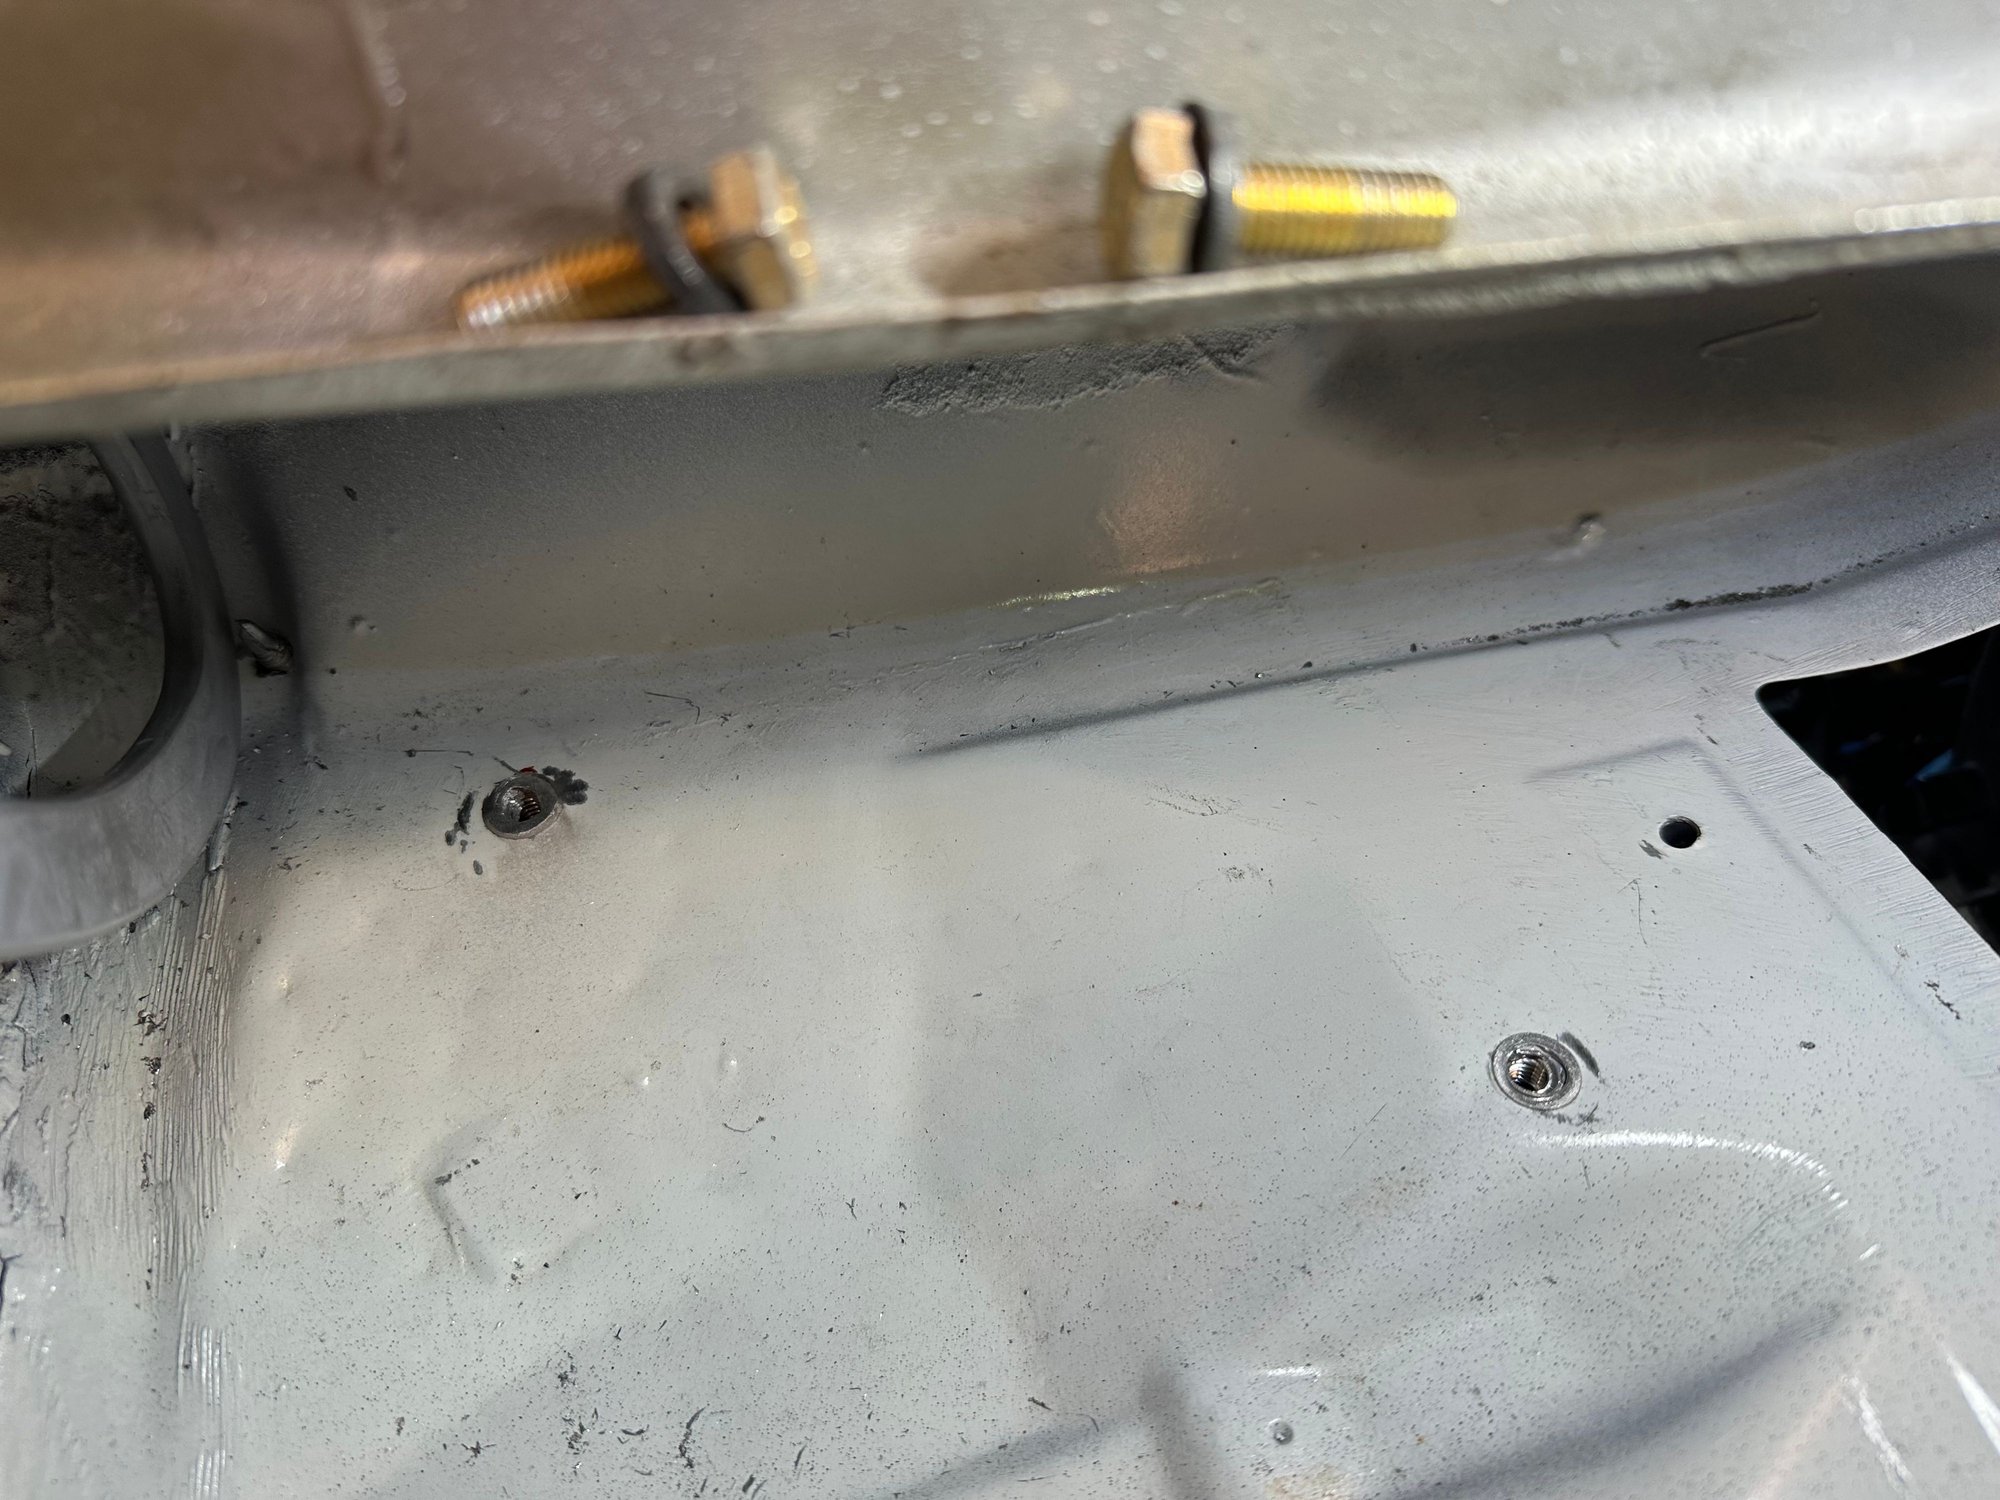
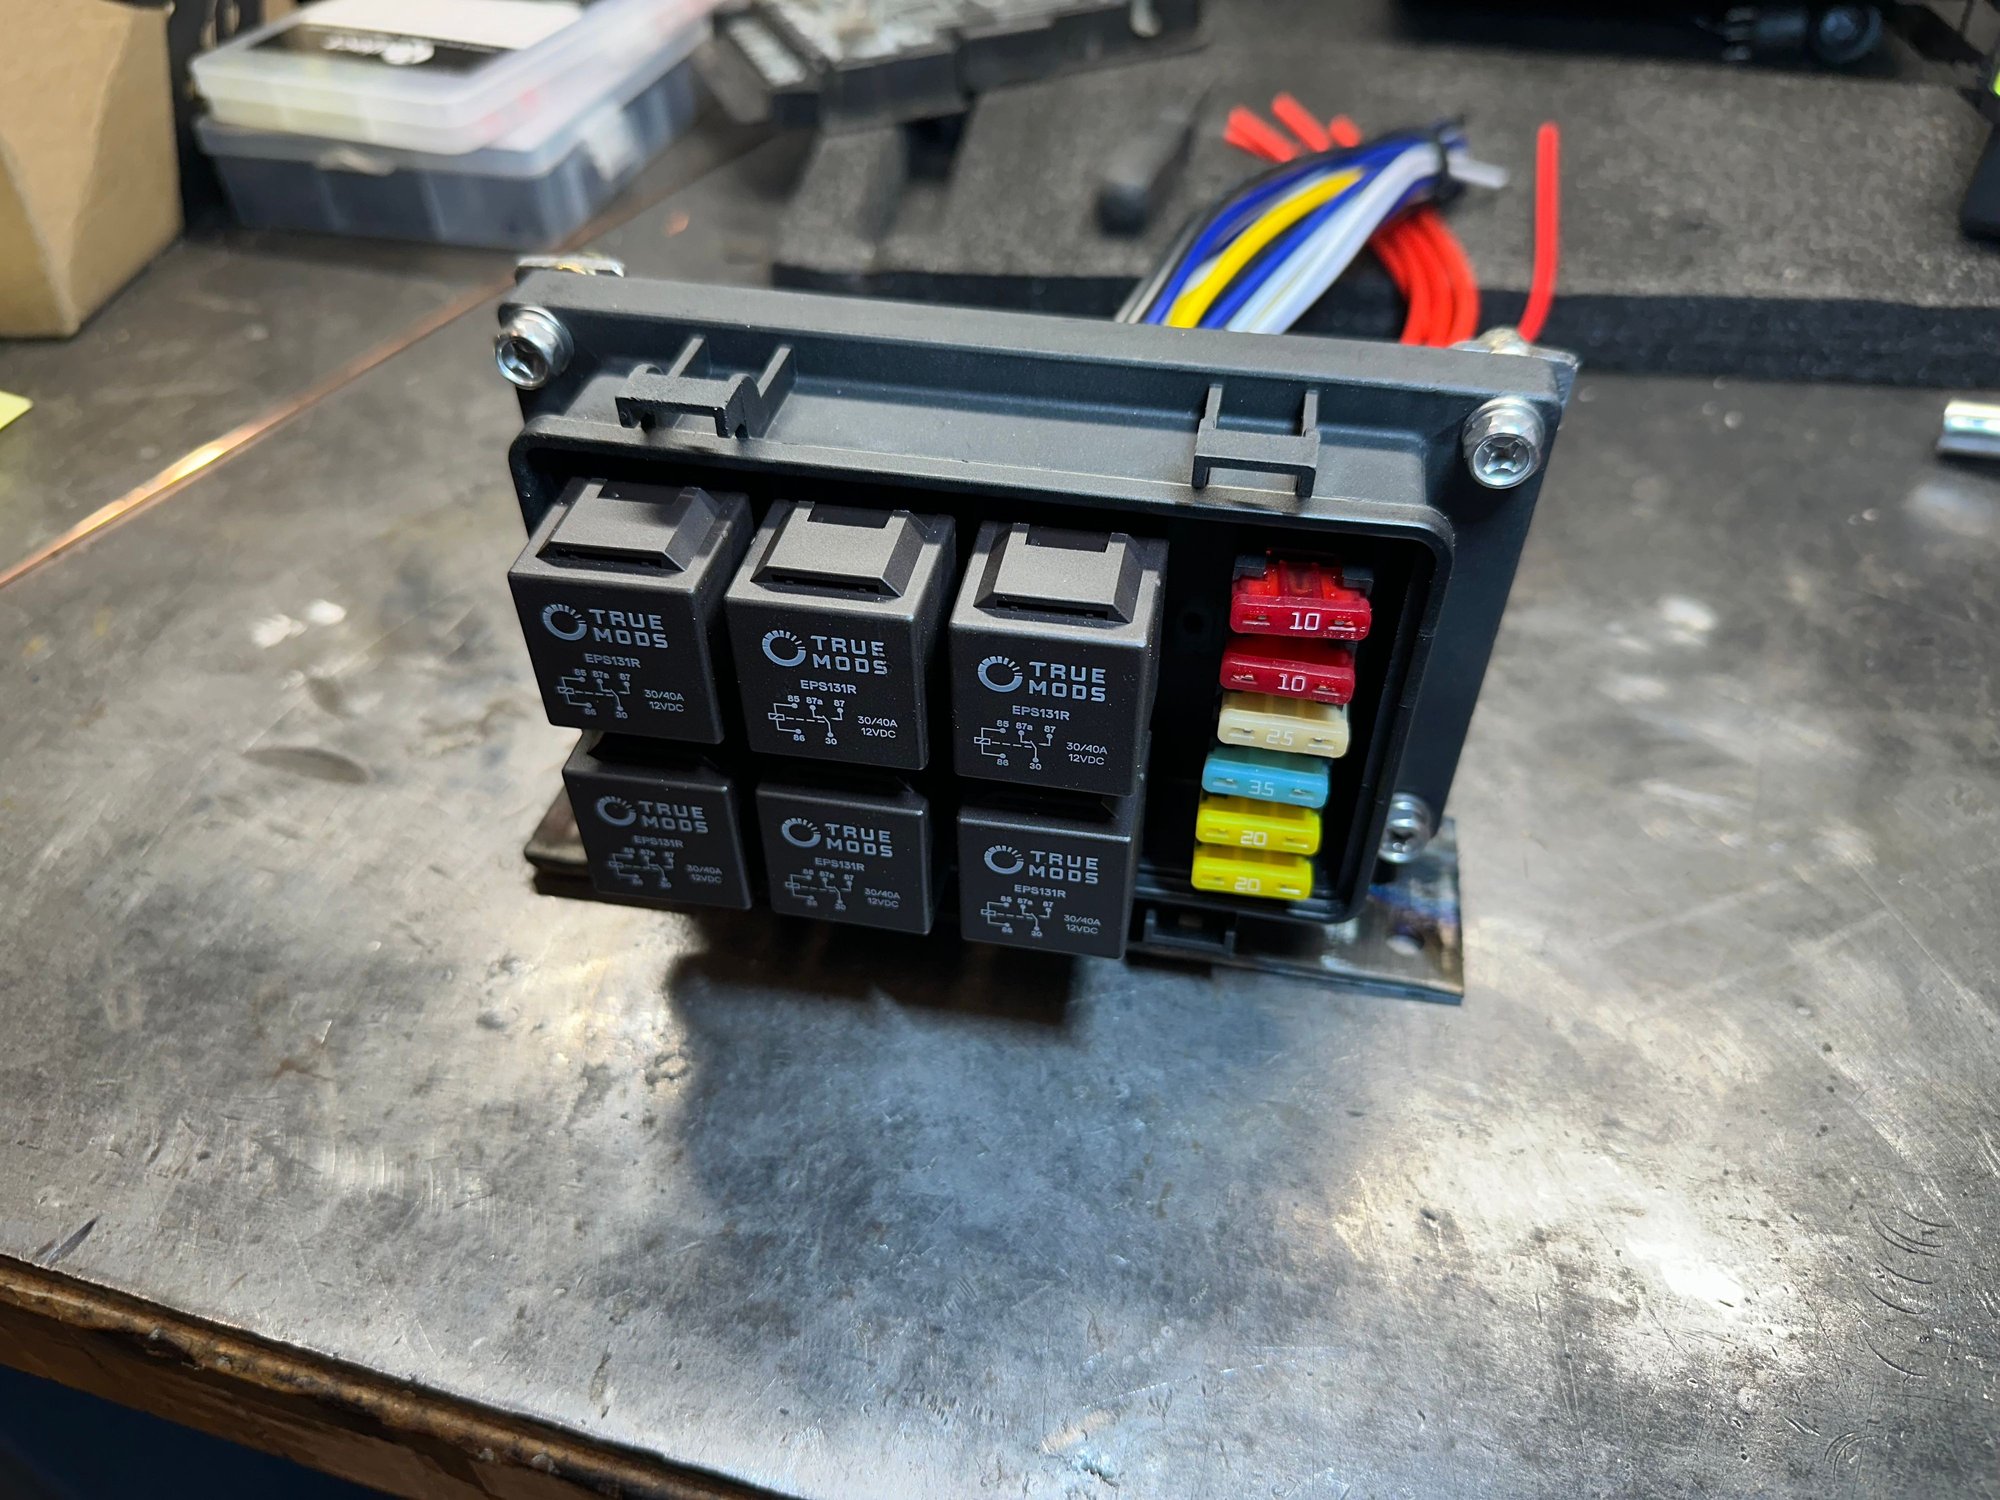
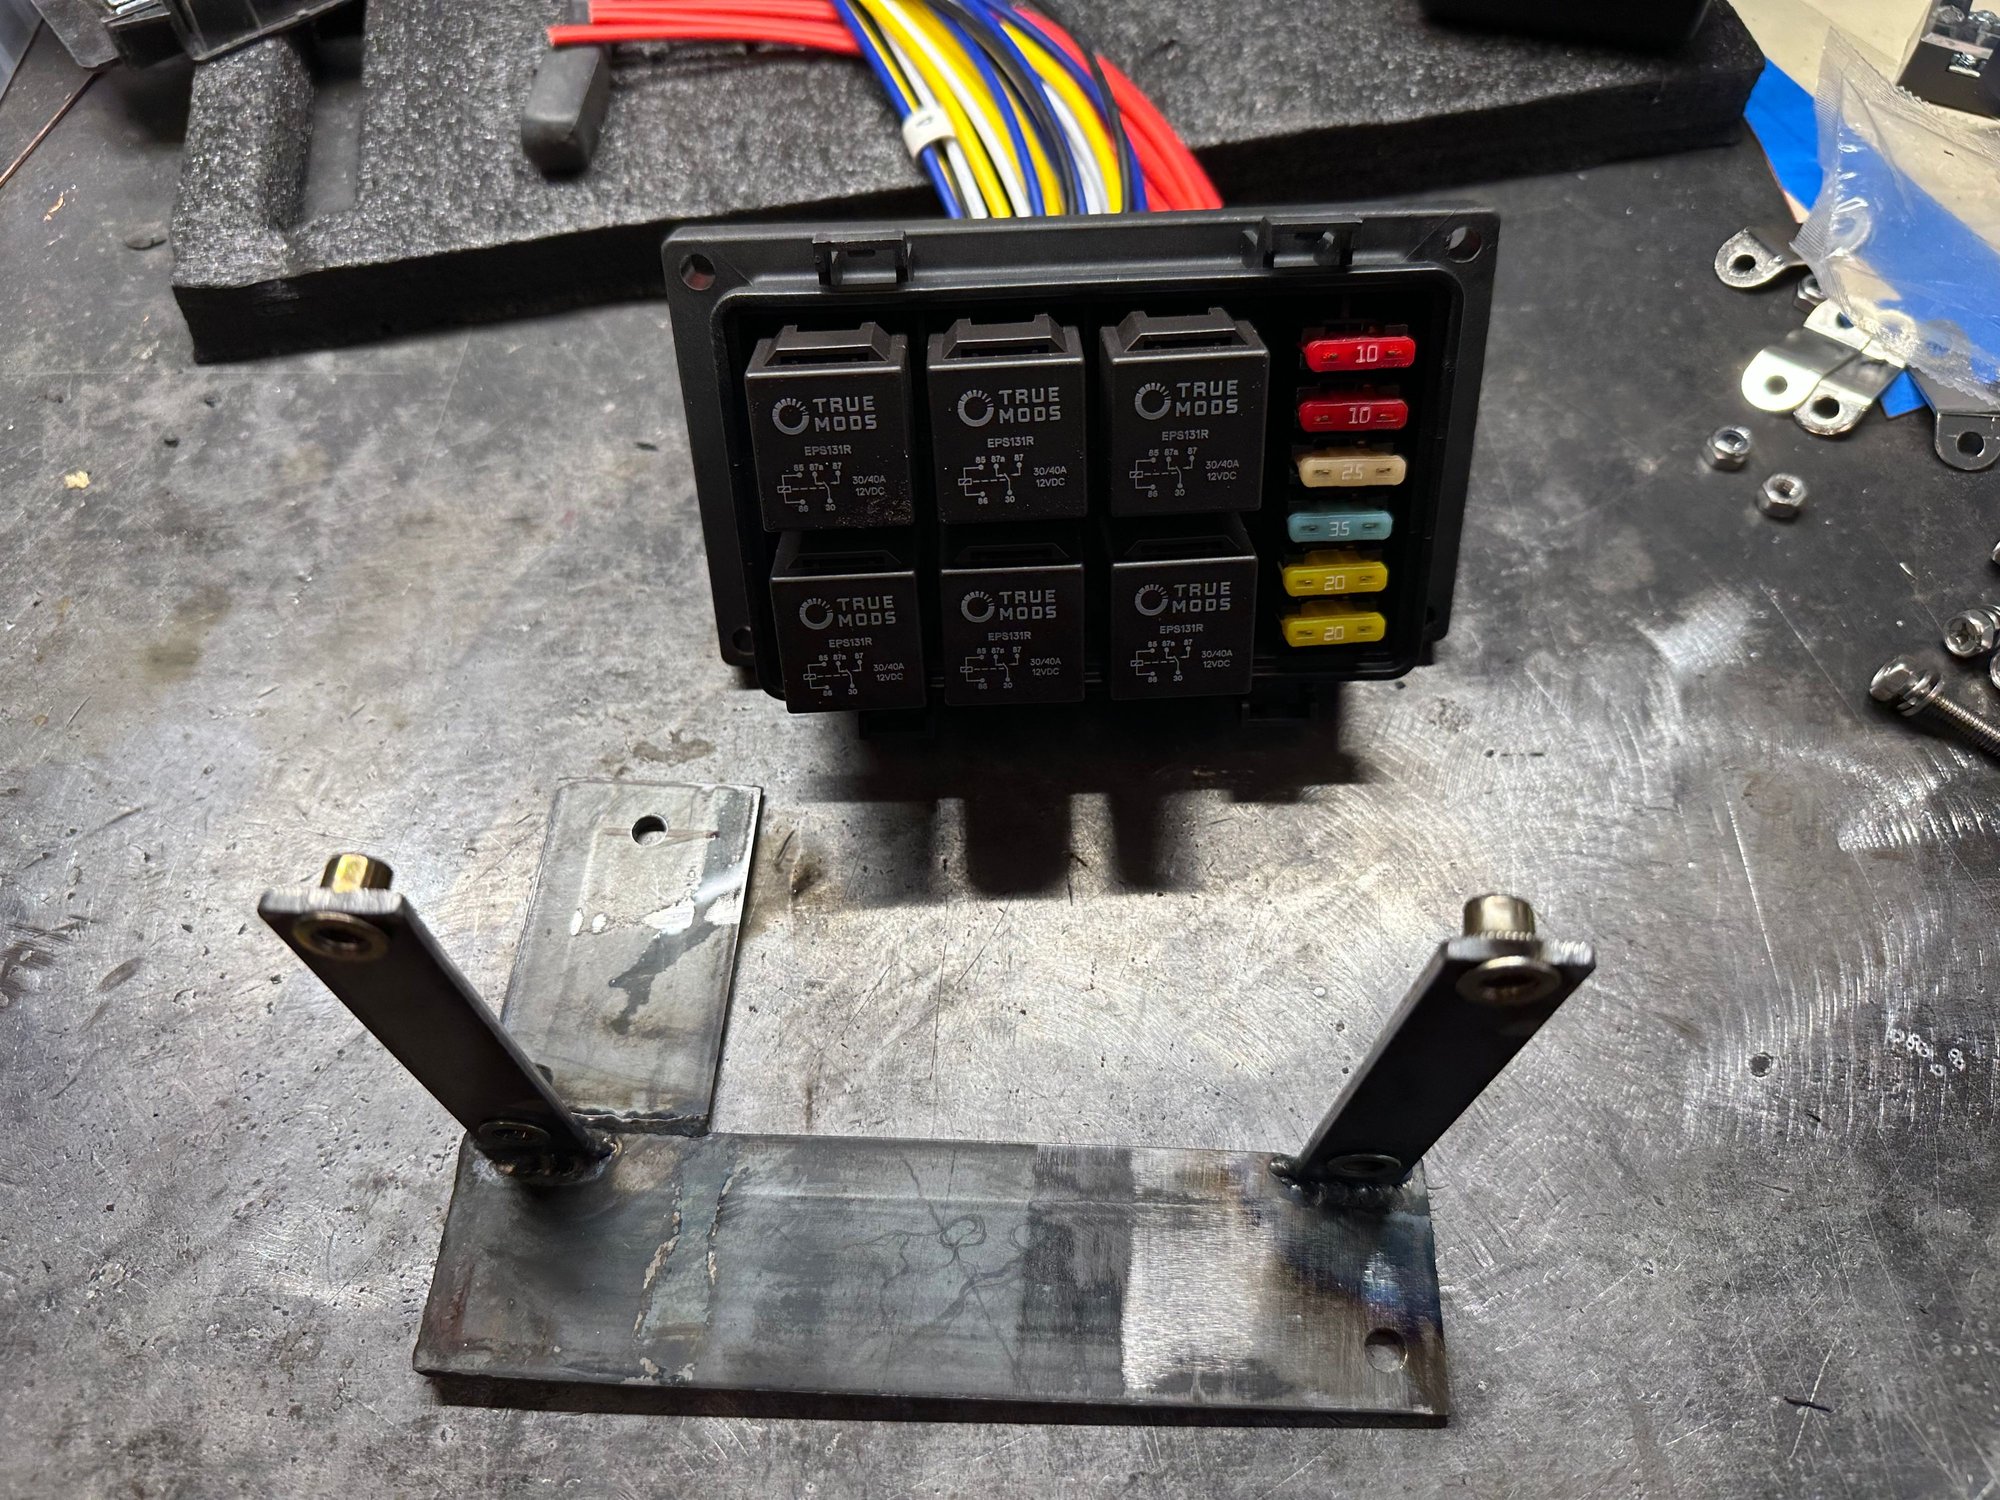
Added a (6) relay / fuse water proof box. I made a mount and used thread inserts for both the mount to body and box to mount. I try and think ahead as to be able to access things easily once the car is fully assembled. The relays will be for the electric seats, seat heaters and the (2) sets of Baja Design lights. I still have to add the power distribution block, ground block and ignition trigger block.
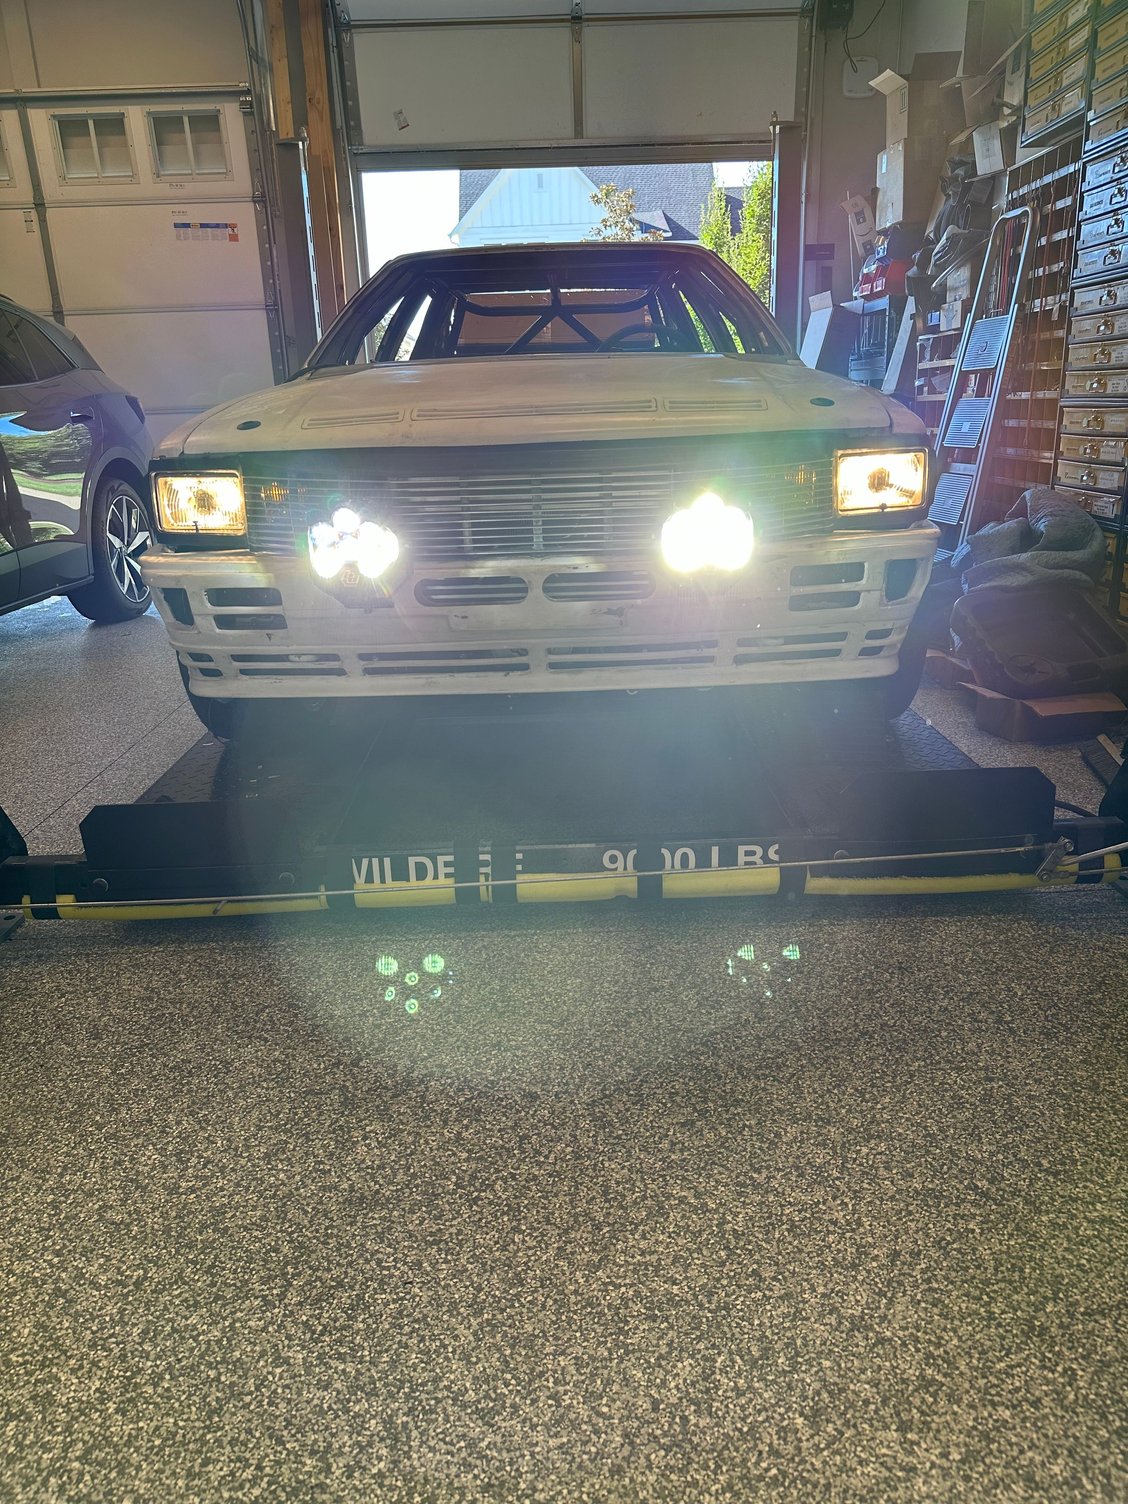
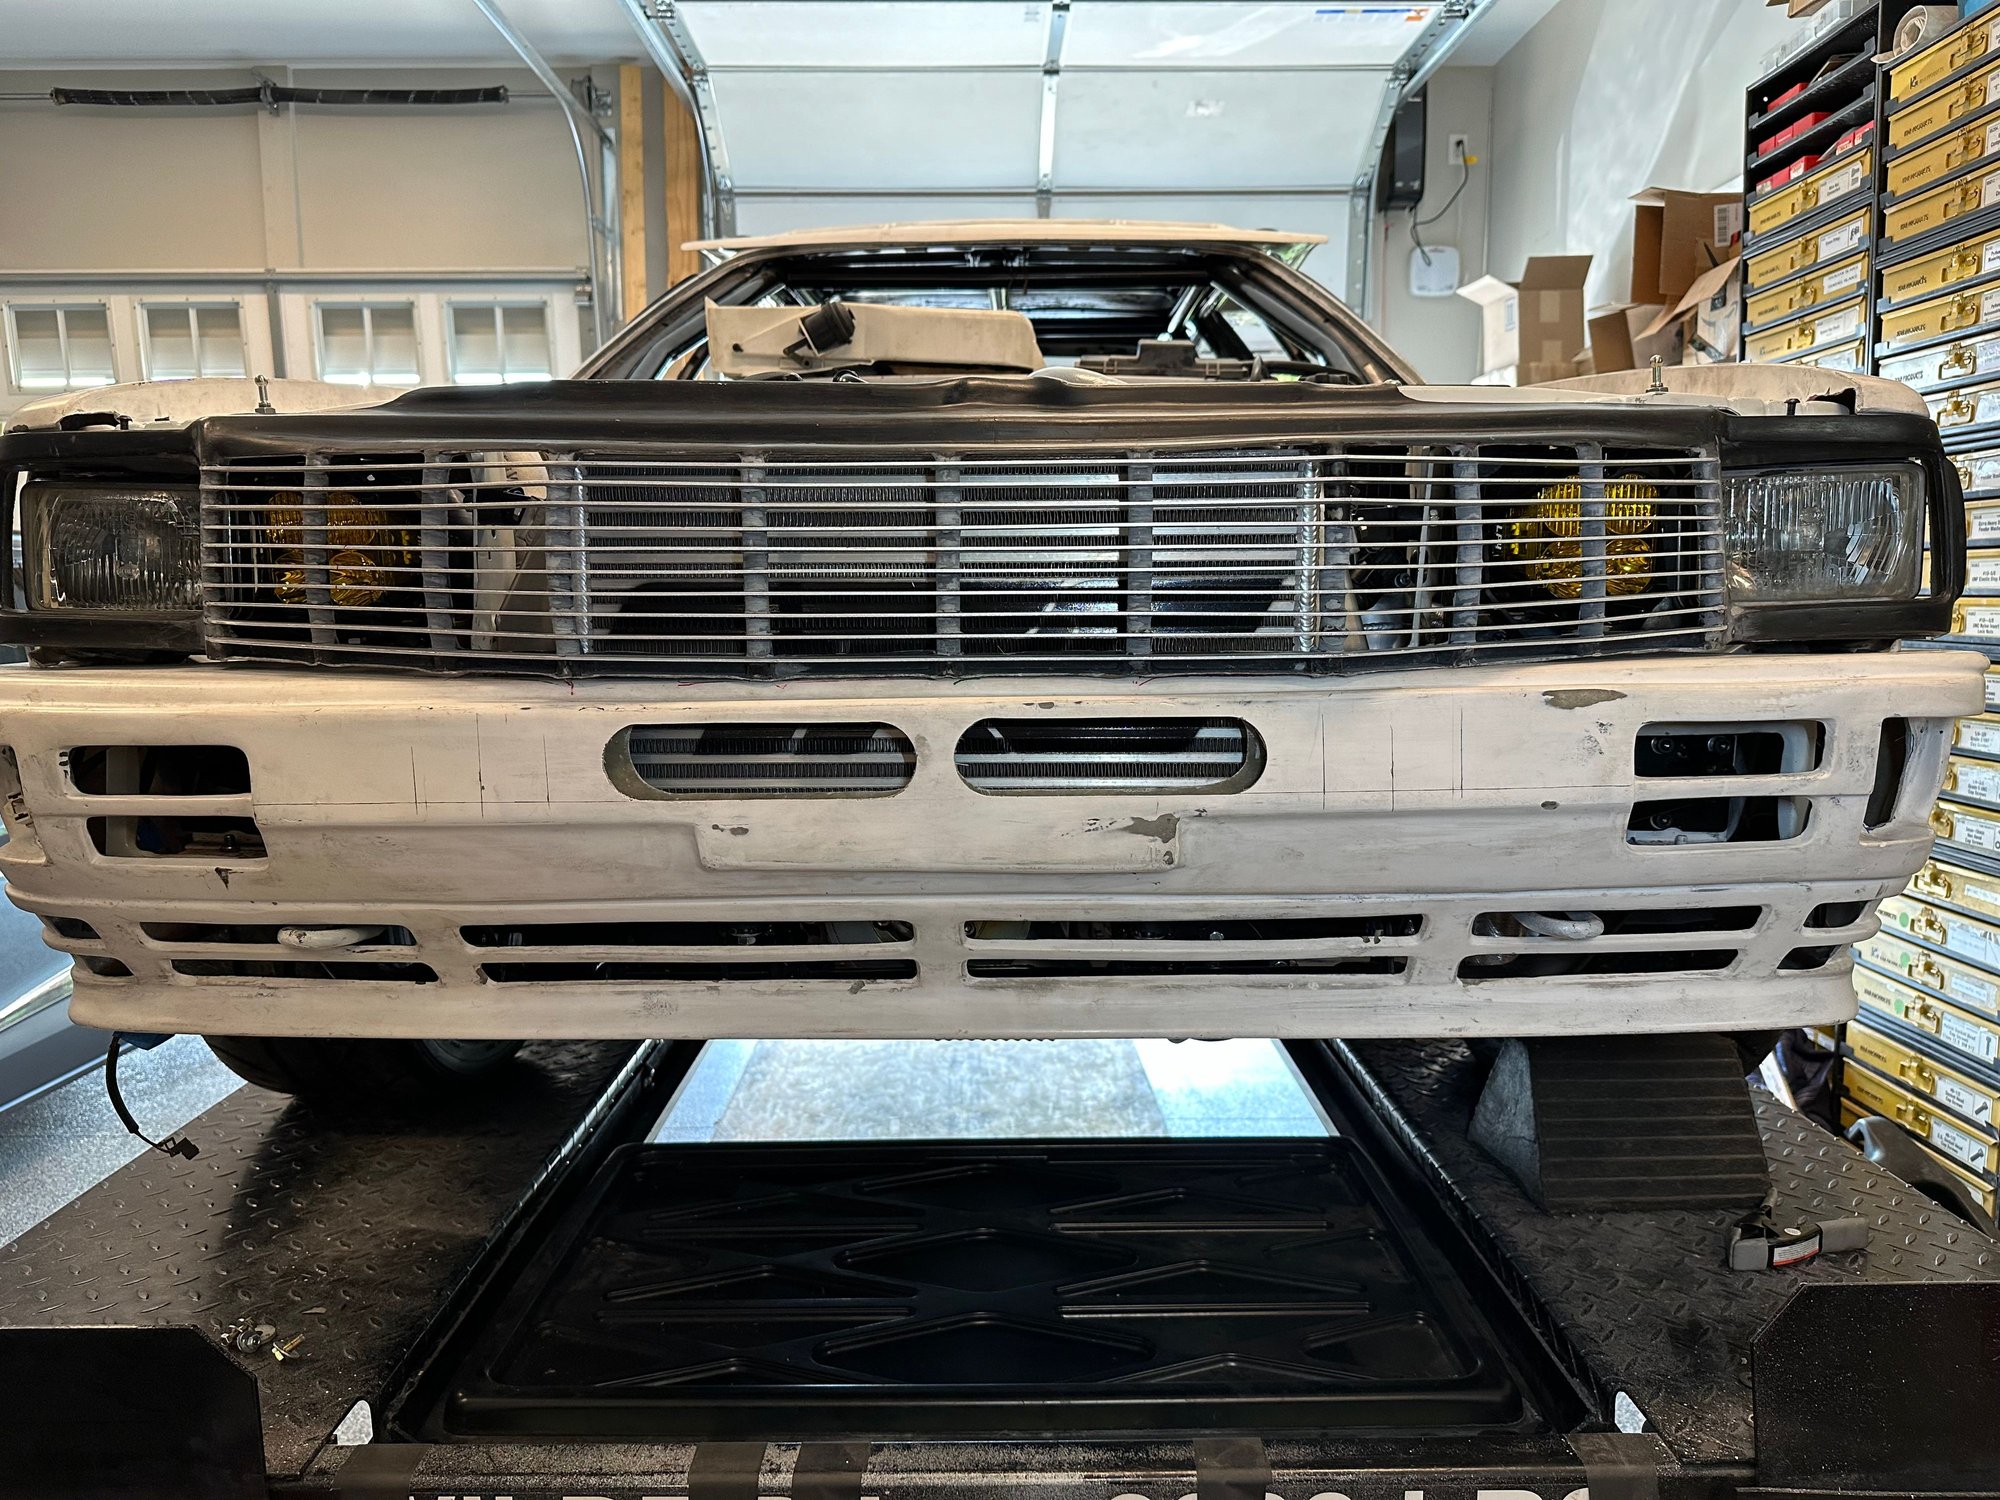
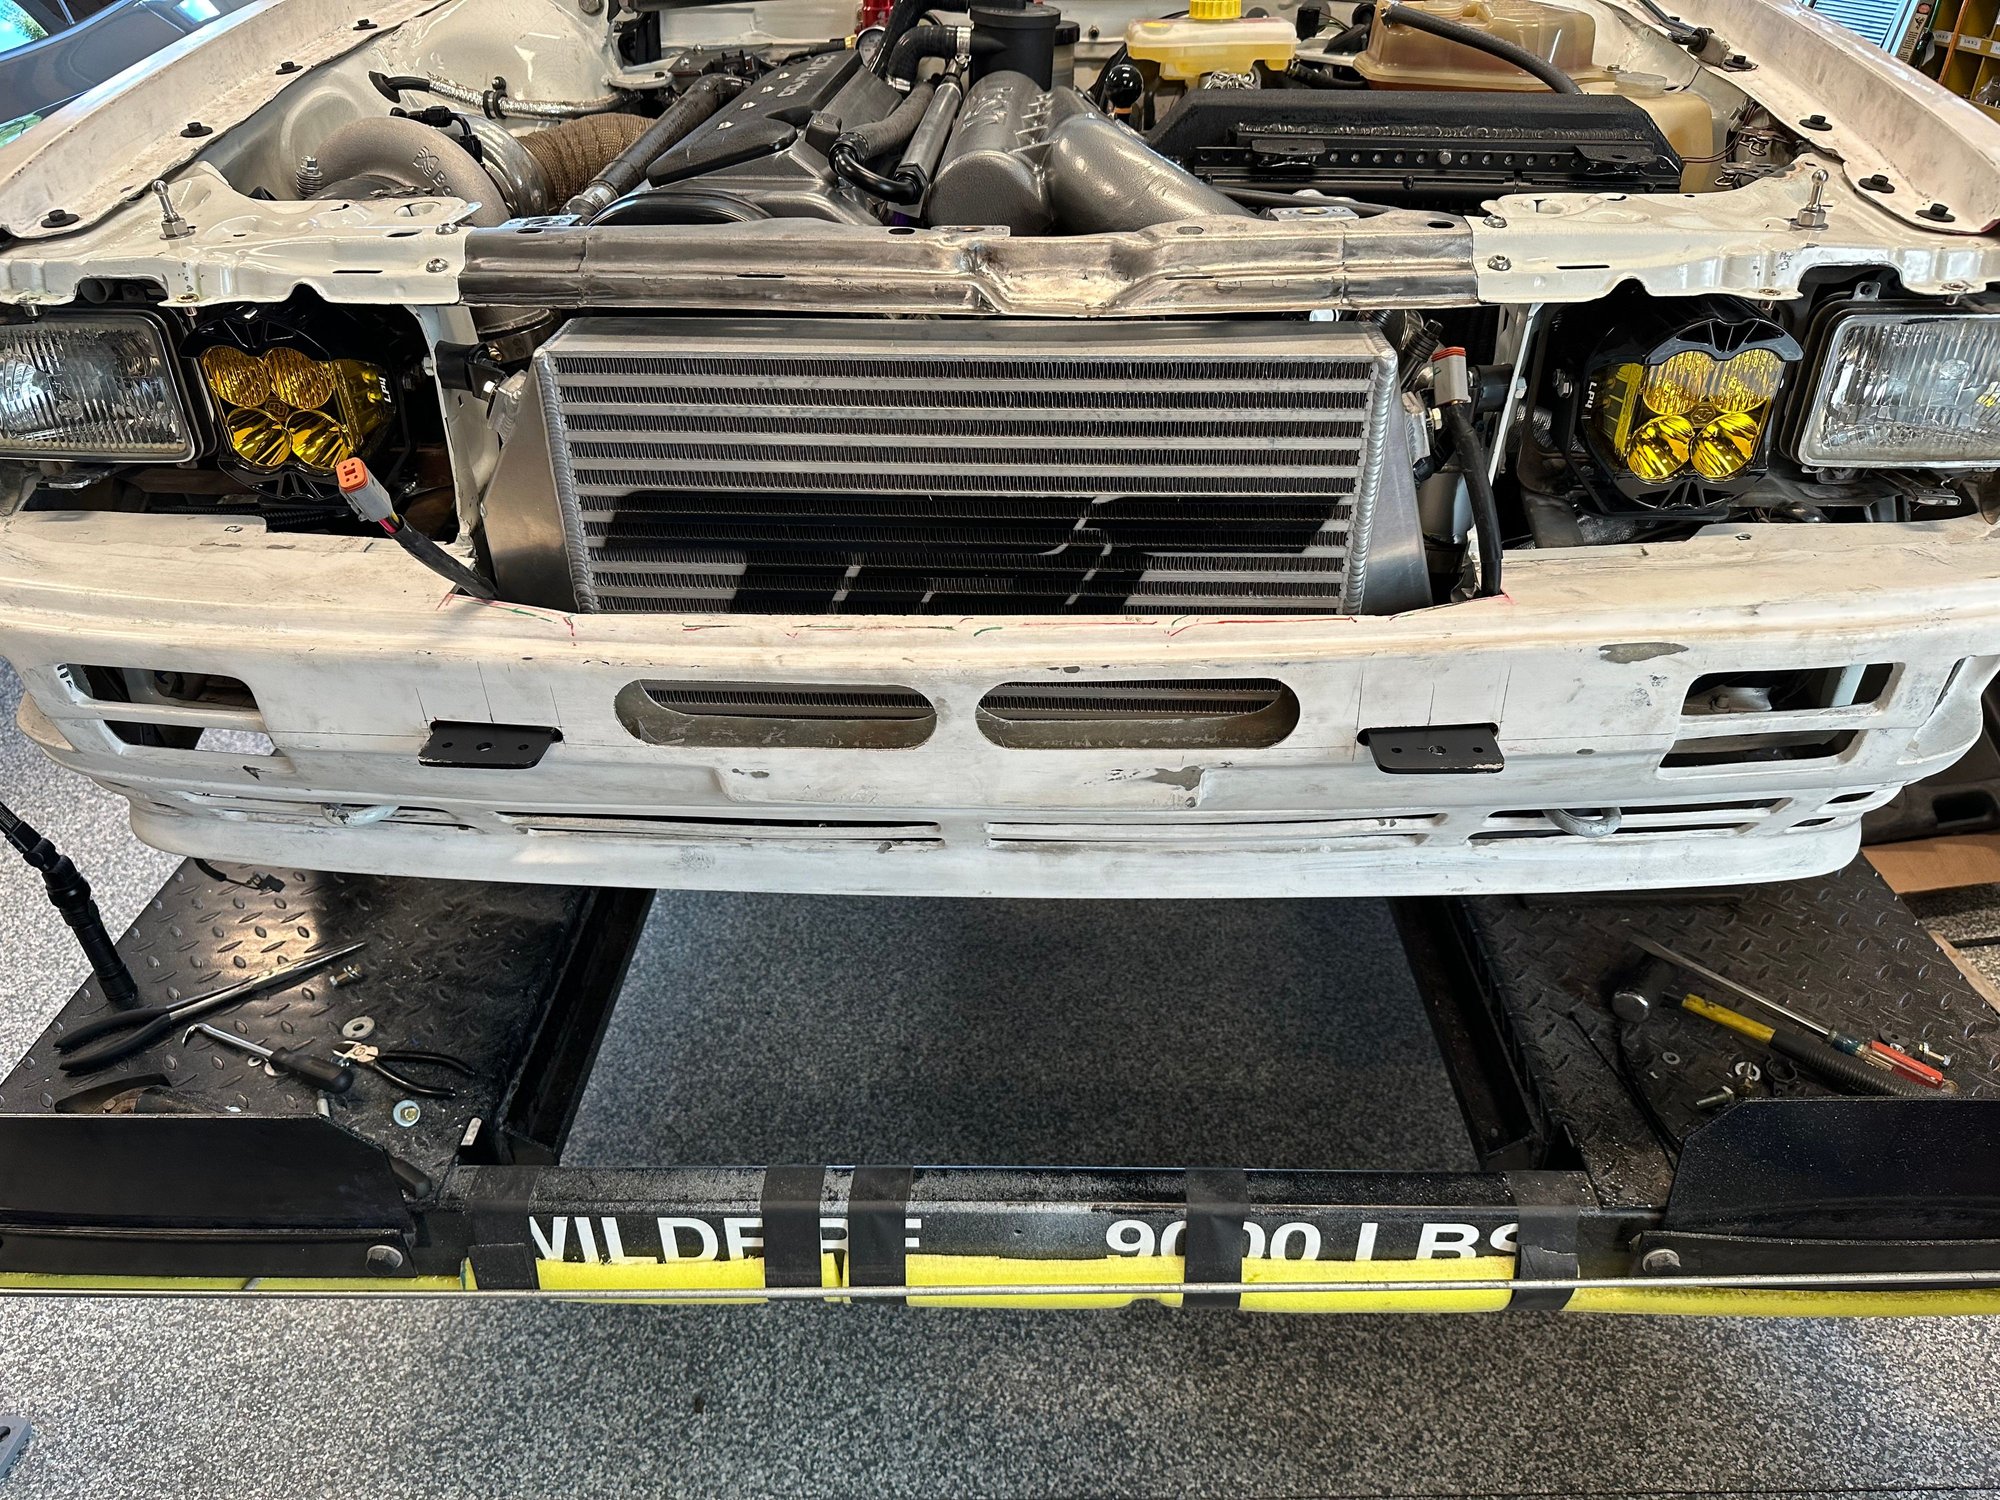
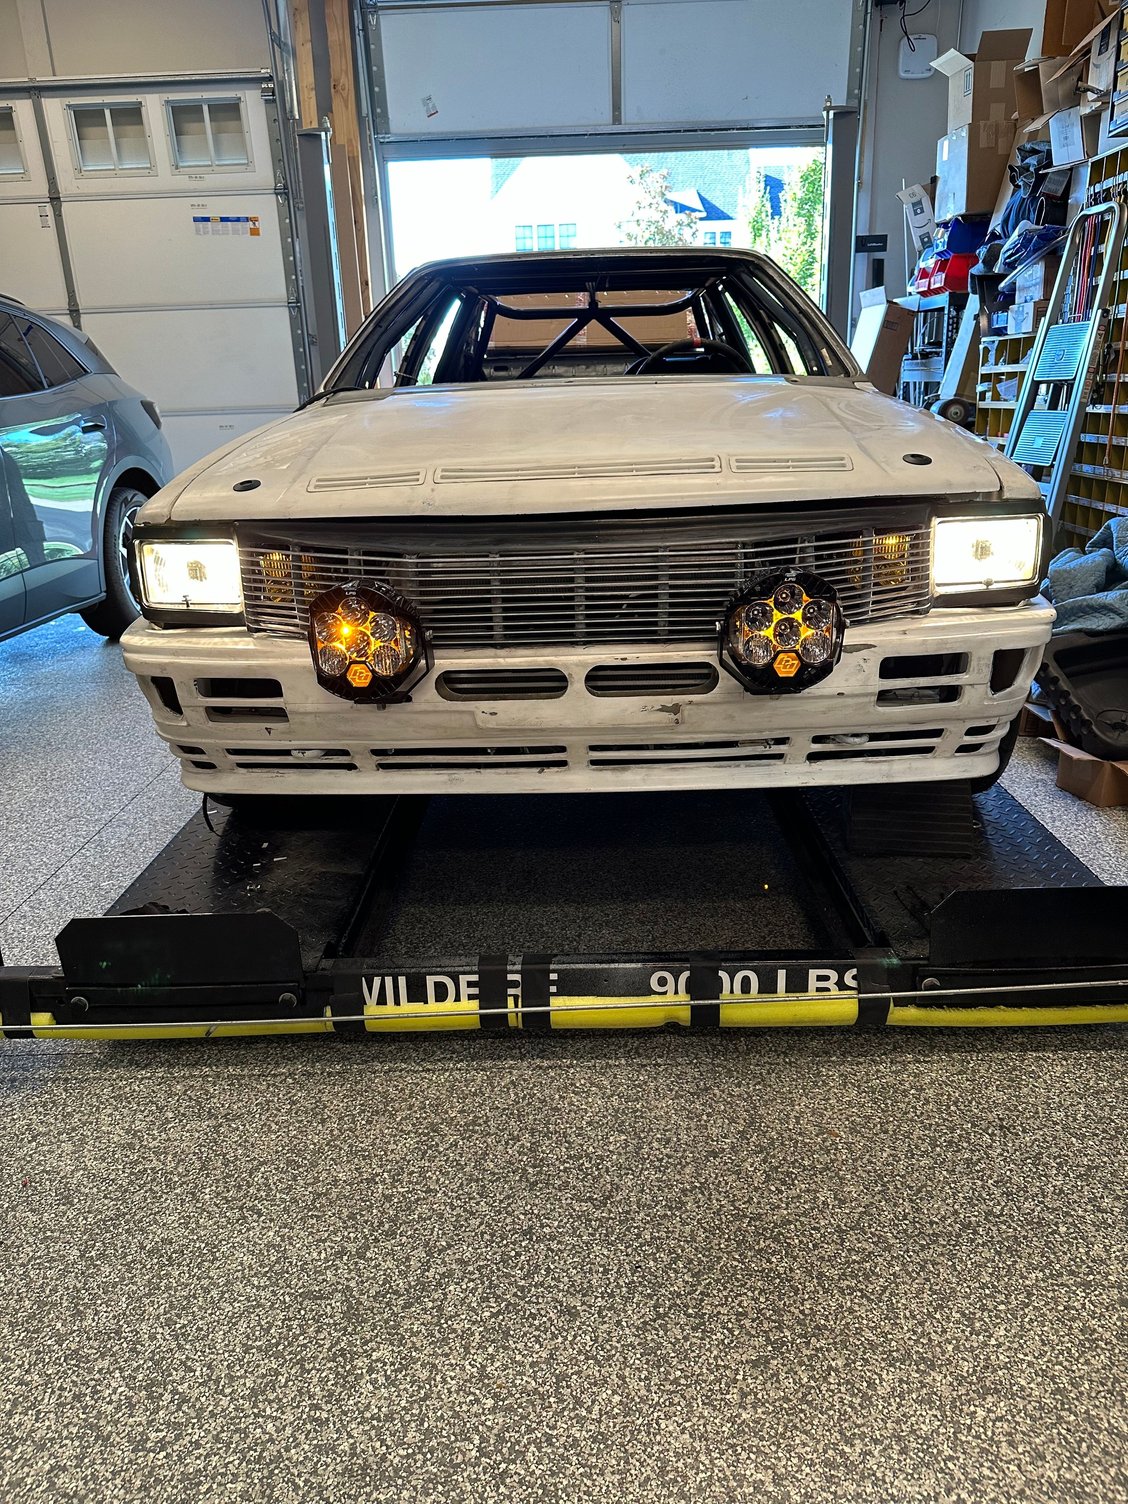
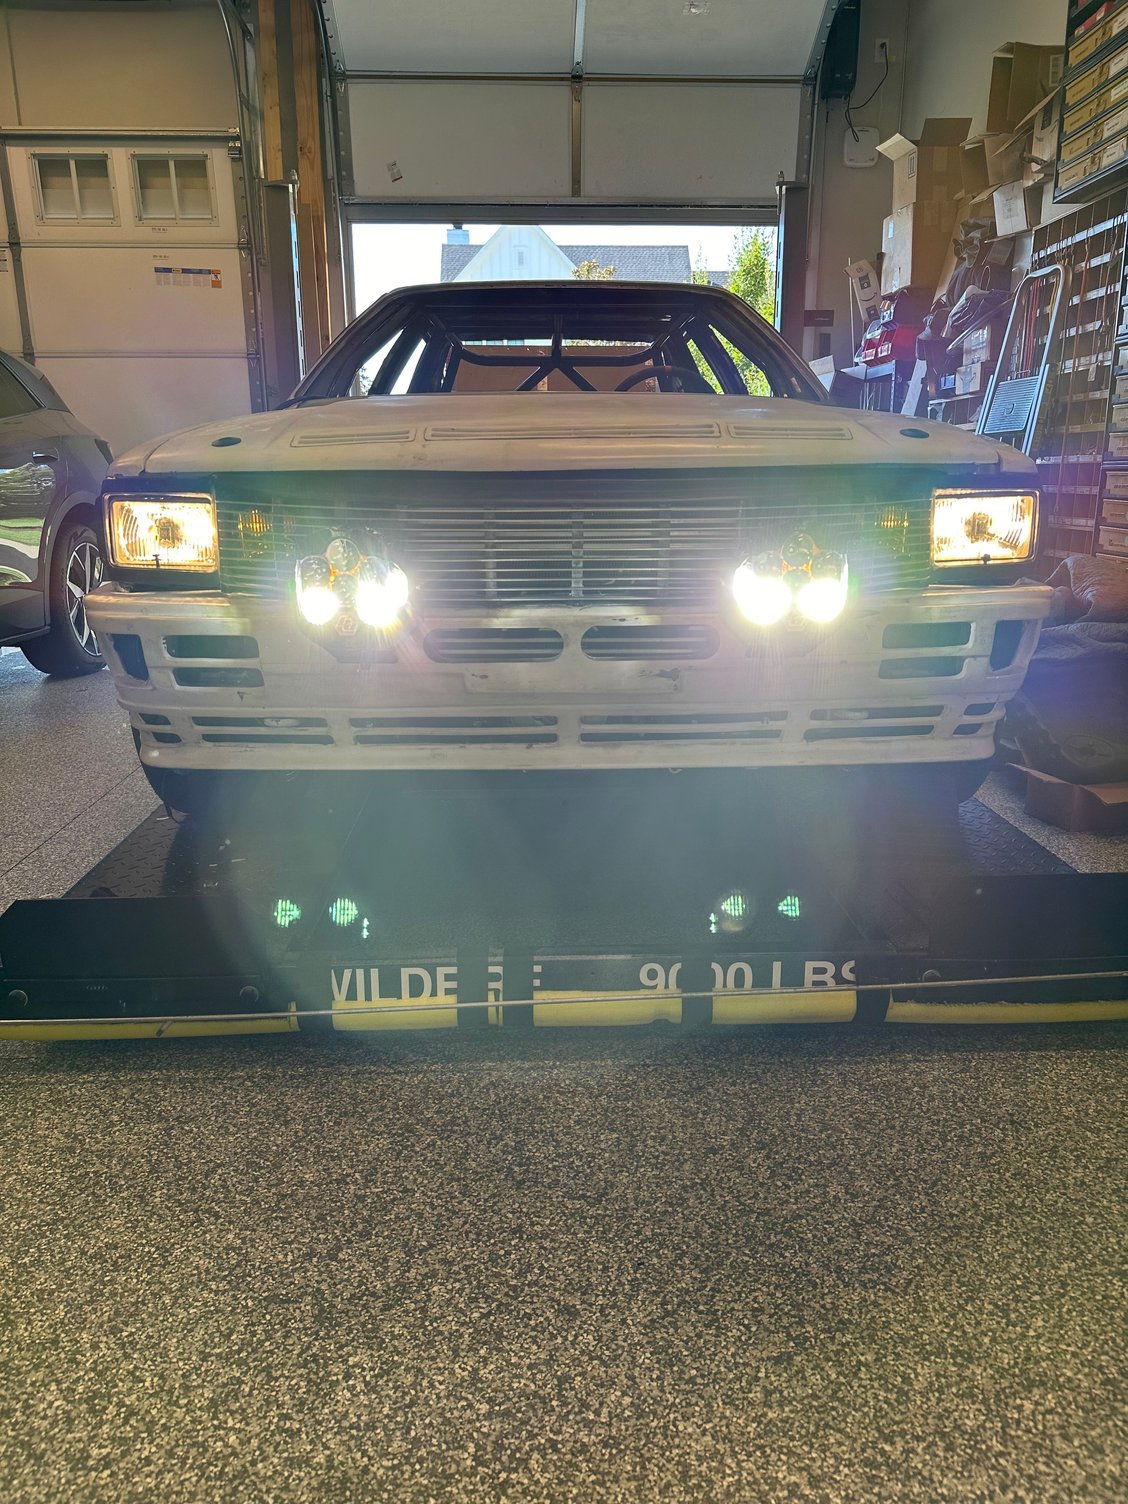
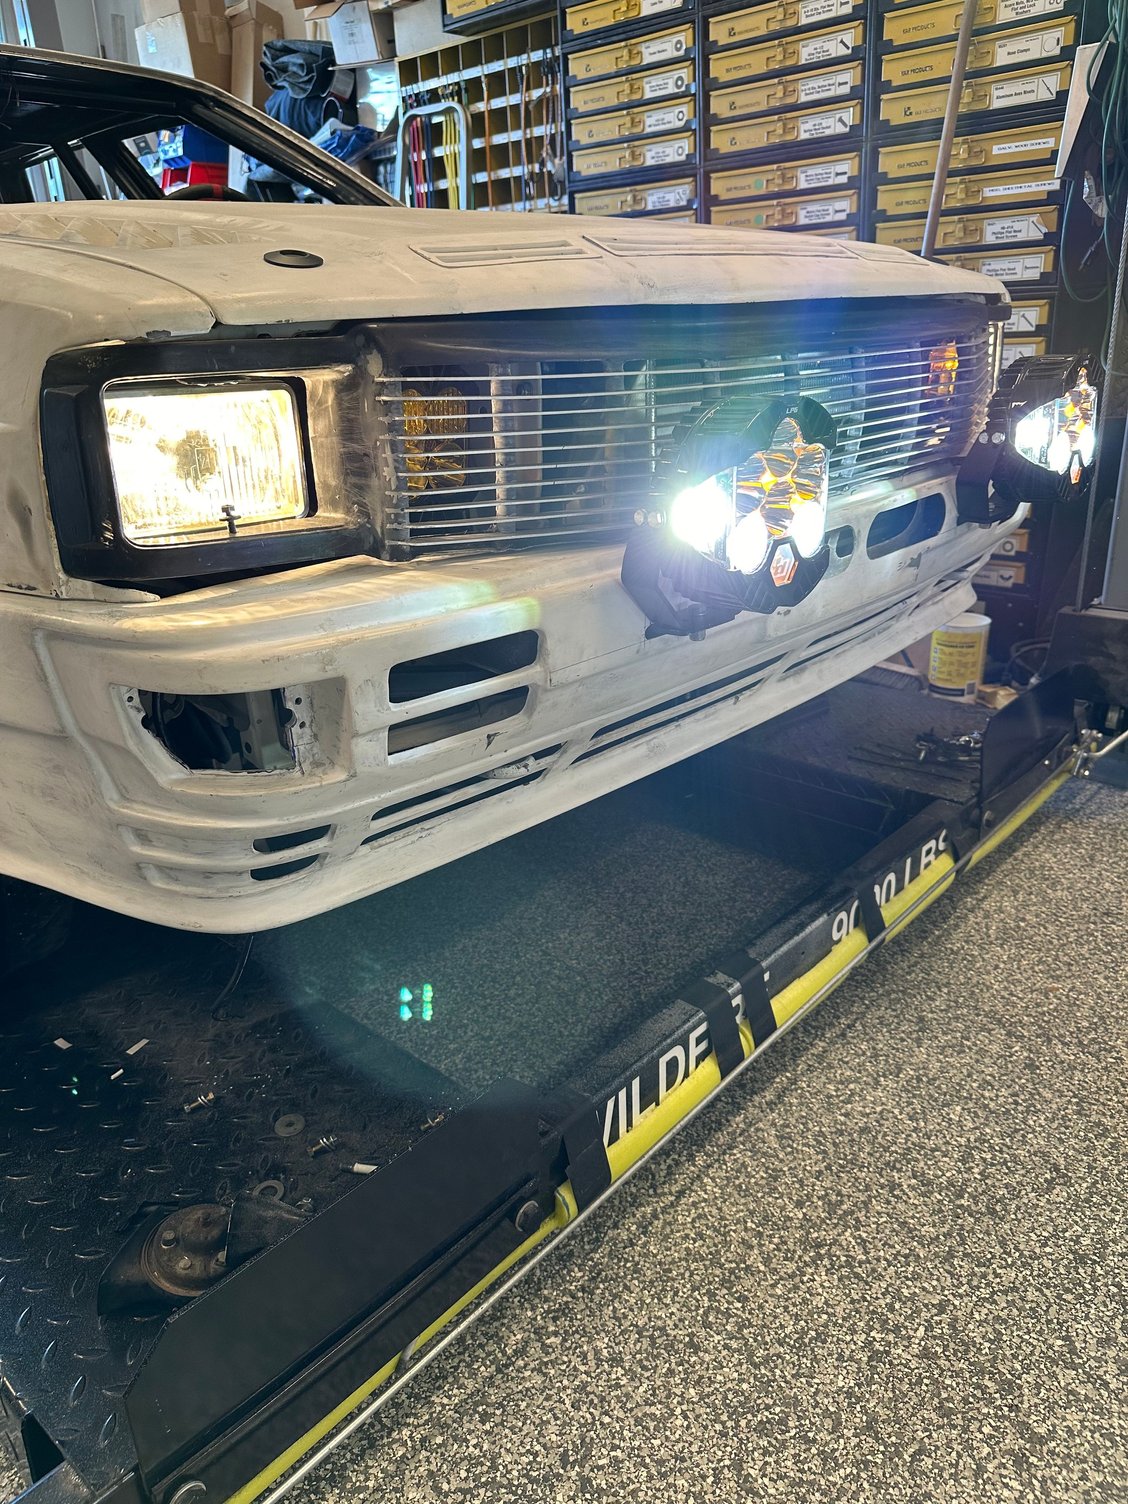
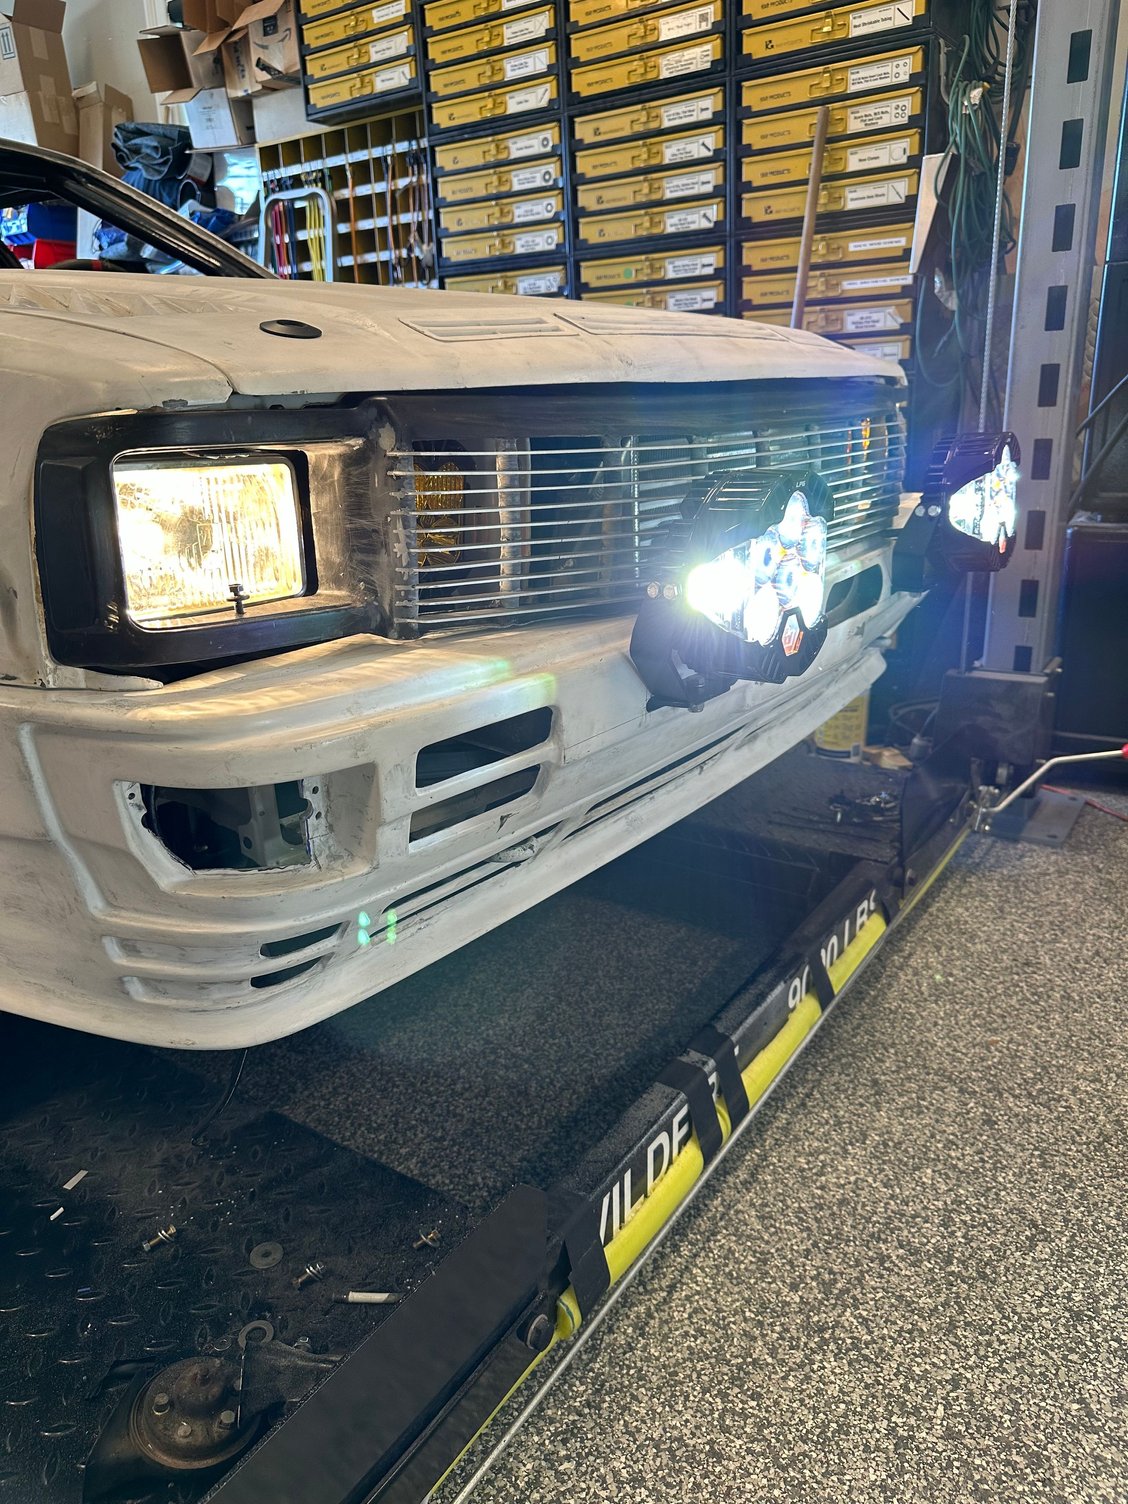
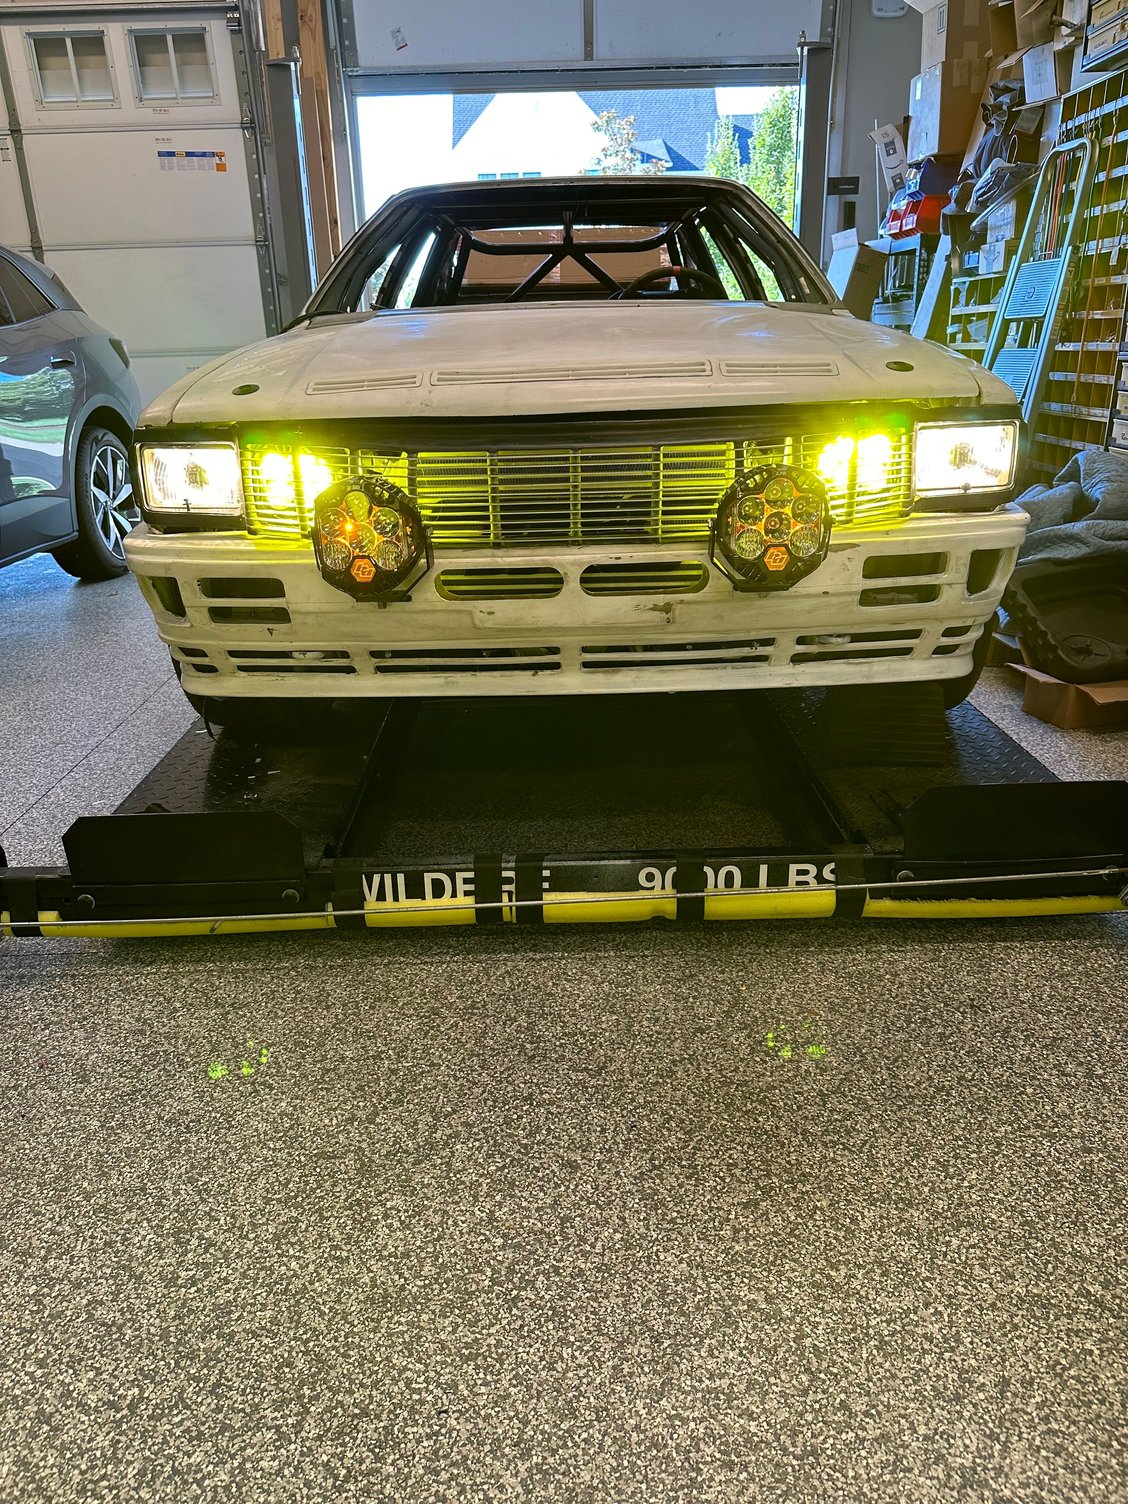
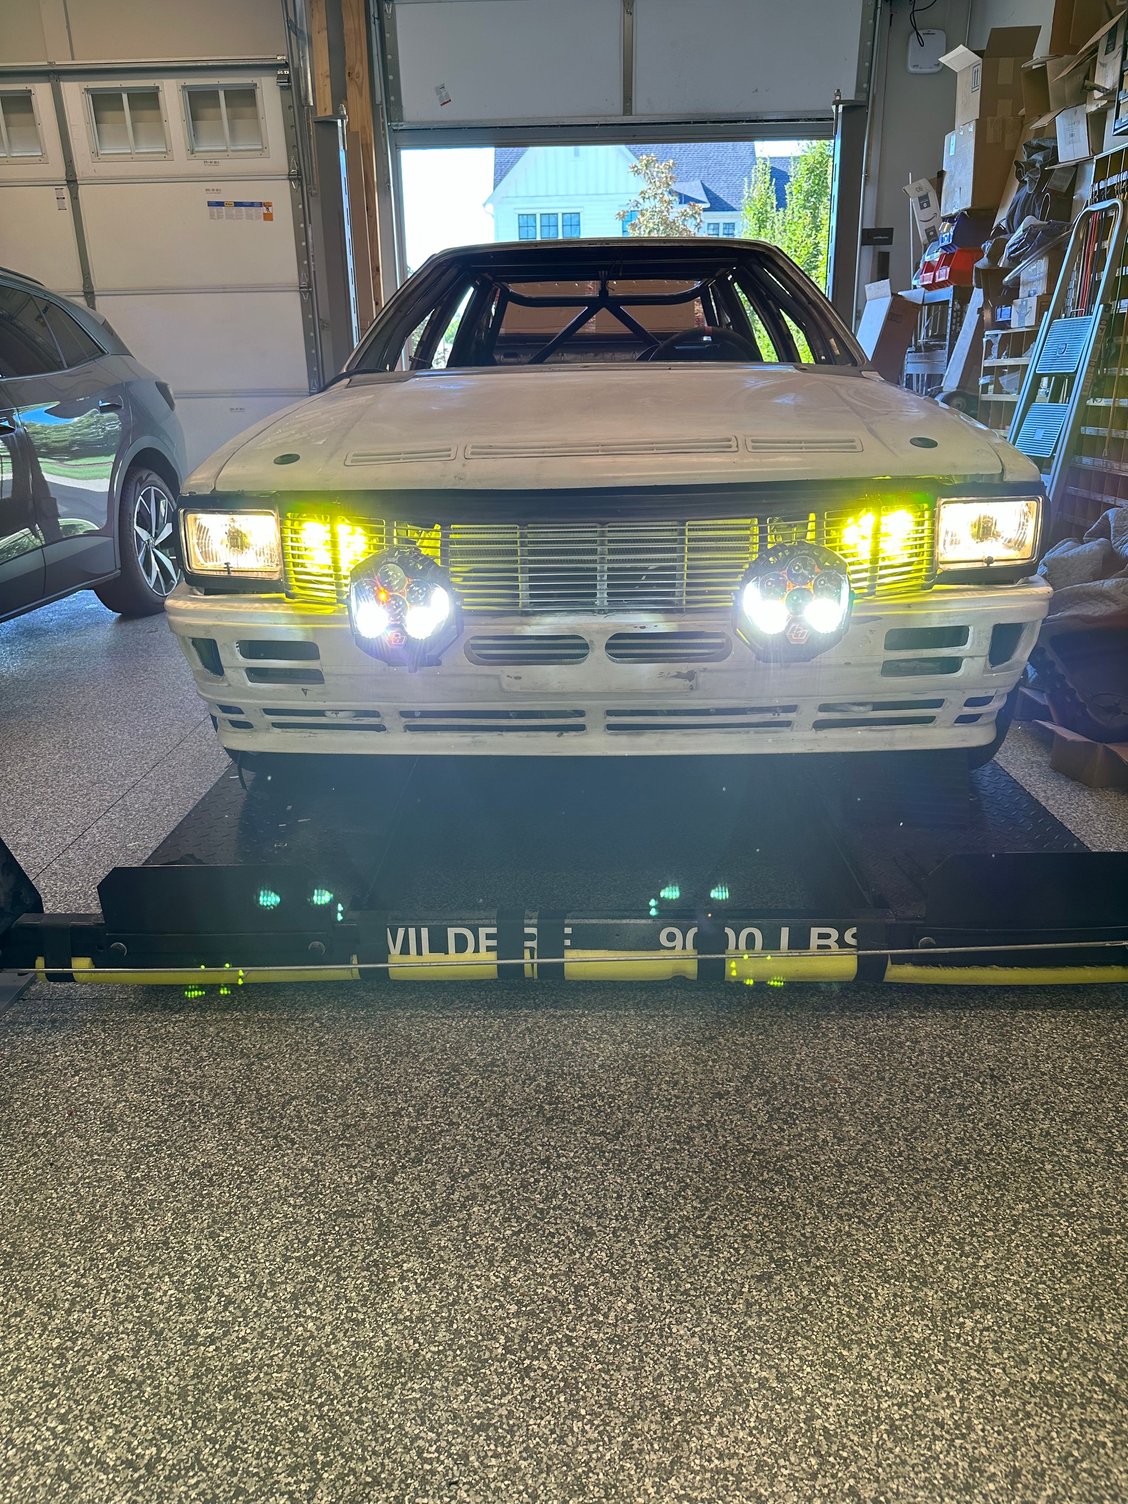
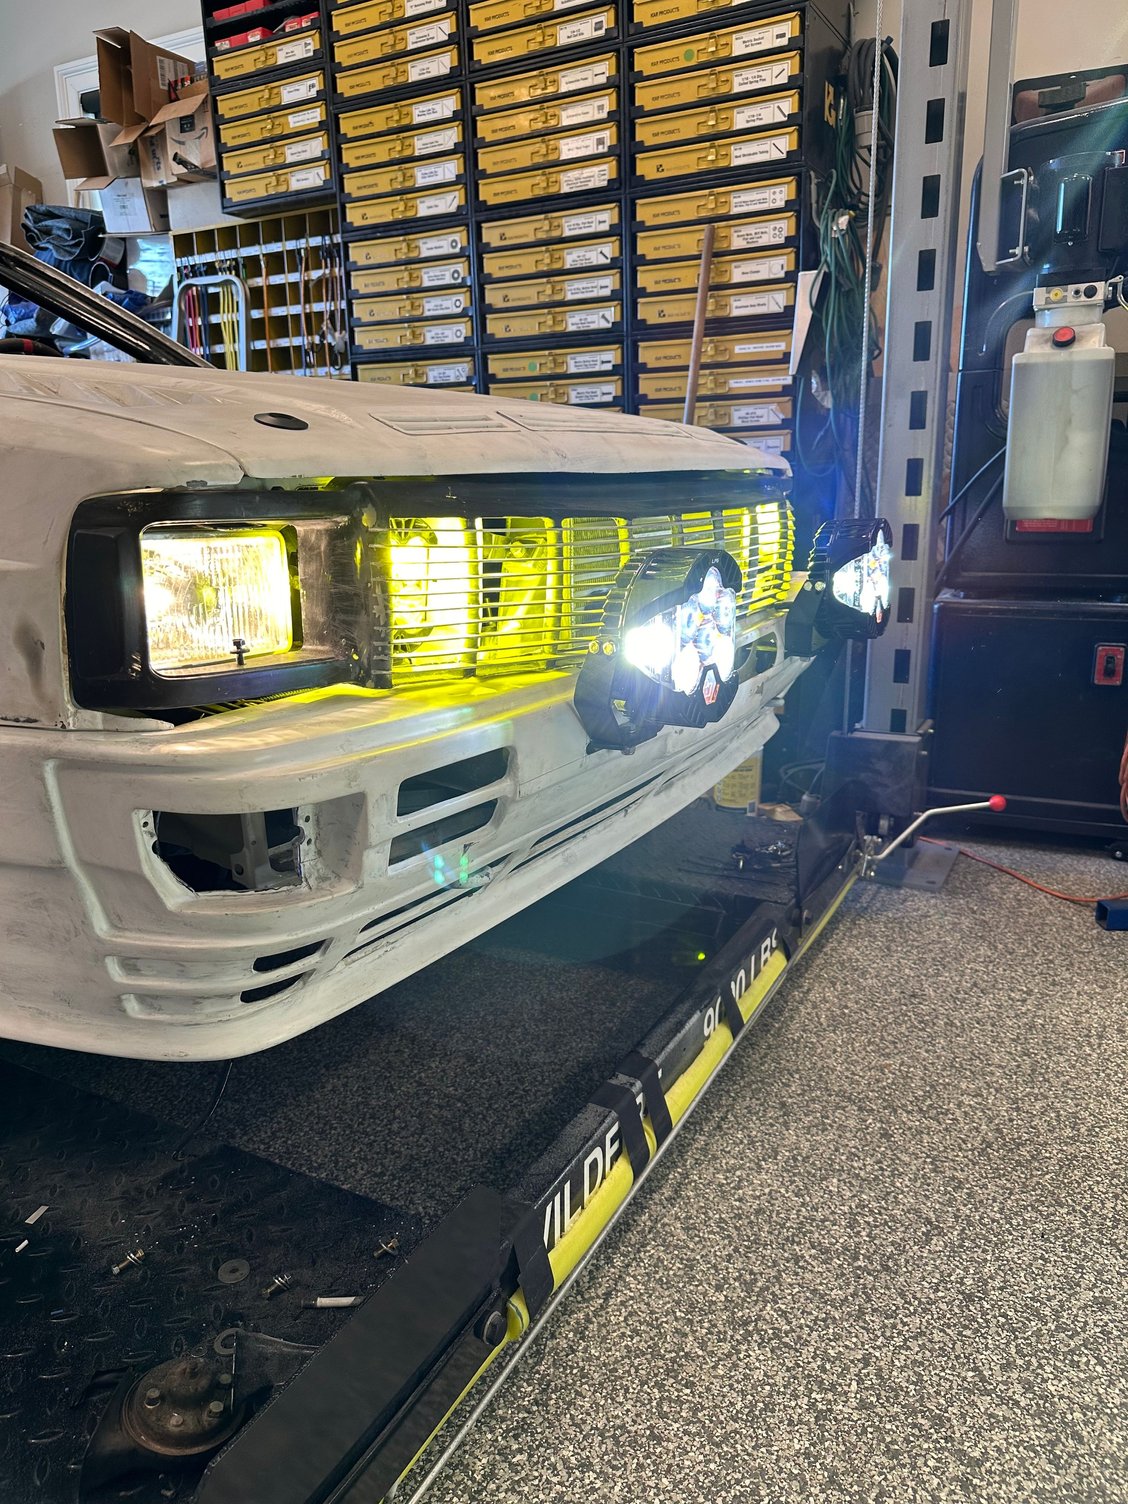
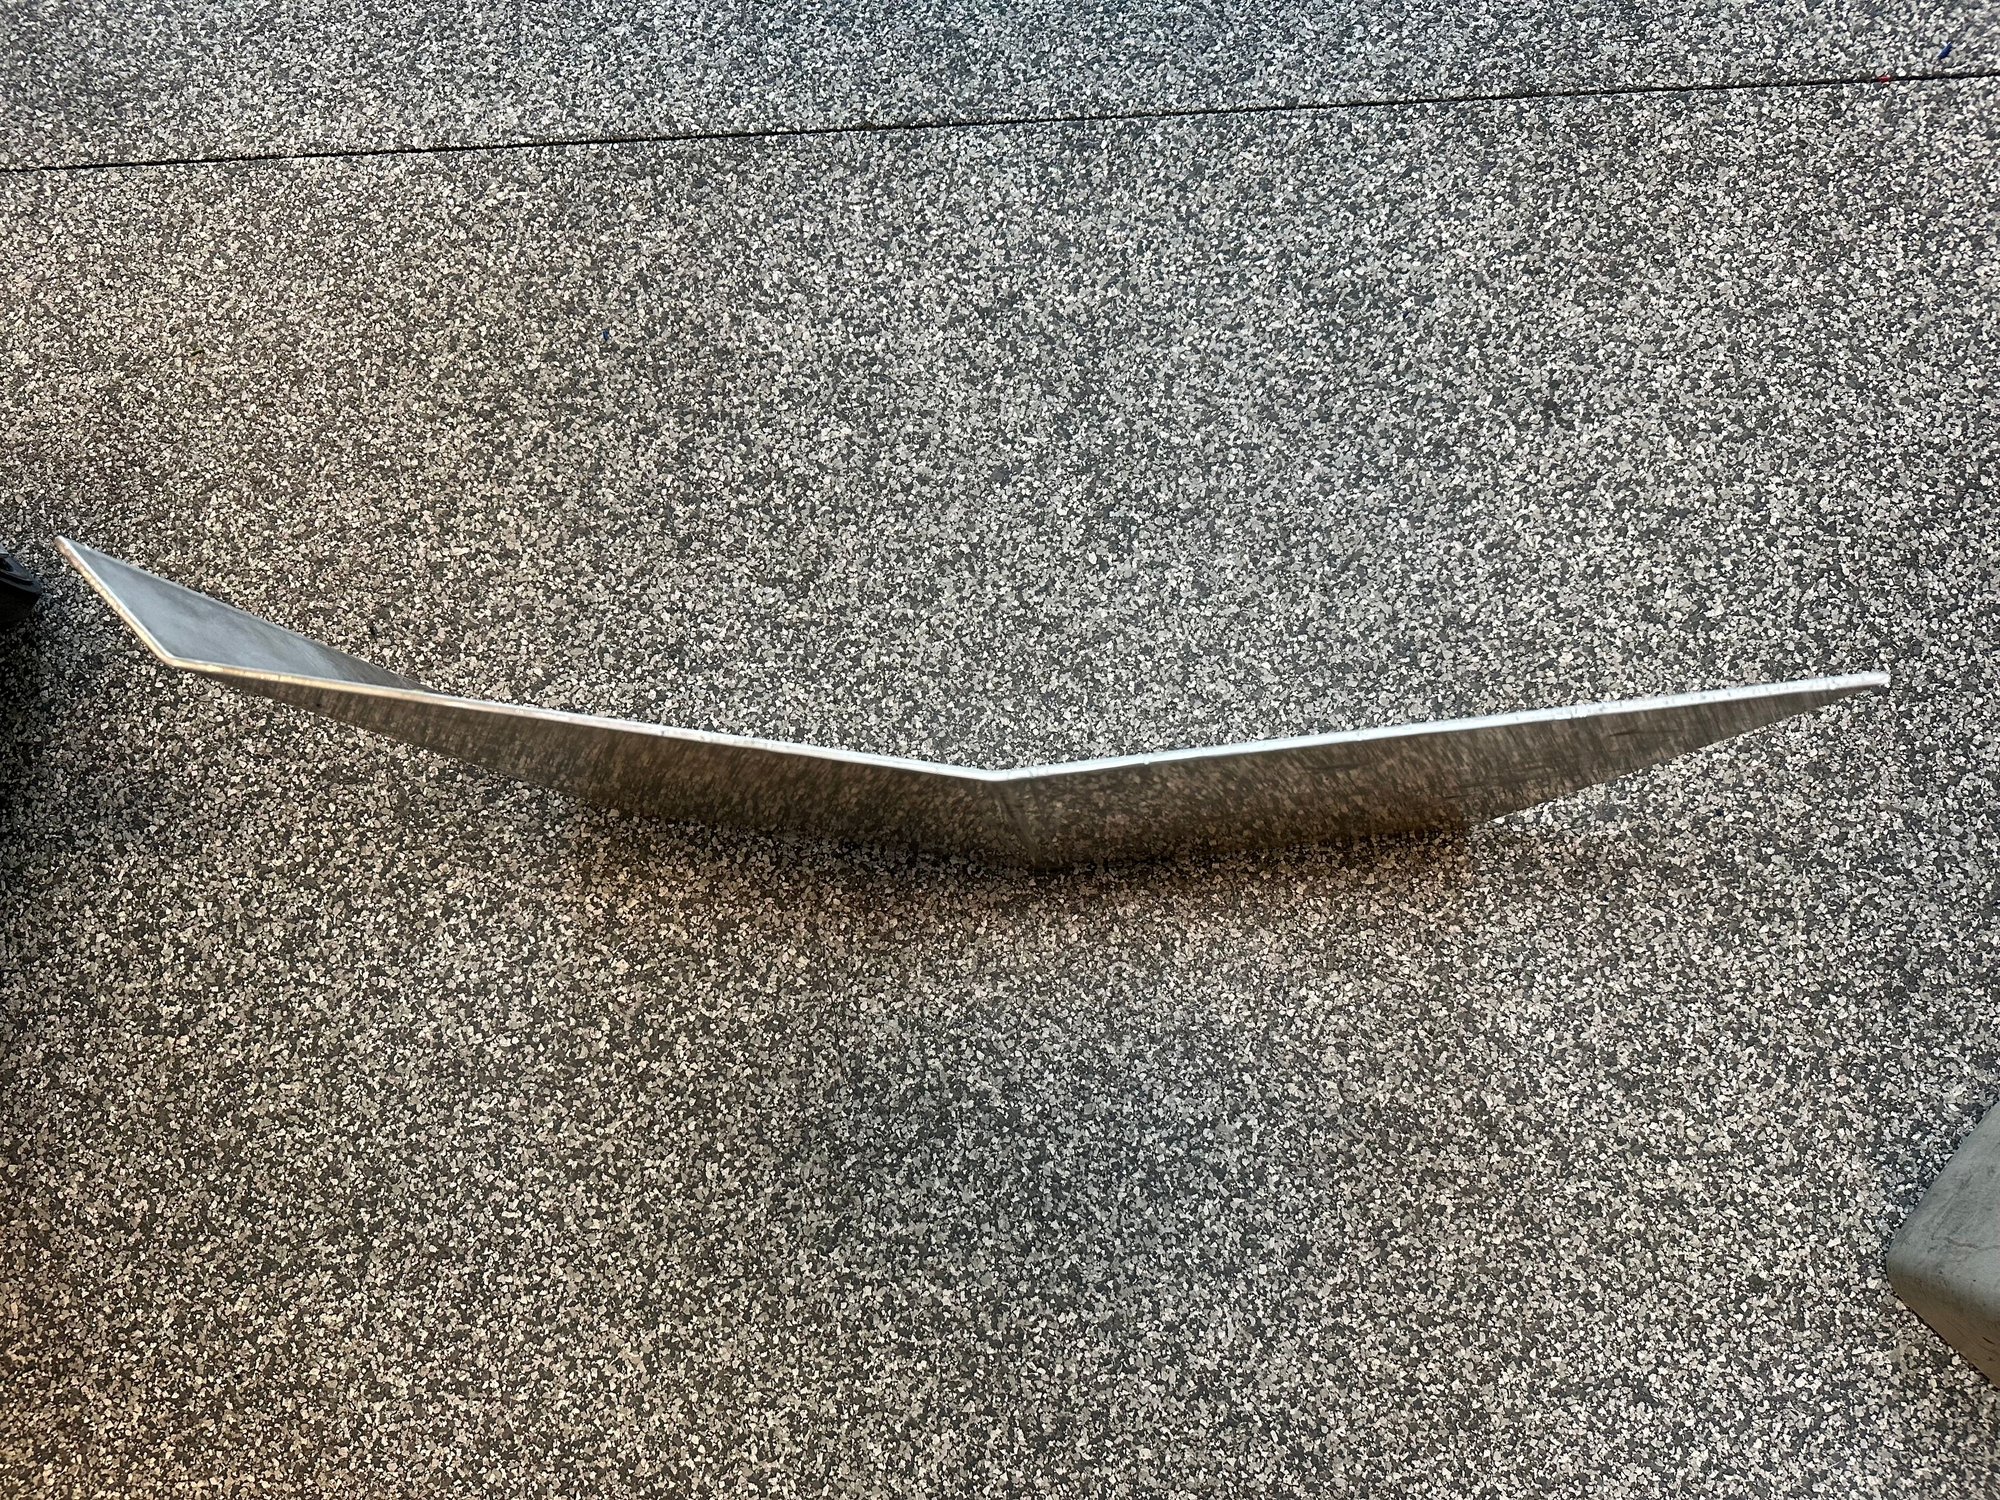
Instead of doing the (6) hella lights on the front, I decided to merge old with new and mounted a pair of P6 Pro Baja Design lights. The lights have a amber backlight that comes on with parking lights and hi beam/low beam. I used the additional cross bar I made to mount the lights too. I chased the wire loom through the passenger chassis rail, so minimal harness is seen.
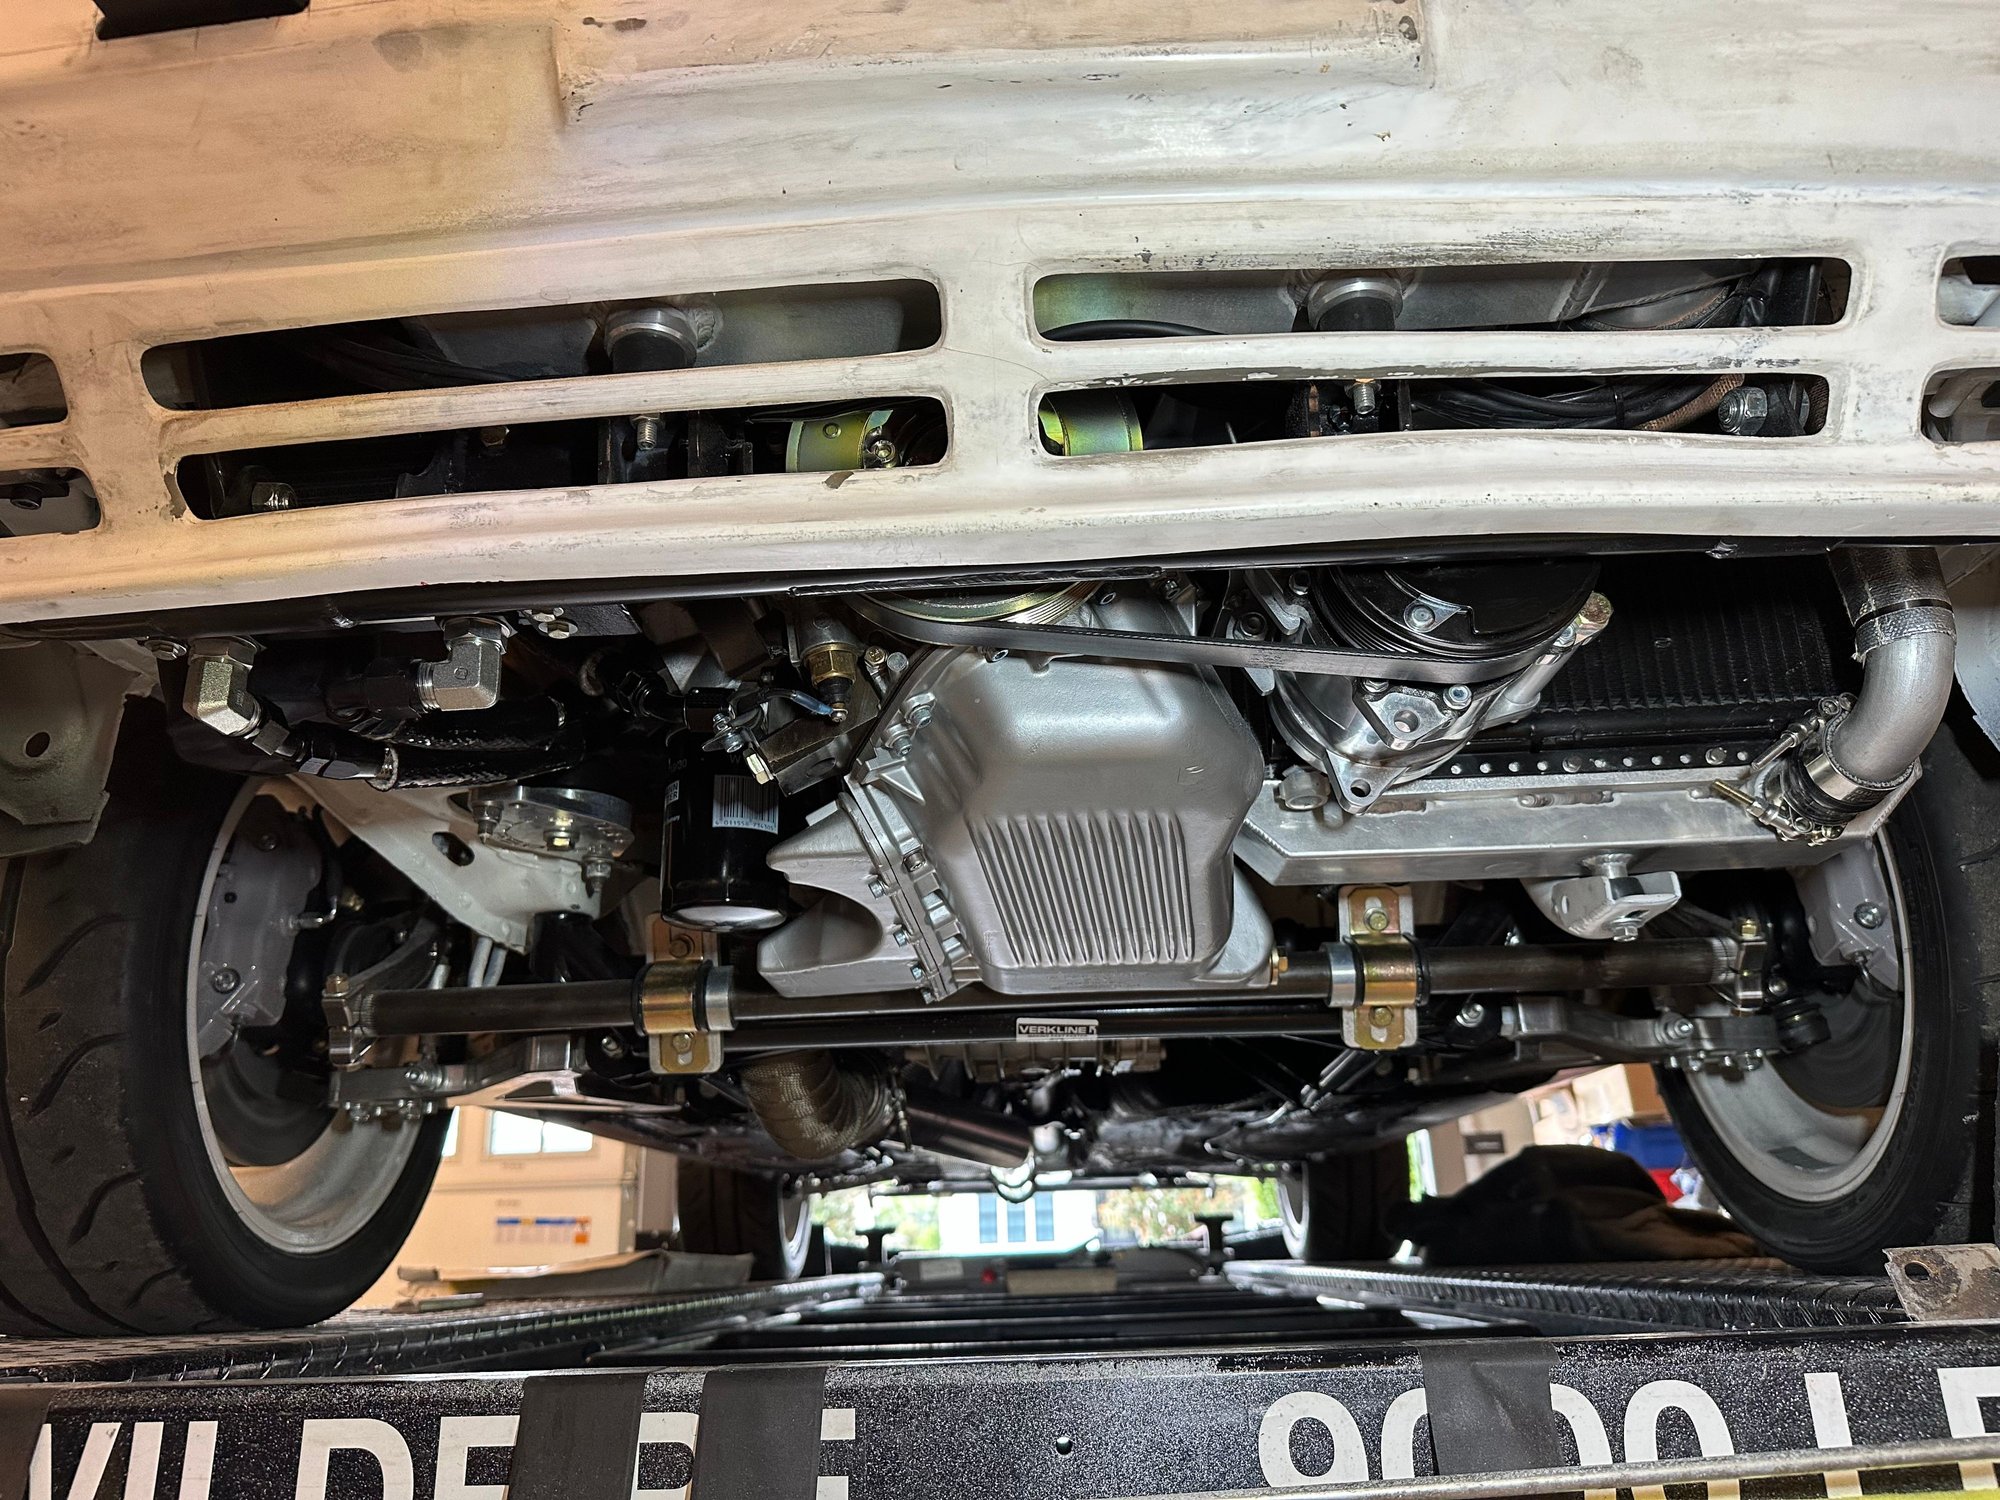
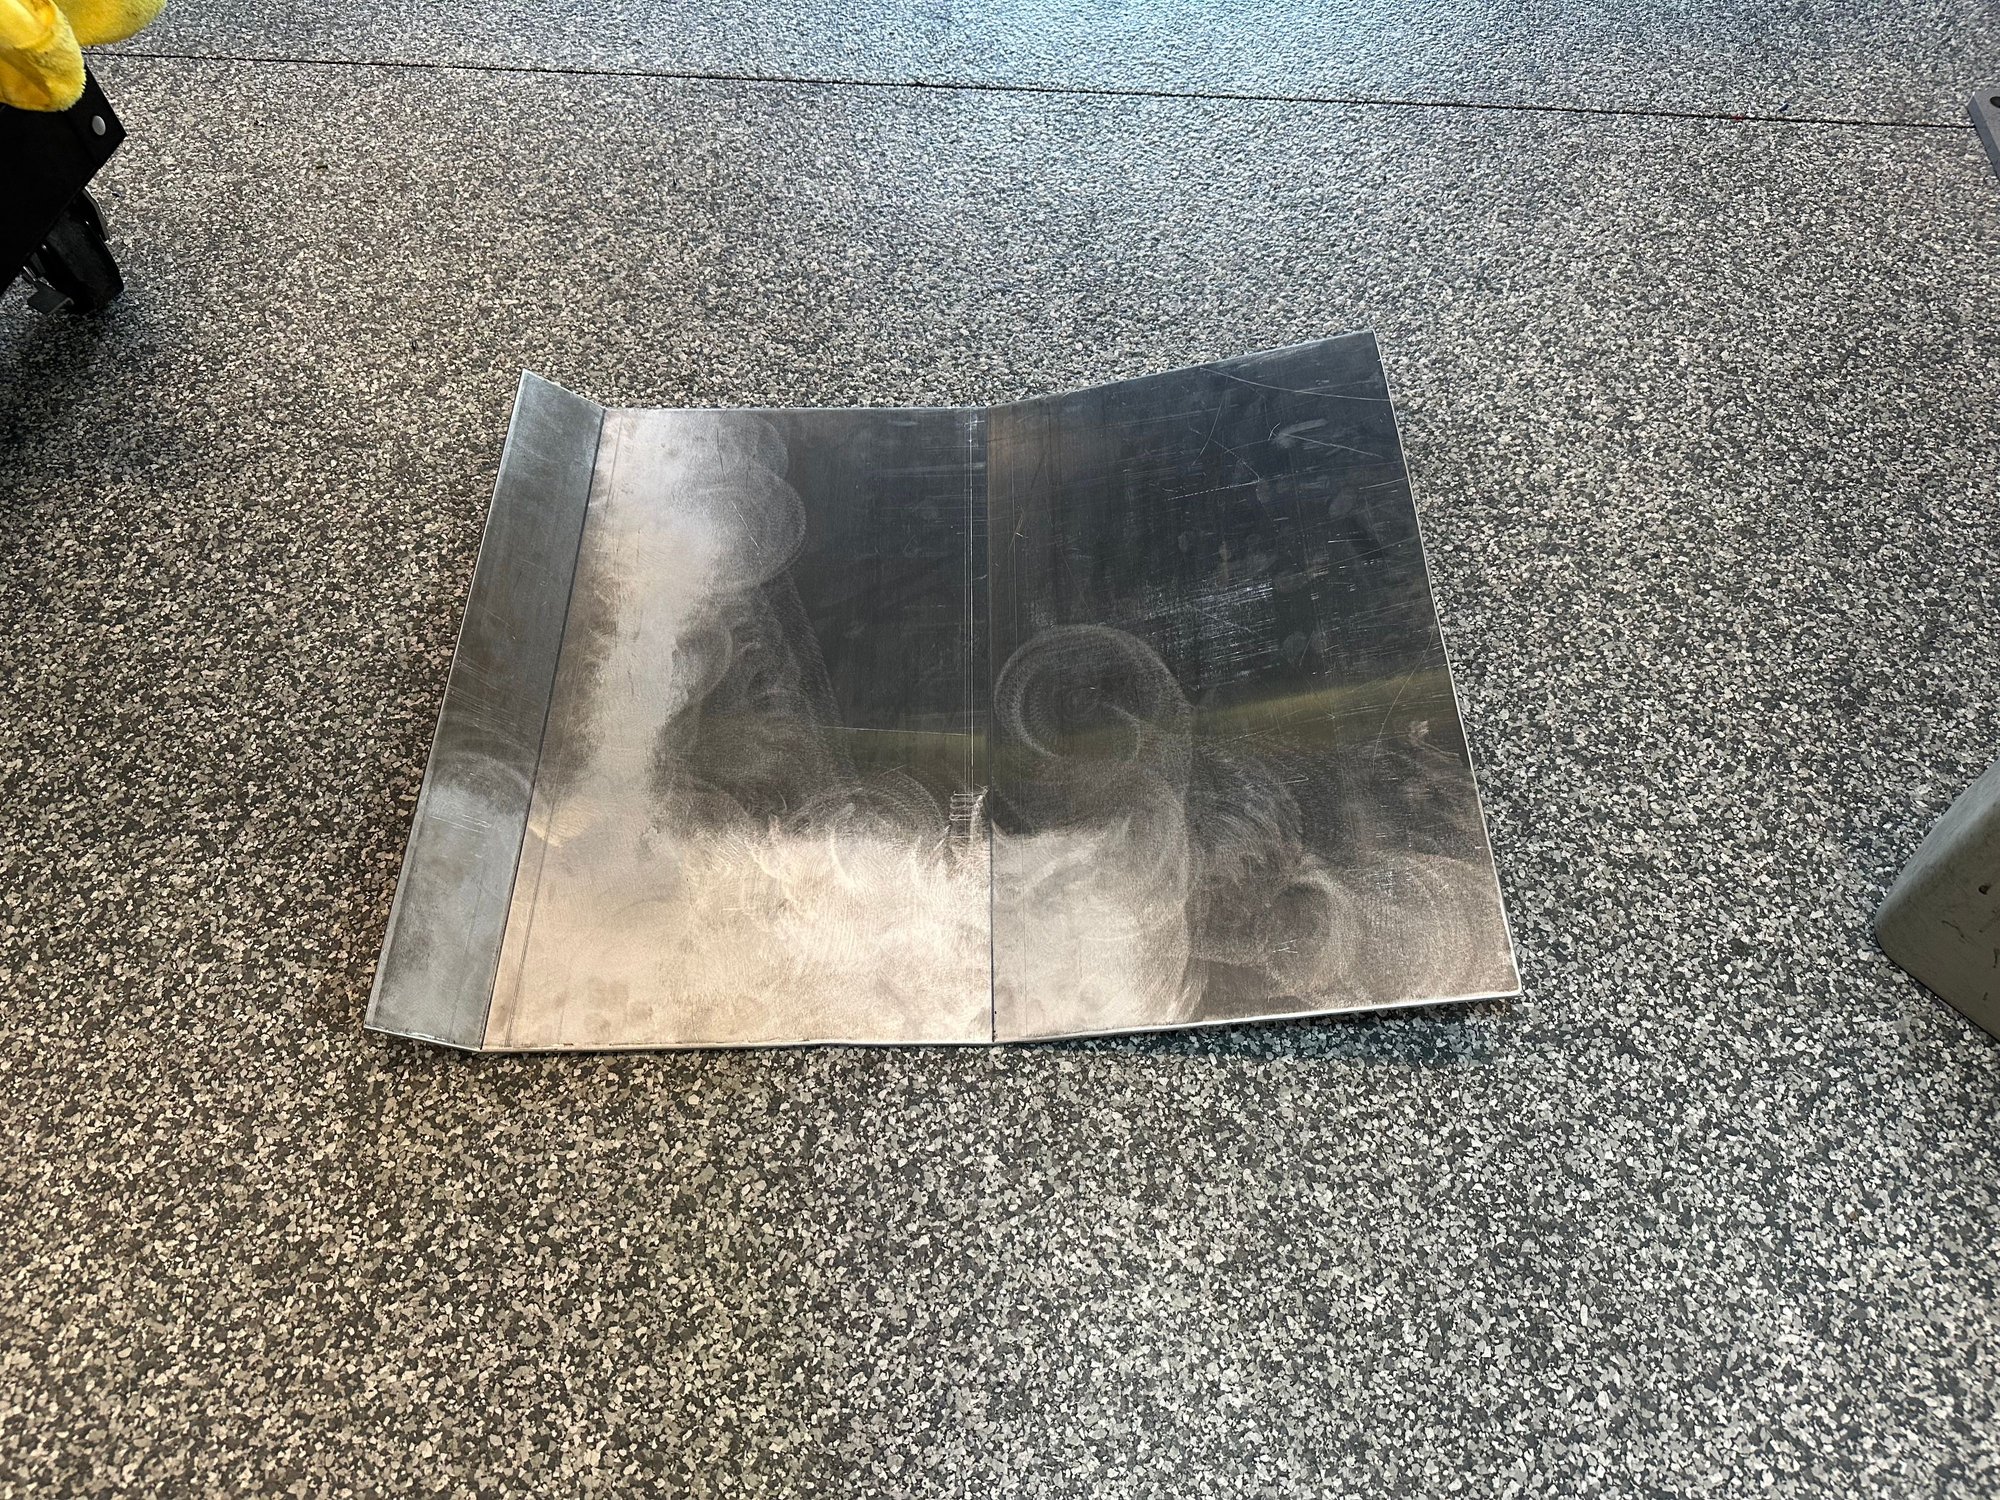
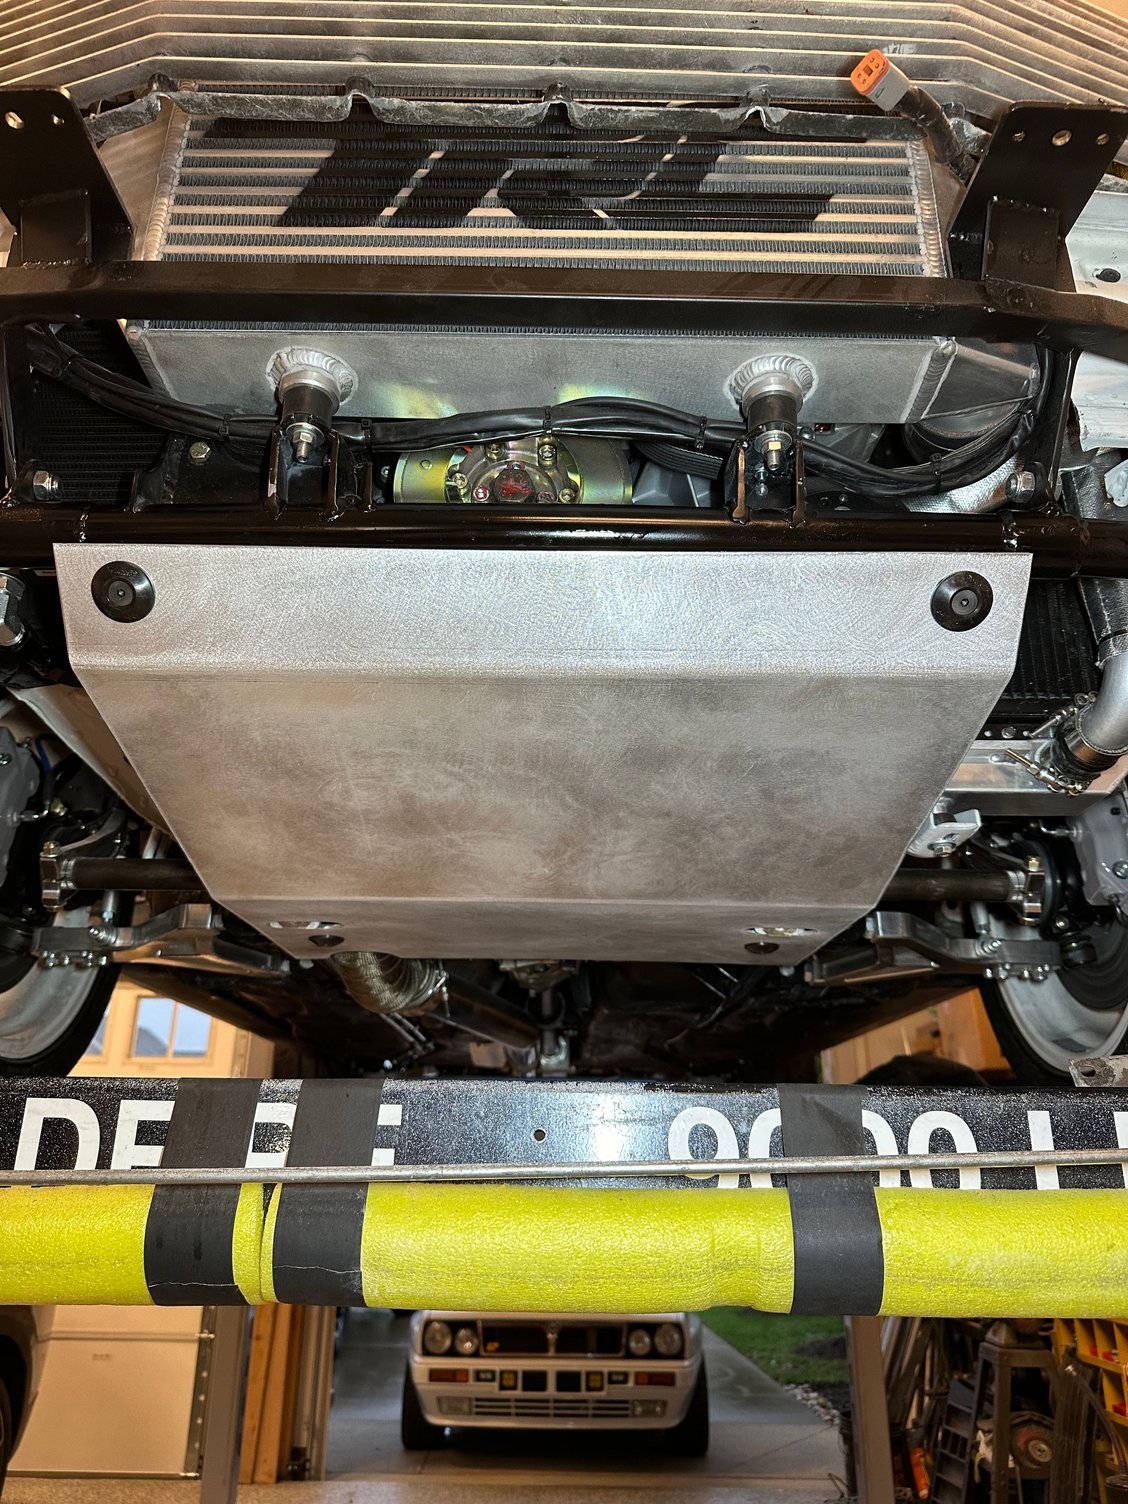
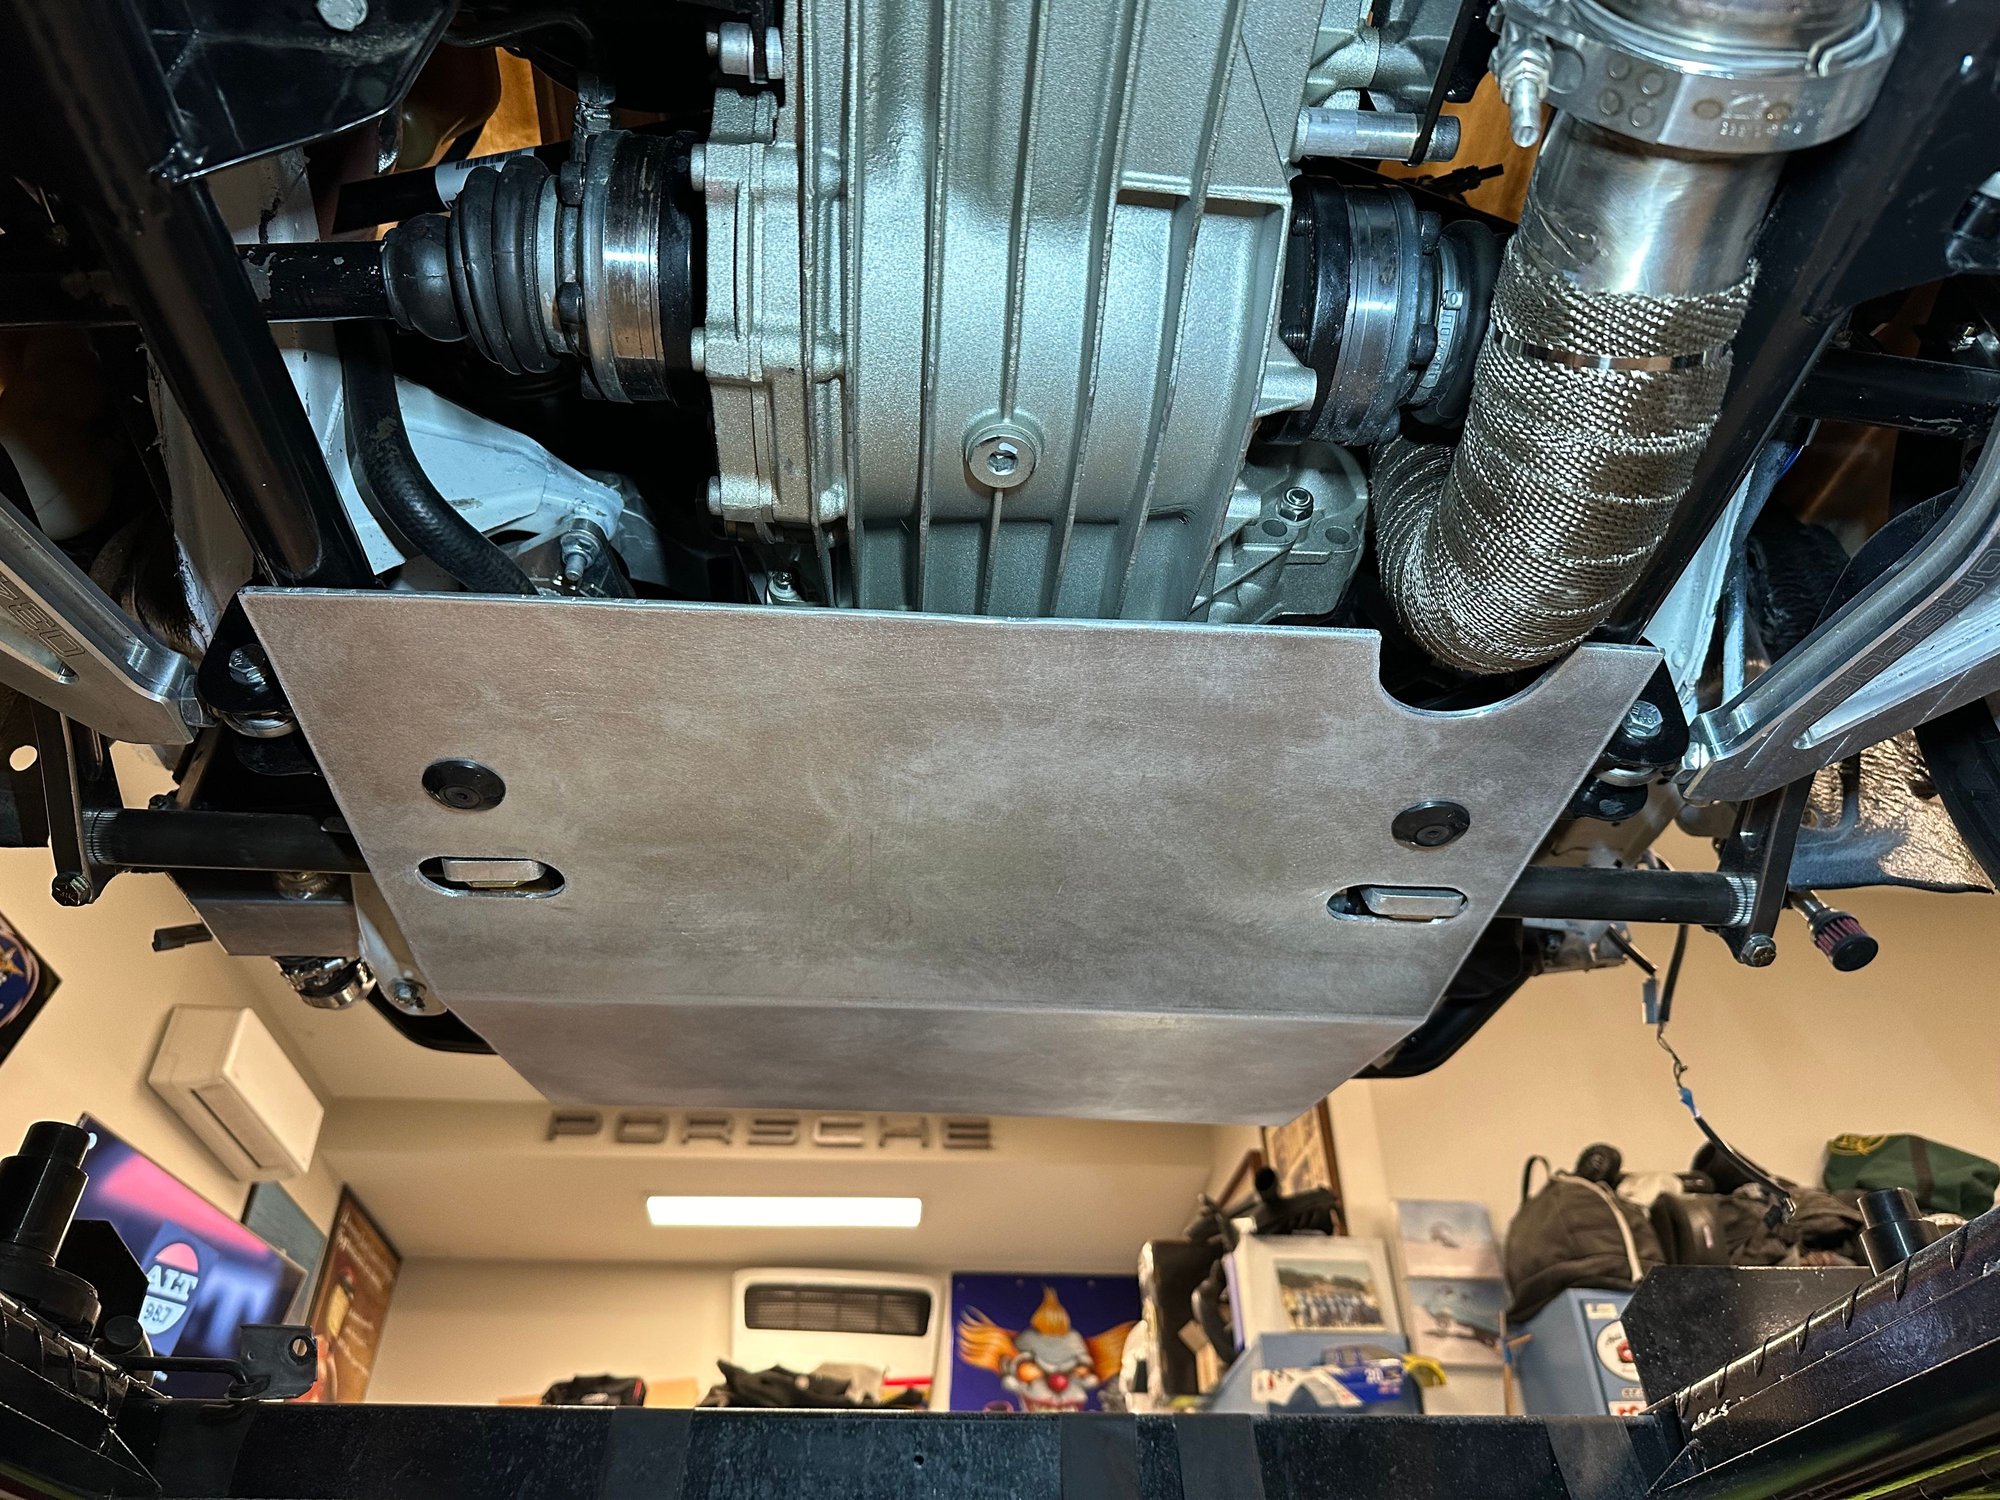
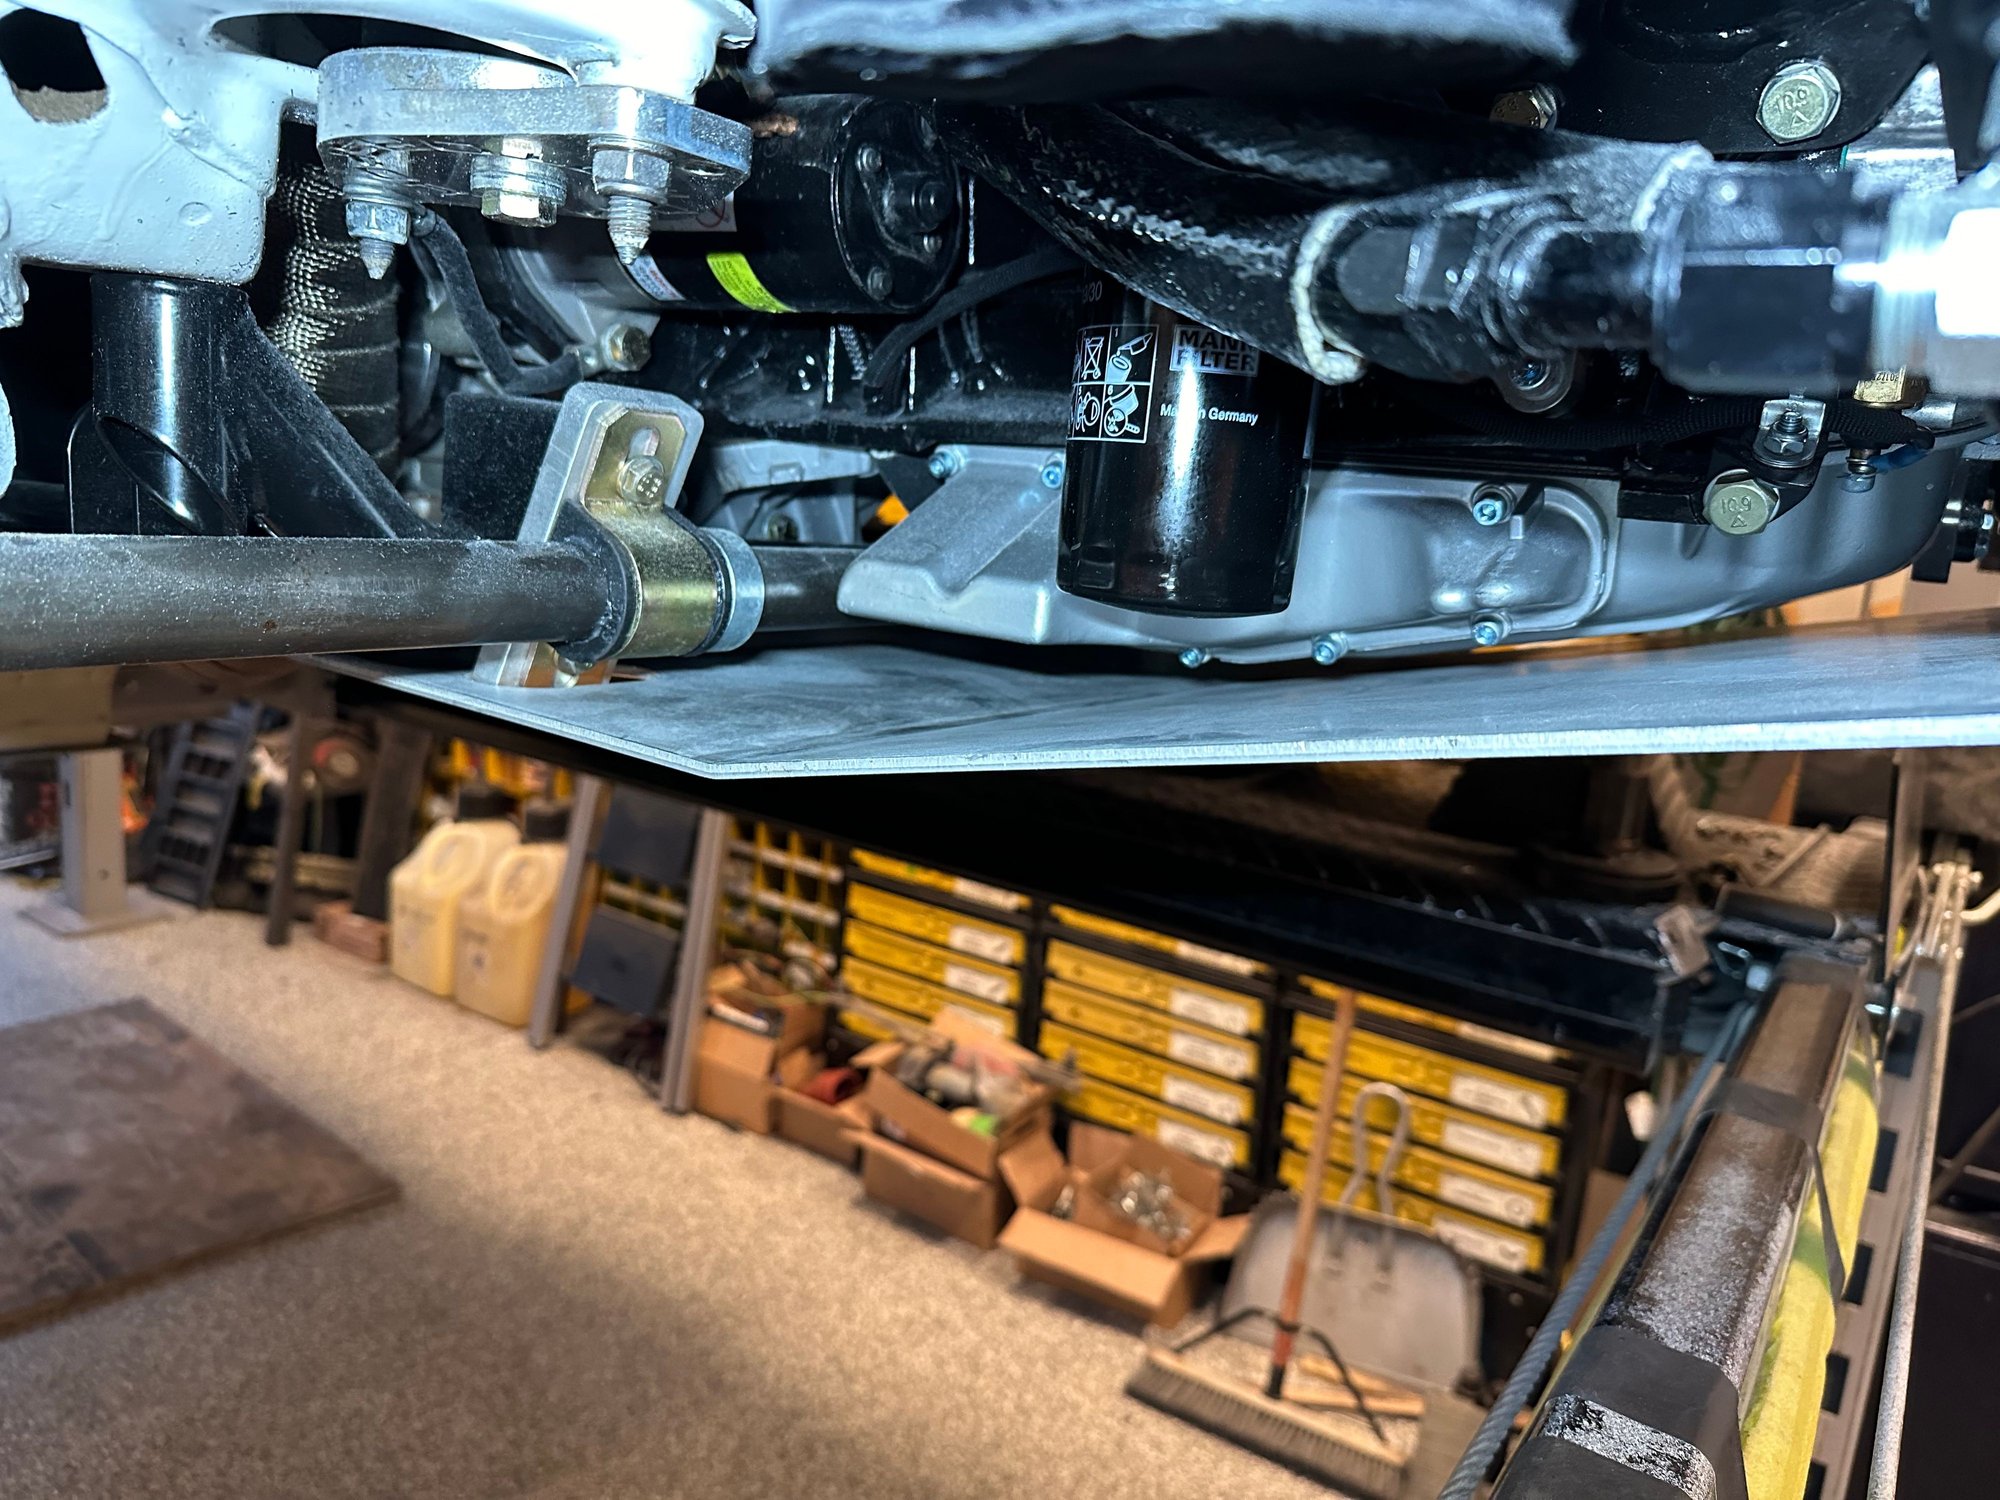
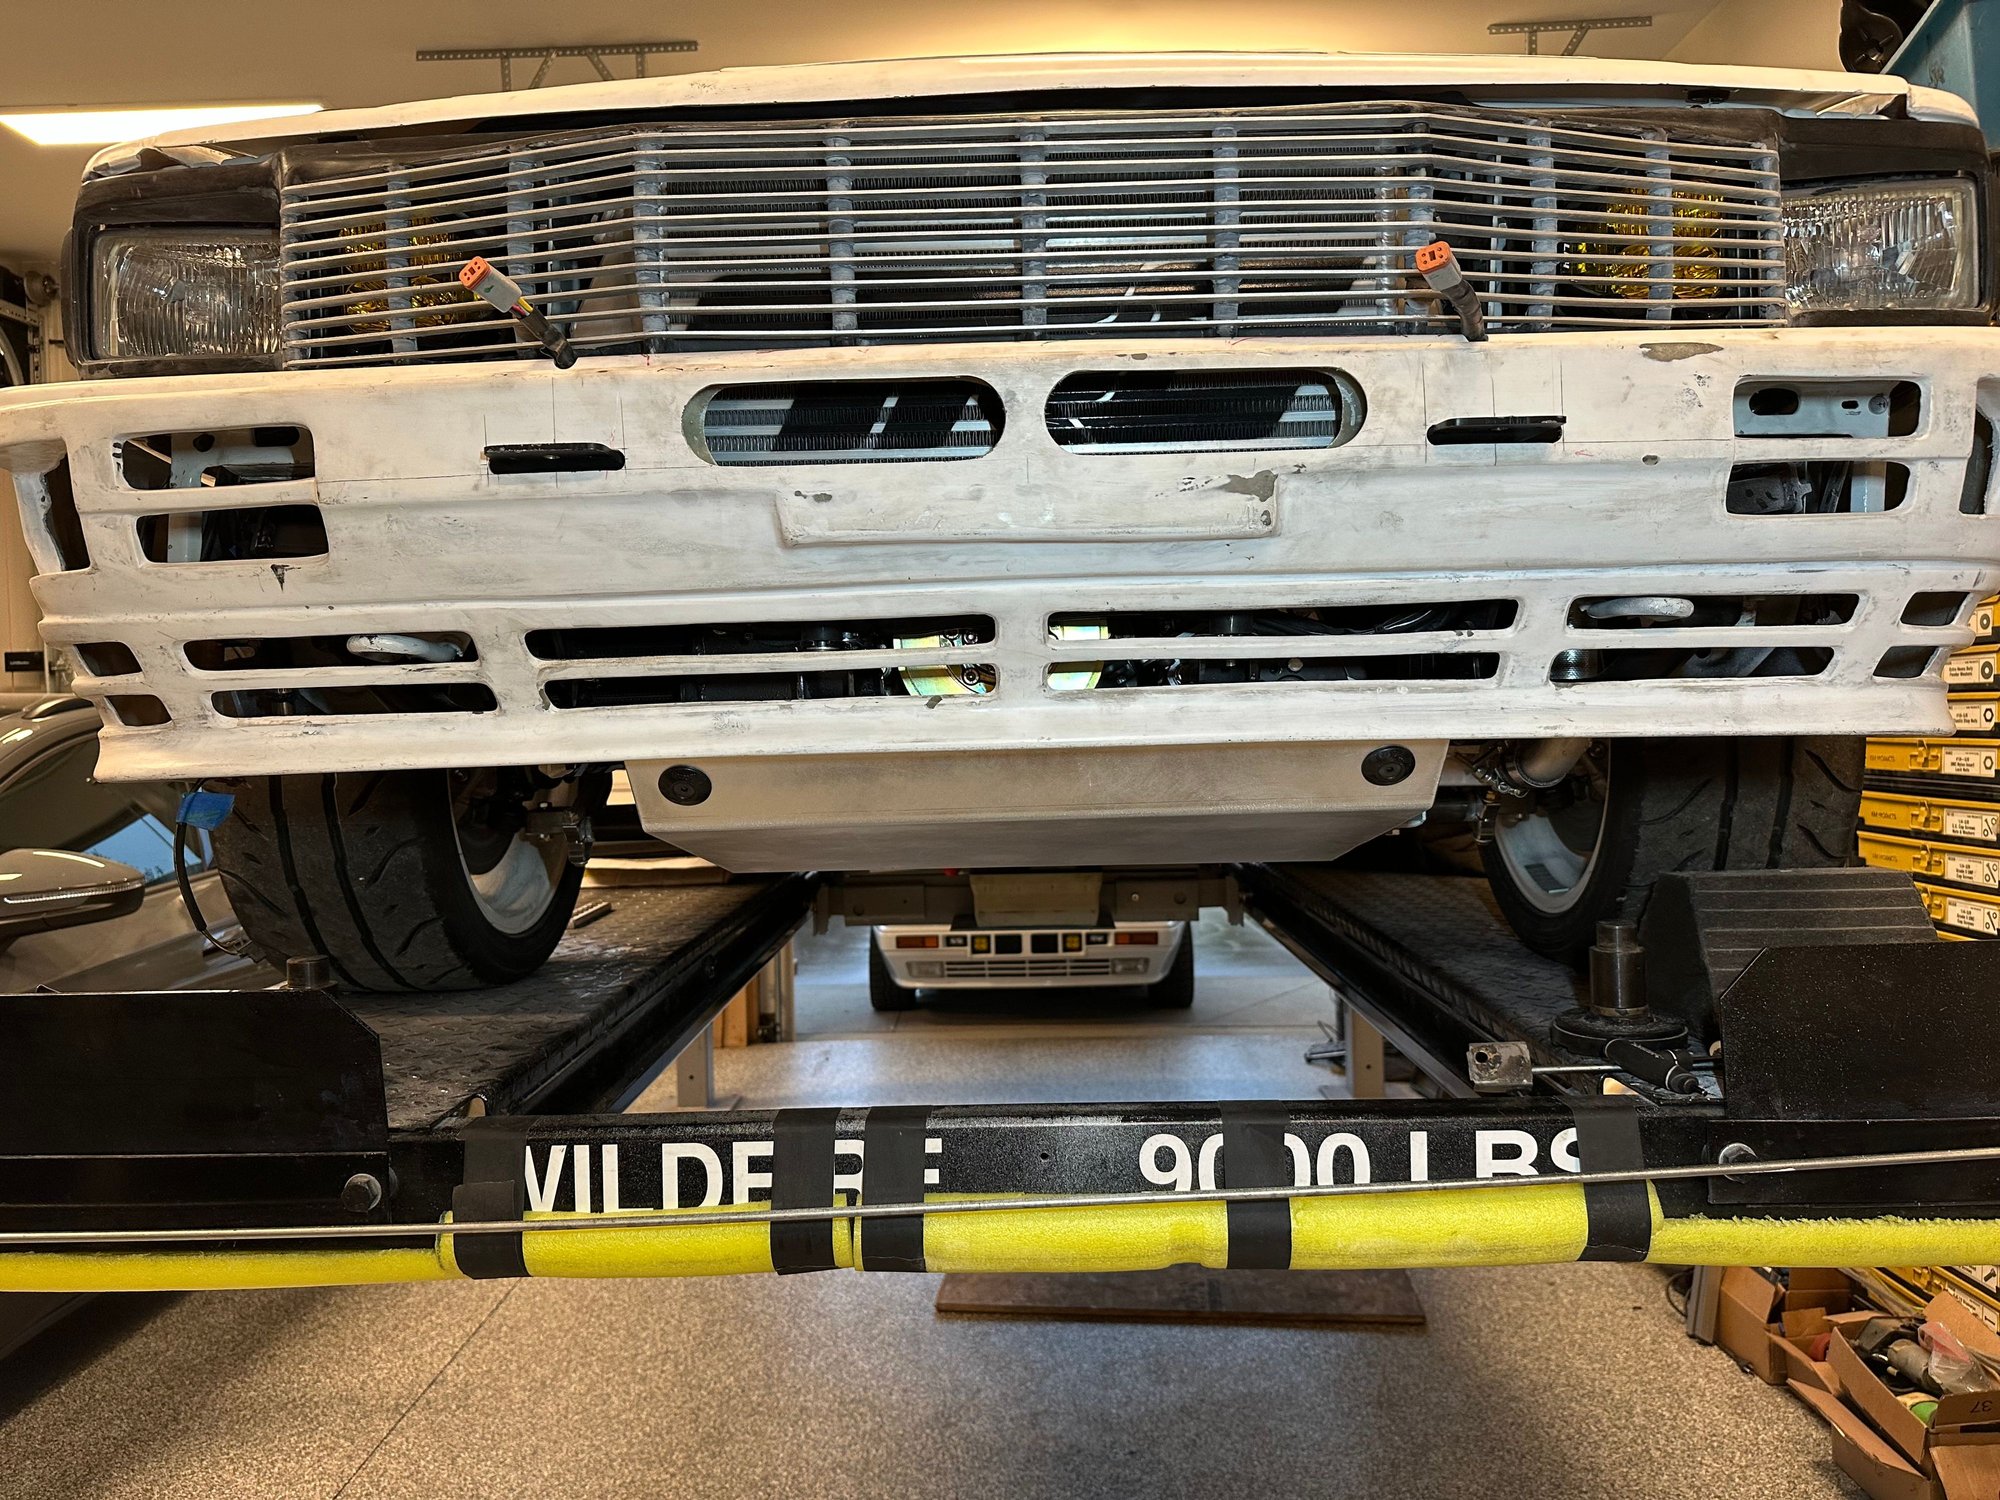
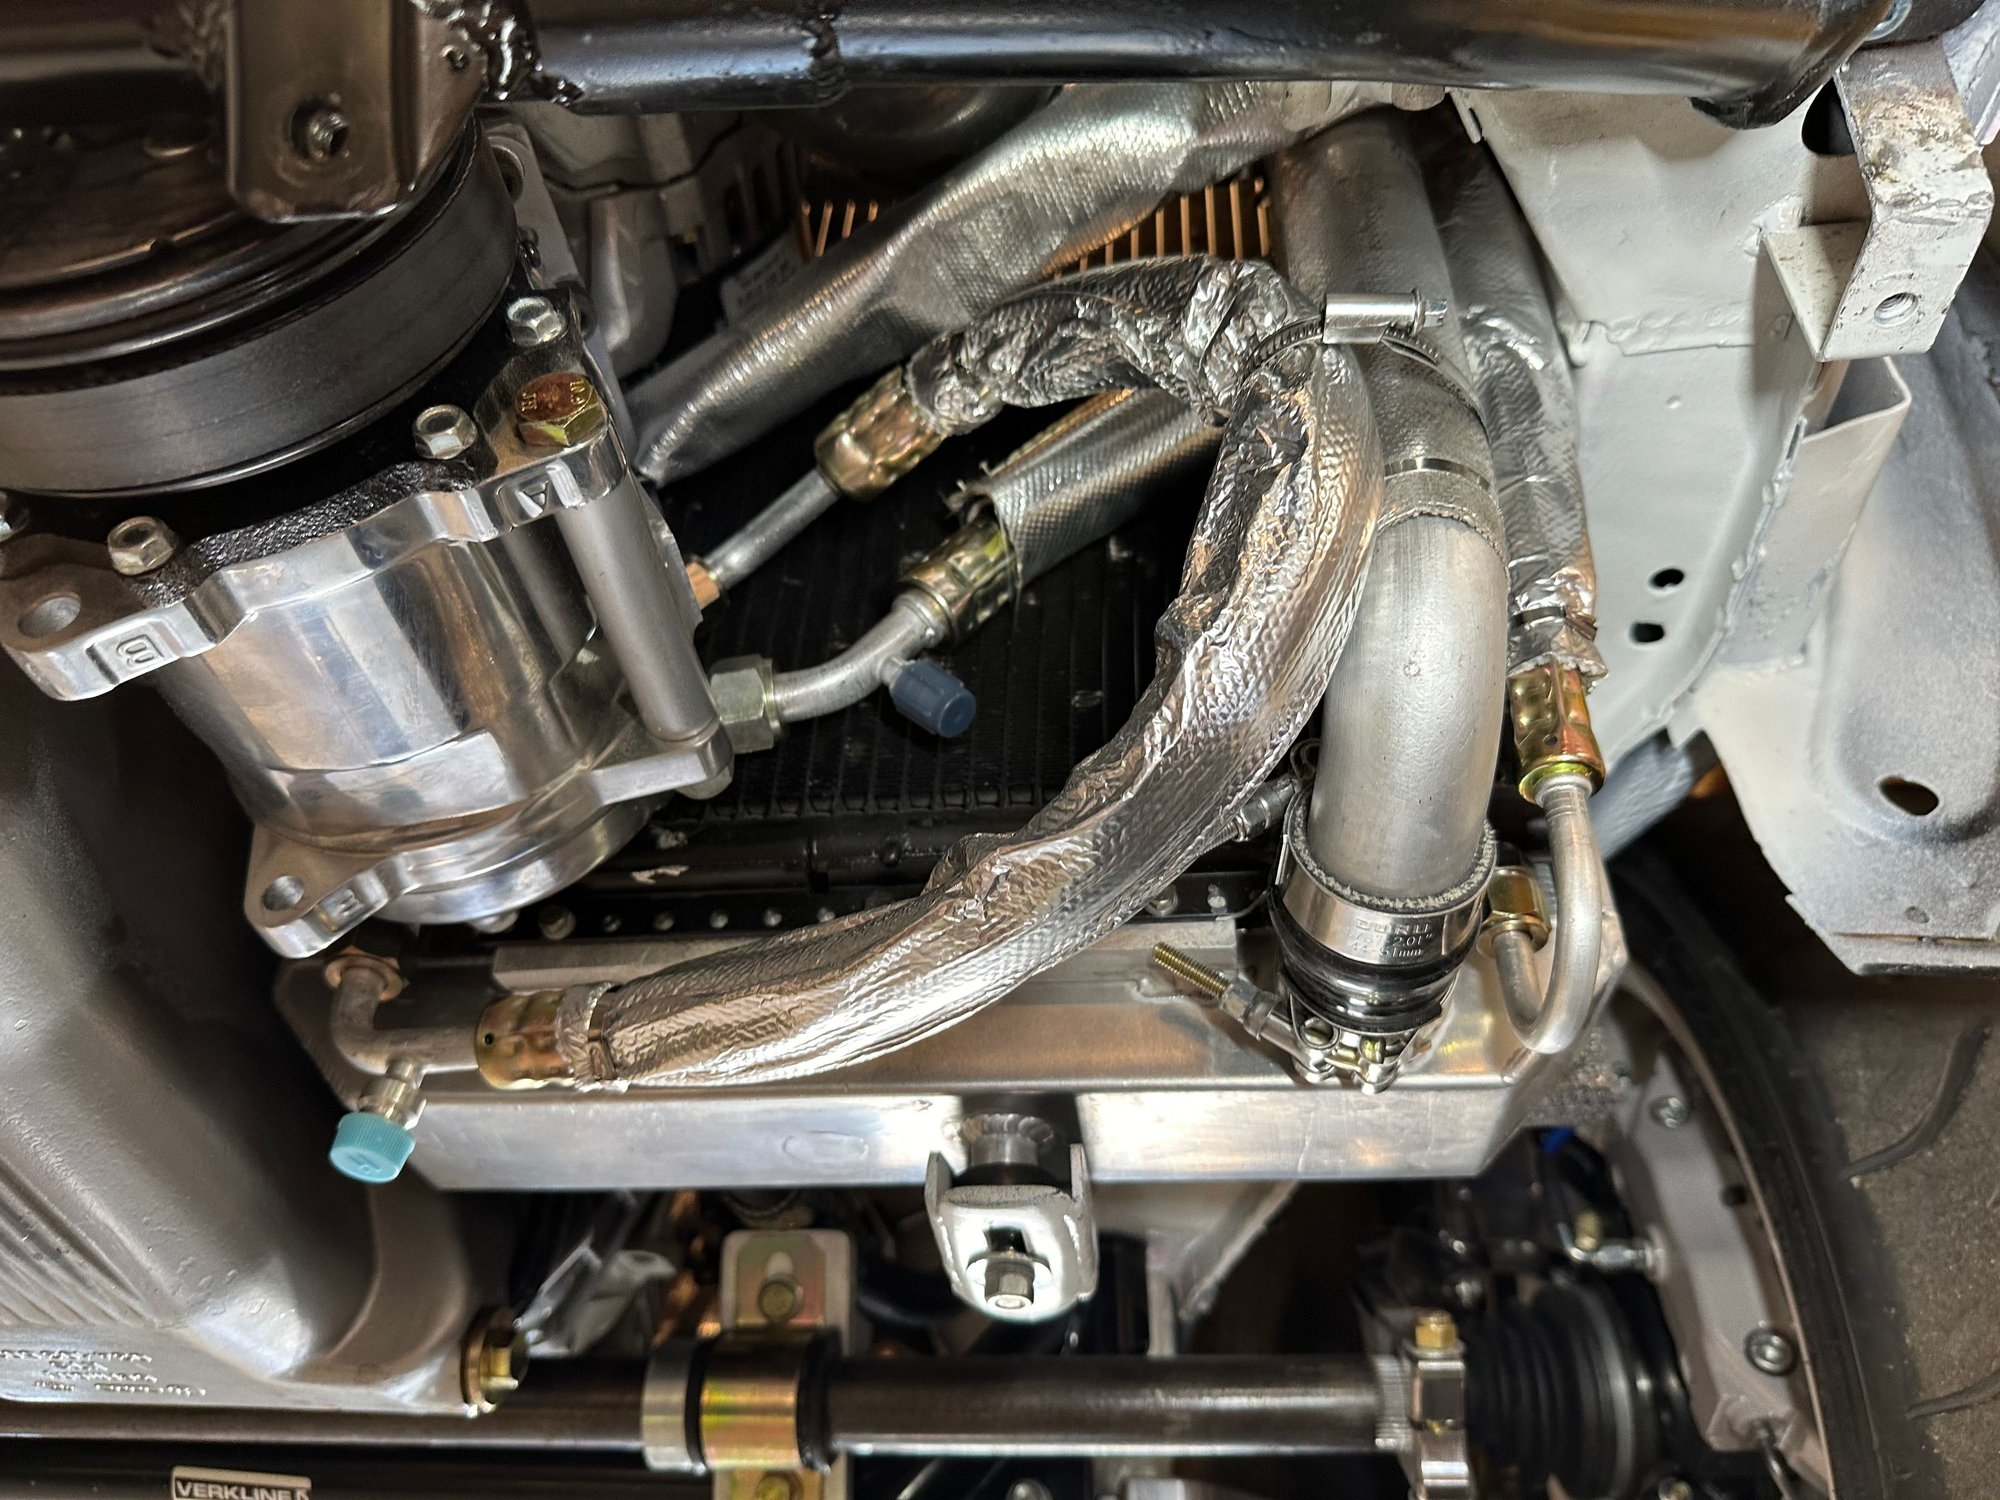
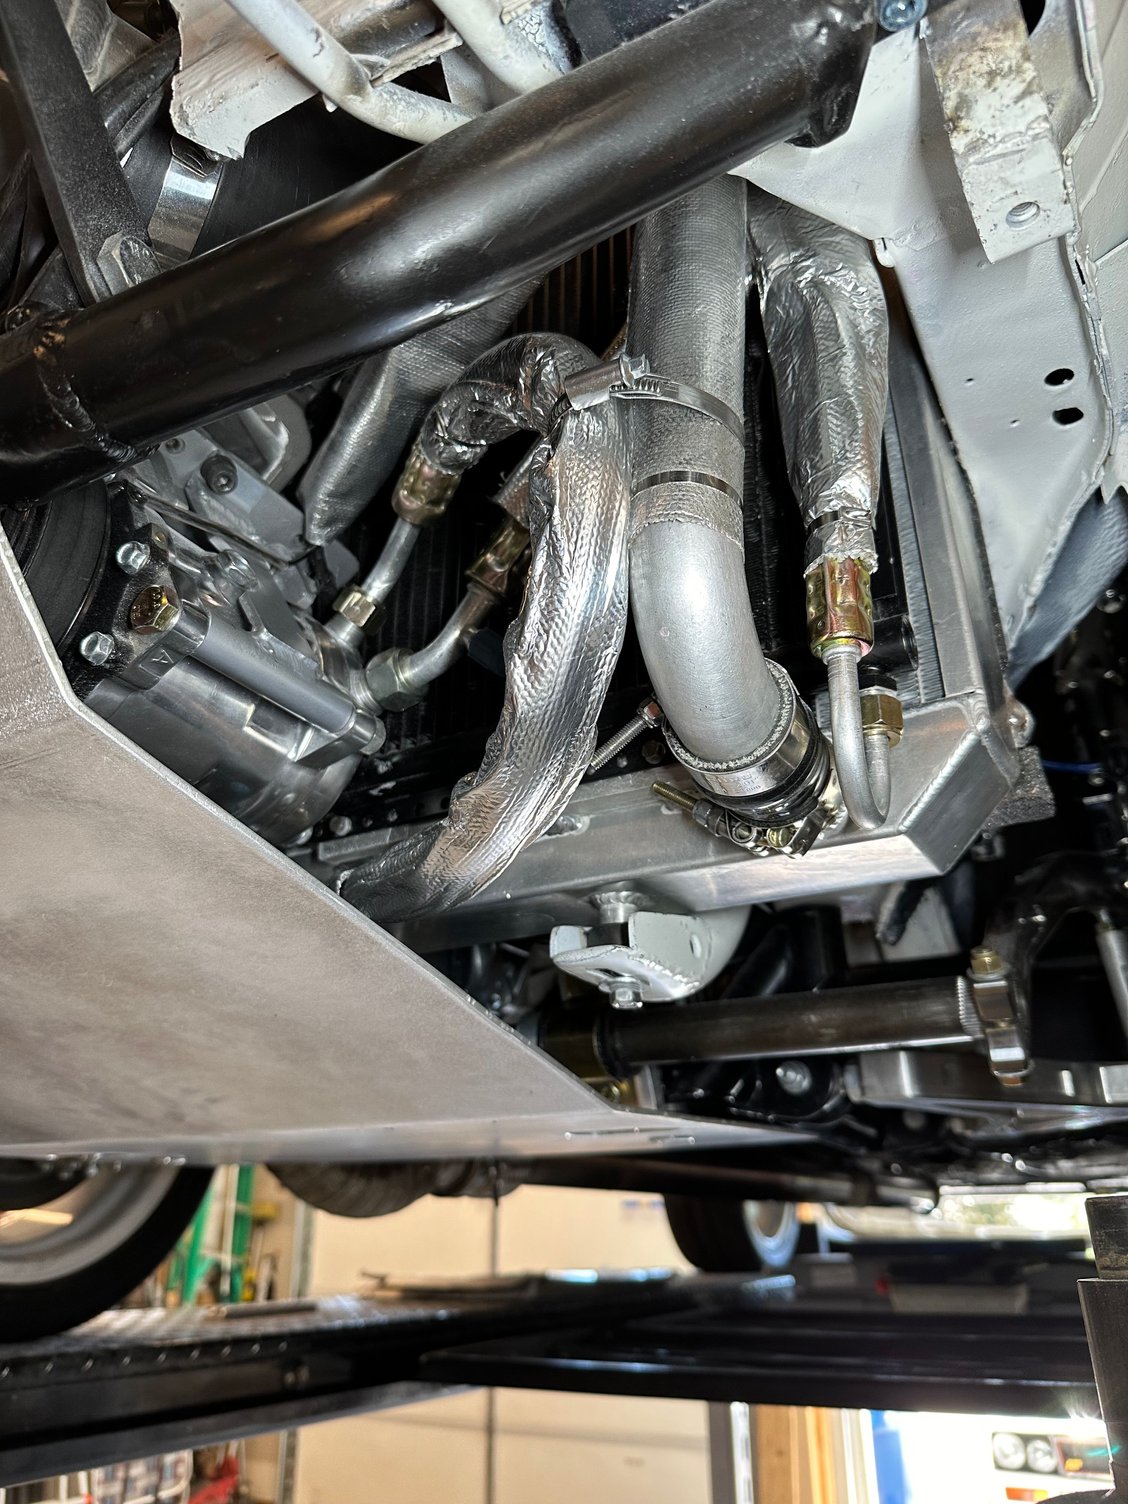
Made a skid / protection plate for the oil pan and accessories. Sadly, the exhaust down pipe sits lower than everything else, so it will be the sacrificial lamb if I hits something. I welded (4) tabs with nuts welded on back side to mount aluminum, removal is fast and easy. I haven't decided if I want a hole for the oil drain plug.
Pete has finished the digital cluster refurbishments and they are on their way back to me....the clusters look awesome in the photo sent, very excited to get them.
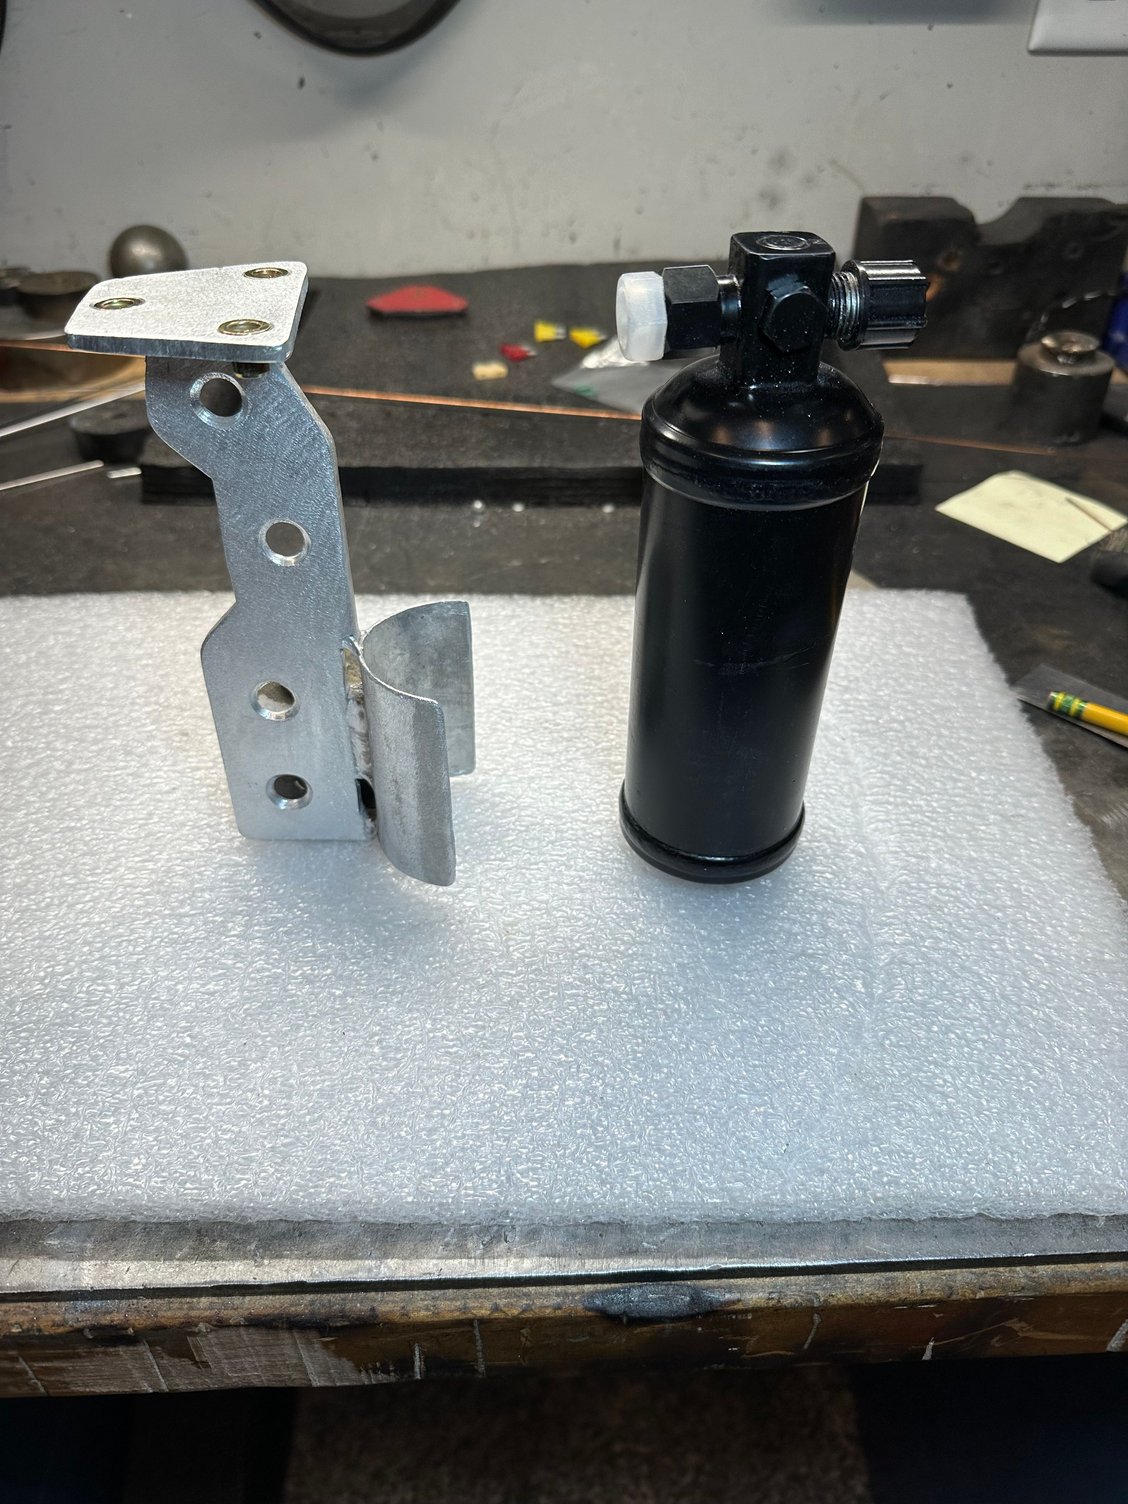
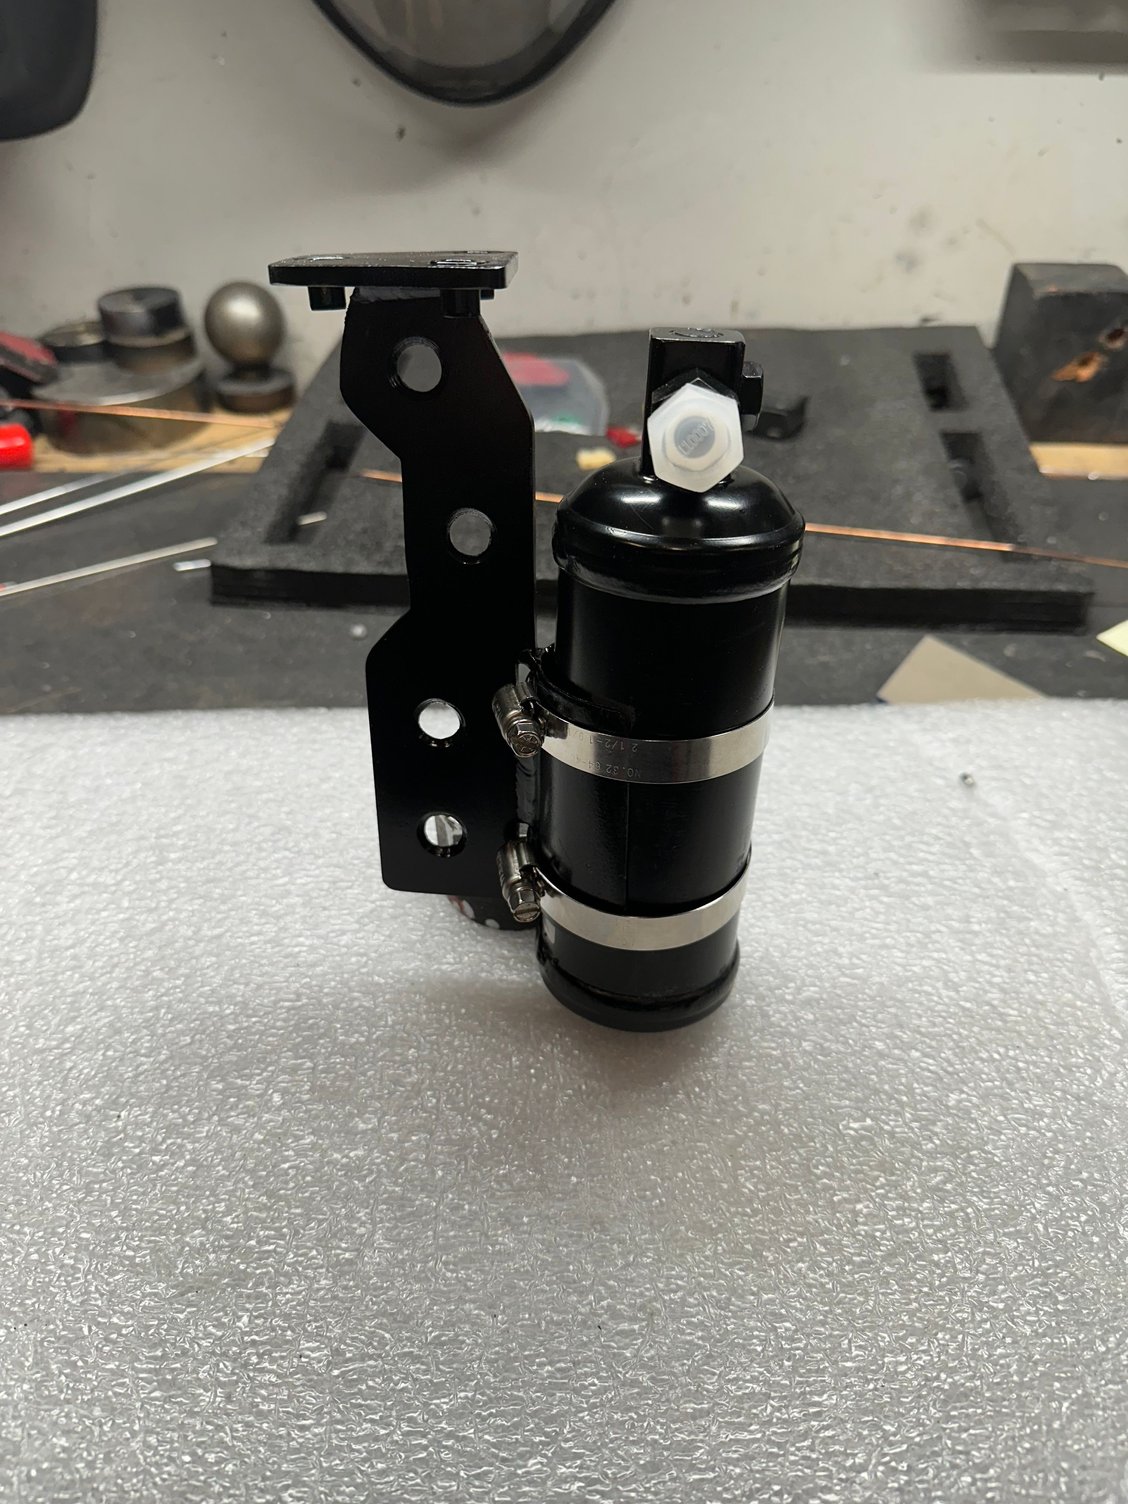
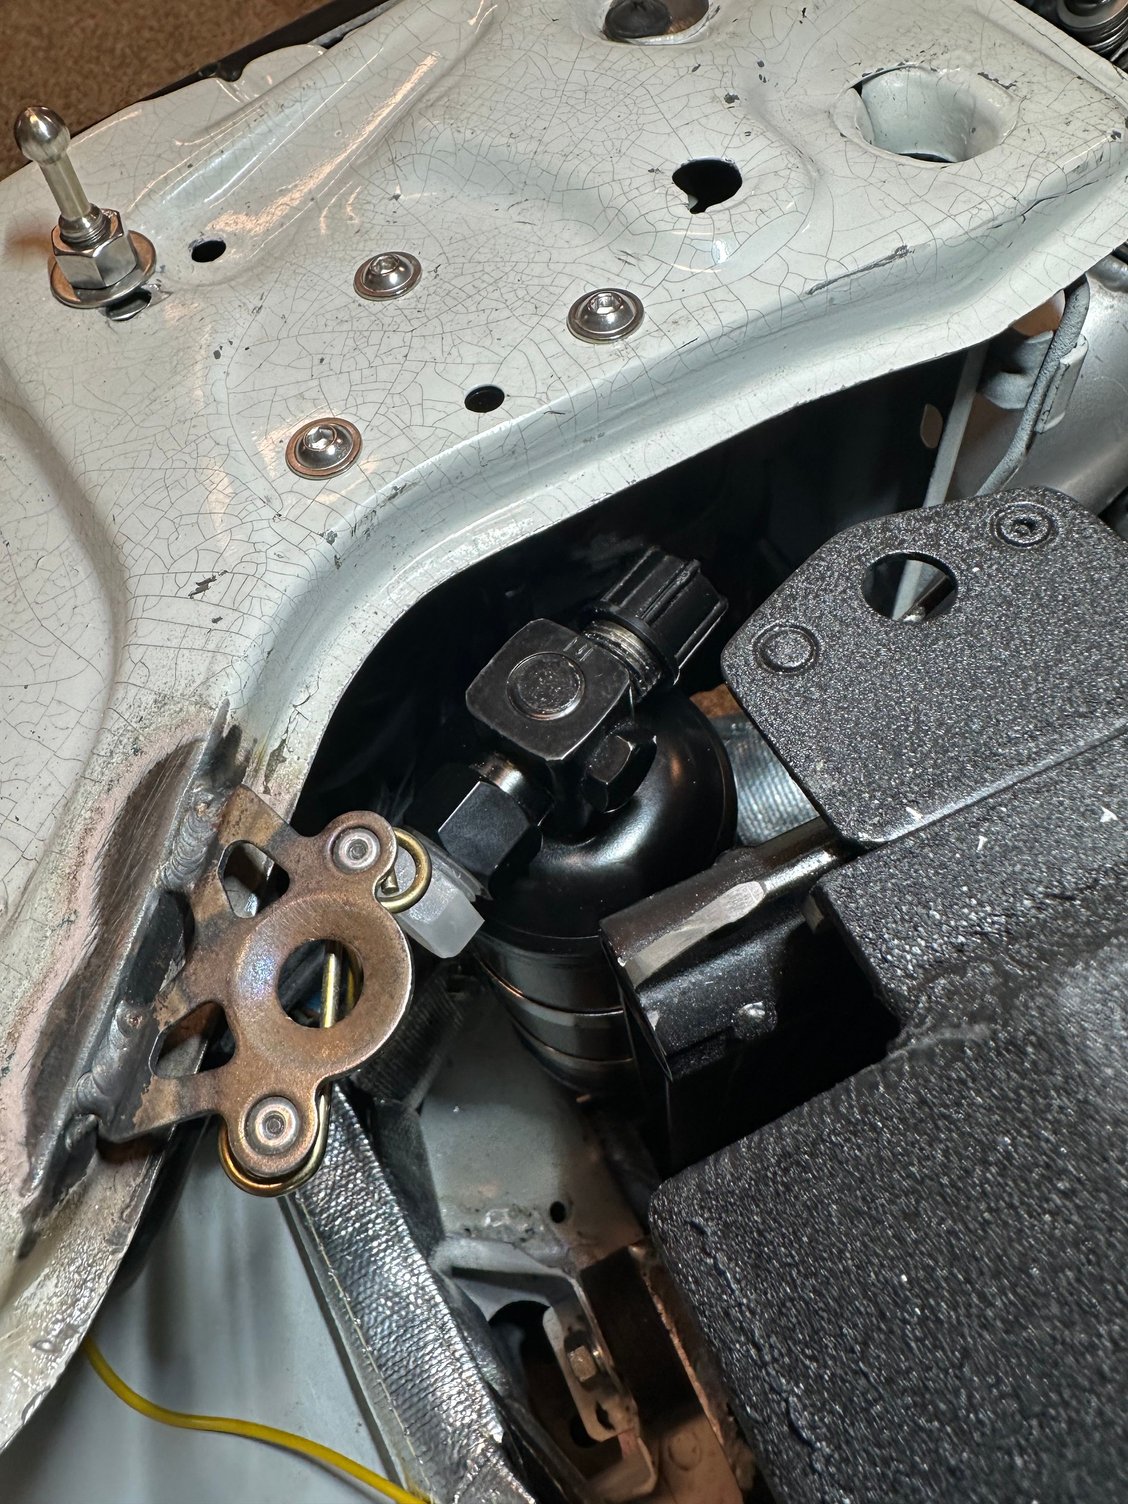
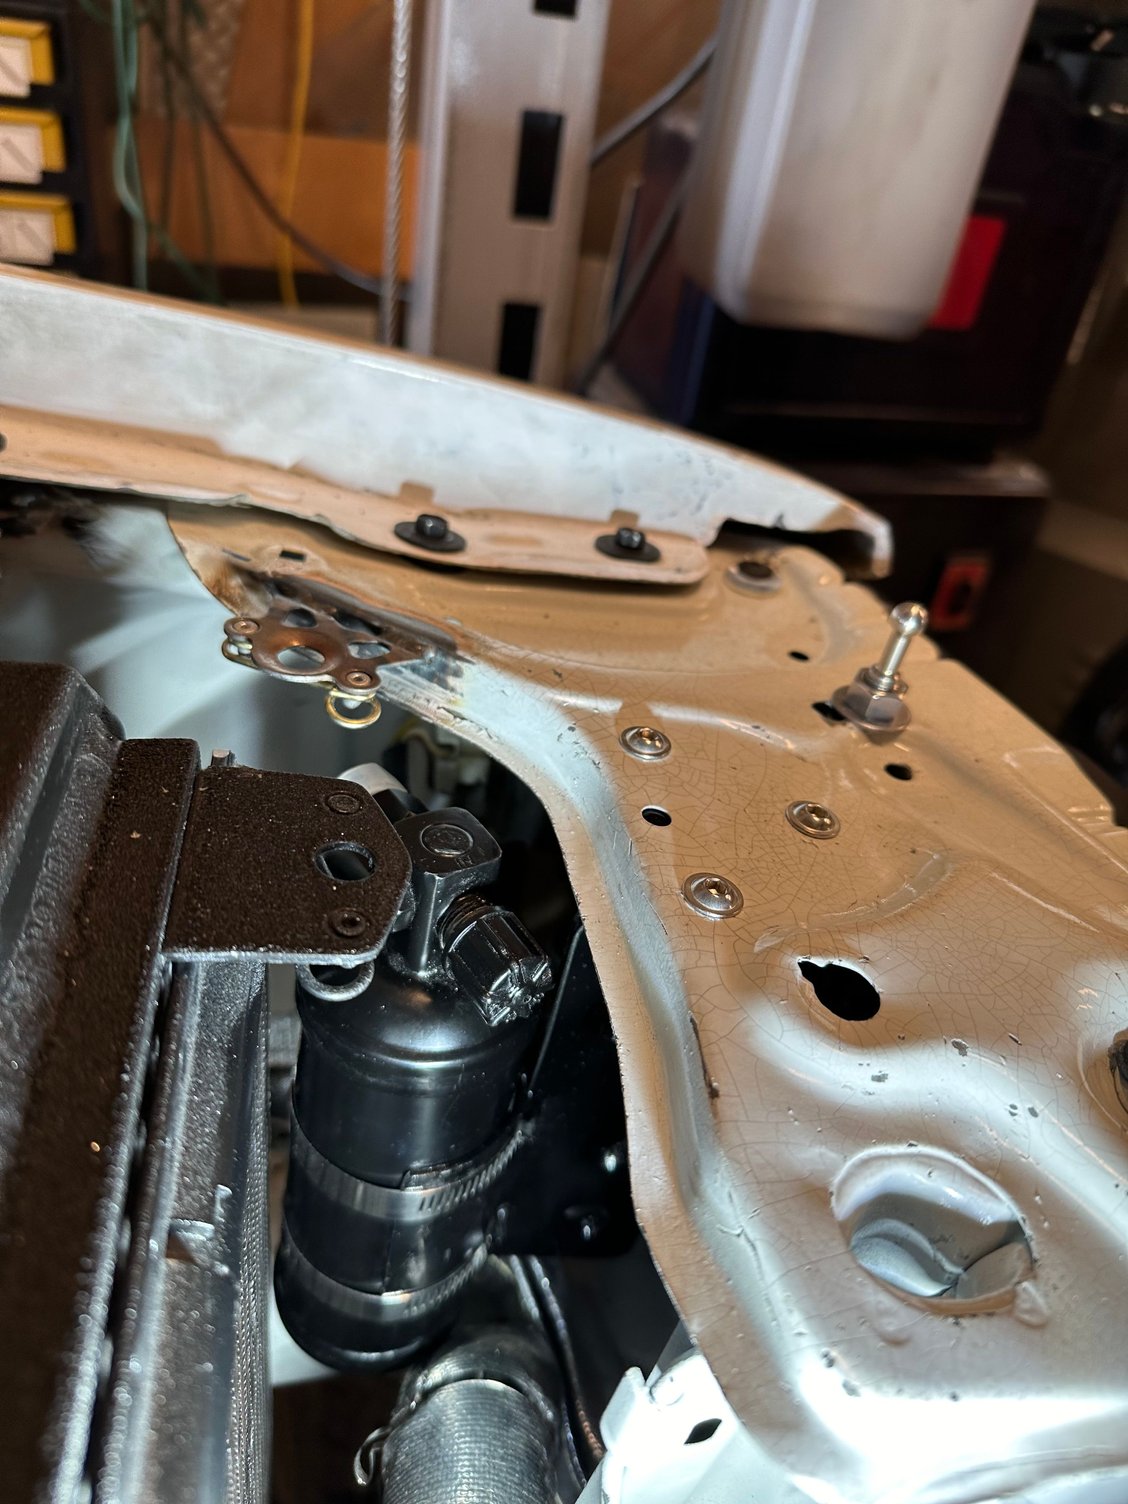
Started working on the climate control (AC / Heat), made a mount for the AC dryer. Location behind headlight makes for a short run from condenser and is out of the way with easy access. Aluminum mount has thread inserts too make mounting easy.
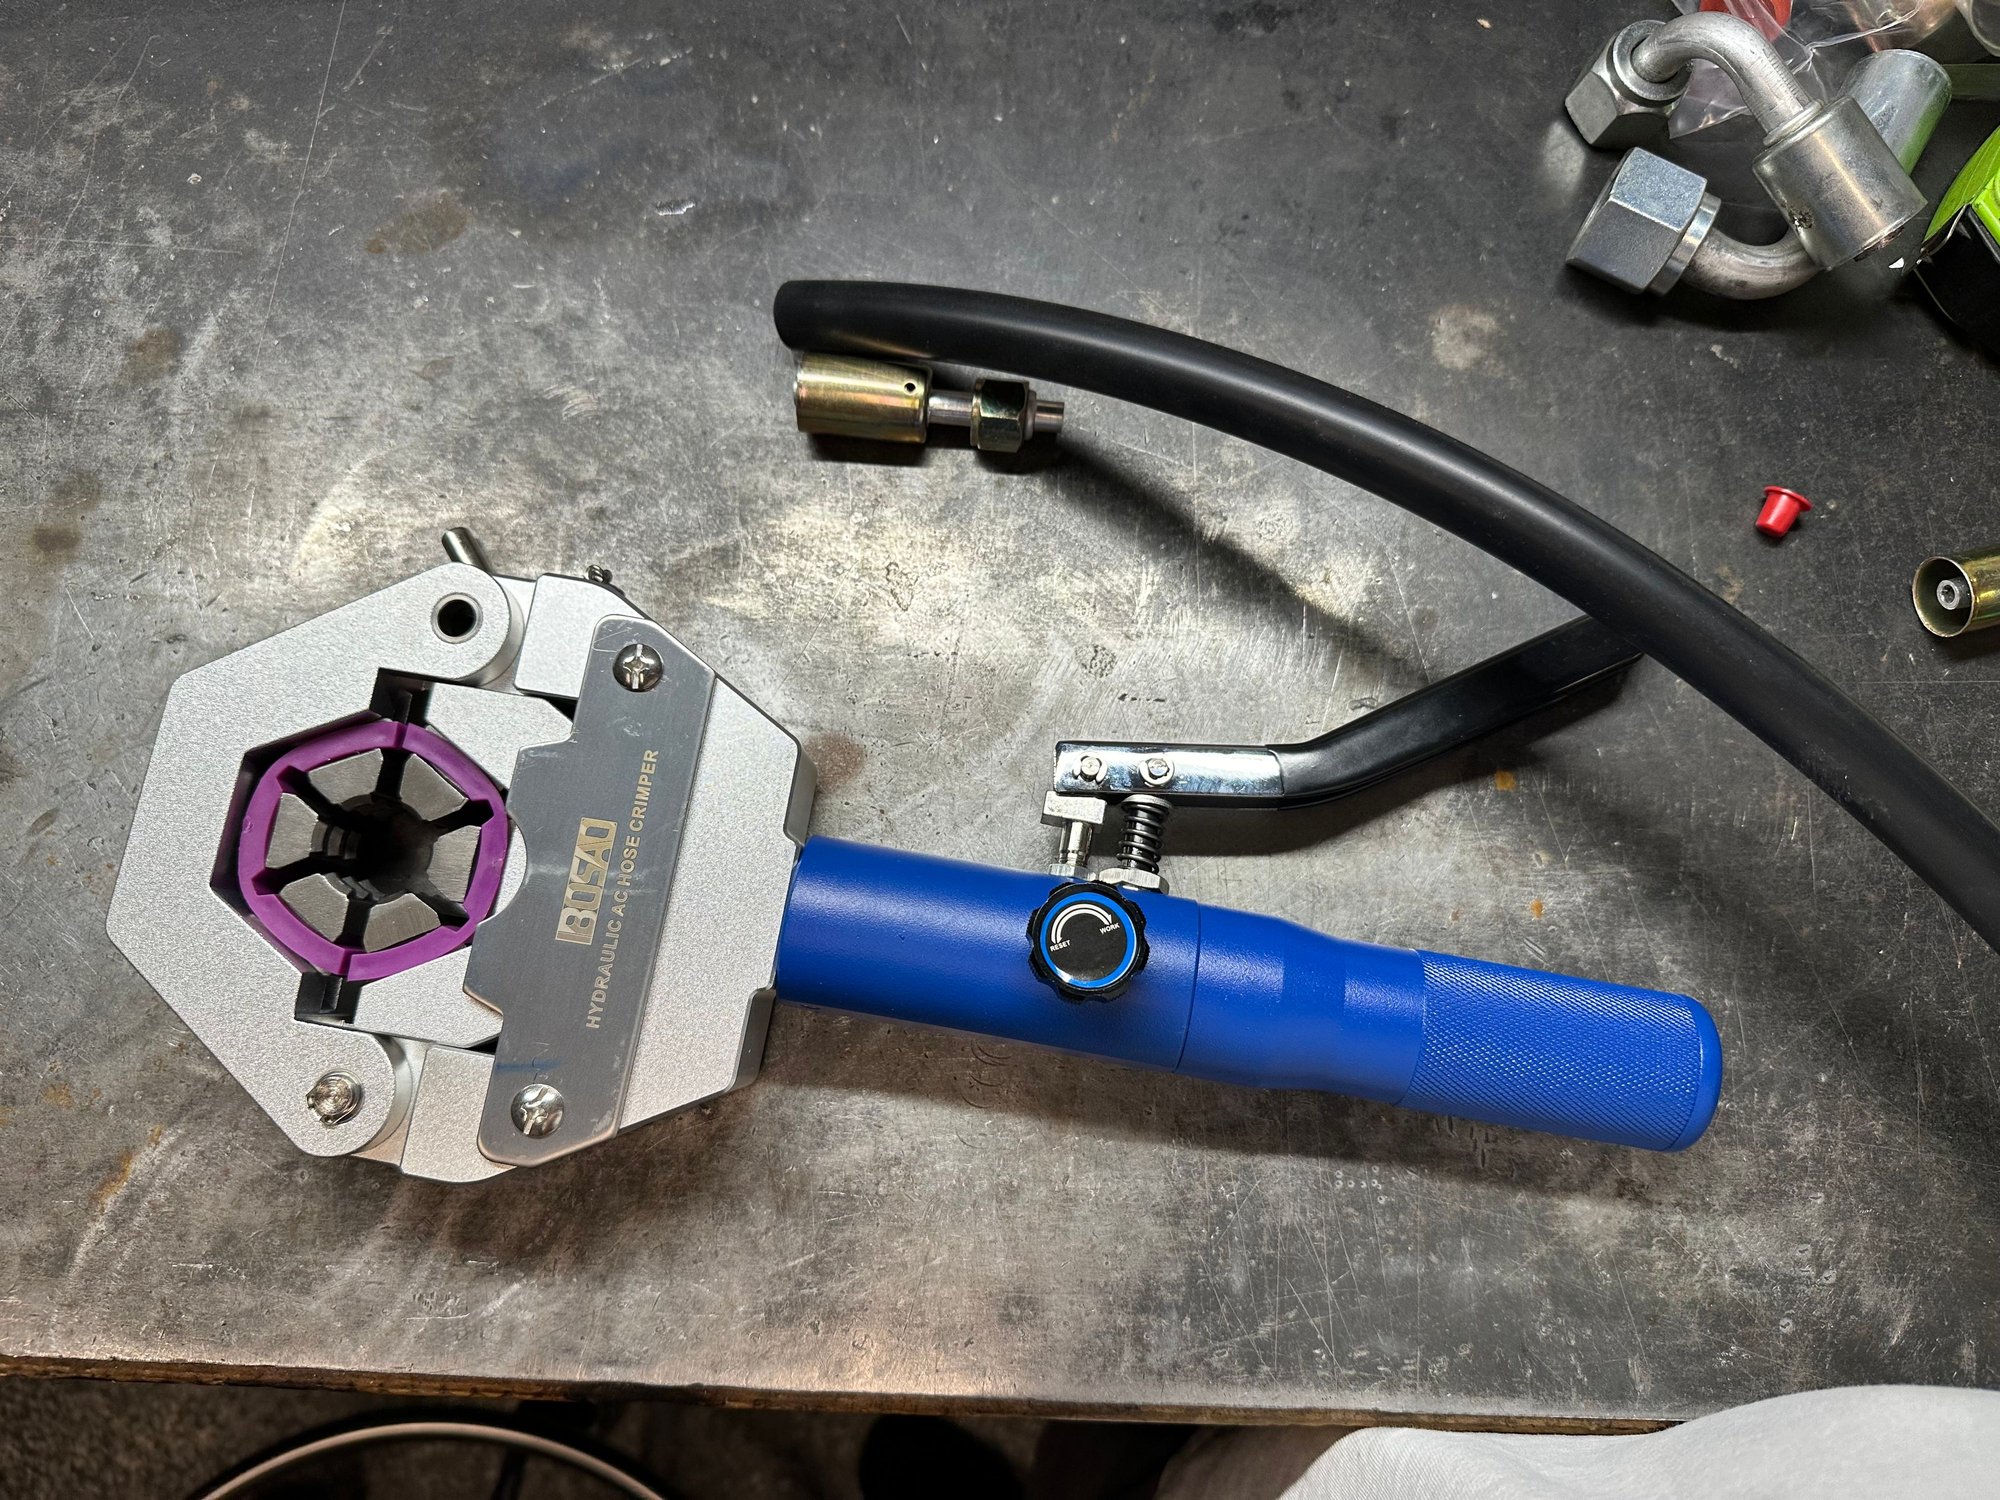
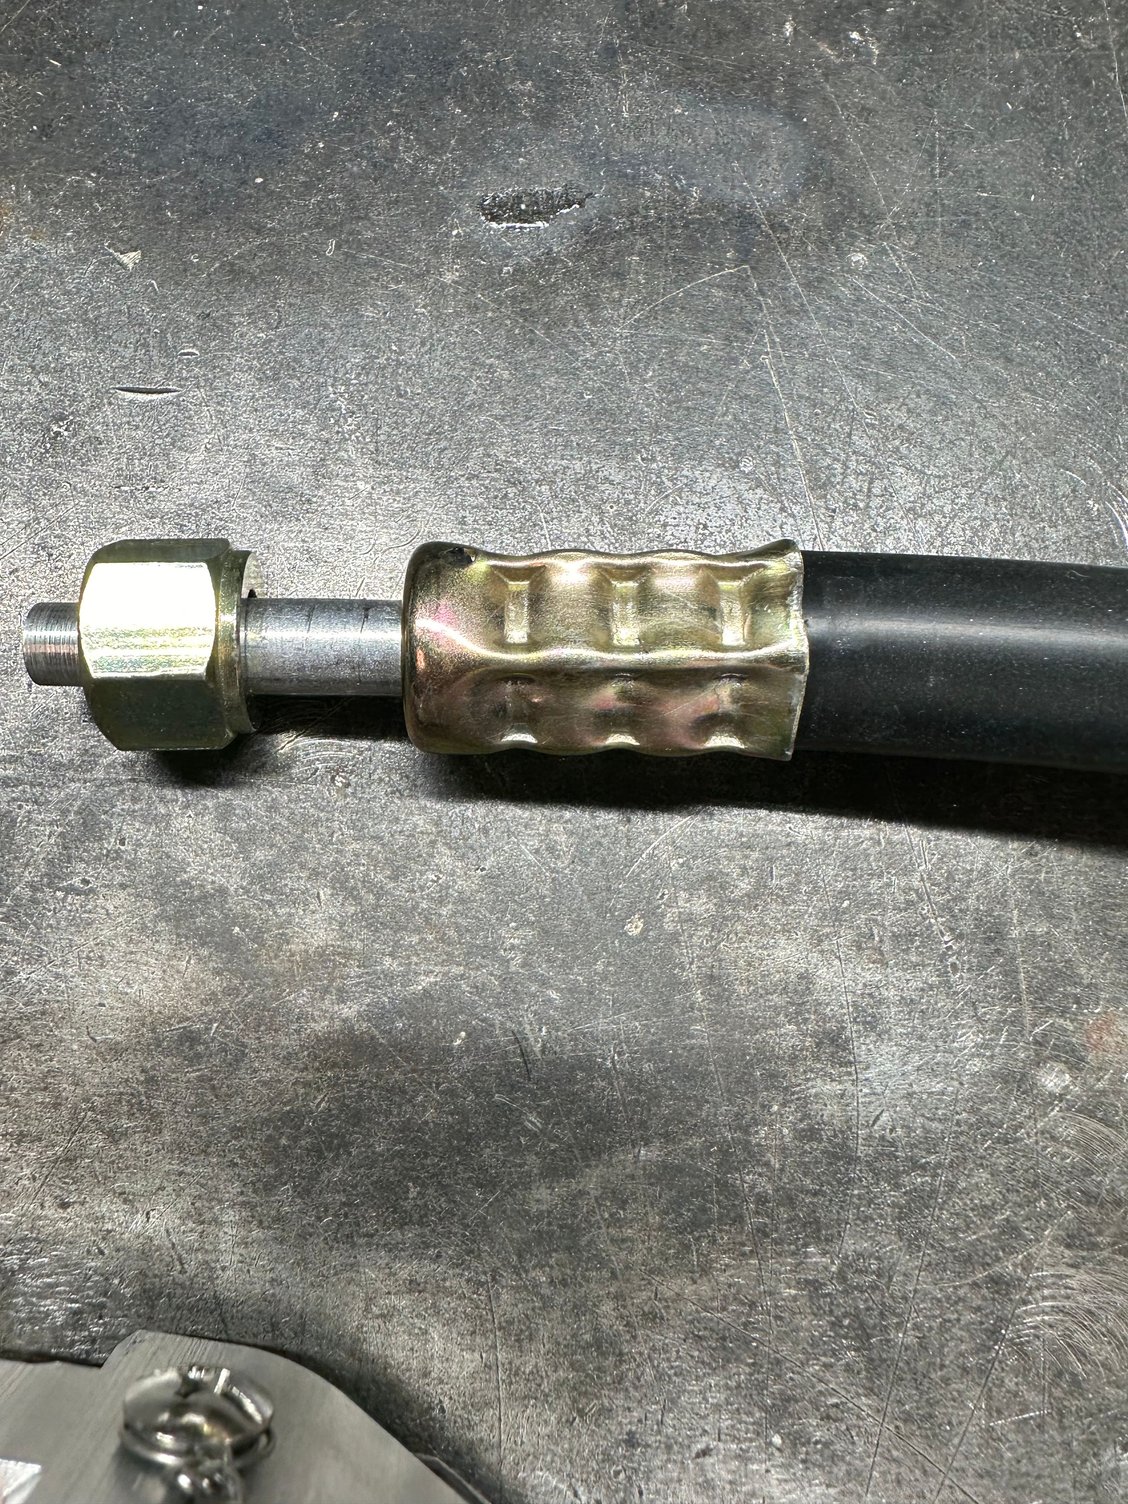
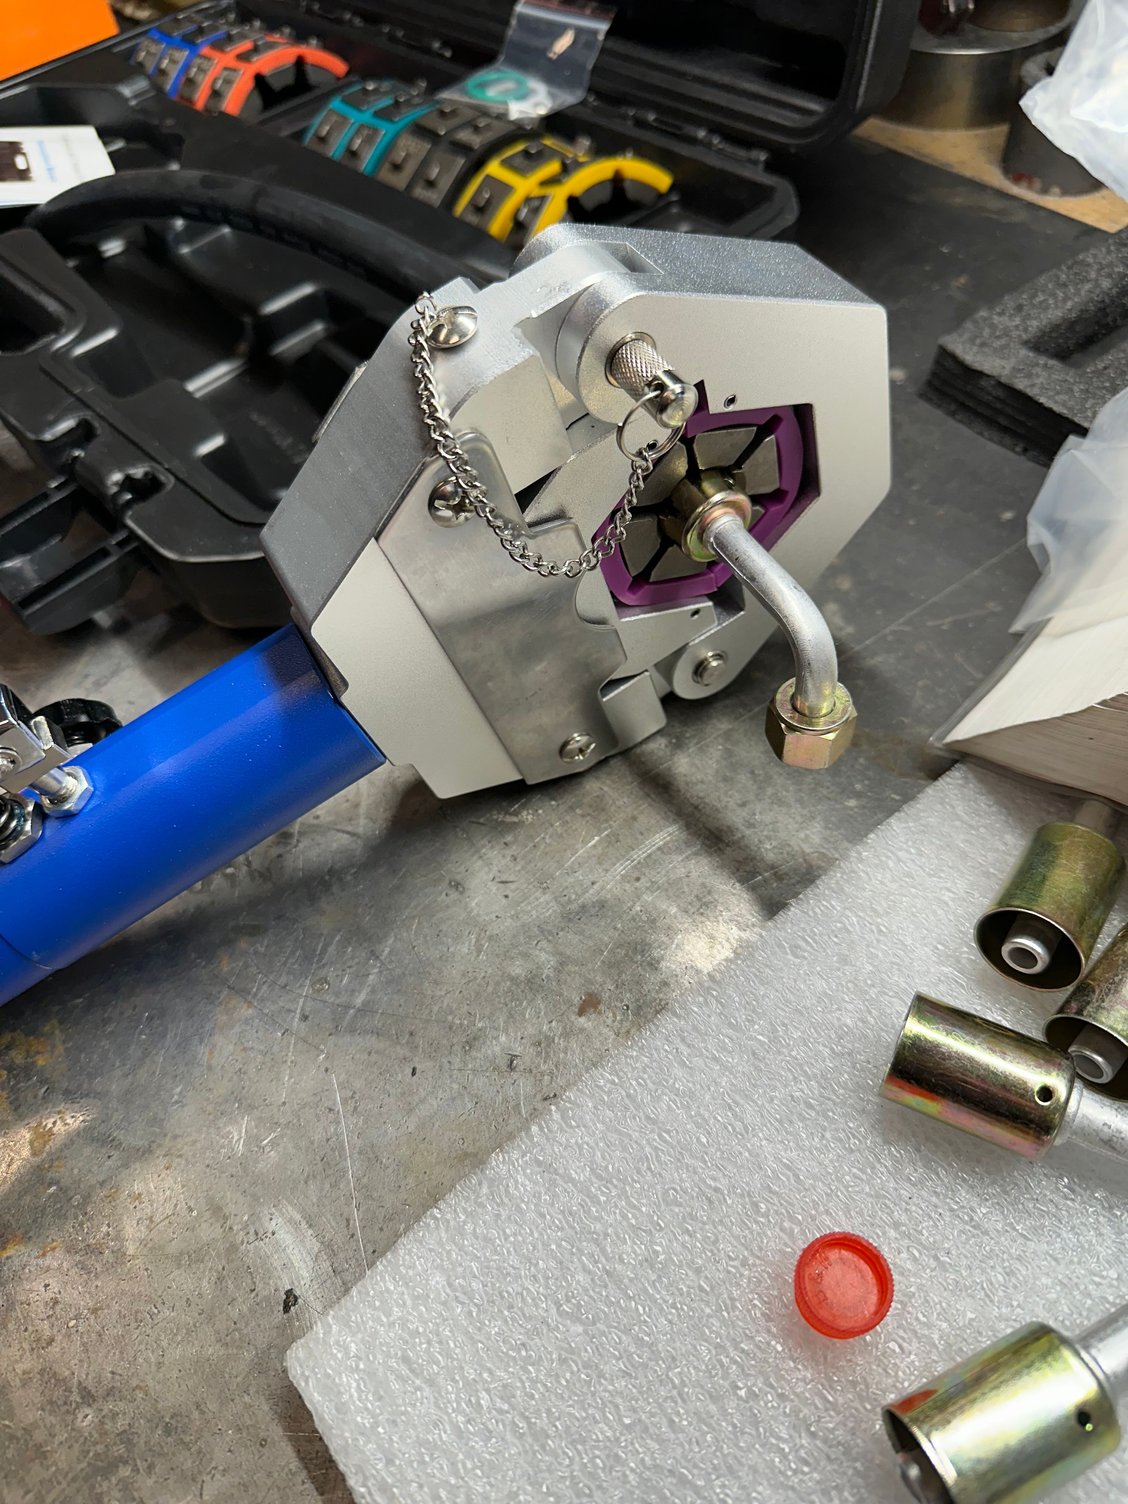
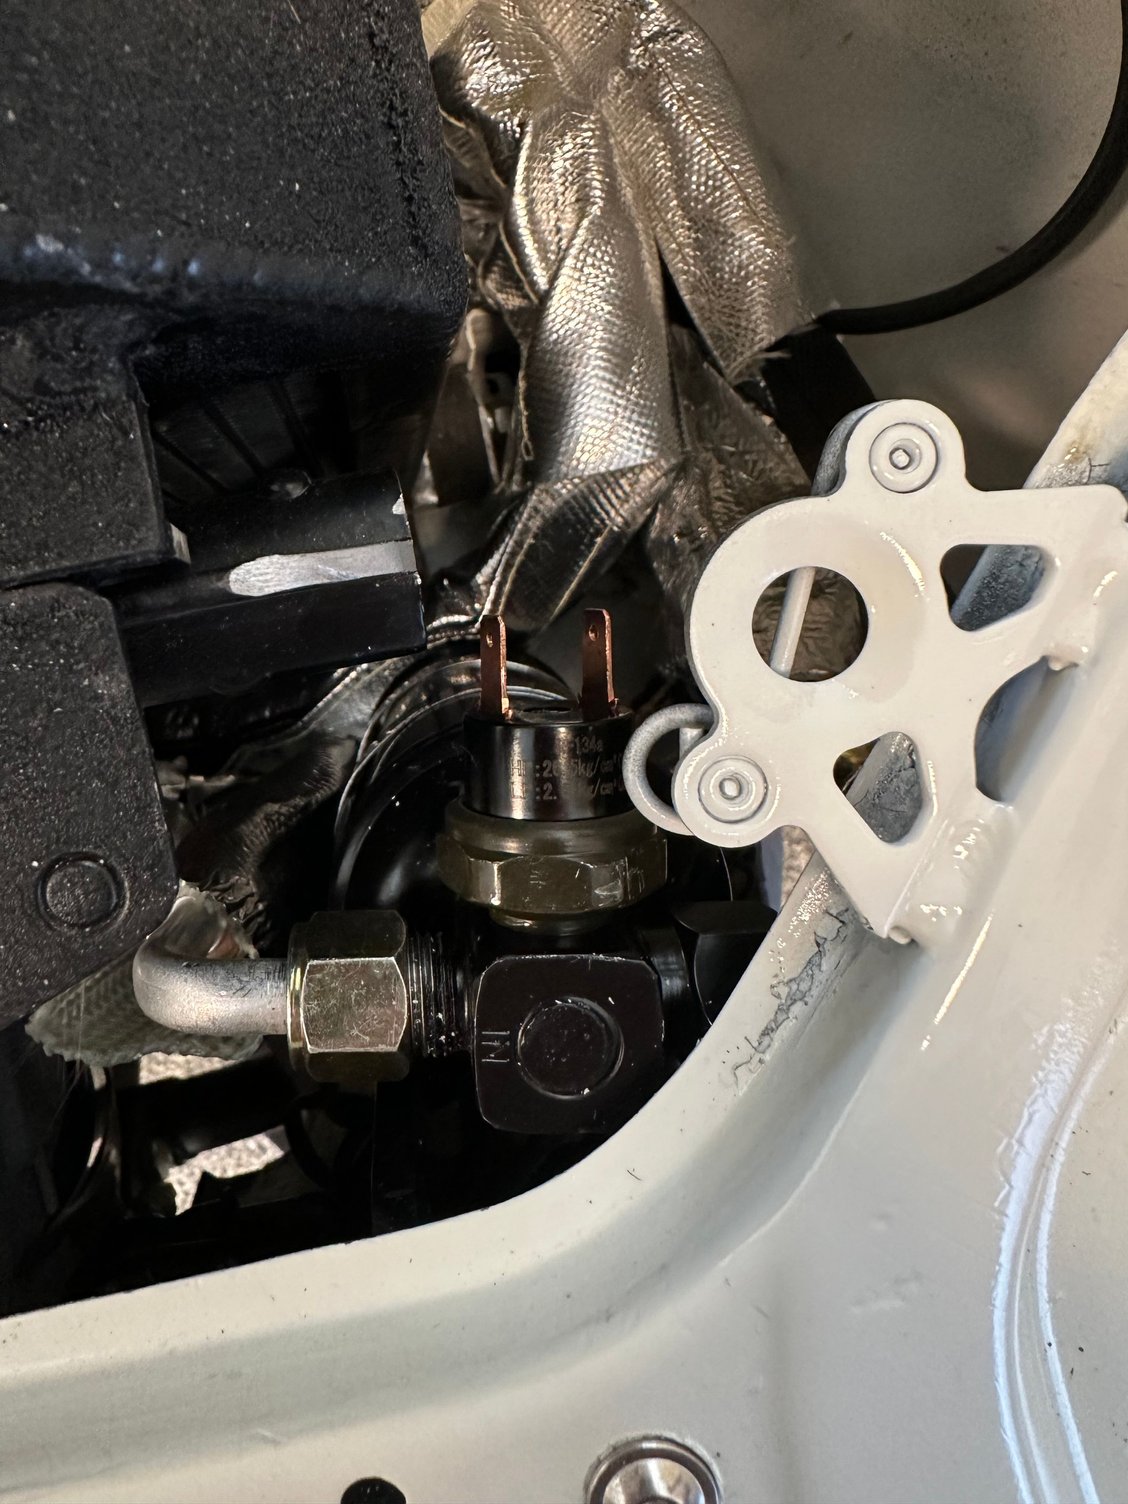
Purchased all the hoses and fittings to make up the AC lines. I have had a hard time trying to figure out the AC hi/low pressure switches, which are very hard to find and decided to reached out to a AC component shop, they suggested a binary switch, which has hi/low with in. My issue now is trying to figure out the wiring, its a brutal process and I am ready to turn over to a professional.
On a positive note, I finally found a great painter near by and have reserved a spot for body/paint. Most painters are a year out here in TN. Most body paint shops only do insurance work now a days, so happy to have found a shop.
Hopefully, the car gets dropped off by end of Oct.
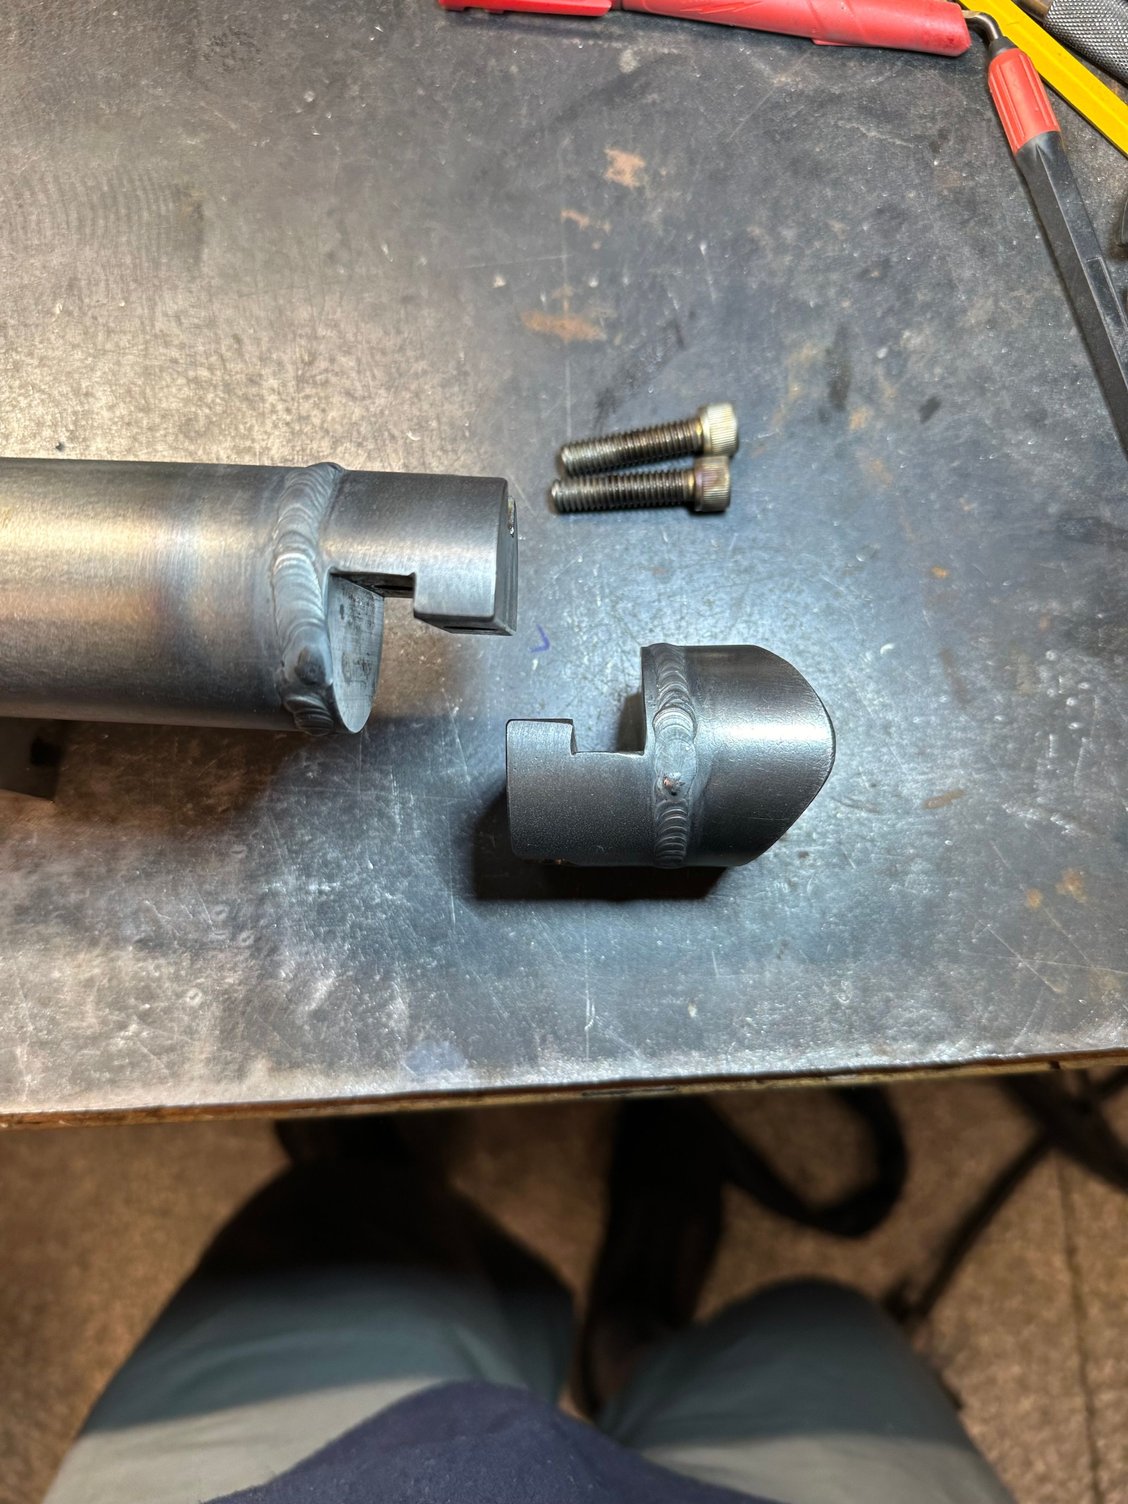
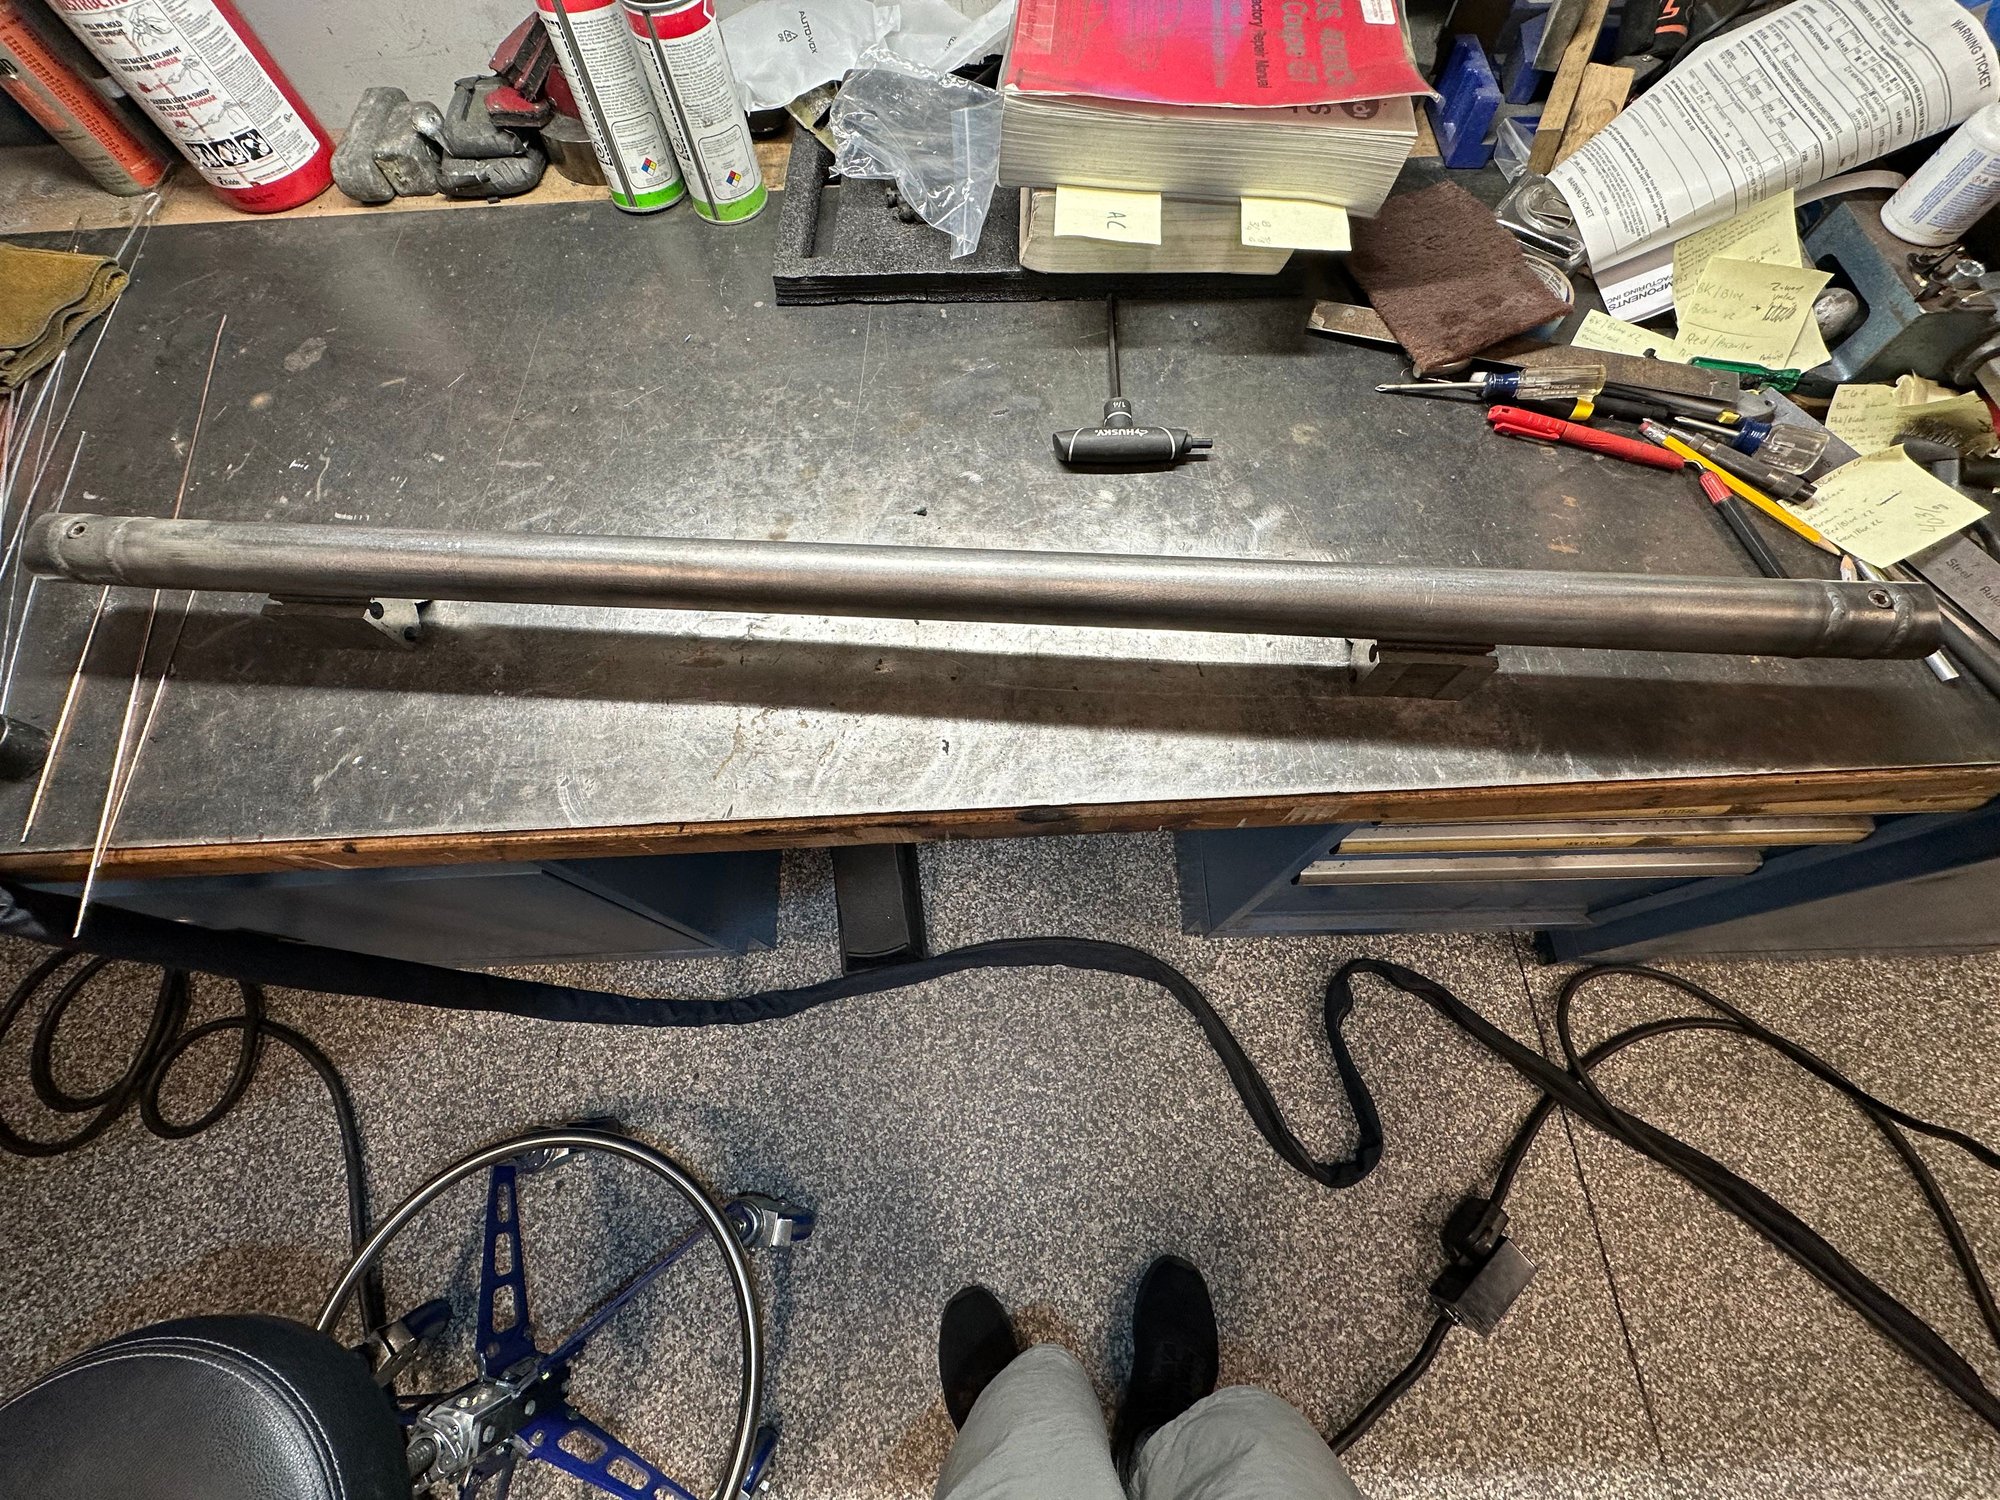
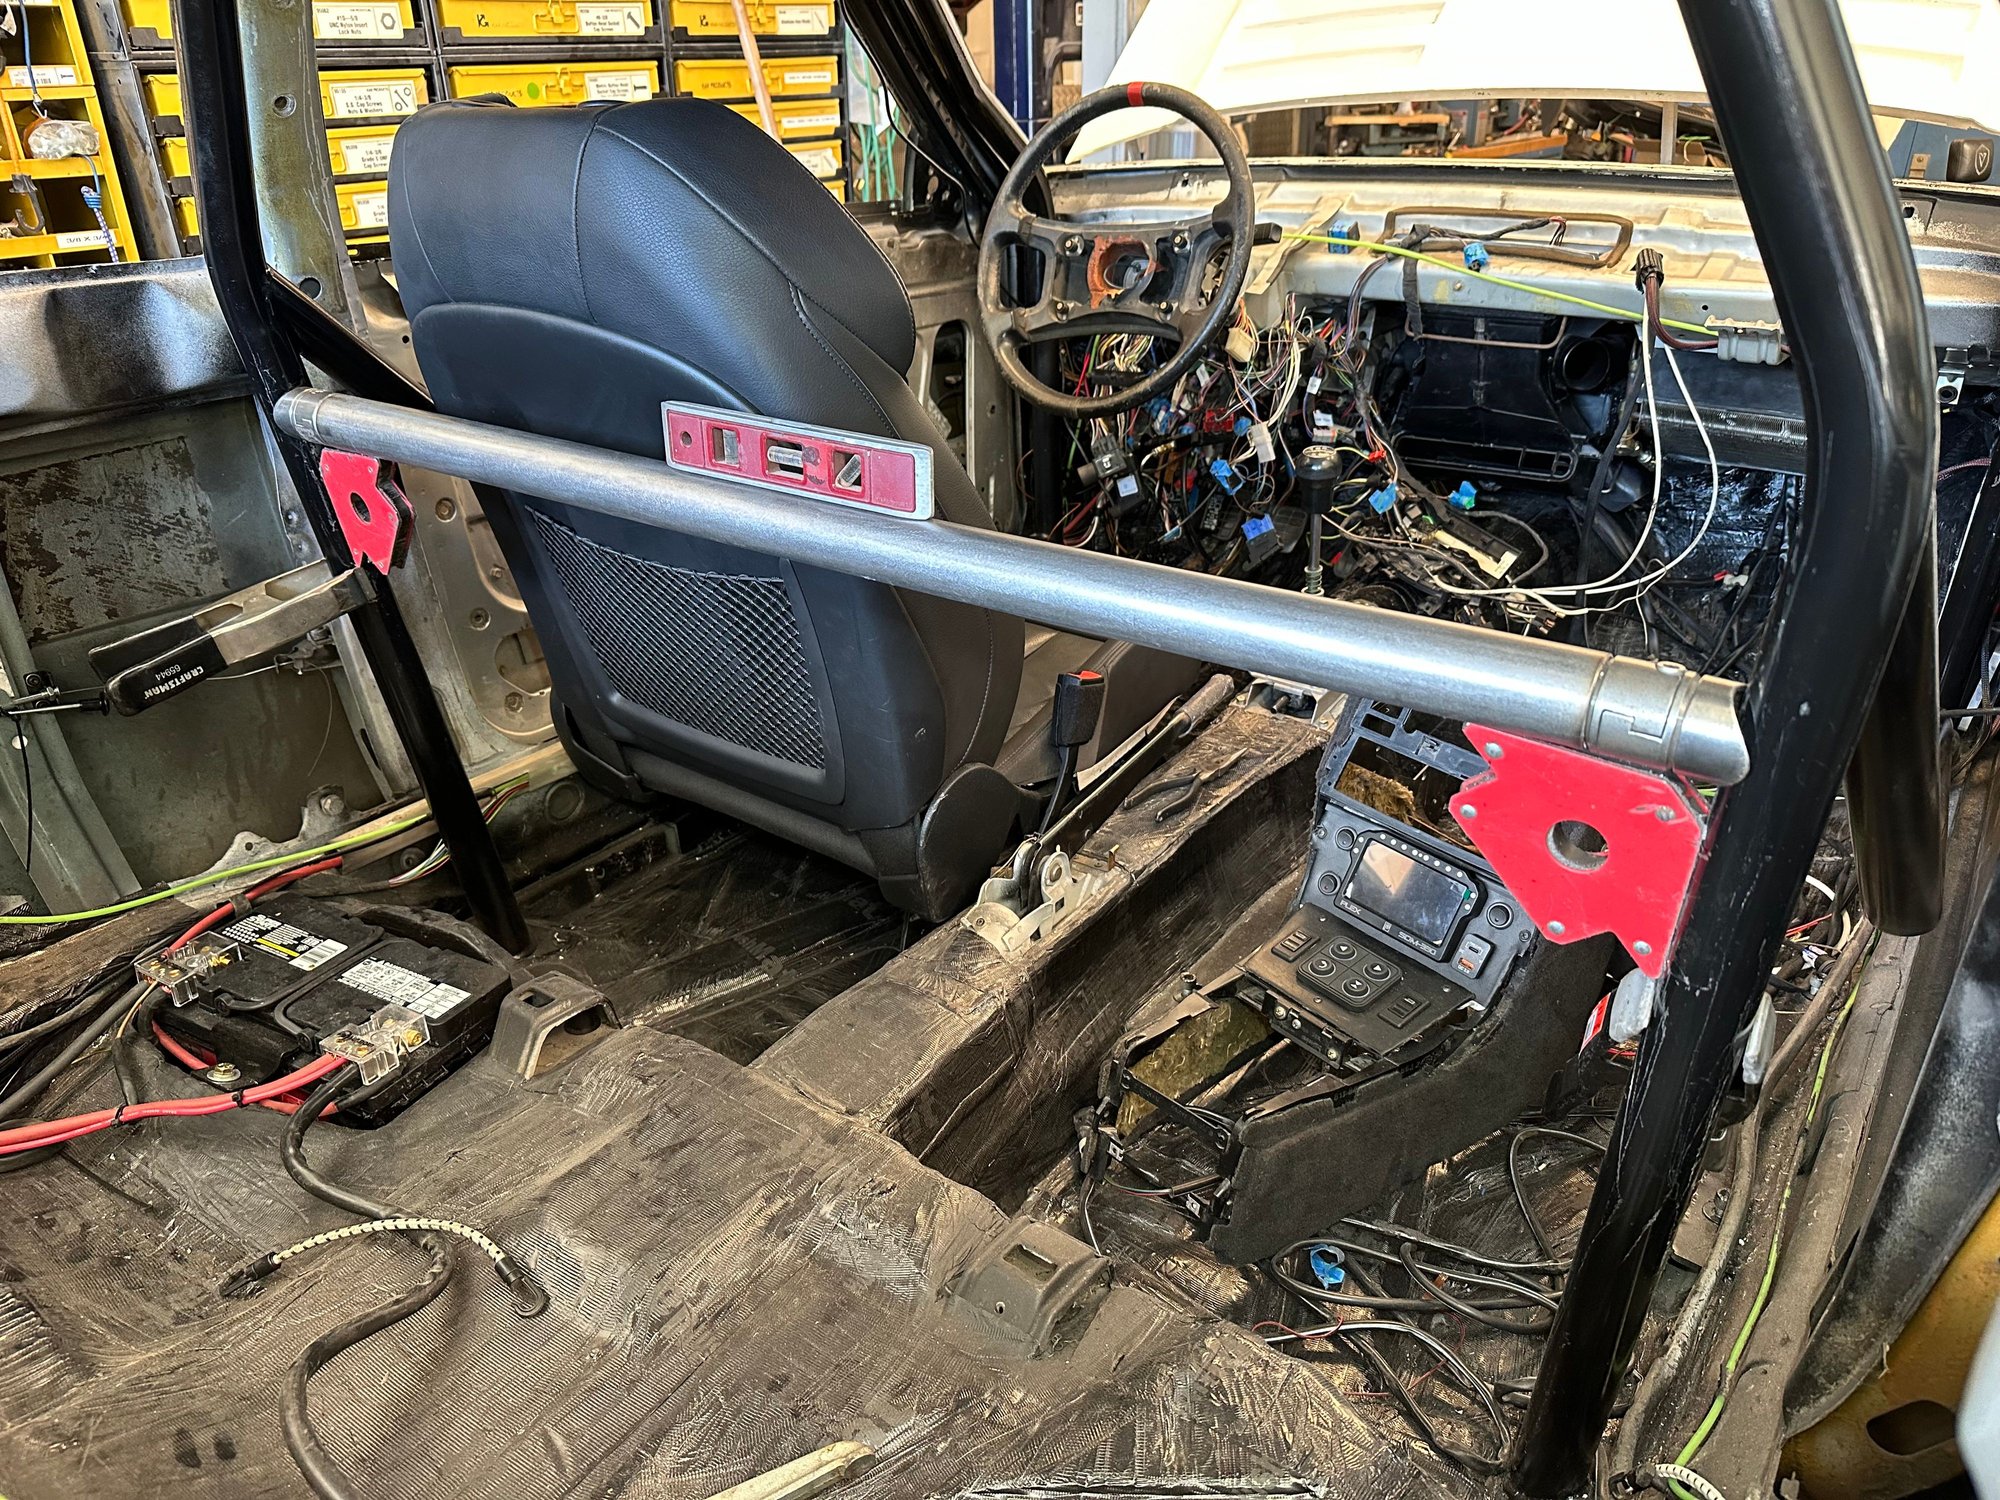
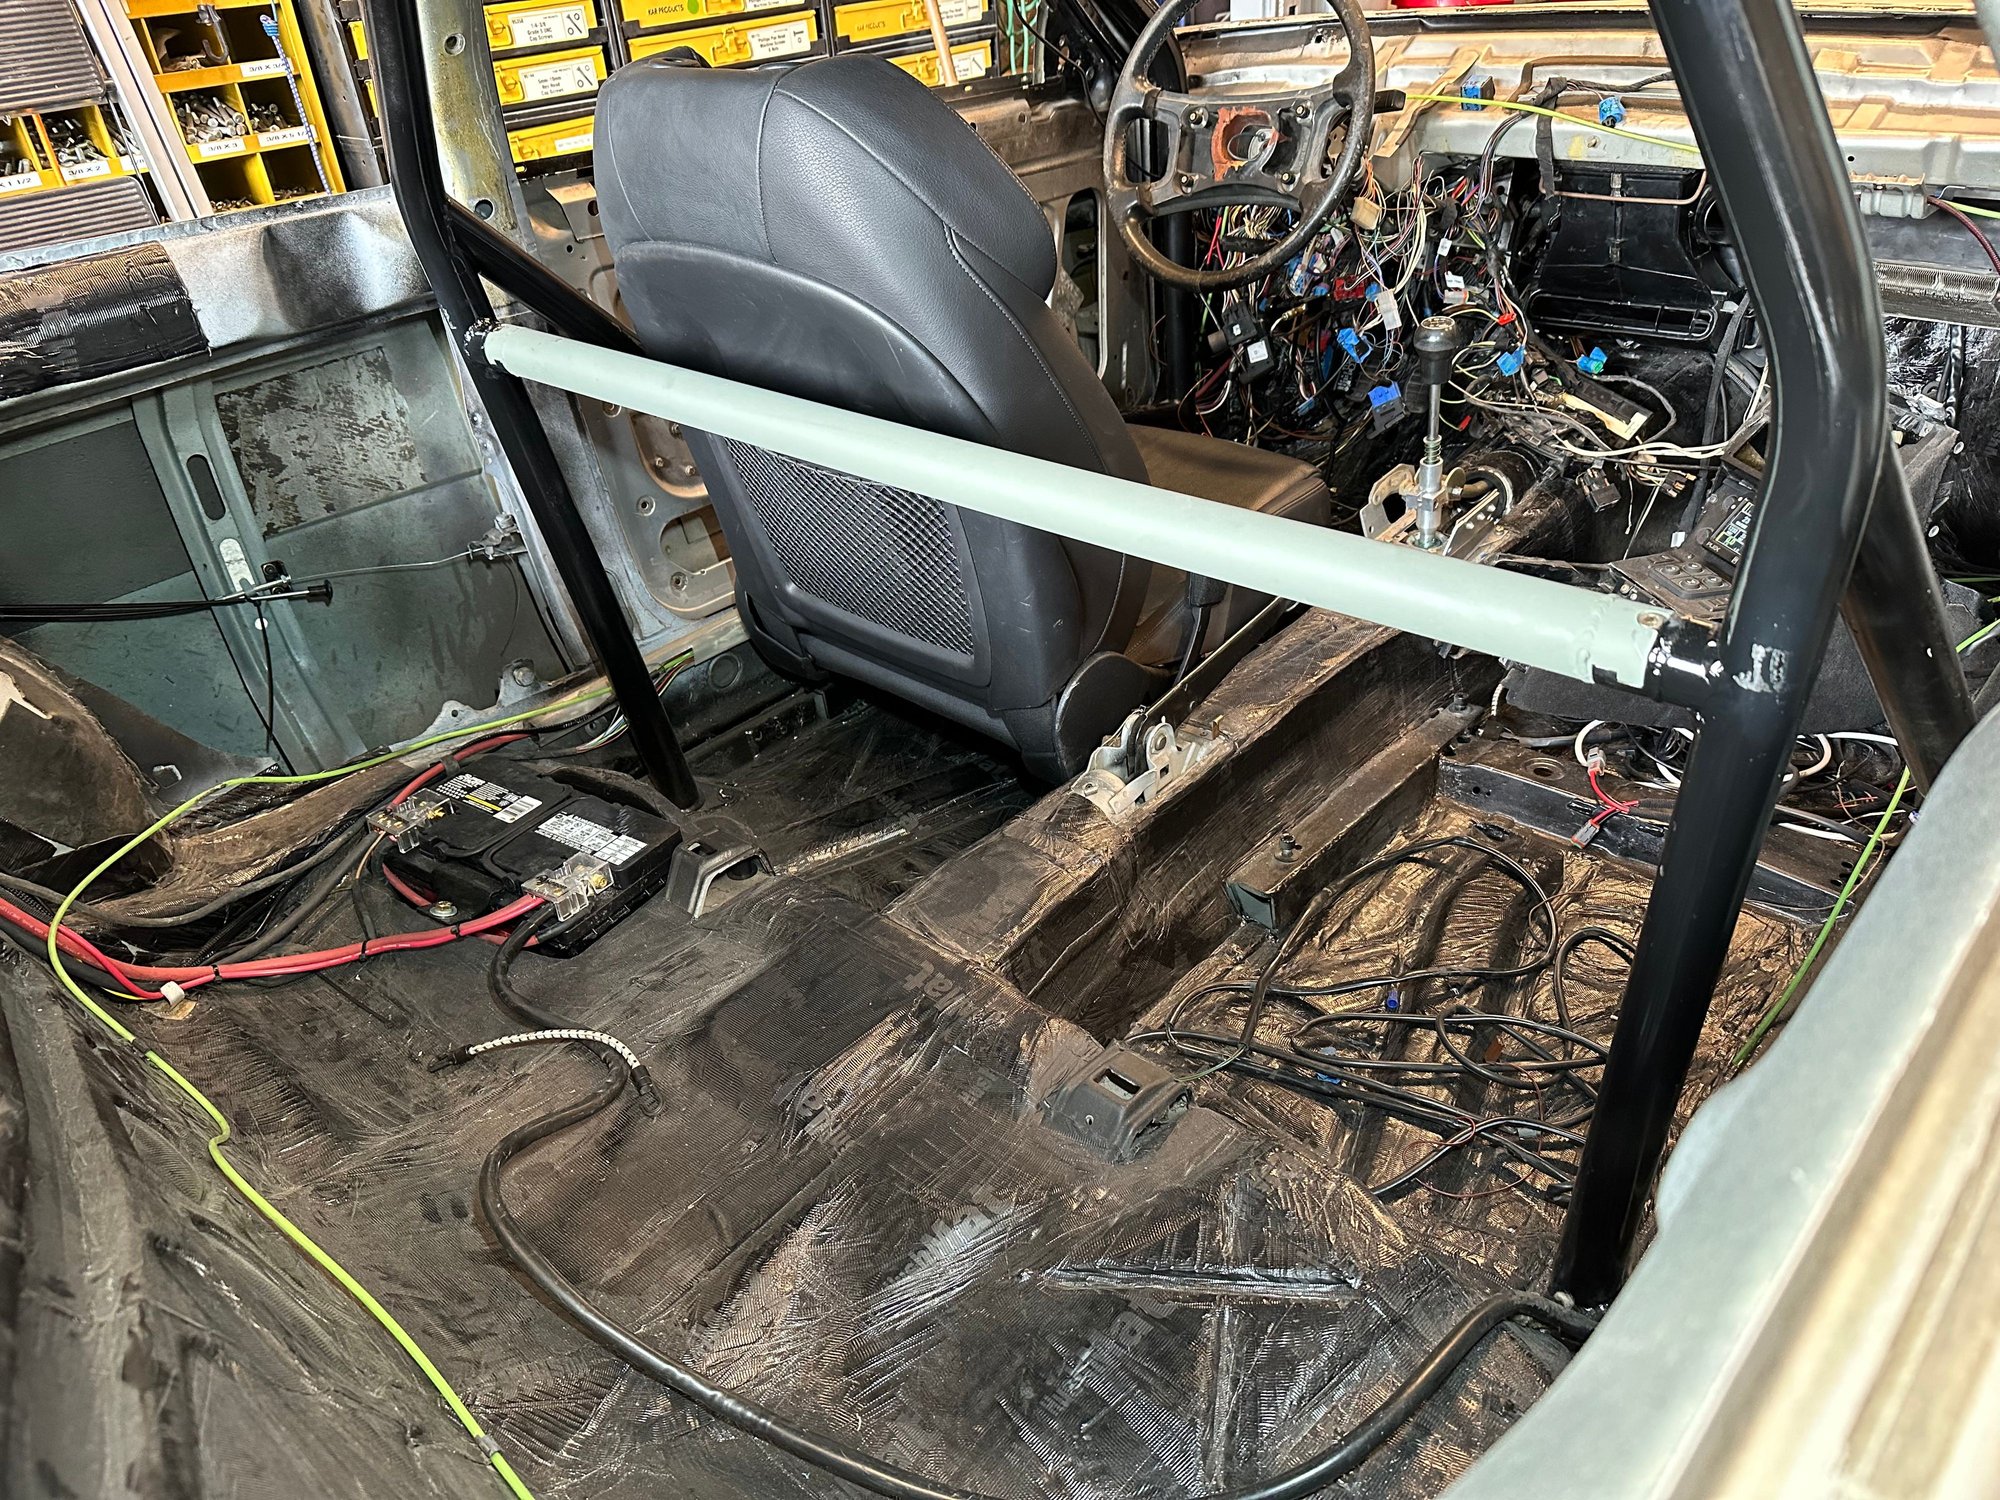
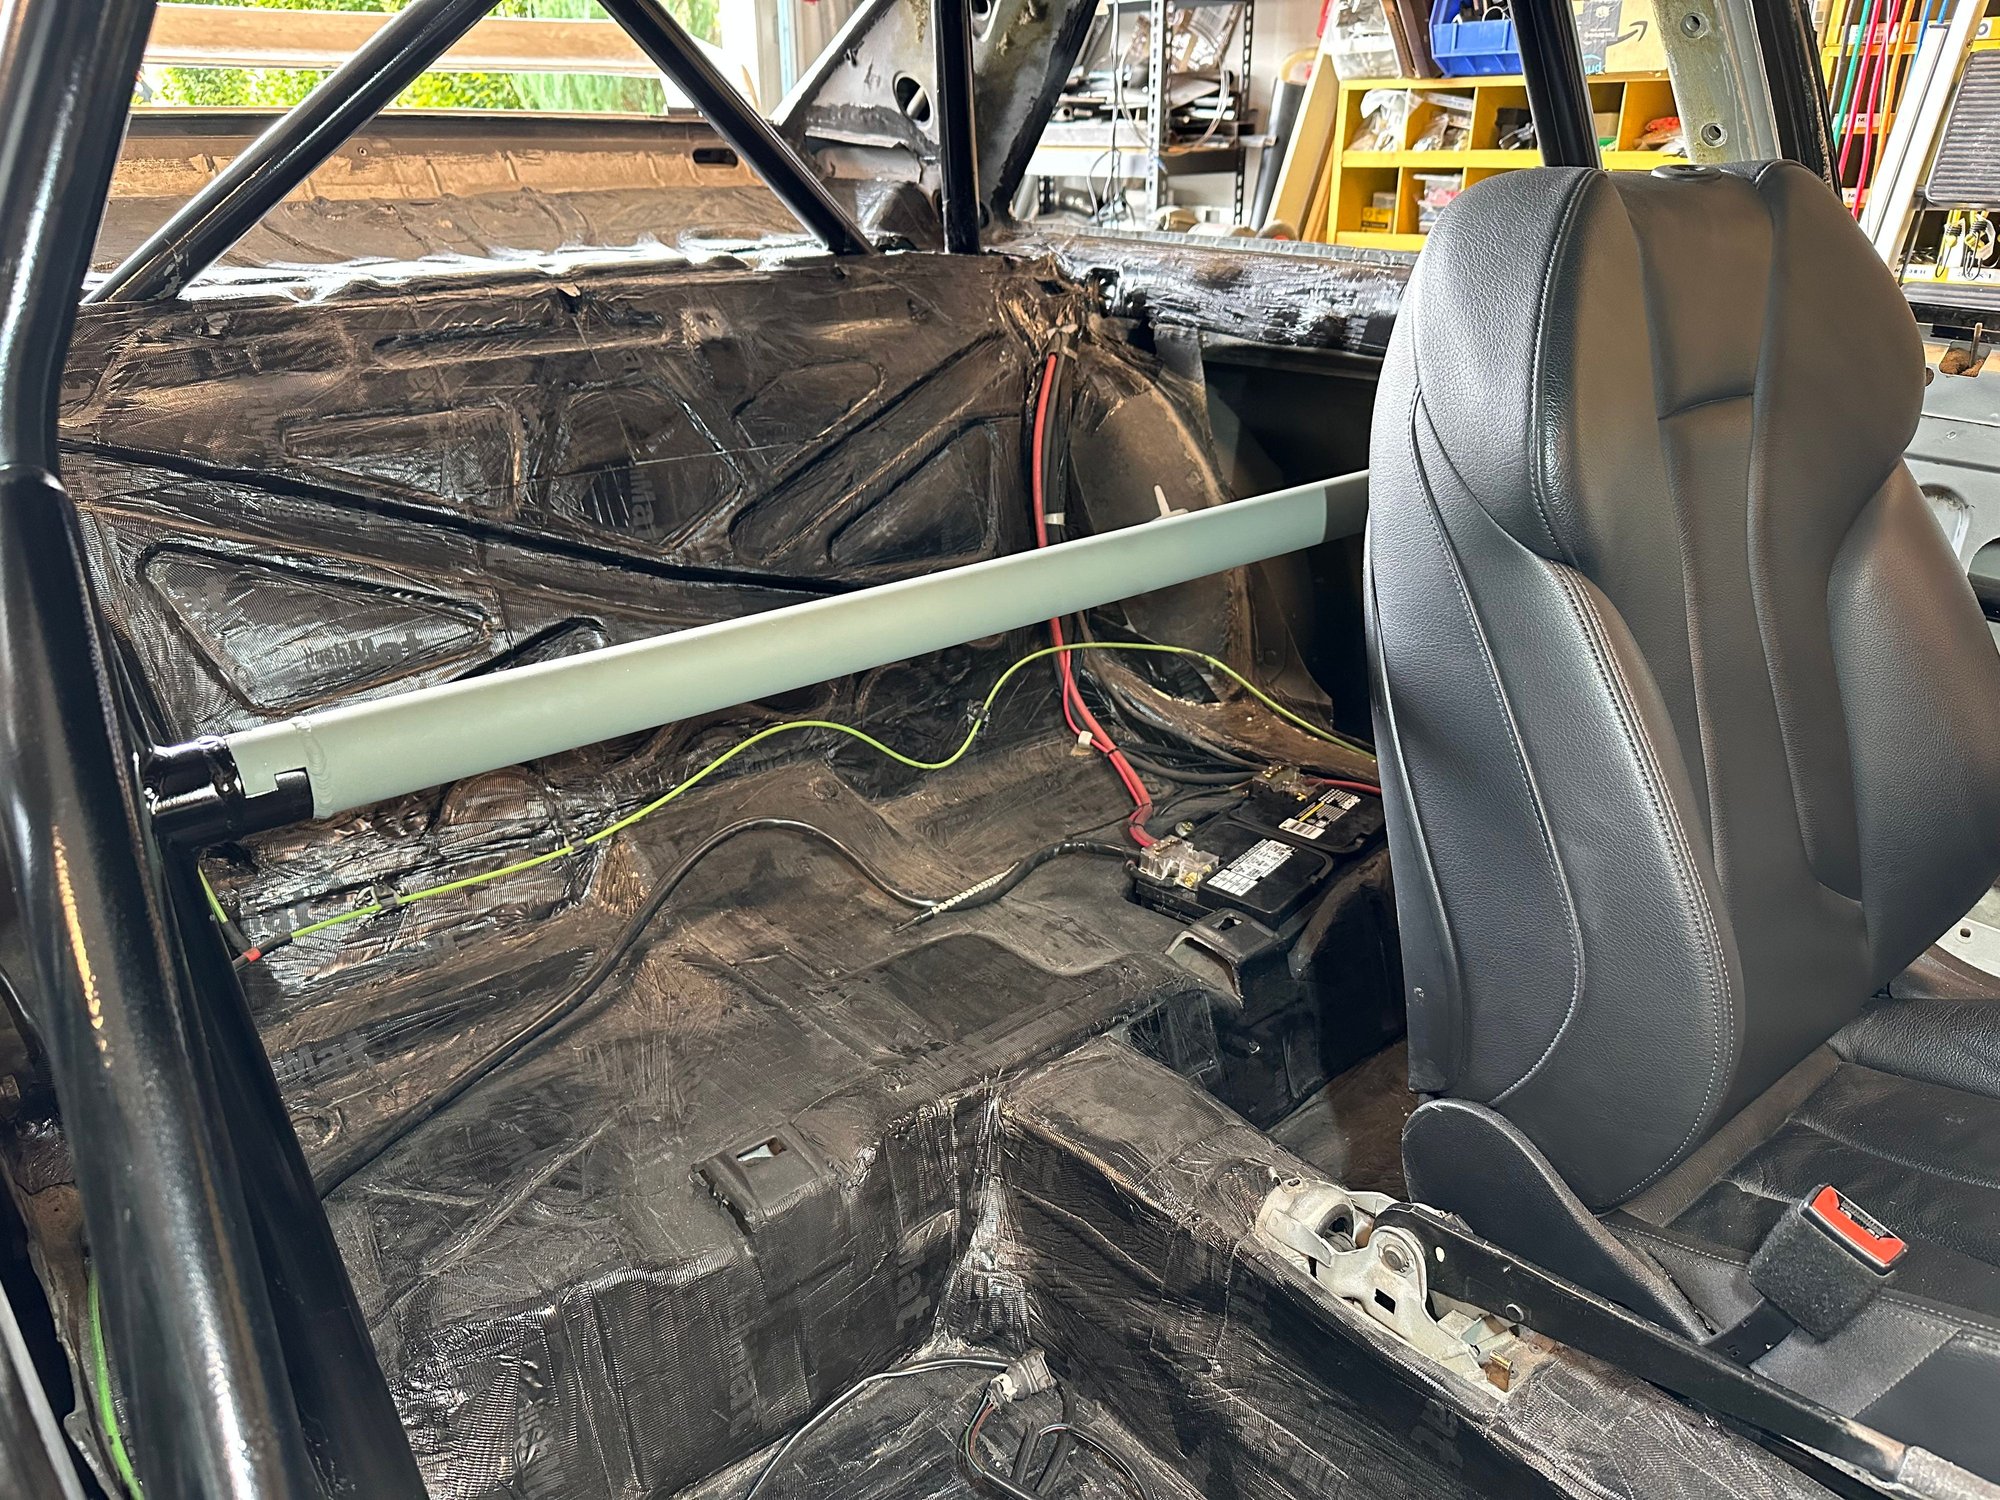
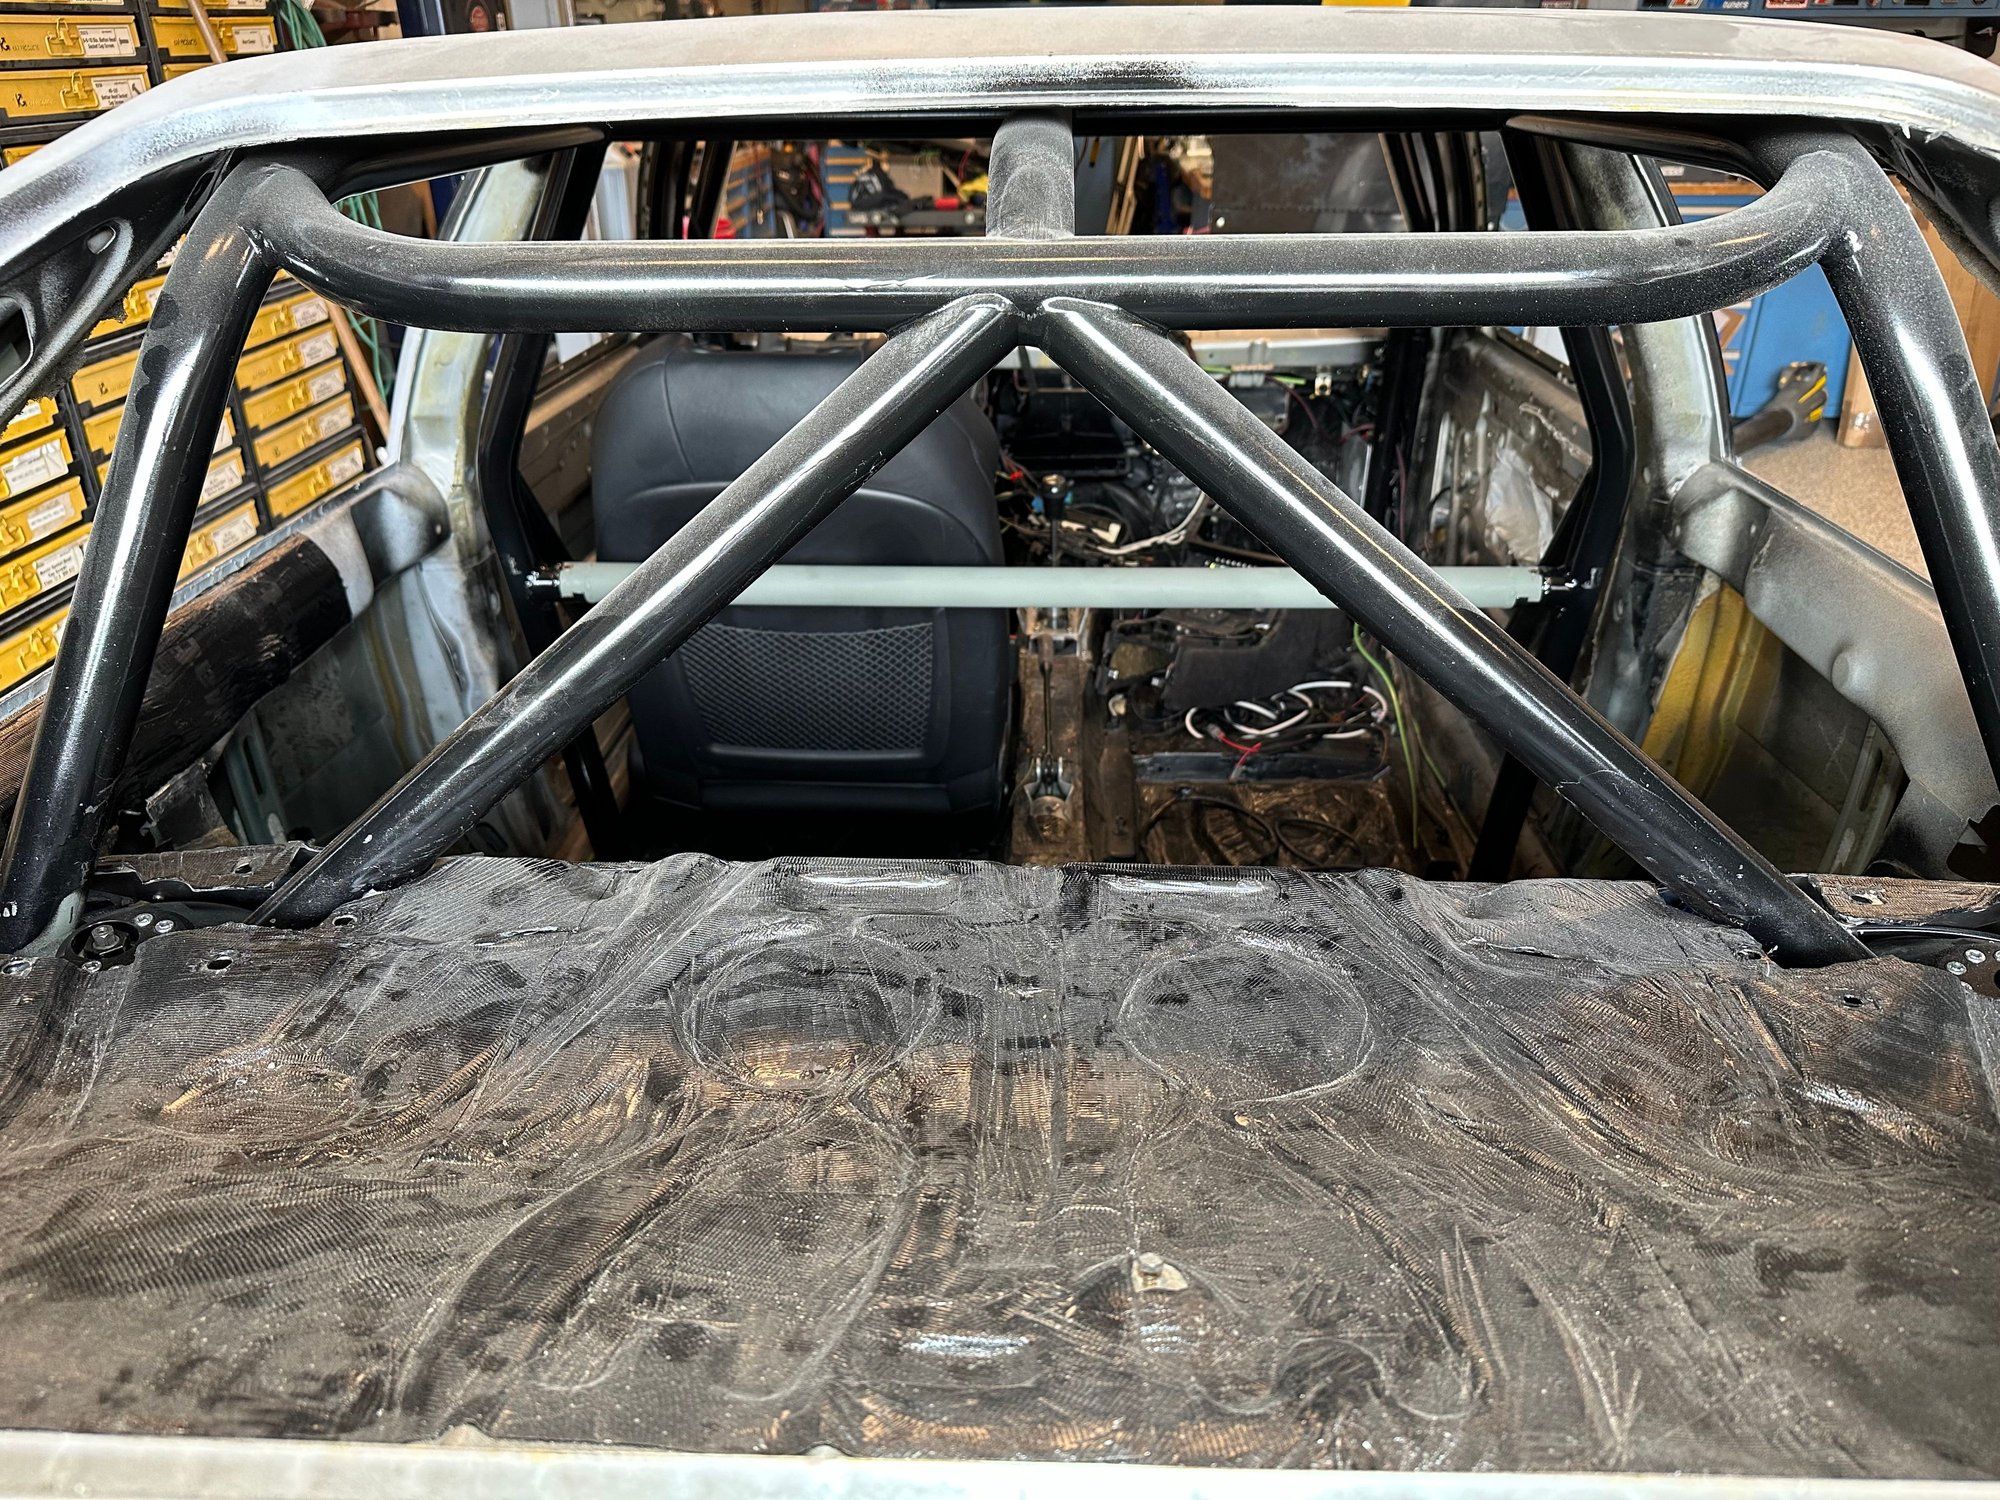
Made up a removable cross tube behind the front seats for racing seat belts. I used the (2) piece weld-in tube couplers. Just (2) allen bolts on each side and the tube comes right out if for some reason you want to use the rear seats. The roll cage and cross tube all will be wrapped in leather or something similar.

 09-08-2024 | 05:16 PM