Detailer's Domain: Audi RS6 Spring Clean up
 03-27-2009, 12:19 AM
#1
Addict
Rennlist
Site Sponsor
Rennlist
Site Sponsor
Thread Starter
The wife's daily driver. Unfortunately or fortunately it really has been cared for since November, busy schedule, illness, family, work you name it.....its strange though however bad the salt and snow was this season the crystal rock seemed to hold strong for the season.
So a good cleaning and polishing with a coat of wax was due, as well as a complete interior clean up, 1 6 year old and boy oh boy....
Interior:
Let's say you wouldn't know she was married to a detailer, again with the busy schedule /cold weather /illnesses well you know the deal.
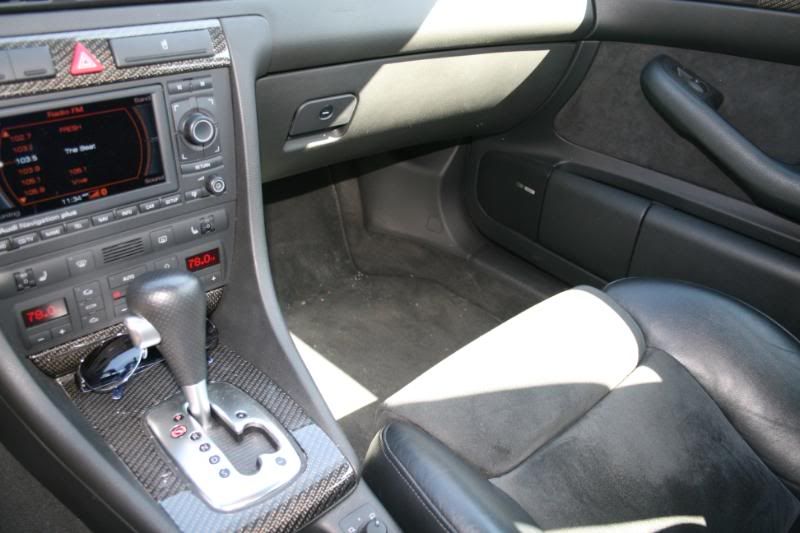
Interior:
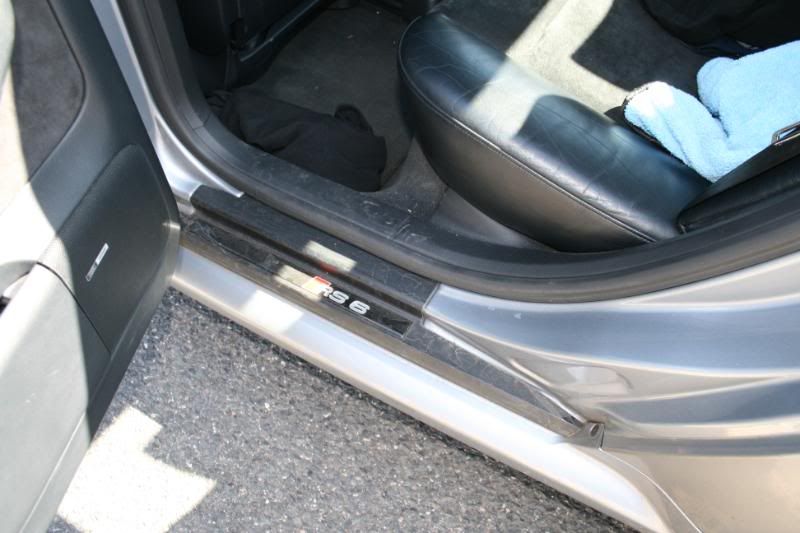
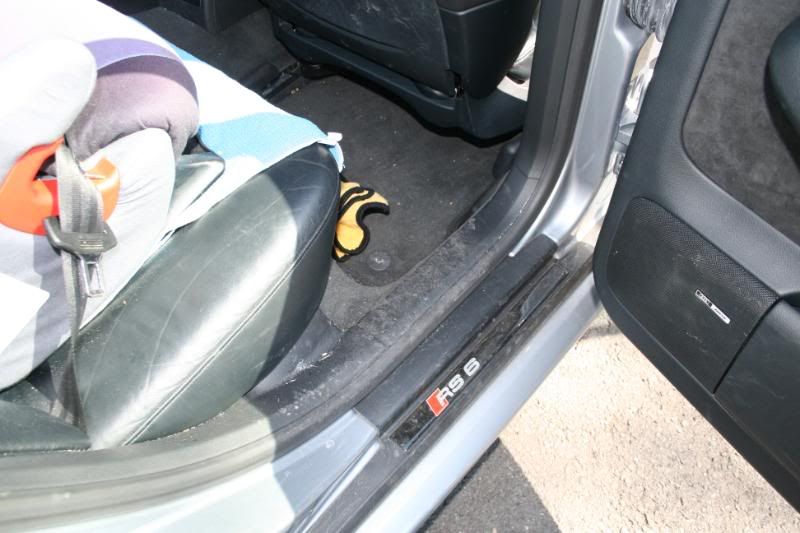
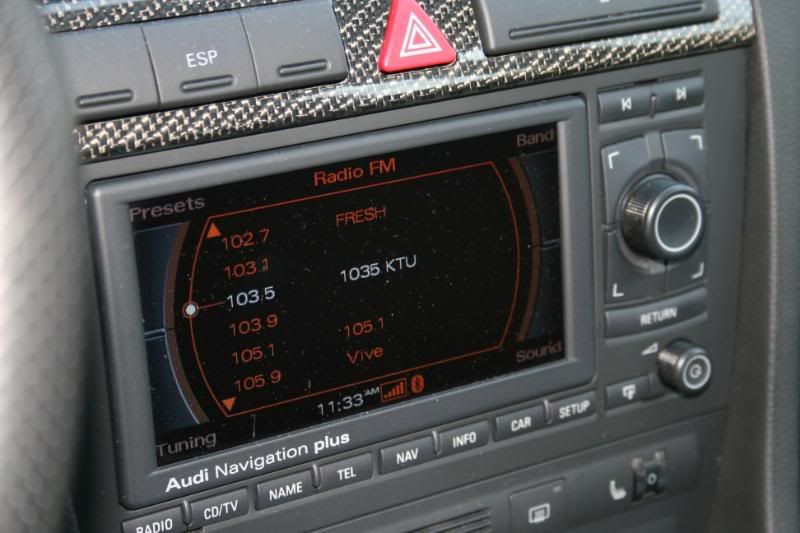
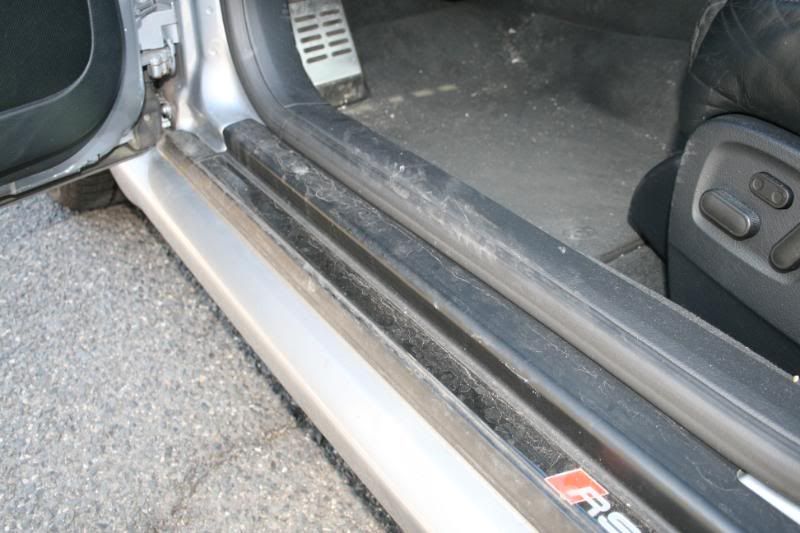
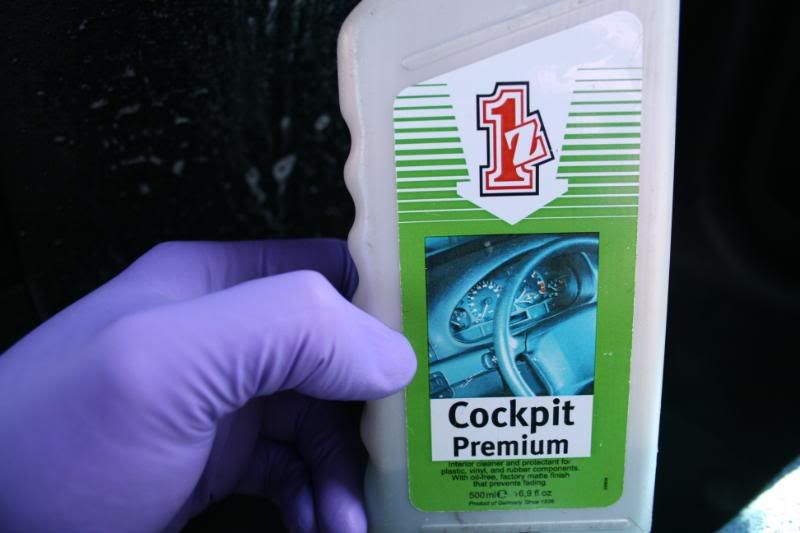
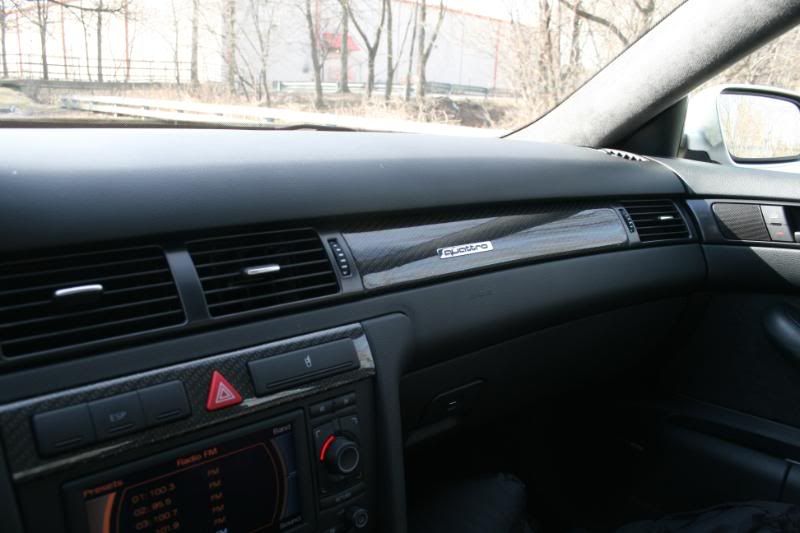
Full Vac, Einszett cockpit on the plastics, dash, nav screen, seat backs, even the plastic door sills covers.
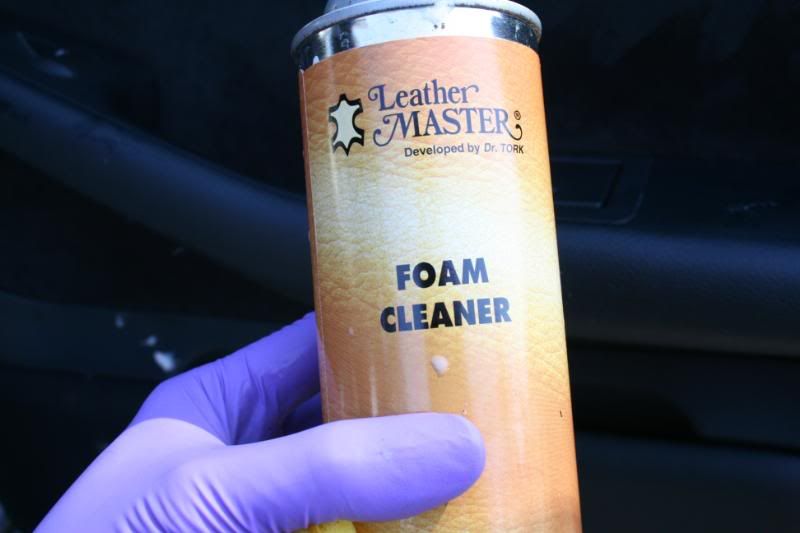
The leather of course Leather Master Strong cleaner/vital/protection, as for the alcantara inserts Leather Master Foam Cleaner and Leather Master Eco Nubuck Protector. (this cleaned it up and really brought it back to life.)
Windows with Adam's Glass cleaner and the Uber Glass MF.
Exterior:
The game plan for the rest of the car was a good wash, clay, polish, and wax.
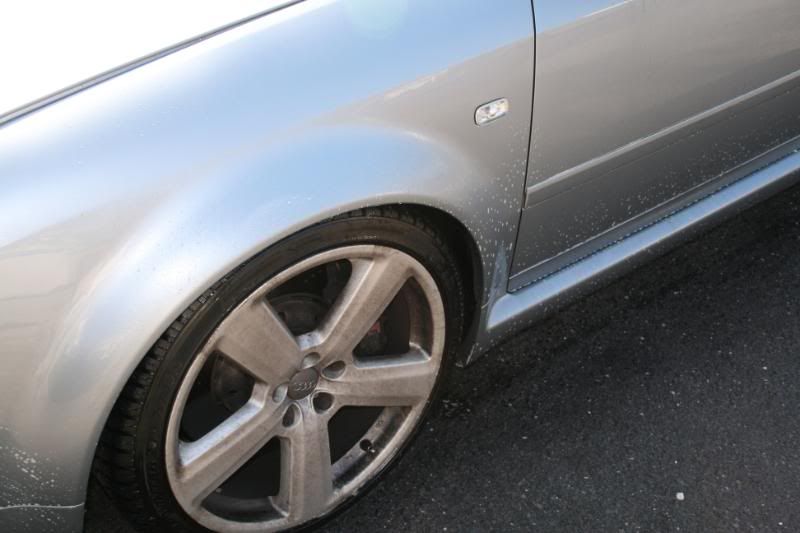
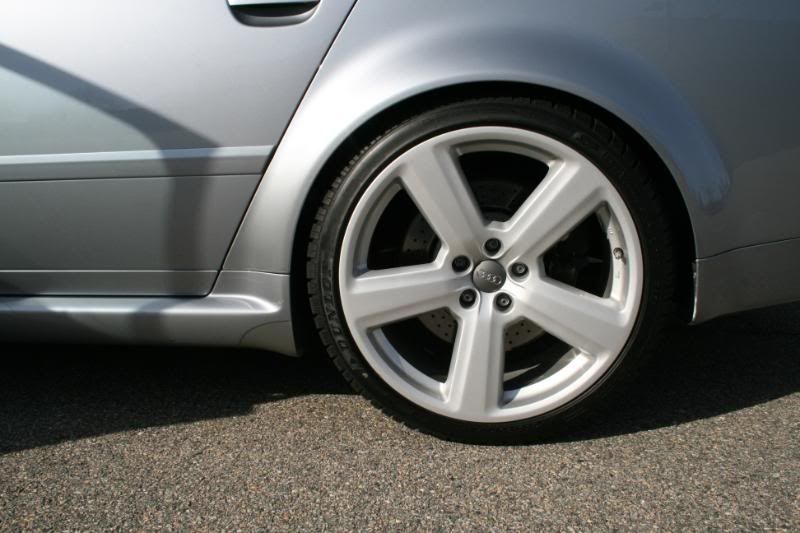
I started with a spraying a generous amount ofP21S Wheel Cleaner on the wheels, let them sit.
P21S Total autowash as a pre-soak on the body of the car, wheel wells, tires, as well the
engine.
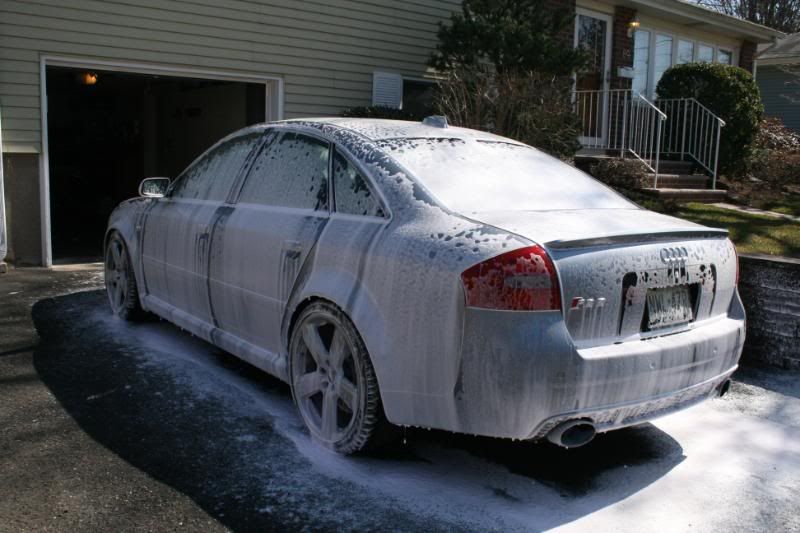
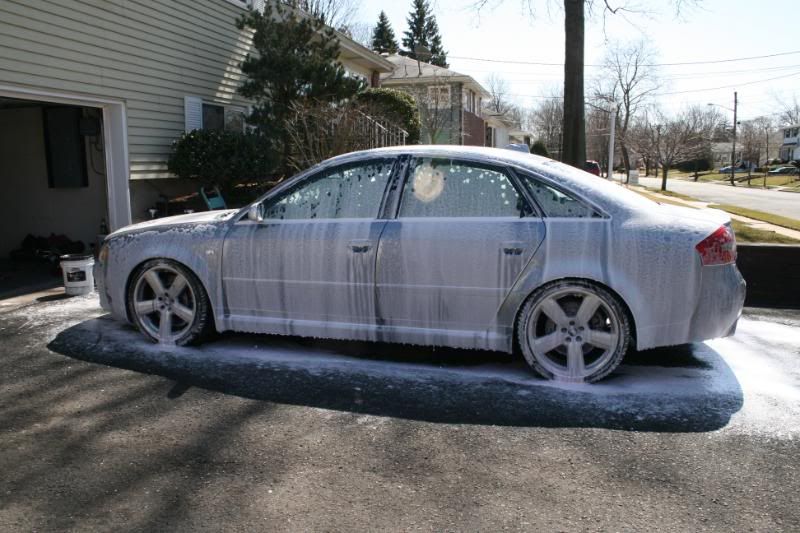
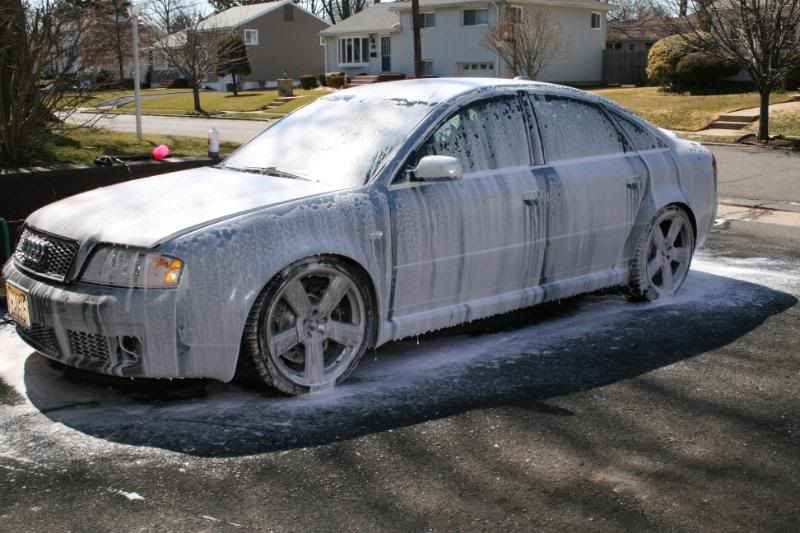
After we used Adam's Car Wash in the foam canon to clean off the rest of the car.
Rinsed the car down with the pressure washer. This cleaned up a ton of salt and debris.
I actually went back and washed the car with a bucket full of Adam's Car Wash and an Uber Yellow Sponge and did a traditional wash to remove anything else.
Claying: To my surprise it didn't need much, just the typically spots like the rear of the trunk, bumpers, and top (trunk, hood, roof, lower panels) nothing too crazy.
Uber Blue Clay bar and Optimum Instant Detail Spray and Gloss Enhancer was used as a clay lube.
We then moved on to Menzerna PO203 with an Uber Green Pad, worked out great spread the polish at 900 rpm with the Makita and moved right up to 1500 rpms it did a great job!
Wiped down the panels after the 203 with Menzerna Top Inspection then moved on to Menzerna PO85RD and the Uber Blue Pad to finish. After the final polish I did another wipe down with Top inspection.
Swissvax Concorso was applied and removed, the next day I applied another coat.
Below are the tools and products used:
Exterior:
Adam's Car Wash
Uber Blue Clay Bar and Optimum Instant Detail Spray and Gloss Enhancer for clay lube
The Uber Menzerna PO203S/PO85RD Kit
Menzerna Top Inspection
Swissvax Concorso
Wheels and Tires
Uber Wheel/Tire/Wheel Well Kit
Interior and Glass
Uber Interior Kit
For the alcantara:
Leather Master Foam Cleaner
Leather Master Eco Nubuck Protector
Engine:
P21S Total Autowash
Black Wow (on covers and plastics)
Einszett Vinyl and Rubber Care (rubber etc)
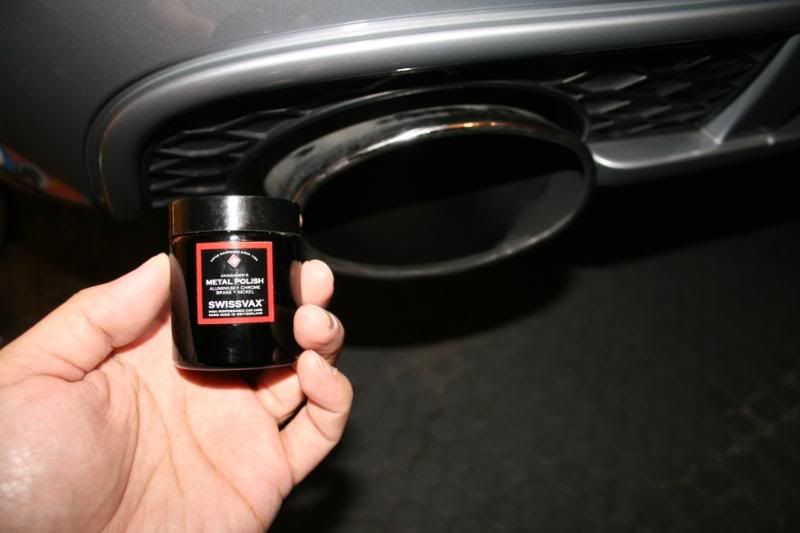
Exhaust tips:
Swissvax Metal Polish
Tools:
Makita 9227 Hi Speed Rotary
The Uber Foam Pads (5.5inch)
Tons of "Uber" Microfiber Towels
Uber Drying Towels
Cam Spray 1500A with Cam Spray Foam Gun
Infratech CM5300
Now to the pictures...
Since it was still early in the morning and cold I decided to go for the interior first.
Before:
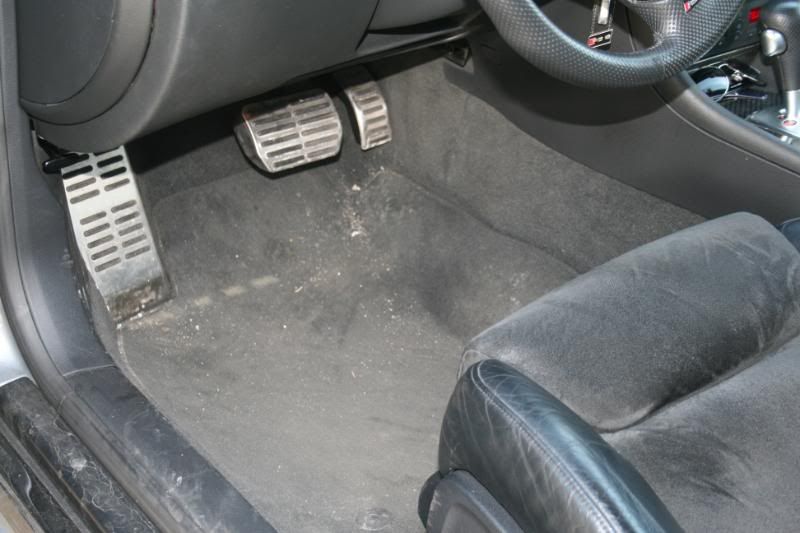
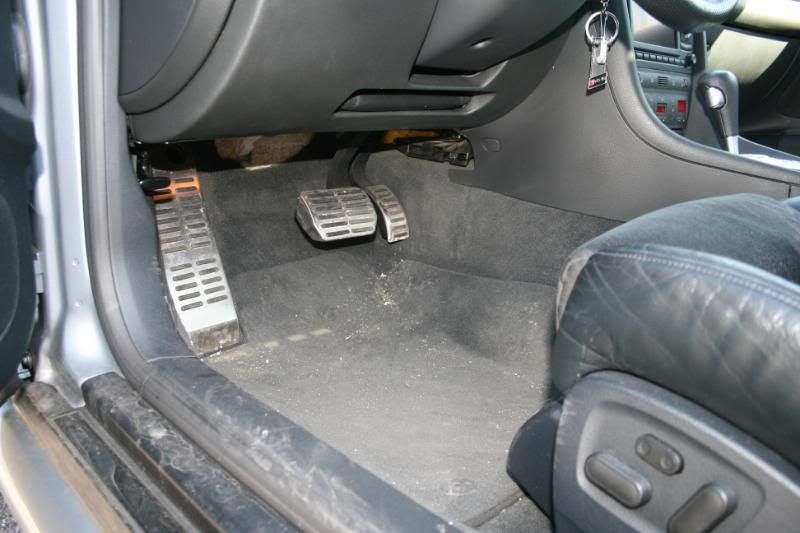
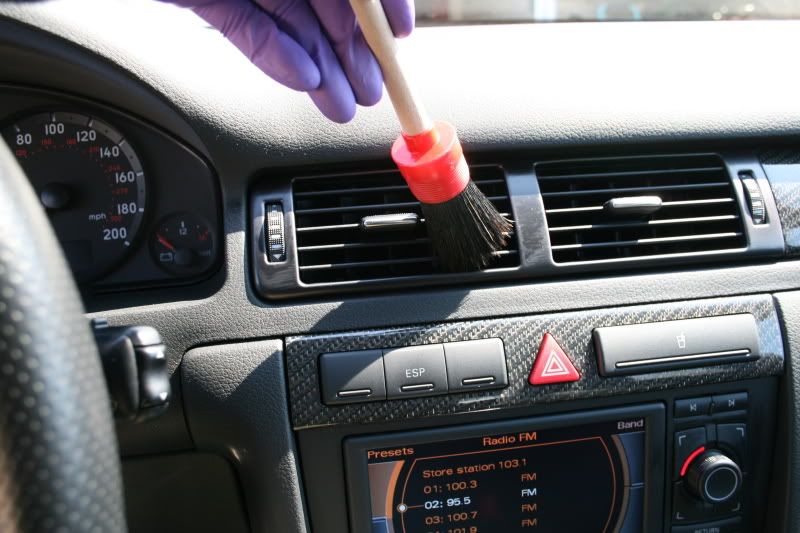
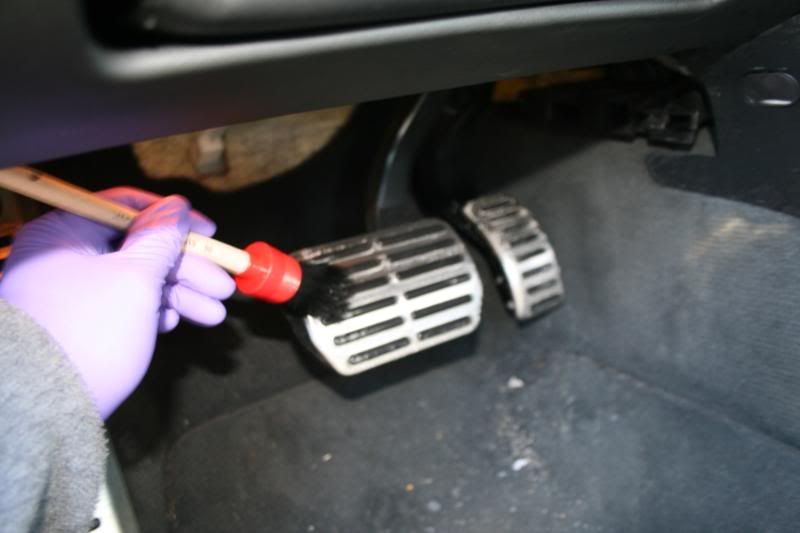
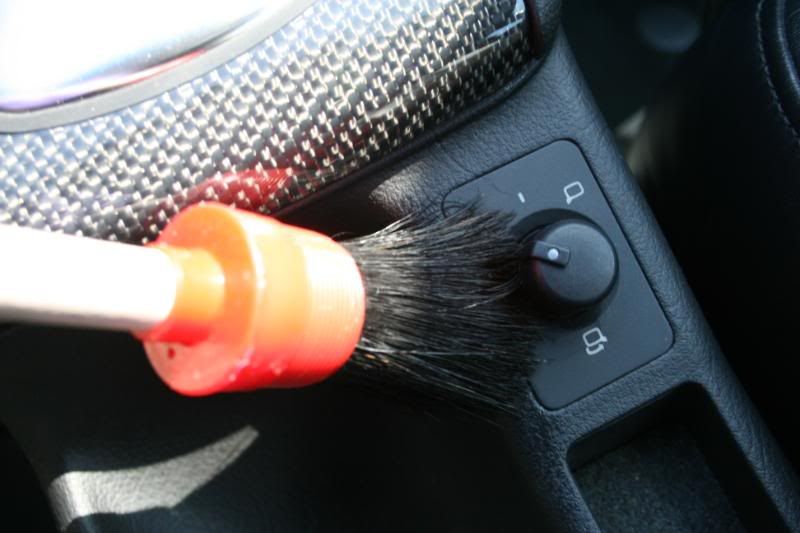
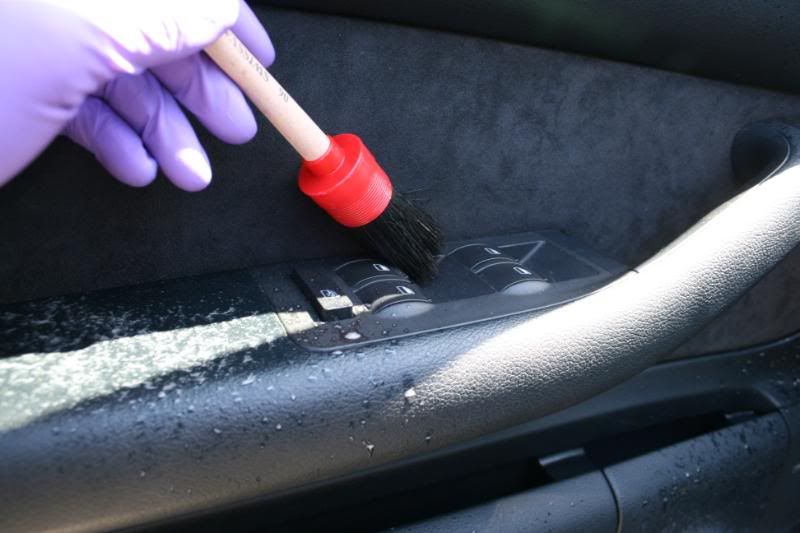
Cleaning the interior up with vac, brushes, Einszett Cockpit
Some before and after interior shots:
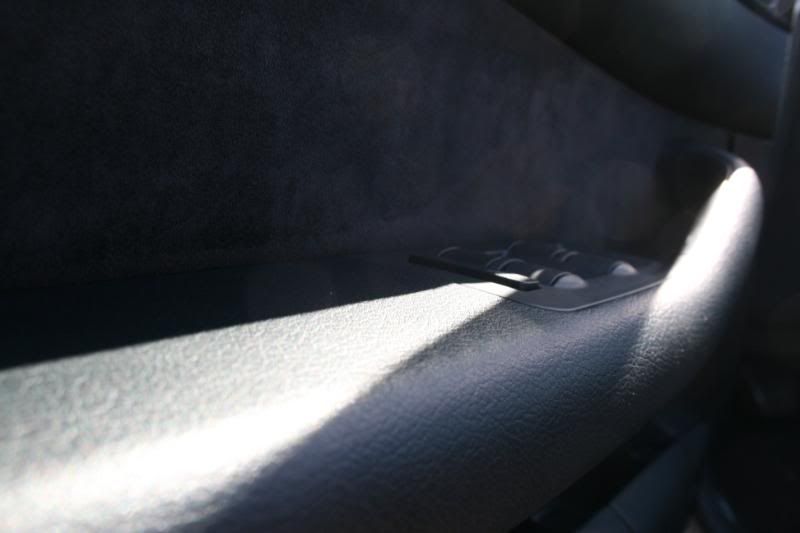
After a nice cleaning with Cockpit
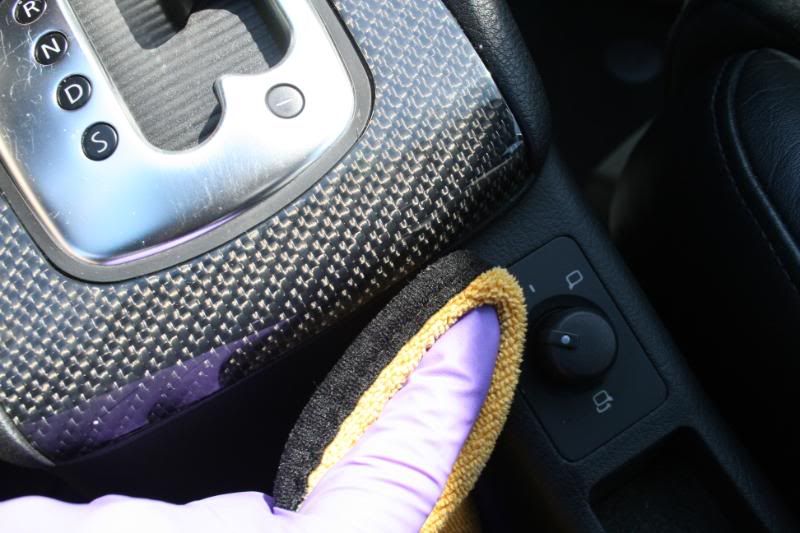
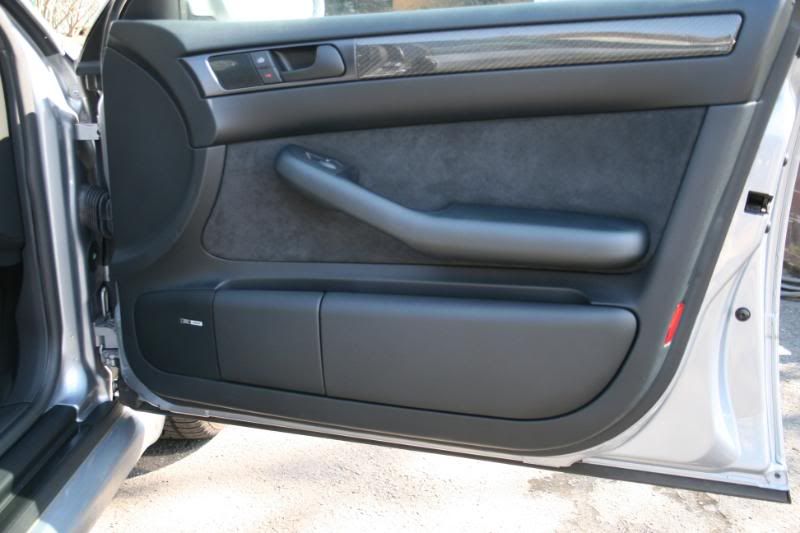
Driver's door armrest:
Before:
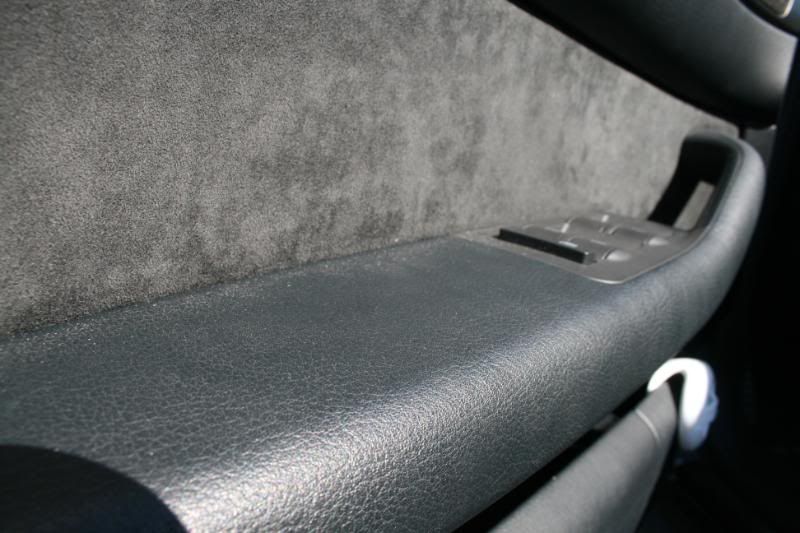
During:
After:
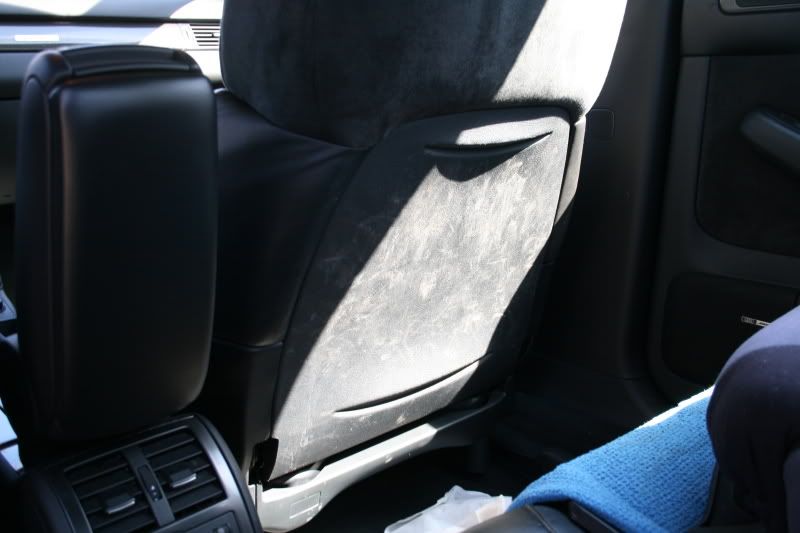
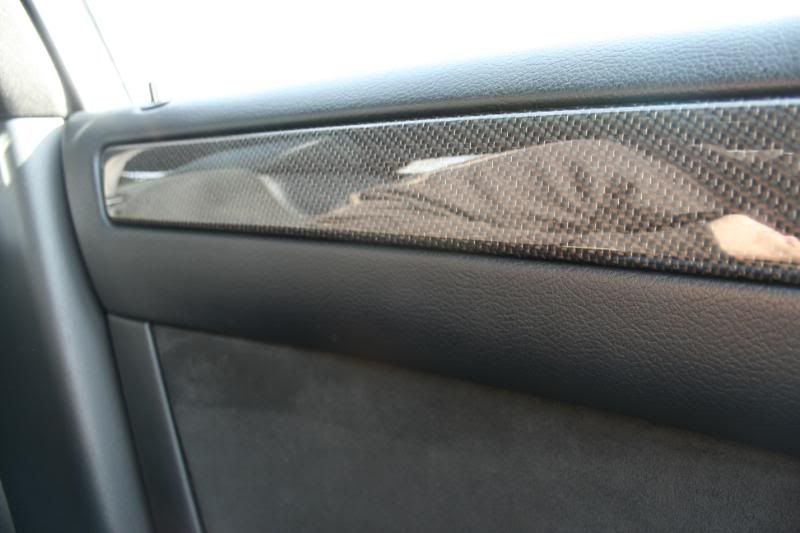
The alcantara clean up and protection process.
before (the white crusty stuff comes out or a 6 yr old's nose)
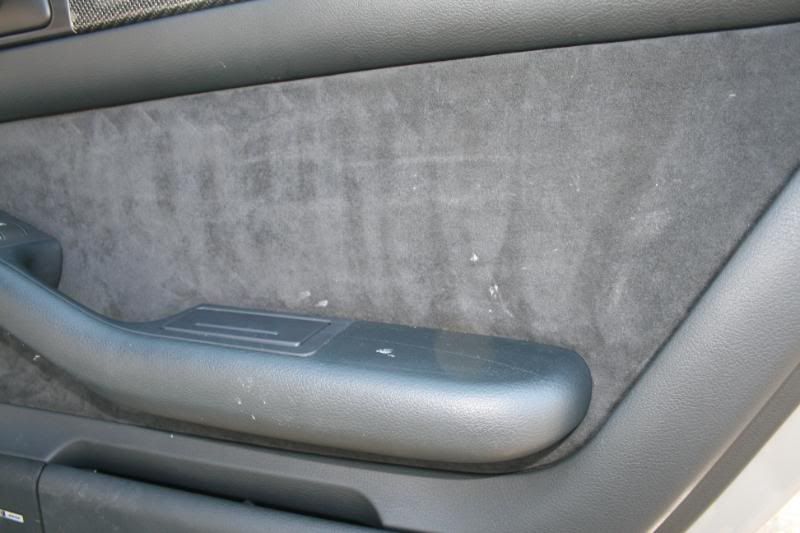
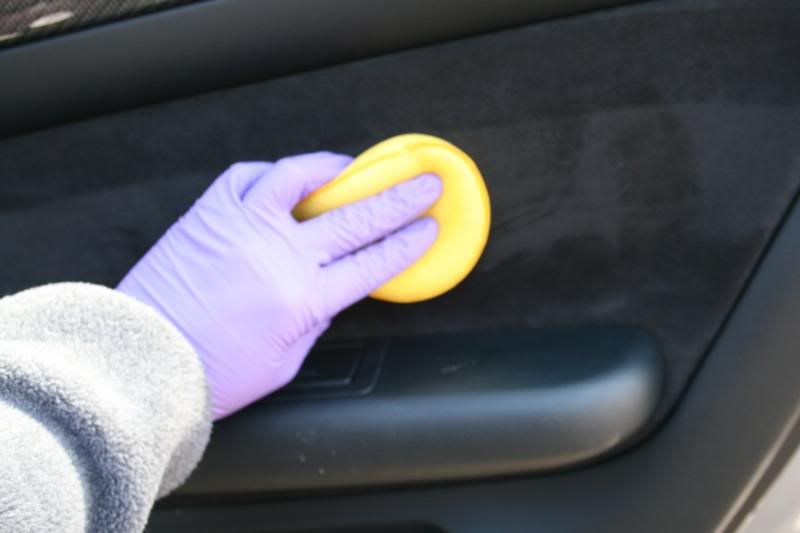
the first step was to vac it out then in the pics below the Leather Master Foam Cleaner was used with a damp applicator pad and Foam Cleaner was applied directly on the app pad. In circular motions the product was applied, then let dried.
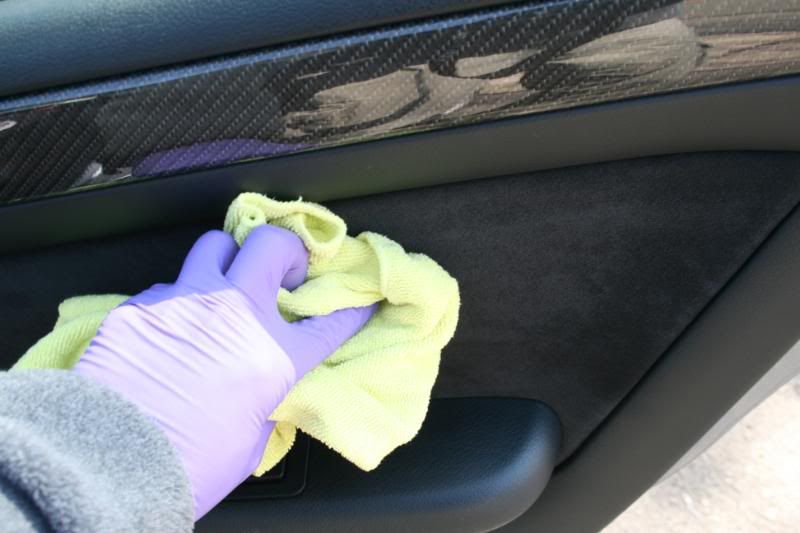
The mf towel was used to wipe off excess and to assist the drying process
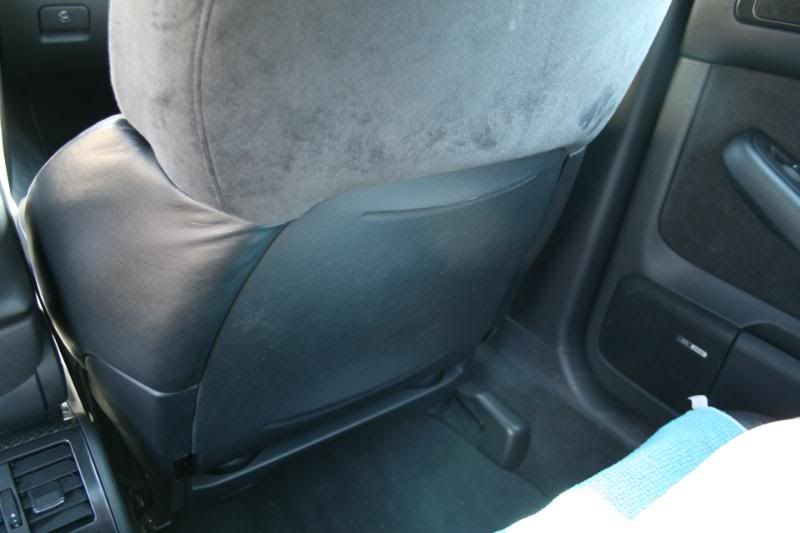
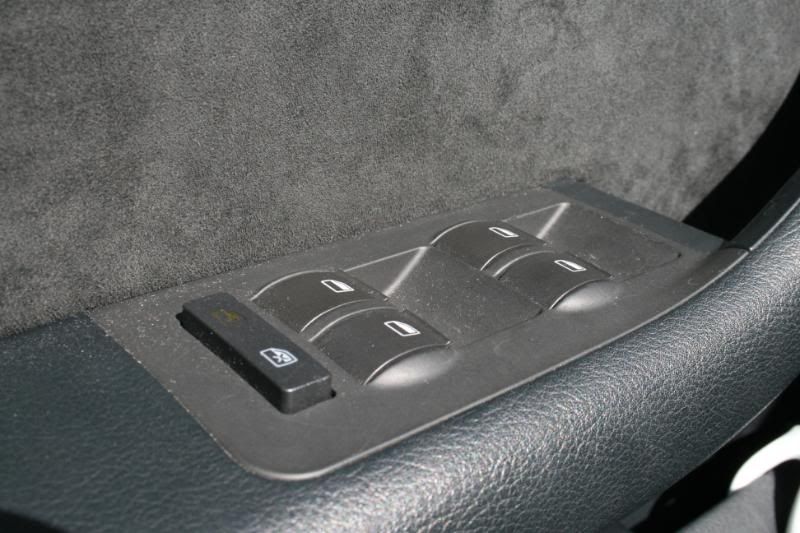
Door panel was cleaned and protected
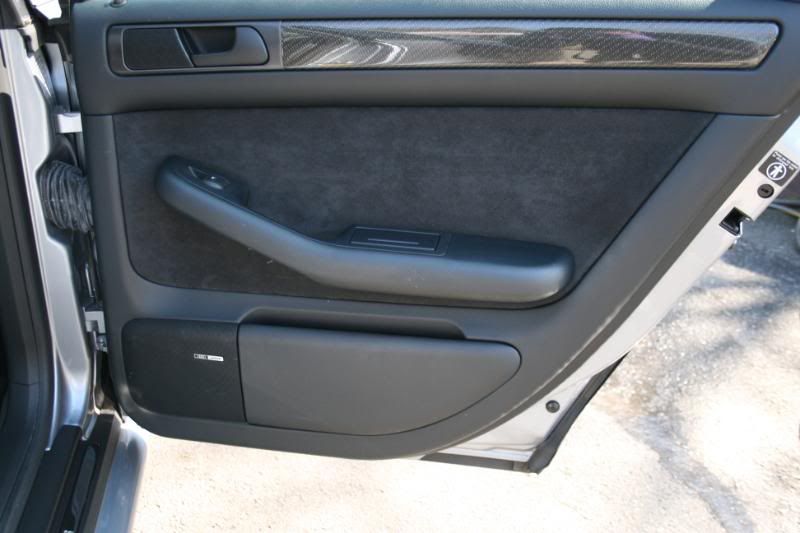
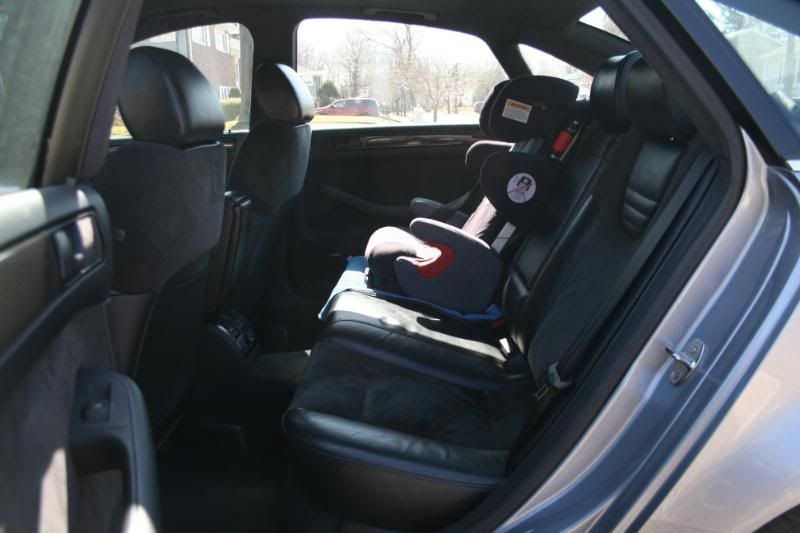
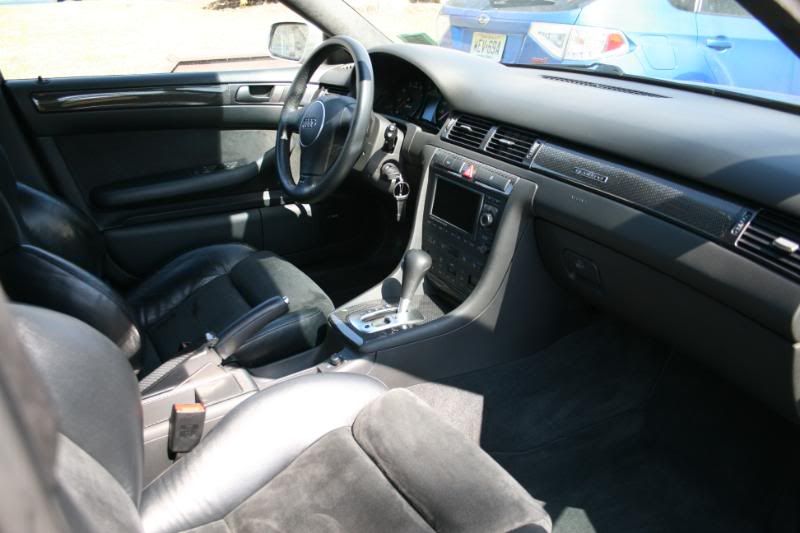
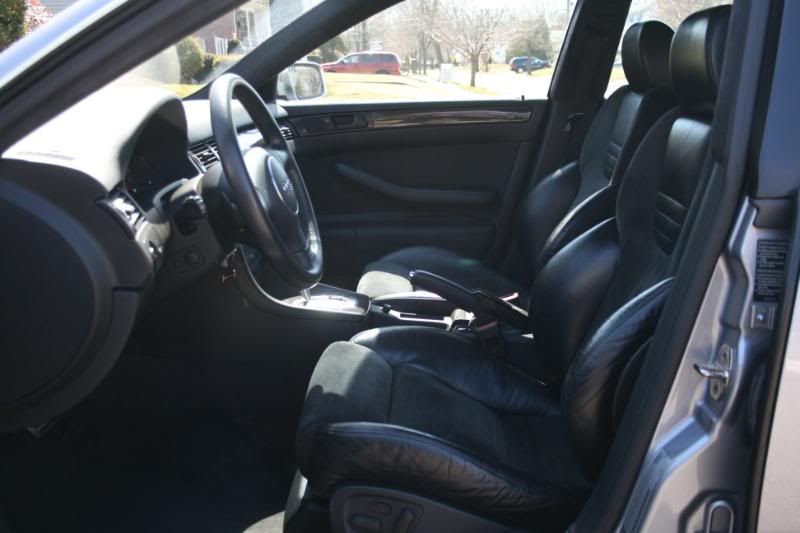
After interior shots:

So a good cleaning and polishing with a coat of wax was due, as well as a complete interior clean up, 1 6 year old and boy oh boy....
Interior:
Let's say you wouldn't know she was married to a detailer, again with the busy schedule /cold weather /illnesses well you know the deal.
Interior:
Full Vac, Einszett cockpit on the plastics, dash, nav screen, seat backs, even the plastic door sills covers.
The leather of course Leather Master Strong cleaner/vital/protection, as for the alcantara inserts Leather Master Foam Cleaner and Leather Master Eco Nubuck Protector. (this cleaned it up and really brought it back to life.)
Windows with Adam's Glass cleaner and the Uber Glass MF.
Exterior:
The game plan for the rest of the car was a good wash, clay, polish, and wax.
I started with a spraying a generous amount ofP21S Wheel Cleaner on the wheels, let them sit.
P21S Total autowash as a pre-soak on the body of the car, wheel wells, tires, as well the
engine.
After we used Adam's Car Wash in the foam canon to clean off the rest of the car.
Rinsed the car down with the pressure washer. This cleaned up a ton of salt and debris.
I actually went back and washed the car with a bucket full of Adam's Car Wash and an Uber Yellow Sponge and did a traditional wash to remove anything else.
Claying: To my surprise it didn't need much, just the typically spots like the rear of the trunk, bumpers, and top (trunk, hood, roof, lower panels) nothing too crazy.
Uber Blue Clay bar and Optimum Instant Detail Spray and Gloss Enhancer was used as a clay lube.
We then moved on to Menzerna PO203 with an Uber Green Pad, worked out great spread the polish at 900 rpm with the Makita and moved right up to 1500 rpms it did a great job!
Wiped down the panels after the 203 with Menzerna Top Inspection then moved on to Menzerna PO85RD and the Uber Blue Pad to finish. After the final polish I did another wipe down with Top inspection.
Swissvax Concorso was applied and removed, the next day I applied another coat.
Below are the tools and products used:
Exterior:
Adam's Car Wash
Uber Blue Clay Bar and Optimum Instant Detail Spray and Gloss Enhancer for clay lube
The Uber Menzerna PO203S/PO85RD Kit
Menzerna Top Inspection
Swissvax Concorso
Wheels and Tires
Uber Wheel/Tire/Wheel Well Kit
Interior and Glass
Uber Interior Kit
For the alcantara:
Leather Master Foam Cleaner
Leather Master Eco Nubuck Protector
Engine:
P21S Total Autowash
Black Wow (on covers and plastics)
Einszett Vinyl and Rubber Care (rubber etc)
Exhaust tips:
Swissvax Metal Polish
Tools:
Makita 9227 Hi Speed Rotary
The Uber Foam Pads (5.5inch)
Tons of "Uber" Microfiber Towels
Uber Drying Towels
Cam Spray 1500A with Cam Spray Foam Gun
Infratech CM5300
Now to the pictures...
Since it was still early in the morning and cold I decided to go for the interior first.
Before:
Cleaning the interior up with vac, brushes, Einszett Cockpit
Some before and after interior shots:
After a nice cleaning with Cockpit
Driver's door armrest:
Before:
During:
After:
The alcantara clean up and protection process.
before (the white crusty stuff comes out or a 6 yr old's nose)
the first step was to vac it out then in the pics below the Leather Master Foam Cleaner was used with a damp applicator pad and Foam Cleaner was applied directly on the app pad. In circular motions the product was applied, then let dried.
The mf towel was used to wipe off excess and to assist the drying process
Door panel was cleaned and protected
After interior shots:
__________________
Philip Yiu
Detailer's Domain
e-mail: phil@detailersdomain.com
website: www.detailersdomain.com
tel: 201-233-0003
Promo code is rennlist for 10% off anything on the site
Current Sales and Updates
Philip Yiu
Detailer's Domain
e-mail: phil@detailersdomain.com
website: www.detailersdomain.com
tel: 201-233-0003
Promo code is rennlist for 10% off anything on the site
Current Sales and Updates
 03-27-2009, 12:19 AM
#2
Addict
Rennlist
Site Sponsor
Rennlist
Site Sponsor
Thread Starter
Exterior:
Before shots:
Presoak
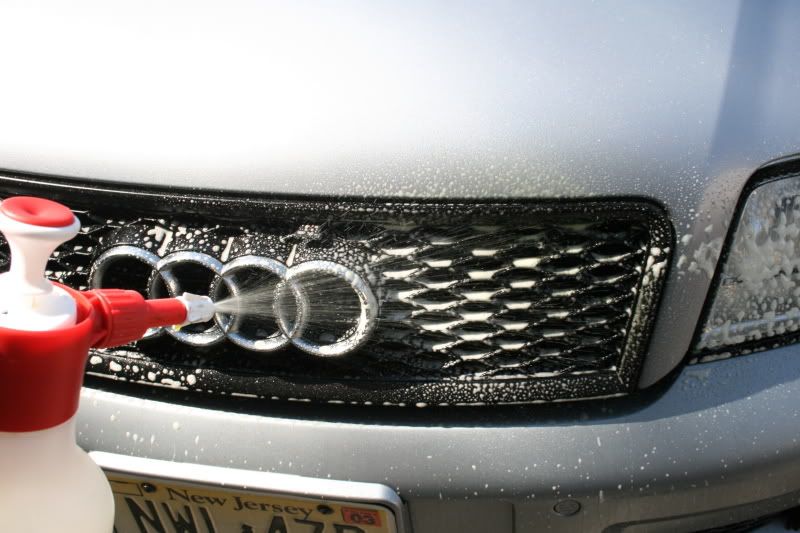
Foam canon with Adam's Car wash
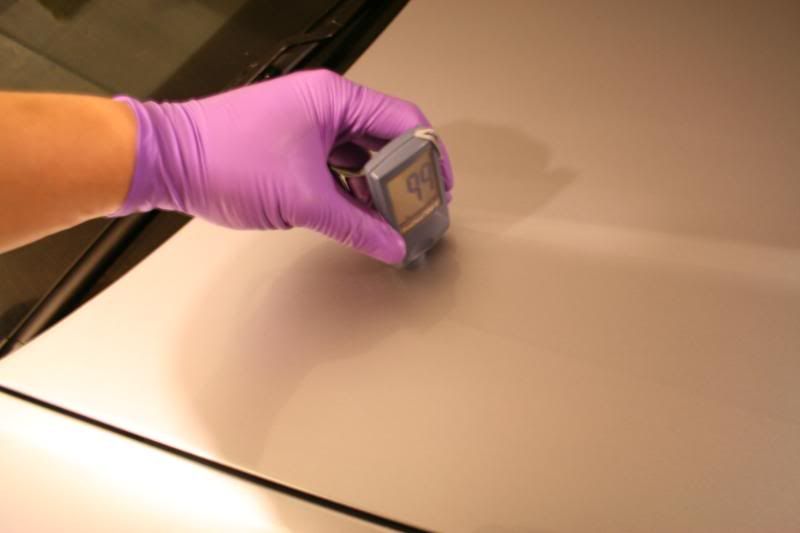
After claying we did measured the paint
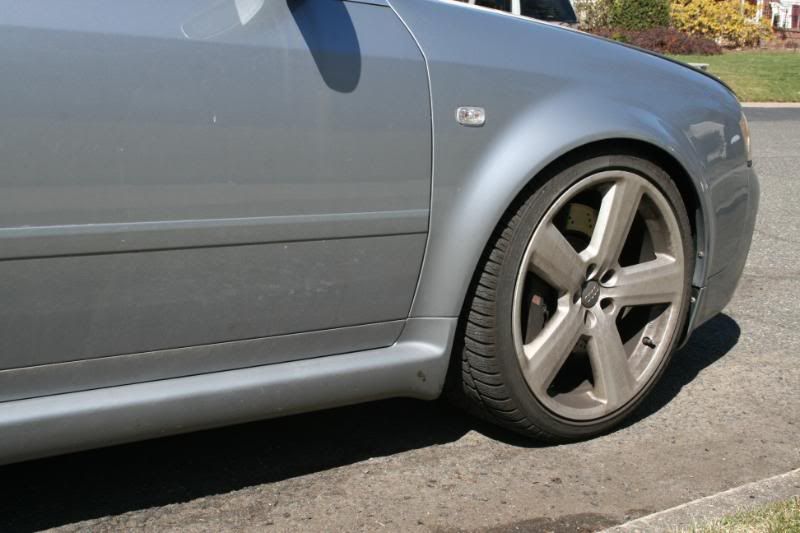
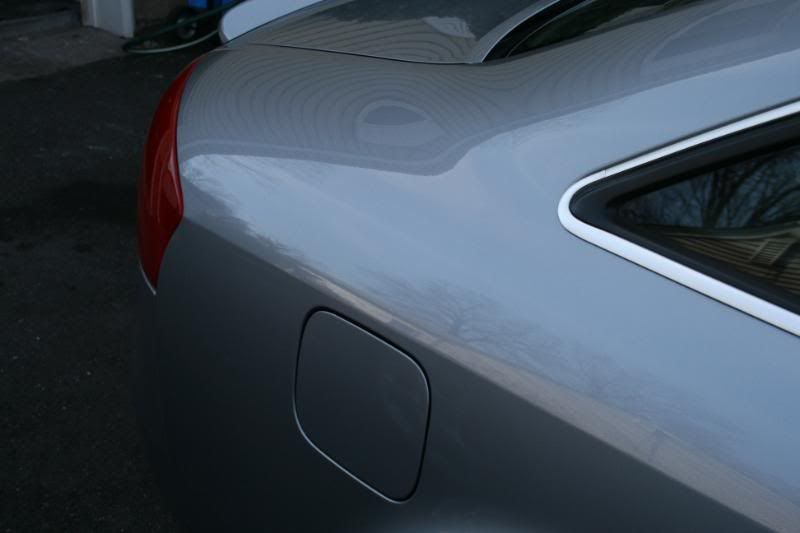
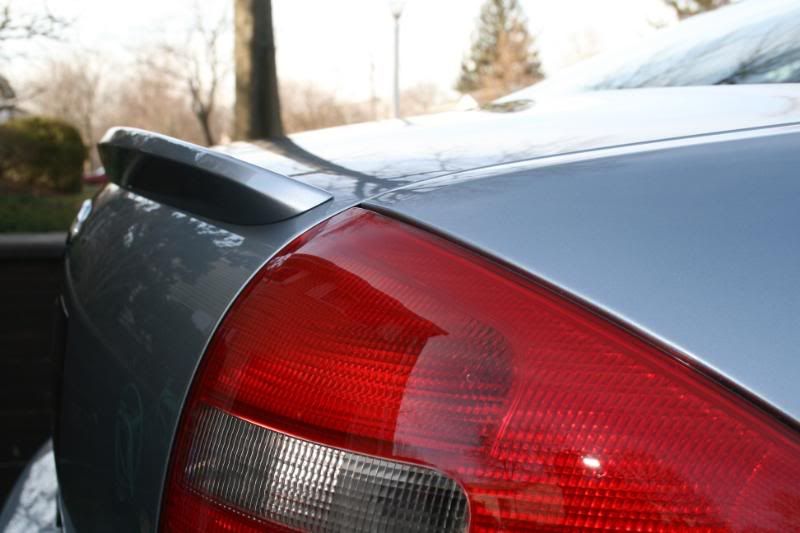
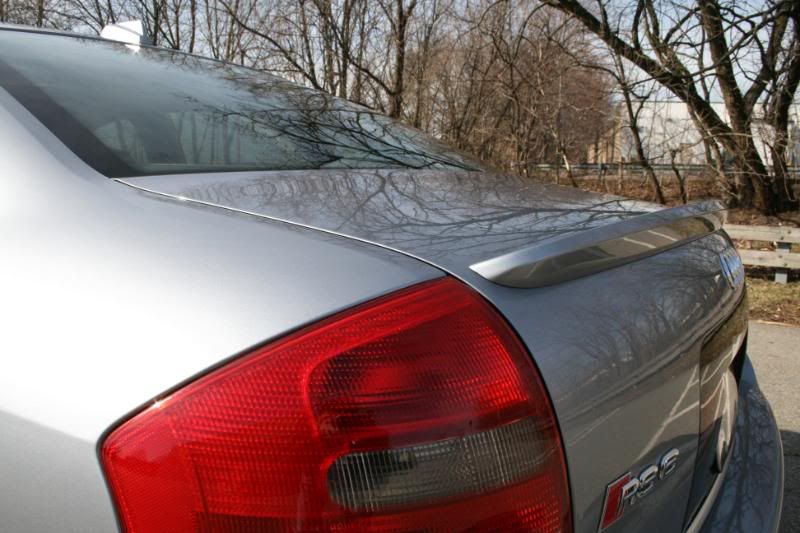
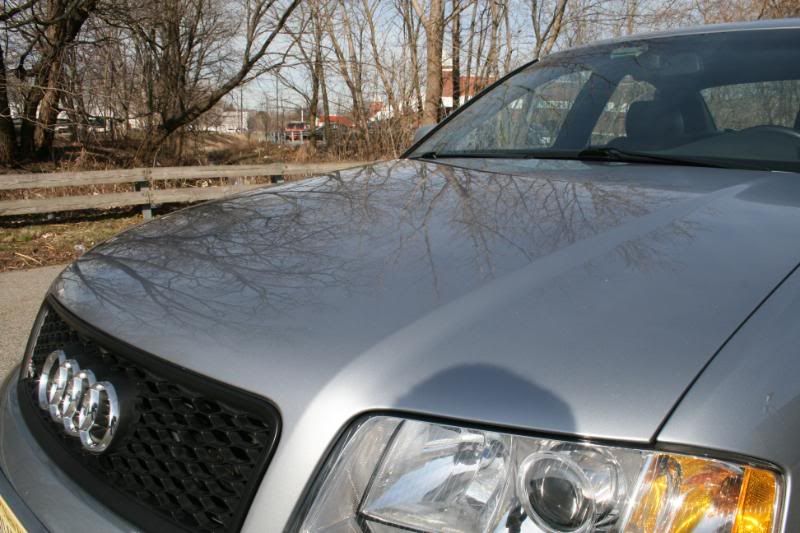
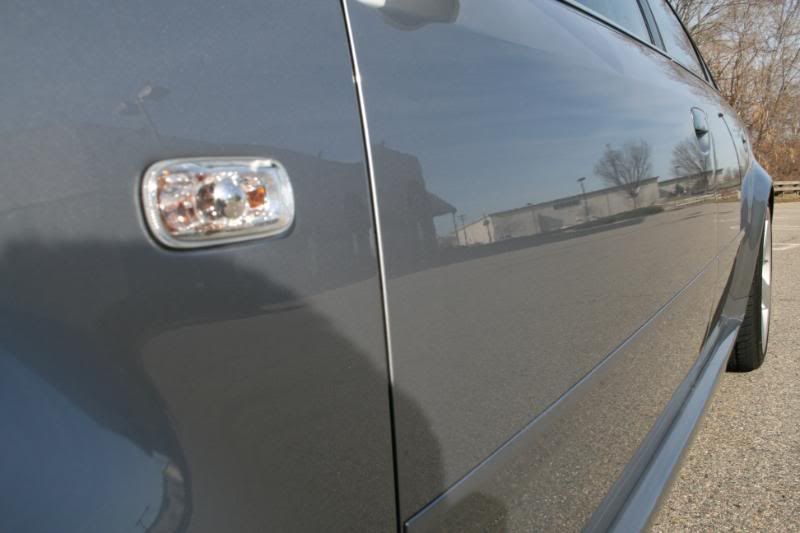
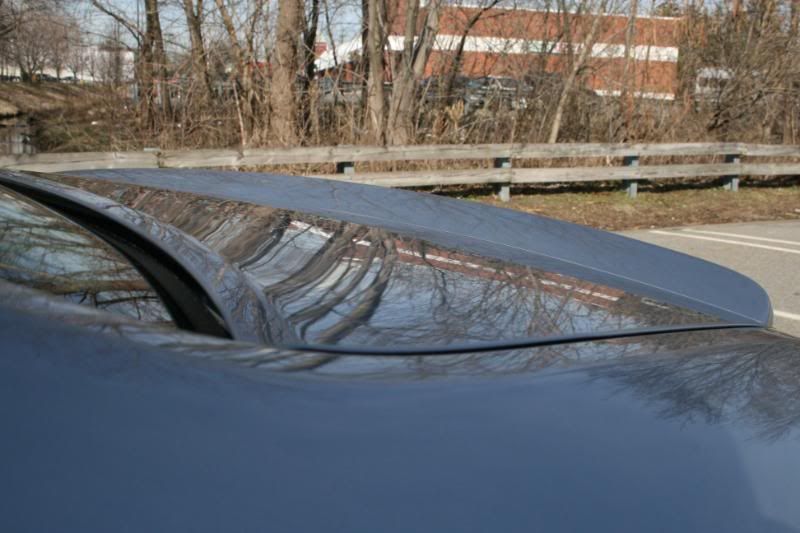
After Menzerna PO85RD (as this car sits outside this was not fully corrected i would say we did about 85%)
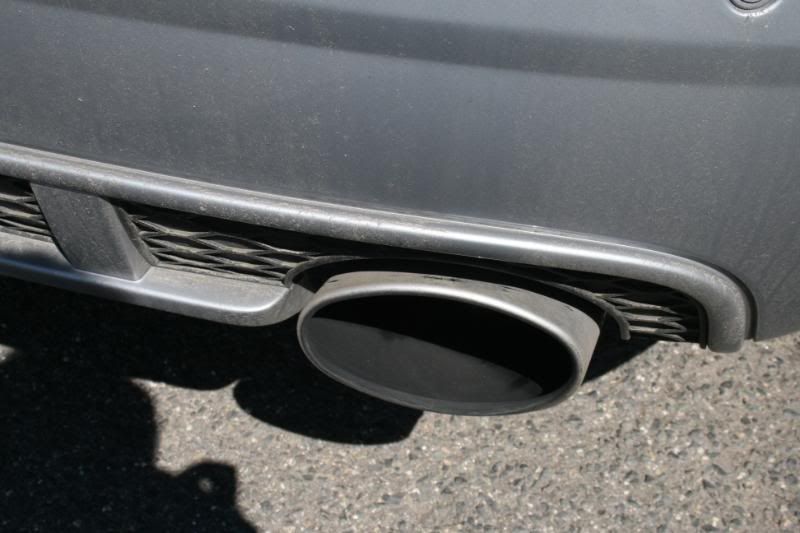
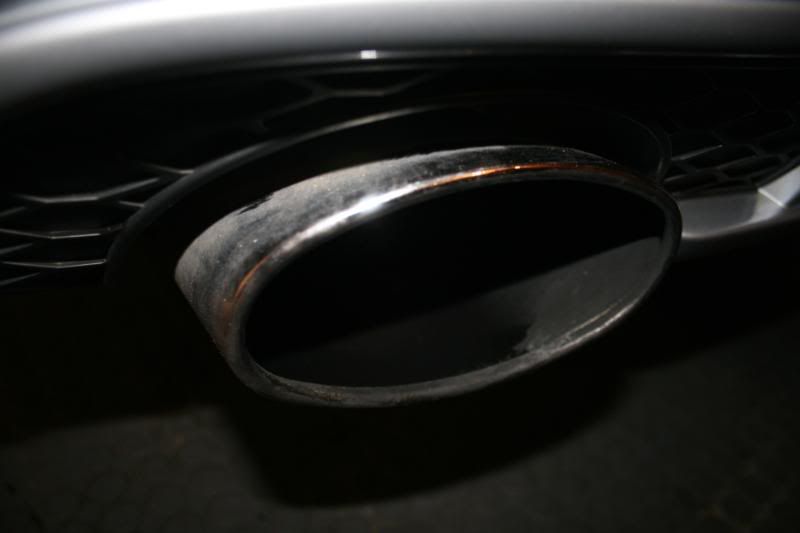
Exhaust before
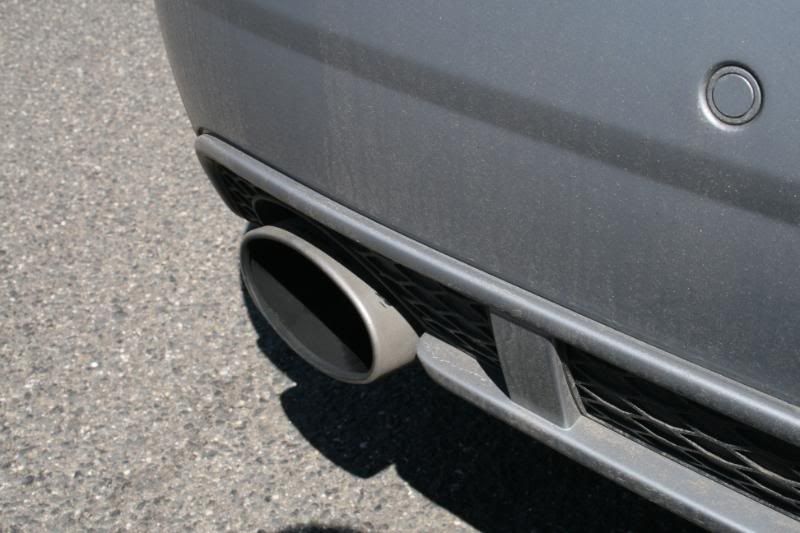
Swissvax Metal Polish
After:

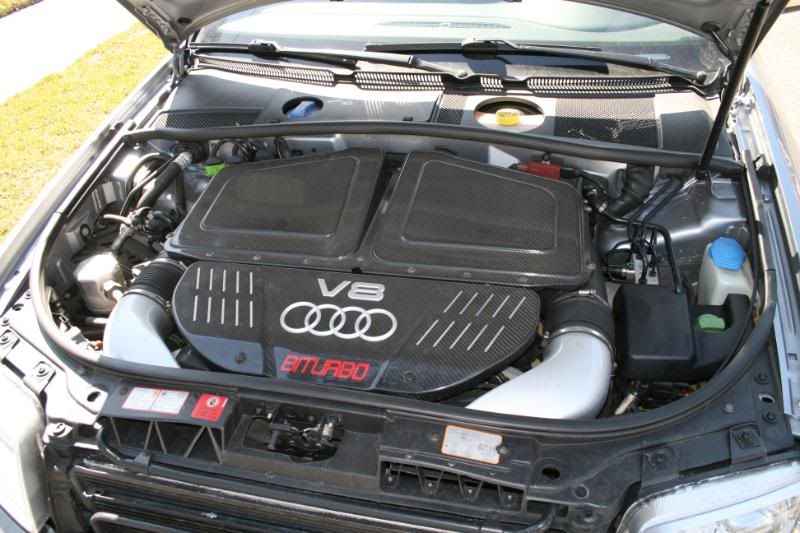
Engine before:
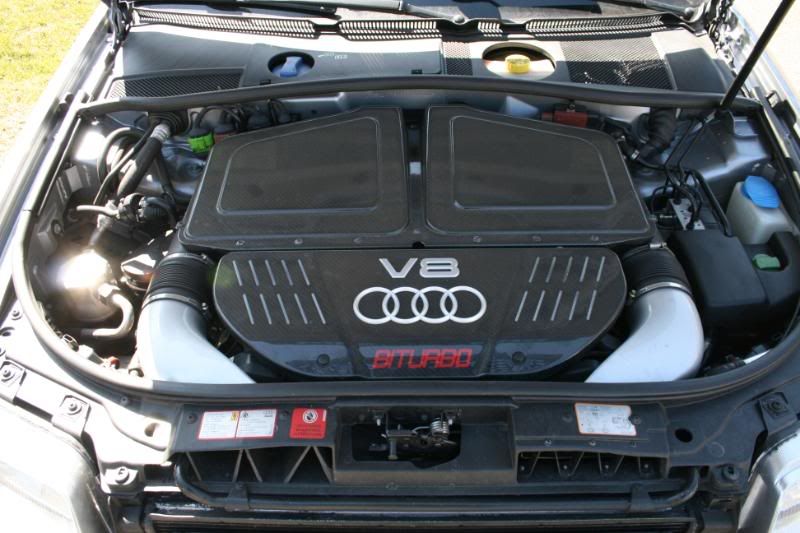
Engine after:

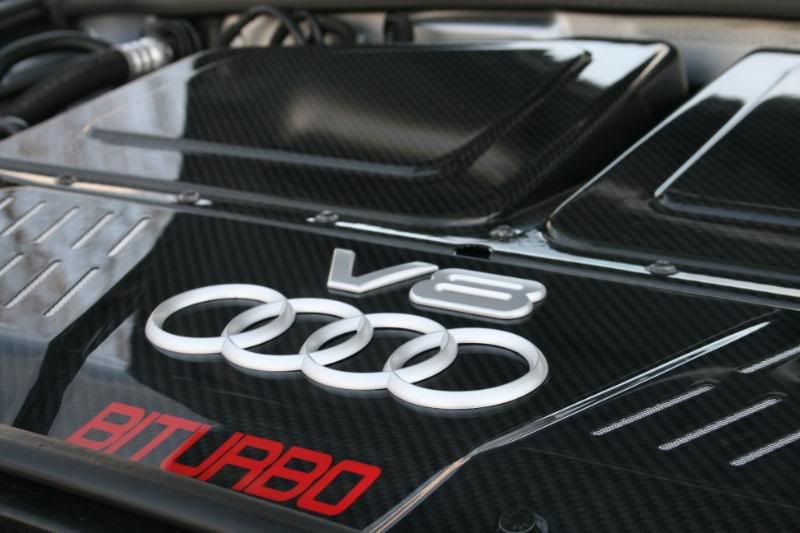
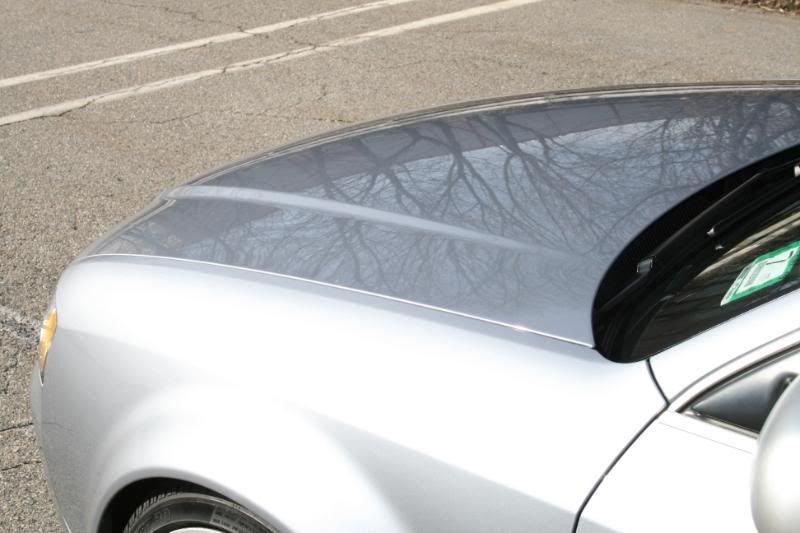
Yes Swissvax on the carbon fiber covers
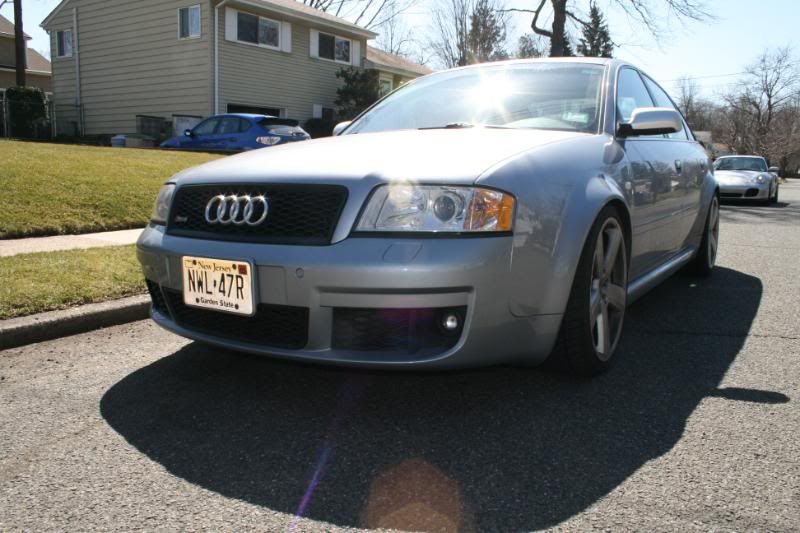
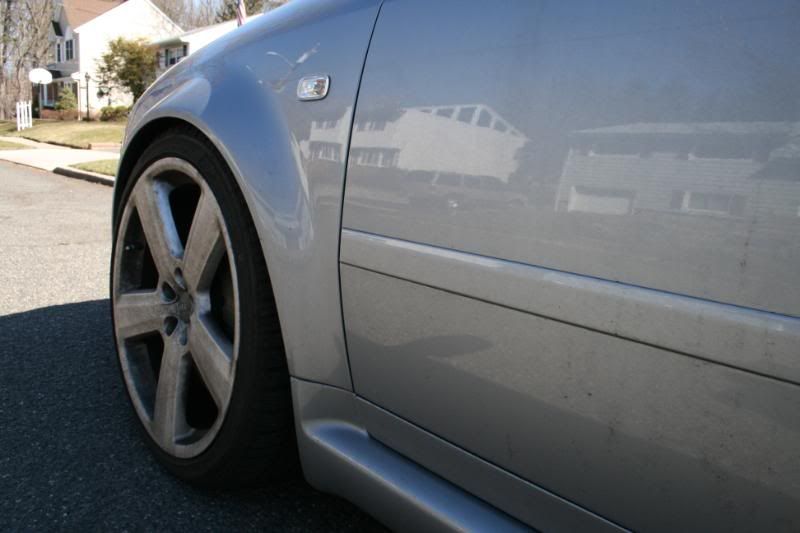
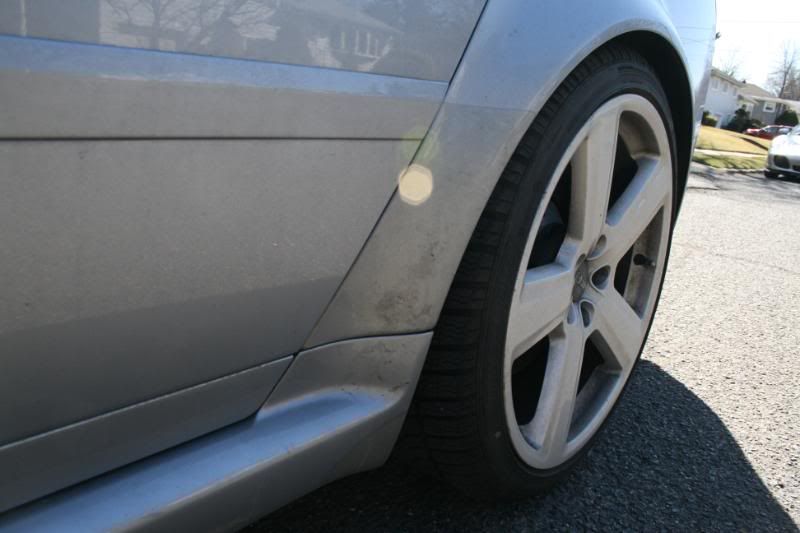
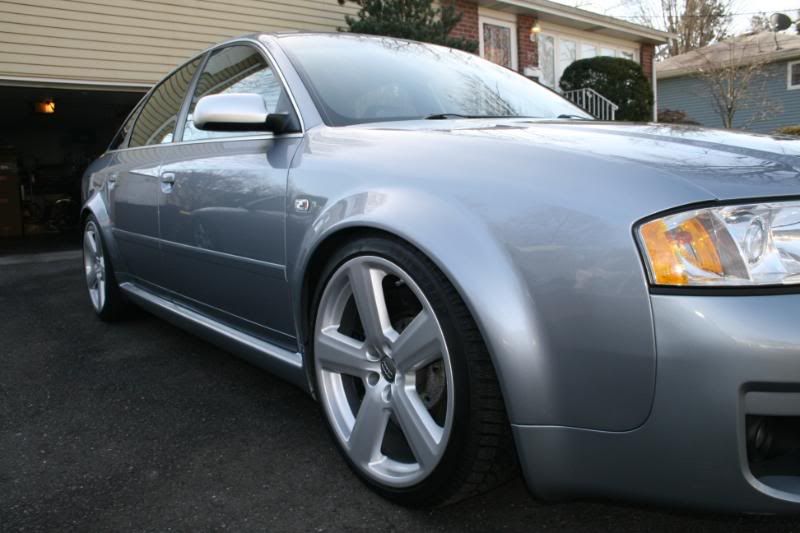
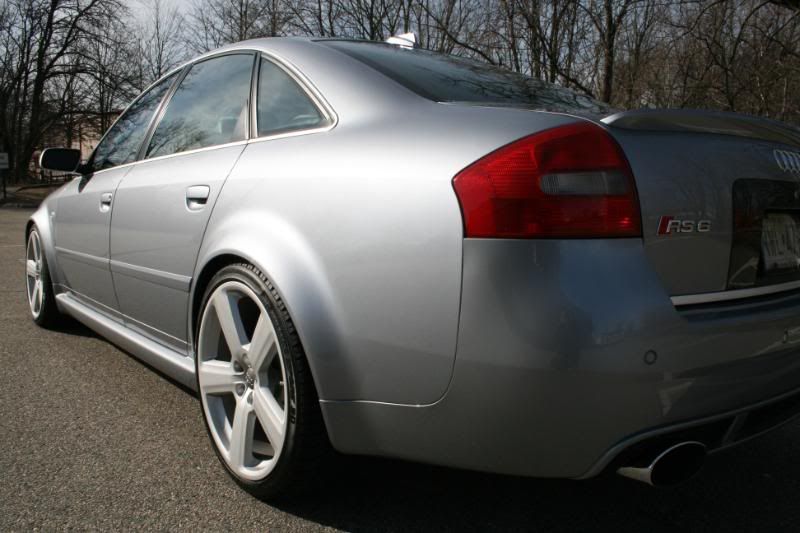
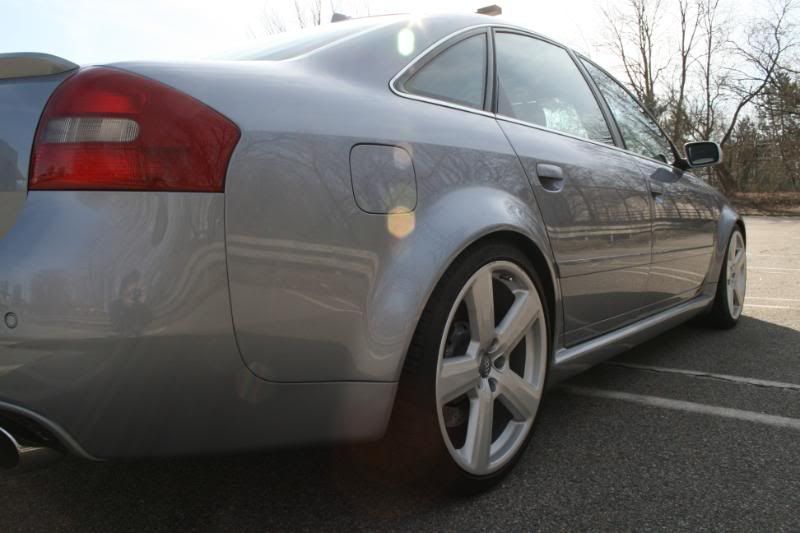
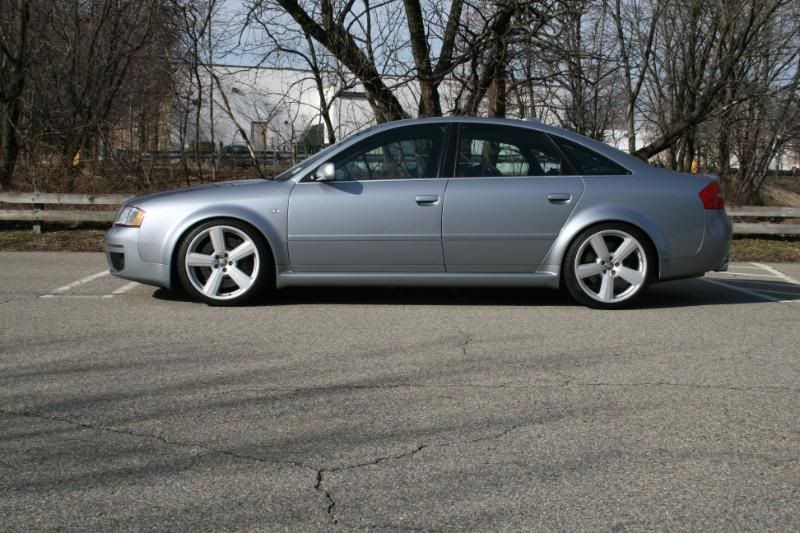
After shots:
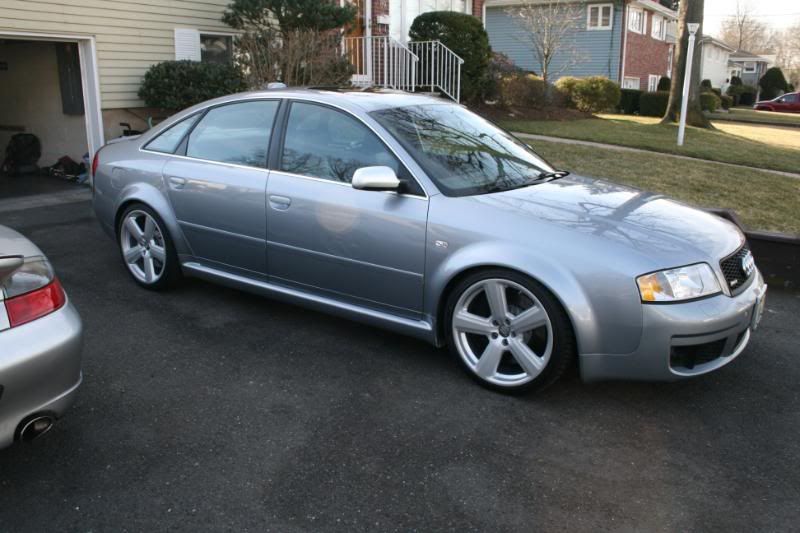
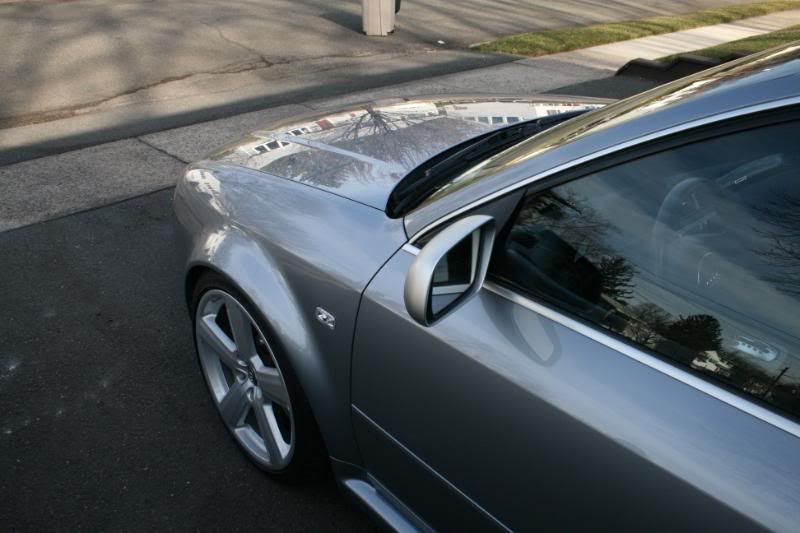
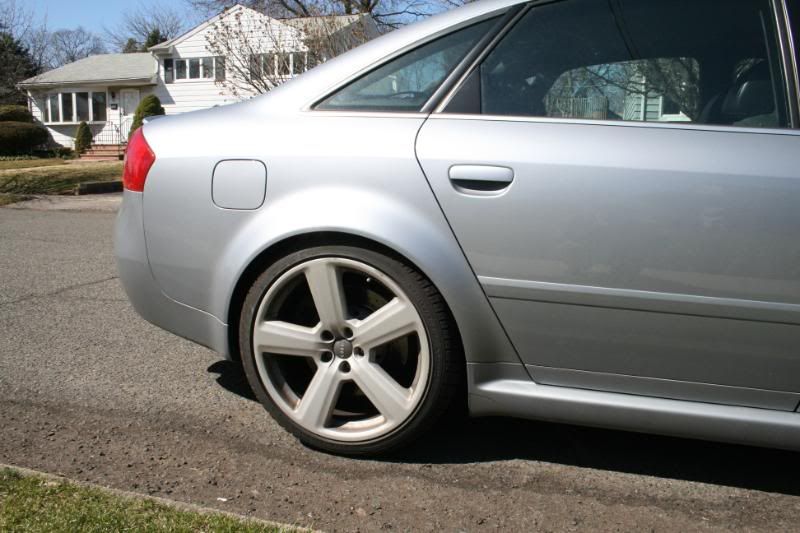
Drove it to a nice empty parking spot for some more pictures.
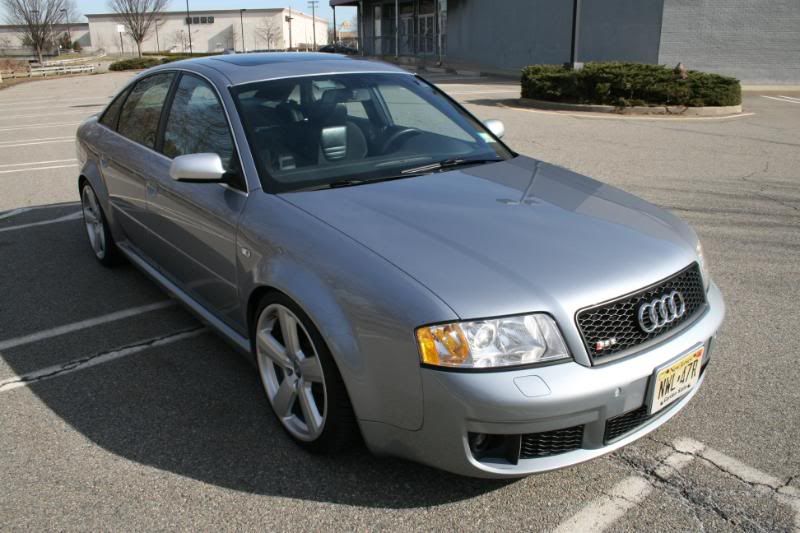
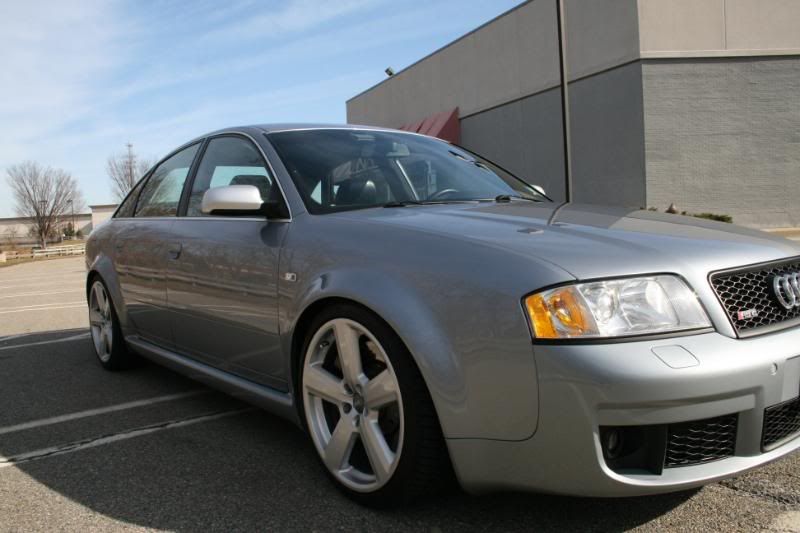
I hope you enjoyed this.
Before shots:
Presoak
Foam canon with Adam's Car wash
After claying we did measured the paint
After Menzerna PO85RD (as this car sits outside this was not fully corrected i would say we did about 85%)
Exhaust before
Swissvax Metal Polish
After:
Engine before:
Engine after:
Yes Swissvax on the carbon fiber covers
After shots:
Drove it to a nice empty parking spot for some more pictures.
I hope you enjoyed this.
 no the wife's pretty good about cars, she likes fast ones....
03-28-2009, 04:29 PM
no the wife's pretty good about cars, she likes fast ones....
03-28-2009, 04:29 PM
#5
Addict
Rennlist Member
Rennlist Member
Nice job Phil. This is true detailing at its best. Every few months I do this to my wifes Pilot and it is nothing short of a chore. Very frustrating to see the car after two weeks too, its always trashed again.
Do you have any tricks to clean up carpeting. Just curious what you use and how it compares to my own approach (lots of elbow grease).
Thanks!
Do you have any tricks to clean up carpeting. Just curious what you use and how it compares to my own approach (lots of elbow grease).
Thanks!
03-28-2009, 06:16 PM
#6
Addict
Rennlist
Site Sponsor
Rennlist
Site Sponsor
Thread Starter
I would have to agree with that, I think I'll be on top of this car this season, I don't want to spend 2 days doing this again!
so weekly washes and interior wipe downs.
so weekly washes and interior wipe downs.