When you click on links to various merchants on this site and make a purchase, this can result in this site earning a commission. Affiliate programs and affiliations include, but are not limited to, the eBay Partner Network.
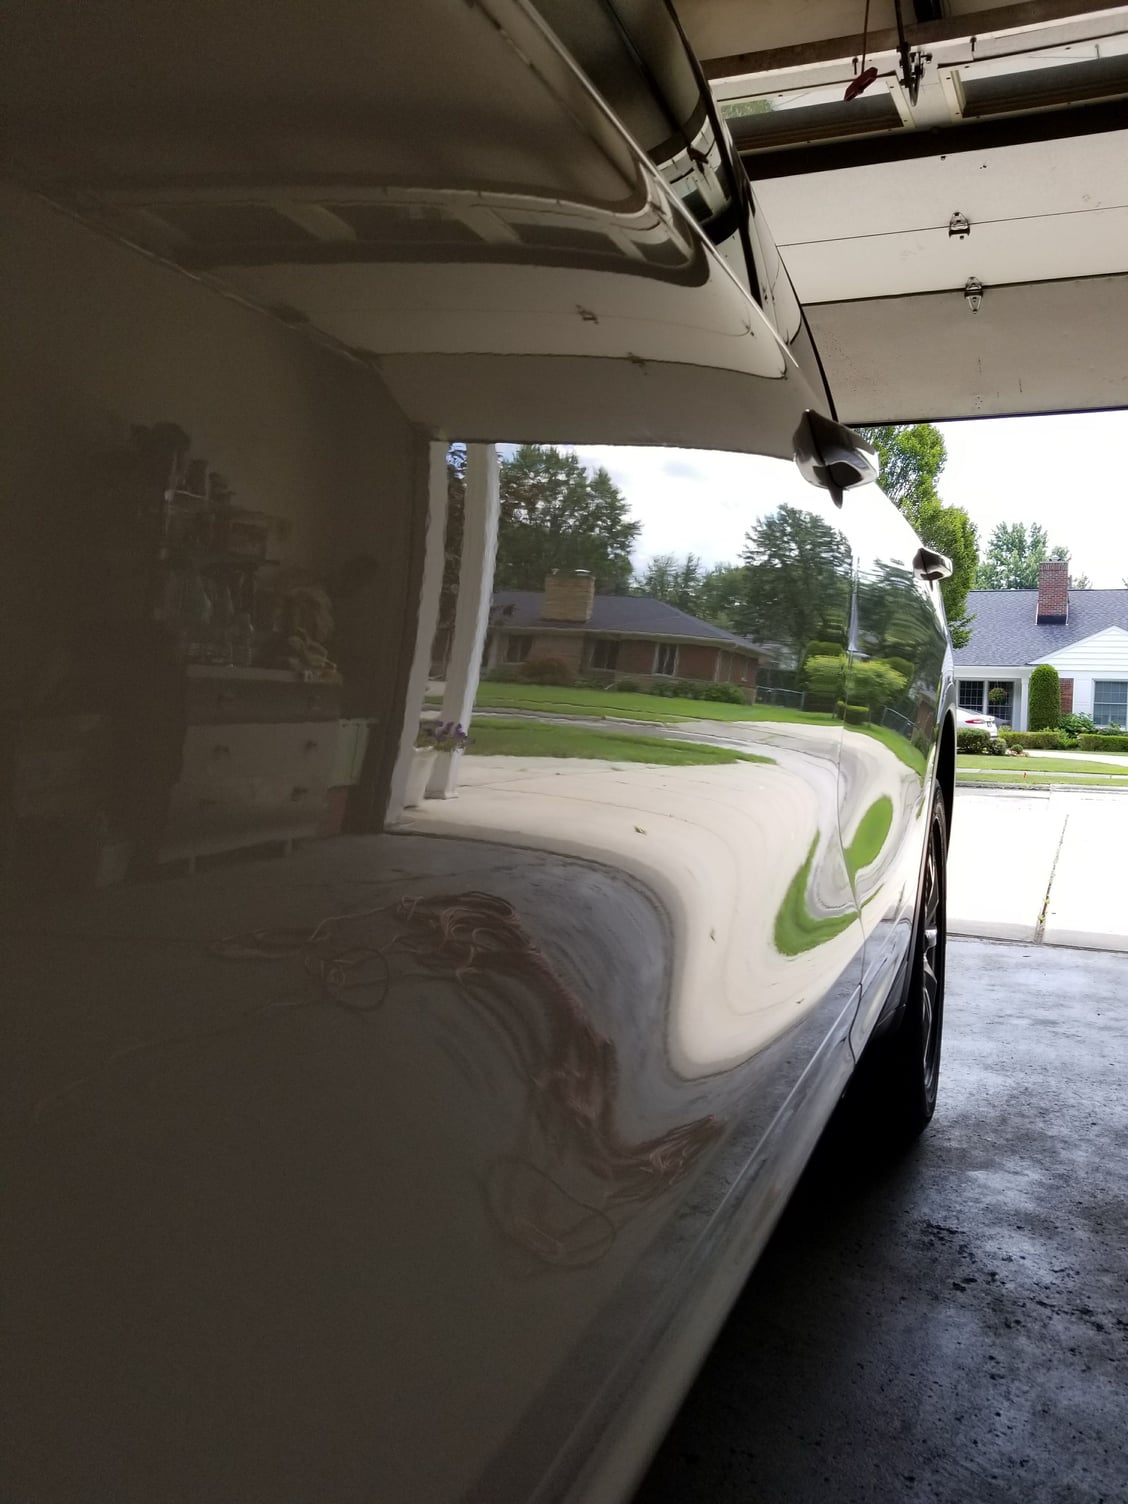
Posted this in my thread in the 958 section, figured this would be an appropriate place to share it. Recently bought a 2011 Cayenne S that while in overall good shape, seems to have been run through countless automatic car washes over the years. I can't stand swirling in my personal vehicles so, while I'm waiting for the diff and TC fluids to show up and trying not to drive it that much (even though it's already seen 1k miles in the week I've had it... oops) I've decided to go ahead and correct the paint a bit on it.
Day One:
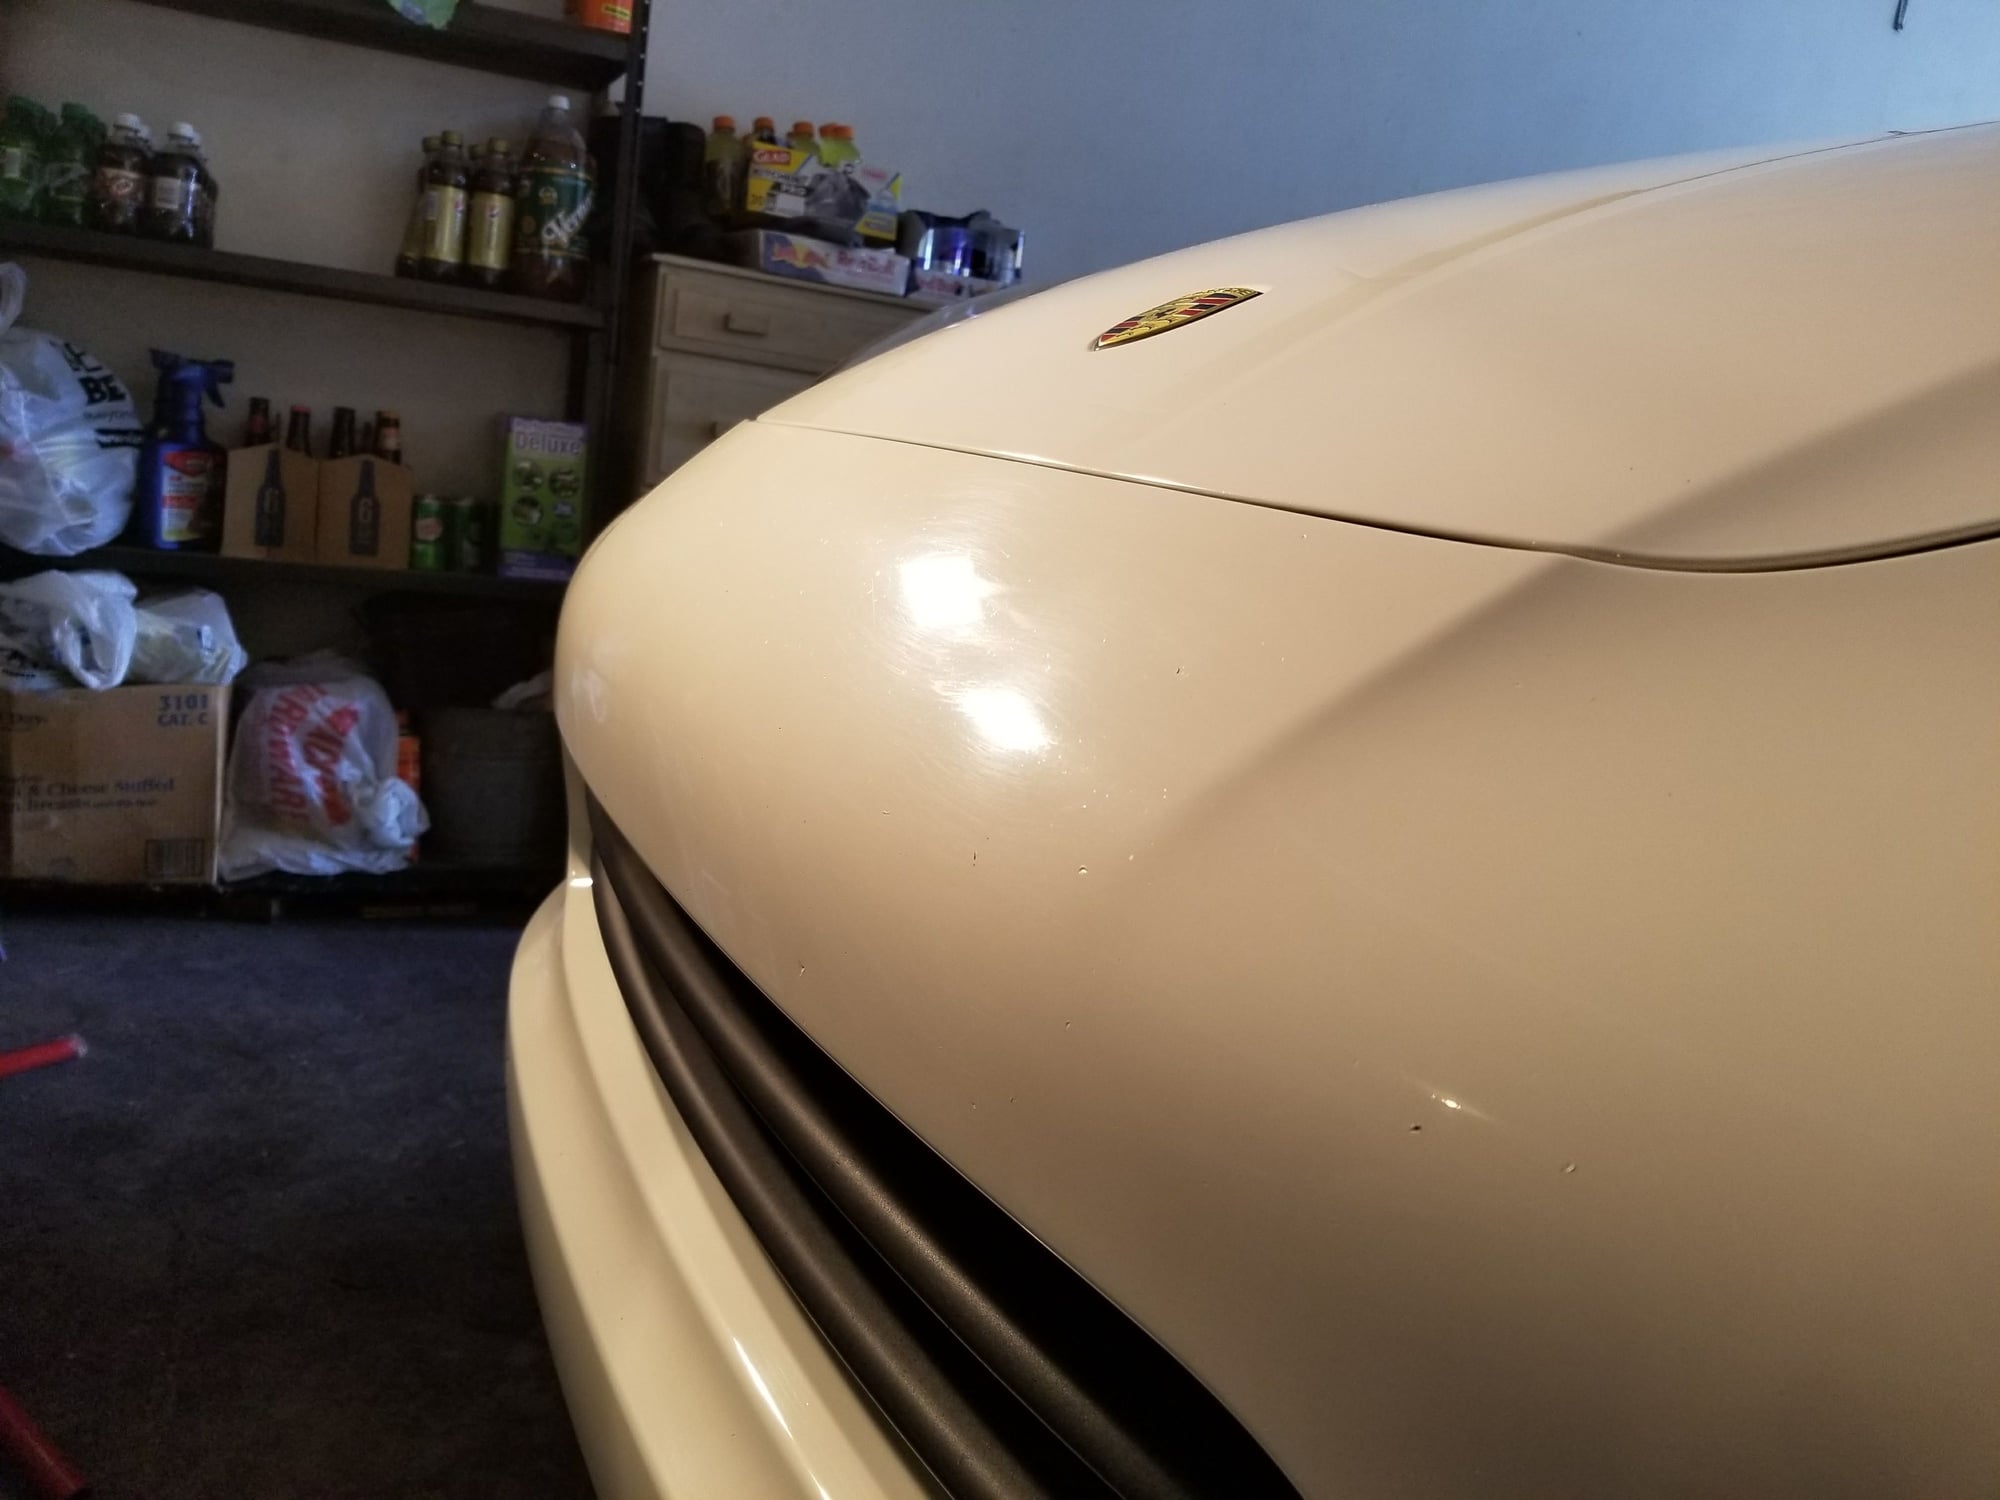
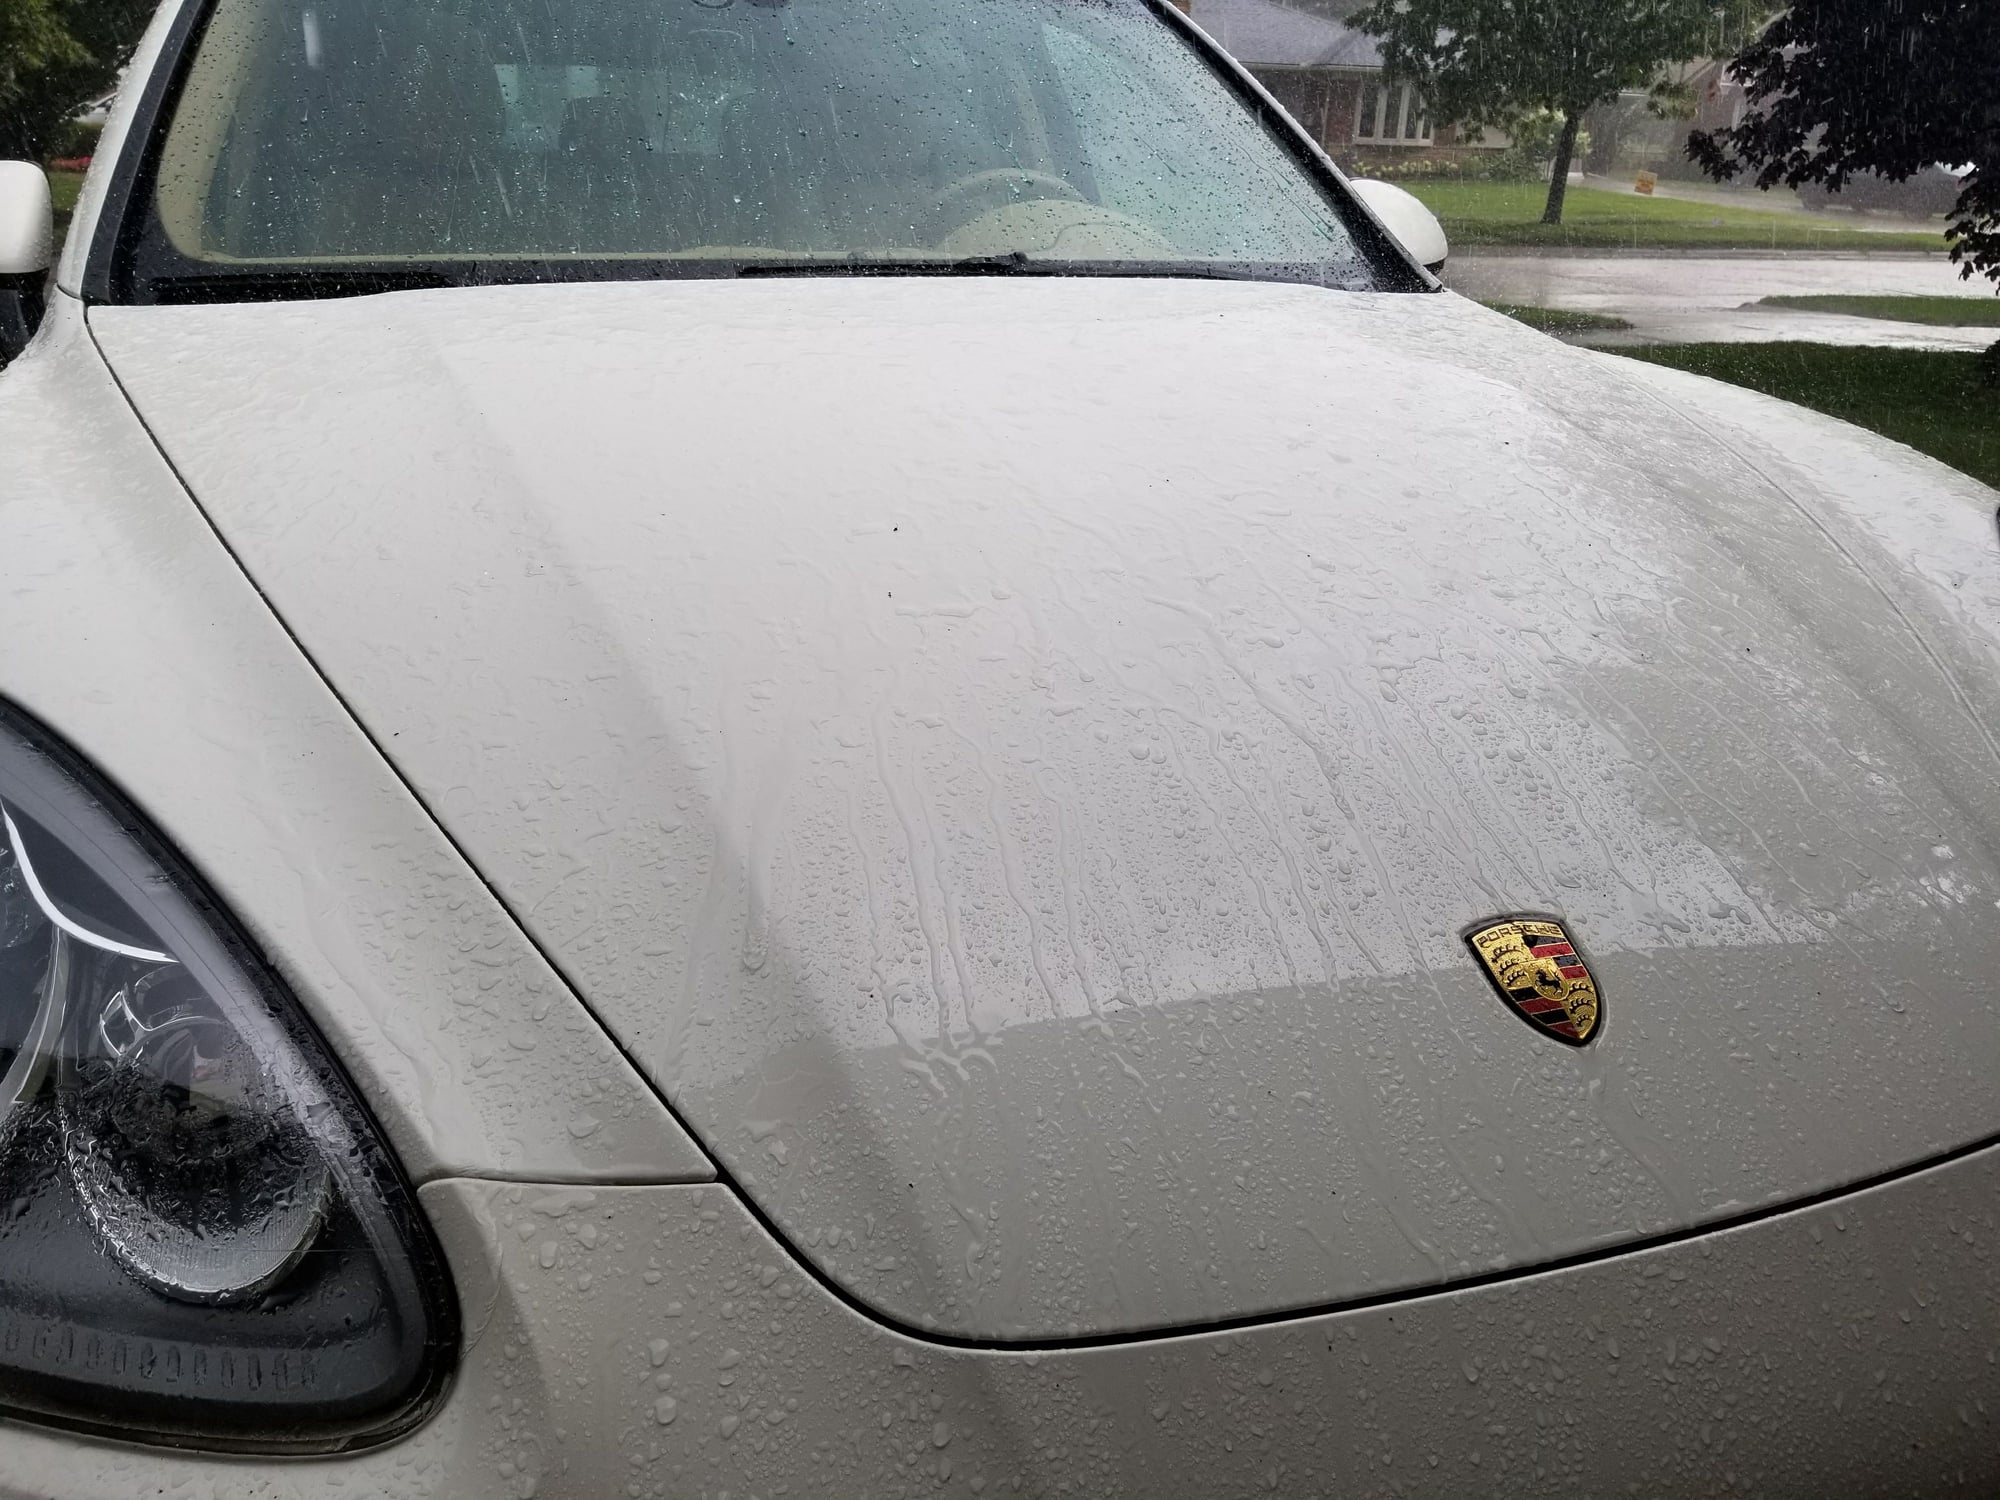
6 years of presumably only being driven through automatic car washes has really taken it's toll on the paint.
Had pretty much no wax on it. Not surprising.
Start off with the clay bar, because the paint felt like sandpaper. This bar was a bright, clean yellow when I started. I think this was about halfway through.
Here's the best I could get before step one. It was much worse than the phone photo leads one to believe. LOTS of heavy swirling.
As close to the same spot as I could get, after step one. definite improvement on clarity.
The rear hatch and bumper are kinda effed in terms of swirls and scratches so that's going to take some more work. The front bumper was also really bad.
(Details on this stuff at the bottom of this post)
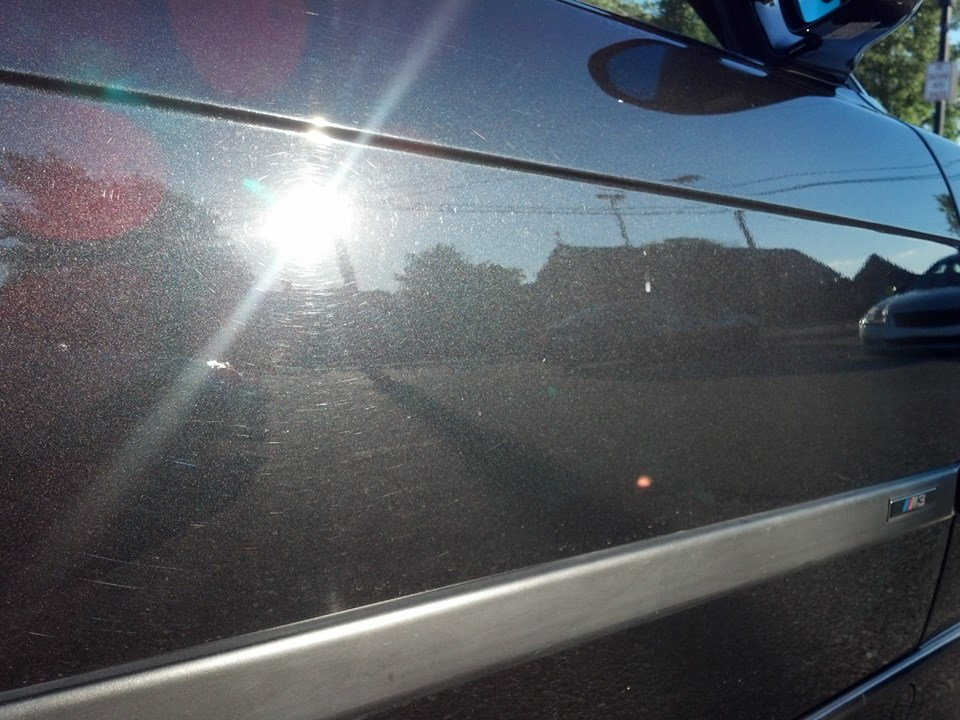
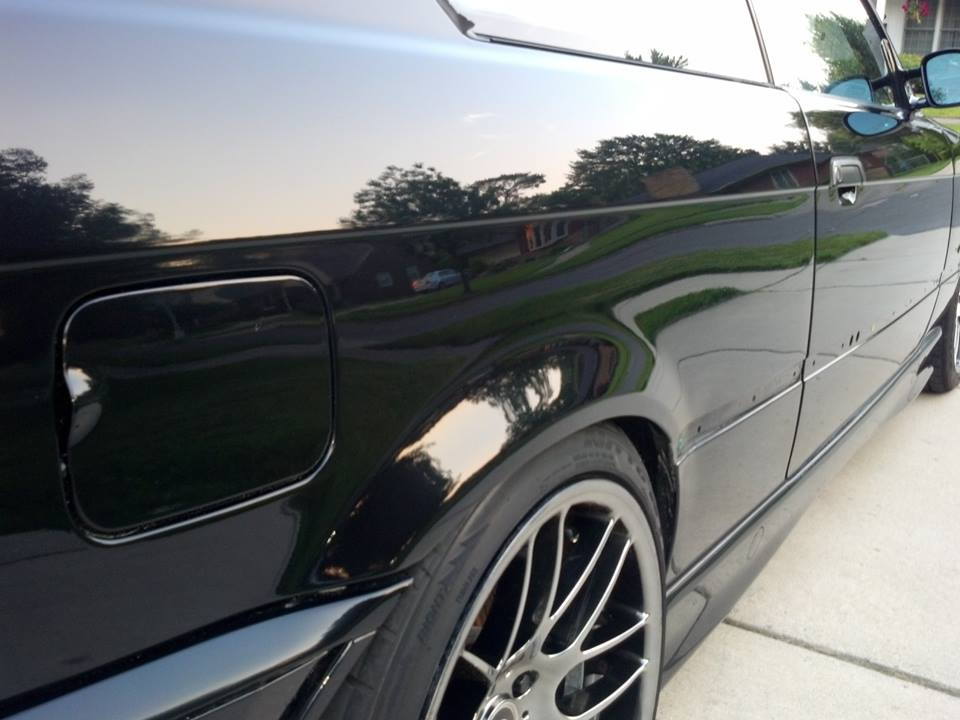
In most cases this yields GREAT results, especially when finished with Chemical Guys' Deep Reflections XP (no longer available) as I've done on my M3
Before:
After:
BUT in the case of this, to be perfect it definitely would have needed a heavy cutting compound with a wool pad on a rotary polisher or wet-sanded to start with. I just couldn't justify all that (or finishing with my beloved and now-unavailable final glaze) with this being my every day vehicle that will be used offroad.
Day Two
Photo I got from the 2nd step before both bulbs in my light died:
Shot of the driver's side (after 2nd step):
The wax definitely gave it some pop and smoothed over some more of the light scratches. It was dark out by the time I got done, ate something and cleaned up, so no decent pictures of the finished product until tomorrow. I'll probably give it another coat in a week or two, even though one good coat of
will last about a year. It's not the easiest stuff to work with, and it doesn't quite give the shine of a carnauba wax, but the water and contamination repelling properties of this stuff are definitely worth it. Worth going a little... overboard... right? HA (Get it? Boat wax? ...that was bad, I know) I'm also likely ordering some of the TopCoat F11 stuff that's creating a decent buzz on the internet to give it a try and see how well it'll keep water, grime and our lovely Michigan winter salt at bay.
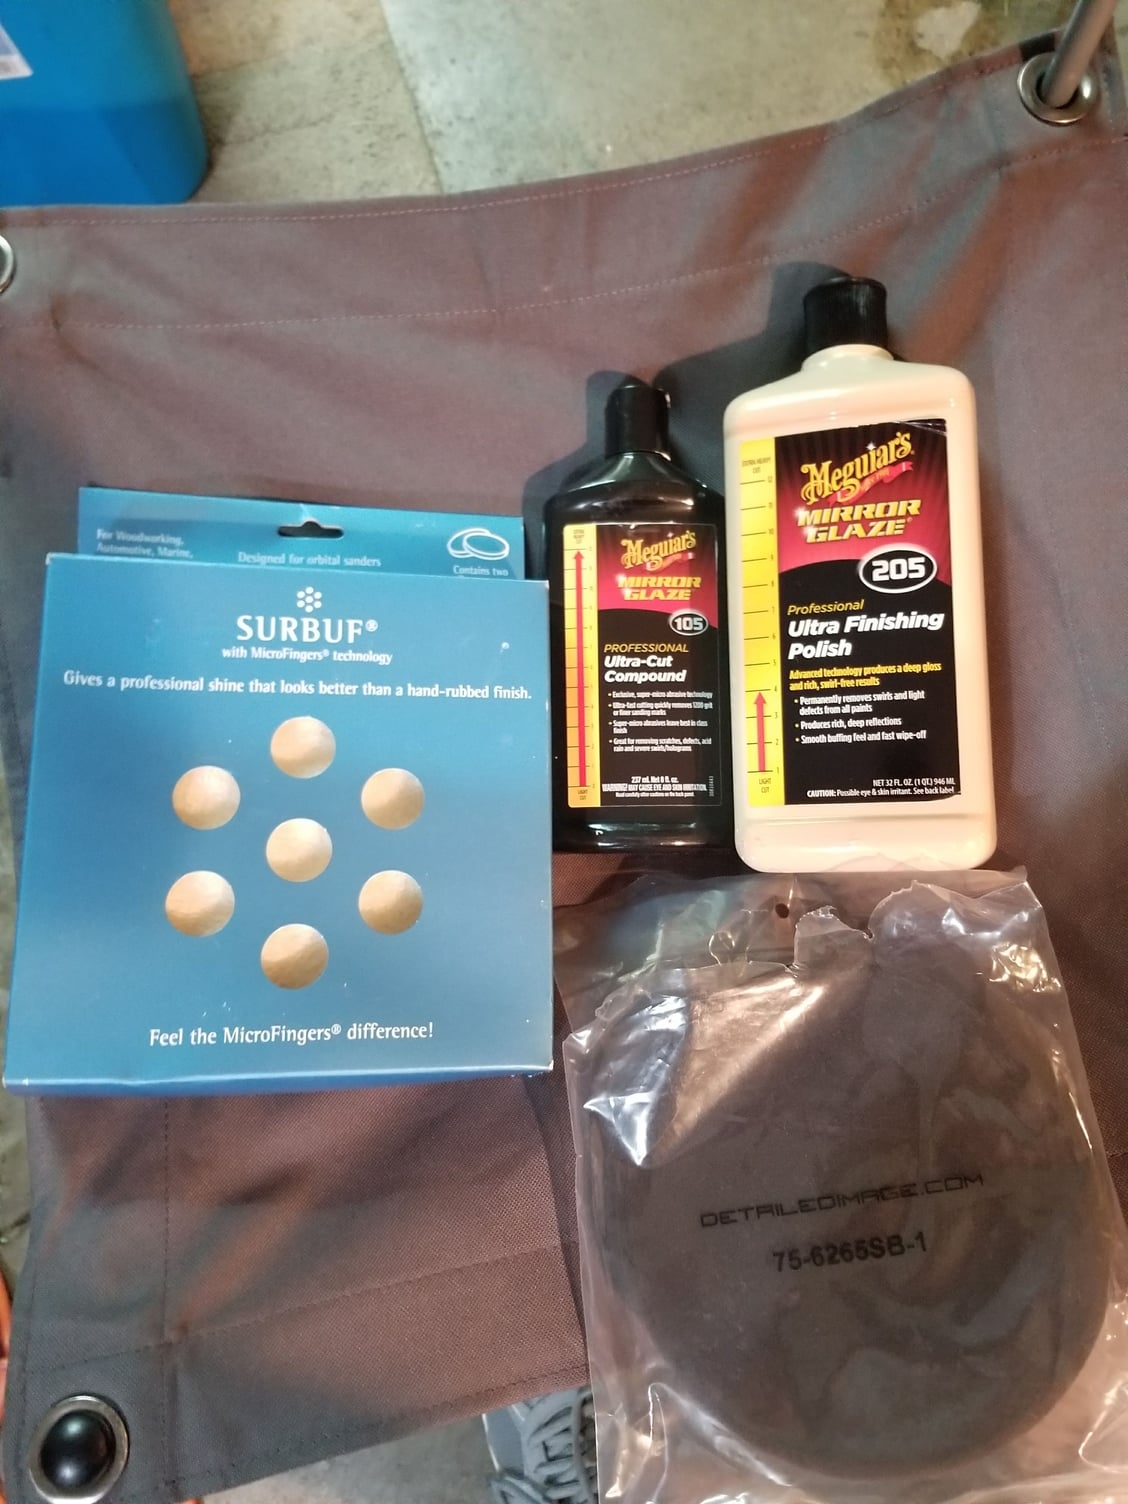
For those interested, step one I used Meguiar's 105 with a surbuf pad (which is apparently no longer on detailed image where I got it from) and step 2 I used Meguiar's 205 with a Lake Country Black Finishing Pad since apparently I'm out of the White Polishing Pads that I normally use for that step. Doing this with a cheapo Harbor Freight orbital and Finished with Collonite #885 Paste Fleetwax (linked above)
I use the same products with great results. What surprises me is that 205 with a cutting pad has some serious bite, you can get lots of work done and the 105 isn't really needed.
I use the same products with great results. What surprises me is that 205 with a cutting pad has some serious bite, you can get lots of work done and the 105 isn't really needed.
Thank you!
I actually tried that after I remembered how much I disliked working with 105 after the first panel. Didn't work quite as well as I needed it to for a first step. One of these days I'm going to give 101 a try, supposed to be easier to work off and a significant reduction of dust.
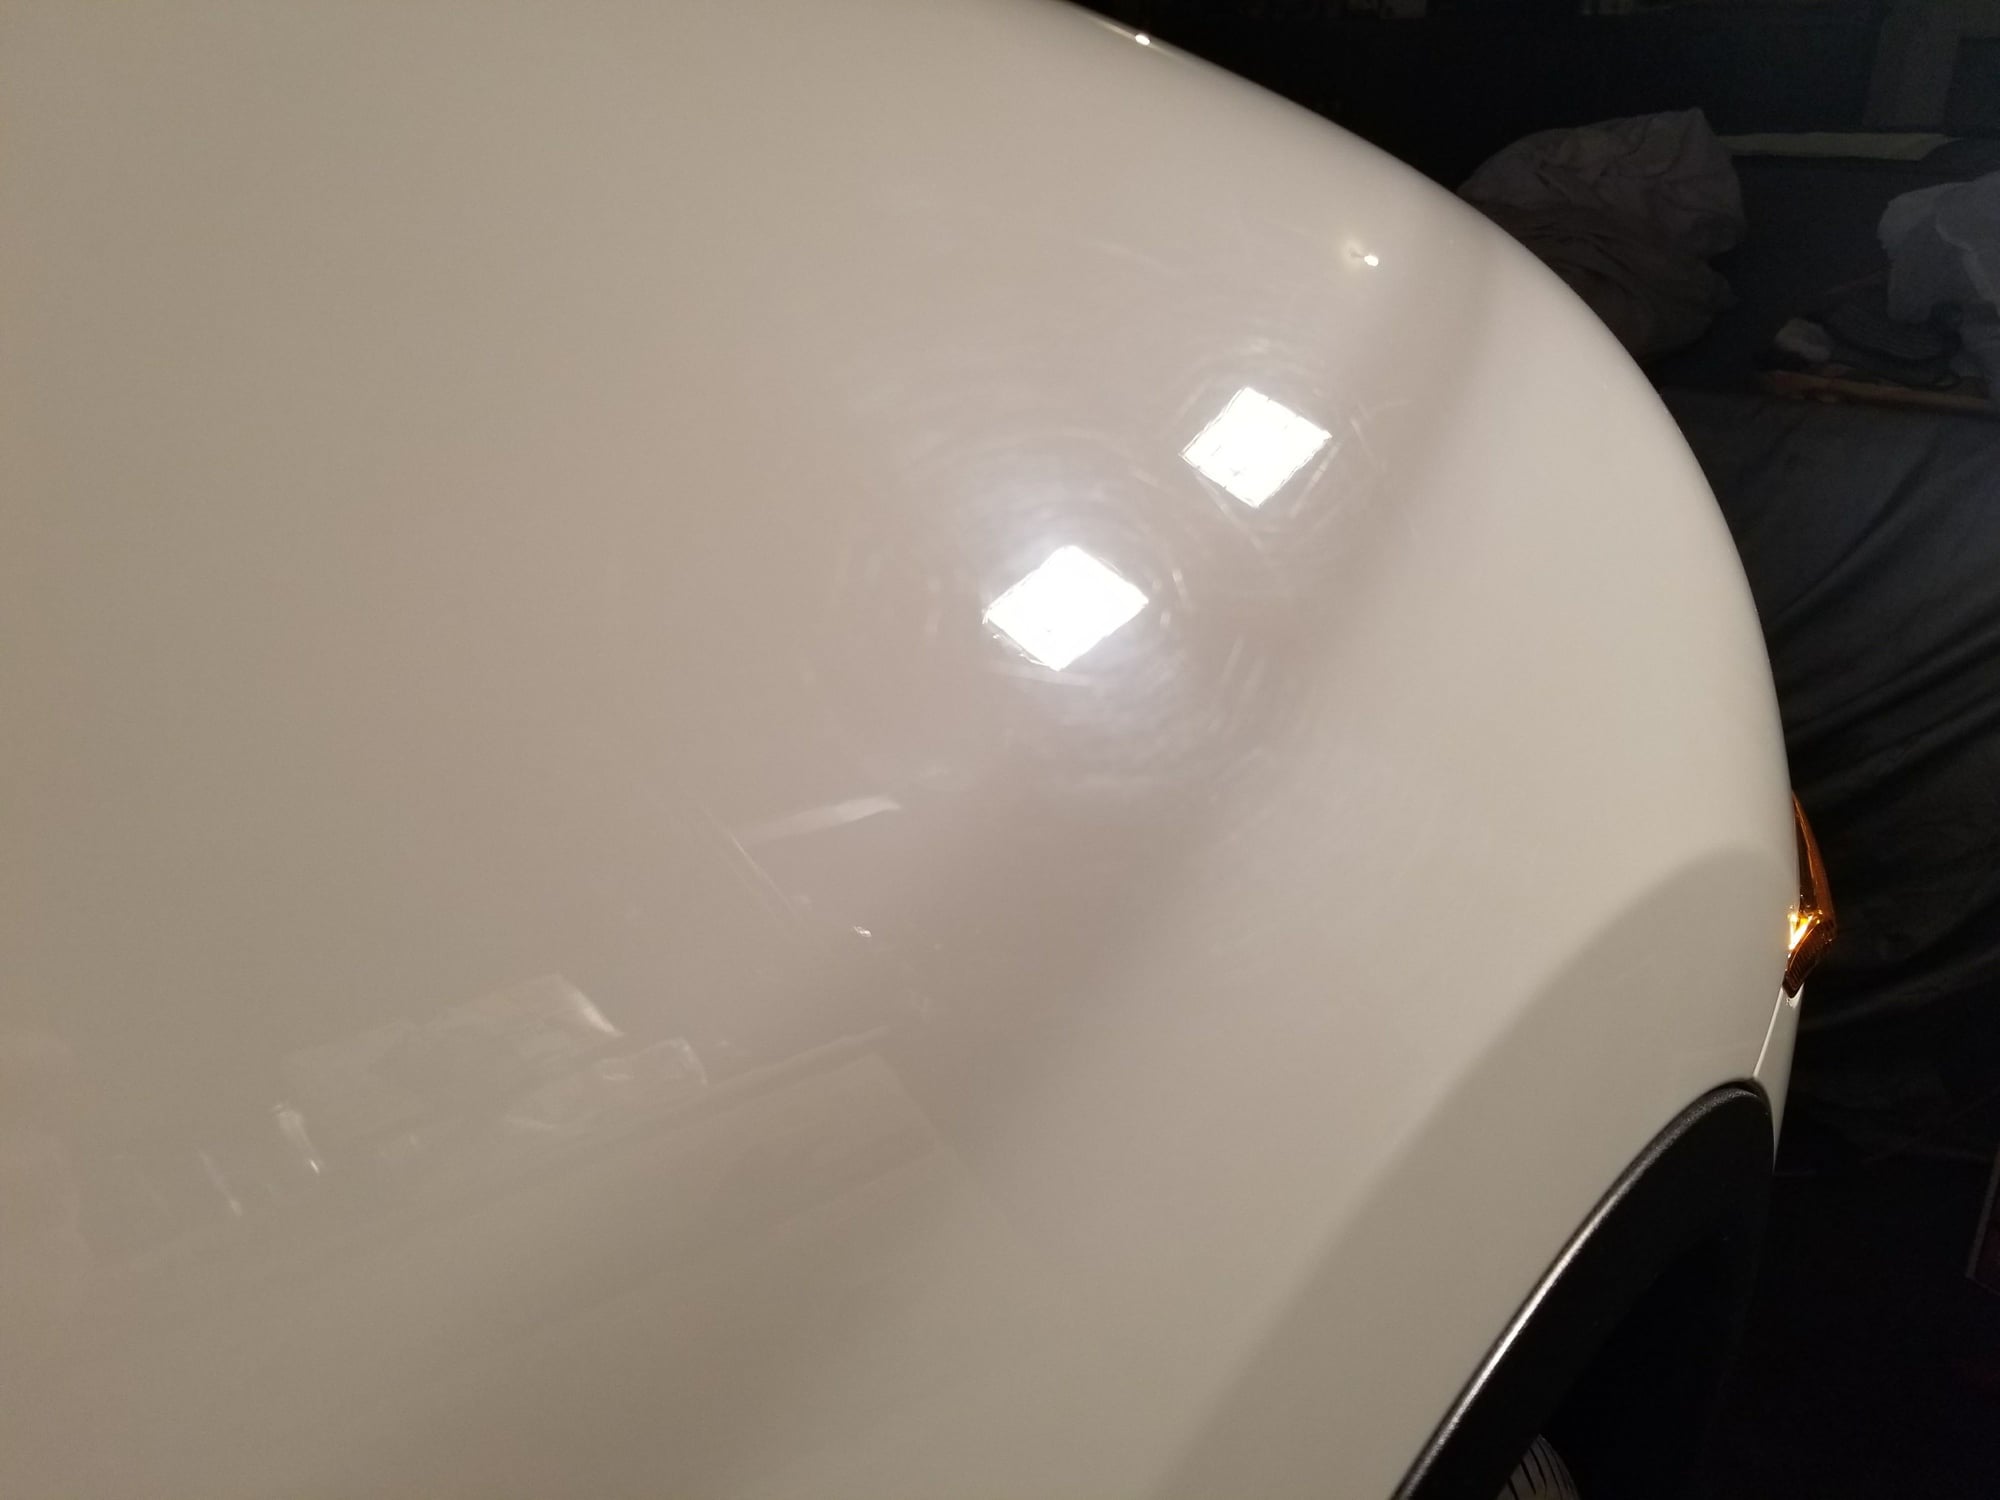
Finished Product:
Well, here's the photos of it all done. fortunately it was pretty nice out today.
Close-up of the right front fender, where I took the rest of the close-ups, but in direct sunlight:
Fresh out of the garage:
After a roughly 50-mile drive. Resisted bugs pretty well and didn't let dust or road dirt hang on:
I forgot to mention, I also tried a coat of Poorboy's Wheel Sealant on the wheels. Left a nice shine, will report back with how well it keeps brake dust off and ease of cleaning.
In regards to the wheel sealant: Well worth it. I've never had something that I needed to clean just the wheels because of brake dust before this. They definitely cleaned up much quicker and easier, and still have a nicer shine from it. Next time I do a full wash I'll be cleaning them a bit more in-depth and applying another coat or two.
 08-13-2017, 12:09 AM


 so that's going to take some more work. The front bumper was also really bad.