When you click on links to various merchants on this site and make a purchase, this can result in this site earning a commission. Affiliate programs and affiliations include, but are not limited to, the eBay Partner Network.
Well done. Did you remove the engine torque arm/dog bone?
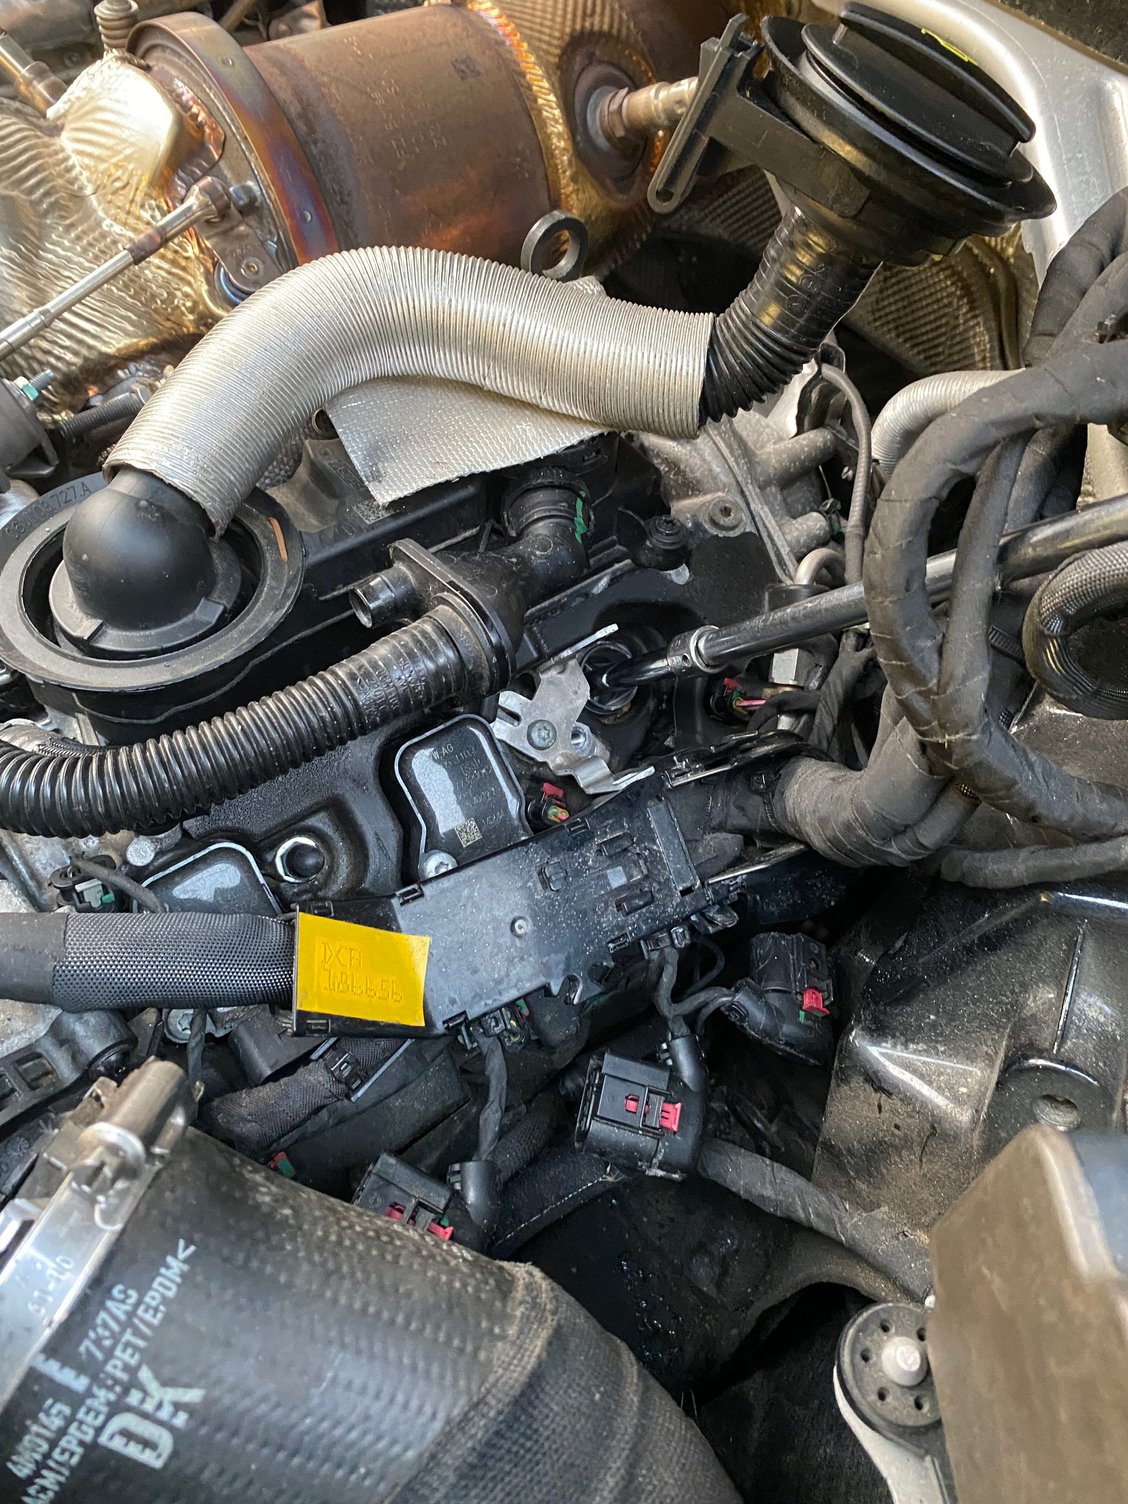
How did you maneuver the wiring harnesses that are mounted directly on top of the coils? Did you disconnect any connectors, other than the ignition coil connectors?
I don't know exact name of it. I removed two aluminum mounts in passenger side.
FYI. I didn't cut any ties in harness for both driver and passenger sides and you don't need to detach filter either.
For passenger side, if you remove two mounts, there is a space to move harnesses and you can reach to coils.
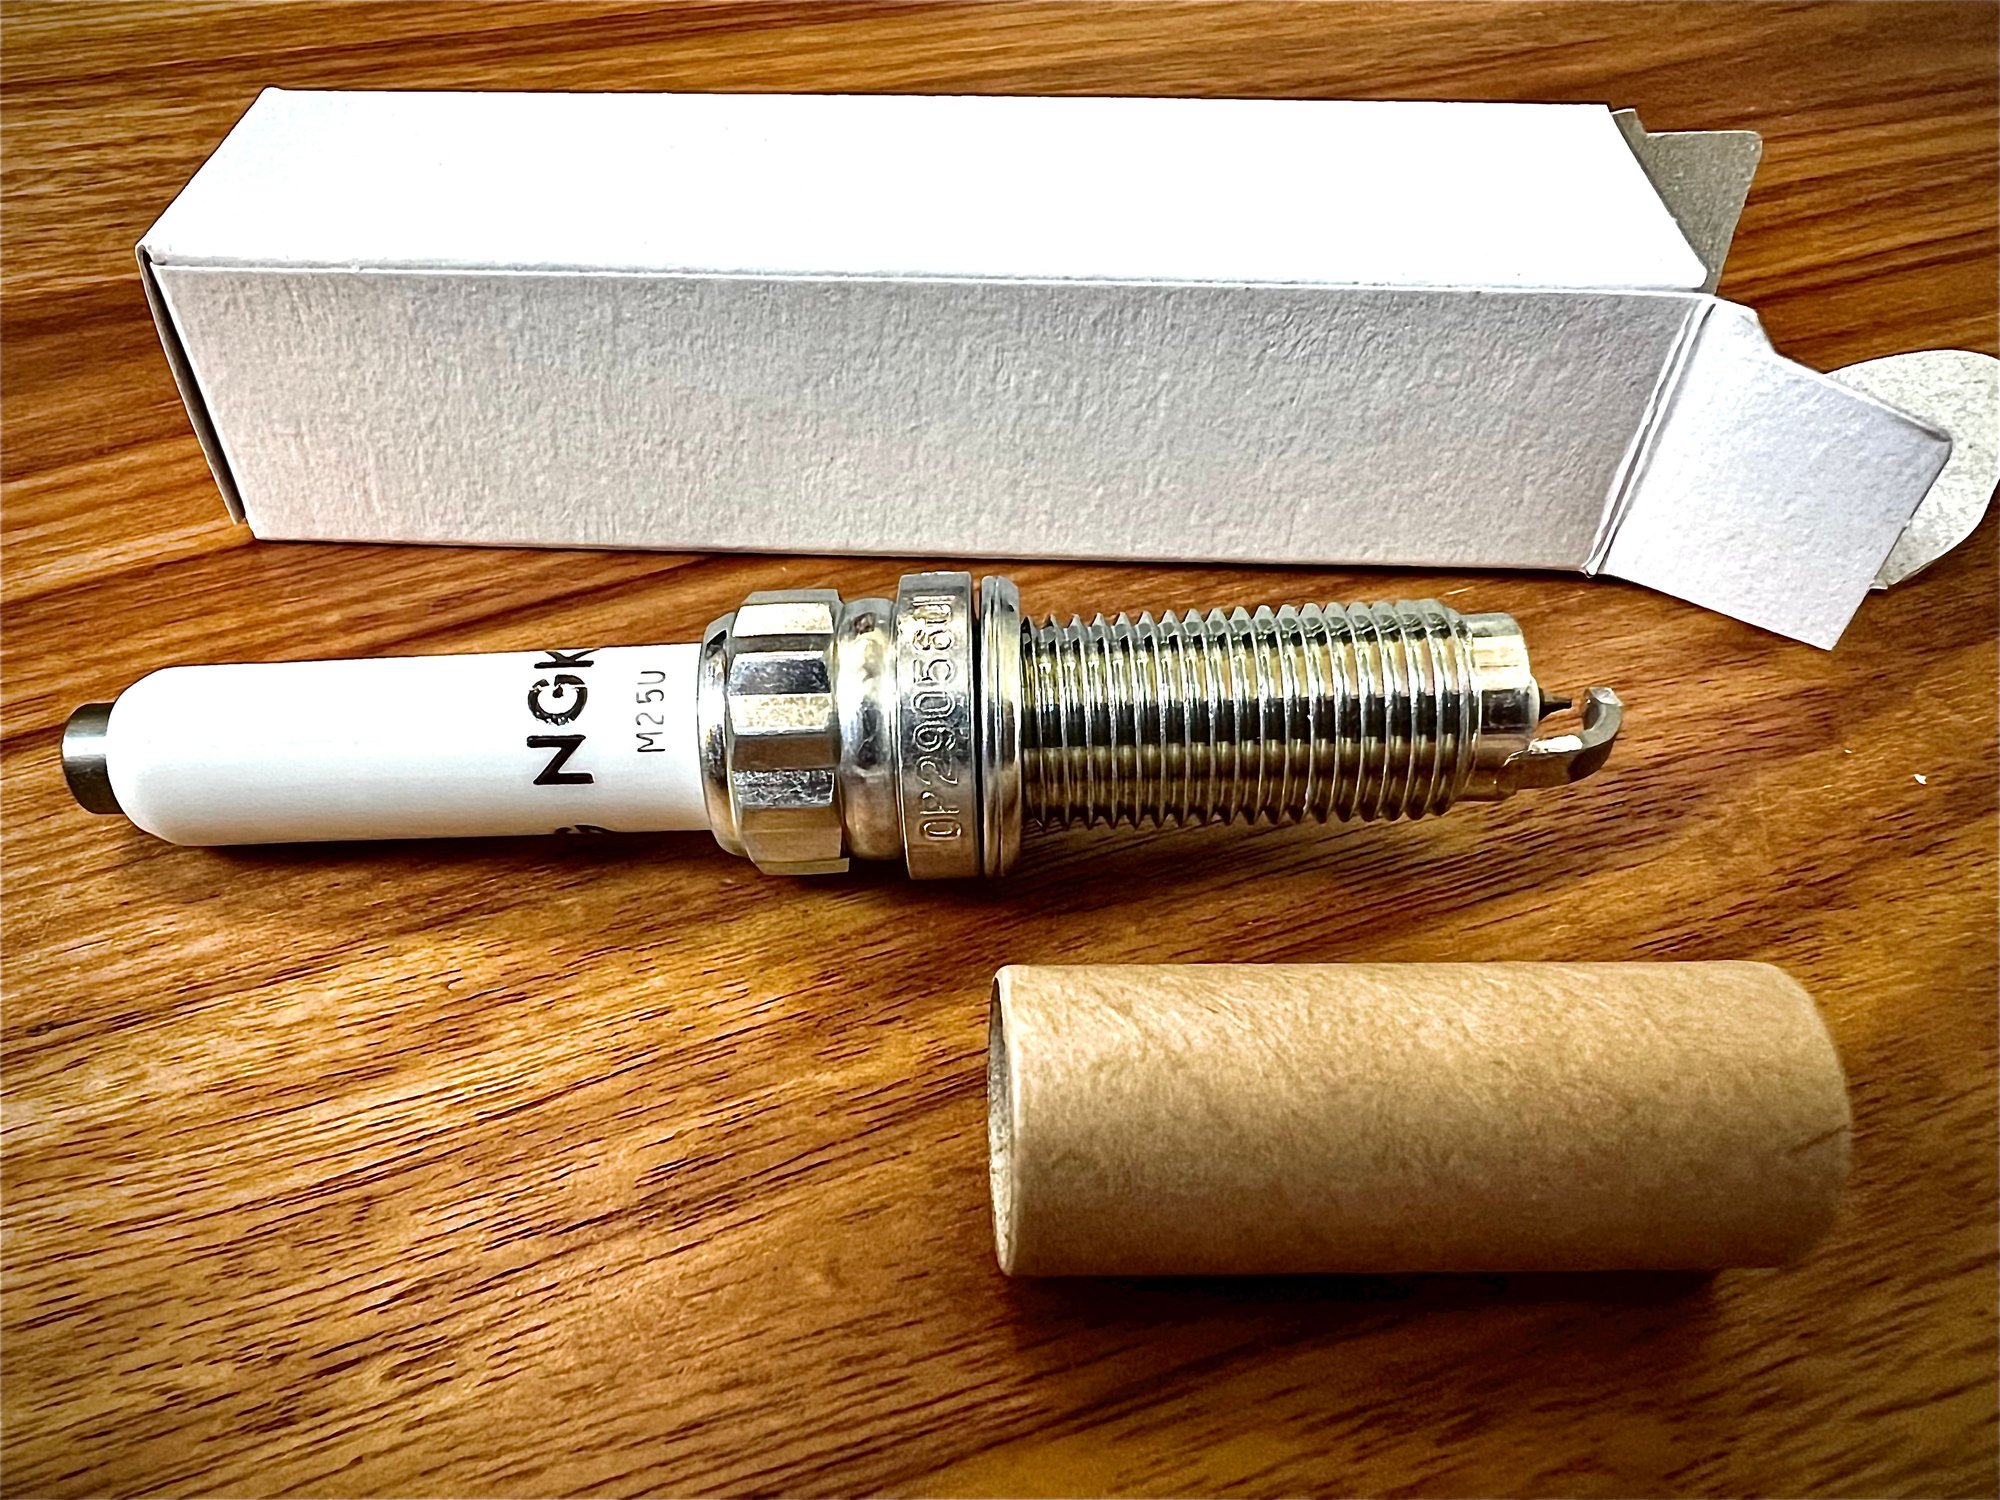
I just got the spark plug set from Suncoast for $144 for base model which didn't come with Porsche box or part number.
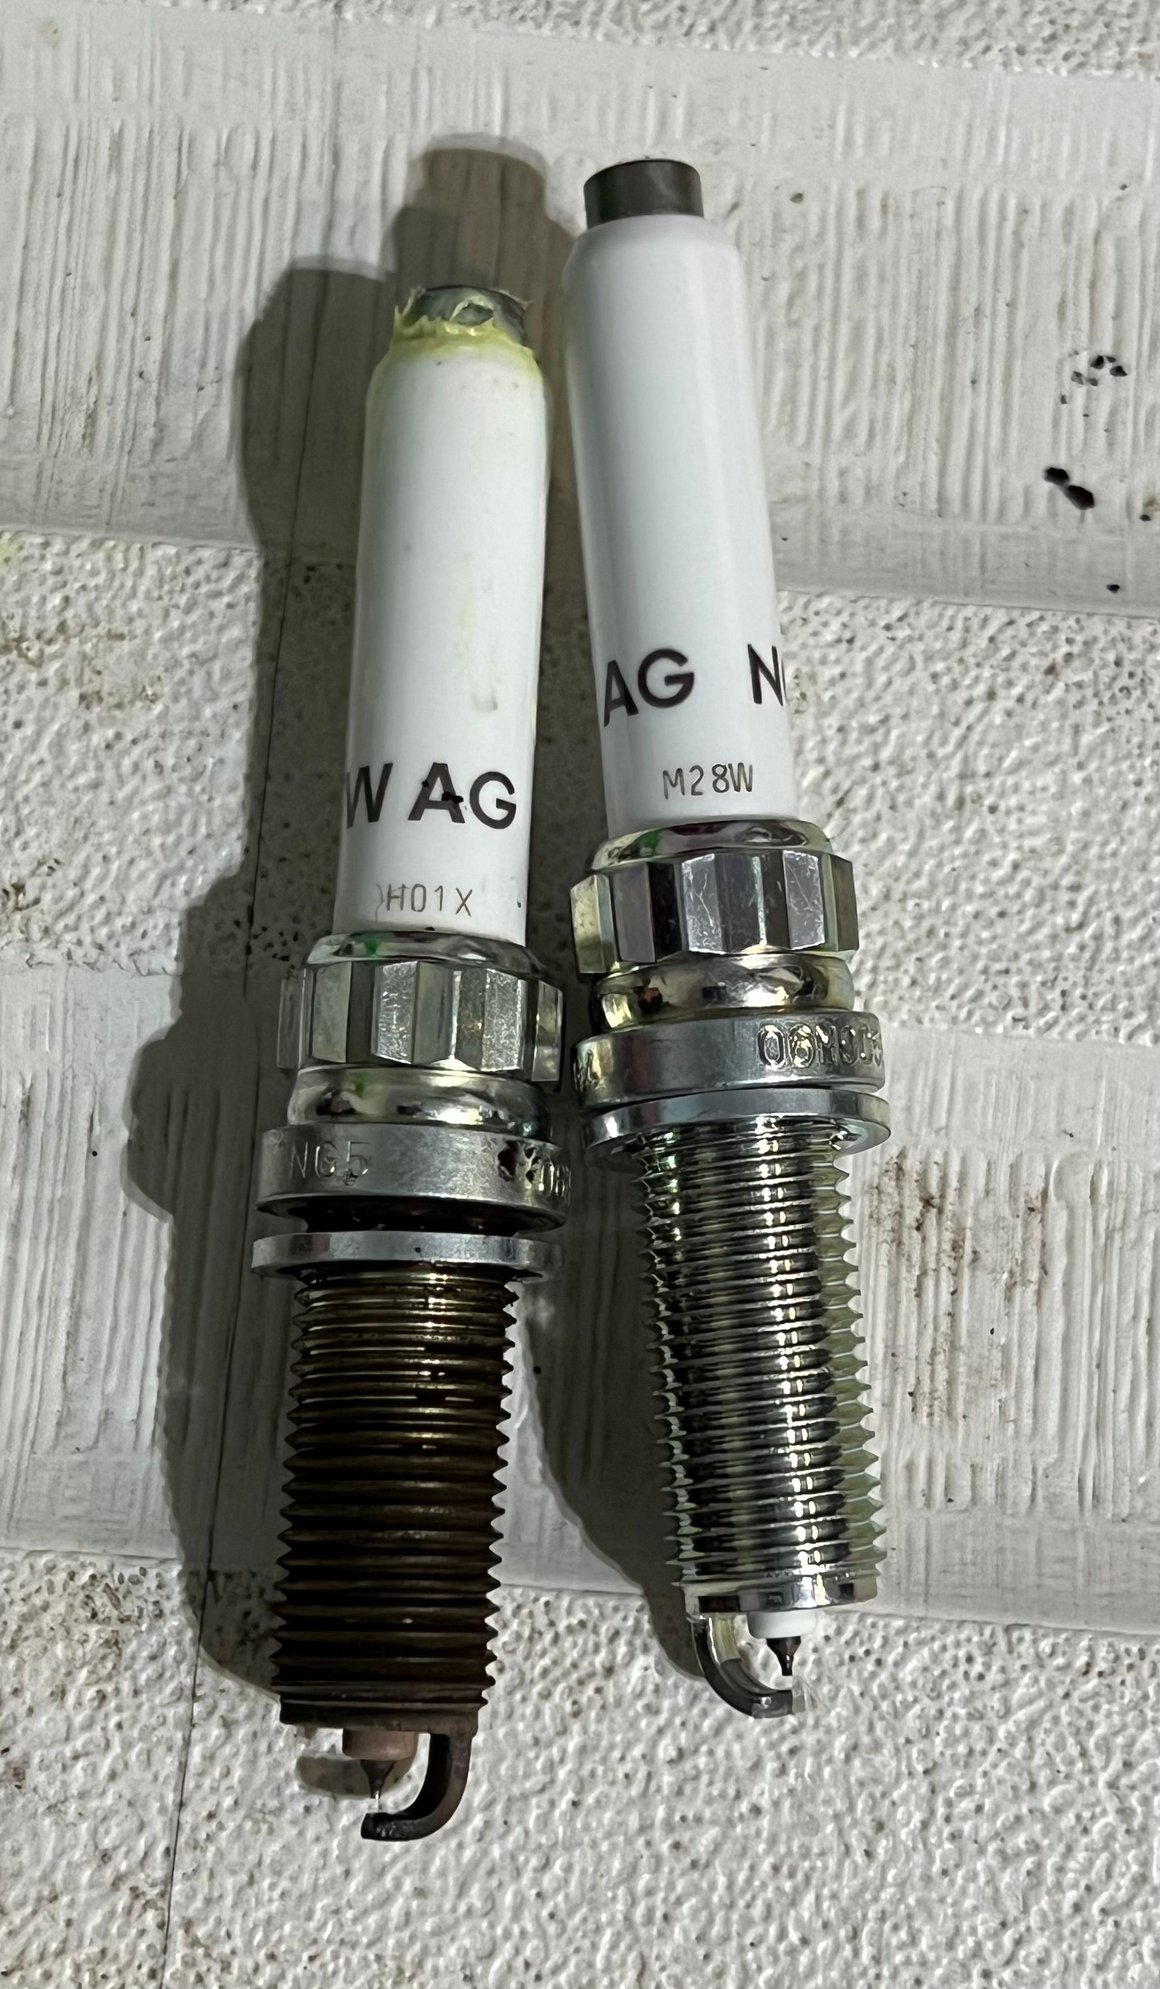
It's NGK 06M905606F whcih VW dealers sell for $10 to $13 per each.
I also got a Taycan emblem for $90 which other Porsche dealers sell for $75.
I always thought that Suncoast has better prices than other dealers, but that's not the case for every parts.
I just got the spark plug set from Suncoast for $144 for base model which didn't come with Porsche box or part number.
It's NGK 06M905606F whcih VW dealers sell for $10 to $13 per each.
I also got a Taycan emblem for $90 which other Porsche dealers sell for $75.
I always thought that Suncoast has better prices than other dealers, but that's not the case for every parts.
There's a few different spark plugs that don't have info on the individual boxes. No one really knows why Porsche does this.
VW number is always cheaper than the Porsche number, even though they are the identical NGK spark plug part number
Here's one example:
__________________ SuncoastParts.com Your #1 Source for Genuine Porsche Parts and Accessories on the Web!
Are the spark plugs pre-gapped? Anyone know the gap?
They are pre-gapped, but I will check them visually to see if there are any odd one out.
I founf the gap info on 'Youcanic' website, but I am not 100% sure if those are correct. (it says 0.032" for 8 cyl and 0.036" for 6 cyl)
I will also comapre the gap against the old one.
Did the plugs tonight, 2 hour job with no gotchas or bloody knuckles. Far easier than my MB with 3.5L NA V6 which was a struggle at 4.5 hours with scratched wrists and forearms.
The coils came out smoothly and with little effort. The factory assembly grease hadn't hardened into solid glue like it does on MBs with a 50k change interval. With MB coils it�s a 50/50 proposition whether or not the coil boot will be torn during removal because the boot is glued to the porcelain spark plug.
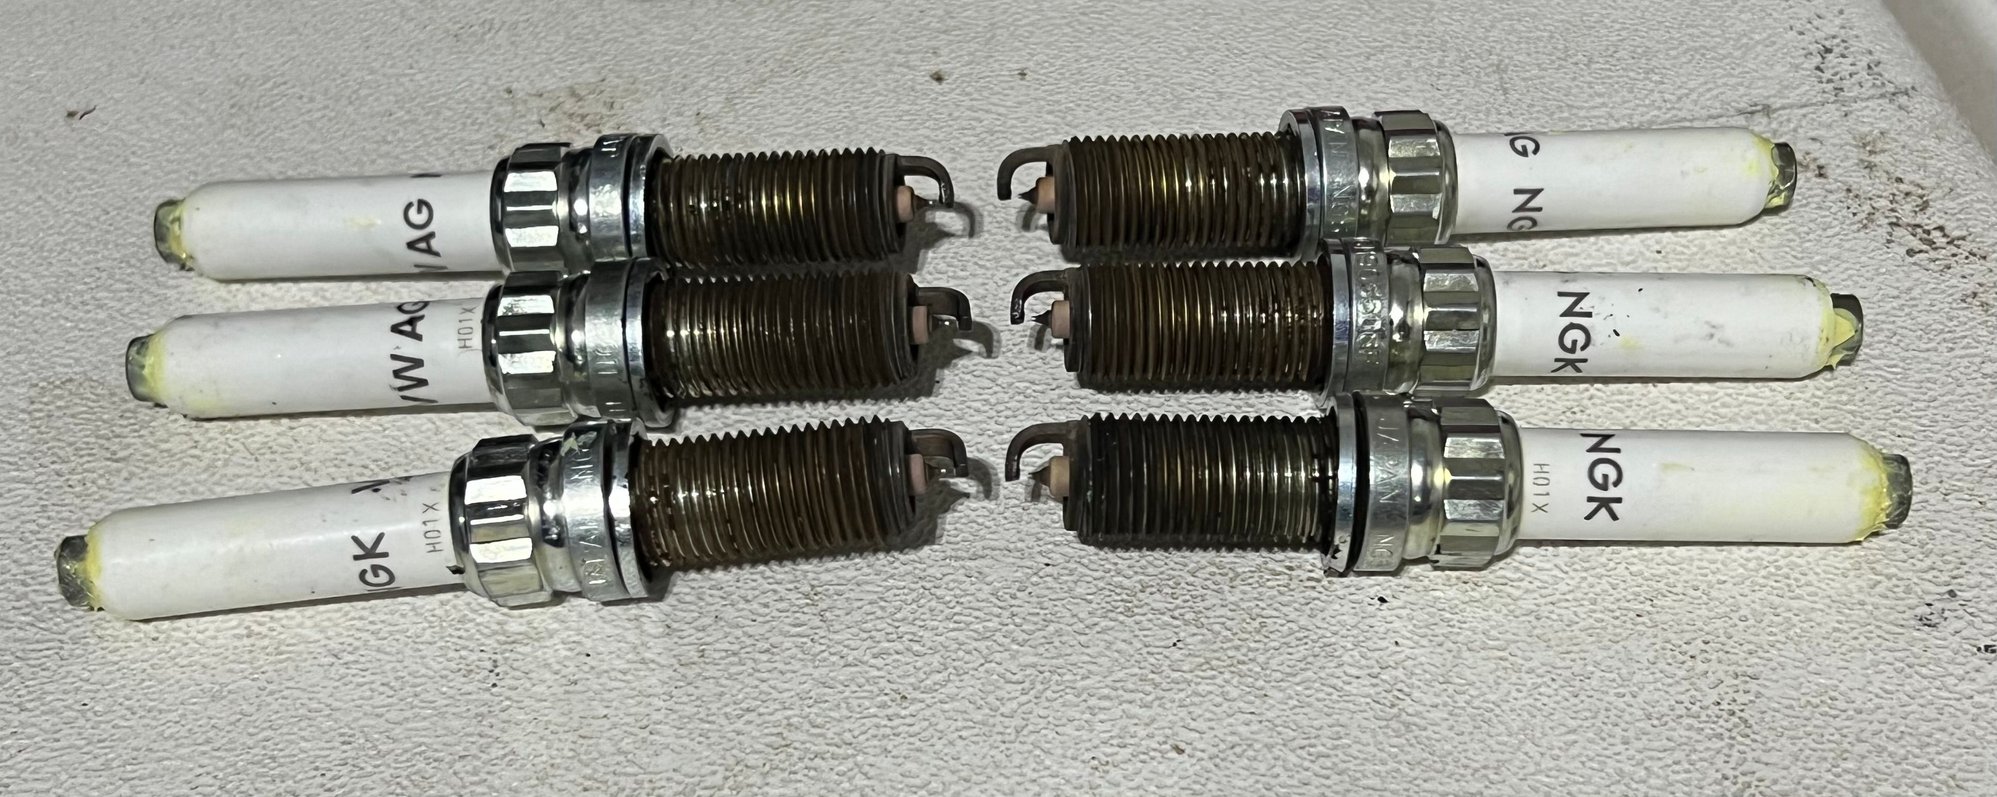
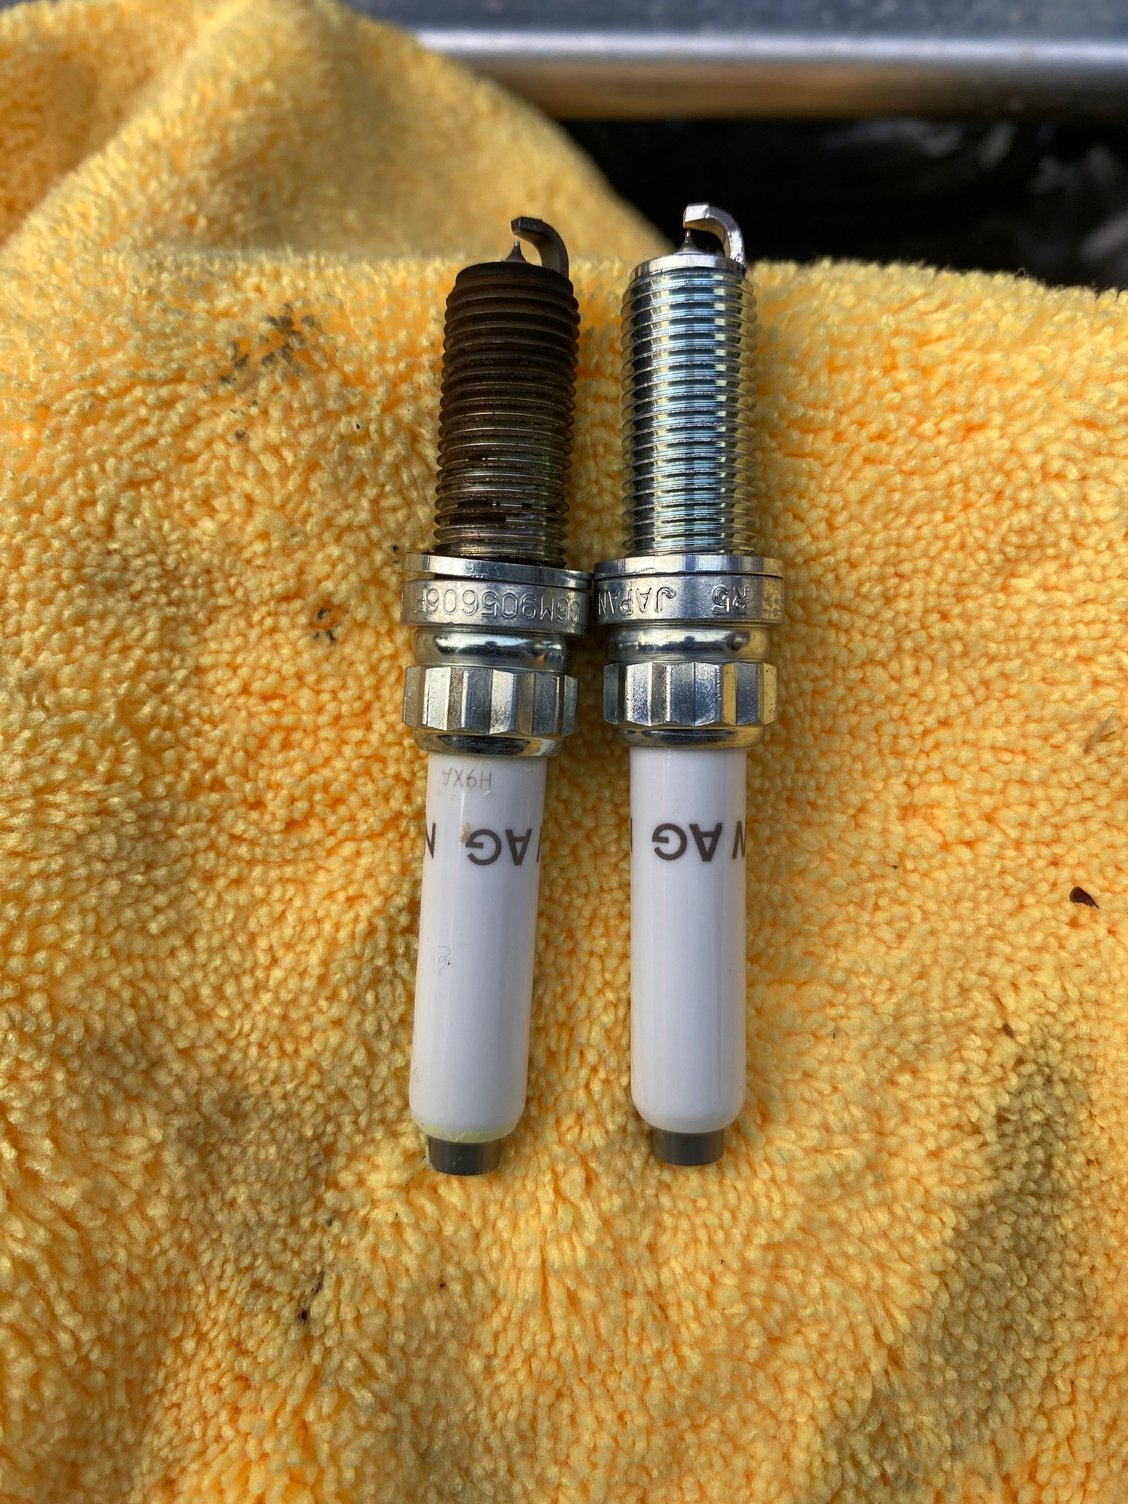
Old plugs look fine. Engine runs smoother with the new plugs.
Purchased spark plugs in stock from local dealer.
1. Air cleaner housing off
2. Driver's side LHD
- PCV hose to vapor separator off
- open coil connectors and remove connectors so they are loose
- pull cable duct off ball end retainers on valve cover
- detach harness Christmas tree at rear of valve cover (creates more wiggle room with cable duct)
- detach DME from bracket (creates more wiggle room)
- remove coil
- remove old spark plug
- install in reverse order liberally applying dielectric grease to inside of coil boot to aid in the next removal job
3. passenger side LHD
- loosen engine torque strut at shock tower
- remove engine torque strut bolt at inboard rubber bushing, pivot torque strut out of the way
- remove torque strut bracket from engine
- open and separate coil connectors
- remove coil
- remove old spark plug
- install in reverse order liberally applying dielectric grease to inside of coil boot to aid in the next removal job
Just completed this job. All went well. Same approach as others. However, I did not pull the DME off it�s mount as I had enough wiggle room to work through, around the harness.
plugs looked pretty good at 30k miles.
For those looking to reset the Maintenance Interval, I used iCarsoft Pro. As explained previously (it's not intuitive) you need to do the following:
Select Oil Reset
Enter Vehicle VIN
Confirm model
Enter date/time of service, hit enter...
...Now you're prompted with Maintenance OR oil reset
Select Maintenance
Done
I have not seen any posts for a CTT spark plug change. I noticed there are differences in the layout, and certainly the room available for working. What is it with CTT people, they not want to get their hands dirty, or what?
I just about have all the tools and crap I'll need, so post coming soon. It was 107 yesterday, and while my 4 car garage has an ac, it's not designed for Mercury temperatures.
From what I have seen of the CTT layout, removing the air cleaner assembly is a little more involved but once you're in there, access to plugs and coils seems about the same. Good luck!
From what I have seen of the CTT layout, removing the air cleaner assembly is a little more involved but once you're in there, access to plugs and coils seems about the same. Good luck!
CTT engine air filter and oil change is a breeze using a vacuum oil extractor.
Air filter change becomes labor free when using the latter oil change method.
I just performed my 4th. oil change and air filter change since I rached 50K miles.
Luckily, my 2019 Twin Turbo Cayenne S does not burn oil between oil changes. At most, it goes down 1/5 of the normal oil range on my vehicle..
Like Mercedes, at least in the past, I think Porsche needs better quality control at the factory aligning/installing correctly rings, parts, etc. to avoid excessive burn and other issues. There is no other reason brand new Porches, or any other vehicles, would burn several quarts of oil in between oil changes and need to be refilled often.
Below is a video link on how easy it is to change the oil and engine filter on a CTT ising a vacuum oil extractor. It can serve as a major step to prepare for a spark plug change, which I may need to do in about 20K miles.
Yeah, a little more involved if you do the jack the car up, put on stands, drain and replace the plug and crush washer. But I am glad I did the bottom drain as I wanted to inspect everything down there anyway. Next time I'll do the extractor and then the drain to see if the bs about not getting all the oil is true or not, as it pertains to the CTT.
Yes, can be done. But to video it effectively, the car had to be on stands. My 2-ton jack seem to struggle a little. I don't get under the car until the car is on stands and the jack is still under there as a back up.


 01-21-2023, 01:56 PM