Pics of Base V6 Engine (VW EA839)
#31
Instructor
celiawessen, slight derail sorry but what are the most common problems associated with "garage-itis"? I've got a couple cars siting in garages right now and they've been there a while. '96 911 and an '11 S4 if that makes any difference.
Did you ever figure an easier way to get at the filters on the biturbo?
Did you ever figure an easier way to get at the filters on the biturbo?
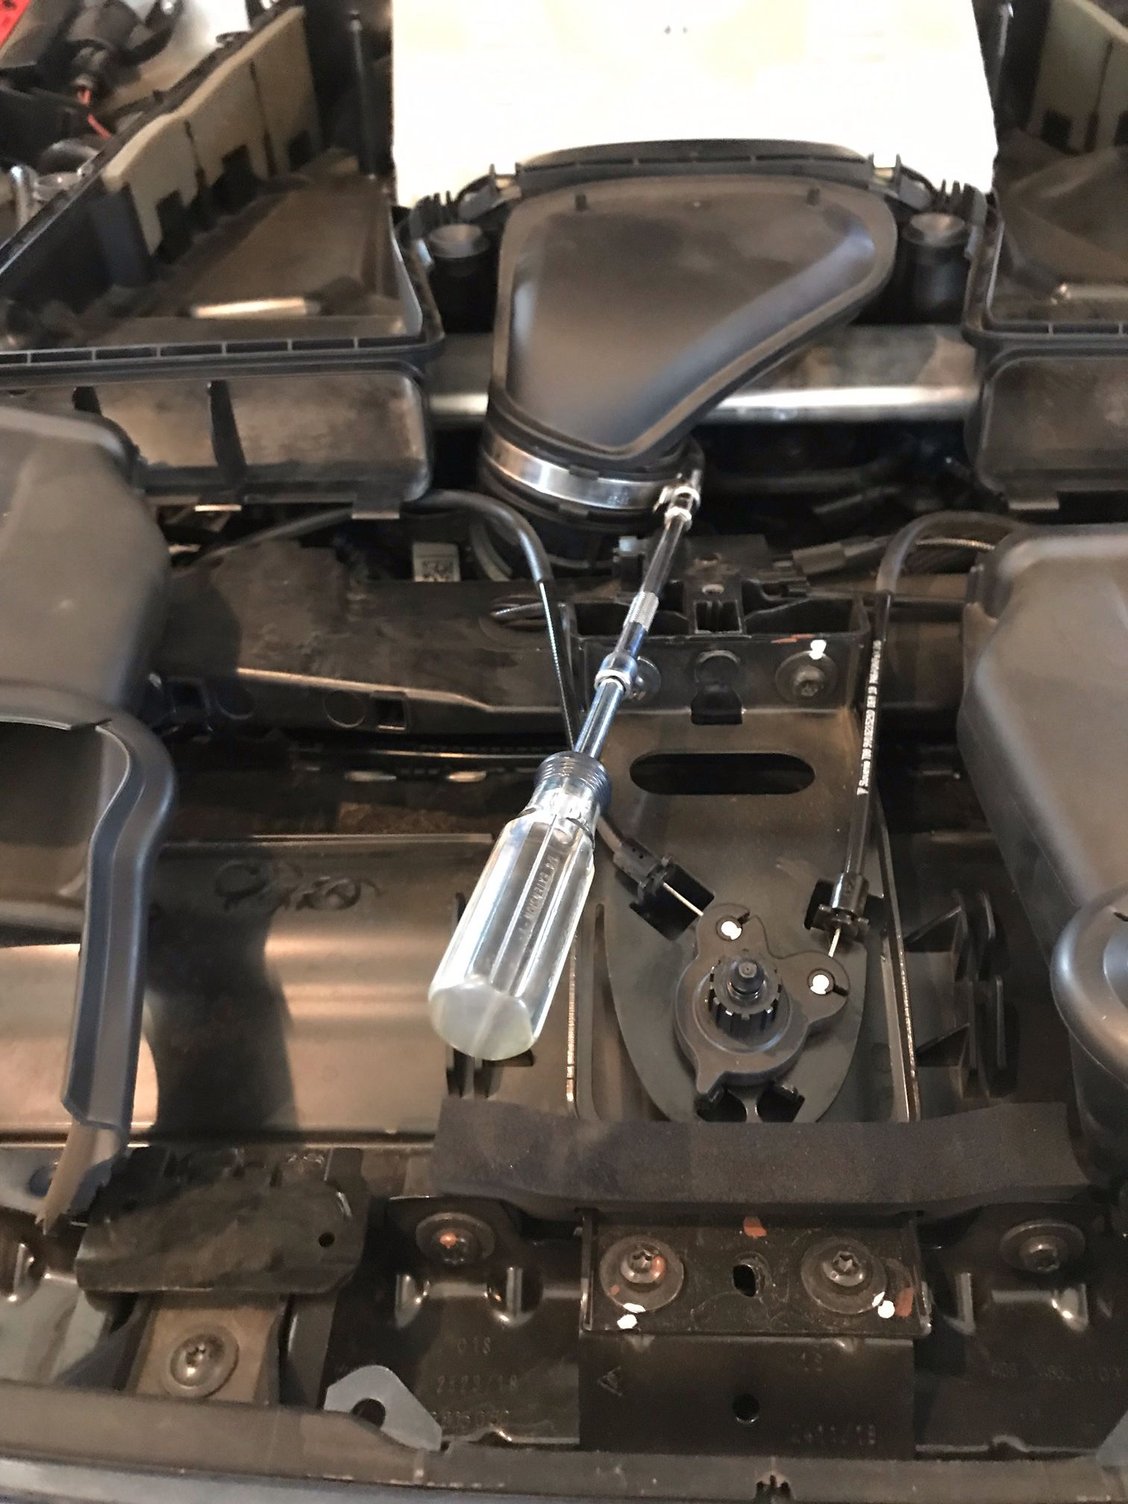
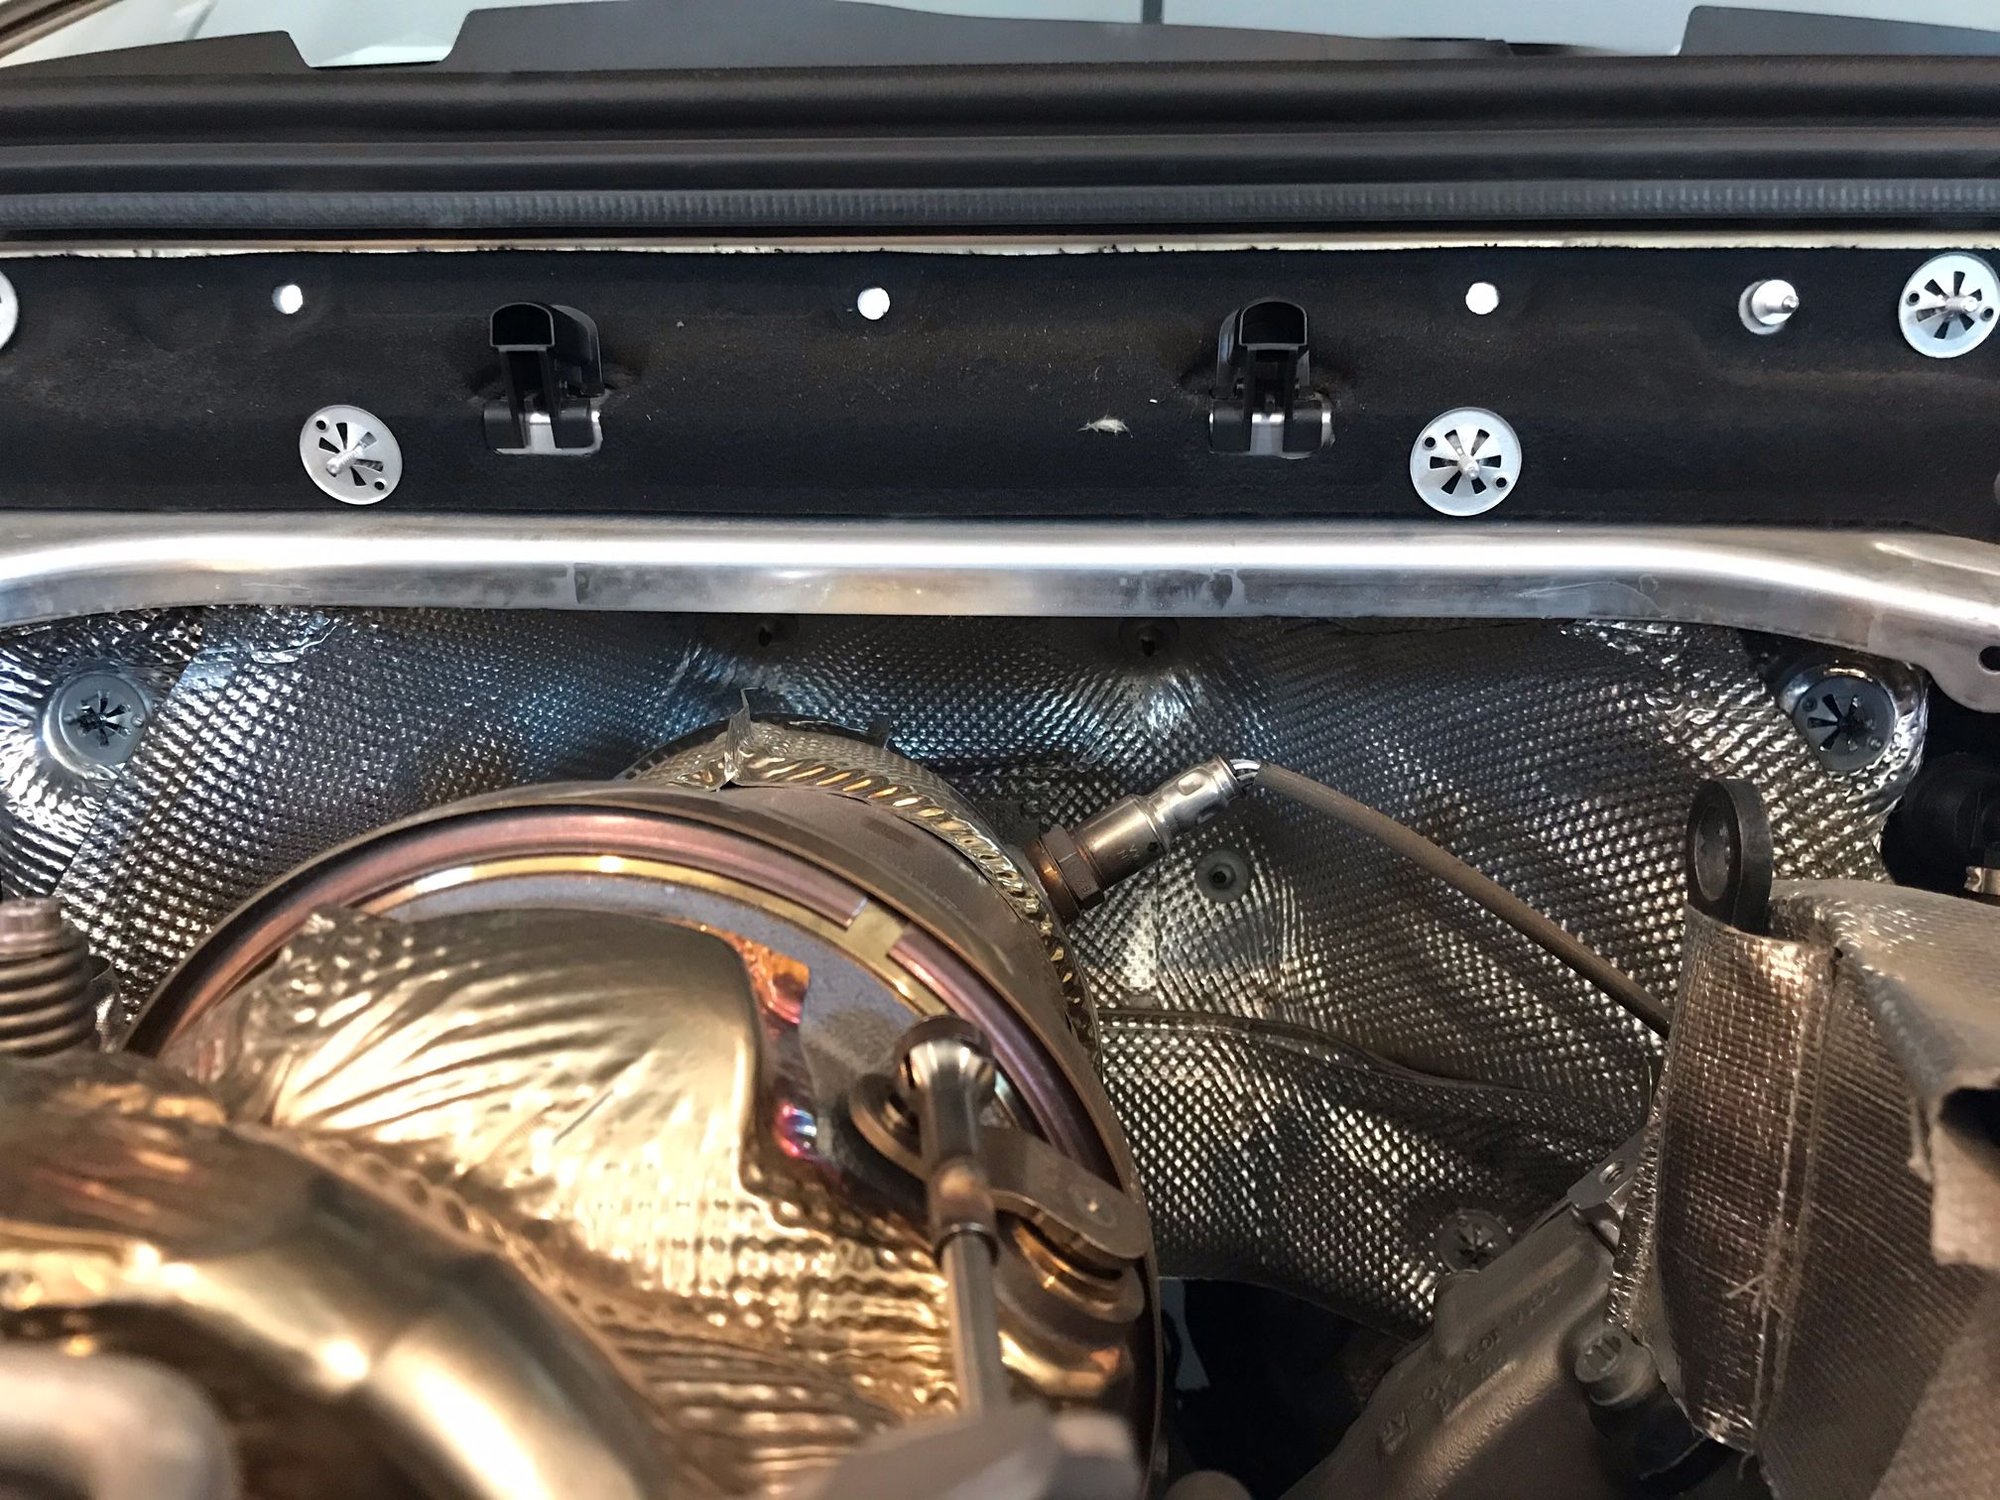
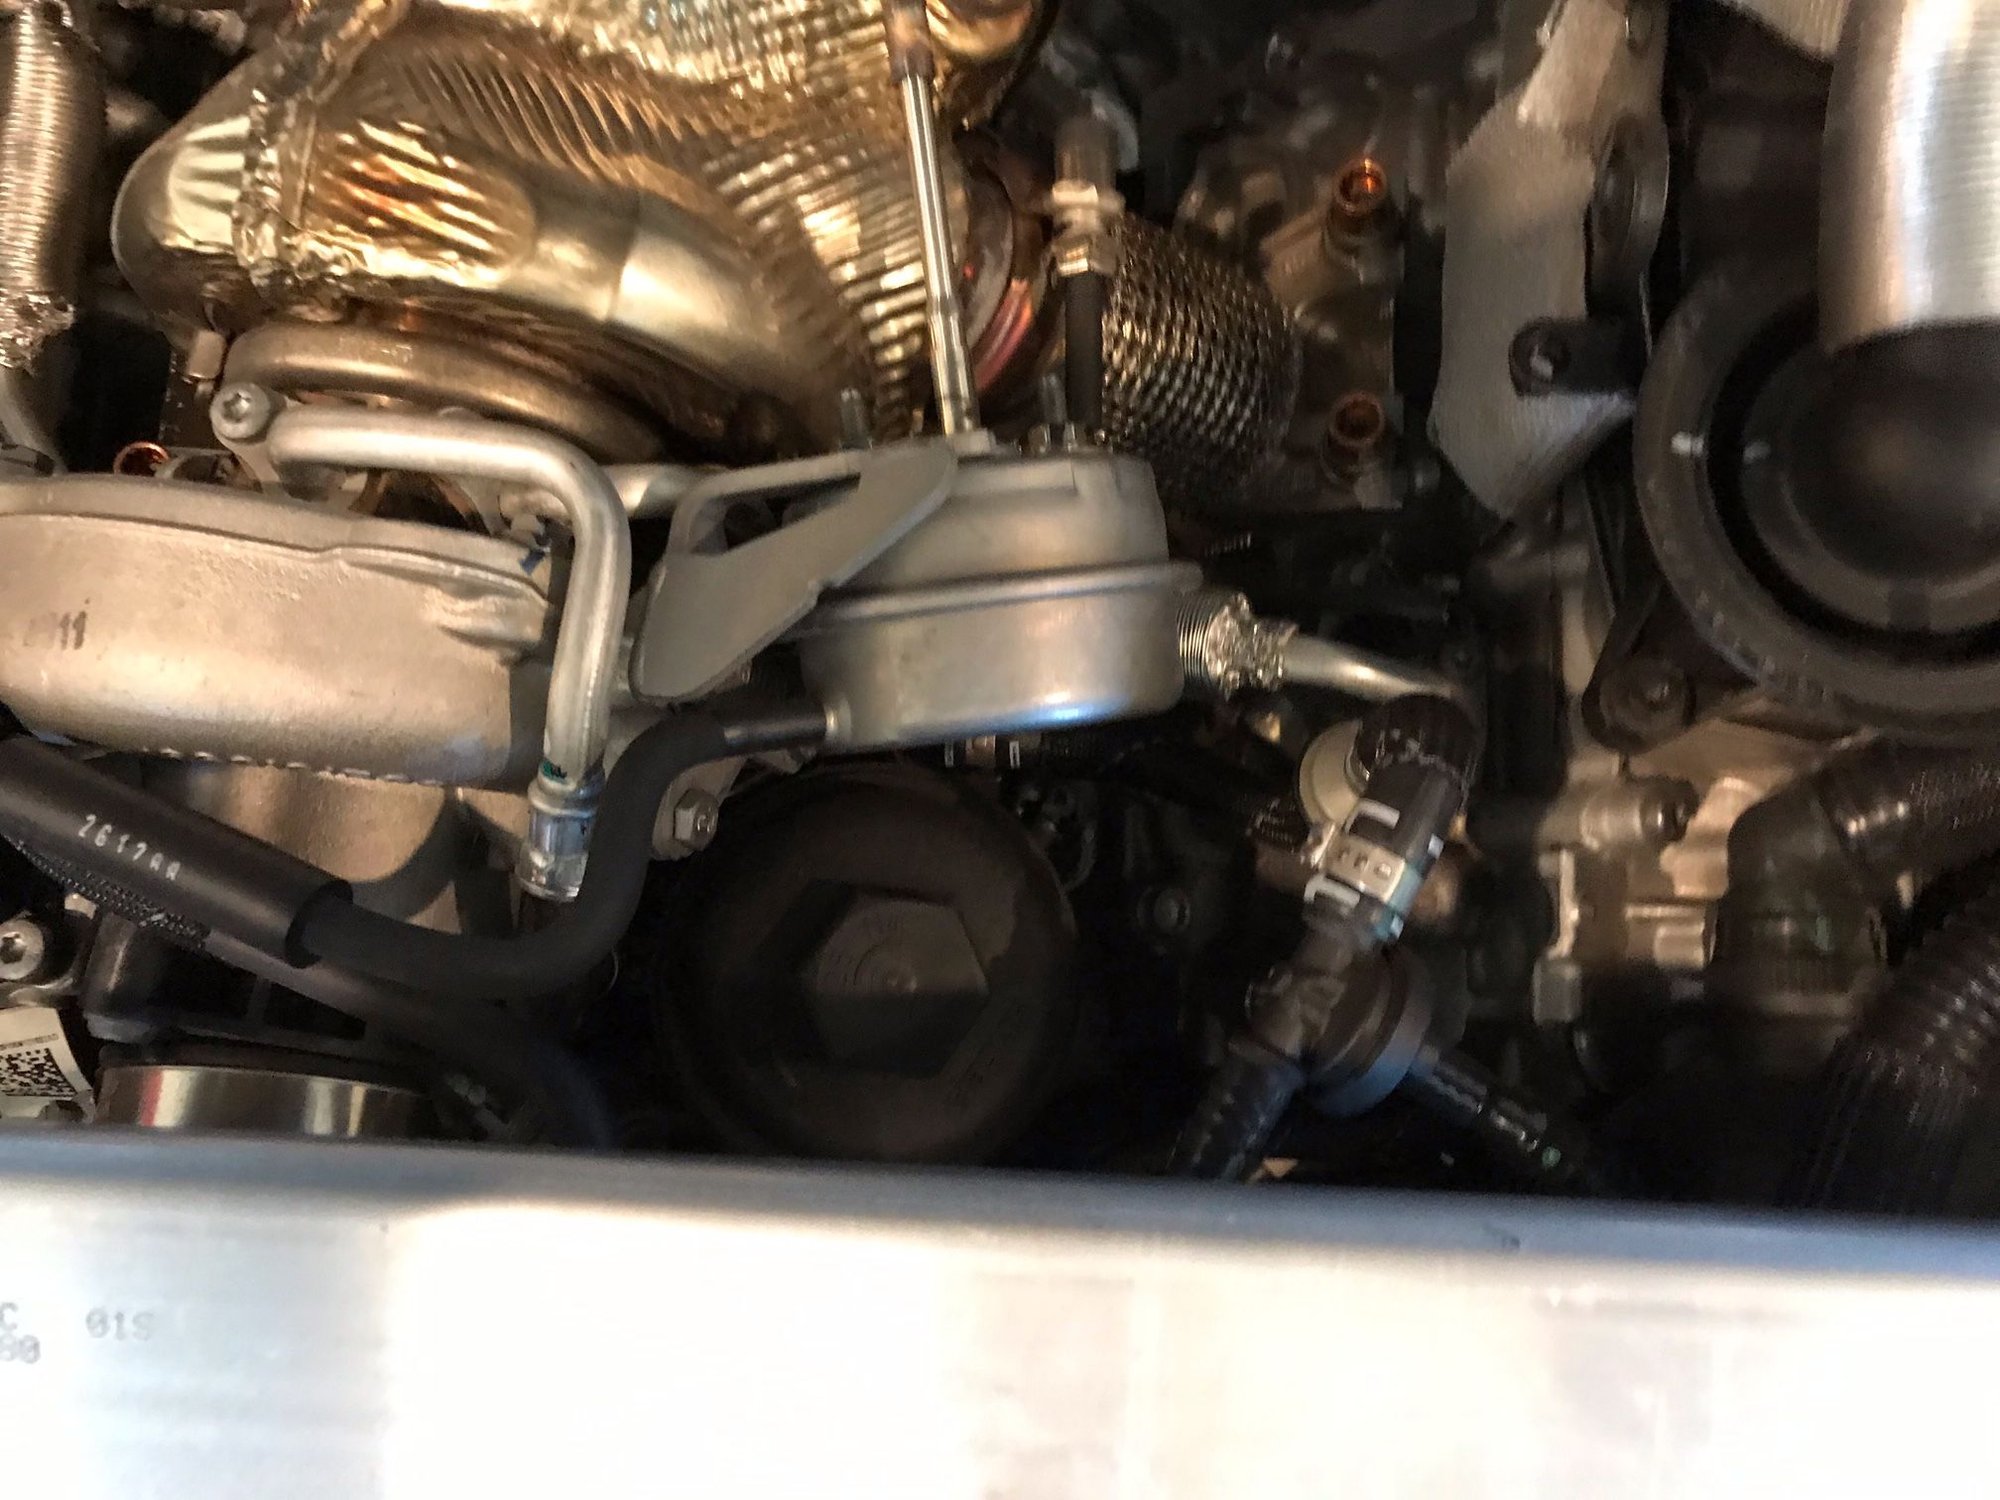
For removing the oil filter on the Cayenne Turbo, the torsion bar MUST COME OUT - but it was very light! The two lines sitting on top of the cap were flexible enough that I was able to tuck them aside while removing the filter. I was able to remove the filter with minimal oil drip.
The following users liked this post:
icemang (12-18-2020)
#32
1. Oil spec is 0W-20.
2. Do not raise the car right away. Rather, leave it one the ground while replacing the oil filter, steps 1-23 below. Then raise the car to drain the oil.
1. Remove engine cover by depressing and unsnapping the two metal tabs underneath the front corners of the engine cover, then lifting the front of it out of the rubber detents; and finally disconnecting the tabs at the back edge from the slots in the firewall cover. This has the effect of swinging the engine cover up about its back edge. See figure 1, below.

Figure 1. Tabs on back edge of engine cover.
Note: Steps 2-4 are not strictly necessary, but provide more room to work.
2. Remove side trim covers by unsnapping them starting at the rear. There are a total of 5 plastic snap connections for each
3. Remove the hood latch handle by prying its retainer out of the hub with a small screwdriver—see Figure 2, below.

Figure 2. Removal of hood latch.
4. Remove front trim cover (where the hood latch was):
a. Remove one plastic rivet on each side by using a small screwdriver to pry up its retainer and lifting it out. See Figure 3, below.

Figure 3. Plastic rivets on front trim cover.
b. Lift the cover vertically to disconnect the four plastic snap connections.
5. Unsnap and remove the oil filler from the air cleaner carrier.
6. Using a 7mm socket, loosen the band clamp on the air duct connection at the bottom of the air cleaner front; you’ll have to loosen the clamp quite a bit to allow clearance to remove the air duct connection from the air cleaner body. This is easiest with a 6” extension on the driver which allows the socket and bolt to line up better. See Figure 4, below.

Figure 4. Band clamp on air duct.
7. Then, remove the air duct connection using a small spatula or screwdriver to pry the duct away from the air cleaner body, being careful not to scratch or tear the duct.
8. Unsnap and remove the two air ducts from the front of the air cleaner body. Again, this is not strictly necessary but makes handling the air cleaner easier.
9. Lift the front of the air cleaner body, unsnapping it from the detents under the rubber grommets on the air cleaner support. See Figure 5, below.

Figure 5. Removal of air cleaner body from rubber detents.
10. Then, pull the air cleaner directly towards you to remove it. See Figure 6, below, for rear air cleaner connections to the firewall cover: These are simply studs onto which a pair of rubber isolators slide.

Figure 6. Firewall cover studs for air cleaner box mounting.
11. Note that oil filter cover is on the left front of the engine, just to the rear of the air cleaner support. See Figure 7, below.

Figure 7. Oil filter location
12. Using a Torx T30 bit, loosen then remove the six screws holding the air cleaner support to the body. Leave the support in place; this step allows the support to move slightly, providing more clearance and making filter removal easier.
13. Using a 32mm oil filter socket, remove filter cover and replace filter. Notes:
a. Filter is omnidirectional—unlike some previous Porsche filters, you don’t have to worry about which end goes in the filter cover.
b. Remember to replace the rubber gasket on the filter cover, moistening it with fresh oil.
c. Torque the filter cover to 25 N-m (19 lb-ft).
14. Ensure the air cleaner support is fully rotated/depressed into place, then replace screws on air cleaner support.
15. Replace air cleaner body by mounting it on the studs on the firewall cover, then pushing to re-engage detents on the air cleaner support.
16. Reconnect air duct, being sure to seal it correctly. This takes a bit of pushing and tugging in a tight space—be patient.
17. Replace and retighten the band clamp connecting the air duct to the air cleaner body. As with removal, this is easiest with a 6” extension on the driver which allows the socket and bolt to line up better.
18. Replace the two air ducts on the front of the air cleaner body. These just snap in directly.
19. Replace the oil filler carrier onto the air cleaner body.
20. Replace front trim cover—just press down vertically while ensuring that plastic snaps line up; then replace plastic rivets. It’s easiest to do this by pushing down on the sides of the rivets while leaving the center dowel to float.
21. Replace hood latch handle and retainer.
22. Replace side trim covers by hooking their front tabs into the front trim cover, then swinging them down and rearward to snap in place. Once again, ensure that the snaps are lined up before pressing into place. Finally, push the rear tabs under the rubber hood seal.
23. Replace engine cover: Engage tabs in slots on firewall cover, then swing down and forward to set in rubber detents. Finally, re-engage clips at front corners by pushing them forcefully in towards the centerline of the car until they snap.
24. Raise the car.
25. Remove the front underbody cover. (The oil drain is under the front cover.) There’s no need to remove the rear unless you want to inspect the area such as for leaks from the transmission. You don’t need to remove the rear cover to remove the front.
a. The front has 16 small (roughly T20) and 2 T30 Torx fasteners. It’s easiest to remove the two T30s last, as they’re in the center. For the small Torx fasteners, it’s easiest to use a ¼” ratchet to start followed by a power driver (e.g.., Bosch) to quickly unfasten.
b. The rear has 16 small Torx fasteners. Remove the center one last, then pivot the cover downwards, hinging on the tab that inserts into the front cover.
26. Remove your watch—oil is likely to run down your arm on the next step.
27. Using a T45 bit, remove drain plug and drain oil. Be careful not to let the drain plug fall into the oil drain pan.
28. Remove the crush washer from the drain plug, and replace with the new one that comes with the Porsche-supplied filter.
29. Replace the drain plug and torque to 50 N-m (37 lb-ft).
30. Replace underbody cover(s).
31. Refill with 0W-20 oil; nominal capacity with filter is 7.7 quarts.
32. Reset oil change indicator with Autel MD808 Pro or equivalent tool.
33. Accept the thanks of your spouse for changing the oil in her car.
34. Go to the nearest available racetrack as soon as possible, and restore the grin to your face by screaming around it in your elderly 911.
The following 5 users liked this post by philhallenbeck:
Heegoogoo1 (01-01-2022),
PorscheACC (05-08-2022),
Stangle (01-09-2022),
toma nova (06-13-2022),
vantage (10-16-2022)


