When you click on links to various merchants on this site and make a purchase, this can result in this site earning a commission. Affiliate programs and affiliations include, but are not limited to, the eBay Partner Network.
2016 Cayenne PCM3.1 - Easy Apple CarPlay retrofit?
All, Happy fourth!
I have a 2016 Cayenne PCM3.1 (I think) and am looking to upgrade it to be able to use Apple CarPlay. A few years ago I had seen one was available but it includes replacing the screen, splicing wires etc etc. I am comfortable enough taking things apart but would prefer not to splice wires that came with the Porsche. Any more plug and play kits the forum have used and any recommendations of where to buy? An installer in the Georgia area would be even better.
This thread is an absolute beast, but has everything you'd ever want to know and more: https://rennlist.com/forums/991/1045...91-1-a-50.html
If you're looking for ease of install, the NM Automotive kit is likely the best way to go.
The Joyeauto does have some small advantages, but both are pretty close substitutes.
If memory serves right, the thread might have listed an installed in Georgia. If not, Nick at NM can likely point you in the right direction.
Thanks so much. Any YouTube videos on the installation of NM Automotive into a Cayenne?
Nick's kit comes with a fairly detailed guide. You still have to be somewhat savvy and creative yourself, but for the most part your hand is held through the entire process. I'm actually mid-install as I write this.
Joy E Auto installation into 2014 Cayenne S Hybrid
So, I just did this over the past two days. bought the kit from AliExpress (about $400 shipped). Their instructions are typical made in china instructions (basically useless). Their videos are worse.
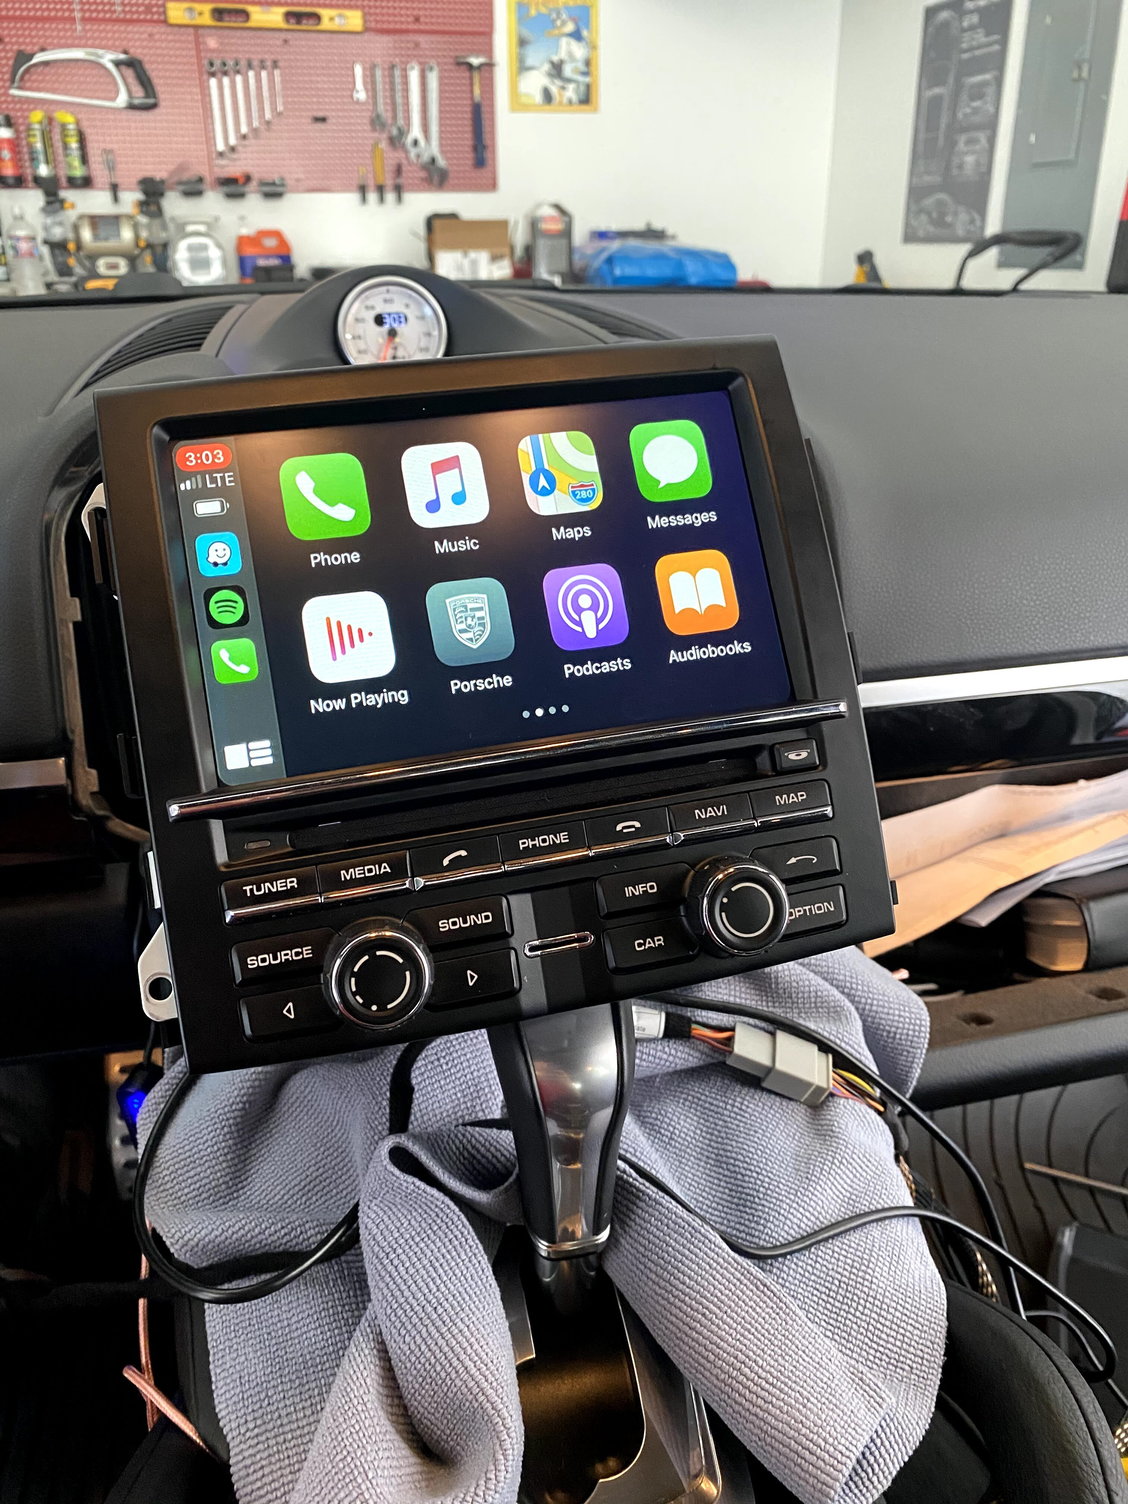
I did find this guy who installed it in his 911 that was a pretty great video:
In doing it I have a few suggestions outside of the video above:
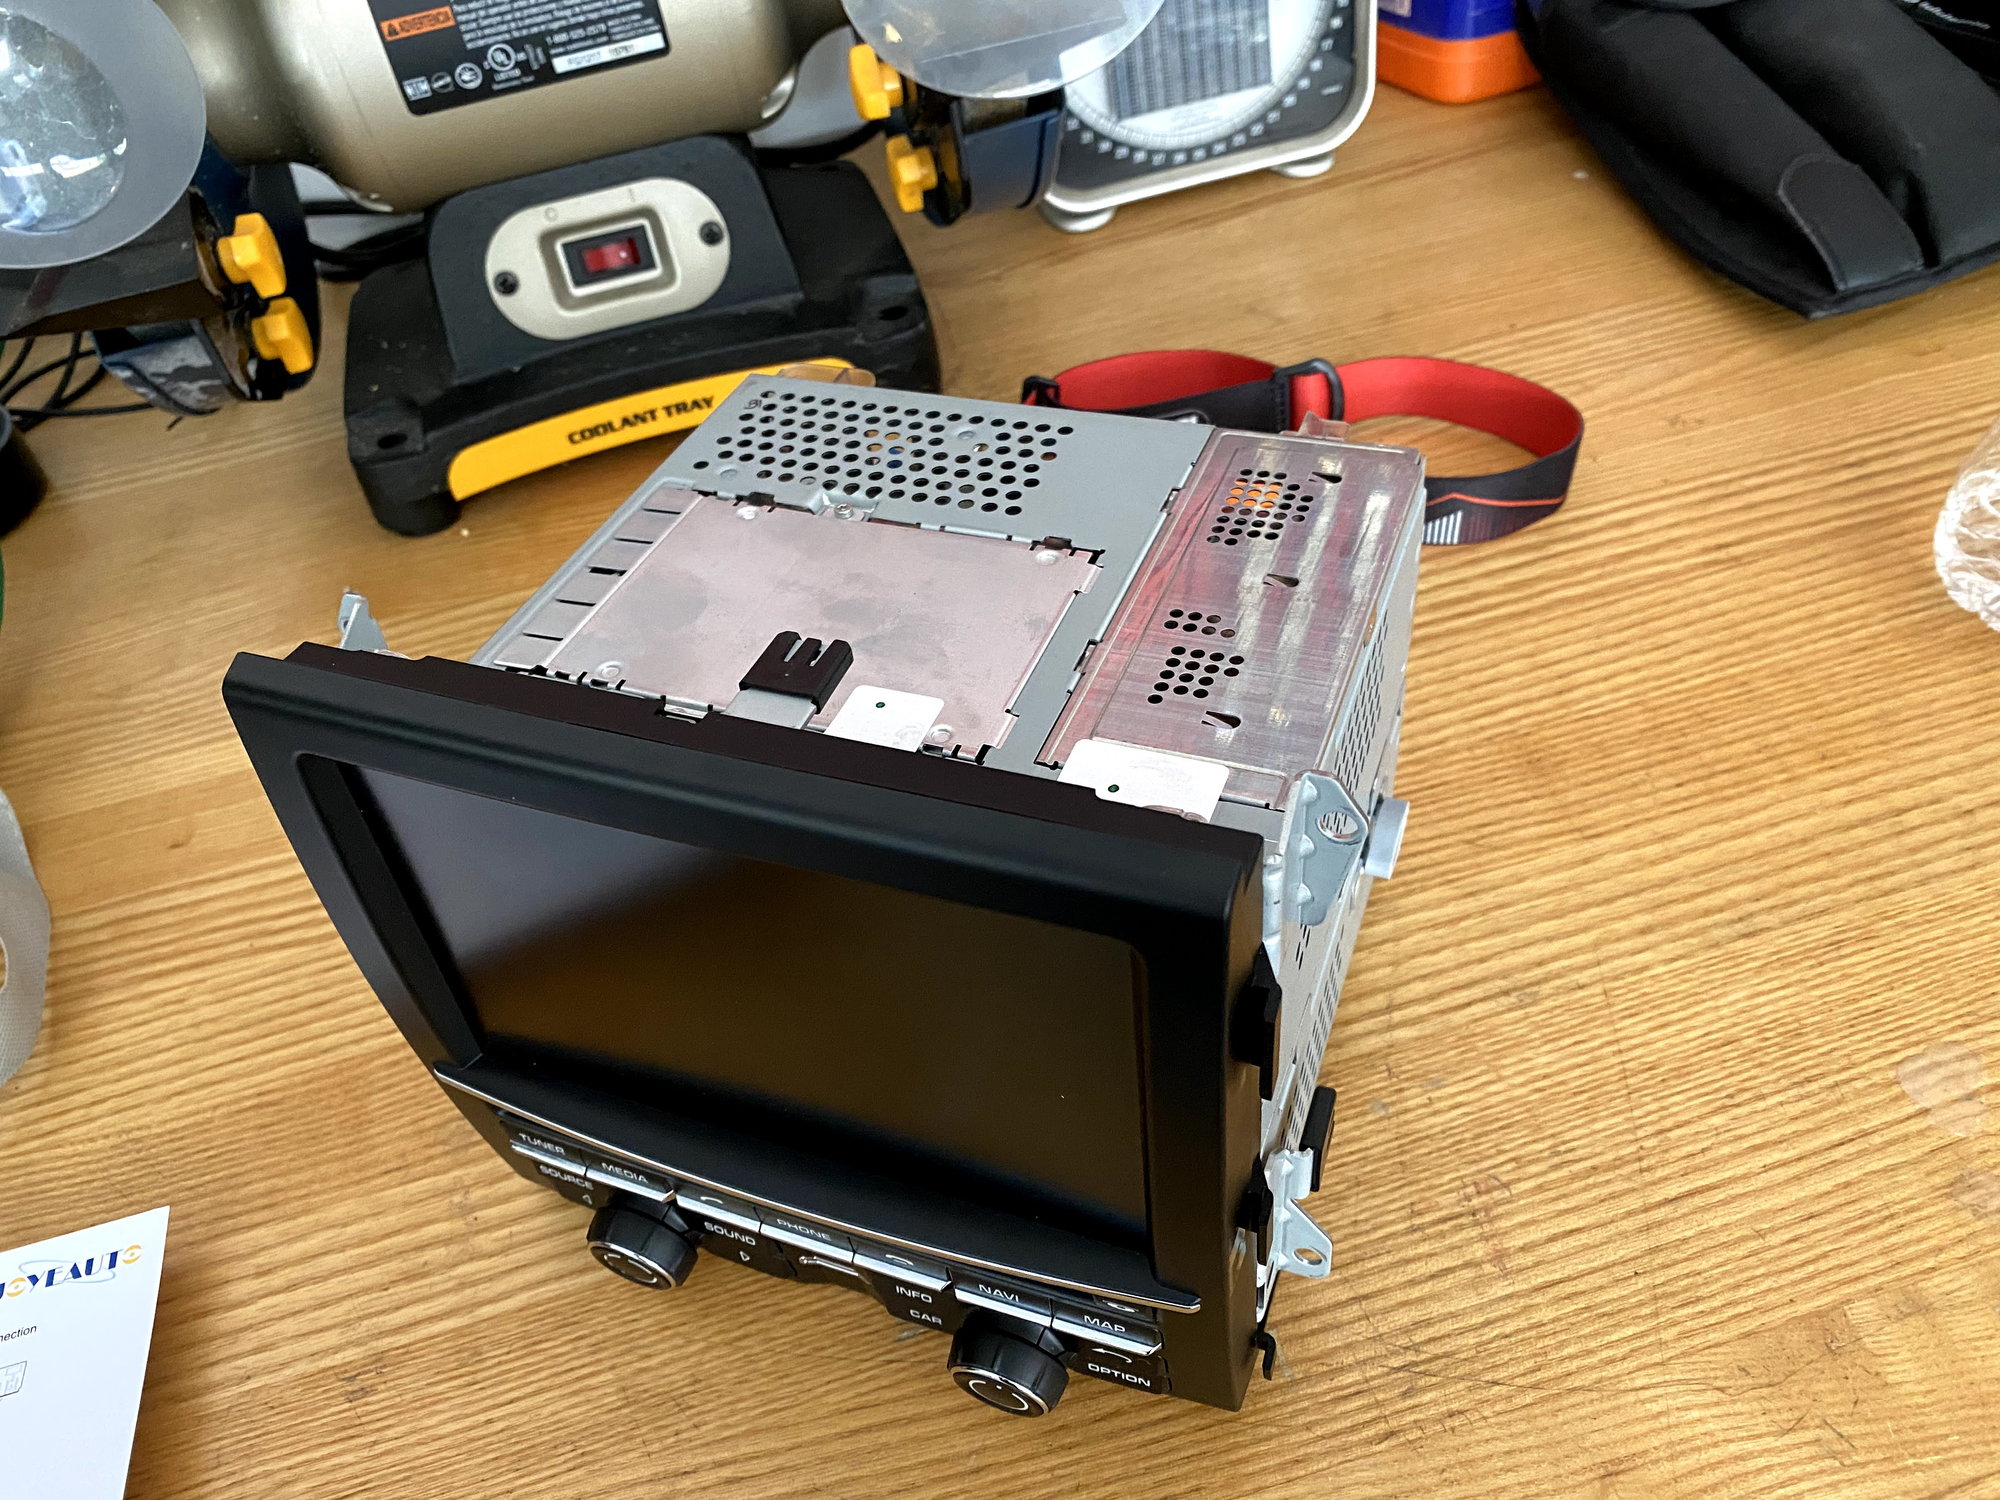
1. take your time on the wiring of the flex cables, I had to go back and reseat them a couple of times so that everything worked. Another big big tip, you have to separate the bottom half from the top half of the head unit after you remove the faceplate. This seems to bite everyone who is doing this mod. There is a very easy way to do this. remove the three screws as pictured in the video, then use a large flat bladed screwdriver and look to the left and right sides. you can see the two channels on each side where the top and bottom pressure fit together. insert the flat blade horizontally between the top and bottom right where you can see the pressure fit channel is and give a slight twist. do this on all four areas and the sucker just falls apart.
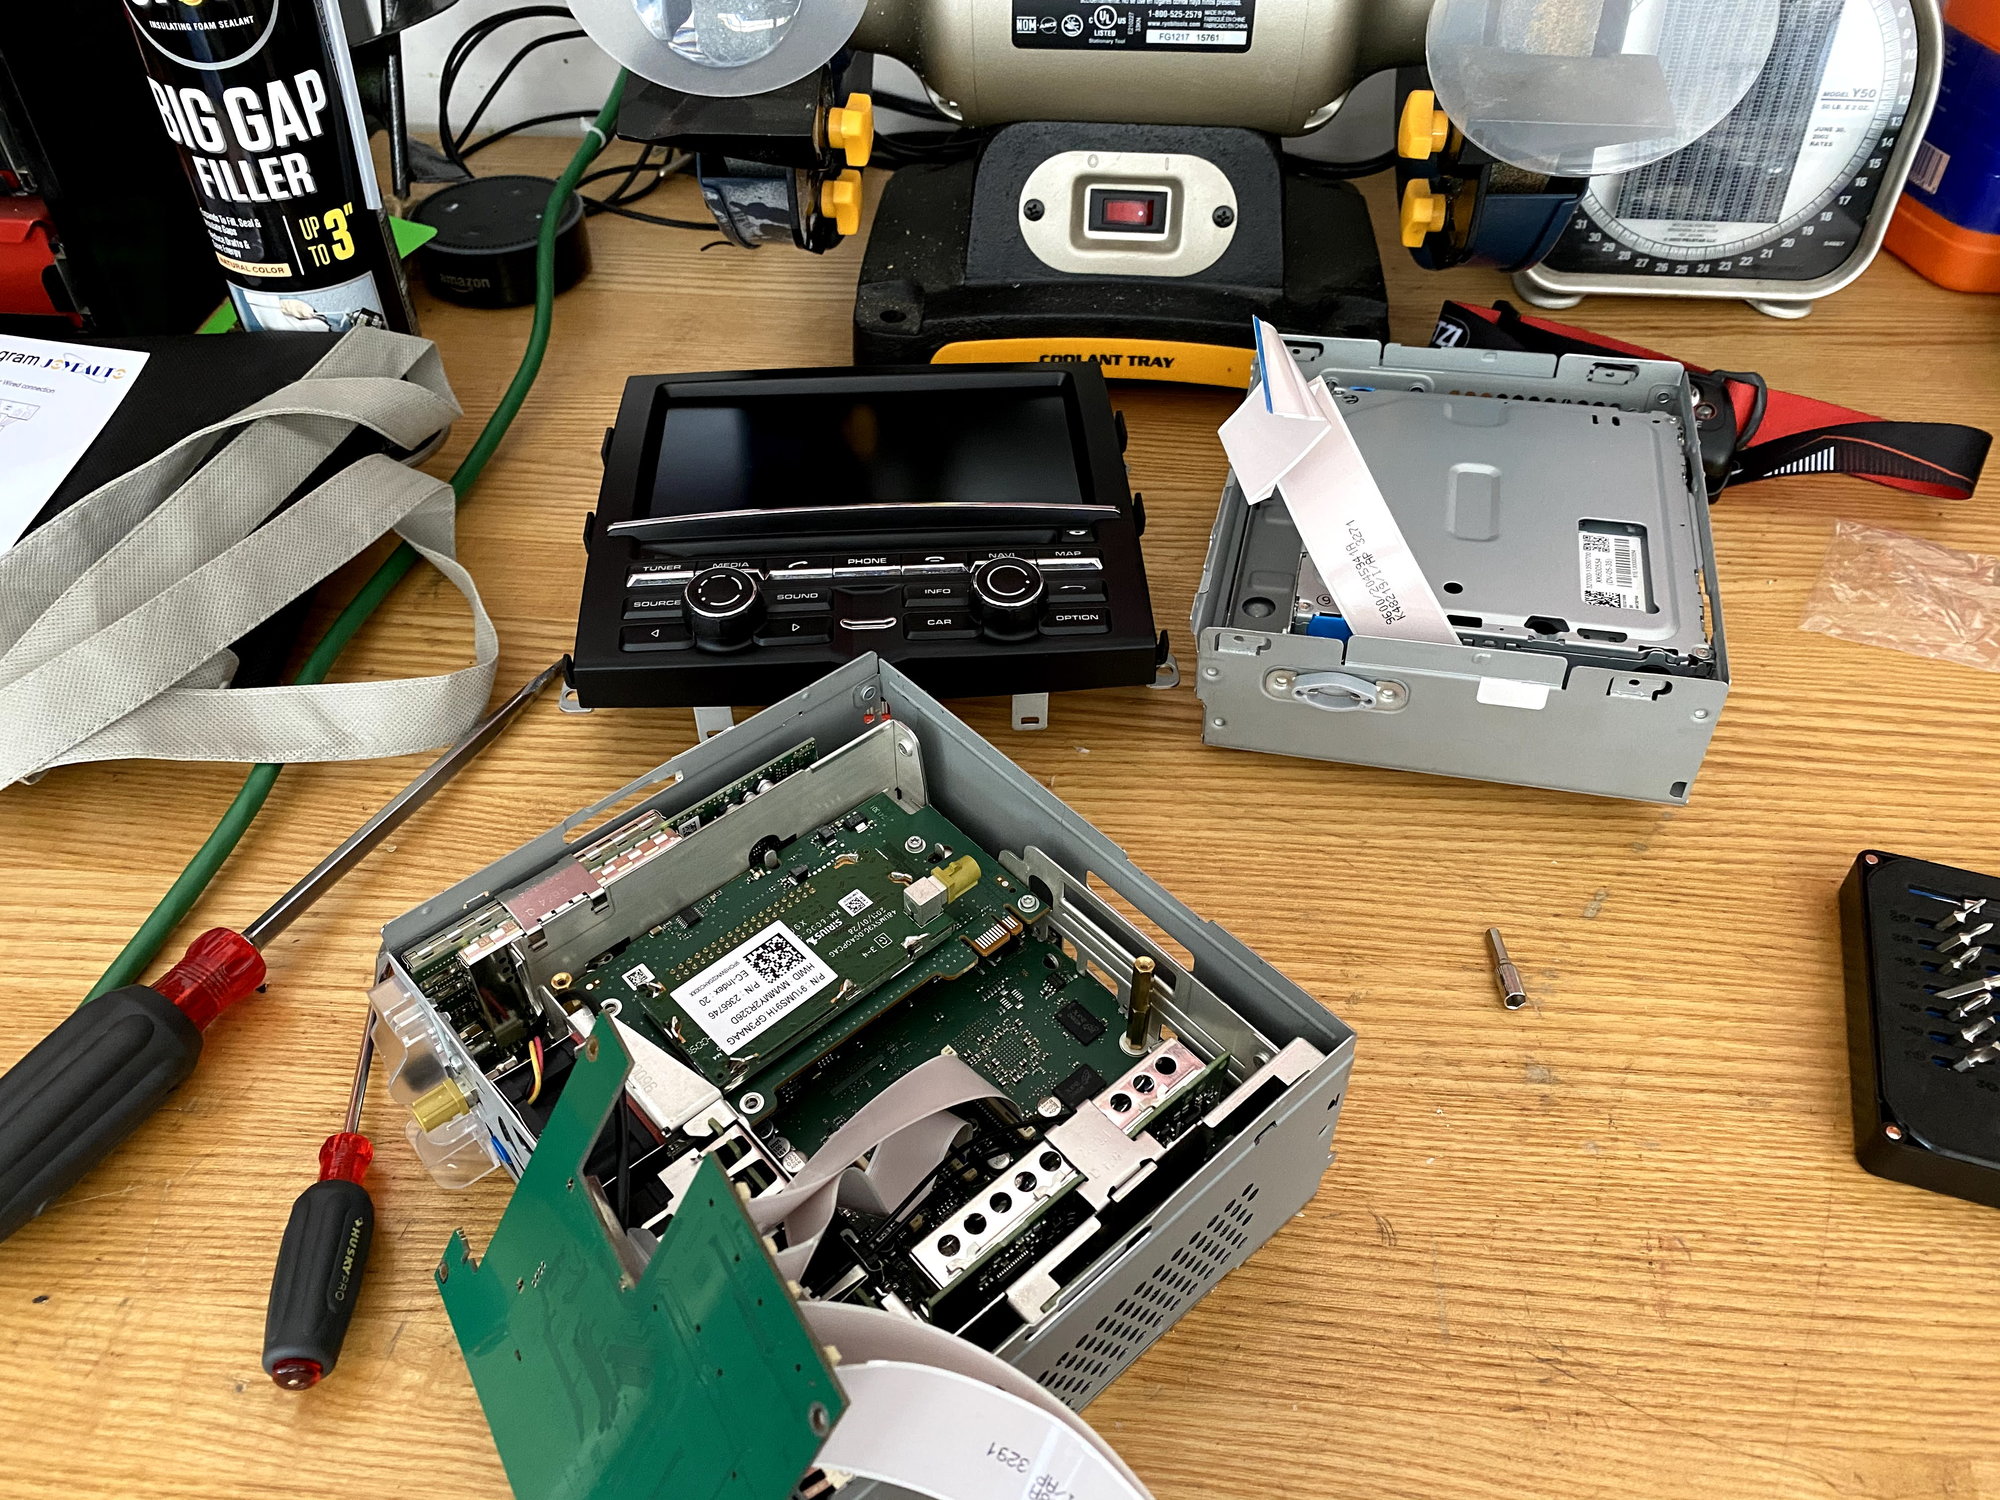
2. If you have the XM module you will notice the risers aren't high enough, you can either just use two risers and let it rest on the XM board, or go to amazon and order some more risers to clear the board
3. the video cable (make sure to plug in with pins facing UP), to route it I unscrewed the mount for the XM plug and ran it through that hole, then screwed the mount back on (it is not longer seated at bottom, but holds good enough)
4. This is a big one - after you do all the mods to the head unit, plug it back into the existing cables like you didn't mod it at all and check that you still get video and audio, if you don't it's the thin flex cable 9 times out of 10.
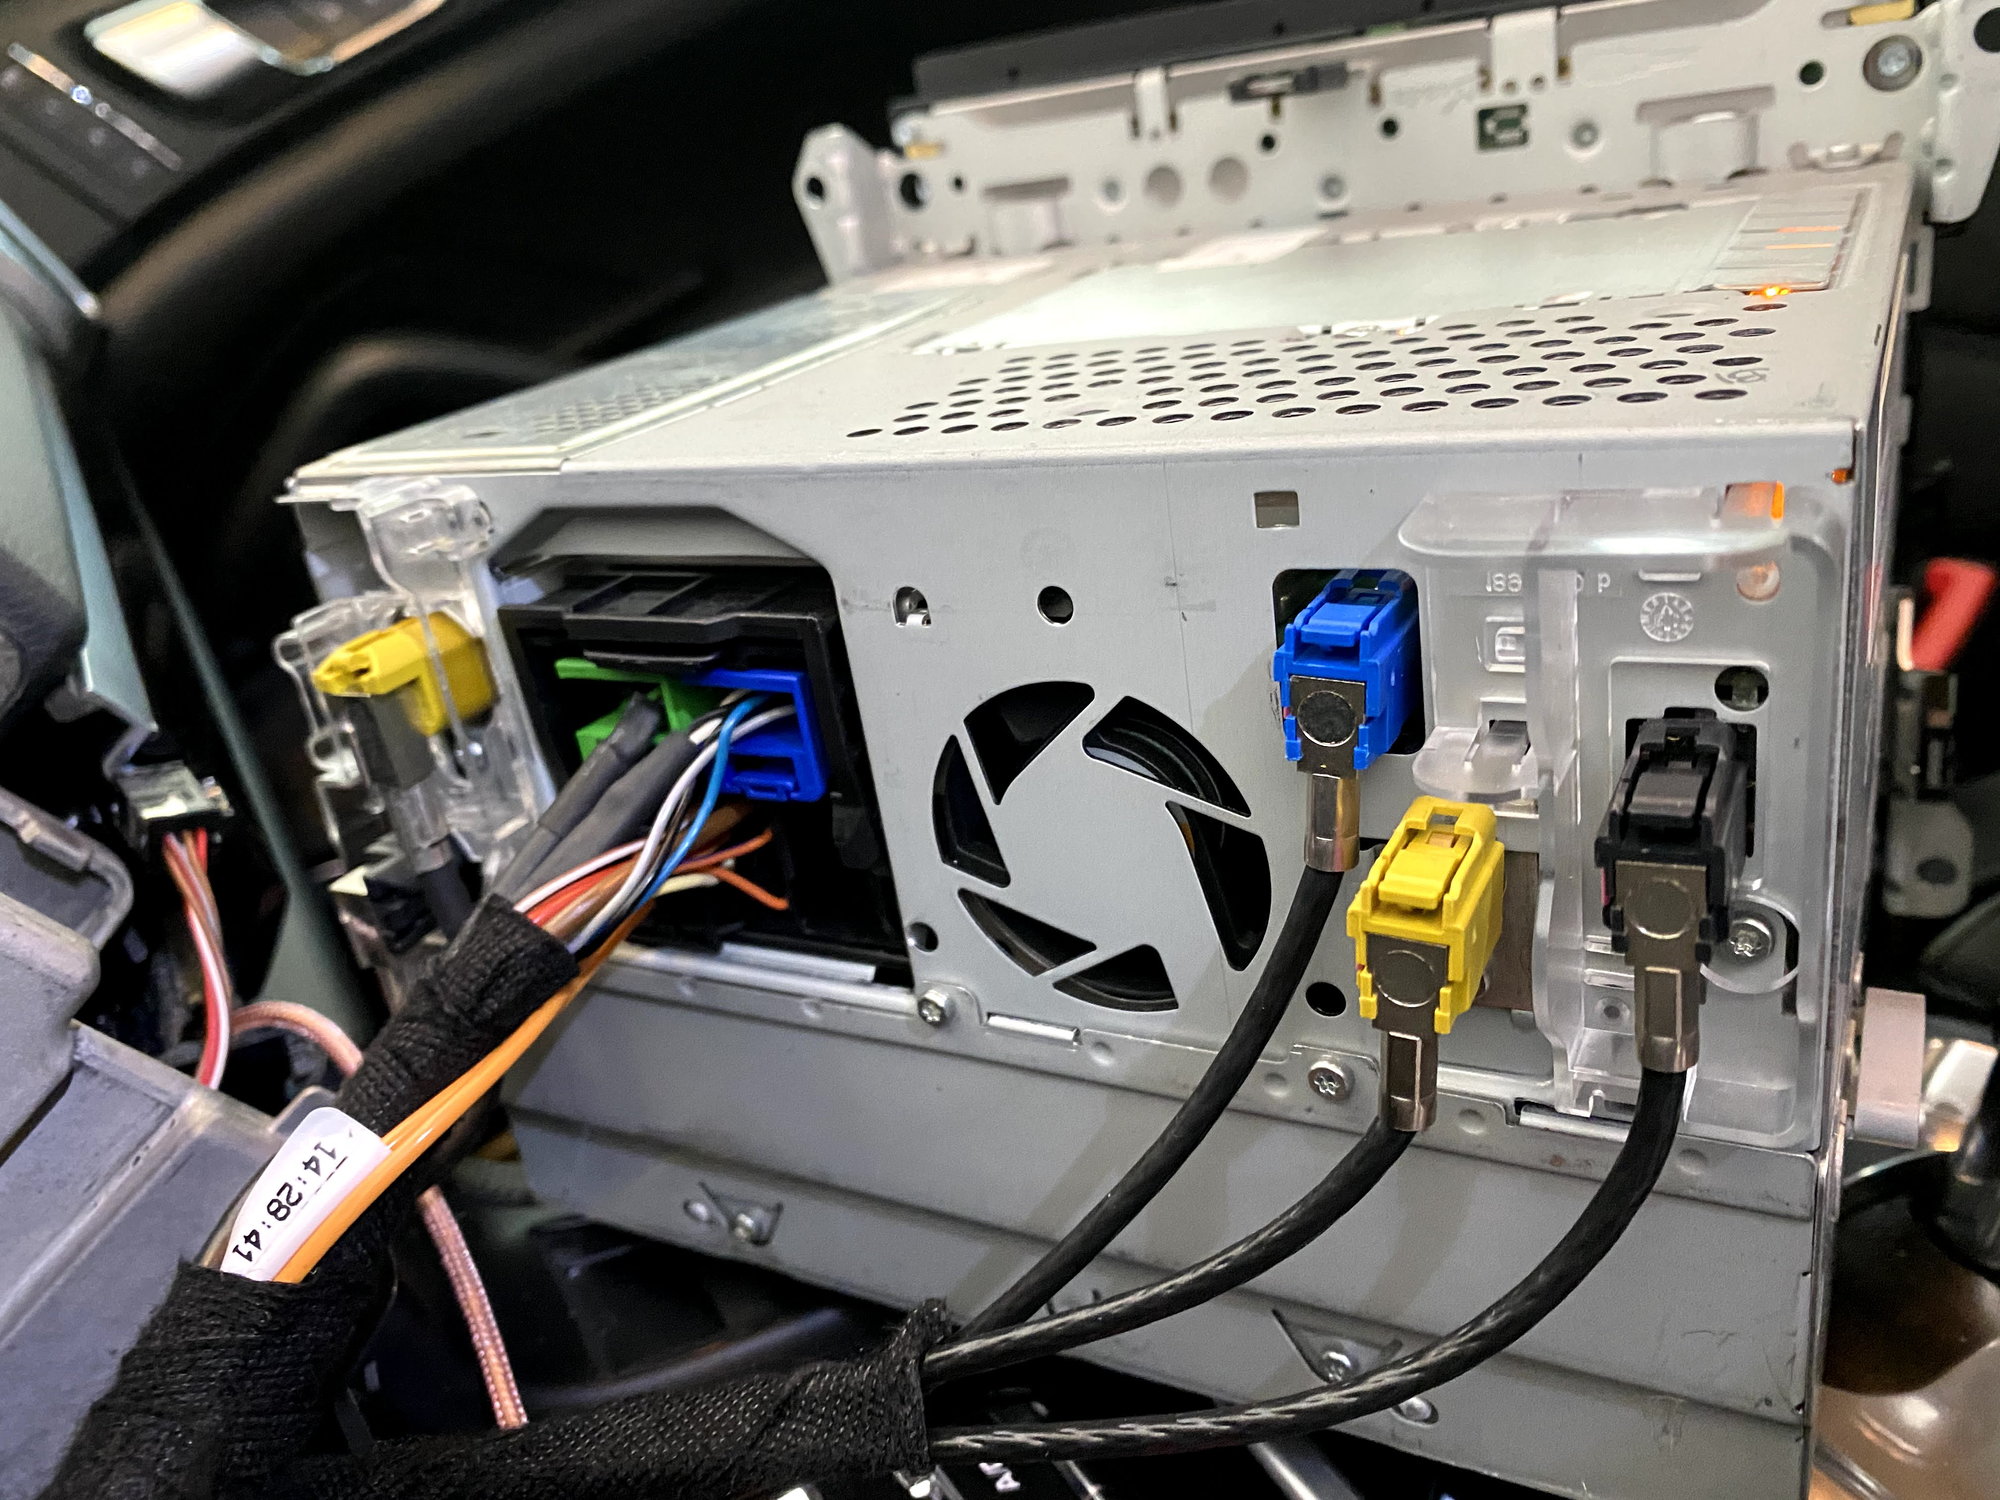
5. If you have Bose or Burmester you have to remove the ORANGE fiber optic pins (its slides out as a 2 wire plug) and plug that assembly into the 48 pin extension dongle or you will get no audio
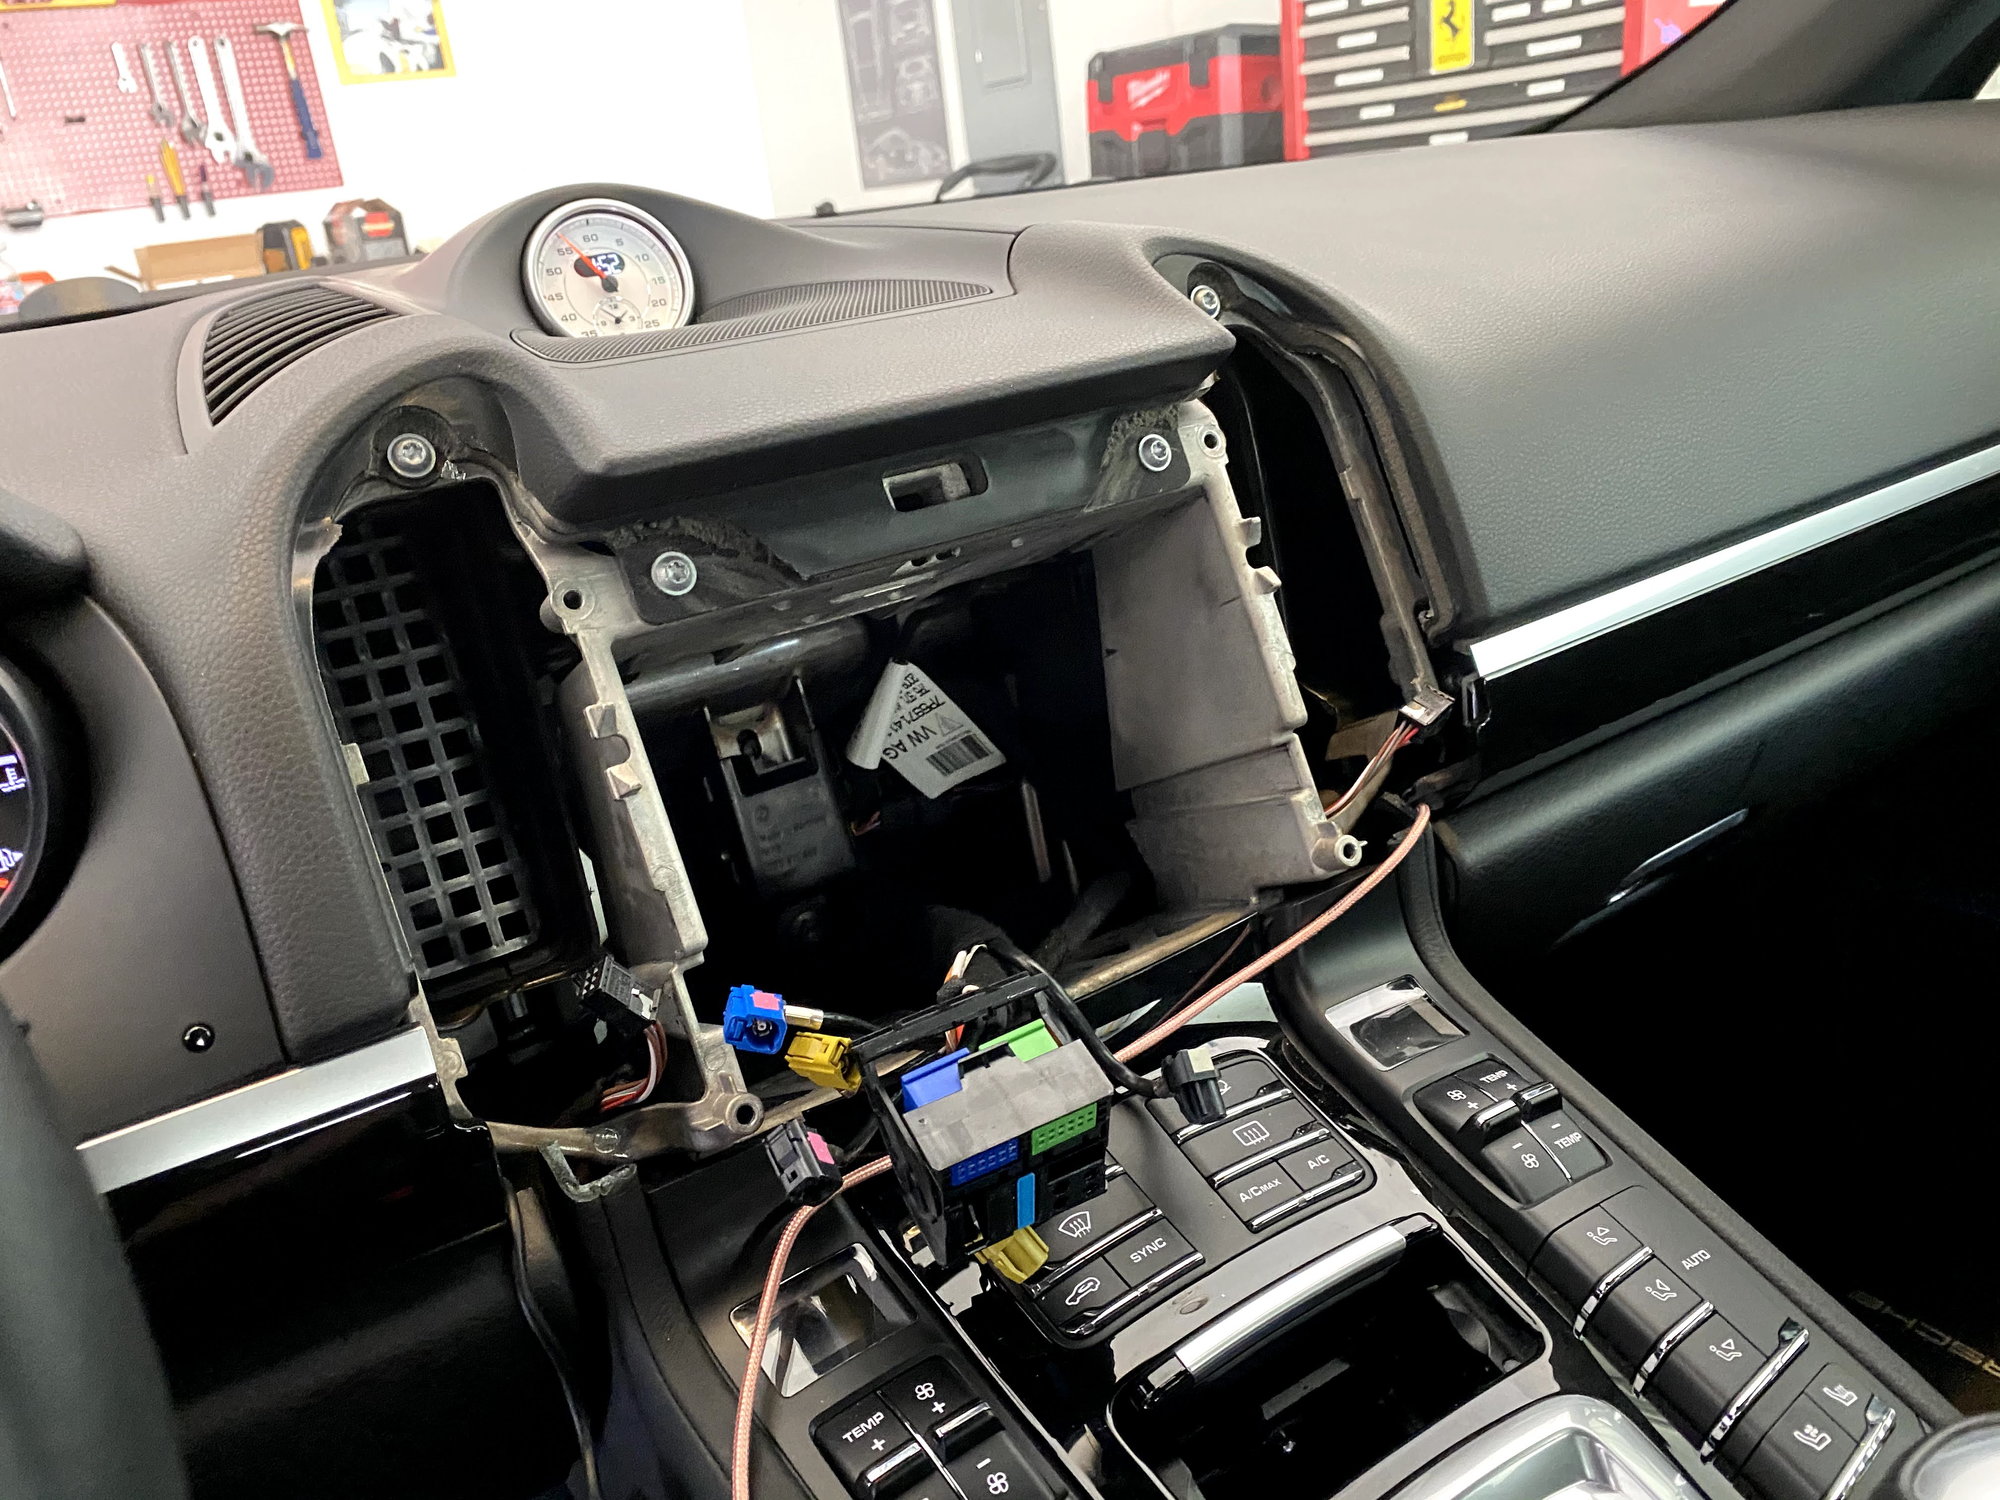
6. On the Cayenne you can tuck the entire assembly rather neatly behind and below the head unit, there is some sound deadening foam you can place it on and push down.
7. To power the unit I use Fuse 3 on the left side (driver's side), it is the horn fuse and it is switched. I got some of those fuse adaptors from Amazon so it is plug and play
8. Have your iPhone FORGET the Cayenne's bluetooth or the car and carplay will fight for incoming phone calls.
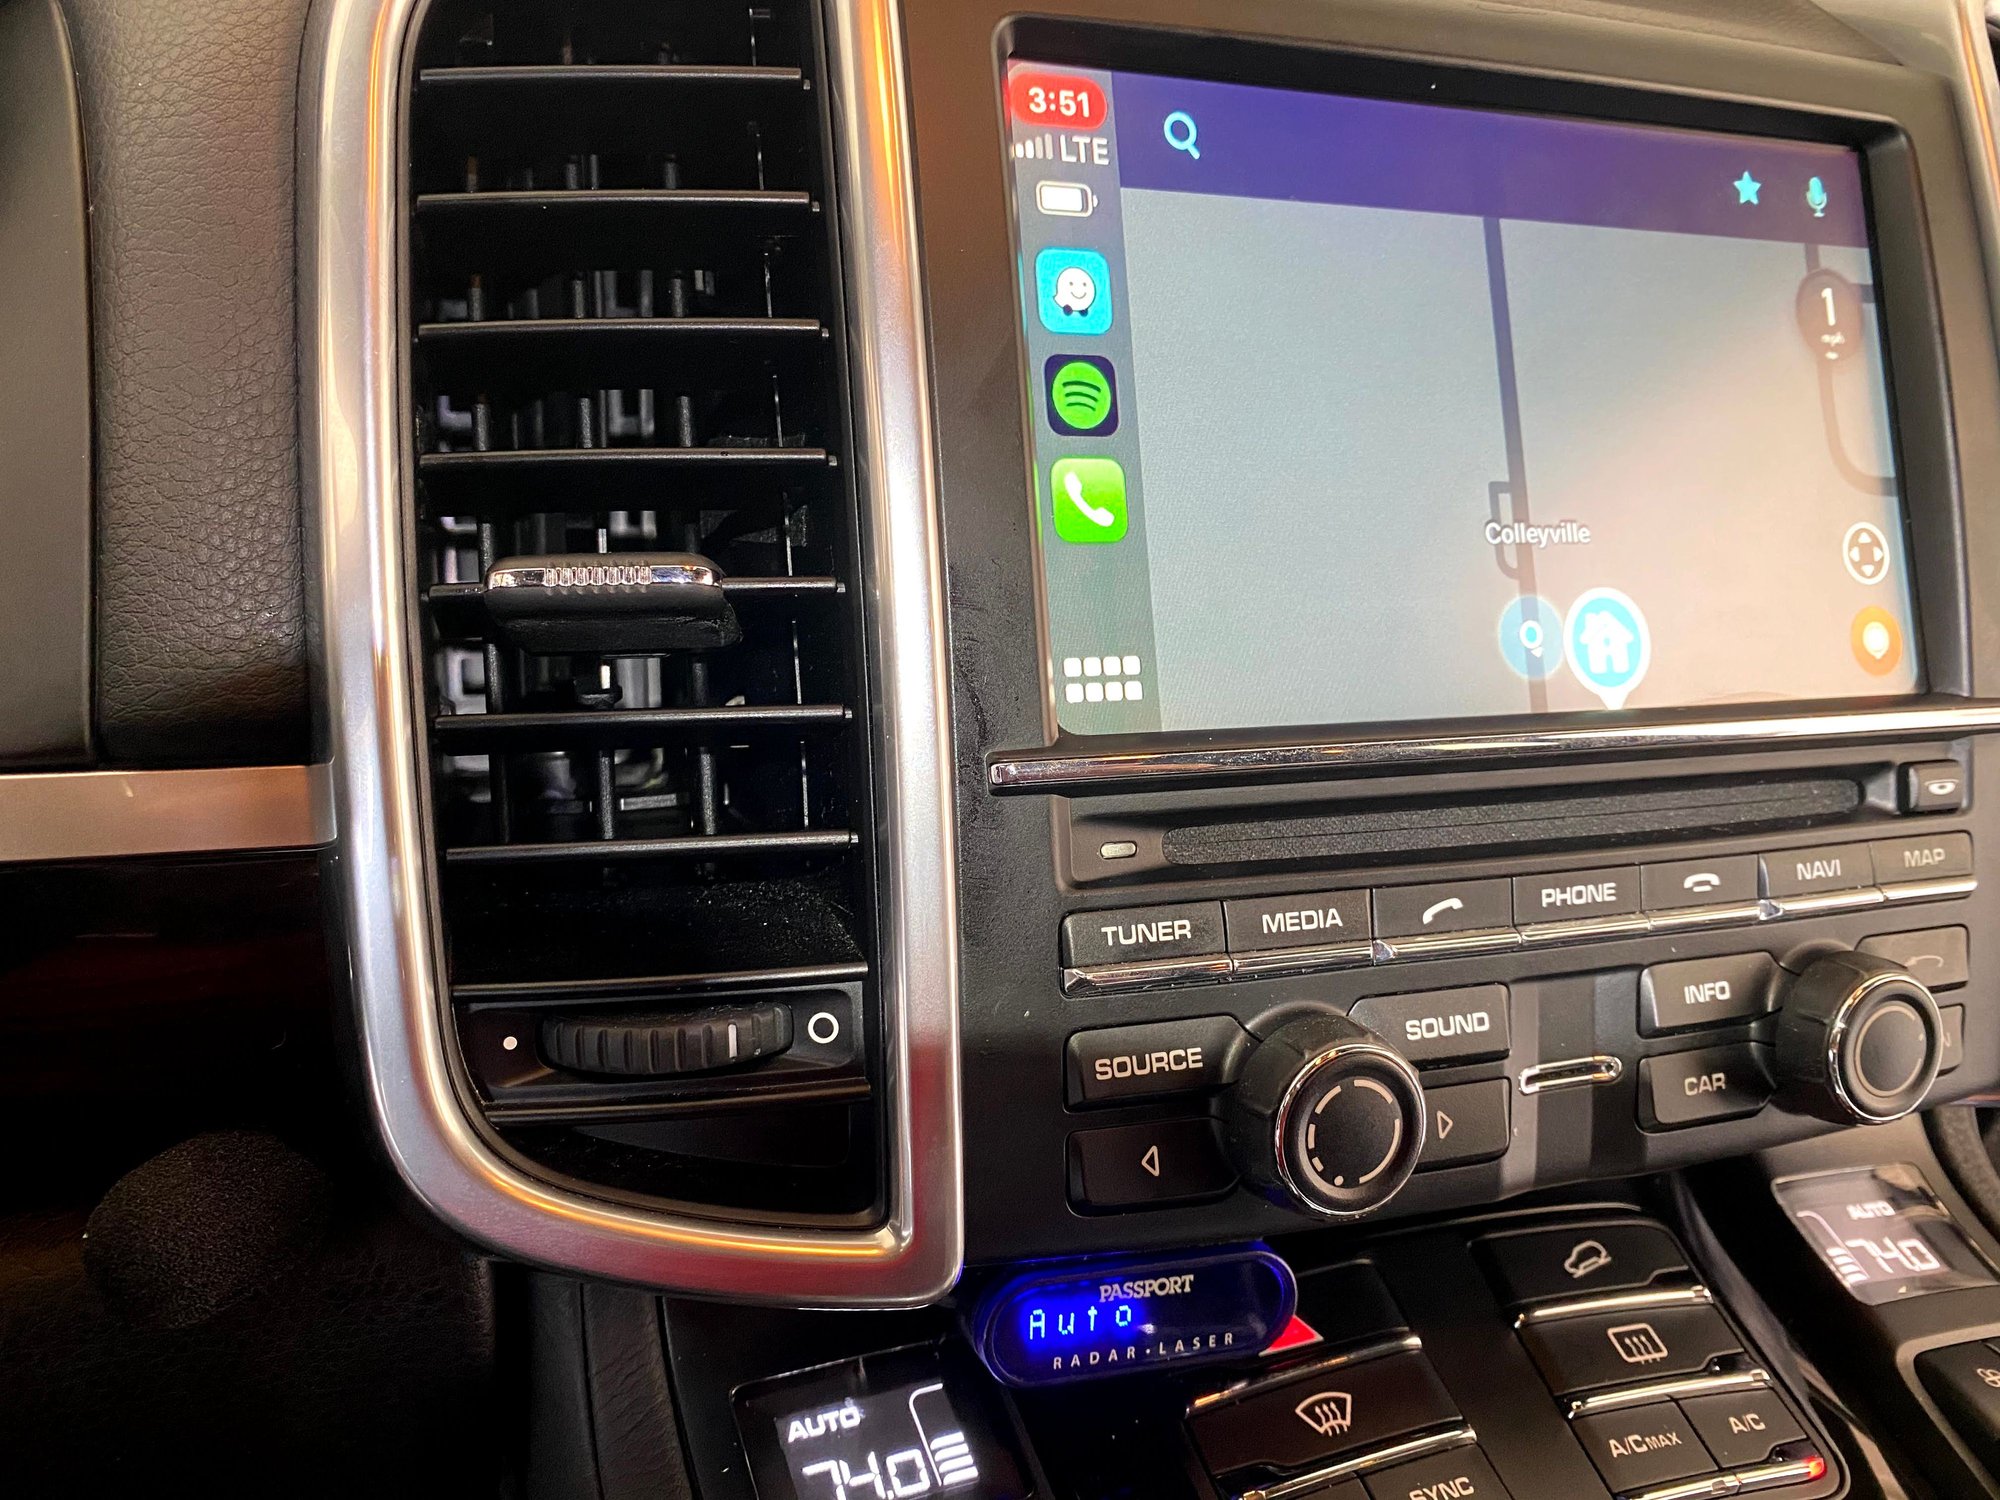
9. I ran the mic right to the base of the left center vent, works pretty great there.
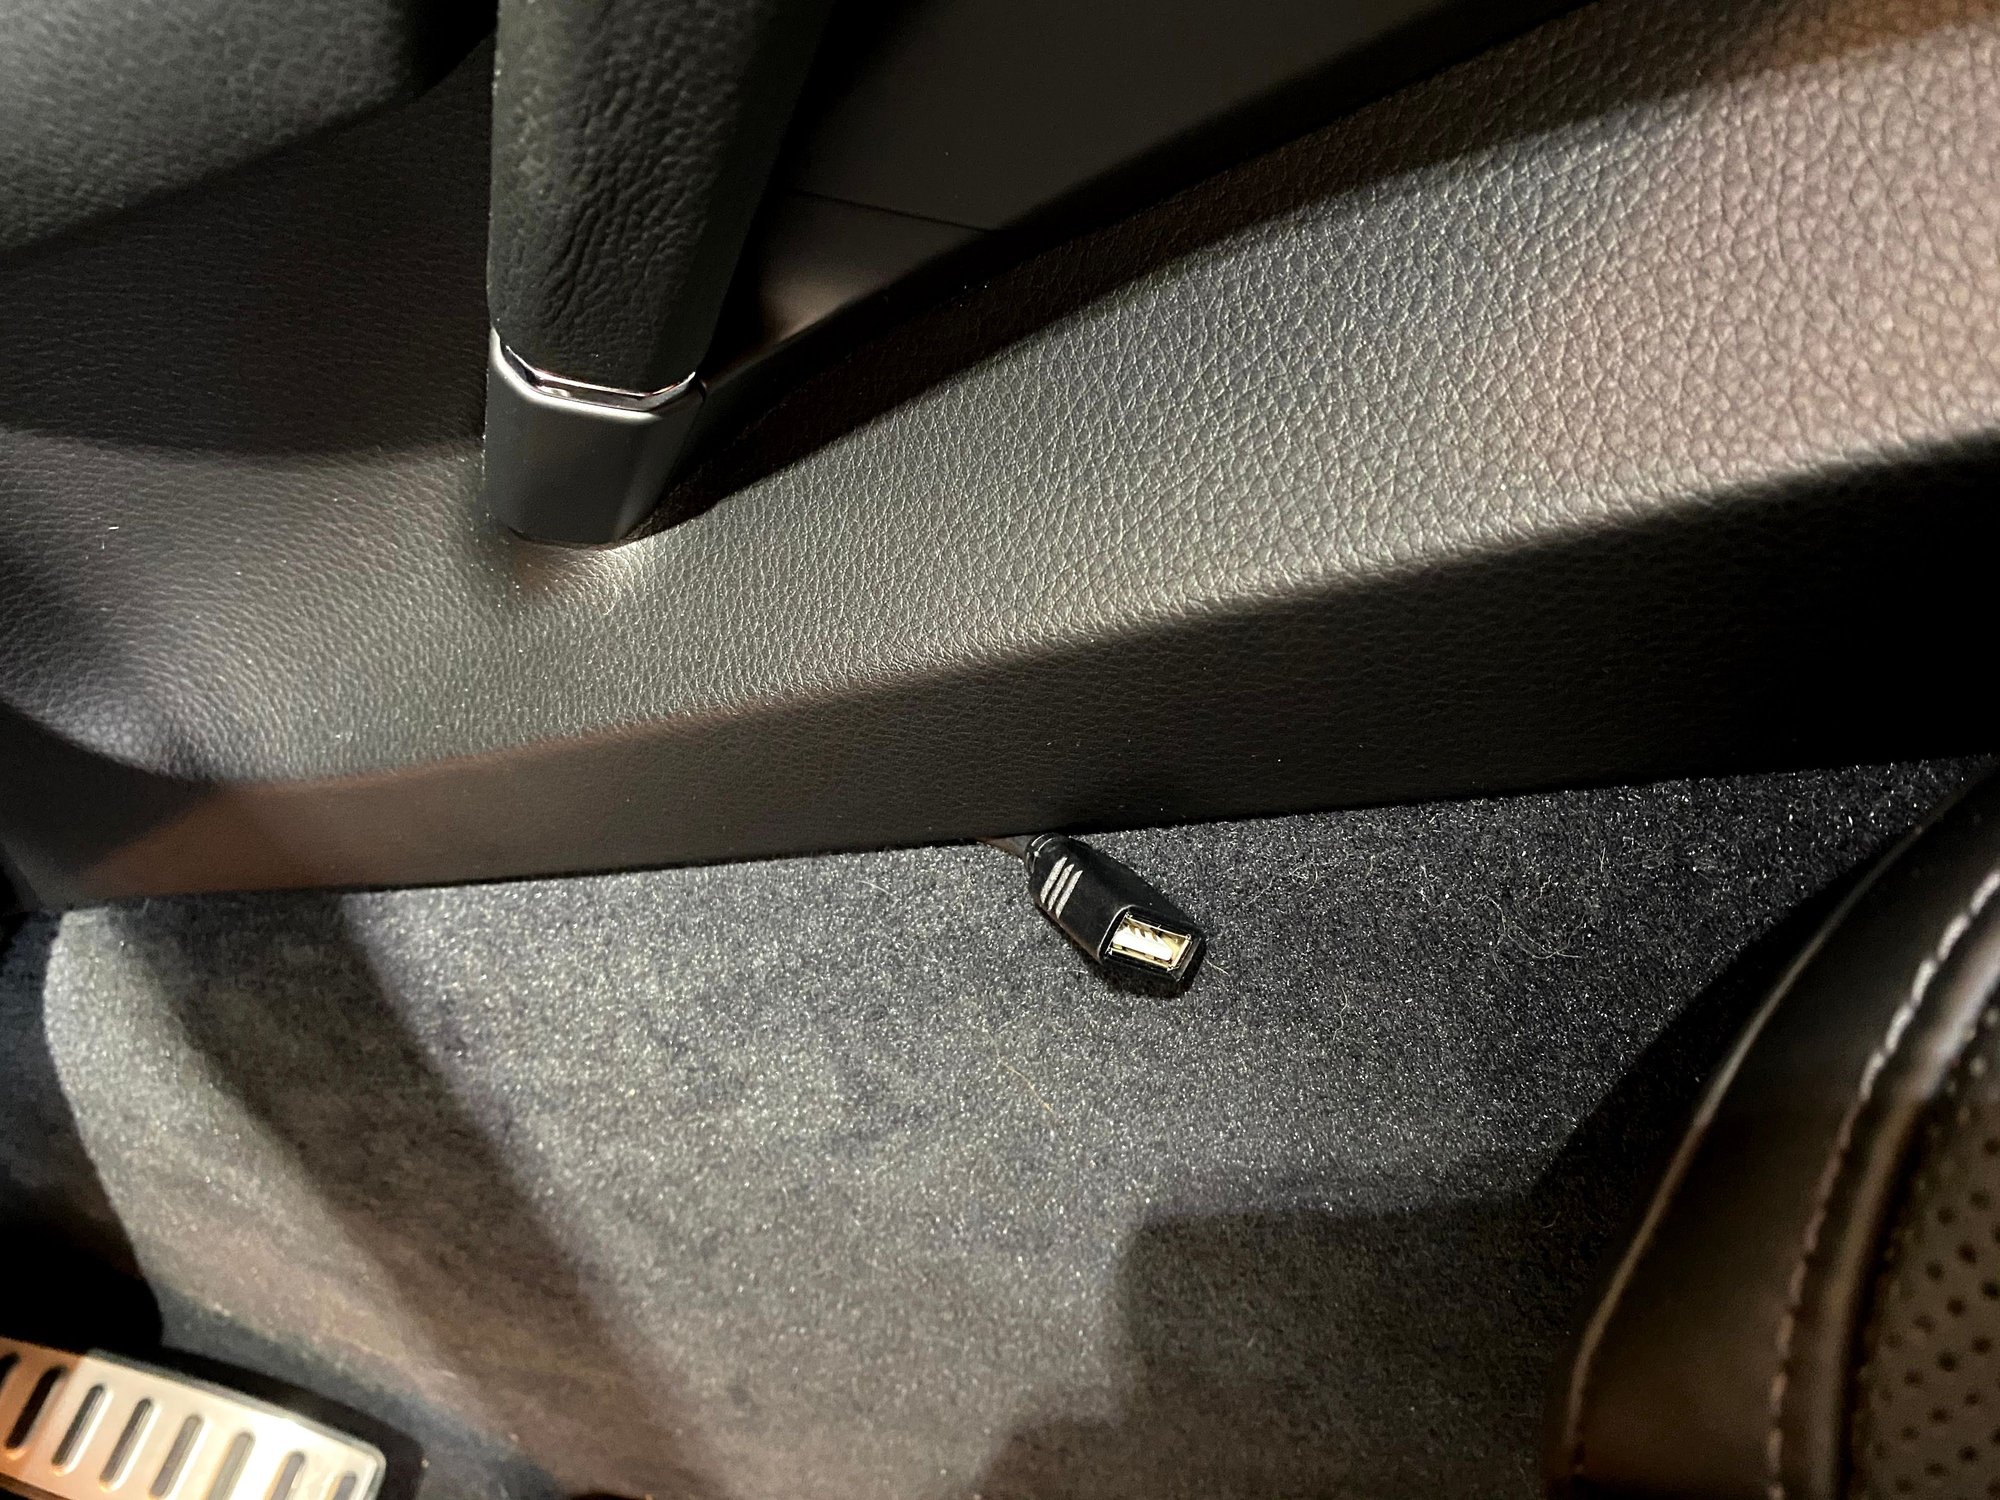
run the LVDS (video) wire through plate that is on the yellow plug on the left. that way you don't have to cut any holes in the frame In the cayenne, all the components and wires tuck very neatly in the cavity at the bottom rear Took me three times of installing and pulling out the head unit to get everything to work. I find that taking it to my desk inside the house forced me to take my time, especially with the ribbon cables. separating the two halfs of the head unit is difficult until you figure out that you can use a large blade screwdriver on each side (you will see the two pressure fit gaps on each side) put the flat blade in the channel and twist in each four, the two halves just pop apart. TEST - after you install the parts, test it as if they weren't there, and make sure you have all functionality. then wire up the dongle, move the fiber optic (orange) cables to the back of the head unit 48 pin attachment, plug in the car play and test it, then install. I mounted my mic to the left of this vent at the bottom, removed the clip and just had the dash panels hold it in place it works wirelessly, but for when you want it wired i ran the USB attachment down the left side of the center console with just the attachment poking out.
I just did this a couple of weeks ago with the Joyeauto unit, and it works well. I posted a bunch of updates/observations on my install that beast of a thread. Happy to share tips if you need them.
So, I just did this over the past two days. bought the kit from AliExpress (about $400 shipped). Their instructions are typical made in china instructions (basically useless). Their videos are worse.
In doing it I have a few suggestions outside of the video above:
1. take your time on the wiring of the flex cables, I had to go back and reseat them a couple of times so that everything worked. Another big big tip, you have to separate the bottom half from the top half of the head unit after you remove the faceplate. This seems to bite everyone who is doing this mod. There is a very easy way to do this. remove the three screws as pictured in the video, then use a large flat bladed screwdriver and look to the left and right sides. you can see the two channels on each side where the top and bottom pressure fit together. insert the flat blade horizontally between the top and bottom right where you can see the pressure fit channel is and give a slight twist. do this on all four areas and the sucker just falls apart.
2. If you have the XM module you will notice the risers aren't high enough, you can either just use two risers and let it rest on the XM board, or go to amazon and order some more risers to clear the board
3. the video cable (make sure to plug in with pins facing UP), to route it I unscrewed the mount for the XM plug and ran it through that hole, then screwed the mount back on (it is not longer seated at bottom, but holds good enough)
4. This is a big one - after you do all the mods to the head unit, plug it back into the existing cables like you didn't mod it at all and check that you still get video and audio, if you don't it's the thin flex cable 9 times out of 10.
5. If you have Bose or Burmester you have to remove the ORANGE fiber optic pins (its slides out as a 2 wire plug) and plug that assembly into the 48 pin extension dongle or you will get no audio
6. On the Cayenne you can tuck the entire assembly rather neatly behind and below the head unit, there is some sound deadening foam you can place it on and push down.
7. To power the unit I use Fuse 3 on the left side (driver's side), it is the horn fuse and it is switched. I got some of those fuse adaptors from Amazon so it is plug and play
8. Have your iPhone FORGET the Cayenne's bluetooth or the car and carplay will fight for incoming phone calls.
9. I ran the mic right to the base of the left center vent, works pretty great there.
run the LVDS (video) wire through plate that is on the yellow plug on the left. that way you don't have to cut any holes in the frame In the cayenne, all the components and wires tuck very neatly in the cavity at the bottom rear Took me three times of installing and pulling out the head unit to get everything to work. I find that taking it to my desk inside the house forced me to take my time, especially with the ribbon cables. separating the two halfs of the head unit is difficult until you figure out that you can use a large blade screwdriver on each side (you will see the two pressure fit gaps on each side) put the flat blade in the channel and twist in each four, the two halves just pop apart. TEST - after you install the parts, test it as if they weren't there, and make sure you have all functionality. then wire up the dongle, move the fiber optic (orange) cables to the back of the head unit 48 pin attachment, plug in the car play and test it, then install. I mounted my mic to the left of this vent at the bottom, removed the clip and just had the dash panels hold it in place it works wirelessly, but for when you want it wired i ran the USB attachment down the left side of the center console with just the attachment poking out.
Where did you end up mounting the mic? I cannot find a hidden place and close. I put it under then vent of drivers side. It is ok but looking for something more as hidden as possible
I tested several areas and how well it picked up, I found that where I pictured it I got the best response and it was still pretty hidden, you have to look to see it. Just took a drive with it today, pretty impressed with what $400, about 6 hours and two skinned knuckles got me
I bought the Joyeauto unit about 3-4 months ago. Watched several YouTube videos including the one here and Joyeauto's video. Each gives some extra tips but are basically the same. It's not that difficult. Just give yourself some extra time and do it carefully. I felt the most difficult thing was dealing with all the wires after installation. I put the unit below and behind the PCM unit. It works great. You just gotta make sure your AUX audio option on PCM is enabled. Good luck!
A few questions regarding the Joyeauto unit after installation. (apologies in advance if these have been asked before...)
1. Are Apple Car Play updates handled like a normal Apple Car Play device?
2. Is factory installed rear camera still active? Their website says support for **aftermarket** front/rear cameras... confusing.
3. When vehicle is started... will it connect to bluetooth iPhone as the default audio source?
Thanks.
1. I am not sure about this as I have not done any updates yet
2. yes factory installed rear camera still active BUT you do have the option to use aftermarket front/rear camera if your car not equiped with rear backup camera
3. Aux is the default when I start up the car. It depends what is the last set source you did before turning off the car.
A few questions regarding the Joyeauto unit after installation. (apologies in advance if these have been asked before...)
1. Are Apple Car Play updates handled like a normal Apple Car Play device?
2. Is factory installed rear camera still active? Their website says support for **aftermarket** front/rear cameras... confusing.
3. When vehicle is started... will it connect to bluetooth iPhone as the default audio source?
Thanks.
updates are handled as normal as it is the phone that drives the update, not the head unit. As for starting vehicle it does auto drop into Carplay, bluetooth takes about 30-45 seconds to connect and switch, which is about 20 seconds faster than the stock head unit bluetooth.
1. I am not sure about this as I have not done any updates yet
2. yes factory installed rear camera still active BUT you do have the option to use aftermarket front/rear camera if your car not equiped with rear backup camera
3. Aux is the default when I start up the car. It depends what is the last set source you did before turning off the car.
1. I just recently did the IoS update to my phone, which as I understand, included some Carplay updates. I have noticed no difference in my Joyeauto config. Again, the Joyeauto box/daughterboard simply proxies audio/video bidirectionally over wifi between the PCM and the iPhone.
2. My rearview camera (factory) still comes on as soon as I put it into reverse. Also, the audio cuts out.
3. When the car boots/starts, the iPhone connects to the Joyeauto box via bluetooth. As soon as they connect, they negotiate a connection to peer-to-peer wifi, and switch over. Your iPhone/Android can speak "telephone" in two ways. It can do so via the wifi proxy and go through Carplay, or it can use the native PCM bluetooth profile, which allows you to use the steering wheel controls. And, it can do both at the same time, so you have to be careful in how you answer an incoming call. I have found that if you hit "answer" on the carplay screen, it will use the Joyeauto supplied microophone, and there is a bad echo that people complain about. If you answer/make a call useing the PCM bluetooth connection, it uses the factory mike in the overhead panel, and is much clearer.


 07-04-2020, 01:12 PM