When you click on links to various merchants on this site and make a purchase, this can result in this site earning a commission. Affiliate programs and affiliations include, but are not limited to, the eBay Partner Network.
After some inspiration from above, I did my swaybar endlinks too.
64k miles
I have an occasional suspension pop, so I figured i'd throw some parts at it.
$53/including tax for Lemfoerder set from FCP Euro includes new lock nuts
I did not use a jack. I removed the lower bolt with the suspension in normal mode. to remove the upper bolt, I removed the lower nut and bolt so the link was free to swing. Then I just put suspension in high and the upper bolt slid out no problem. I then loosely reinstalled the upper bolt with the link, lowered the truck to normal level, and tightened everything up. I was able to get a torque wrench on the upper bolt, just needed to turn the wheels a teensy bit as to not load the bar.
Bit tight under there on the normal setting, but overall an easy job.
My old bushings looked fine, but for 50 bux, why not. No driving impressions yet.
Damn you guys took over my thread and are beating me at my own game. Ok, I'm doing mine this week. As you can see I've got a bad bag and have to figure out that fix also. Could use someadvice on what to do.
I want a matching set of shocks so either I get 2 bilsteins for the rear and just towss them on or I get a seal kit and rebuild the right rear and throw the old stockers back on the front. I do have an issue with fitting the stockers back on in that I can't seem to get the bag off the shock on the front strut to get the new parts installed. Does anyone have any insight on how the bag comes off?
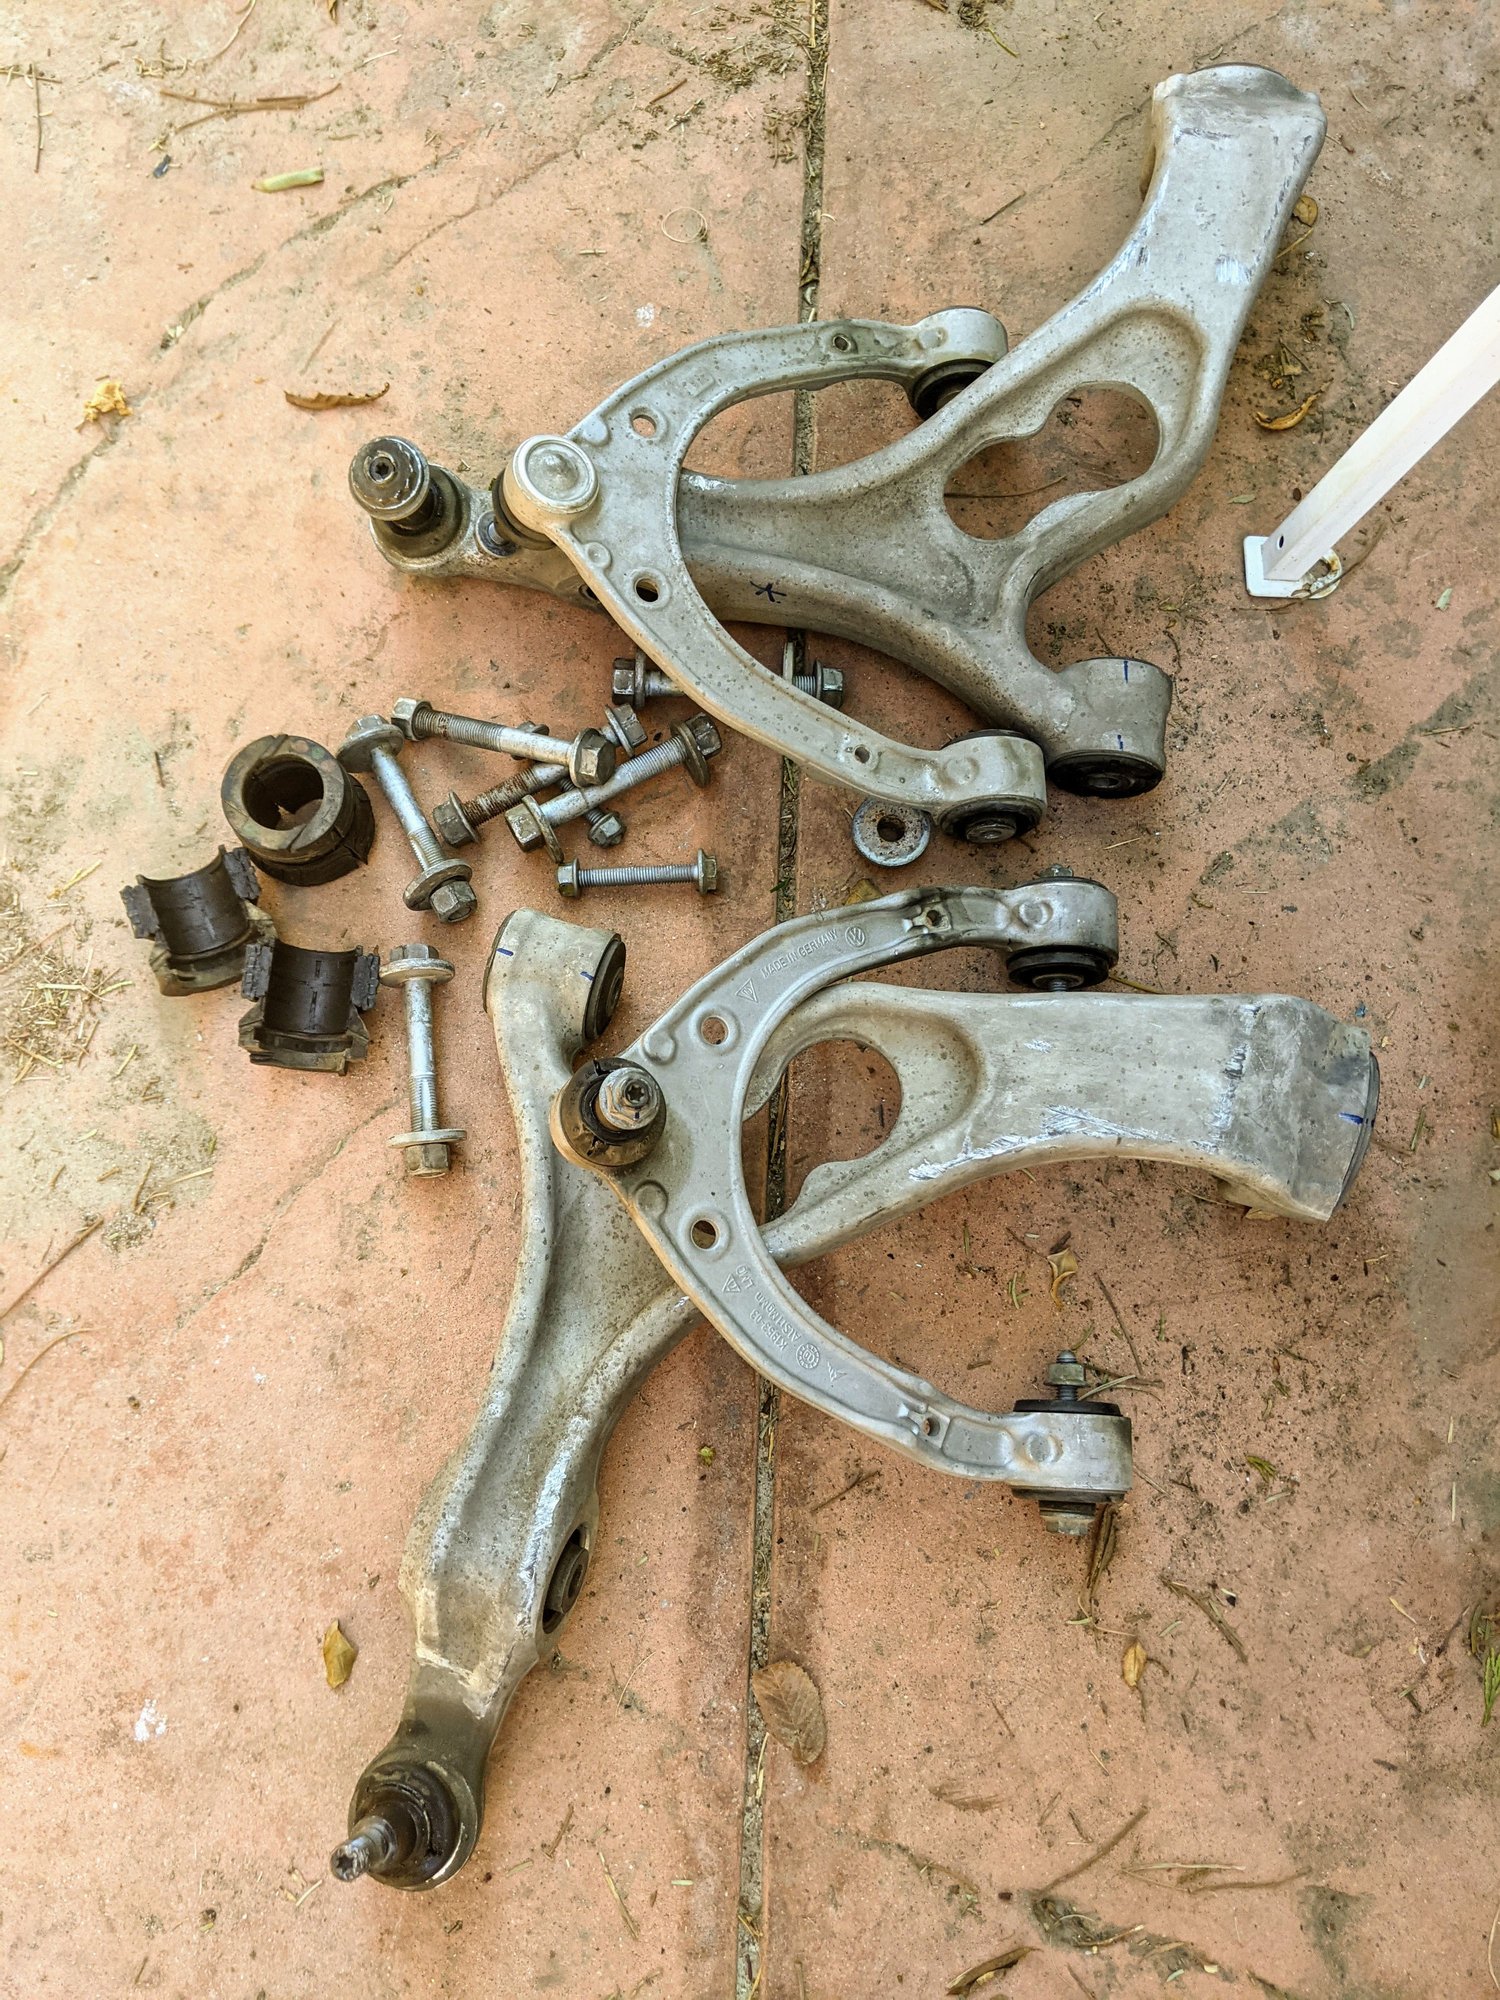
I dont know how the bag removal works, but I thought you did this in the past for the shocks? I would do the seal kit and rebuild them. Might as well be more OEM that way, and save a bit too than buying new bilstein sets. I thought someone cut down a deep 90 wrench with a grinder and cut the wire for the rebound management on the strut. Then was able to separate the bags from the strut and put on the new bag and seals? I'm digging around to find that link. I have 62k miles on a 2015 CS. However doing some autocross, taking the Laguna Seca corkscrew a few times in the heavy pig, I suspect I've swished my LCA and UCA bushings, and the endlinks. I was thinking of the forge motorsports bushing kit on their site- but then have to figure that spherical bearing.
I've still got the rear links and front UCA laying in the garage collecting dust. Almost finished with my basement renovation and need to fix the wacerunner before tearing into a running CS. Waay too many projects going on at the same time.
Also was thinking of ordering up a shock rebuild kit for all 4 sides in case one of them goes. I think I saw a write up here somewhere for it.
Lastly, I think I either have a worn driver front wheel bearing or hub or axle or cv joint. I don't know what's in there, but at full right turn I feel like a hop/skip and there's a click at turning and going over 75mph sort of a drone wawawawa noise and a bit of shimmy on the steering wheel is felt. After 95mph it seems to smooth out. Maybe it just wants me to keep going 95+ all the time.
Jay, did you have to fully remove the strut? If so, did you need nitrogen?
nothing else needed except your suspension parts, just lower the air spring a couple inches and move to the side to get the bolts out..
I moved the air from the air spring back to the accumulator, but not needed just put the car in jack mode.
nothing else needed except your suspension parts, just lower the air spring a couple inches and move to the side to get the bolts out..
I moved the air from the air spring back to the accumulator, but not needed just put the car in jack mode.
So you're saying just lower it. Then put in maintenance and use jack to pickup the car while spring compressed without having to remove those air lines?
If that's correct, I'm going to do mine sooner than later. I was worried about those air lines. Breaking, not re-seating properly after removal, etc...
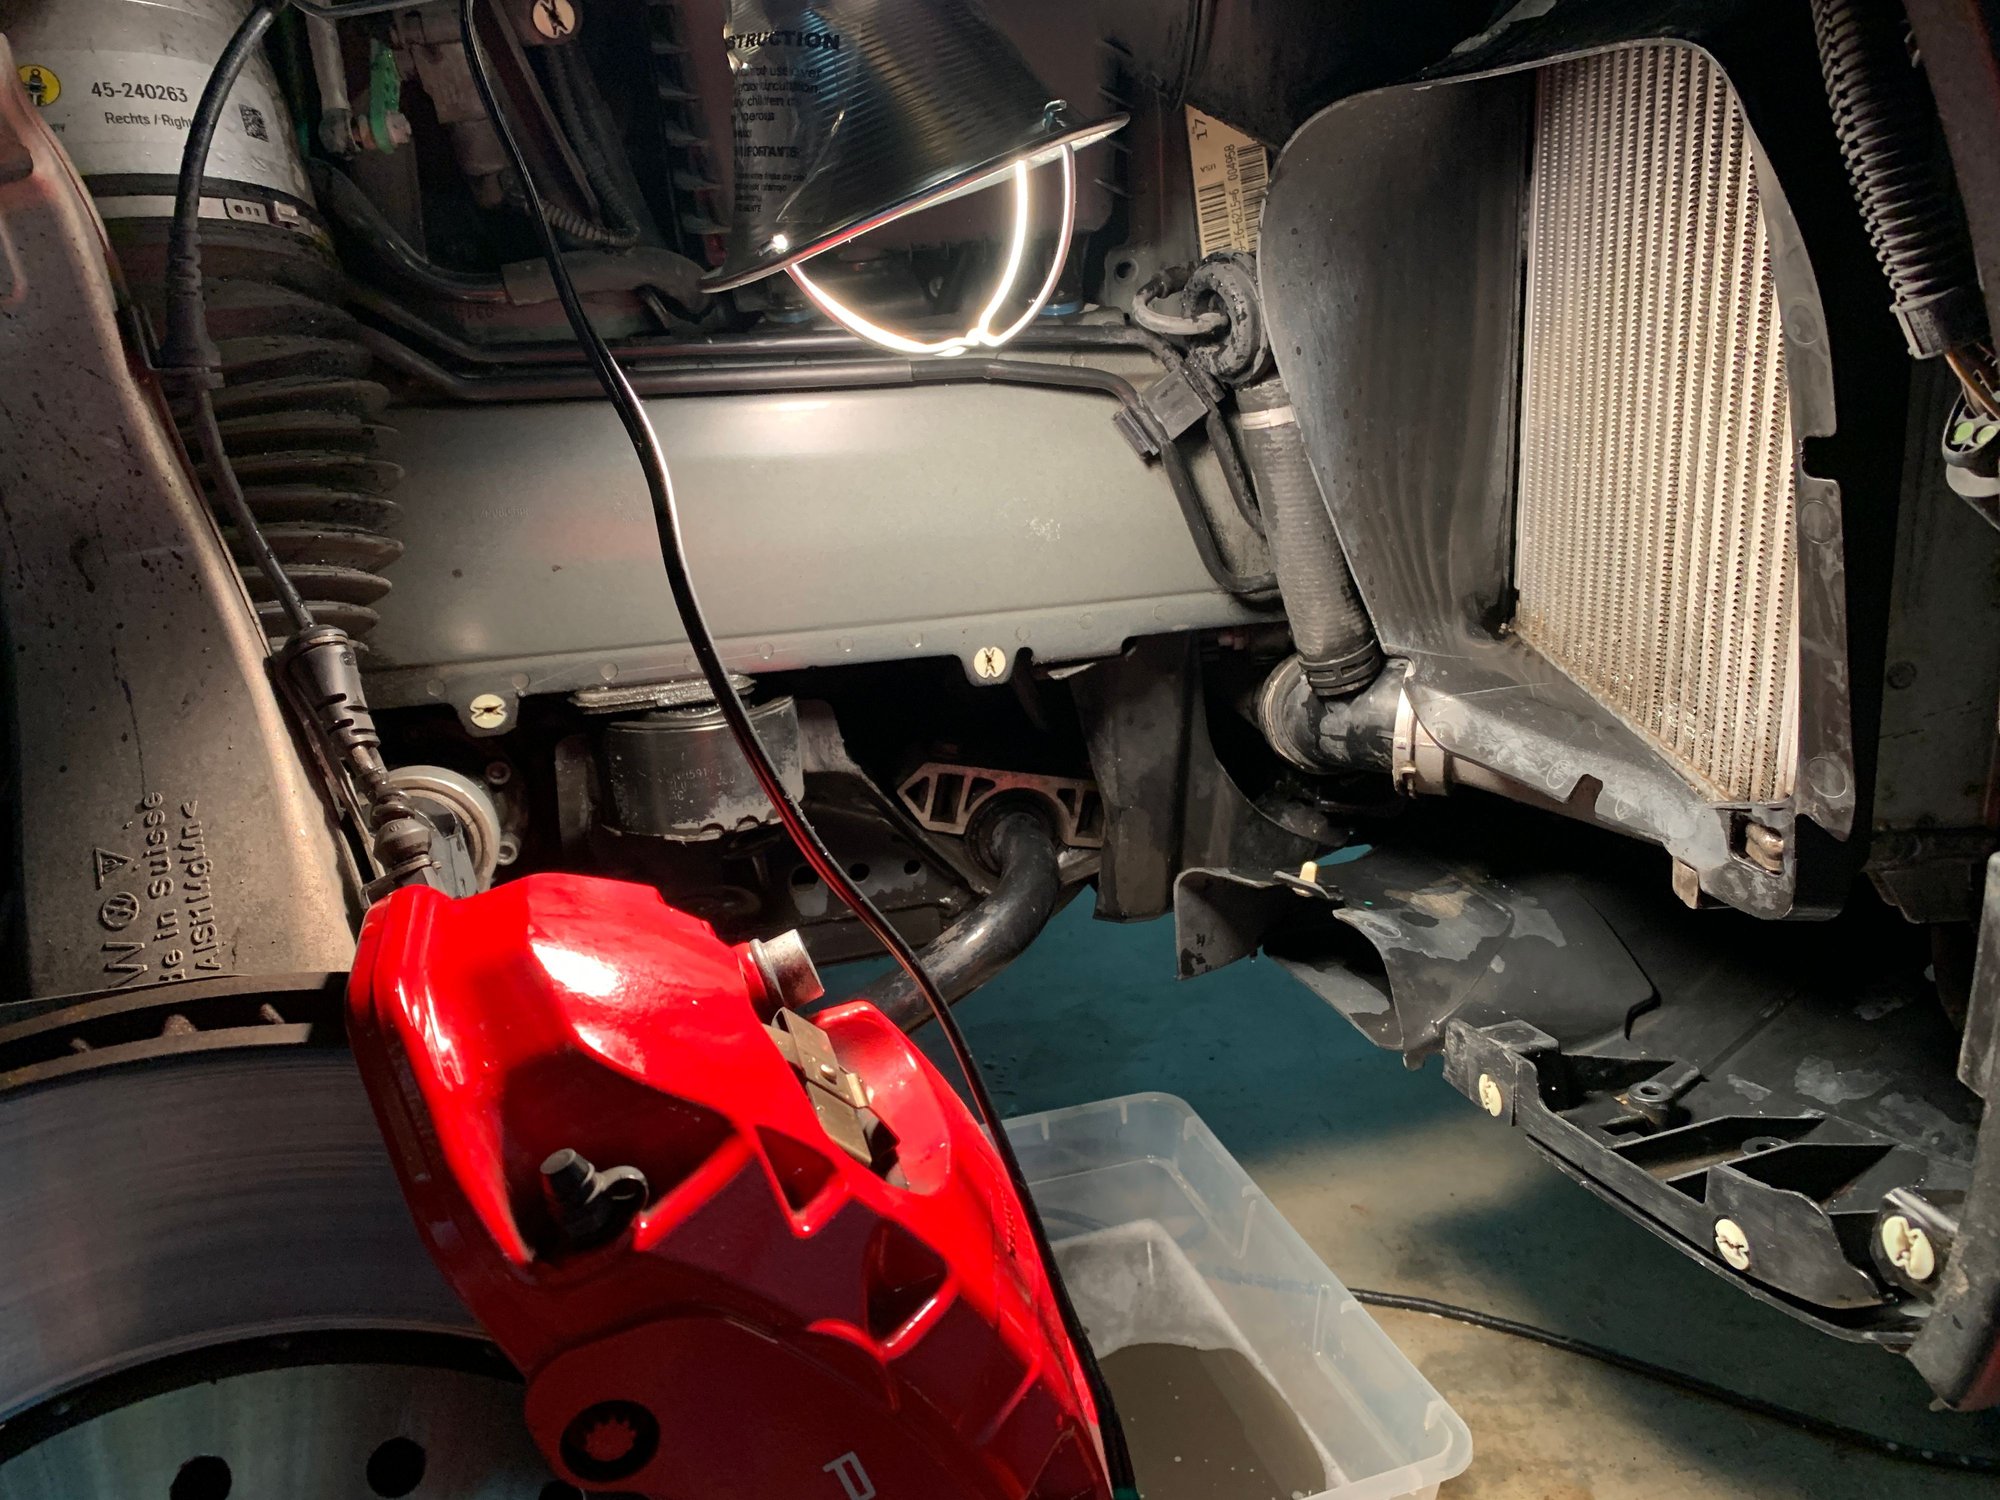
The air lines are plenty flexible, as seen in the picture.
No need to disconnect anything.
When your done put the tires back on the ground start the car, disable jack mode. Let the compressor do it's thing refilling the shocks if needed.after a couple minutes lower it slowly completely and let the height adjustment make its final adjustments takes about 5 minutes then ready to drive.
Some say just drive but the car is bottomed out, I wait for it to level itself.
Did you tighten upper arm bolts at normal height or before putting shock in?


 08-02-2020, 05:29 AM