When you click on links to various merchants on this site and make a purchase, this can result in this site earning a commission. Affiliate programs and affiliations include, but are not limited to, the eBay Partner Network.
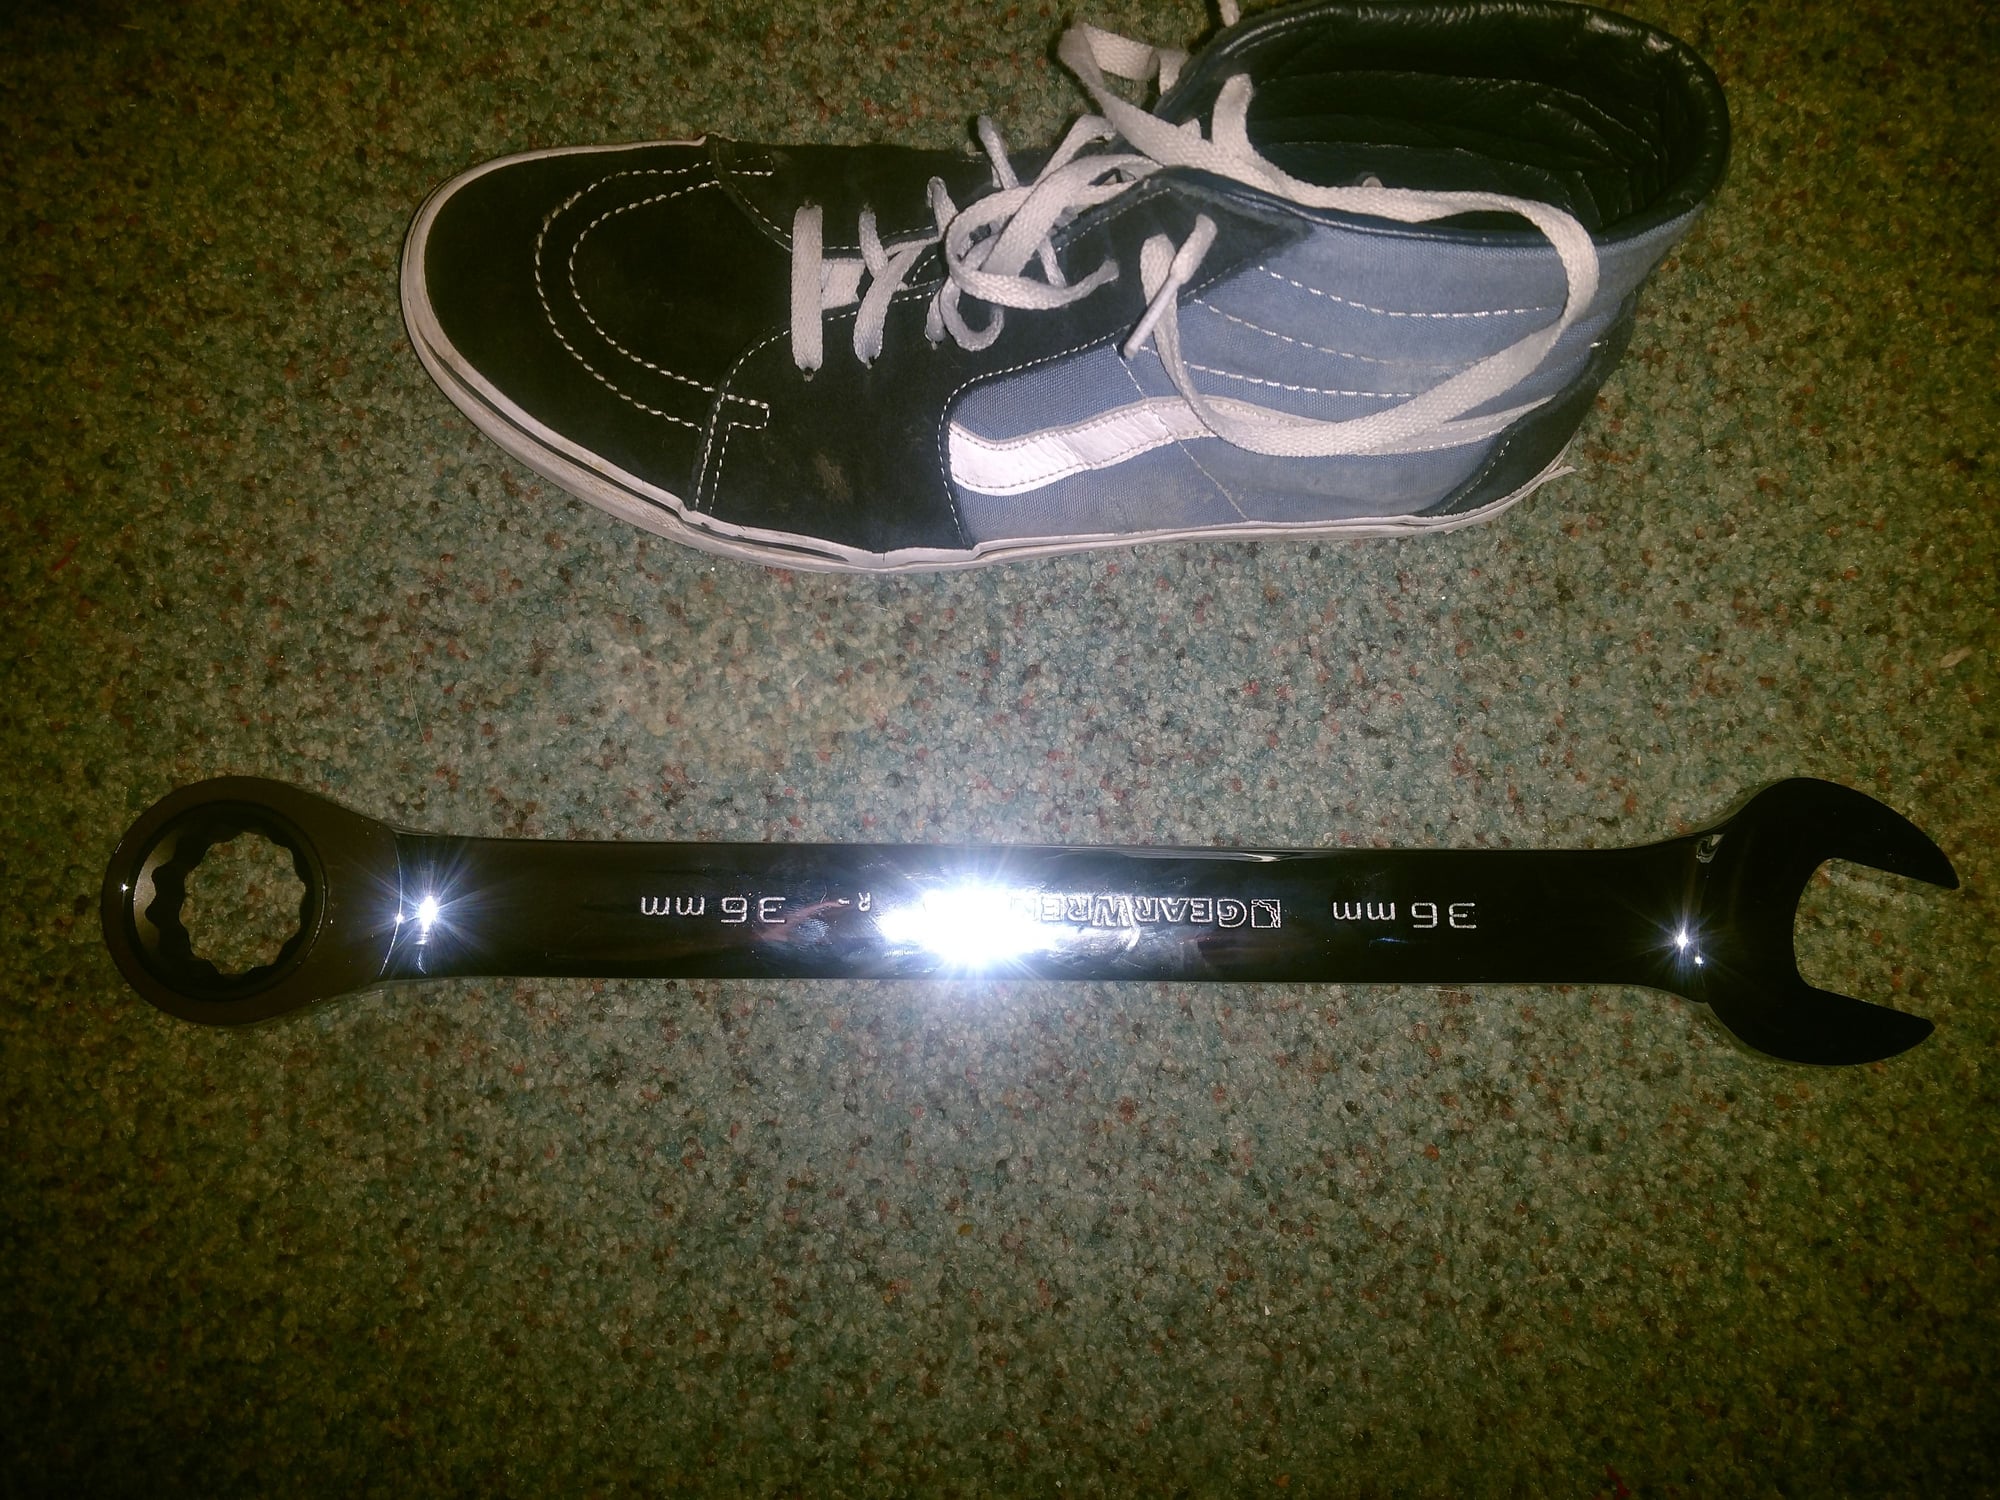
My wrench for that pesky canister oil filter came in today. For size comparison that shoe is a size 13.
I bought it on Amazon. It's a 36mm wrench with a ratcheting head. Last time I had to use the biggest Cresent wrench I had and it barely worked. This should be much better.
Cool, I'm a better mechanic than a tutorial guy. If you see any gaps or steps I missed just ask. Tomorrow I will do brake flush, pdcc rezzy replacement and power steering rezzy replacement.
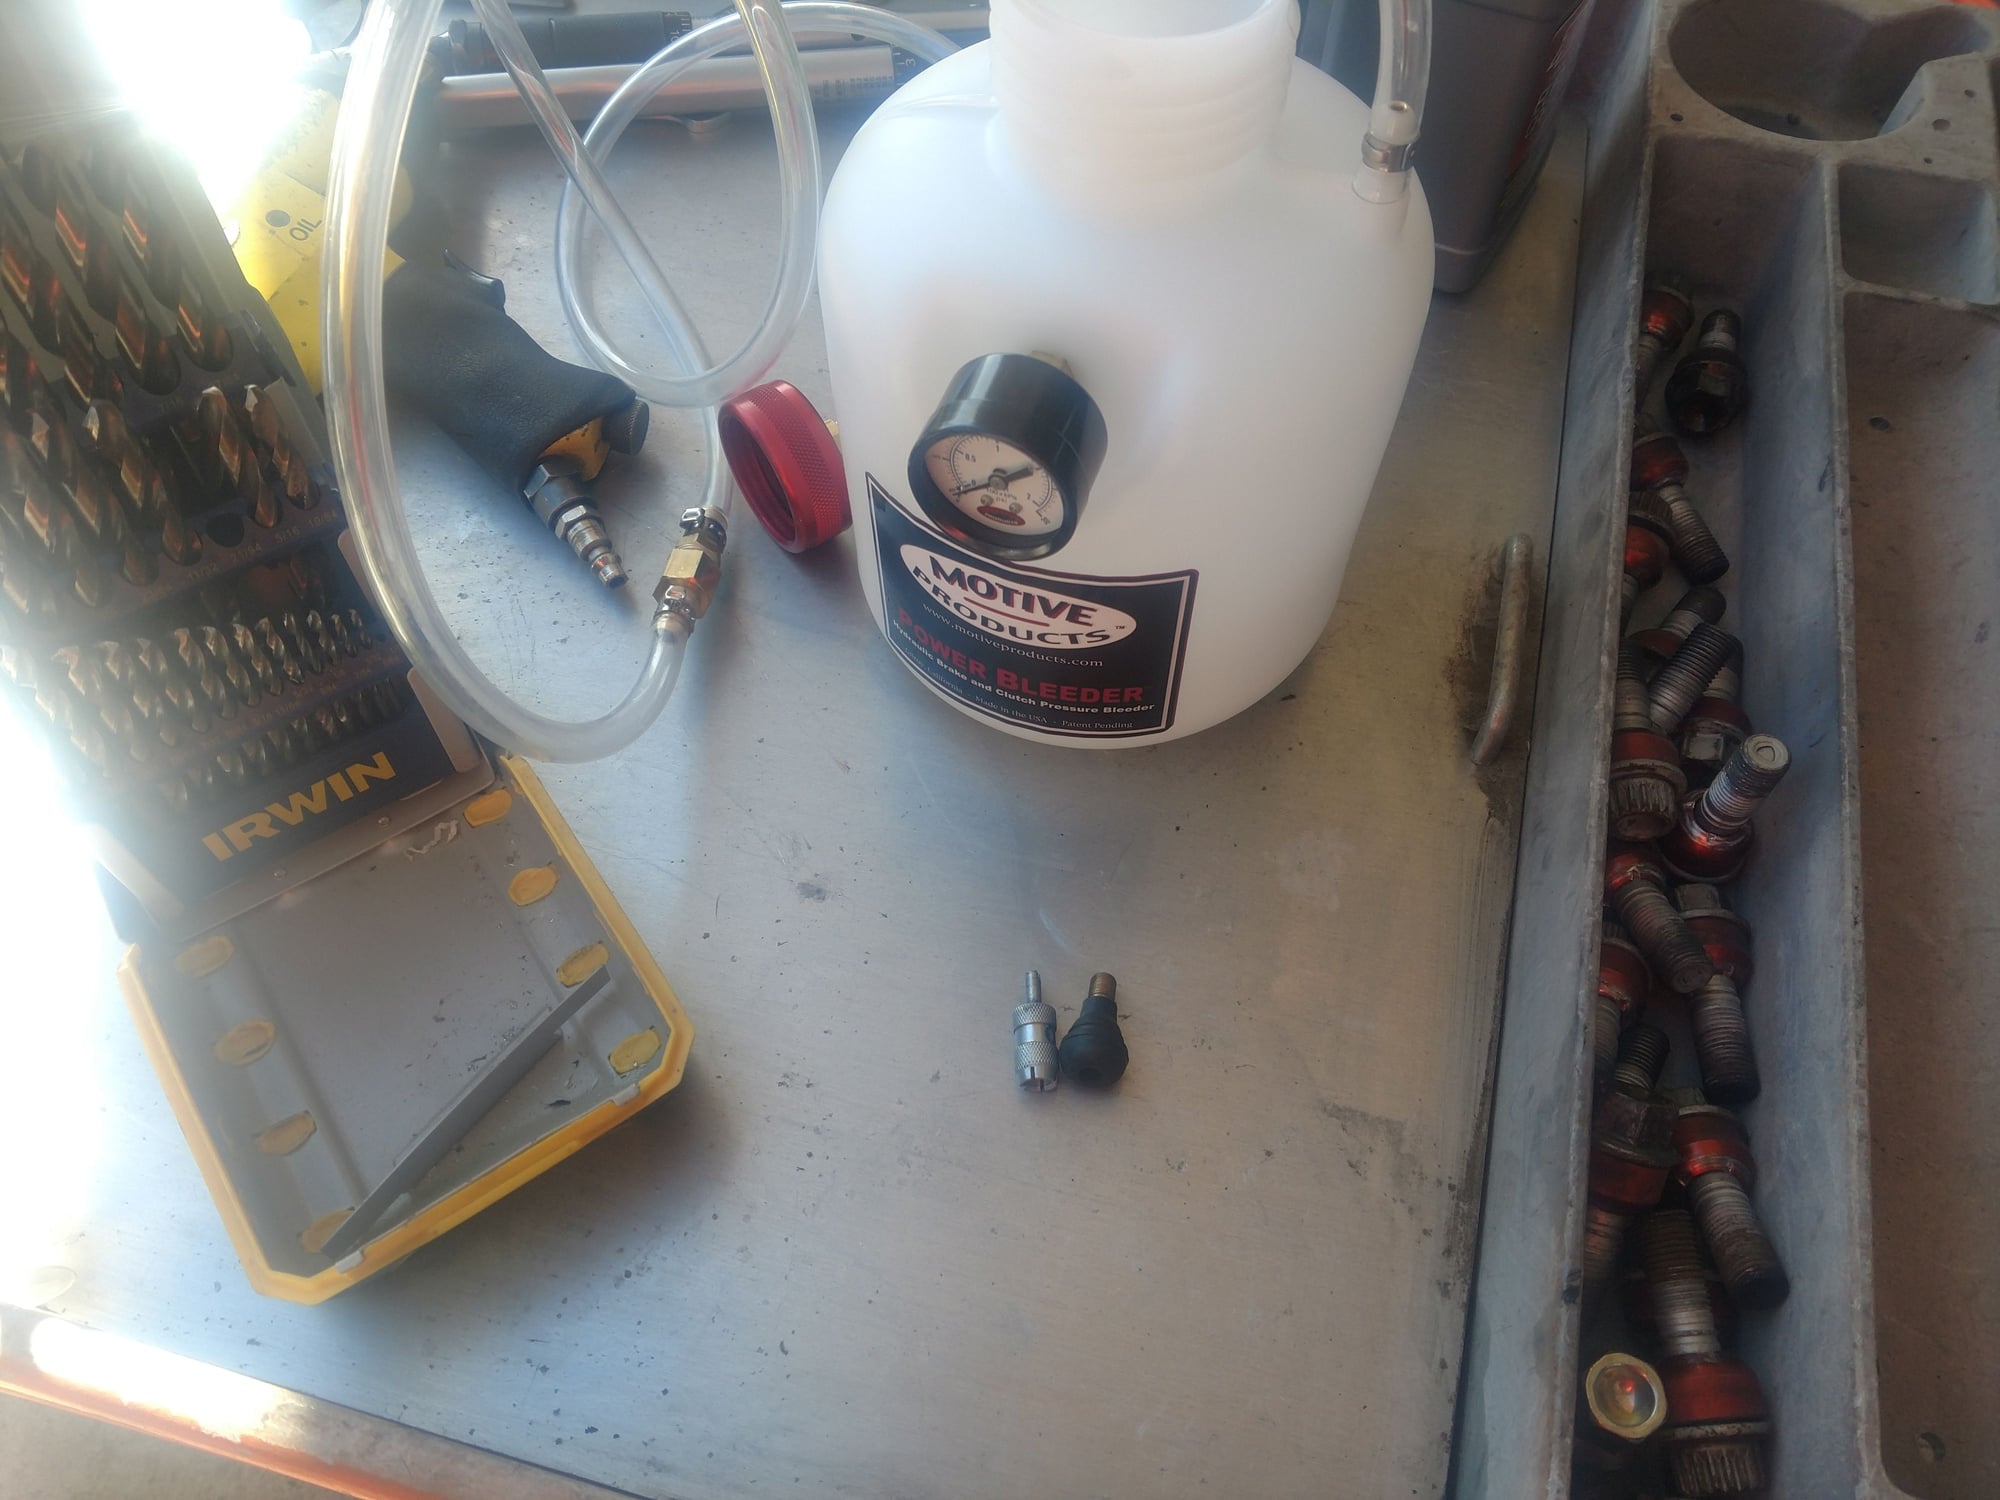
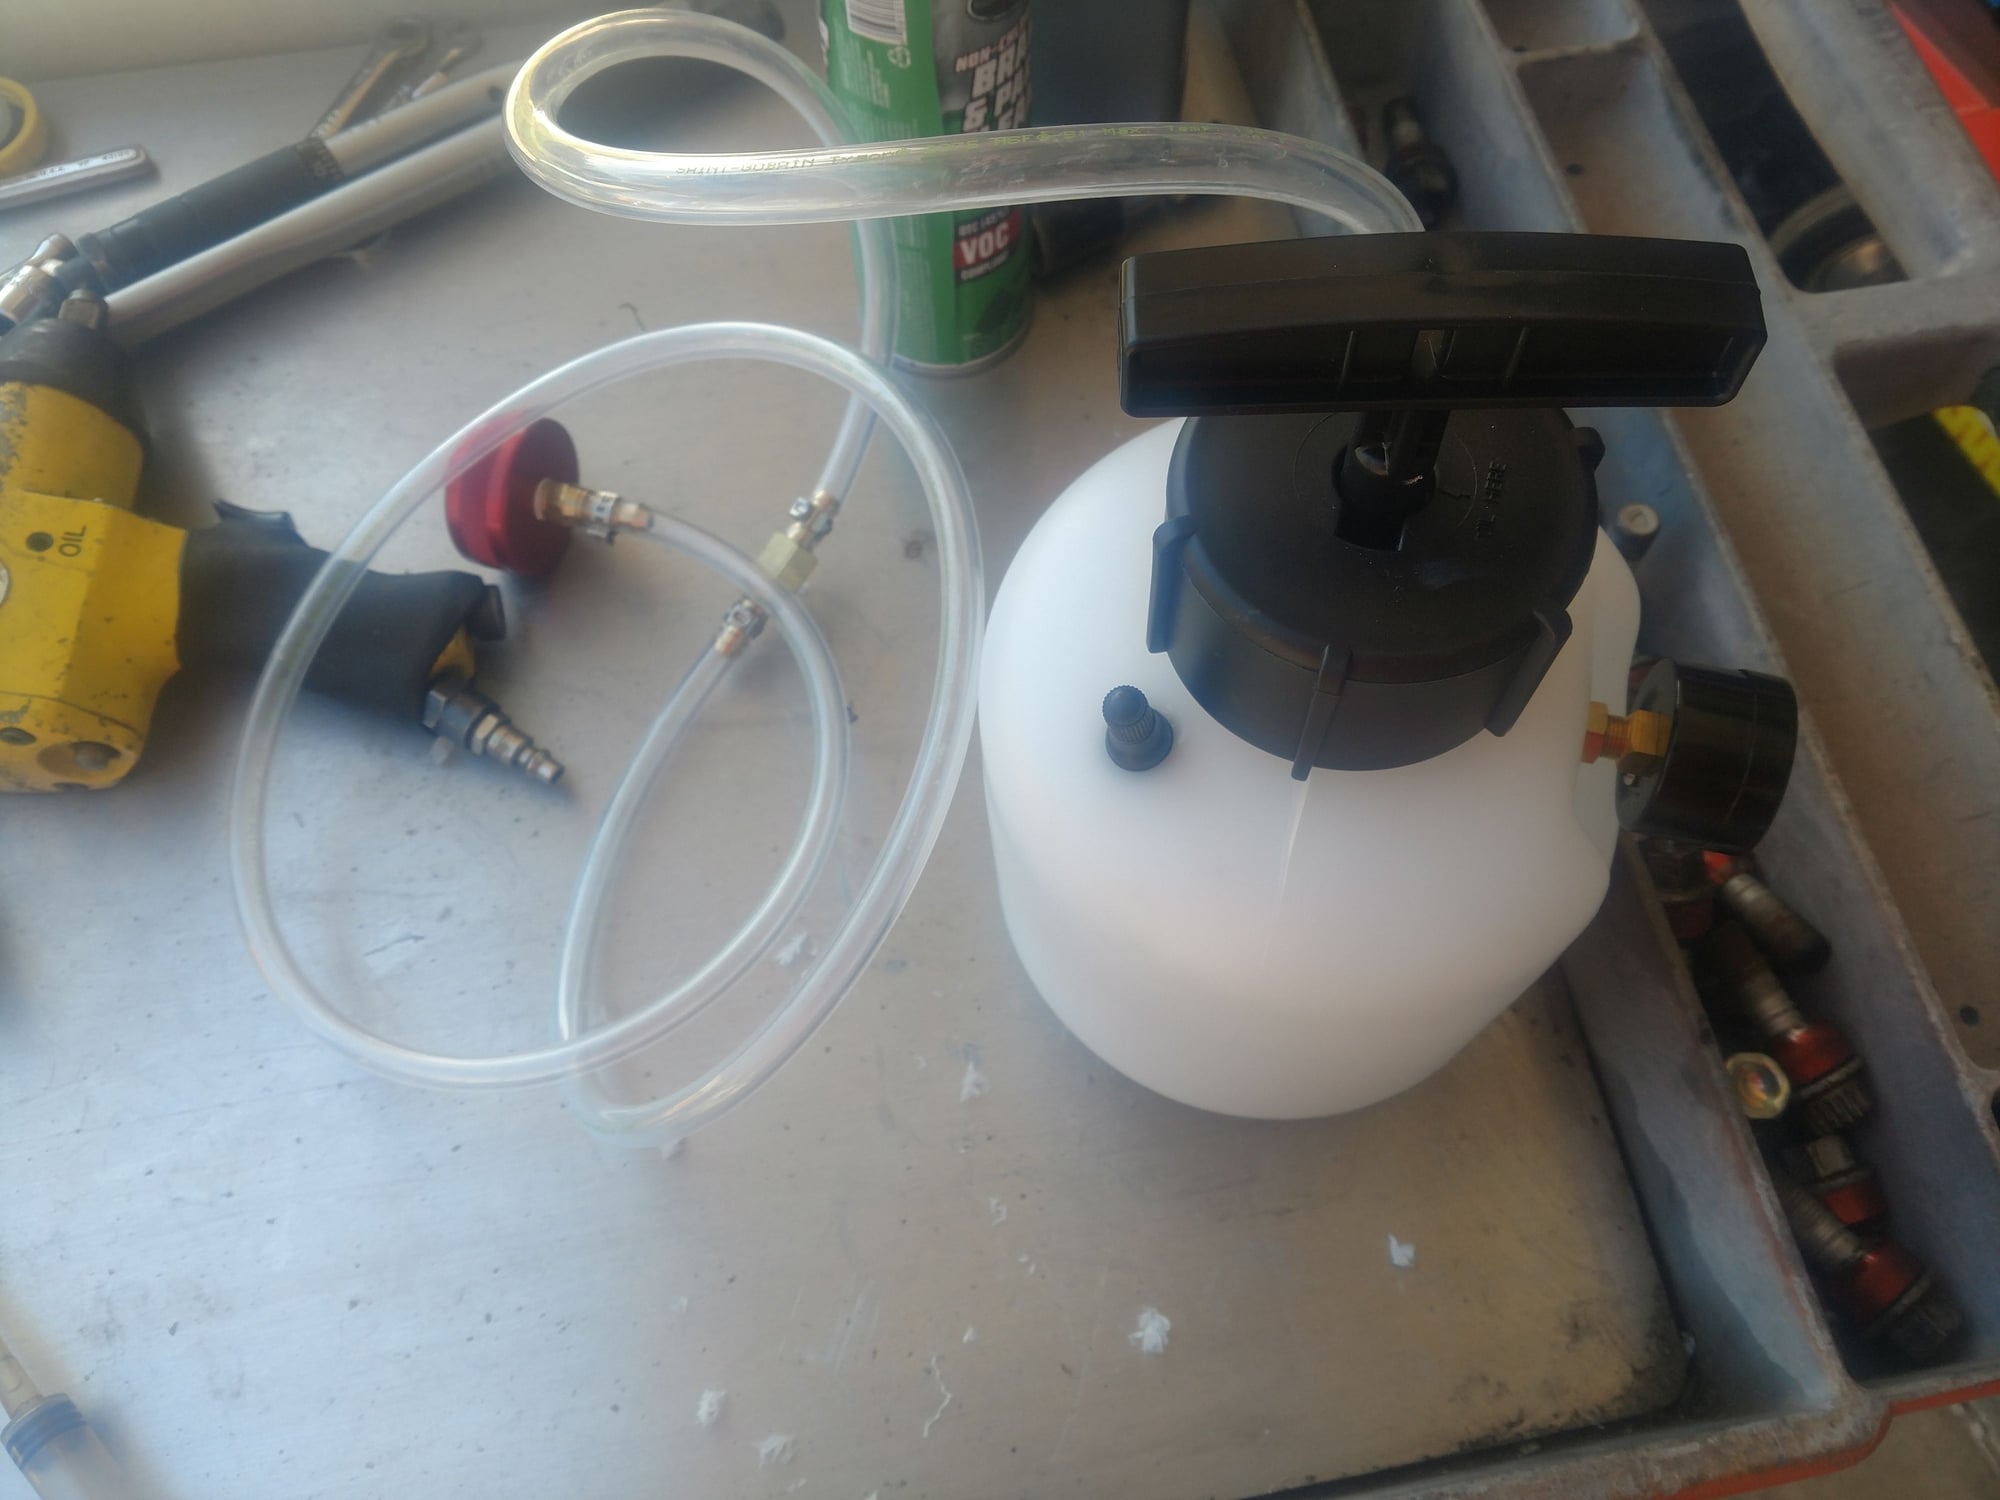
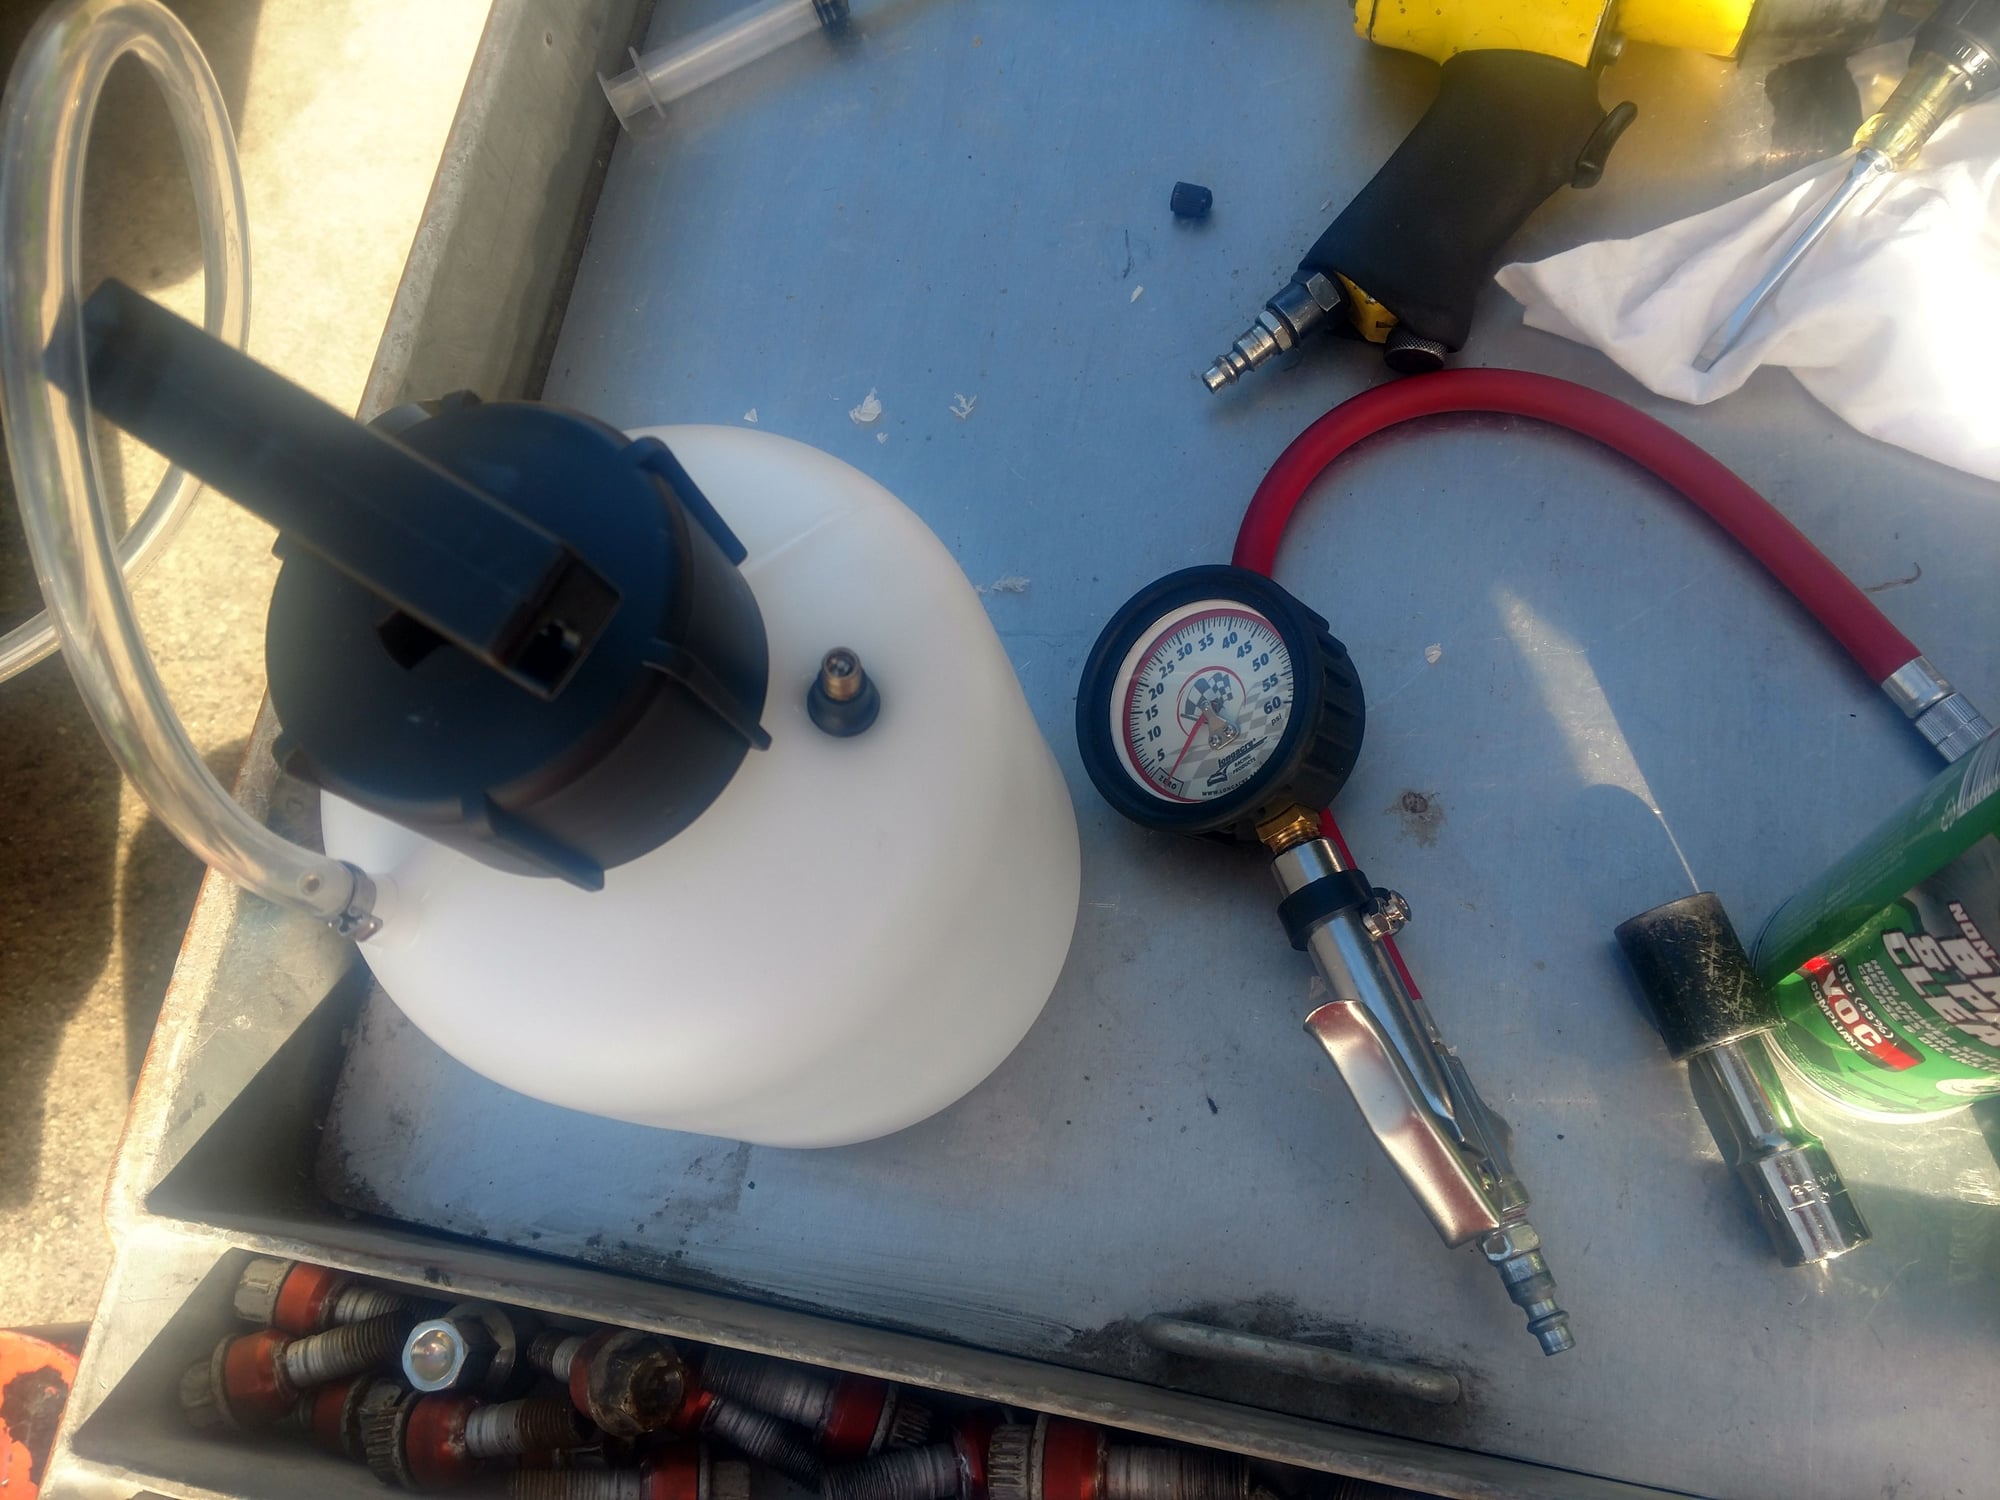
Since I don't have any service history on our new Cayenne I am starting from scratch. In order to establish a baseline all fluids must go. Next up is the brake flush. I bought a motive bake flush tool with the euro machined aluminum cap. 45 mm I believe. I can't believe I have gone this long without it. Prior to the tool it has always been a two person job. This tool make it a one person job. I did have to modify it of course. Originally it is designed to use the handle to pump up the pressure, like your 2 gallon weed sprayer. Being the lazy sod I am I'm not gonna sit there and pump that sucker to build pressure. So I took my drill motor and drilled a 1/2 inch hole near the opening and pulled a rubber valve stem thru the hole. WAA LAA. I am really not using the tool as intended. More like a pressure vessel. Come to think of it, I could have probably made something to do the job but I didn't think I was going to use it this way. The instructions say to fill the vessel with brake fluid and pressurize the vessel AND the master cylinder rezzy. Why both? I don't know.....Seems awful messy to me. My vessel will just be a dry pressurized air vessel used to pressurize the master cylinder reservoir. Here are a couple of shots of the vessel mods.
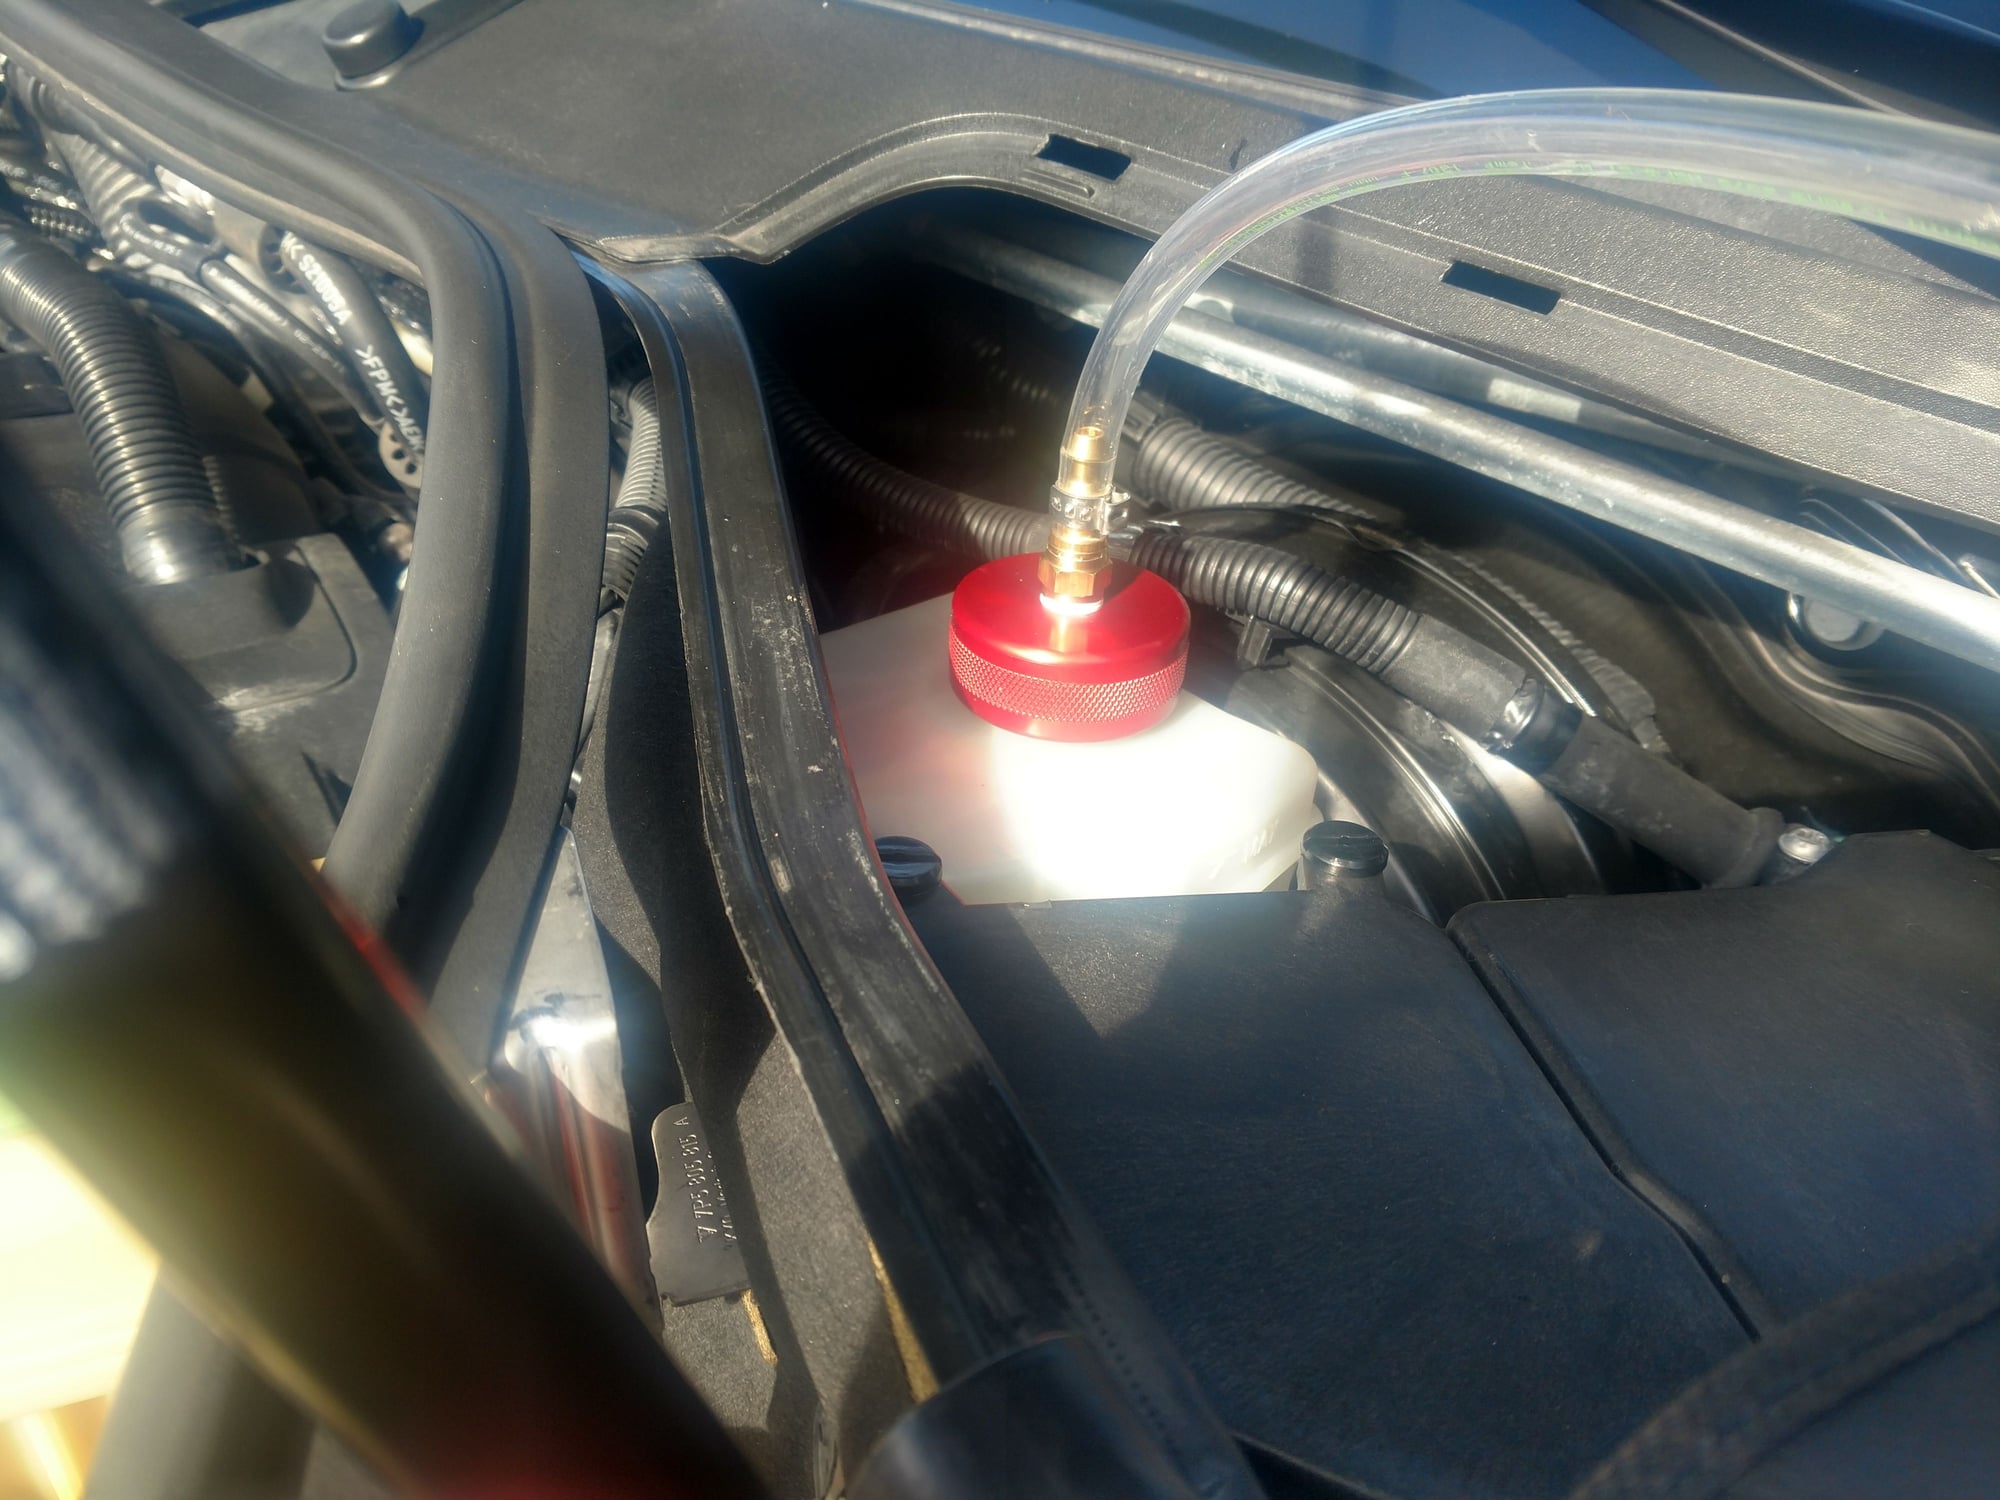
Heres the brake bleeding process. I sucked out all the fluid out of the brake master cylinder rezzy with a big syringe. I tried to get out every bit. Then filled the rezzy with fresh fluid. I thought I was buying ATE BLUE but the blue turned out to be yellow. I wanted to use the blue so when I am at the caliper it is easy to see when you have pumped the old fluid out and the new fluid starts. That way you can see when to stop. If you switch every year between gold and yellow it makes it way easier. Oh well.... Ok so now I have fresh fluid in the rezzy time to screw on the machined aluminum cap and pressurize the vessel with nitrogen. I don't use shop air because I don't want to introduce moisture into the new fluid. I pressurize to 10-15psi.
With the brake system pressurized its time to start bleeding. The next step is like an ordinary brake bleeding job. Go to the caliper farthest from the master cylinder. My Cayenne is left hand drive (USA). My farthest caliper is the passenger rear. The caliper has two bleed screws so I did the outside nipple first. Cracked the nipple and the pressurized fluid started to flow. I let it flow until I got a steady stream of clean yellow fluid. closed the valve and moved to the inside nipple and cracked open the nipple until the fluid ran clear. Done. At this point I went back to the master cylinder and depressurized the vessel. Unscrewed the red cap from the rezzy and topped it off again with fresh fluid. Screwed the cap on and re pressurized the vessel. Next caliper is the drivers rear. Same steps....Outside nipple then inside nipple. Stop... depressurize.... top off rezzy....repressurize....and move to passenger side....Rinse and repeat.....You should end up at the drivers front caliper. Once the drivers front is finished you can depressurize for the last time. Top off the rezzy and your done.
These steps go for most any car. I try to bleed my brakes once a year. And since all my car are German they all get ATE fluid. It has always been a PIA to do the job because it has always been a two person job. And training your helper to pump three times, hold, don't let the pedal up until I tell you sucks. Now I can get a good bleed and don't have to rely on a helper. Job done.
Last edited by twodollardoug; 01-17-2019 at 11:22 PM.
Yeha i've got one of those motive brake bleeders with two catch cans for my Scion FRS, so i can do an axle at a time. Super easy with the tool.
And yeah, unfortunately, they discontinued the ATE Type Blue brake fluid in the US for some safety reason. Its still my go to brake fluid for daily driving. Switch to Motul RBF600 for track days.
I did buy this adapter for my Motive bleeder thinking it would work with the 958.
But then i noticed you mention your reservoir cap thread size to be 42mm..are you sure its not 45mm?
Thanks for the DIYs so far, especially the thorough ATF flush job. Usually i think most just do the drain and fill twice or three times to get it all out. But yours is more cleaner and one shot!
You are correct. It's 45mm. Thank you .I fixed it I added the 2 catch bottles to my Amazon cart. Thanks for the tip. With the 2 catch bottles we can open both nipples on the caliper at the same time.
One more mod I need to do on the brake bleeder is to cut in a 3/8 ball valve. So I can close the valve to take the cap off. That way I don't have to depressurize the whole bottle when topping off.
When you bleed your brakes are you filling the vessel and mc rezzy with brake fluid like the directions show? Or just filling the vessel with air?
When you bleed your brakes are you filling the vessel and mc rezzy with brake fluid like the directions show? Or just filling the vessel with air?
Do you mean, when testing to make sure there are no leaks before puttin in the brake fluid?
I do this and then make sure i have plenty of brake fluid in the reservoir before i re-pressurize and start the bleed I just follow the instructions from Motive. I usually don't have to re-fill the reservoir or repressurize, maybe a couple of pumps to get it back to 15psi in between the 2nd and 3rd brake bleed point.
I don't think I'm asking clearly. Do you put brake in the motive bottle also? Or do you just use it for air?
oh..oh.. yeah you want to fill only the motive main tank with brake fluid. I just pour a full quart in and a little bit more, cap the rezzy, pressurize to 15psi and just go bleed!
No need to even take out existing fluid in the reservoir..you flush it all out anyways.
Ok, see I didn't do it that way. I just used the motive bottle for air. The down side of my way was that I had to keep refilling the master cylinder rezzy in between calipers. Was it messy doing it your way? Was it a PIA cleaning up?
Ok, see I didn't do it that way. I just used the motive bottle for air. The down side of my way was that I had to keep refilling the master cylinder rezzy in between calipers. Was it messy doing it your way? Was it a PIA cleaning up?
Nope..not at all.. barely even a drop split. Its all contained. This way you also guarantee there are no big air pockets once you start the bleed procedure.
I re-read your way.. and oh man.. that's a chore and a half! Yeah.. save yourself that effort.
Originally Posted by twodollardoug
My wrench for that pesky canister oil filter came in today. For size comparison that shoe is a size 13.
I bought it on Amazon. It's a 36mm wrench with a ratcheting head. Last time I had to use the biggest Cresent wrench I had and it barely worked. This should be much better.
Am curious why you chose one of these as opposed to the 6 point oil filter 3/8 adapter sockets like this one for the filter change. I need to order one so debating between the one you got and this.. obviously the price difference is huge. Thoughts?
All I have is a 1/2 inch drive in 36mm socket. There is no way to get the socket and 1/2 inch drive ratchet up in there. Let alone be able to swing the ratchet. I had to use a big crescent. I was going to get a regular wrench but was afraid that with the little amount of room to swing the wrench I would have had the same problem I had with the crescent. Even with the crescent I had to swing a little, flip it over, swing a little, flip it over. It kinda sucked.
The difference between the regular wrench and the ratcheting wrench was like 8 bucks. So I went with the ratcheting. I haven't used it yet so I don't know how it's gonna work. If it doesn't work it won't be a total loss because the axle nuts on my VW's and my ktm motorcycles are 36mm. So I will still use the wrench.

 01-16-2019, 11:27 PM