When you click on links to various merchants on this site and make a purchase, this can result in this site earning a commission. Affiliate programs and affiliations include, but are not limited to, the eBay Partner Network.
The only drips this thing ever leaves are A/C condensate. So far no leaks
Still haven't had time to touch the cooling system although while I was fitting the winch I ran a steel ruler between all the heat exchanger cores, there was quite a lot of debris in there. Car definitely seems to run cooler now, even in traffic on a 38 degree day it stays a touch under halfway on the dash gauge.
Co- pilots always welcome and the beer is always kept cold! If you ever make it down under, hit me up!
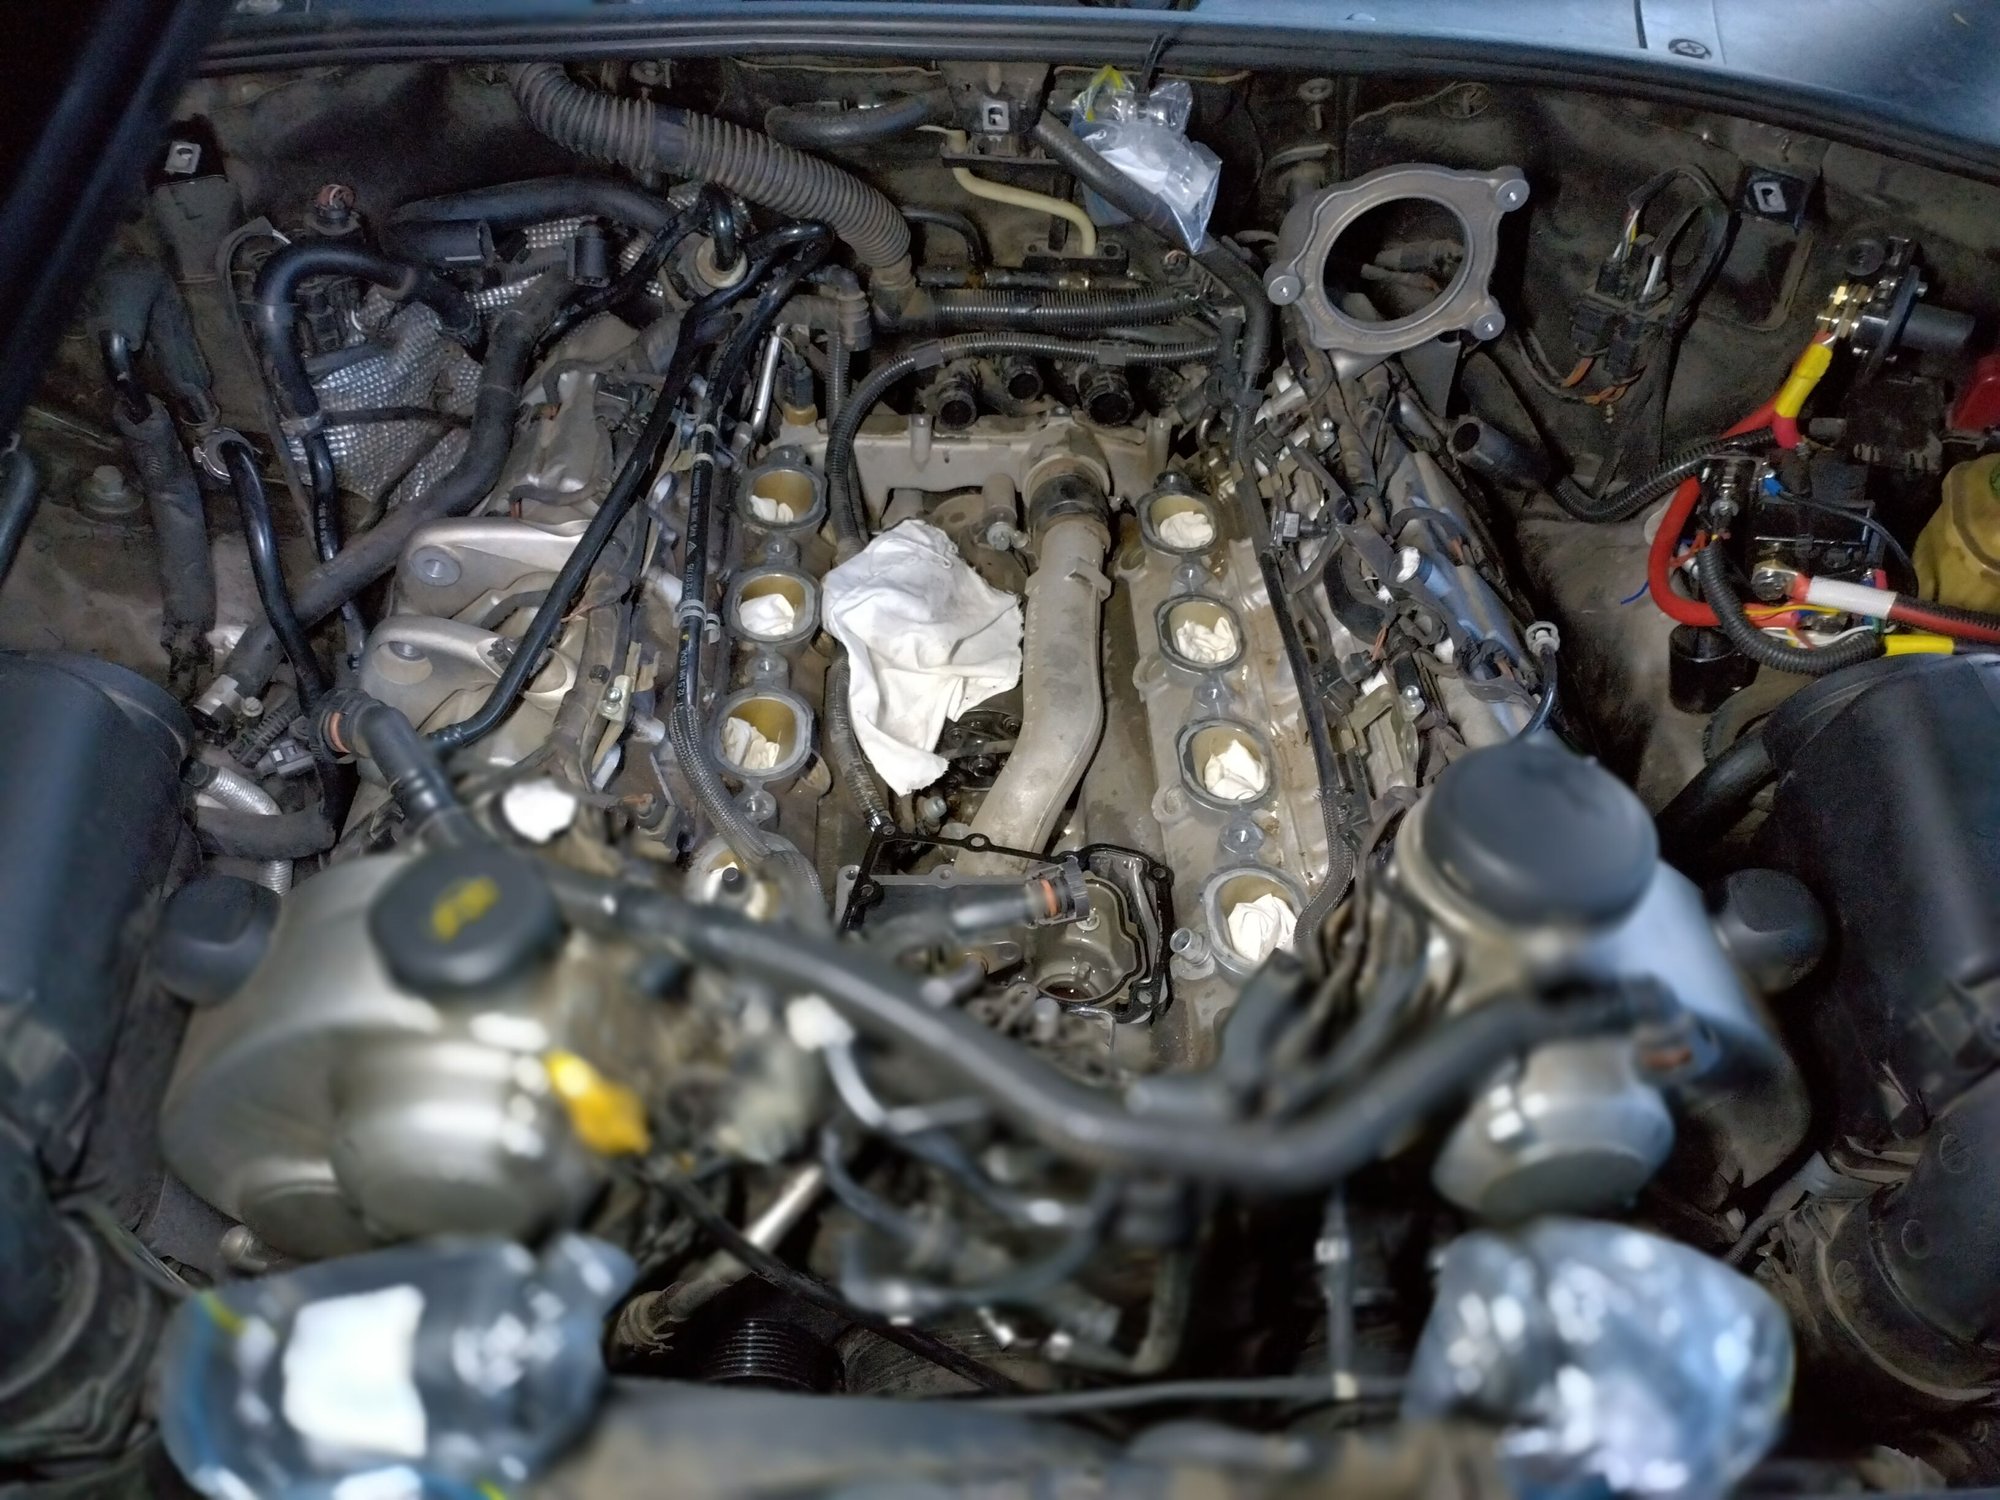
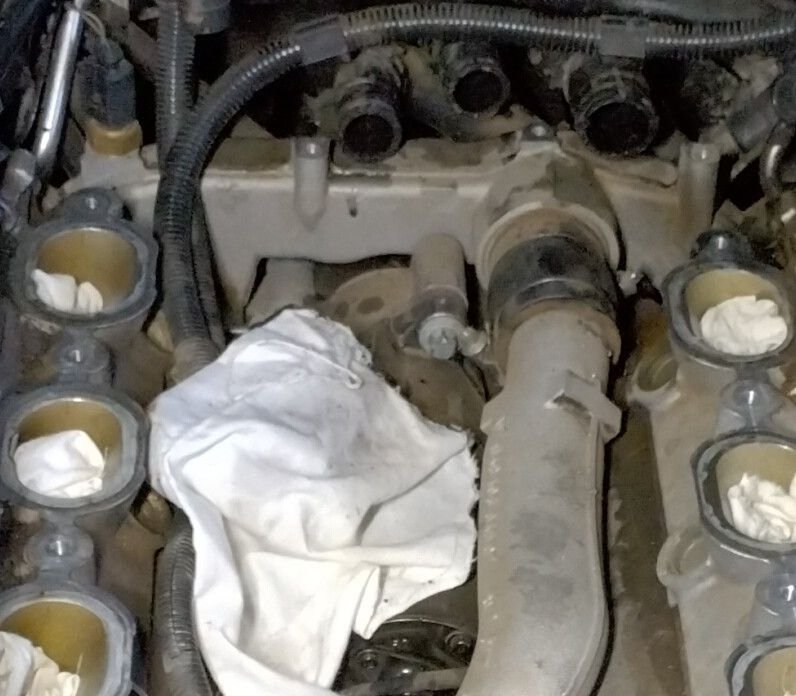
Gee, things are tight in there but overall not too bad and not too much blood lost (yet). Hardest part was the rear intake manifold bolt, under the fuel rail. Got it eventually with a T40 bit on a long 1/4" extension.
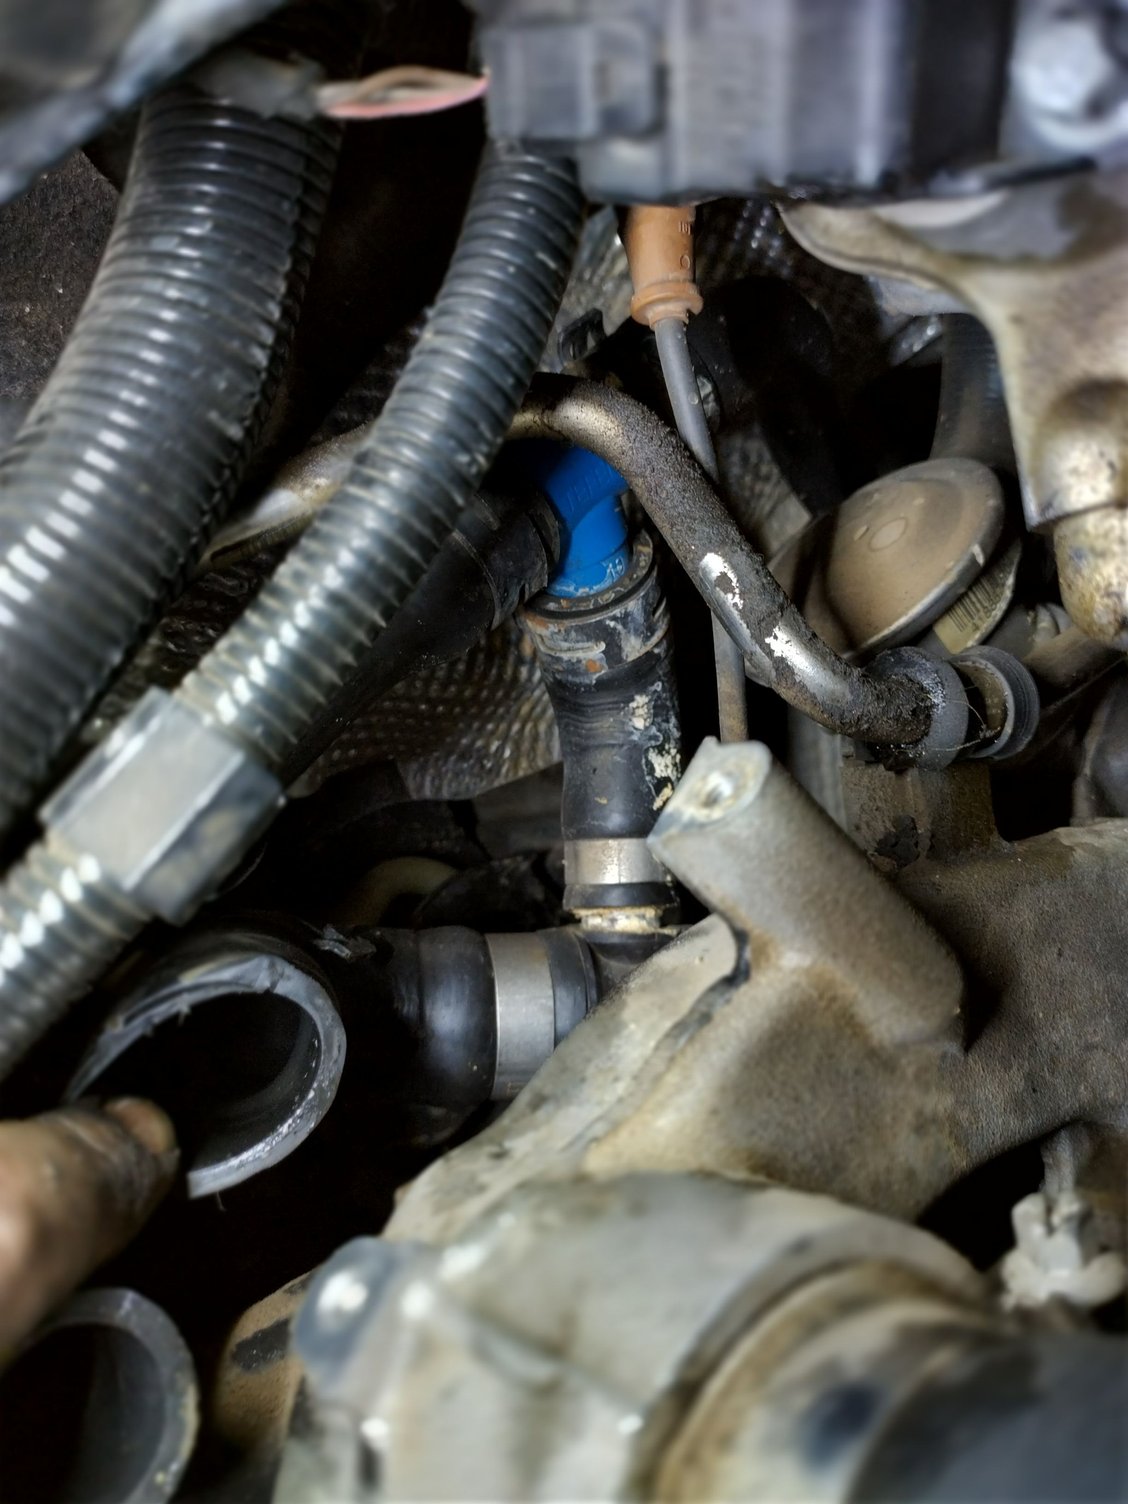
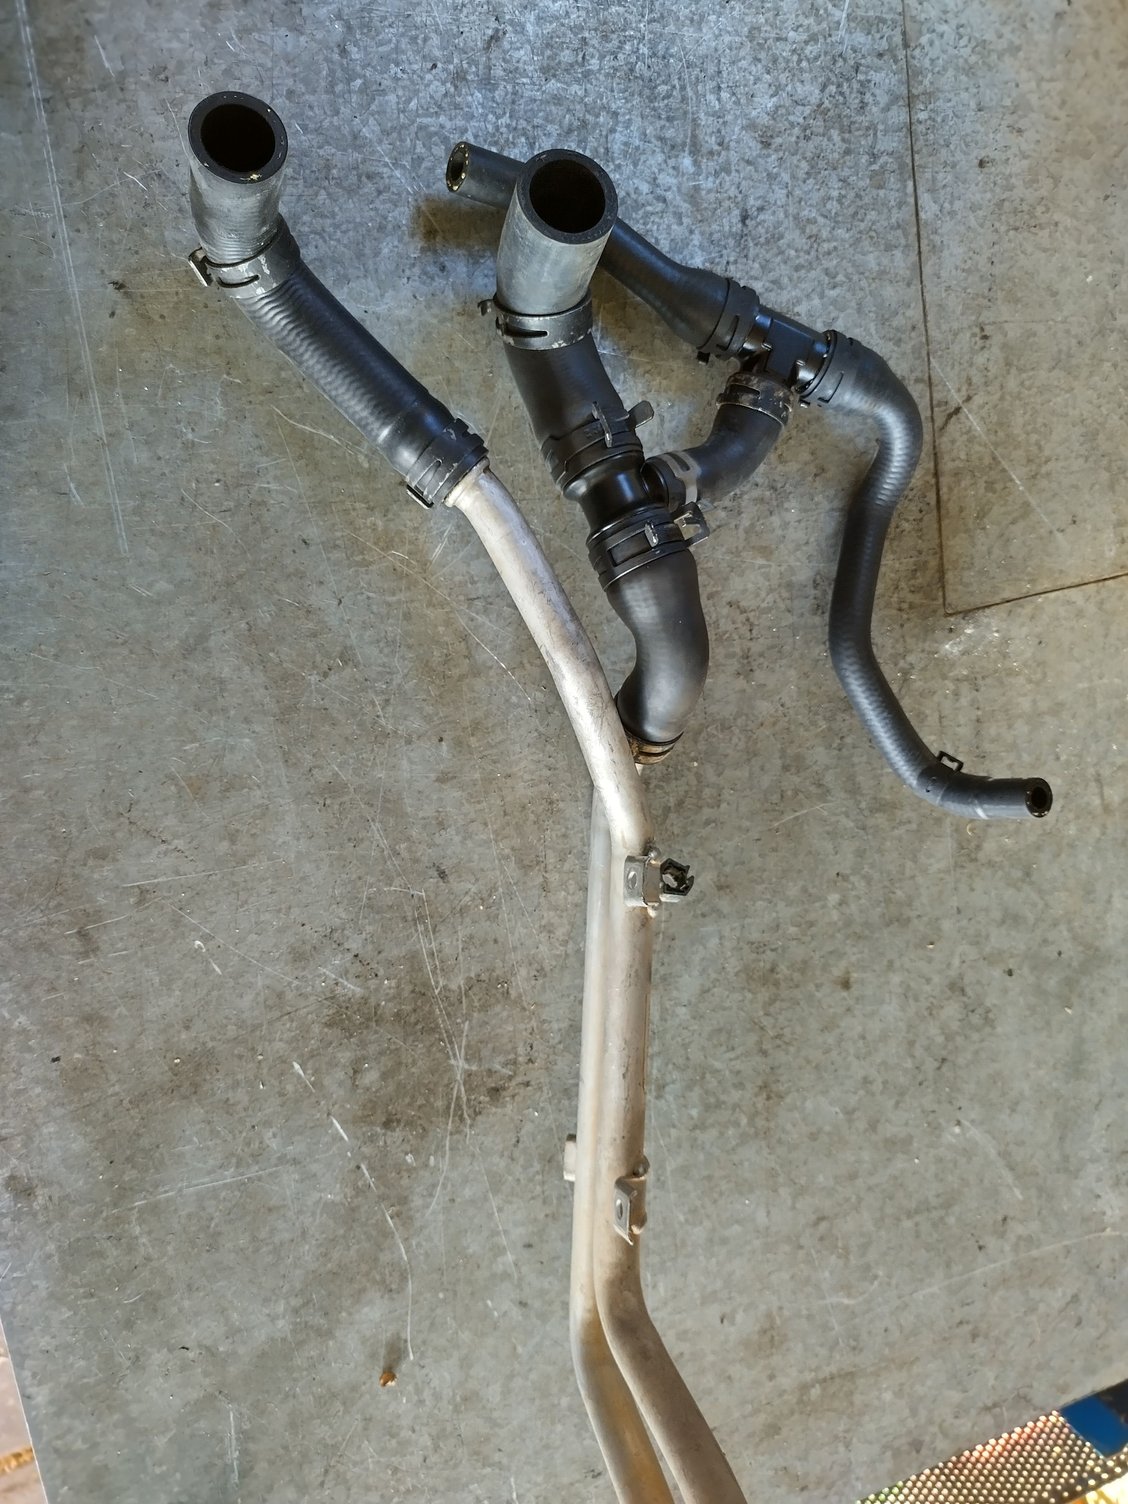
Still have to remove the rear hoses and Tees, although it looks like someone's been here before... That blue plastic one can't be factory? Plus I found a couple non-Porsche looking hose clamps under the 3 cooling pipes.
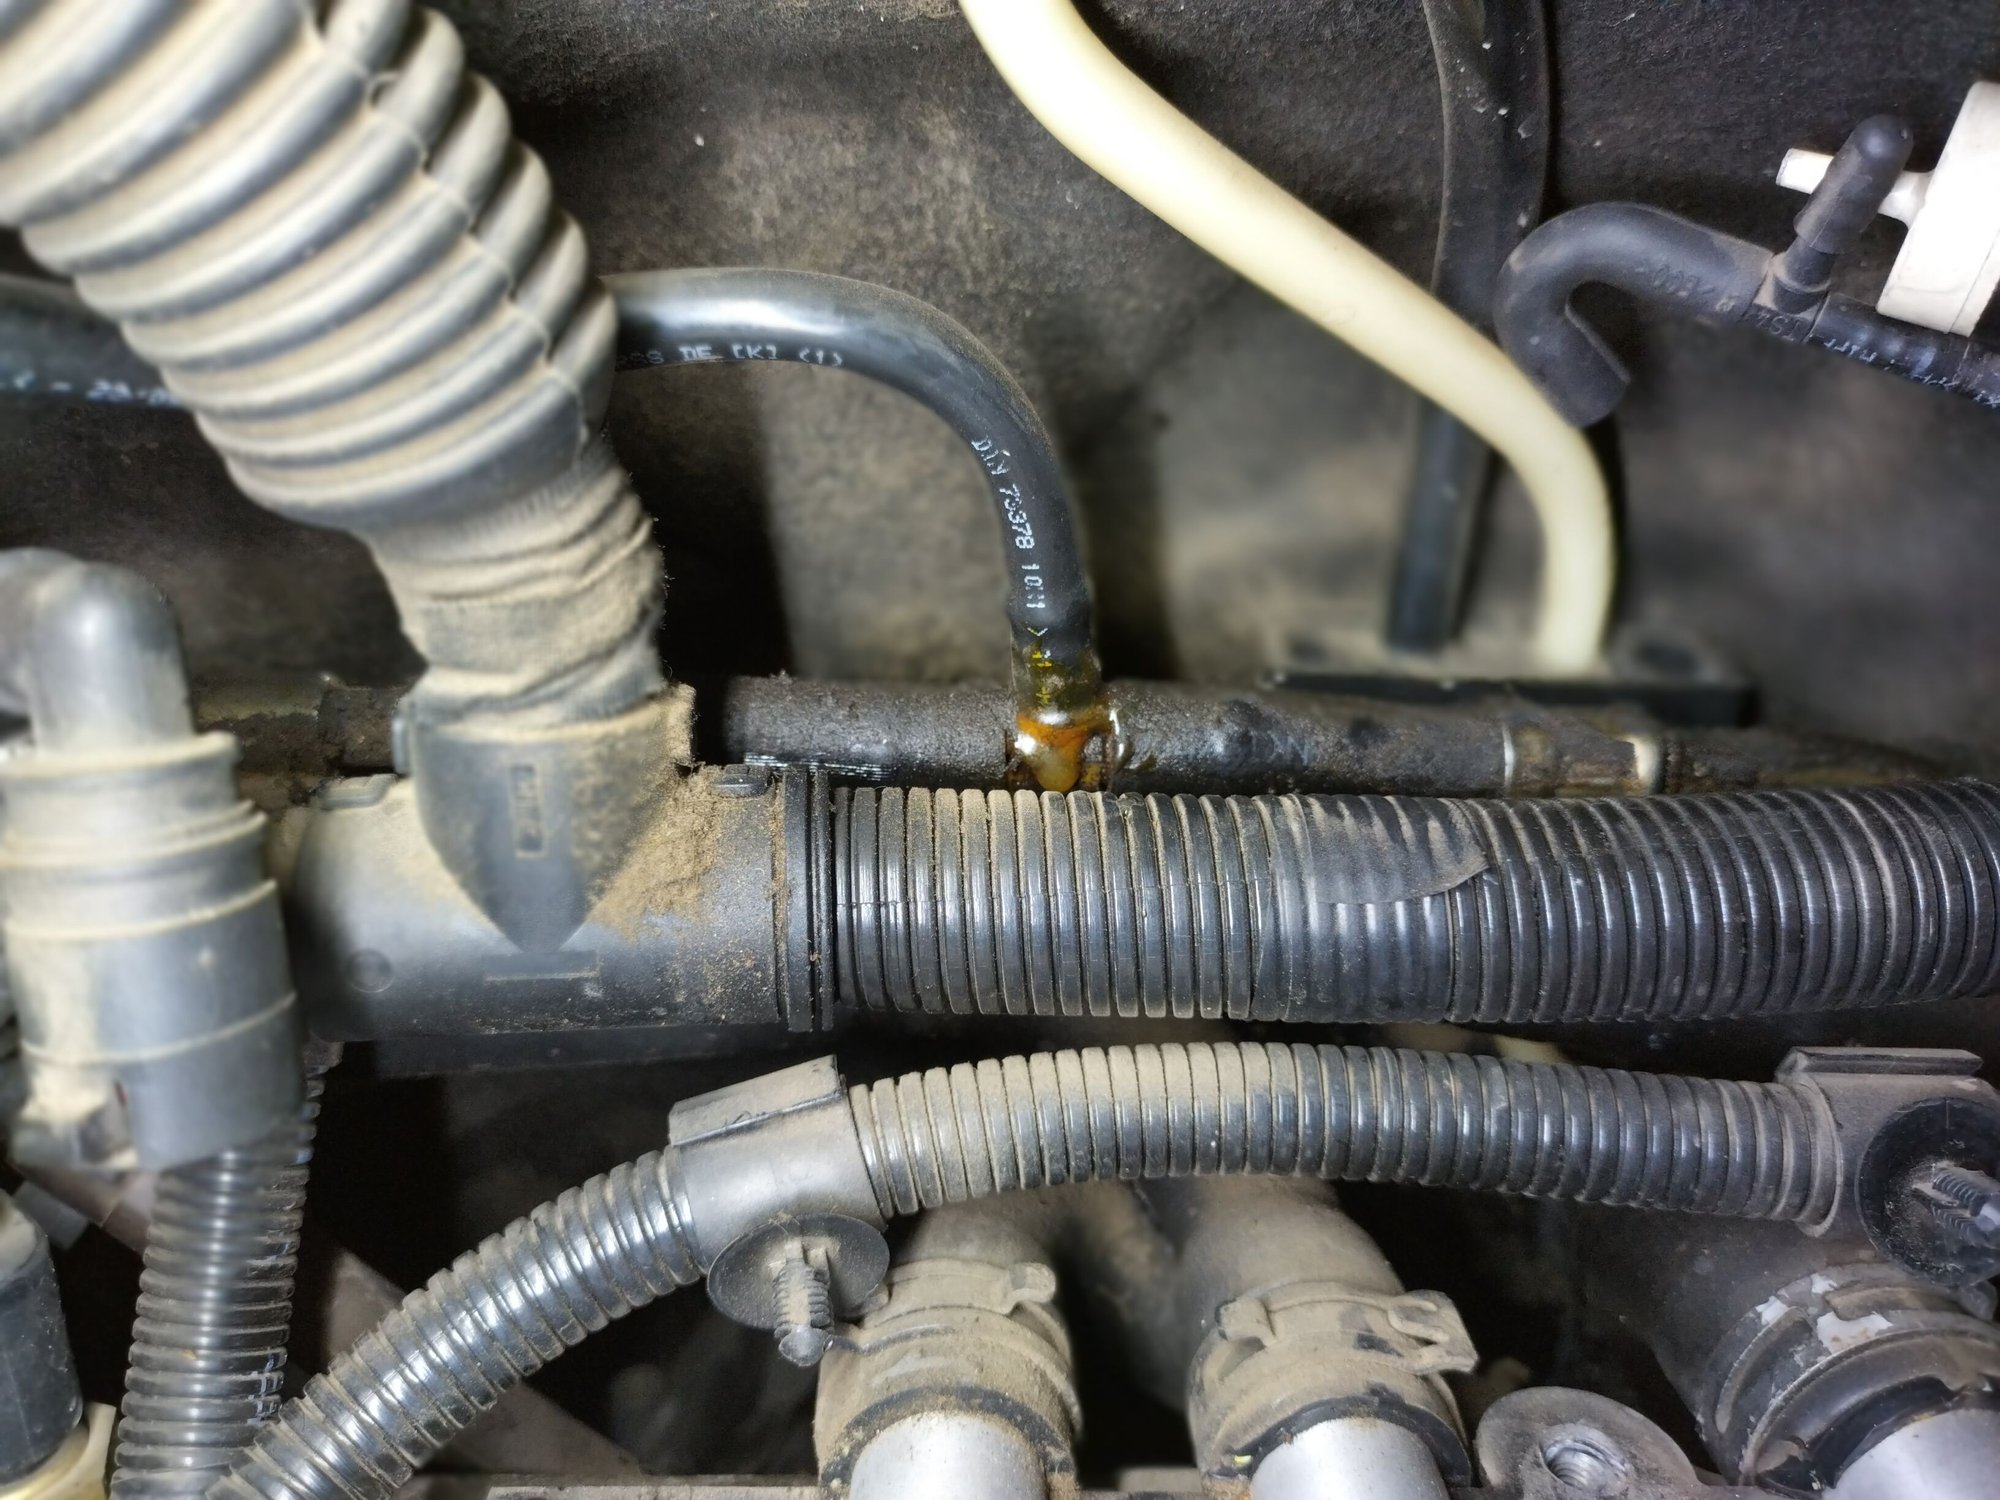
Not thrilled about the epoxied vacuum(?) tee that goes to the crimped fitting... What does this do?
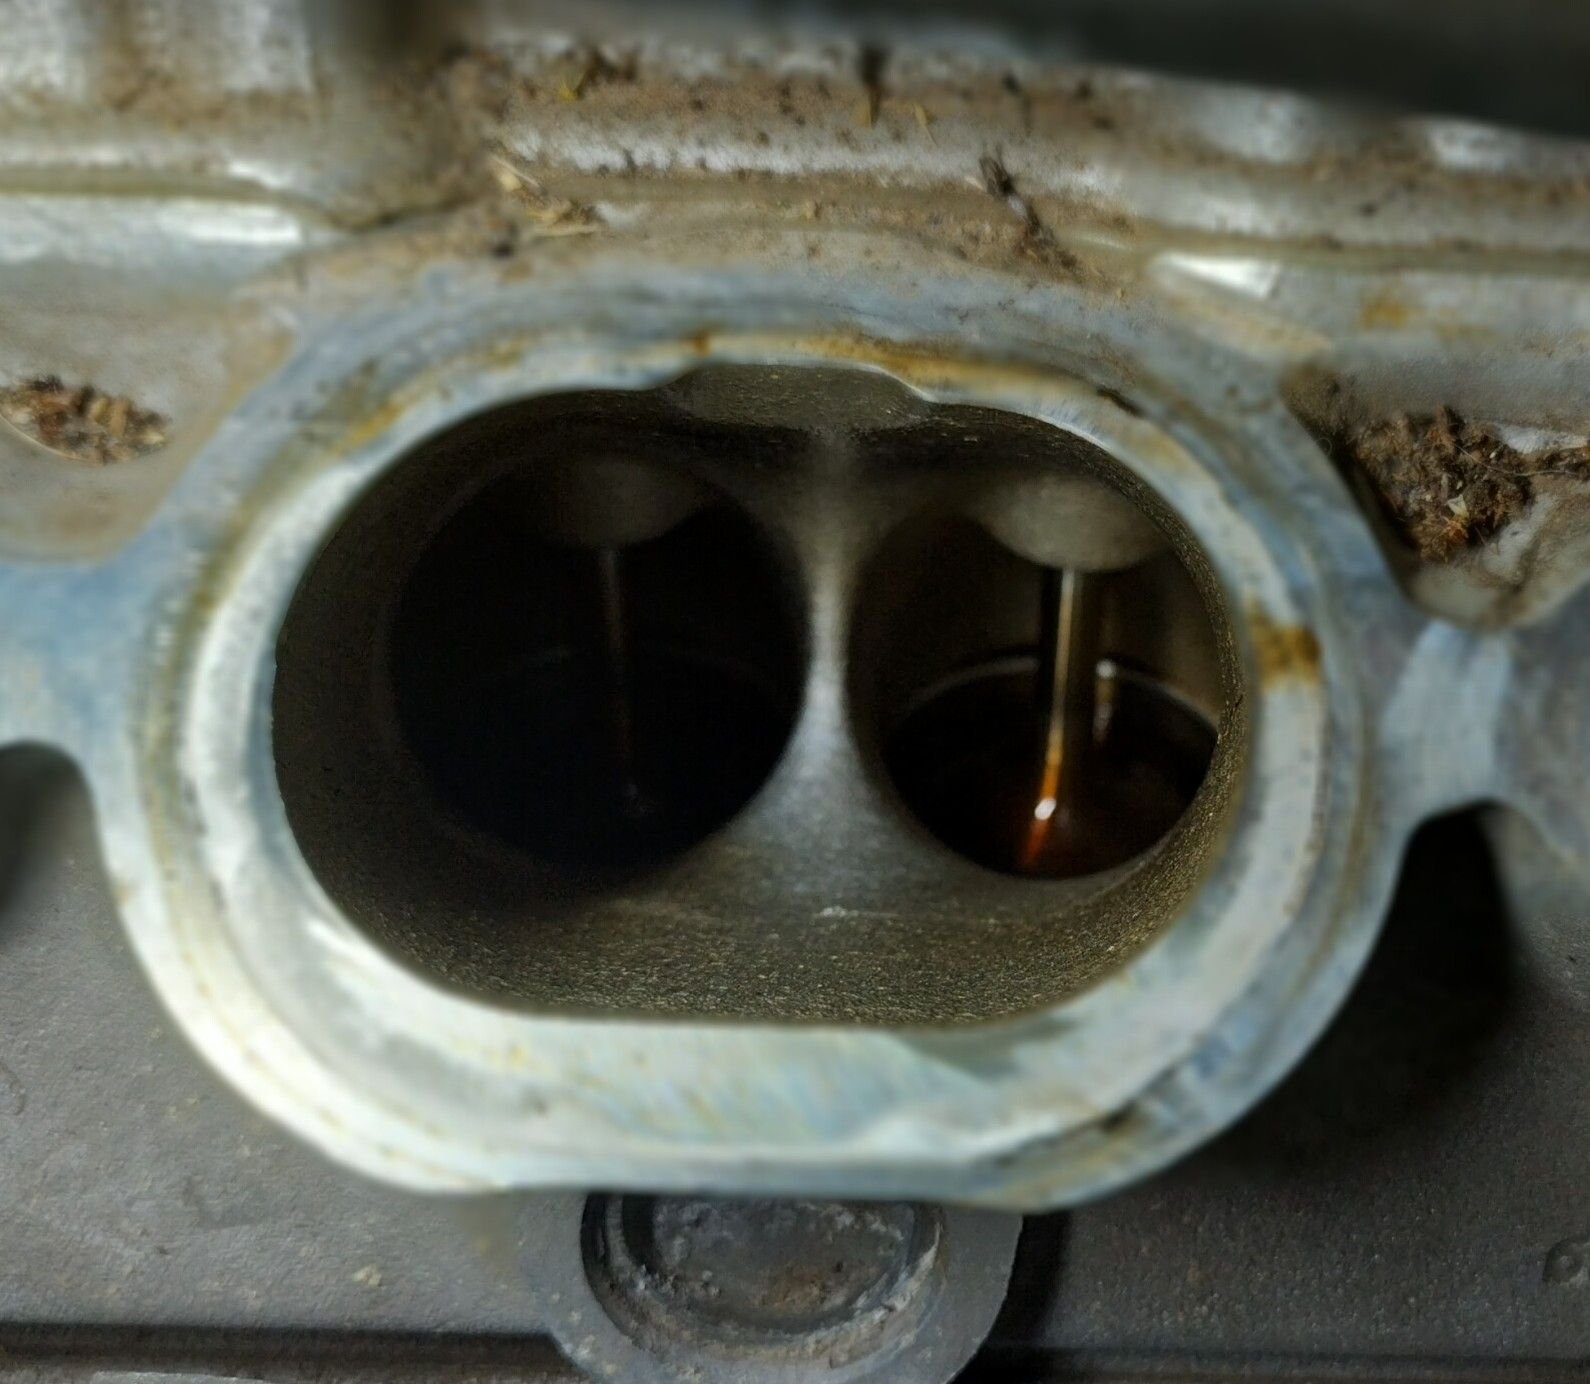
The engine is beautifully clean inside. Gotta love port injection!
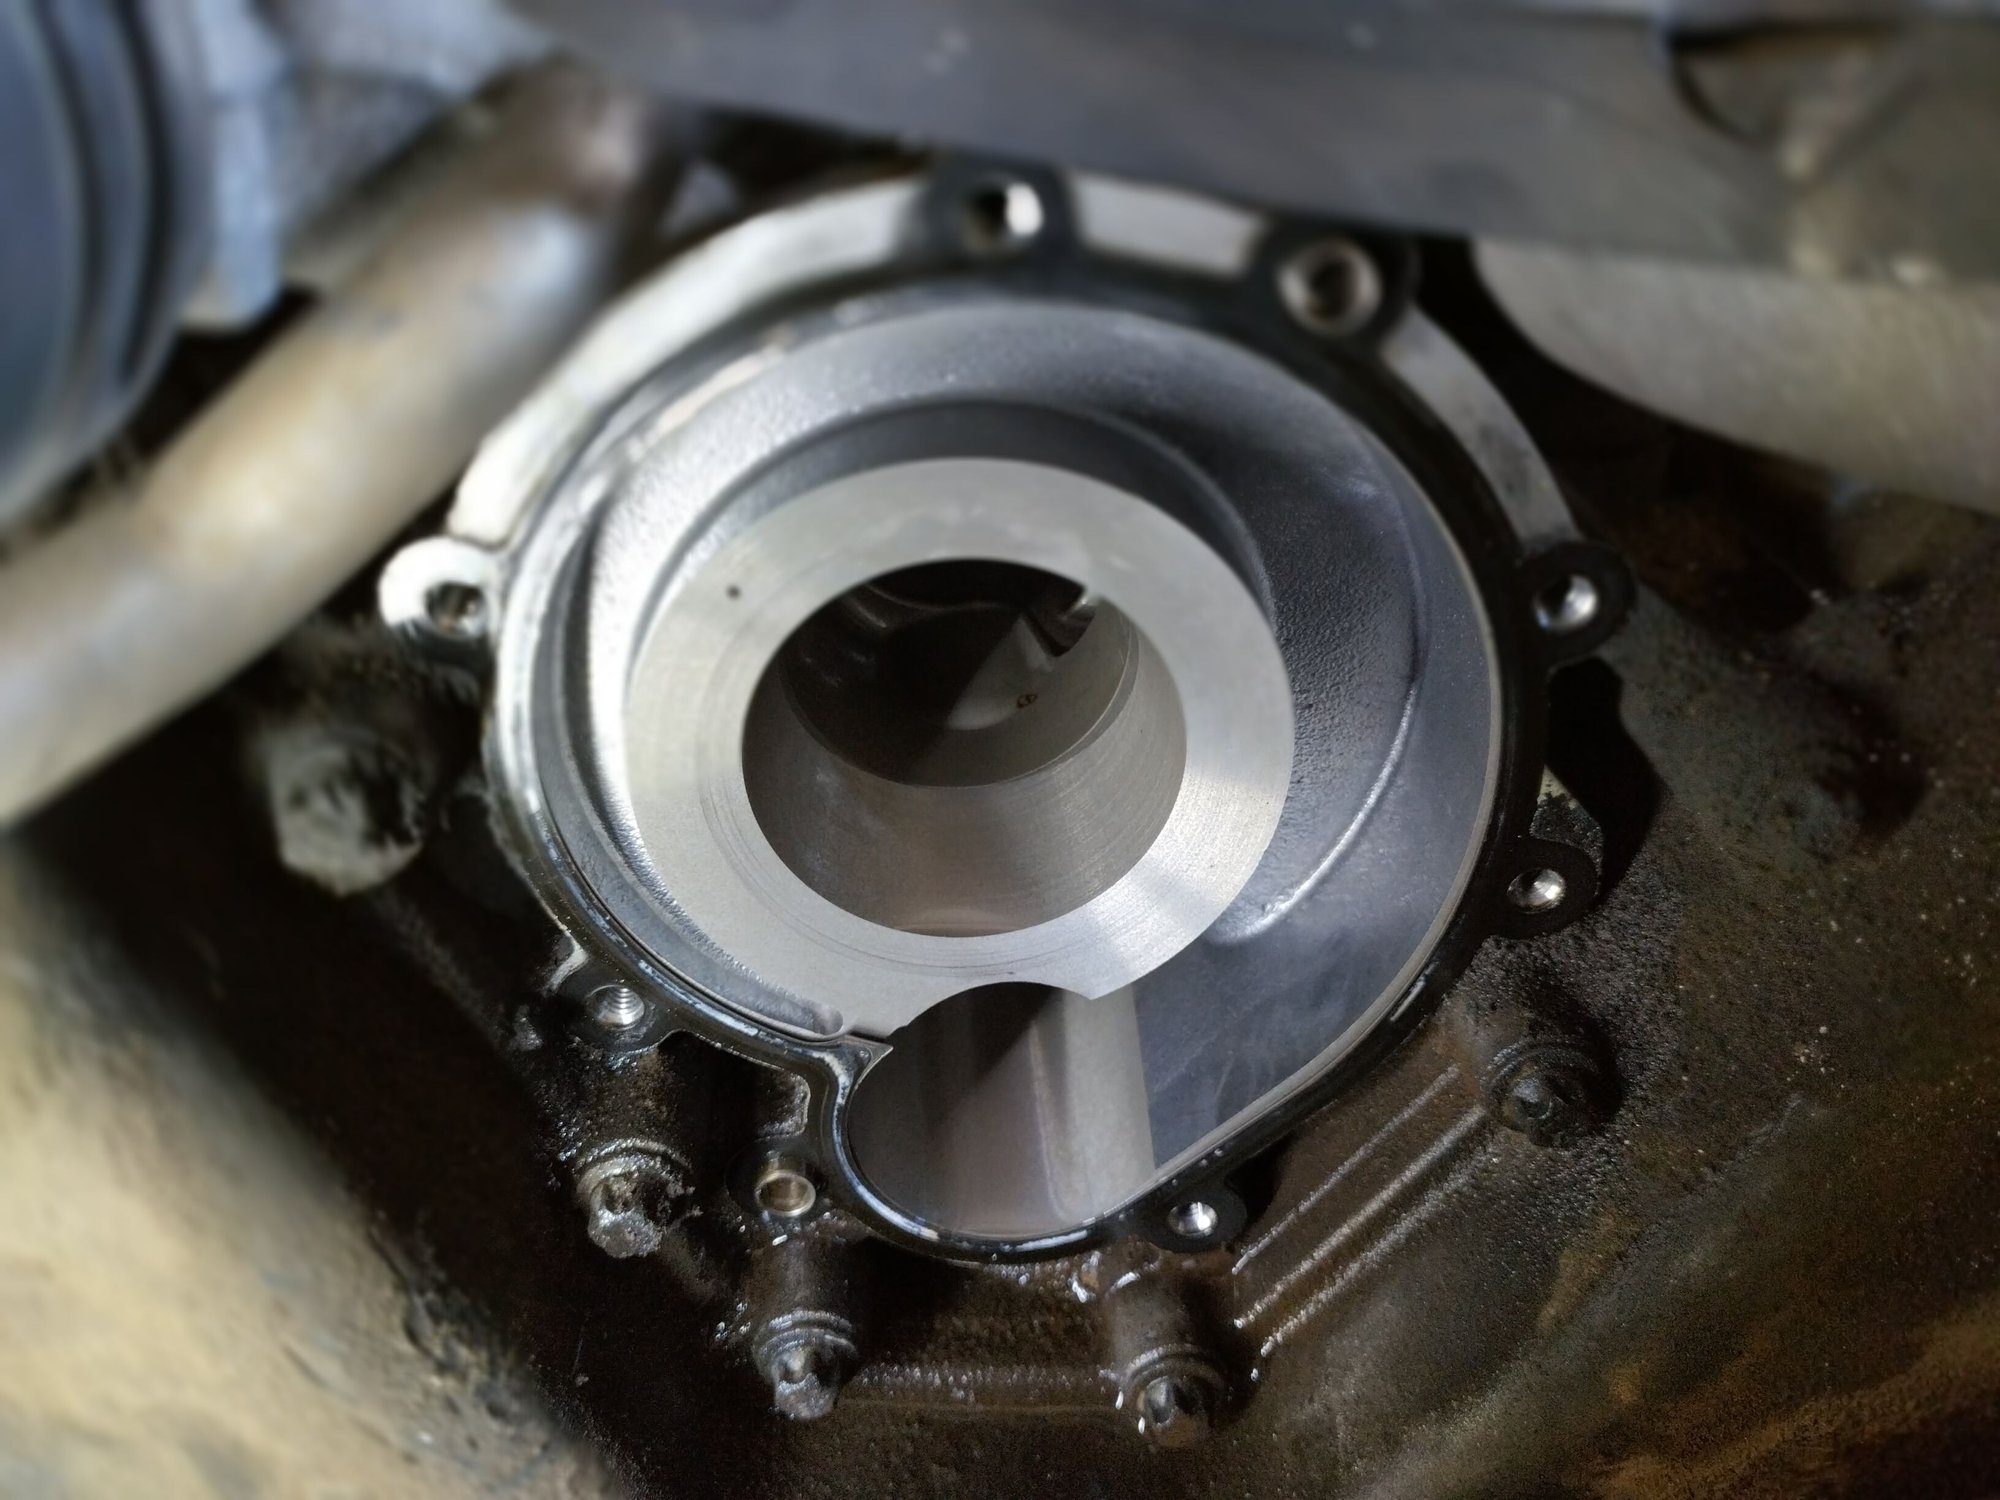
Water jacket also spotless
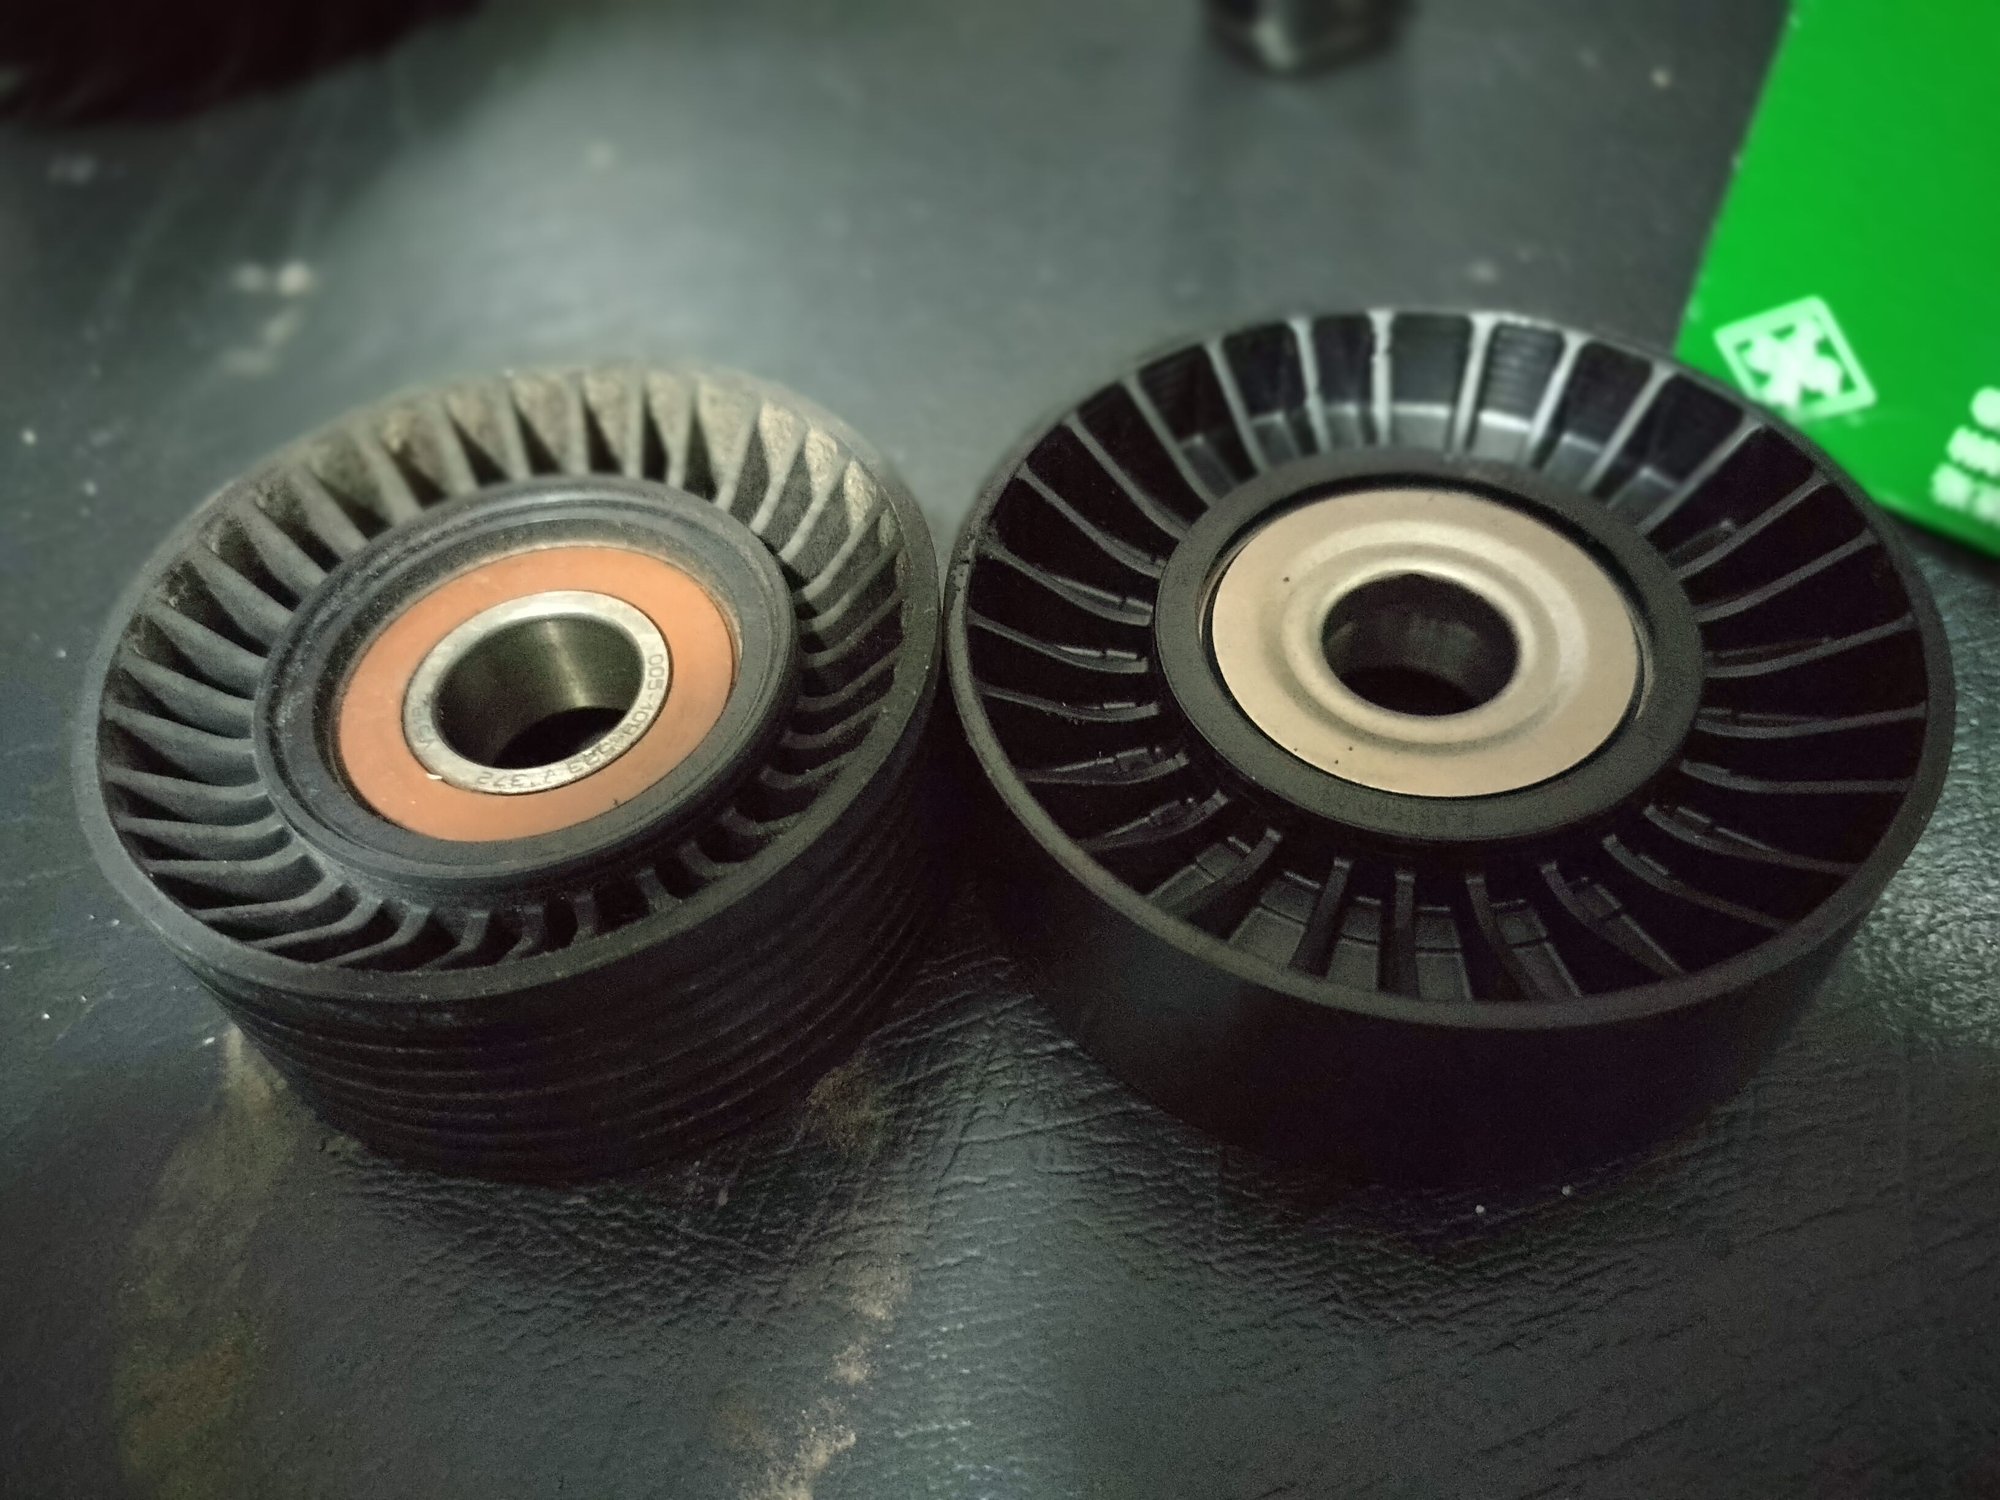
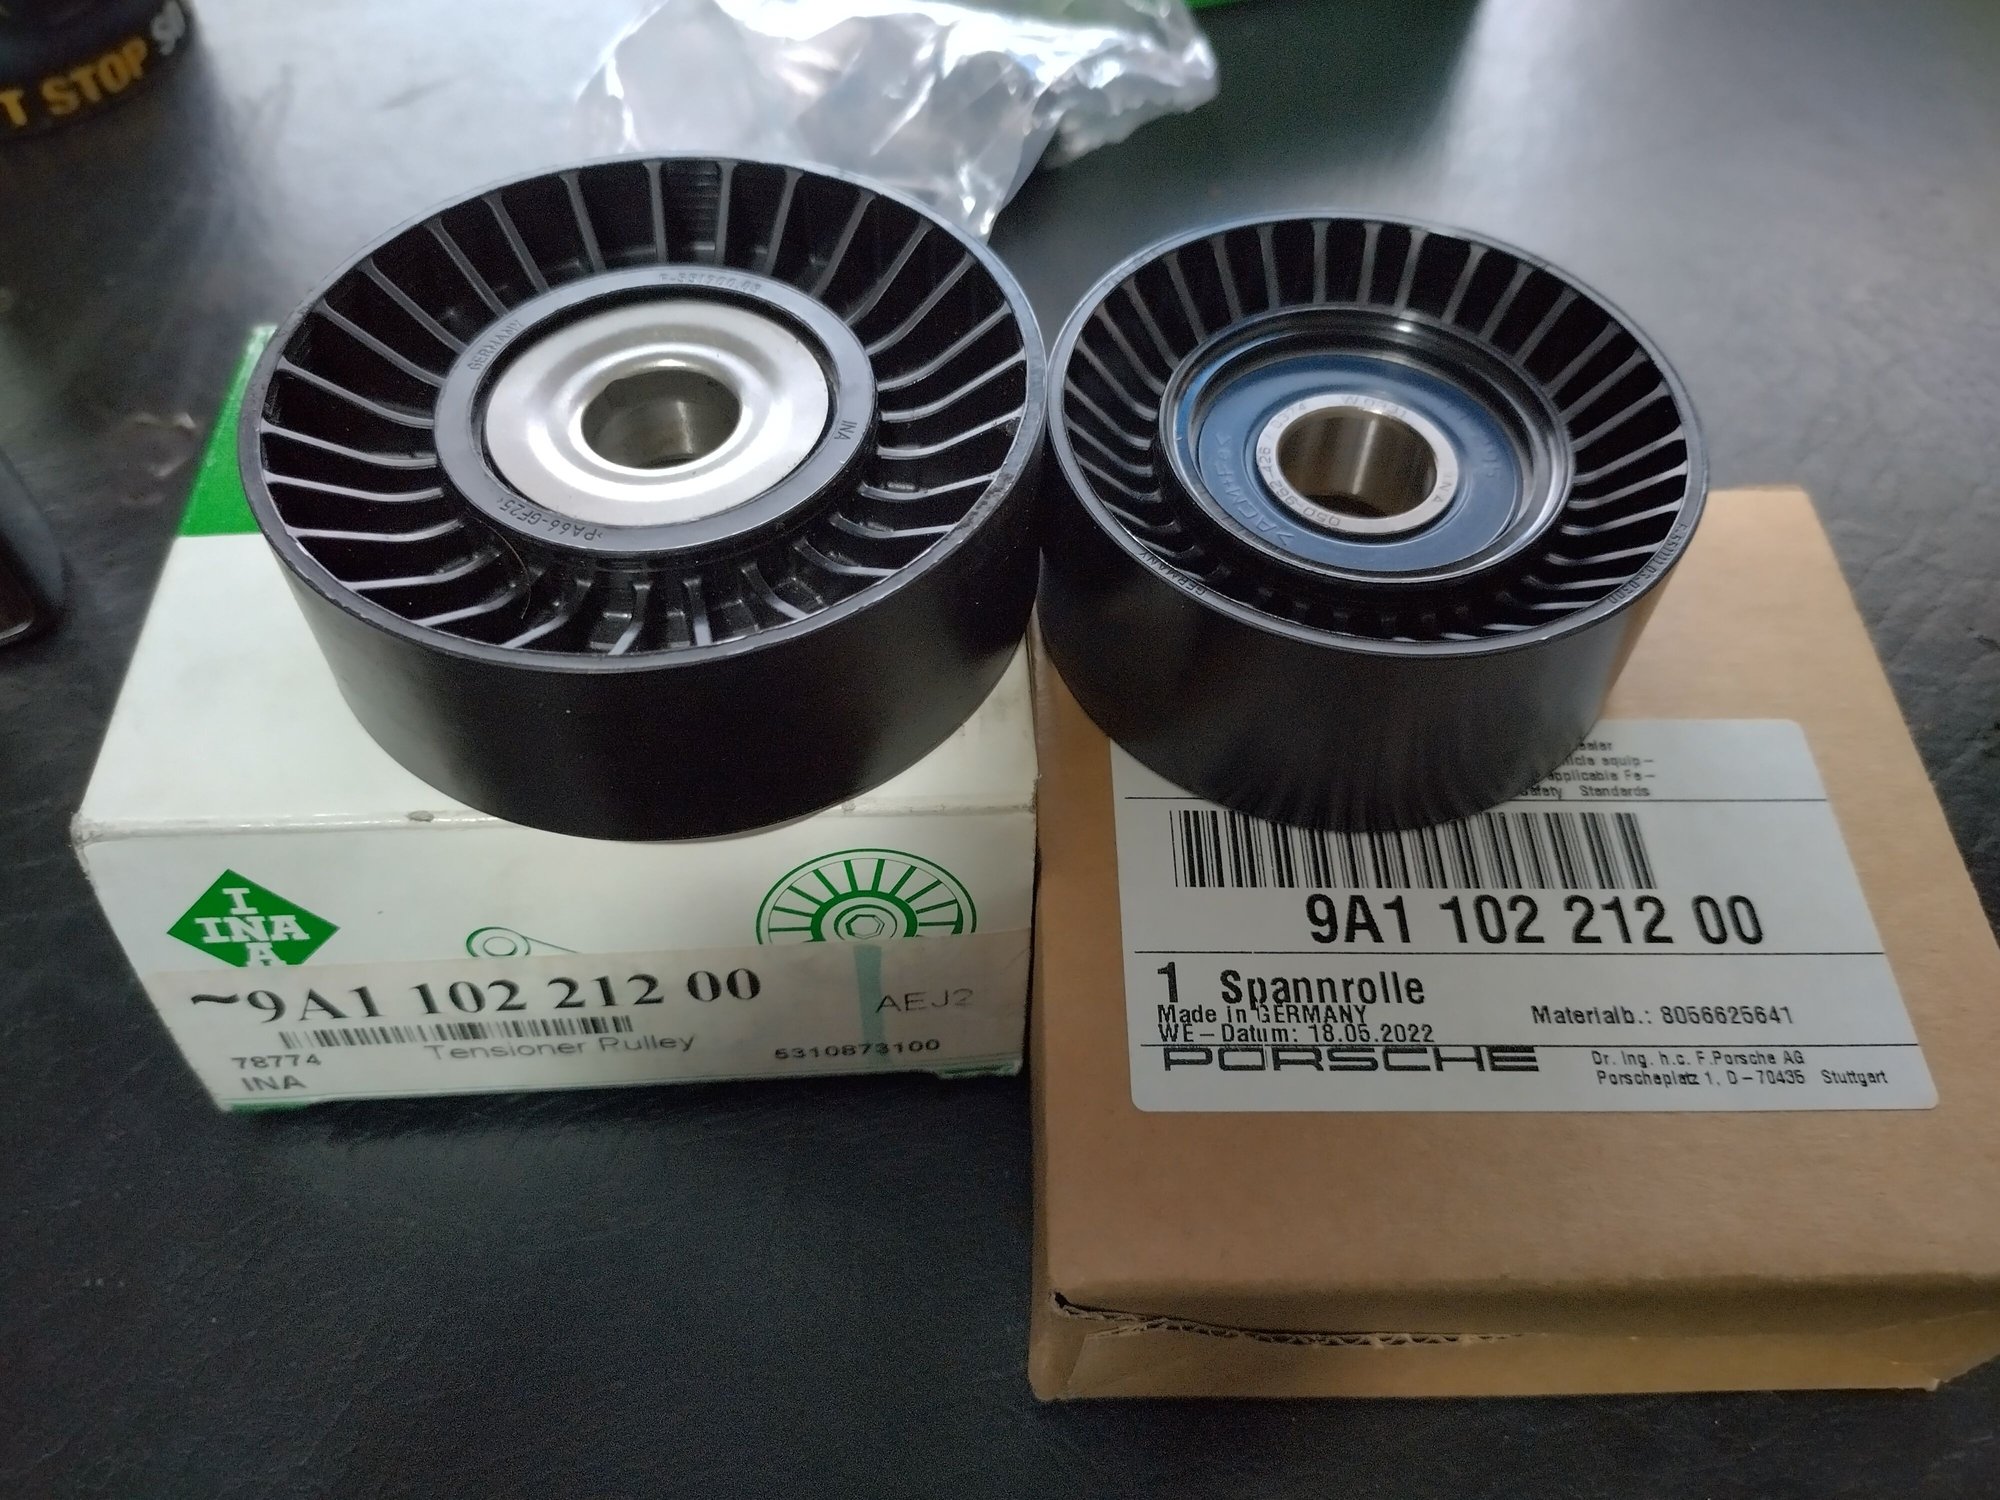
Unfortunately it looks like I was sent the wrong tensioner pulley. FCP diagrams said I needed 9A110221200 but I pulled off a 94810240200 which is bigger diameter/thinner/generally different.... Any thoughts? Will ring the P-car dealer in the morning, need to get it all back together this weekend.
I also bought this short/fat hose under the 3 cooling pipes... Is there any way to change this without removing the rear water coolant manifold?
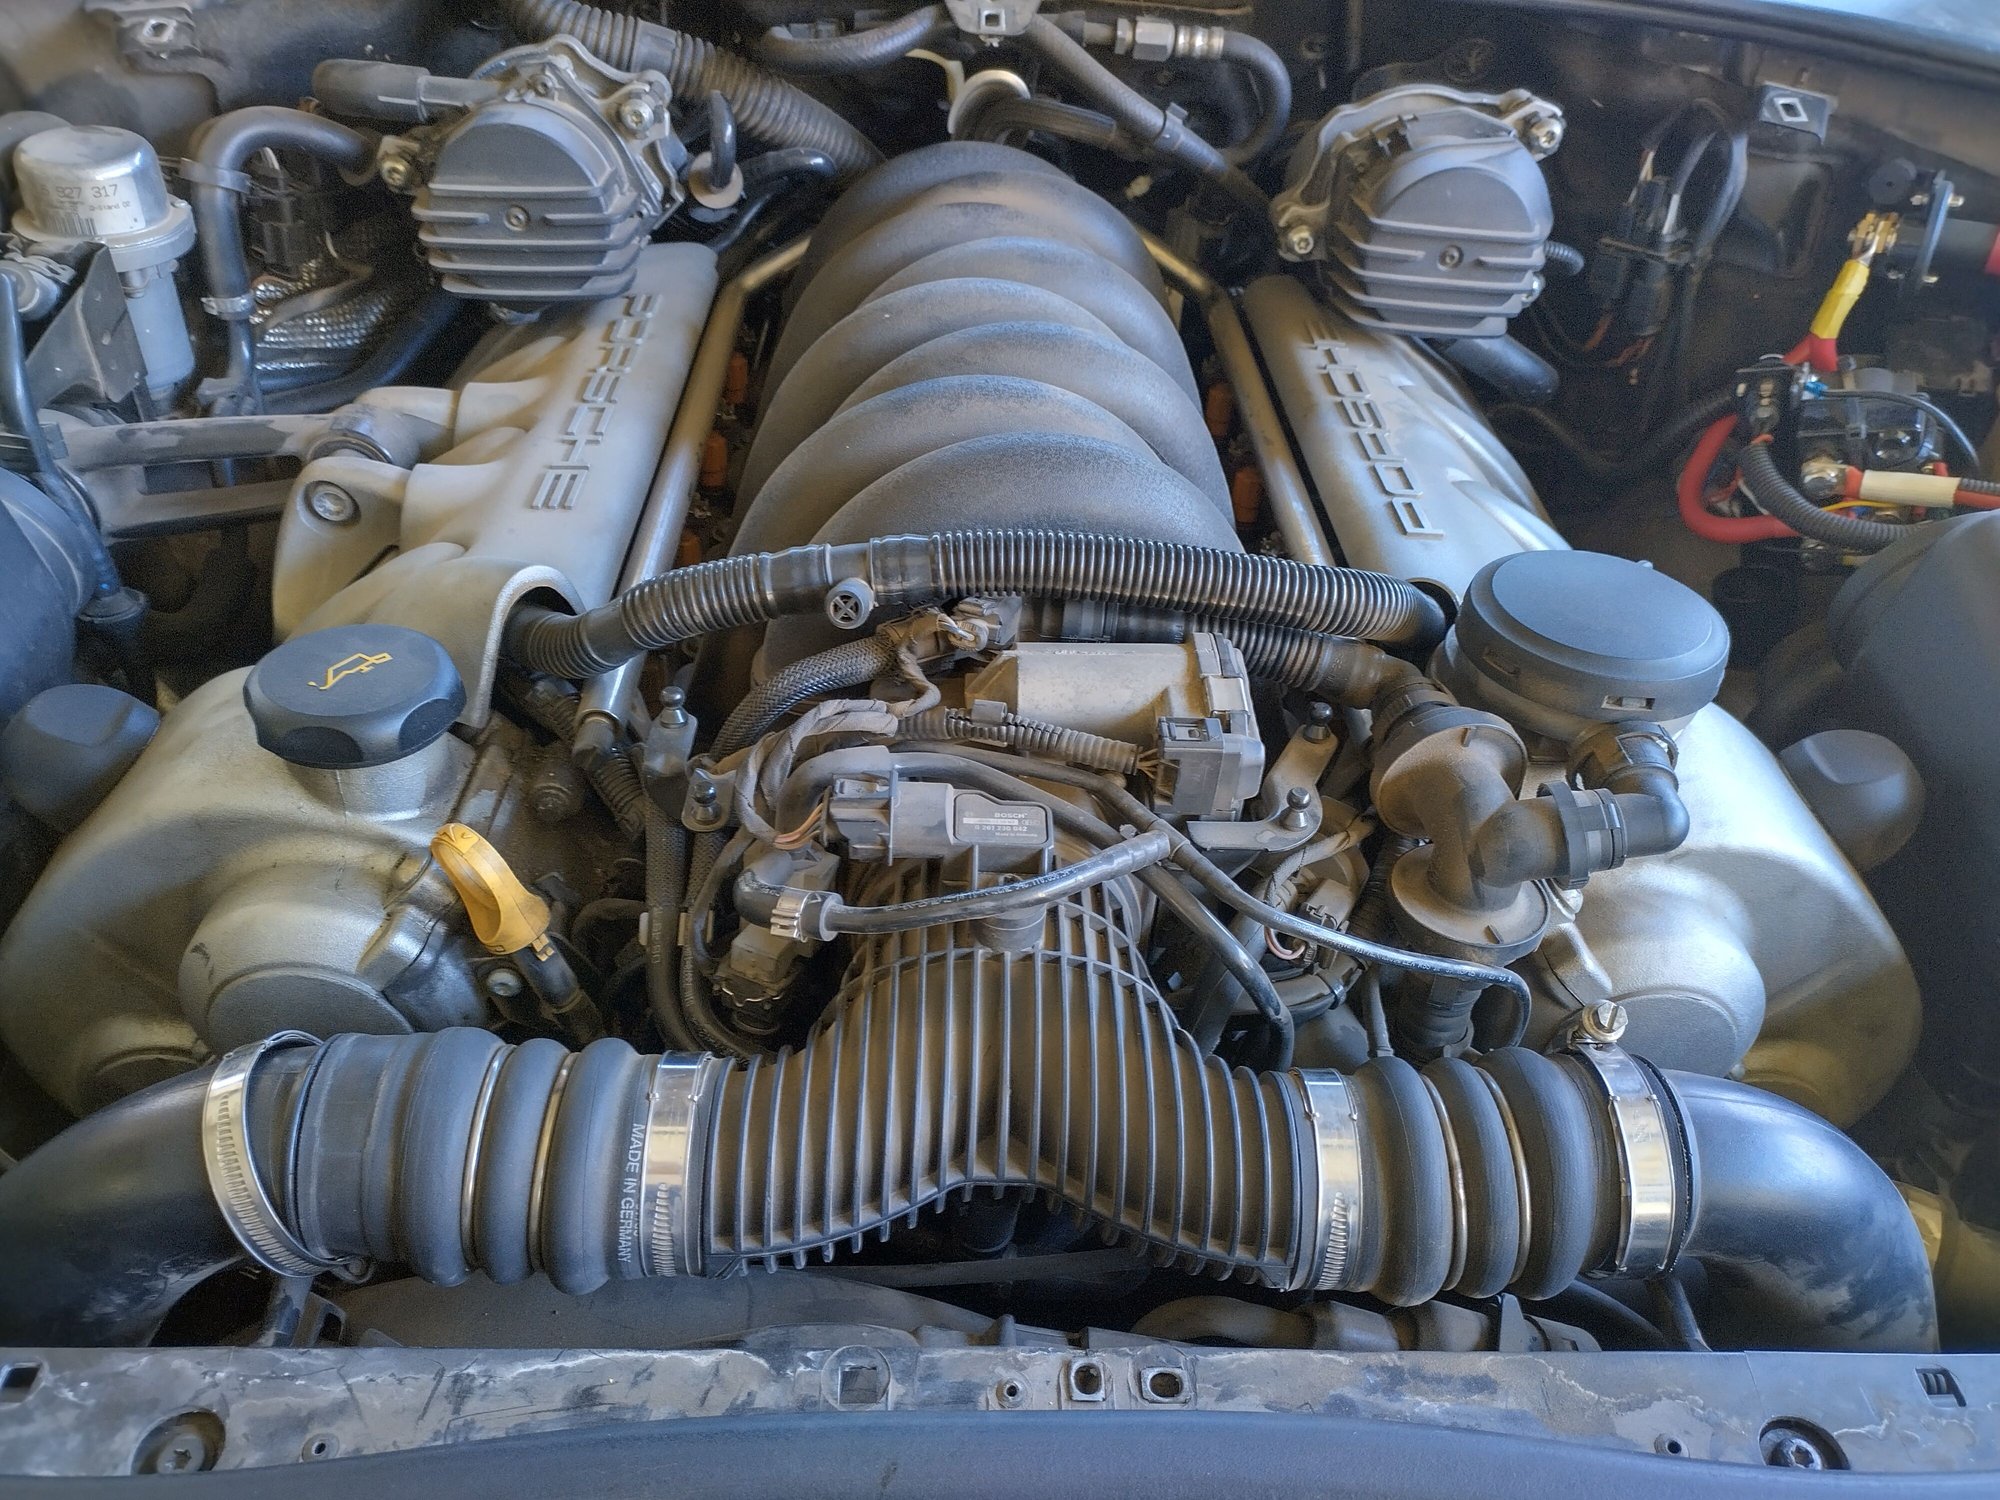
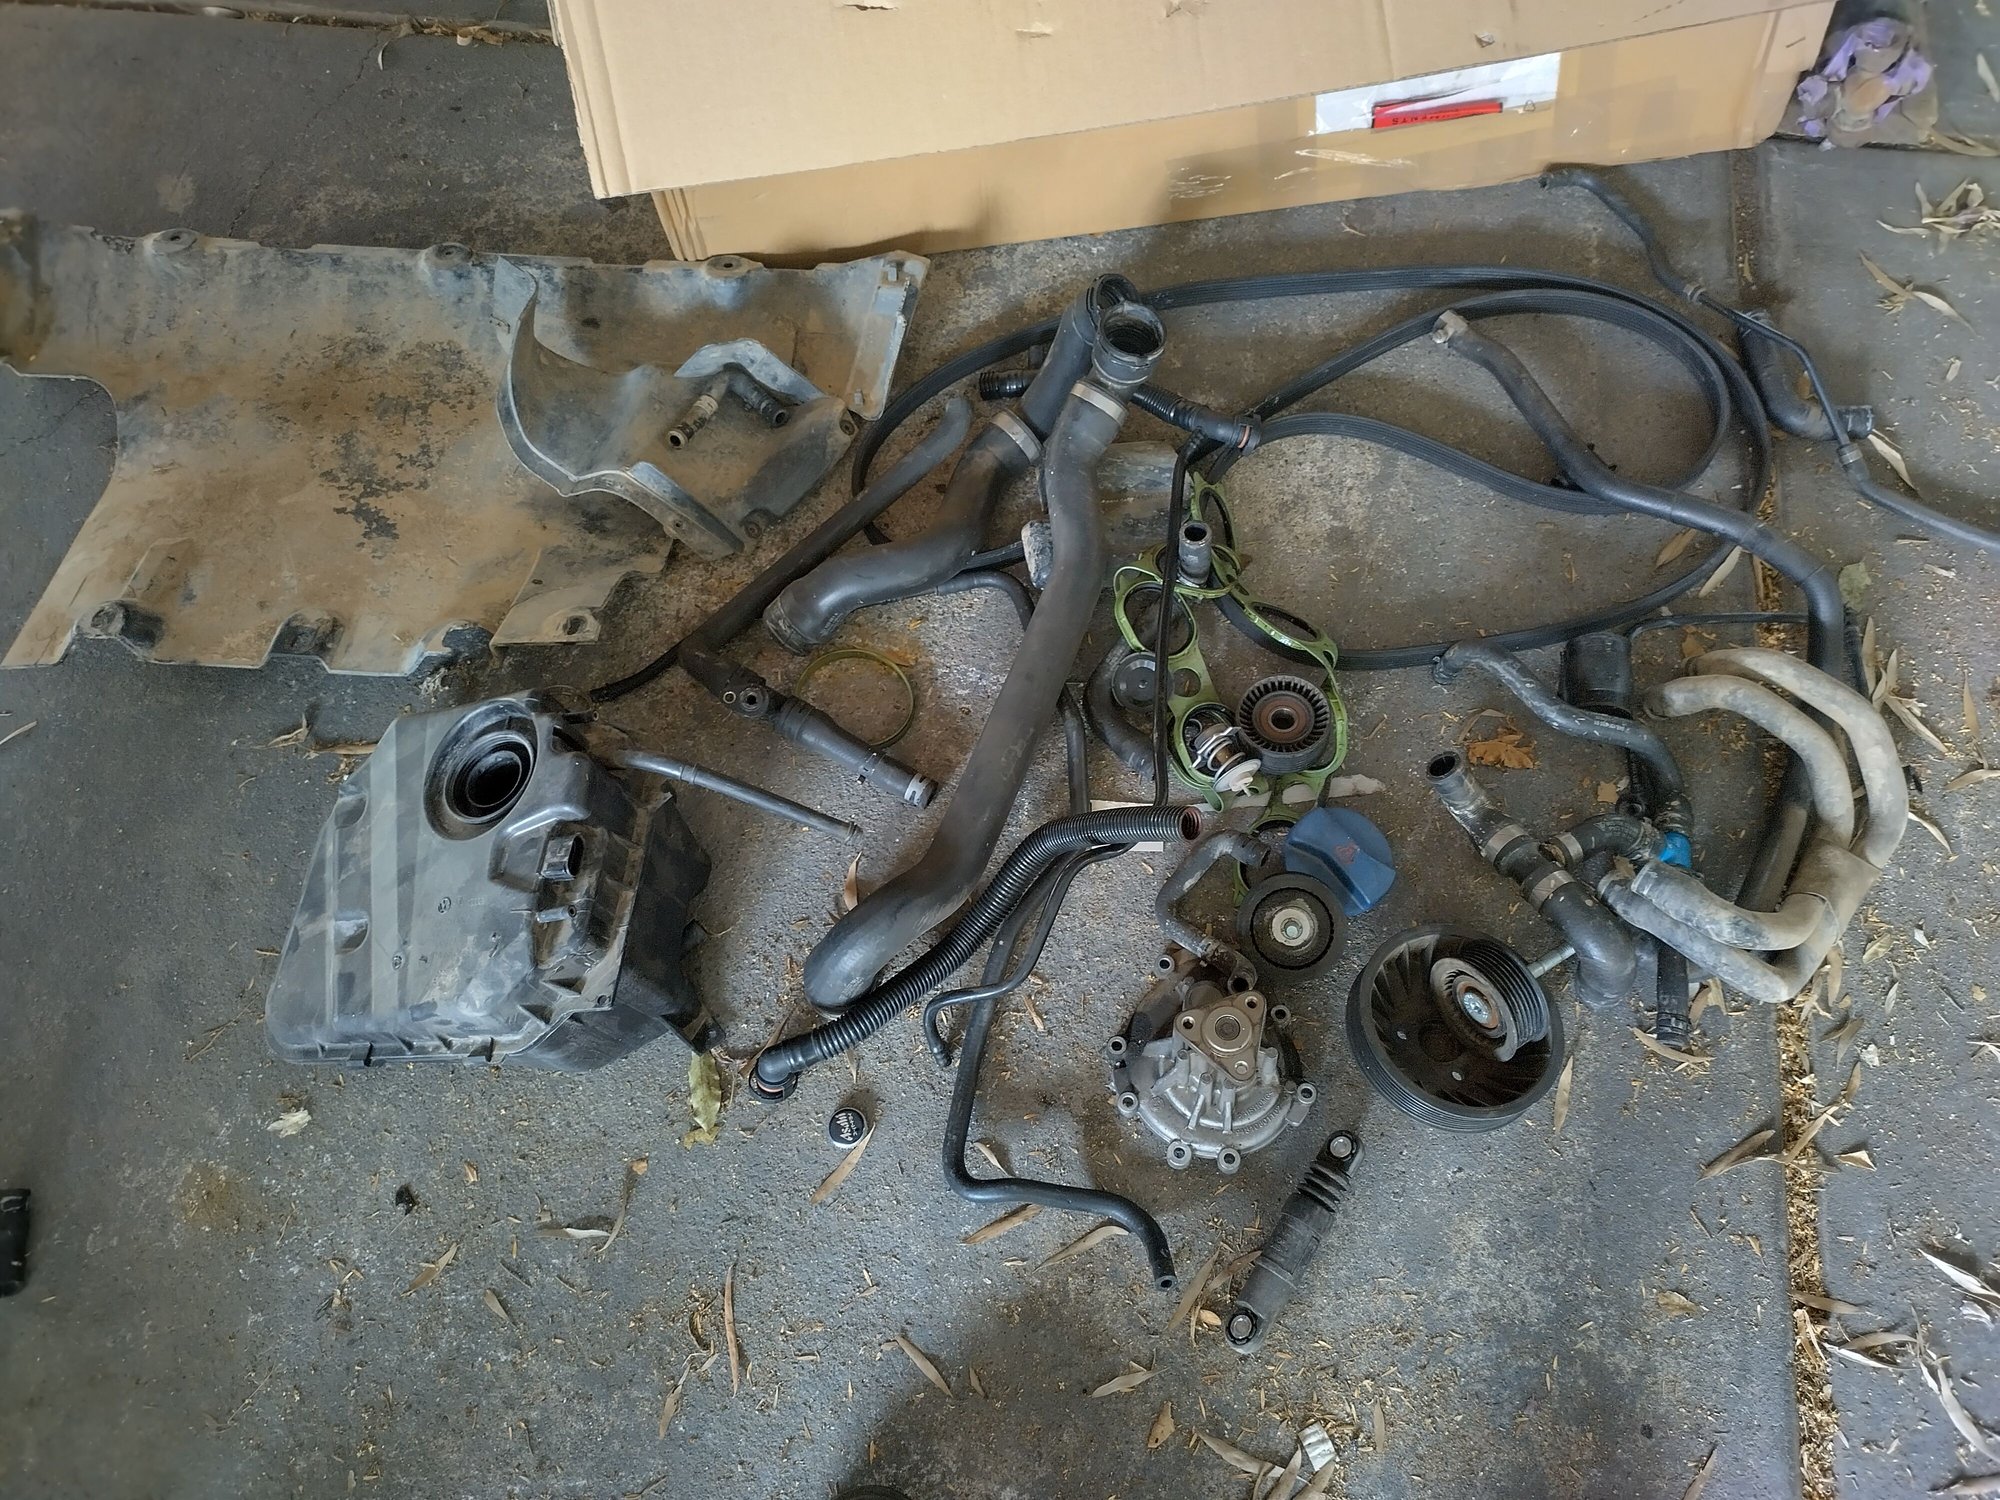
Big day!
Gee, things are tight in there but overall not too bad and not too much blood lost (yet). Hardest part was the rear intake manifold bolt, under the fuel rail. Got it eventually with a T40 bit on a long 1/4" extension.
Still have to remove the rear hoses and Tees, although it looks like someone's been here before... That blue plastic one can't be factory? Plus I found a couple non-Porsche looking hose clamps under the 3 cooling pipes.
Not factory, the factory T is brownish plastic
Not thrilled about the epoxied vacuum(?) tee that goes to the crimped fitting... What does this do?
Breather for the turbo oil drain reservoirs.
Unfortunately it looks like I was sent the wrong tensioner pulley. FCP diagrams said I needed 9A110221200 but I pulled off a 94810240200 which is bigger diameter/thinner/generally different.... Any thoughts? Will ring the P-car dealer in the morning, need to get it all back together this weekend.
Yes there are two different idler rollers on the engine.
I also bought this short/fat hose under the 3 cooling pipes... Is there any way to change this without removing the rear water coolant manifold?
Sure, clean everything up really well. Unclamp the clamps. Slide the short big hose onto the cast pipe. You may need to put some undiluted antifreeze on the outside of the pipe to let it slide more easily. Then pull the big cast pipe out of the water pump housing to remove the old hose.
Reverse that for reinstall.
Also, note the clamp that is blocking the starter bolt. When you reinstall the pipe orient the clamp body on the other side away from the starter similar to the clamp on the water manifold.. This makes it SO MUCH easier to remove the starter later without messing with the coolant pipes, if you ever need to do so.
I believe the engine needs to come out to remove the turbo drain breathers from the turbo oil containers..
I would suggest getting a metric vacuum T and replace the broken T. Here in the US a company called Bel Metric sells an appropriate steel T.
Or perhaps leave it as-is.
I think I will leave as-is.
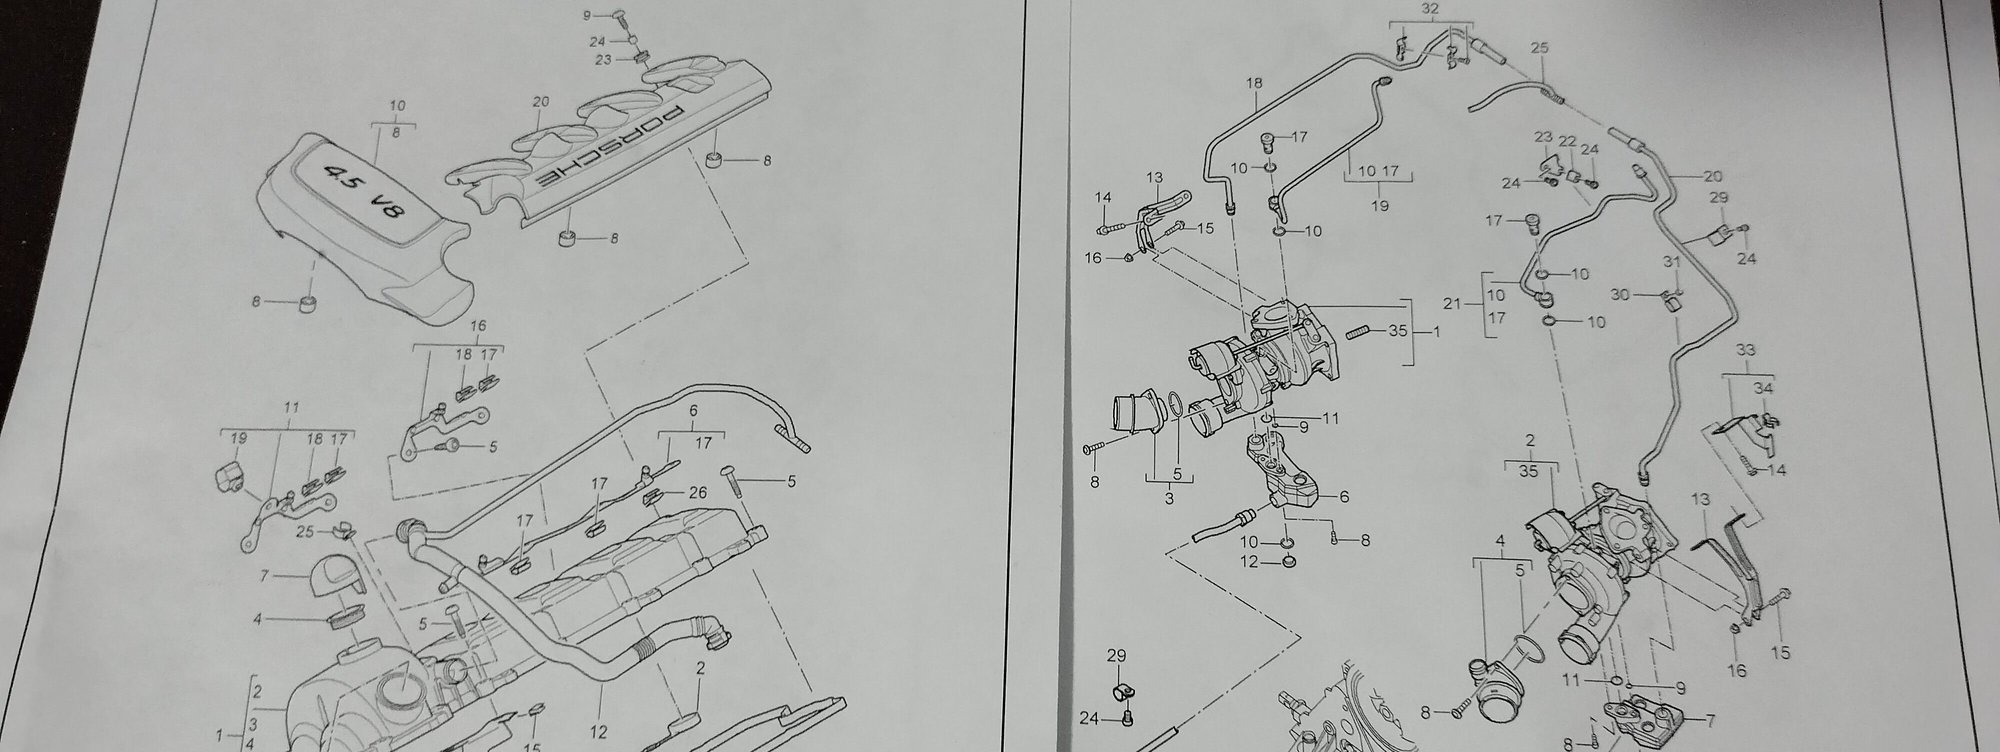
Had a good look through the PET this morning with the parts interpreter, it appears the T piece comes with the big convoluted tube that connects to the cyl heads (pcv system?). $355 for the hose/tee but no stock in my state. Looks like the hoses to the turbo drain reservoirs (these are a thing?!?) just slip onto the tee and don't need to be removed.
I could get an aftermarket tee but honestly I'm tempted to disturb as little brittle plastic back there as possible...
It's gotta be part 12/25 yeah?
Got the tensioner pulley sorted. Everything online said the number I bought supercedes the one I took off and the P dealer agreed. Figured something was amiss so I asked the P man to measure his pulley, it matched what I pulled off the car but not what i bought. Worked out that the one from online had been incorrectly boxed, it's a different pulley altogether than what the part number on the box says
$21 on the left, $245 on the right. And they both have INA moulded into the plastic.
Family time all day today so hopefully I get a good run at reassembly tomorrow!
Yes you're right it's part 25/12 in the diagrams. Since mine was broken where yours is also broken I replaced the T fitting and used a bit of fuel hose to connect the broken end of 12/25 to the new T. It's been working well. I did this with the engine out of the car.
The "T I used is https://belmetric.com/rubber-hose-re...VC9-10%2F7-8TM
Slow progress. Oil cooler hoses were a real bitch to get off. Alternator and left turbo hoses done without too much grief. Plastic alternator neck was also wrong, the one I have points straight out and the new one does a 90� turn. Short fat hose in the valley done. Instead of removing the big pipe I just rotated it enough to clear the barn on the water manifold.
Not sure whether to pull the starter and slap some brushes in it. It's definitely been out before. Socket witness marks on the bolts, plus the body is all black like it's been painted. All pics online show them half black half silver. I'd say it's been out and reco'd, but when? 130k miles on the clock.
Still stuck removing the last couple hose clamps on the coolant tee's. Not real fun. Also managed to break another part of the hose with the epoxied Tee so will order the whole thing this morning.
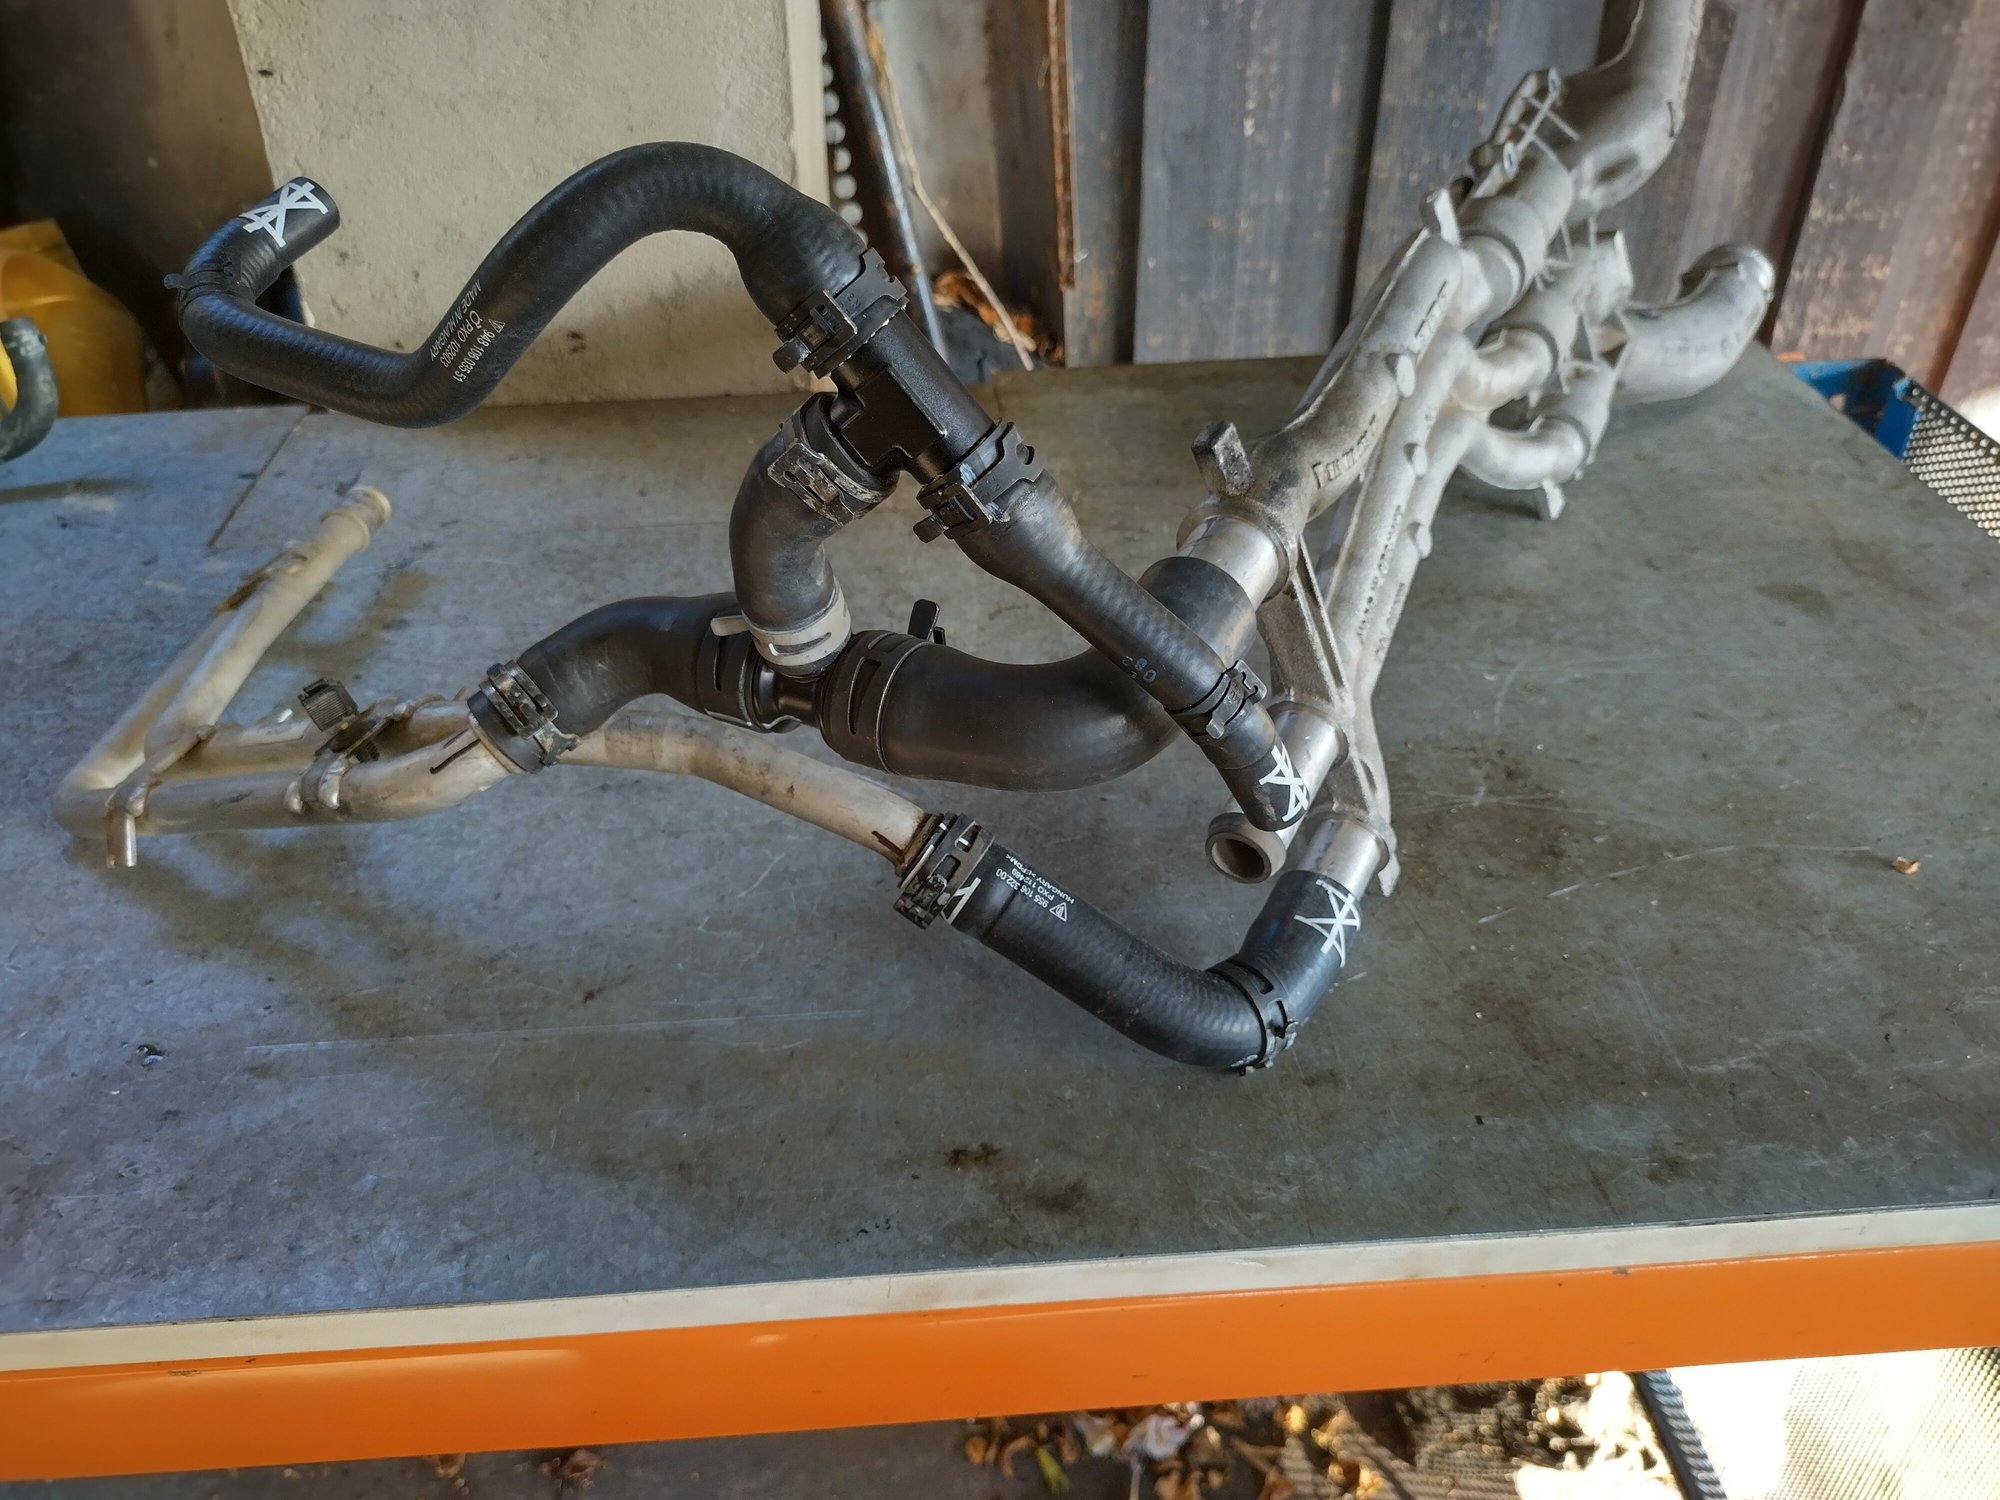
Got the Tee's all done after work last night. Because I was also changing the twin hose that feeds coolant to the cabin I pulled the Tee's and hard pipes all out from underneath as an assembly. This allowed me to get to the difficult clamps on the bench and meant I could get the orientation of all the hoses perfect before reinstalling the clamps. I used the cast cooling pipes as a jig to get everything spot on.
Reinstalling the assembly from underneath was tricky but once I removed the transmission shifter cable heat shield and popped the cable off the trans itself I was able to squeeze everything past, just. Then the only difficult part was the hose clamp onto the turbo hardline.
Not sure if this process would work on a LHD car with steering gear in the way but it seemed like the easy way for me.
Used the Rock Auto hose with built-in aluminium Tee, then a generic 3/4" aluminium Tee for the other.
So now all the rear hoses are done, front hoses done, belts, pulleys etc too. Just coolant pipes, manifold etc to go. On the home straight now! Lucky, I'm exhausted! Been a big job...
Continuing with the trend of spending time/money on this car I did a bunch of maintenance this weekend. 222km on the clock.
Front & rear diff oilTransfer case oilEngine oil & filterEngine air filters
Cabin air filter
ATF and PS fluid still on the to do list, but will leave it for after the big trip in case I F either one up.
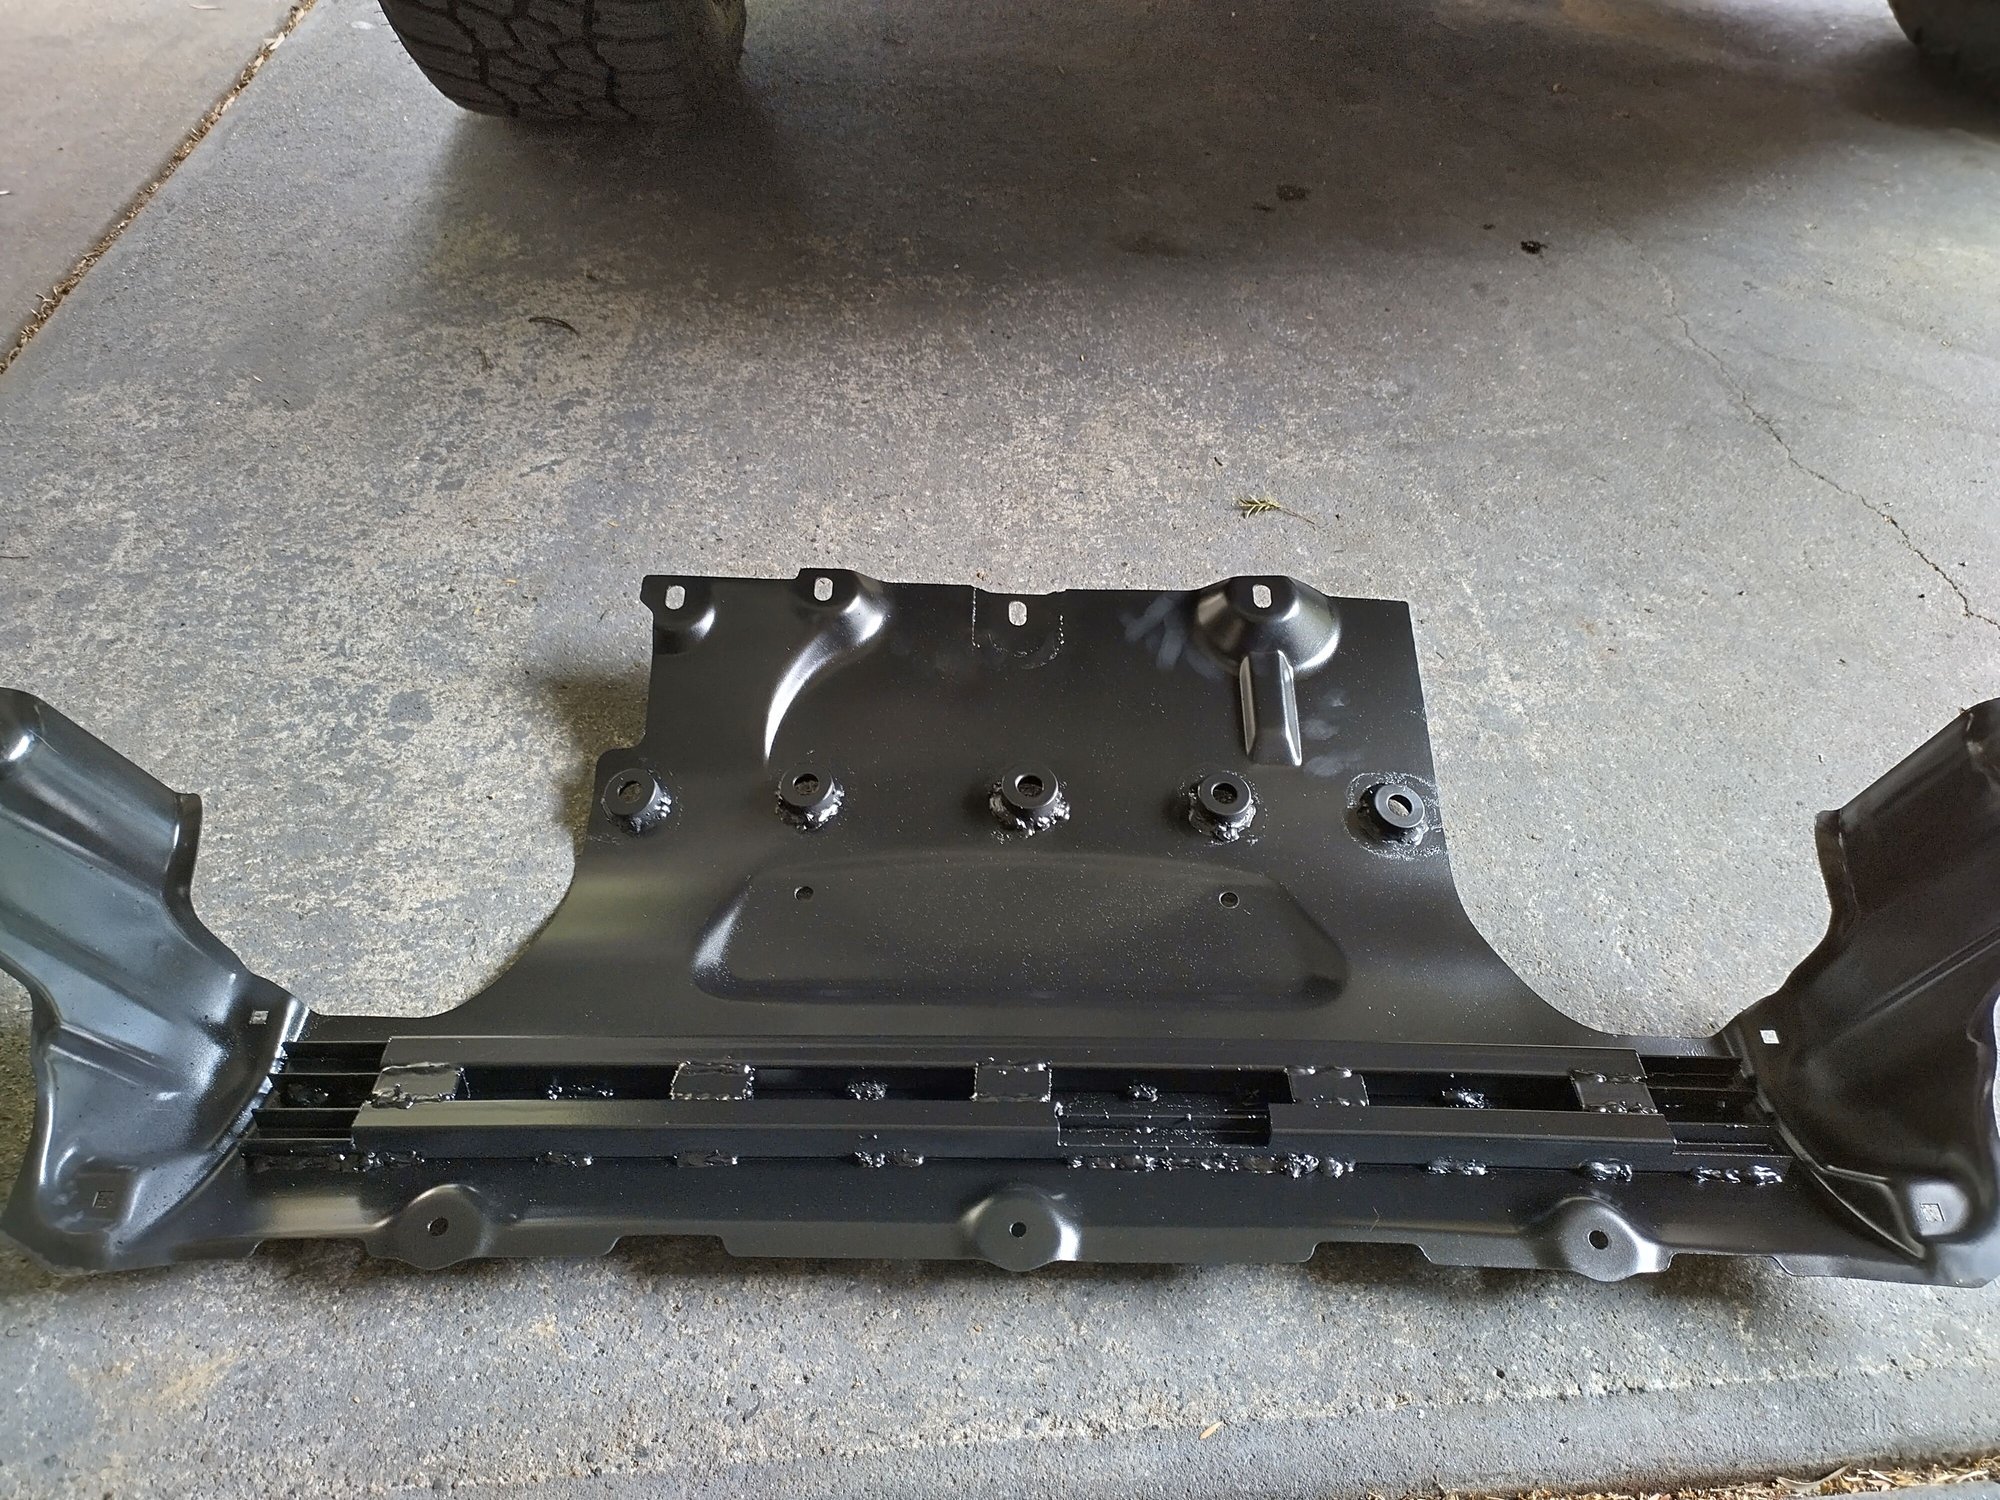
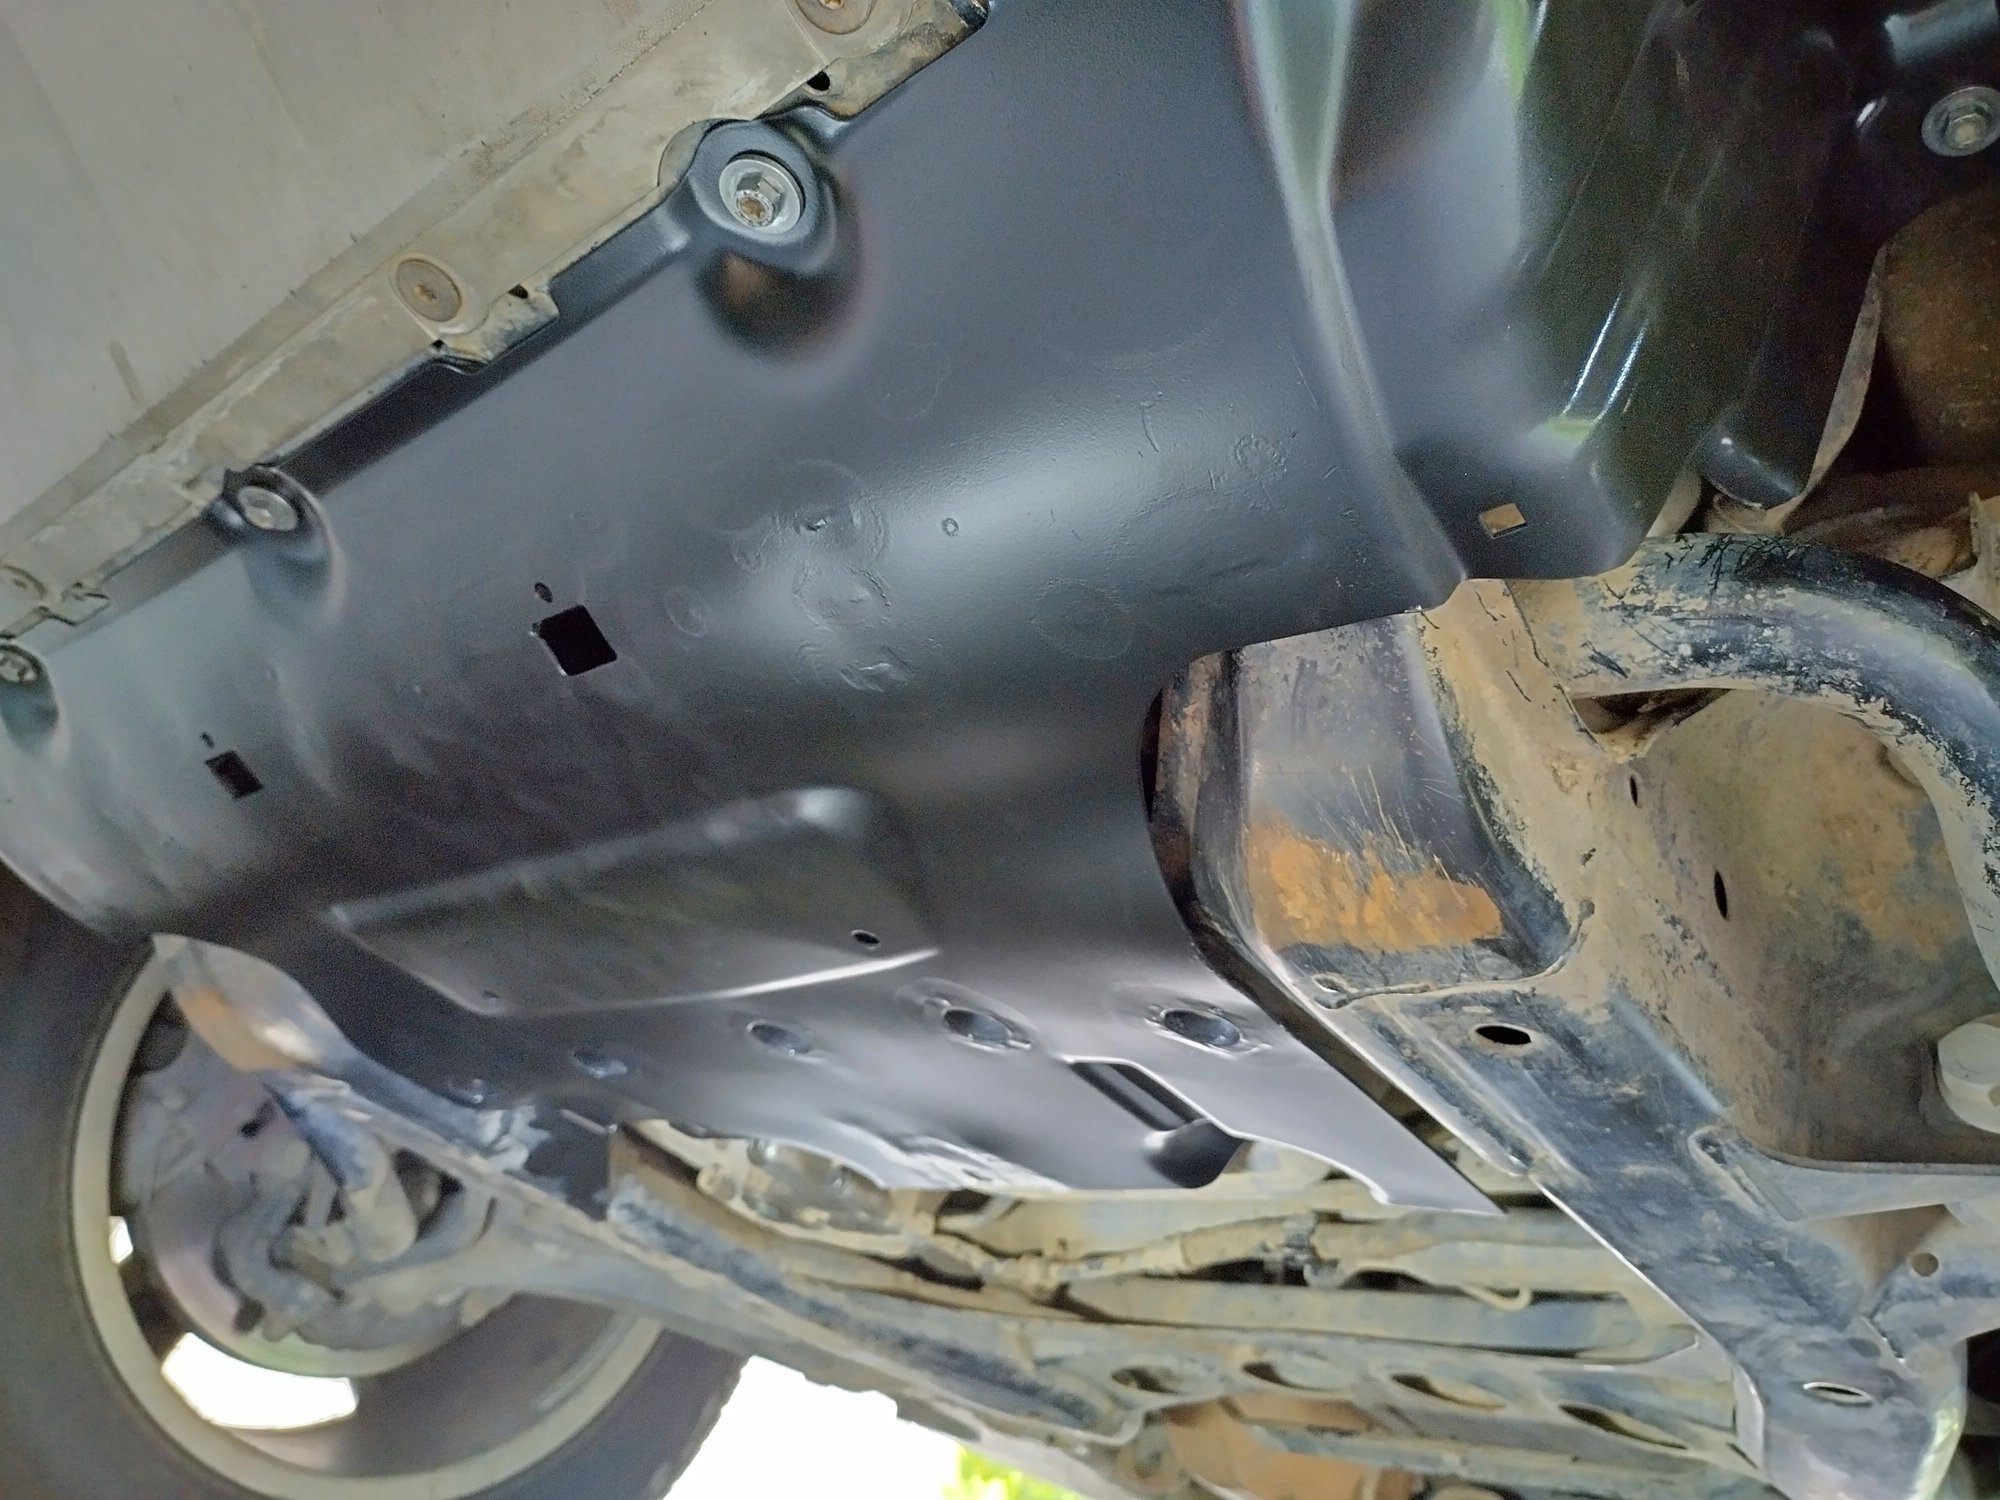
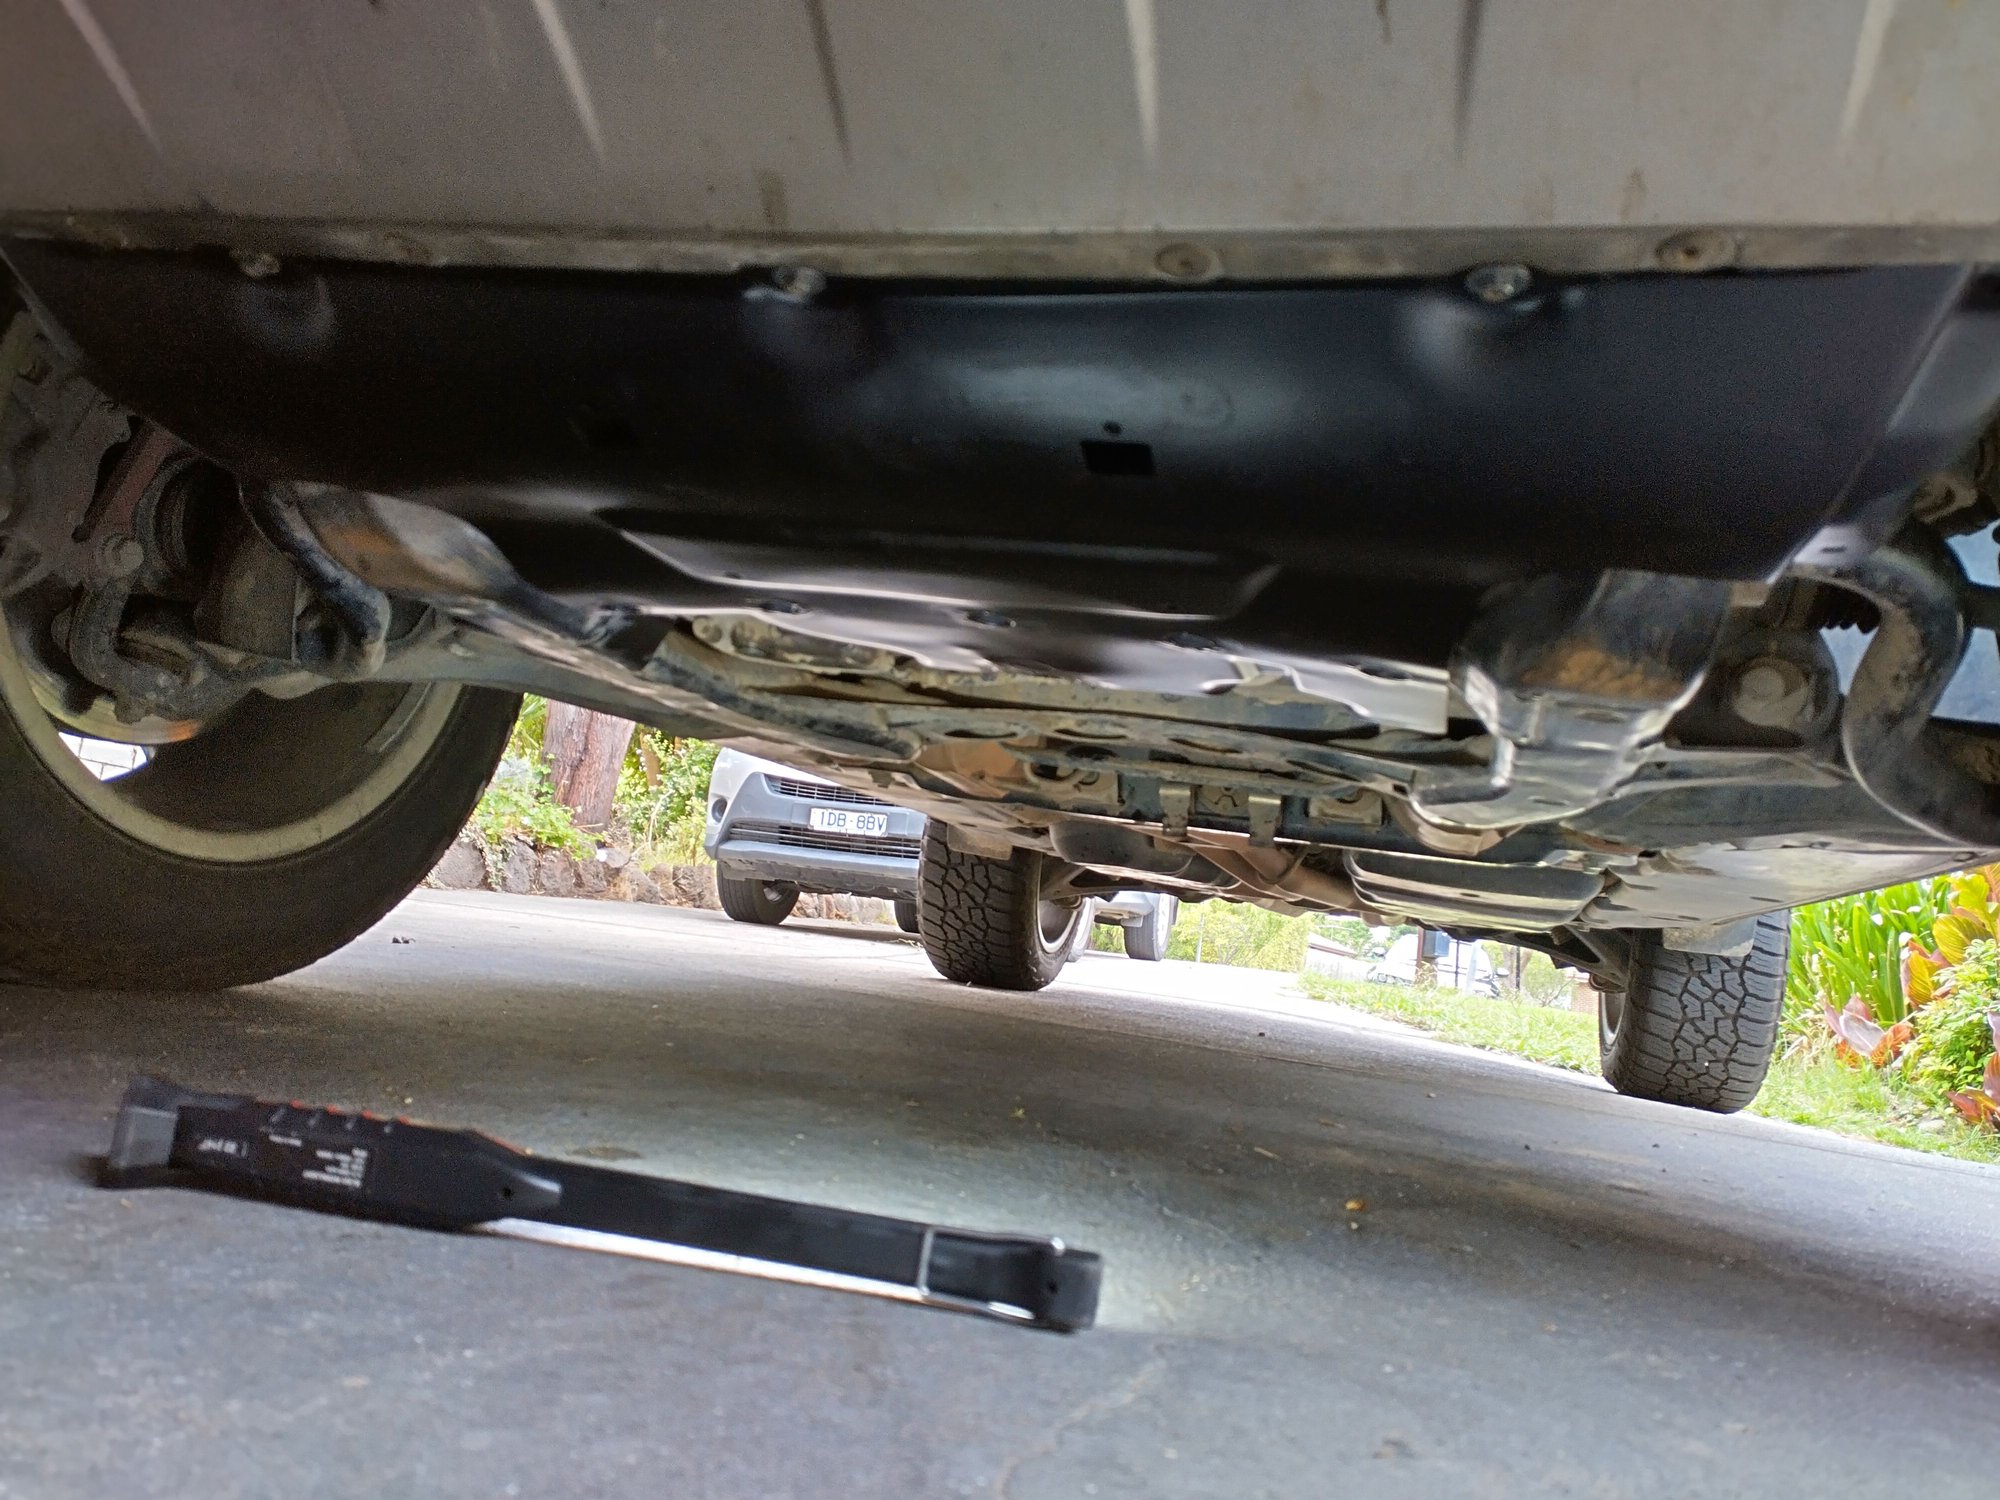
I also finished modifying the Transsiberia underbody protection piece that I bought. It is only 1.6mm steel and pretty flimsy, easy to flex it with your hand when installed.
My thought was to support it back to the chassis in a few more places to help transfer the load.
5 new recessed bolt holes across the back which go into M6 riv-nuts added to the K frame.
RHS bars at the front pick up on the aluminium swaybar bush/bracket/ski things. Clearanced to allow extra room to the oil filter in case of deflection (unlikely).
I also cut/bashed/welded the middle rear bolt hole flat because I didn't like how close it was to the oil pan. When I make the trans/t-case panel it will lock in with this section anyway.
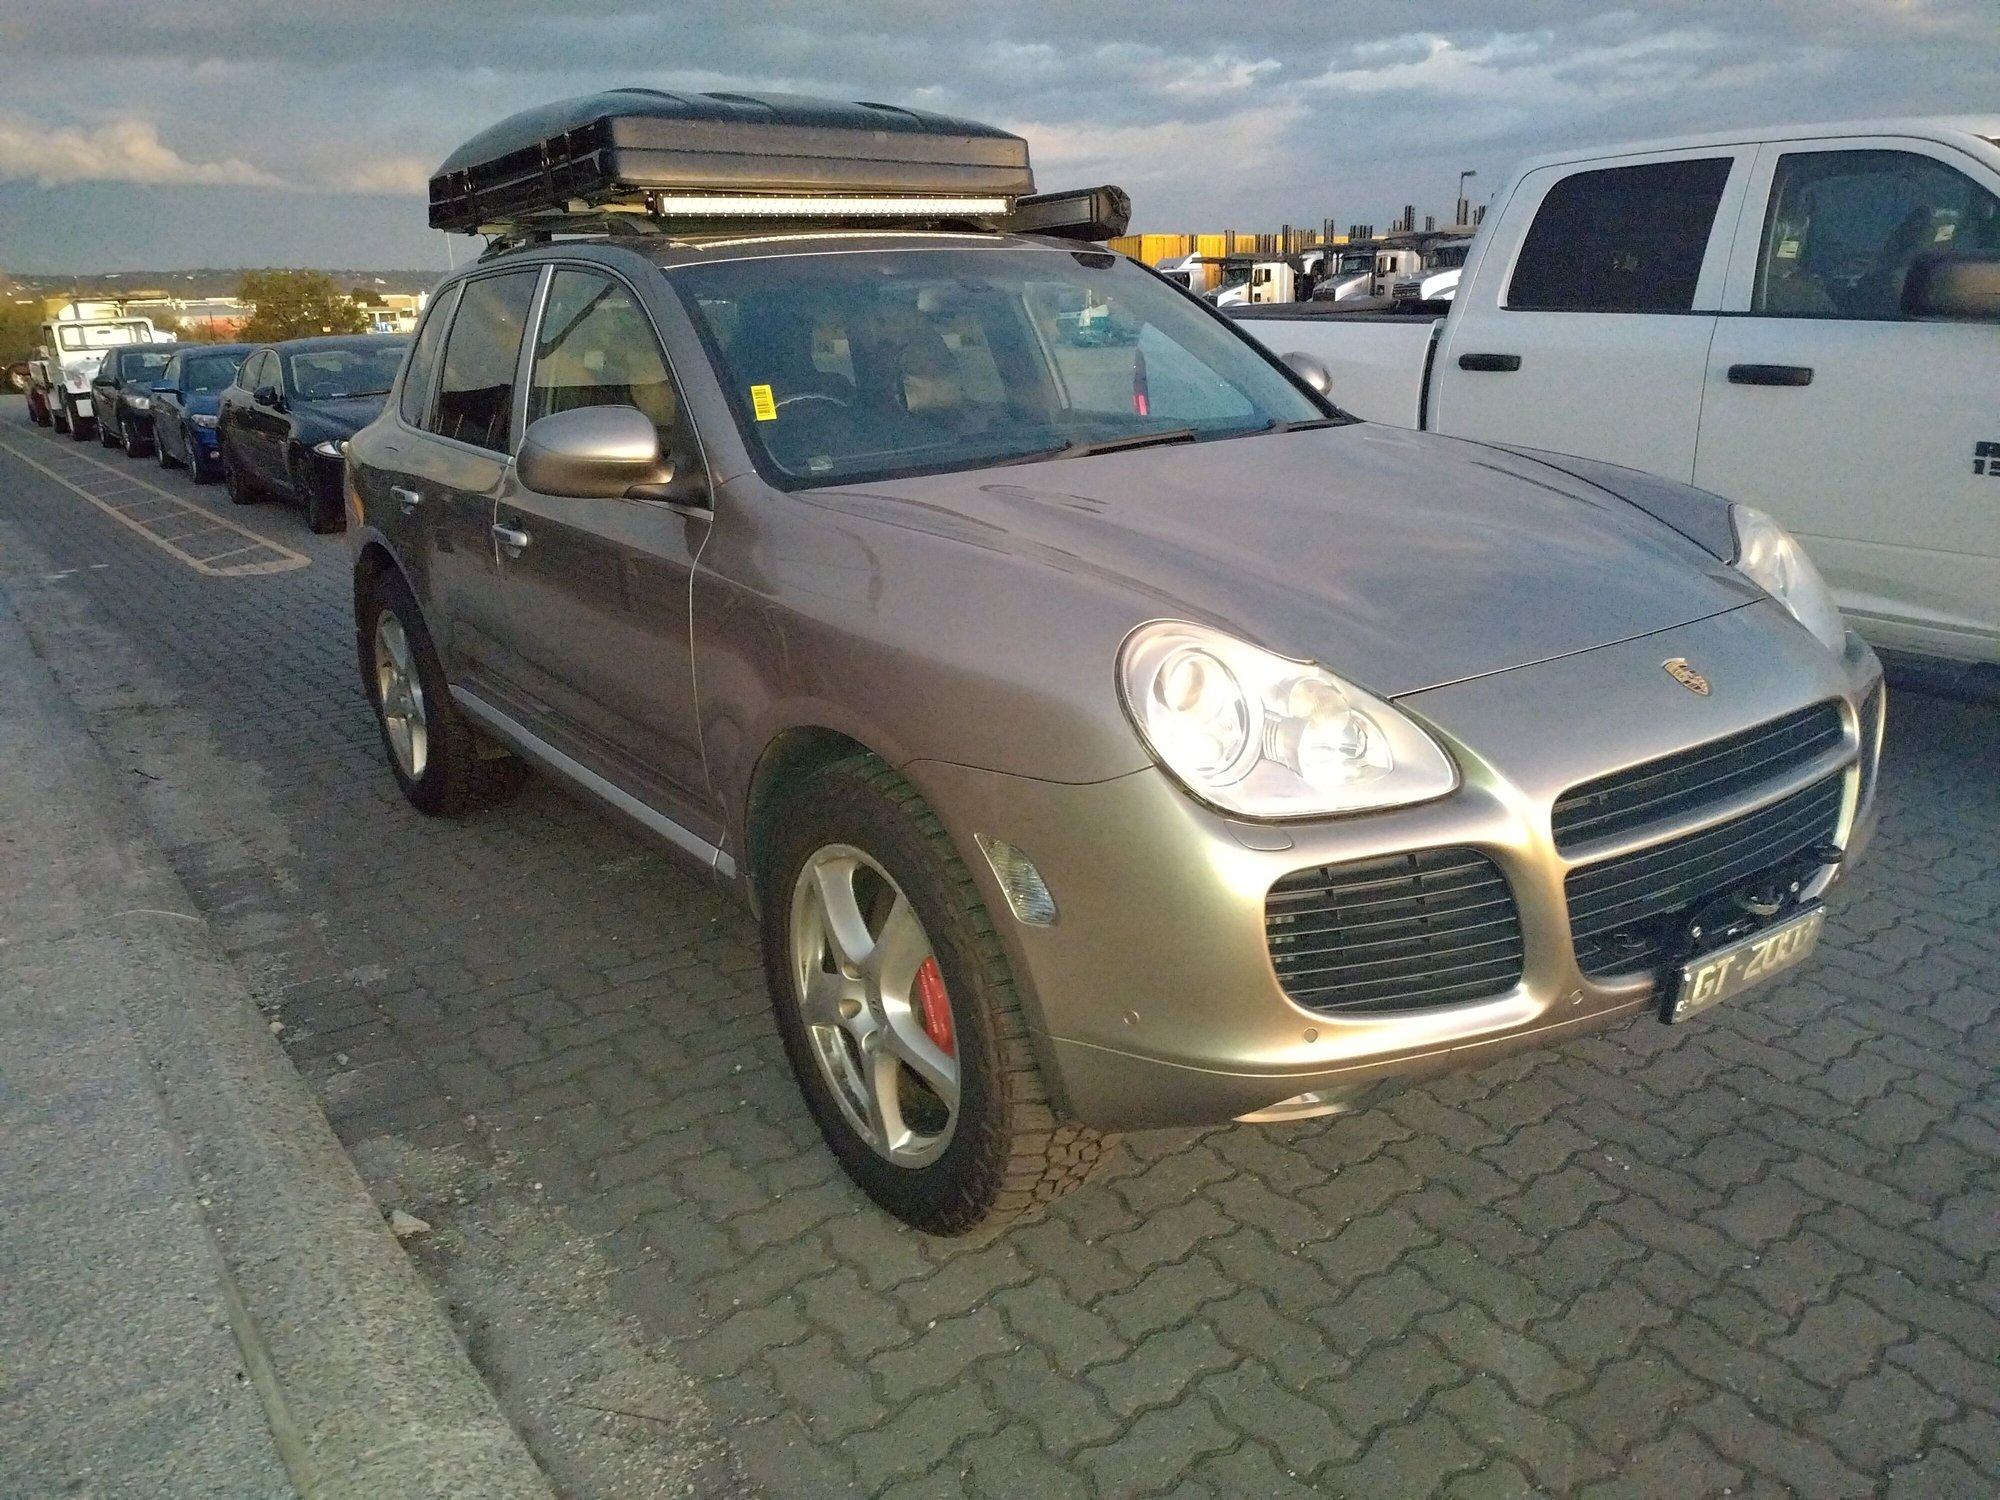
Well today the Cayenne leaves for the first stage of our next adventure. I'm having it shipped from Melbourne all the way across Australia to Perth where we will collect it and spend a month driving up the west coast.
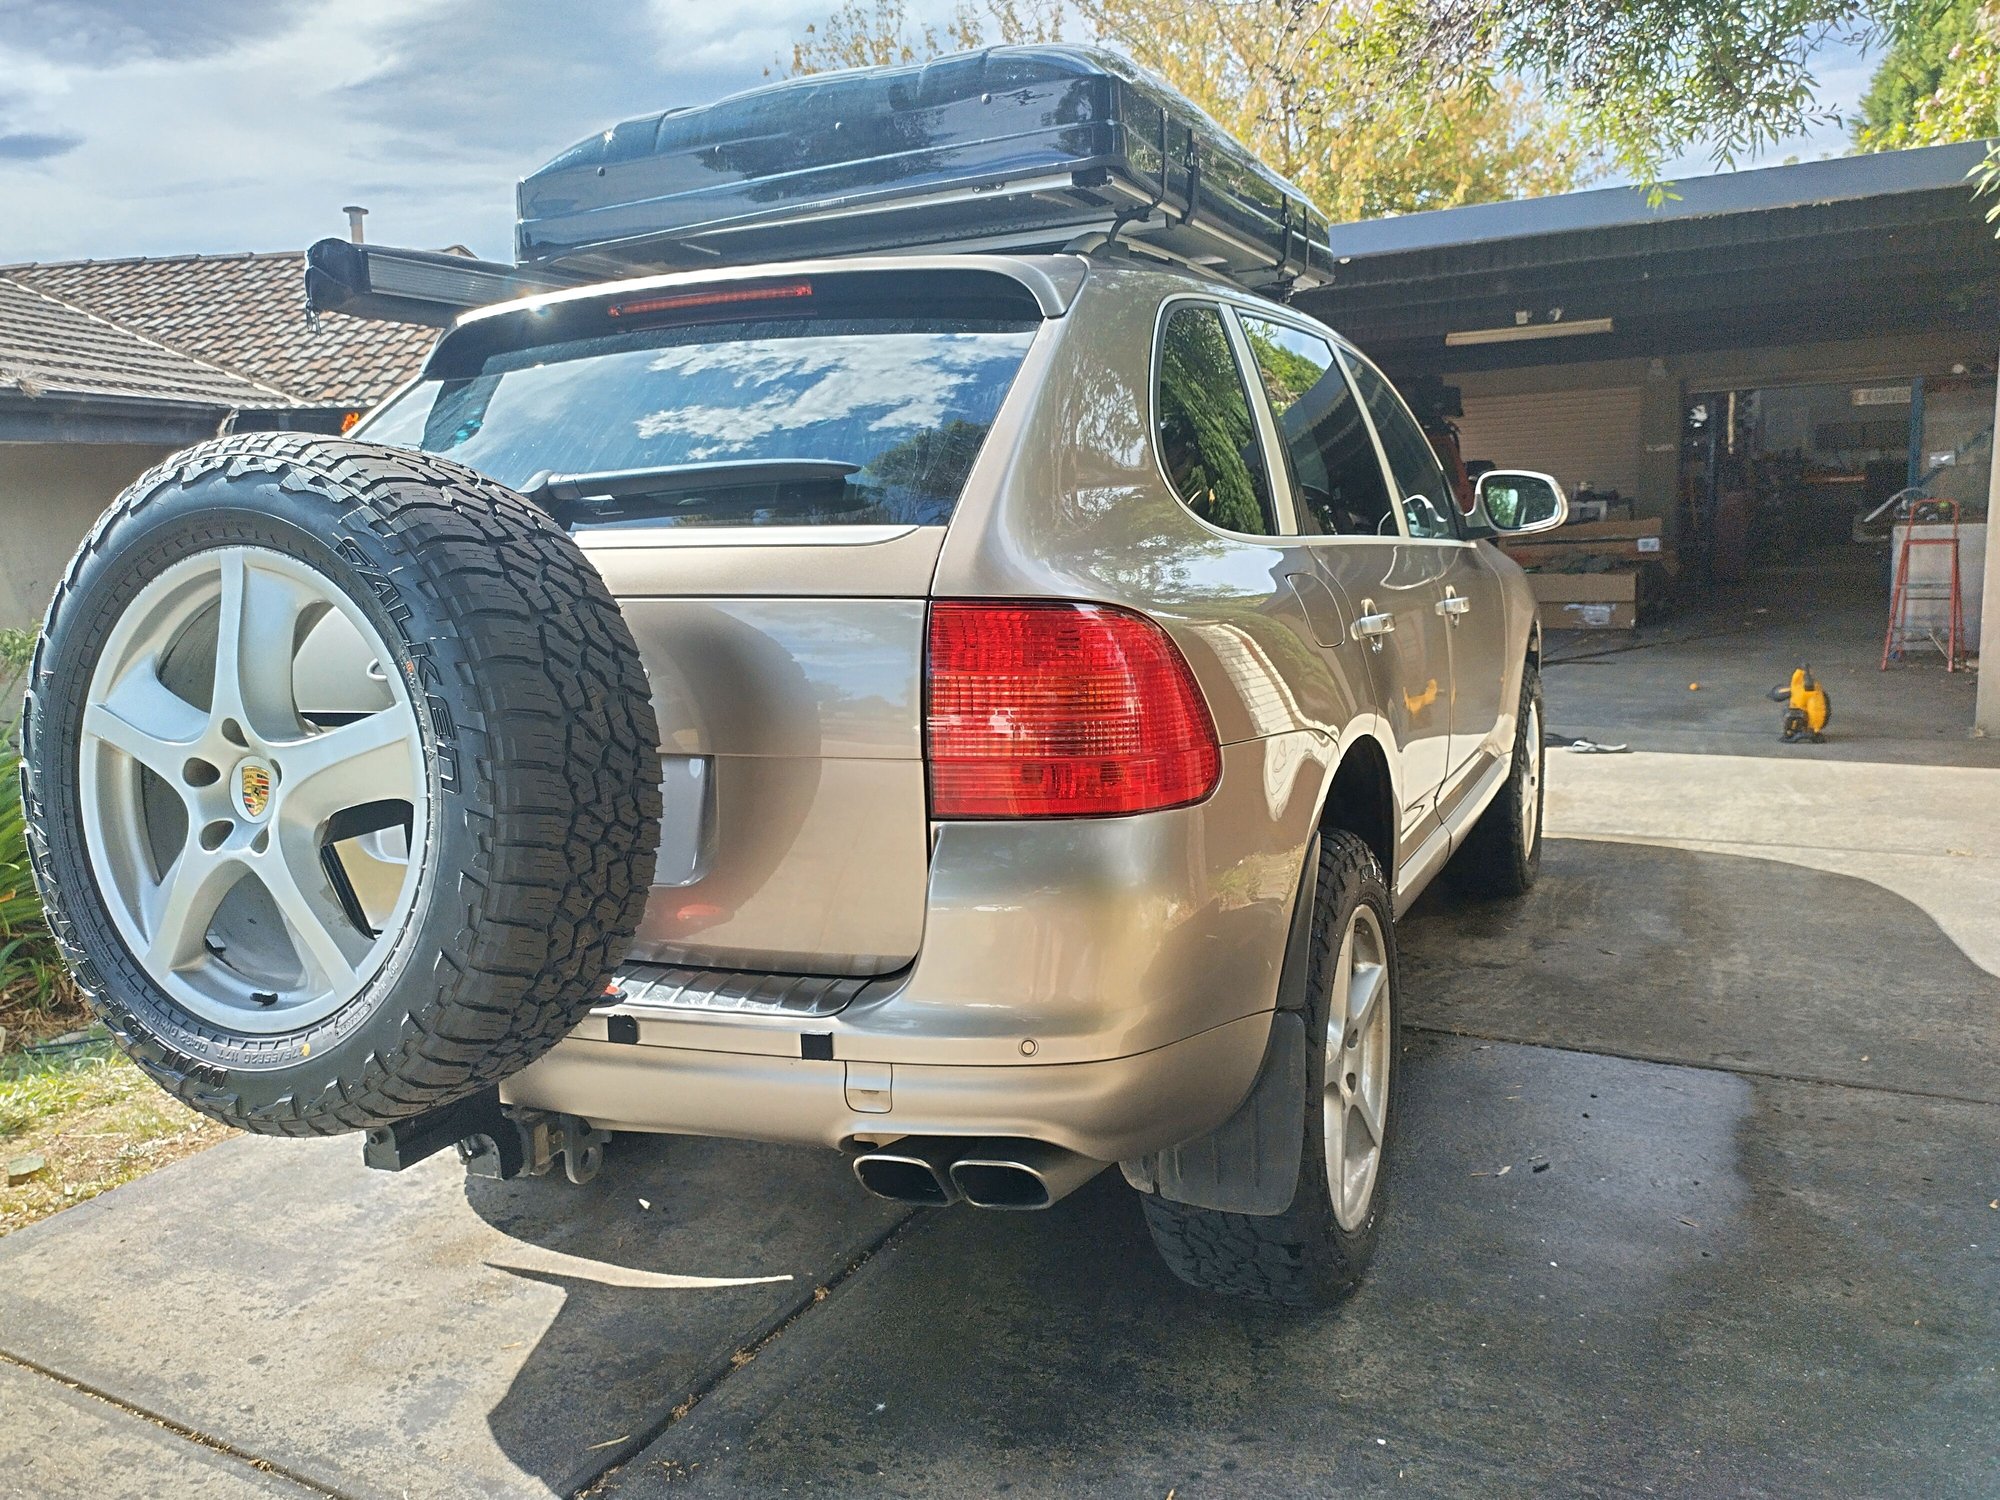
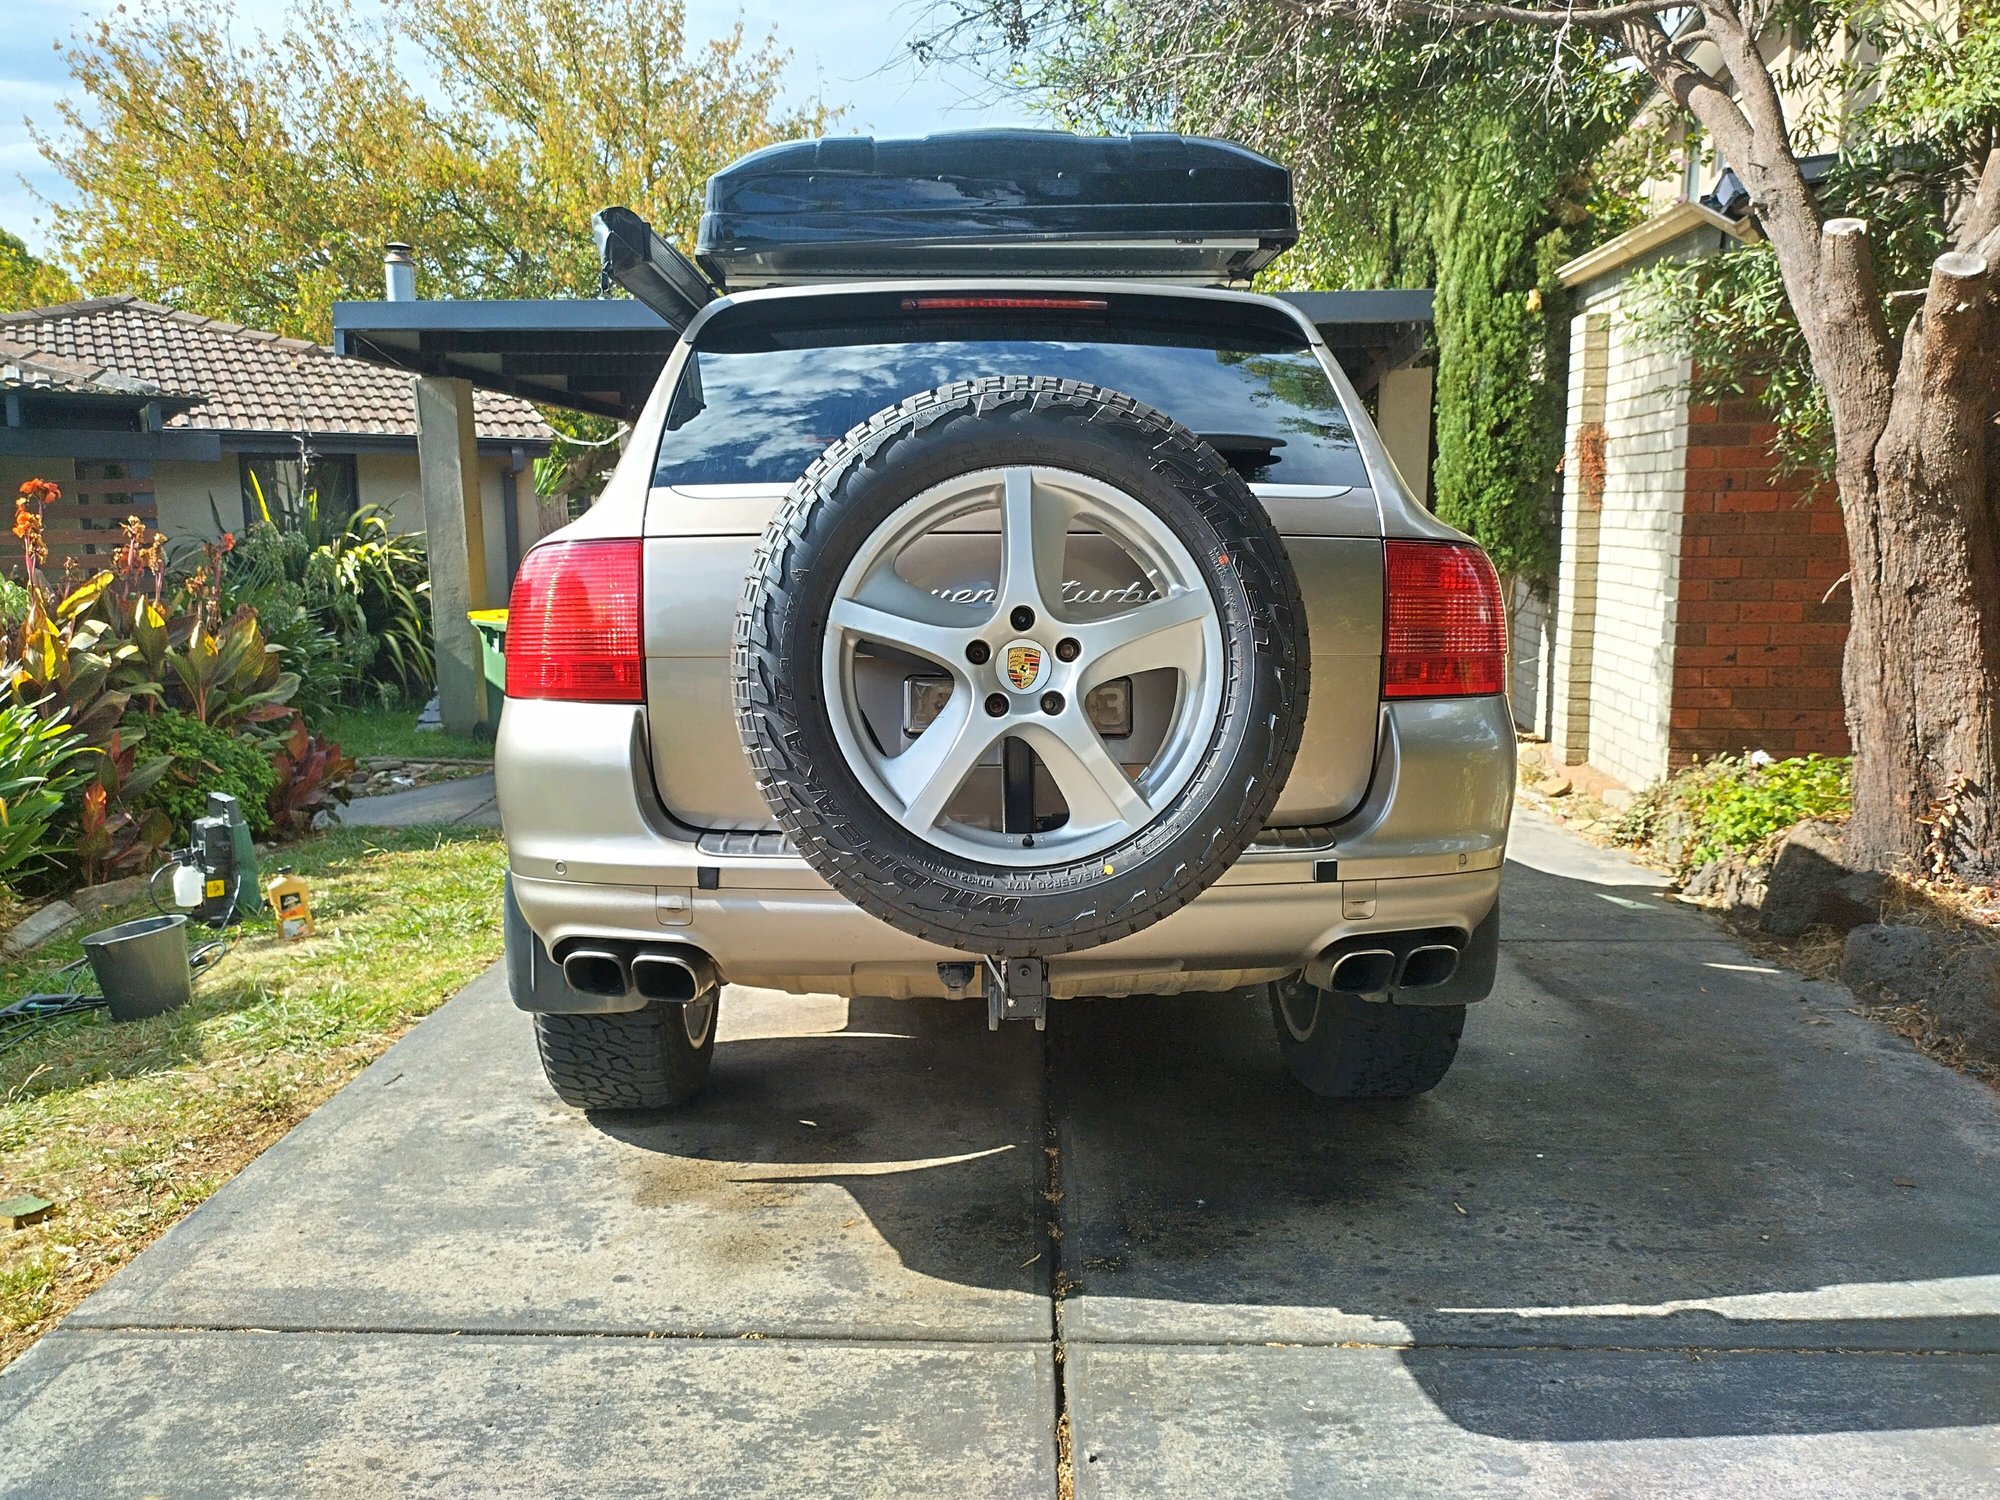
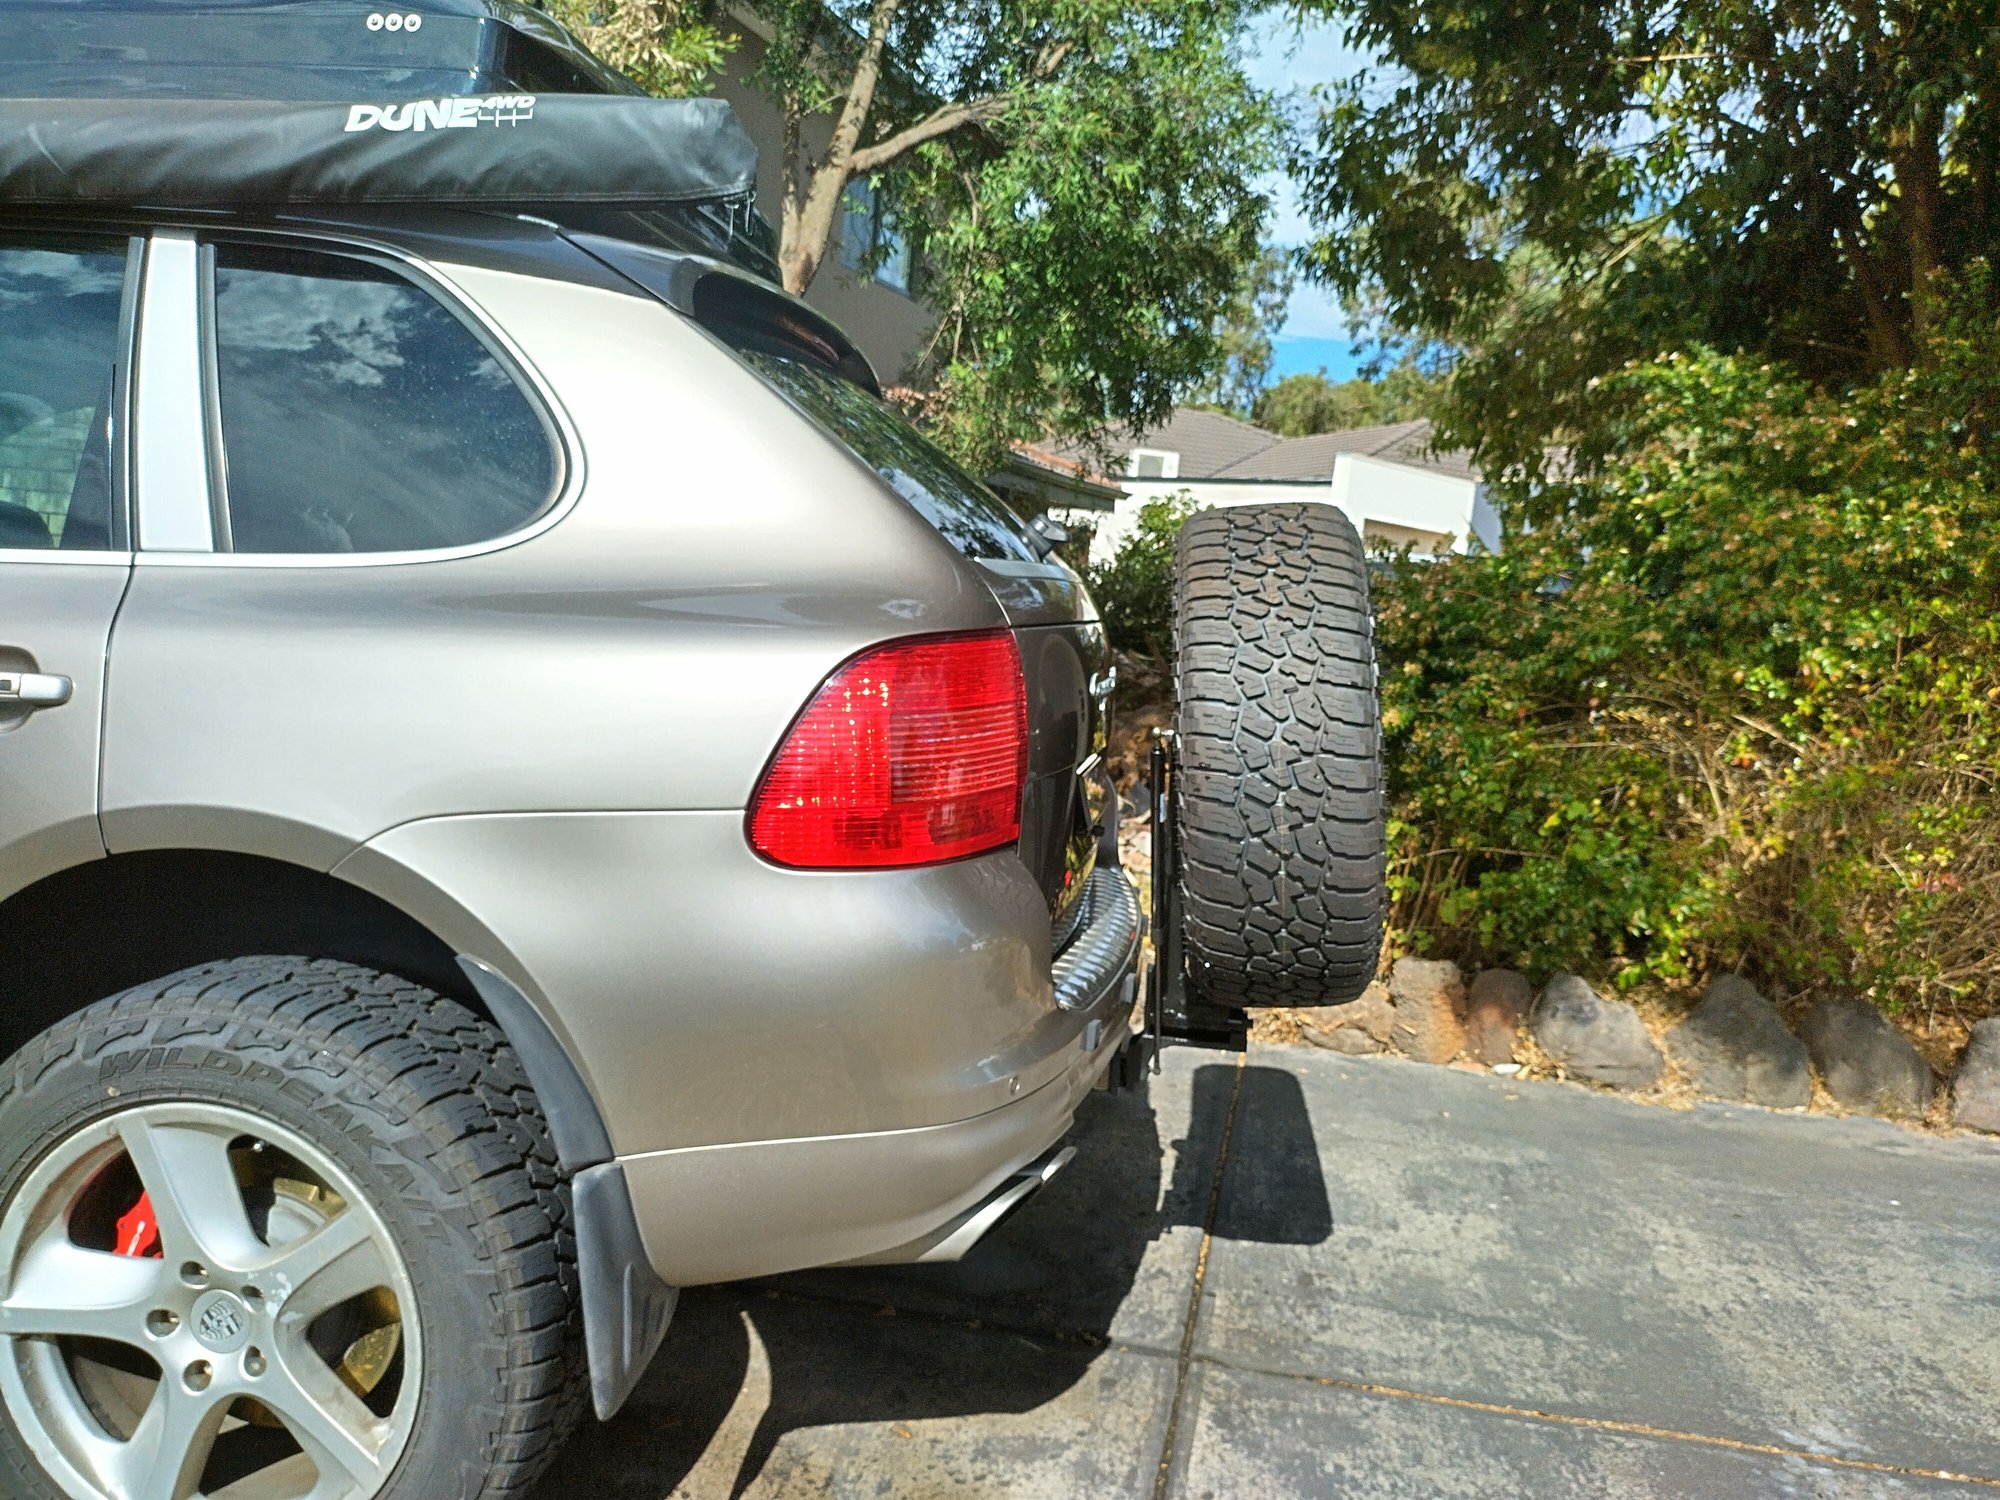
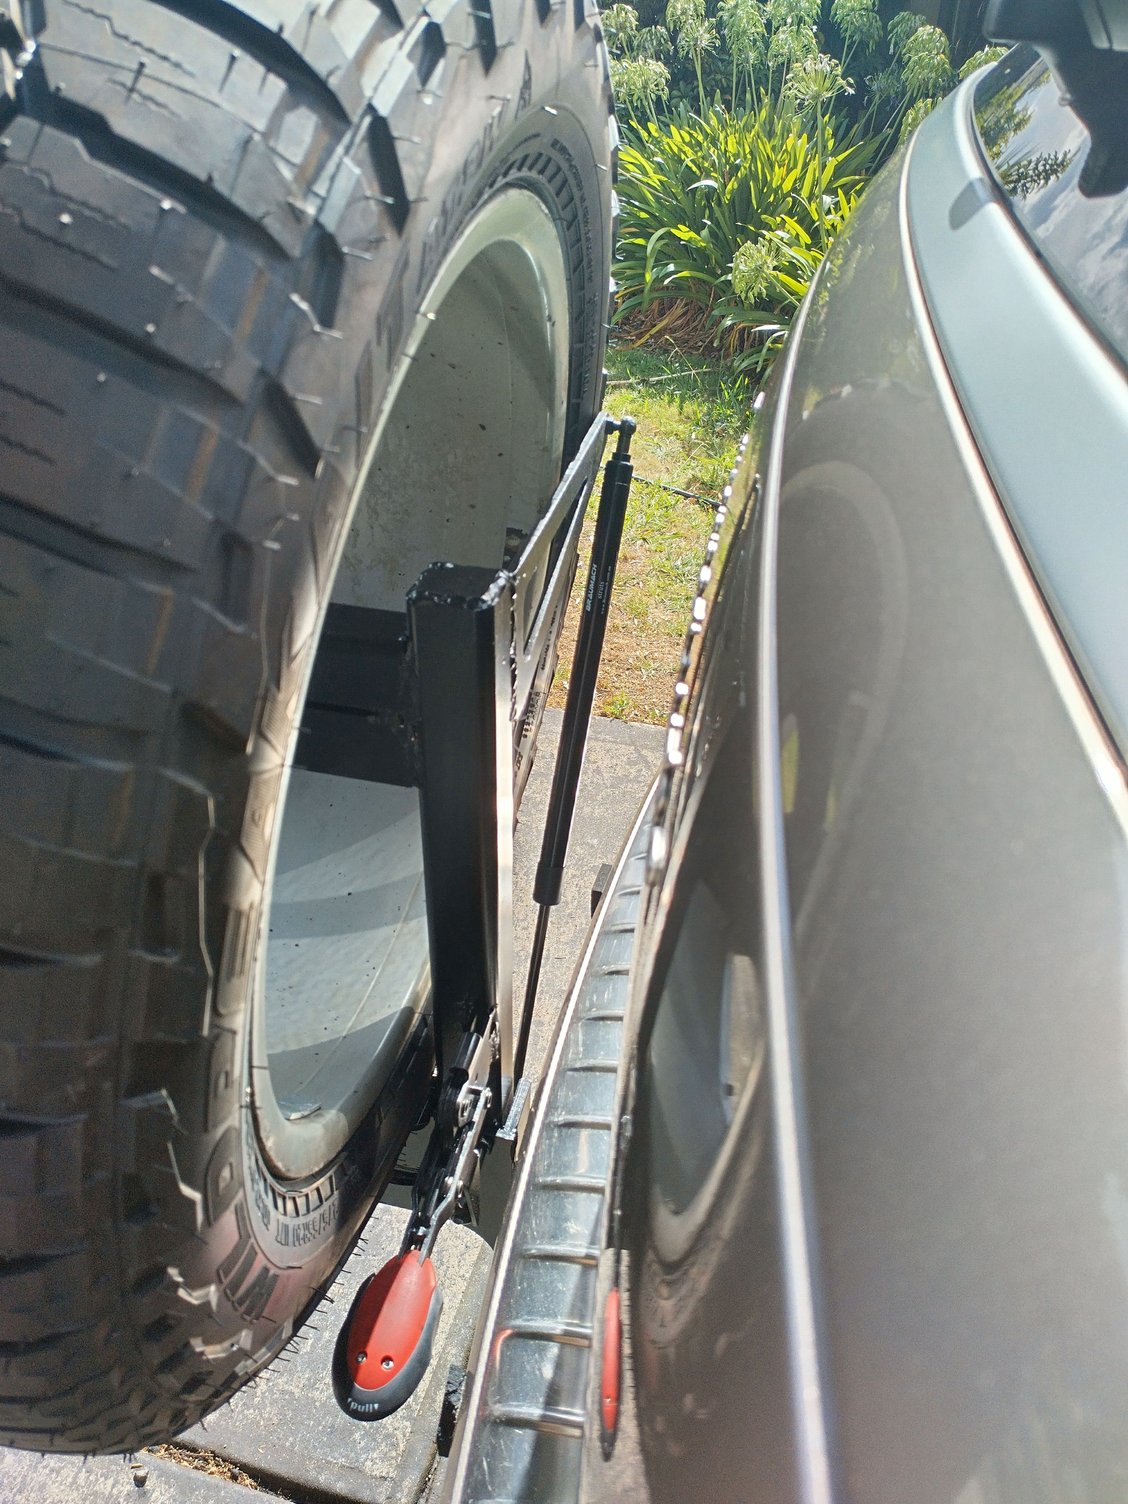
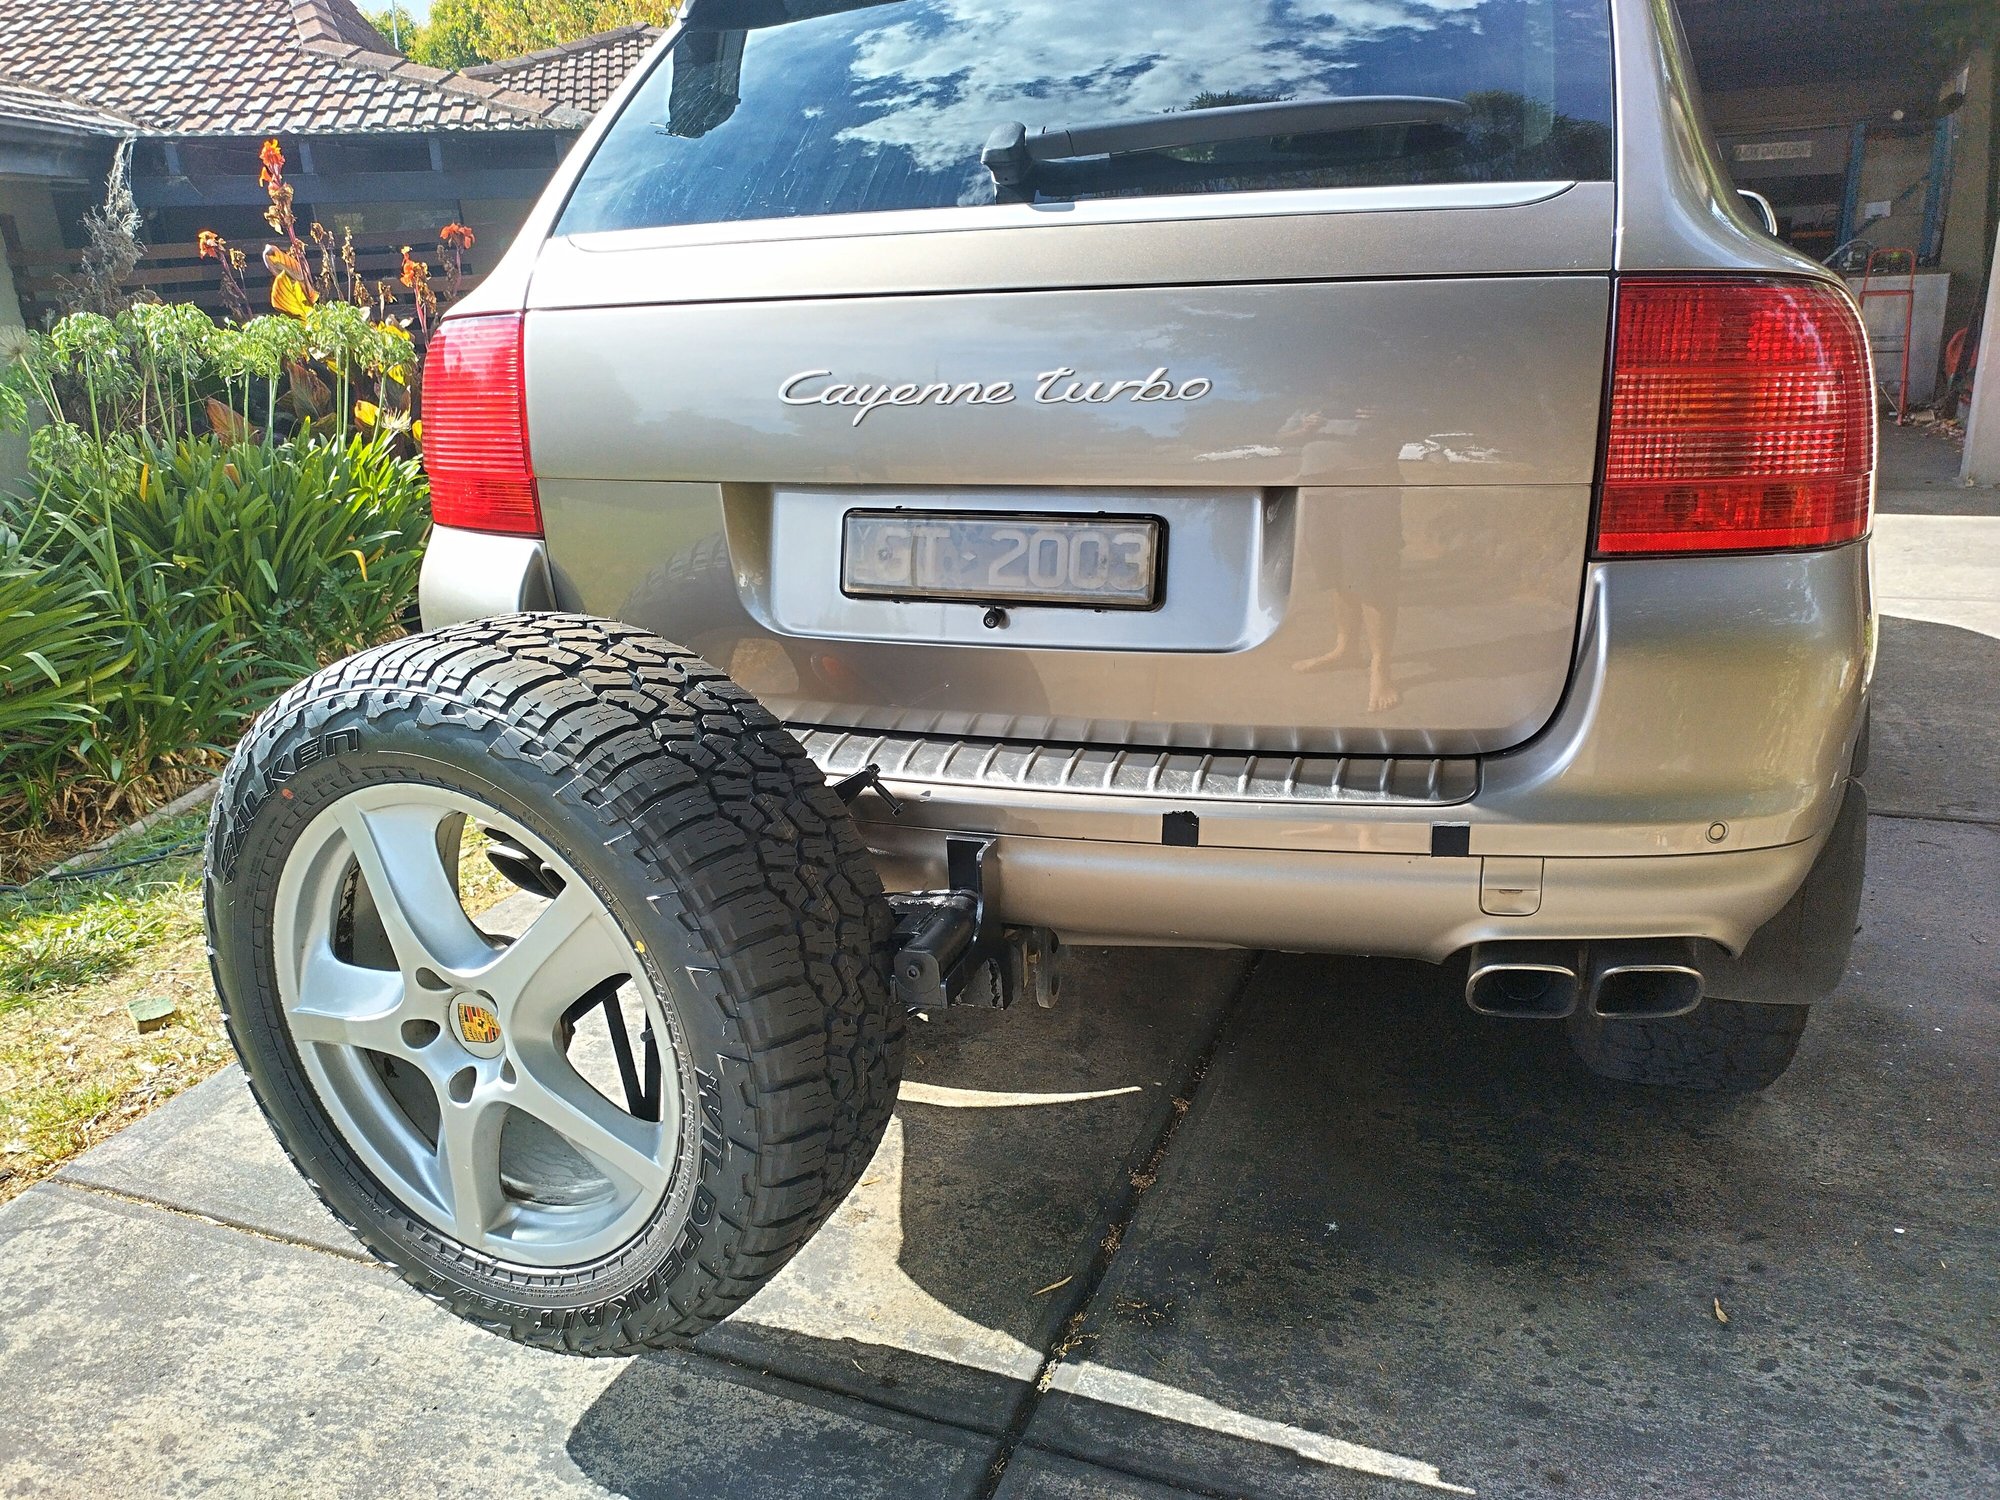
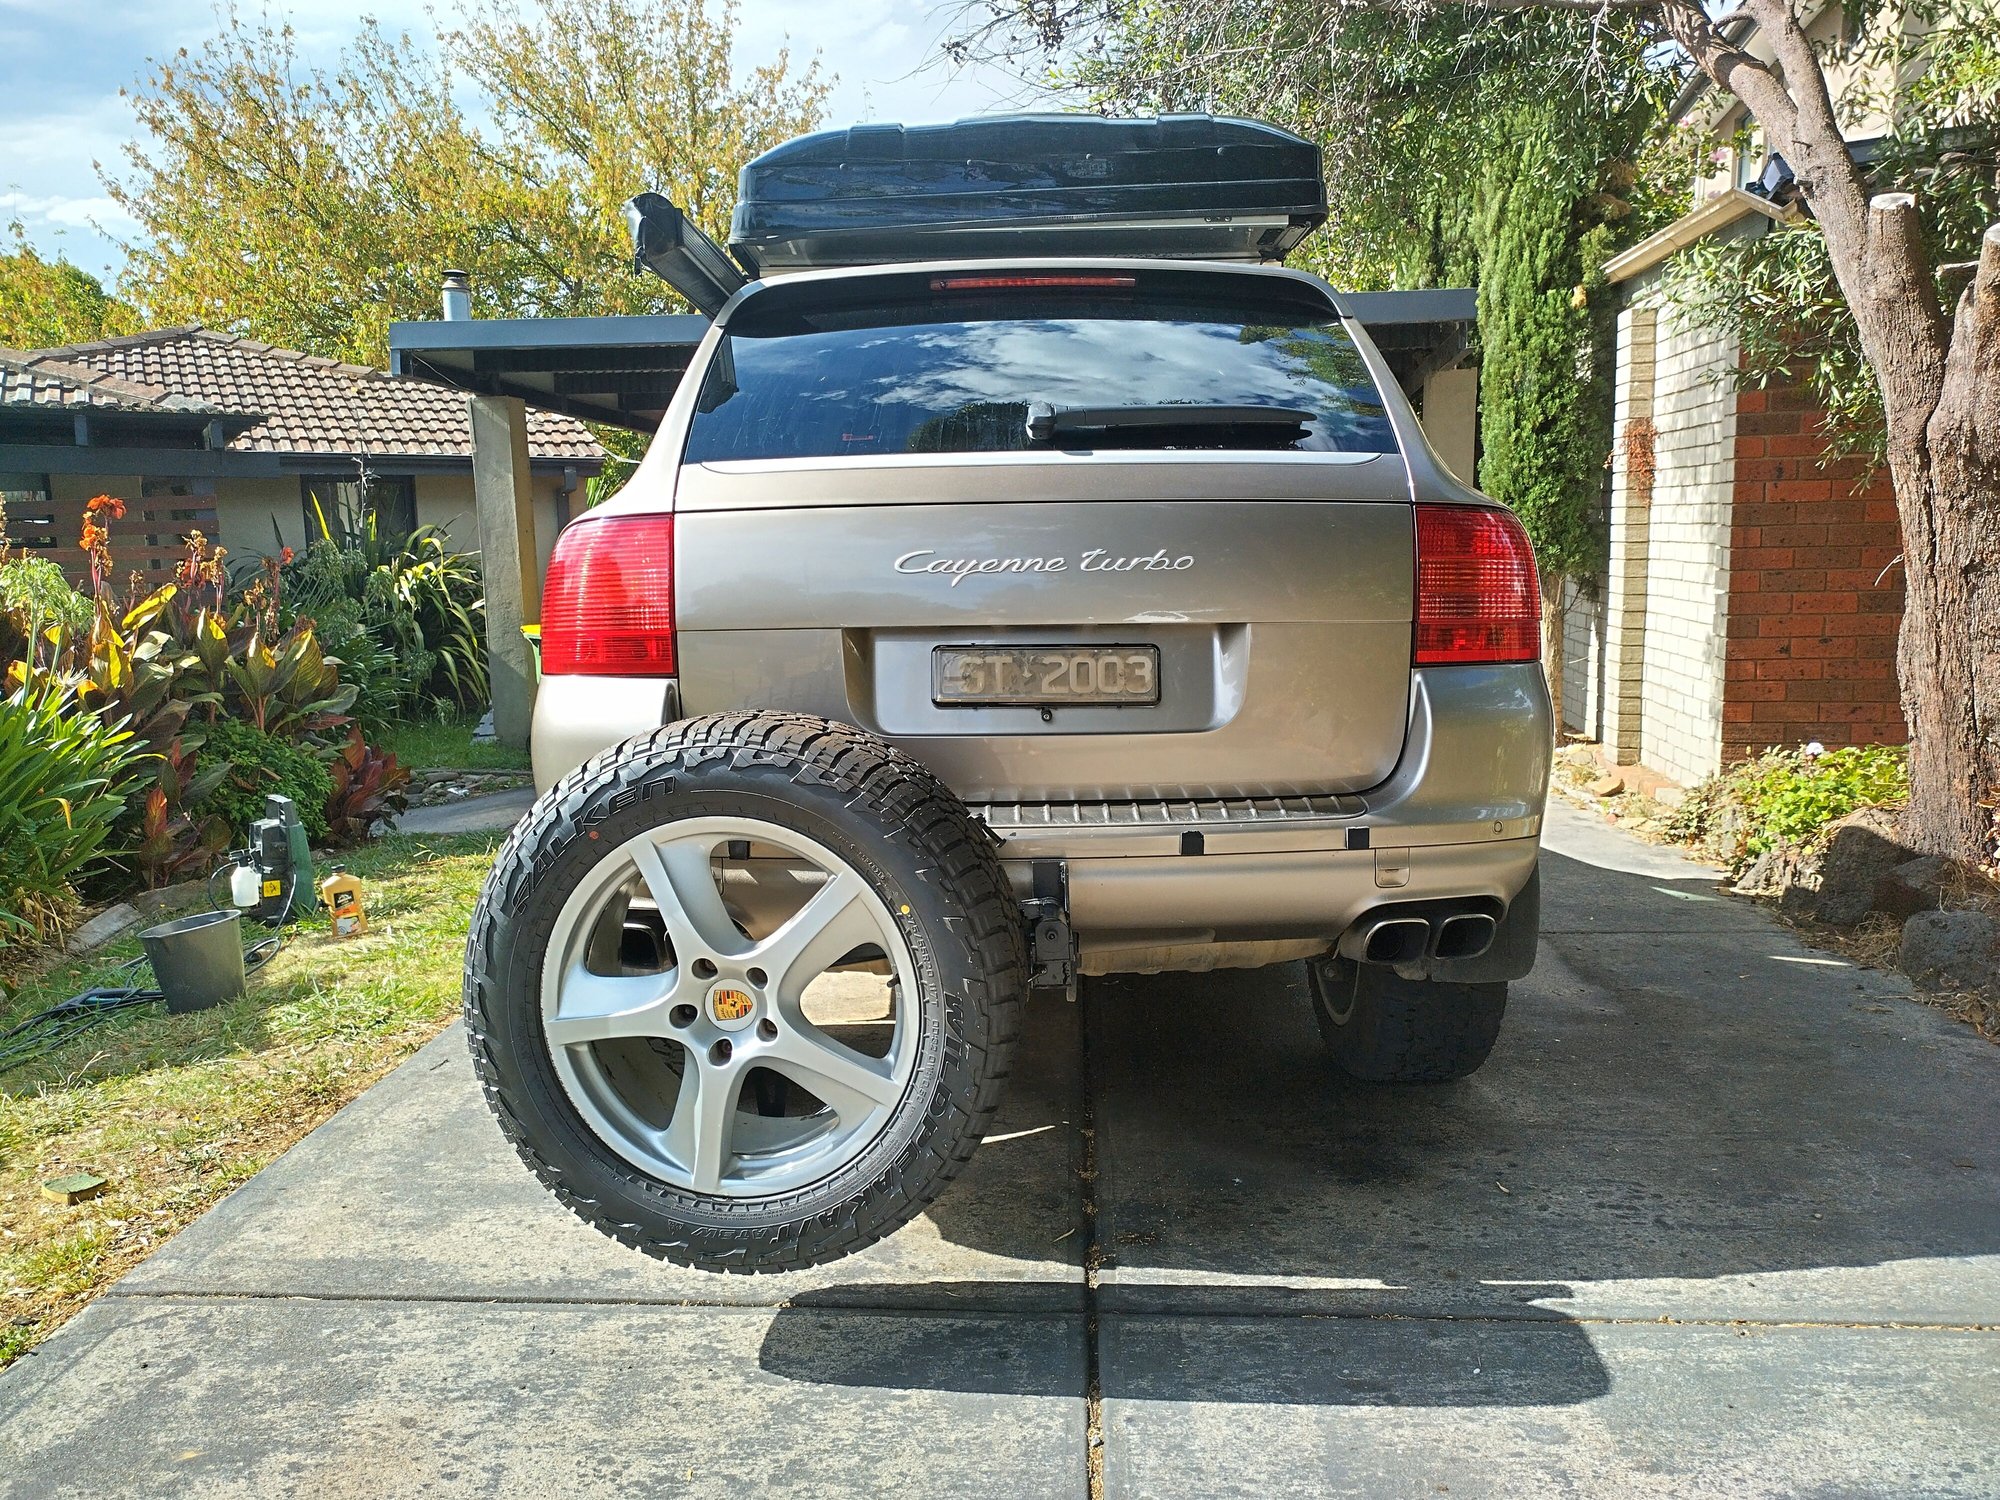
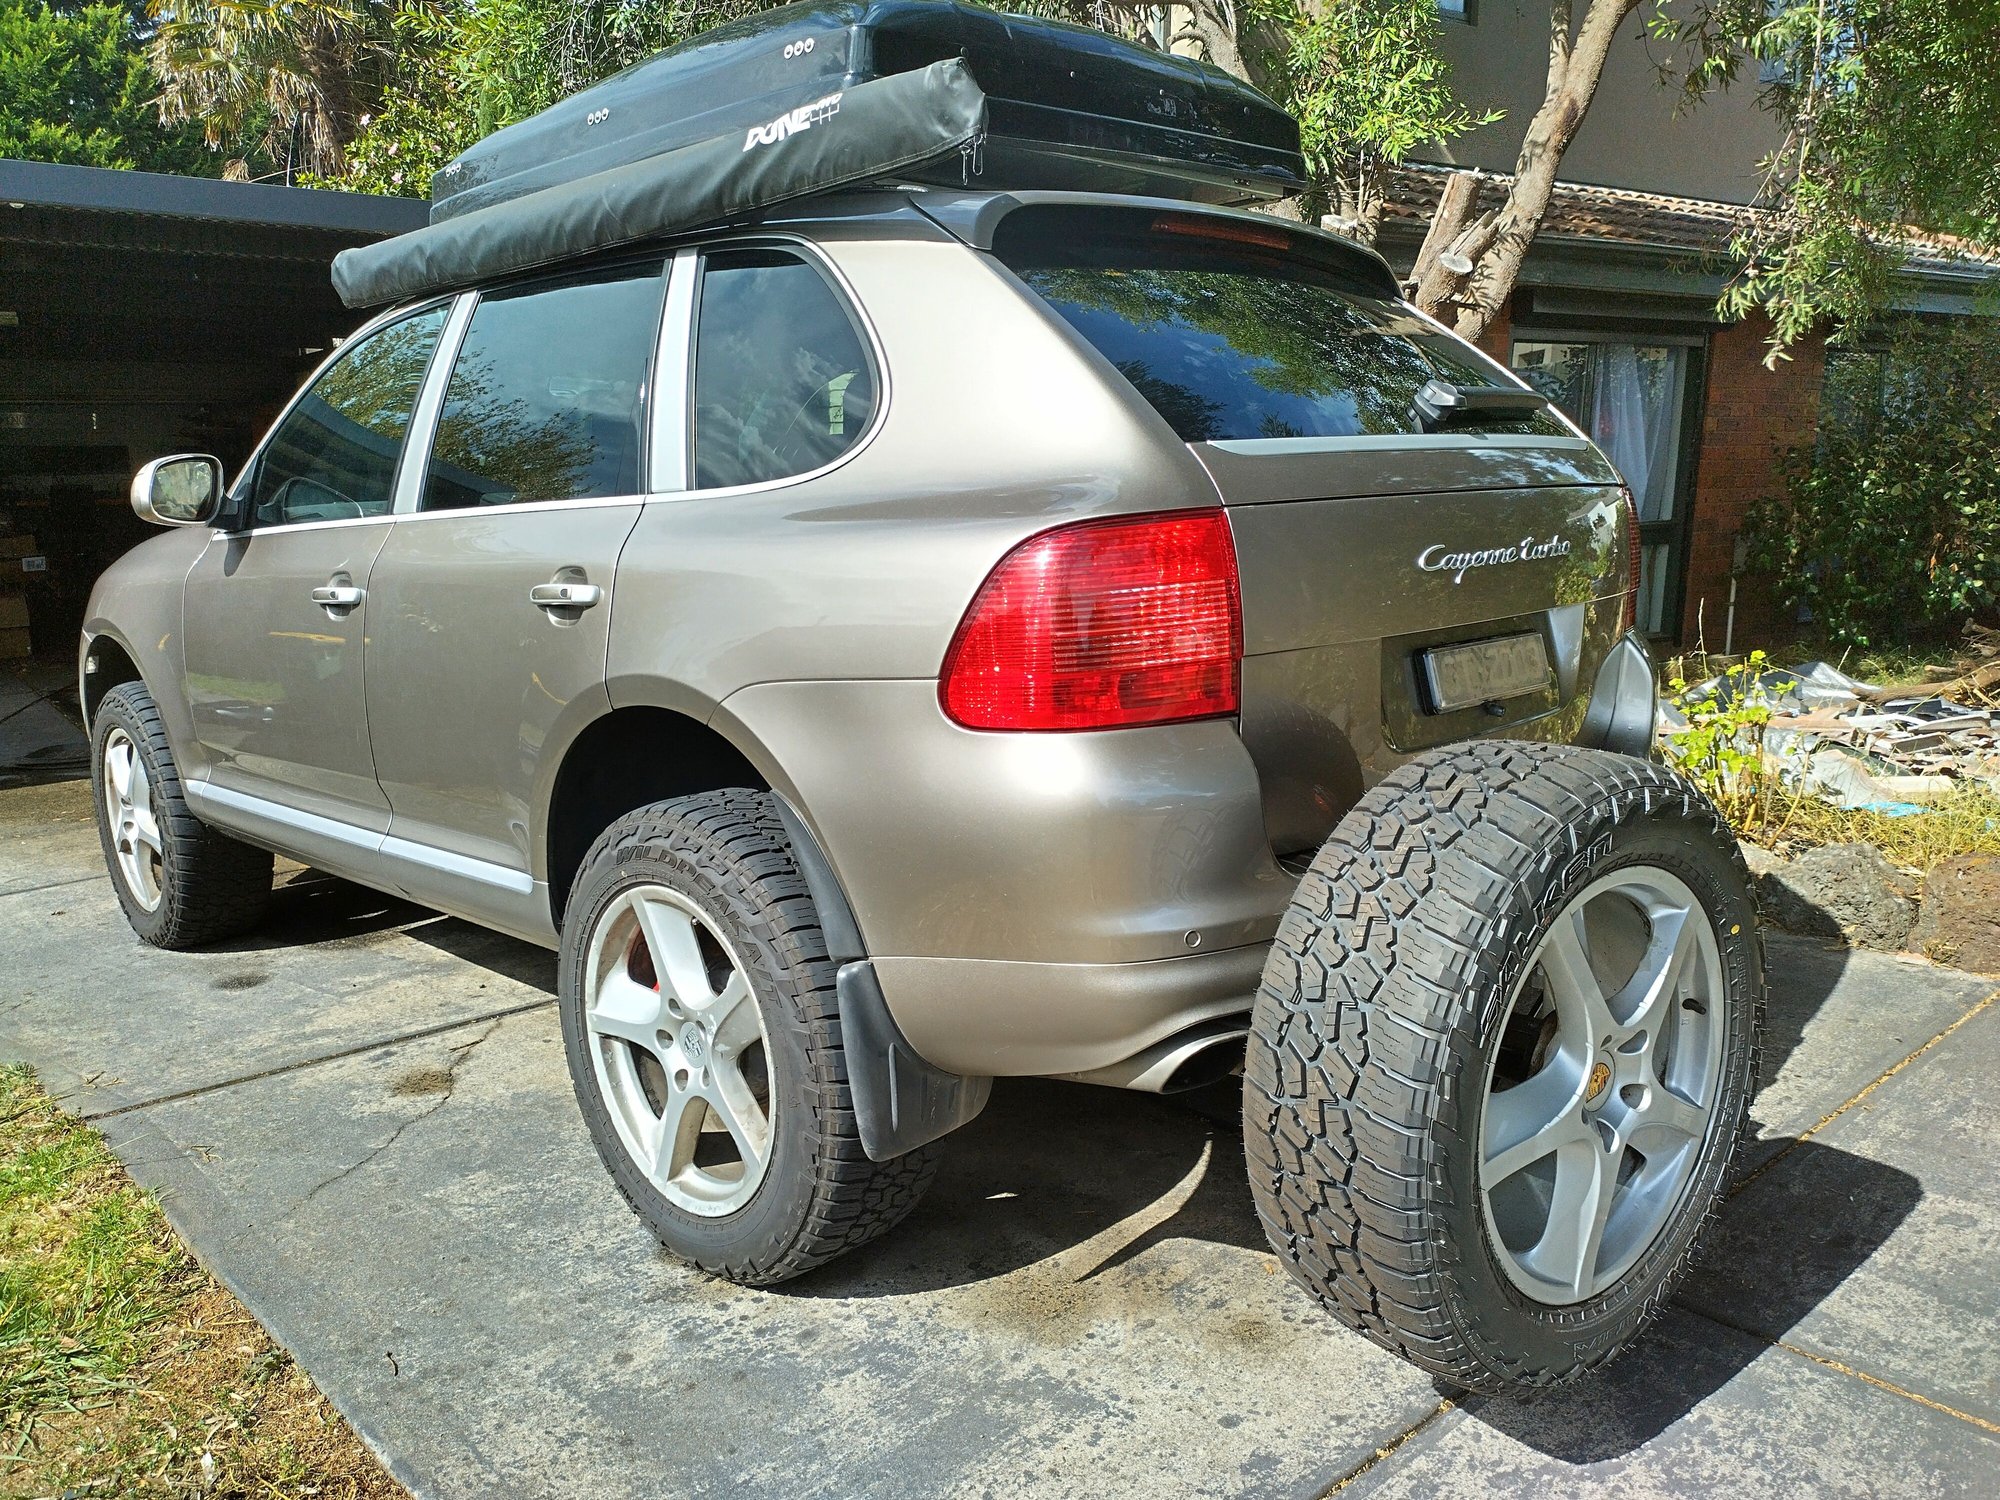
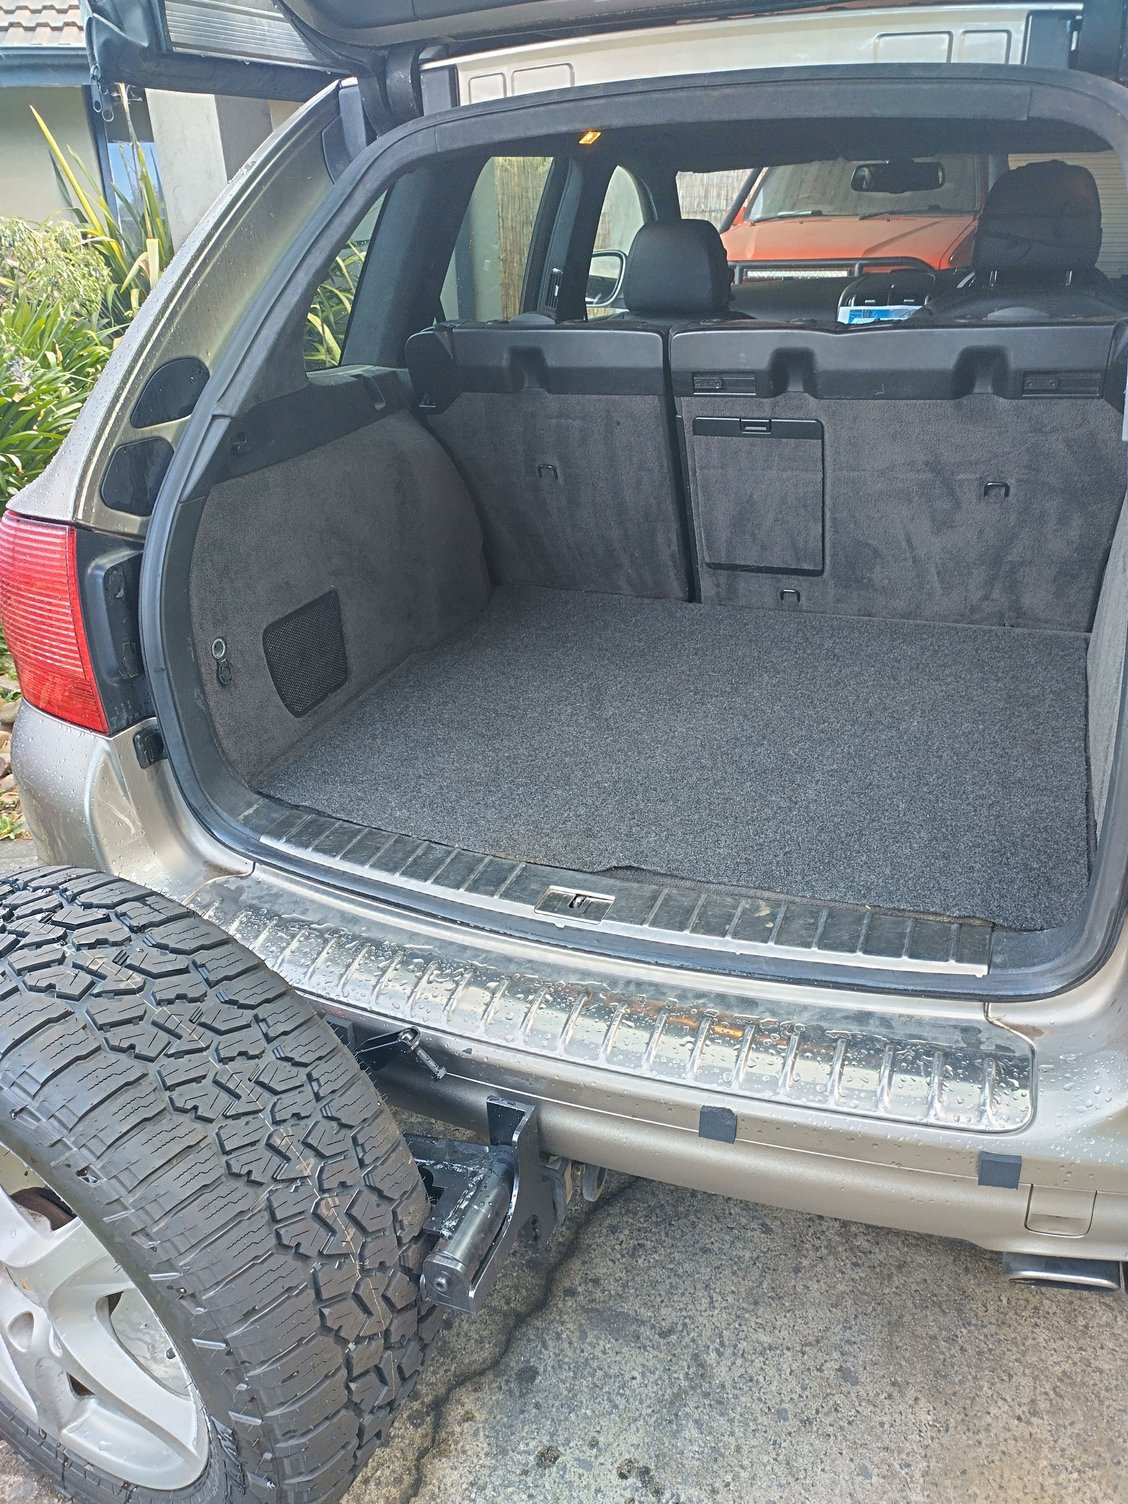
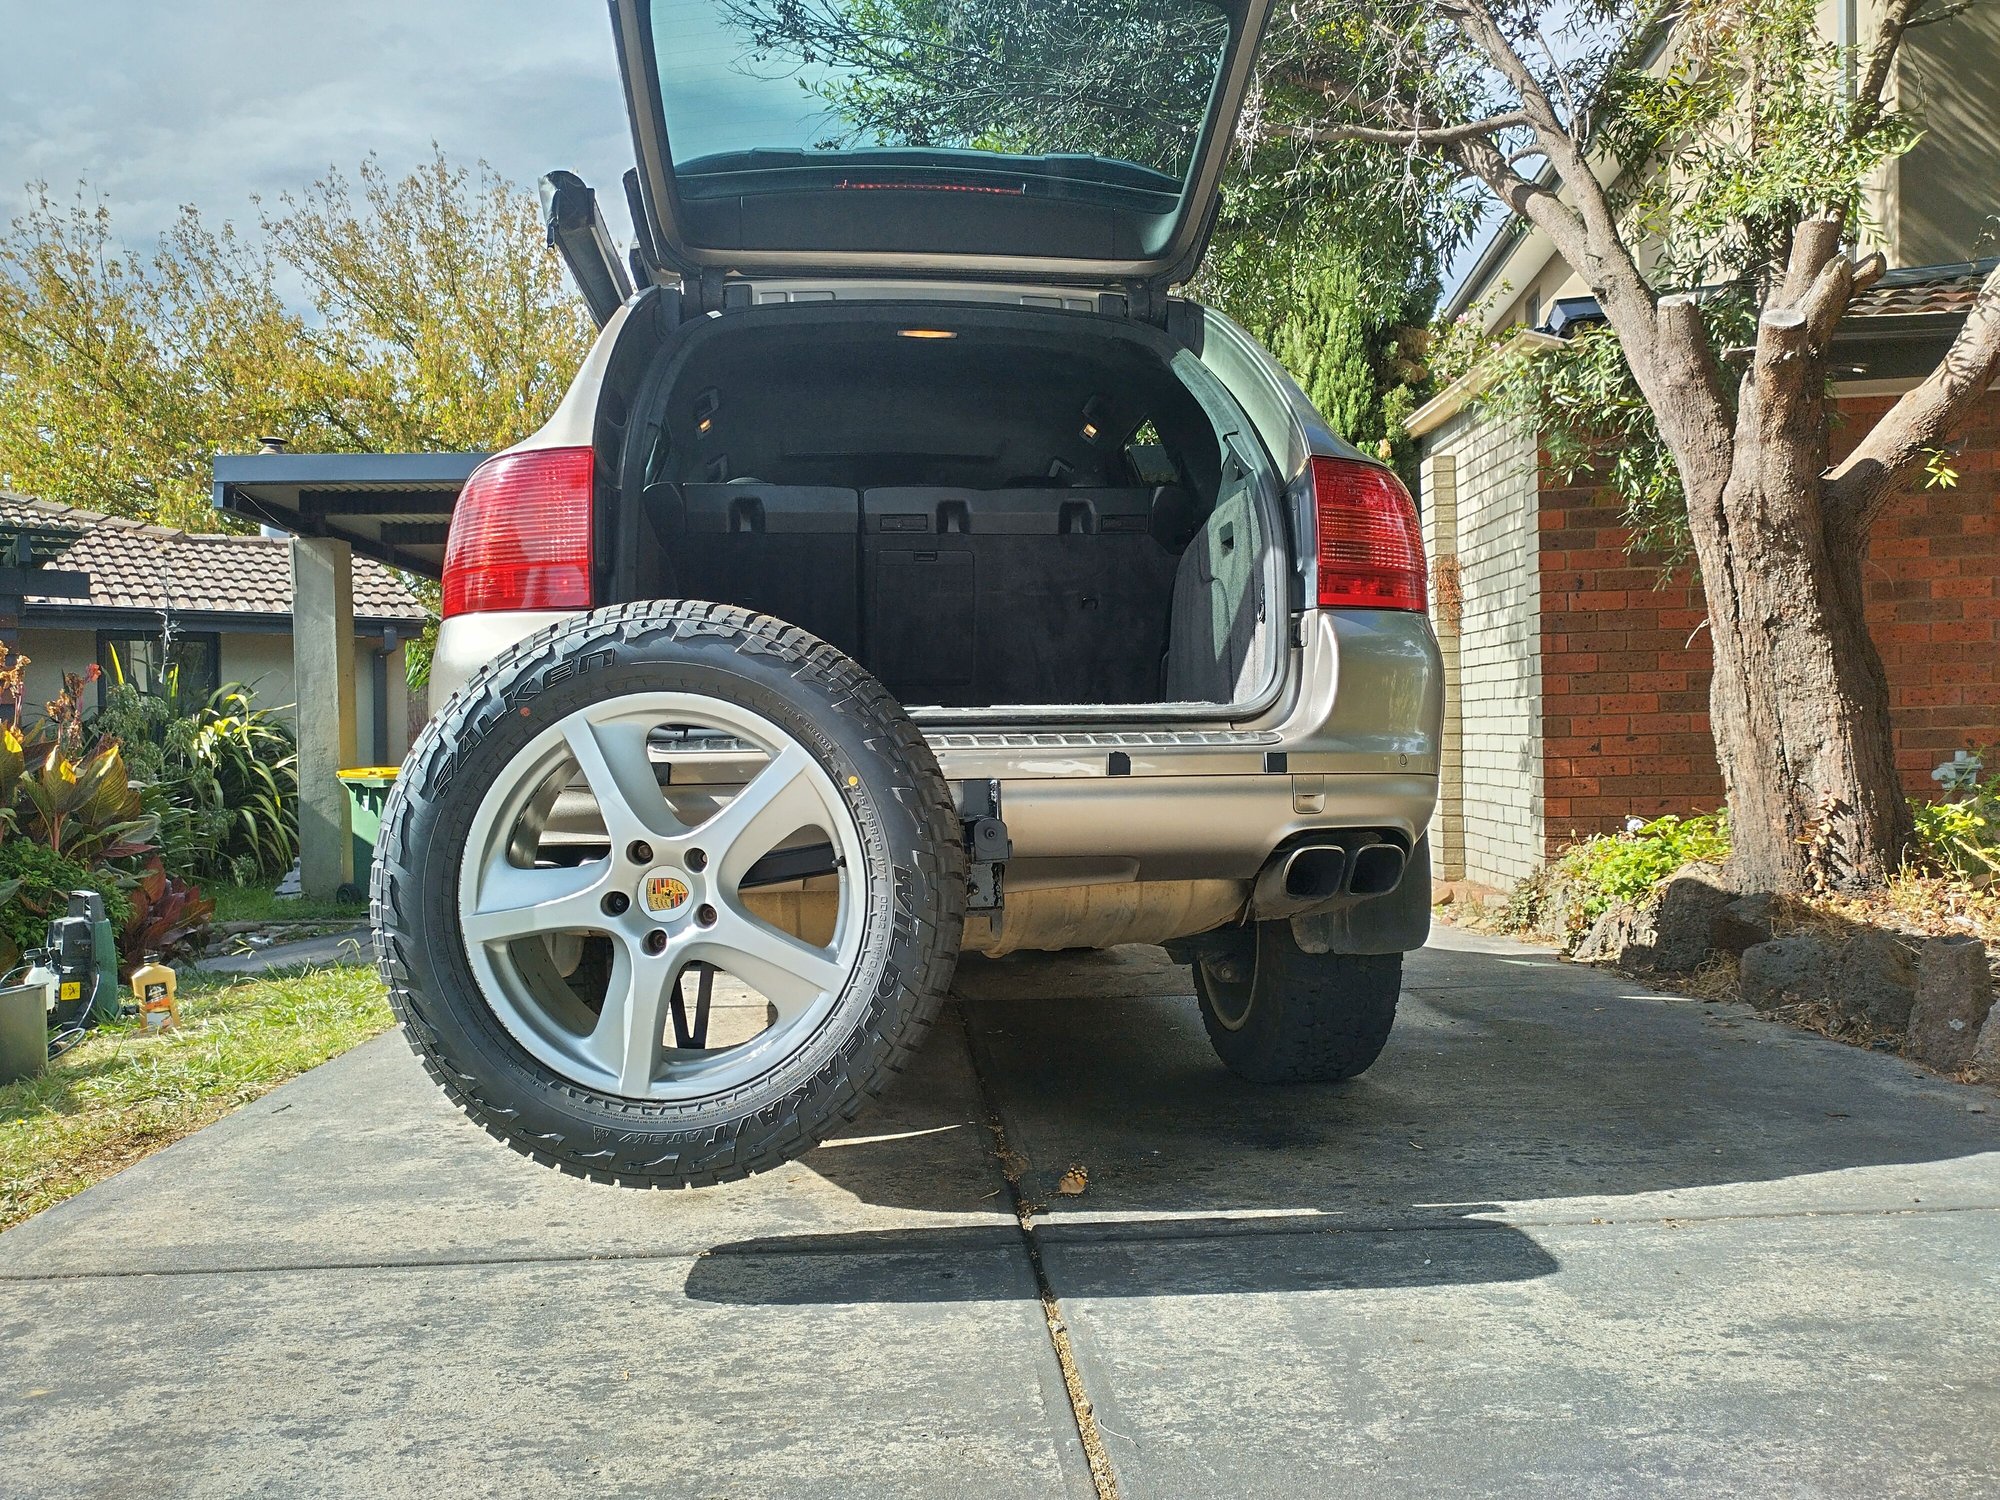
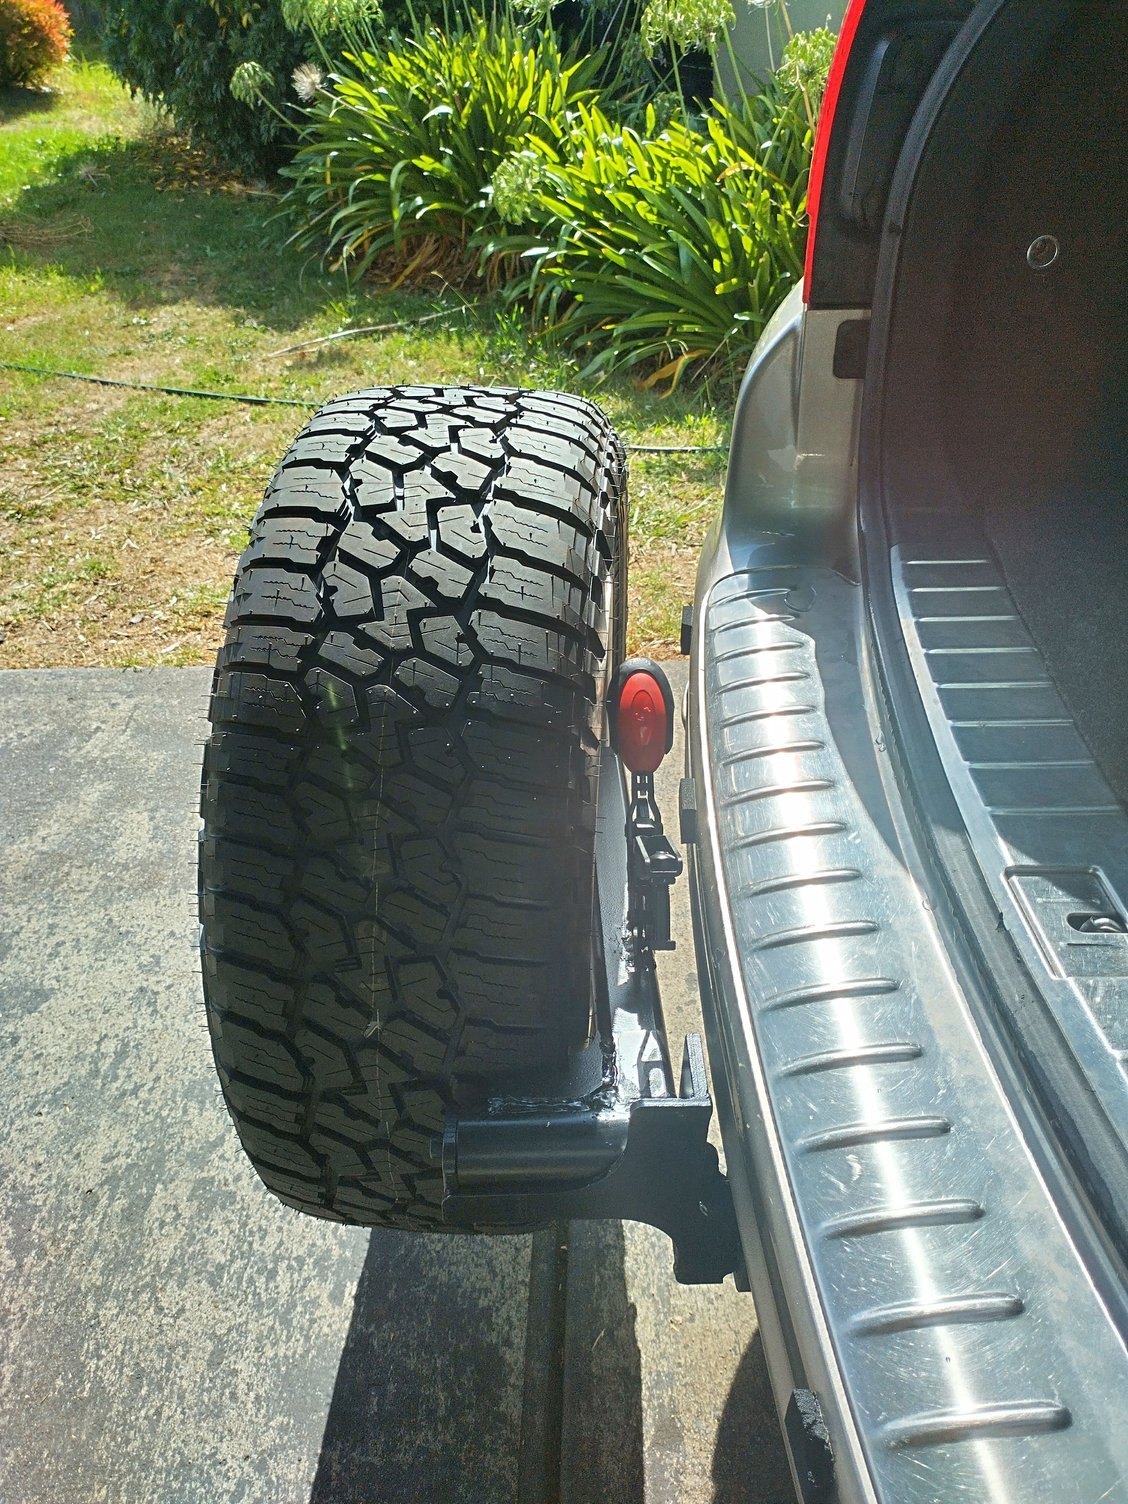
Last item on the list for the trip was to build a hitch mounted spare wheel carrier. I looked at lots of different swing out designs for inspiration but TBH all of them looked agricultural, heavy, hard to operate and they all require heaps of space behind the vehicle if you want to get into the trunk. So I settled on a swing down design instead. I think it looks a lot cleaner and more suited to a Porsche. With the gas strut and toggle clamp it's very easy to operate one handed. You're only lifting a fraction of the weight and once it gets about halfway up it self closes the rest of the way. Takes 1-2 seconds to open or close and still allows for easy access to the whole trunk when open. Or you can open the glass section only without dropping the wheel. I have a basic anti rattle pin/bolt setup so the whole thing is rock solid when parked or driving. If you grab the wheel and shake, it shakes the car rather than flexing the carrier. Doesn't really obscure and rear vision either, it disappears behind the rear seat head rest.
Well she made it across the other side of Australia safe and sound, ready for the big trip. I've missed this car a LOT over the last few weeks. Was nice to be in the driver's seat again last night. We'll be racking up some miles over the next month!
We're back in Melbourne now, Cayenne performed flawlessly on the trip. Never got stuck anywhere, no CEL's, no roadside repairs needed in just over 5000km of driving which included some incredibly rough roads in very hot and remote parts of the country.
Looking forward to picking her up from the freight depot in a few weeks.


 01-17-2023, 06:23 AM